


Metroid Prime Hunters Walkthrough – Vesper Defense Outpost, Part II
WALKTHROUGH
- Celestial Archives
- Alinos
- Vesper Defense Outpost
- Arcterra
- Celestial Archives, Part II
- Alinos, Part II
- Arcterra, Part II
- Vesper Defense Outpost, Part II
- Oubliette
The Eighth Stronghold
Scans in This Section
Lore: Seal Sphere 03, Seal Sphere 04, Oubliette 02, Oubliette 03, Oubliette 04, Oubliette 05, Oubliette 06, Oubliette 07
As soon as you land, take the closest jump pad to the top structure and use the right ship deck portal to teleport to the Weapons Complex. As you materialize, you’ll be attacked by a lone Guardian. You can deal with it if you want, but the doors won’t seal during the encounter so I recommend just to ignore it and go through the red blast shield. On the other side you’ll enter the Stasis Bunker, and before we go further we’ve got to talk about the history of this room. Not from a lore perspective, but in terms of the game’s development.
This room, in its earliest stages, was the very first footage ever shown off for Metroid Prime Hunters! When the game was revealed along with the Nintendo DS at Nintendo’s E3 2004 press conference, footage of two Samus avatars duking it out on this very map was what was shown! Later when the Metroid Prime Hunters: First Hunt demo was released as a pack-in title for launch window Nintendo DS units, this arena was repurposed as an exclusive stage for the Morph Ball training mode referenced earlier during the Fire Spawn subsection. Now it lives on here in the final game not just as a room in the singleplayer adventure, but as a multiplayer arena too! Thanks for bearing with me, I just had to talk about that really cool piece of the game’s history for a bit. Now back to the guide!


A couple of spawn devices will warp in some Magma Voldrums, prompting you to switch to the Judicator and blast ‘em. When you’re done, head up to the second story and take out more spawn devices and Voldrums that get in your way along with an Alimbic Turret. Go to the stasis tanks, pop open your Scan Visor and add the SEAL SPHERE 03, SEAL SPHERE 04, OUBLIETTE 02, OUBLIETTE 03, OUBLIETTE 04, OUBLIETTE 05, OUBLIETTE 06 and OUBLIETTE 07 datashades to your logbook. After you’ve finished taking in all of that juicy lore, go through the narrow blue door with the glowing blue pillars flanking the sides. In the back of the overhanging device spewing coolant, you’ll find UA EXPANSION #12.
Now go back to the room that had the turret and scan the terminal to activate another terminal near where you first entered. You’ll have twenty seconds to get there before that terminal deactivates and have to start the process all over again, so it’s time to throw it back to 2004 for some Morph Ball training! Go to the stasis tank room and take the narrow door that led to UA Expansion #12 for the quickest route to the entrance. Scan the terminal, then a Shield Key will spawn on the platform you just fell from with another twenty second timer attached! Race back to the jammed door and perform a double bomb jump on either of the elevated walkways to the sides. This is both much quicker and easier than running back up the slopes to the second story. Collecting the key will lower the first Artifact Shield safeguarding CARTOGRAPH ARTIFACT #3B.


The Stasis Bunker can feel like a bit of a maze on your first visit, so if you need some additional help with this test of speed, check out the video below to watch a perfect run from start to finish.
Upon obtaining the artifact, all of the Guardians in stasis will break free and attack you. Bust out the Shock Coil and show them what REAL unlimited power is! After disposing of the Guardians, a Shield Key will spawn behind the orange energy container on the second story. Claiming this key will lower the second Artifact Shield in the room housing ATTAMETER ARTIFACT #3B. Grab the artifact to unseal the doors, then head back up to the second story and take the exit to Ascension.


Energy Overflow
Scans in This Section
Lore: Alimbic War 08, Alimbic Order 05
Objects: Silo Levitator, Cooling Vent, Methane Pipeline, Cryogenic Storage
This room houses a really wicked looking lift with all sorts of energy sputtering inside it. If you look closely out the window though, you might notice a building off in the distance starting to rupture. At the top, you’ll find a ship deck portal just before the next room, which I recommend using to save your progress before heading in the direction of the inconspicuously rupturing structure. In the Fuel Stack, scan the SILO LEVITATOR before continuing forward.
A cutscene will play showing the inside of the facility beginning to self-destruct, as the chain reaction we saw from the outside has now begun to spread. Your suit’s AI will indicate that an energy overflow is taking place and that the emergency shutoff terminal needs to be activated in order to prevent the destruction of the facility. The doors are sealed behind us, so there’s no retreating to the gunship.


We have one minute to reach the shutoff, so without wasting time, continue forward with the Morph Ball and use the jump pad to reach some small platforms in the shaft above. One of the neat quirks to Samus’s jump in Metroid Prime Hunters is the ability to perform a single “Space Jump” in mid-air when falling from a ledge or using a jump pad without jumping into it first. This isn’t a glitch either, but an offcial game mechanic which is mentioned in the JUMP BOOTS Equipment entry in your logbook! I recommend using this space jump technique for the smaller platforms, making that section much easier and less disorienting.
To your left is a tunnel surrounded by Zoomers. Ignore them and use your Boost Ball to plow through them. At the second jump pad, you’ll hit another series of small platforms, these ones spread out a little further apart. Don’t let the timer get to your nerves and carefully navigate them to the top. This is the last place we want to falter! At the top, go left and follow the ledge to the moving platform. At this point, you’ll probably see the energy spike creeping up the top of the levitator and nearing the ceiling, which is when the timer expires. As soon as the platform reaches its destination, jump to the ledge above and scan the emergency shutoff to safely terminate the energy overflow!


Check out the video to see a perfect run of this sequence if you need some additonal help with navigation.
After taking care of the situation, drop down to the floor and destroy the Psycho Bits along with their spawn devices, as well as the Alimbic Turret occupying the spiraling path to the side of the levitator. Scan the ALIMBIC WAR 08 datashade and the COOLING VENT, then drop down below to that path where you find MISSILE EXPANSION #9. Whatever you do, DO NOT fall to the bottom of the silo levitator! Shutting off the energy overflow also disabled it, meaning falling to the bottom is an instant game over. Seriously!
With that in mind, go up and scan the door lock override terminal to disable the force fields. Go through, scan the METHANE PIPELINE above and take out the Alimbic Turrets from the distance while they can’t lock on to you. Go into the pit, grab the Shield Key to lower the Artifact Shield, then perform a double bomb jump back up and claim BINARY SUBSCRIPTURE #3B. Immediately after, turn around and scan the SEAL SPHERE 02 datashade. Then drop back down and scan the ALIMBIC ORDER 05 datashade and CRYOGENIC STORAGE. Once you’ve finished cleaning up, head back to Stasis Bunker and enter the Stronghold Portal one last time for our final Octolith.


Slench 4
Scans in This Section
Bioforms: Slench 4A *missable*, Slench 4B *missable*
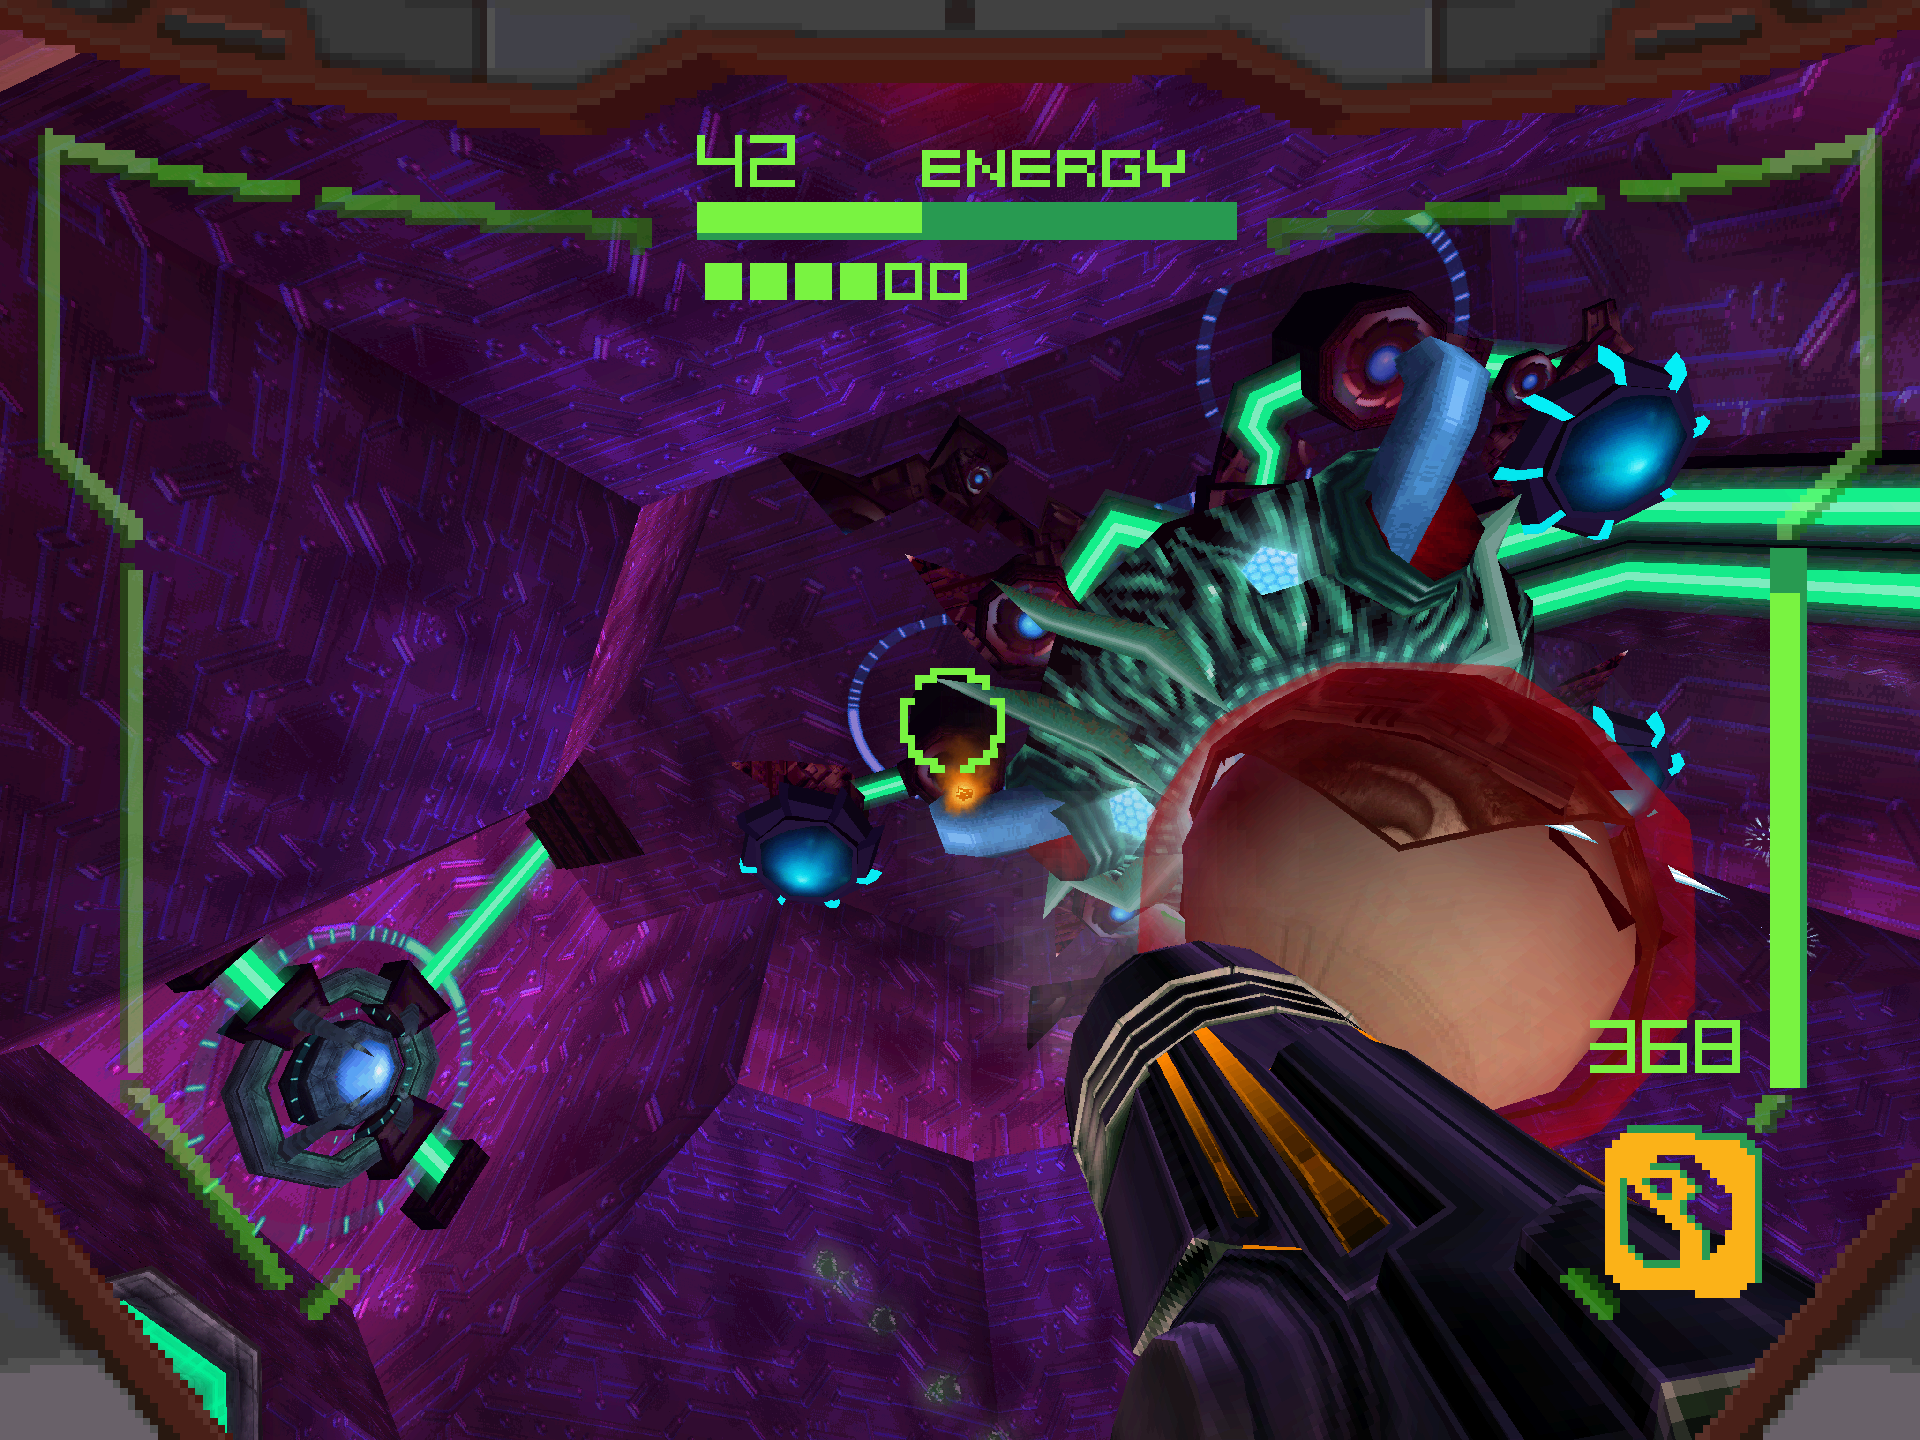
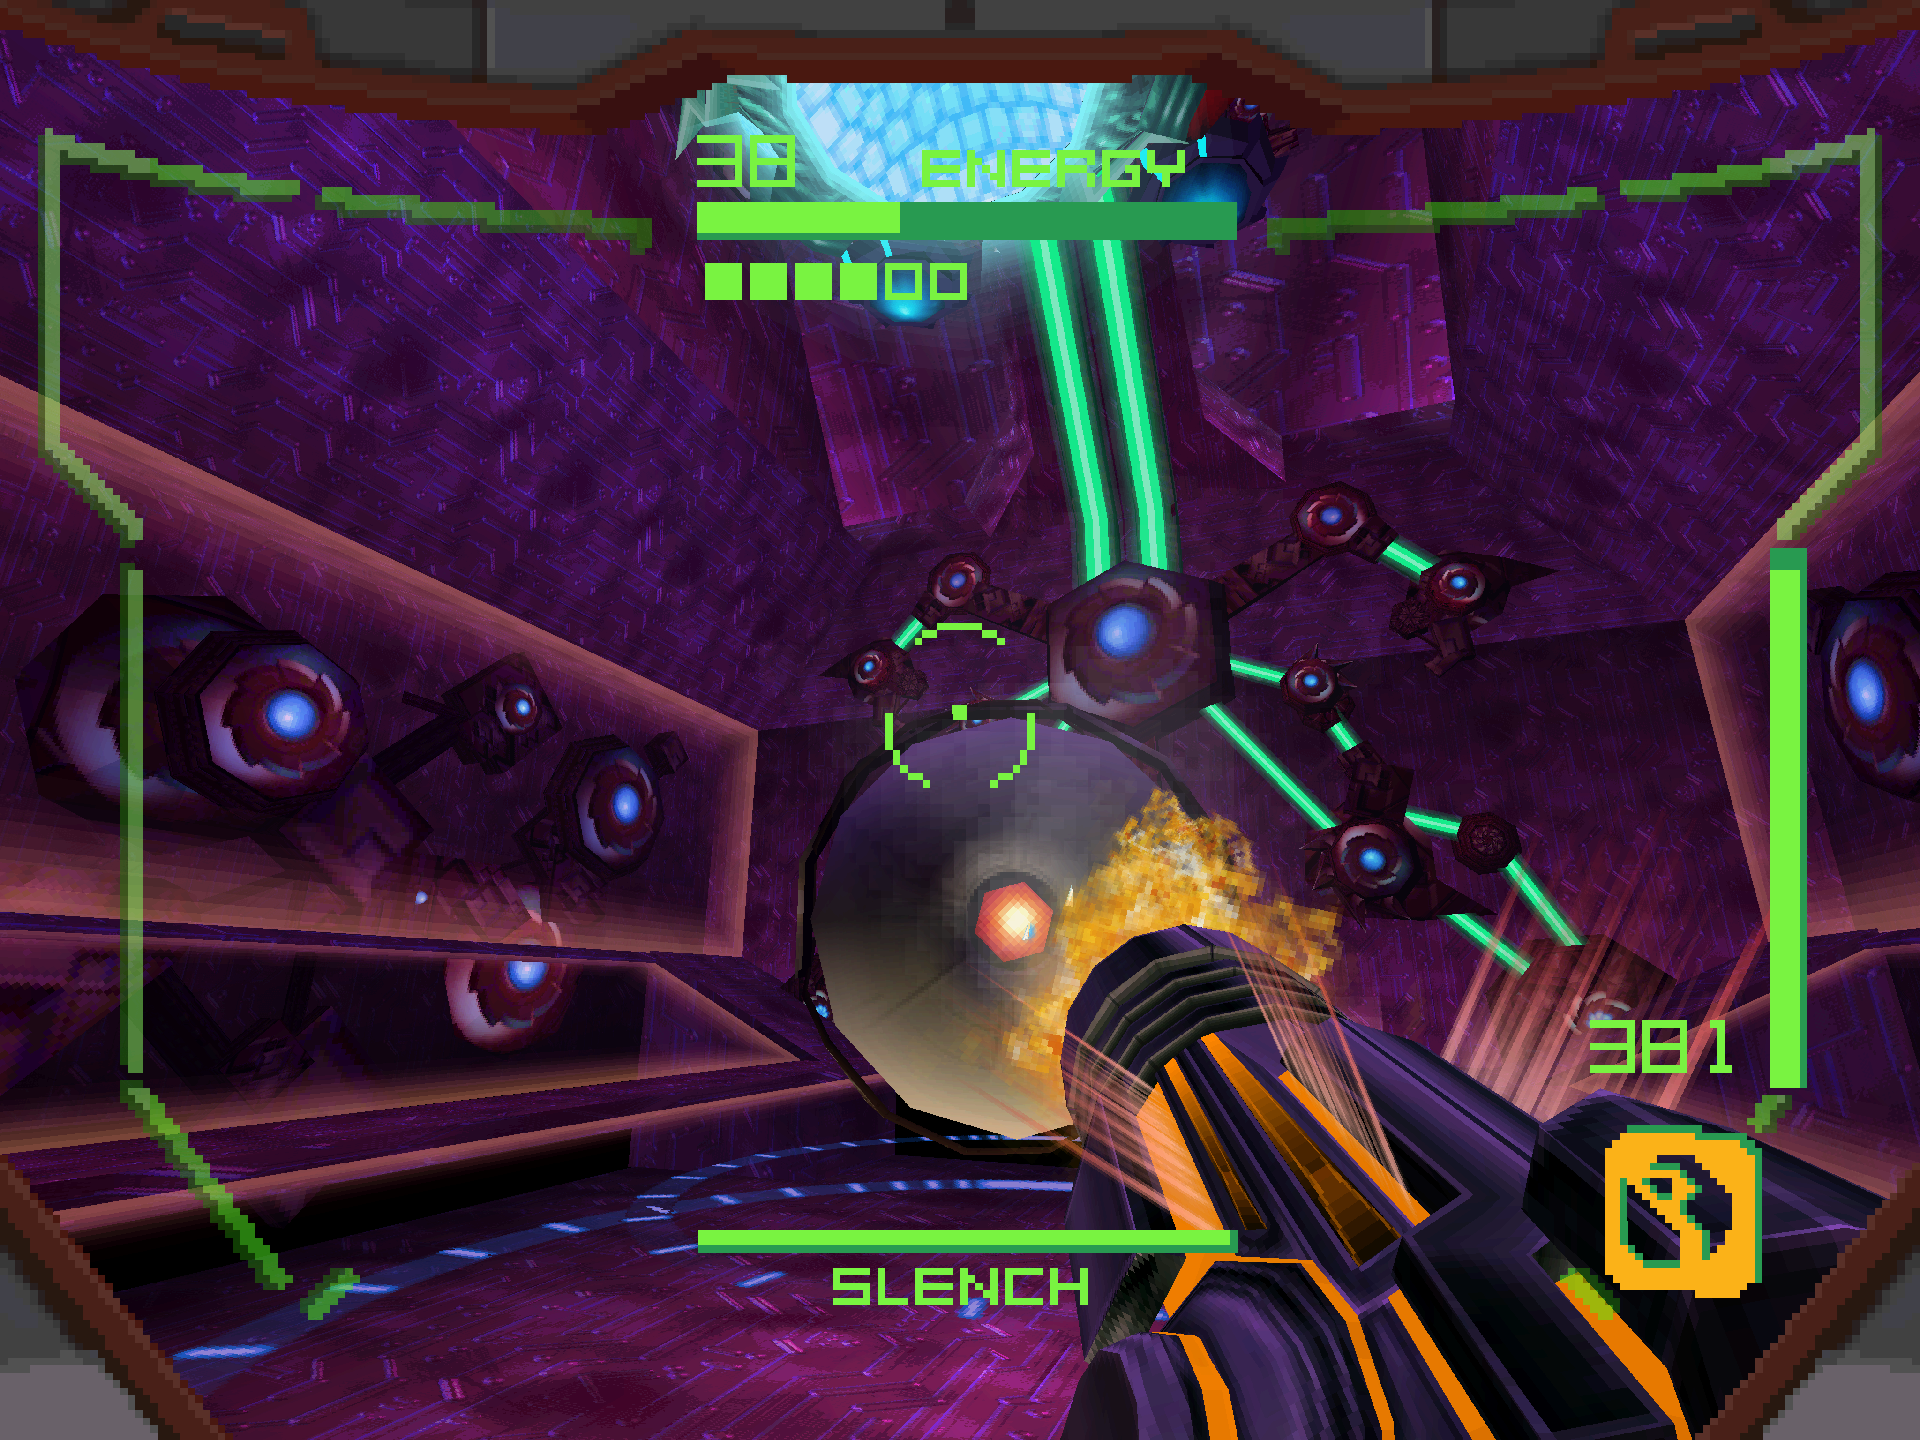
We’ve got one final Slench fight ahead of us before we can wave goodbye to the Octolith guardians. As always, before we start doing anything else, scan SLENCH 4A before it connects its synapses and begins attacking us. As you’ll notice from the introductory cutscene, the Slench is now hanging from the ceiling instead of the wall. This change alone is the biggest difficulty spike in the fight because its synapses now transfer supercooled plasma to the Energy Blasters. Direct contact with these projectiles will momentarily freeze you in place like the Judicator, meaning that the only weapon that can take them out is the Magmaul, another arced projectile weapon. One thing you can do to ease the process is to fire two Magmaul shots before moving on to the next synapse. Then, once you come back to the initial synapse, each one will only need one shot, allowing you to take them out much quicker before they regenerate.
When the Slench enters its hovering phase, scan SLENCH 4B and use the same strategies as the previous encounter. If you’re having trouble hitting the eye with the Magmaul, use something with a faster fire rate to get at least SOME damage on the board. The Slench will also incorporate a new attack when you first put it into the hover phase where it drops down on the ground and rolls around in a figure-8 pattern around the arena. When this happens, just stick to one of the far corners and it literally won’t be able to touch you at all. It’s less of an attack and more of a time waster to be honest. After three phases of this, you can finally claim your eighth Octolith and be done with these goobers for good!
The Final Countdown
Scans in This Section
None
Upon obtaining the final Octolith, you’ll receive another telepathic message; “ALINOS holds the key to ULTIMATE POWER…”. If you’ve been taking some time to read all of the datashade entries collected throughout the adventure, you might have already been keyed into this. If not, this message makes it as clear as can be that Alinos is our next destination. But before we fly over, we have one last security protocol to escape from.
We have three minutes to escape VDO, so let’s get a move on! After leaving the Stronghold Void, go out the narrow door with the blue pillars for the fastest route back to the Weapons Complex. None of the doors will seal, so just run past all of the assorted enemies on your tail. In the Weapons Complex, there’s a slight chance of the doors sealing. Sometimes it does, sometimes it doesn’t. If they do seal, you’ll face a lone Guardian, so bust out that Shock Coil and take him to the cookout! From here make a made dash to VDO Gateway, take the jump pad to your ship and fly off. No more escape sequences, hallelujah!

