Metroid: Zero Mission Walkthrough – Energy Tanks
Here you’ll find the location for every Energy Tank in Metroid: Zero Mission, as well as detailed explanations on how to get them and what powerups you’ll need.
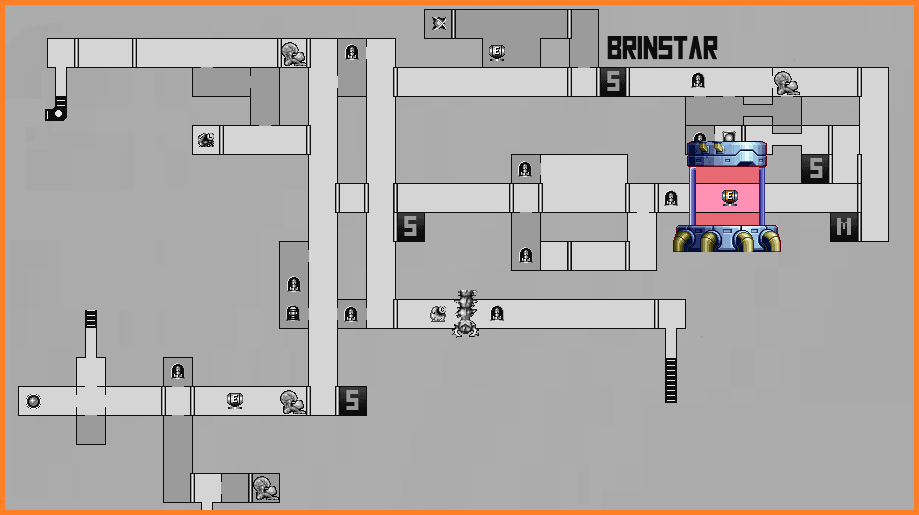
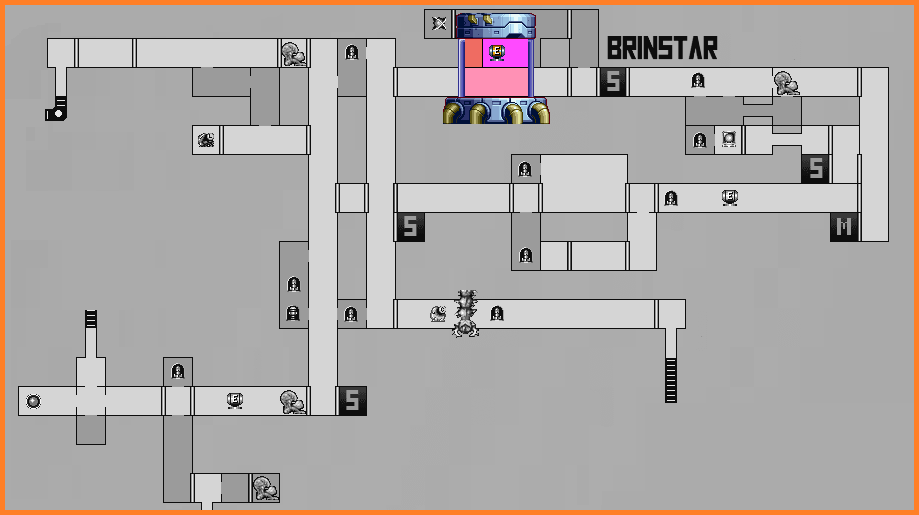
Energy Tank #1
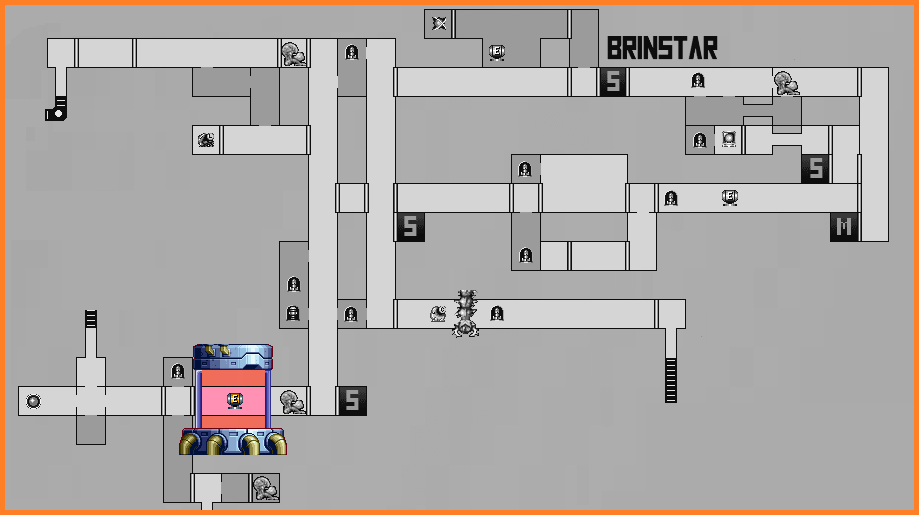
Location: Brinstar
Requirements: None
Sitting in plain view for you is ENERGY TANK #1
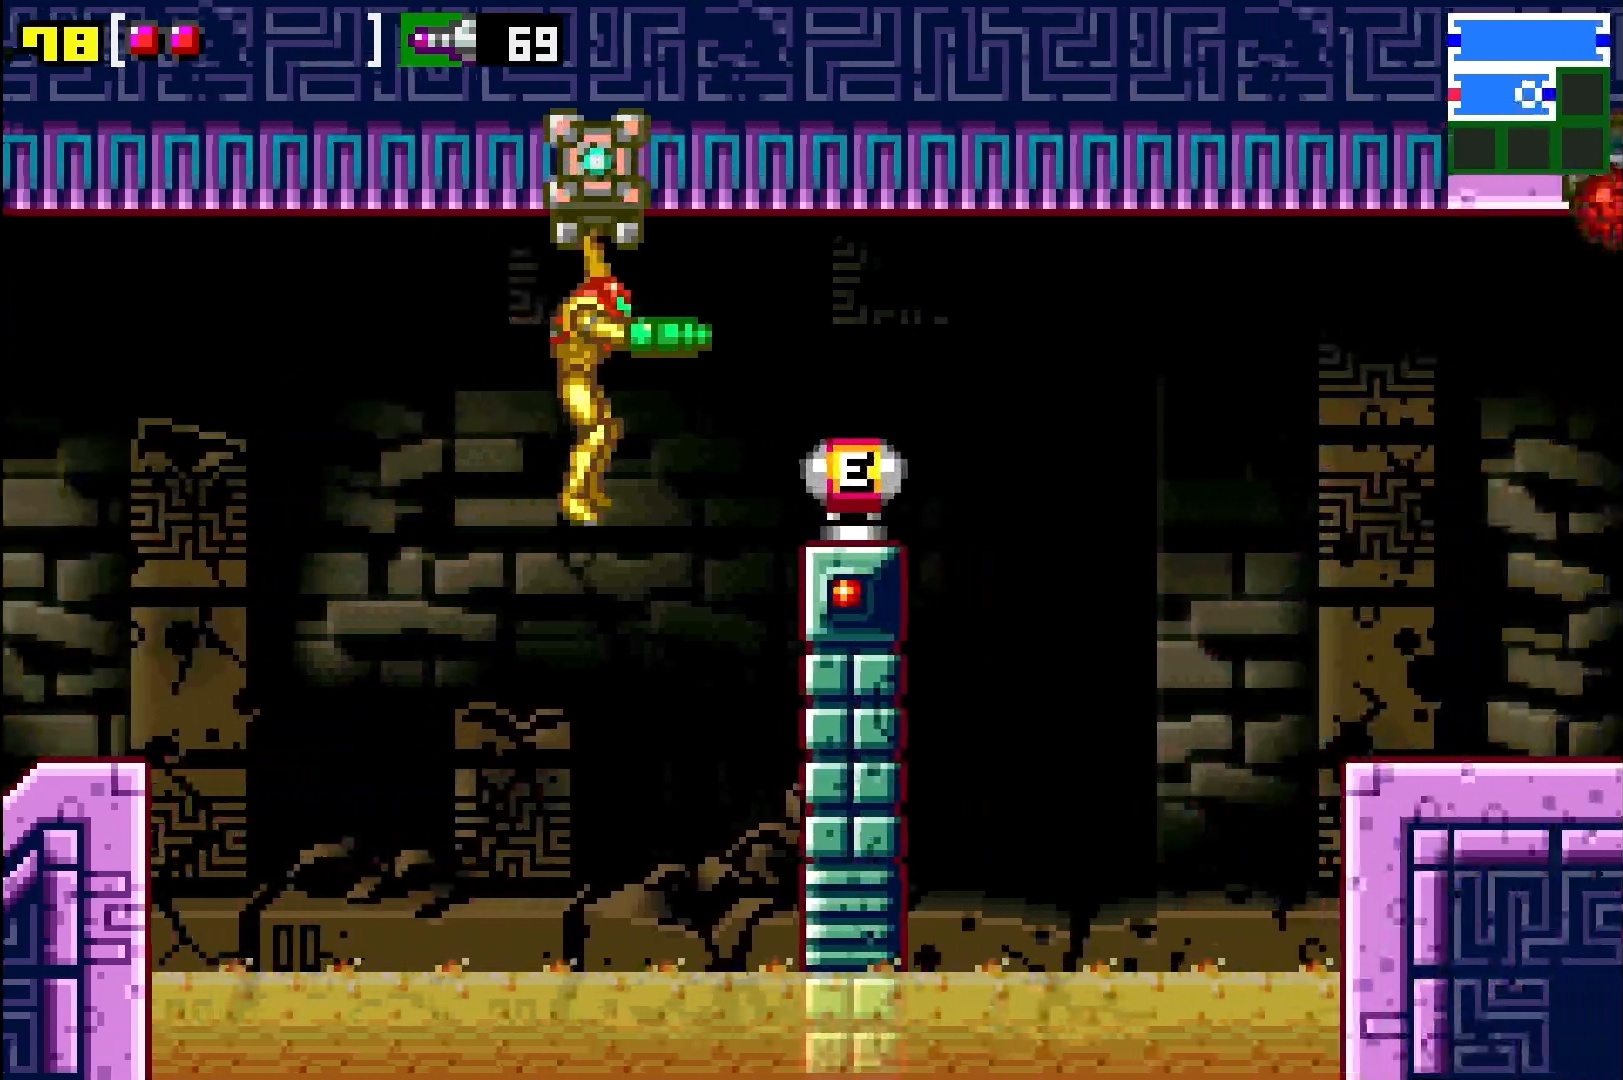
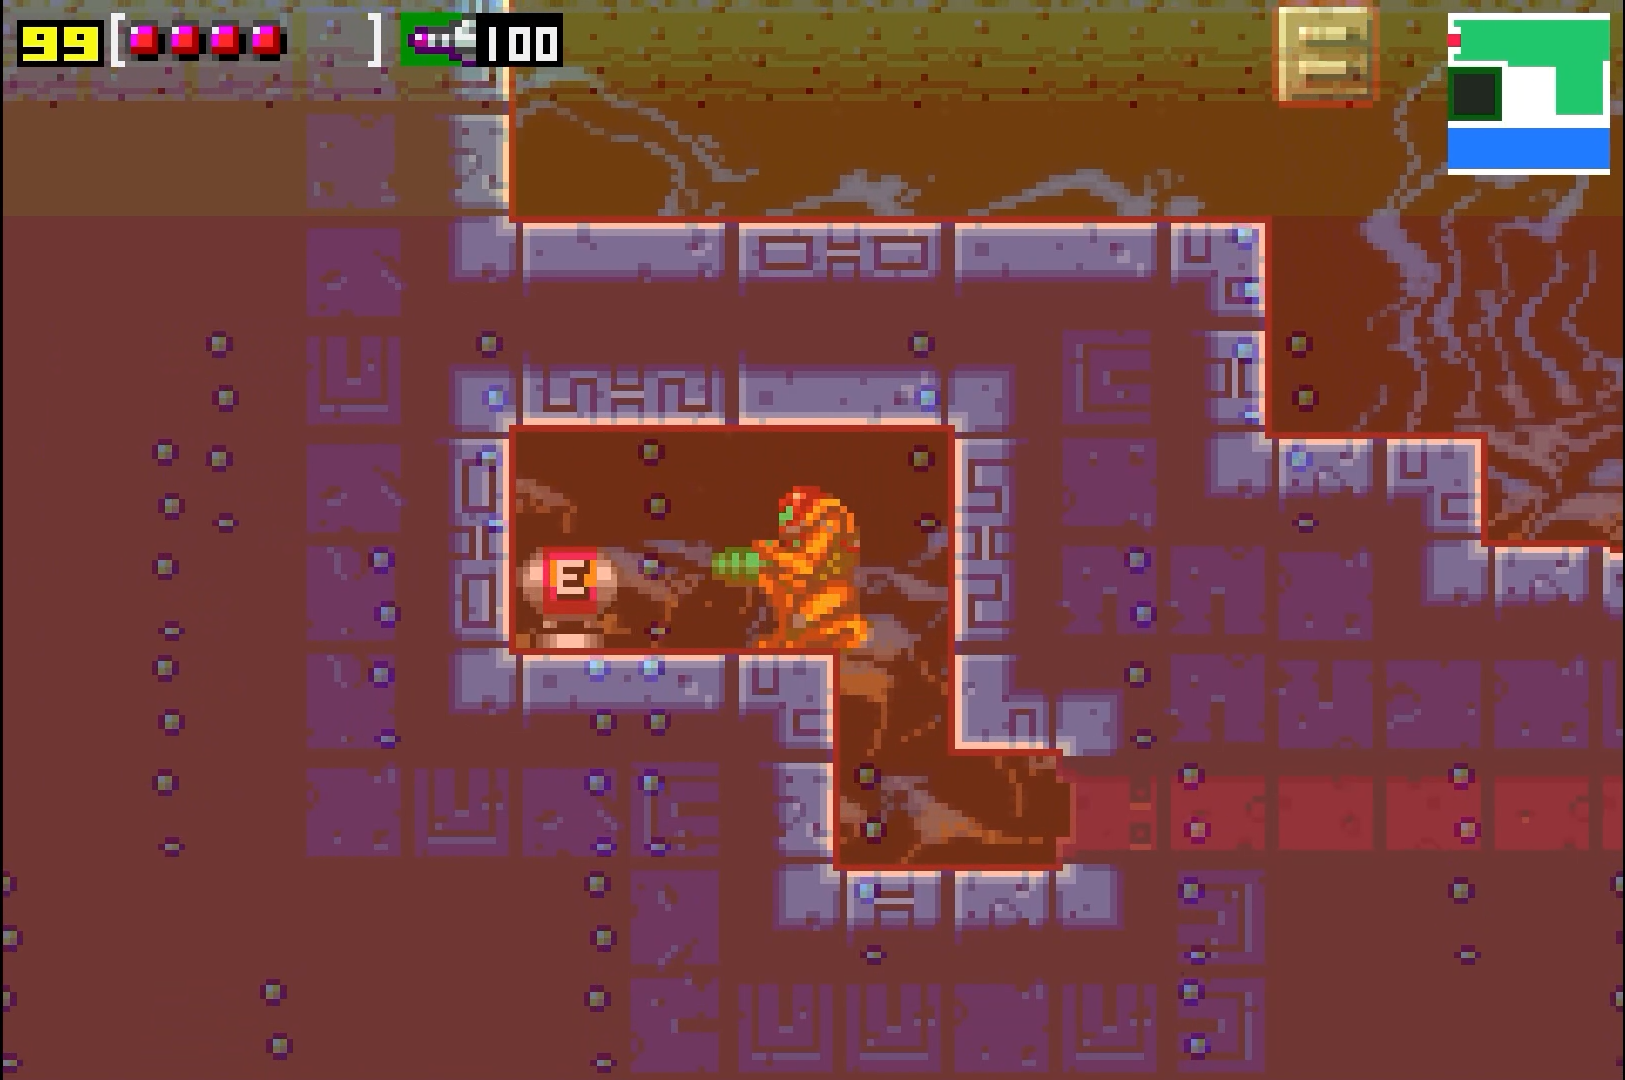
Energy Tank #2
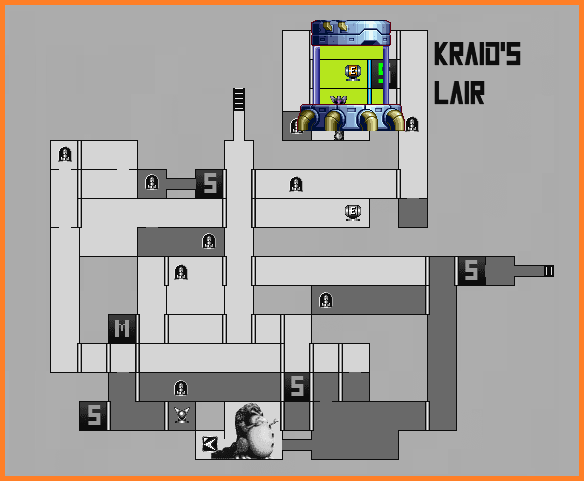
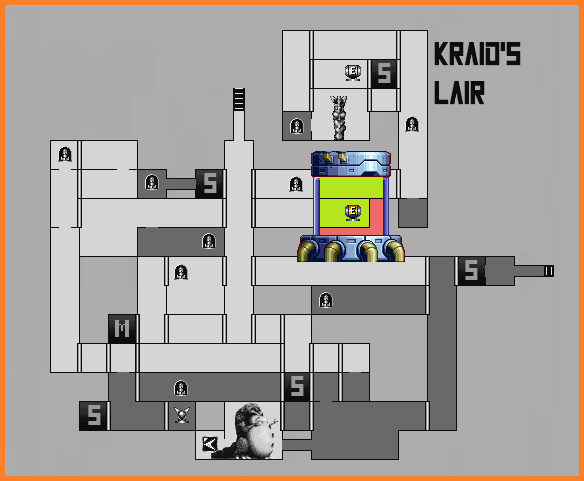
Location: Kraid’s Lair
Requirements: Morph Ball, Bombs
In the room next to the Save Station by the Acid Worm boss room, get into Morph Ball form and get inside the power conduit. Viola! Power is back online to the zip lines! Use the zipline in this room and grab ENERGY TANK #2
Energy Tank #3
Location: Krai’d Lair
Requirements: Speed Booster
Head towards the red blast door on the right (the one that’s directly across and one tile down from the Save Station). Go through it and start running. Your Speed Boost will kick in; you’ll be running on a platform above some acid. When the platform is about to end, don’t stop running – JUMP! Leap across the acid while you’re Speed Boosting, and you should go crashing into some blocks at the far end of the room that can only be destroyed with your Booster. Under the blocks is ENERGY TANK #3!
Energy Tank #4
Location: Brinstar
Requirements: Bombs, Morph Ball, Ice Beam (optional)
I’m going to encourage you to perform a bit of a harder move and grab this expansion early. Head to the hallway where you got the Morph Ball and head right. There are three Skree’s on the ceiling. What you are supposed to do is get the Ice Beam and freeze the one on the right-hand side, use it as a platform, and grab the Energy Tank which is hidden in the ceiling. Instead, shoot the Skree’s and find the Tank on the roof (shoot upwards, it’s about 3 tiles or so to the left of the big rocks). Once you see it, perform a Bomb Jump (see Special Abilities for details). Bomb Jumping is pretty easy in Zero Mission, and though it may take you a bit to get the timing down, eventually, you’ll propel yourself up towards ENERGY TANK #4!
Energy Tank #5
Location: Brinstar
Requirements: Varia Suit, Morph Ball, Bombs
Immediately after grabbing the Varia Suit, head back into the room with acid on the bottom and drop down. Bomb the centre and the ground will give way, allowing you to drop down slightly. Crouch and shoot the wall to your left and a small tunnel will open up. Roll over and grab ENERGY TANK #5!
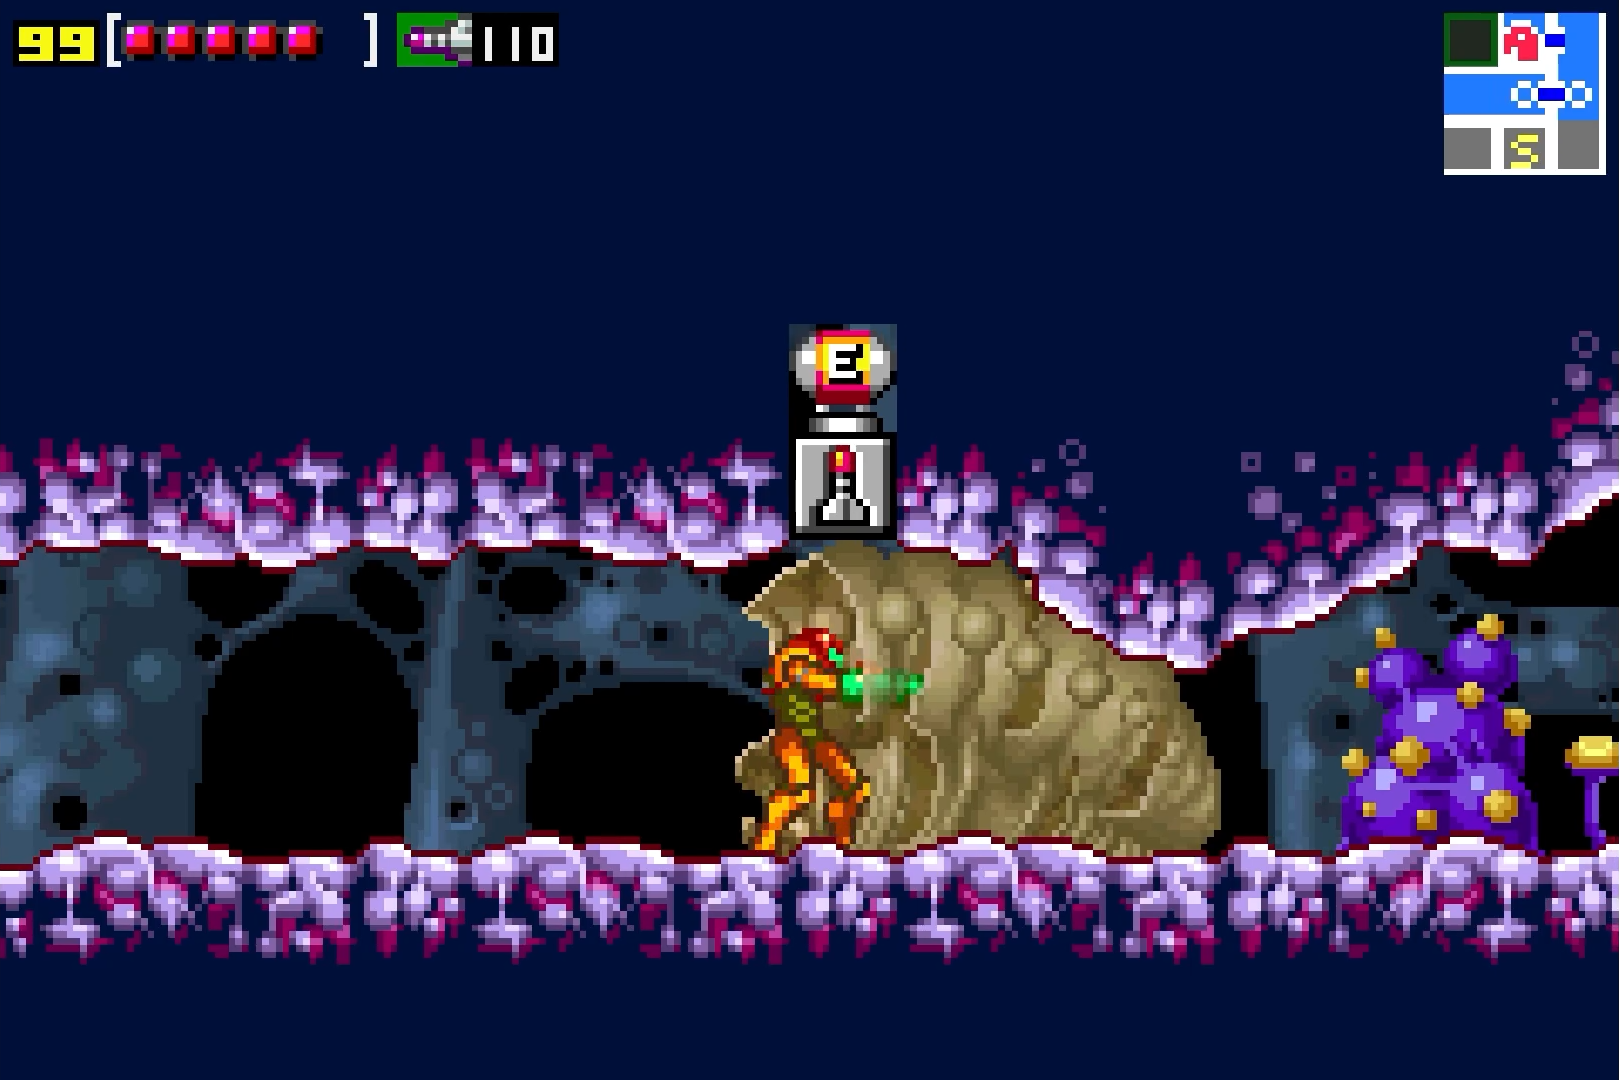
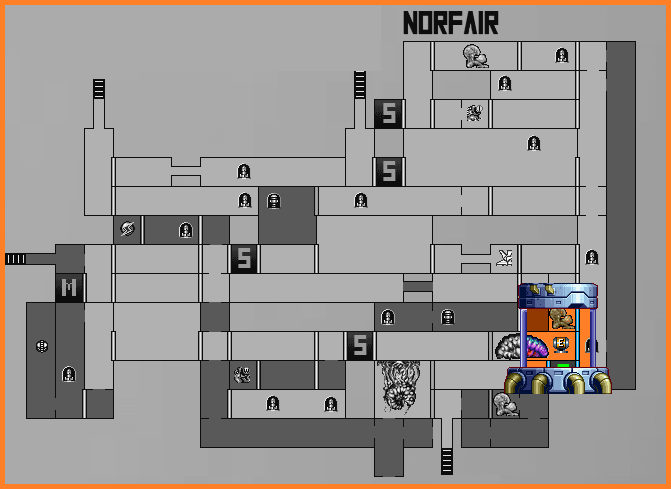
Energy Tank #6
Location: Norfair
Requirements: Defeat Kiru Giru Larvae
Once Kiru Giru Larvae is destroyed, shoot diagonally up at the wall in its boss room and you’ll see ENERGY TANK #6 hiding in the ceiling! Shoot it and grab it!
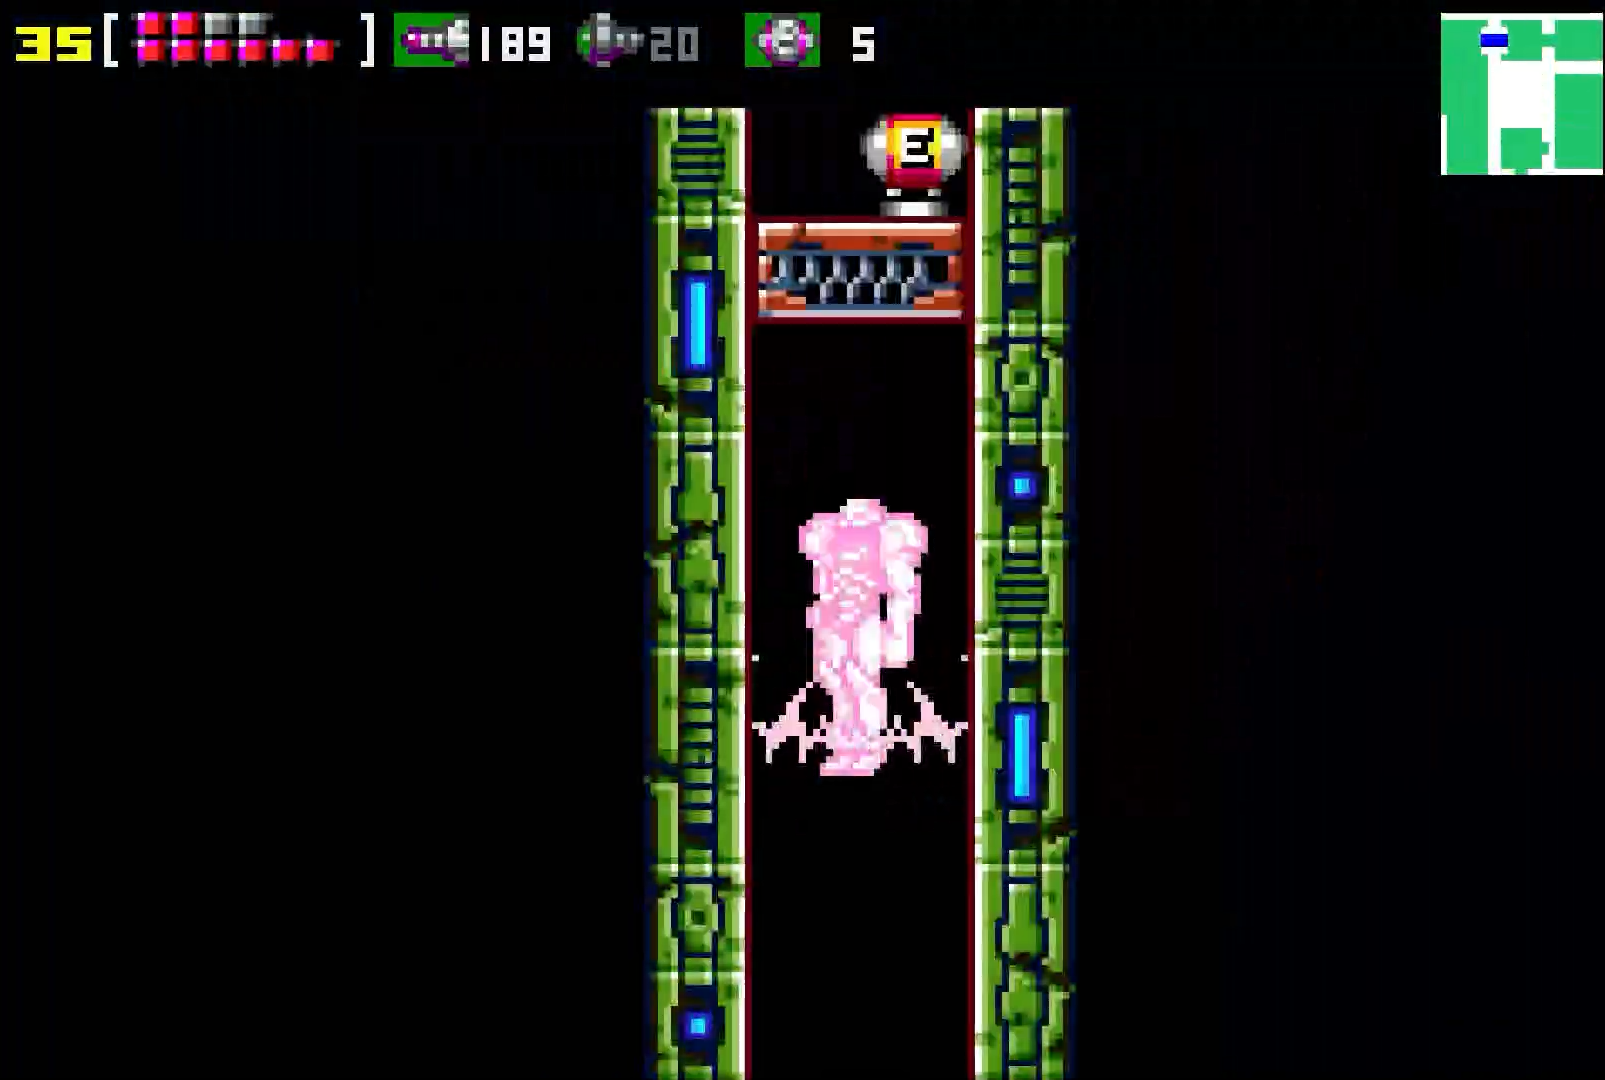
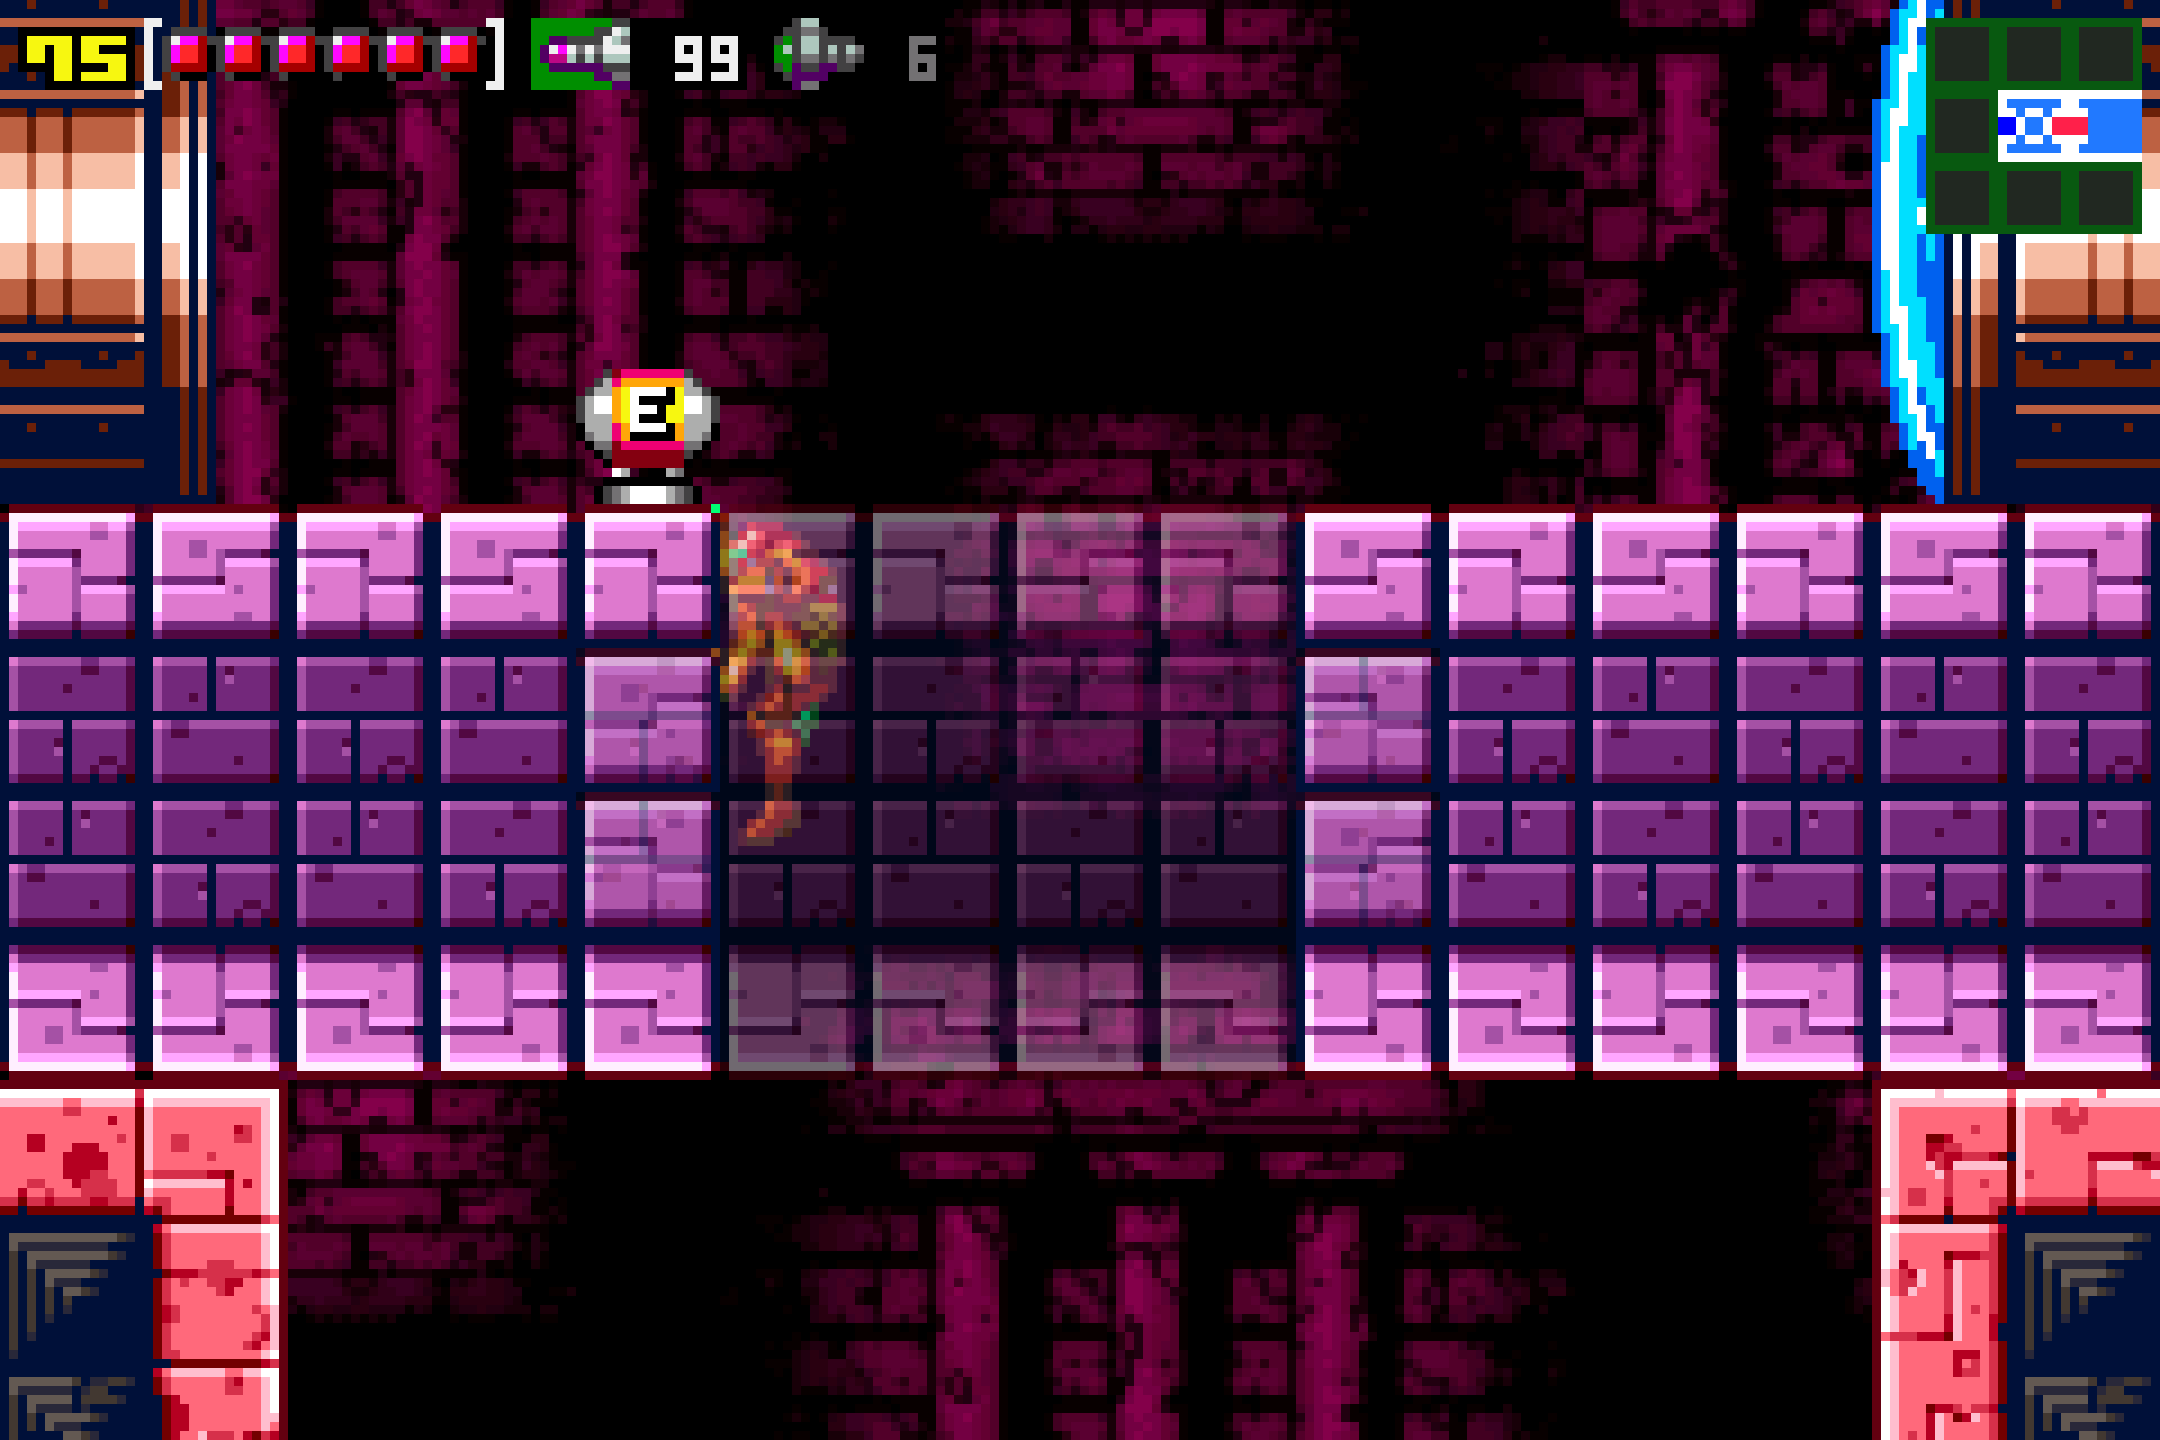
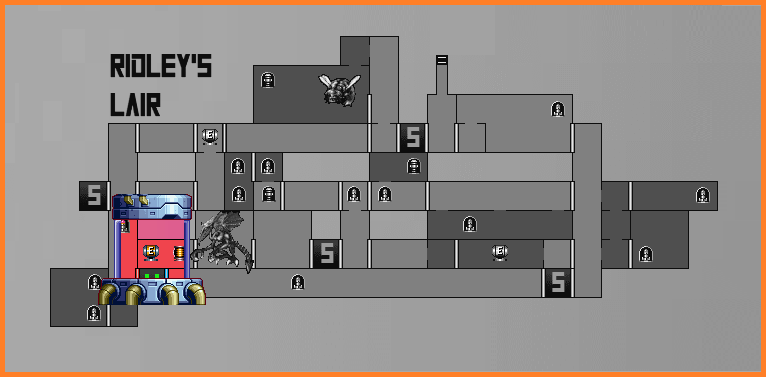
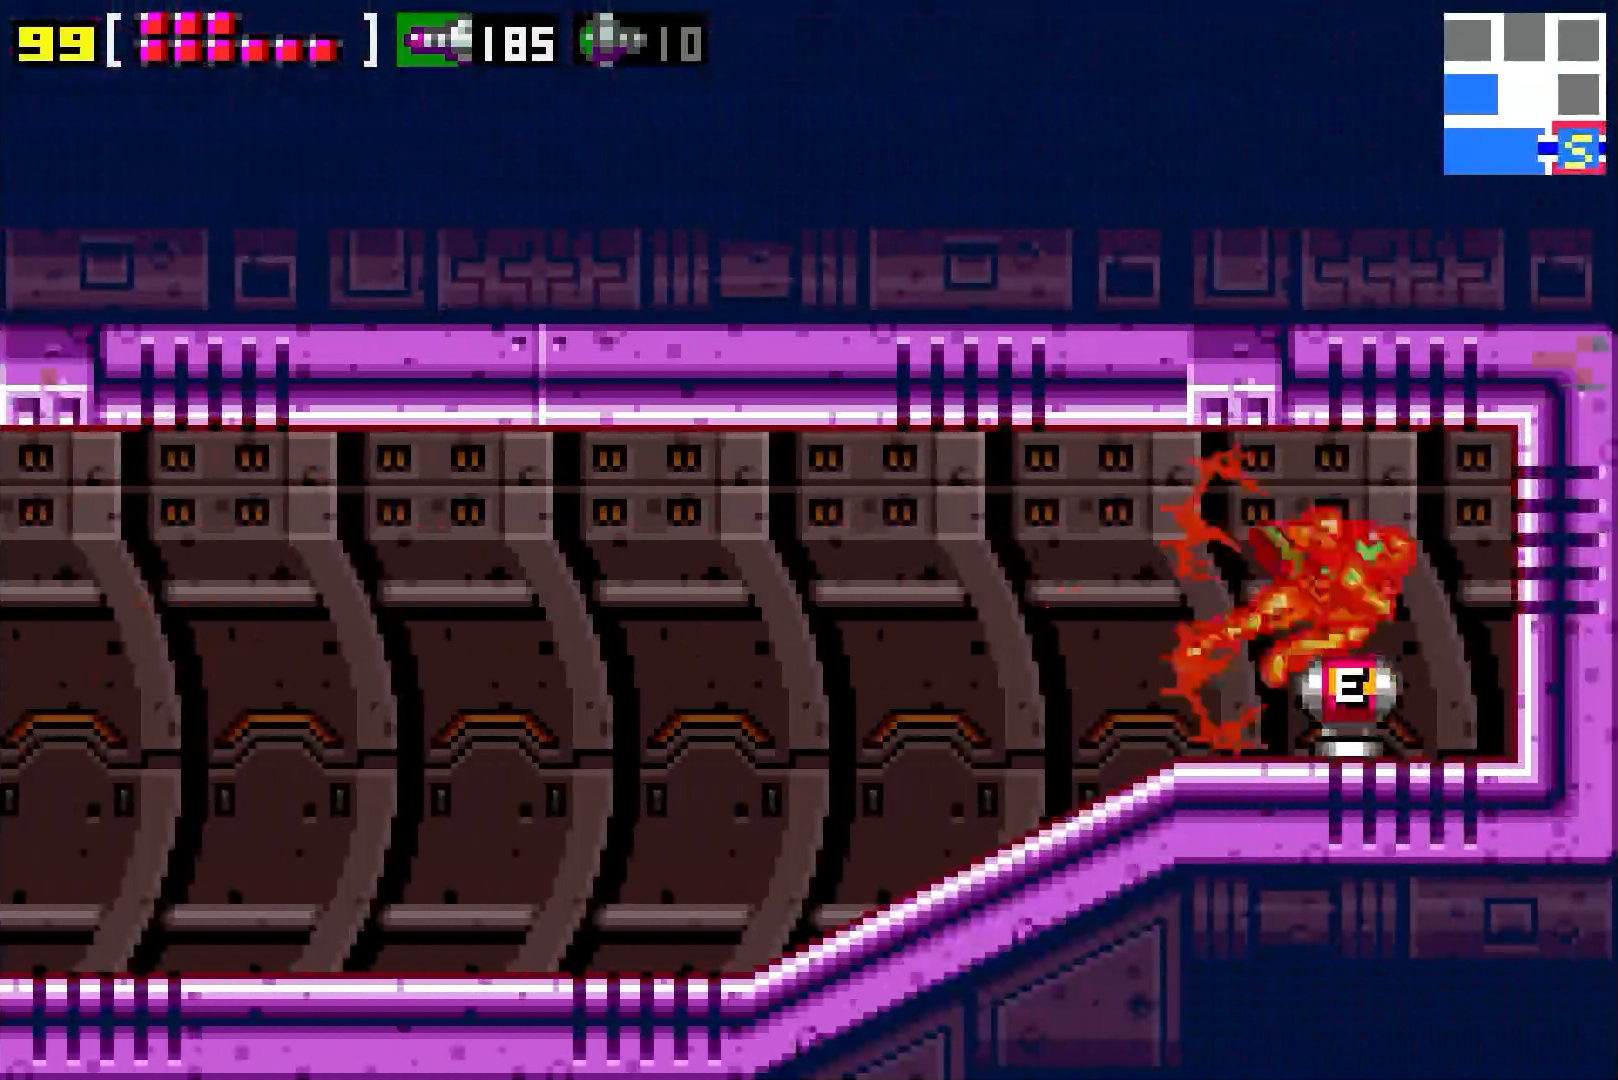
Energy Tank #7
Location: Ridley’s Lair
Requirements: None
Start off by exiting the Save Station and pressing towards the left. Some of the most powerful enemies in the game are lurking here in Ridley’s Lair, so take your time and proceed with caution, eliminating all the beasts in your way. You’ll exit into a narrow hall and be staring straight at an Energy Tank, but WAAAAAITTT!! Count the squares on the floor; from the blast door entrance to the Energy Tank, there are eight squares (or tiles) on the floor. THE FOUR TILES DIRECTLY IN FRONT OF THE TANK ARE AN ILLUSION. If you try to walk on those tiles, you will fall. Instead, line up a careful jump from the fourth square and you should land on the other side, or at least be able to grab the ledge. Nab ENERGY TANK #7 as your prize!
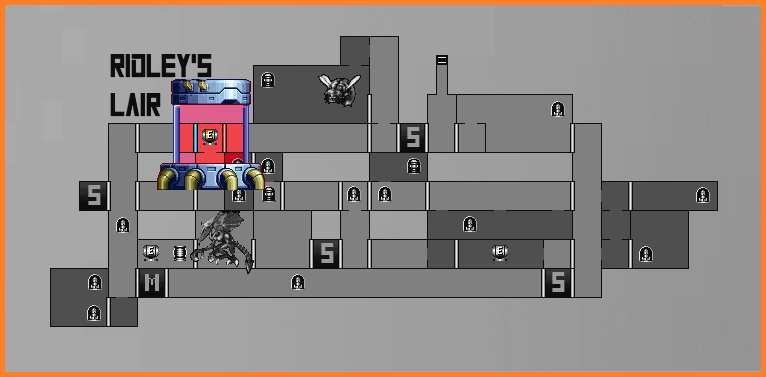
Energy Tank #8
Location: Ridley’s Lair
Requirements: Bombs, Morph Ball
From the lower-middle Save Station, head right a few rooms until you get to a green-tinted room with pipes and a small tunnel at the far end. Instead of going into the small tunnel, lay a bomb on the left side of the little alcove you’re standing in, and a new SECRET tunnel will reveal itself. Drop down and follow it to acquire ENERGY TANK #8.

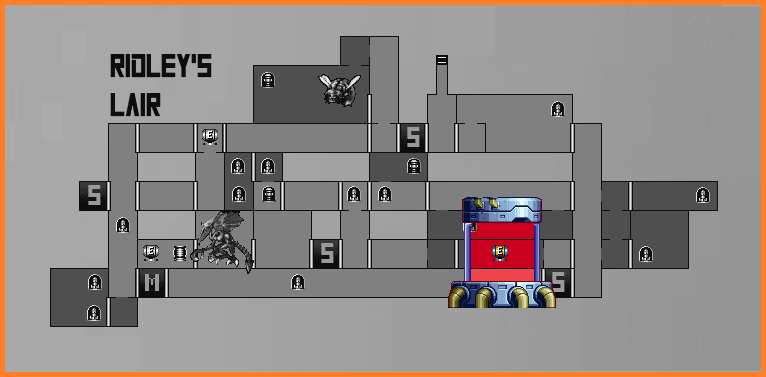
Energy Tank #9
Location: Ridley’s Lair
Requirements: None
In the Ridley boss room, take the door on the left. In this room is another Chozo Statue, which houses an UNKNOWN ITEM. Grab it, and then run towards the left, where you’ll be able to grab ENERGY TANK #9.
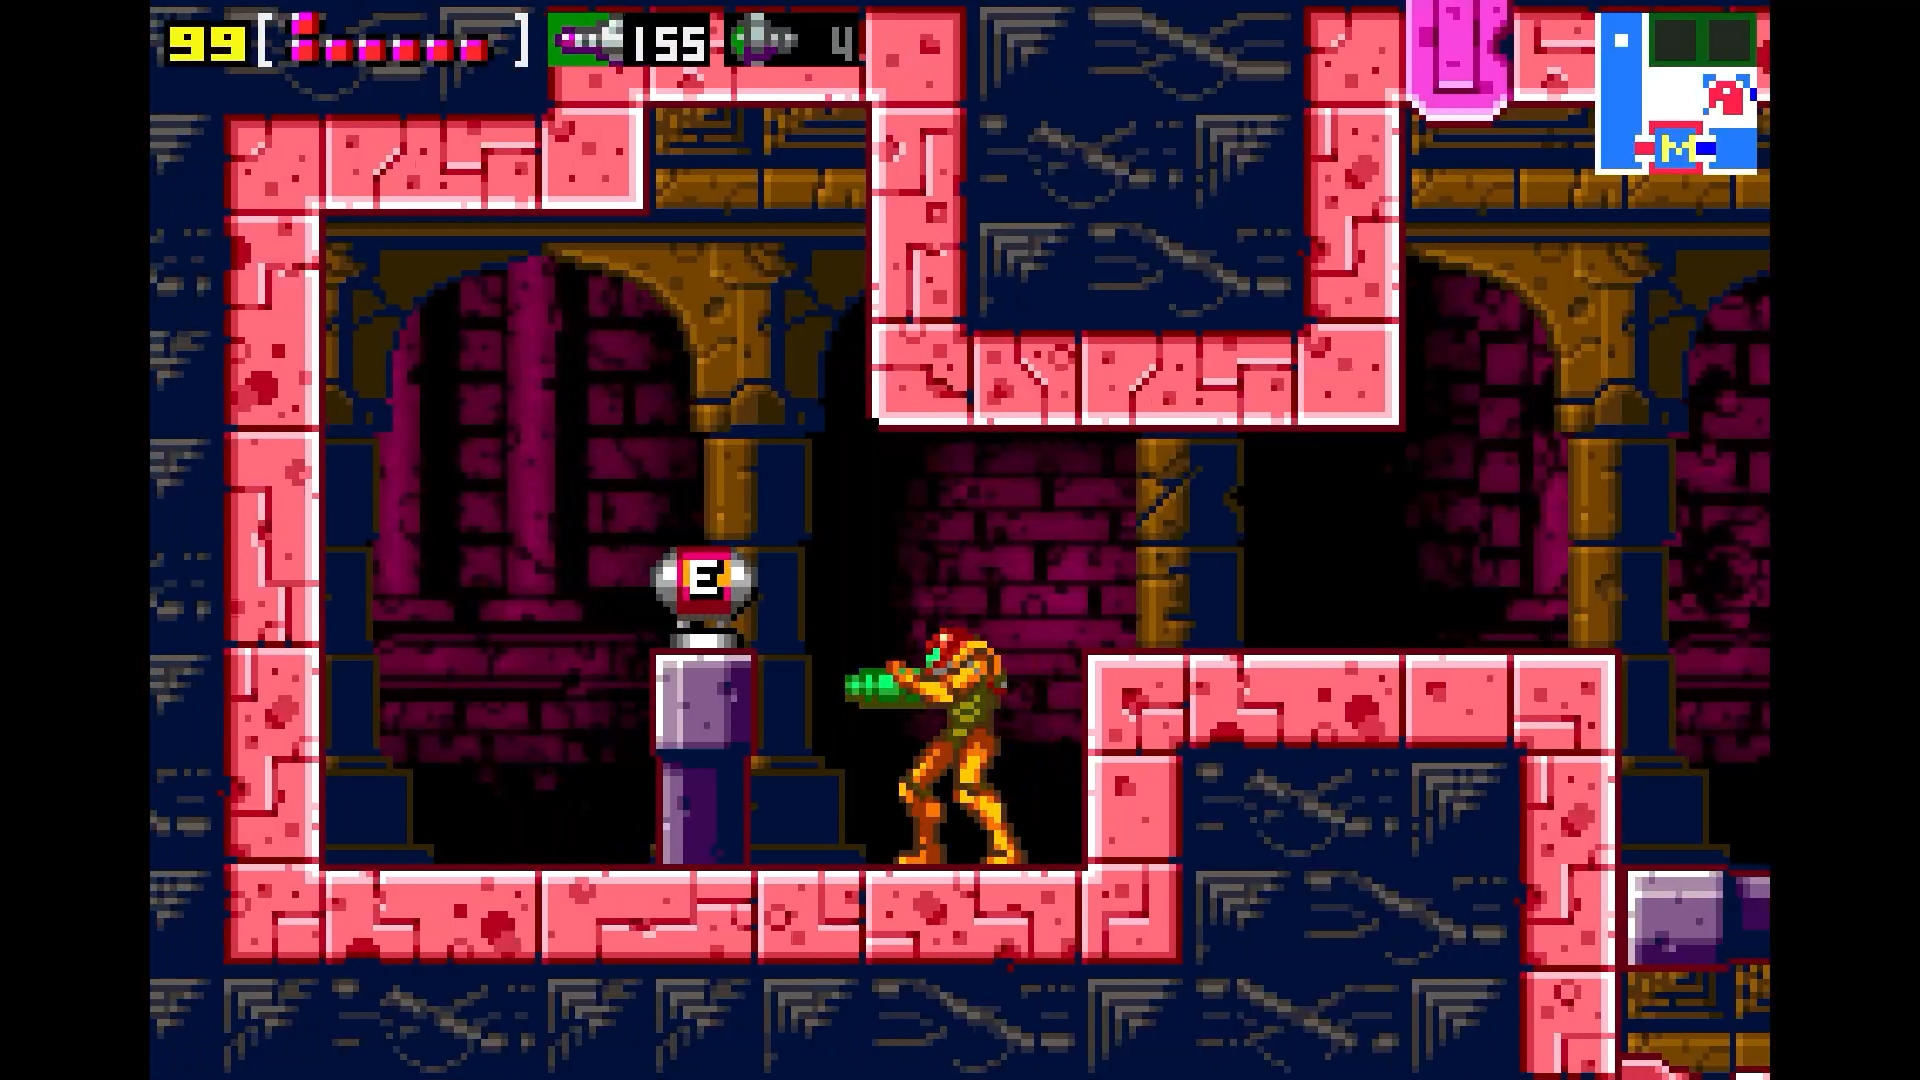
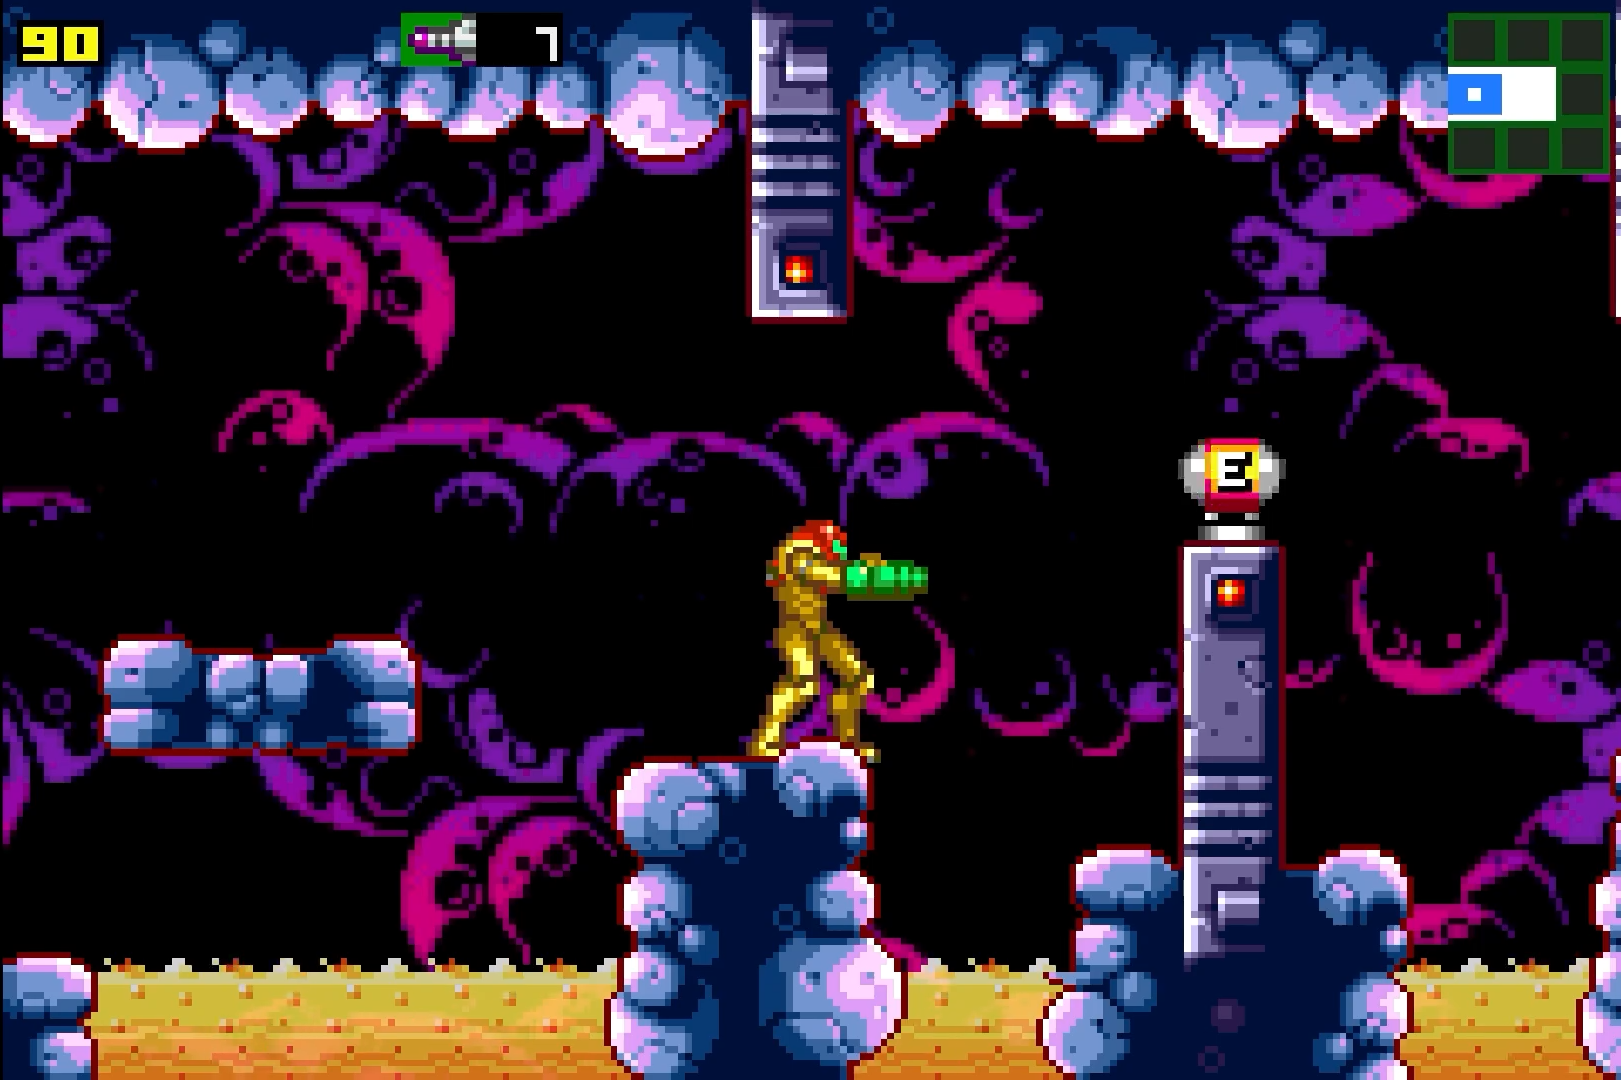
Energy Tank #10
Location: Chozodia
Requirements: Speed Booster, Screw Attack
Exit the Save Station to the right and drop down a bit. Go to the left and run towards the right again. When your Speed Boost activates, hold it down to charge your Shinespark. Quickly jump up to the ledge above you and release your Shinespark in the direction of the slope to the left. When you hit the slope, you’ll start running again; Again, crouch and hold your Shinespark. Jump up the next ledge and repeat the steps, release towards the slope and charge your Shinespark when you start running again. Do this a third time and then a fourth at the top, and you’ll start running towards the door on the top right. Run through it, and as soon as you go through, charge your Shinespark! Quickly Screw Attack the blocks in front of you and you’ll start to fall down; on your way down, you’ll see a little alcove on your left with a slope. Land there and release your Shinespark and then quickly charge it again! Drop down to a small platform hugging the wall on the right and release your Shinespark towards the wall. You’ll to flying across multiple screens, eventually landing beside ENERGY TANK #10! This is tricky, so see Shinespark Puzzles for video on how to do this.
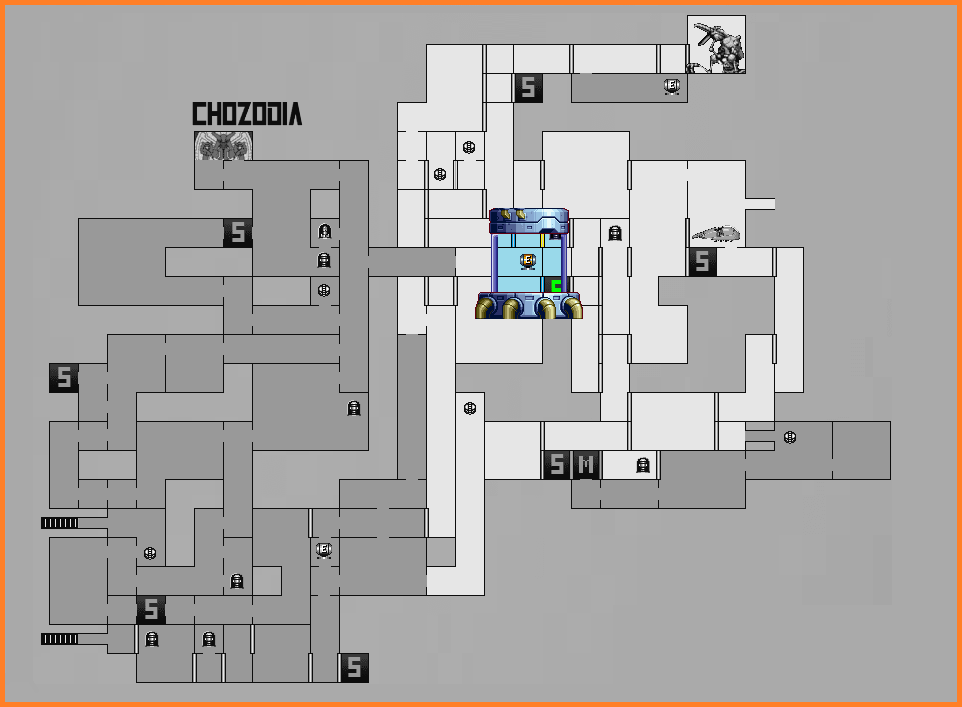
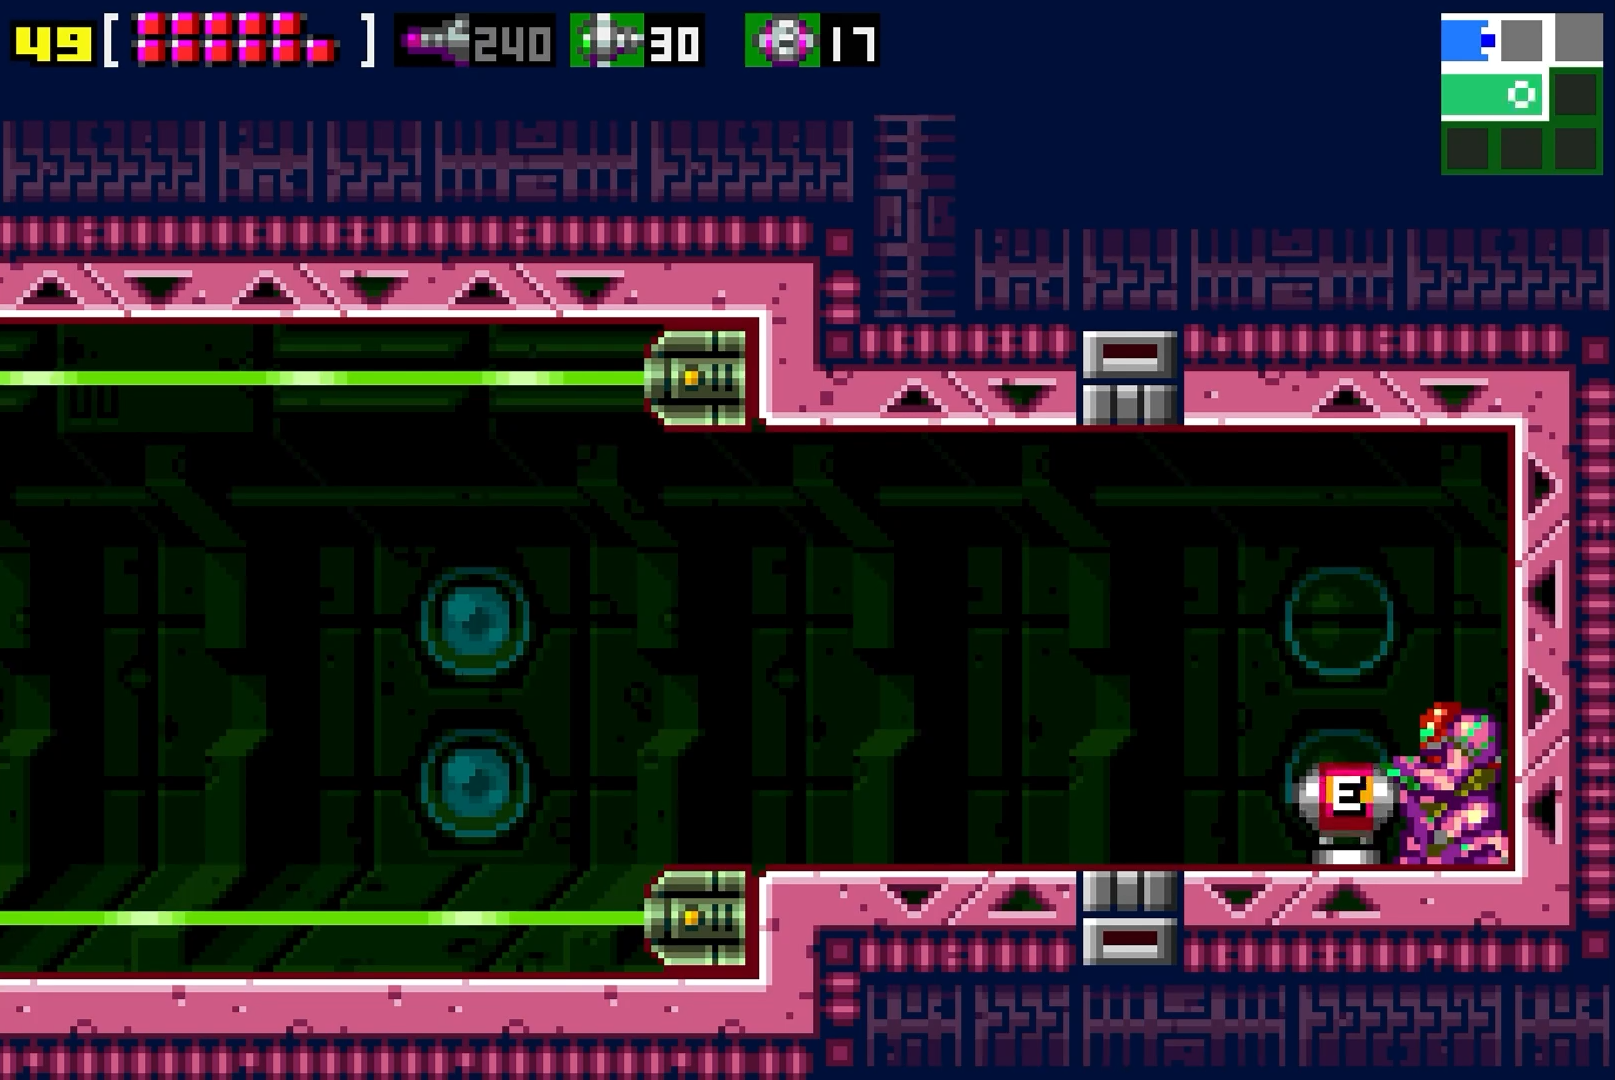
Energy Tank #11
Location: Chozodia
Requirements: Speed Booster
Get to the Pirate Ship bridge. From this room, head up and through the top right door. Press forward until you get to a longer hallway with enough room for your Speed Boost to activate in. Go towards the right side of the room and start running towards the left. When you get to the ledge, instead of crouching and charging your Shinespark, just jump! Make it a short, tight jump so that you land just before the door and if done properly, a pathway to the lower level will reveal itself.
This lower level is full of lasers, and if you touch one, you’ll activate a gate that will stop you from getting the Expansion. You’ll want to go back up and start running again. This time, instead of jumping, charge your Shinespark and jump down. Jump and perform a midair Shinespark; you’ll want to have Samus’s legs in basically the same height as the platform you landed on. Once you’re at that spot, fly right and grab ENERGY TANK #11. Shinespark Puzzles will have video, so check that out.
Energy Tank #12
Location: Chozodia
Requirements: Speed Booster
From the broken glass tube, drop down and head left. When you get to the room with the huge slope, stop and clear the room of any enemies. Start running towards the Save Station again and your Speed Boost will kick in. In the middle of the next room, Shinespark straight up and you’ll go crashing through ENERGY TANK #12.