Metroid Walkthrough – Ridley’s Lair
Walkthrough
- A Few Things You Should Know Before Playing
- The Planet Zebes
- Ridley’s Lair
- Kraid’s Lair
- Mother Brain
Missiles in Norfair
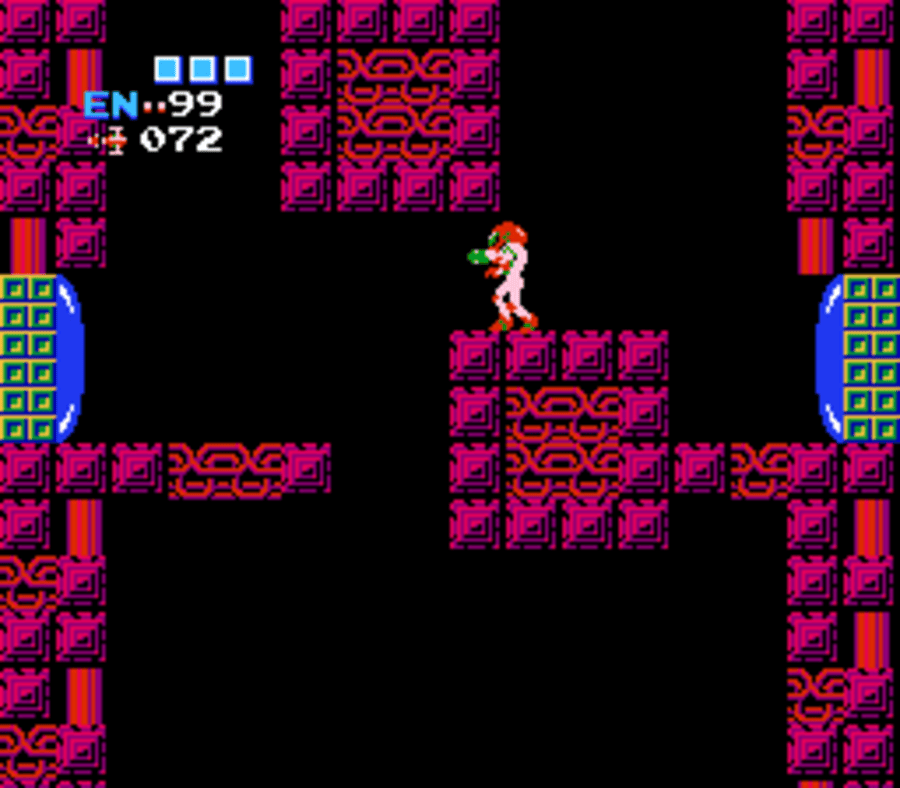
Back in Norfair. How joyous. A trip to the sweltering Ridley’s Lair is on our schedule, but before we get there, there’s a couple more missiles that we can pack into our suit. I know that the amount of missiles may seem like overkill now, but I promise they’re gonna come in handy when the final battle starts. For now, from the elevator room, head right and go through the door, pressing on until you get back into the purple vertical highway. Drop down and take the very first door on your left that you see.
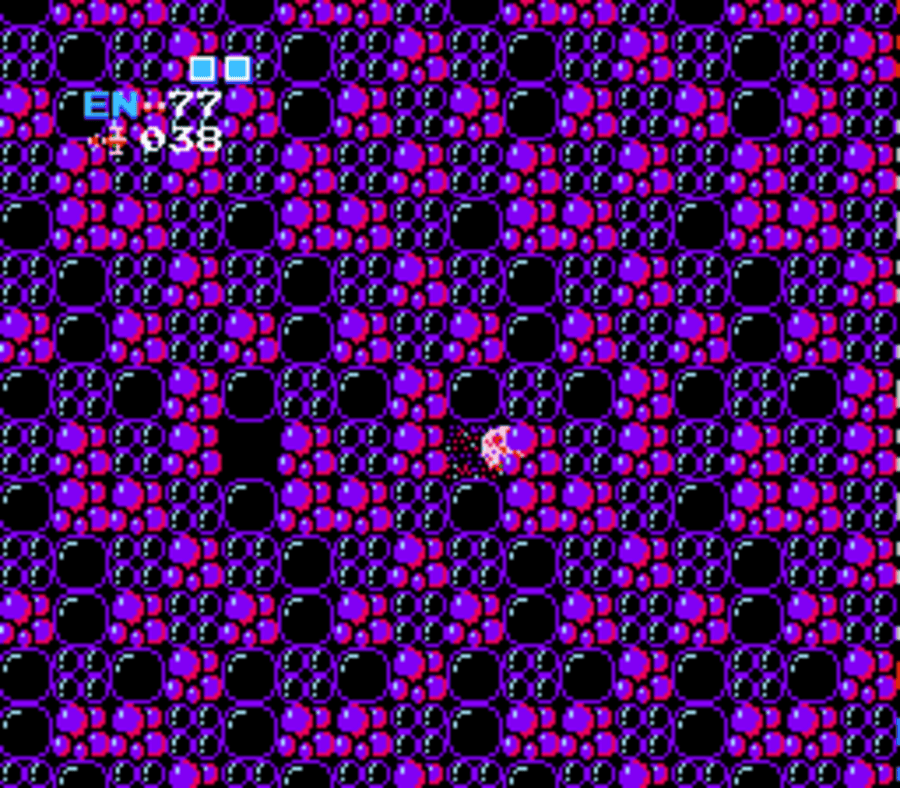
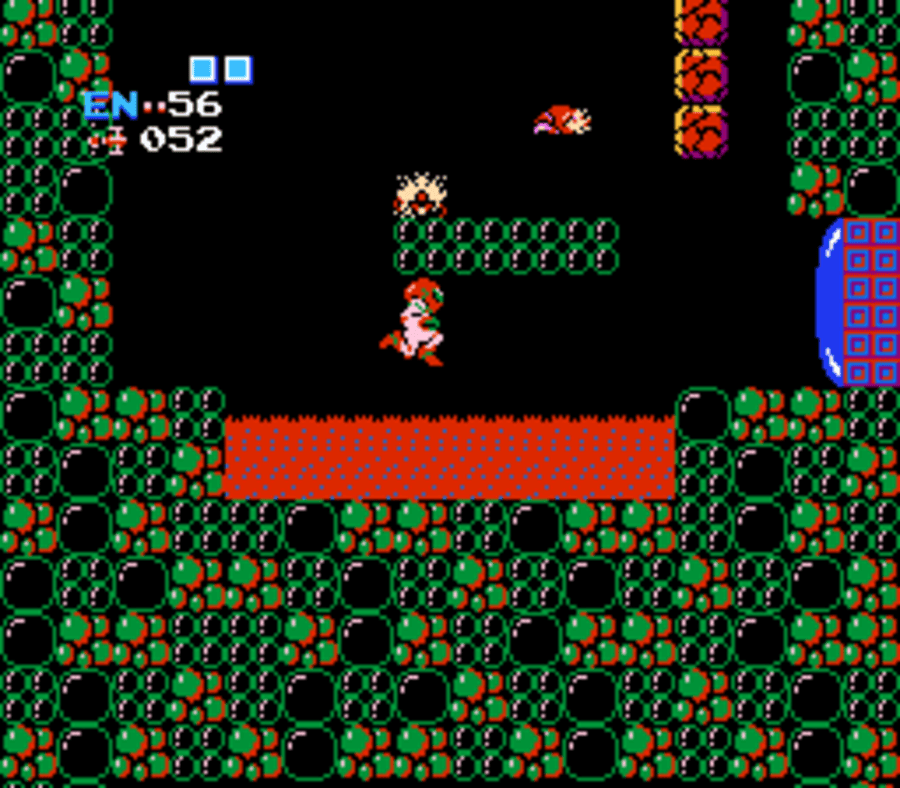
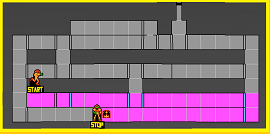
Press forward until you get to a purple wall made of bubbles. Lay some bombs and you’ll end up rolling into a tunnel. You’ll roll through for what feels like forever, but when you pop out, freeze the Ripper and use it to jump over the edge and grab MISSILE EXPANSION #10. Press forward just a bit and you’ll also see MISSILE EXPANSION #11. Once you’ve collected that, make your way back to the purple vertical hallway.
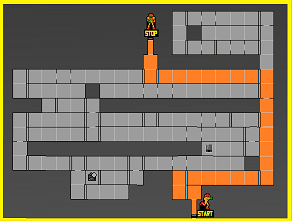
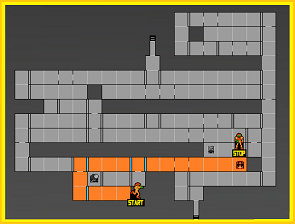
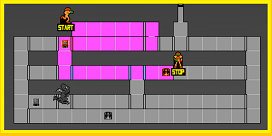
Missile Expansion #10 and #11 Route:
Once there, drop down and get back into the hallway where the Hi Jump Boots where, and where the Screw Attack was. You’re going to want to go aaaaaaaaall the way to the furthest left possible section on the map. You’ll face the usual resistance, but the Screw Attack should make it bearable. Once you’re at the end, drop down to what looks like the bottom. You’ll see a door and a pit of lava, but wait! Instead of going through the door, drop into the pool of “lava” and you’ll see it’s not real! Yes, the lava is actually some sort of Zebestian optical illusion, so get in the pool and lay a bomb at the far left side and drop down.
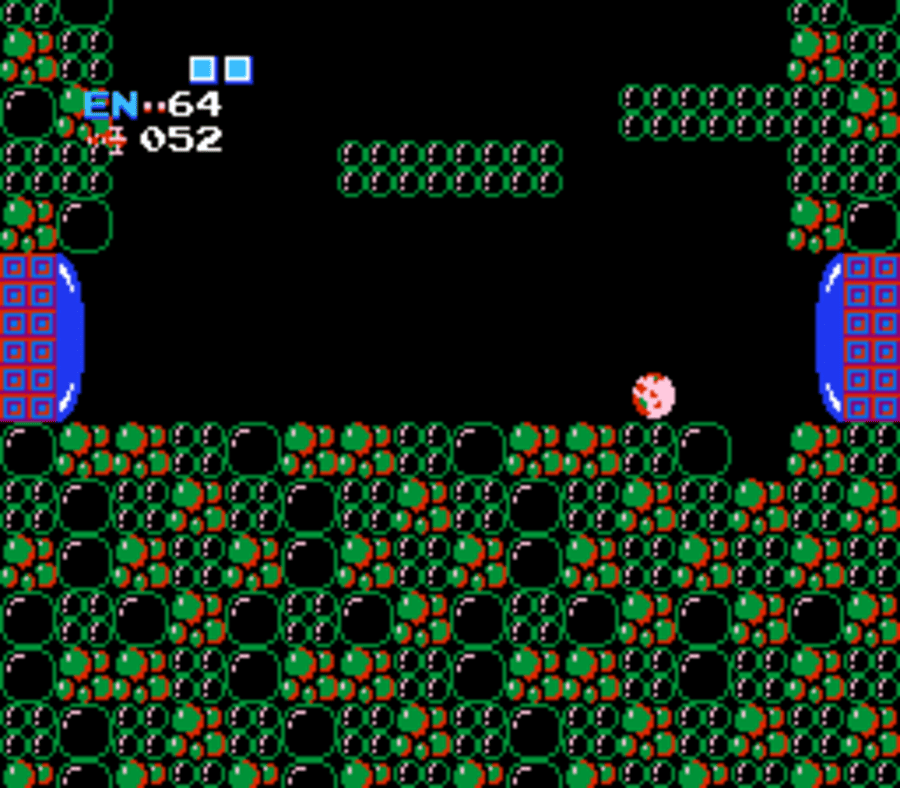
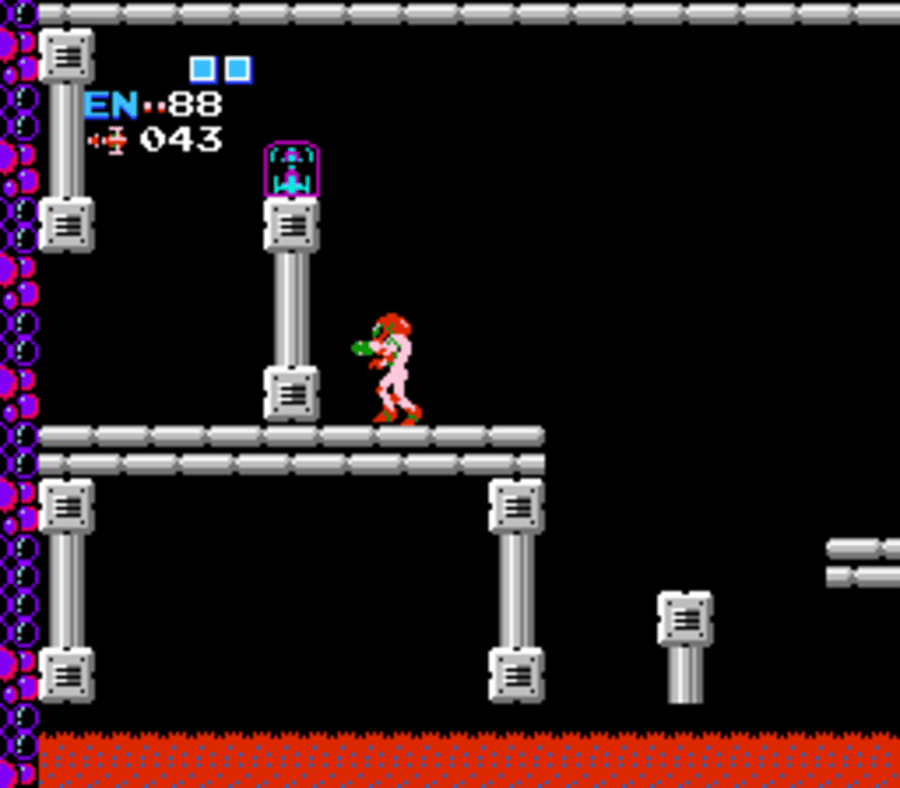
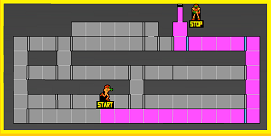
Head through the blue door and press forward, avoiding the enemy fire and jumping from brick to brick until you’re through to the next room. You’ll be sandwiched between two blue doors, but don’t go through either. Rather, bomb the floor and drop down, finally going through the door on your right. Jump over and you’ll see both MISSILE EXPANSION #12 and MISSILE EXPANSION #13 sitting there for the taking.
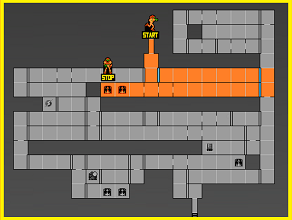
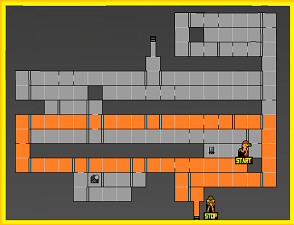
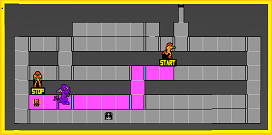
Missile Expansion #12 and #13 Route:
Backtrack to the spot where you were sandwiched between the two blue doors and this time, head through the right door. Press forward, bombing the green bubble wall and rolling through, and eventually, you’ll run right into MISSILE EXPANSION #14. Sa-weet! Now, backtrack all the way back to the purple vertical hallway on the far righthand side of Norfair. When you get there, drop all the way to the very bottom and follow the pathway until you get to the elevator taking you to Ridley’s Lair.

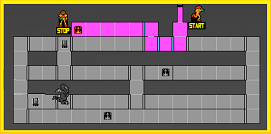
Missile Expansion #14 Route:
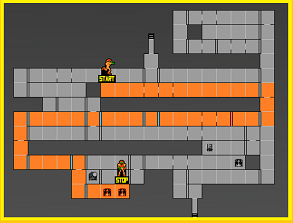
Norfair-to-Ridley Route:
Ridley’s Lair
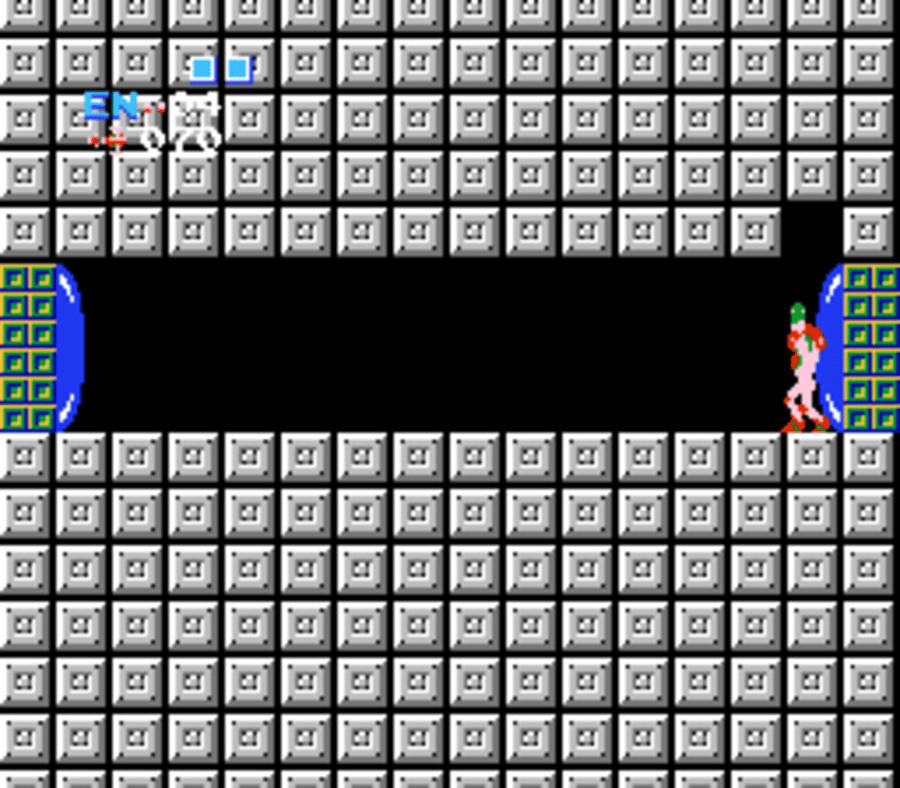
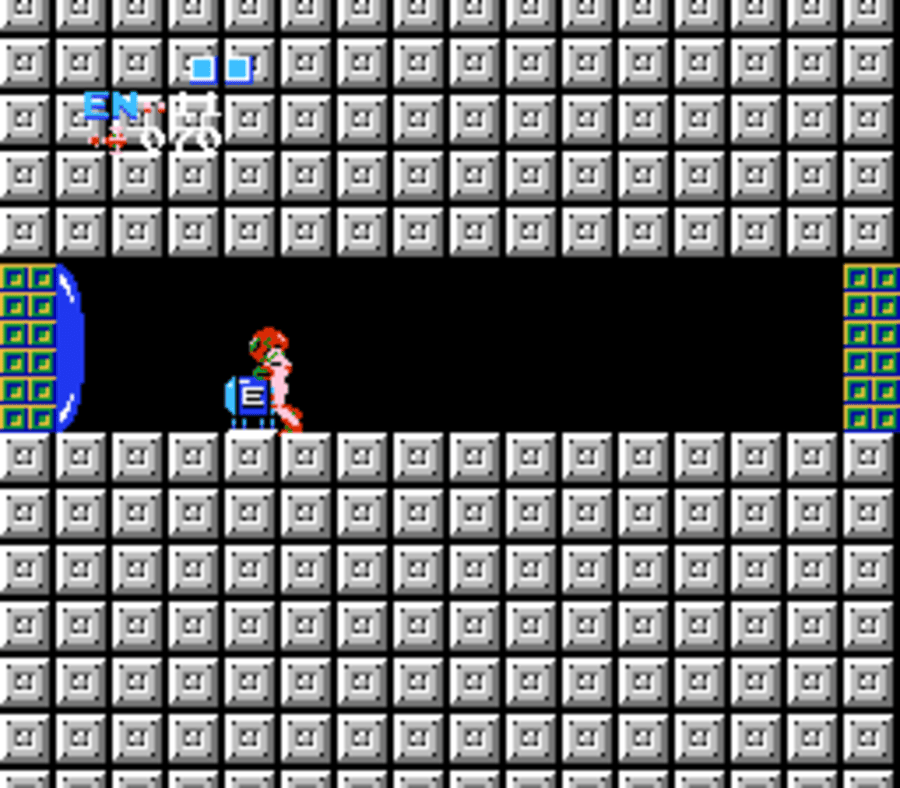
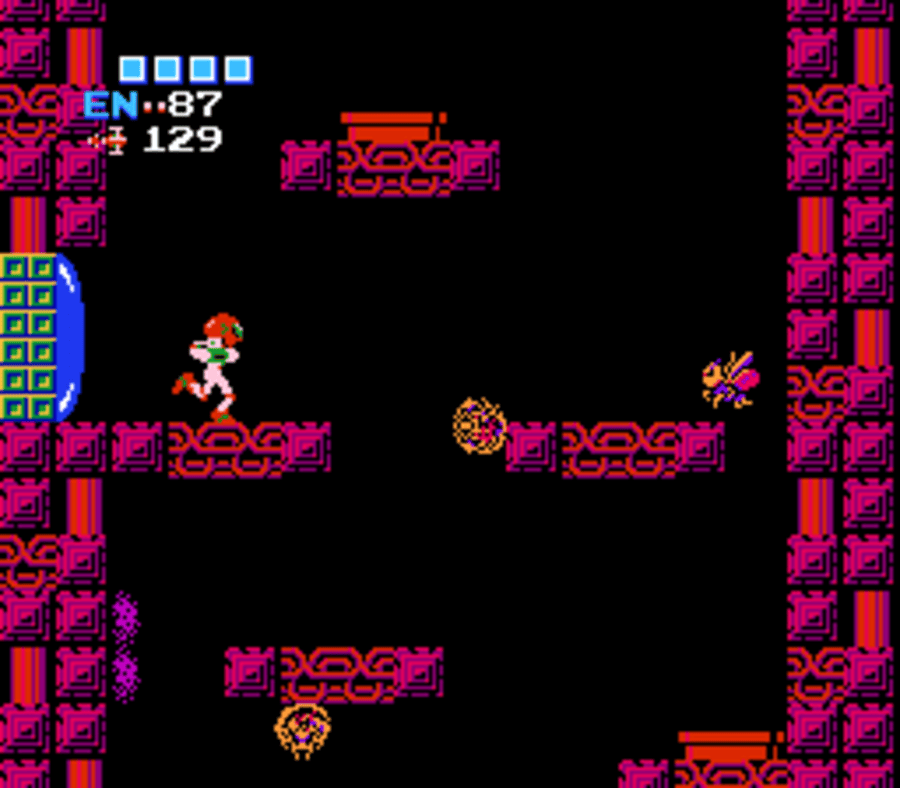
Once you’re off the elevator, drop down and head through the left door. There’s two rooms back to back that have grey tiles, so when you get to the second room, as soon as you enter the room, shoot the ceiling and jump up. Head through the blue door on the top ledge and then proceed through the hallway. It’ll be tight, but you’ll eventually run into MISSILE EXPANSION #15.
Missile Tank #15 Route:
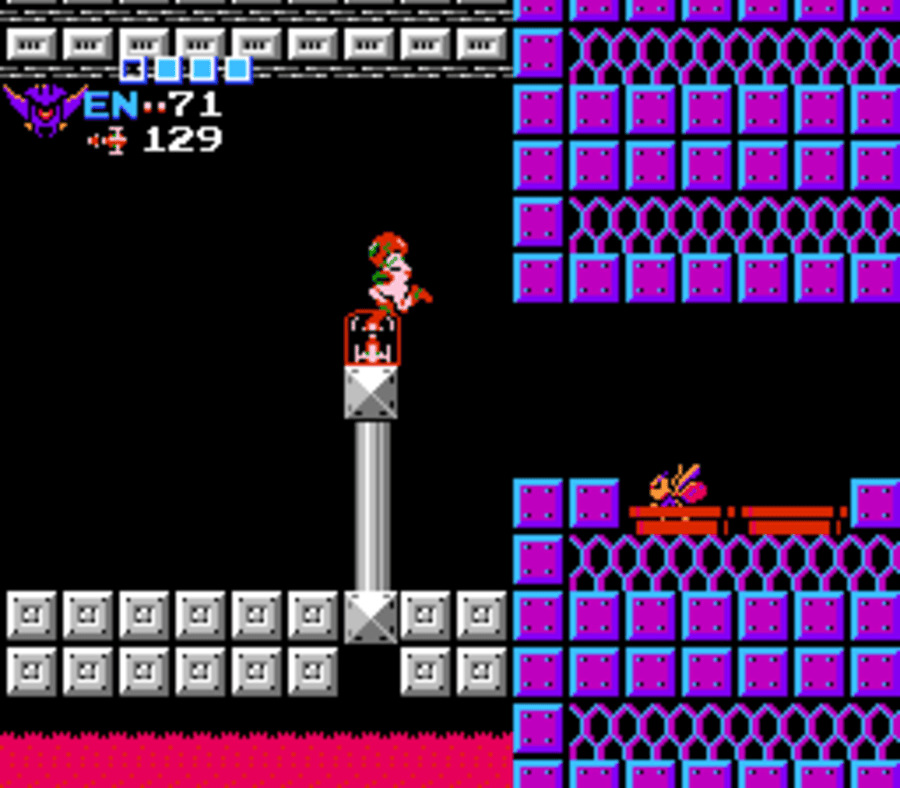
Head back down to the second grey tile room, and this time, head through the door on the left. This next room is somewhat deceiving, as your natural inclination will be to press towards the left, which no doubt you’ll need to do, but with a hitch. If you just head to the left, eventually, you’ll run right into a giant pole that blocks any kind of progression. The trick is to bomb the floor right beside where the lava on the floor ends. A tunnel will open up that will let you roll under the floor, avoiding every enemy, and popping up right beside a red missile door. Blast that open and you’ll see an Energy Tank, BUT HOLD ON! The floor immediately in front of the Tank is an illusion and if you walk towards it, you’ll fall into a pit. Specifically, the three tiles in front of the Energy Tank and false. If you jump over at the fourth tile from the Tank, which is real, you’ll snag yourself ENERGY TANK #3! Alright!
Once you’ve grabbed the Tank, allow yourself to fall down and then head through the door to your right. Grind through this next room until you get to the end and then head through the door. You’ll be at a ledge with a huge drop below you, a door across from you, and a big block in the ceiling that will make jumping across real real tough. Across is where we must go however, so try and line up your jump as best as you can. If you’re playing on the Switch, there’s no shame in using the rewind feature since this jump is super hard to nail. Once you get across, MISSILE EXPANSION #16 will be waiting for you in the next room. Once you’ve grabbed the Missile Tank, head back out of the room and drop all the way down. Press towards the left and eventually you’ll come face to face with Samus’s mortal enemy.
Missile Expansion #16 Route:
Ridley Boss Room Route:
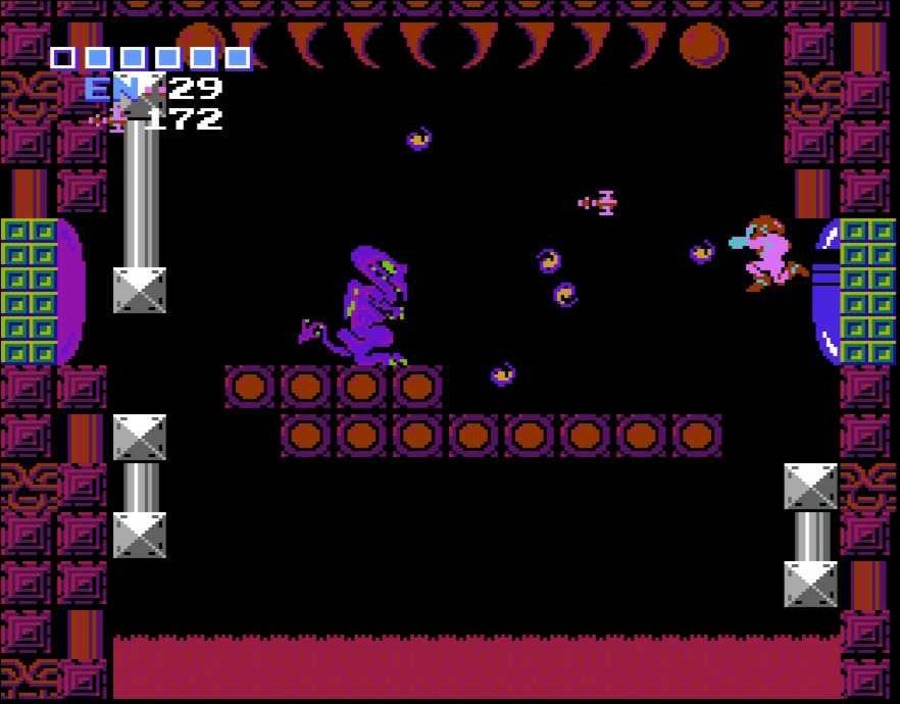
Ridley
This fight with Ridley won’t be as formidable as you might expect going in. To be sure, he’s no pushover, but compared to some of the wars that we know are in the future of this series against the Space Dragon, this one is actually fairly manageable. There are a few different strategies that you can employ if you chose to take the detour and get the Wave Beam earlier, but if you listened to me and skipped it, don’t worry – there’s only one strategy you need!
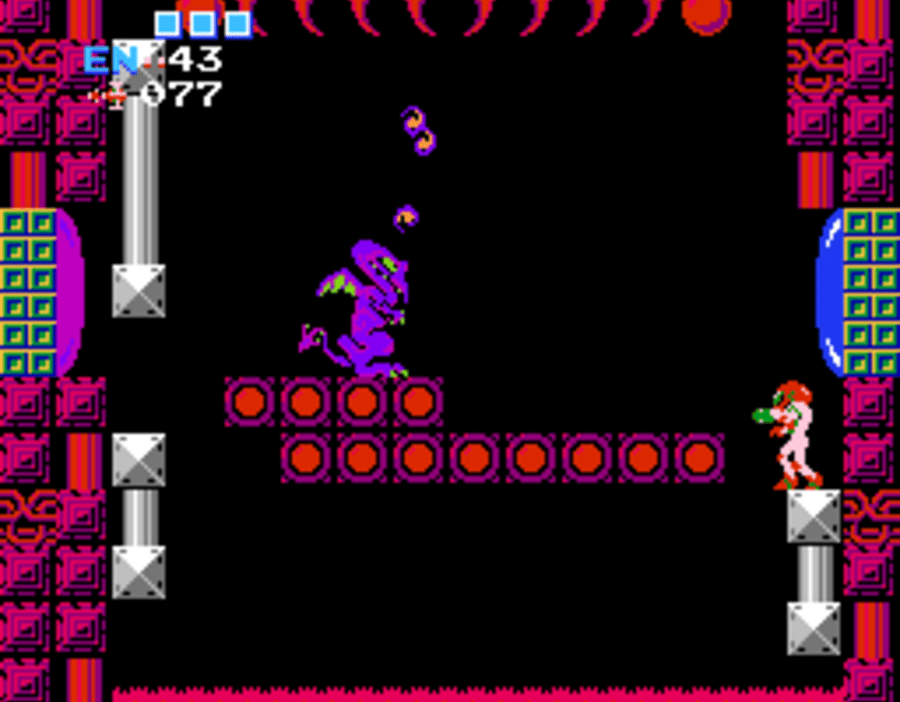

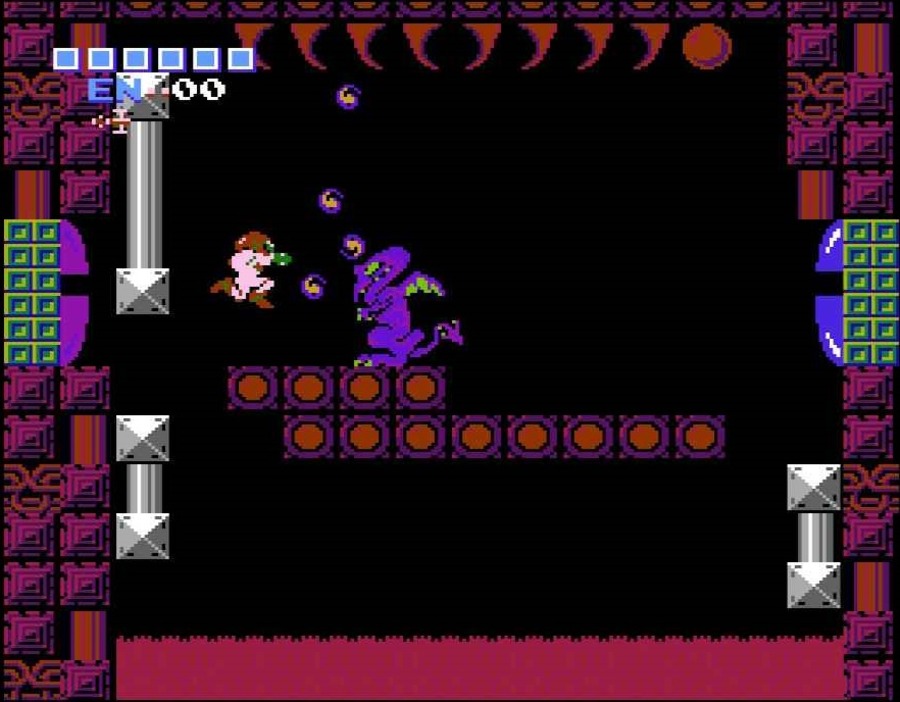
Ridley will jump up and down, firing off projectiles at you that will stun you and deplete a modest amount of health if they hit you, and that’s really all he’s got. To beat Ridley, we’re going to use some close-quarter tactics and literally get up in his face and blast him with missiles. You’ll want to freeze the fireballs with your Ice Beam to quiet down the battlefield a bit, and while they’re frozen, just blast Ridley with clean shots to the face.
Even better, if you feel like your shots aren’t connecting or they’re hitting too many of Ridley’s fireballs, just jump right through him. Your Screw Attack will damage him and you’ll be on his backside. Ridley will usually take a second or two to react and turn around, so just hammer him with your missiles. Keep firing, Screw Attacking, and Ridley will bite the dust in no time.
Conversely, if you did grab the Wave Beam earlier, you could stand on the far side of the room and just fire at him, or even jump in the lava below and fire upwards (jump so you don’t take as much damage from the lava obviously). This is another way to achieve victory, but honestly, you should have enough missiles and health to follow the above strategy and be just fine.
Once Ridley is defeated, head into the next room (don’t worry, you can walk on the lava!) and grab ENERGY TANK #4!
Leaving Ridley’s Lair
We’re almost done here, but there’s one more Missile Expansion to collect before we blow this Popsicle stand forever. Head all the way to the right from the Ridley boss room, passing through one, two, three, four blue doors until you get to the vertical hallway at the end. Once you get there, drop down and get ready. Through the door on your left is where you want to go, but be warned: it’s a long hallway with a really tight walking space, so Screw Attacking is tough to pull off here. Just grind through until you get to the very end, and eventually, finally, mercifully, you’ll grab MISSILE EXPANSION #17. Congrats – that’s the last piece of business we needed to take care of in Ridley’s Lair!
One boss down, one to go! Make the long trip out of Ridley’s Lair, out of Norfair, and back to Brinstar.
Missile Expansion #17 Route:
Ridley-to-Norfair Route:
Norfair-to-Brinstar Route: