


Metroid: Samus Returns Walkthrough – Area 8: The Nest
Walkthrough
- Return to SR388
- Area 1 – Ancient Chozo Ruins
- Area 2 – Hydroelectric Station
- Area 3 – Aeion Mines
- Area 4 – Crystal Caverns
- Area 5 – Flooded Greenhouse
- Area 6 – Diggernaut’s Domain
- Area 7 – Chozo Laboratory
- Area 8 – The Nest
- The Last Metroid
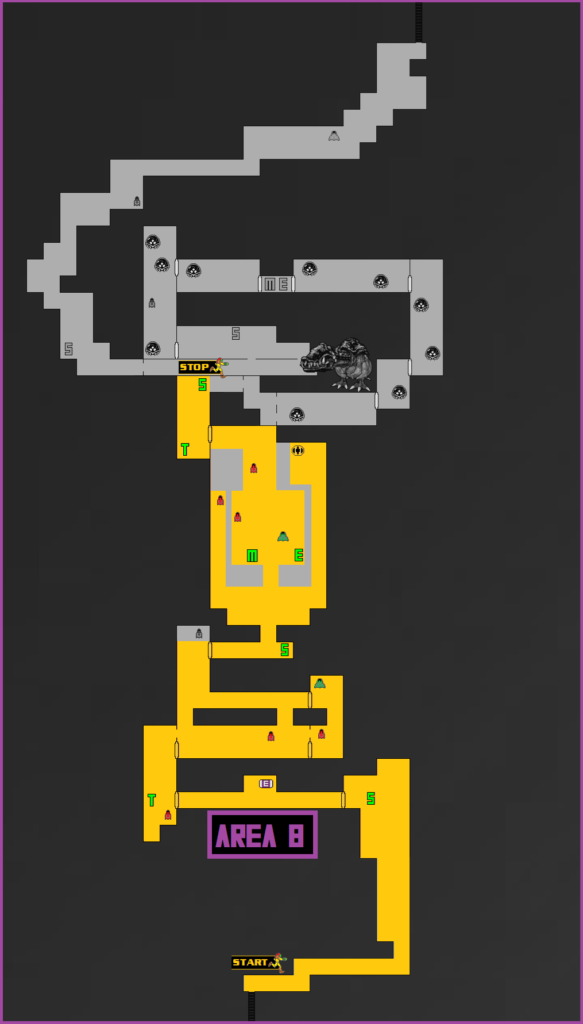
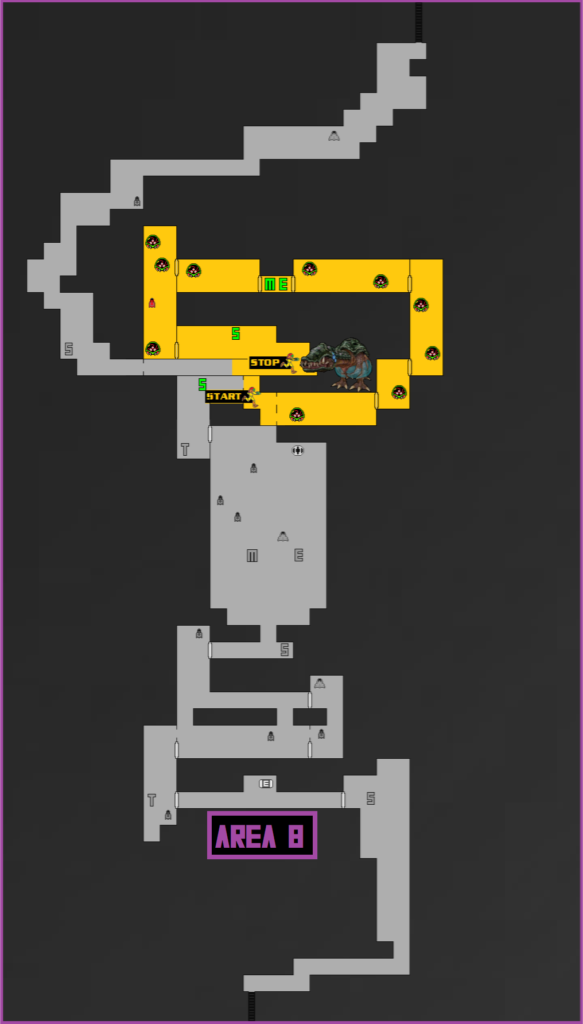
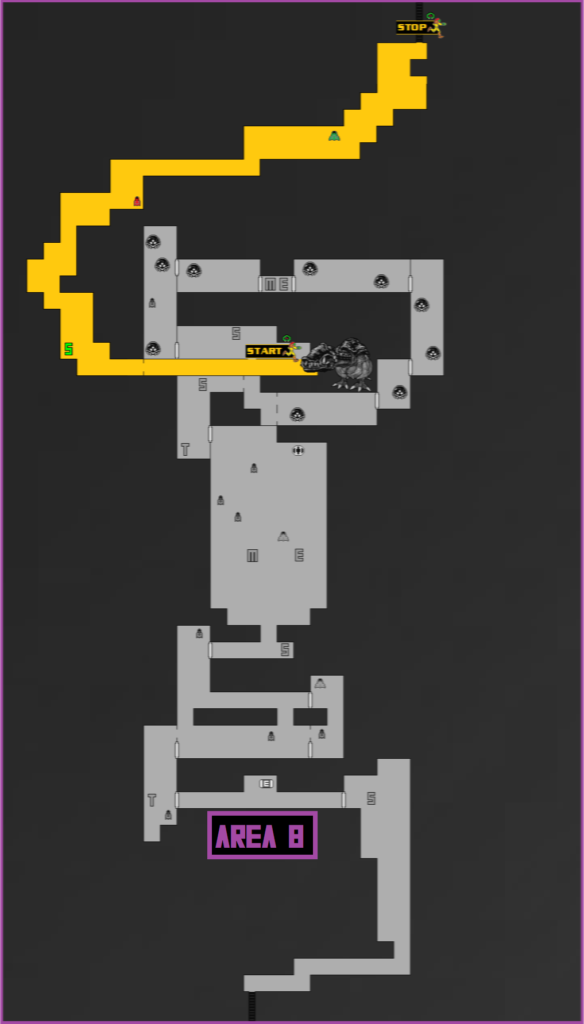
The Nest Chamber
This is it. The final area of the planet. The area hiding the final Metroid. The nest.
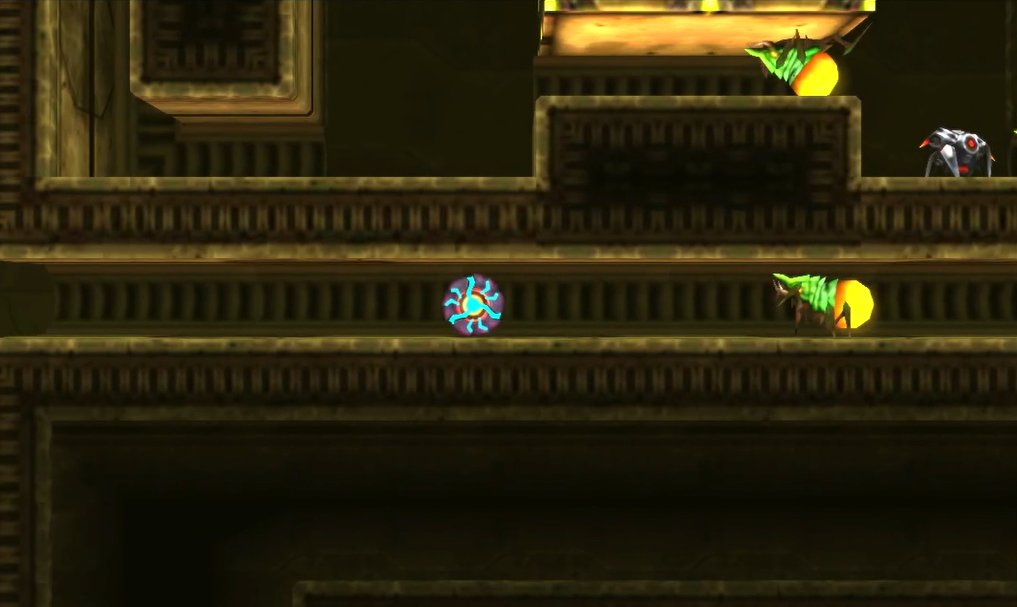
This area will be a little different from all the others that have come before it in that there is no Chozo Seal. Rather, start your journey off by following the path upwards, shooting all the Autracks, Glow Flies, and other annoying creatures blocking your path. It’s a pretty straight line upwards with nothing in the way of expansions to grab, so follow the path until you get to a Save Station and then take the door on your left.
You’ll enter a new room with pools of yellow liquid in it (I think it’s supposed to be liquefied Aeion, so get your minds out of the toilet!); about halfway in, use your Scan Pulse and you’ll see some Screw Attack blocks in the ceiling. Break them and jump up; activate your Phase Drift and roll through the tunnel across some pitfall blocks, grabbing ENERGY TANK #9 for your troubles!
Drop back down and continue through the liquefied Aeion until you go through a Blast Door on the left. Enter the new room and you’ll activate a Teleportal; drop down, and you’ll see those unbreakable crystals everywhere, alongside some red weeds. At the very bottom, there will be a small tunnel that has crystals on the top and bottom; activate your Lightning Armor, drop down into the weeds and then jump up and fire two missiles into the tunnel, which will destroy two missile blocks. Roll into the tunnel before they respawn and you’ll snag MISSILE EXPANSION #56.
Follow the tunnel back up and you’ll come out by the crystals. Get back to the Teleportal and start making your way upwards, going through the door on your left. Careful of all the Glow Flies in this new room! The last thing you want is to lose an Energy Tank worth of health to them. Press straight through this room for now and go through the door on the right.

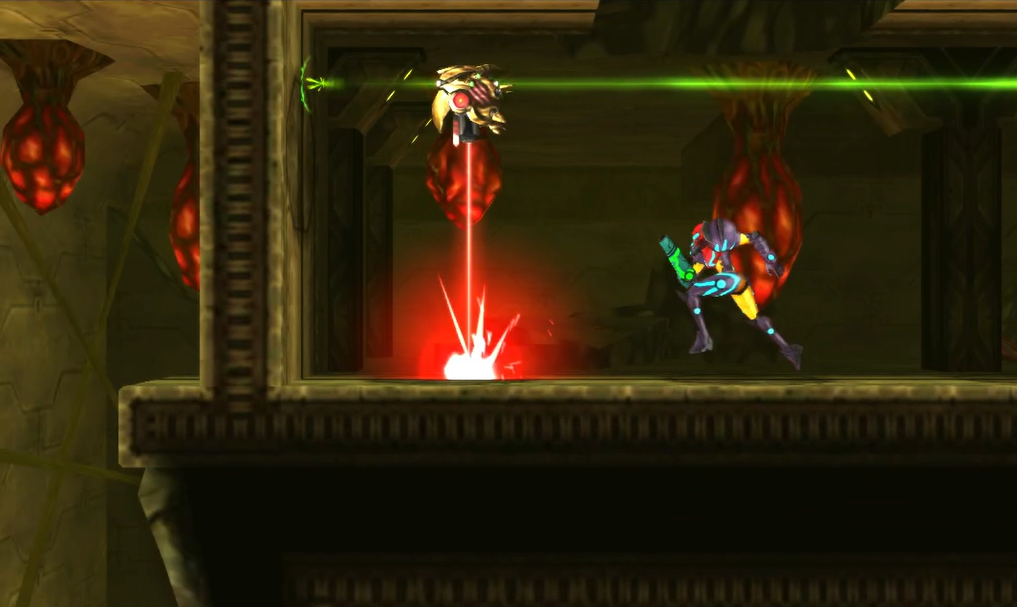
Work your way up and head through the Blast Door on your left – ignore the weeds and crystals above you, we’ll need to come back for that later. In this new room, walk ahead a few steps and you’ll see a spire shooting down from the ceiling; right under that are some pitfall blocks, so let yourself drop downwards, BUT jump and Screw Attack to your RIGHT as you’re falling! The wall on the right is made of Screw Attack blocks, so if you do this correctly, you should break them apart, allowing you to get into the small opening; walk to the right a few steps and you’ll grab MISSILE EXPANSION #57.
Fall down and then make your way back up to the pitfall block room; once you’re back, press forward in the room for a bit until you get to the far wall. Screw Attack through the blocks on the floor and you’ll drop down into an opening with liquid Aeion to your right and a red Grapple block that you should destroy on your left. Instead of jumping into the liquid Aeion, instead, line yourself up so your Spider Ball is sticking you to the outside lip of the little block sticking out. Spiderspark and you’ll go shooting into MISSILE EXPANSION #58! Drop down, and then one more time, make your way back to the same room you started in. This time, go all the way into the room and follow the path to the doorway in the top-right corner.
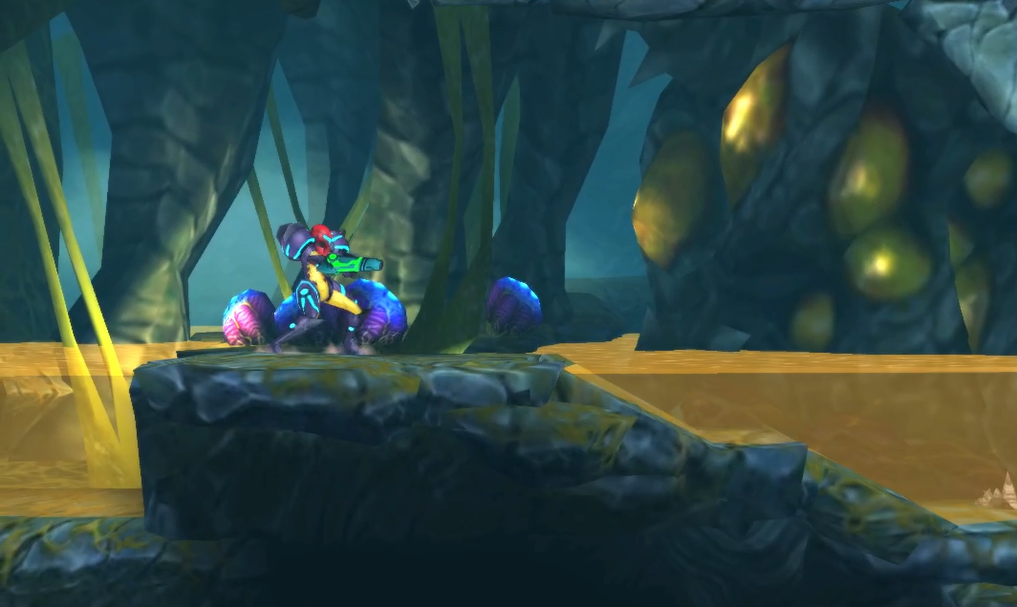
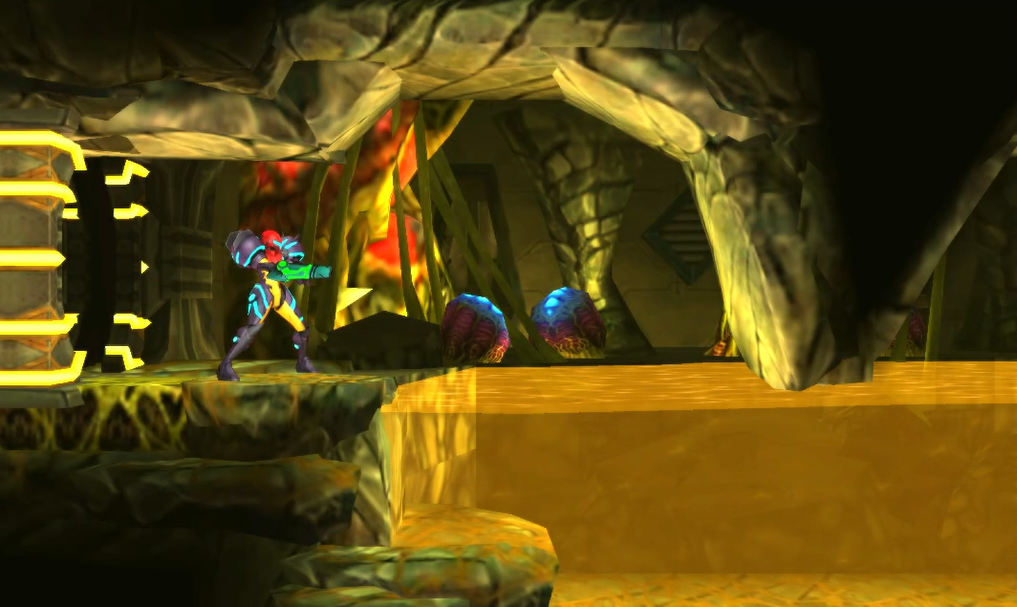
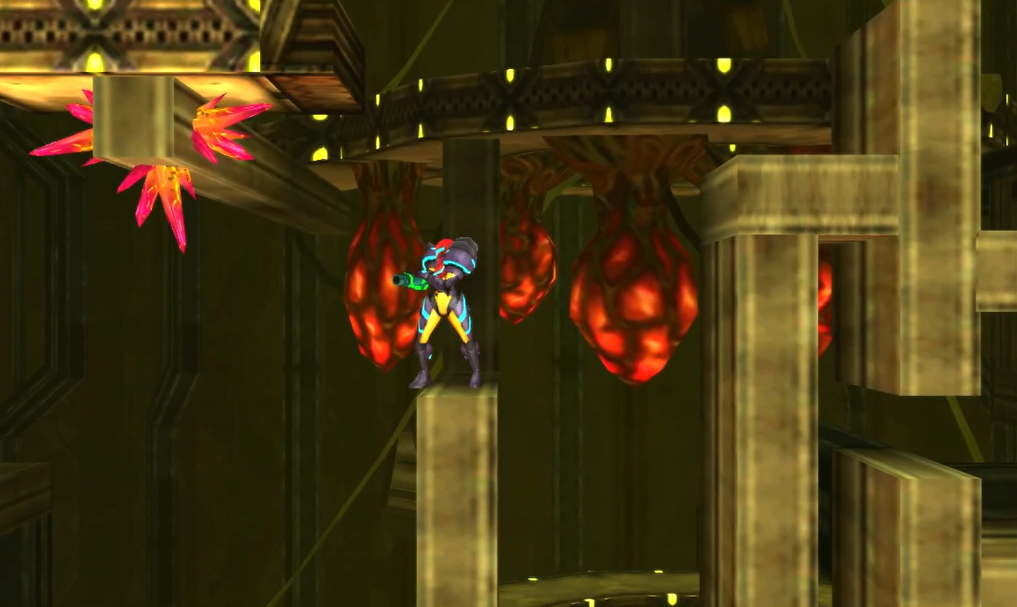
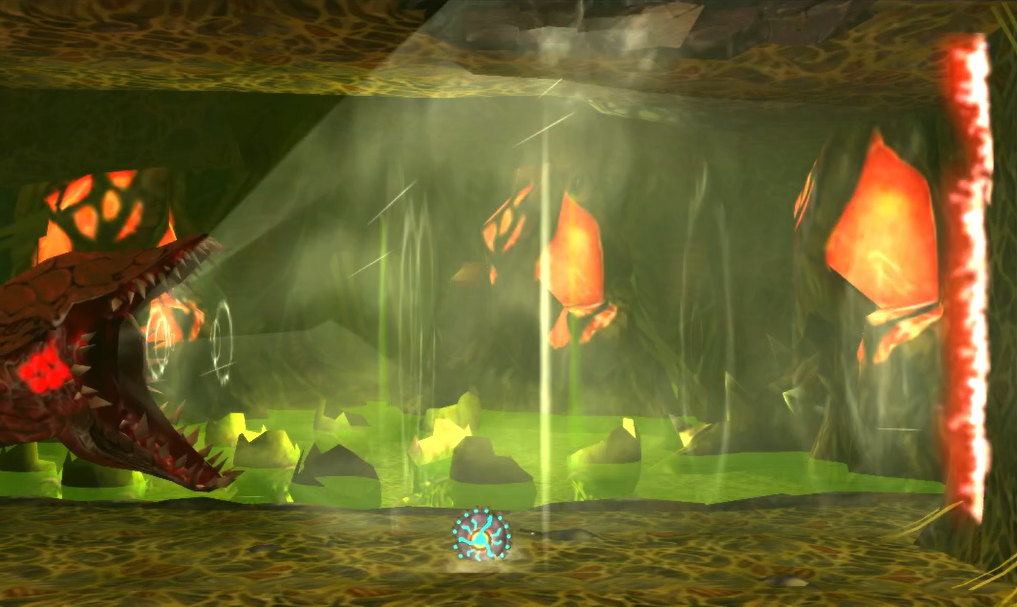
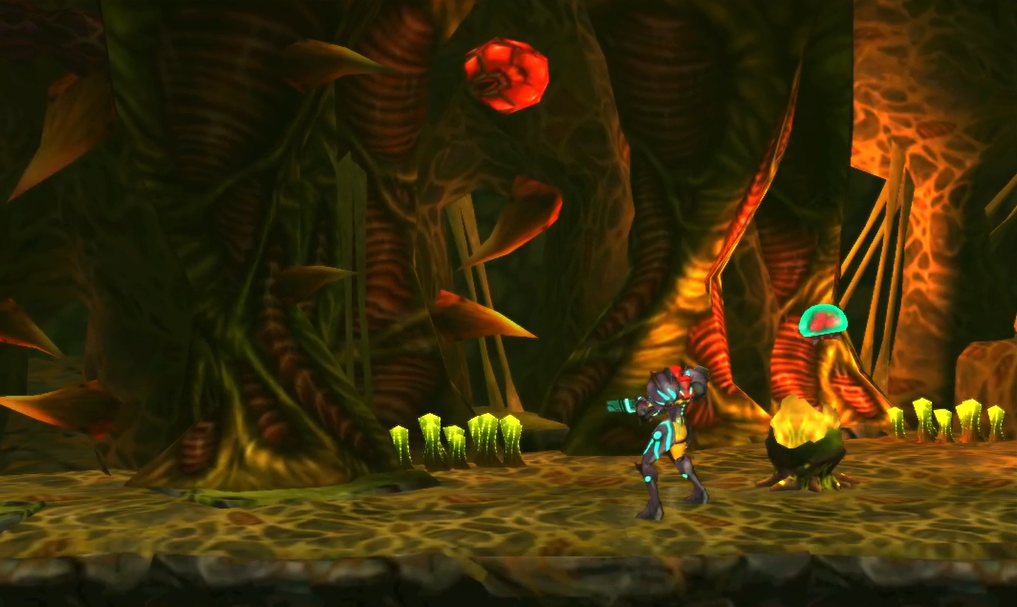
You’ll enter a new room with some ominous music playing. Press towards the right, through the liquid Aeion and to the Save Station. This is a gigantic room that we’ll call the Nest Chamber, and you’ll be able to see lakes of liquid Aeion pooling in the background, the literal building blocks of Metroid life.
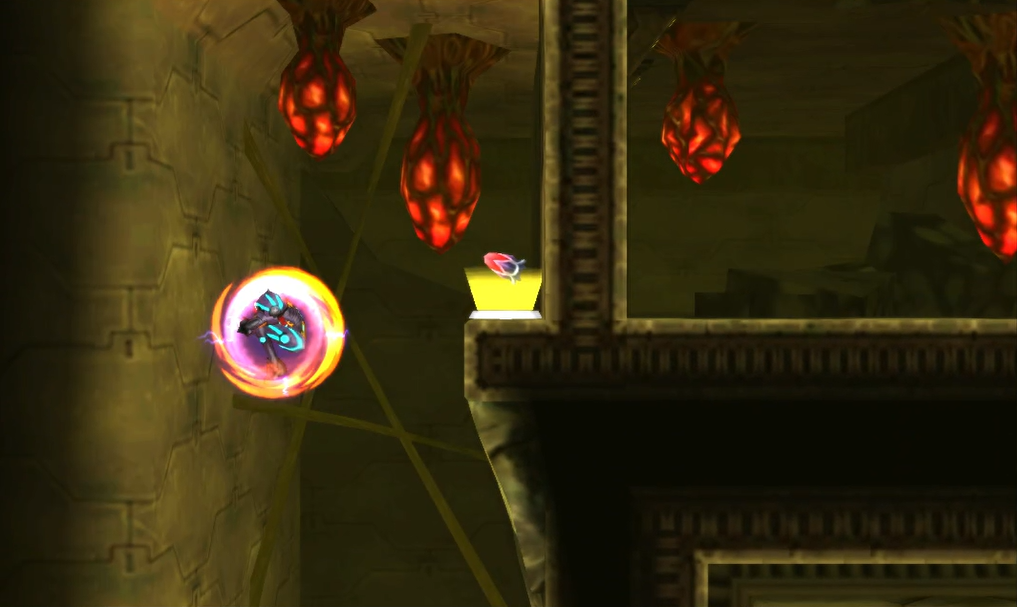
Jump upwards and you’ll see a series of thin platforms suspended in the air that make a structure that you can enter right in the middle of the Chamber. There are both Missile and Energy Recharge Stations in this structure, so use them if you need to! To begin, start by Space Jumping up on the left side of the Nest Chamber – you’ll keep going up and up and eventually just see MISSILE EXPANSION #59 sitting on a ledge, waiting for you to take it. Grab it, and jump to the right-most side of the Chamber now.
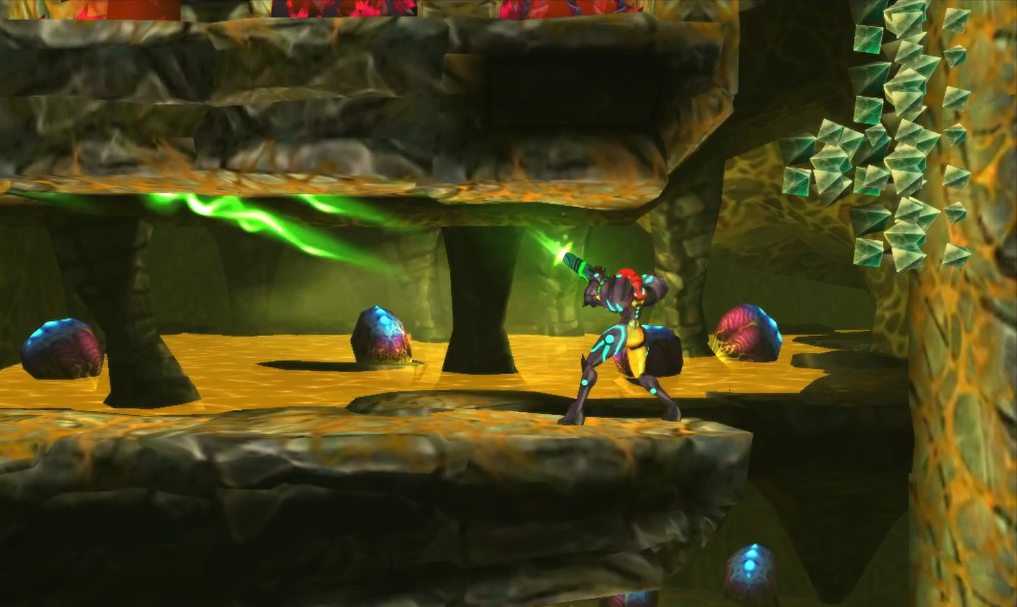
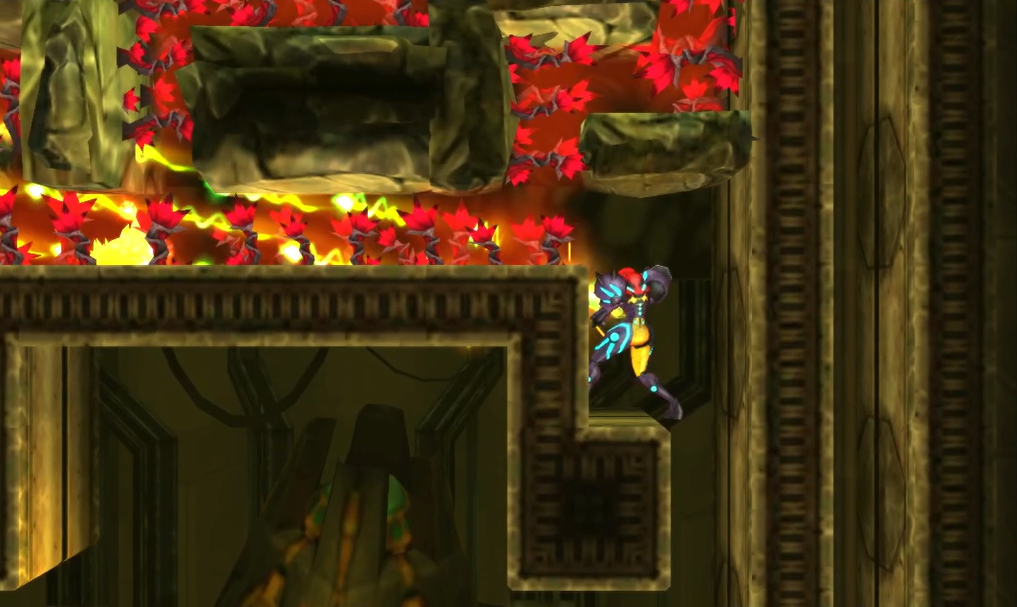
When you jump to the top, you’ll see a little nook that you can fit into; there are some Power Bomb blocks in your way, so destroy them and then slip inside the structure. Jump up and throw your Lightning Armor on, working your way through the red weed covered tunnel until you come up through it. Keep on following the tunnel upwards (mind the pitfall block towards the end!) and you’ll come up right beside POWER BOMB EXPANSION #4!
There’s still a lot more to do in the Nest Chamber. Exit through the tunnels back down to the bottom of the room. Jump up and go through the opening in the middle of the structure. Work towards the left and go past the Missile Recharge Station, jumping up – be careful not to bump into the orange spikes! You’ll need to pull a tricky move here; before heading into the tunnel, you’ll want to position yourself on the wall directly under the yellow goop on the wall using your Spider Ball. You can do this one of two ways; first is to jump up and quickly morph down, using your Spider Ball to stick the wall. If you’re good, you can do this before you hit the orange spikes. Second option is to get to the tunnel, position yourself directly on top of the orange spikes on your left and Spiderspark across. Either way, once you’re on the right wall, use your Scan Pulse and lay a bomb to reveal MISSILE EXPANSION #60.
With that done, pull yourself up into the tunnel and then, while still in Morph Ball form, get your Beam Burst ready. Bomb the block at the end of the tunnel and you’ll fall down; quickly turn around and shoot the Autrack with your Burst before it can zap you! Once it’s destroyed, use your Spider Ball to climb the righthand wall again and bomb a block towards the top, allowing you to slip through to the other side. Drop down and destroy the red Grapple block for easy entry in the future!
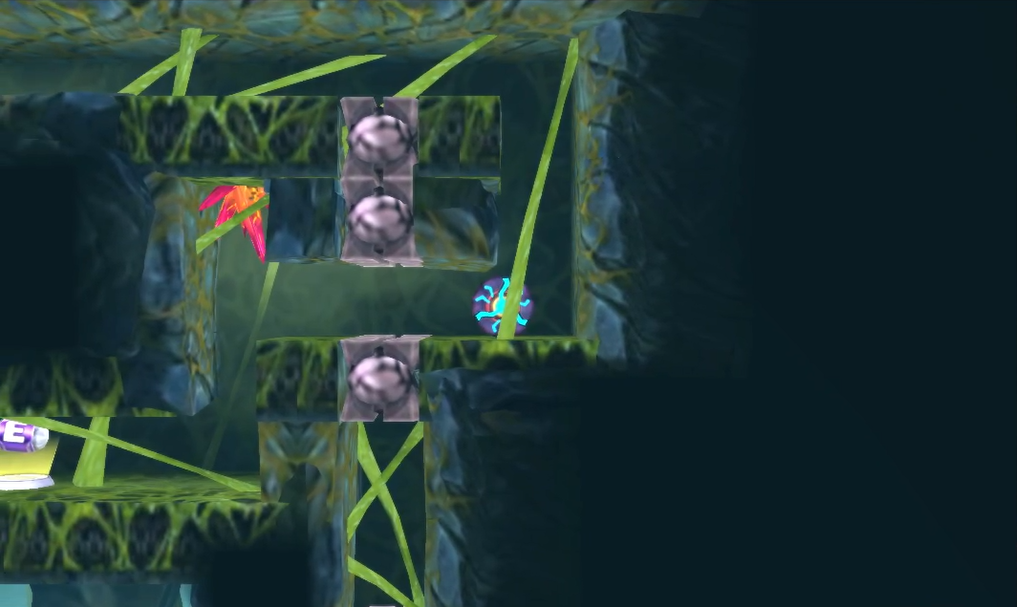
Jump back up and slip through the tunnel on the right – watch out for the Glow Flies! They are everywhere here, and you’ll more than likely take some damage here, but such is life. Roll to the end of the tunnel and the Screw Attack the blocks on the floor to drop down below; there will be FOUR tunnels available to you (ayyy) and wonderfully for us, all four are littered with pitfall blocks! How joyous.
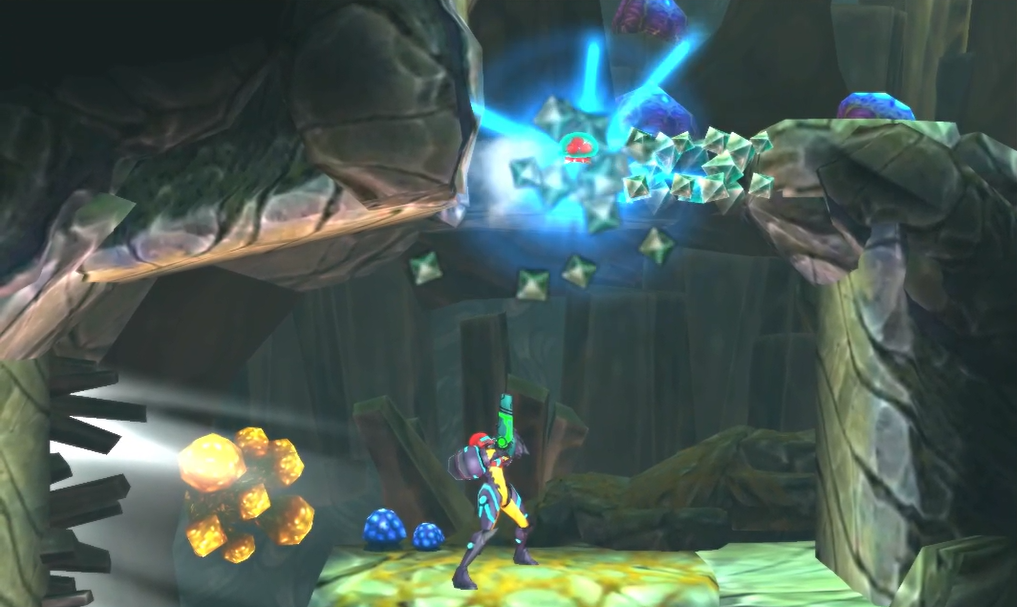
Take the top tunnel and roll until you hit a pitfall block; drop down and then lay a bomb SLIGHTLY to your left (don’t go all the way to the left, cause guess what? Pitfaaaaall). Jump back up to the top tunnel and roll to the left; lay a bomb right before the orange spike and then drop down to the third tunnel. Use your Phase Drift and roll towards the left again, over one pitfall block and to the second pitfall block, just in front of the spike. Let the pitfall block drop you to the second row now; honestly, just lay a Power Bomb from here and you’ll see a pathway to the top; use your Spider Ball to creep up and grab SUPER MISSILE EXPANSION #14. Grab it and get outta here! Head back to the blocks you Screw Attacked through.
Continue upwards through the tunnel until you finally come across a clearing at the top of the structure. Head left, destroying the red Grapple block along the way, and then up and to the right again; you’ll notice some debris start to fall in the background. Keep climbing up and over and you’ll see a red Grapple block that can be destroyed from the left side. Break it, and then go back to the right side, enter the tunnels and follow the path to MISSILE EXPANSION #61.
From here, jump up and finally you’ll be able to see a door leading you out of the Nest Chamber! Enter this new room and you’ll activate a Teleportal at the bottom. Jump up and use the Save Station. The final march approaches.
Chapter 9.1 Route:
The Inner Sanctum
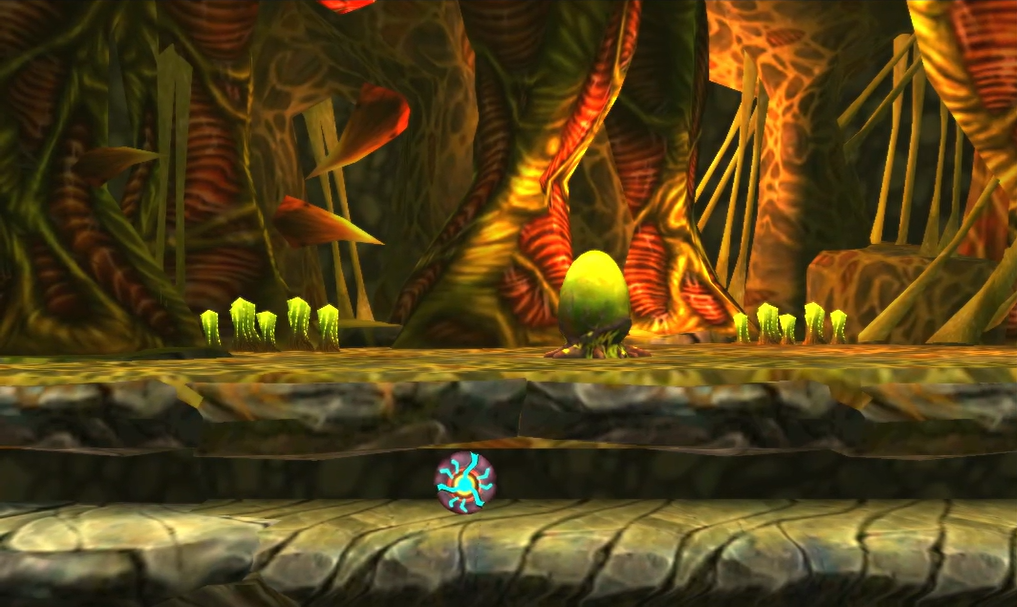
From the Save Station, pull yourself up and roll through the Morph Ball tunnel. You’ll roll past, just up above and out of reach, a singular Metroid egg, just waiting to hatch and hear the familiar sound of your Metroid radar going off…
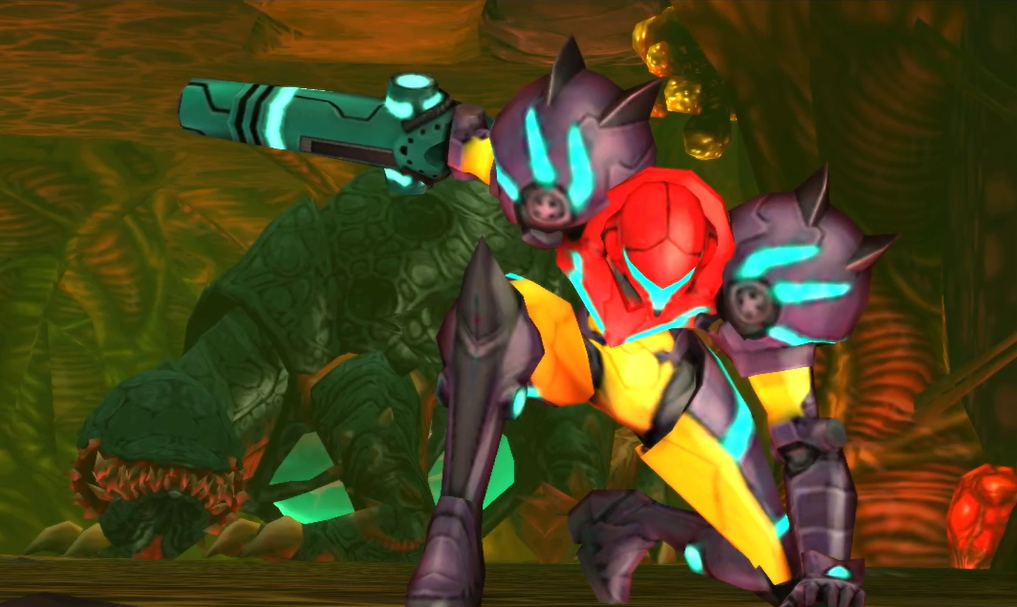
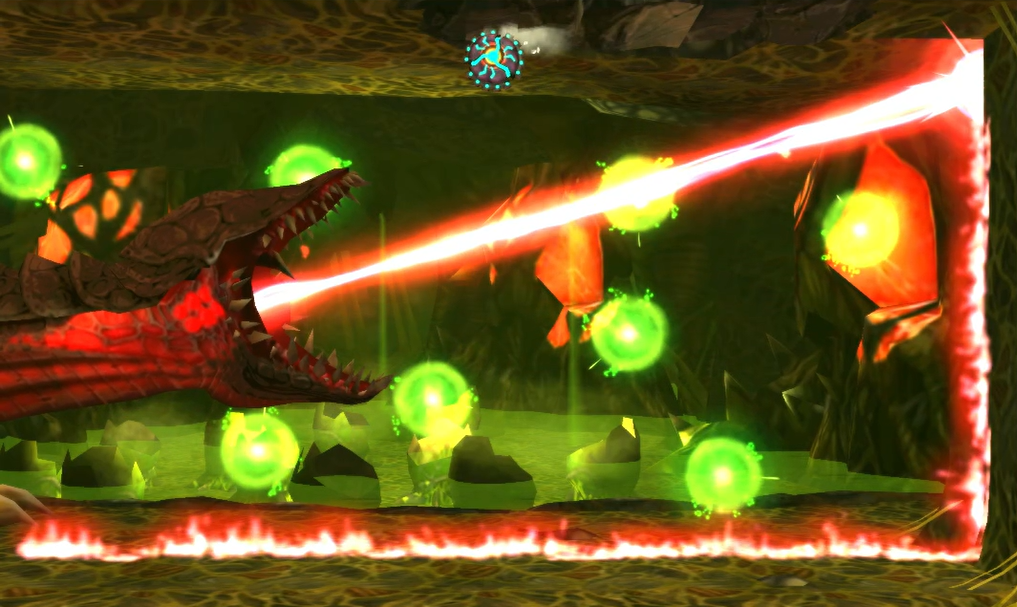
Press forward and eventually, you’ll come to a powered down Blast Door that you can’t open. Screw Attack through the floor and then slip through the opening in the wall. You’ll pop back out on the other side and activate a cutscene. All of a sudden, your Metroid counter will balloon from only one to ELEVEN Metroids, and there’s no time to even think about how that could be, as you’ll be face to face with one regular Metroid right away!
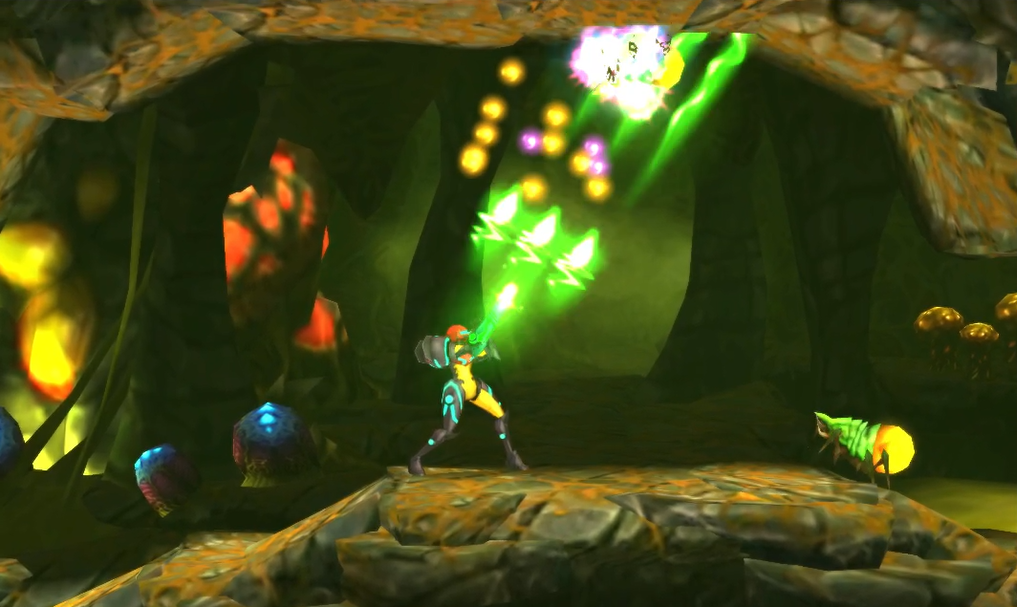
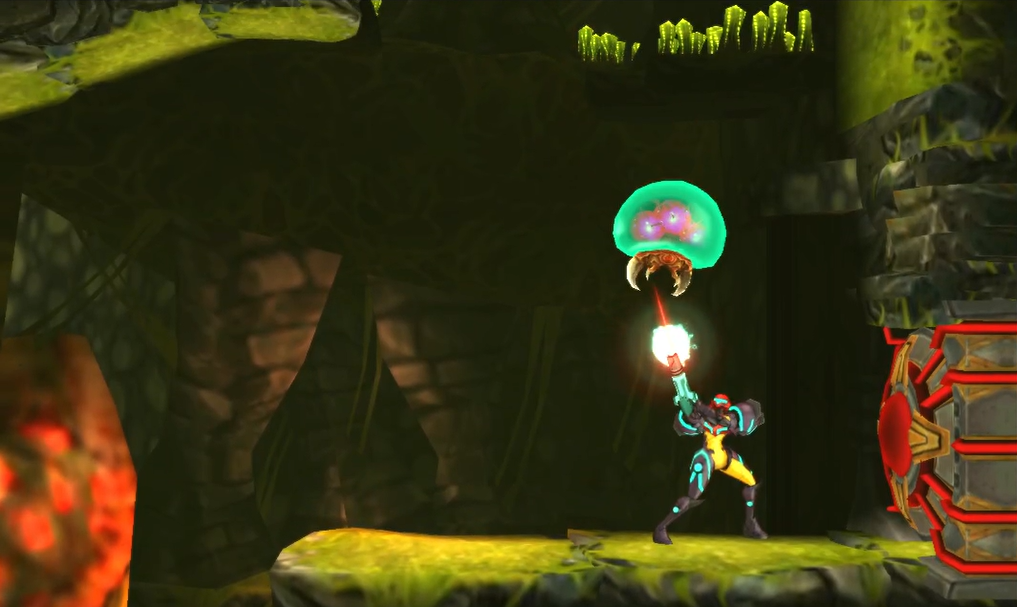
Now just in case you forgot, if a Metroid latches onto you, morph down and lay some bombs to detach it. Let’s not let it get to that, though! Have your Ice Beam ready and shoot the Metroid with a charged shot, freezing it. You can either hit the frozen Metroids with five regular missiles or one Super Missile to destroy it (personally, I’d go with one Super since the freezing doesn’t last too long). Eliminate the Metroid and continue on through the door on the right.
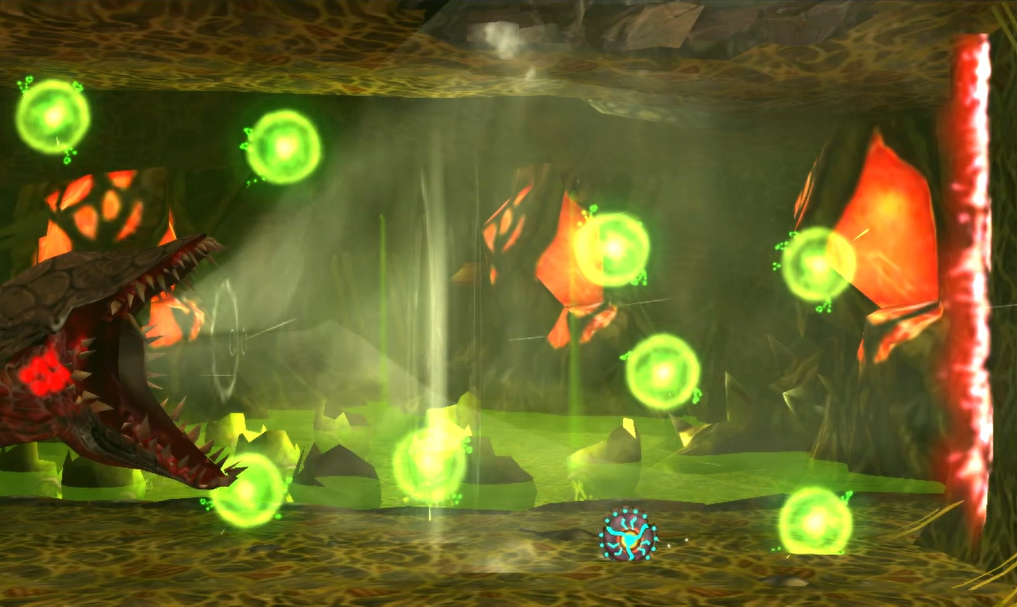
This next room has one Metroid in it, on the third ledge up, so destroy it and go through the door. You’ll now be in a vertical shaft with two Metroids to eliminate, the first on the second ledge up to your right, and the second on the ledge just underneath the Blast Door on the top left. Take them out and then enter the door. There are another two Metroids in this room, the first of which will appear on the third platform in the room, and the second who will show up on the fifth. Enter the Blast Door on the left and you’ll get a bit of a reprieve, entering a small room with Missile and Energy Recharge Stations.
Exit left and get ready – a lone Metroid is in the next room and will appear in the midway point. Go through the Blast Door and you’ll be in another long shaft, going downwards this time. There are three Metroids lurking here, so stay sharp! Jump upwards to the higher ledge and the first two Metroids will show up – try to lure them down individually if you can. The third Metroid is towards the bottom of the room. Before you leave through the door, use your Scan Pulse in the middle of the room and you’ll see a block glowing on the left side wall. Fire a missile at it to reveal MISSILE EXPANSION #62.
With the Metroid counter now back to one, you’ll hear a mighty scream somewhere in the inner sanctum. Drop down and go through the door on the bottom right. Use the Aeion refill and Save Station and follow the path to the end of the room.
Prepare yourself to face the final Metroid. Once you drop down, there’s no turning back!
Chapter 9.2 Route:
Queen Metroid
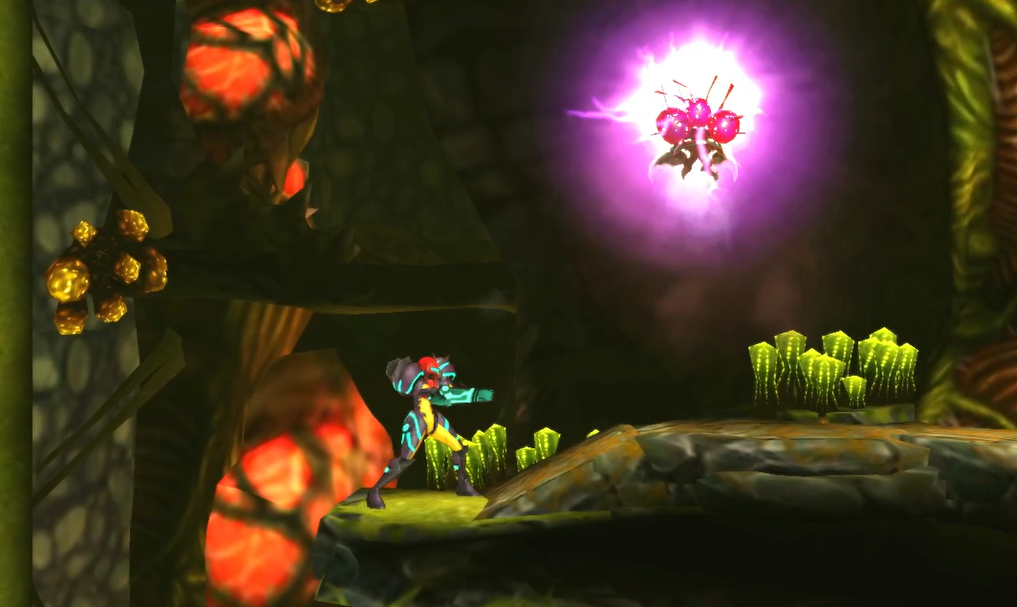
Watch the cutscene play out as Samus drops down below to once and for all take on the mother of all Metroids – the QUEEN METROID! This hulking behemoth will be the most imposing test we’ve faced thus far, so buckle up and let’s end this!
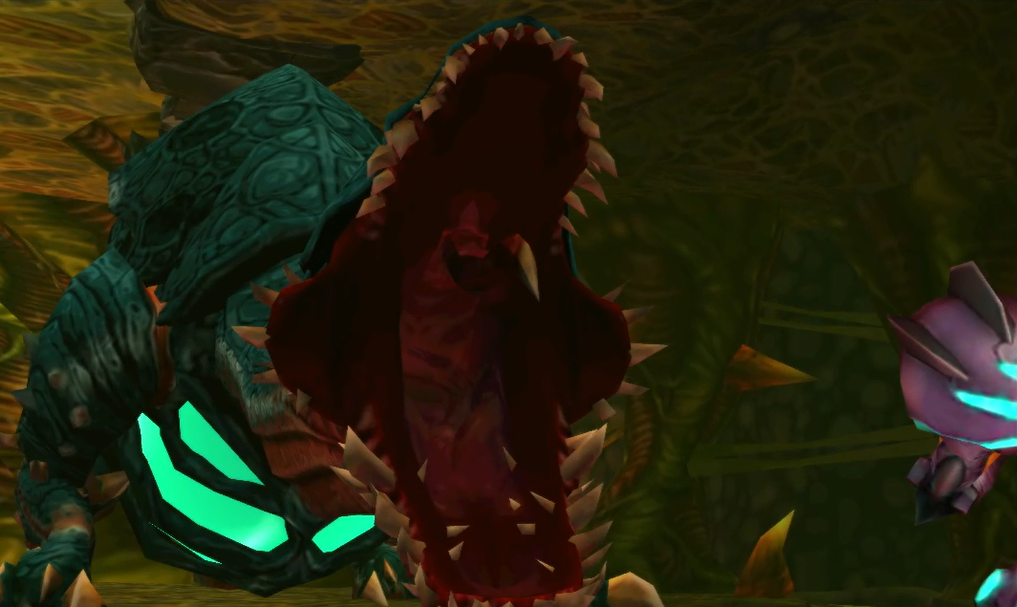
On the surface, this probably seems like a more straightforward fight – simply shoot missiles or the Beam Burst into the Queen’s mouth and it will take damage. While that’s true, as we Metroid fans know, it’s all about the journey, and nothing is ever that simple. Your opportunity to get clean shots at the mouth is going to be short and any hits you land will be well earned, so let’s unpack everything you’ll need to contend with.
The Queen has multiple attacks, and none of them may be more ferocious than her standard melee attack, where she will simply launch her head at you. This is simple, yet effective, as this will knock tons of health away, so anytime you see the Queen start to shake her head, retreat to the other side of the room and put as much space in between you and her as possible. If the Queen does this when you’re close to the wall, Space Jump up to the top corner and hope for the best!
Speaking of blunt attacks, the hulking Metroid will also rear its head occasionally for a big attack, which you can tell is coming by the purple energy swirling around her head. Get too close and that energy will suck you in, so be careful. Obviously don’t get hit, but typically after this attack, her mouth hangs open for a bit, so take advantage of your opportunity and get some shots in.
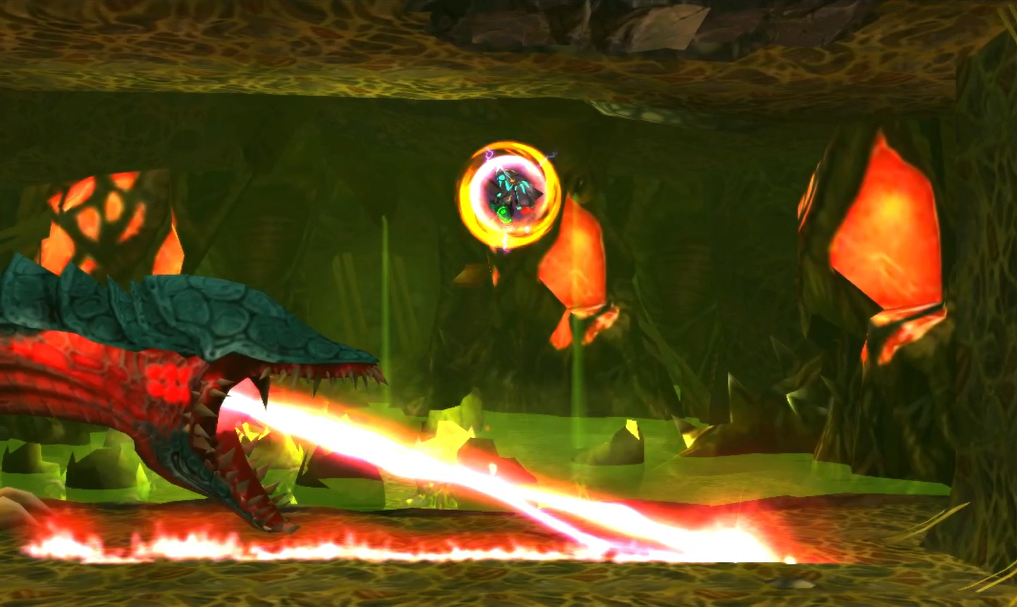
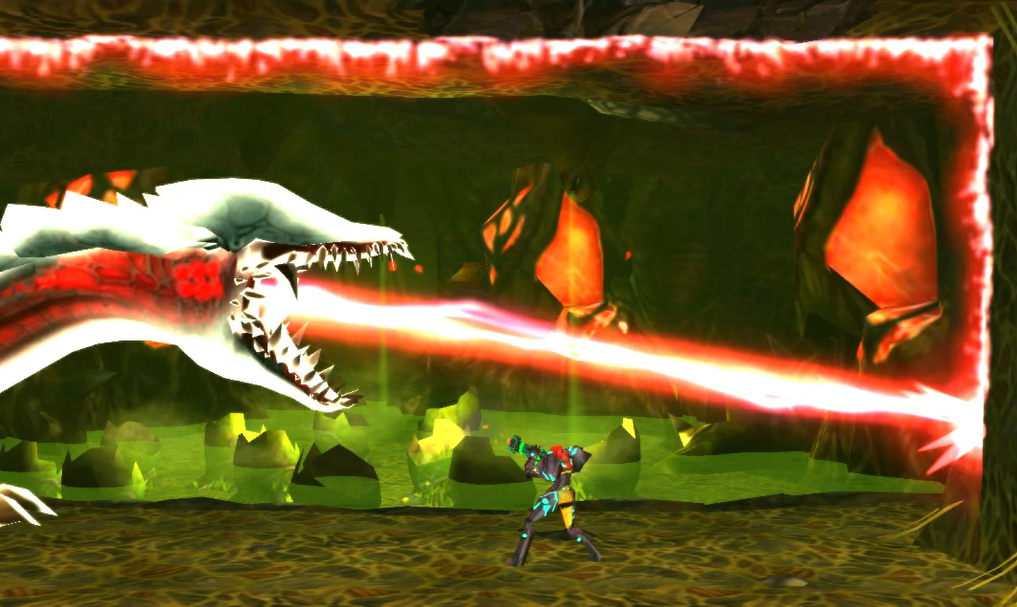
Another attack to watch out for will be the laser fire beam. She can shoot that beam straight at you, and just like the Omega Metroid, the Queen will fire that beam at the floor causing you to have to Space Jump over it. Unfortunately, at the same time as the floor is on fire, the Queen will start firing away at the ceiling and the wall behind you, meaning you’ll have to drop down and roll under the Queen’s head to avoid damage. You’ll have a quick moment when the Mother Metroid is firing at the wall where its mouth will be open and pointed straight at you, so take advantage of this and fire away!
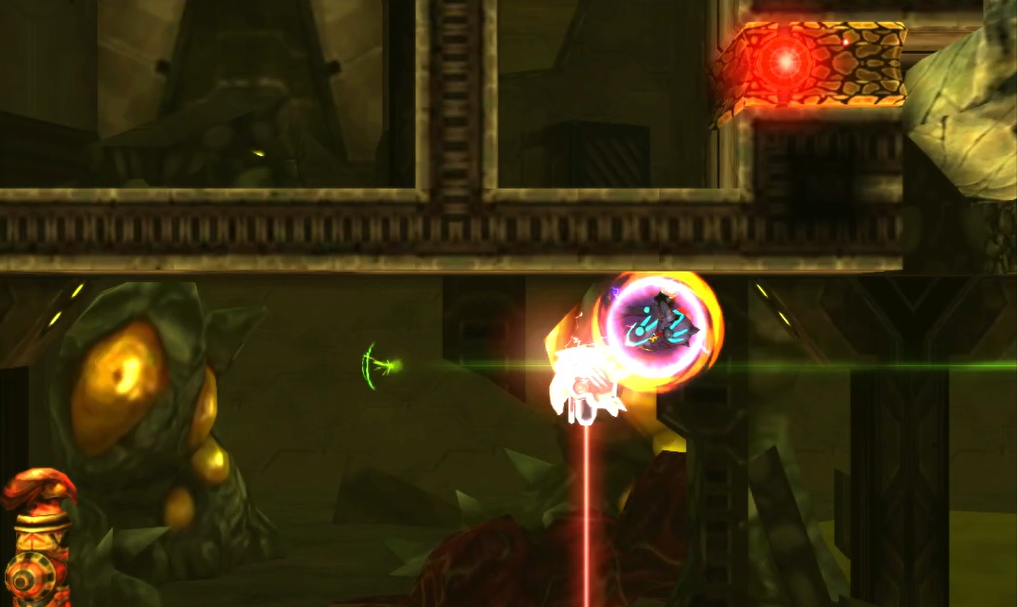
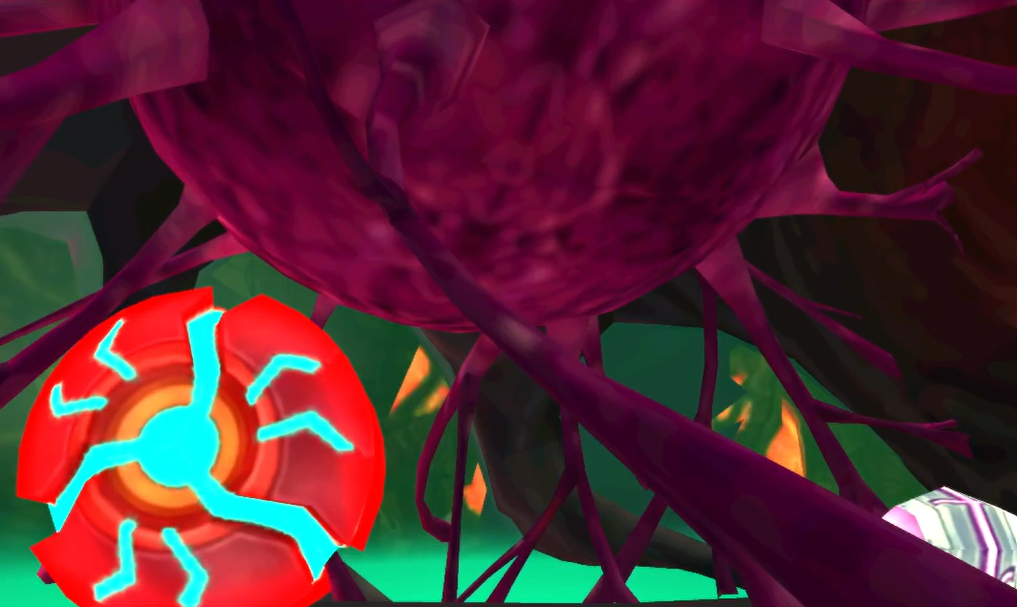
This is pretty much it for the first phase, so keep firing away until the Queen is finally stunned. It will recoil its head a bit, allowing you to get some much needed Super Missile shots in its mouth. Get ready, because you’ll almost always have a chance to melee counter a bite from the Queen after this and do some bigtime damage! If you do it right, you’ll be able to grapple the Queen’s head down, roll into its gross mouth, head down its throat, and lay a bomb at its core! Activate your Lightning Armor if you have time before rolling into her mouth to avoid damage from her stomach acid.
The next phase will start up and the Queen will have some new tricks up her sleeve in addition to all the attacks she used previously returning. Watch out for her shooting the back wall with her laser breath and then blowing a ton of air at you; unless you morph down and use your Spider Ball to stick to the floor, you’ll go crashing into the fiery wall and take huge damage.
One trick you can keep in your back pocket is to Spiderspark off the wall and into the Queen. If done right, you’ll stun her, immediately bringing an end to whatever attack she is in the middle of performing. This can be tricky, however, as if your Spiderspark hits an acid ball, laser beam, whatever, your attack is over, hers continues, and you’ve just taken some major damage. Use this if you feel confident in your ability to hit it; otherwise, skip it.
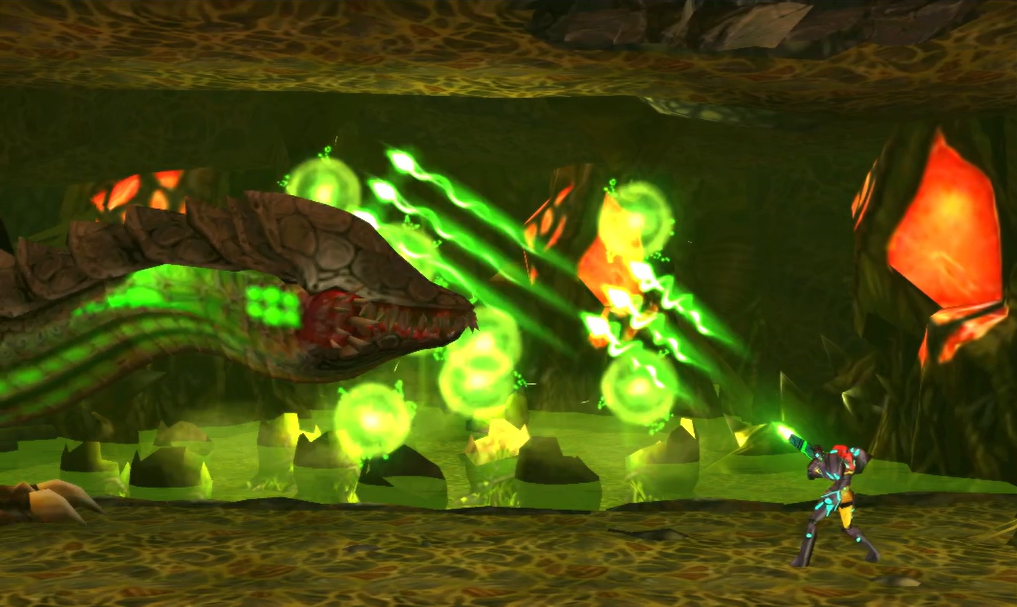
The Queen will also spit out a bunch of green acid bubbles, usually in spurts of eight by my count, that will flutter around the arena for a good 12-Mississippi seconds, which feels like an absolute eternity as they can’t be destroyed with any of your weaponry. Making matters worse is the Queen will follow this attack up with a laser shot at the floor and back wall, making avoiding them extremely difficult. Your best best is to Spider Ball and stick to the ceiling, rolling out of the way of the acid balls as best you can, but even that carries risk as the Queen will bash her head on the ground, causing you to fall, and probably fall into an acid bubble. There’s no other way to say it: this is a really tough attack to successfully evade.
For that reason, quickly eliminating the Queen is your best bet, as the longer this fight goes, the worse your chances of survival become. Use your Super Missiles and your Beam Burst at will, and eventually, you’ll stun the Queen again. Repeat the melee counter process from earlier and the third phase will begin.
The attacks remain largely the same, except now, the Queen will fire her acid blobs and hit the back wall with her laser beam. She’ll try and push you into the back wall with her hot air, but just use your Spider Ball on the ground and you should be okay; just watch out for the acid.

You should have upwards of 200 regular missiles now, so fire at will anytime that you think you might have a chance of hitting the Queen in the mouth – chances are you’ll be out of your other ammo at this point. Keep the attack up and you’ll stun the beast for a third time. This next step is the make-or-break portion of this fight. If you are going to only ever hit one single melee counter in your life, make sure it’s this one!
Grapple the Queen’s head down, roll inside its mouth, and lay ONE. LAST. POWER BOMB. That will finally be enough to put the behemoth down for good, once and for all! The Queen will finally be destroyed, and you will have fulfilled your mission!
Life After Death
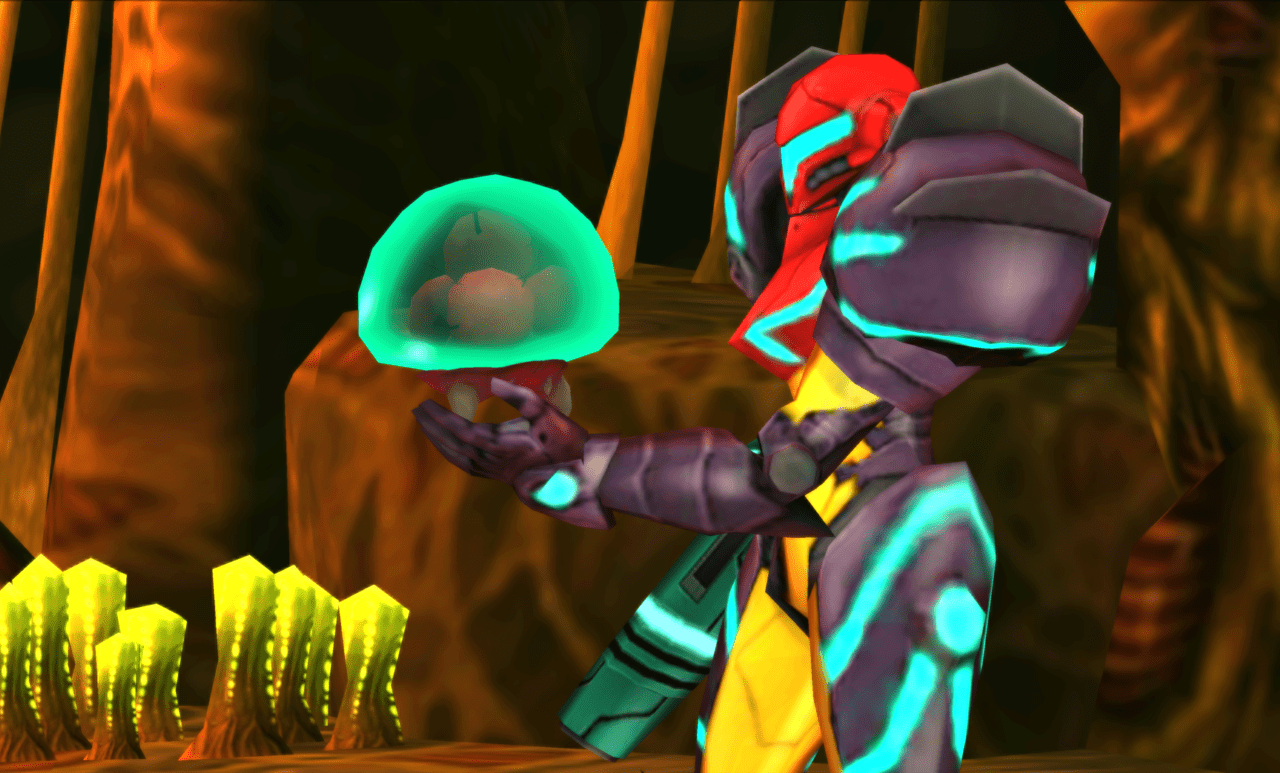
Holy cow. What a battle. Take a minute if you need and take in your surroundings. You’ll see a bunch of hatched Metroid eggs in the background, which reminds me – wasn’t there an egg we rolled past earlier? Once you regain control of Samus, walk ahead.
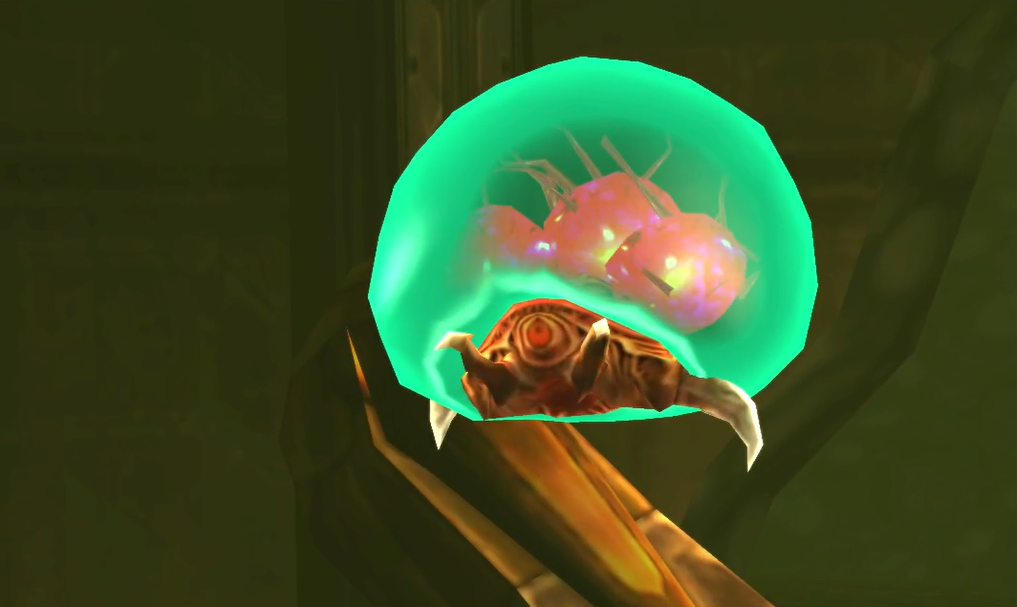
A cutscene will play and Samus will come across the egg, which hatches in front of her. The small hatchling flies towards Samus, and although her mission is the complete eradication of the Metroid species, seeing this infant Metroid innocently floating around makes Samus pause. In an ironic twist, this little guy thinks Samus is its mother! Her charge beam fired up and ready to go, Samus hesitates for another moment before making a decision that would have incredible ramifications on the entire galaxy – she puts her weapon down and extends her hand out to the infant. The infant floats over, and bonds with Samus, hovering around her in a protective bubble.
For the first time in the history of the Metroid series, Samus will now have a companion on her adventure, as the last “powerup” of the game is finally unlocked – the BABY METROID!
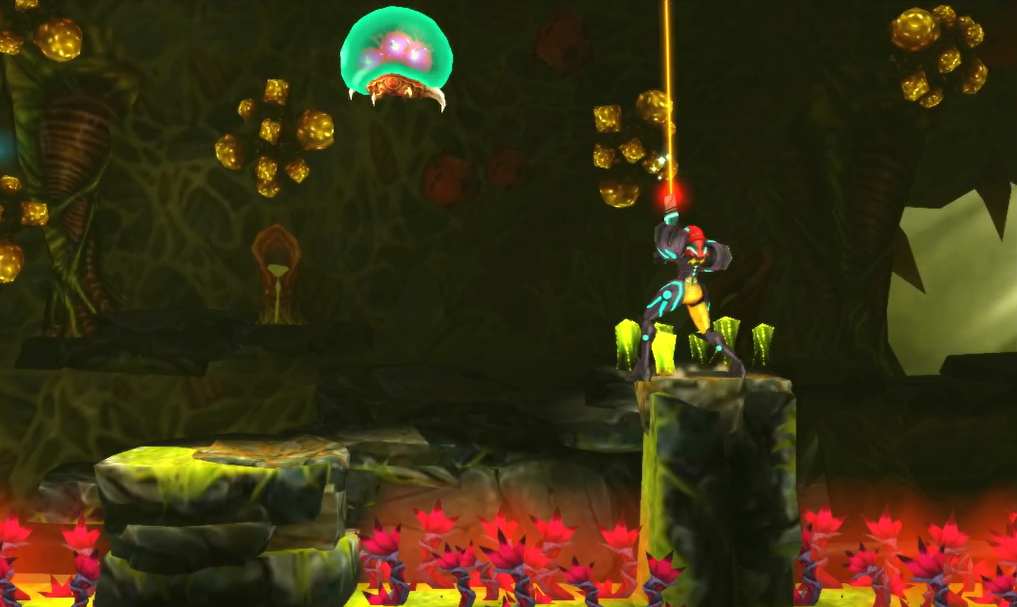
This adorable little guy is going to prove incredibly useful, as all those indestructible crystals you’ve seen around SR388 are what the Baby eats for breakfast! Walk towards the right and you’ll see a wall of crystals; let the Baby get close, and it will eat them up, allowing you to pass. Pro tip: simply aim at the crystals that you want the Baby Metroid to get rid of and it will float over and destroy them.
Take care of the enemies in your path – be careful, as I’m betting you’re still pretty beat up from the Queen Metroid fight – and work your way towards the Save Station. Save your game and then continue to follow the path upwards. Towards the upper part of the pathway, you’ll see a small Morph Ball tunnel covered entirely in red weeds. Slap your Lightning Armor on and roll in to grab MISSILE EXPANSION #63.
Roll back out and continue to climb up. You should notice the enemies are getting weaker, which means we’re closing back in on the surface. Continue pressing forward and you’ll come across a much needed Missile Recharge Station; use it, and then jump up to the platform directly above it that’s underneath the orange spikes. Activate your Phase Drift and roll across the bridge, which as you no doubt guessed is made up of pitfall blocks, and you’ll roll right into SUPER MISSILE EXPANSION #15.
Continue to follow the pathway until you reach an elevator. With the last Metroid in tow, head back up to the surface.
Chapter 9.3 Route:
Next Chapter: The Last Metroid