Metroid Dread Walkthrough – The Ruins of Ferenia
Walkthrough
Across the Ruined City
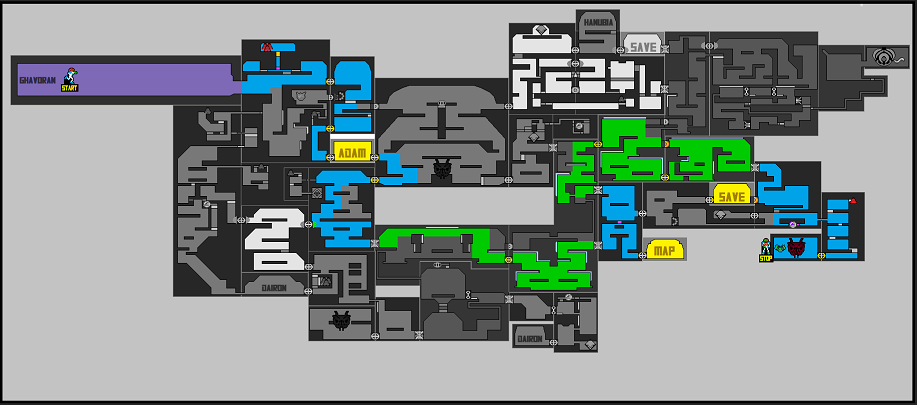
Welcome back to Ferenia. This time, we’ll be able to explore the ruined Chozo city a little more in depth; this opening route will actually be a pretty long stretch. In fact, we’re going to start off hot the second we step out of the tram by grabbing one of the most difficult missile tanks.
Head towards the door and wait for it to open. Once you see the door open, start Speed Boosting; you’ll enter into a new room where you’ll need to quickly jump to the higher platform. You’ll run for a second but then need to wall jump up to the higher platform. Immediately slide and you’ll go crashing through the bricks in a tunnel. When you emerge, immediately crouch and hold your Shinespark. Slide back into the tunnel and lay some bombs; you’ll see a vertical tunnel open up. Release your Shinespark and you’ll go crashing up, landing beside MISSILE TANK #8. As always, see Shinespark Puzzles for a video.
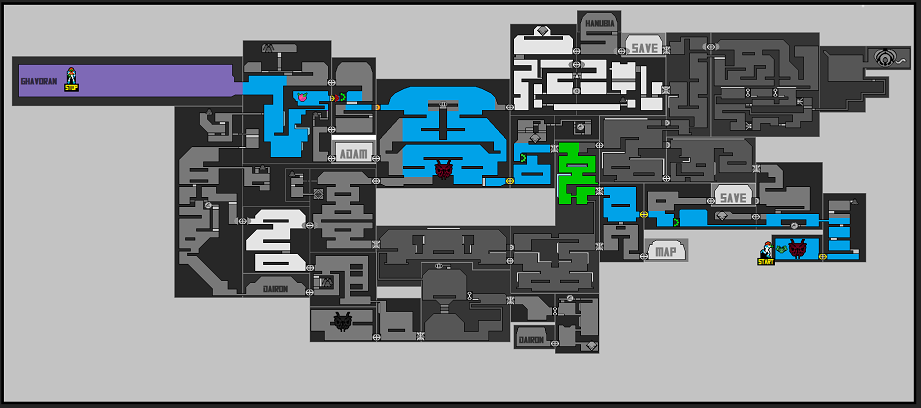
With that out of the way, head through the door on the right hand side. You’ll see a missile cover door, but that dang thing is behind a (what we’ll learn to be) Storm Missile cover. Since we can’t access it now, shoot the floor instead and drop down to the bottom of the room. Worth noting, Ferenia has these awful slug-esque creatures that will cover a door if you’re not quick enough, and they take a bunch of missiles to destroy once they’re latched on, so be aware of them. Drop down in this next room and enter the Network Station.
After Adam warns you about Ferenia’s E.M.M.I., who is equipped with the Wave Beam, he’ll send you on your way. Enter into the next room, and make note: we’ll call this room the Main Hall of Ferenia, since there are so many exits and it looks kind of like what you think a City Hall chamber might look like. We’ll be referencing this room often as a landmark, so remember that! The Main Hall (and Ferenia in general) is full of tough, X-infested enemies, so be on your toes. Despite all the doors connected to this room, the only one where we can make any real progress will be the bottom left door, so head there and go through.
You’ll be inside a vertical hallway now, again, full of tough enemies. Drop down, either avoiding or eliminating all the opposition in your way, until you get to the bottom. It’s time for another E.M.M.I. Zone.
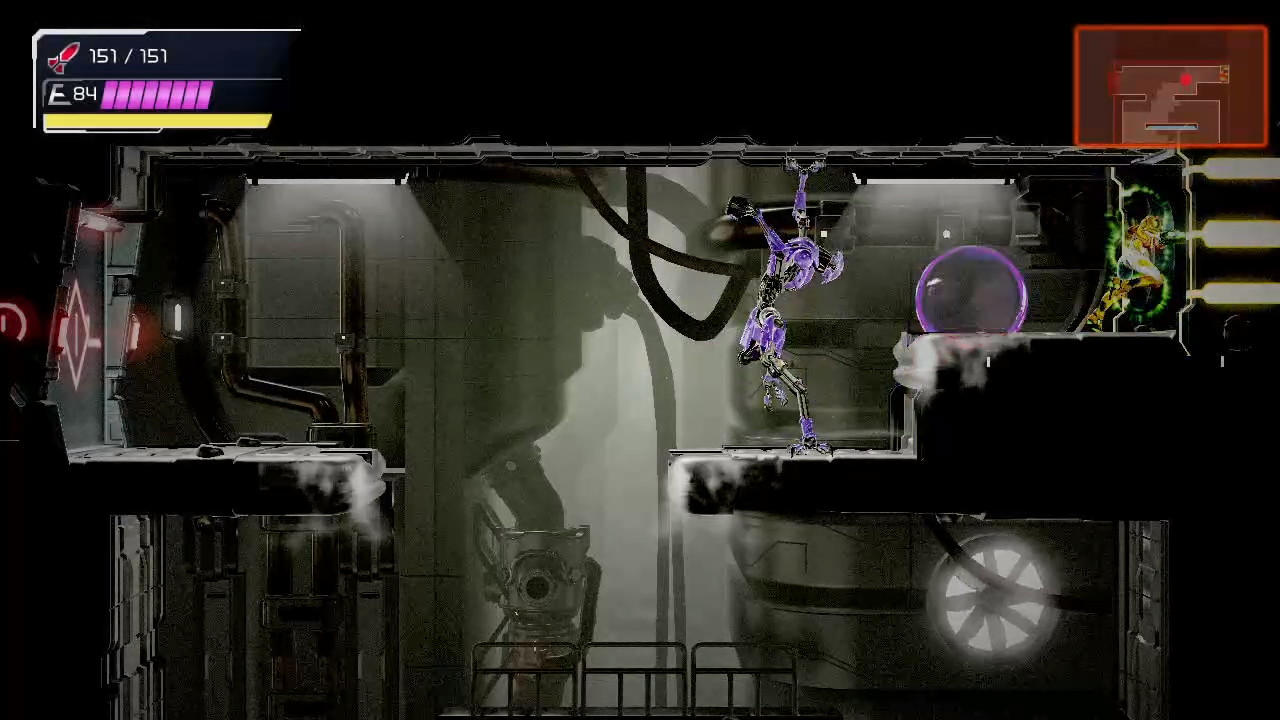
I know I said that the last E.M.M.I. we fought was the toughest, but this one is no slouch either. The Purple E.M.M.I. is equipped with the Wave Beam, meaning it can hit us from afar, regardless of obstacles. It also has a super long range of view that can see you through walls, so be careful. If you can avoid alarming the E.M.M.I., things will probably be okay, but once it knows you’re there, it won’t be a simple case of outrunning and outmaneuvering it; things will be much harder.
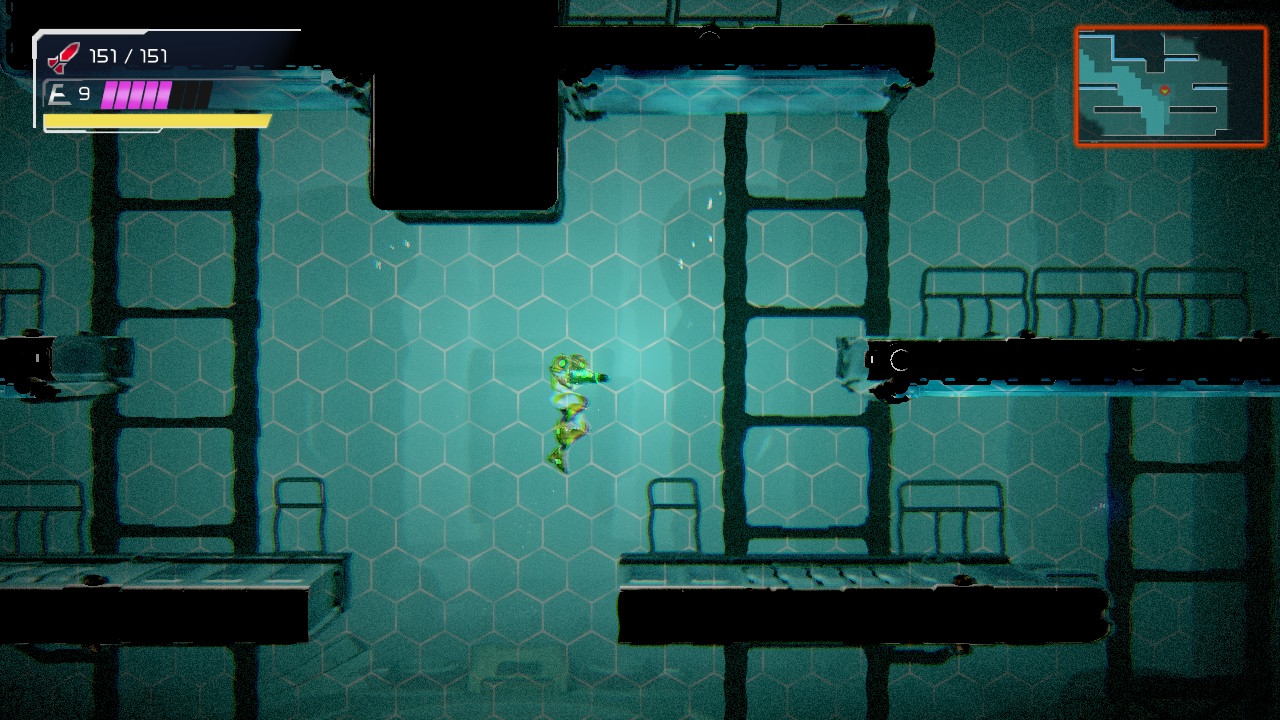
Double jump up and proceed to the right. Flash Shift over to the second platform and once you see that the coast is clear, drop down into the water, where you’ll need to go through the bottom right door. Moving in the water feels even slower here than usual, and it can be pretty painful, especially if the E.M.M.I. is nearby. Get through the door and keep pressing towards the right. You’ll want to go full Spider-Man here and use your Grapple Beam to swing from spider track to spider track; this moves you around a heck of a lot faster than running in water. Work your way to the door on the right and get the hell out of this E.M.M.I. Zone. It might take you a few tries, but don’t sweat it.
Once you’re out, hop over the middle platform in the next room and drop down to the bottom right door. Mercifully, this is a Map Station, so save your game and download Ferenia area data.
Once done, exit back into the previous room and head up. There’s a small platform under the roof, with room for you to fit in. Go up and lay a bomb, then proceed up. Ignore the door to the right; there’s nothing for us over there for right now, so instead, keep heading up until you get to the E.M.M.I. Zone.
Head up as quickly as you can to the top of the first room. There’s an E.M.M.I. Zone door exit on your left, but it leads nowhere, so instead go through the door on your right. It’s worth pointing out, by now you’ve surely seen those little robots that pop-up and self destruct; for most of the game, they’re annoying but easy enough to avoid, but here, since their explosion will alert the E.M.M.I. to your location, I’d maybe take a second and eliminate them since you can be hit through walls. The fewer encounters with the E.M.M.I., the better.
Once again, you’ll need to drop down to the bottom right corner of this room, and once again, you’ll need to move through the water, which once again will feel as though it’s taking a million years. Head through the bottom right door and get into this new room; same idea here, websling across and upwards. Blast the Charge beam door in the top left corner open if you have time (it just opens up access on the other side), but if you don’t, no worries – staying alive is priority number one – just jump up and grab the spider rail and ride it across to the other side of the room. Drop down and get outta dodge.
Now that you’re finally out of the E.M.M.I. Zone, drop down and blast open the charge beam door. There will be a Save Station on the other side, so do your thing. Once you’re done, exit back and continue on, sliding through the tunnel and dropping down.
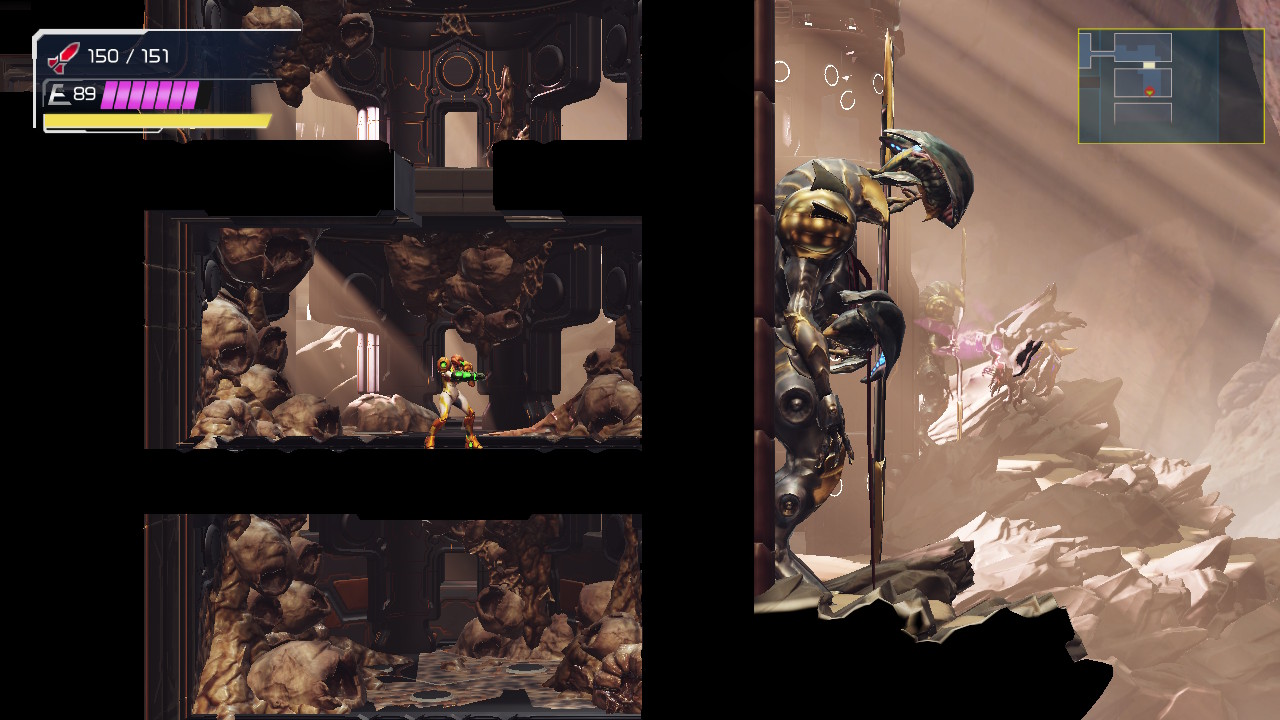
Ignore the doors and passageways to your left and instead hop over the middle ledge and slide into the nook beneath it on the right side. Drop a bomb and grab ENERGY PART #9. Roll through the tunnel on the right wall and when you roll out, shoot the ceiling. Jump up and then fire a missile right in the top righthand corner. You’ll see MISSILE EXPANSION #34 there!
Shoot the floors and keep dropping down, down, down until you find yourself in front of a Gadora. You know what to do. Get ready for a boss battle.
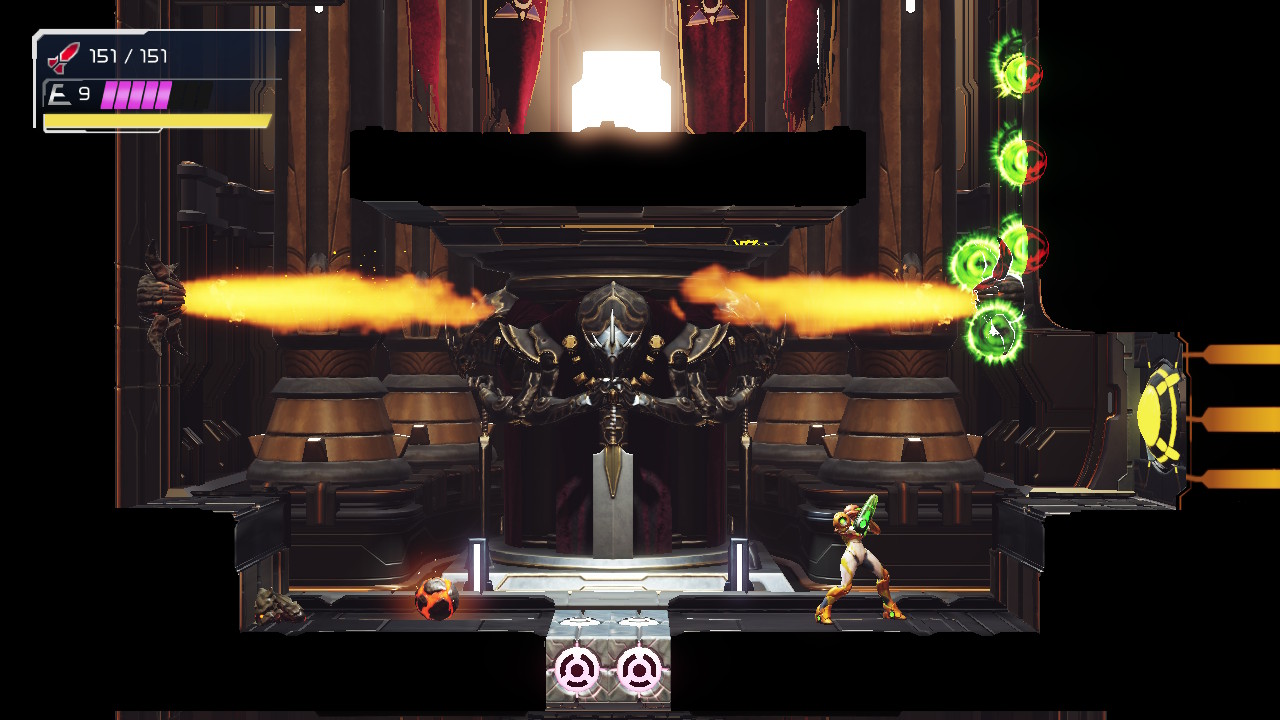
Escue
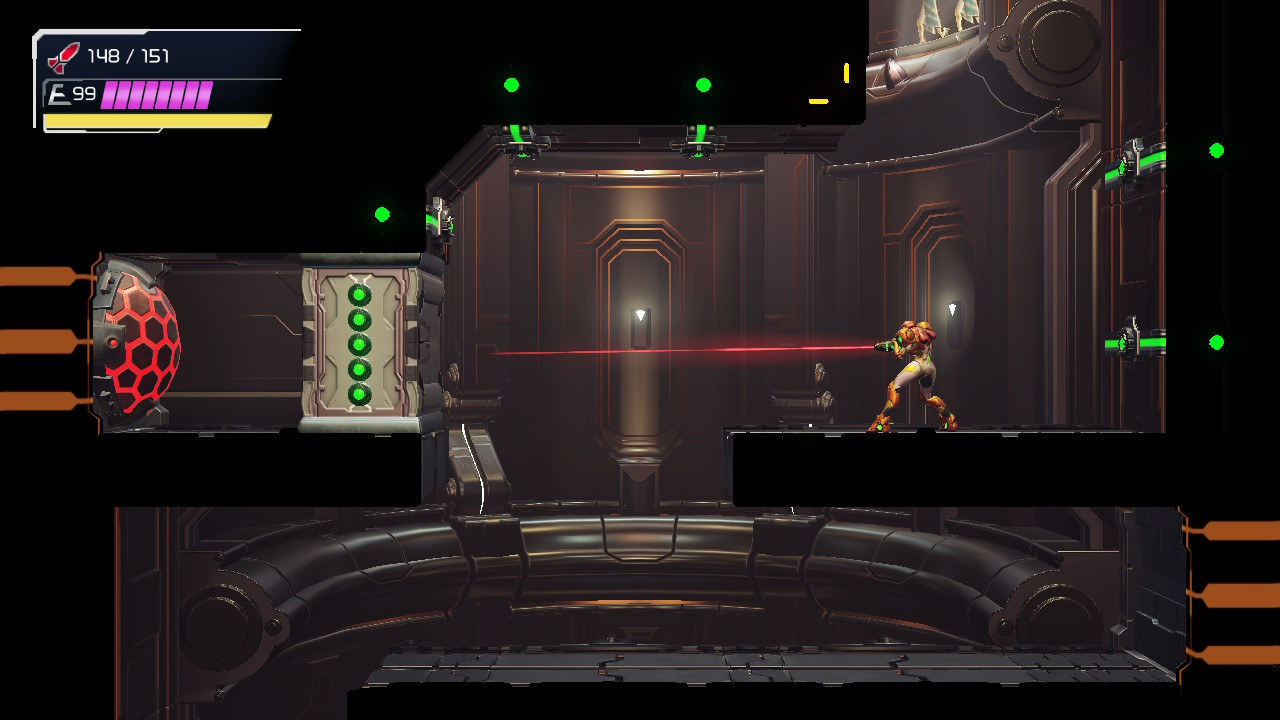
Let’s get ready to rumble! After a moment, Escue will fly in and get this battle kicked off. Escue actually resembles the flying creatures (called Quetzoa’s) that you’ve already been battling since Ghavoran in terms of both movement and attacks to an extent. The thing that separates Escue from the regular flying bugs is he is equipped with a pretty gruesome orb attack that he will use frequently. Unfortunately, no way that I’ve discovered yet can destroy the orb attacks, so you’ll need to just avoid them.
Understanding his attacks and when you can strike is key to victory here. This is an incredibly tight room, so avoiding his attacks will be just as important.
The first attack that Escue will use is his aforementioned orb attack. This looks like what it sounds like: he will spit out a big, purple orb at you. Now, this is easy enough to dodge, BUT if this orb hits the floor, it will send a shockwave along the floor that will hurt you, so either jump over that, or better yet, lure Escue into shooting the orb at the wall.
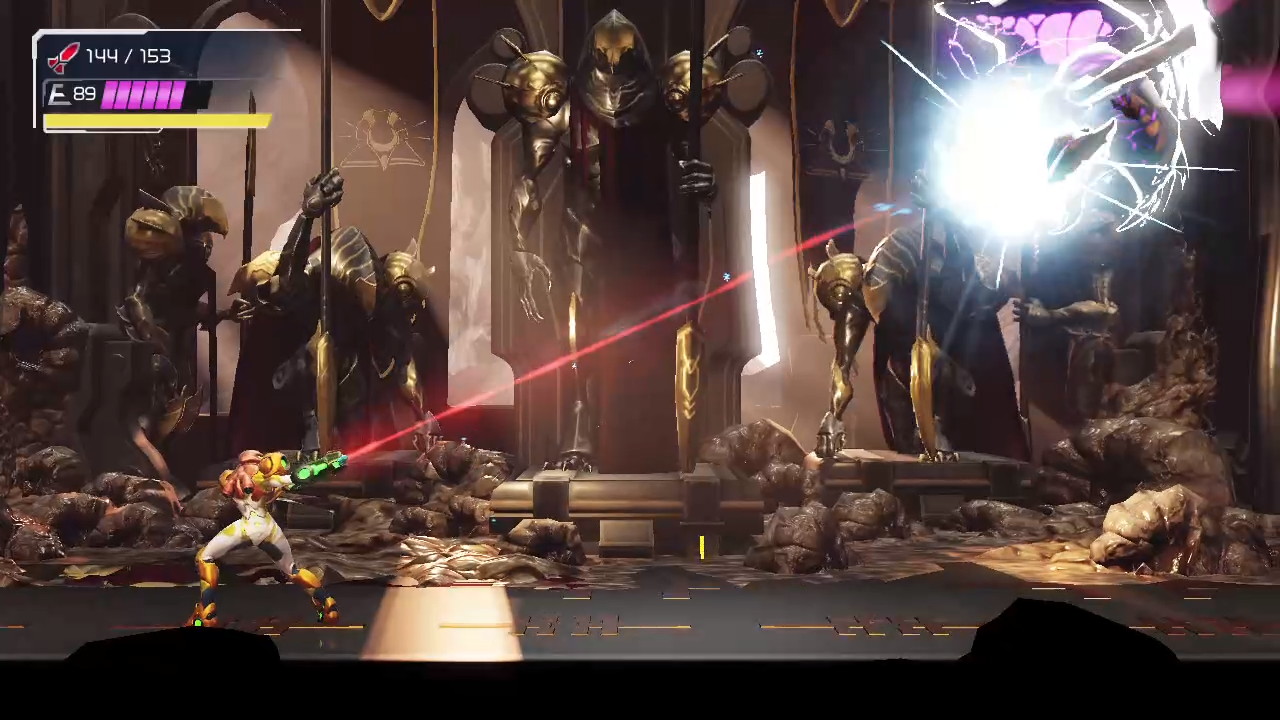

His other attack is similar, except instead of one big orb, there are about half a dozen little “bullets” that spit out and go flying in every direction. These are difficult to avoid, and they can’t be destroyed, so they’re definitely a pain, but one strategy that works fairly well is to get to one side of the room and when you see them start to fire off, start running underneath Escue to the other side of the room, wall jumping or sliding if you need to. This will probably be the attack that dings you the most, so just grit your teeth and do your best.
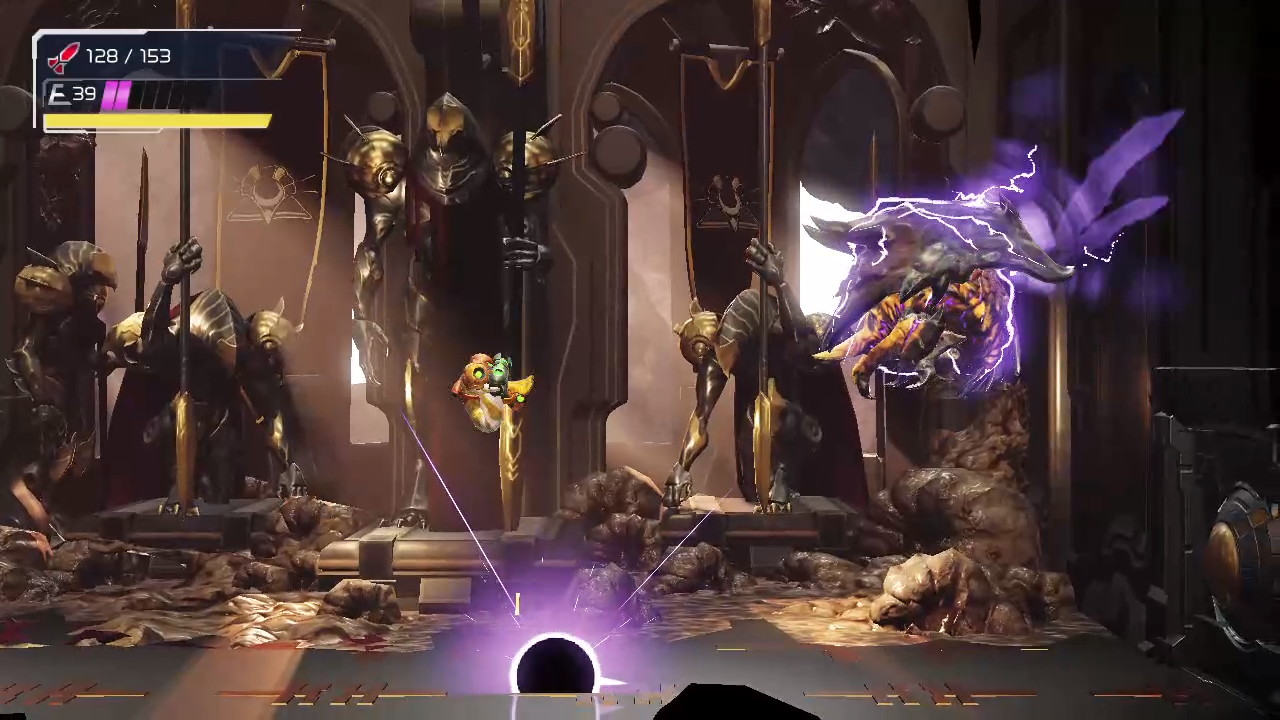
That’s not all though – Escue isn’t afraid to use brute force to hurt you. You’ll see him stiffen up for a second and then lunge at you. He telegraphs this early enough, so you should have enough time to dodge and avoid this, but just watch out if you’re in close quarters with Escue since this can definitely hurt. It’s after he’s lunged that we want to finally launch a counter-offensive.
You’ll notice that his body is surrounded by a sort of purple-looking electricity. When he’s got this around him, don’t even bother attacking, just avoid taking damage. After every time he lunges at you, however, this electric shielding will drop and stay down for a few moments. ATTACK THEN! Hit him with everything you have while his shielding is down, but be careful – those bullets will still be flying and he’ll still be moving around erratically.
If you’re having troubles with taking too much damage while trying to drop, aim, and shoot missiles at him, try using charged shots instead. It might take you a bit longer, but it beats standing around taking a buttload of orbs to the face while trying to aim. Conversely, you can use missiles, but unless you have the time, avoid using the 360° aiming and just let the missiles fly. Eventually, you’ll hit Escue enough times and he will be destroyed.

… ONLY FOR A CORE-X TO POP UP!! WHAT?!
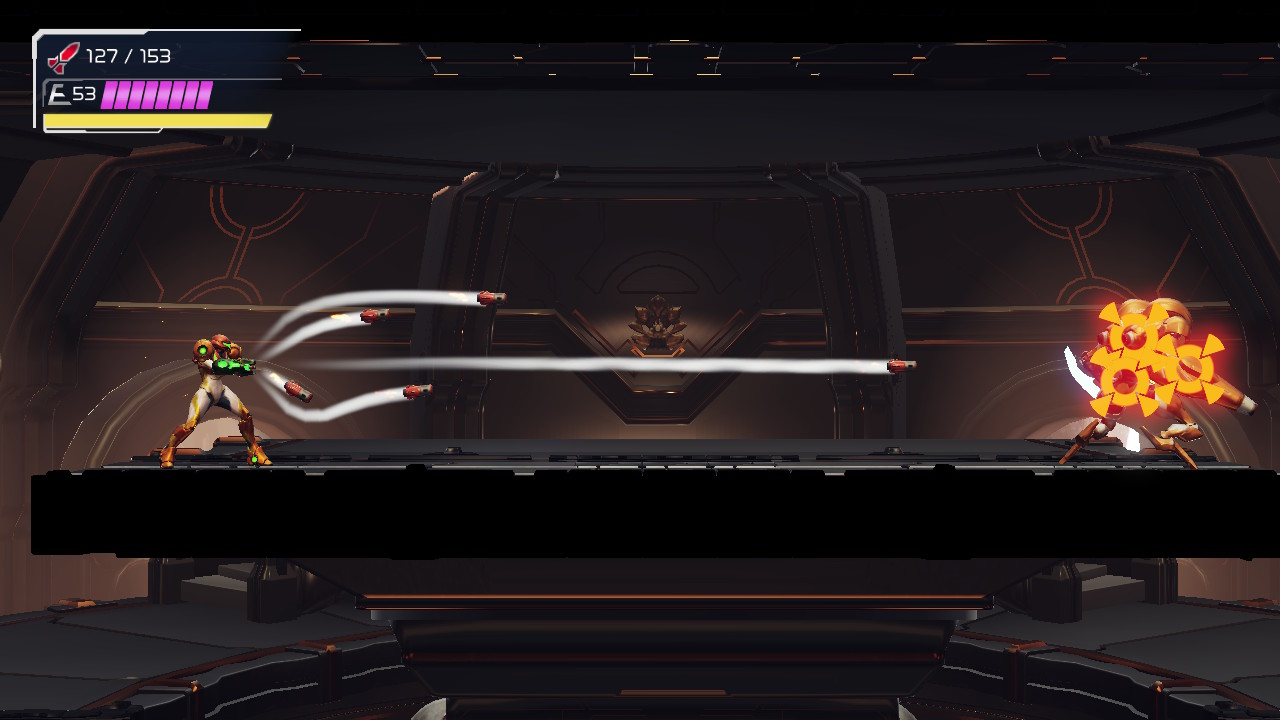
For any fellow Metroid Fusion fans out there, I’m sure you popped off for this moment as much as I did. Yes, out of our defeated Escue is what is known as a Core-X, an enhanced X parasite that houses a special ability inside. There’s nothing really to this battle other than slamming the Core-X with missiles and avoiding it as it goes crashing into you. Hit it with five missiles and claim the STORM MISSILES!
Twin Robot Chozo Soldiers
This might be the best upgrade in the game. Seriously, the Storm Missiles will make such a big difference in the way we can fight bosses that it will be hard to remember a time when we didn’t have them.
Head back up towards where you grabbed the last Energy Part. Take the tunnel on the left side of the wall and you’ll roll out into a room where you can put your Storm Missiles to use right away. Open the lock and use the top right door to save your game if you want. Once you’re ready, head towards the left a room, and then into the E.M.M.I. Zone. Make your way back to the Main Hall (you’ll need to open one more storm block along the way) and once you get there, get ready.
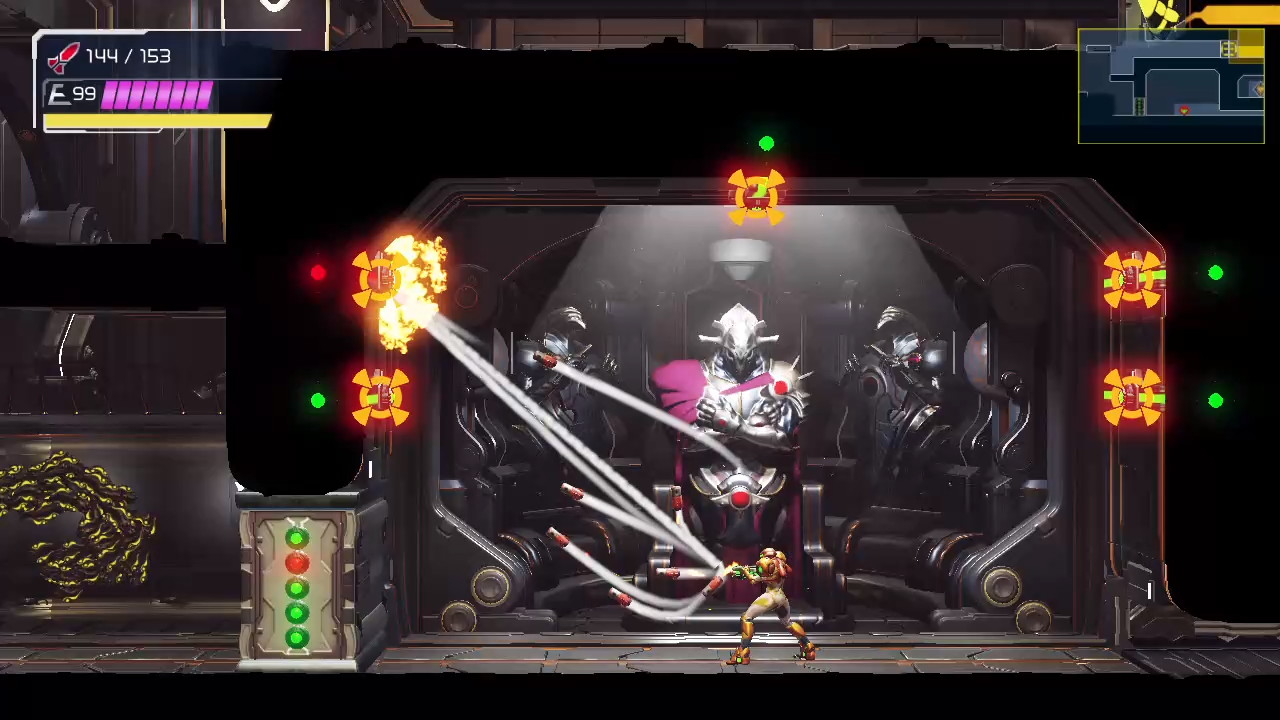
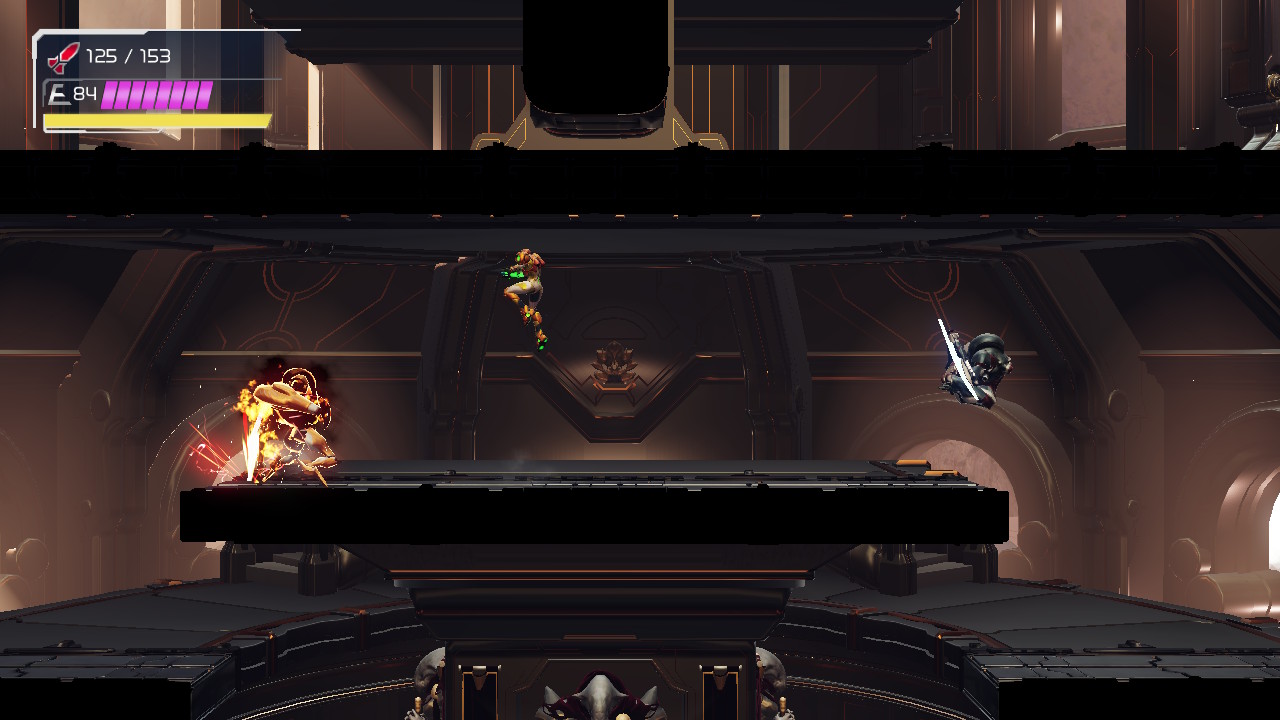
You will be confronted by not one, but TWO Robot Chozo Warriors! Now, before you start to sweat, let’s just go over a few things.
It’s important to know that nothing has changed with the Robots attack patterns (here’s the guide for the original fight), so you don’t need to worry about anything new. The Robots also operate pretty much independently of each other, so you don’t need to be worried about any kind of tag team finishing moves or whatever. The Main Hall is also a huge room, so you should have a ton of room to maneuver around these clunky robots, which is a big advantage. Lastly, you have the Storm Missiles, and they’re going to demonstrate right away why they are a game changer.
What you want to do is basically have your finger down on the Storm Missile button the entire fight. Aim quickly at the Robots and then let them fly. One thing I want to make very clear is that you can charge and aim your Storm Missiles while moving! You do not have to be standing still for the Storm Missiles to lock on and you do not have to have all five missile locks connected. Let me repeat that – you can charge up your Storm Missiles, aim for like one second and as long as you aimed at the Robots and got even one Storm Missile lock on, let those missiles fly! All five missiles will still fly and more than likely all five missiles will hit. Understanding how Storm Missiles work and lock on is so important, I can’t stress it enough.
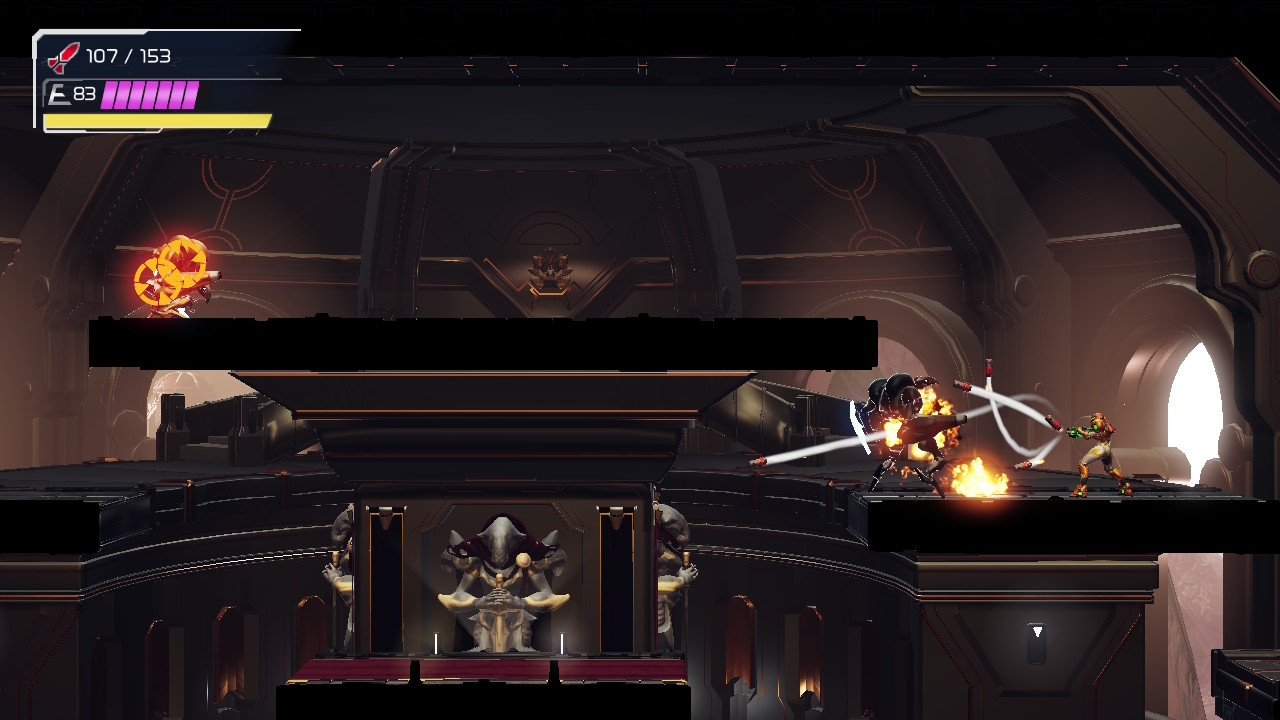
Keep locking on and using hit and run tactics and you’ll find that these Chozo Robots shut down and explode faster than pop rocks and Coke. Worth noting: the silver Chozo Robot has far less health than the Golden one, so if you want to pick them off one-by-one, start with silver.
Once you’ve defeated the Robots, head to the top left of the Main Hall. Blast open the door and you’ll be back beside the Storm Missiles box that we first encountered upon entering Ferenia. Blast it open, destroy the missile cover door, and head inside. Walk towards the Chozo Statue and claim the SPACE JUMP!
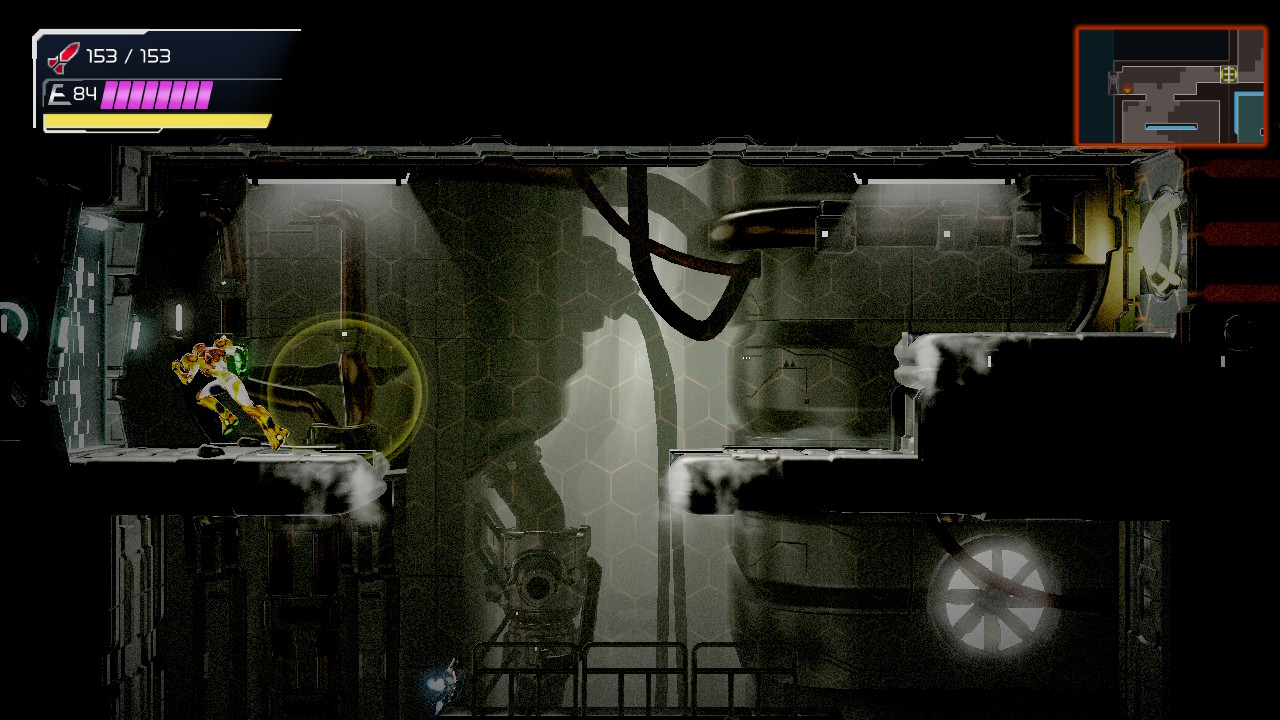
Slide down into the tunnel at the bottom of the room and drop down into the water. The Space Jump will let you jump higher an infinite number of times outside the water, and (for now) an infinite number of times at the same height in the water. Jump across and climb the spider tracks up, blasting away the tumor and opening up a passageway to the entrance of Ferenia. When you’re ready, board the tram back to Ghavoran.