Metroid: Zero Mission Walkthrough – Mission’s End
Walkthrough
We are now in the point in the game that I like to refer to as “God Mode”, meaning you have every available ability needed to get anything and everything in the game. I said it last chapter, but it bears repeating: almost every section in this chapter is optional! If you want to skip right to the final boss, click here and get ready! You should have more than enough firepower to defeat the final boss. However, if you’re like me, you want every single expansion that you can possibly get your hands on, so if that’s the case, strap in because we’re going to do these sections fast and dirty. I’ll leave routing up to you and just tell you where we’ll need to go. Let’s begin.
Chozodia Expansions
Let’s start with a tricky one. Get to the Pirate Ship bridge. From this room, head up and through the top right door. Press forward until you get to a longer hallway with enough room for your Speed Boost to activate in. Go towards the right side of the room and start running towards the left. When you get to the ledge, instead of crouching and charging your Shinespark, just jump! Make it a short, tight jump so that you land just before the door and if done properly, a pathway to the lower level will reveal itself.
This lower level is full of lasers, and if you touch one, you’ll activate a gate that will stop you from getting the Expansion. You’ll want to go back up and start running again. This time, instead of jumping, charge your Shinespark and jump down. Jump and perform a midair Shinespark; you’ll want to have Samus’s legs in basically the same height as the platform you landed on. Once you’re at that spot, fly right and grab ENERGY TANK #11. Shinespark Puzzles will have video, so check that out.
Make your way to the Map Room and head out the door on your right. About halfway or so down the hall, you should see a crack on the ceiling. Bomb it (lay a Power Bomb if you’re having trouble seeing it), destroy the missile block, and grab SUPER MISSILE EXPANSION #11! Keep going right and head outside, climbing up the ledges until you see a ledge that, on your map, should have a circle on it, indicating a power up. Drop a Power Bomb, and roll inside the tunnel to grab POWER BOMB EXPANSION #3.
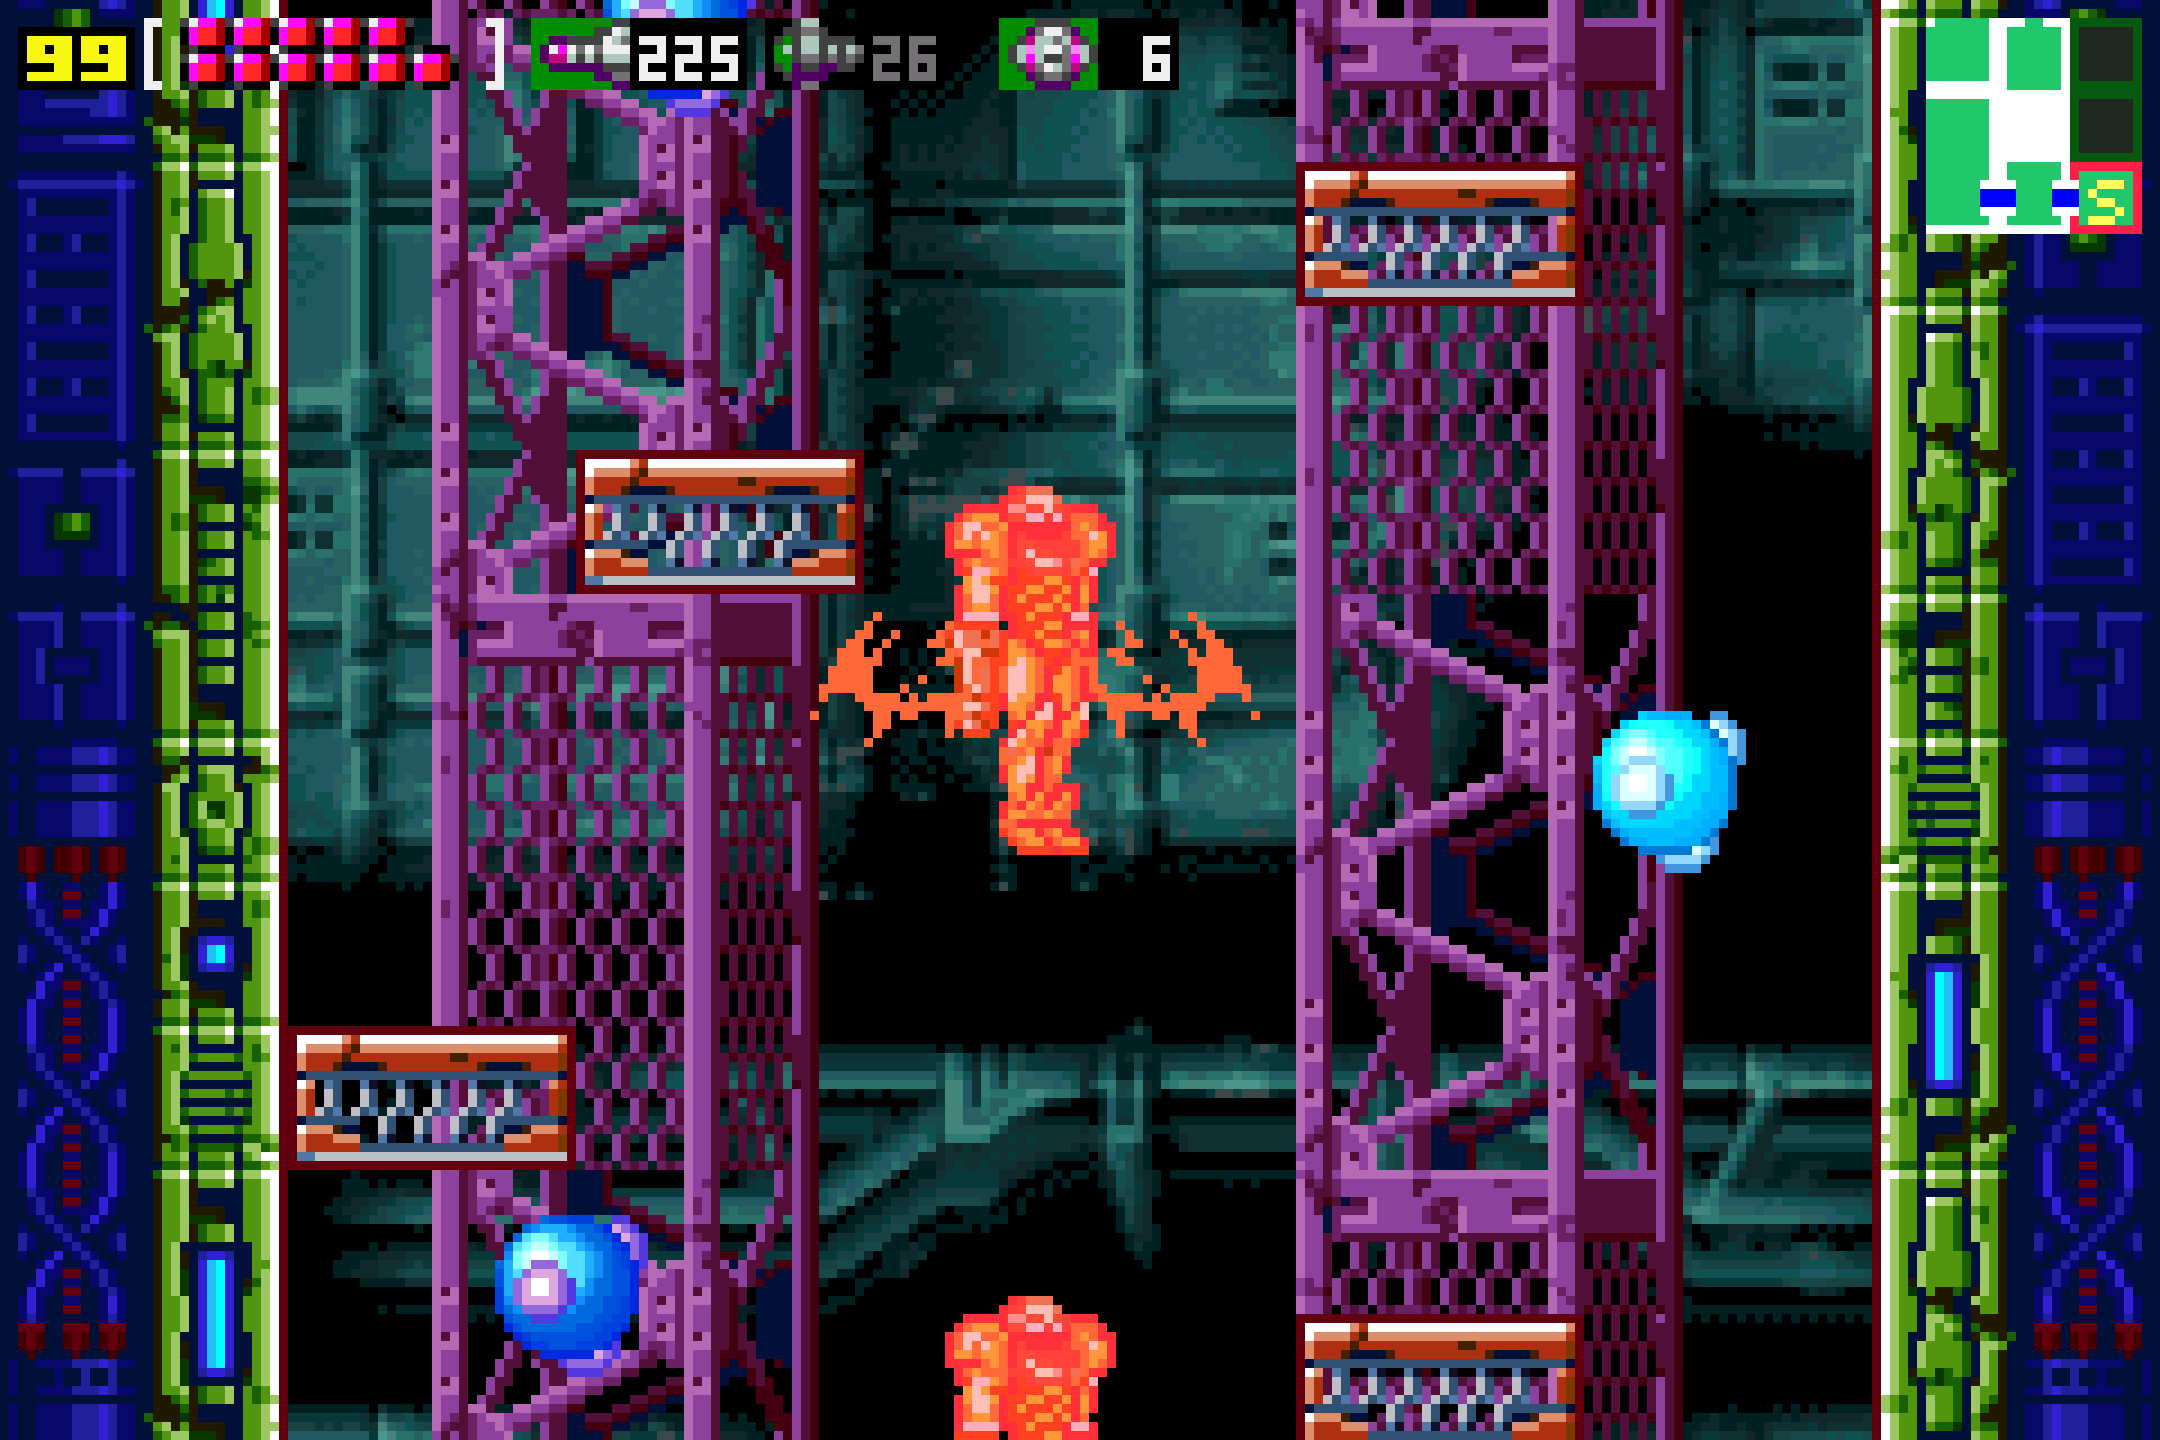
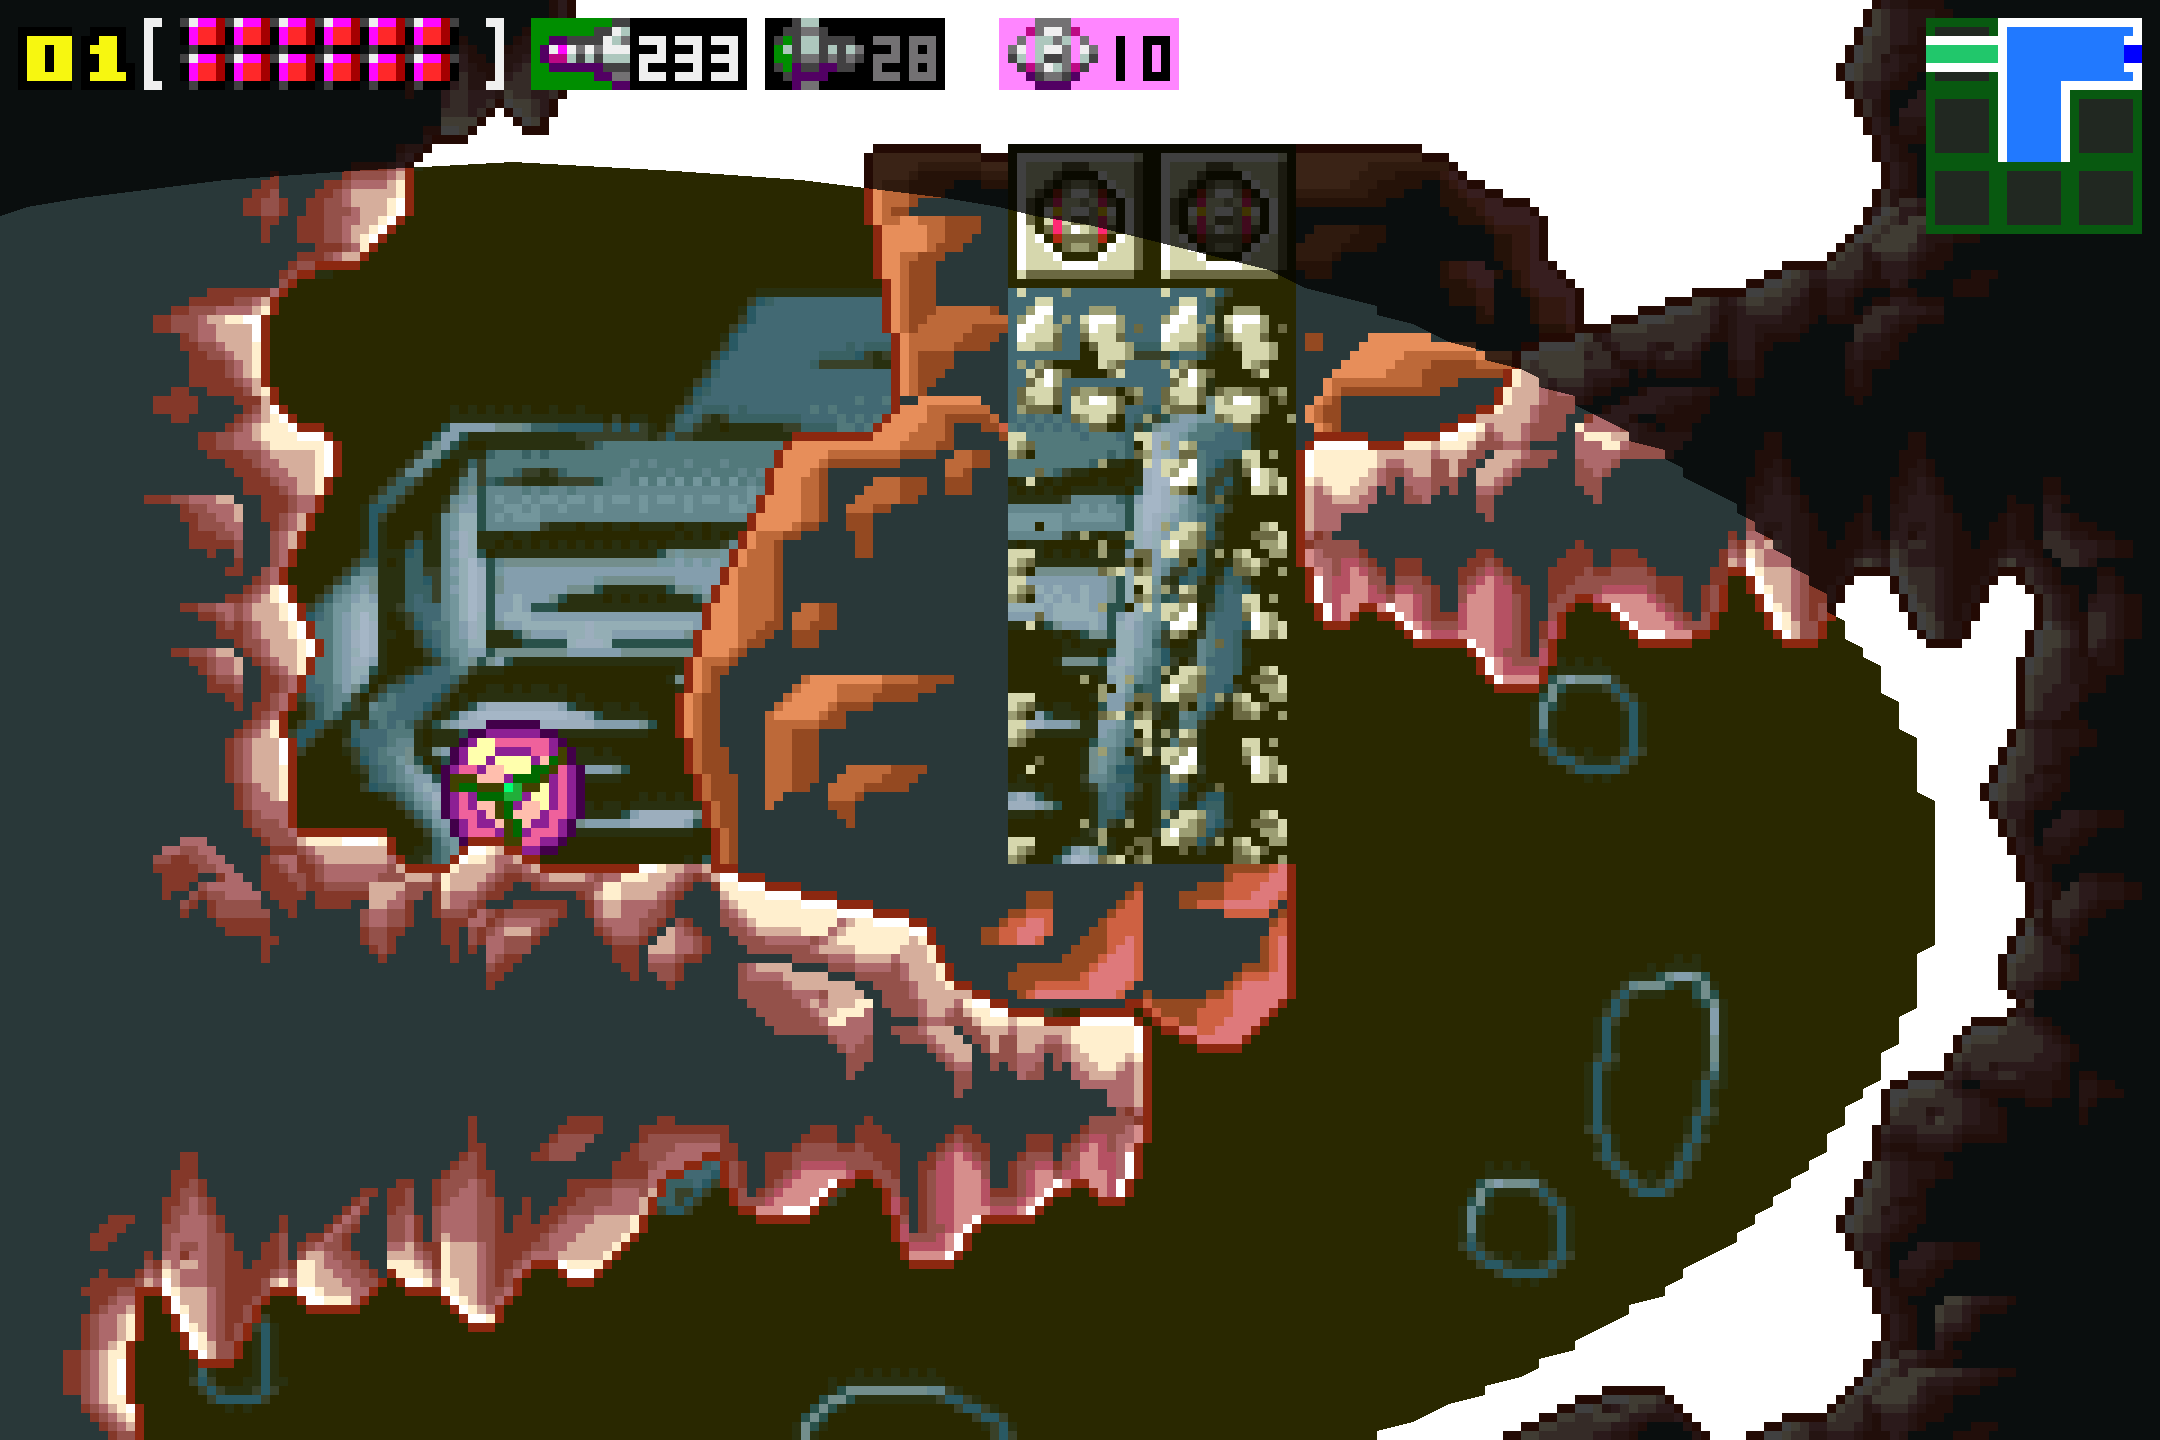
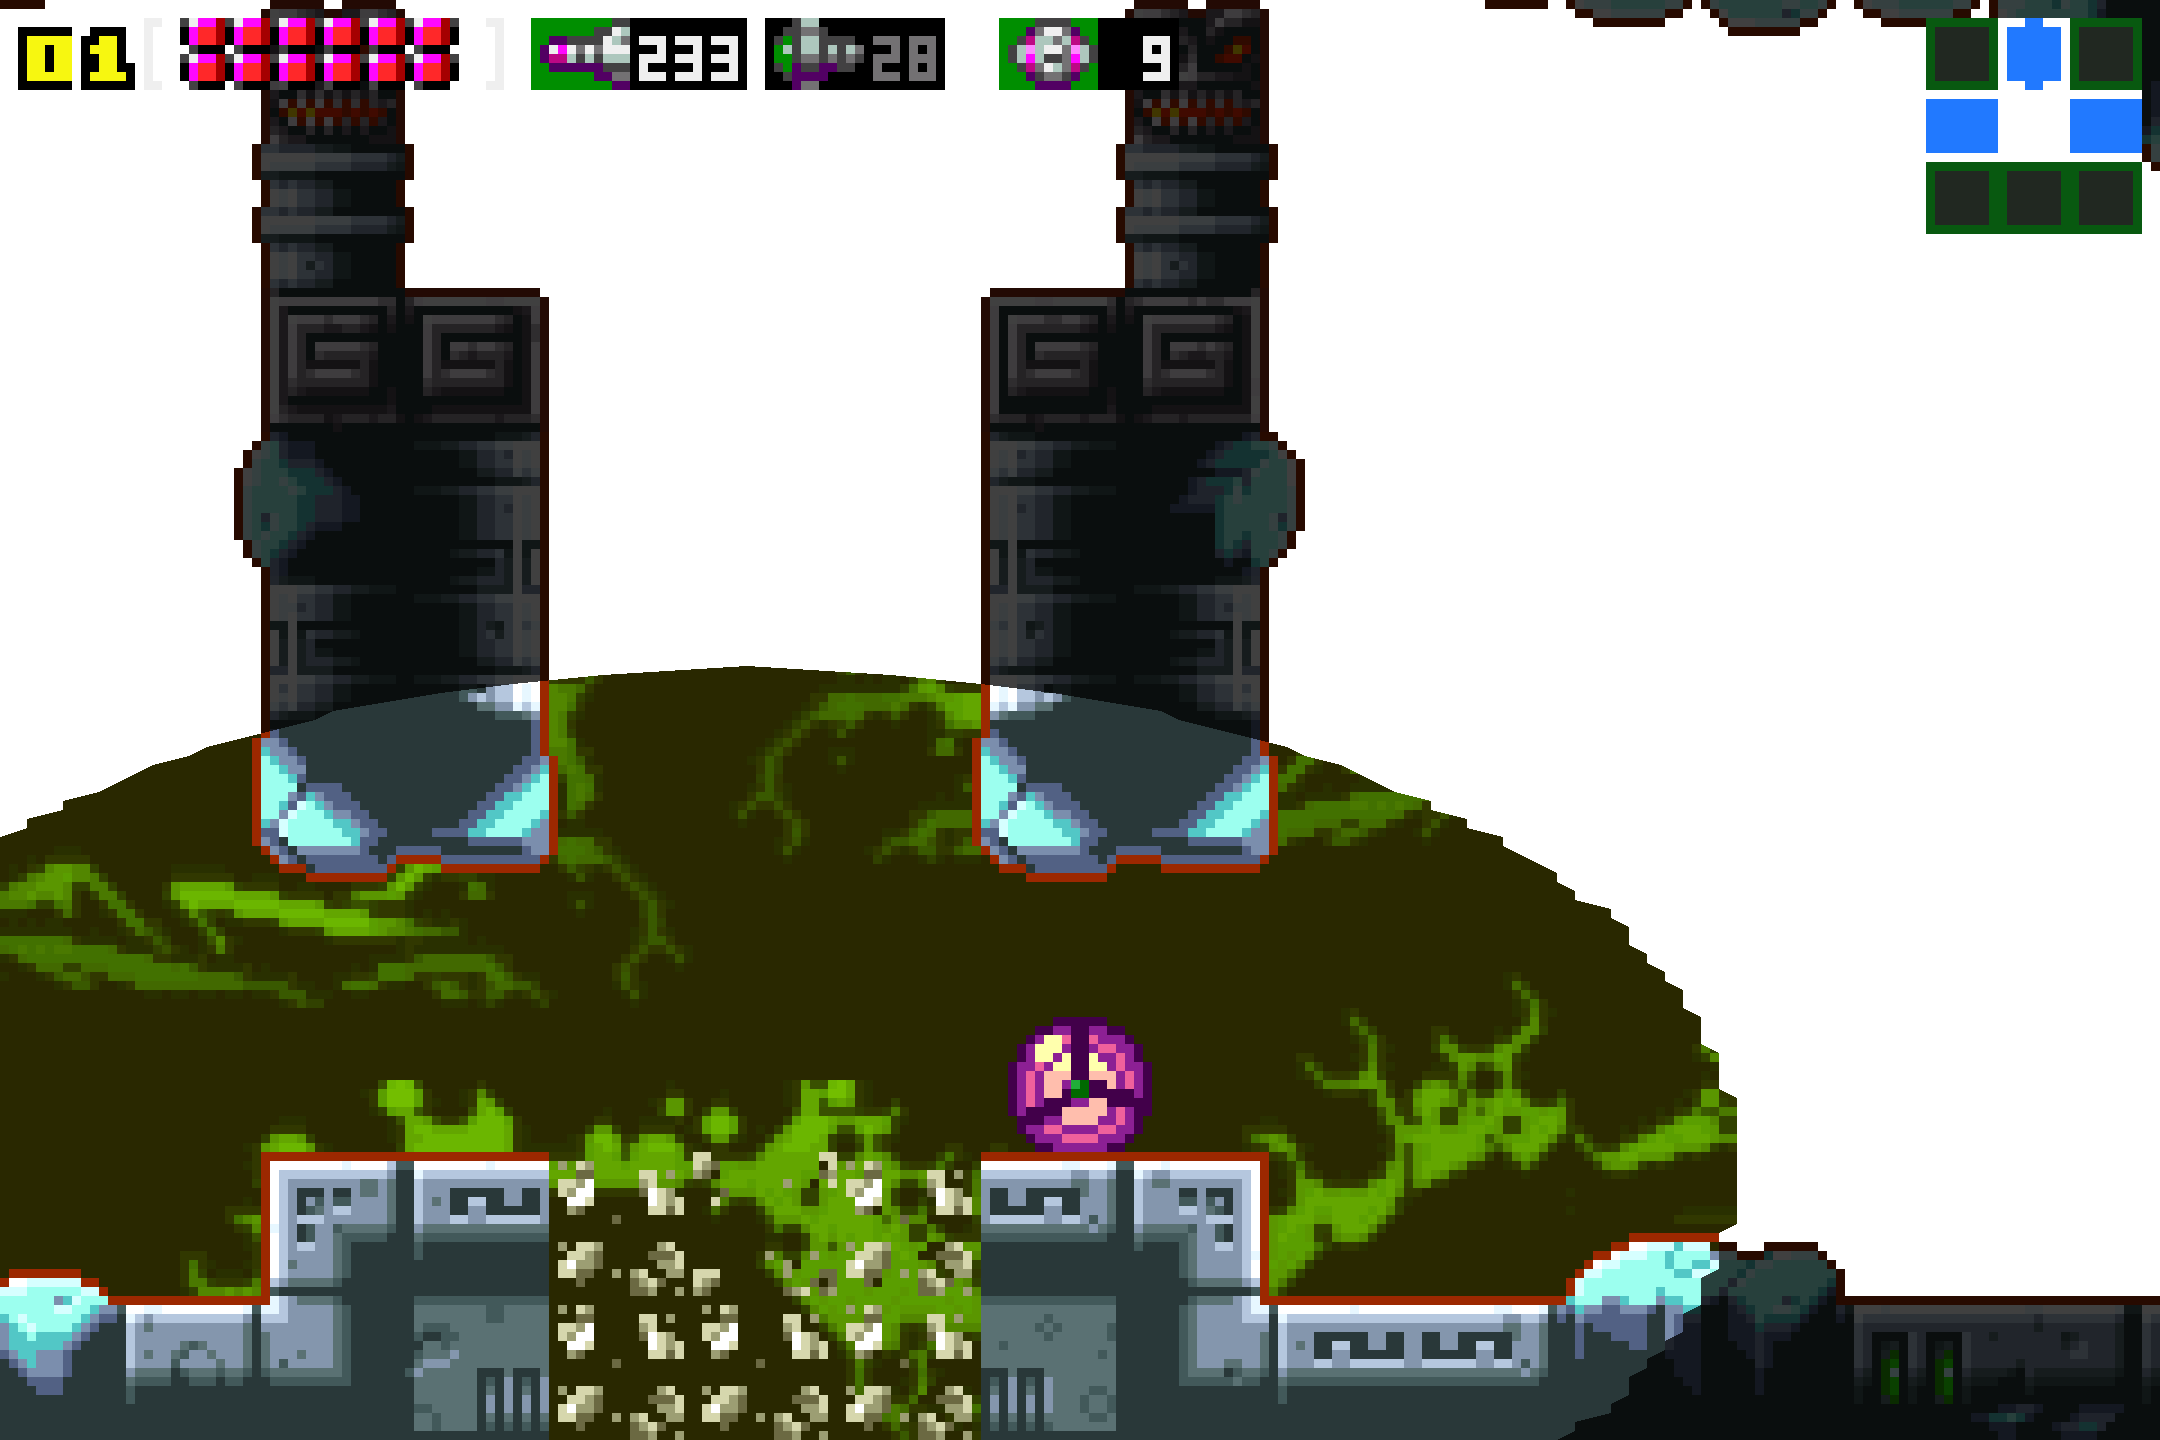
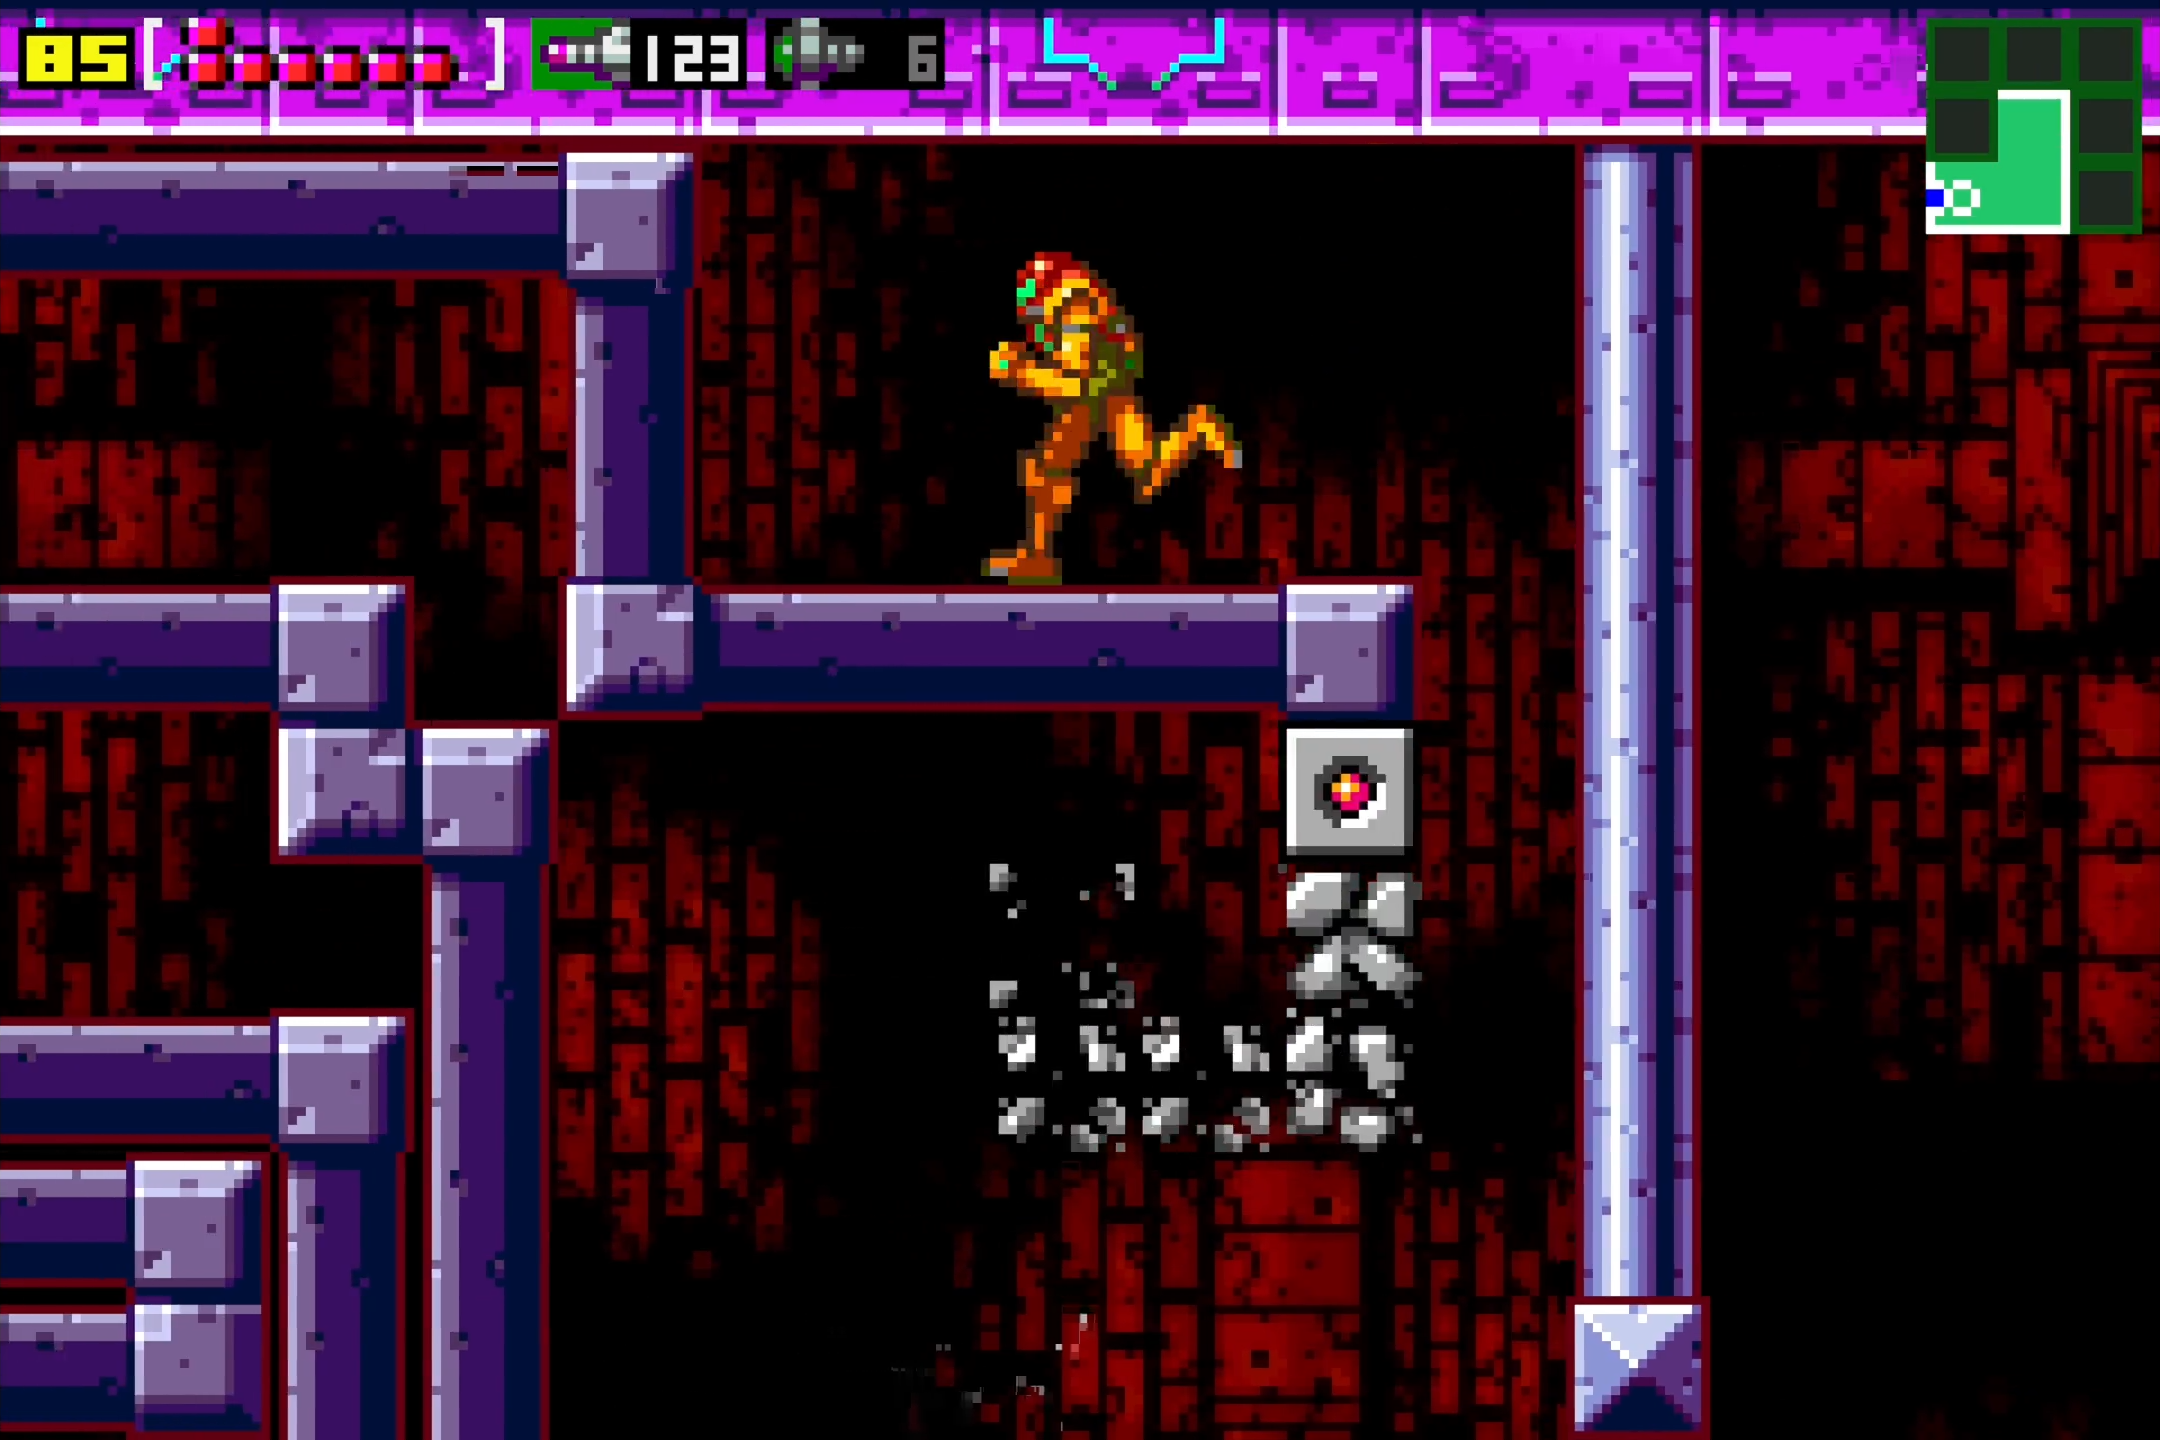
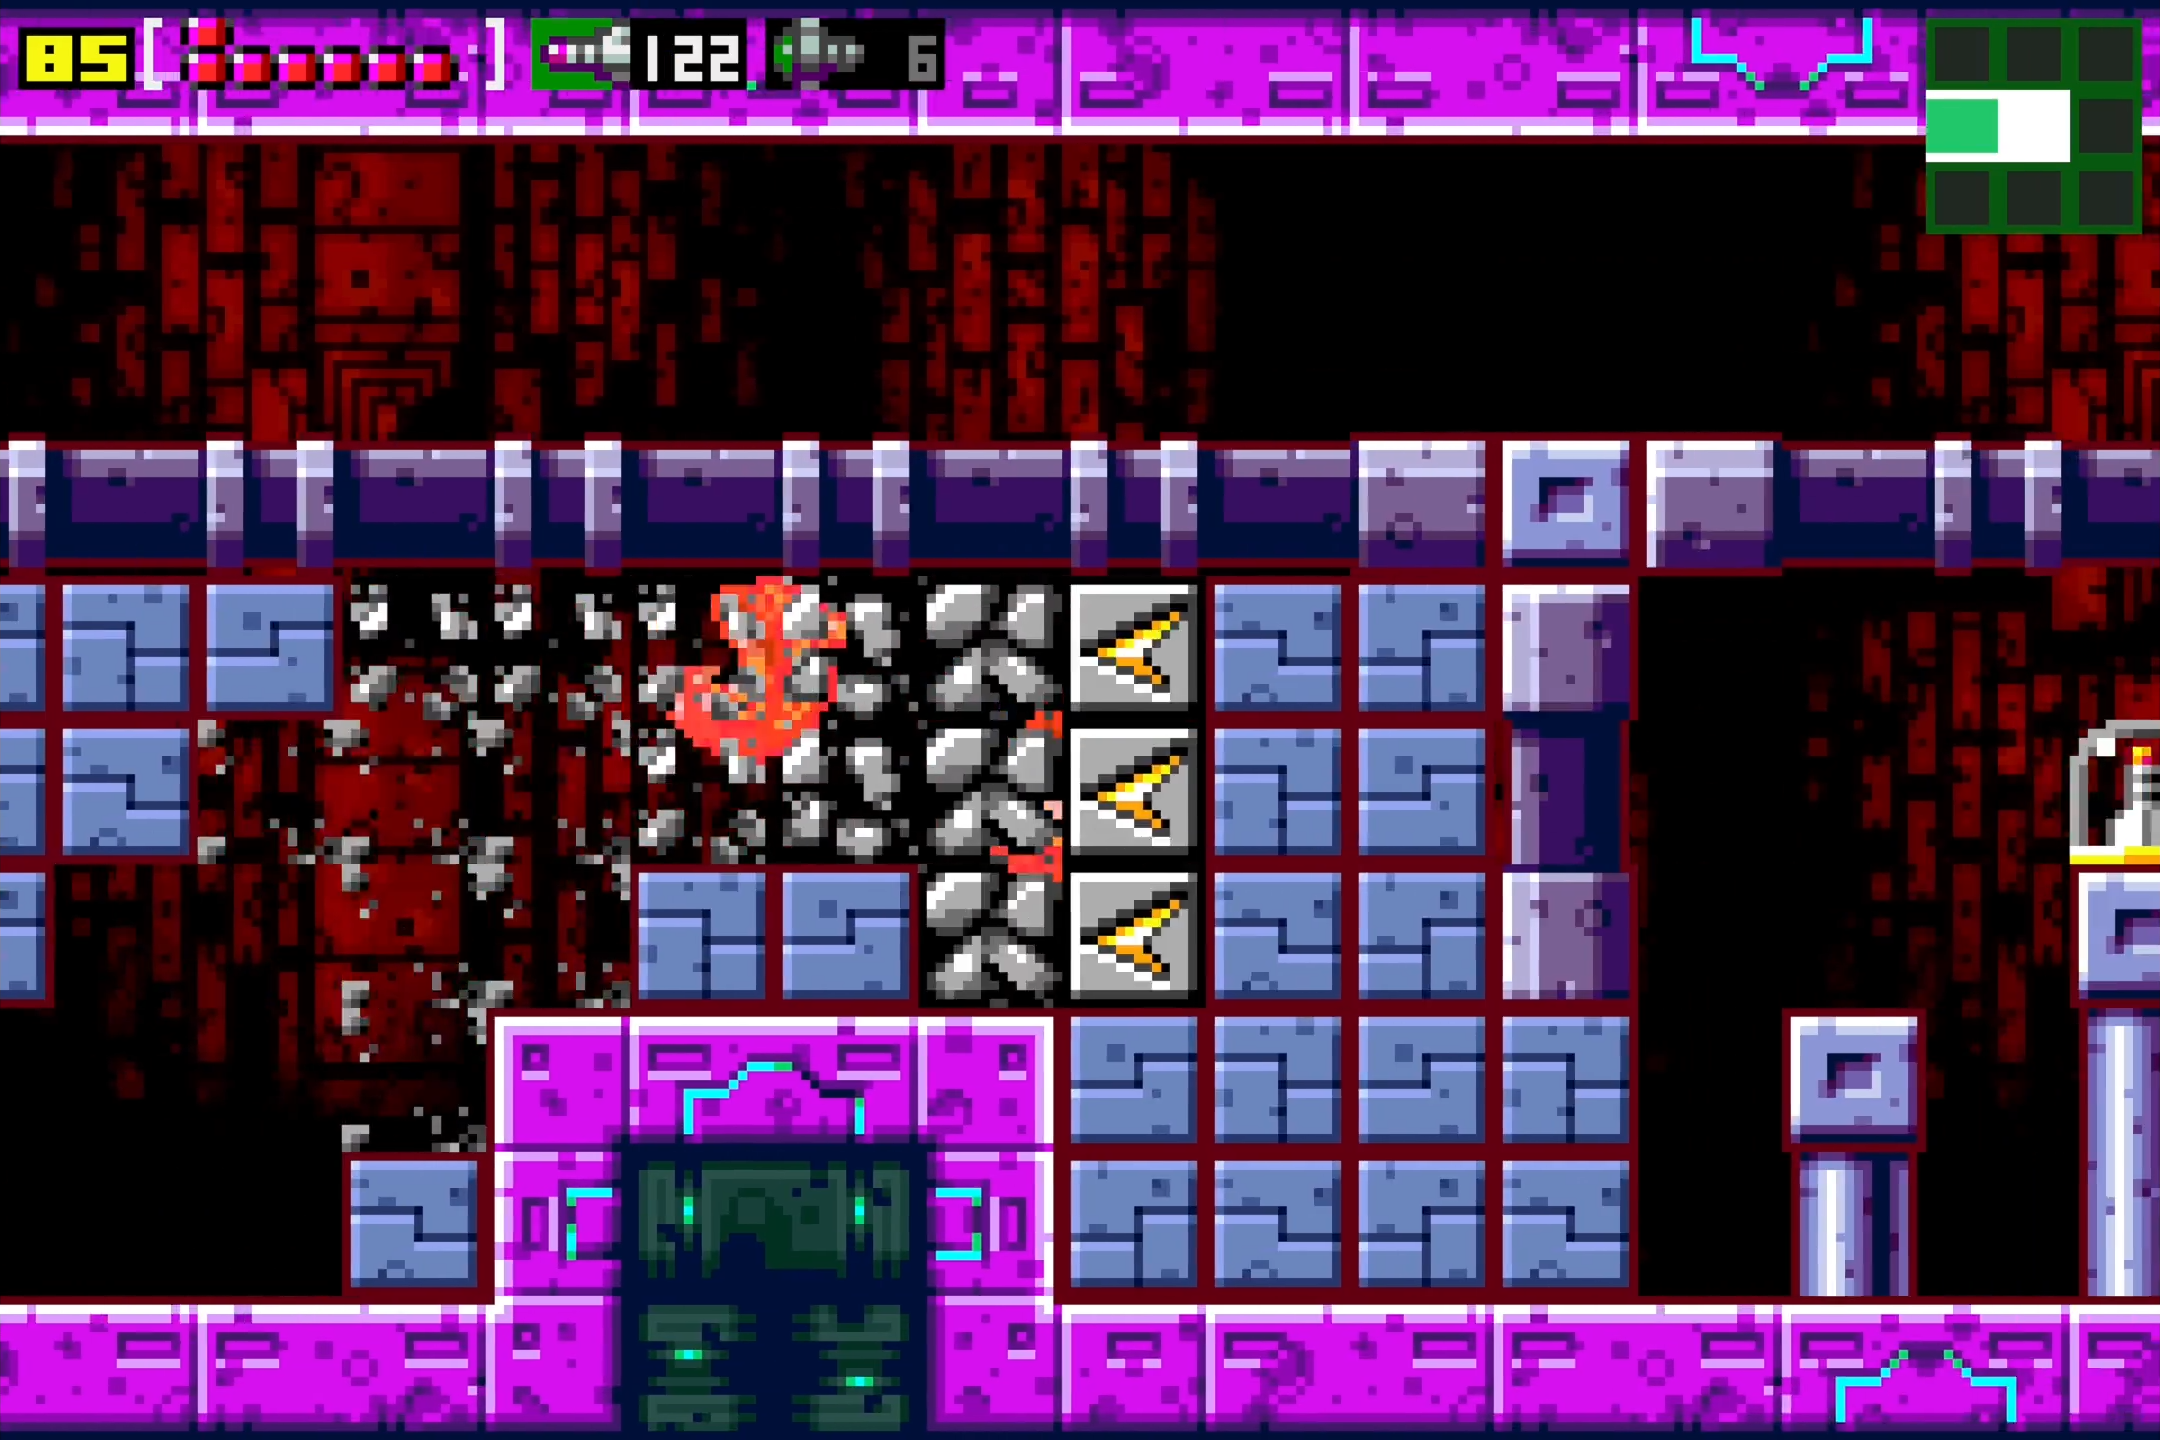
Make your way from here to the “secret” area of Chozodia (the area where the map is green and not blue). Drop down the huge vertical hallway and stop when you get to a bridge with a big glass tube. In one of the Metroid series’ proudest traditions, drop a Power Bomb and watch the glass explode. Drop down and take the path to your right first. Lay a Power Bomb at the wall and press right. Charge up your Shinespark and fly towards the top of this tall hallway and grab POWER BOMB EXPANSION #4.
Head back to the broken tube and this time, drop down and left. Keep dropping down, laying Power Bombs as needed, until you reach a Save Station on the lower right. Head to your left until you get to what looks like a small room with blue blast doors on either side of you. Get to the centre of the room and jump up; there’s a series of hidden tunnels and enemies up there. Follow the path to the top and you’ll find SUPER MISSILE EXPANSION #12 once you lay a bomb to reveal it.
Press into the next room on your left. In this room, you’ll want to lay a Power Bomb to reveal small tunnels that you can roll through. You might need to lay a second Power Bomb, but you should see a tunnel that leads you to SUPER MISSILE EXPANSION #13. Once you’ve got it, head back in the direction of the Save Station to your right, where we started.
On the way, when you get to the room with the huge slope, stop and clear the room of any enemies. Start running towards the Save Station again and your Speed Boost will kick in. In the middle of the next room, Shinespark straight up and you’ll go crashing through ENERGY TANK #12. You’ll also land in the upper area of Chozodia. From here, make your way to the Save Station to your left.
From the Save Station, follow the path left until you get to a room with bombable blocks as the floor. Destroy the blocks, drop down, eliminate the Pirate, and shoot a missile at the left side of the wall to reveal SUPER MISSILE EXPANSION #14.
From here, continue pressing up until you are in a room that’s directly under where Super Missile Expansion #6 was hiding. There should be three tunnels, one on the ground, one in the middle, and one towards the top of the room. Roll through the topmost one and continue until you’re at the rightmost corner. Aim three missiles at the ceiling to destroy the blocks there and jump up to grab POWER BOMB EXPANSION #5.
This is it for Chozodia for now, so backtrack to the broken glass tube area and make your way to Crateria.
Crateria Expansions
Once you arrive, make your way to the top right portion of the area, referred to as the Chozo Ruins. About halfway up the far right wall is a blast door inside the mouth of a Chozo Statue. We’re going to refer to this door as the Chozo Door since we’re going to be referencing it for the next couple of powerups.
To start, head into the door and follow the path back into Chozodia. You should run into a nook that, if you drop a Power Bomb, will have a missile block on the left wall. Destroy it to grab POWER BOMB EXPANSION #6.
Head back towards the Chozo Door, and let your Speed Boost charge up. Crouch as soon as you go through the door and, while your Shinespark is charging, drop down to the platform directly below the Chozo Door. Get into Morph Ball form and release your Shinespark to the left, and you should go crashing into MISSILE EXPANSION #43! As always, see Shinespark Puzzles for video.

Head back towards the Chozo Door and once again, Speed Boost towards the door and crouch as soon as you go through it. This time, *quickly* jump upwards and get yourself on the upper slope. Shinespark towards the right and grab SUPER MISSILE EXPANSION #15. See Shinespark Puzzles for visuals.
From here, make your way to the elevator that takes you from Crateria to Norfair. Instead of going down, though, head towards the left (our goal is the room where Samus’s ship used to sit, RIP). Along the way, you should see two Power Bomb blocks on the floor; destroy them to get rid of them permanently. Start Speed Boosting and run towards the left. When you get to the room where Samus’s Ship was, crouch and charge your Shinespark. Jump up on the little ledge and position yourself on the little platform that seems a bit more level than the rest of the slope. Morph down and release your Shinespark, BUT – release it to the Northwest (up and left)!! You’ll go flying like a little cannonball and eventually crash into the cliff wall. If you positioned yourself right, you should have created a little tunnel that, once you lay a Power Bomb to clear the rest of the blocks, you can grab POWER BOMB EXPANSION #7 in. As always, see Shinespark Puzzles for full video.
That’s it for Crateria! From here, make your way to Tourian, taking the path you escaped from earlier.
Tourian Expansions
Feels kind of weird to be back in Tourian after you’ve already defeated Mother Brain, no? Just me? Let’s make our trip here as short as possible then.
Get yourself to the destroyed spot where Mother Brain’s Tank sat atop and lay some bombs on the floor. You’ll see a Super Missile block appear; destroy it, drop down, and grab POWER BOMB EXPANSION #8!
Make your way into the hallway to the right of the Mother Brain room (and to the left of the Save Station) and get to the far right side. Start running towards the left, crouch and charge your Shinespark, and get back into the Mother Brain room. Above you and almost directly above the blast door, you’ll see a block in the ceiling. Jump up so you’re level directly underneath the block and release your Shinespark to the left. You’ll have to jump high to get the spot right, and it’s tricky to describe, so this might take a few tries (check out Shinespark Puzzles), but once you get it, you should go crashing right into a room with a bunch of debris. Get rid of it and soon enough you’ll see MISSILE EXPANSION #44.
That’s it for Tourian, let’s head back to Kraid’s Lair! We can take a shortcut that leads to the very first room we started the game in at Brinstar by laying a Power Bomb by the rock slide in Crateria (laying another Power Bomb where you land in Brinstar will also reveal a Morph Ball canon that can shoot you back up in the event you need to go back for something). This is the quickest way to get back to Kraid’s Lair from here.
Kraid’s Lair Expansions
There’s only a single expansion left here, so this should be a quick stop.
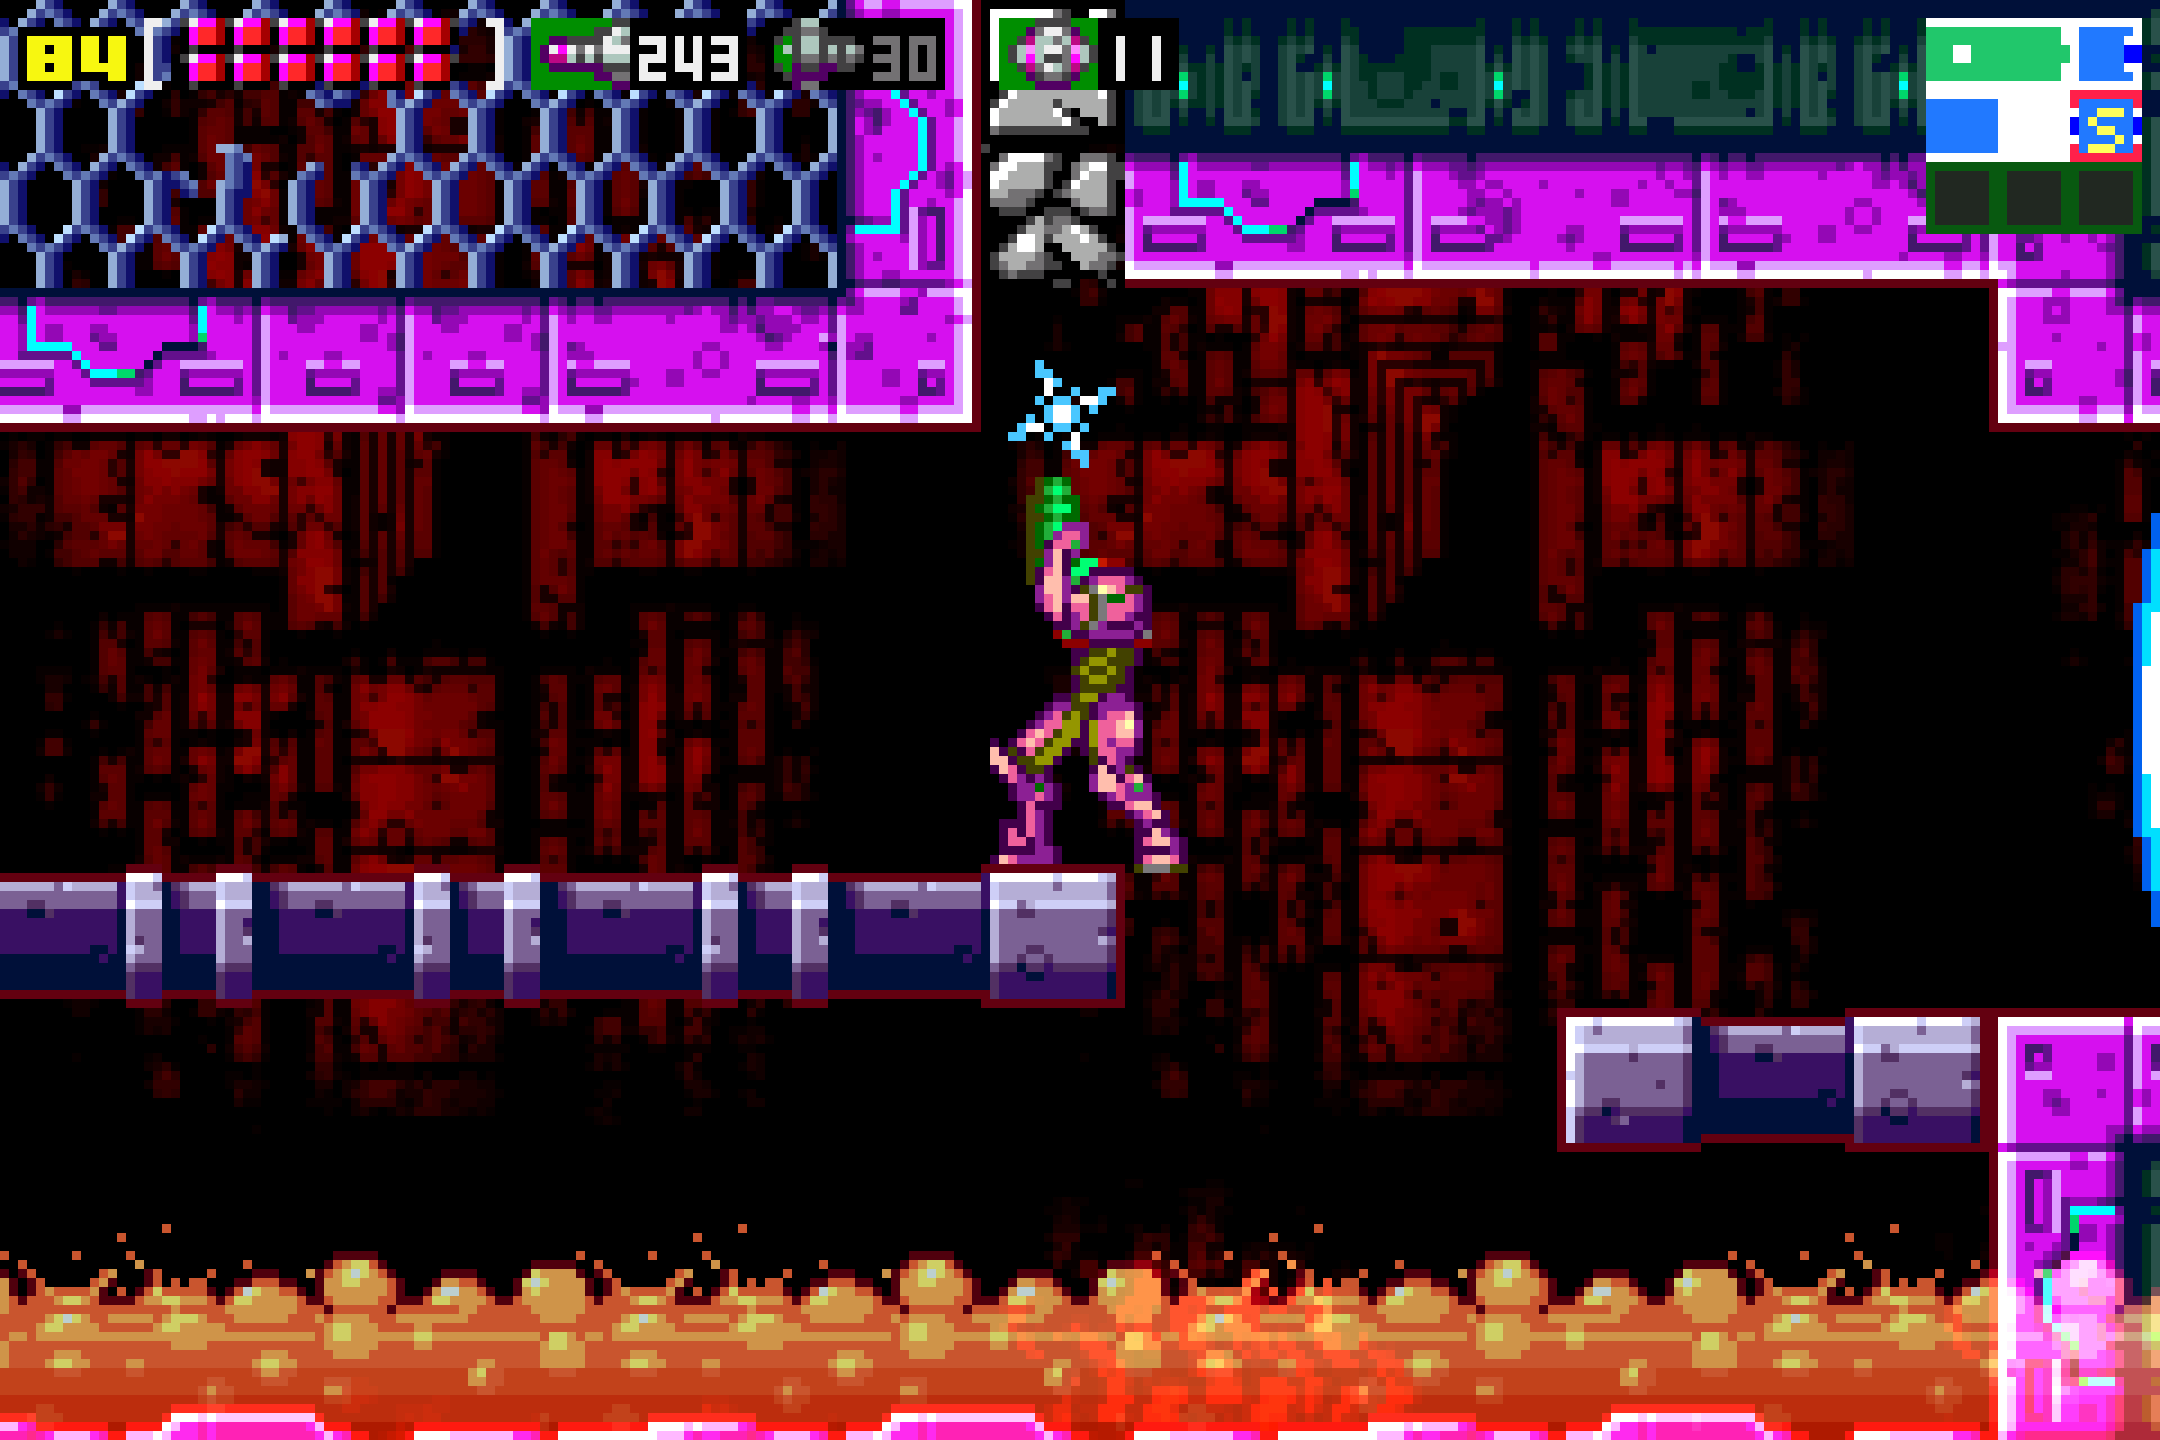
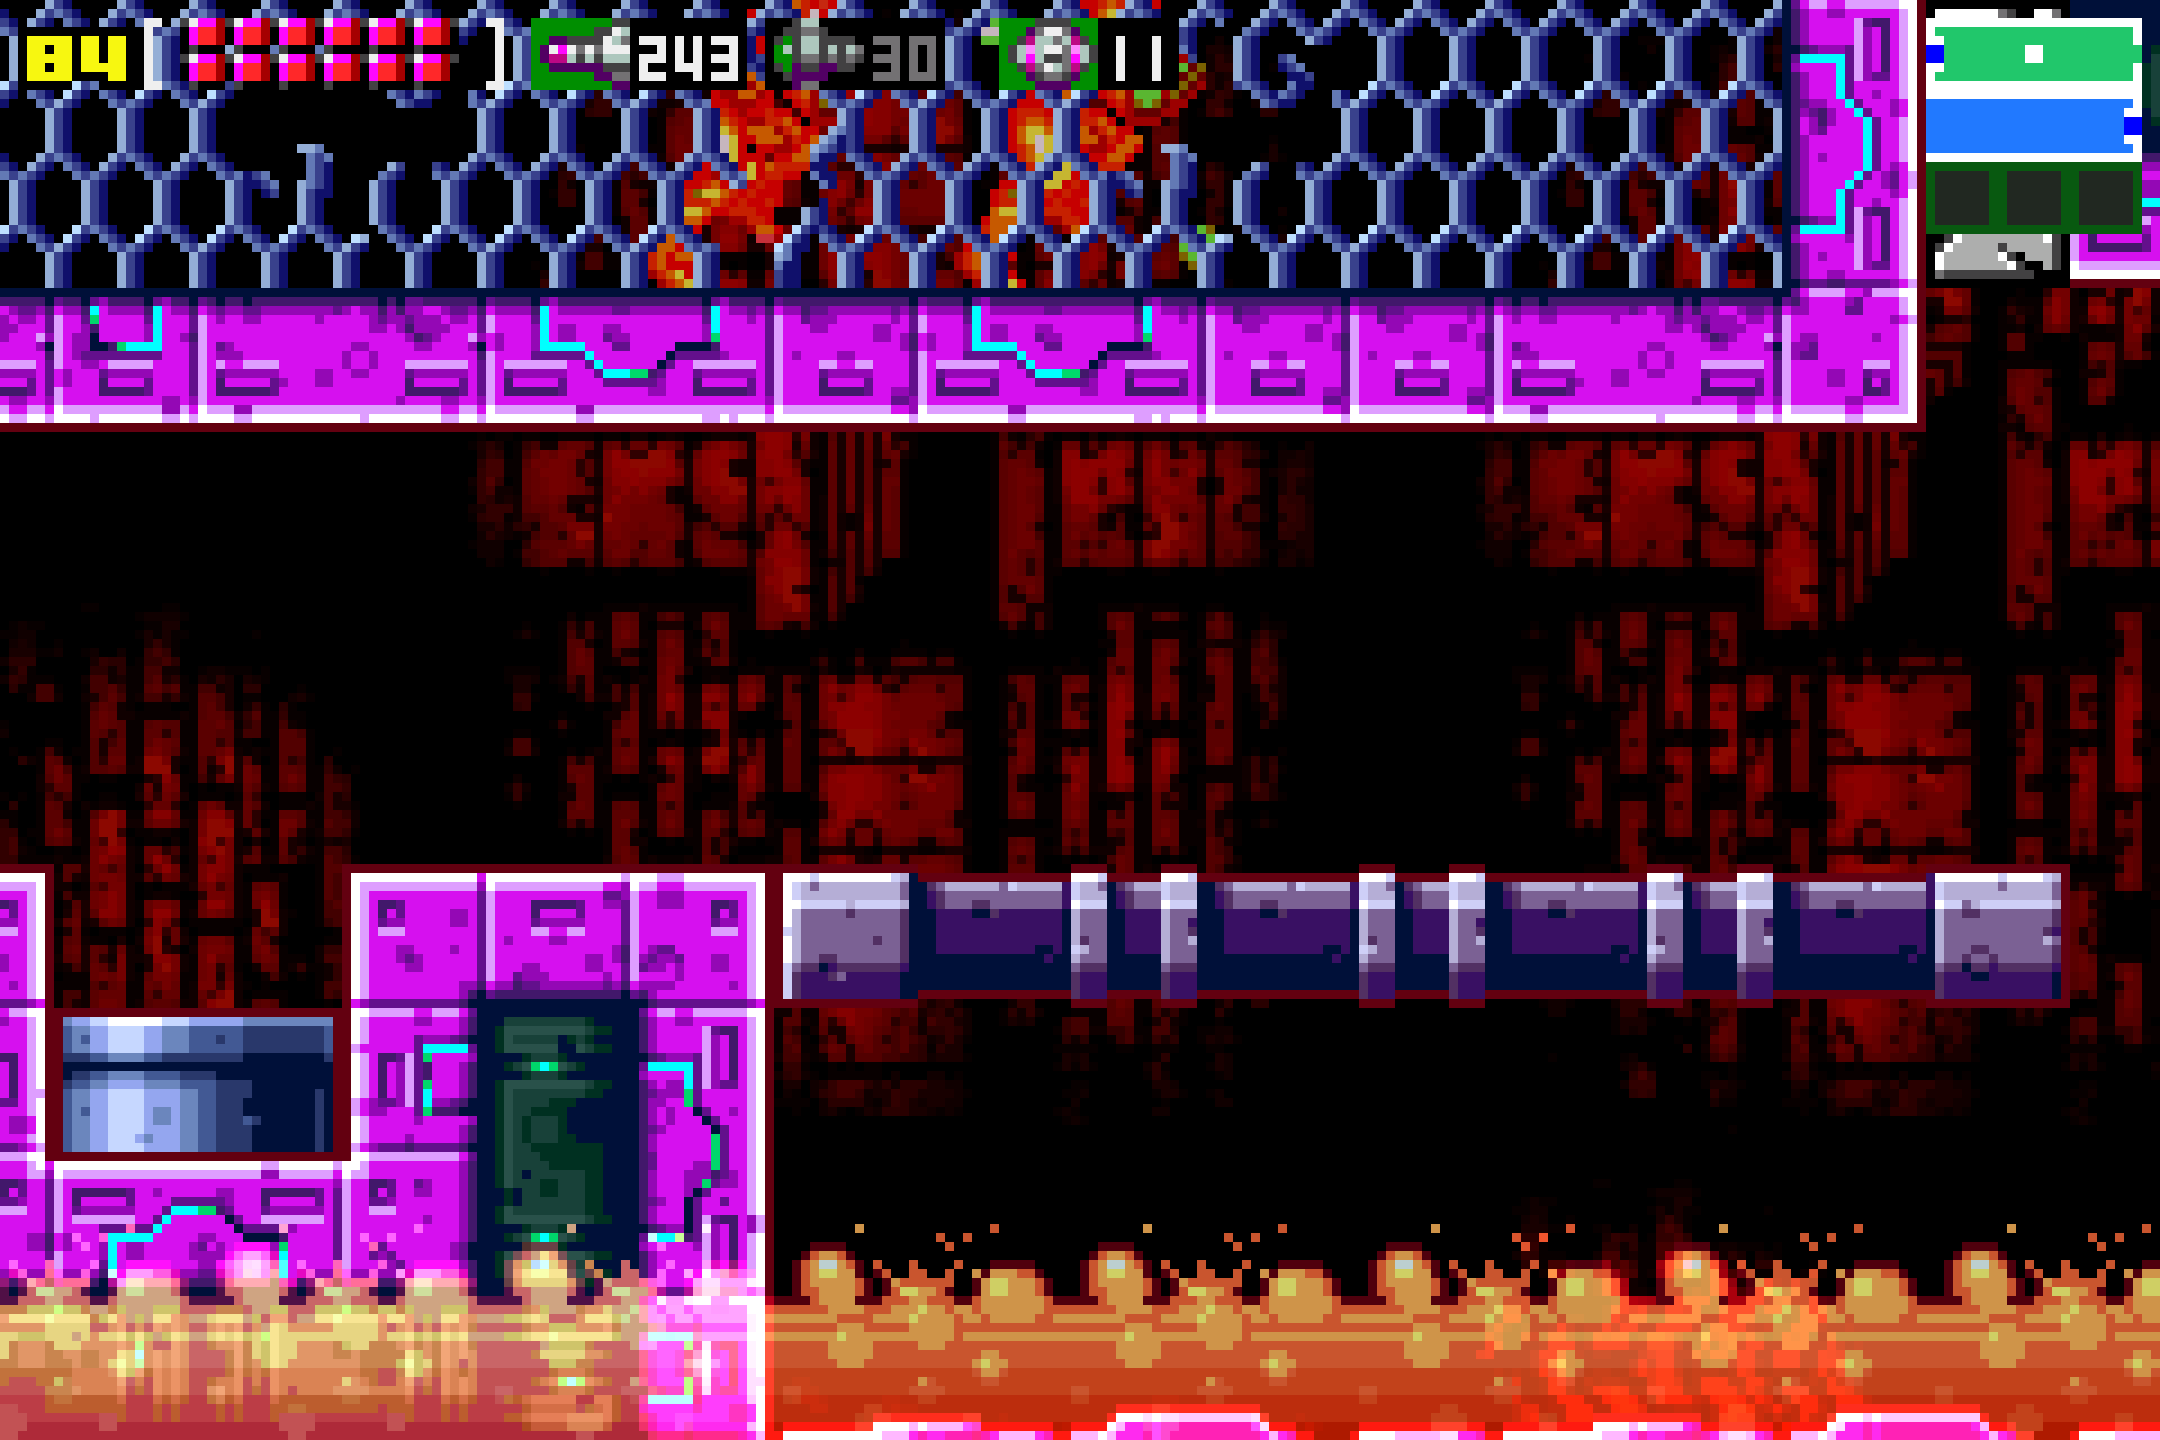
From the main elevator, take the second blue blast door down on your left hand side. You should see a bunch of lava Pits on the floor. Press towards the left, and when you see the third lava pit, drop down and destroy the blocks so you fall, fully submerged. Destroy all the blocks in front of you and start running towards the right. When your Speed Boost kicks in, get your Shinespark ready, go to the left side of the little slope in the ground, Morph down, and release your Shinespark to the right. You’ll go crashing into MISSILE EXPANSION #45. As always, check out Shinespark Puzzles.
From here, make your way to the rightmost Save Station in Kraid’s Lair and continue right, which will connect you to Norfair.
Norfair Expansions
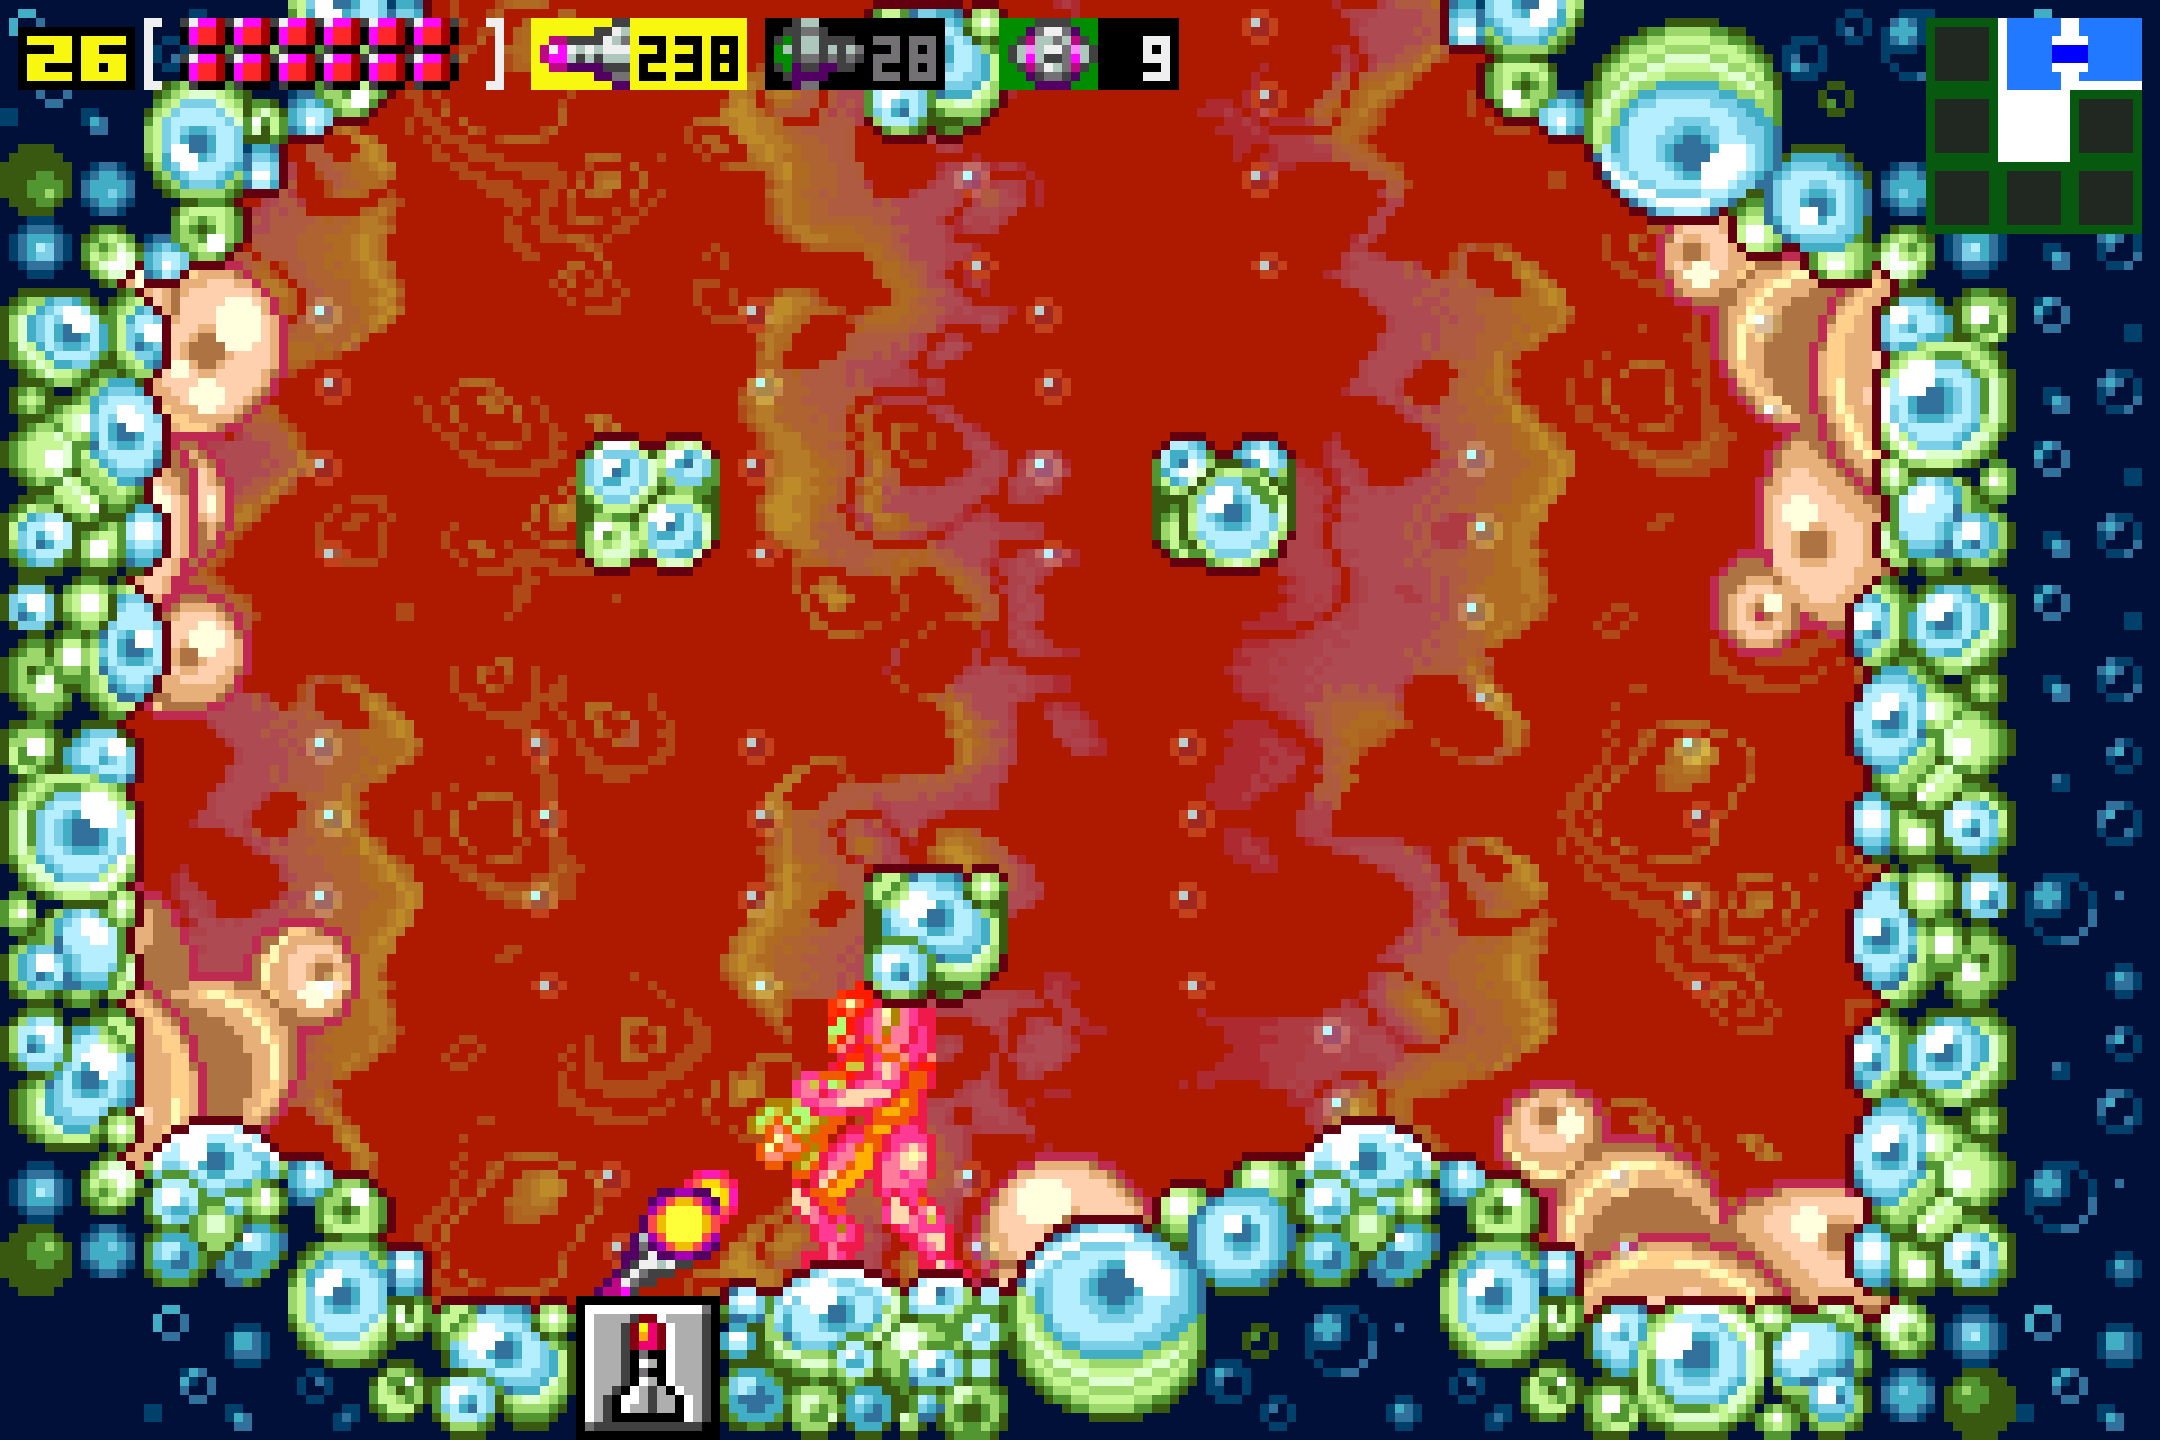
If you came via the Kraid route, you should pop out exactly where you need to be. If not, get yourself to the vertical hallway that connects to the Map Station. Once there, drop all the way down to the bottom of the shaft, into the lava. Once you’re on the lava floor, lay a few bombs and you’ll see a Missile block on the ground that you can destroy to drop down even farther. Do so and take the door on your left.
You’ll be in a room full of lava now, but no big deal. Start climbing up and about halfway through the room, there will be a little alcove on the right side of the room with an expansion in plain site. You’ll need to roll over and bomb the block below the Expansion; as it gives away, you’ll drop down, and unfortunately, all the blocks below it are Pitfall Blocks. You should have enough time as you’re falling to quickly blast a missile above you, destroying the missile block directly under the Expansion. Finish dropping, quickly roll back and jump up to get MISSILE EXPANSION #46.
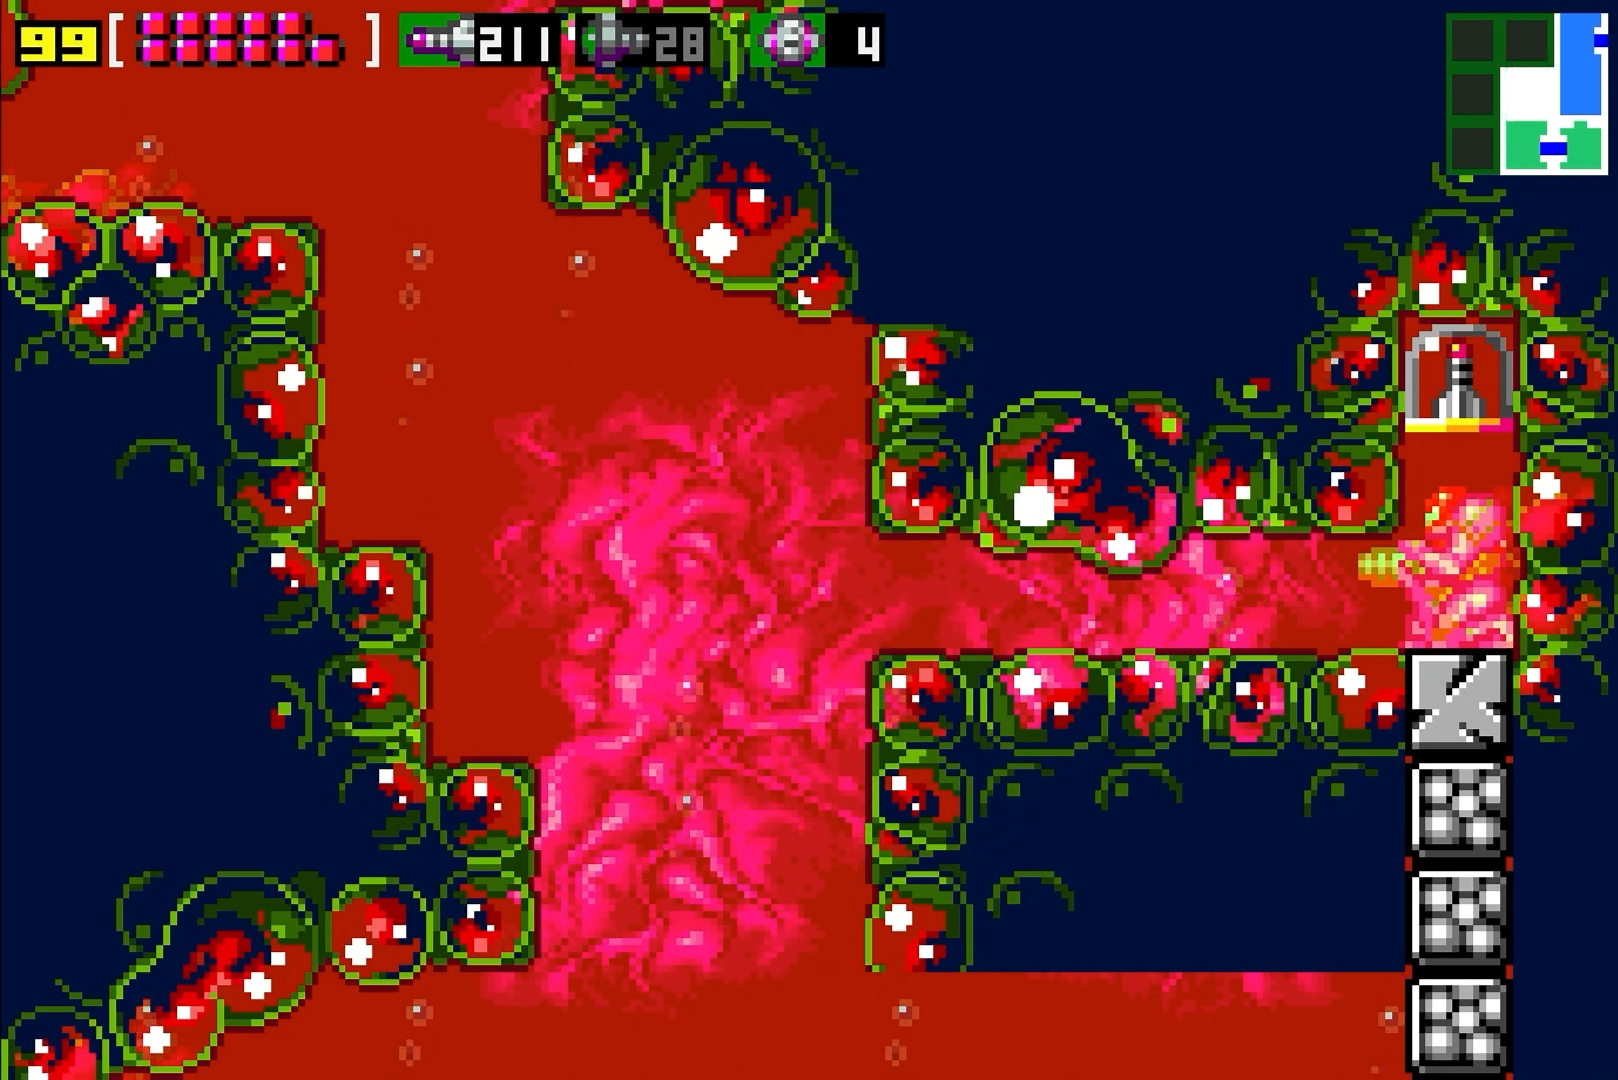
We’re not done in this room yet, though. Go back to the bottom most ledge on the left side and there will be three missile blocks in the wall about halfway up. Destroy them and go into a new shaft filled with lava. Simply jump up and you’ll run straight into POWER BOMB EXPANSION #9.
From here, work your way to the room directly under where you picked up the Wave Beam. The temperature of this room was too extreme before, but now it poses no threat at all. Head right in the room; you’ll find MISSILE EXPANSION #47 hidden in a spire hanging from the ceiling about halfway in; continue towards the right and you’ll run straight into the unmissable MISSILE EXPANSION #48.
That’s all for Norfair, so now make your way back to Ridley’s Lair for the final couple of Expansions.
Ridley’s Lair Expansions
We’re almost there! There are two expansions that require some serious trickery to get, but fortunately for us, by waiting to get them until we have the Space Jump, they should be a lot easier to acquire than without.
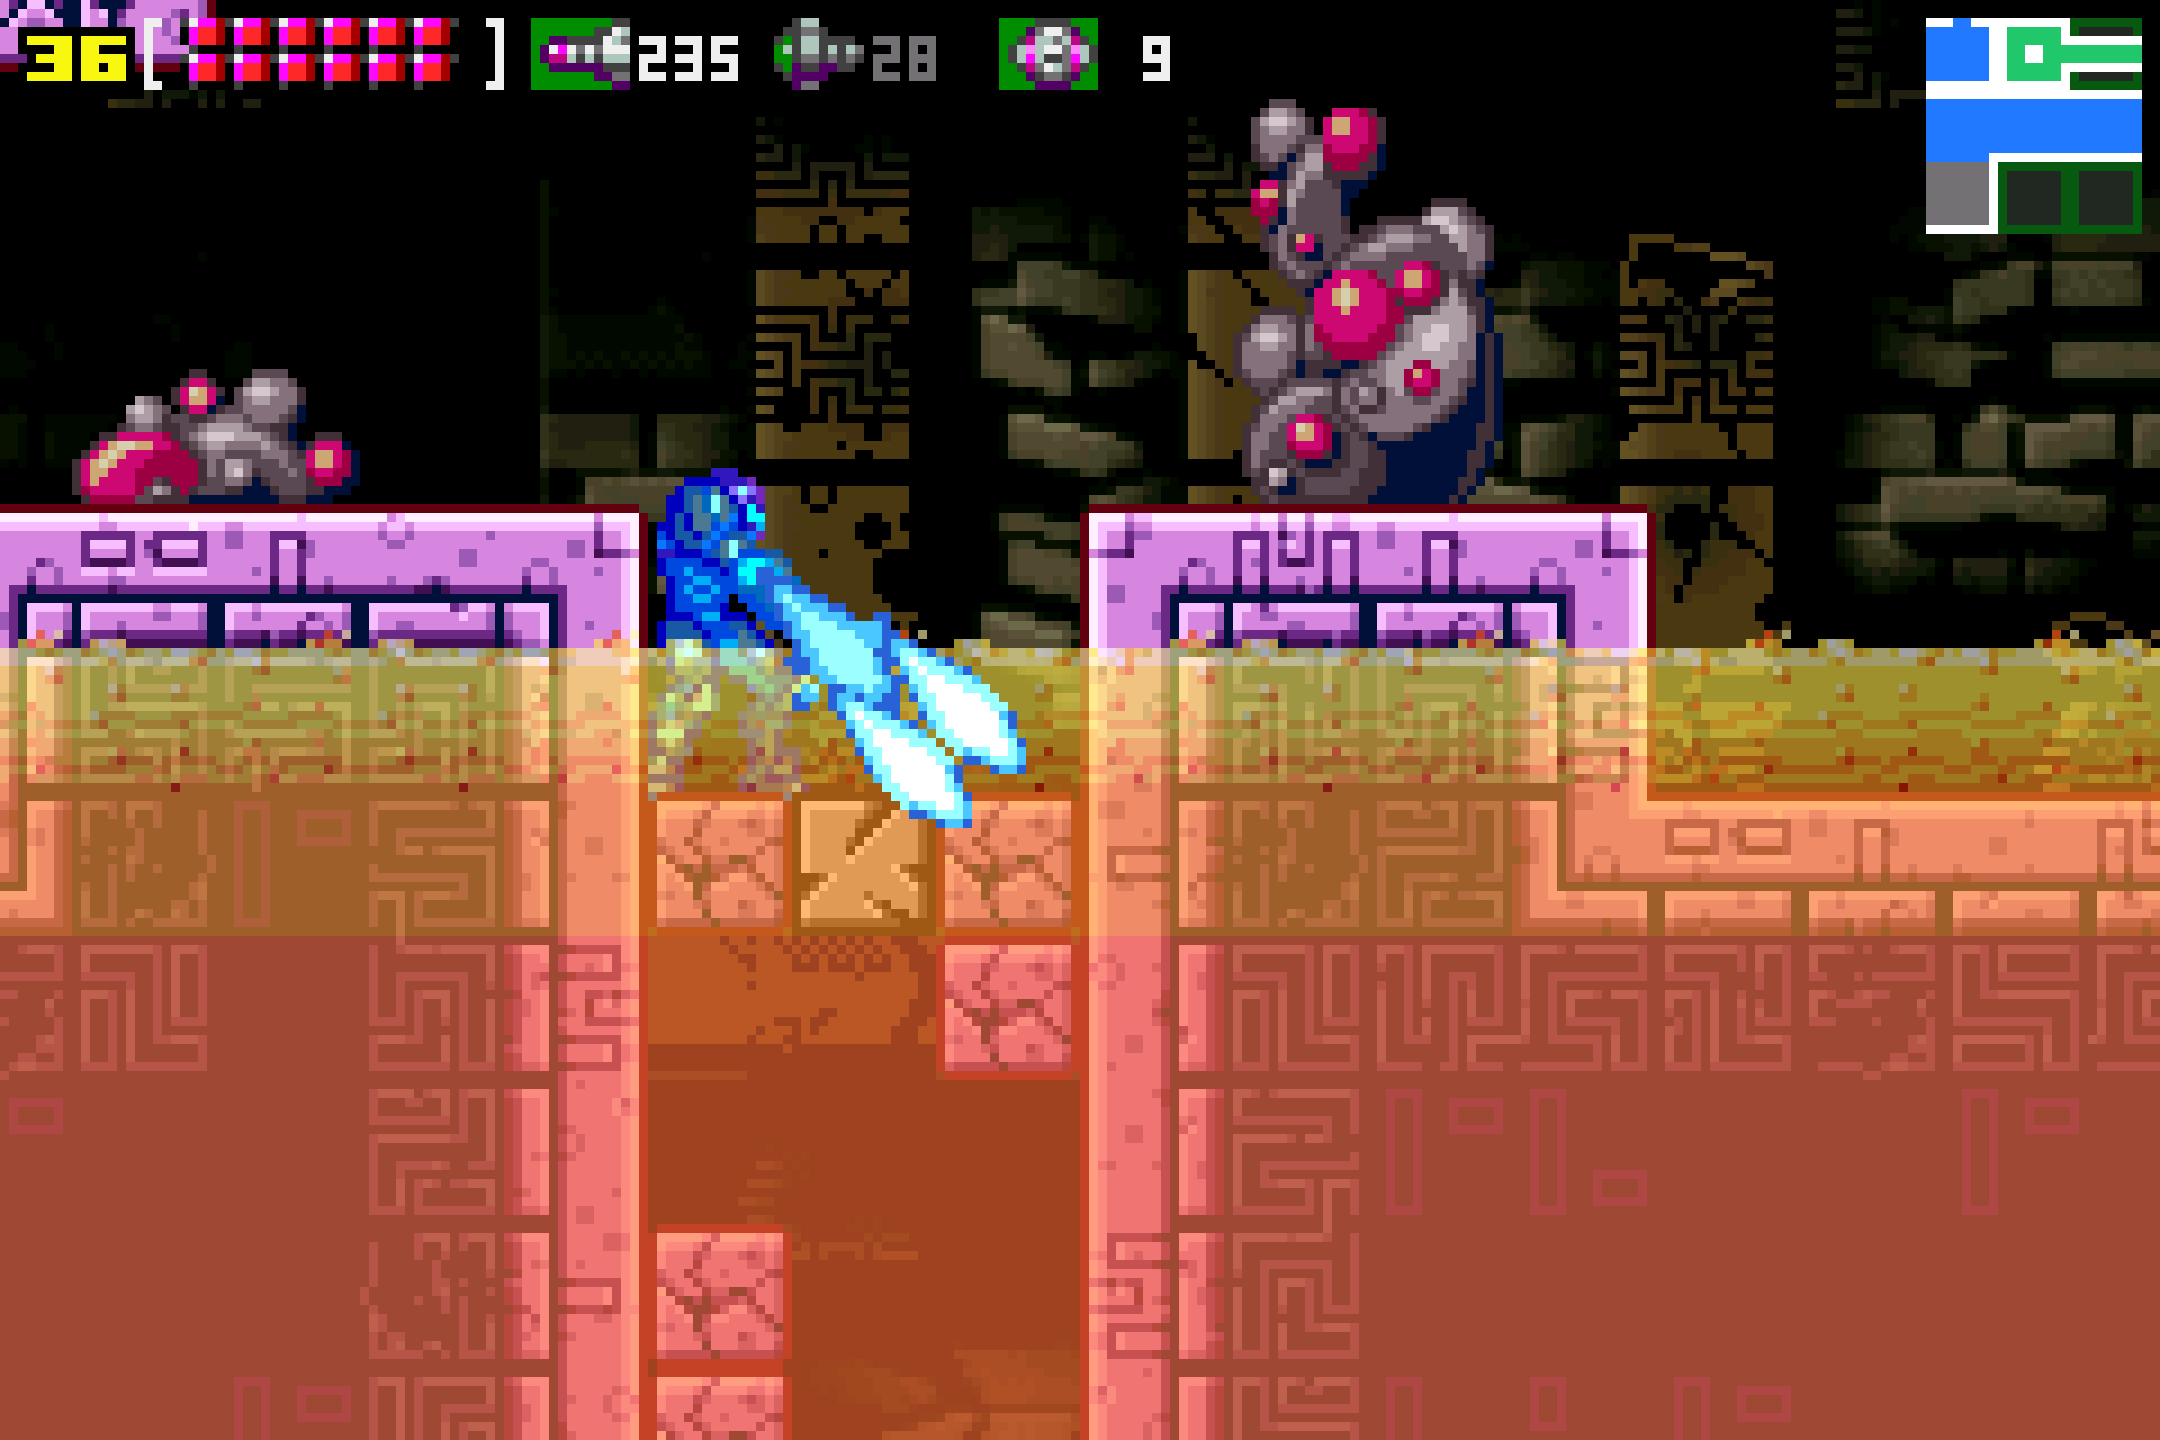
Use SHINESPARK SHORTCUT #7 to make your way to the bottom right Save Station, the one next to the ginormous hallway on the bottom of Ridley’s Lair. Get into said hallway, and towards the ceiling of the hall, you’ll see a small platform behind some mesh that’s just big enough for you to fit inside. Get in there and start running towards your left. What you’ll want to do is go far enough for your Speed Boost to kick in, and then turn around and start running back towards the Save Station. Just before the platform runs out, crouch and quickly run into the Save Station. Release your Shinespark in the actual Save platform and run through the right door. Crouch again and quickly jump up to either of the small platforms that are level with the blast door. Release your Shinespark to the right and you’ll be in a new room.
That’s only half the fun, though. Back up a bit and start running towards the right, through the door. You’ll be in a new room, running fast towards the right. When you’re about to hit the little spire sticking down, crouch and charge your Shinespark. Roll under the spire, and then stand up, face left, and Shinespark straight up. You’ll grab a ledge which you can roll into.
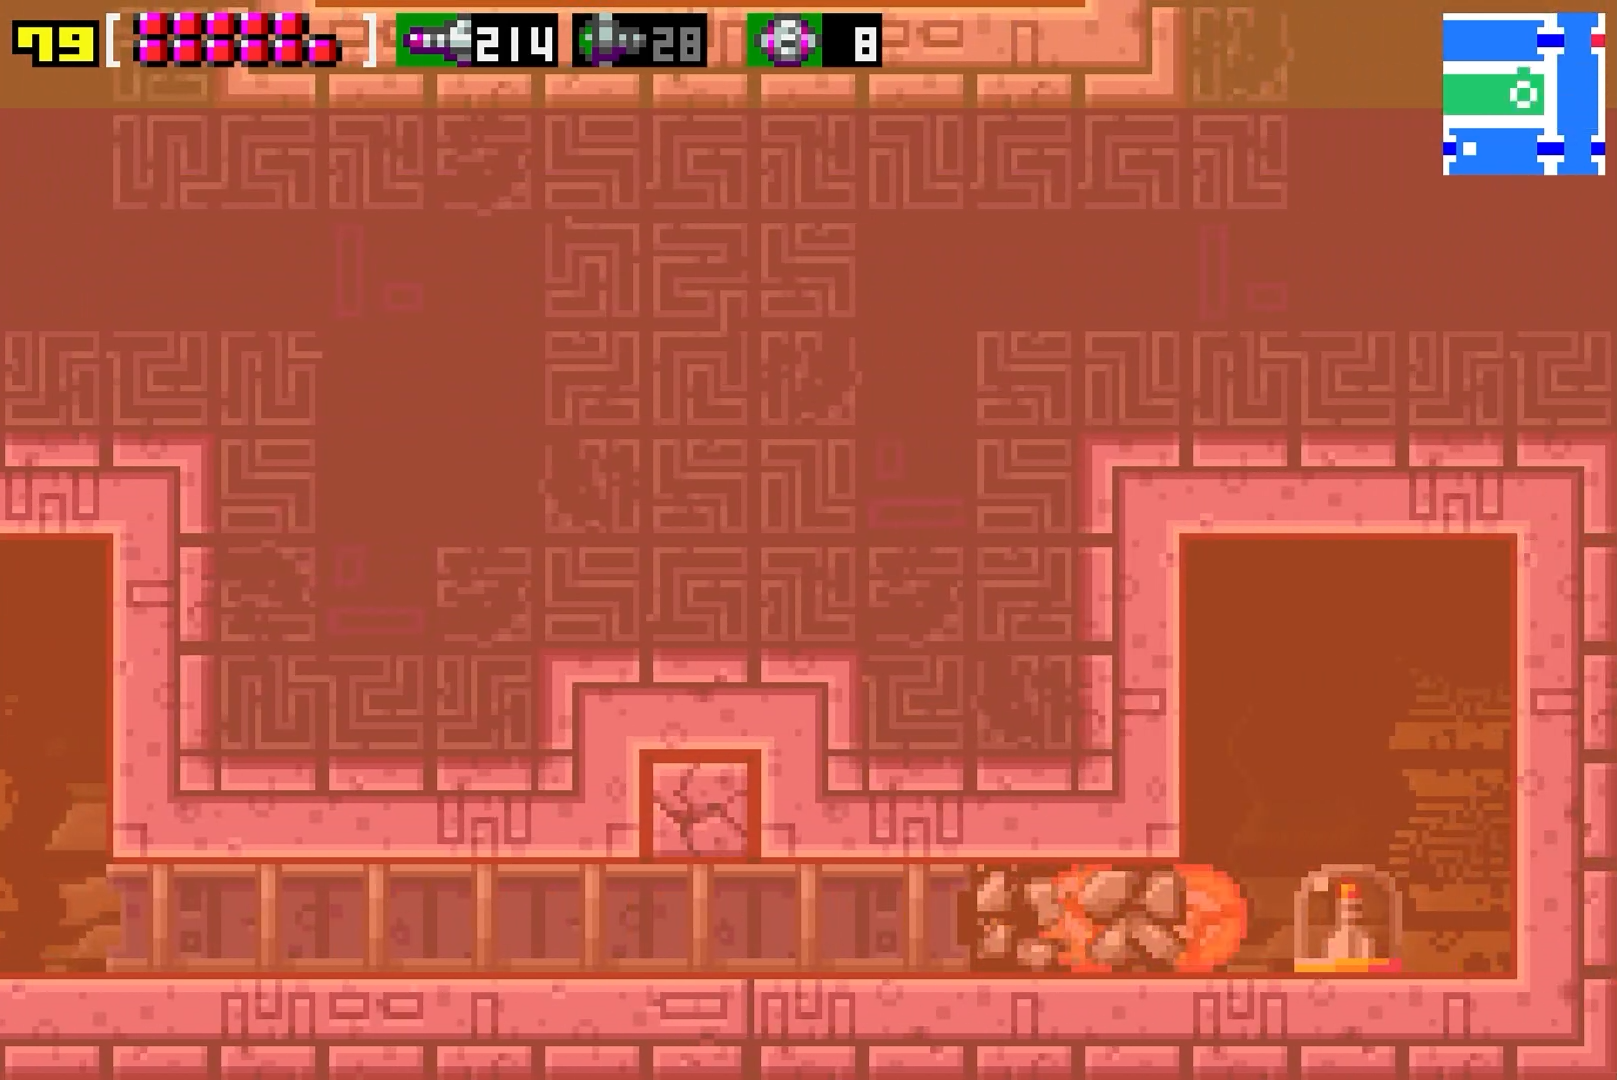
Now, finally, bomb the block in front of you and you’ll quickly see every block start to crumble in a big chain reaction. You’ll need to be quick. While still in Morph Ball form, drop down and roll towards the left, under the pillar, and quiiickly un-morph yourself and JUMP! This is where the Space Jump helps so much – just jump in place in mid air until all the blocks have given away. Once everything is clear, jump over and grab MISSILE EXPANSION #49. Whew. That was a lot to take in, so as always, I recommend you check out Shinespark Puzzles to see the entire sequence in video.
Unfortunately, there’s no time to rest. Immediately after dropping down to the floor after nabbing Missile Expansion #49, get yourself to the right-hand side of the room and start running towards the left. Once you pass through the door, you’ll see a little nook in the ceiling that’s just begging to be destroyed via Shinespark. Oblige the ceiling and go crashing upwards. You’ll land on a new platform with a door to your right. Go through it and start running.
This will be tricky. There’s no Shinesparking here, only precise Speed Boosting. You should enter this room running, with your Speed Boost kicking in shortly. While you’re running, you’re also going to need to shoot two sets of blocks in front of you; doesn’t seem like a big deal, except that the second set of blocks has a missile block in the centre, so you’ll need to switch from your beams to your missiles while Speed Boosting. Don’t worry, you don’t need to change your aim to hit the block, just remember to use missiles before you get too close.
As if all this wasn’t enough, you’ll need to perform a fairly precise jump from left to right while Speed Boosting to break all the Speed Boost blocks. Imagine the top half of a circle; that’s the shape and curve you’re going for. If you did all of that right, then you’ll land right beside MISSILE EXPANSION #50! See Shinespark Puzzles for the full video.
Congratulations – you’ve now acquired every single expansion, ability and powerup that this game has to offer. You’ll want to head back to Chozodia now and get yourself into the bridge of the Pirate Ship.
The only thing left to do now is bring this mission to its end…
The Final Confrontation
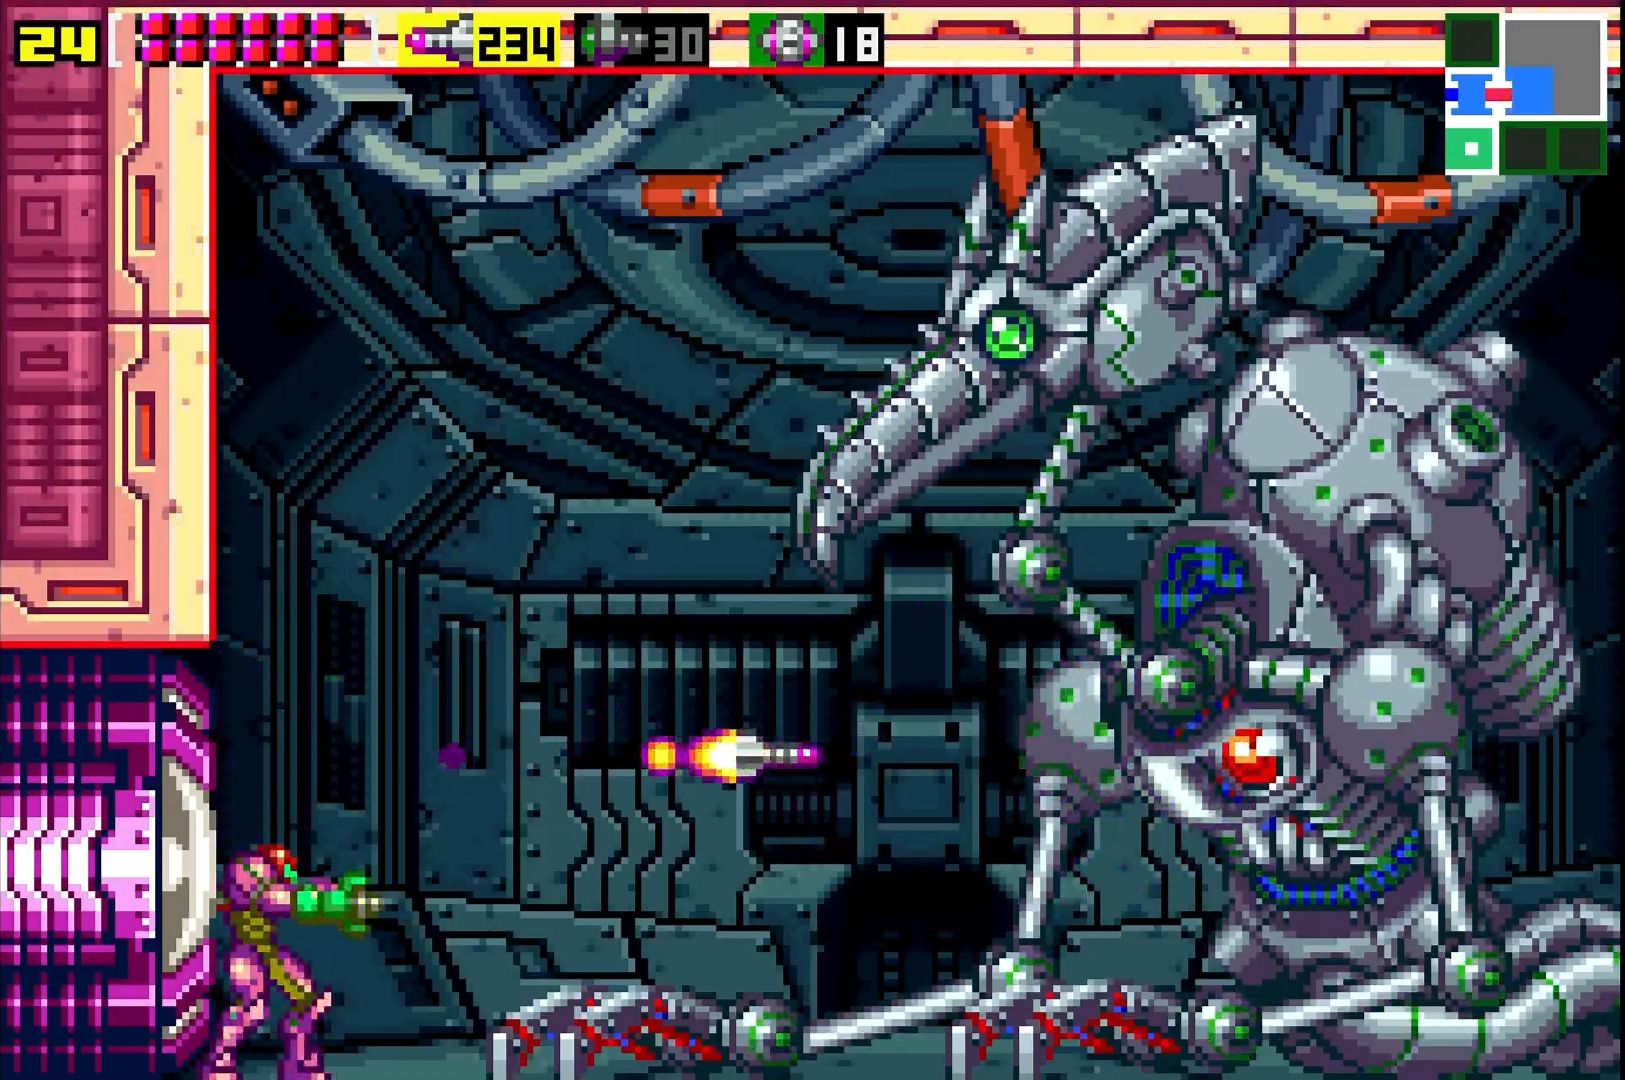
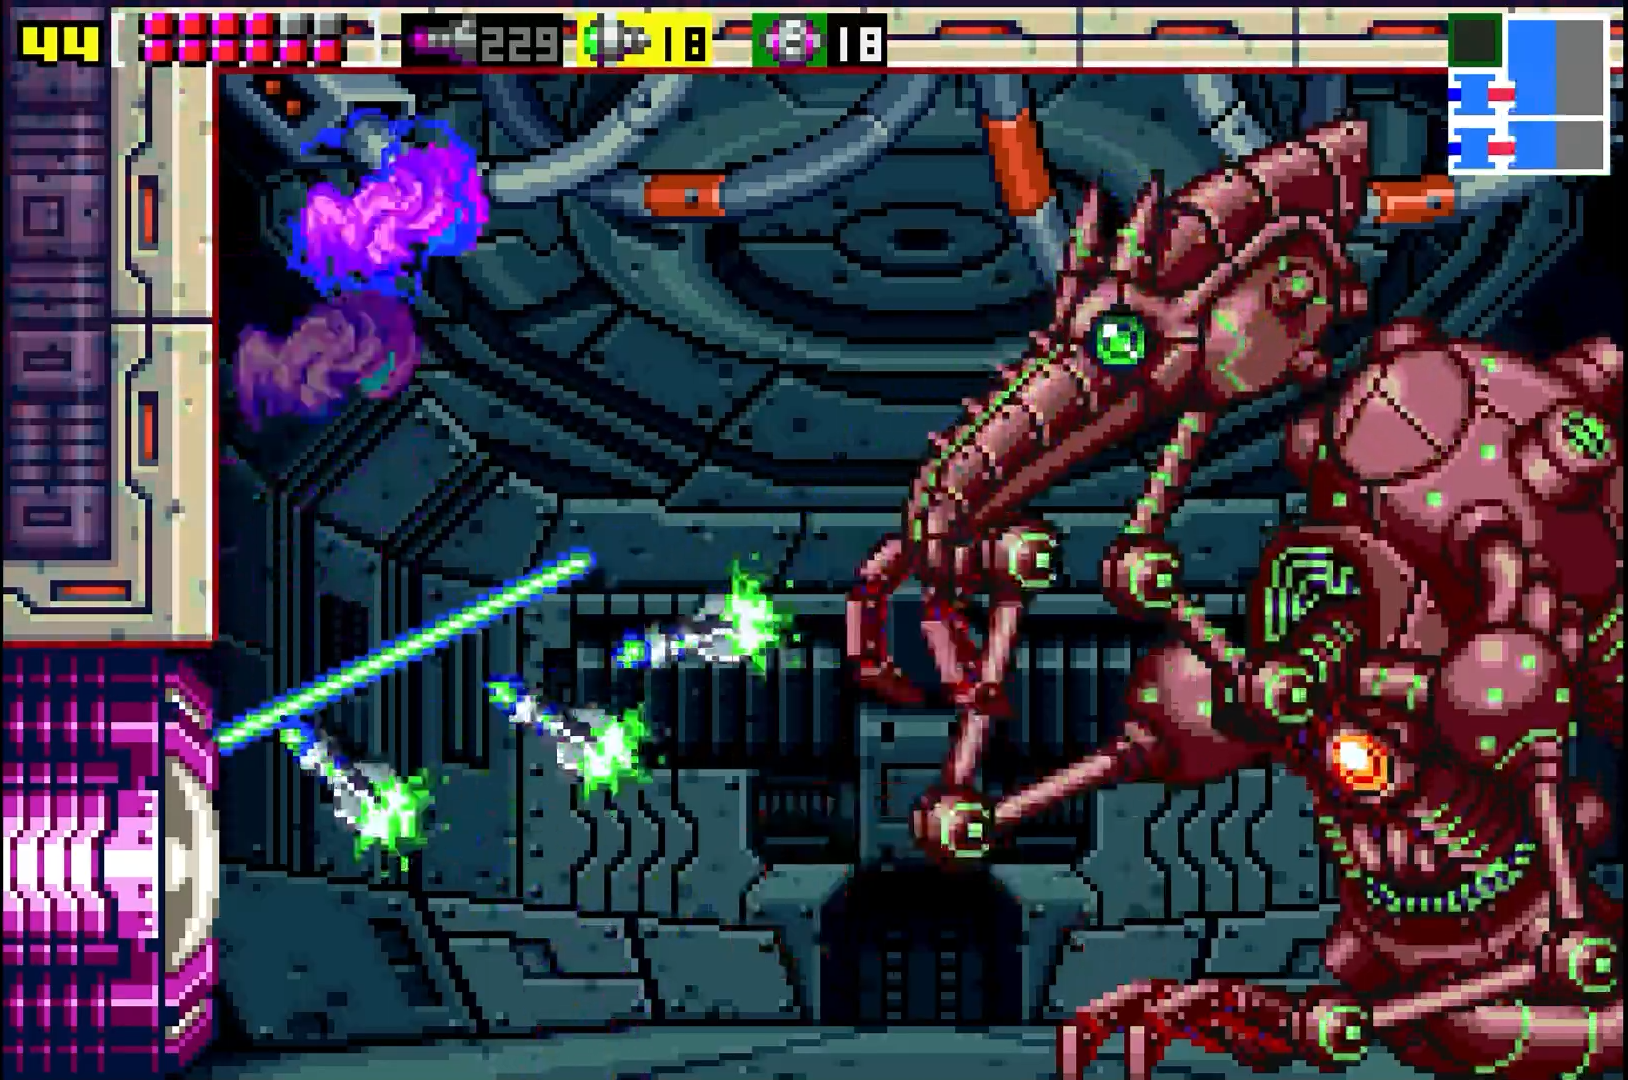
Once you’re back in the Pirate Ship bridge, take the path in the upper right corner and follow it until you get to a larger, square room. This is where the Space Pirates will reveal their last weapon. This is where you will come face to face with the final boss of this game. This is where we meet the hulking war machine, Mecha Ridley.
The Space Pirates have built what looks to be a Meta-Ridley-prototype, complete with lasers, missiles, and devastating strength. Where Mecha Ridley differs, however, is in its agility. It’s actually fair to say that Mecha Ridley has more in common with Kraid than it does Ridley, as the robot will spend the entire fight on the right side of the screen, more or less stationary except for a few shuffles back and forth. Also, like Kraid and unlike Ridley, there is a specific weak point you’ll need to target; no guns ‘a blazing tactics here.
On the surface, Mecha Ridley looks incredibly formidable, but I’m here to tell you that, even without 100% powerups or health, there is no reason that we shouldn’t be able to easily defeat this final boss. If I can sound arrogant for a moment, I think there’s even a chance we could get out of this battle without taking a single hit. How? First, let’s break down the robot’s attacks.
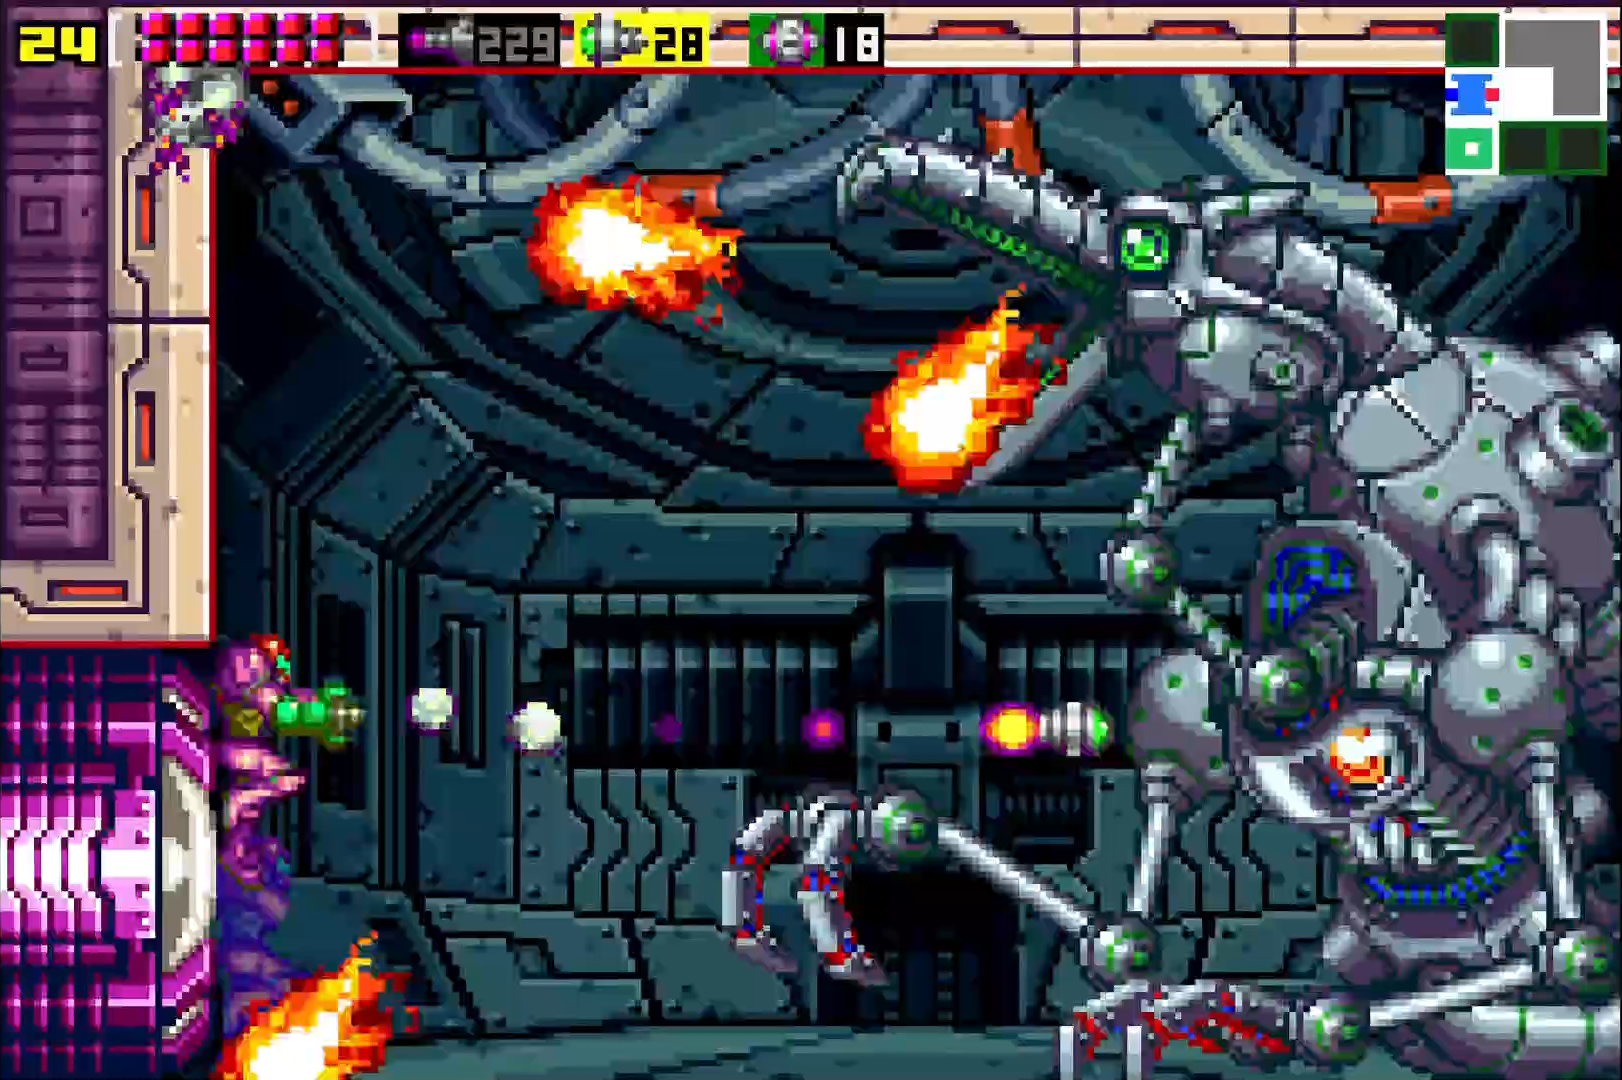
Now, Mecha Ridley certainly has some tricks up its sleeve. Its go-to attack will be a simple but effective swipe of its claw. This will land for some big time damage and is really hard to avoid if you’re standing on the ground. Likewise, Ridley will shoot out fireballs at you that will be hard to avoid if you’re standing around. The fireballs will shoot in an upper-diagonal and lower-diagonal sequence, alternating between the two.
Mecha Ridley will fire off laser beams in almost exactly the same way as it does the fireballs. These, you’ll just have to avoid and the lasers will also be shot out in various directions. Lastly, once Mecha Ridley has taken some damage, it will release three homing missiles that will track you down and explode on impact.
This all sounds pretty bad, right? Don’t worry. You can dodge almost every single one of Mecha Ridley’s attacks by Space Jumping to the top left corner of the room.
That’s right. Essentially every single attack can be avoided by just jumping upwards. The vicious claw swipe? Just Space Jump in place at the top left corner and it won’t hit you. The lasers and fireballs? Space Jump in either the top left corner or middle wall – this one you’ll need to move slightly – and you should avoid it. And best of all, the missiles Ridley shoots at you? Your Screw Attack will destroy them AND they’ll drop health and ammo. Avoiding Mecha Ridley’s attacks is easy and doesn’t require much precision with your jumping.
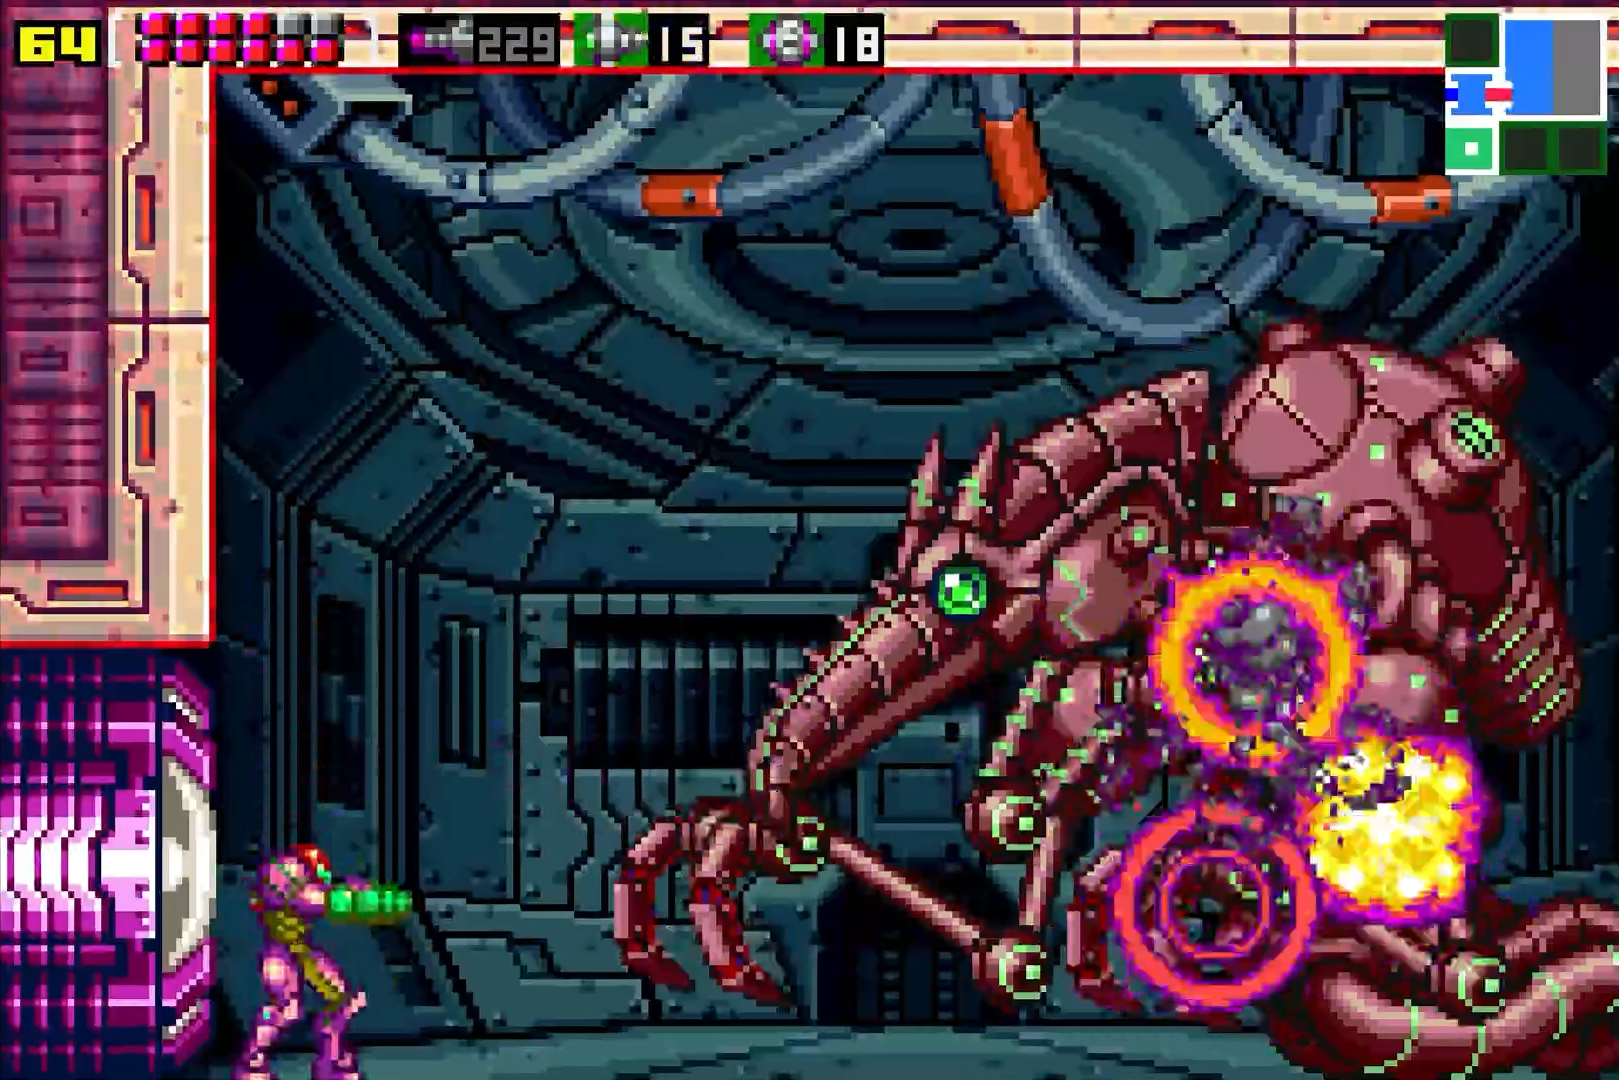
As mentioned, this war machine has a single weak point: a flashing orb on his chest, again, very reminiscent of Meta Ridley. There will be a glass casing protecting the weak spot. You can either use Missiles or Super Missiles to break the casing, up to you, but I might suggest saving your Super’s for after the case is broken. Dodge all of the attacks and fire a few missiles at the casing and it should destroy.
Once the weak spot is exposed, switch to your Super Missiles and let ‘er fly. We didn’t acquire all of these expansions for nothing, so don’t be shy about letting your most devastating attacks go. You won’t need missiles after this, so go to town. You’ll need to aim carefully, but not so carefully that you’ll likely end up missing shots.
As long as you keep Space Jumping and avoiding the robot’s attacks, and as long as you keep peppering it with Super Missile after Super Missile, Mecha Ridley will fall in short order, setting off the Pirate Ship’s self-destruct fail-safe.
Escape!
Run! You’ve got 5 minutes to hightail it back to the Shuttle Room and grab a ride before this Pirate Ship goes sky high! Grab all the health you can and start moving!
There’s really just a straight path for you to follow, so I won’t offer too much guidance other than a couple of key points. First, when you’re about 4 rooms away from the Shuttle Room, you’ll have ONE oppurtunity to successfully pull off SHINESPARK SHORTCUT #9, the hardest shortcut in the game by far. If you mess it up, don’t fret and keep pushing forward.
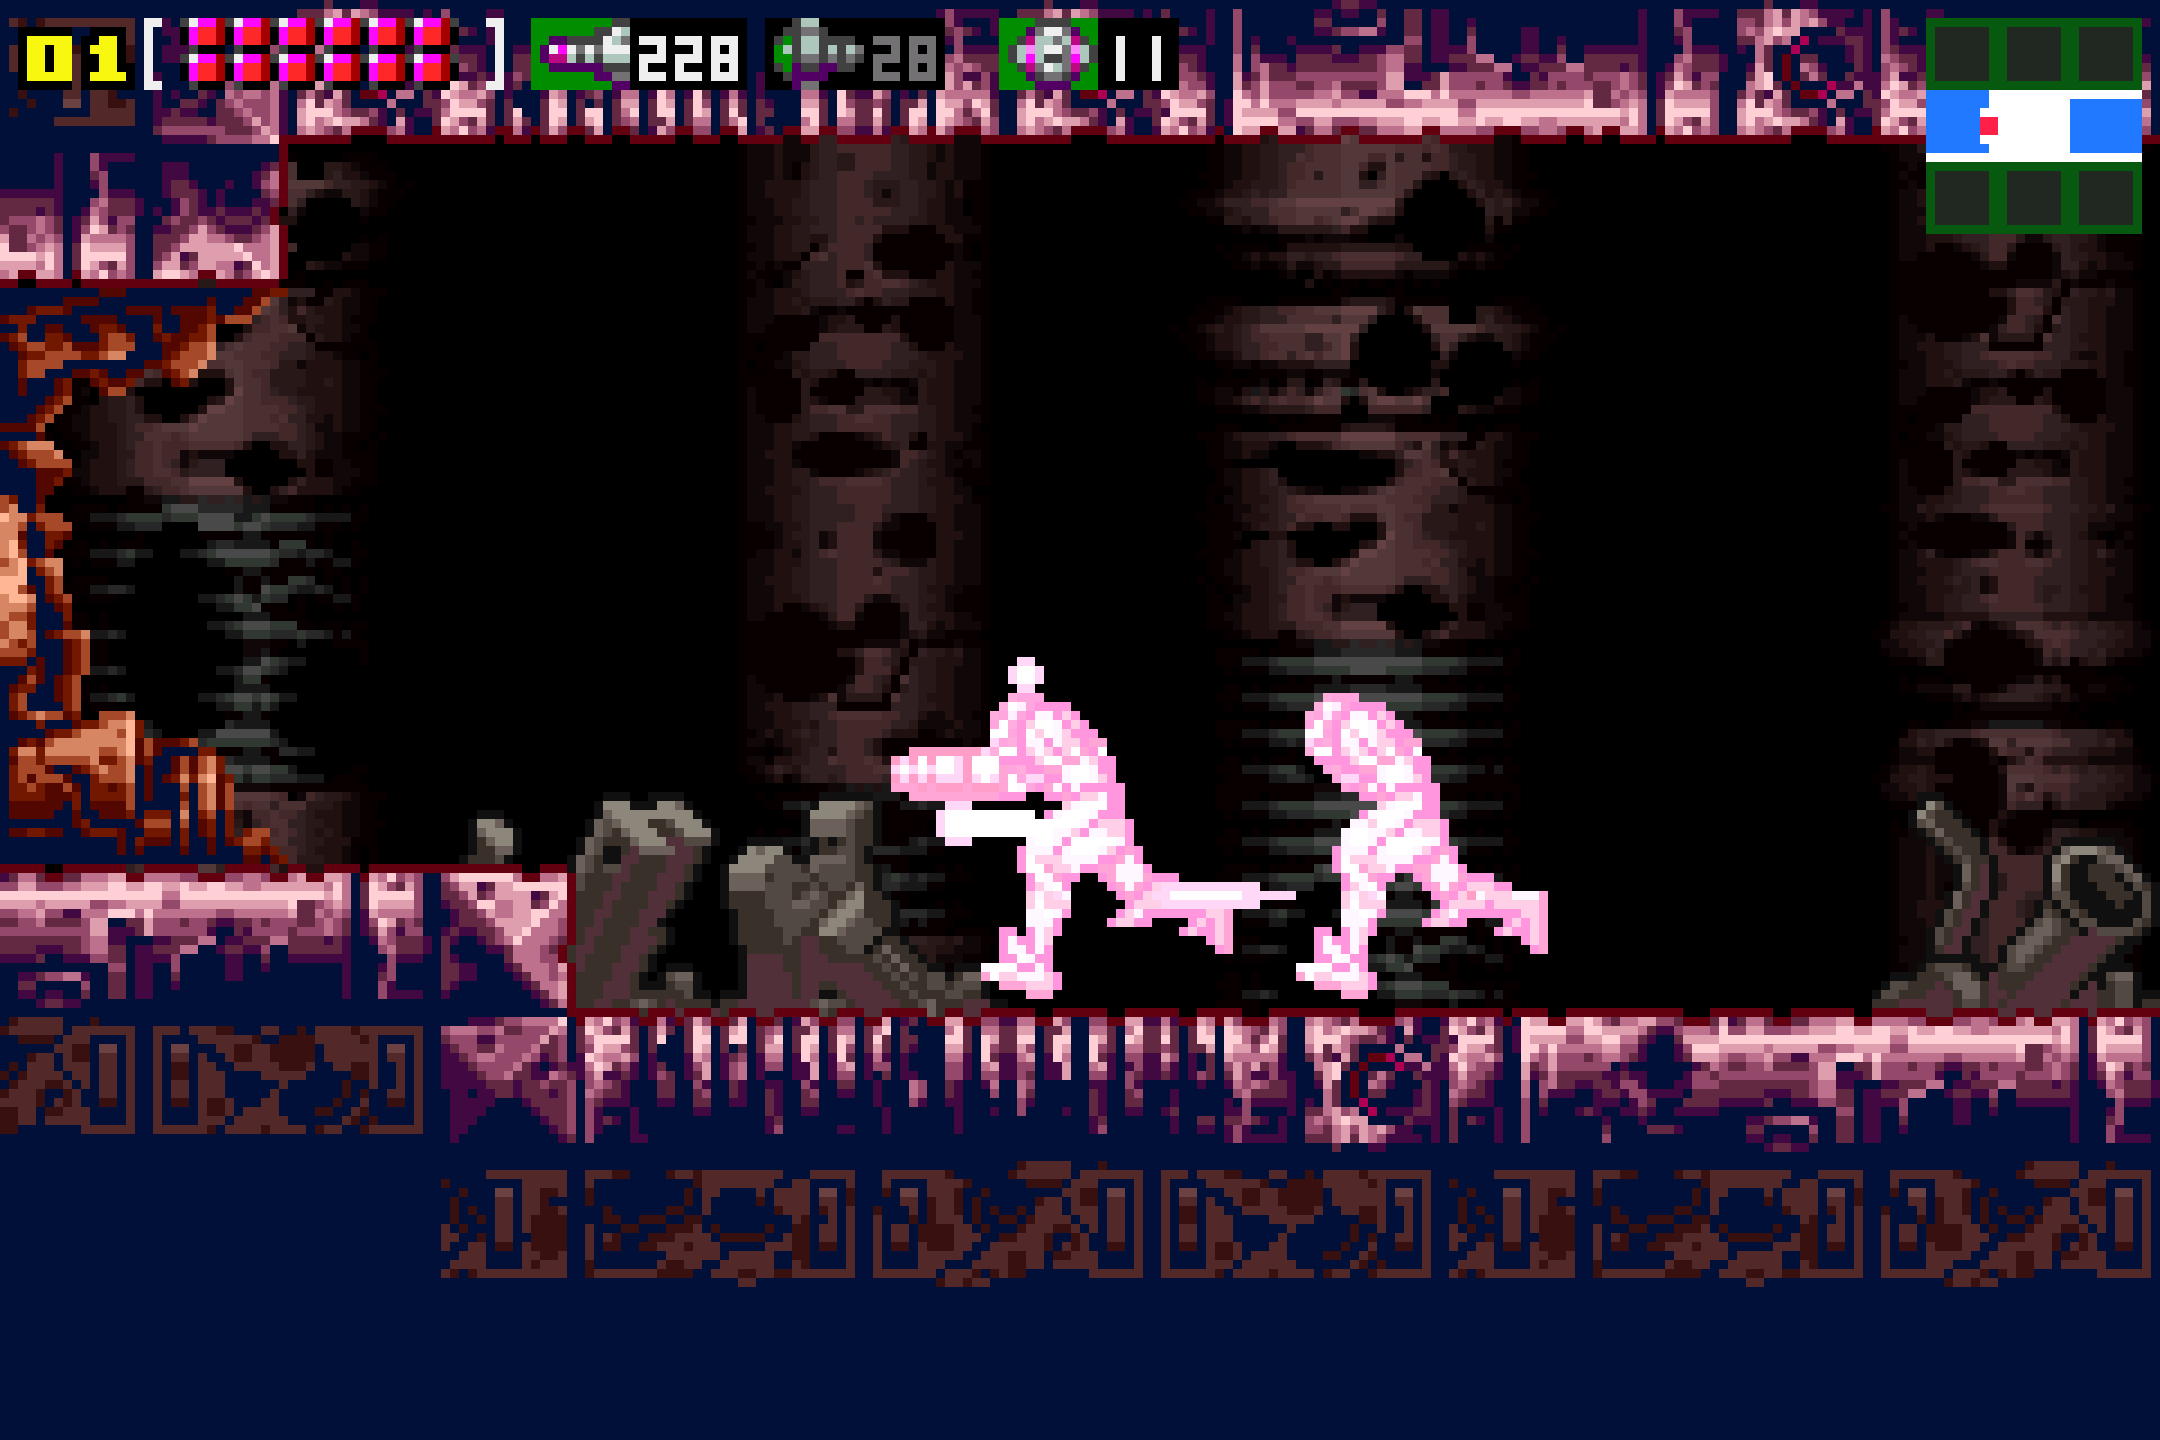
Second, there will be two grey Space Pirates that you’ll need to take out in the Shuttle Room. These Pirates are blocking your access to the Escape Craft and they are tough. Actually, they’re probably tougher than Mecha Ridley if we’re being honest. Missiles, Power Bombs, and your Screw Attack are all useless against these foes; you’ll need to take them out with charged shots. These guys hit hard, so finish them off as quickly as you can. Four or five charged shots each should be enough.

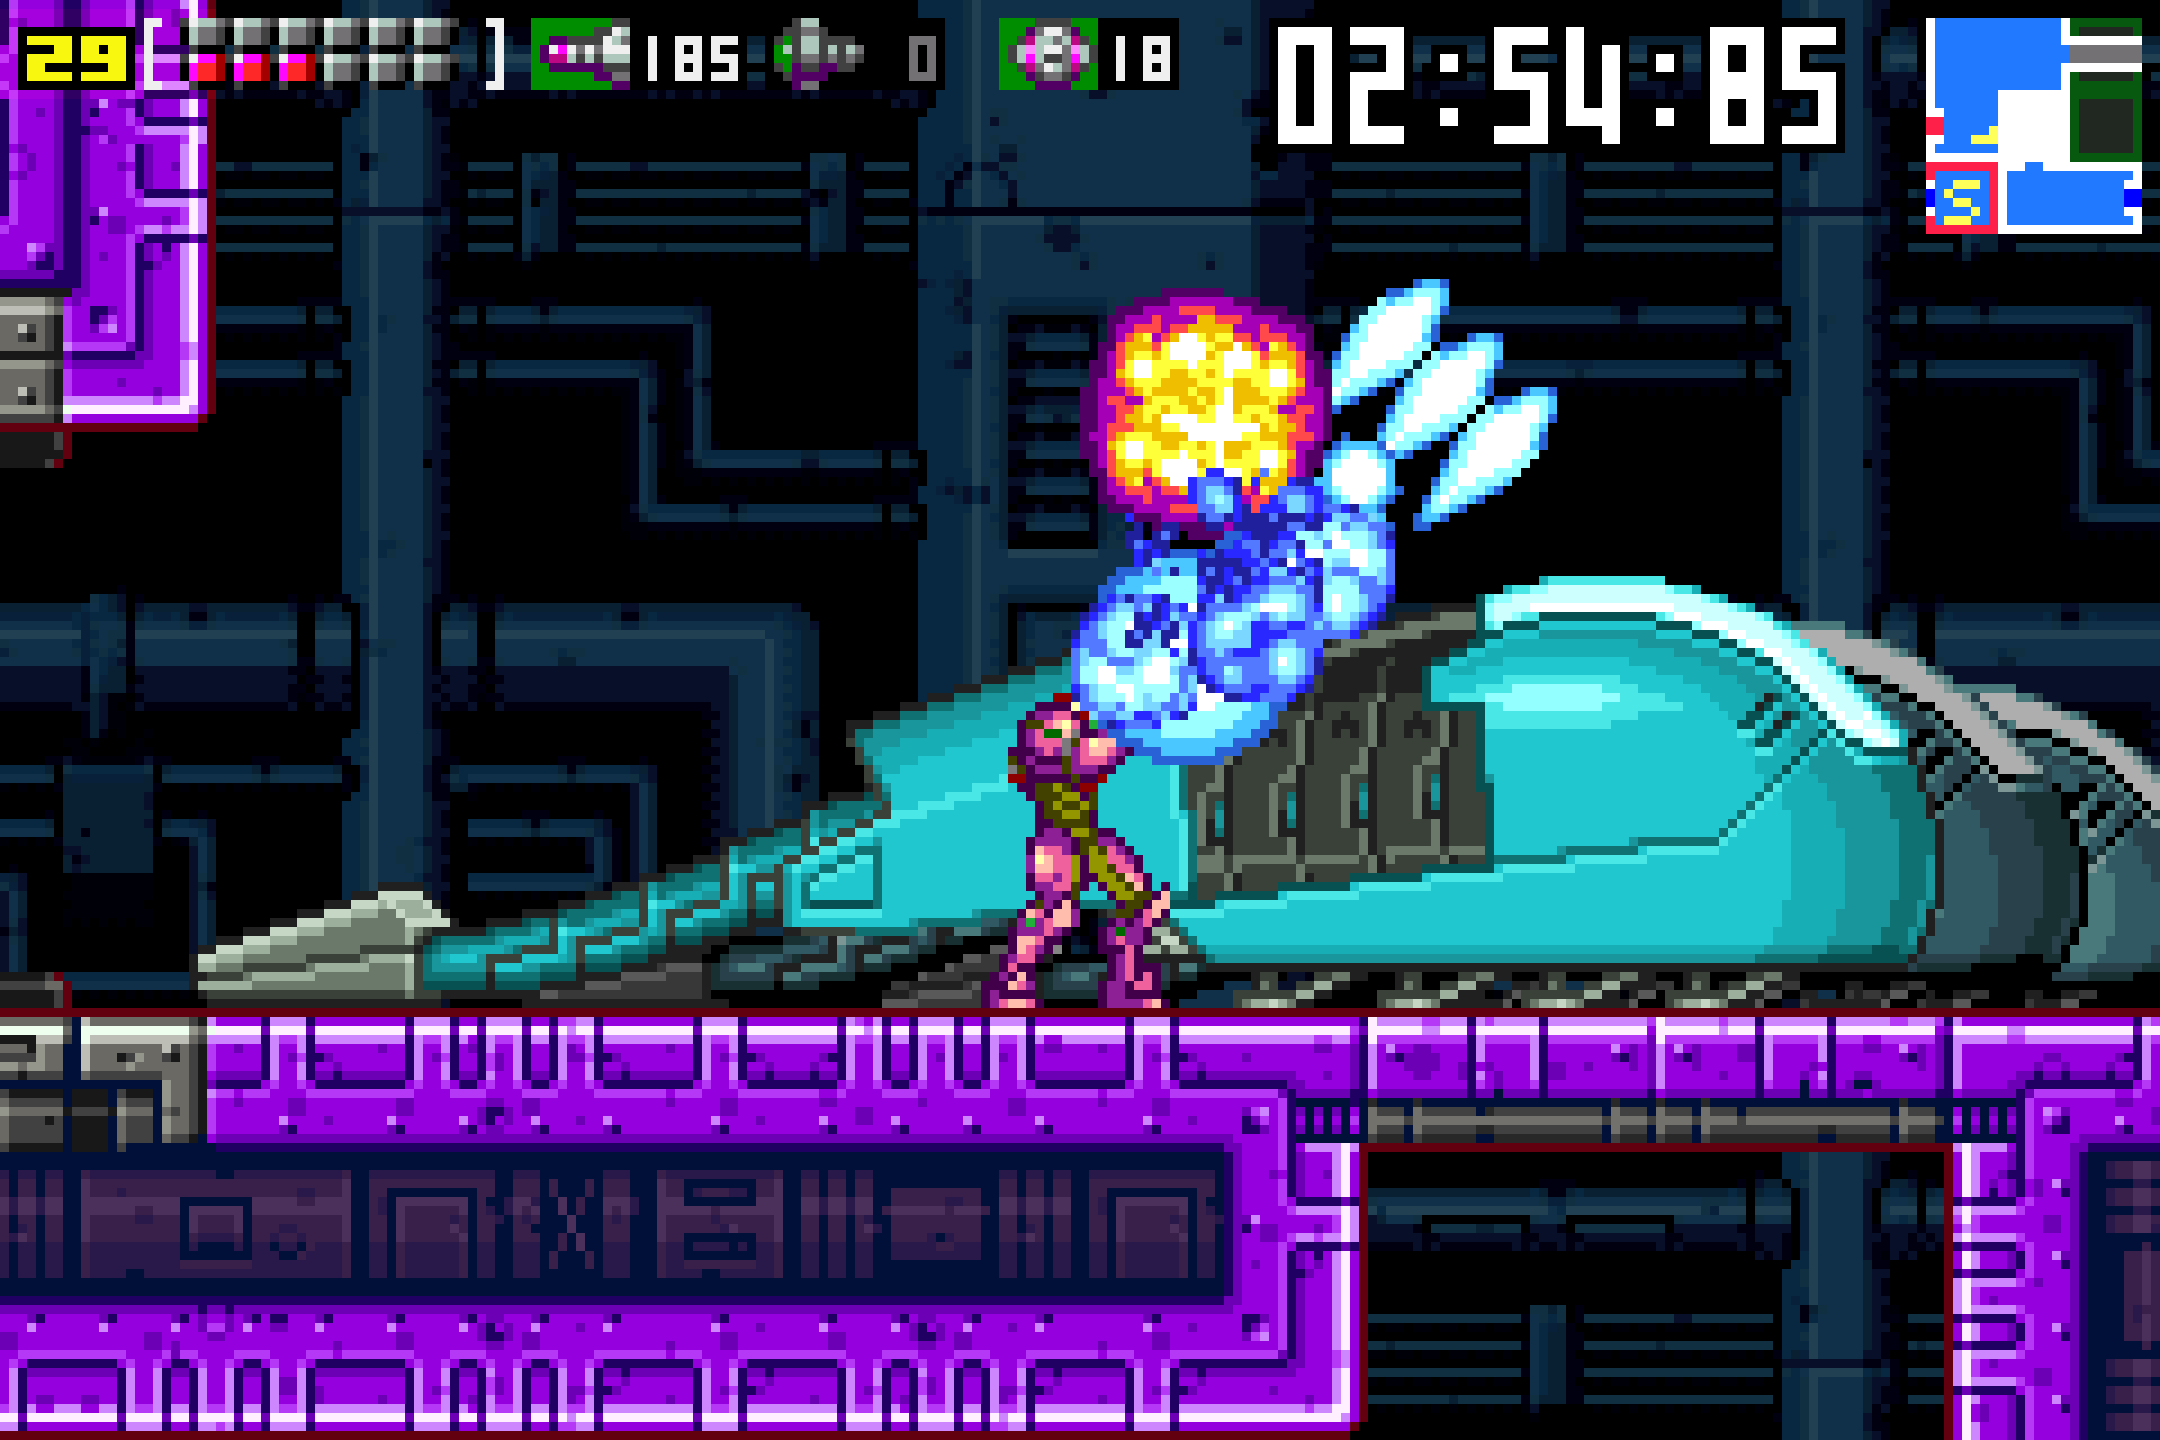
Lastly, when you finally get to the escape pod, BE CAREFUL of a regular Space Pirate that will jump out of the cockpit and ambush you. I’ve actually died to this lowly Pirate before, so just be aware that he’s coming.
Finish off the Pirates and jump in the pod and Samus will escape back into space, her Zero Mission finally complete. With that, credits will start to roll.
Congratulations! You’ve just beaten Metroid: Zero Mission with 100% items! Feel free to check out the Endings Page, and consider challenging yourself to complete Hard Mode!
Acknowledgements
First and foremost, I’d like to thank you for reading this guide! Hopefully I was able to provide some strategies and entertainment along the way that made your trip through Zebes more enjoyable!
I’d like to thank Daniel Hoctor, aka AFallenApple, Reace Niles, aka Doominal Crosing for the images and videos and the rest of the Omega Metroid team for their help with editing and uploading. Lastly, my wife Samantha deserves the most thanks for helping format images, proofread, and most of all for having the patience to put up with me writing these guides.
It’s time to say goodbye for now, Metroid fans! As always…
SEE YOU NEXT MISSION!