


Metroid Fusion Walkthrough – Sector 6: Frozen Parasites
Walkthrough
- Biological Space Labs
- Sector 1 – Atmospheric Interference
- Sector 2 – Unknown Saboteur
- Sector 4 – Ultra-High Speed
- Sector 3 – Rogue Security
- Sector 6 – Frozen Parasites
- Sector 5 – Cold Arsenal
- Sector 3 – Meltdown
- Habitation Deck – Signs of Life
- Sector 5 – First Encounter
- Main Deck – Power Failure
- Sector 2 – Overgrown With Vegetation
- Sector 5 – The Nightmare Awakens
- Sector 4 – Diffusion
- Sector 6 – Revelations
- Sector 1 – Neo Ridley’s Cry
- Sweeping the B.S.L.
- The Final Confrontation
Frozen X
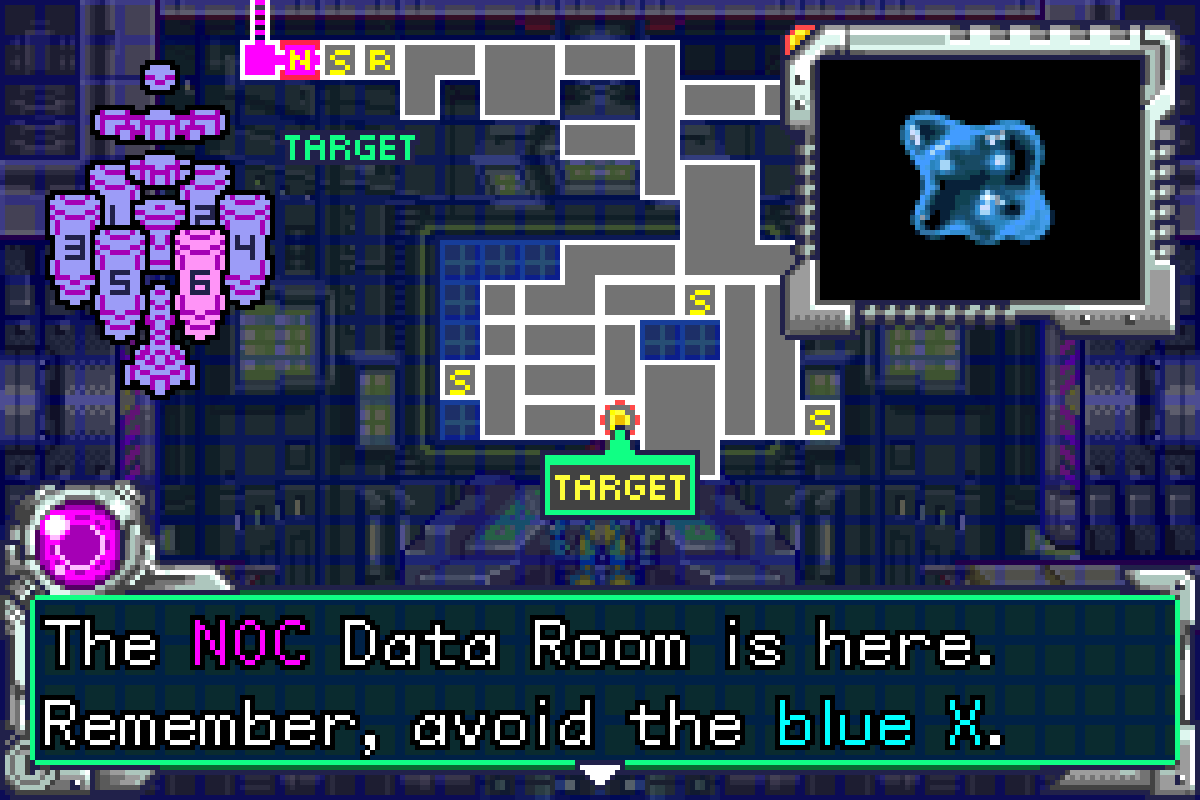
We’ll now find ourselves in the night Sector, (NOC). Adam will instruct us to go to the Data Room and download Varia Suit data, but, since nothing can be easy for us, there’s a catch. The X have found their way into the sub zero Sector 5 and transformed into frozen parasites. These frozen X have now made their way into Sector 6, and unlike regular X, absorbing them is a big no-no. You might remember the Metroid vaccine that saved Samus’s life by injecting Metroid DNA into her views – well, that doesn’t exactly jive with absorbing ice cold X.
Knowing that we cannot absorb the frozen X, I’m going to direct you towards this Data Room in the fastest way possible, because on the chance that one of these frozen X catch you – and they probably will a few times – they do a stupid amount of damage to you. Like half an Energy Tank stupid. So it is definitely in our best interest to get the Varia ASAP. The one thing we have going for us is that we can stun the frozen X by shooting at them with our beam.
Make your way into Sector 6. You’ll notice this room is full of bat-esq creatures called Menus. These are easy enemies that will give you a bunch of health should you need it. Run into the next room and bomb the lower left wall in the corner. Roll over and grab MISSILE EXPANSION #24. Roll back out and head to the right side of the room.
You’ll see a little ledge to jump on. Use your springball and bomb the wall on the right side of this ledge and you’ll see a tunnel to a computer-y looking room. Use your springball again to bomb the wall at almost the very top; there are actually three hidden tunnels in this wall, but the bottom and middle paths are dead ends. Once you bomb the top, a small tunnel will open up and you’ll be able to grab ENERGY TANK #7. Roll out back into the main room and then head for the door in the upper right.
Run straight through this room and shoot beams aiming upwards; there’s a frozen X there and we want to make sure it doesn’t touch us.
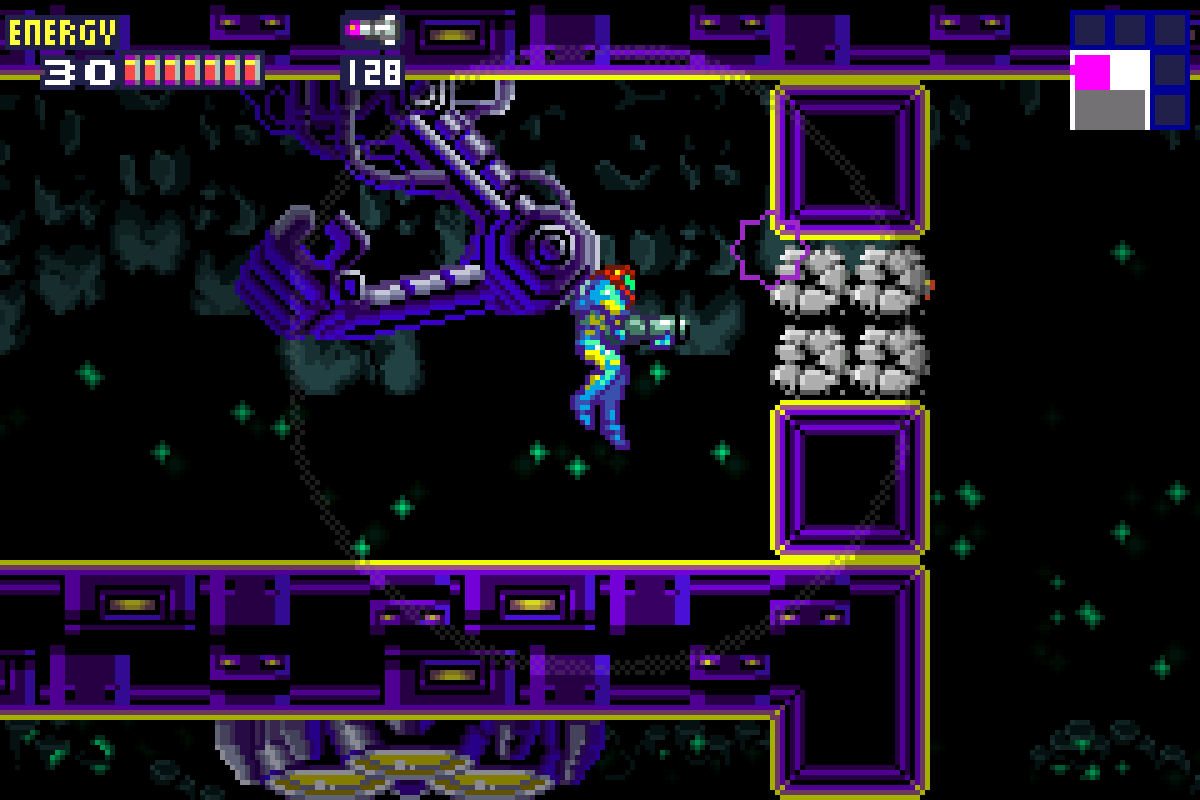
You’ll enter a long vertical hallway now. There’s a couple doors here, but nothing we want to worry about now so just drop to the very bottom. You’ll see some bricks on the left side of the room – do not shoot them since there are frozen X inside. Rather, just go through the door on your right.
Now you’ll find yourself in a giant rectangular room. Proceed forward and you’ll see three big blocks blocking your way down; shoot the blocks on the top and middle, NOT the bottom one, which contains a frozen X. Grab onto the monkey bars on the wall and shoot out the thin wall opposite you. Stun the frozen X and quickly drop down and through the door.
Aim upwards and shoot to stun all the frozen X and let your Speed Boost charge up to take down the wall at the far end and drop down. You’ll now have two options; to your right, is a room with some Menus for health and a Save Station at the end. Use it if you need. To your left, you’ll enter a room with ENERGY TANK #8 just sitting there for the taking! Nice! Bomb the ground beside the Tank and you’ll drop down into another room below. Exit that room and press forward.
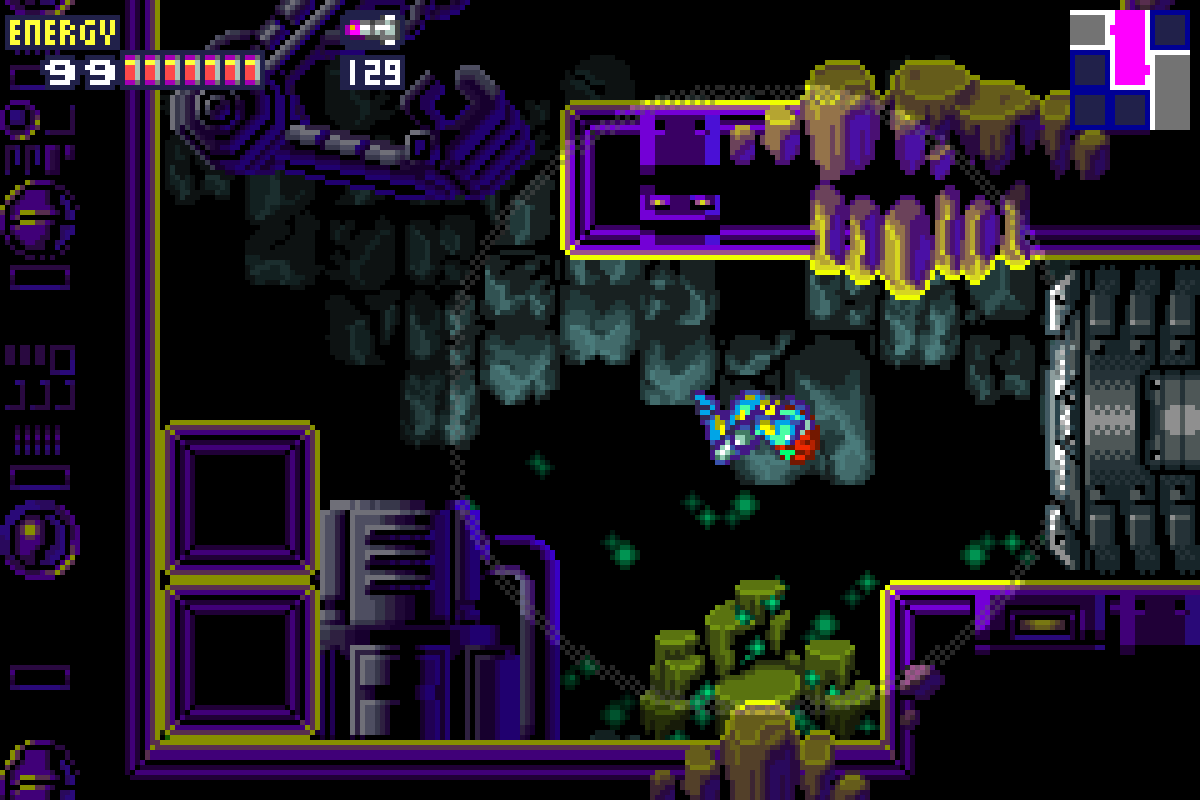
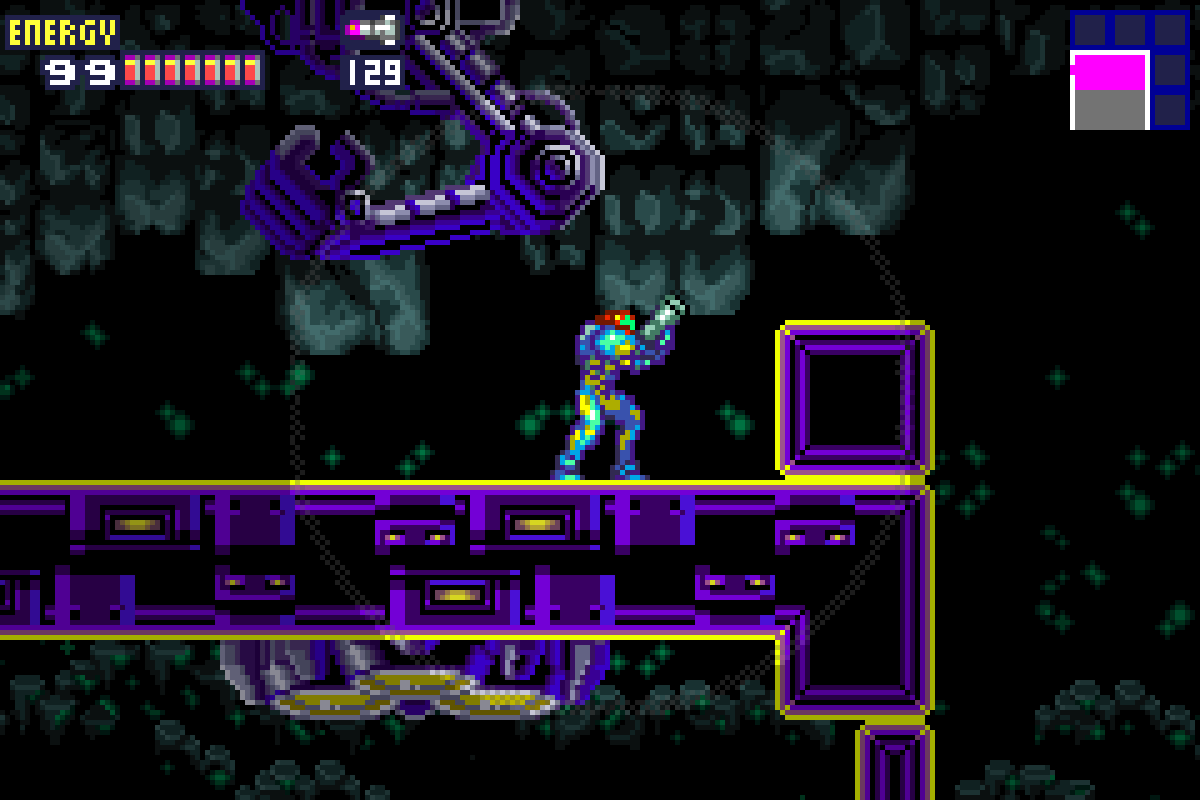
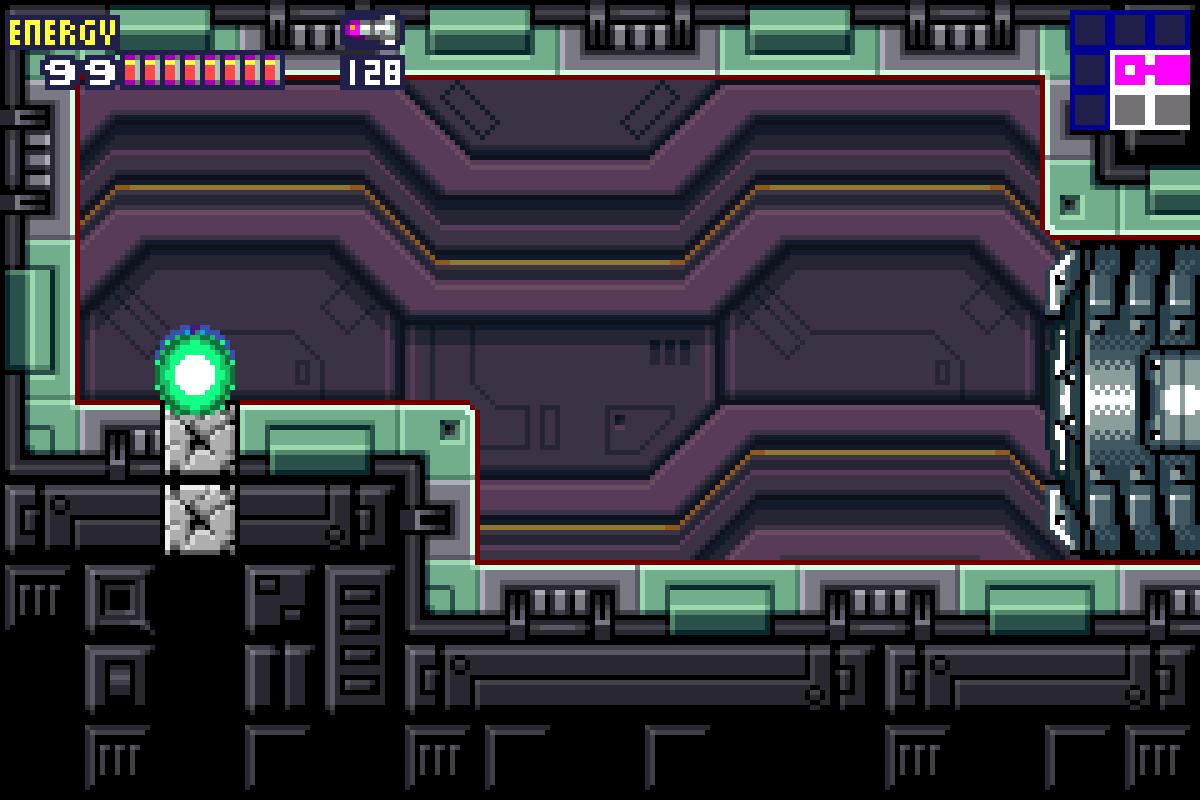
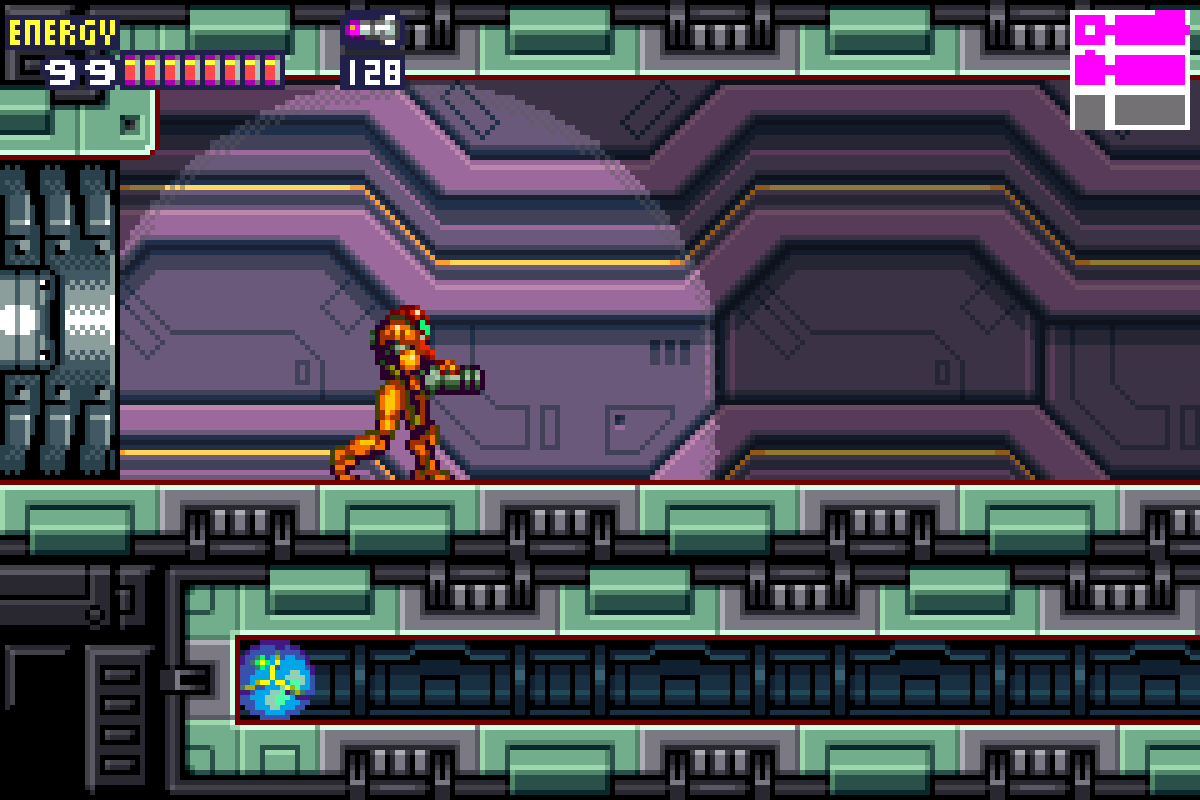
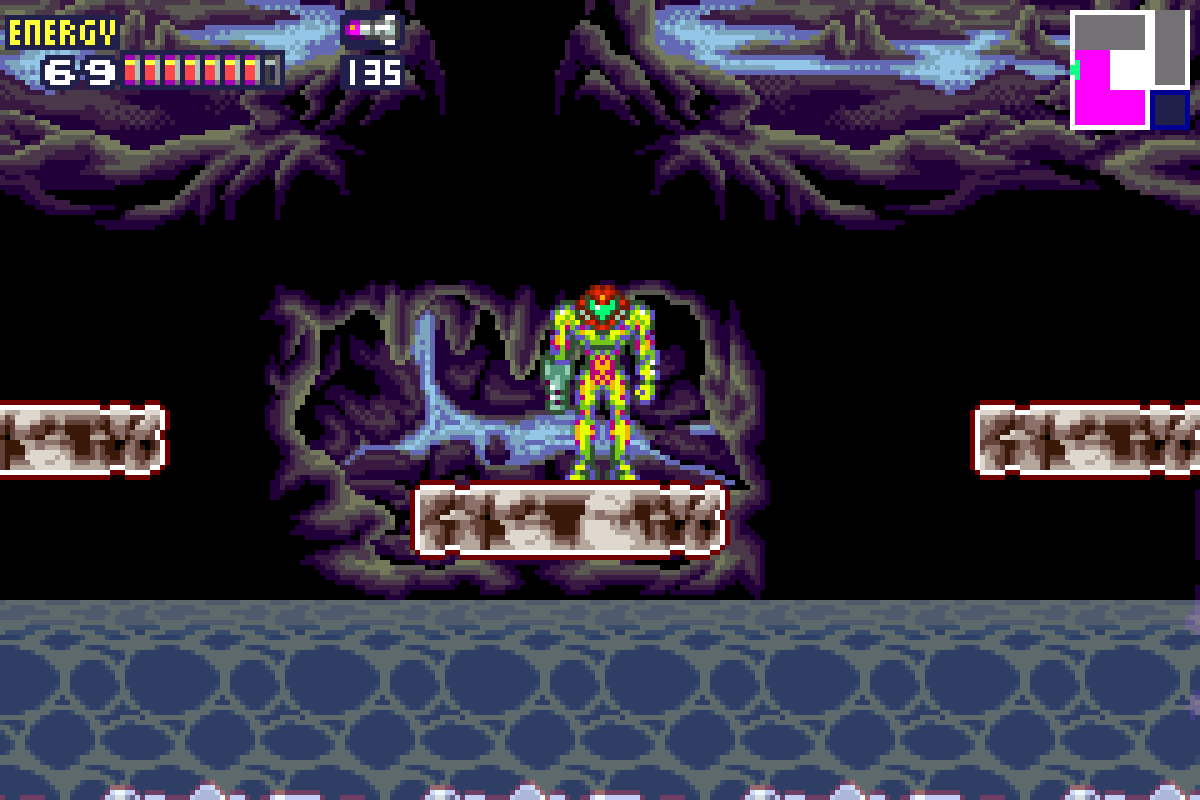
You’ll come into a room with a big pillar in it that can only be destroyed by Power Bombs, which we do not have. Get into Morph Ball mode and press up right beside the pillar; the ground will give away and you’ll fall into a little tunnel below it. And then… the SA-X will show up.
The SA-X will slowly and menacingly walk over to the pillar and lay a Power Bomb, clearing it for you. Note: don’t be too close to the bomb or you’ll take damage. Wait for the SA-X to leave the room and then proceed to the right and down through the door. Press forward until you get to the Save Room. Would be a good idea to take advantage of that right now.
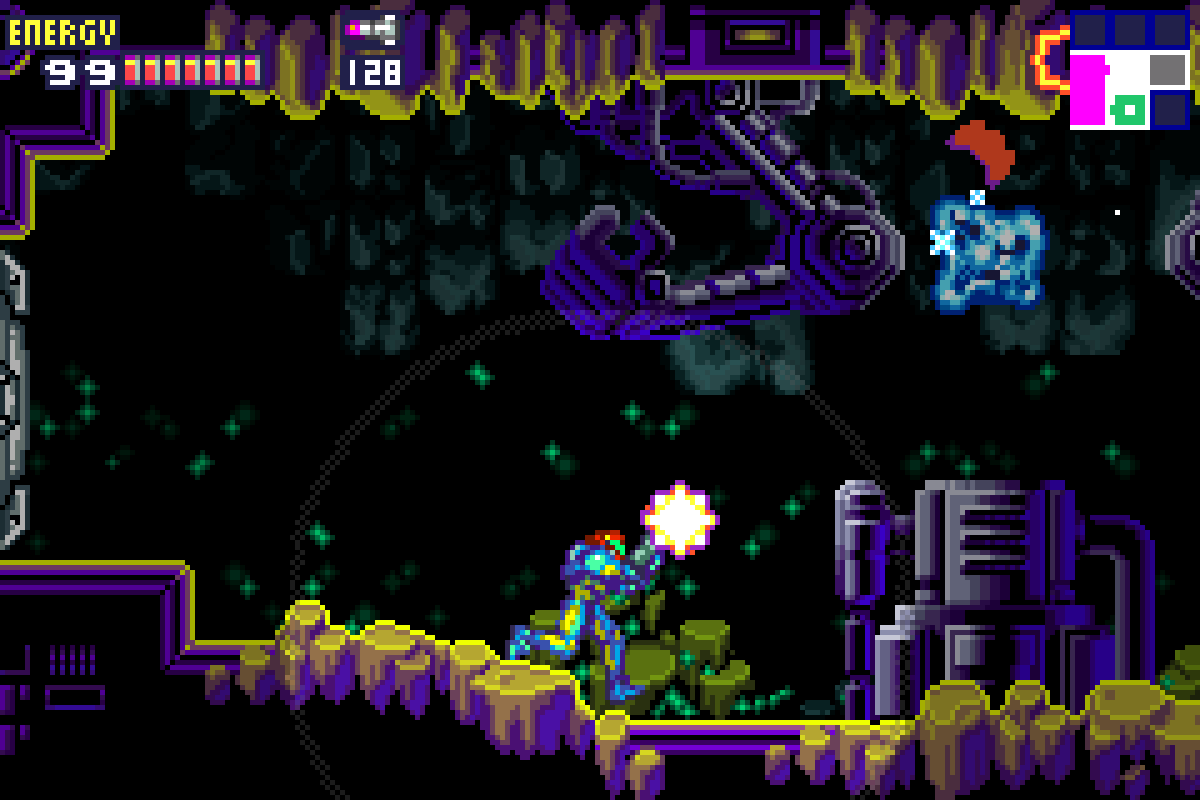
Outside the Save Room, you’ll see some shootable blocks on the ground. We need to be careful about where we shoot cause there are frozen X hiding in most of the blocks here. You want to shoot directly down, and you’ll be on a platform that’s about 2 blocks wide by 3 blocks high. Get over to the left side and shoot straight down. I’m actually going to break my rule here and encourage you to shoot the block on the bottom left. A frozen X will come and zap you, but just take the hit. The convenience of not having to backtrack for this powerup outweighs the damage you’ll take, especially because there’s a Gadora that will fully heal us next room over.
Bomb the lower left side where the block with the frozen X was and roll over into the other room. Clear out all the enemies, grab the top ledge, and grab MISSILE EXPANSION #25. Roll back out into the room with all the blocks of frozen X. Using that same 2 wide by 3 high block as a reference, shoot out the bottom row and the middle-right block to get to the door with no frozen X. Press forward, shoot the Gadora, grab the red X, and step into the Data Room.
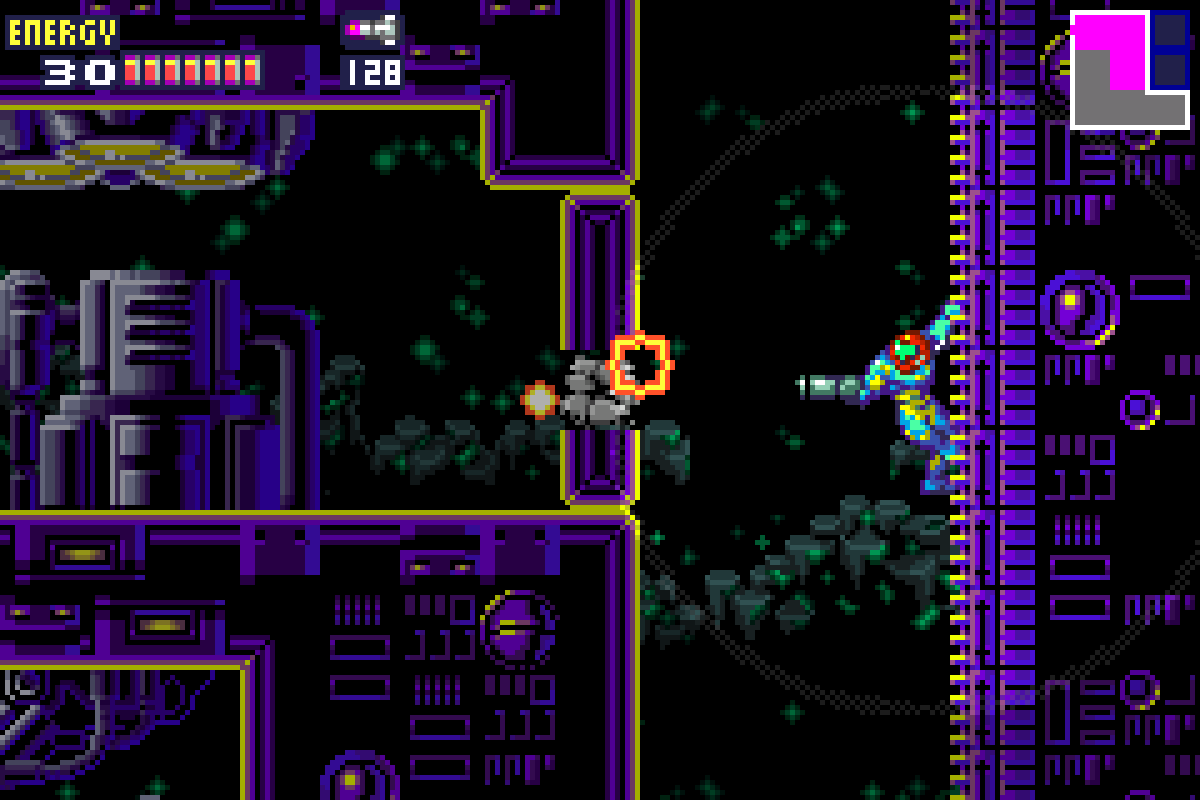
Barrier Core-X
Get ready for a fairly underwhelming boss battle.
You’ll step into the Data Room, but unfortunately, it seems a Core-X has beaten you there. This Core-X then somehow downloads the Varia Suit data and flies off into the next room. Ayyyyy. Follow it and get ready.
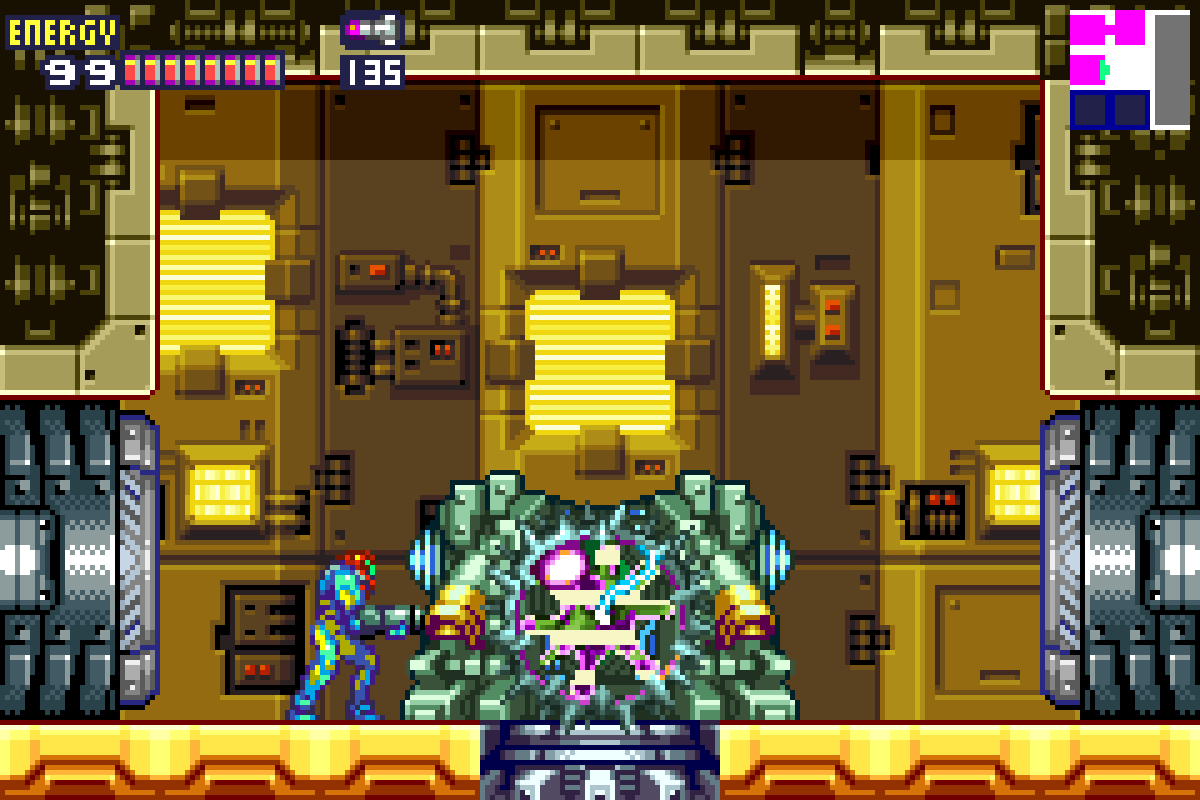

You’ll be in a room with water on the bottom and three floating platforms. Staying on these platforms will make this battle easier, but truth be told, there’s not really much to this fight.
Barrier Core-X is basically just a giant version of the same Core-X that you’ve been fighting this whole game. Only major difference is this Core-X has smaller cores around it (barriers, if you will) that in theory give it more protection, but in reality, don’t do very much.
There’s really no strategy here. All Barrier does is float around just like any Core-X. If he hits you, you’ll take damage, but not very much; the frozen X hit harder than Barrier. One thing to note: Missiles are useless here, so don’t bother. Instead, just get some charged shots ready and fire at will. Barrier Core-X is huge, so you should have no problem hitting him.
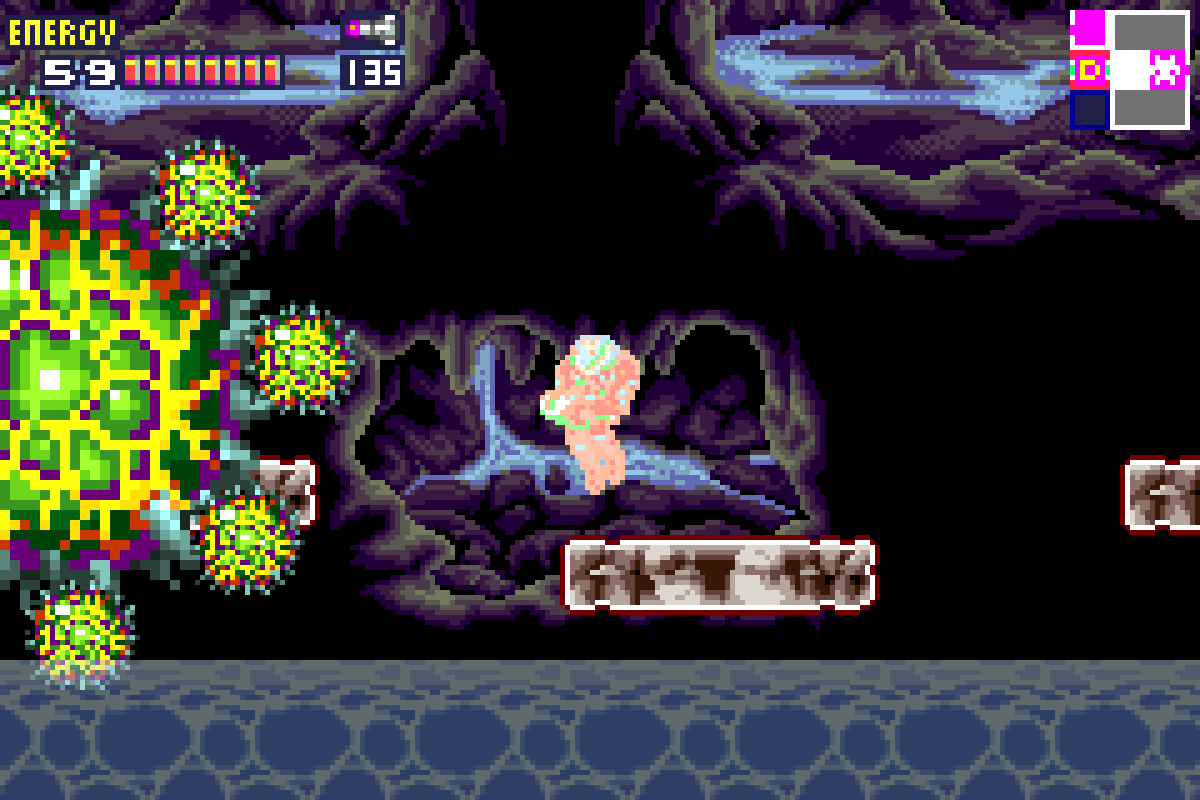
Just keep firing and eventually, a smaller, regular Core-X will pop out. Now, switch over to Missiles and finish him off. You’ll be rewarded with the VARIA SUIT once you’re finished. (Worth noting – the Fusion Varia Suit may be the ugliest suit in the Metroid series, don’t @ me). Now, those frozen X don’t stand a chance!
Leaving (NOC)
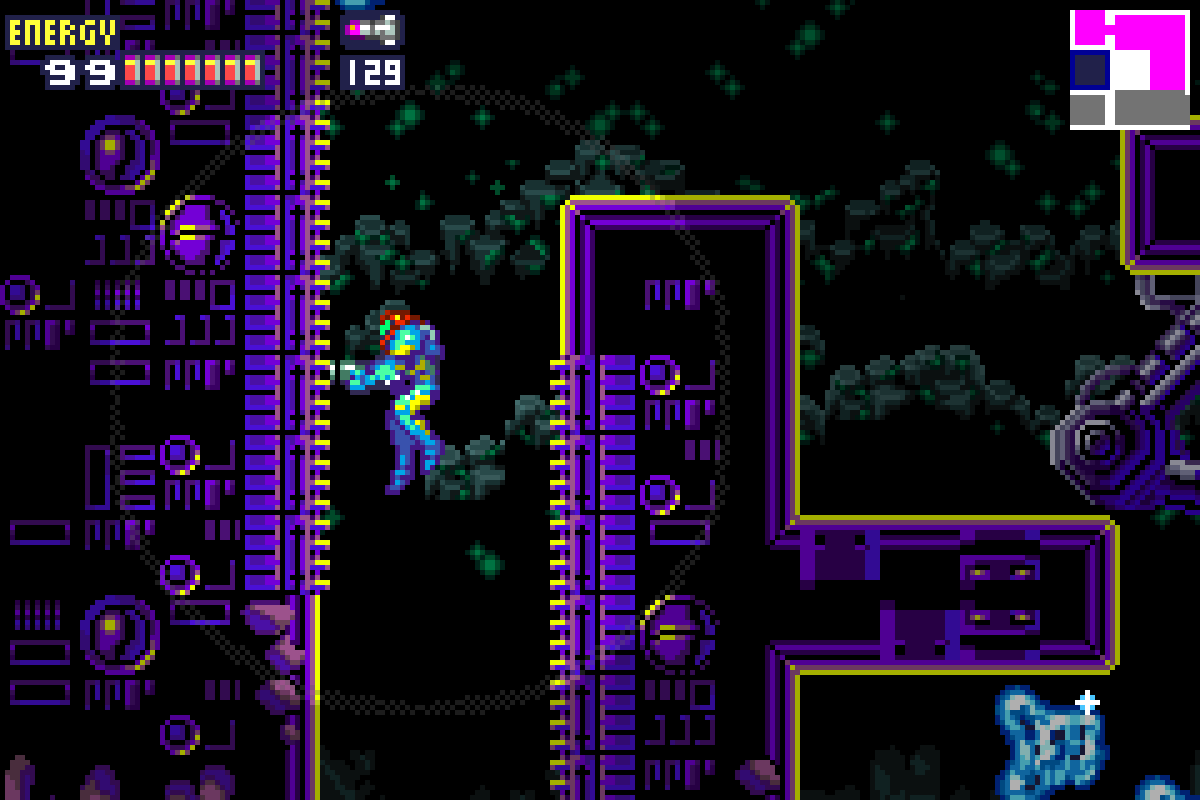
Now that you’re rocking the Varia Suit, you’ll be able to survive in extreme temperatures and, more importantly for us right now, absorb all the frozen X just like you would any other X. Press forward to the Save Room. You’ll have seen two long vertical halls on your way there. Once you’re done saving, take the vertical hall closer to the Save Station, get to the top and enter the door on your left.
You’ll see MISSILE EXPANSION #26 just sitting there for the taking, so go grab it, BUT make sure you jump on it when you get close enough because the ground directly under will give way once you step on it. Actually, you’ll want to let the ground give out from under you and as you’re falling, hug the wall on your left. You’ll grab a ledge as you’re falling which lets you roll into a room. Shoot the ceiling to reveal MISSILE EXPANSION #27. Fall back down, and take the second vertical hallway back up to the top, this time exiting on your right.

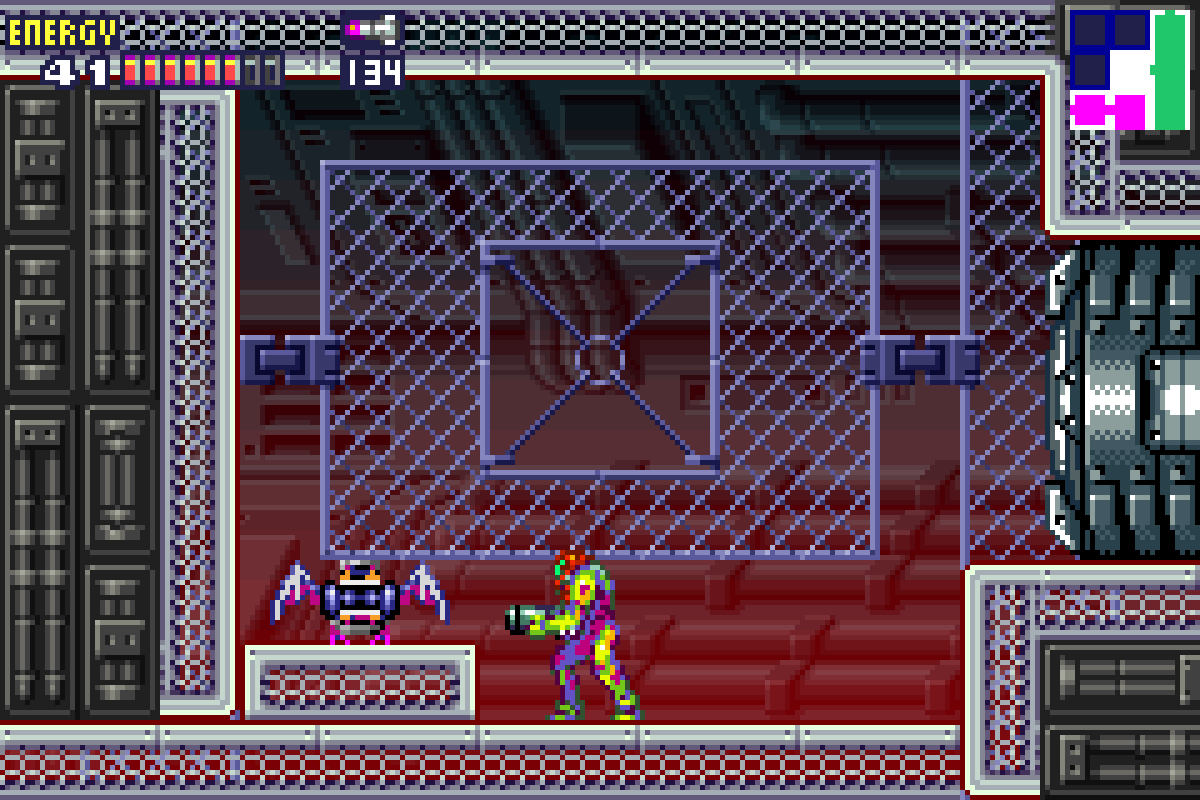
From here, just follow the path back towards the entrance of Sector 6. You’ll want to stop when you get to the first vertical hallway with all the doors we skipped past earlier. The lower left room is still behind us, but the upper right room has some stuff we want. Go in, take care of all the X, and go over into the next room. You’ll see a Missile Expansion, or so you think. This “Expansion” sprouts wings and starts flying around like some kind of vampire bat. Super bizarre and one of the strangest enemies we see in the Metroid series. Shoot it with a Missile, bomb the lower right of the wall and roll over into a new room where MISSILE EXPANSION #28 awaits you.
This is the last Expansion available to us in Sector 6 for now, so make your way back to the Navigational Room.
Next Chapter: Sector 5 – Cold Arsenal