


Metroid: Zero Mission Walkthrough – Mother Brain
Walkthrough
The Screw Attack
Back again in Norfair. How splendid. As soon as the elevator stops, you’ll see the wall to the right of you give away, and you know what that means: it’s Chozo Stat- wait a second! This statue is broken! Yes, unfortunately, there are no markers or health refills to be had here. Instead, jump up and roll to the ledge behind the broken statue and lay some bombs. You’ll fall into a tunnel that will lead you left, through a very small and narrow tube. Follow the path and let your Speed Booster kick in. Shoot in front of you to break any blocks in your way, and at the end, you’ll destroy some Speed Boost blocks that are housing a Morph Ball Launcher. Get inside and blast off!
After shooting up a ton of screens, you’ll eventually land in a previously inaccessible area. Go through the door on your left. This next room has a TOOON of Rippers flying around, as well as a missile expansion. Ignore the expansion for now and just focus on freezing the Rippers and getting past them. Head through the door on your right, and OH BABY… we got the SCREW ATTACK! Equipped with Samus’s ultimate weapon, head back to the previous room and shred those Rippers like grated cheese, jump up, and grab MISSILE EXPANSION #39!
Head down to the Save Station below you and from there, head towards the Map Station. From there, head directly towards the right until you reach a green blast door. Open it up with a super missile and work your way towards the right. Be mindful of all the bugs and keep your jumps tight – there’s a lot of small platforms – and take the door at the end. You’ll be in a room with some lava under your feet, and wouldn’t you know, this lava isn’t real. Bomb the floor and drop down, taking the door on the left.
This new room will have a platform with lava underneath. Press forward and you’ll be able to see an expansion that’s not in jumping distance, but worry not! Behind you, you should have walked over a tube that spews out bugs. Lure one of the bugs to the left, and then when it flies over you and to the left over the lava, freeze it and jump on it (be careful not to destroy it with your Screw Attack though!). Using the frozen bug as a platform, you’ll be able to jump over and grab SUPER MISSILE EXPANSION #5! BUT WAIT! There’s more! Don’t move from atop the pillar where the Super Missile was. This next move is tricky, but what you’ll want to do is aim downwards to the left-hand wall and as soon as the bug unfreezes and starts flying towards the left, shoot it and freeze it again! In the upper left corner of the wall is a hidden tunnel; what you’ll want is to freeze the bug once to get up to the Super Missile platform, and then freeze it again to use it as a platform to get to the hidden tunnel. This is tricky and if you want to come back later with the Space Jump, I don’t blame you. But if you can pull this off, you’ll be able to roll through this secret tunnel to grab MISSILE EXPANSION #40.
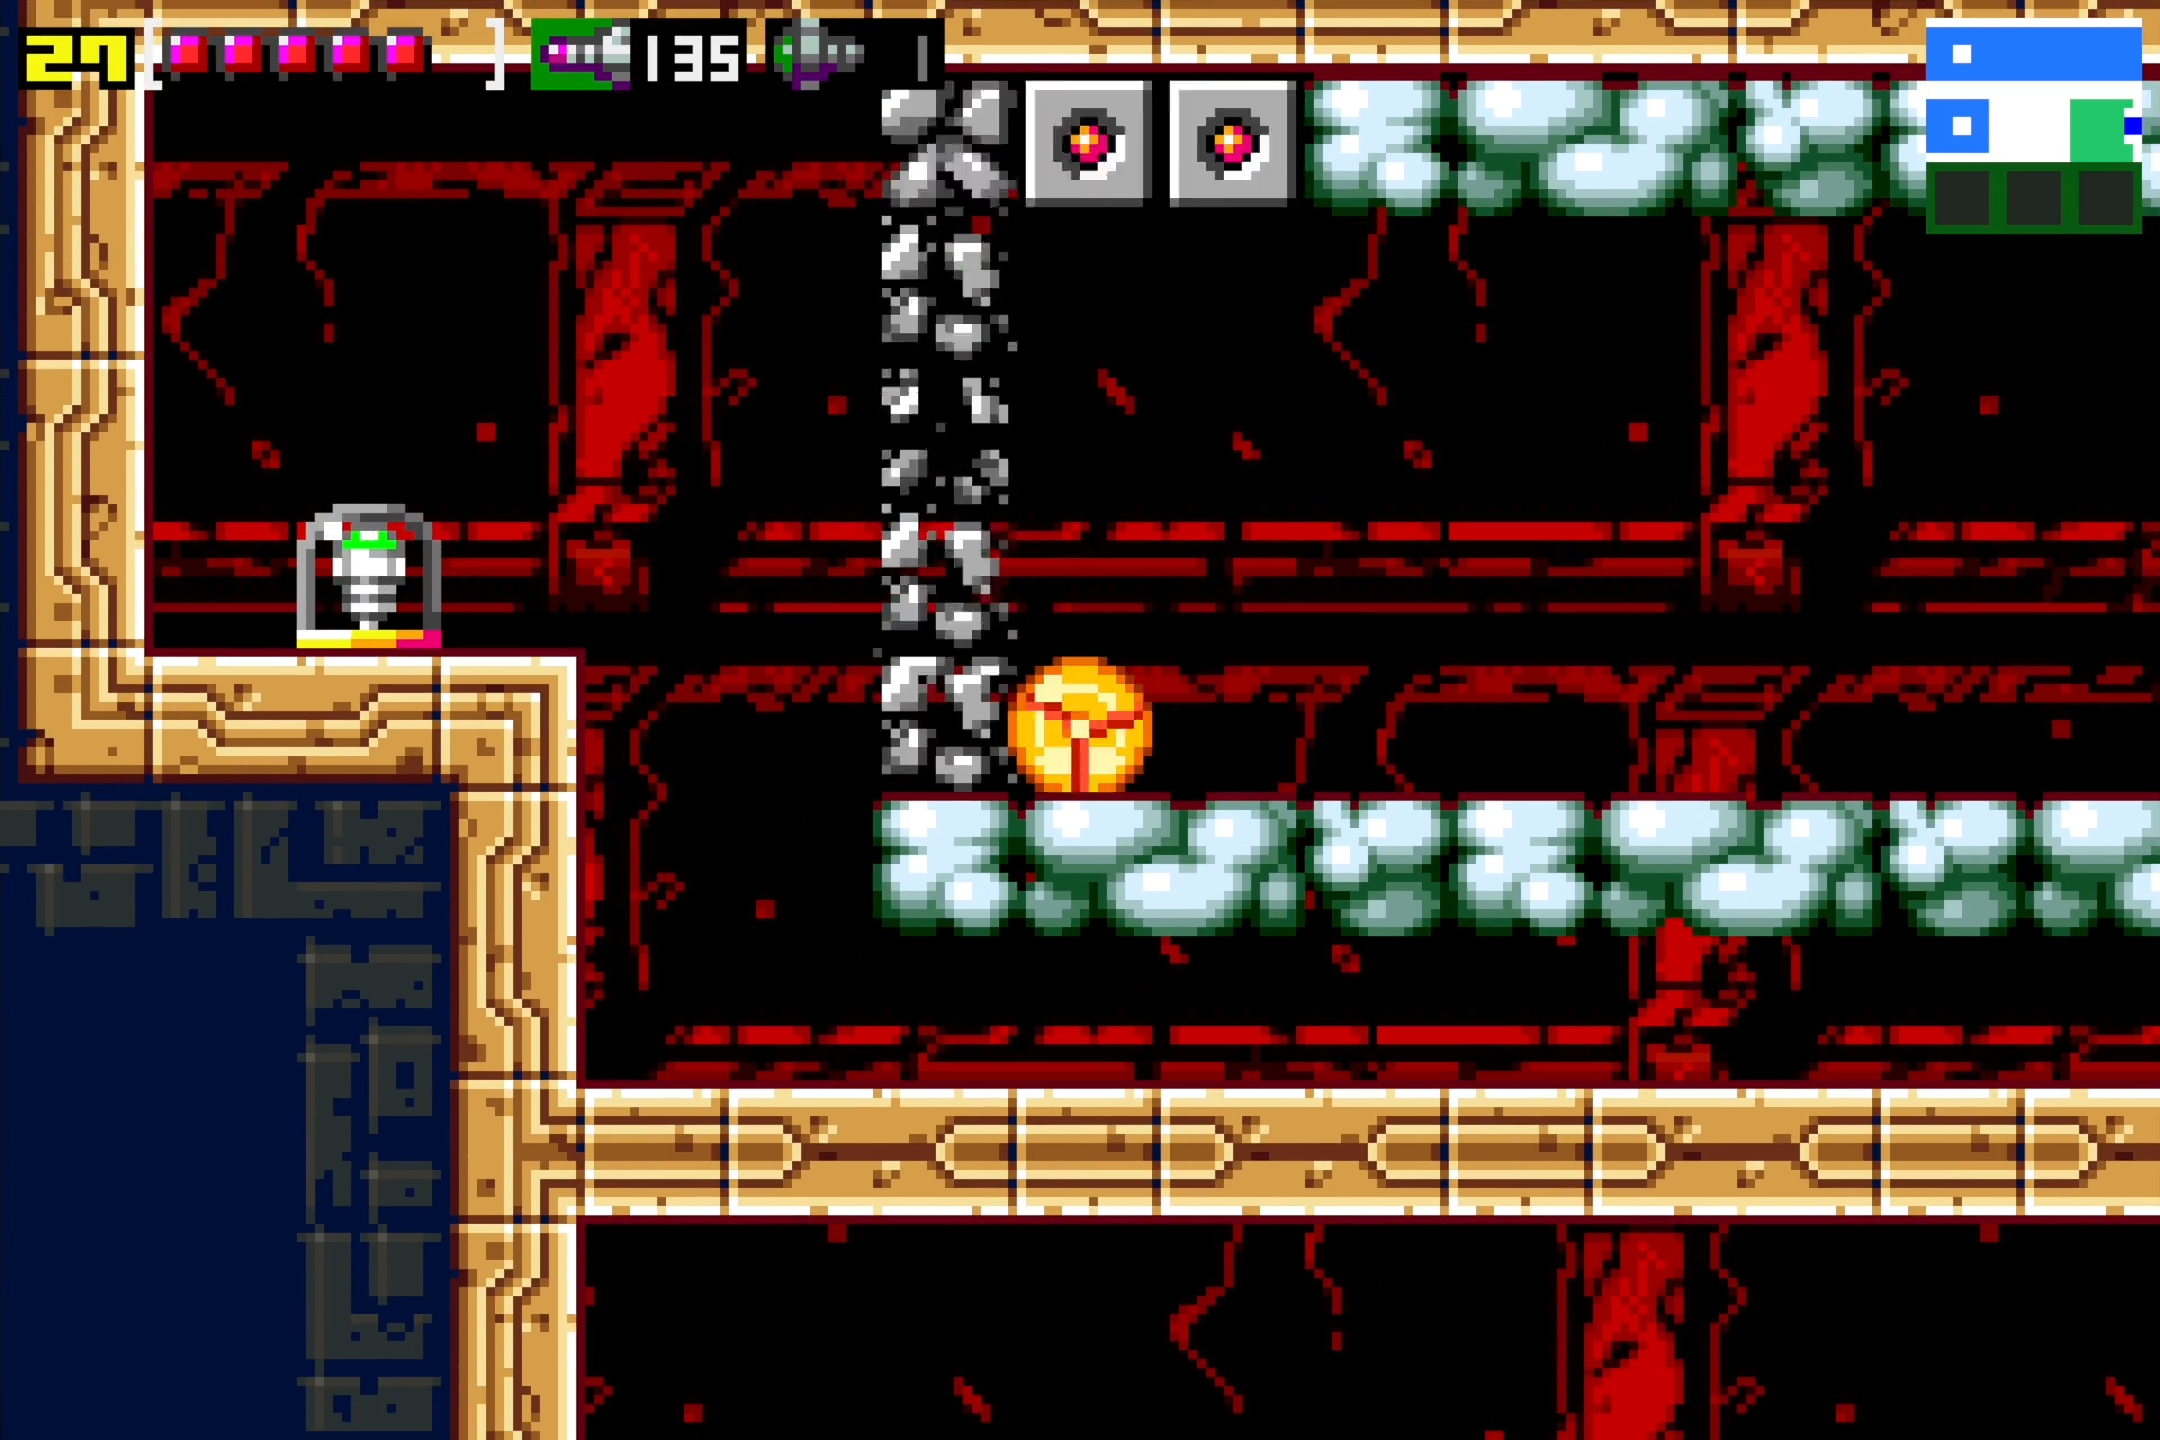
We’ve got a bit of backtracking to do now. Work your way back to the Map Station, and from there, back to the Save Station we started at. From there, press all the way to the right until you arrive in the long vertical hallway at the far side of Norfair. Once you’re there (which, BTW, if you were low on health after the last missile expansion, stop at the Chozo Statue for a top-off), you’ll need to take a few steps in order to get to where we want. First, drop down and follow the path around and up until you can get to the Morph Ball Launcher. Blast up to the upper part of the vertical hallway and take the door on your left as soon as you land. Start Speed Boosting back towards the door you just came out of so you can break the floor to drop back down. Once you’ve finally done all that (just a bit convoluted, but hey!), enter the door to your left.
Proceed to the left in this next room and open the green blast door. The next room is a bit of a doozy, and depending on your health situation, I might advise you to use brute force to get what you need quicker. Essentially, there are several pillars that can be destroyed with beams or your Screw Attack, and in between each pillar is a small platform that you can stand on. The game wants you to take your time and shoot out the middle of the pillars, jump carefully over, and then land on the platform, repeating the process. I say that if you have a decent amount of health, which if you’ve been following this guide so far, you should, just jump from the platform into the lava, jump and Screw Attack the pillars to bits, jump to the next platform, rinse and repeat. This is faster and easier, but obviously you’ll take damage. The very last pillar in this room is also hiding a secret! Shoot the top most block and you’ll see MISSILE EXPANSION #41 revealed! Grab it and head through the blast door on the left.
Walk straight ahead and you’ll see a barrier in between you and a Super Missile. Very important here – get into Morph Ball form and jump so you bomb the TOP LEFT of this barrier and not the bottom! If you do that, the top part will evaporate and SUPER MISSILE EXPANSION #6 will be served up on a silver platter! That’s all for Norfair right now, so finish whatever business you need to and, when you’re ready, take the elevator back up to Brinstar.
Tourian
Once you get back to Brinstar, open your map, and in the upper left corner, you’ll see the entrance to Tourian. That’s where we need to go, so make your way over. When you get to that room, the statue of Ridley and Kraid will open and you’ll be free to pass through. Take the elevator down into Space Pirate HQ, and watch as an ominous cutscene plays out…
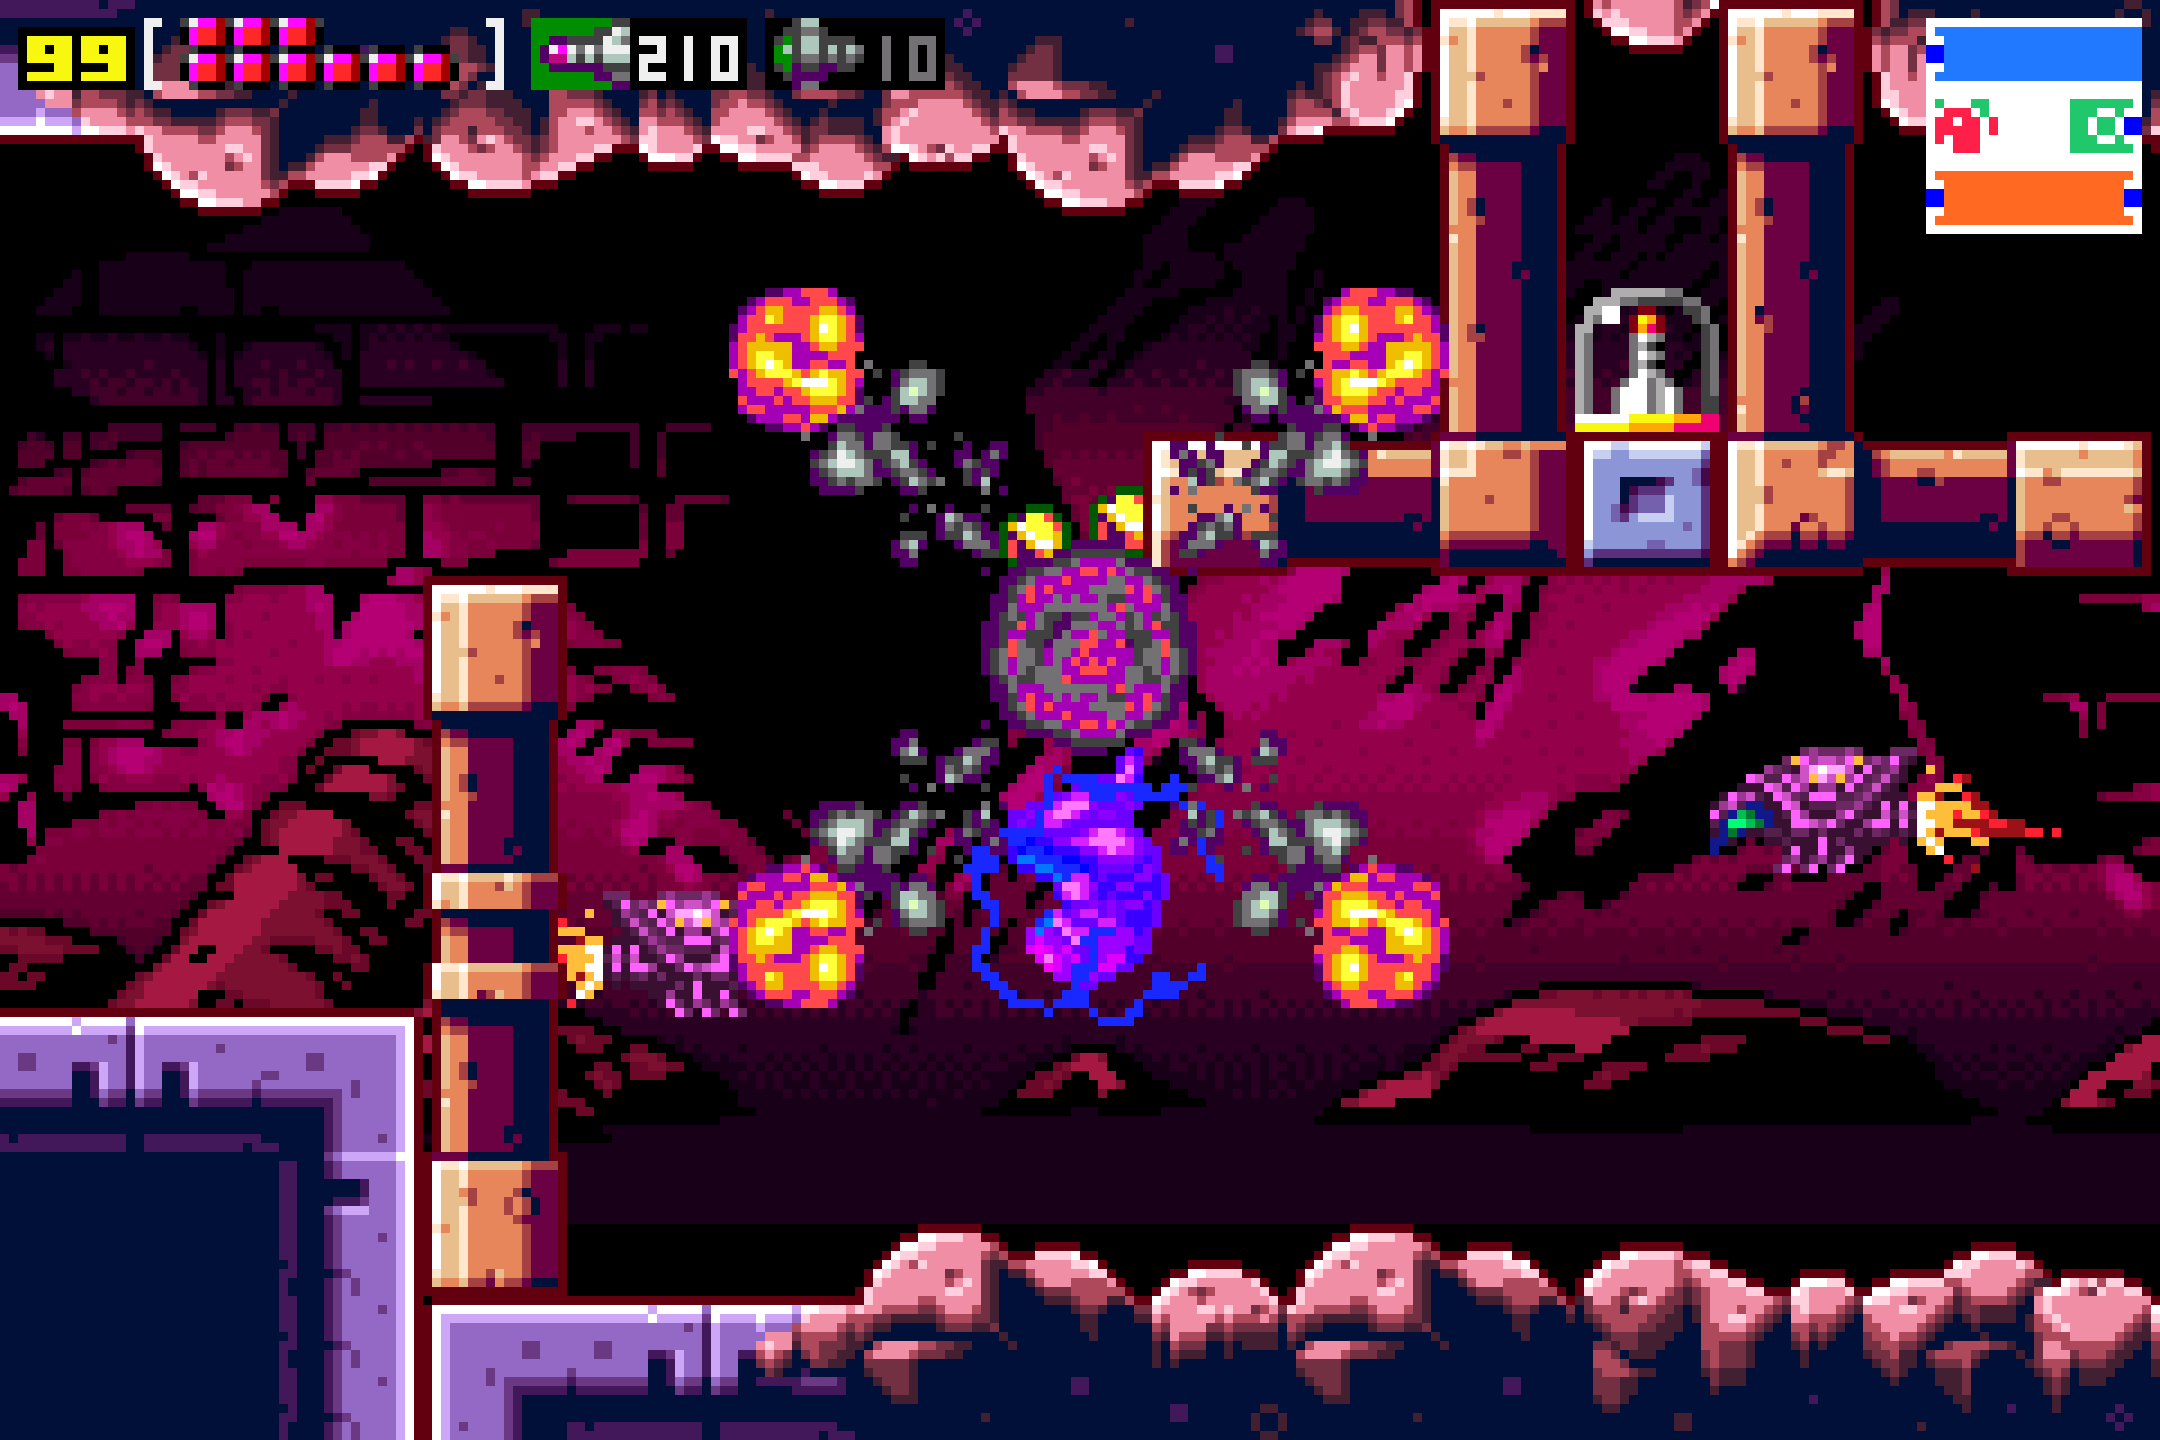
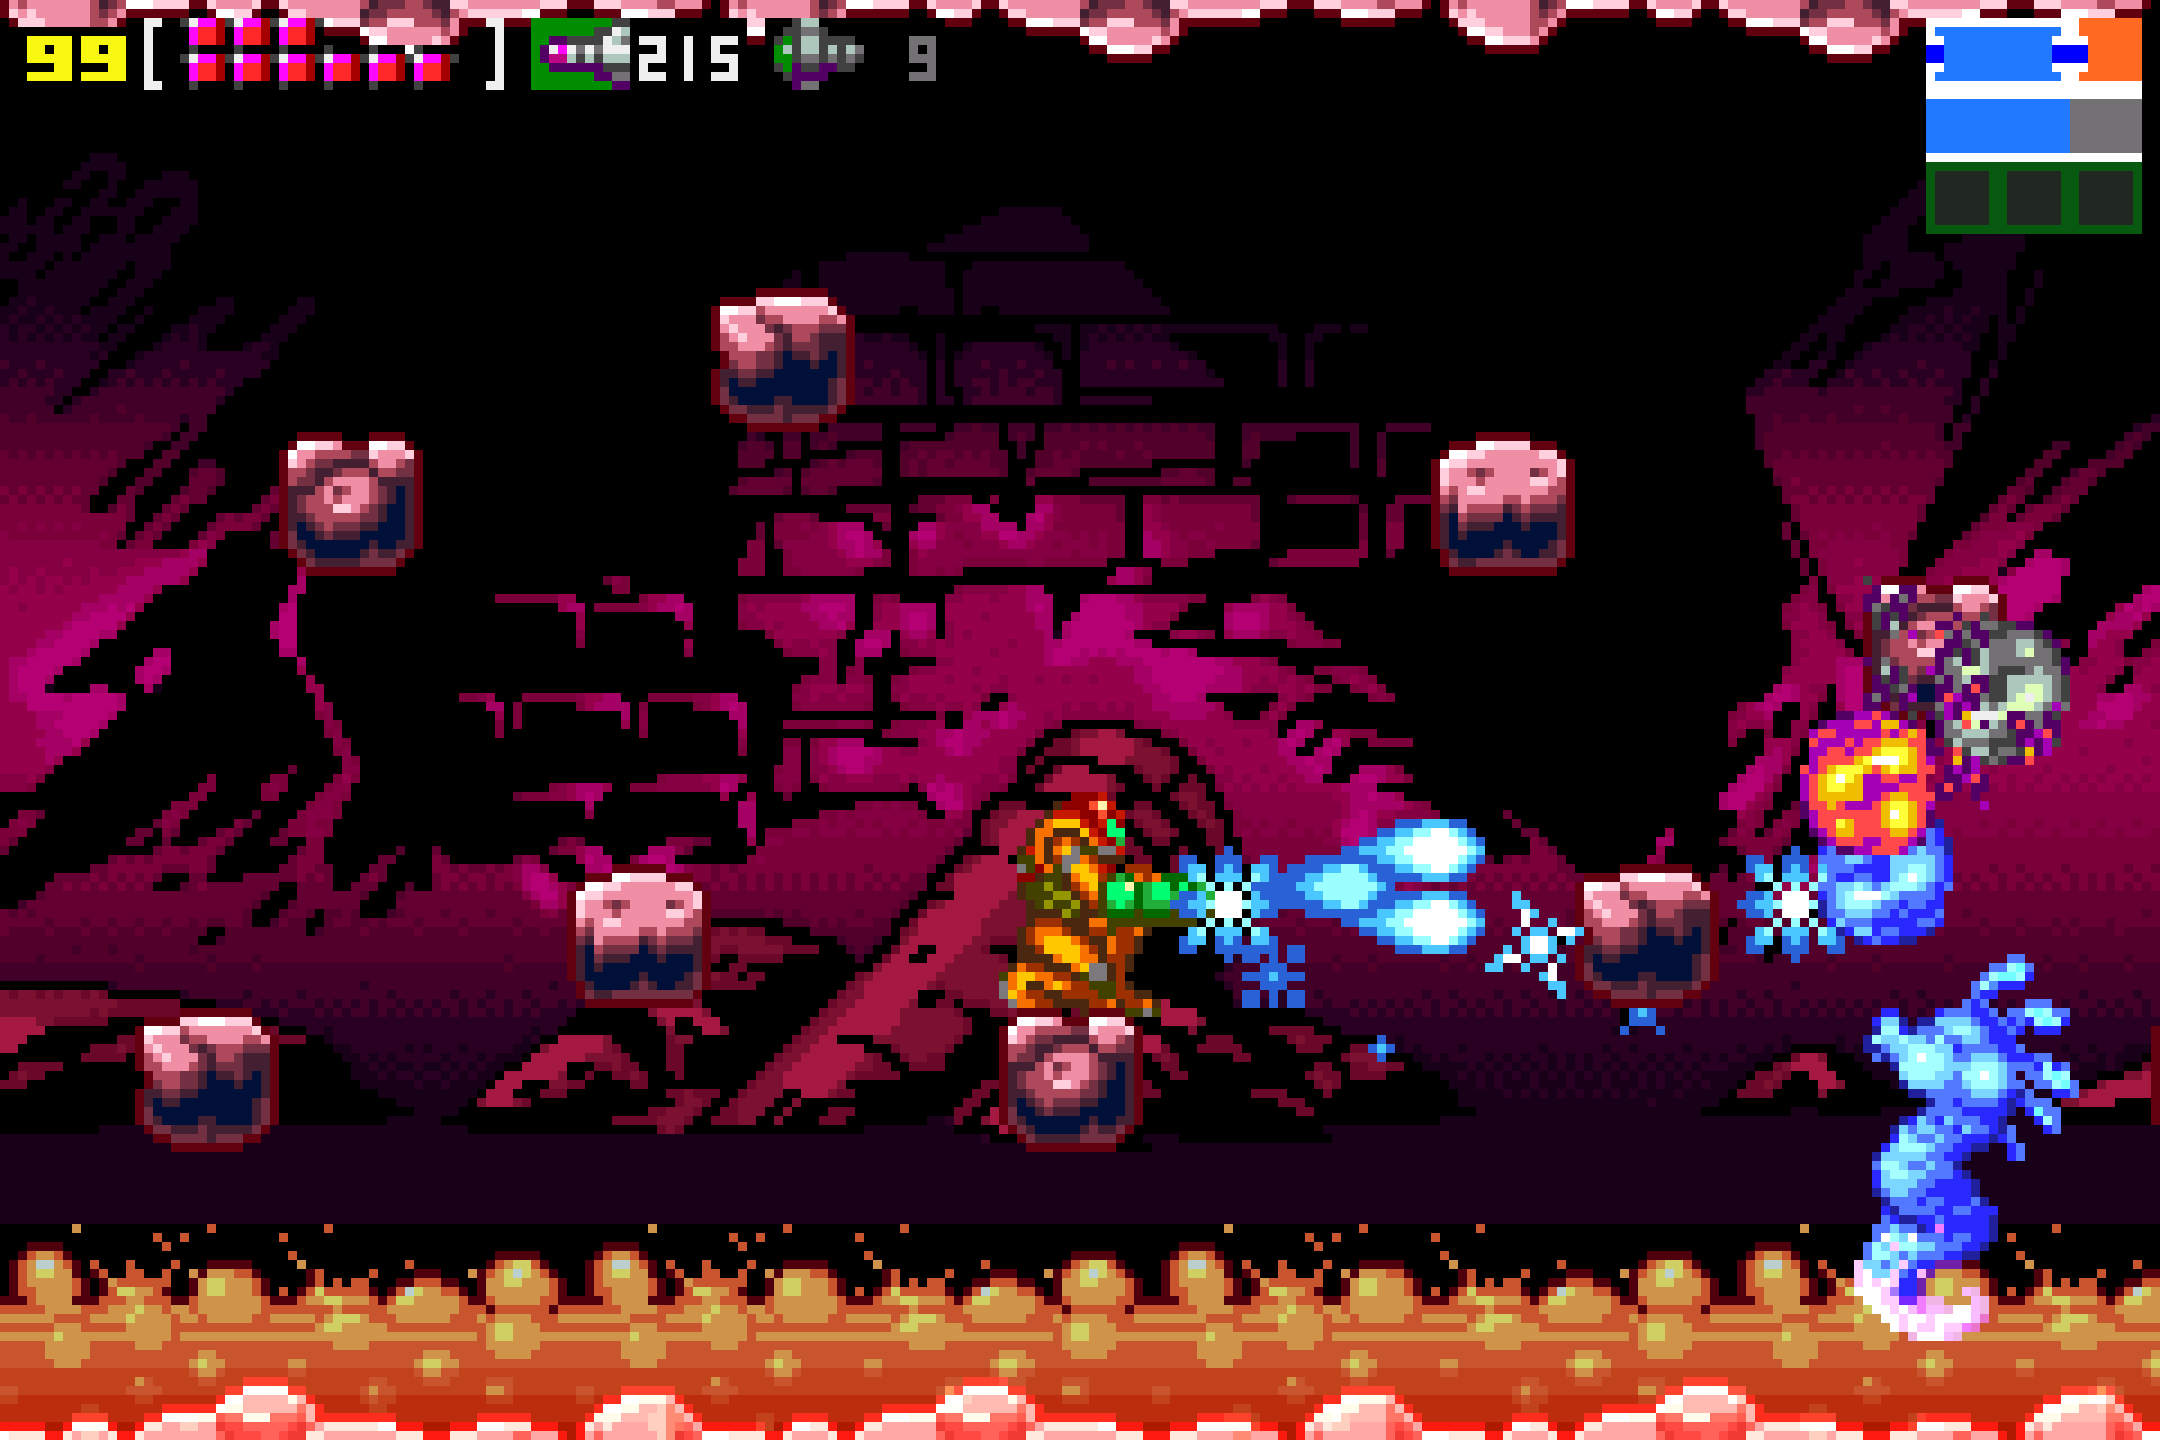
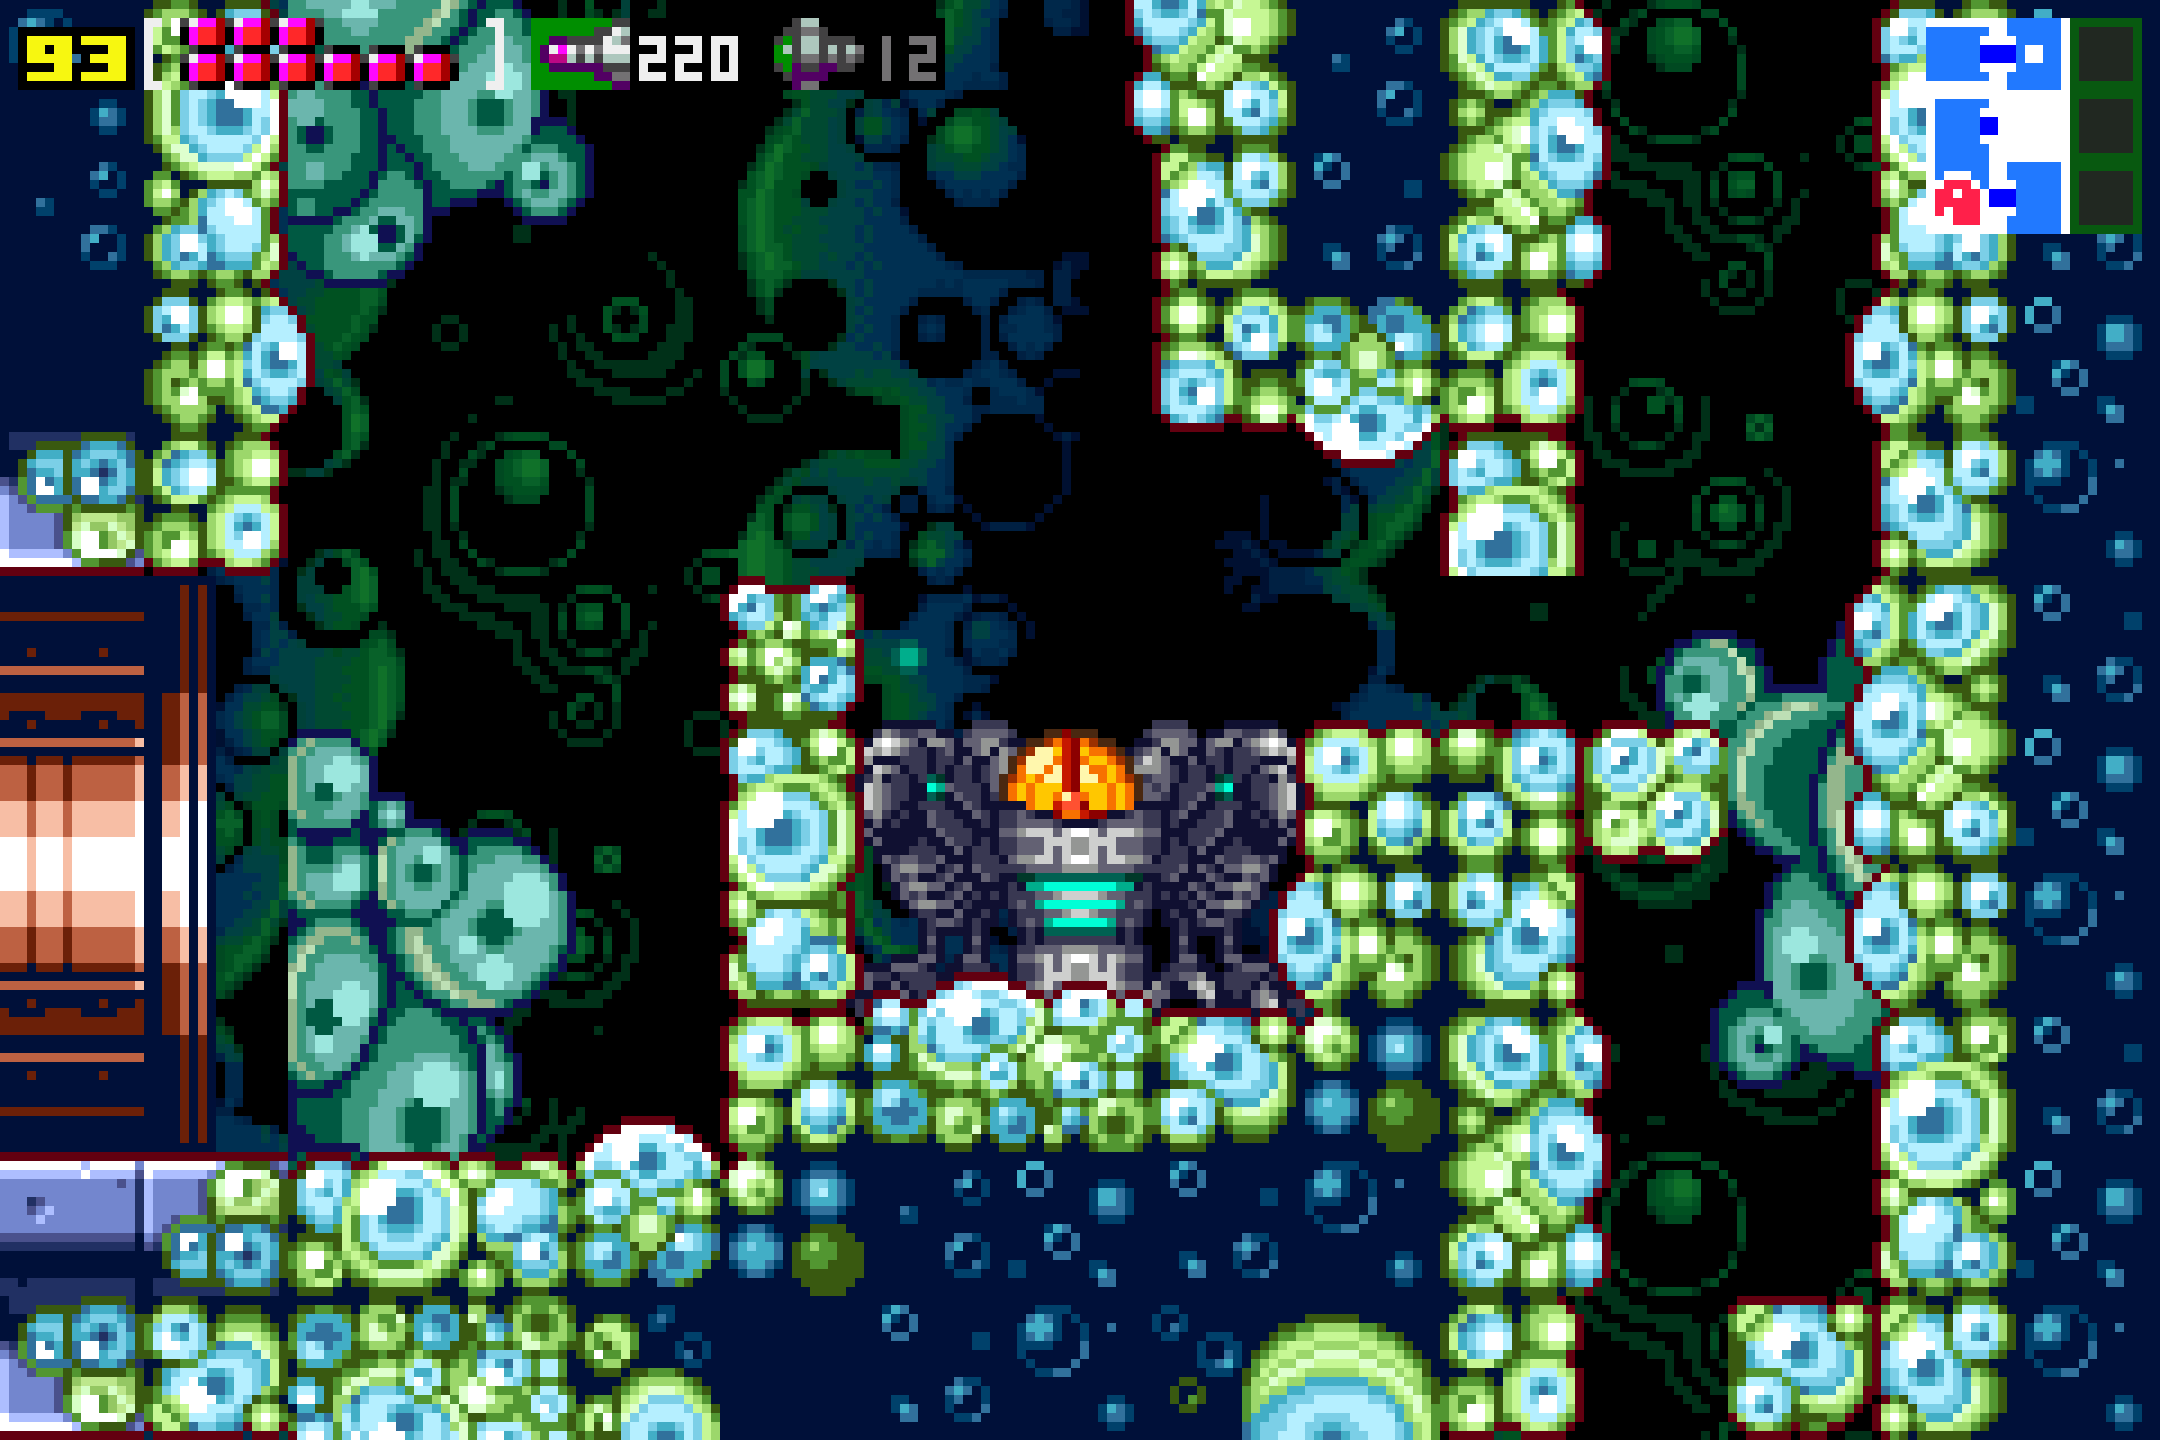
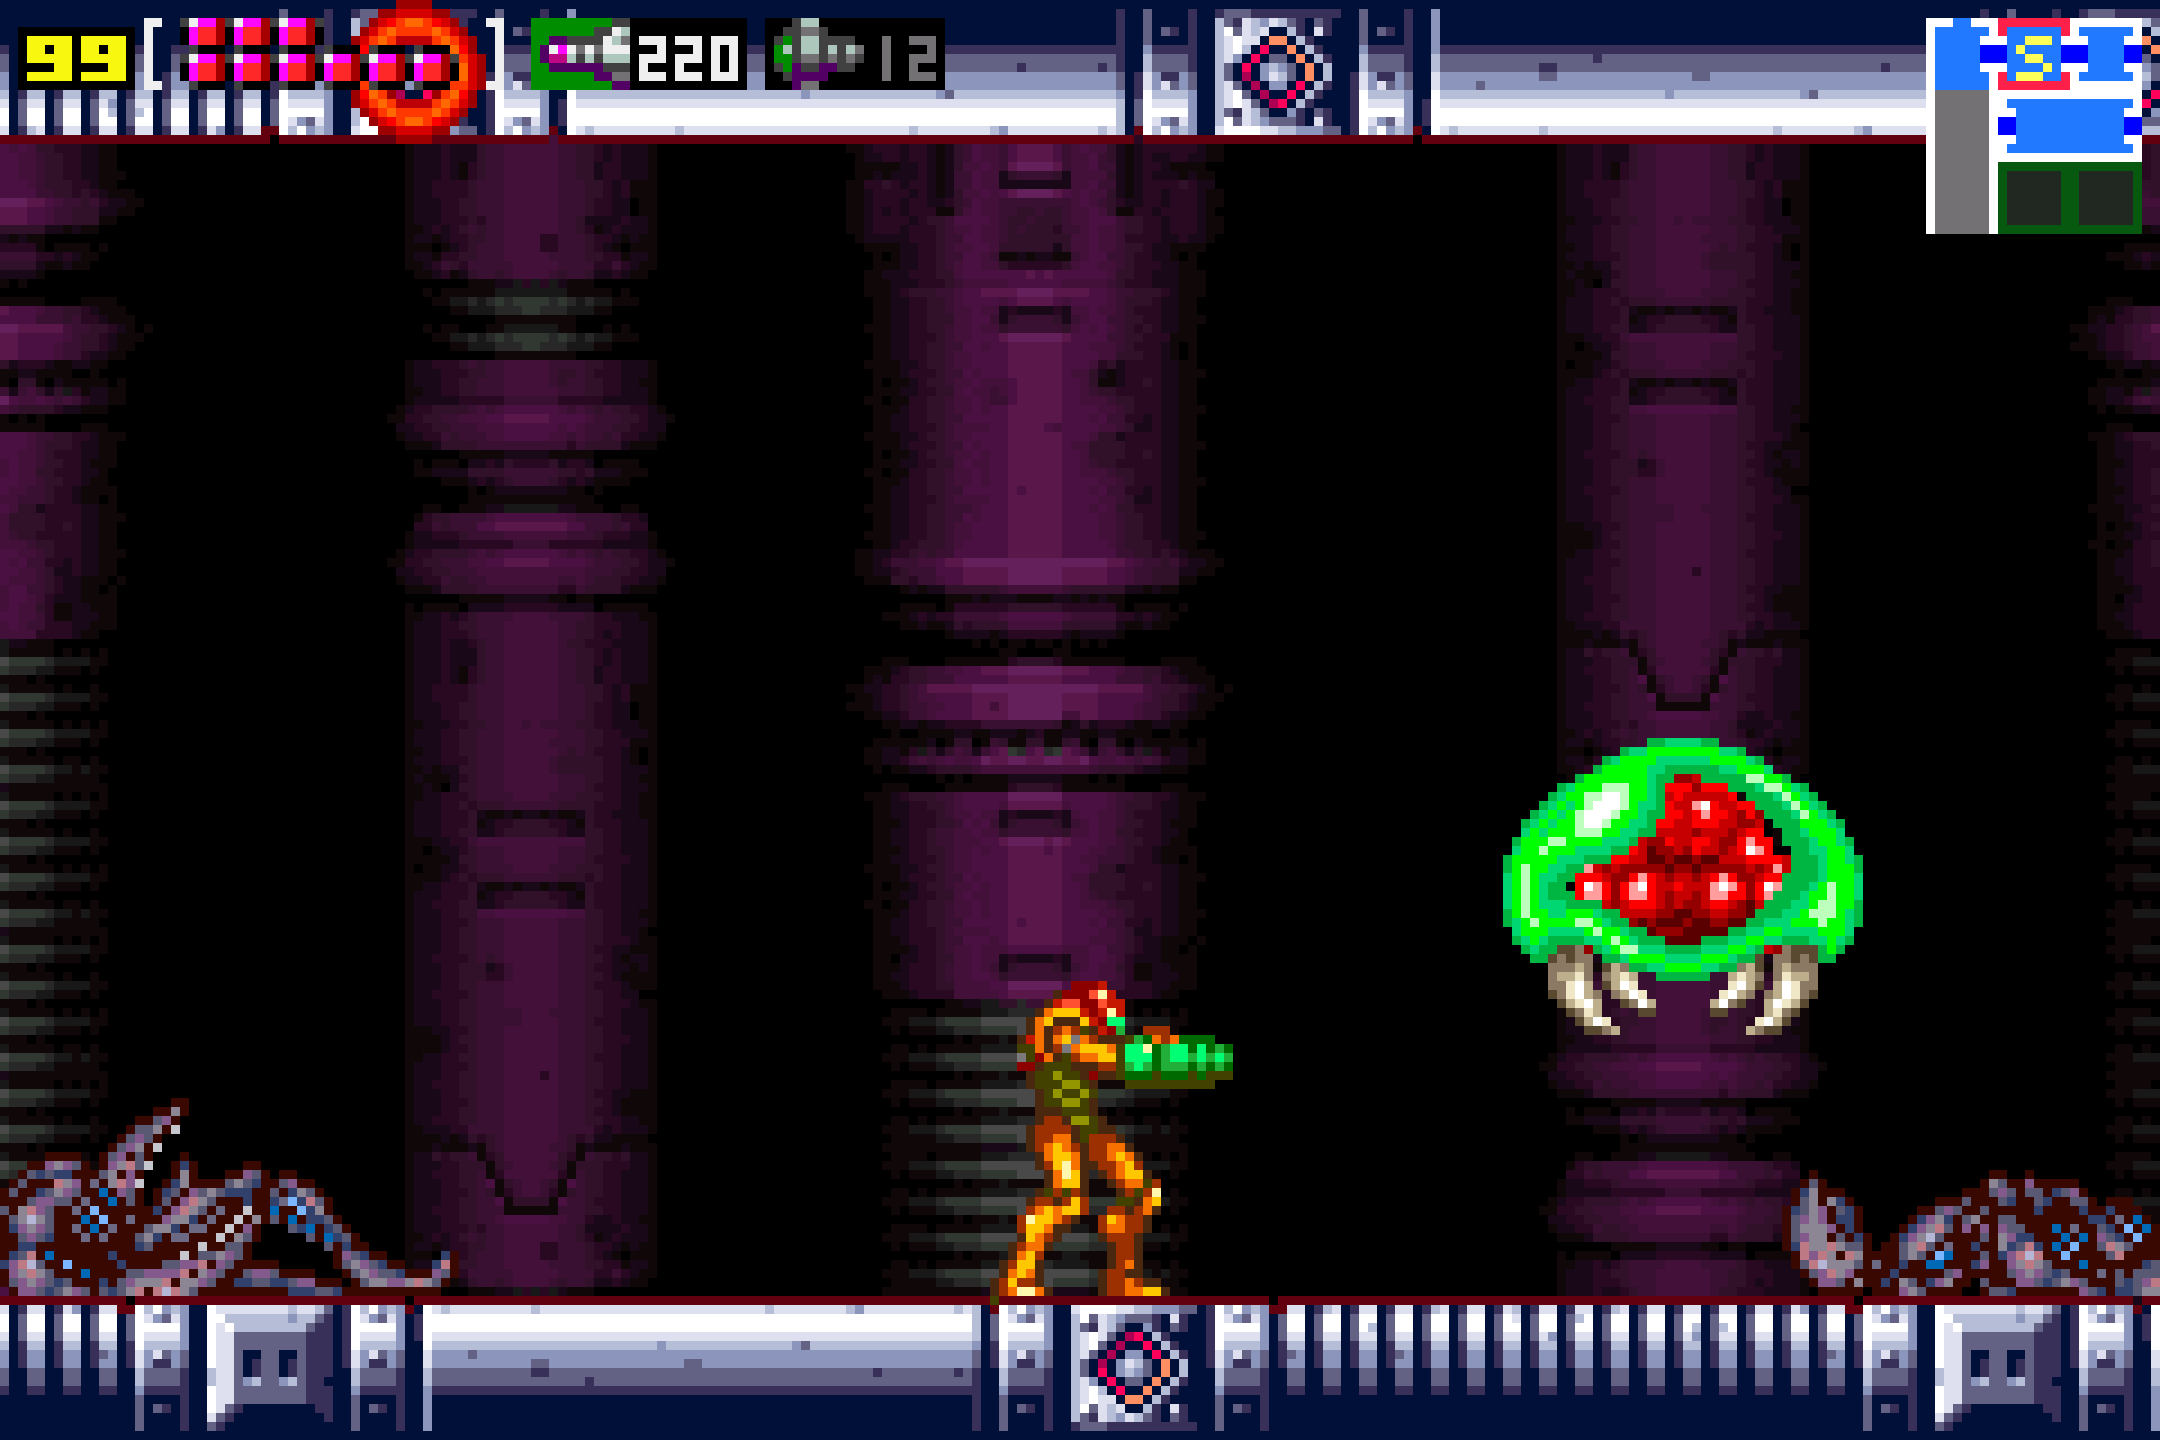
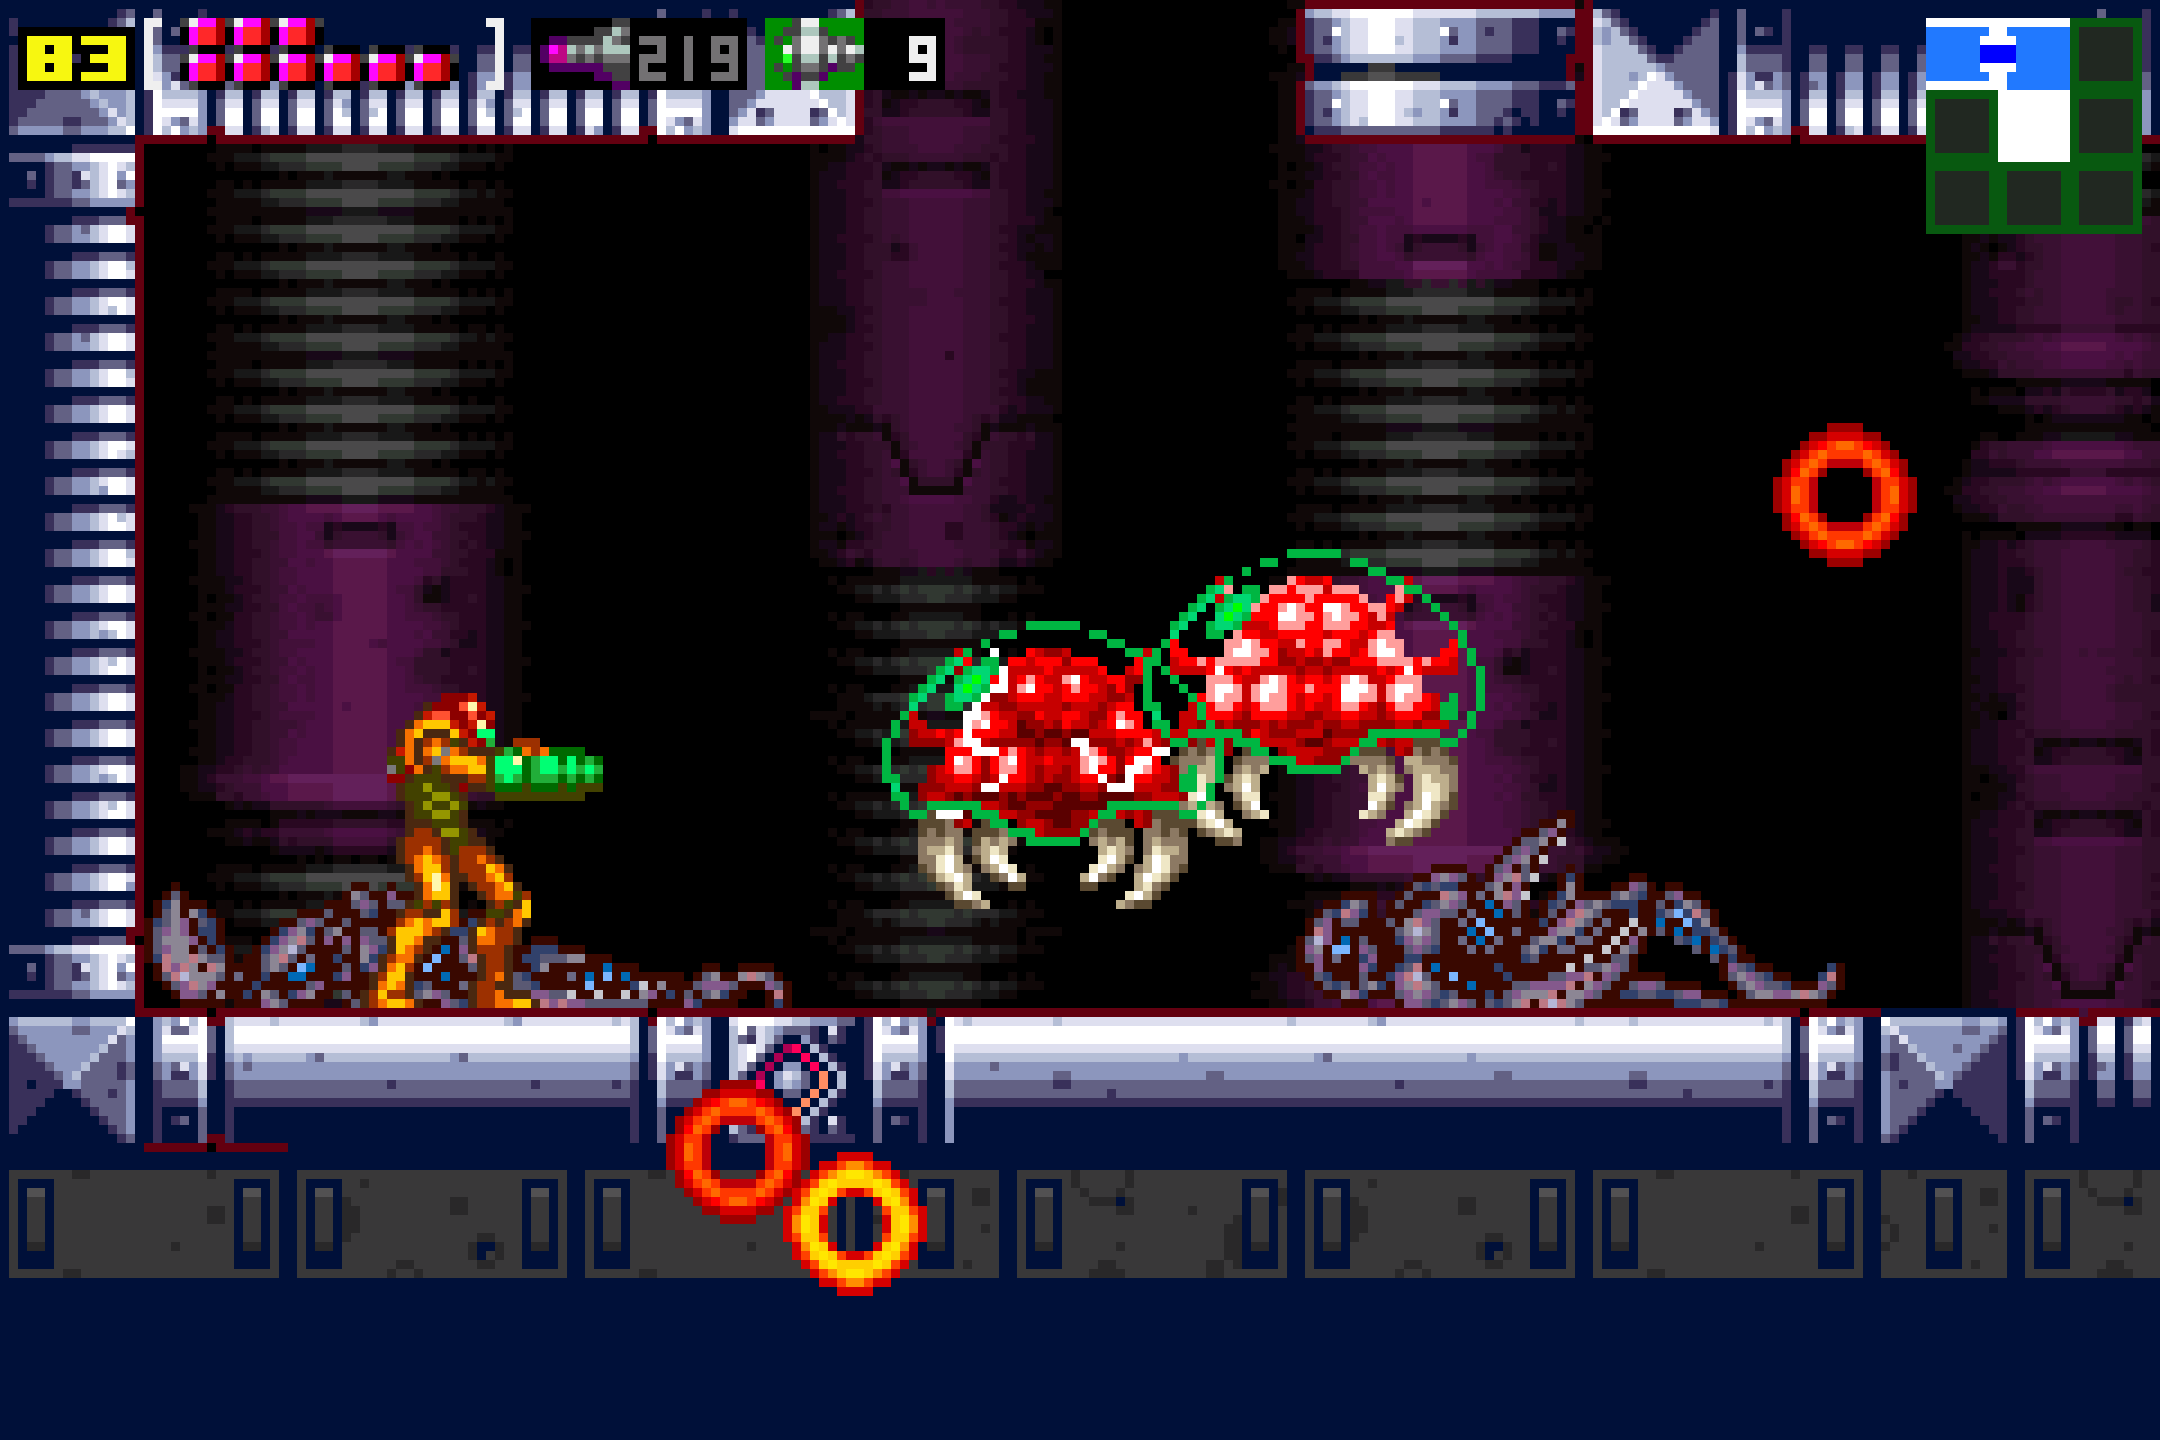
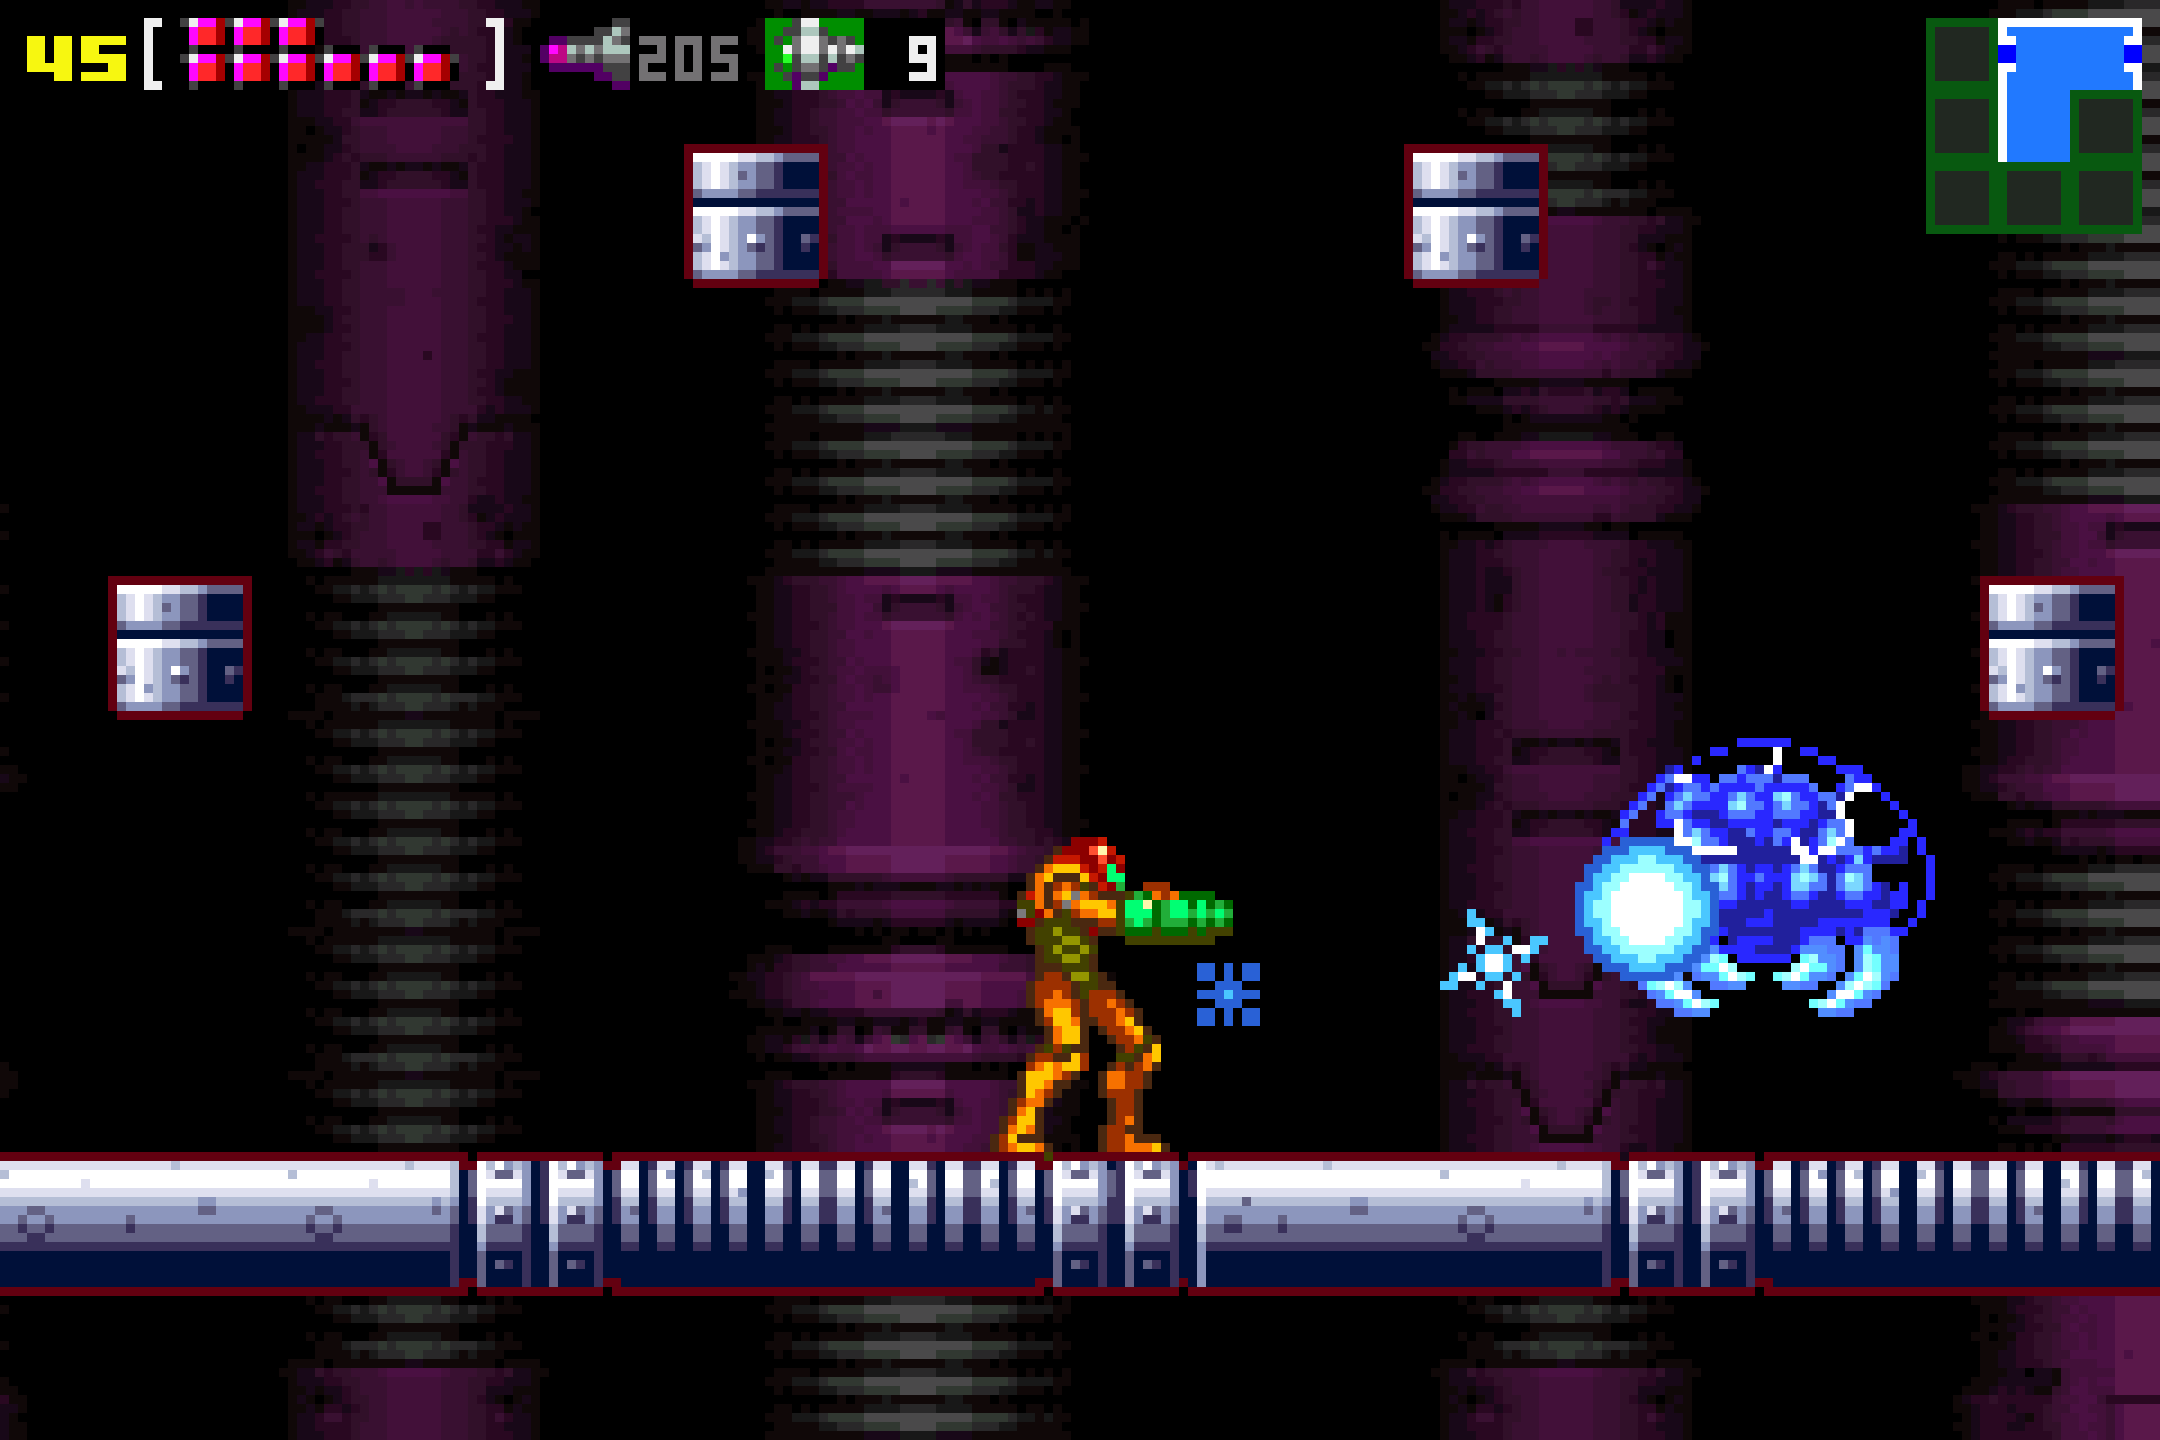
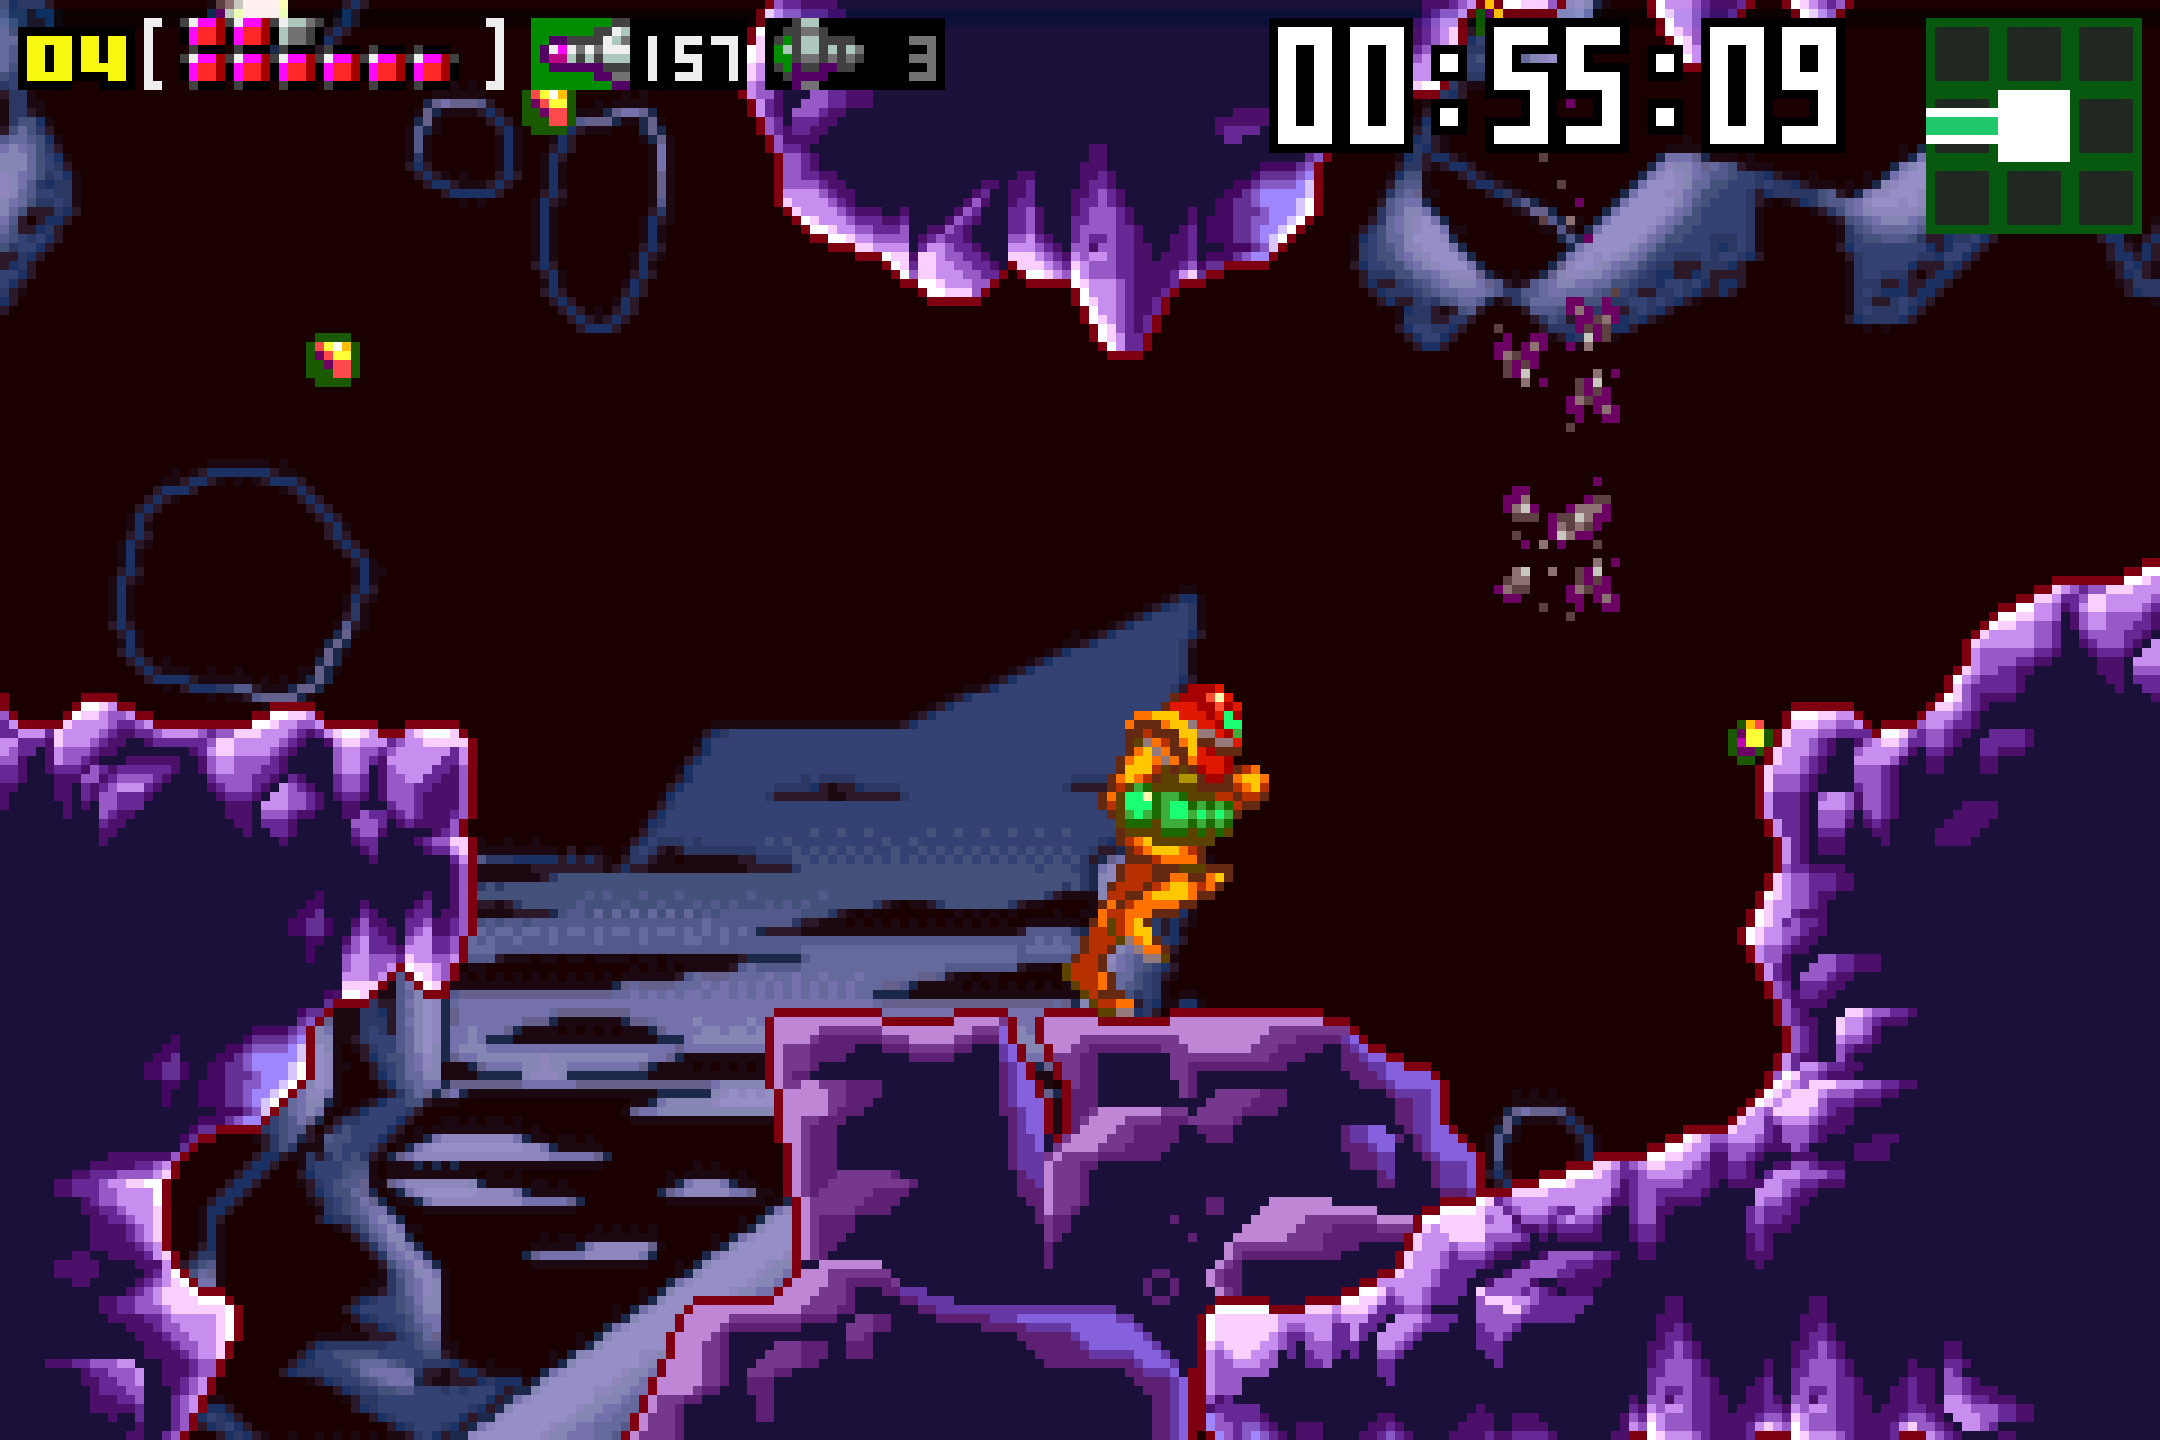
So about Tourian – there’s not really very much opportunity to get lost. It’s mostly a straight shot, so I won’t need to guide you as much, but that’s not to say that Tourian is easy. This area will constantly have Rinka’s, those annoying circular bullets, shooting at you, as well as housing the Metroids themselves. A Metroid can only be destroyed by freezing it and then pumping it with five regular missiles or a singular super missile. If you happen to get stuck and find yourself on the menu for the Metroids, drop into Morph Ball form and roll left to right in quick, short intervals, laying a ton of bombs as you do so. The bombs will bounce the Metroids off, giving you a chance to freeze it. The key here is to proceed slowly so no Metroids surprise us. Let’s go.

Proceed through the Save Station, through the following room, and then down through the next door. The next room will have ONE Metroid, so destroy it. Once you do, the door forward will unlock (this is a running theme in Tourian. You need to destroy all the Metroids, not simply run past them). Drop down into the vertical hallway; there are TWO Metroids here, one at the top, one at the bottom. Deal with them and move forward.
The next room has FOUR Metroids, including one at the very end, so proceed carefully. The next room has another FOUR Metroids, including one that’s all over you as soon as you make the initial drop down. Eliminate them and proceed. In this next room, you’ll see a door directly across from where you enter. Head through it and save your game. Once you’re done, head back out, lay some bombs, and drop down and into the next room. You’ll be in a long vertical hallway now, and there are SIX Metroids to deal with, including two at the end that could give you trouble. Stay sharp and get rid of them.
The next room is tricky. It will look like a small passageway, but lay a bomb and there will be FOUR Metroids to deal with, two on the right, and two on the left. Lay another bomb on the floor when you’re done, and you;ll drop down even further, with another TWO Metroids in the depths. Once all six have been destroyed, head through the door and into the Save Station.
Head through the next room and then go through the red blast door. Here we go!
Mother Brain
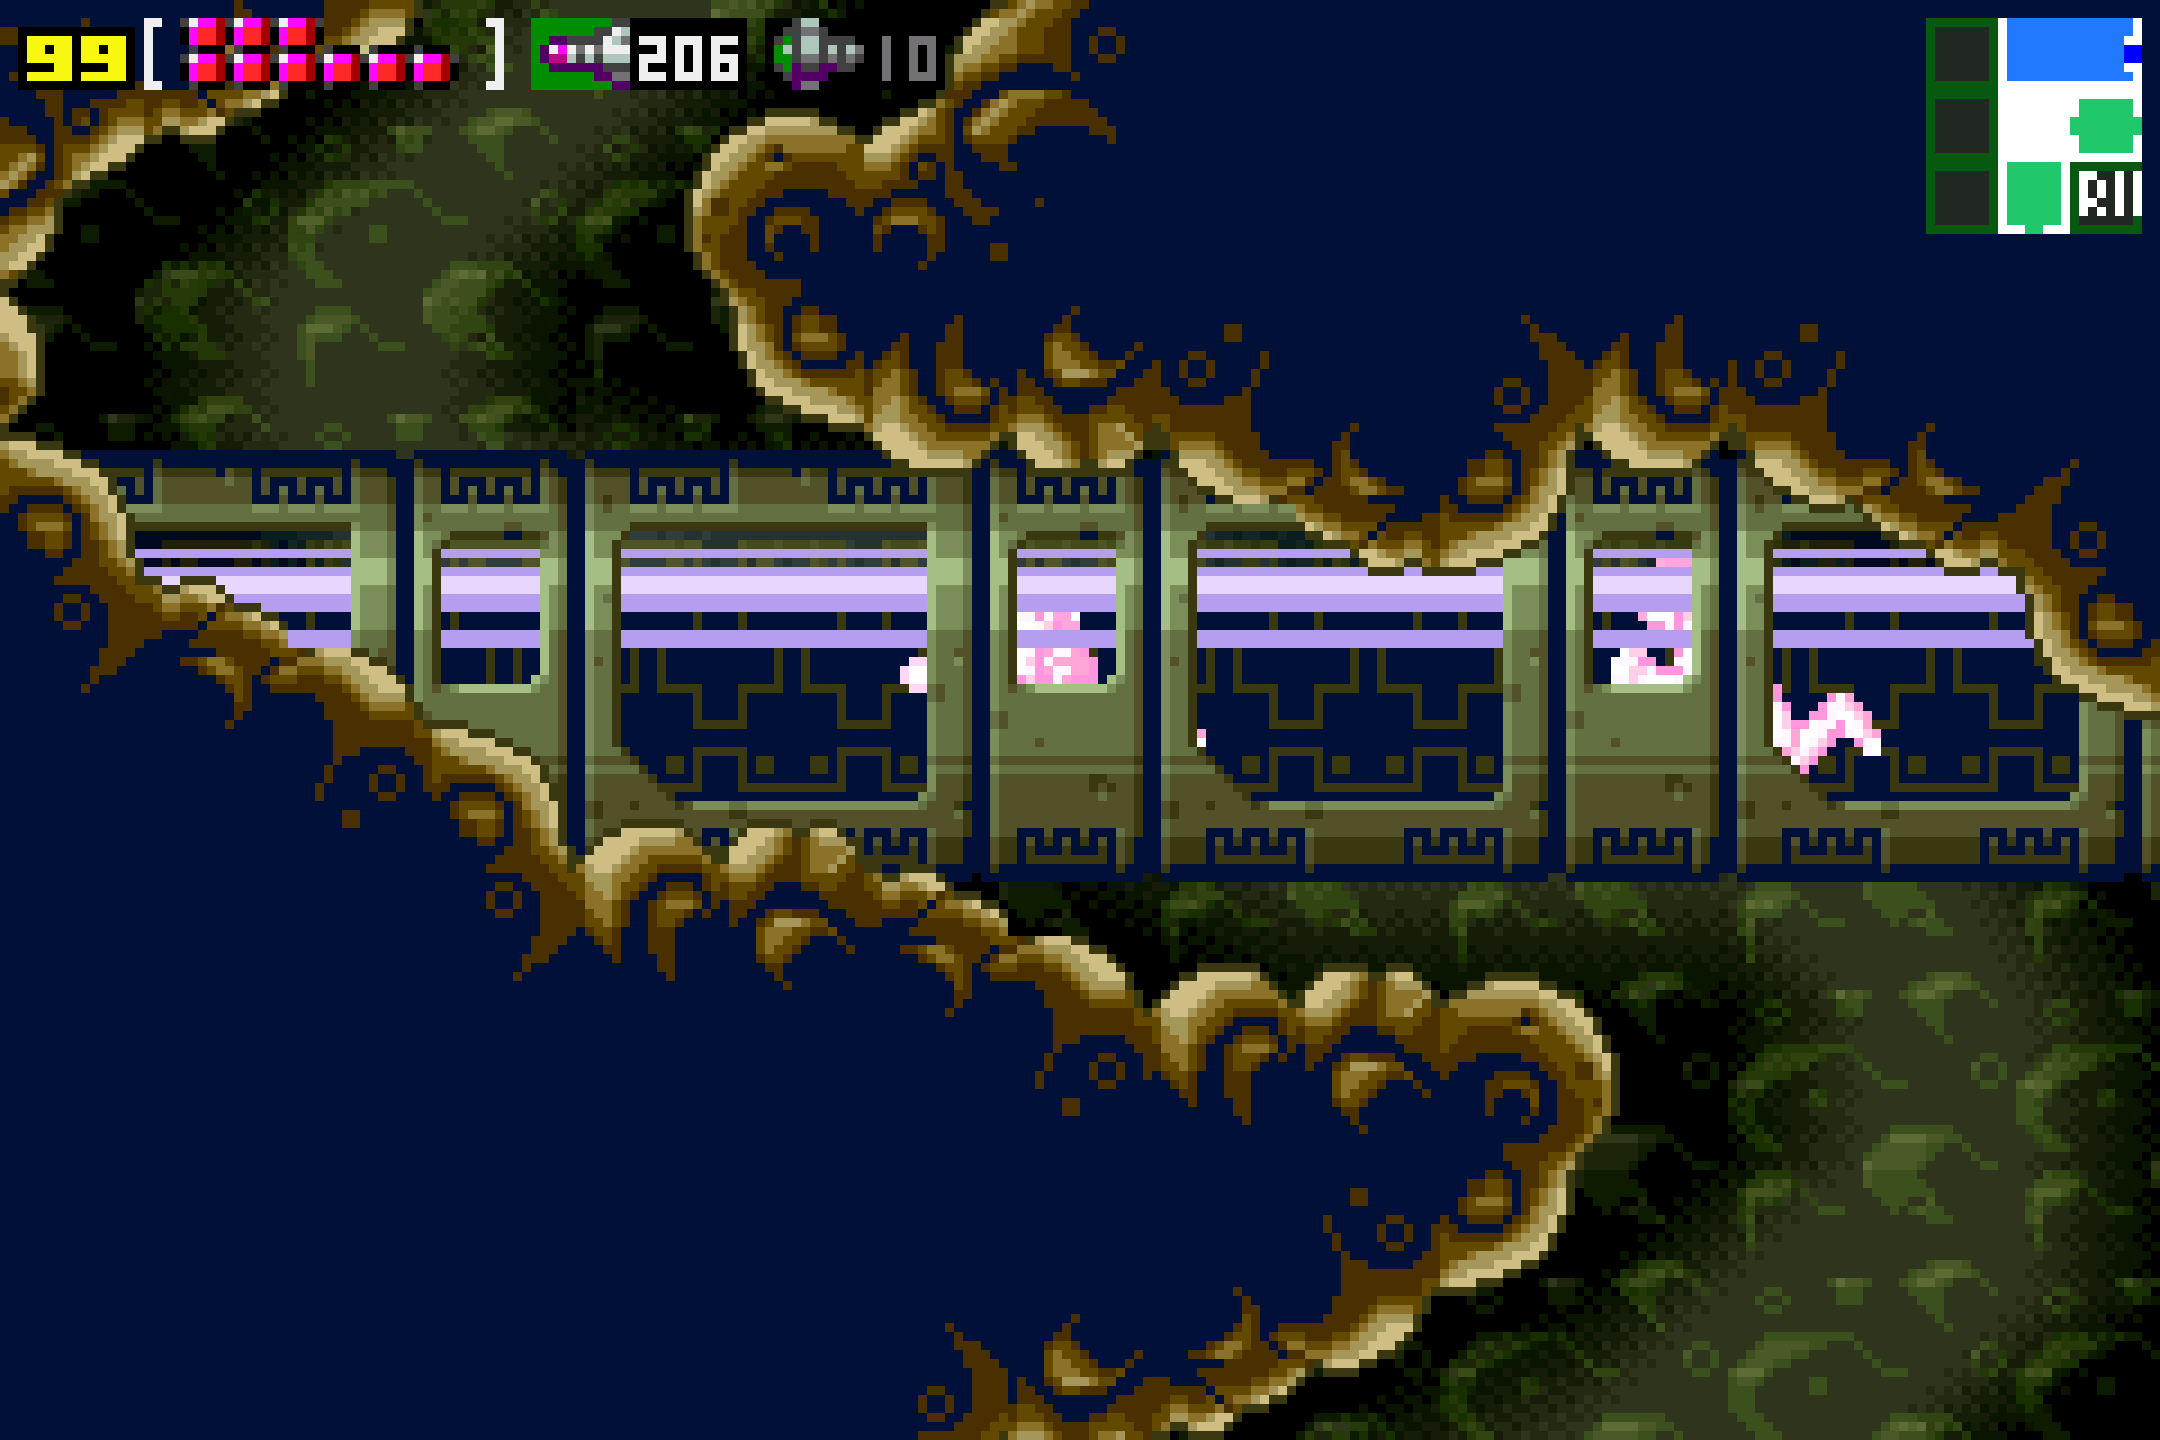
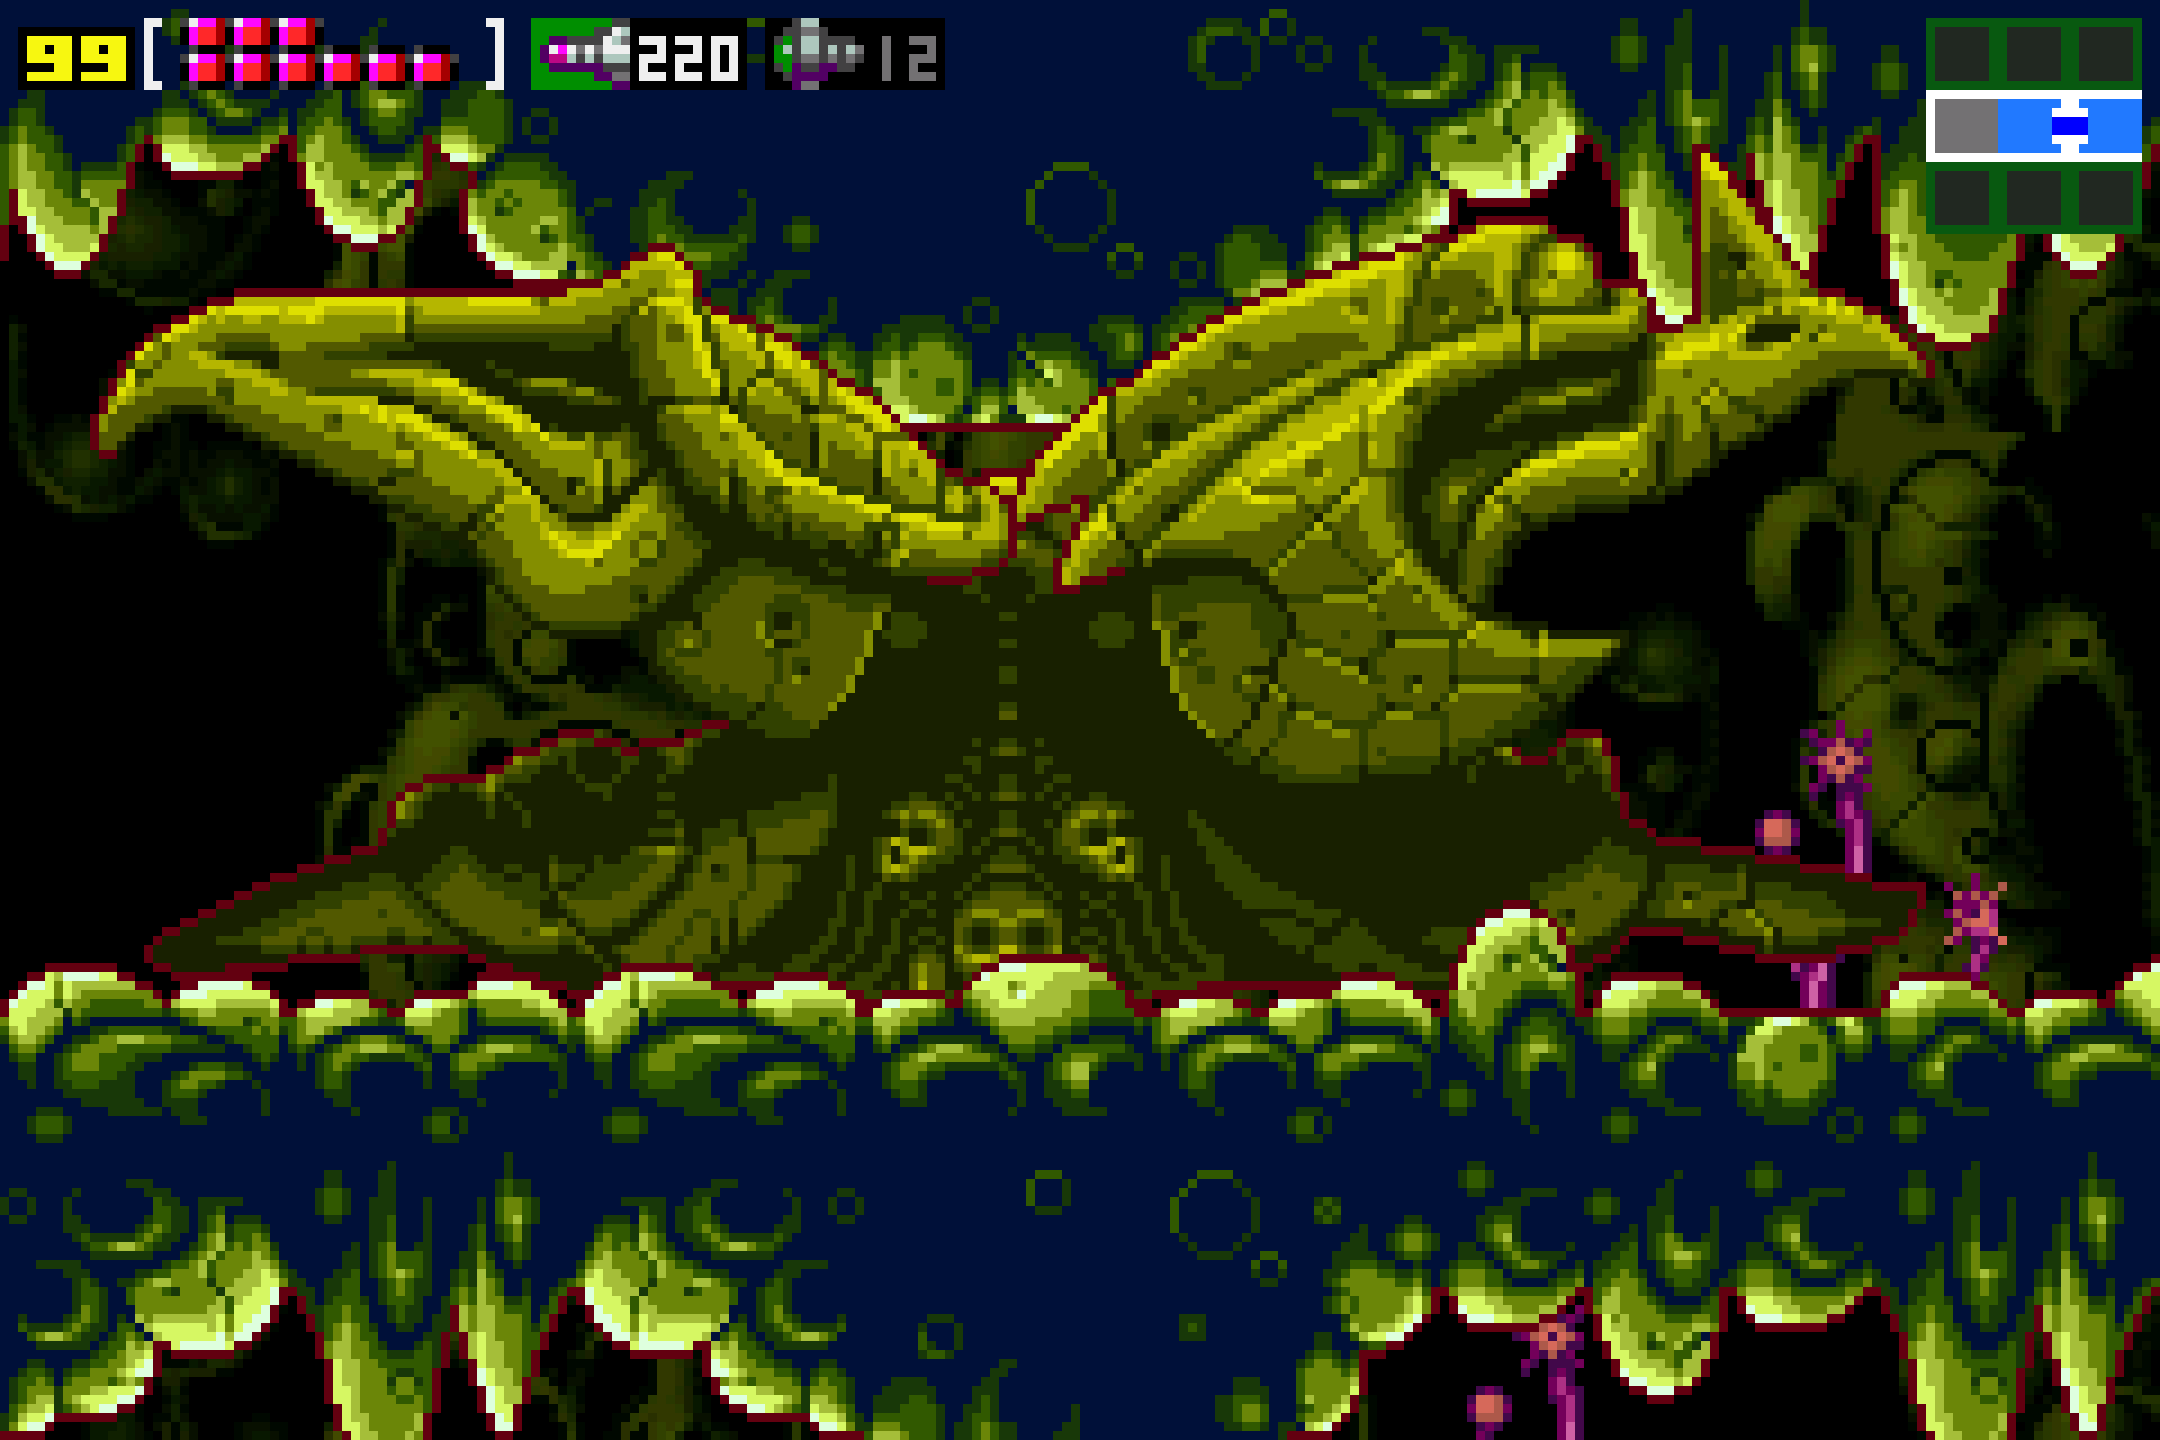
It’s time to face off with the brains (ahem) of the Space Pirates herself, Mother Brain! This should be familiar to everyone, but just to set the table here – you’re going to have to deal with Rinka’s and turrets shooting unfreezable bullets at you the entire time. Just saying that now. You’re also going to have to contend with barriers called Zebetites that block your path to Mother Brain. These Zebetits can be destroyed with missiles, but be warned – if you don’t finish them off quickly, they will respawn and make you start from scratch to destroy them. Believe me when I say every missile is precious here, so make sure you make no mistakes on them.
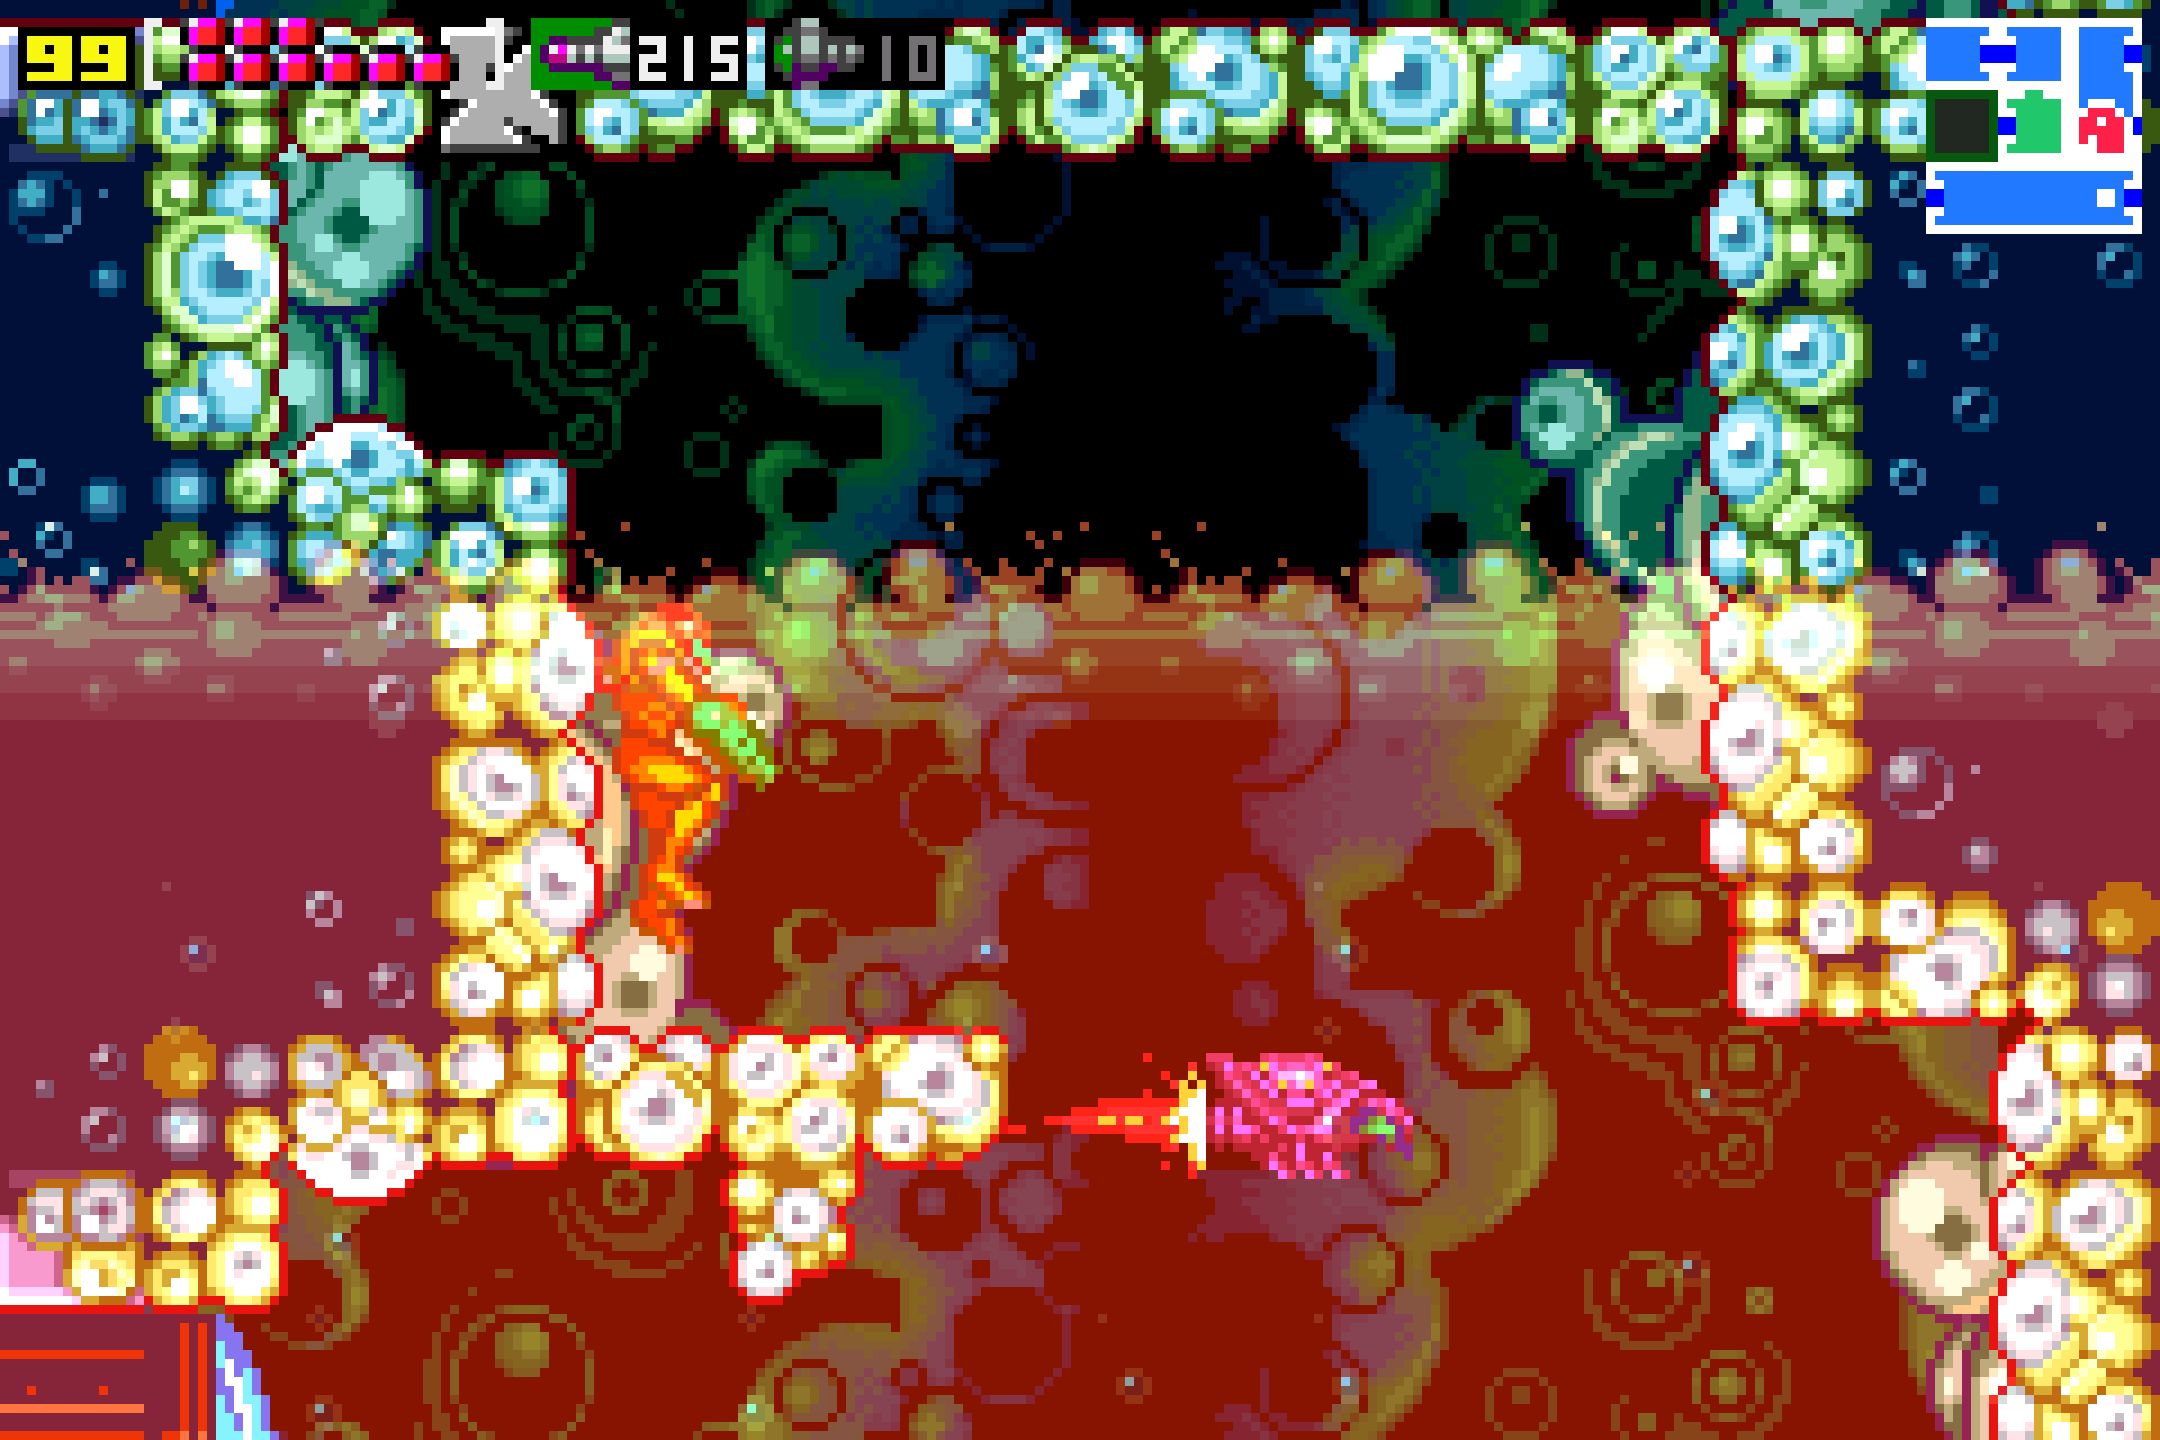
I would personally save your super missiles for now, but quickly and cautiously destroy the Zebetites in front of you and press forward. I would be particularly swift with your missiles once the ground is filled with lava. Each Zebetite should take around 7-10 missiles to destroy it, so aim true, and try to avoid as much damage as you can.
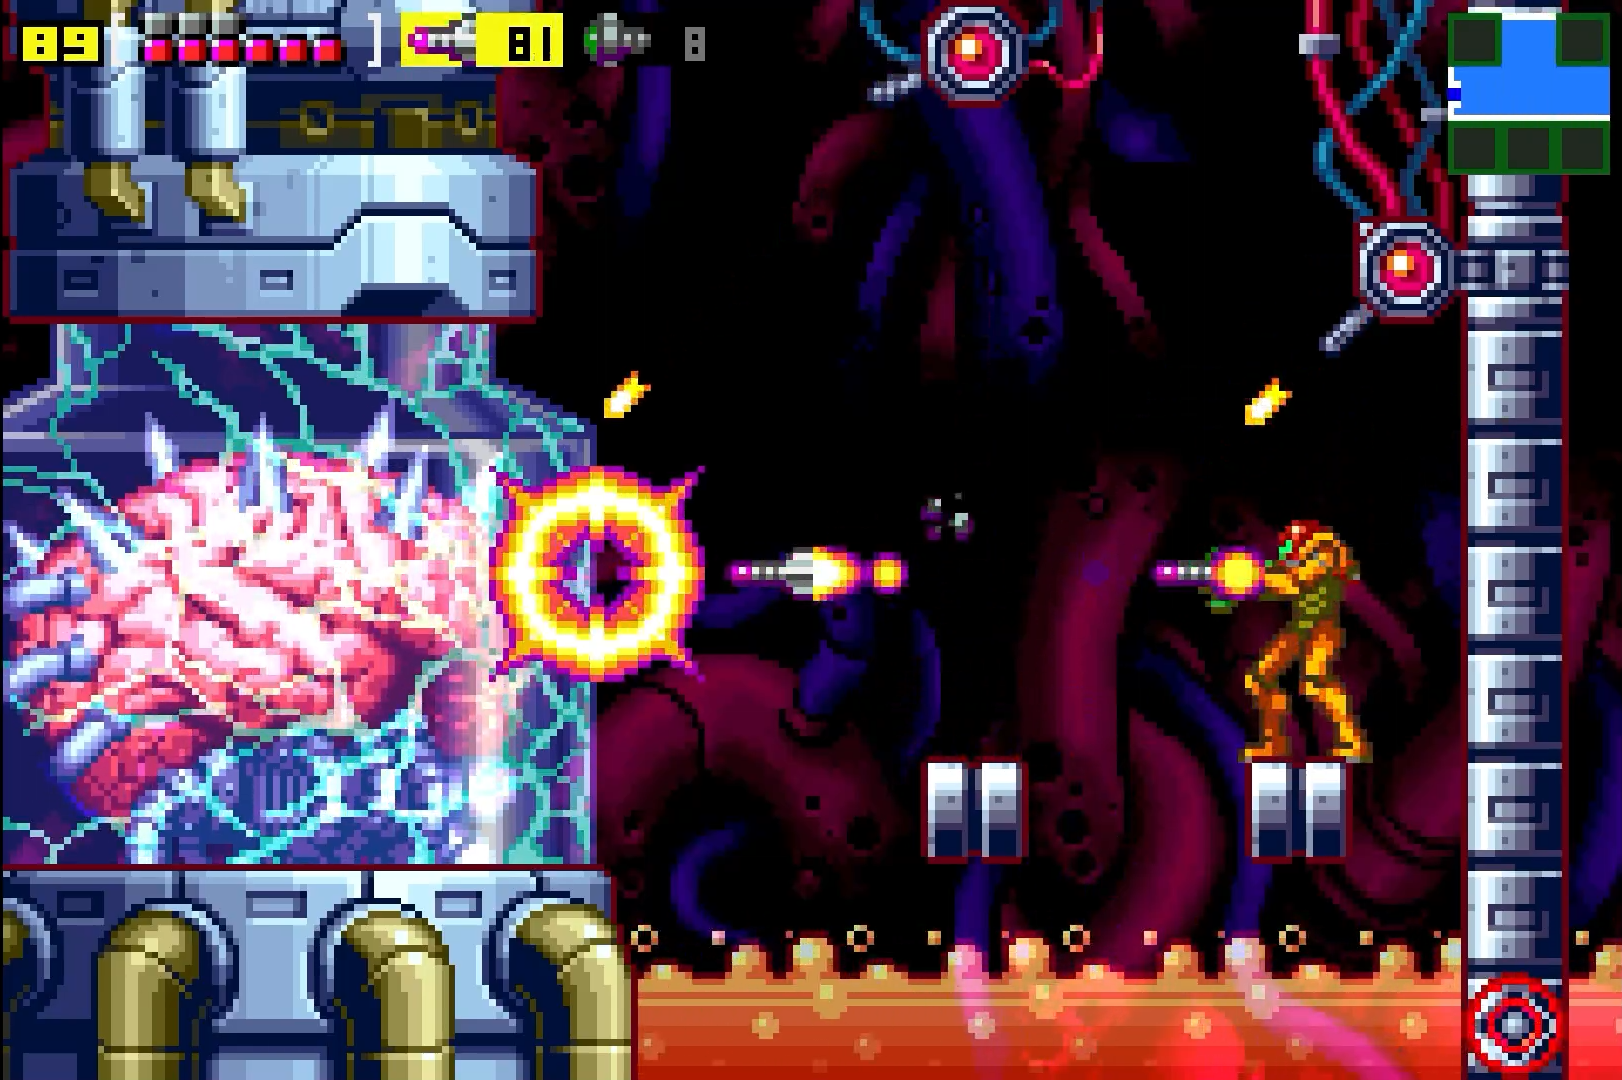
Once you destroy the final Zebetite, jump over the last pillar and you’ll be face to face with Mother Brain. You’ll have two incredibly small platforms to stand on, lava on the floor, and stuff coming at you from every which way.
A good strategy is to try and freeze the Rinka’s if you can. This was essential in NEStroid, and while the frequency of Rinka’s is lower here, it’s still a good idea to get rid of any obstacle that you can. When it comes to the turrets, there’s no way to destroy them, but you can Screw Attack jump through their bullets and they won’t damage you. Your best bet is to keep an eye on them, and when they shoot, jump over to the other platform.
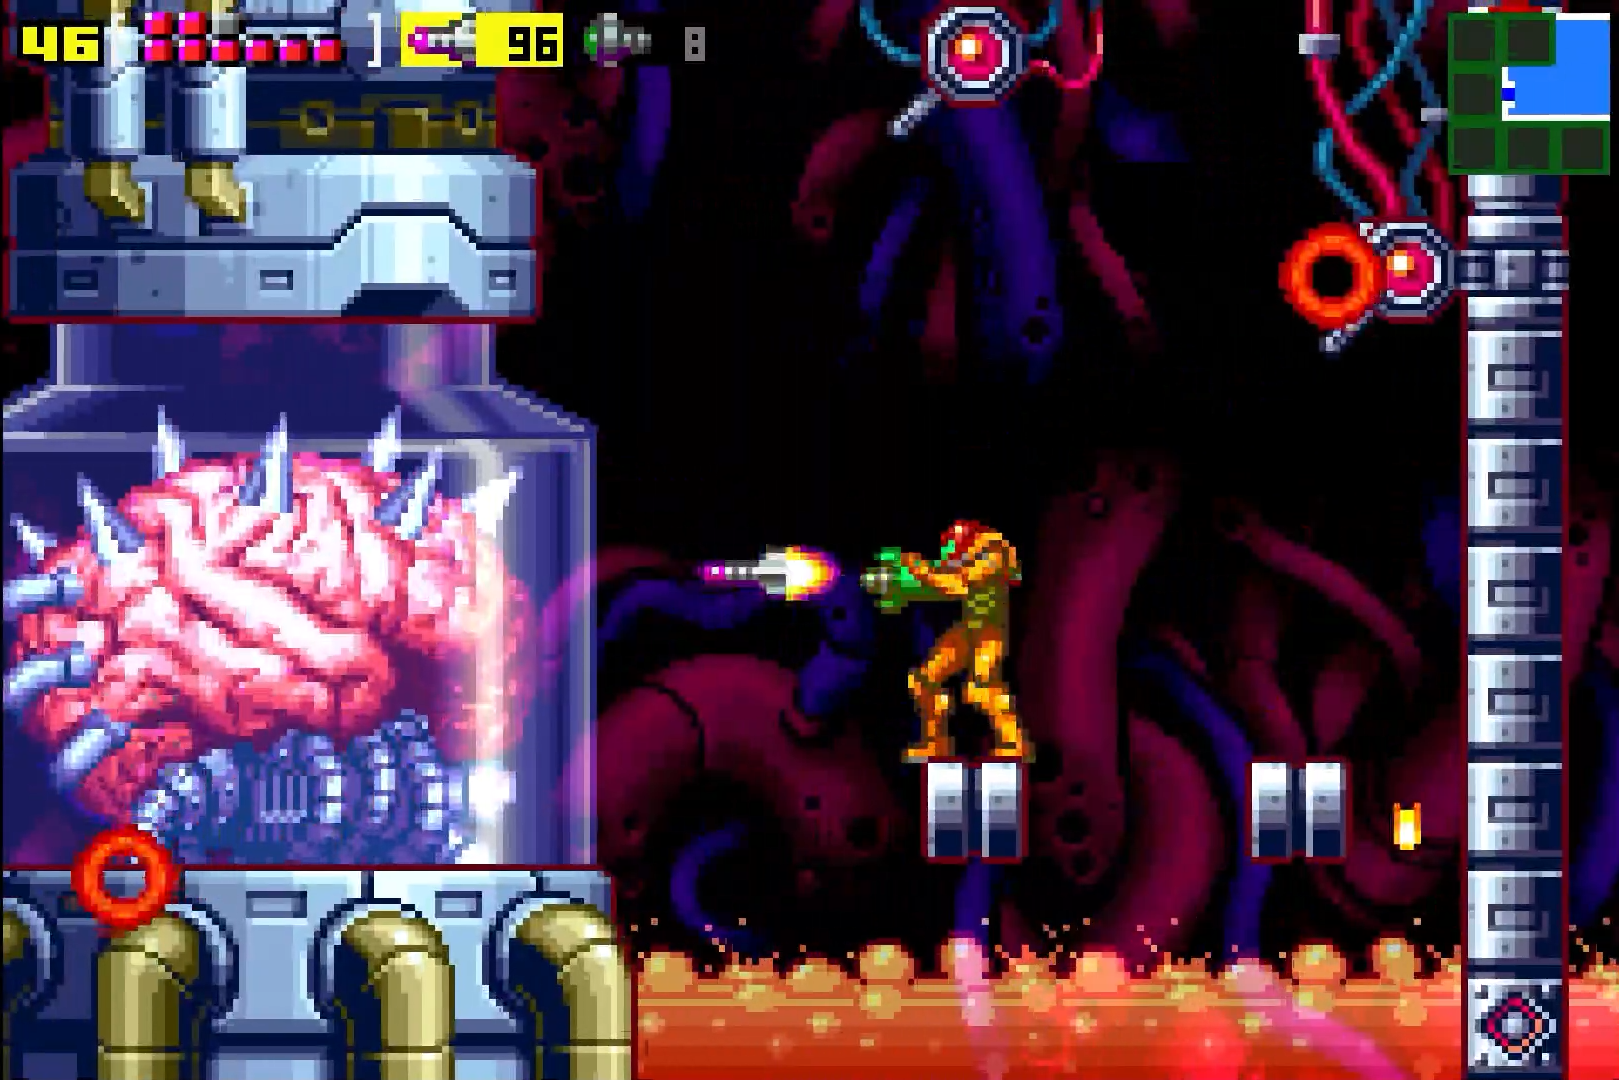
As for Mother Brain herself, pump the glass tube with as many regular missiles as you can. Eventually, the glass will shatter and she will be exposed. Hold on to your horses though, because you’ll need to attack Mother Brain in a specific way to damage her. Once the glass shatters, you’ll still have to contend with all the other threats, but this time, Mother Brain herself will attack you.
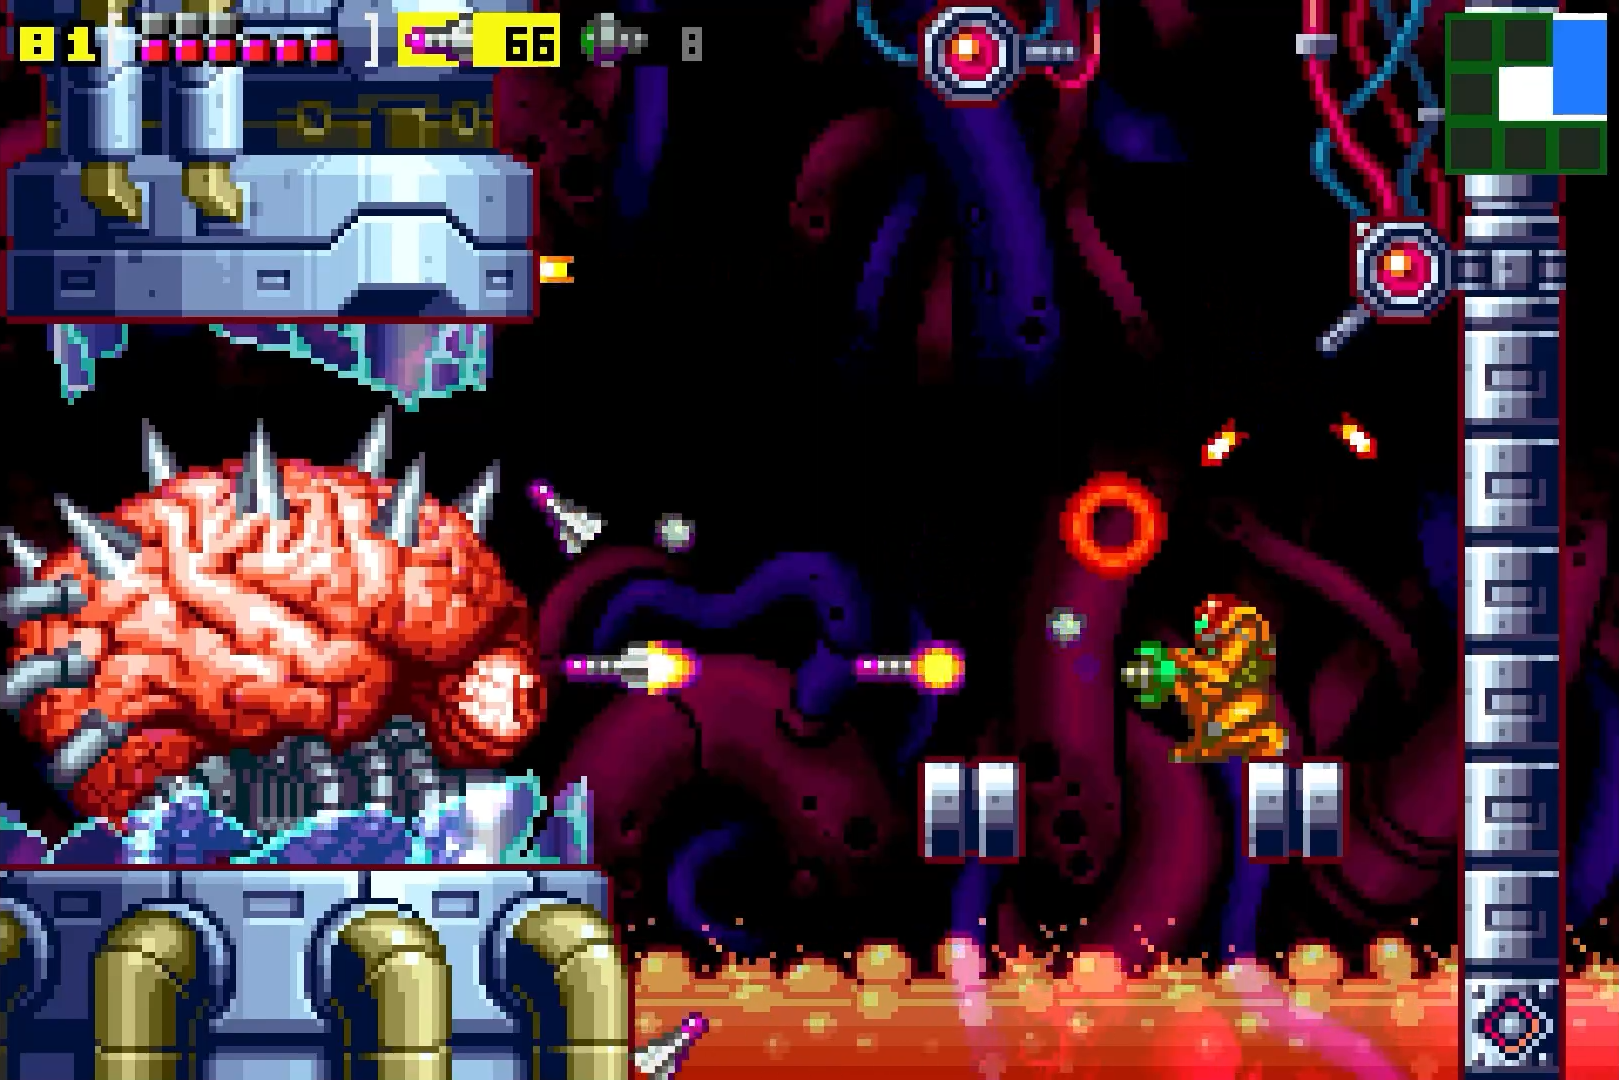
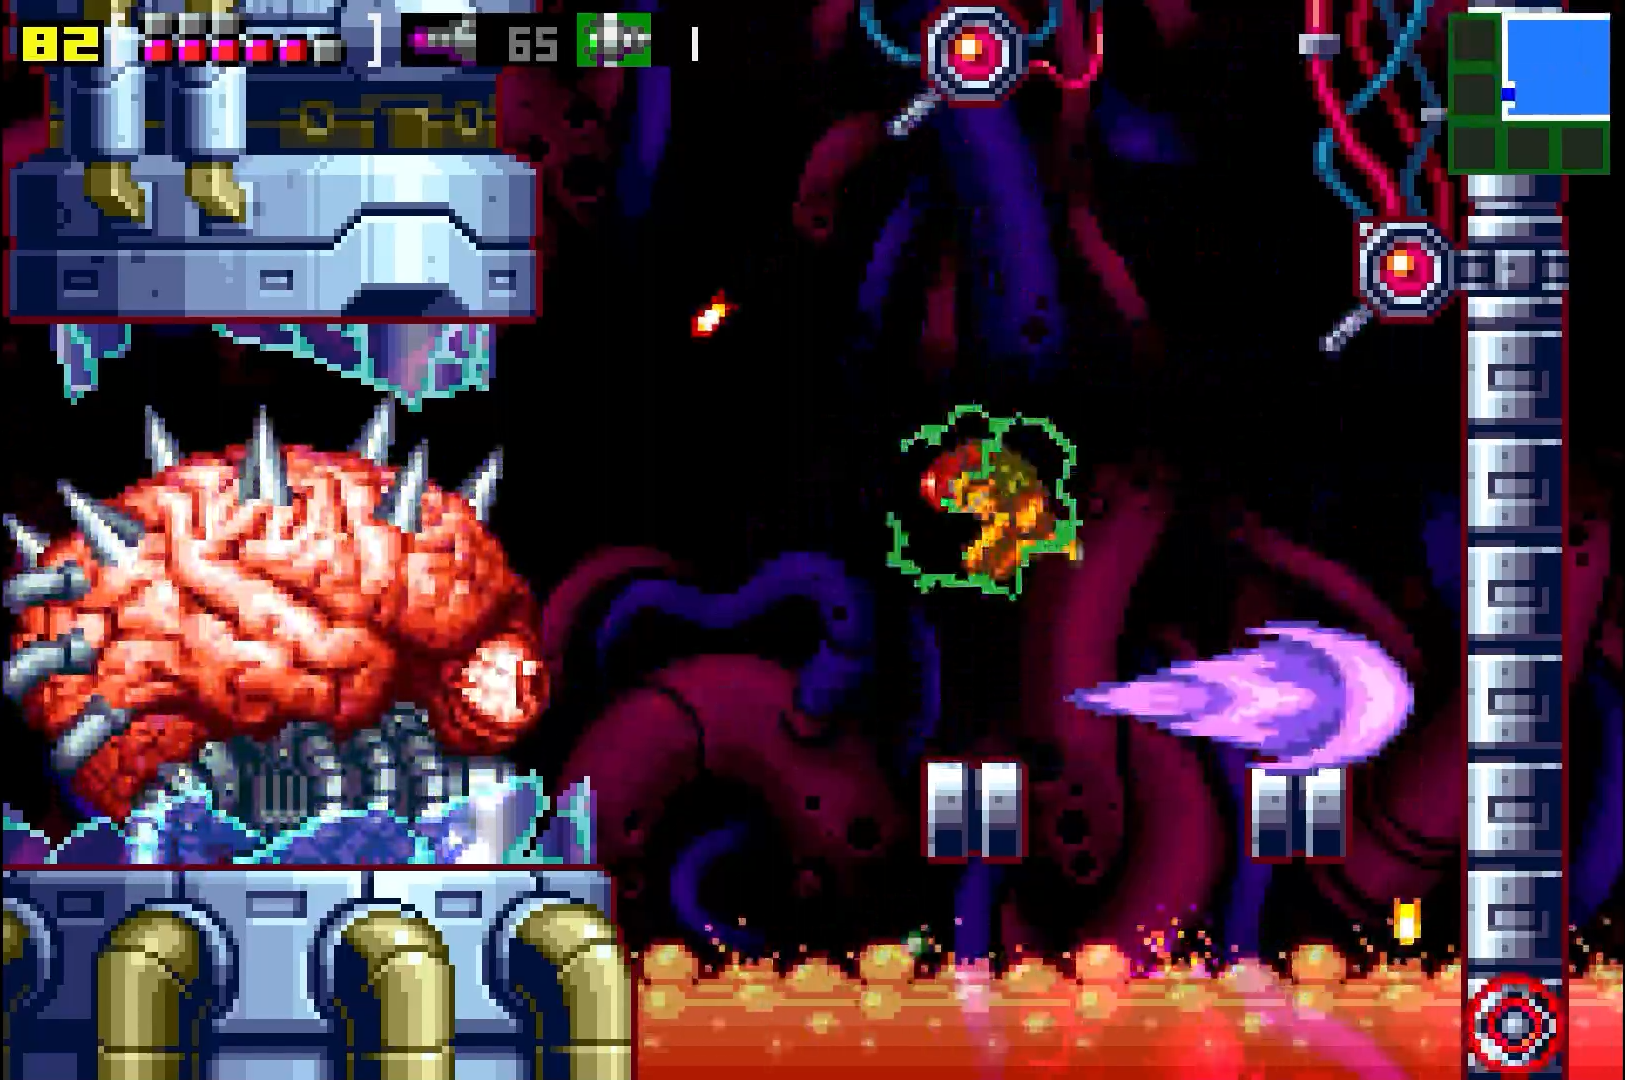
From her one eye, Mother Brain will shoot a big laser at you. Now, this is actually fairly easy to avoid and it’s telegraphed ahead of time, so you shouldn’t get caught. You’ll have a second or two after she shoots to crouch and quickly line up a missile shot. Now is the time to use your Super Missiles. Hit her right in the eye and keep moving after. You’ll want to be patient here; you’ll only get one direct hit per eye laser, so take your time and don’t waste any Super Missiles.
Six Super Missile shots to the eye will be enough to destroy Mother Brain and activate the self destruct sequence.
Escape!
You’ll have two minutes to hightail it off the planet, so get going! Take the door behind Mother Brain and start climbing. You’ll be in a long vertical hallway and every block that you’ll need to climb is a slow dissolving pitfall block, so you won’t have too much time to get your footing and prepare your next jump. The key is taking your time (as best you can) and maintaining your momentum. Changes in jump direction will have you falling down, so just keep going.
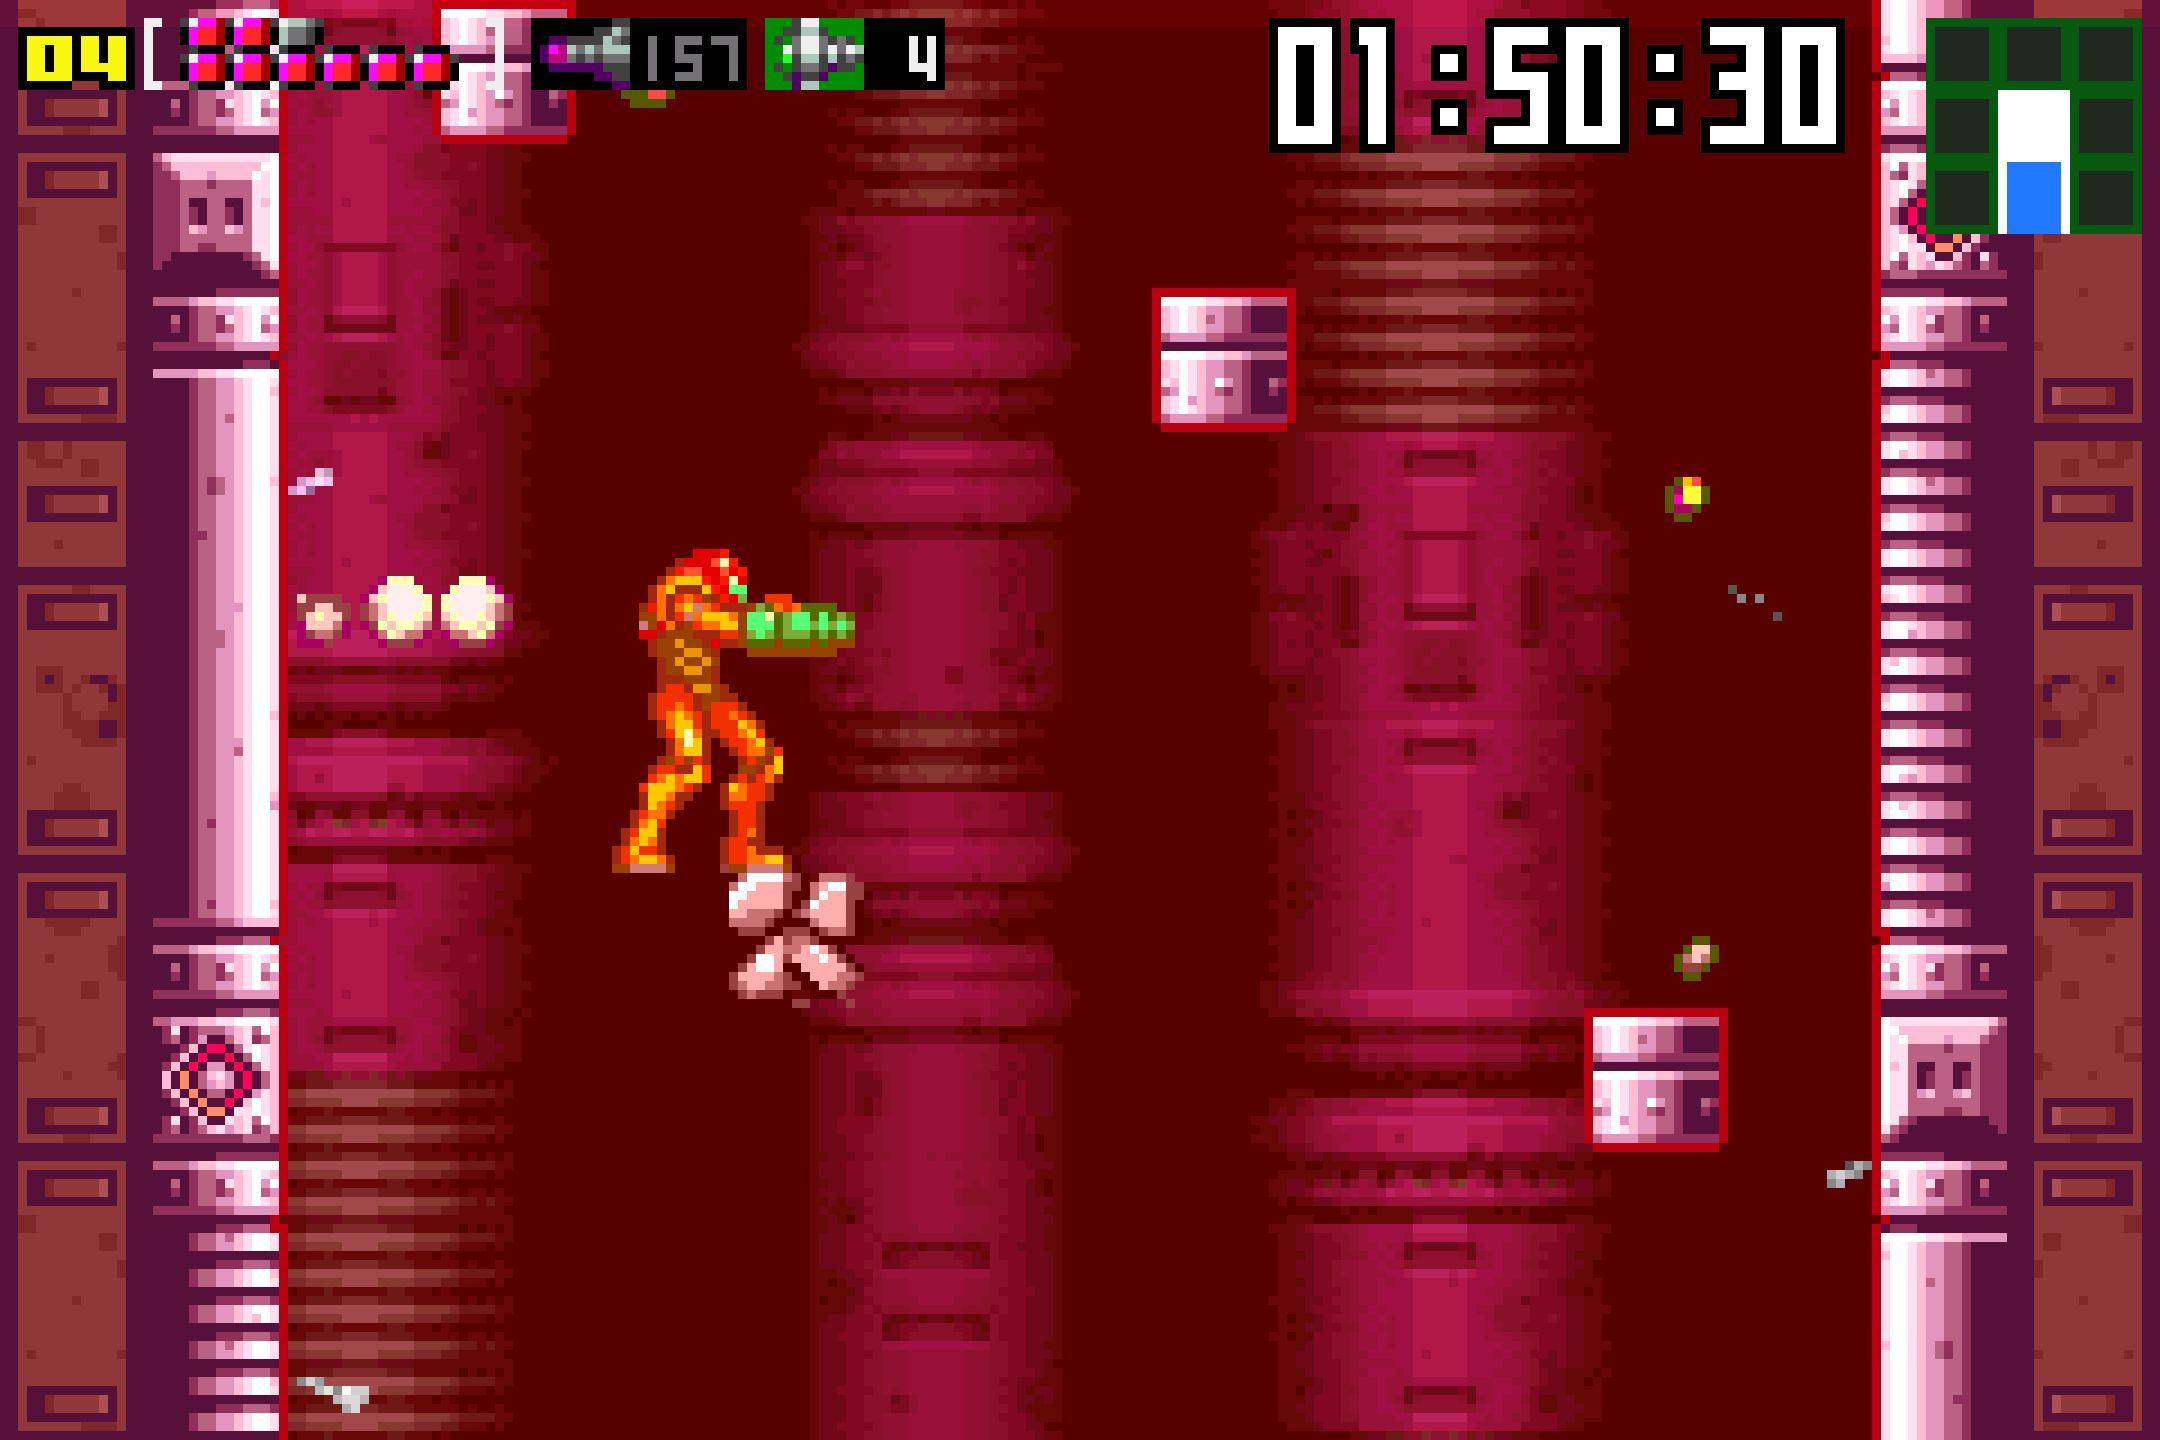
Once you make it to the top, take the elevator to Crateria and follow the path back to your ship.
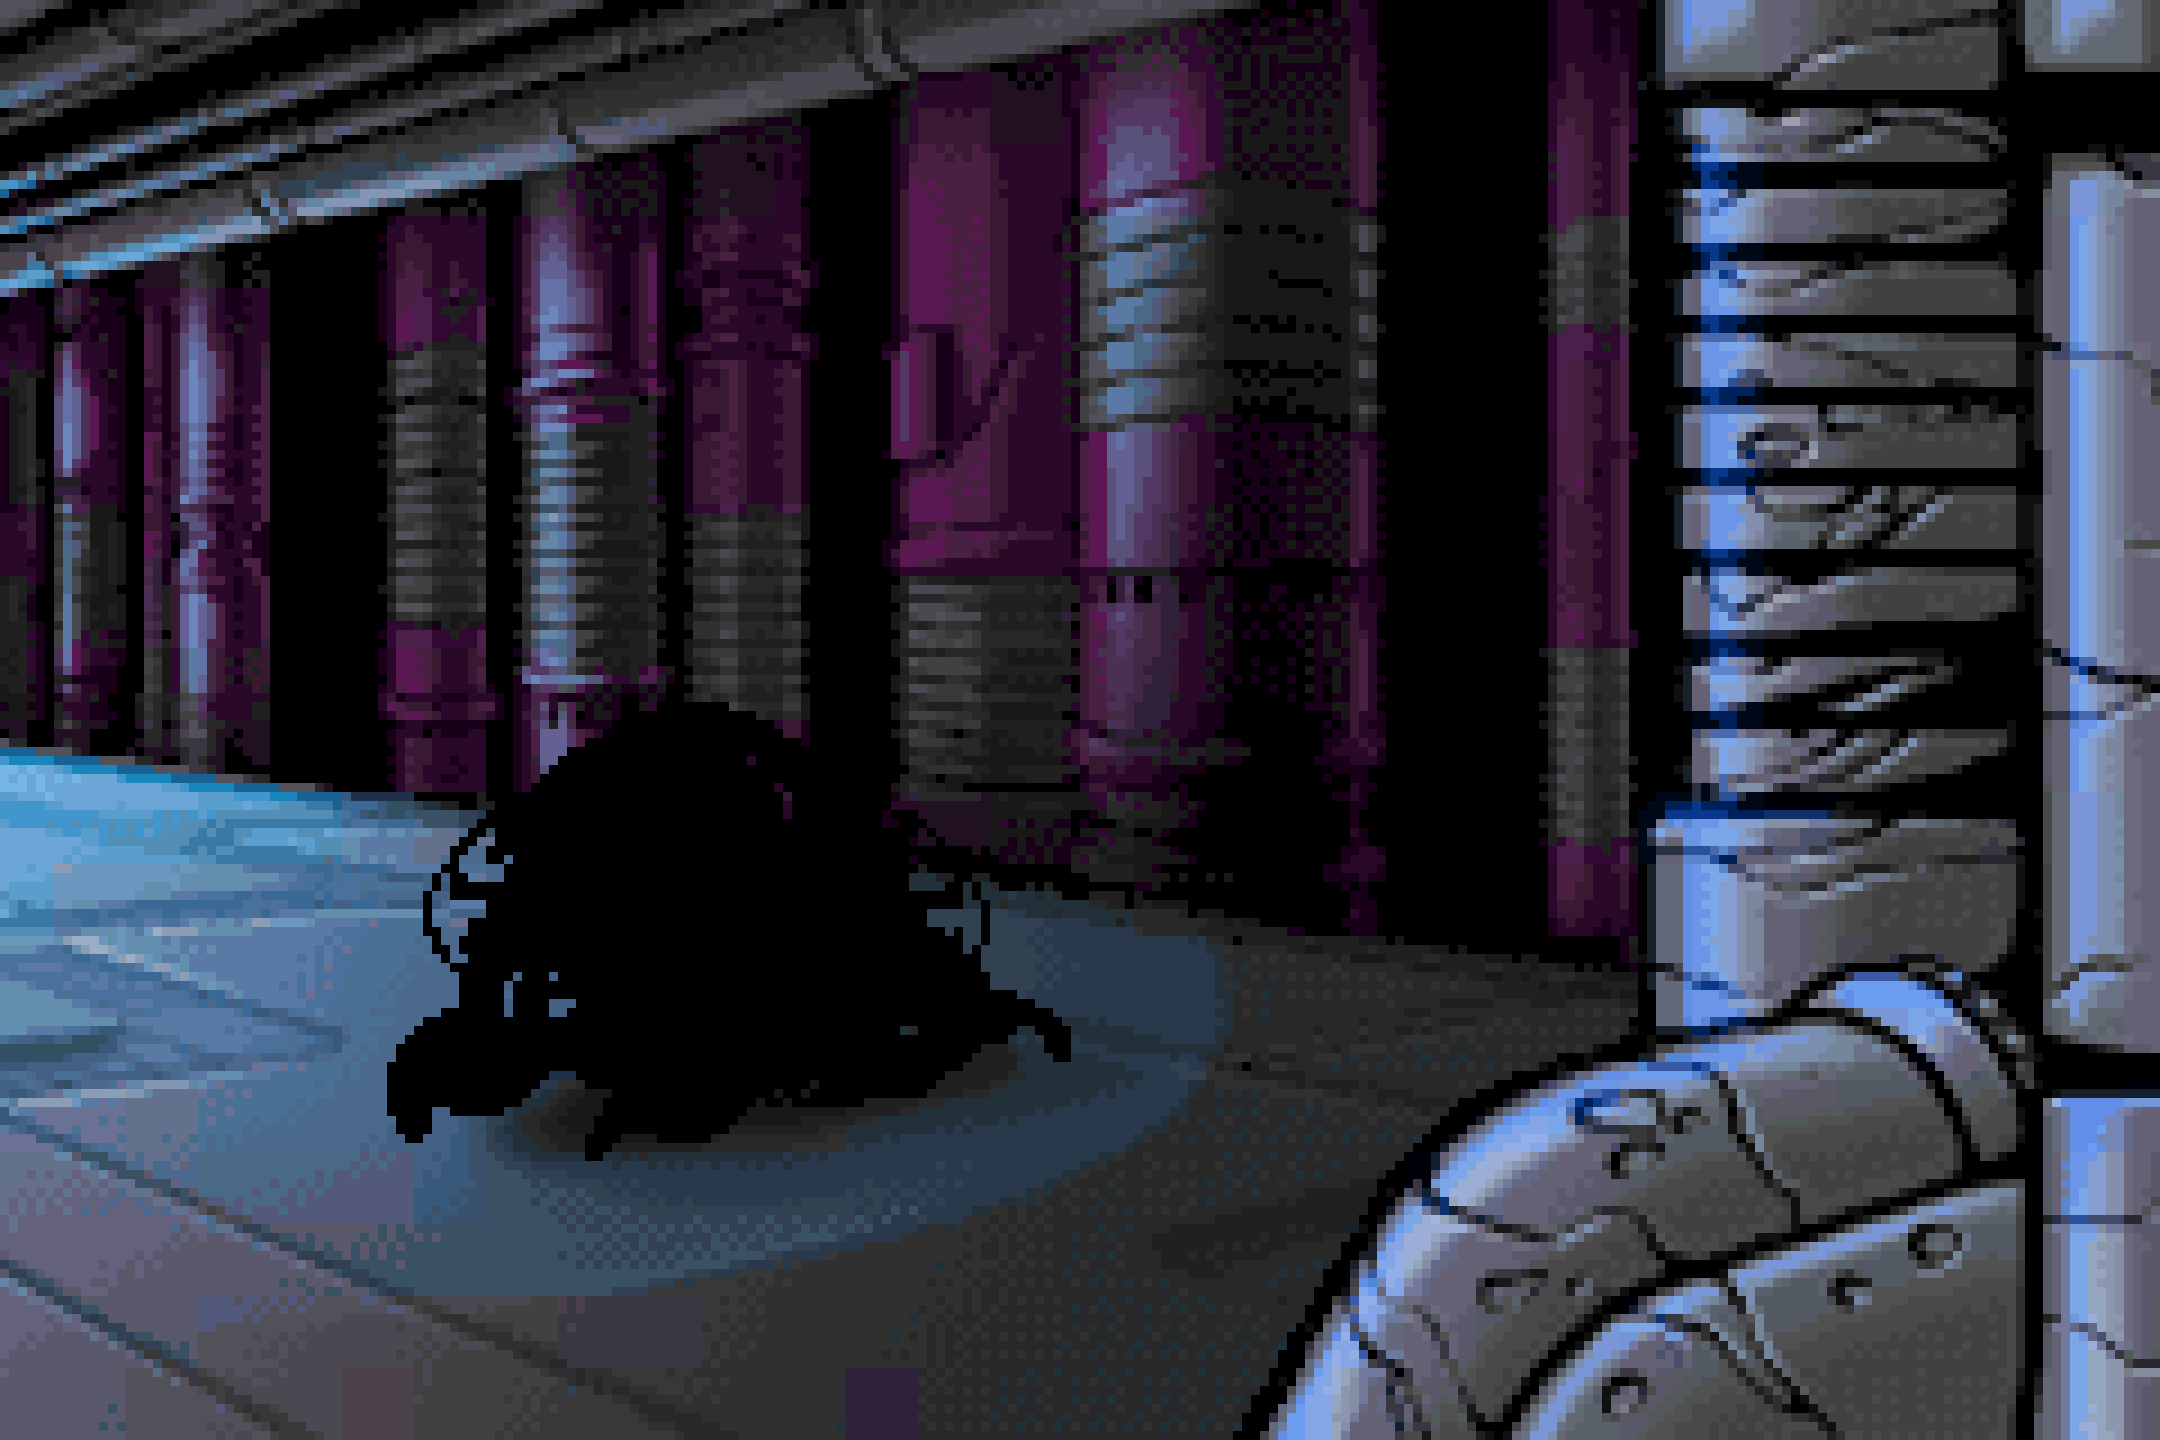
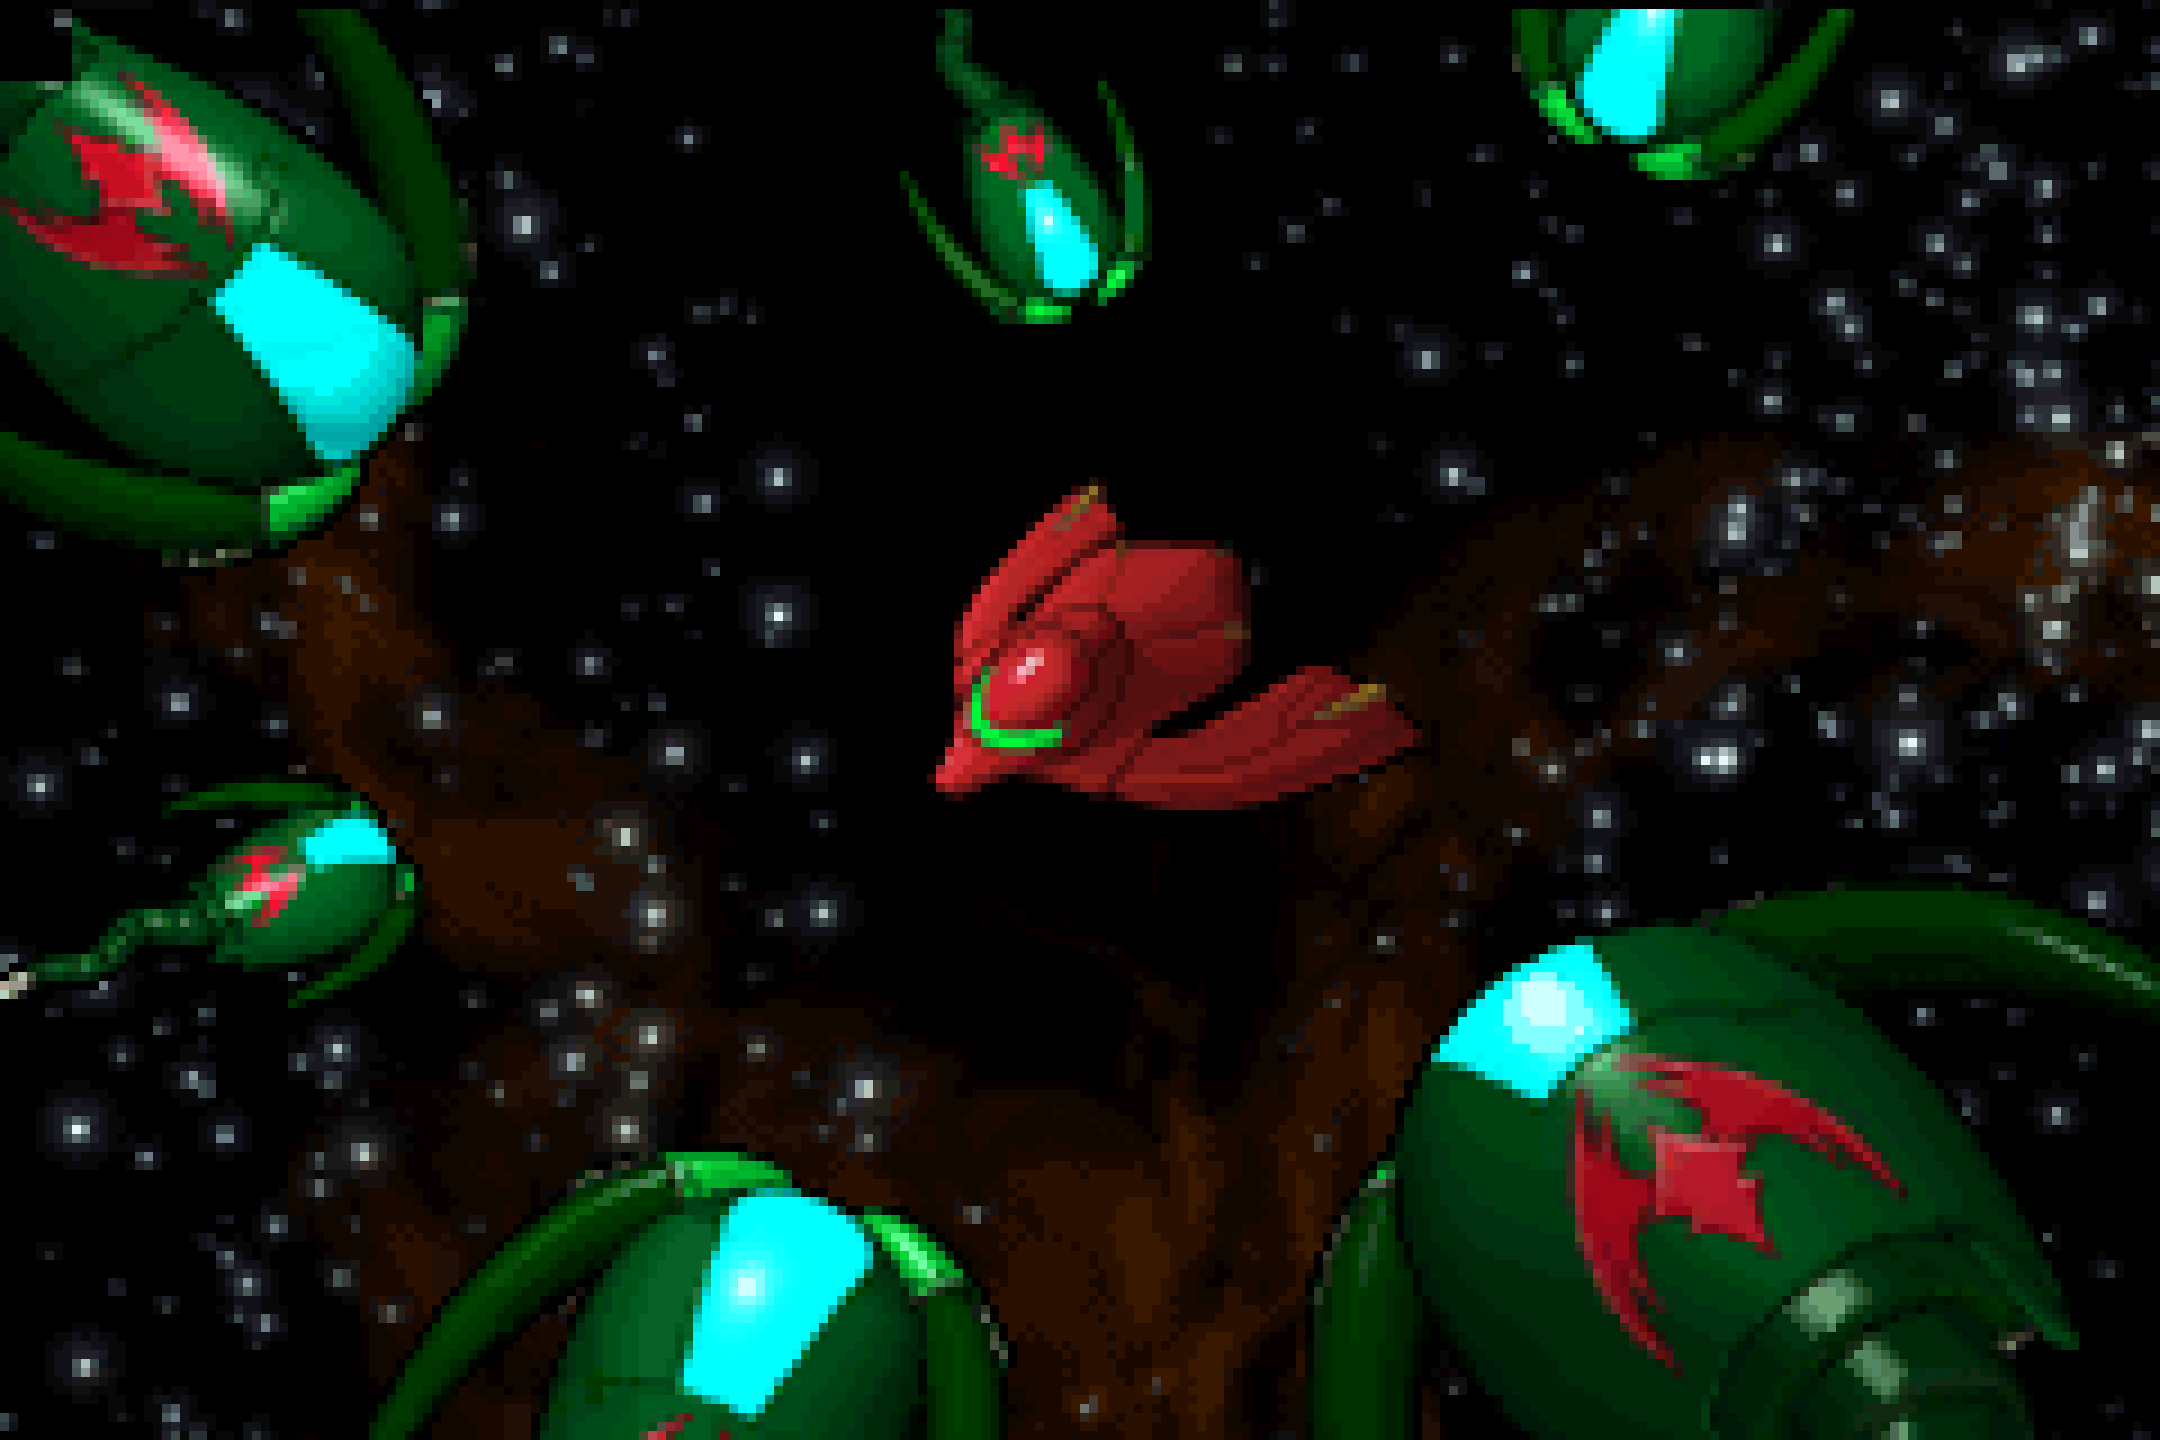
Tourian will explode and it looks like the day is saved, until… AMBUSH! Samus is attacked by an armada of Space Pirates, who destroy her ship and force her to crash land back on Zebes. As if her ship being destroyed wasn’t bad enough, Samus’s Power Suit was also damaged, forcing her to explore in only her blue Zero Suit.
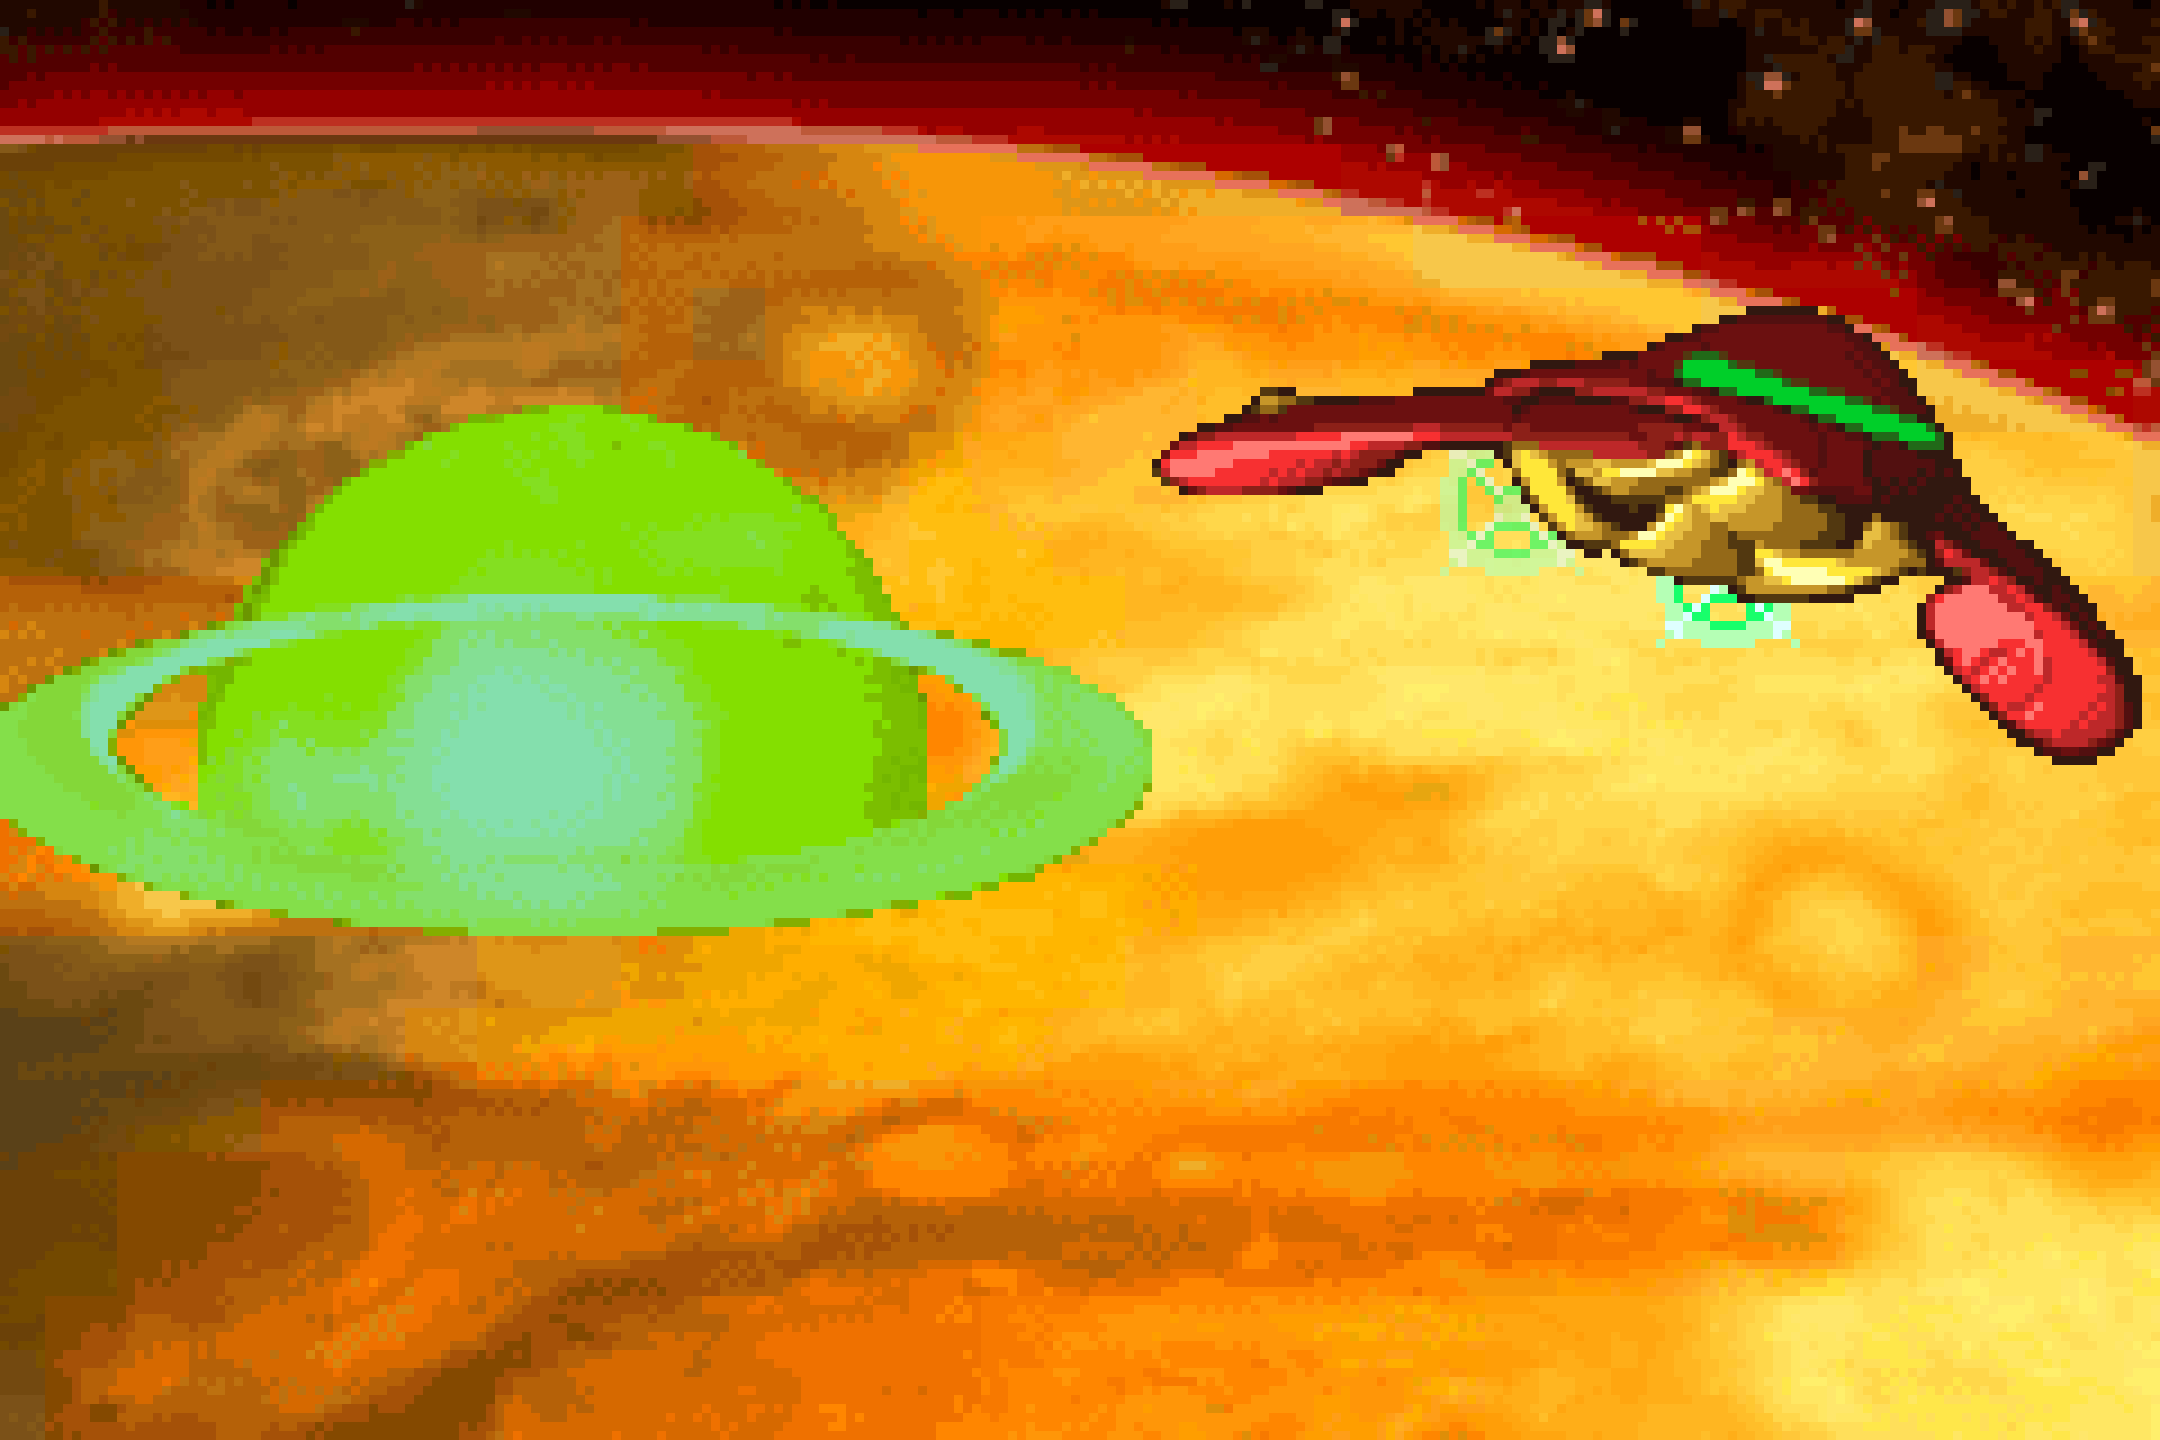
With nothing but an emergency pistol to her name, Samus decides to infiltrate the Space Pirate Mother Ship in order to steal an aircraft…