Super Metroid Walkthrough – Heavy Artillery

Walkthrough
- Ceres Research Station
- Welcome to Zebes
- Overgrown With Vegetation
- Fires of Norfair
- Heavy Artillery
- A Derelict Ship
- Dark Waters
- The Hunt for Ridley
- The Final Battle
Red Brinstar Rush
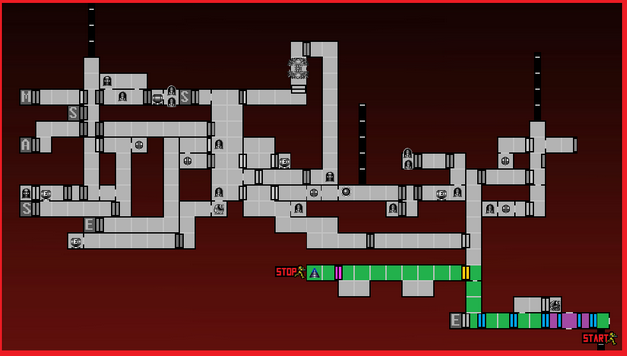
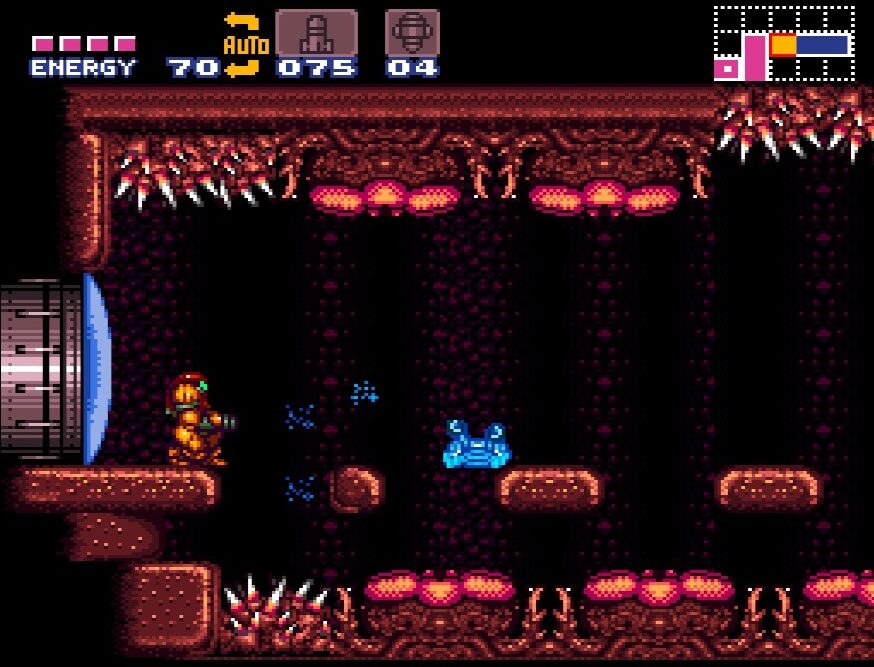
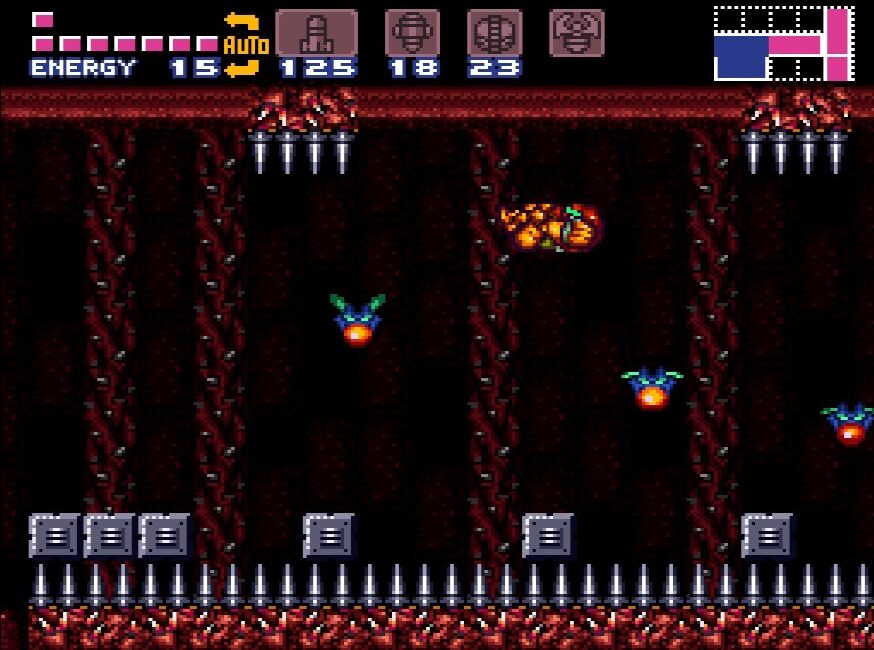
Feels nice to be out of that hot, dank pit we call Norfair, doesn’t it? Let’s start off by making our way leftward from the elevator room all the way over to the Energy Recharge Station several rooms over. After filling up your energy, go back out and take a look around. You’ll remember we fell down this room earlier with no way of getting back up. Well, now that we can freeze enemies, we have a clear path upwards.
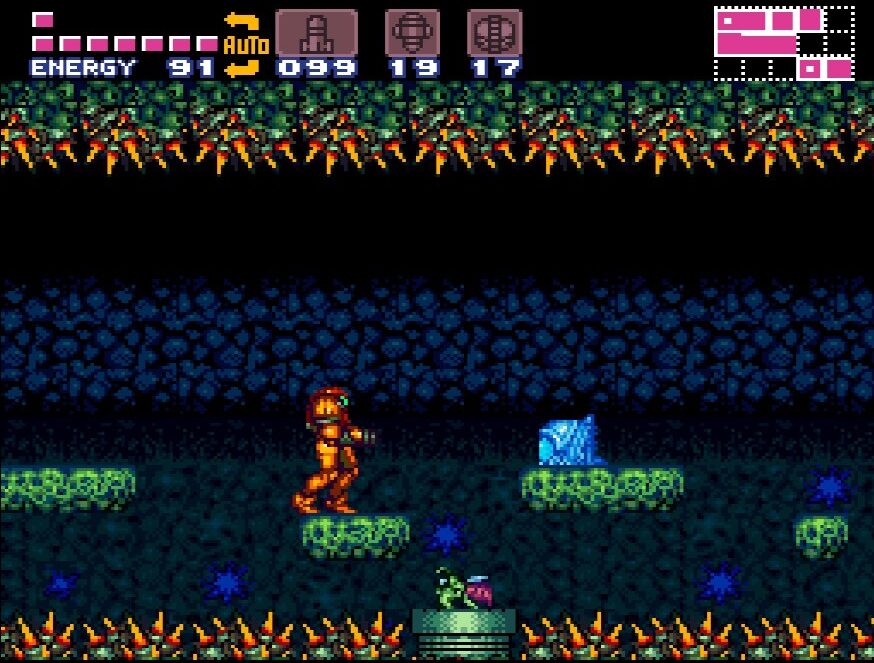
Freeze the Rippers and use them as platforms to get you to the top of this room. Keep making your way upwards, freezing even more Rippers and using them as step stools, until you reach the tippy top of this room. Enter the blast door on your right and walk into the next room.
This room has a Save Station on the second floor up. Use it if you want, but when you’re done, drop down to the bottom and bomb the middle of the floor. You’ll drop down and see a green blast door. Introduce it to a Super Missile and enter.
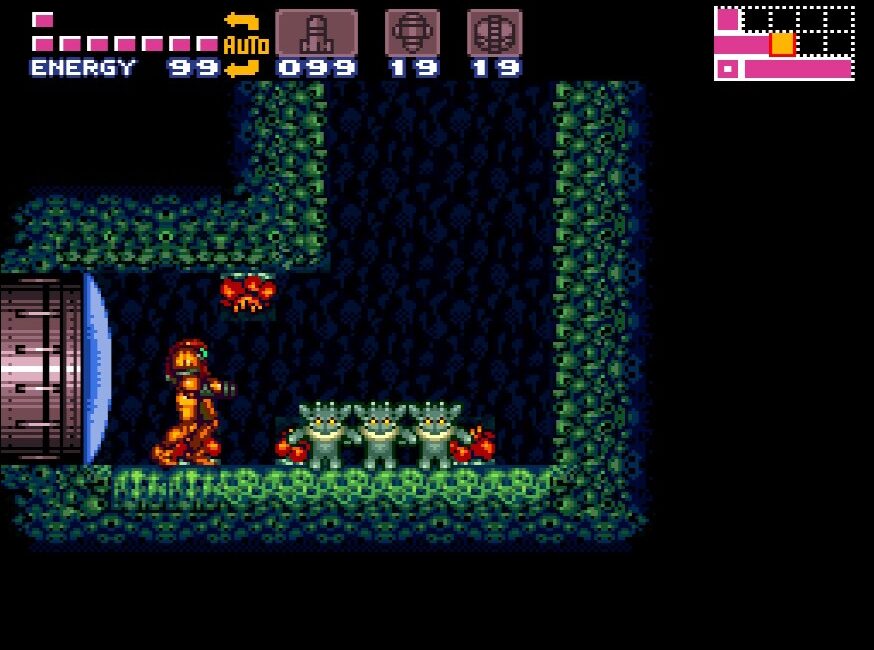
Freeze those pesky jumping yellow enemies and make your way across the room to the left. Once you’re all the way over, you can claim POWER BOMB EXPANSION #1! Woohoo! Immediately drop one of those power bombs, A) just so you can see how destructive and cool they are, and B) because the wall beside you is going to blow out, giving way to MISSILE EXPANSION #16 (Woooo!).
Head back into the room we entered from. Jump up, again, using the Save Station if you need to, and keep going up until you see another green blast door on your top left, right before the elevator up. Blast it open and enter.
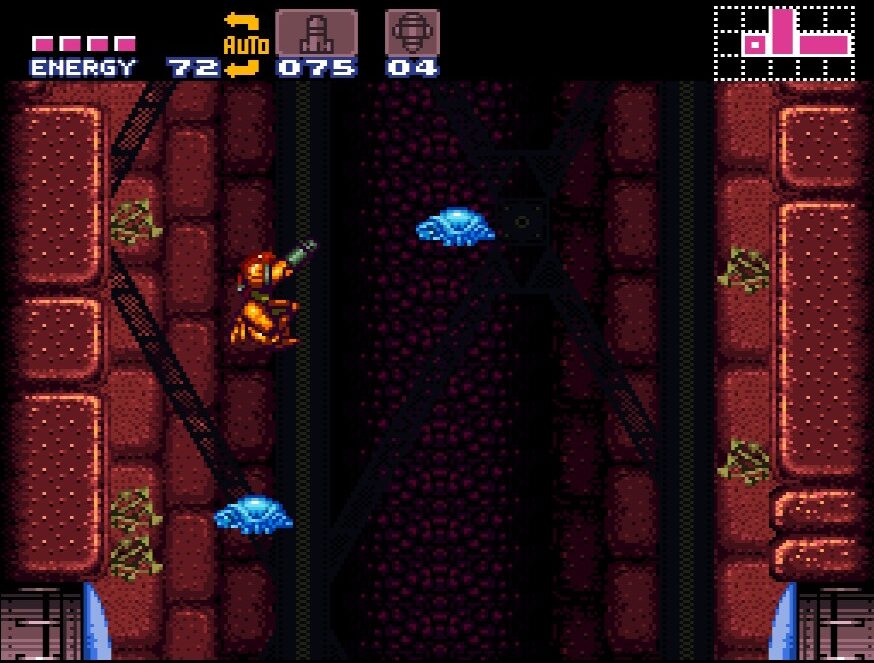
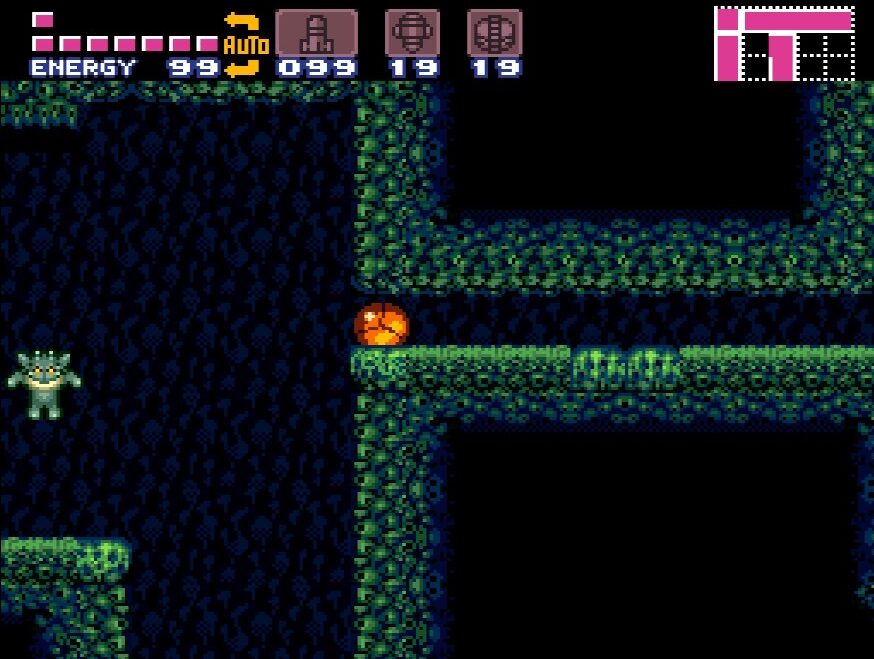
You’ll immediately be pounced on by some very aggressive enemies, but take them out and then head towards the left side of the room. You’ll notice those gross mouth/flower looking things on the ground beneath you. Lay a power bomb and watch the ground beneath you evaporate. The gross mouth-flower-thing on the far left is the only one without an enemy living in it. Drop down into the mouth and you’ll come face to face with POWER BOMB EXPANSION #2. Exit back into the elevator room.
This entire next section is optional, so if you want to skip it, then head straight down into Norfair. BUT there are a disgusting amount of powerups and expansions that are now available to us, and I for one want to grab them all!
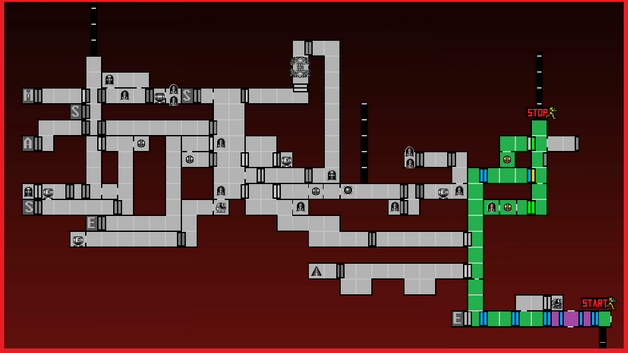
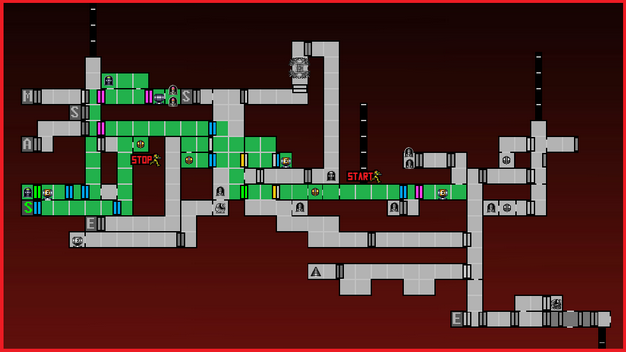
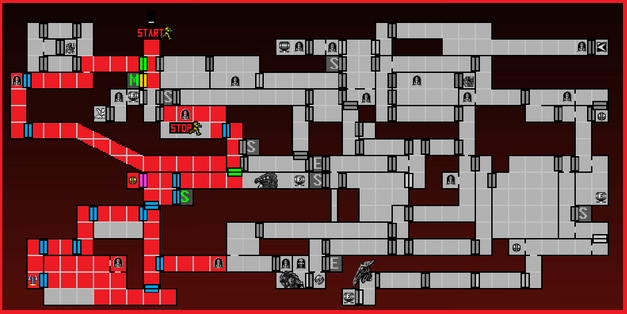
Red Brinstar Route:
Cruising Through Crateria
Aaah the fresh air of Crateria! First thing we want to do is lay a power bomb to get through the yellow doors and head up. Once you’re at the top, speed boost and start running left towards your ship. Make sure you save and recharge once you get there because the moves we’re going to pull off are gonna be a little dicey and you’ll take a lot of damage. If you want to wait until later in the game when we acquire the Gravity Suit to get these next couple pickups, I don’t blame you, although I think the reward will be worth it!
What you want to do now is speed boost in the area your ship is in. Run from the right side to the left, and right before you get to your ship, jump and launch yourself diagonally in the air, straight towards the upper portion of the rocky wall.
You should land on a crevice about halfway up the wall. Either lay a power bomb or wall jump up to the flat part of the wall and bomb it as you fall (see the map for the exact location). You’ll see a section of wall be destroyed, allowing you to wall jump up and into this new pathway. Once you’re in, go through the door.
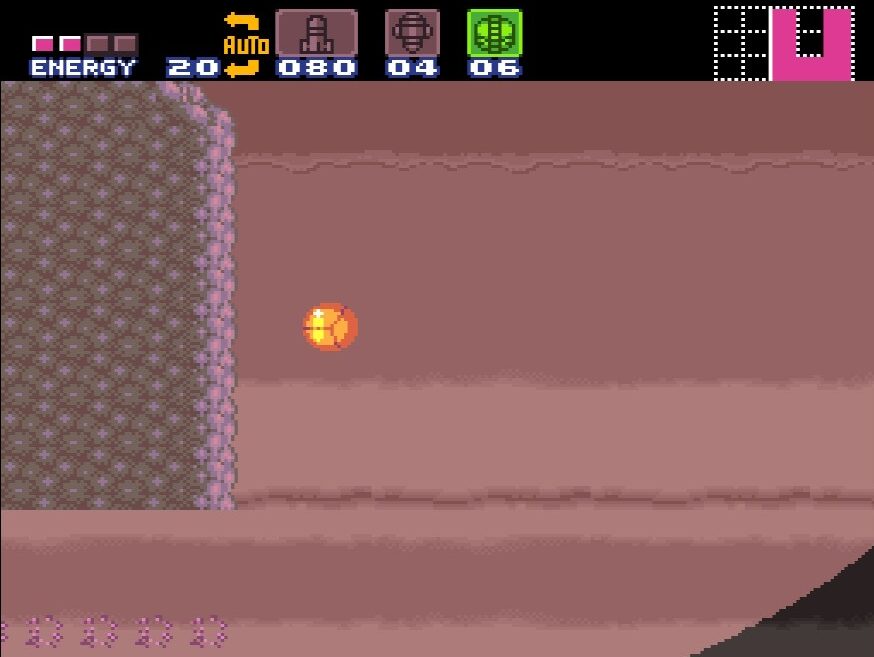
This room has a bunch of rock walls that need to be bombed to progress. Trouble is, there is rising and falling lava which burns a lot when it touches. Again – if you come back later with the Gravity Suit, you will be immune to the lava, but if you proceed now and take as little damage as you can, we’ll have some extra goodies for the upcoming areas. Drop power bombs to break the walls, don’t mess around with regular bombs, and cross to the left side as quickly and with taking as little damage as you can. Watch out for the enemies that grab you, and make sure you have at least one power bomb when you leave.
Head into the next room and grab ENERGY TANK #5, which will mercifully fill your health back up. Good thing too, because we’re now doing something even crazier!
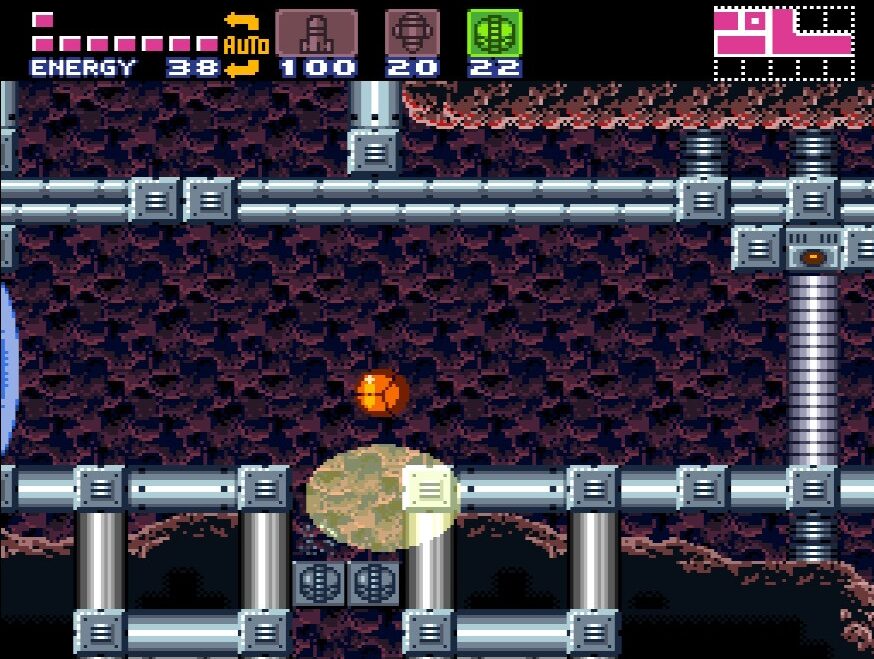
Underneath the platform the energy tank was on is a bombable wall and slot for us to fit through in Morph Ball form. Bomb it, roll through, try not to take too too much lava damage, and roll over to the other side. Shoot the wall on the left and jump up.
This room functions the same as the last – there are rock walls blocking your path that we’ll want to take out with power bombs. In addition to the rising and falling lava, this room also gifts us spikes everywhere which hurt like hell if we bonk them, so proceed carefully but quickly all the way to the left. Lay one final power bomb at the end and go through the grate and through the blue door.
Here, you can drop down. Pick a side – either drop to the left or the right. Make sure you’re hugging whatever side you choose tightly, as you’ll soon see two Missile Expansions on either side. Shoot the walls when you start to drop close enough to one side and quickly get over to grab MISSILE EXPANSION #17. Drop down, lay a power bomb, and make your way back towards your ship to heal up and save.
So… the bad news first? We’re going to have to do that whole sequence again from start to finish, just falling down the opposite side of whichever side you decided to fall down. The good news is doing so gets you MISSILE EXPANSION #18.
Go back to your ship, save and recharge if you need, and then make your way towards the long vertical shaft that first led us into Brinstar at the beginning of the game.
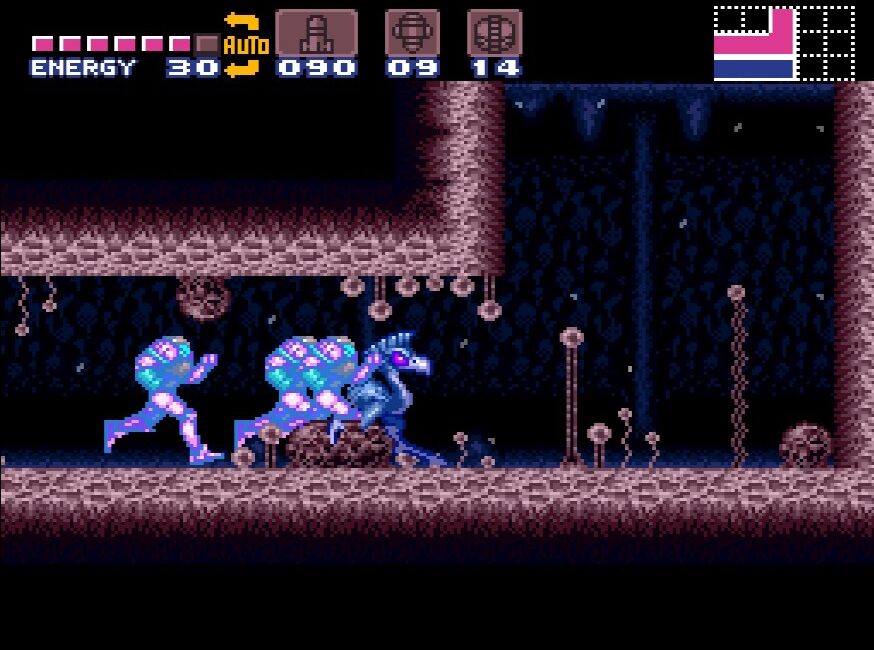
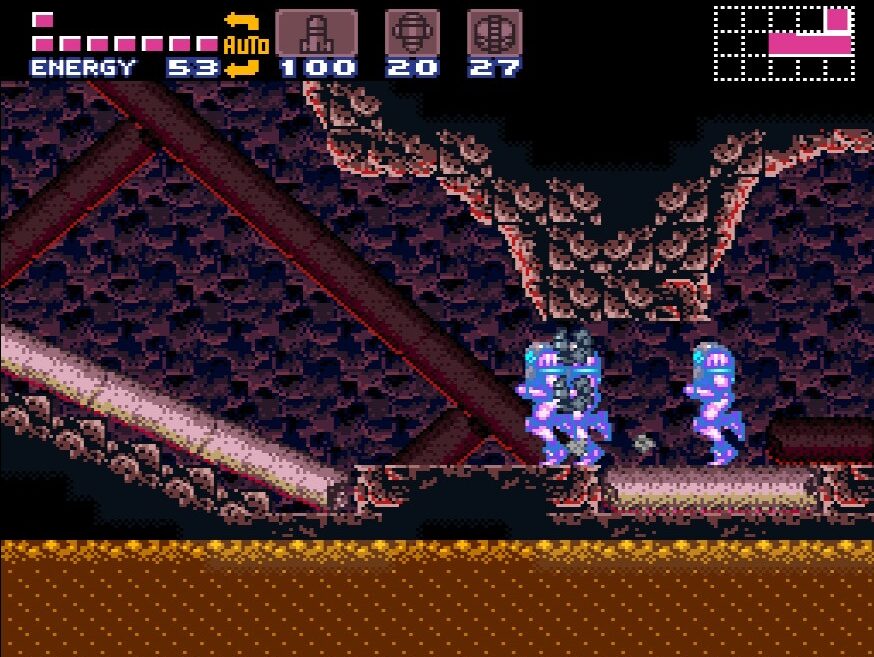
Once you’re in the room, with green Space Pirates still jumping around everywhere, hug the right hand wall and fall straight down. Eventually, you’ll land on a platform that’s slightly above the blue blast door. Lay a power bomb there and you’ll see a tiny slot we can fit through. Roll over and open the yellow blast door.
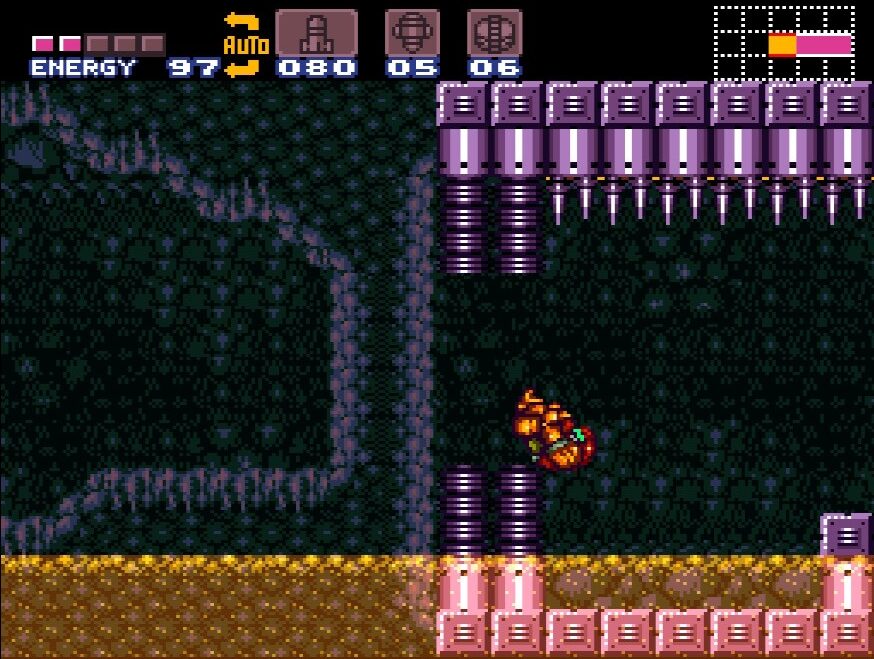
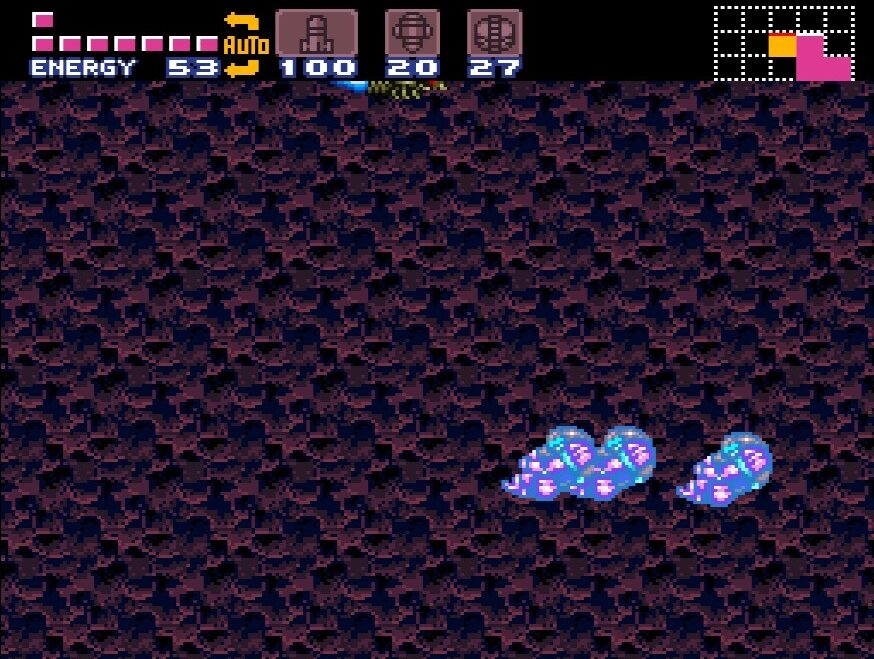
Make your way to the middle of this long hallway. You’ll see four of those jumping yellow things. We want to free all four in place so they are even with the ground, which will allow us to Speed Boost across the room. This is actually not as easy as it sounds, but once you have all four frozen, quickly run to the left, Speed Boost all the way to the right, and right before you hit the wall, perform a Shinespark straight upwards (see Special Abilities for how to Shinespark). Doing so will nab you SUPER MISSILE EXPANSION #2!
Just jump across the spikes here since we don’t have our Grapple Beam yet. We’ll take some damage, but that’s fine, it’s not a very long distance.
Drop down the vertical shaft and follow the path to the Brinstar elevator room we used way back when. Head on down!
Crateria Route:
Brinstar Bonanza
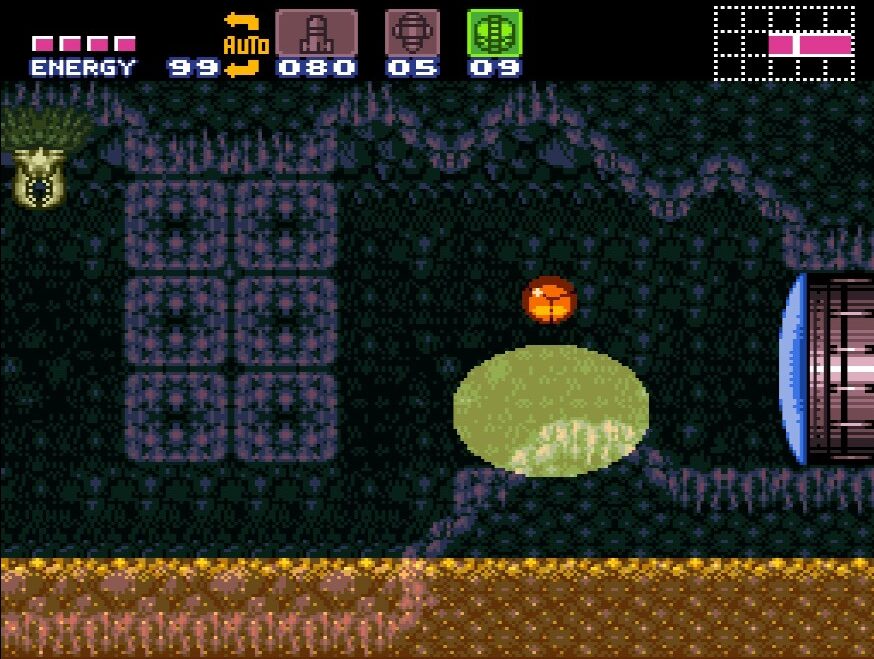
There is an absolutely absurd amount of powerups we can grab in Brinstar, so let’s not waste any time! The first thing you’ll want to do once you’re off the elevator is run right a couple rooms until you get into the large room at the very end where we found Missile #2. You might remember earlier I said there was an Energy Tank here we couldn’t reach? Not anymore! Shoot the ceiling in the middle-ish of the room and you’ll see ENERGY TANK #6. Jump up, grab it and head back to the elevator.
Once you’ve arrived at the elevator, go left to where you grabbed the Morph Ball at the beginning of the game. Lay a power bomb and watch the walls evaporate. Continue left and grab POWER BOMB EXPANSION #3.


Keep pressing left, taking out the enemies in your way until you make your way out of dark and gloomy Brinstar and back into Green Brinstar. Keep on pressing left until you find yourself in the big pink room that we grabbed the Charge Beam in earlier.
Once you’re here, first, head up and open the yellow blast door on the middle right with a power bomb. You’ll be jumped by some ugly creatures as soon as you walk in this room, but quickly take them out. There’s a big wall in the middle here. Wall jump up towards the top, and when you’re within range, give the gate at the top a blast with your Wave Beam so it unlocks. Wall jump up and over to the other side. Go into the room there to claim ENERGY TANK #7.
Exit back into the big pink room (I think that’s just its name now!). You remember earlier when we wall jumped up to get the Missile on the upper left ledge? Wall jump back up there for round two! Once you’re at the top, drop down to the little space between walls. This looks like a dead end, but drop a power bomb and the left wall will evaporate. Now this part can be tricky – the left side wall is invisible, meaning you don’t need a bomb or anything to break it, you can just jump through and enter on the other side. This also means that it’s very tricky to see. See the map for the exact spot you want to jump in.
Once you’ve jumped in the invisible wall, work your way left, destroying all the creatures in the room. If you bomb the middle portion of the far left screen, you’ll see a spot for a Super Missile block. Blast it away, drop down, and grab POWER BOMB EXPANSION #4. To exit this room, bomb the furthest left part of the room and roll down the new pathway that’s revealed. Follow it until you’re back in the big pink room.
Take the blue door in the middle-left that leads you back towards the far left Crateria elevator room. This is optional, but you can Speed Boost through this room if you like. If you do so, eventually you’ll run over some bricks that will give way once you’ve dashed on them. You’ll fall straight down for a little bit and end up in a long hallway (with an Energy Recharge Station at the end, alright!) with a strange creature named Dachora, who thankfully is friendly. Dachora will show you how to Shinespark, so if you need to, practice! The Energy Recharge Station is super handy since Shinesparking depletes your health, so take advantage of the area and our pal Dachora. Once you’re ready, Shinespark back up to the top and continue left towards the main elevator hall.
Once you’re there, head up and take the top right door. You’ll remember we got a Missile in this room earlier, but now we can get even more! Hop up on the platform and Speed Boost your way to the other end of the room, leaving those gates in your dust. Go through the pink blast doors and grab RESERVE TANK #2! But wait, there’s more! Simply roll under the Chozo Statue and enter a room behind it where you’ll see MISSILE EXPANSION #19. But wait – there’s more! Lay a power bomb and the wall will evaporate, revealing MISSILE EXPANSION #20!
Exit the Chozo room and you’ll see the gates are still down and locked. Hmm. When in doubt, shoot the ceiling! Aim up and shoot, and part of the room will give away, allowing you to jump up! Make your way towards the left and eliminate all the enemies, and at the end, grab SUPER MISSILE EXPANSION #3! Jump on the stand the Super Missile was sitting on and you’ll fall towards the floor. Exit back into the main elevator shaft.
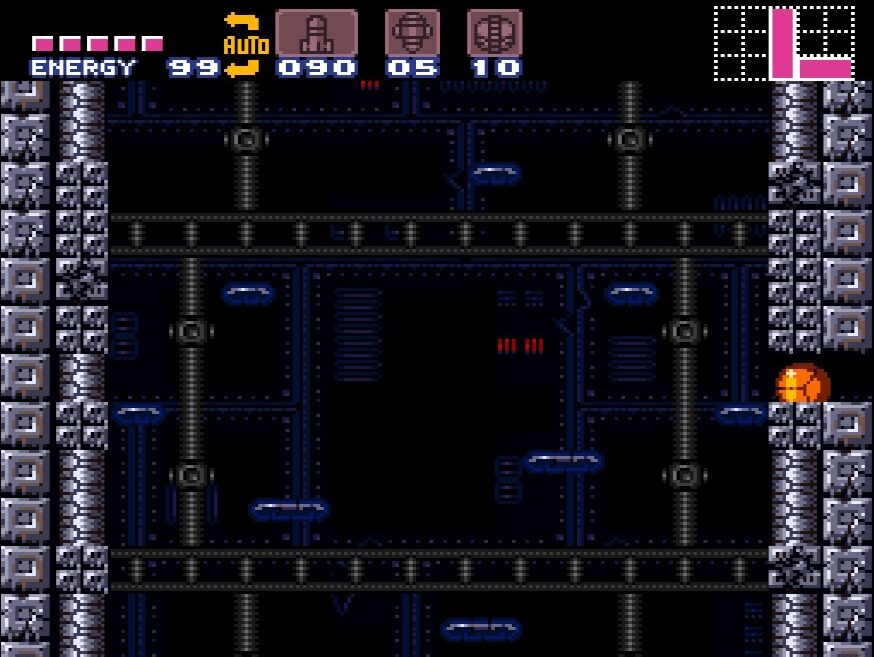
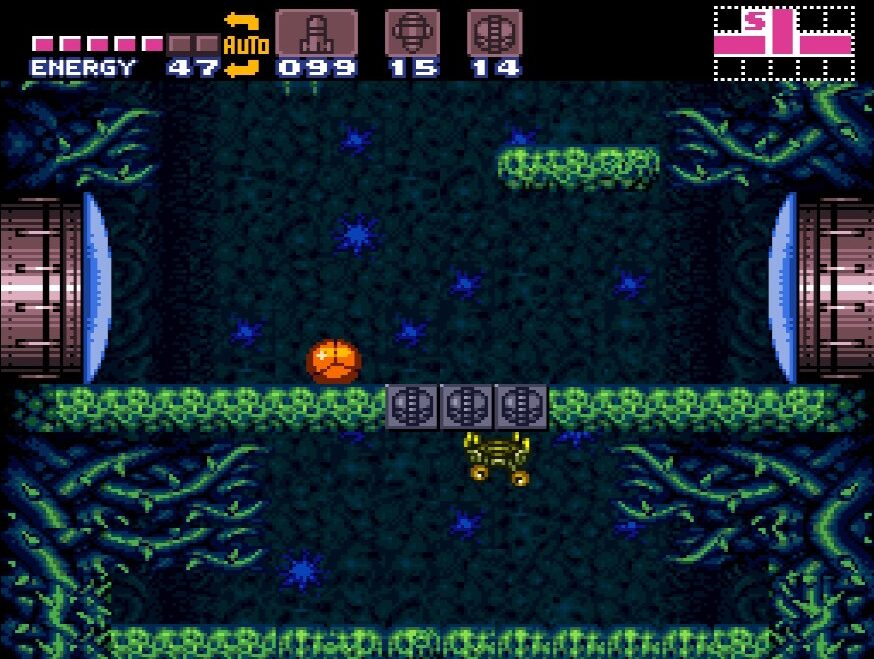
Drop all the way down to the bottom of the elevator shaft. Lay a power bomb and watch the ground below you go bye bye. This shaft goes down a decent way, so let yourself fall to the very bottom. Once you’re there, enter the room on your left. There are four of those awful latching enemies in here. Take them out with bombs and continue left. Keep going left until you get to this new metallic room, but go slowly! When you see the Energy Tank, STOP MOVING! The ground right before it isn’t solid and will give out the second you touch it. Instead, jump over the ground and grab ENERGY TANK #8. Open the green blast door and snag SUPER MISSILE EXPANSION #4. Once you’ve got all that, *now* let yourself fall to the bottom.
Once you’re at the bottom, use the Save Station to your left if you need. Once you’re ready, head right. This room is tricky – there’s lots of spikes and annoying creatures. Lay a power bomb if you want to quickly and easily deal with all the creatures in here. Keep pressing right until you reach the door and a new room.
In this room, we meet our second batch of friendly creatures – Etecoons! These adorable monkey/Ewok looking things are here to show us how to wall jump. We’ve been performing wall jumps since the beginning, but we appreciate the thought little guys!
Wall jump up to the very top of this room. Once there, you’ll be able to see a slot for you to fit through in the wall on the right side. Jump and quickly press down to turn into a ball while falling and slip in through this slot. Roll over and get POWER BOMB EXPANSION #5!
Re-enter the main vertical elevator shaft in Green Brinstar. For now, we’ve collected all we can, so make your way across Green and Red Brinstar until you arrive at the Norfair elevator. When you’re ready, descend.
Brinstar Route 1:
The Grapple Beam
Back in Norfair again… something about this area just feels suffocating, no? Is that just me? Let’s move fast so we can get out of here quickly! Now that we have power bombs, drop down and open the yellow blast door. Inside is the Map Station for Norfair. Handy!
Once you’ve done that, head to the top left room where we used our Speed Booster earlier to run past the grates and get the Ice Beam. This time, when we get to the end, lay a power bomb and drop down. Continue left a room until you arrive at a long shaft with red walls.
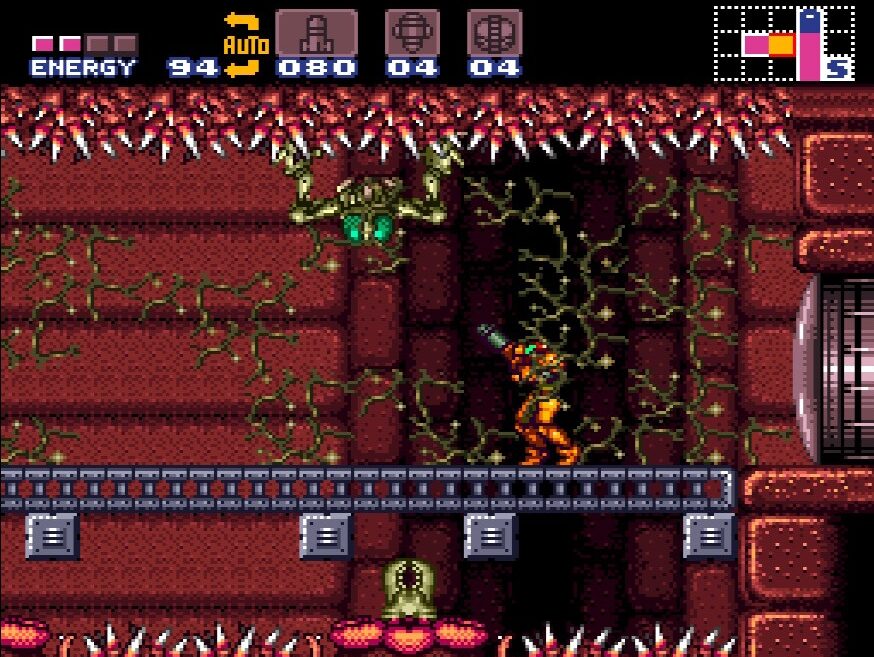
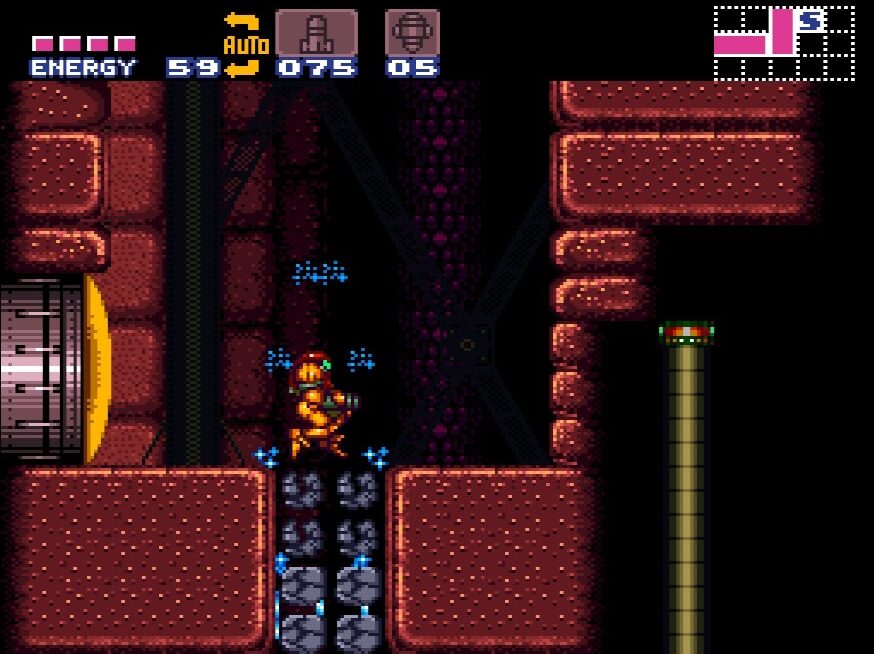
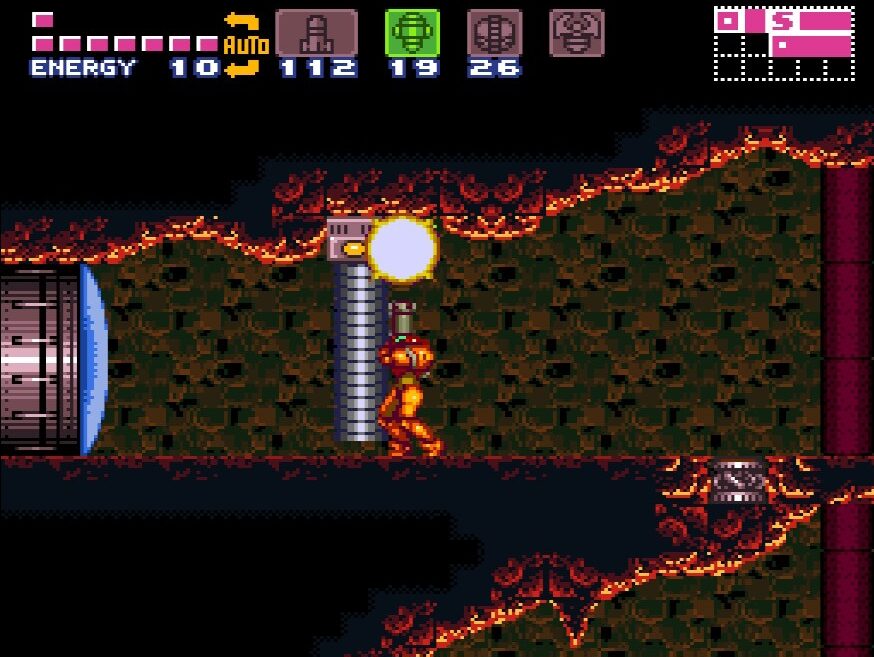
Don’t move when you get here! Stay still, because every tile and platform in here is collapsible. From the blast door, fire your beam straight ahead at the wall, and you’ll see a Missile hidden at the far left! Do your best to wall jump up to it before all the platforms completely disappear and grab MISSILE EXPANSION #21! If you’re having troubles with this, come back later once we acquire the Space Jump and grab it.
Fall to the bottom of this room and then enter the door on your right. Speed Boost all the way to the other side, completely obliterating everything in your path (did I say how much I love doing that? What a satisfying crunch when you run over these enemies!) until you get to the next room over.
This room should look familiar. Use the Save Station if you need to, and then open the door on the ground. If you did not fight Crocomire earlier, get ready! Refer to the Bosses part of the walkthrough on the best tricks and strategies for beating him. If he’s already toast, then head over to the leftmost door in this room and go through it.
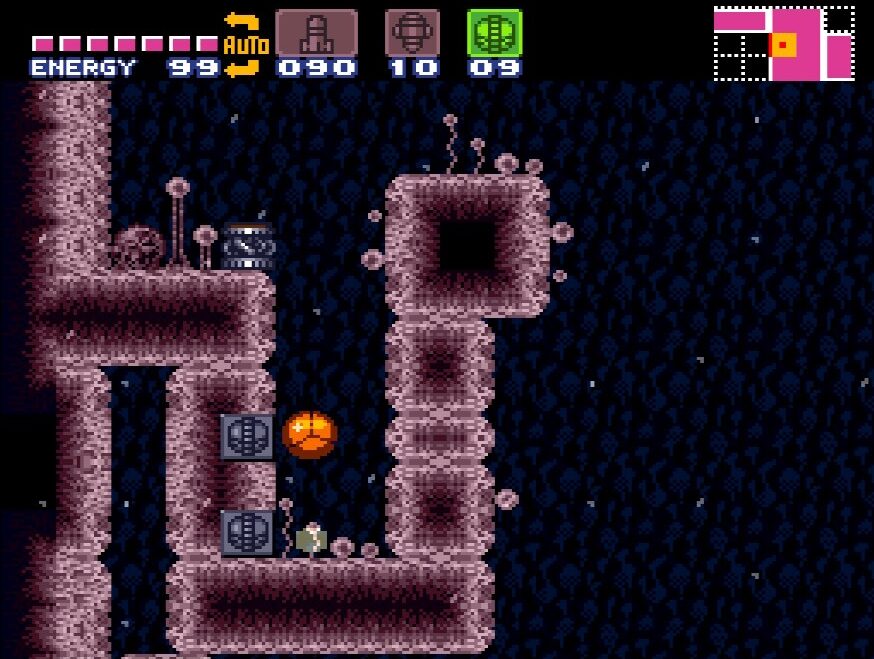
You’ll be inside a square room now where you can use a Save Station and recharge some health by shooting the little bugs. There’s a room in the top left corner that the game would lead us to believe you need to the Grapple Beam to reach, but actually, if you hold dash while standing on top of the platform enemy and then jump precisely upwards – not too high as to hit the roof and ruin your momentum, but high enough to clear the space – you can land on the ledge, enter the pink blast door room and grab POWER BOMB EXPANSION #6! If you’re having trouble nailing the jump, don’t worry – we’ll be back in this room with the Grapple Beam in a second and you can grab it then!
In the square room, use the door on the floor and drop all the way down until you hit a pink blast door on your right. Enter it and head right, doing your best to avoid the lava. Jump over the spines and grab MISSILE EXPANSION #22. Exit the room.
Go to the very bottom of the long vertical hall and use the door at the bottom. You’ll now be in a giant room. The first thing you’ll want to do is lay a power bomb to clear the debris out of the way so that we can Speed Boost. Head to the far right of the room and start running over to the left. Before the platform ends, you’ll want to jump up while Speed Boosting, which will propel you up and over the distance and right in front of a blue blast door. Open it, and finally we have the GRAPPLE BEAM!
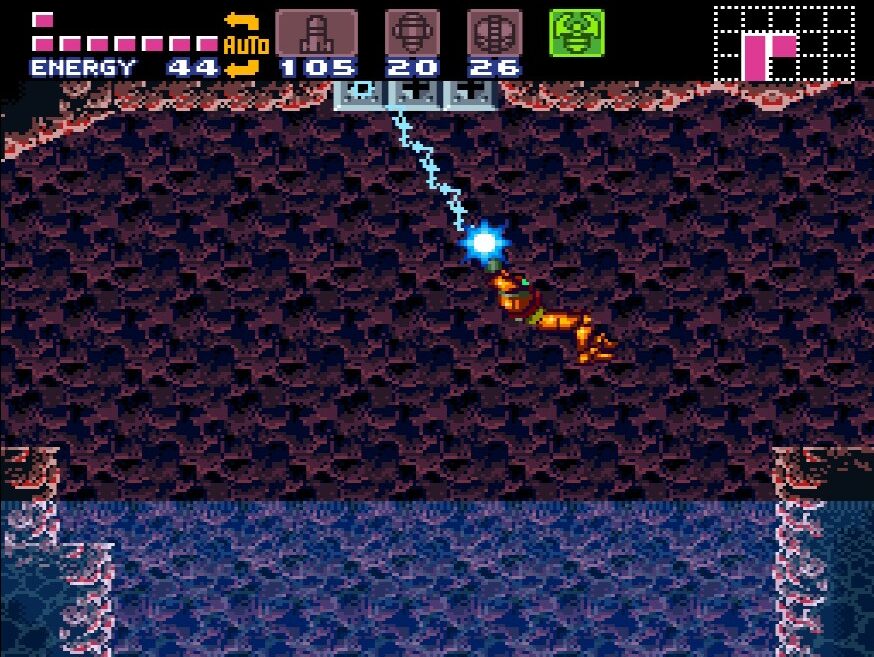
Now, before you head upwards in this room, first turn around and go through the door you entered from. This is one of the most annoying expansions in the entire game to get, but here we go. Jump up and grapple the flying Ripper’s at the top of this room. Swing and propel yourself forward and do your best to grapple the next Ripper over before you fall. You need to do this two more times after this to get all the way across. Unfortunately, there’s not really any advice I can give you, other than maybe try to make sure you launch yourself sideways instead of us. This is a pain, and you’ll probably fall multiple times (if you’re playing on the Nintendo Switch Online, there’s no shame in using the rewind feature!). Once you’ve finally, mercifully made it across however, go and pick up your hard earned MISSILE EXPANSION #23. Drop down and Speed Boost jump back to the Grapple Beam room.
Once you’re in here, head up and over for the next couple rooms. These are pretty straightforward rooms that will give you a chance to learn how to use your Grapple Beam more. Eventually, you should find yourself back in the square room. Make your way back into Crocomire’s hallway and head up.
We’re back in the vertical room with the Save Station in the middle. Save if you need to, and continue up to the top of this room and enter the door on your left.
You’ll find yourself in another rather large room that actually connects to the main elevator shaft. Go to the top of this room and use your Grapple Beam to get yourself across. Pick up MISSILE EXPANSION #24 and open the green gate.
If you passed on grabbing the Wave Beam earlier, go and grab it now. Otherwise, make your way back up to Brinstar.
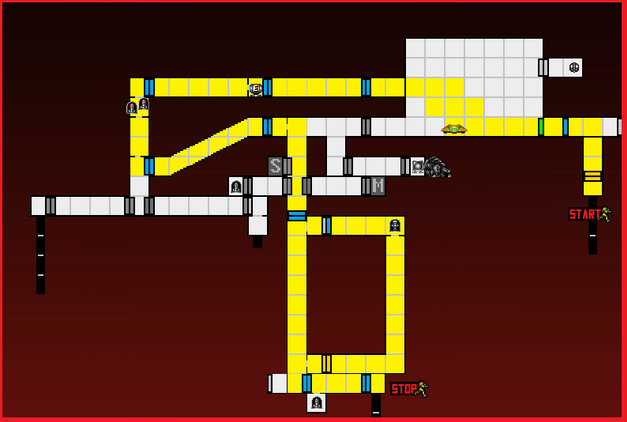
Grapple Beam Route:
The X-Ray Scope
Alright, we’re back in Brinstar. We’re going to make our way up to Crateria, but there’s two thick pit stops we can make first. Both of these are optional, although the X-Ray Scope is highly recommended.
First, from the elevator room, make your way towards Kraid’s Lair. Work your way towards the Save Station, stopping when you get to the room with all the bugs two blocks before the Save room on the map.
Go over to the steps on the right hand side and lay a power bomb. You’ll see a Missile hiding in the wall, with a very narrow passageway to grab it. Either bomb jump up, or if you’re like me and suck at bomb jumping, jump up and immediately tap down to get into Morph Ball form, and slide over to the right to get MISSILE EXPANSION #25!
Make your way out of Kraid’s Lair and all the way up towards Red Brinstar. Stop at the yellow blast door that we’ve been walking by all this time, power bomb it open and get inside.
This room is a fairly precarious one, so be careful. The ground is covered in spikes, there are small little bricks for us to jump on, and there are firefly enemies in here which you need to not damage or else the room becomes pitch black.
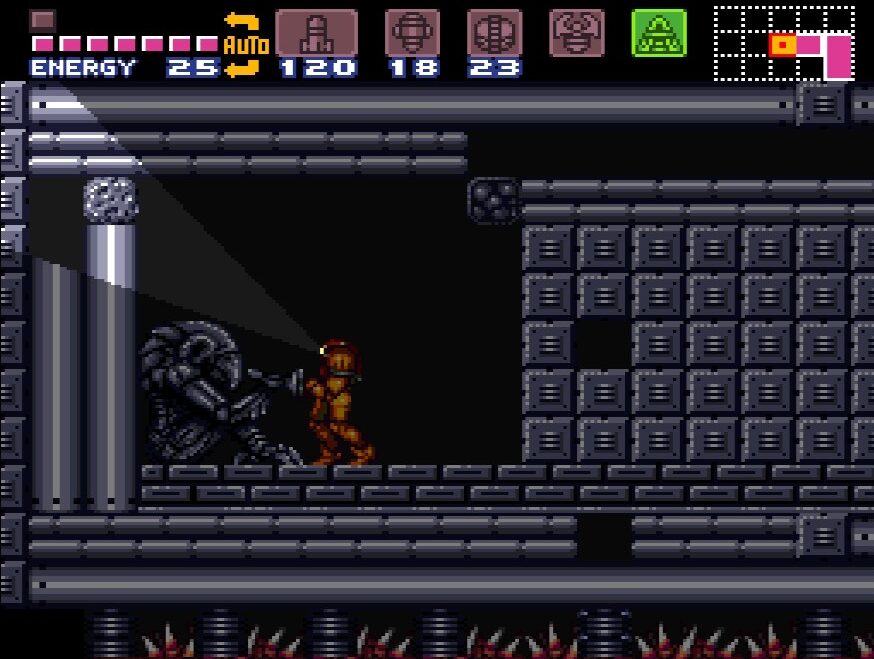
Make your way carefully to the left, eventually coming to some Grapple Beam hooks on the ceiling. Carefully grapple your way across to the left hand side until you reach a door. Enter it, and roll up and over to the other side of the room. Shoot the Chozo Statues offering and grab the X-RAY SCOPE.
Use it to see the hidden passageway leading you out of this room. Navigate the corridor back towards the hallways of Red Brinstar, and head up, up, up, until you’ve arrived at the elevator leading us into Crateria.
X-Ray Scope Route: