Super Metroid Walkthrough – The Final Battle

Walkthrough
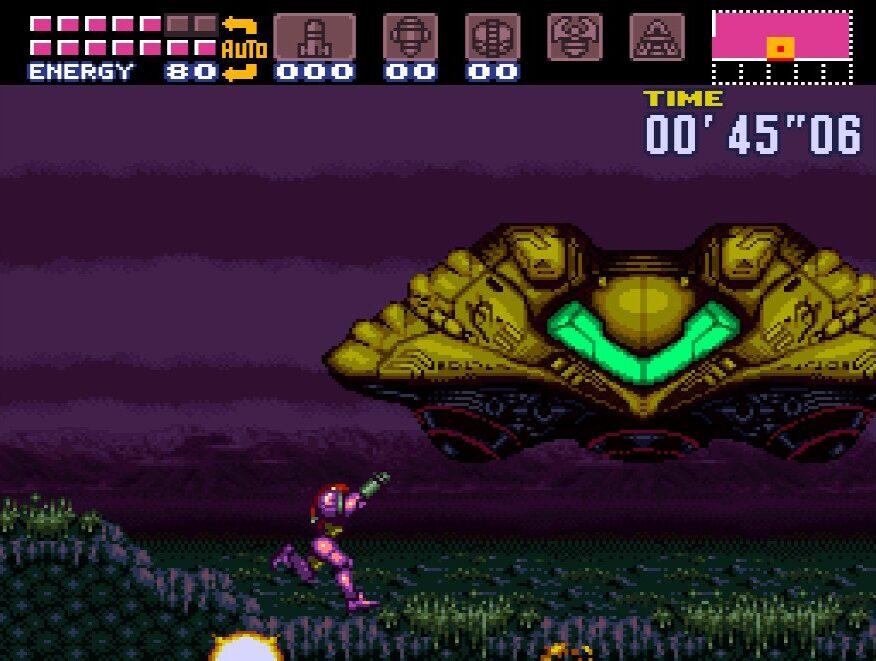
- Ceres Research Station
- Welcome to Zebes
- Overgrown With Vegetation
- Fires of Norfair
- Heavy Artillery
- A Derelict Ship
- Dark Waters
- The Hunt for Ridley
- The Final Battle
Tying Up Loose Ends
We’re nearing the finish line, but before we descend into the heart of Zebes, we have a few stray pickups to gather up. You’ll want to be as maxed out as possible for the upcoming battle.
Now that we’re back in Brinstar, backtrack all the way to the big pink room where we first acquired the Charge Beam way back when. Infact, drop down to the actual Chozo Statue that held the Charge Beam for us earlier. Lay a power bomb and roll right under the statue, falling downwards until you reach a door at the bottom.
Head through and take drop down into the waist level water. Take care of any enemies in your path and Speed Boost to the left hand side of the room. You’ll come crashing through a wall and run right into ENERGY TANK #14. You are now at maximum health!

Make your way back into the pink room and out the door on the bottom right. You’ll be back in the giant sloping room with the gate at the end. Don’t move very far into this room however. At the very top at the beginning, there’s a ledge that we can jump to. Get up there and open the yellow blast door to get to the darker part of Brinstar.
Keep laying power bombs, making your way right until you reach the room we first acquired the Morph Ball in. Keep pressing to the very right most room into you see the spot where once upon a time Missile Expansion #2 sat. Right before that, there is a brick wall that forces you to Morph Ball under it to get across. Lay a power bomb here, and a bit of this wall will give out, allowing you to stand up and jump straight up. Jump up, activating your Screw Attack, and keep climbing up. You should get to the top eventually, breaking through the brick that’s sealing the top. Enter the blue blast door at the top.
Use your X-Ray Scope in this room and you’ll see an invisible pathway towards the ceiling that you can run across. Beats swimming on the spikes I’d say. Jump up and cross the room. In the next room, you’ll see MISSILE EXPANSION #45! But wait, there’s more! Lay a power bomb, and MISSILE EXPANSION #46 will be revealed. Snag it to complete your Missile count.
Once you’re done here, make your way back and out of Brinstar towards your ship in Crateria. Once you’re there, Space Jump up to the very top right corner of the Landing Site. There will be a yellow door up on a high ledge.
Open it up and head on in. This hallway has tons of things going on: lava, spikes, enemies and more. Nothing will stop is from crossing to the other side and grabbing the last powerup we need in Super Metroid: POWER BOMB EXPANSION #10! Congratulations! You will now finish the game with 100% item completion! All that’s left now is to actually finish the game!
Head back down and save/recharge at your ship. Once you’re ready, head all the way to the left of Crateria, towards the elevator to Brinstar on the far left side. When you get to the vertical room with the green Space Pirates however, instead of running to the left, open the pink blast door to your right. Enter this creepy cold room and proceed to the other end.
This is a little eerie. You’ll see a giant golden statue honoring all of the big bad bosses of Zebes: Kraid, Phantoon, Draygon, and Ridley. All of them will have glowing jewels in their bust, and one by one, all of them will explode. The giant statue with our foes will begin to crumble, allowing us to drop down and take one last elevator: the elevator to Tourian.
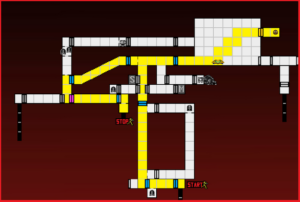
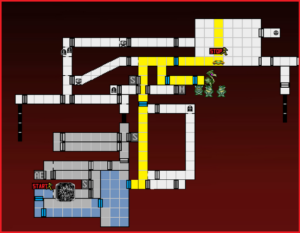
Brinstar Route:

Crateria Route:
Tourian
Tourian. The stronghold of the Space Pirates on Zebes and home to the Mother Brain. Our mission is almost complete, but Tourian houses the Space Pirates most deadly weapon: Metroids.
Drop down into Tourian and use the Save Station to your right if you want, but be warned: this is a point of no return! If you save here and shut your game off, you’ll be stuck in Tourian. Proceed to the room to your left after. Our main objective throughout Tourian will be to advance in the fairly straightforward halls and kill all the Metroids we see. Doors will stay locked until every Metroid in the room has been defeated.
Metroids look scary, but they’re actually pretty easy to deal with if you act quickly. As soon as you see a Metroid, blast it with your Freeze Beam (note: once a Metroid is frozen, hitting it with another Freeze shot does not restart the freezing process… only when the Metroid thaws can you re-freeze it). Once it’s frozen, blast it with either five regular Missiles or one Super Missile. Metroids tend to drop several short Missiles when defeated, so to make your life easier, hit them with supers.
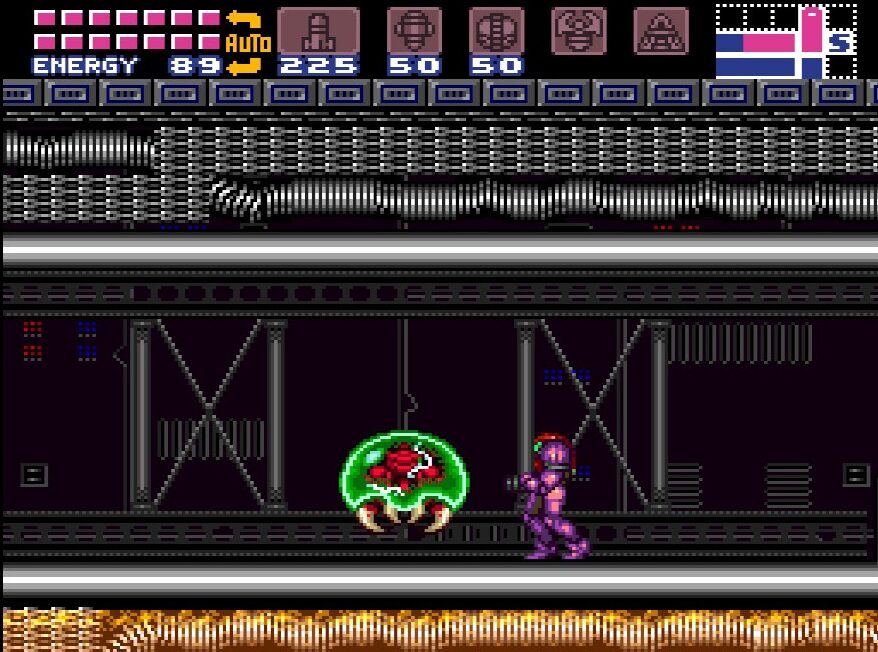
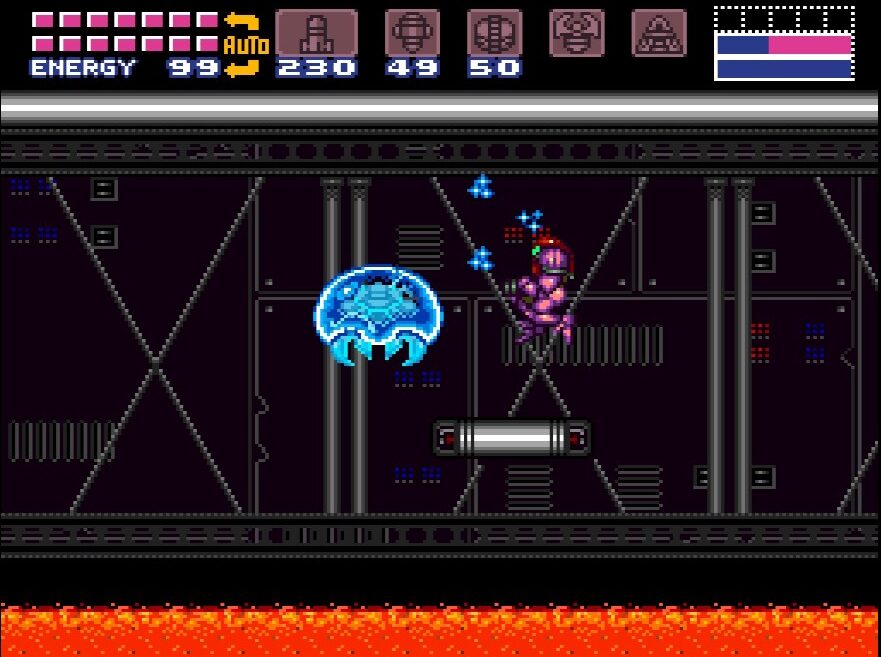
If you can freeze and destroy them before they can get a good of you, this should be a mostly fine journey. However, if a Metroid gets a hold of you, they can be extremely difficult to get off. The best way to remove a Metroid is to roll down and move side to side, laying bombs. The bombs will stun the Metroids off. You have to move fast and freeze them however, because the Metroids won’t stay stunned for long. The biggest hiccup you’ll probably run into when fighting Metroids is quickly switching between beams and Super Missiles. If you’re surrounded, freeze first, blast second.
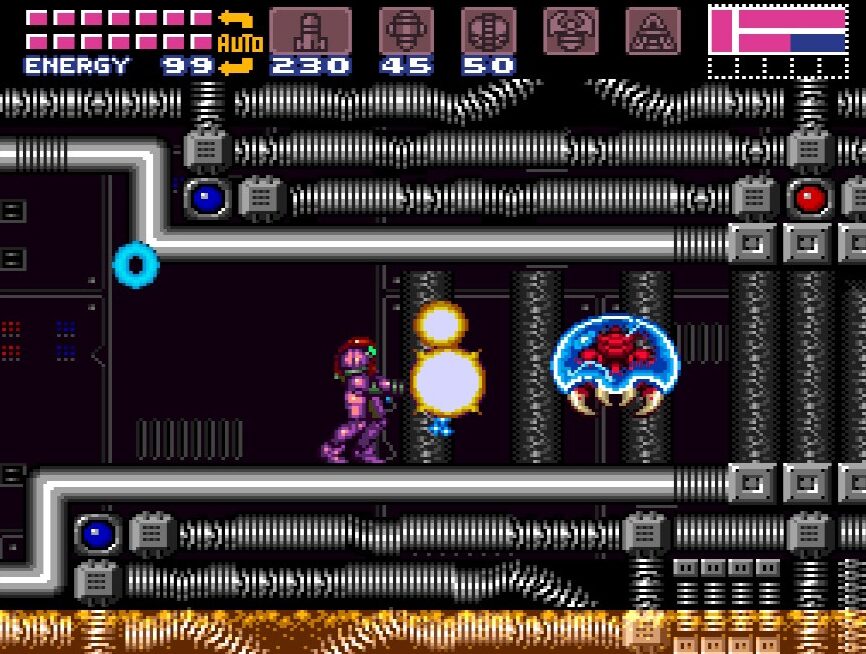
Now that we know how to fight Metroids, it’s time to actually press forward. Make your way into the first righthand room in Tourian. This room has four Metroids. They’ll often appear quickly and out of nowhere, so be on your toes. Dispose of them and continue on.
This next room is a vertical room containing two Metroids. Shoot at them through the platforms to freeze them and blast them when you get close. Take them out and continue.
The next room has three Metroids. These ones are somewhat more troublesome since they spawn as you’re jumping over the lava. While Screw Attacking won’t damage the Metroids, it will allow you to basically fly past them without them latching on to you. Get to a safe distance and dispose of the remaining Metroids, going through the door once it’s unlocked.
You’ll find yourself in another vertical room, facing off against another three Metroids. Same formula; freeze, shoot, conquer, repeat. Drop down the door on the floor when you’re ready.
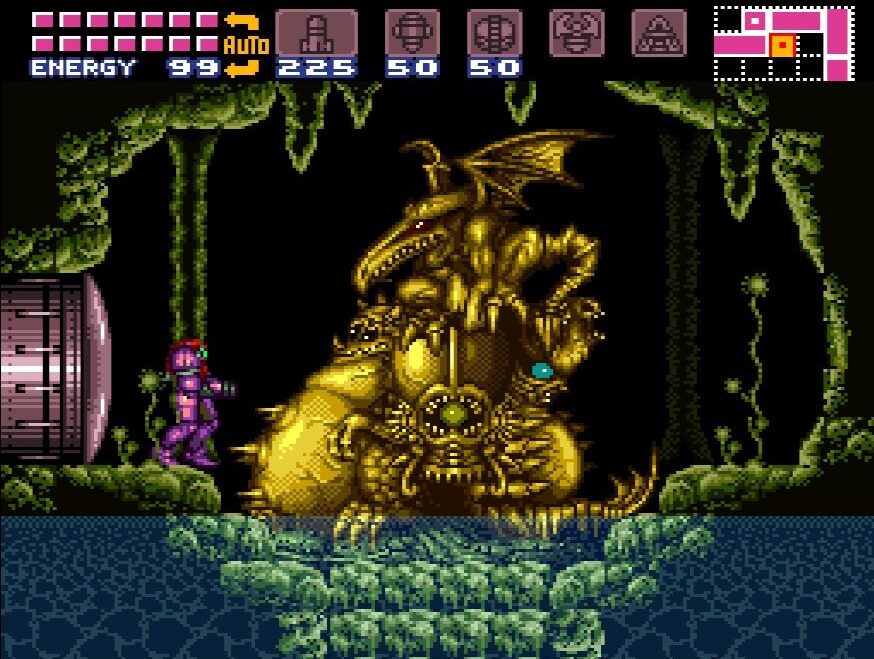
You’ll notice the change in music right away, as well as the change in aesthetic. Gone is the metallic sleekness; now we’re in a dusty, earthly looking room. In here are two giant Blue Sidehoppers. They take five Super Missiles each to be destroyed, and since Super Missiles are going to be at a premium, it’s best you Screw Attack past them to avoid them and just press forward.
The next room in the “earthly” part of Tourian has a Torizo in it… only all the life has been sucked away from it, and the second you touch it, the Torizo crumples into dust. Not creepy at all…
Keep pressing forward and you’ll notice the Torizo isn’t the only lifeform from Zebes down here that’s had their life energy sucked away. There’s only one thing we know of that has that kind of capability, so stay on your toes.
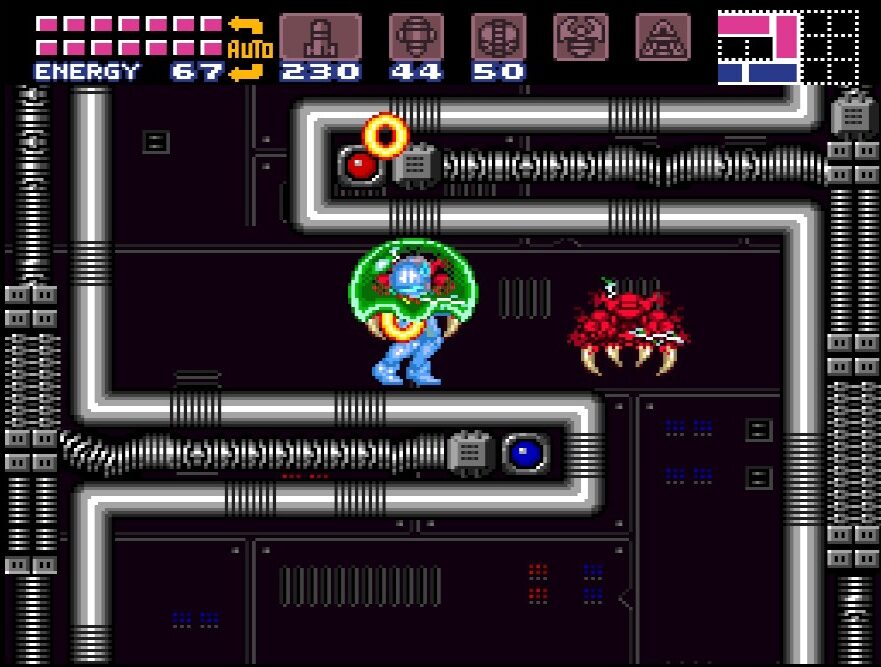
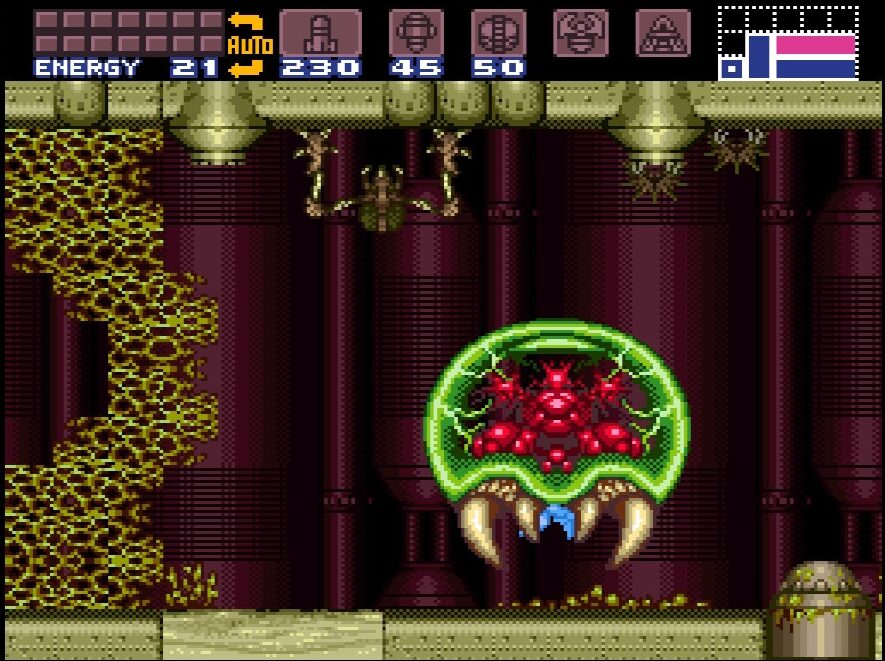
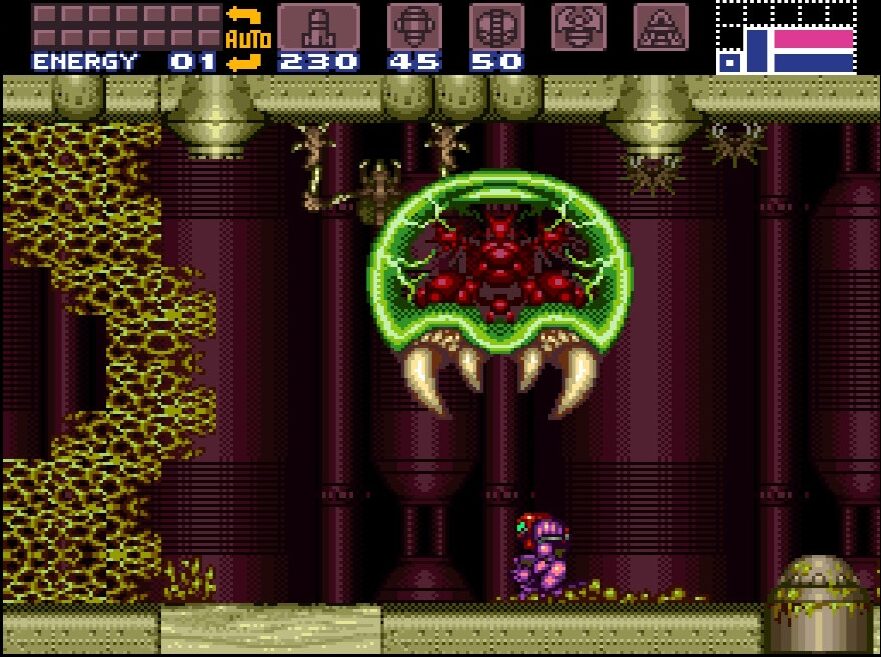
Keep pressing forward and another Blue Sidehopper will jump out at you. Before it can attack you however, the absolute biggest Metroid you’ll ever see jumps out and starts sucking the life out of it! After the Sidehopper is done, this “Super” Metroid will turn its attention to you. You can actually avoid it if you’re quick enough, but for the purpose of the story, let it catch you. It will drain the life out of you… but then stop just a nanosecond before it kills you. It seems this Metroid remembers who you are! That’s right – the tiny little infant Metroid from the beginning of the game is all grown up now, and it recognizes Samus as its “mother”. With 1 HP left, press on to the next room.
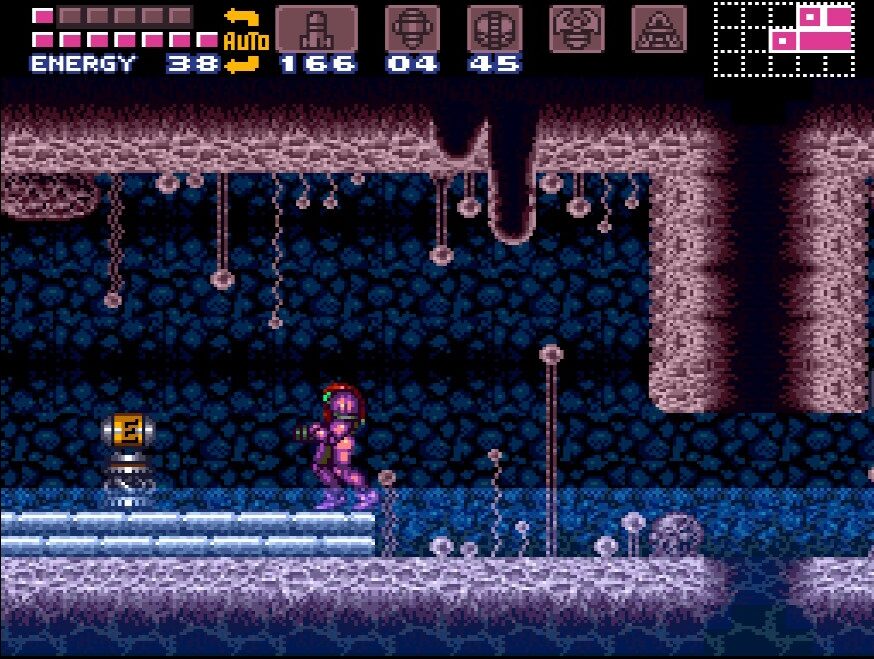
Still down, shooting the cobwebs out of your way. To your left is a much needed Energy Recharge Station and a Missile Recharge Station. Use both, exit the room, and enter the pink blast door to your right. Press forward in the next room until you get to the guard door. Take it out and enter. Drop down and use the Save Station in the middle left if you need to. Once you’re ready, enter the bottom door and step into Mother Brain’s chamber…
Mother Brain
Get ready, because this is a hostile room. The layout should be familiar to any veterans of Metroid 1 or Zero Mission, but that won’t make it any easier. Throughout this room, there will be multiple flying projectiles speeding towards you called Rinkas. They look like red circles, and they will be coming at you constantly. You can Screw Attack through them, but they won’t drop any supplies. There are also little turrets throughout the room that will shoot tiny little bullets at you. Likewise, you can Screw Attack to avoid them, but you’ll get nothing from them.
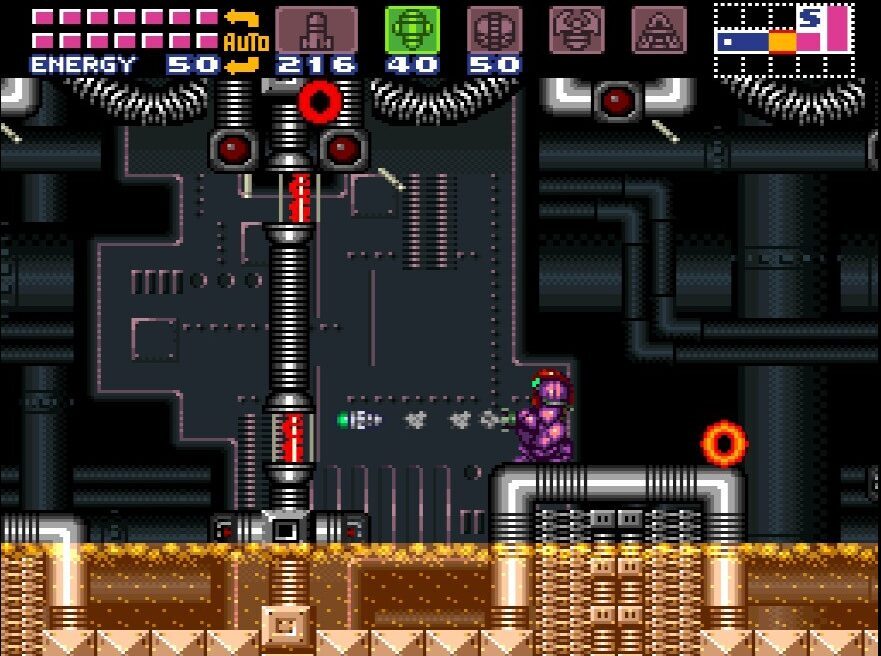
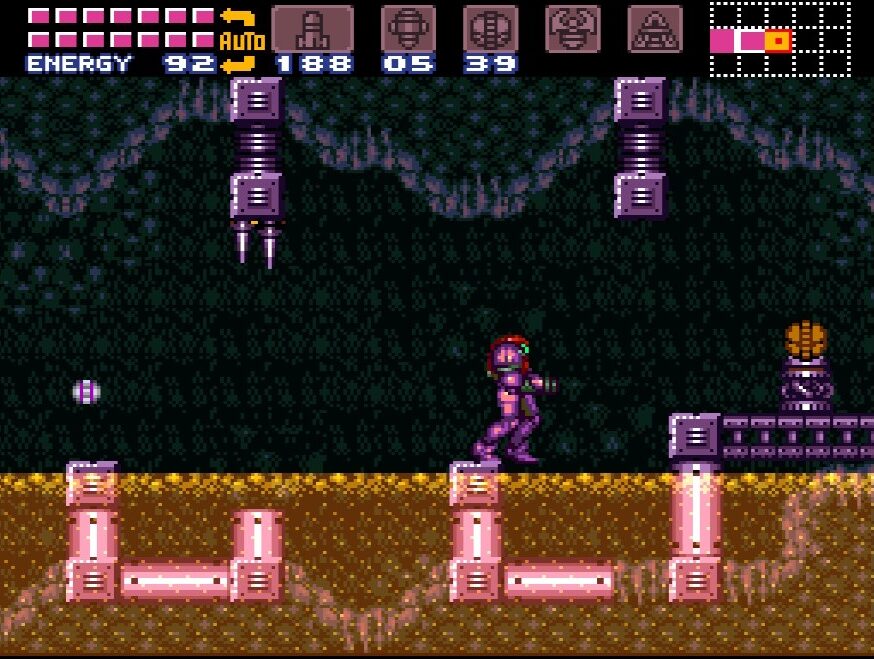
We need to move to the left, but blocking our way are some inconveniently placed gate looking things called Zebetites. You can get rid of them using Missiles, but they take a ton of hits to go down. It is what it is however, so shoot directly in the red part of the Zebetite with regular Missiles (save the supers) and after about 15 Missiles, they’ll break, allowing you to sneak by. Be mindful of the Rinkas, bullets, and lava underneath you. Did I mention this room was hostile?
Eventually after smashing through several Zebetites, you’ll be face to face to the enemy herself: Mother Brain. Again, use regular Missiles here go fire off shot after shot at Mother Brain’s tank. Eventually the glass will break and you’ll be able to blast Mother Brain herself. Pepper her with Missiles, avoiding everything else going on, and after a while (I counted about 40 Missiles give or take a few for accuracy) Mother Brain will start to explode and fall to the ground.
Hold on though, because this fight isn’t over yet. In fact, it’s just getting started…
Tourian Route:

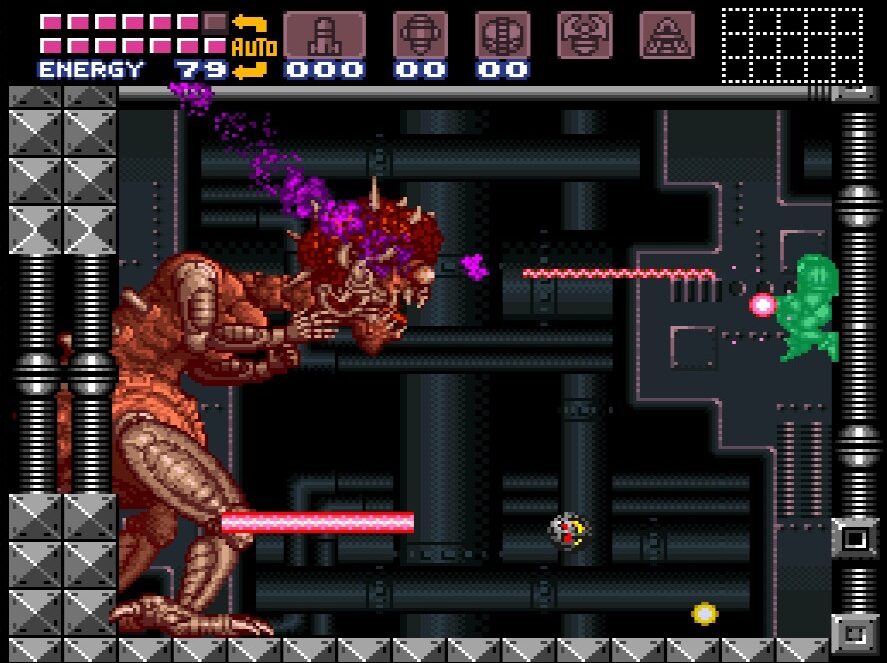
BOSS BATTLE: MOTHER BRAIN
Here it is, the final fight for all the marbles. Now would be a good time to switch over to Super Missiles.
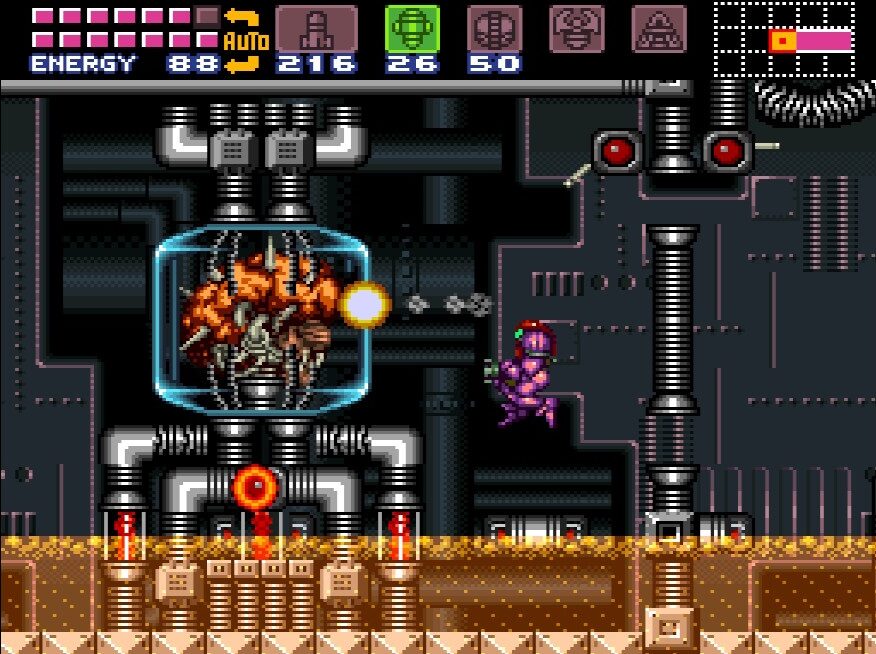
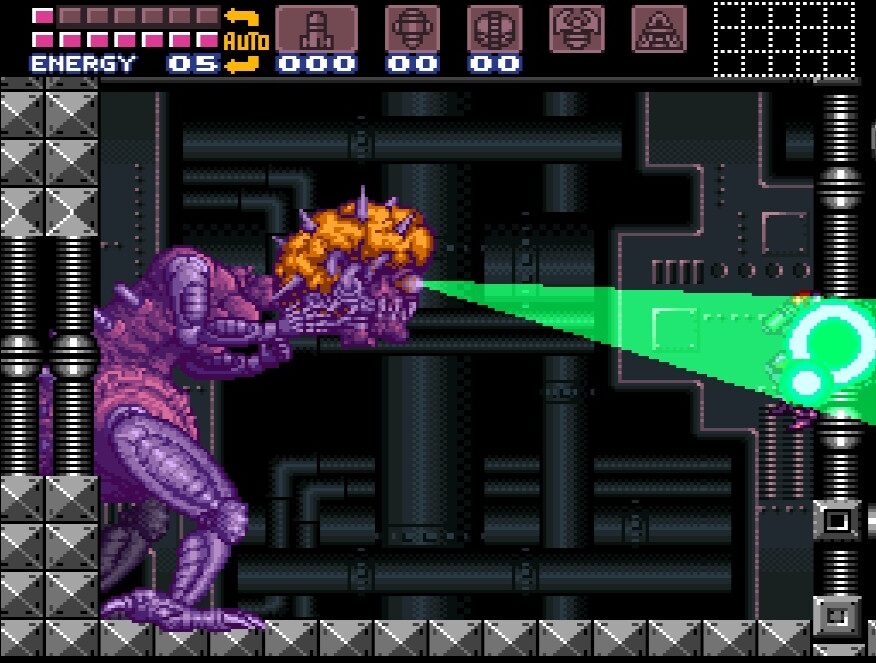
Rising from the ashes is Mother Brain’s new mechanical body. A grotesque looking mechanical/biological hybrid with a creepy face on her already creepy brain. This body is completely invulnerable, so concentrate all of your fire on her head.
The good news is that comparatively speaking, this battle is easier than our previous encounters with Ridley and Draygon (well, Draygon the hard way). The bad news is that Mother Brain hits really hard, so if you’re caught by her attacks too often, you’ll run into problems. As a rule of thumb here: constantly be jumping up and down. You should be able to land at least two hits to her head with Super Missiles; one while you’re on the ascent of your jump, one while you’re on the descent.
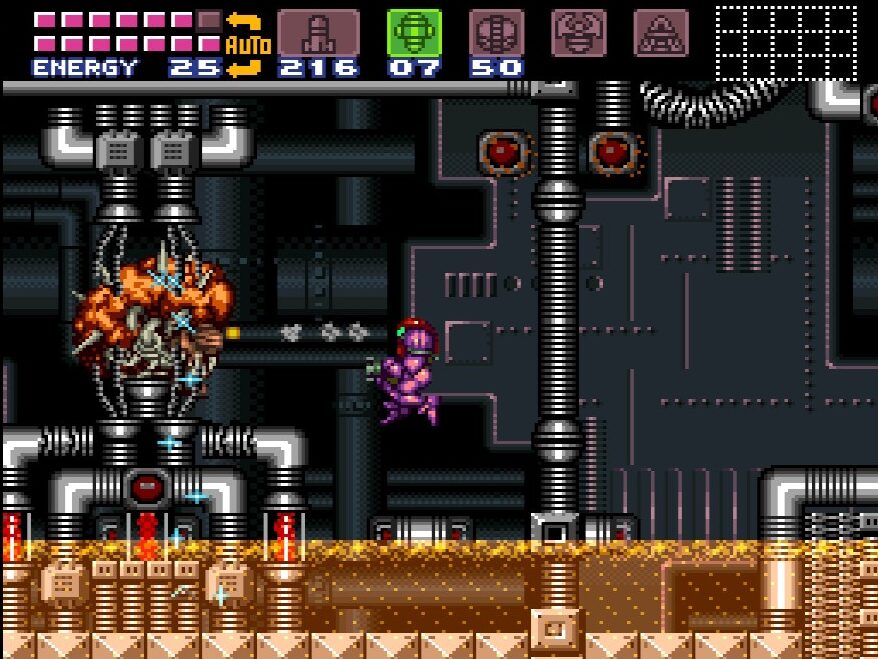
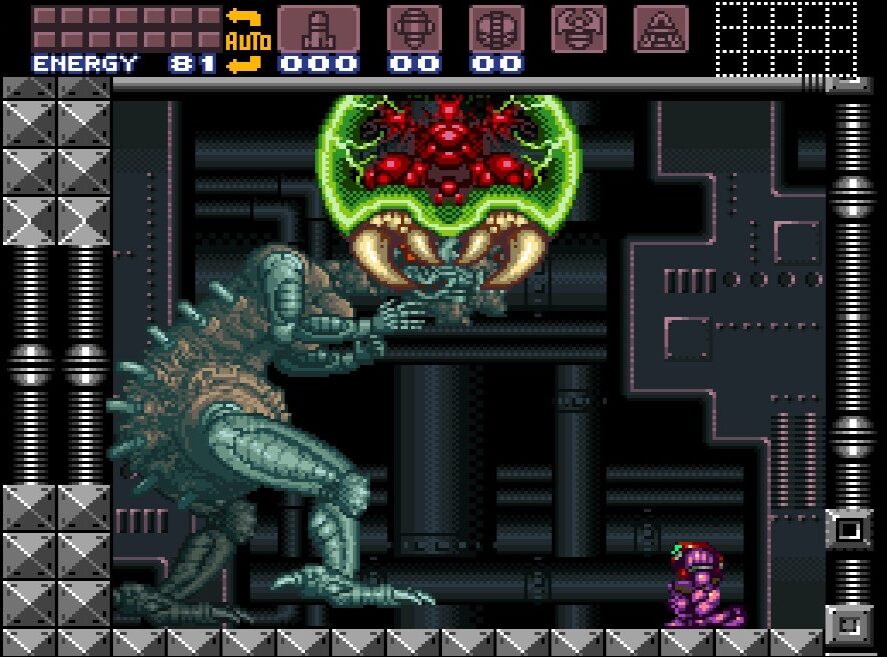
Mother Brain will start off with regular attacks that are fairly easy to avoid if you’re moving up and down constantly. She’ll throw a bomb which will bob around for a few seconds and then detonate, spreading fire left and right; easy to avoid if you get the timing down right and realize it won’t explode right away. She’ll also shoot out a Torizo-like laser from her eye, which will travel straight forward. Her last attack will be her throwing a string of blue bubble looking rings at you; they’ll move in a somewhat straight line, but leave a trail. The blue rings and eye laser cannot be Screw Attacked through like so many other attacks – if it hits you in any capacity, you’ll take damage.
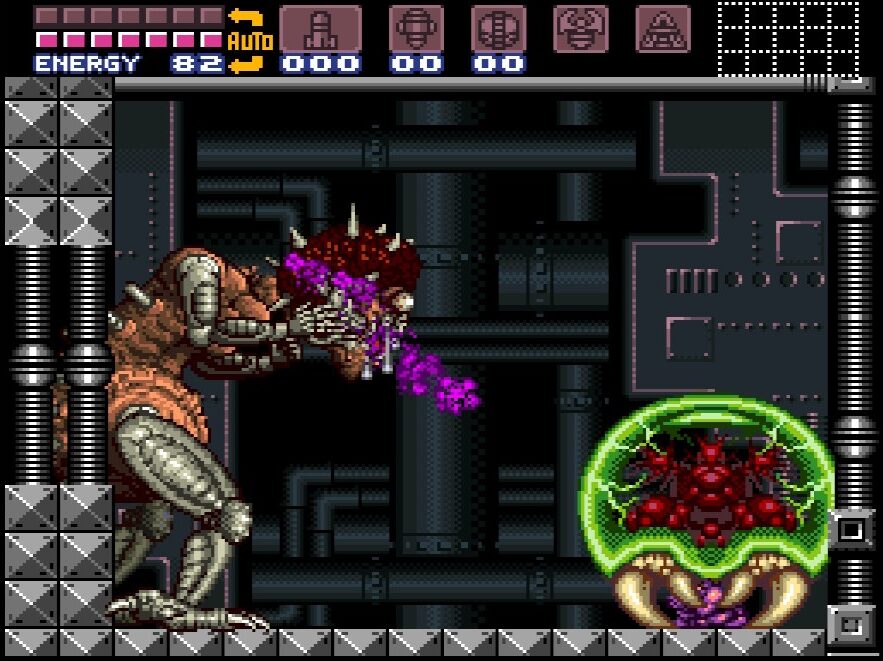
Switch to regular Missiles after you’ve run out of Super Missiles and let those babies fly. With enough damage, Mother Brain will start using a new attack – a burst of fire energy. This fire attack will shoot in a mostly straight line, and it hurts like a mother if it hits you, so make sure to jump over this. If you do get caught by it, the fire will damage you for two whole tanks worth, so slow down your jumping if you need to; just make sure you avoid this.
After enough damage, Mother Brain will decide enough is enough and unleash her most devastating move: the Laser Brain Attack. This is a multicolored Hyper beam that will completely obliterate you against the wall and suck a full three tanks of energy out of you. Not only is this unavoidable, but it will suck basically all your Missiles and power bombs away, AND leave Samus so exhausted from the attack that all she can do after is kneel helplessly on the floor.
Hopefully you have a decent chunk of energy left, or at the very least a couple full Reserve Tanks, because Mother Brain will start pelting you with bombs and lasers and you’ll basically be helpless to defend yourself (if you have a ton of energy left over, eventually you’ll recover, but then Mother Brain will hit you with another Laser shot. Eventually, you’ll end up in this helpless position).
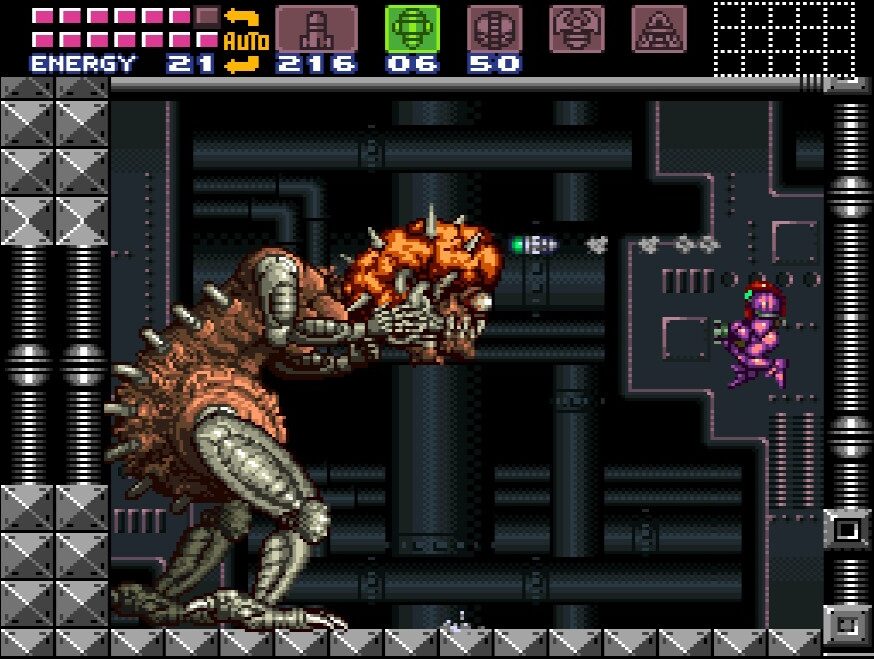
As you sit there, beaten up and helpless, unable to move, Mother Brain will start charging up one last Laser Brain Attack to finish us off forever. Just as she is about to fire though, the Baby Metroid swings in and absorbs the shot from her head! The Baby will suck the life out of Mother Brain, stunning it for a second, and fly over to Samus, transferring the power of the Laser Brain Attack to her and restoring her energy too. As this is happening, however, Mother Brain starts moving and pelts the Baby Metroid with about after shot, eventually… killing it. Oh man… 🙁
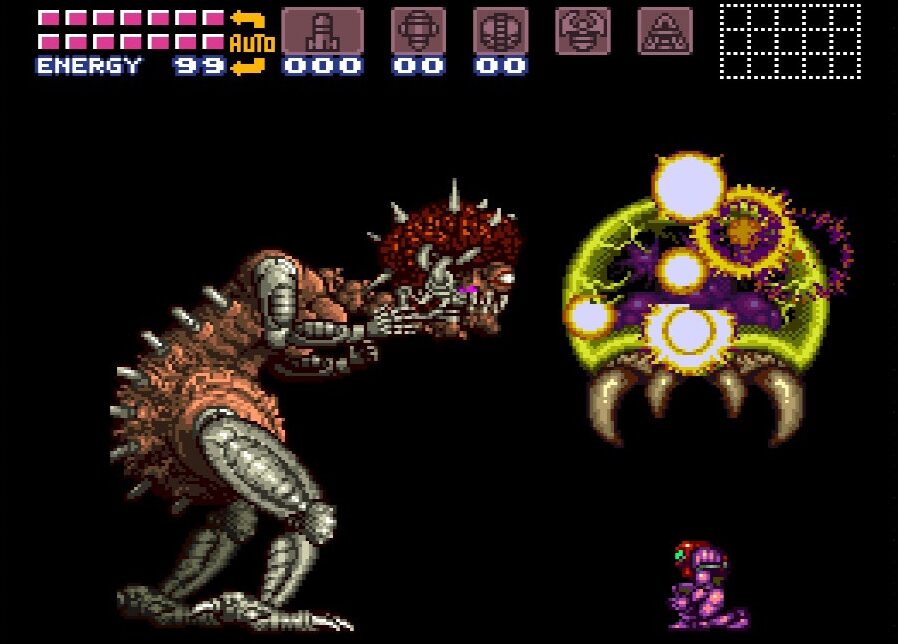
They say revenge is a dish best served cold, and though the Baby Metroid may not have survived to see Mother Brain’s demise, it gave its life to power us up with our strongest ability yet: the HYPER BEAM. The rest is pretty much like at this point. Jump up and down, firing away at Mother Brain’s head. You’ll take way less damage and soon enough, Mother Brain will self-destruct for the final time.
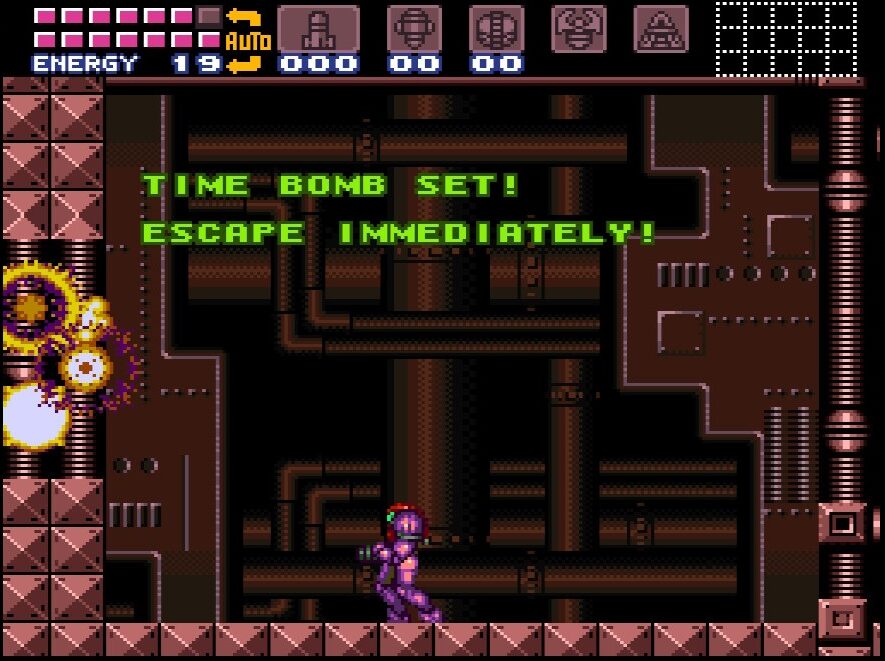
ESCAPE!!
We’re not done yet! Mother Brain’s defeat will trigger the self destruction of the Planet Zebes, leaving us only three minutes to get the heck outta dodge!
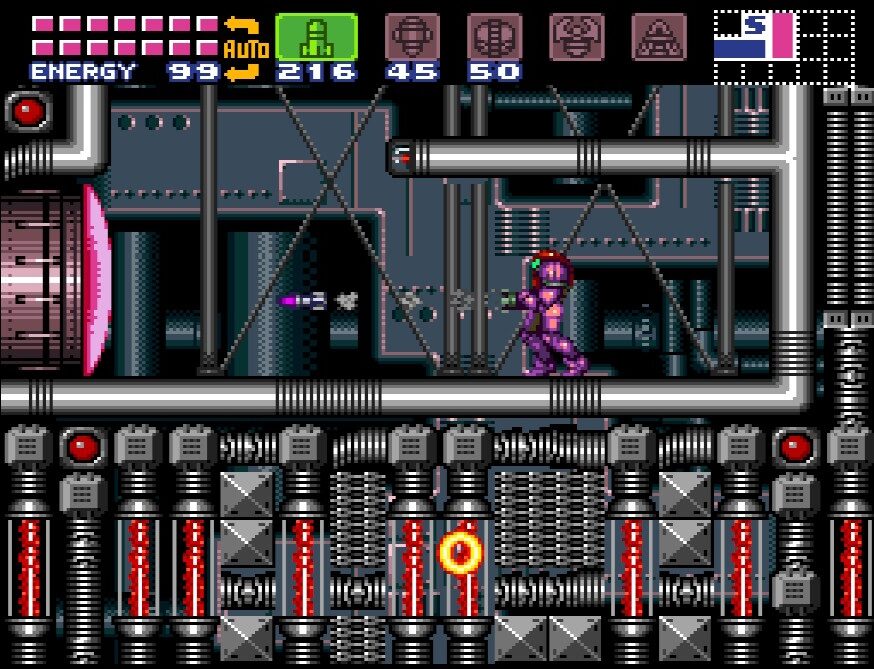
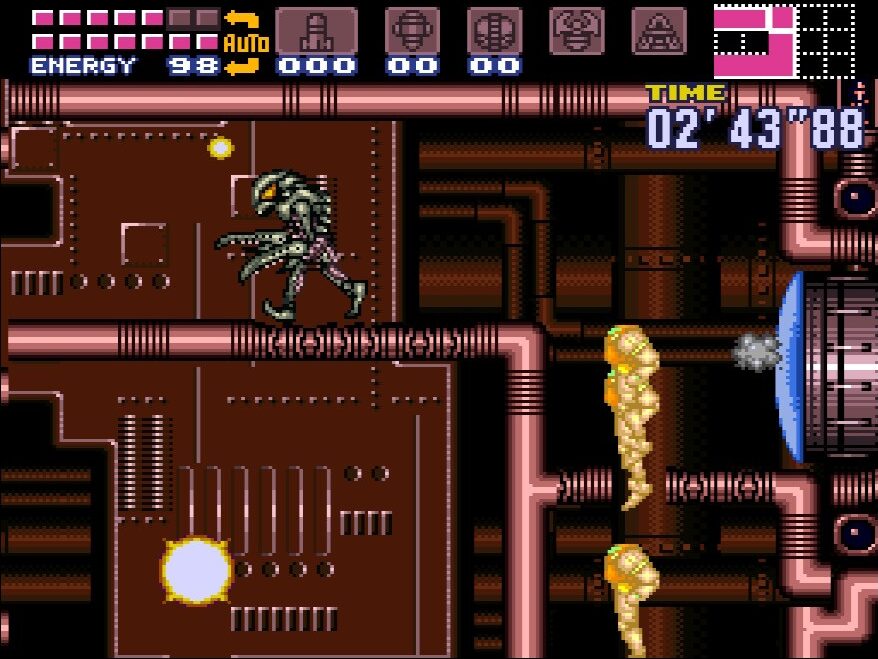
The wall behind Mother Brain will explode open, giving you a path to get out. Press forward two rooms, using your Hyper Beam to break any gates or Pirates in front of you, and continue over and down for two rooms.
When you reach a large room full of platforms to jump on, drop to the ground and Speed Boost all the way to the right. Drop down and Shinespark up just before the far right wall to enter the door at the top right.
You’ll be in another large room full of Pirates, platforms, and rising lava. Quickly make your way up to the top of the room and drop down the opening in the center. Go all the way down and then all the way back up the smaller platforms. Taking out any Pirates on your way, head over to the top right door again and enter. Blast through the next wall, and you’ll find yourself back in Crateria!
Make your way back to your ship, but before you leave, if you have enough time, stop and save your friends! Not every creature on Zebes wanted to kill you, and we’re not going to leave the friendly creatures that helped us along the way to die alone! On the way to your ship, you’ll see the small nook where we first rolled into way back when that leads us to the room we fought the first Torizo in. Roll under, drop down and head through the blue door.
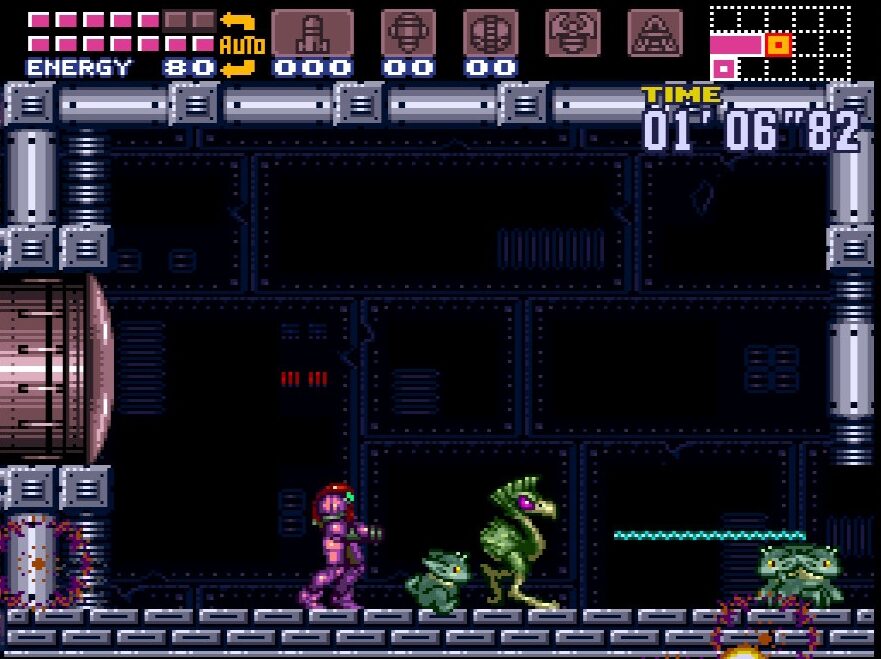
Keep making your way right and through the next room. You’ll see some familiar faces trapped in here: Dachora and the Etecoons! They showed us how to Shinespark and wall jump respectively, so the least we can do is help them out. Simply shoot the wall on the right of the room to break it and the friendly creatures will do the rest.
Make haste out of there and back towards your ship in the Landing Site. Enter your ship to conclude your adventure. Congratulations, you’ve beaten Super Metroid with 100% items! Way to go!
Escape Route:
.
.
.
Watch the ending as Samus (and the friendly creatures!) narrowly escapes the planet and Zebes explodes, permanently ending the Space Pirate threat there. Watch the credits, get your run time, and enjoy the well earned fruits of your labor.
Acknowledgements
This was the first walkthrough I ever wrote, and it holds a special place in my heart. A massive thanks to my wife Samantha for helping with her patience, suggestions, edits, formatting, and more; another round of applause to my Omega Metroid teammates for their contributions to this guide; but most of all, I want to thank all the people that I’ve met from Zelda Dungeon that had told me that their biggest barrier to getting into Metroid – and at the time, Super Metroid was the most accessible game, being on NSO – was that they found it confusing and hard. This gave me the inspiration to write this guide, which turned into the inspiration to create this website. Thank you to everyone for reading this walkthrough. I hope it was helpful, and I’m glad I got to be a small part of your quest. Whether this was your first playthrough of Super Metroid or your hundredth…
See you next mission!