


Super Metroid Walkthrough – Dark Waters

Walkthrough
- Ceres Research Station
- Welcome to Zebes
- Overgrown With Vegetation
- Fires of Norfair
- Heavy Artillery
- A Derelict Ship
- Dark Waters
- The Hunt for Ridley
- The Final Battle
The Spring Ball
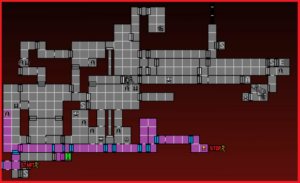
In this chapter, we’ll be taking the literal plunge into the dark and murky waters of Maridia. Maridia is a huge, cavernous area with multiple large rooms, a number of invisible and hidden passageways, quicksand that slows us down, and confusing labyrinths that make it pretty easy to get turned around. Hopefully, I can direct you and keep you on track, but for my money, Maridia is the most disorientating part of Super Metroid, so get ready.
Luckily, we’re almost at full upgrade capacity, so even though it might take a while, we should be able to sweep this area all at once and not have to worry about coming back once we’ve left. Let’s start.
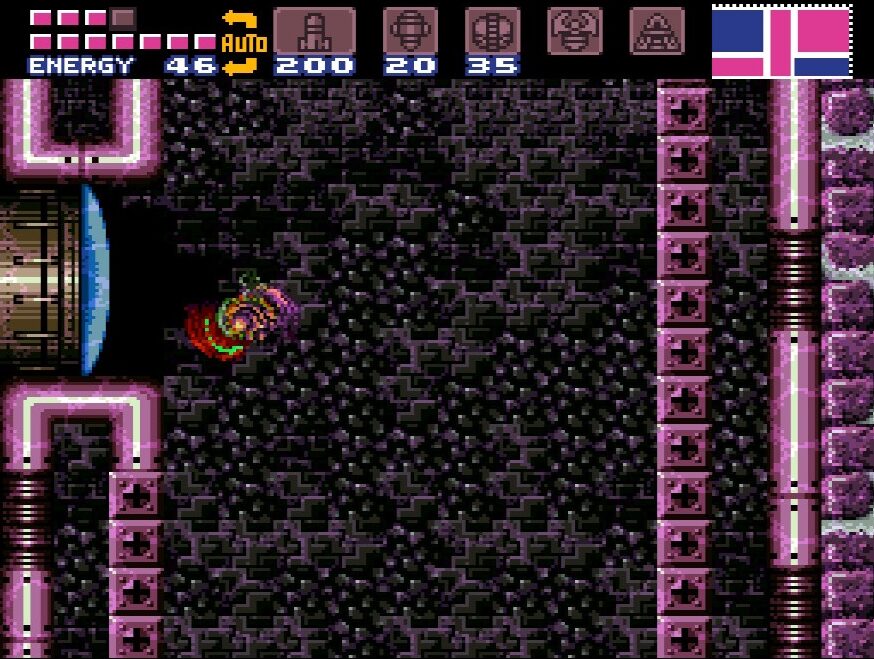
When we last left off, I had asked you to take the long way back to Maridia and go through Brinstar, stopping when you got to the glass tube. When you’re there, lay a power bomb and watch the glass crack and then break.
First thing you can do is drop down and open the pink blast door to your right. There’s a handy dandy Save Station behind it. Use it if you want, and when you’re ready, head back into the broken tube room and head up, going through the door on the ceiling.
Now, all of the next two parts of this guide are optional. Not only are they optional, but they’ll be far easier once you have the Space Jump. However, I recommend doing them now, since the Spring Ball is going to come in handy gaining some more pickups in Maridia, and it’s easier to steadily sweep across the map instead of coming back and forth a bunch of times. That being said, skip ahead to the Botwoon section if you want to make your way to the Space Jump faster.
We may as well get one of the toughest Missile expansions out of the way right at the top here. First before you do anything, take a second to look at the ground right beside the door. Notice how there are two bright green plants on the floor? We’re going to use the second green plant as a marker, so remember that.
Head over to the pink blast door on the right and open it. Immediately turn around and open the blast door you just came through – don’t go through it, but just leave it open. Get rid of all the enemies in this room and open the gate with a Super Missile. Run towards the end of the room, and then start Speed Boosting towards the door you entered from on the left. Try and press down as you are going through the door! If you can’t, then try immediately after you exit the door into the main room. This can be tricky since the ledge is small though and you’re more likely to run off. You can likewise press down right before you cross the door and run through, but you’ll have to act really fast to make up for that.
In the main room, you should be blinking now, indicating that you can Shinespark. You have about 3 seconds to get into position until it goes away, so act fast! Quickly run over to where the SECOND green plant was and Shinespark upwards! If you’ve done this quickly enough and correctly, you should blast all the way up to MISSILE EXPANSION #33. This. Is. A. Pain! This will likely take you several tries, and even if you pull it off properly, there’s that stupid enemy slug that seems to always be in your way that can mess up the whole thing. It’s tough, but the satisfaction will be worth it, I promise!
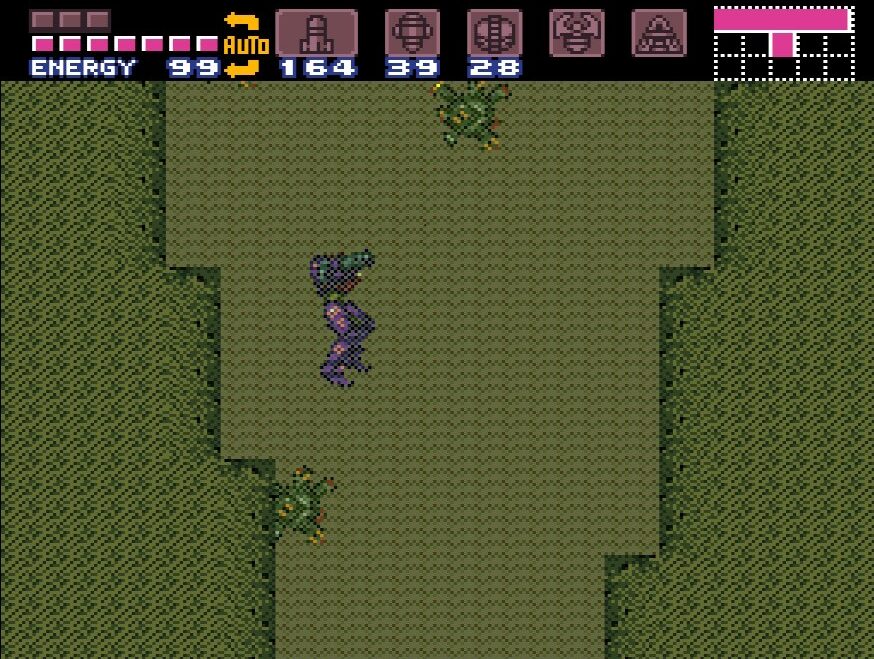
Now that that’s done, head back into the bottom right room we’ve been Speed Boosting out of. Head right, and keep pressing right for several rooms until you eventually make your way to a room filled with dripping water and draining sand.
Not gonna lie to you guys – these sand rooms suck. Our jumping will be severely hampered, there’s only tiny platforms for us to jump on, and there are numerous enemies that are shooting spores at you which for some reason they can still shoot even after they’re fully submerged under the sand. Make your way across, slowly and carefully. We want to avoid falling in the sand. Freeze the little Draygons if you need to and jump on them. Don’t get too greedy with your jumping either – jump from one platform to the next, to the next. If you try to cross this room quickly, you will fall in the sand and it will probably take you so long to get out, you’ll wish you had taken your time.
Keep going right. You’ll make a pit stop in a pipe room. There’s an entrance above it, but we don’t want that right now. Keep going right until you get to a second sand room.
Same rules apply here. Take your time, freeze your enemies and use them as platforms, and don’t get too greedy with your jumps. Make your way to the right.
You’ll find yourself in a tiny room with a crumbling grapple block at the top. Hook on to it and do nothing but just hang. Eventually, the block will give away. You’ll fall in the sand, and this will be a pain in the butt, but keep jumping up until you’ve eventually jumped through the tiny opening and onto the ledge above. Wall jump straight up, minding the fireflies, and get to the top. Once you’re there, drop down on the other side, keeping to the right as much as possible. You’ll drop down right in front of a blue blast door. Open it and enter.
There will be a large enemy unlike anything we’ve seen before called a Shaktool. This guy has large, spiky gears on his legs that look like they can do some damage. DON’T SHOOT HIM THOUGH, since he’s not particularly hostile towards us. Instead, lay a power bomb and watch as the right wall gives away. Shaktool will make his way towards the wall and actually start bulldozing the sandy wall, allowing you to cross to the other side. No one would exactly accuse Shaktool of being speedy about it, but hey – beggars can’t be choosers, right?
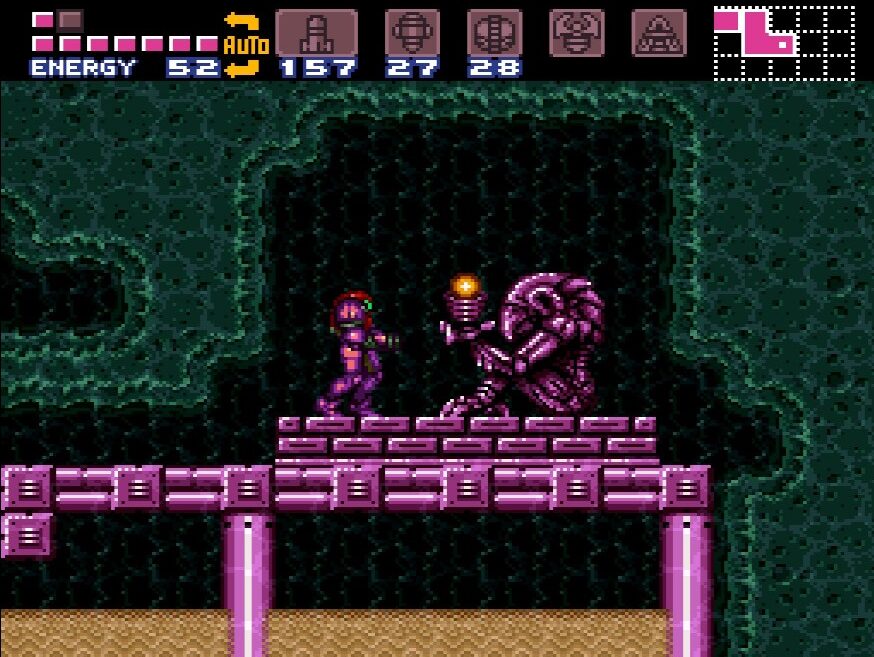
Once you’re finally through the door on the other side of Shaktool, drop down into the Morph Ball slot and roll towards the left. Keep rolling over and you’ll see a Chozo Statue offering up the SPRING BALL. Use it to get the heck out of here and back across the Shaktool room. Drop down and make your way back left, stopping when you’ve crossed the two sand rooms.
Eventually, you’ll come to a room with two ends of a broken glass tube. There’s a platform in the middle of this room. Roll underneath it and drop down. Behind the pink blast door on your right is the Map Station, which will be pretty handy to have. Grab it and the head right. Eventually, we’ll be back where we started in the broken glass tube room.
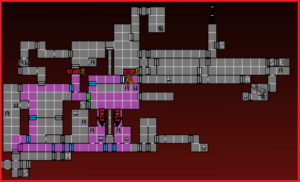
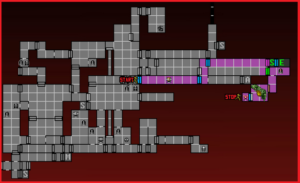
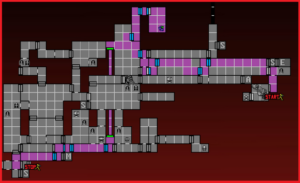
Maridia Route 1:
Optional Maridia Pickups
Now that we’re back in the broken tube room again, head on up into the main Maridia hall. Jump up a little bit, and head to the blue blast door on your right (above the pink one we were Speed Boosting out of earlier).
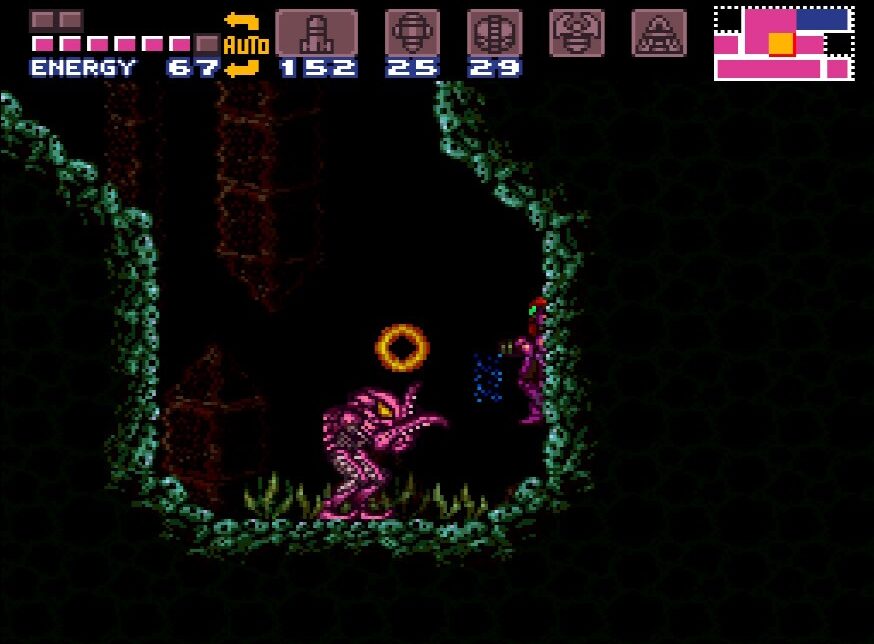
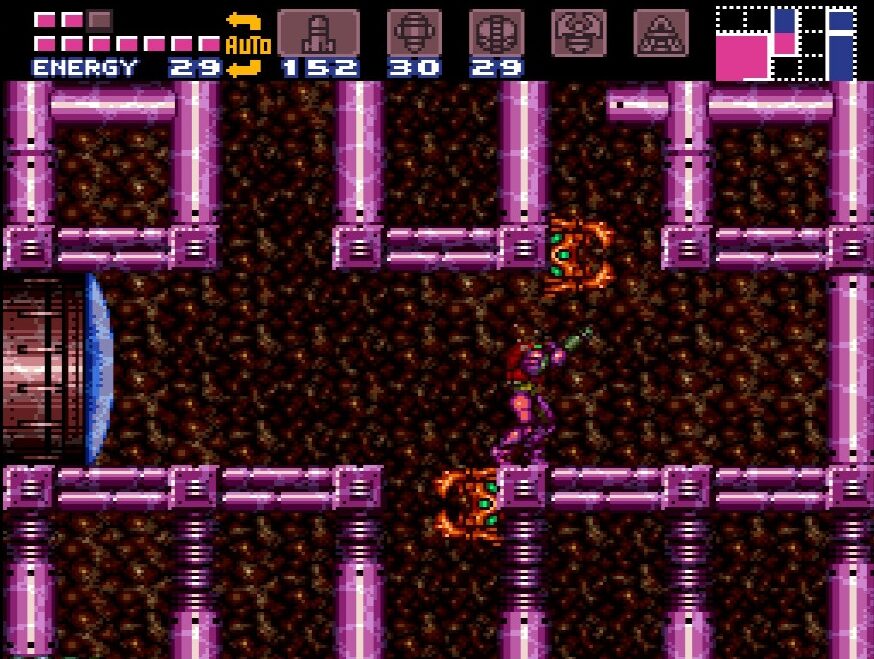
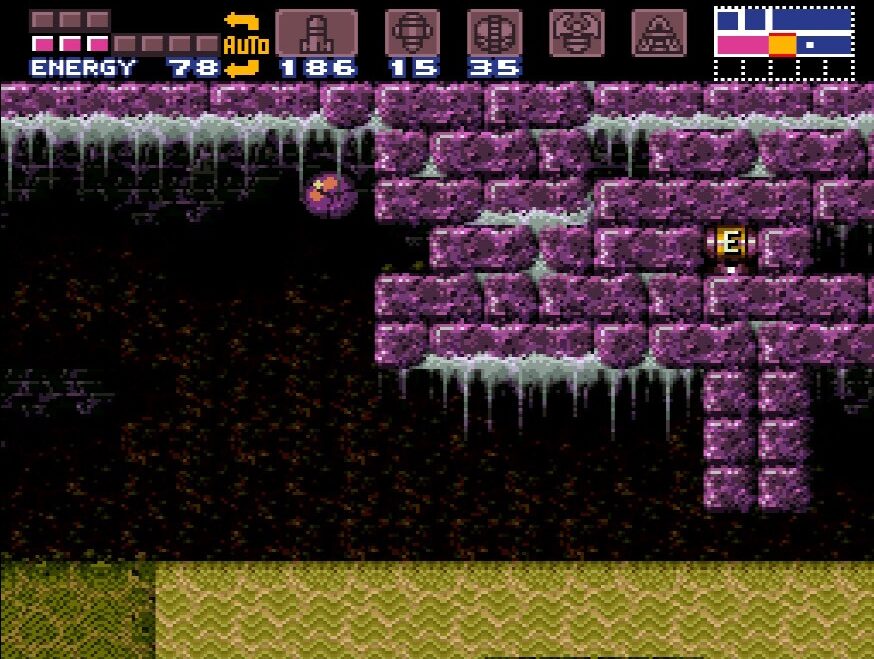
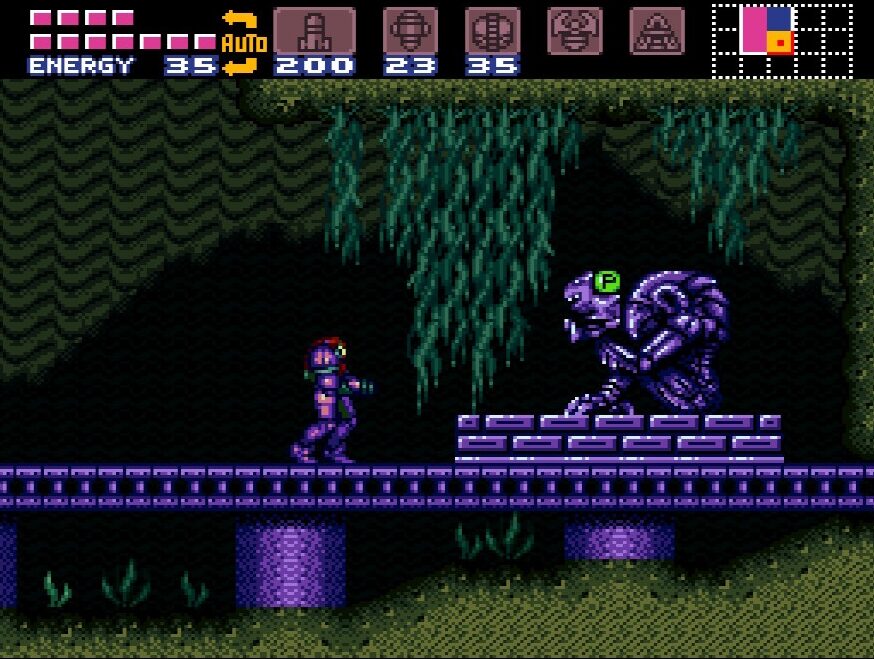
Head inside and we’ll be in another huge room with lots of cliffs and crevices in it. Wall jump up and over the first big hill in this room until you’re standing in the middle of the room. Drop straight down and fall into a pit with a nasty looking pink Space Pirate. These pink fellows are impervious to our current beams, so don’t even try to engage with them. Instead, run over to the righthand side wall, do a little hop and run right through it. This is the first of many invisible walls as I call them (that’s actually backwards – the walls are visible, but they shouldn’t be, but it’s the name I chose and I’m sticking to it!) in Maridia that we’ll need to go through. Keep running to the right and enter the pink blast door.
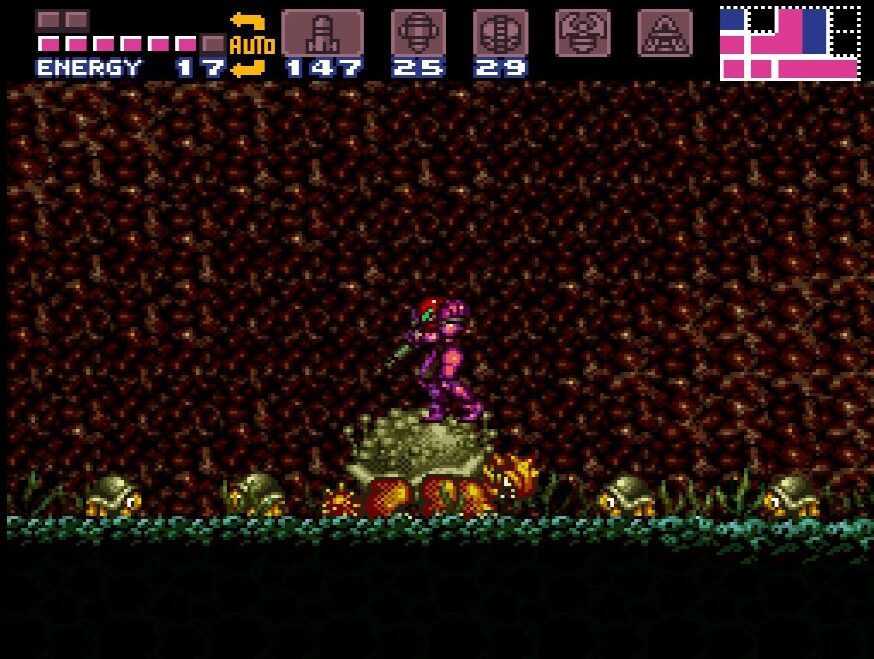
This room will have a bunch of baby turtle’s (cute!) and a big tough mama turtle who’s going to spin-attack us with her shell when we get close (not so cute). The mama turtle is actually going to be quite helpful to us however. If you jump on her back, she will propel you straight towards. Quickly jump onto the upper left ledge of the room and equip your Grapple Beam. In the top corner is a singular grapple block. Jump up, grapple it, swing around and land on ENERGY TANK #10. Fall down, and get back on the mama turtles back, but this time jump off on the upper right ledge of the room. Lay a power bomb and drop down. As you’re falling, you’ll see a Missile exposed. Stay snug to the wall as you’re falling and you’ll grab MISSILE EXPANSION #34. Thank the mama turtle and her babies and make your way out of this room.
Back in the big cavern we just came from, make your way up towards the top, avoiding the pink Pirates as best as you can. There are two blast doors on the ceiling of this room. Either one will take us where we need to go.
You’ll enter yet another massive room, which for simplicity’s sake we’ll name the Grapple Room since there are grapple blocks all along the top. First thing you’ll want to do is head on over to the top left corner, on the edge of the ledge overlooking a steep drop. You should be positioned so that if you drop down, you’ll fall directly on top of the first blast door on the ground at the bottom. Get into Morph Ball form and drop down, HUGGING THE LEFT WALL. Actively be pushing your controller left as you fall. If you do this correctly, you should stop and roll into an invisible path on the wall. Roll over to the left and grab SUPER MISSILE EXPANSION #7. Exit and fall back in the Grapple Room.
Once again, make your way to the top left corner of this room, but this time, start grappling across. You’ll see a door on the ceiling. If you’re curious, it leads you to Brinstar, but it’s a one way trip since a green gate locks behind you. There’s nothing really of interest or value, so unless you want to get 100% on the Map, skip past it and continue grappling until you reach the other side of the Grapple Room.
Go through the door and enter what we’ll call the Pink Pipe room. We’re coming back to this room in a second, but for now there’s a few more powerups we can grab above us. Make your way up and out of the Pipe room and into yet another large sandy area.
From the blast door on the floor, run directly right. You’ll zoom right through an invisible wall and be rewarded with MISSILE EXPANSION #35.
In the same large sandy room, head up towards the top left corner of the room. Go through the door and you’ll be in a sandy hallway. Press left and you’ll eventually make your way through another invisible wall. When you’re at the other side, jump on up and through the blue blast door at the top.
Make your way over and you’ll see a large pit with seemingly nothing of value in it. Take out the flying monsters, drop down, and get into Morph Ball form. Directly in the middle is a (you guessed it!) invisible pathway that we can drop down into. Get up and pick up SUPER MISSILE EXPANSION #8 and MISSILE EXPANSION #36!
Now that we’ve got that nice haul, make your way back up and over, backtracking until you reach the Pink Pipe Room.
Maridia Route 2:
Finding Botwoon
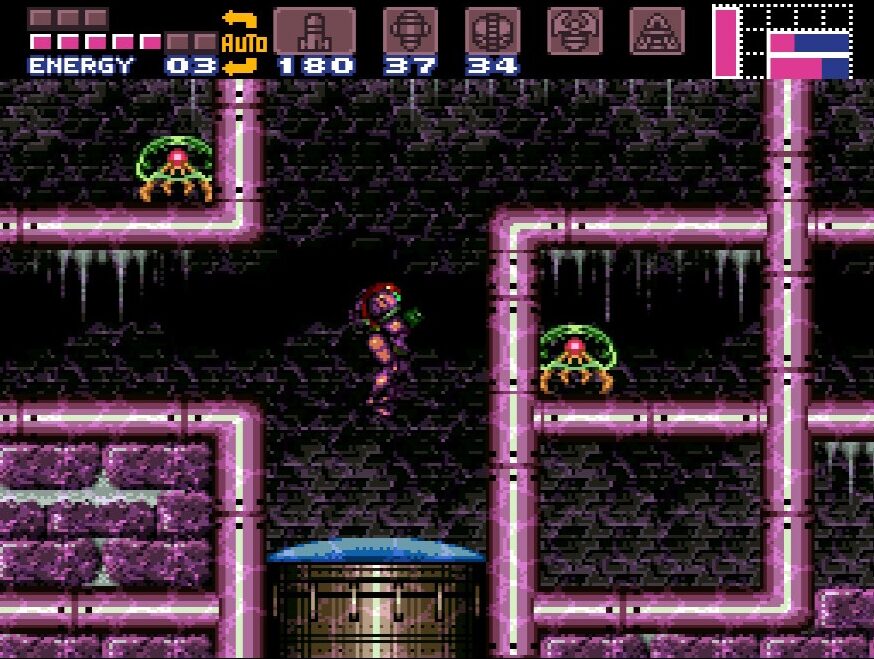
Now that we’re back in the Pink Pipe Room, shoot the floor in the middle and drop down. Go through the green blast door and enter a new large room.
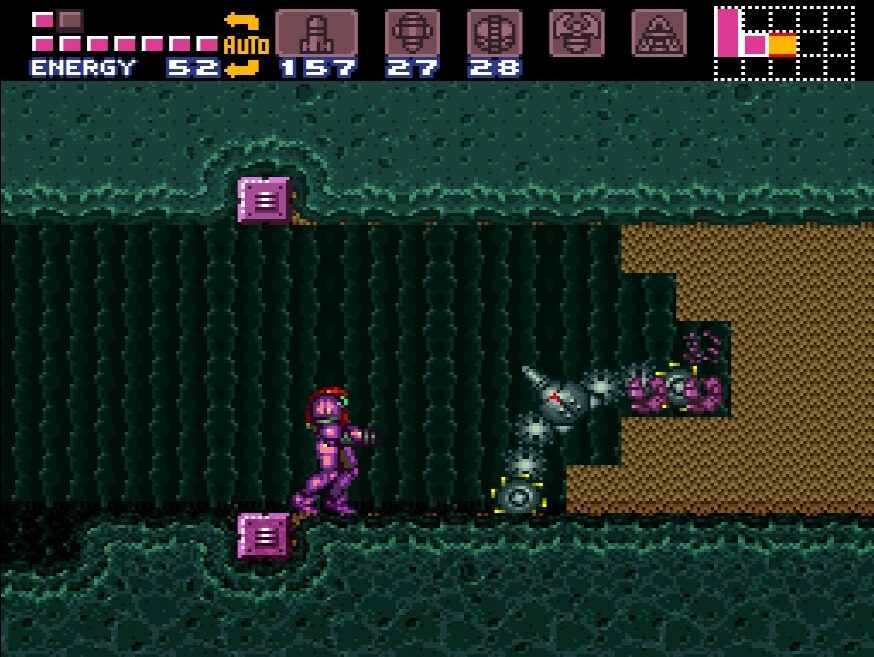
We’re going to be calling this room the Freezer Room since it looks like, well, a big freezer. Also, side note: thank God the Metroid Prime games gave each room an actual name. Anyways, there’s a bunch of things to do in here and this is a room that we’re unfortunately going to have to come back to quite a bit.
First things first, lay a power bomb and drop down to the ground. If you want, there’s a Save Station to your left. If not, start Speed Boosting to the other side of the room. Keep running and press down when you see a tiny space in the wall above you on the other inside for you to fit through. Shinespark straight up and grab MISSILE EXPANSION #37. Head right and you’ll see a Super Missile tank. Jump over the couple tiles before it (they’ll dissolve if you touch them) and grab SUPER MISSILE EXPANSION #9. Step on those dissolvable tiles, drop down, ignore the blue blast door on your right and get back down to the floor of the Freezer Room.
Now this next part definitely sucks, and would be easier if you wanted to wait and come back later with the Space Jump, buuuut we’re here now, may as well get it over with right?
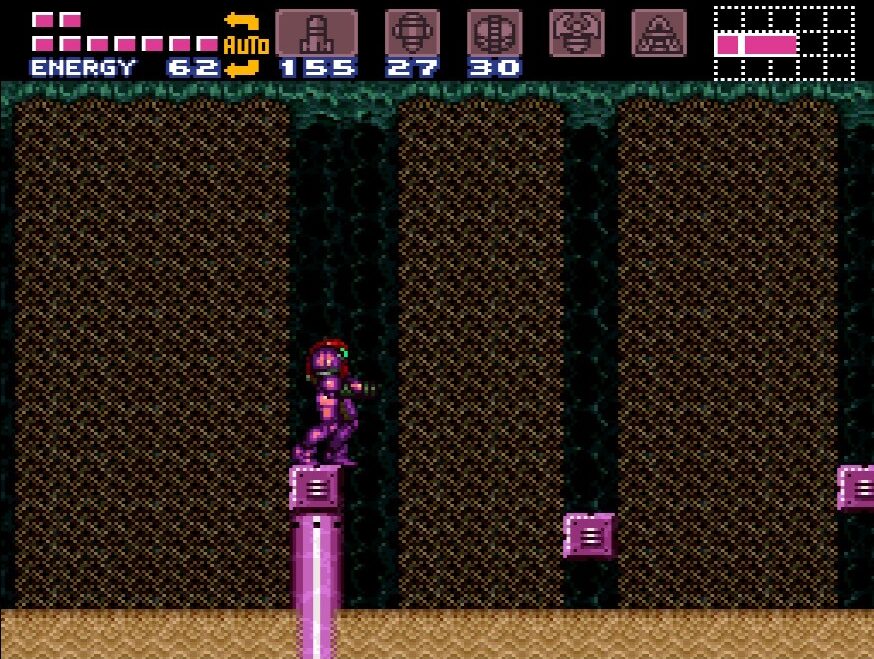
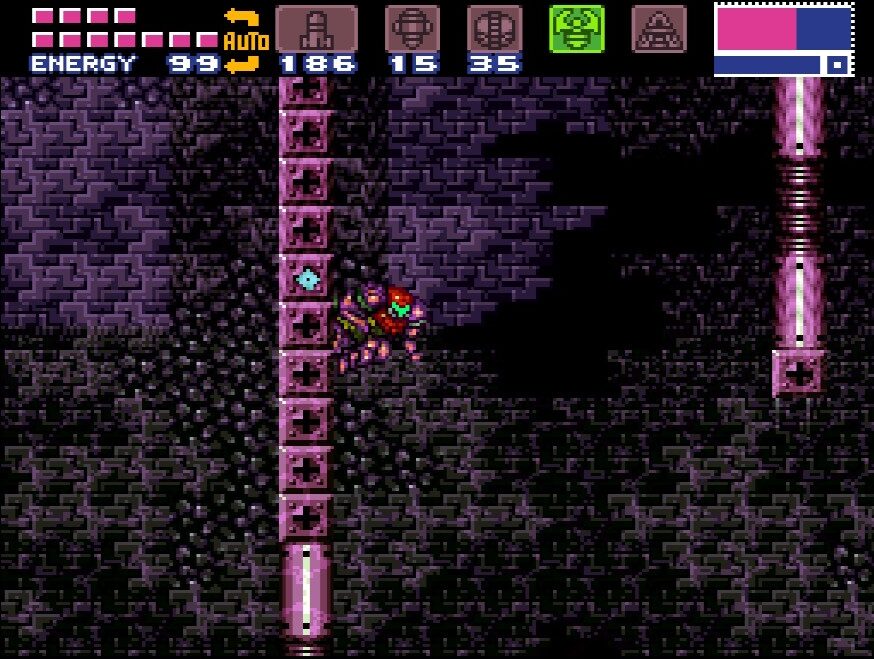
Head to the bottom right hand corner of the Freezer Room, just after where we Shinesparked up. If you shoot the ground, you can see a couple blocks can be destroyed. Drop down into this little alcove and head left. There will be two big pits of sand under here, and we want to drop down into both. It’s important to note that these are one way trips! Once you drop down, you need to take the loooong way back to the Freezer Room! Again – you can only go down, you cannot go up, so plan accordingly. Let’s start off by dropping down the first pit on the right side.
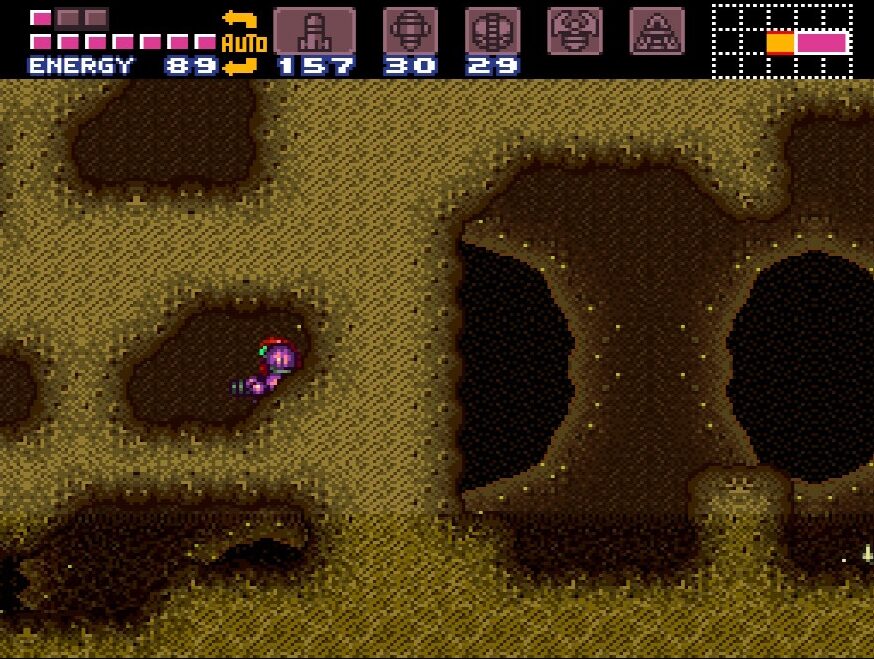
Let Samus fall in the quicksand and blast away any of the spores that try and cop a feel. You’ll eventually land in a sand pit. From the “sand waterfall” that you fell down, jump up to your left, go up and grab MISSILE EXPANSION #38. To the right of the “sandfall”, jump up and go up, minding the boulders falling on you. Once you’re at the top, get into Morph Ball form and fall down, pressing to the right. You should squeeze into a tunnel, which will lead you right to POWER BOMB EXPANSION #7.
Once you’ve grabbed those, head over to the bottom right of this room and allow yourself to sink again. You’ll find yourself way back in the sand rooms that we traversed at the beginning of our sojourn into Maridia when we were on our way to get the Spring Ball.
It’s a long trek, but make your way all the way back to the Freezer Room and get ready to do this all over again.
Back in the Freezer Room, do exactly the same thing as if you did before, except this time, head over to the second sand pit on your left. For the love of all things holy, do not fall down in the first sand pit, whatever you do!! Allow yourself to sink down, and you’ll find yourself in an almost identical sandy room as the last one.
This room will be a bit trickier. Jump up to your immediate left and get on the ledge. Shoot the block above you and creep over up and to your left. You’ll see two block squares now – one on the ground beside the platform you’re on, and one above you. Shoot the one above you and watch out – the one below you will dissolve almost as soon as you touch it. This is where the Spring Ball comes in really handy. Shrink down into a ball, and roll over, jumping up immediately. If you move fast enough, you’ll have enough time to get a jump off before the blocks dissolve. While jumping, press right and you should be able to fit into the pathway at the top. Here, you can claim RESERVE TANK #4 and MISSILE EXPANSION #39.
Drop down and let yourself sink into the lower left part of this room. You’ll be back yet again at the beginning of Maridia. Make one last God forsaken trip all the way back to the Freezer Room.
Okay, now that we’re finally back to the Freezer Room, we can continue on, no more messing around. Actually, that pretty much takes care of most of the expansions in Maridia. The rest are pretty much right along the way, so it’ll be smooth sailing from here. Give yourself a pack on the back! In the Freezer Room, either wall jump, grapple, or Shinespark up to the top corner in the left hand side and make your way through the door on the ceiling.
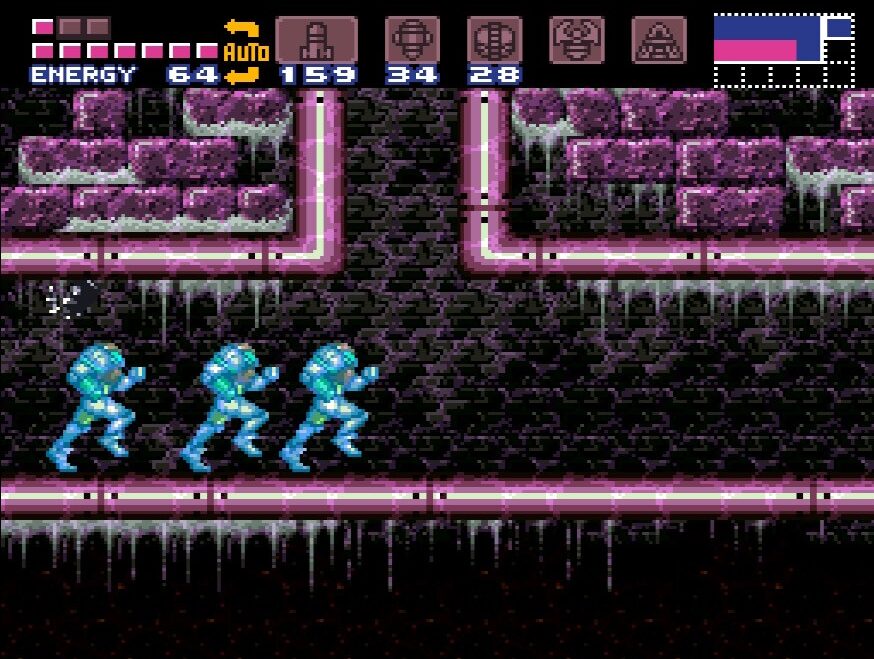
This next room is kind of startling! You’ll see what look like Metroids, but in actuality are “Mochtroids” – the key difference being that you can just shoot these guys with your beams. Still, kind of an eerie sight if you ask me. Nevertheless, destroy them and Speed Boost your way to the other side of this room and get ready for an enemy encounter.
Maridia Route 3:
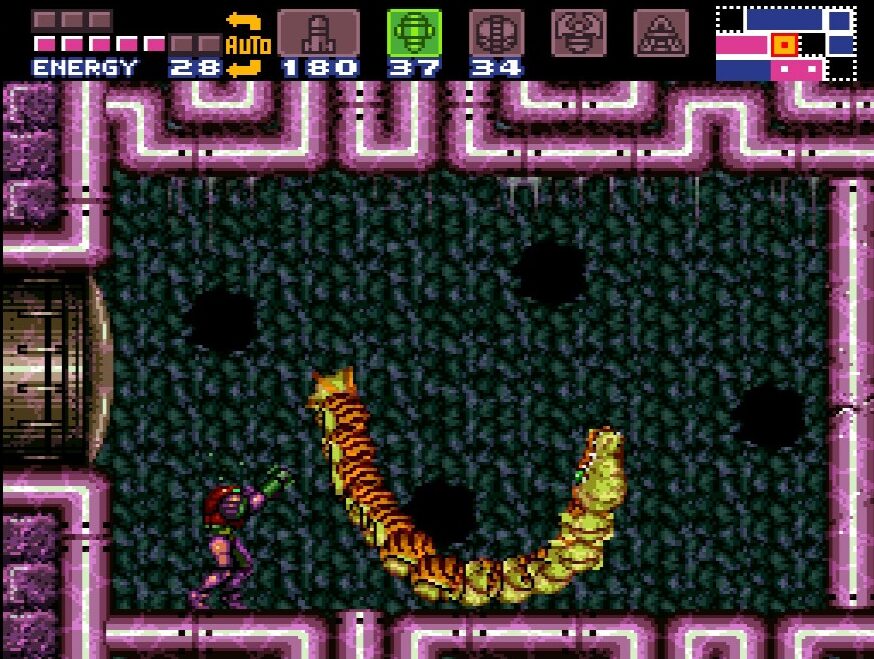
BOSS BATTLE: BOTWOON
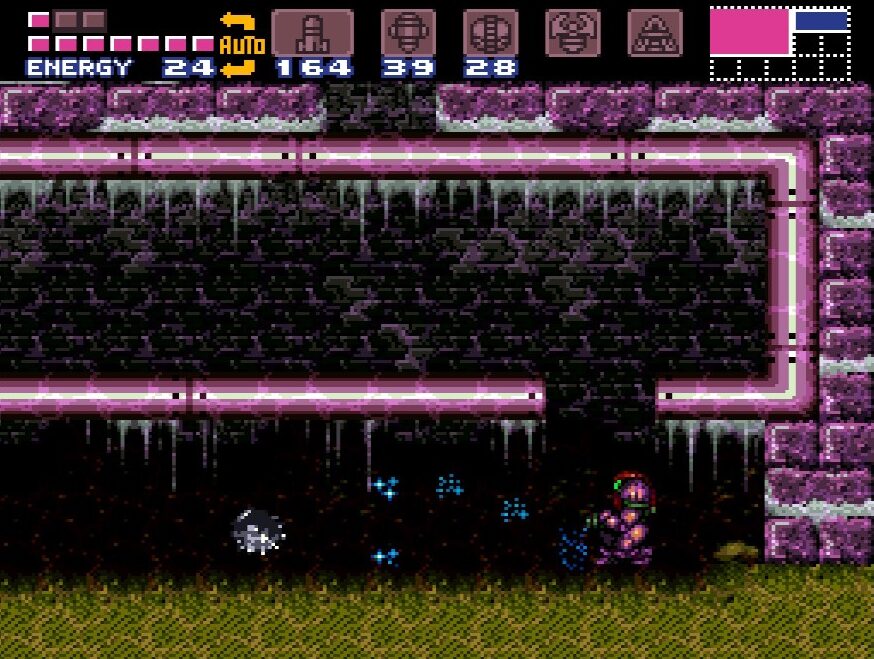
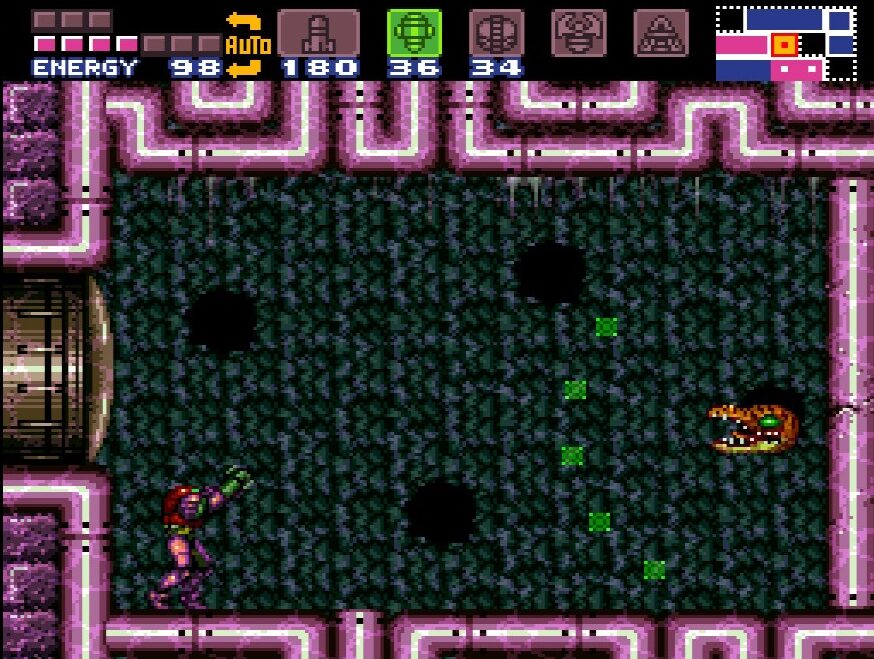
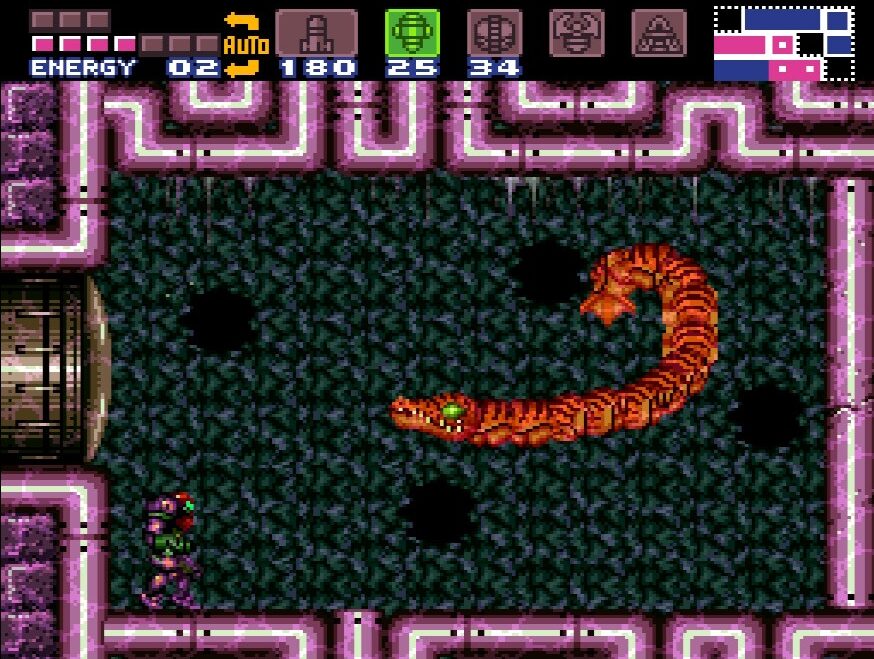
I hesitate to use the term “Boss Battle” ‘cause this giant red worm is hardly up to the size or scope of the last couple guys we fought. Either way, Botwoon is in our way and we need to defeat him.
He doesn’t really have a whole lot of attacks; he’ll mostly just worm his way around the room, slithering in and out of the four holes in the wall. Occasionally, he’ll poke his head out and spit some acid at you, but this is pretty easy to dodge. Chances are if you just stand on the left side of the room and shoot Missiles at him, you’ll barely be touched.
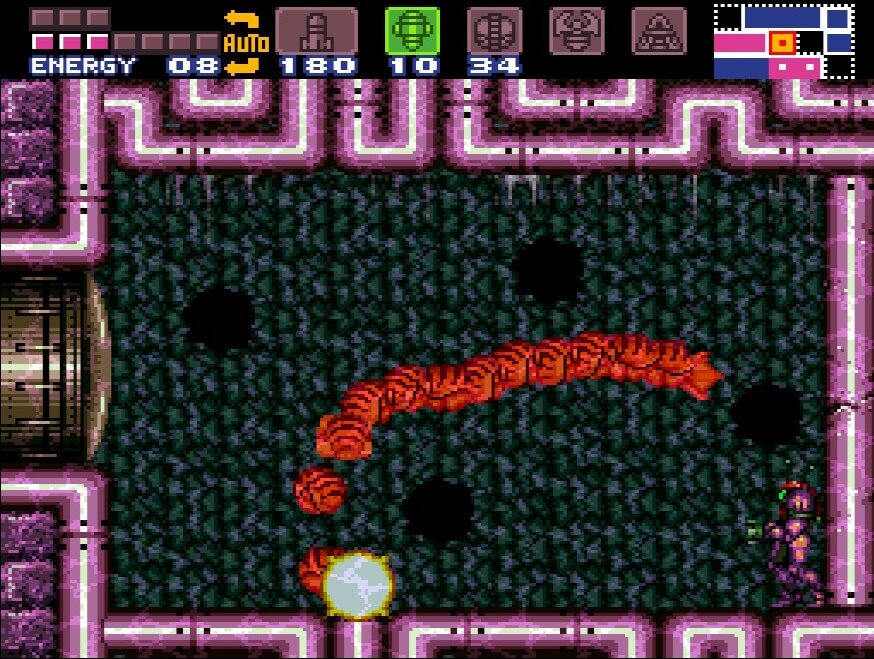
Of course, that’s the trick right there. He may not do much damage, but he is kind of a pain to hit. You’ll need to blast his head with about 10 Super Missiles to send him, and just like every other boss in the game, the more damage he takes, the faster moves. There’s no real strategy to speak of, other than try and aim well, although, if you’ve been following this guide, you should be packing 40 Super Missiles and almost 200 regular Missiles, so I think you’ll probably be fine. Once he is defeated, collect some health and press on into the next room.
Draygon’s Den
In the room to the right of Botwoon, you’ll find yourself in a hallway with sand in the middle. Take out all the enemies in your way; we’re going to Speed Boost here, but before we do, get into Morph Ball form and roll over. Just before the sand starts, jump up diagonally to the right as high as you can. You should squeeze into a little ledge, which you can roll over into to grab ENERGY TANK #11.
Head back to the start of the room and now Speed Boost across and enter the next room. You’ll be in a vertical Freezer room with a couple Mochtroids buzzing around. If you need some ammo after the Botwoon fight, bomb the lower right wall, roll over and press through the next room and you’ll find yourself at a Missile Recharge Station. When you’re ready, head back to the vertical freezer room and up. There will be a door in the middle we can’t open. Skip past it and go through the door at the very top.
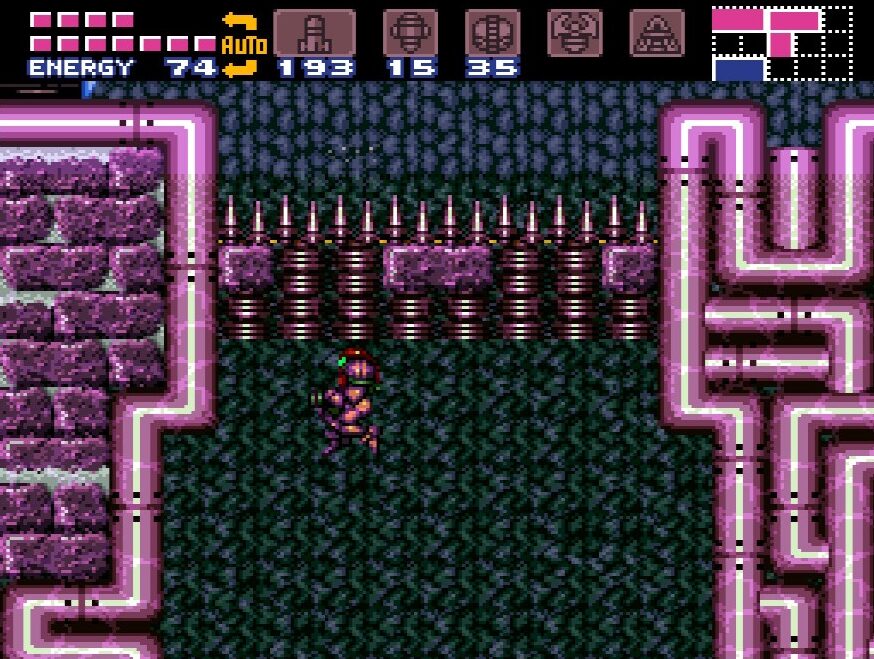
The next room you enter is a huge maze-like room, with sand on the bottom, spikes everywhere, grapple points scattered about, Mochtroids flying around, and nowhere great for us to get our footing. Try and either wall jumper use the vertical grapple points to cross the room. Obviously, avoid falling in the sand if you can help it. Eventually when you make your way across, you’ll see a pink blast door at the top right corner of the room. Go through here to use the Save Station and Energy Recharge Station. Once you’re done, make your way out and to the bottom right corner of the giant Mochtroid room. Blast open the green door and enter.
Make your way to far right of this room, shoot the wall, and MISSILE EXPANSION #40 will be revealed. Hmmm. Seems there’s nowhere to go in this room. But wait! The spikes are a lie! You’ll notice that the spikes not only don’t damage you, but they don’t exist at all! Make your way back to the blue blast door you entered from and fall down where the spikes are. You’ll see a guard door. Take it down, get yourself ready, and enter the boss room.
Maridia Route 4:
BOSS BATTLE: DRAYGON
So, this boss battle can go one of two ways. There’s the easy way… and there’s the hard way. First, let’s set the stage.
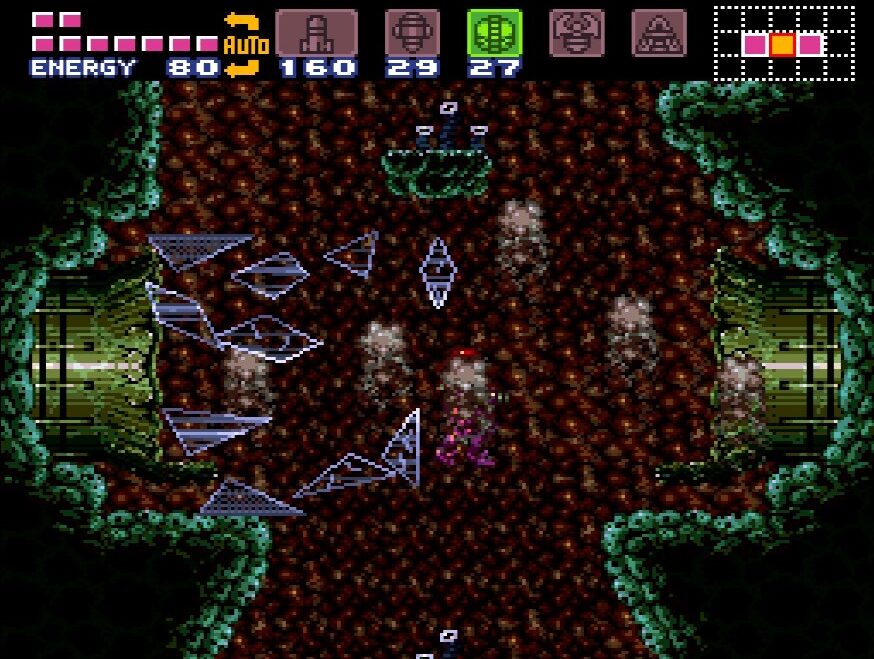
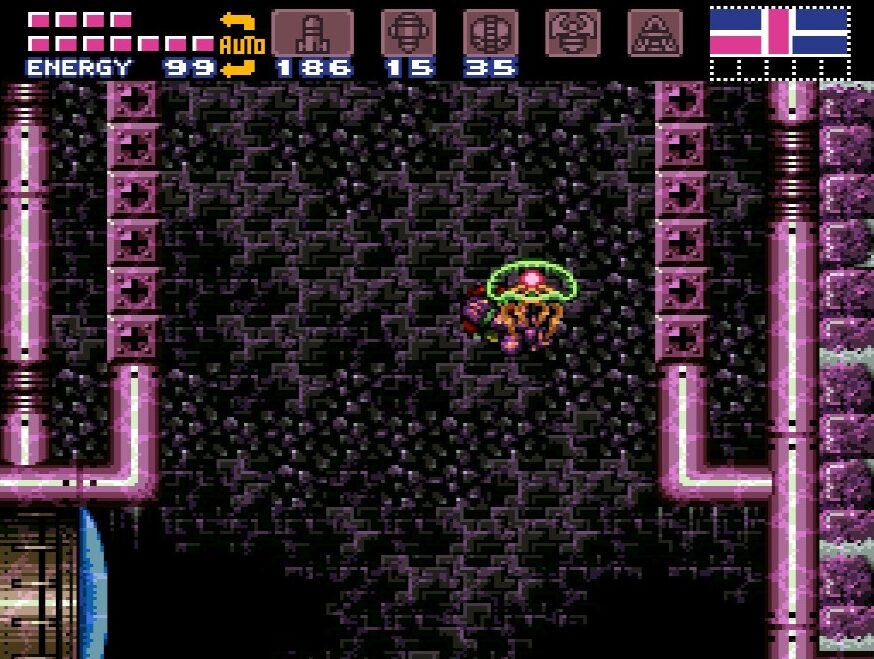
You’ll find yourself in a big pit. Around you on the walls are four electrical conduits. These conduits will be constantly firing off electrical charges at you, which hurt if they hit you. These cannot be shot down either; you’ll just have to avoid them. Pay special attention to the conduit on the upper left. You’ll notice the cap is off and there’s raw energy crackling out. We’re going to use that in a bit.
You’ll see a bunch of baby Draygon’s floating around. They actually can’t damage you, so don’t worry about them for now. Instead, get ready for Draygon, since at any moment he’ll swoop down and stab you with his tail. Draygon is a big, imposing creature who, if you ask me, doesn’t really look that much like a dragon, but does look super nasty. Draygon’s main attack is swooping from side to side in the room, stabbing you with his tail as he does so.
You’ll notice that his big yellow belly is sticking out when he swoops down, which is your chance to slam him with a Super Missile. His belly is the only part of him that is vulnerable, so aim well!
His second main attack is spitting out webs at you. They’ll slow you down if they hit you, and that’s when Draygon goes for his most devastating attack. If you’re caught in the webs, Draygon will swoop in and try and pick you up. He will absolutely pummel you if he grabs you, and he won’t release you for a good while. In a regular battle, getting picked up two or three times is gonna be Game Over for you.
Key words there were “in a regular battle”. This is where the divide between doing this battle the easy way or the hard way comes in.
The easy way is the route I recommend, since, well, it’s easier. To defeat him, we’re going to face the left side of the room (this is critical!) and let him spray us with webs and pick us up. Draygon will start pummeling you and rising to the upper part of the room. Using your Grapple Beam, grapple and hook onto the exposed conduit in the top left while he’s holding you. Don’t let go! The electricity will pour through you, damaging you a little, but completely wrecking Draygon. He’ll die and his kids will float around him at the bottom. Almost sad.
The hard way is to slug it out with him and defeat him with Missiles. There’s really no good reason to choose to do this unless you’re looking for a challenge, but here we go anyways.
It is absolutely critical that you do not let Draygon pick you up. I can’t overstate how much he just beats the tar out of you when he does. You’ll want to blast him in the belly with Super Missiles when he swoops side to side, but as soon as he starts shooting webs, switch to your beams and try to get rid of them.

It’s pretty hard to not get hit with the webs, so if you find yourself in a sticky situation (har har har) do your best to jump up and down to avoid Draygon grabbing you. Mercifully, he’s pretty slow when he goes for the grab. Another good strategy when you see him sitting out webs is to aim your Super Missiles upwards and get really close. Hit him in the belly once or twice and then run right through him. You’ll take some damage, but nothing compared to if he grabs you.
A better strategy might even be to switch over to regular Missiles and just let them fly. The thing about the Super Missiles is when Draygon’s shooting webs, they get in the way of his belly, which either causes more wasted Super Missiles or requires more careful aiming, which can lead to you getting webbed. Switching between Super Missiles and beams when you’re in a hurry can be fairly clunky too. However, we’ve collected so many regular Missiles that it shouldn’t matter if you just fire at will at his belly while he’s spitting webs. You’ll destroy both the webs and damage him. It may take longer, and a whole lot of Missiles, but eventually, Draygon will fall.
Once he is defeated, go over to the next room and grab the SPACE JUMP.
The Plasma Beam
Take a second and play with the Space Jump to figure out how it works. Basically, this allows you to continuously jump in the air if you keep pressing the jump button, but I find the Space Jump of Super Metroid to be a little finicky compared to some of its other 2D brothers. Once you’ve got it down, Space Jump out of Draygon’s room.
We have one final thing to do before we can kiss Maridia goodbye forever. Make your way back across the big Mochtroid room (way easier to do now that we have the Space Jump!) and back into the vertical freezer room with the locked door in the middle. The door will now be flashing, so pass on through.

Drop down and move a couple rooms over until you get to a big sandy cavern. Space Jump towards the upper-middle-ish-right side of the room. You’ll see a blinking blast door on a small ledge. It’s kind of a pain to get to, especially if you’re r still learning how to Space Jump, but land on the ledge and go through the door.
Make your way up and over, passing one incredibly disgusting runny egg looking monster, and make your way into a large room. This area is full of pink Space Pirates, who you might remember, are impervious to our beams. Well, not for long! Head towards the bottom right corner and snag the PLASMA BEAM. Ooooh the power! Those Space Pirates? Kill them all! Once this is done, it’s about time we got the hell out of Maridia. Just as a note: not that it really matters, but activating the Plasma Beam means deactivating the Spazer Beam. A worthwhile tradeoff.

Backtrack to the giant sandy cavern. Space Jump over to the far left side of this room and you’ll see a green blast door. Shoot it open and go down the tube. You’ll emerge in a room connected to the bottom hallway of Maridia. Head down and keep left. From here, you’ll go through the familiar sand rooms we’ve passed so many times now. Make your way through, and exit into Brinstar, taking the elevator down to Norfair.
Maridia Route 5:
Next Chapter: The Hunt for Ridley