


Metroid Fusion Walkthrough – Sector 3: Meltdown
Walkthrough
- Biological Space Labs
- Sector 1 – Atmospheric Interference
- Sector 2 – Unknown Saboteur
- Sector 4 – Ultra-High Speed
- Sector 3 – Rogue Security
- Sector 6 – Frozen Parasites
- Sector 5 – Cold Arsenal
- Sector 3 – Meltdown
- Habitation Deck – Signs of Life
- Sector 5 – First Encounter
- Main Deck – Power Failure
- Sector 2 – Overgrown With Vegetation
- Sector 5 – The Nightmare Awakens
- Sector 4 – Diffusion
- Sector 6 – Revelations
- Sector 1 – Neo Ridley’s Cry
- Sweeping the B.S.L.
- The Final Confrontation
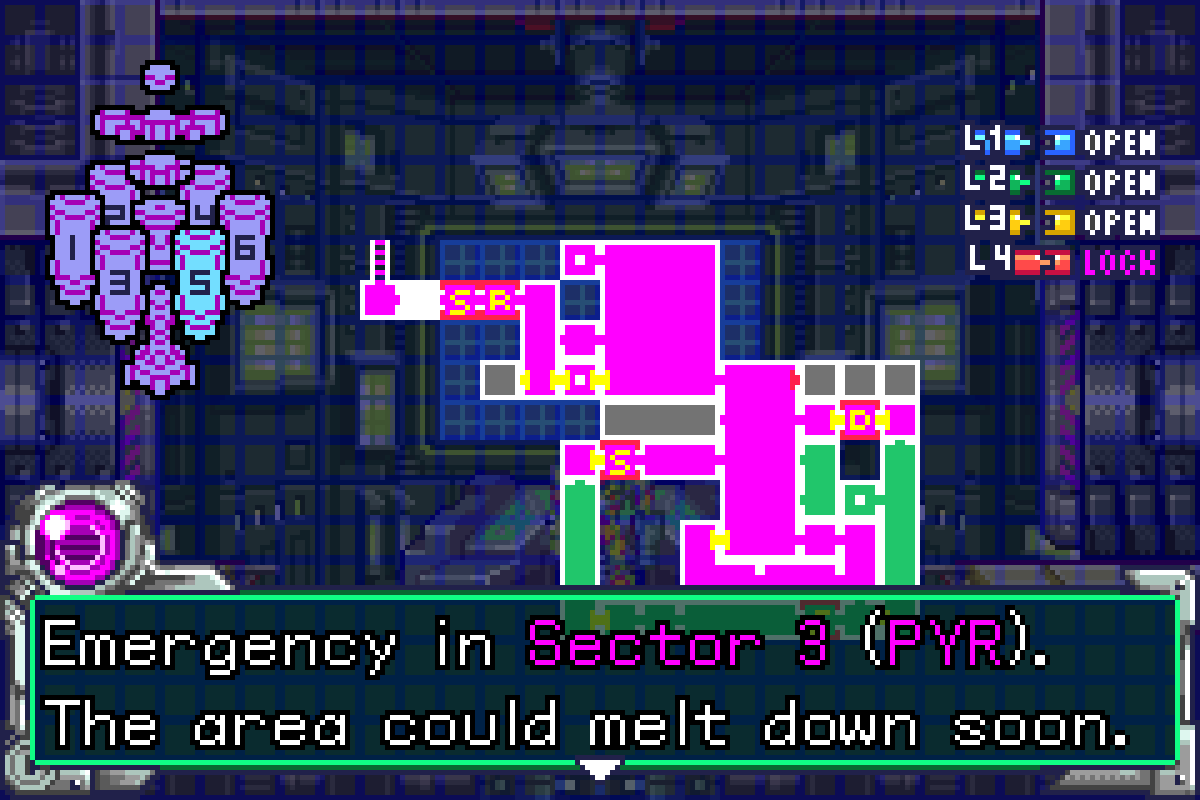
Emergency
You don’t even get to make it to the Navigation Room in Sector 5 before the lights start going off and the B.S.L. tells you about an Emergency in Sector 3. Make your way towards Adam, and he will inform you that the X have sabotaged the cooling system in Sector 3 (PYR), which left unchecked, will cause a meltdown and destroy the whole station. Adam informs us that we have only six (6!) minutes to get the cooling system back online before the self destruct protocol is activated. No time to waste, so let’s get moving!
Leave Sector 5 and get down to Sector 3 as fast as you can. From the Recharge Room in Sector 3, head down to the lower right door in the main room. You should remember this room; jump up, blast the Xeno sticking out of the wall, and drop down. Open the gate, step back and get your Speed Boost going. Break the Speed bricks, drop down, and go through the door.
You’ll find yourself back in the Xeno Shaft. Drop all the way to the bottom and exit to the left. From here on, I actually want to encourage you not to rush. Take your time and proceed carefully but quickly. If you rush, you can potentially take a lot of unnecessary damage, so remember, careful but quick.
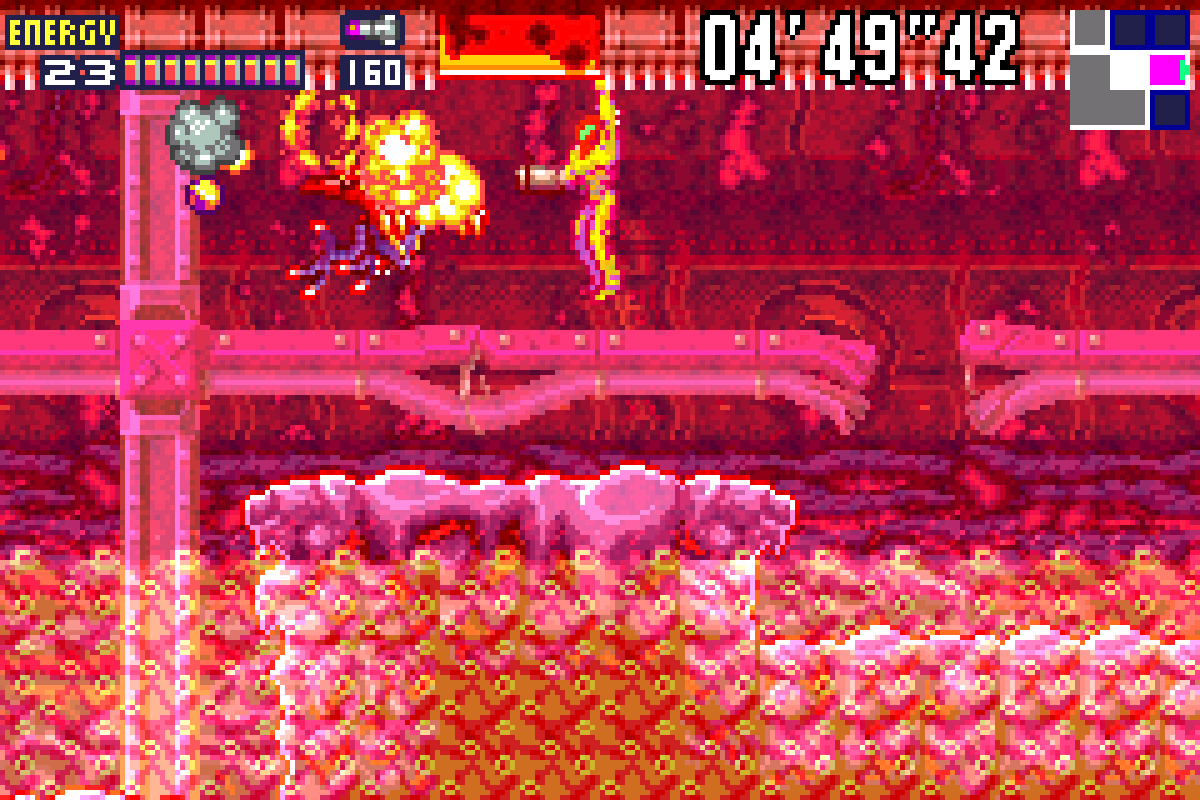
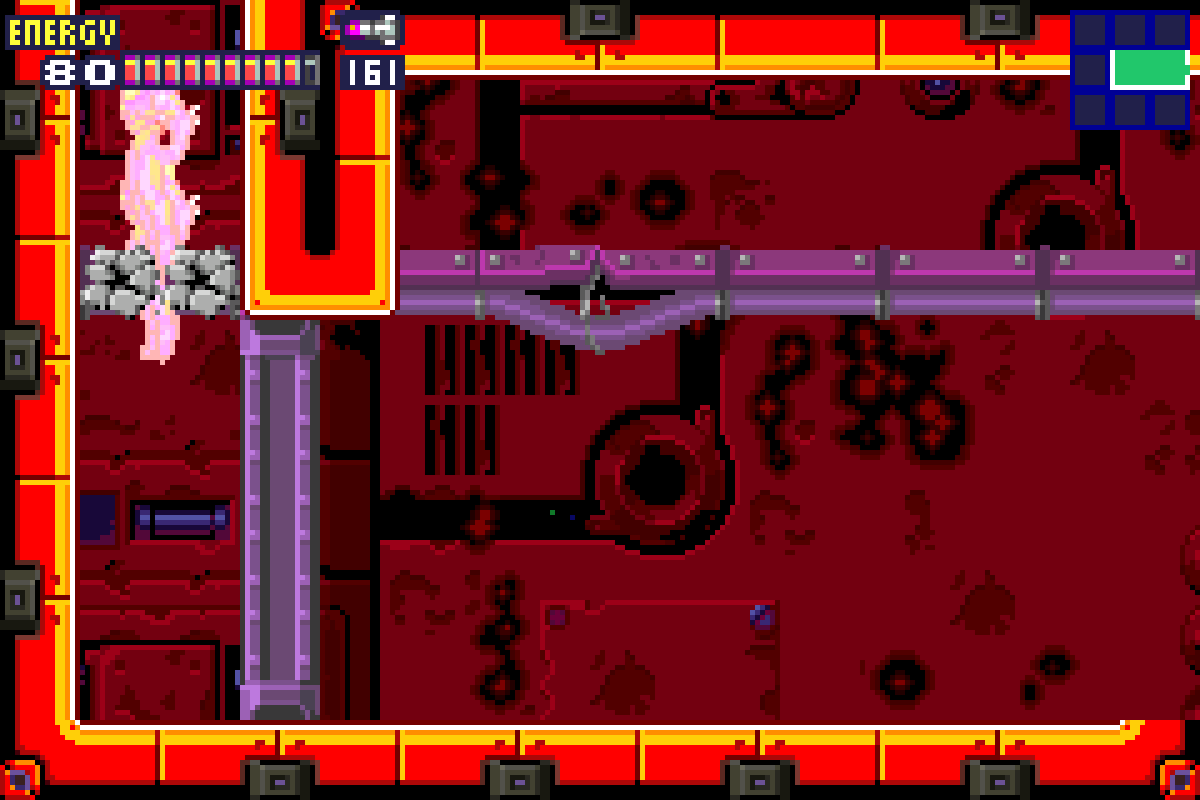
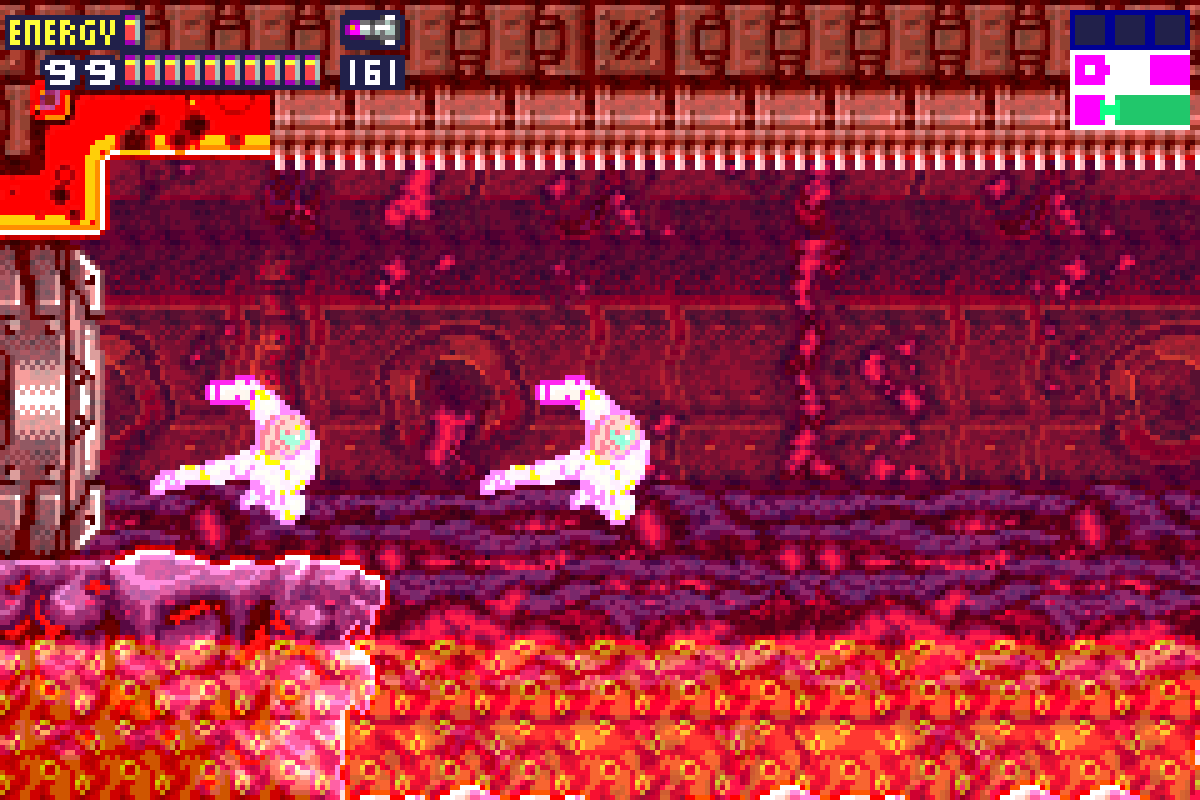
You’ll find yourself in a room full of lava that was previously too hot for us to venture through (thanks ugly Varia Suit!). Grab a hold of the monkey bars on the ceiling and carefully make your way across. Make sure to avoid the bursts of fire that will shoot out from under you. If these hit you, they’ll knock you off the bars and into the lava. Likewise, stop and shoot out all the enemies in front of you; if they hit you, you’ll also fall. Once you’re across and into the next room, lure out the Xeno on the wall and freeze it, giving you a platform to climb up and over to the door.
Run through the room full of little lava bugs and into another room with some Xeno’s on the walls. Lure the bottom out and freeze it, and then freeze the top Xeno at any position and you should be able to get up and through the door.
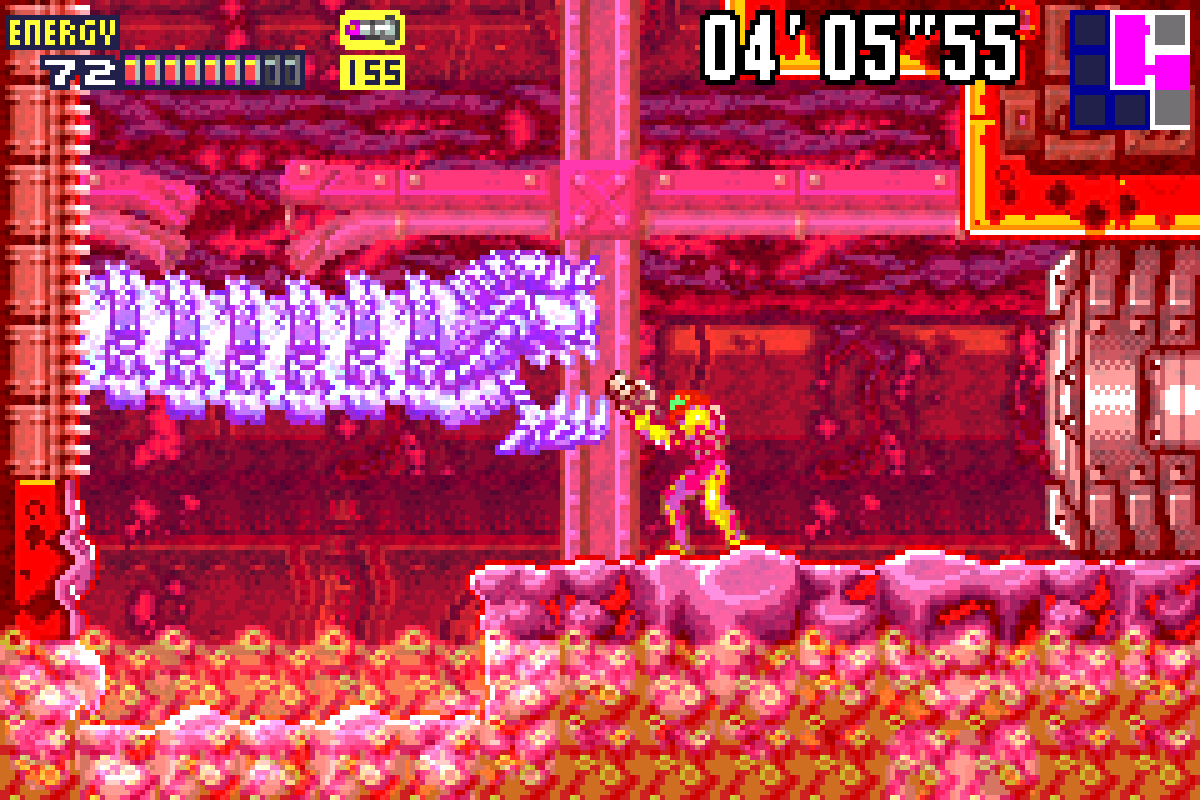
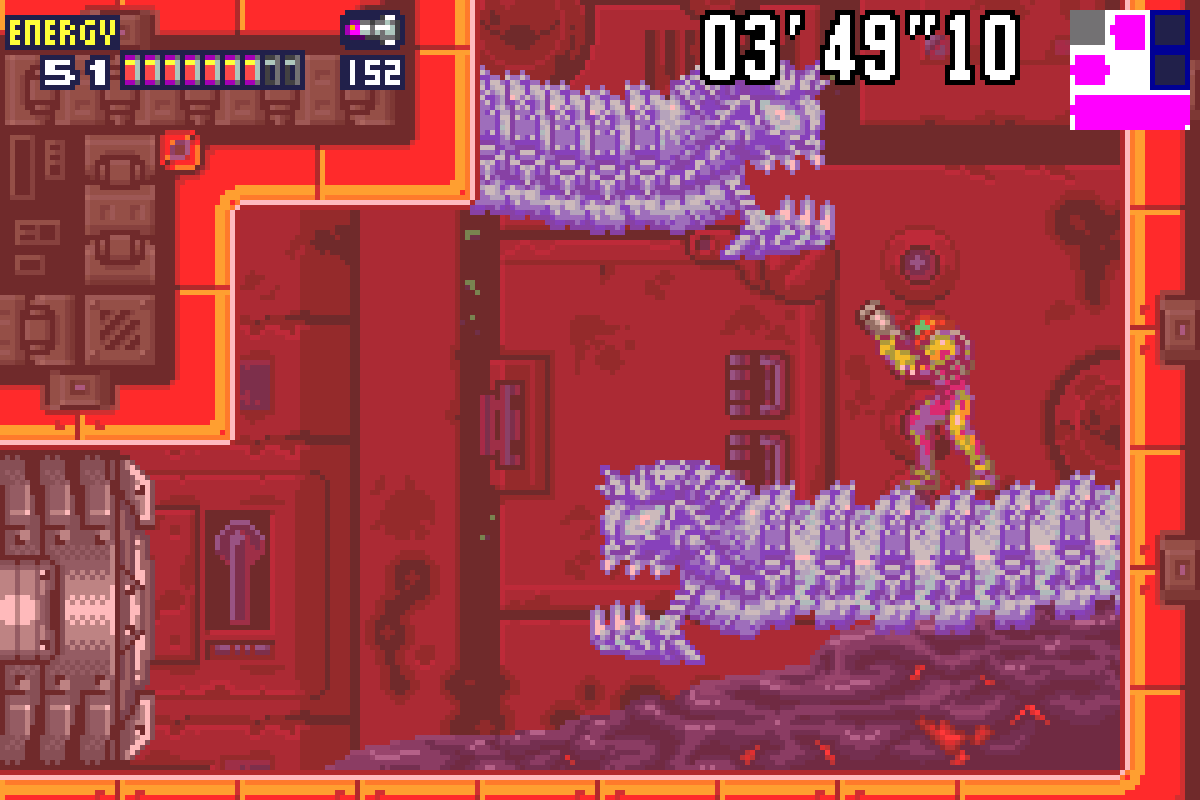
Be careful in this next room. This room is probably the most dangerous room we’ve been in yet. Jump up on the small platforms above the lava and shoot out the fire bug so it doesn’t hit you. You’ll want to freeze the Xeno while he’s fully in the wall so you can get to the top portion of the room. Get rid of all those annoying fire bugs and work your way up, again freezing the Xeno while he’s fully in the wall. You should be at the very top now. You’ll see a portion of the floor with nothing underneath. Hopefully, your Metroid instincts are telling you not to walk on them, since they will give out at the first sign of pressure. Jump over them and as soon as you land, fire an Ice Missile straight ahead at the Xeno in the wall who’s waiting to come and bite you. Fall to the bottom and go through the door.
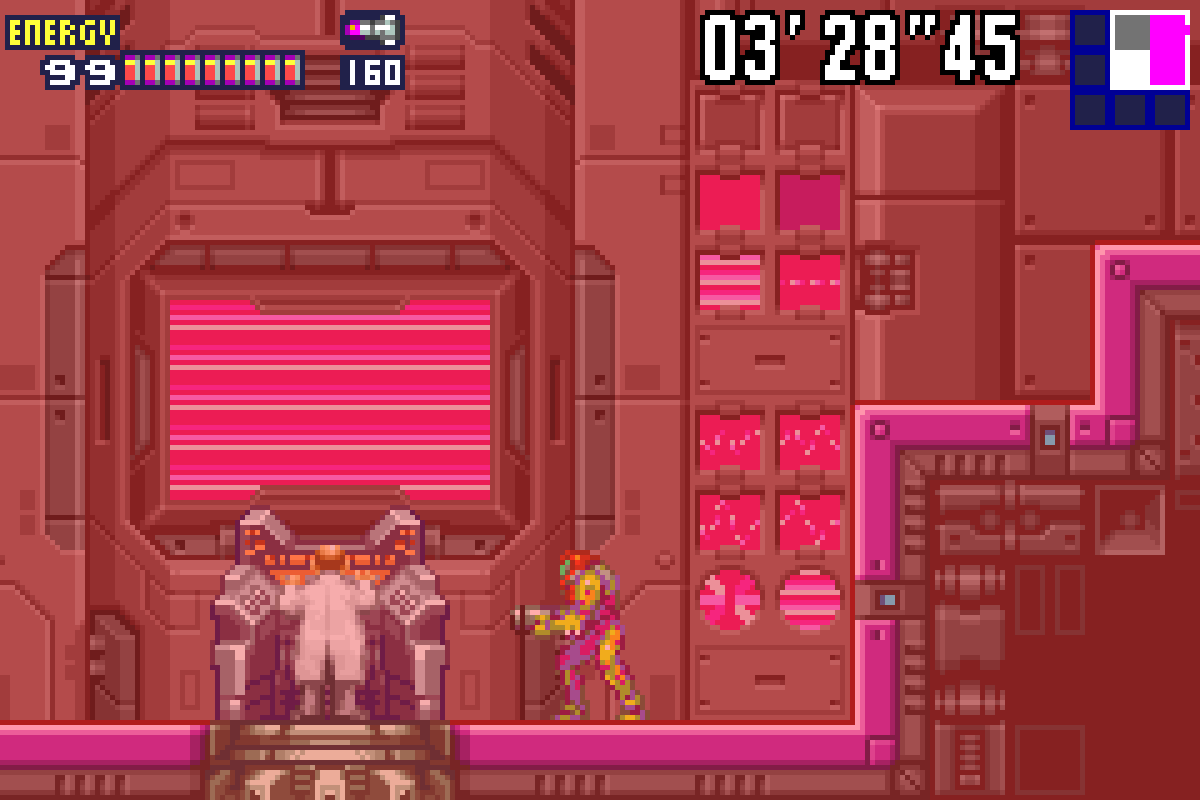
This next room has a platform in the middle that will break if you step on it. Simply jump over and continue left. You’ll now find yourself in a room with some damaged walkways. Jump up and head over to the door in the upper right. Destroy the Gadora and walk into the Main Boiler Control Room.
Human Core-X
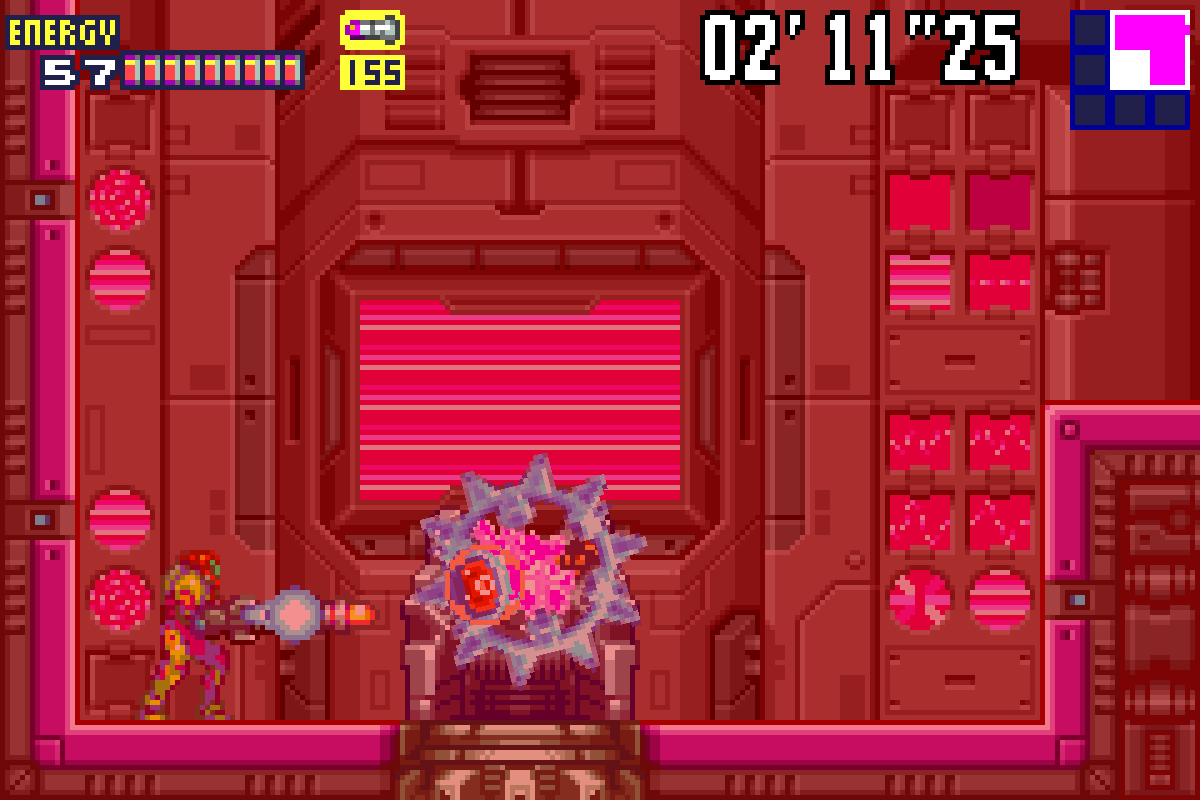
You’re probably expecting a boss battle since we just destroyed a Gadora, but in actuality, there’s just a scientist at the bottom, presumably doing some bad stuff. Unfortunately, we know this isn’t a real human being but rather an X parasite mimicking one, so shoot this guy..
He’ll transform into a standard Core-X, although one with the eye that shoots at you. Just like with Elephant Bird, shoot this Core-X in its eye four times and you will destroy it. Go up and claim the WIDE BEAM for your efforts. Once you’re done, step into the control unit and turn on the cooling unit. Crisis averted!
Optional Pickups in (PYR)
Now that we’ve saved the station, it’s time to get out of Sector 3. Before we do, there are a few items that we can pickup though. I’ll leave most of the navigation to you and instead just let you know where you need to be.
First off, head to the Xeno Shaft. At the very bottom, take the door to your right. This will lead you to the room we grabbed a Missile Expansion in earlier. Bomb the right hand wall and roll through. You’ll see a door, but don’t bother going through it. Instead, jump up to the platform above you and wait for the fire bug to be somewhat in the middle. Freeze him with a Missile and jump on top of it. This frozen bug will give us the extra bit of height we need to grab the upper ledge and pull ourselves up. Go through the door.
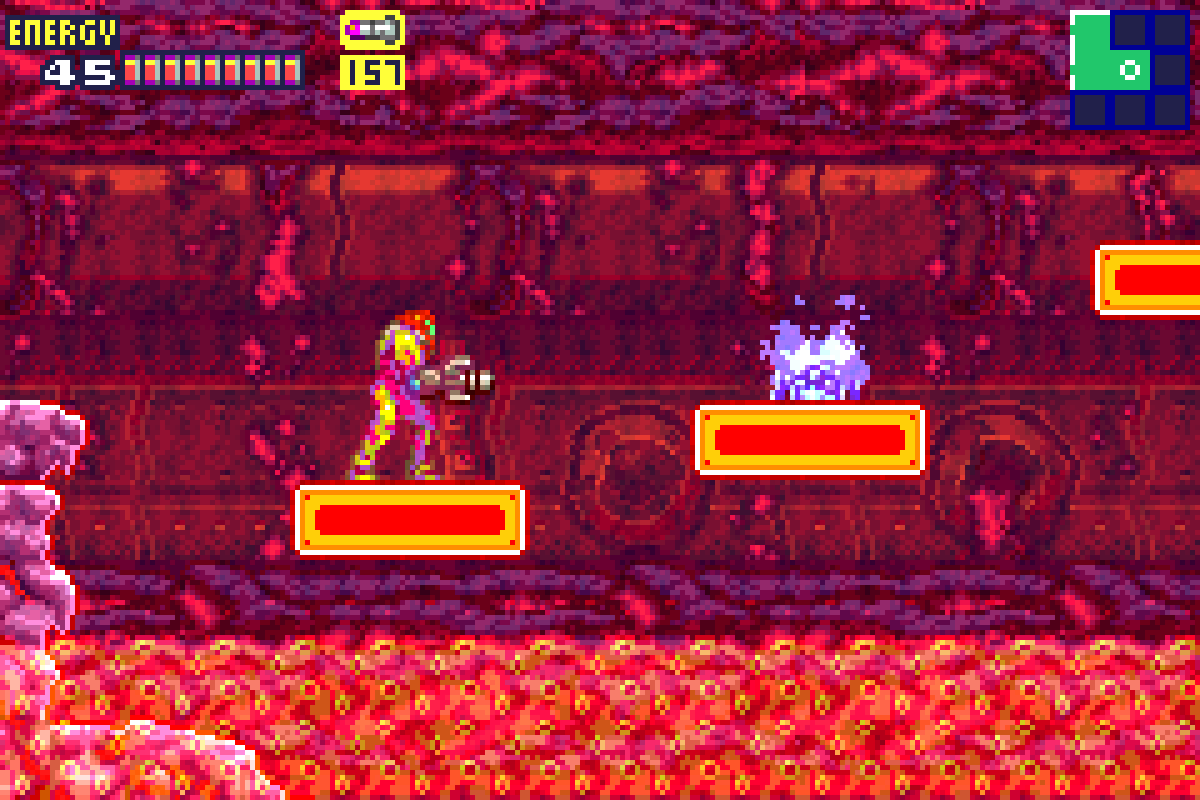
You’ll be in a large room with a bunch of floating platforms. Unluckily for us, every one of these platforms EXCEPT for the first one will disintegrate as soon as we step foot on them. No problem though, because all these platforms have fire bugs on them that we are able to freeze and step on. Freeze them all and jump from bug to bug; eventually, you’ll get to the top and nab ENERGY TANK #10! Jump up and grab the ledge, and roll through the tunnel to also pick up MISSILE EXPANSION #31.
Work your way back to the first room in Sector 3, the one immediately after the Recharge Room. There is a door in the middle left wall that was too hot for us to enter earlier, but now is fair game. Enter and you’ll see lava on the floor and monkey bars on the ceiling. You know the drill; hop up and worm your way across, avoiding both the fire and the Sidehoppers. Eventually, you’ll get to the end and enter the next room where MISSILE EXPANSION #32 will be waiting for you.
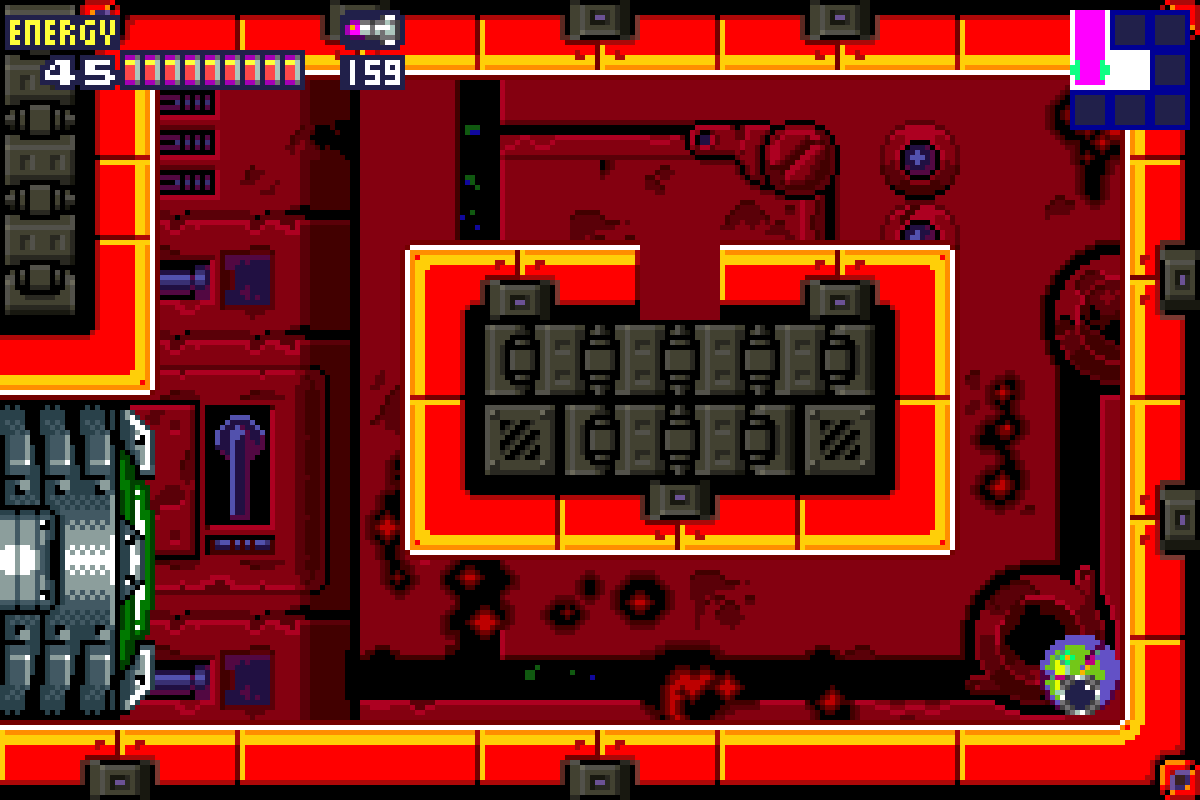
But wait! We’re not done in this room yet! Bomb the walls on the left and roll over into a new room. Shoot out all the blocks on the ground until there is nothing but sweet, smooth ground for you to run on. Get to the right side of the room and start running left. Shinespark at the end of the room upwards, breaking the blocks covering the upper part of the room. Once you land, start firing at the wall in the middle of the platform. Eventually, you’ll get a path to the other side, although it looks like the upper part is again out of reach. Bomb the floor however and you’ll see a metallic rod shoot up from the ground. Hop on it and jump up to get ENERGY TANK #11.
That’s all the pickups for now, so head back to the Navigation Room and check in with Adam.
Next Chapter: Habitation Deck – Signs of Life