


Metroid: Samus Returns Walkthrough – Area 2: Hydroelectric Station
Walkthrough
- Return to SR388
- Area 1 – Ancient Chozo Ruins
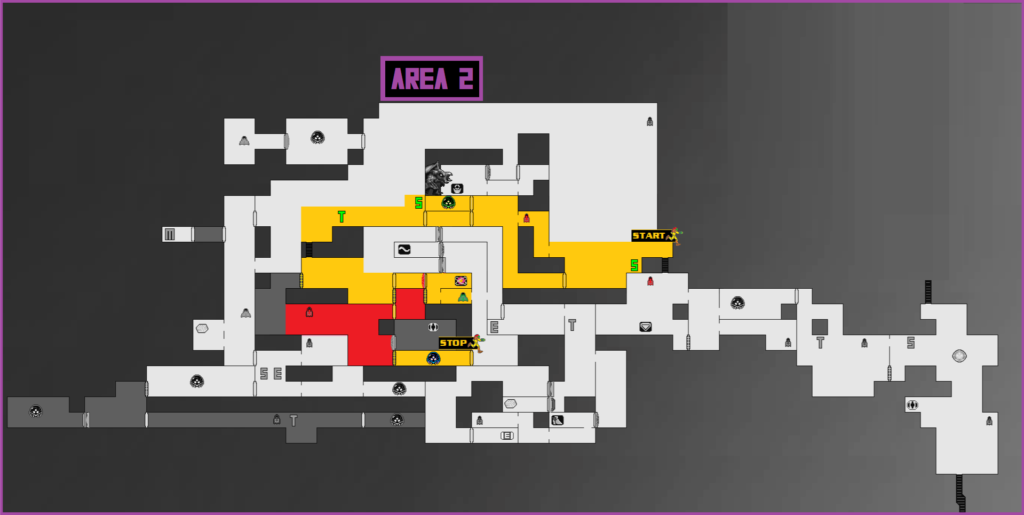
- Area 2 – Hydroelectric Station
- Area 3 – Aeion Mines
- Area 4 – Crystal Caverns
- Area 5 – Flooded Greenhouse
- Area 6 – Diggernaut’s Domain
- Area 7 – Chozo Laboratory
- Area 8 – The Nest
- The Last Metroid
Lightning Armor
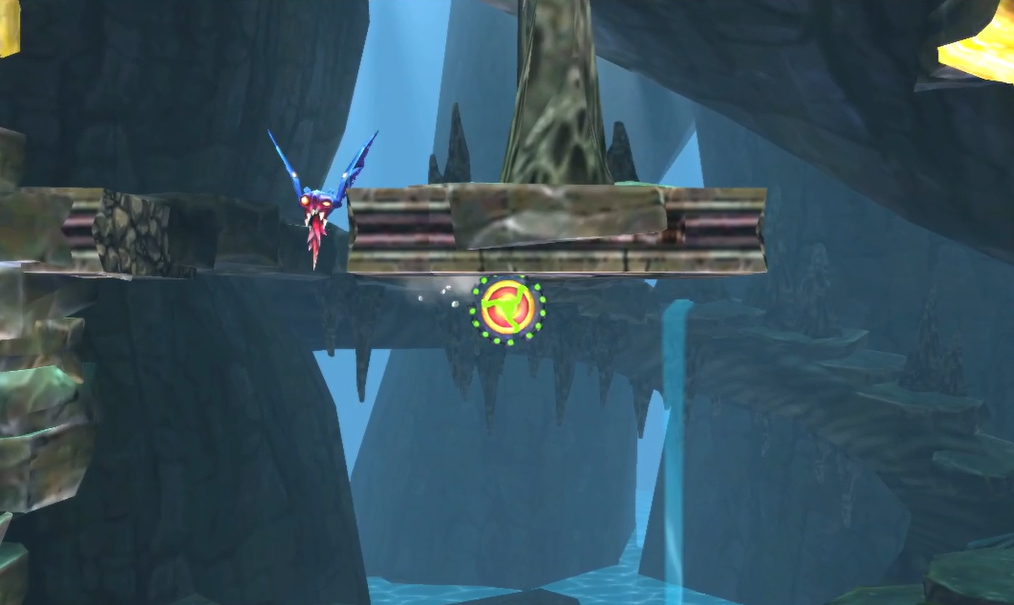
Deeper into SR388 we go. When you step off the elevator, do what you usually would and battle your way over to the Chozo Seal. Step on it and you’ll see that there are a whopping 8 Metroids to hunt down in this area alone, so I hope you’re ready! Go through the door to the left of the Chozo Seal and you’ll officially enter Area 2: a watery, cavernous part of the planet with a large hydroelectric station in the heart of it. The first thing you’ll want to do is jump upwards and shoot open the Blast Door in the top right of the room. This will lead you back into the purple part of Area 2, but it will open a one-way door, plus put you right next to a Save Station if you need it. Either way, go back down to the bottom of the watery room.
There’s yellow sludge on the ceiling, so press towards the right and do it the old-fashioned way: with some precision jumping on small floating platforms! Jump a few times until you need to Spider Ball up a small tunnel; once you get to the top, roll through to the small ledge and jump across; there are about a million enemies that are equal parts annoying and disruptive, so be careful and go slow! Once you’re on the other, upside-down T ledge, Spider Ball underneath it to get to the other side and then jump up. Continue left and you’ll activate a new Teleportal. Continue to the left and follow the path up, and you’ll soon walk by a Metroid husk; danger isn’t far now.
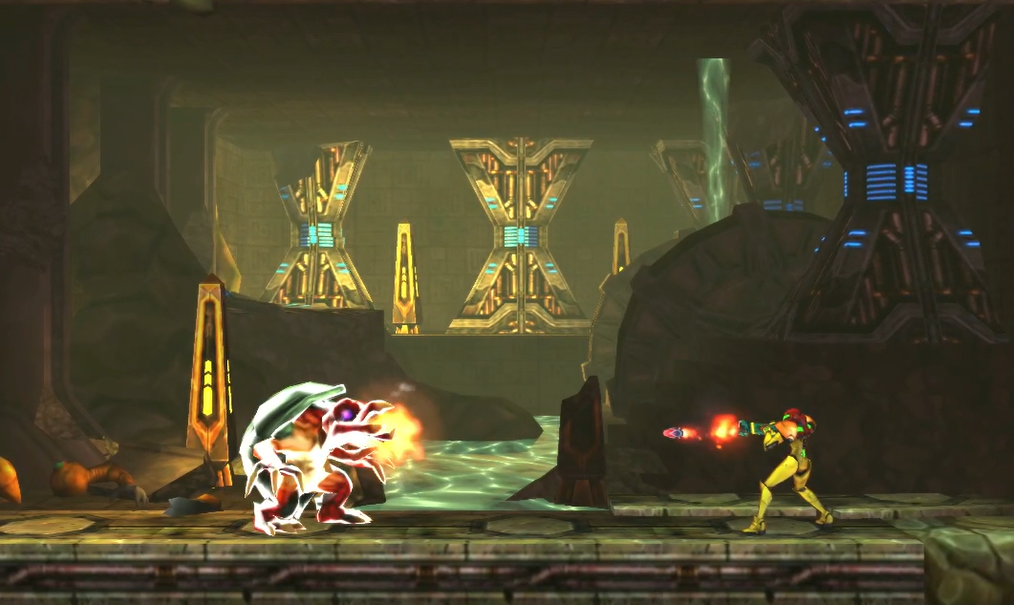
Use your Scan Pulse when you’re at the Metroid husk and you’ll see some bricks to the right of you glow up. Destroy them and slip into the Morph Ball tunnel; press forward, drop down, roll to the right and you’ll see MISSILE EXPANSION #11 sitting there for the taking! Make your way back up to the husk and head up through the Blast Door on your left. Get ready – we’ve got an ALPHA METROID in this room! Same strategy, but just note: this particular Alpha can set its body on fire! That doesn’t really change anything in the fight, as a Metroid slamming its teeth, back and butt into you is still going to hurt whether it’s on fire or not, but just be extra careful not let it smack you or you’ll take even heavier damage. Also note – instead of dropping energy bombs, this Metroid will drop a singular fire bomb that will engulf the entire floor in flames for a brief second; make sure your jumping is on point. Dispose of this Alpha and collect its DNA.
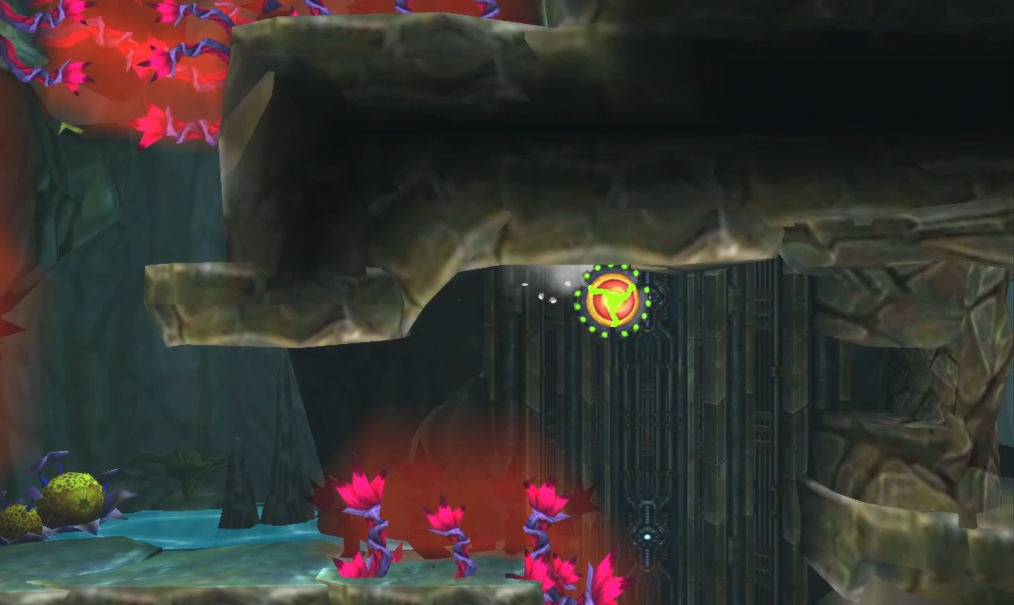
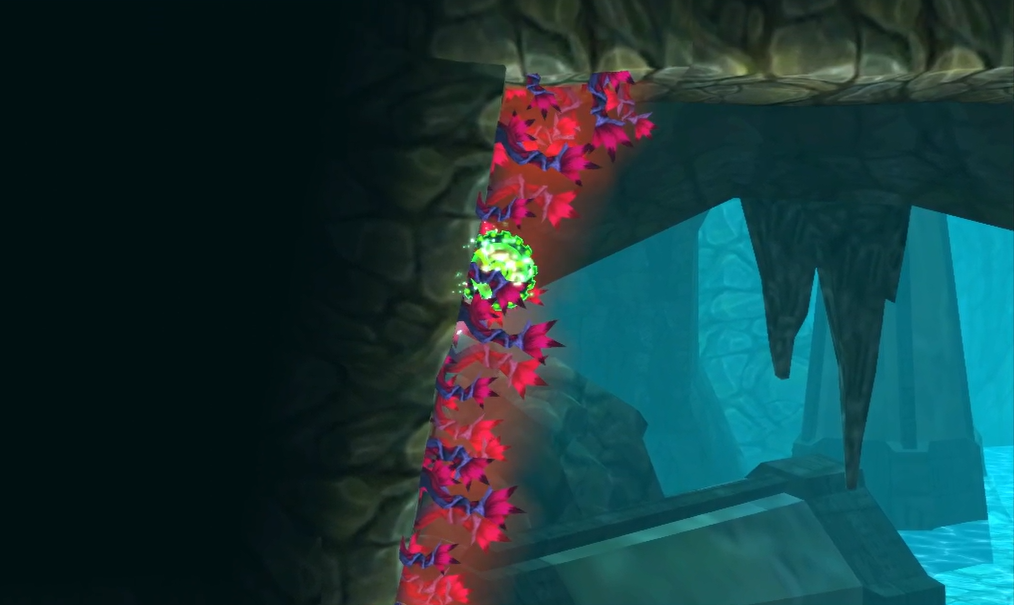
Once the fight is over, destroy a missile block on the leftside wall and jump through the opening. As you can see, there’s a ton of that poisonous red weed plant on the path ahead, but this is where we need to go, so be careful. Use your Spider Ball to avoid the weeds and make your way down to the bottom of the room. Blast open the charge beam door and enter; in the new room, you’ll see a familiar looking statue! Jump up and grab your second Aeion ability, the LIGHTNING ARMOR! Finally, we can traverse through the red weeds and not take damage! What do you say we put this to immediate use?
Head back into the room you just came from quickly; Spider climb up the right wall and lay a couple of bombs at the top. The wall will break, and you’ll be face-to-face with a scary looking purple beehive thing (sorry for the technical terminology) that would normally have you covered in nasty bugs that would drain your energy quicker than you can say “where’s my Speed Boost?”, but with our handy Lightning Armor, that won’t be a problem. Activate it, drop down, shoot the floor, drop into the water, and grab MISSILE EXPANSION #12. As a quick note – water kills these bugs, or at least makes them go away, so if you are covered in little purple gremlins and running low on Aeion, water is what you want.
Head back to the room you grabbed the Lightning Armor in and press forward, rolling through the statue and continuing your ascent on this room. You’ll see a pathway covered head to toe with red weeds, but that’s no problem! Activate your Lightning Amor and run up quickly to grab MISSILE EXPANSION #13. Once you’ve grabbed it, head to the upper right part of the room. There’s a Blast Door on the righthand wall you’ll want to blast open; shoot it and retreat all the way back down to the previous room, heading towards the top there. The door in the top left corner will now be open, so head on through and step onto the elevator.
Chapter 3.1 Route:
The Varia Suit
You’re now in the upper portion of Area 2, which houses the titular hydroelectric station in the middle of a huge open room. Proceed off the elevator and use the Save Station if you need to. Scale downwards until you get to the entrance of the hydroelectric station, but don’t actually go in yet! Instead, jump up to the small ledge and start climbing the side of the station (use your Spider Ball if you need to!); eventually, you’ll get up to a small Morph Ball tunnel. Bingo! Slip inside and use your Spider Ball to keep following the tunnel upwards; avoiding all the dang bugs constantly dropping from the ceiling, lay a bomb once you get to the of the tunnel and the pathway to MISSILE EXPANSION #14 will open! Since we can’t break the blue crystal things for now, retreat all the way to the entrance of the hydroelectric station.
Step inside of the station and proceed forward. Hostile lifeforms are everywhere, so take it slow and steady. You’ll see a Metroid husk laying on the ground, so trouble can’t be far! Scale upwards and, once you reach the top, you’ll see two Blast Doors on the righthand one, one above the other. Take the top door and get ready – we have an ALPHA METROID to contend with! Same fight as always, with the only difference here being that this room has a layer of water on the ground, making movement harder. This would normally be tricky, but this particular Alpha Metroid is almost always going to come at you with a counterable swoop, so just hit your melee counter and this should be over before you know it.
Exit the room and take the lower Blast Door now; you’ll exit the hydroelectric station and be back outside, conveniently right below a Save Station! Press forward and you’ll see a Blast Door straight ahead and an opening for you to drop down. Let’s go downwards for now, and we’ll come back to that Blast Door in a bit. Drop down and you’ll activate a new Teleportal and see another elevator. Step on and ride it down!
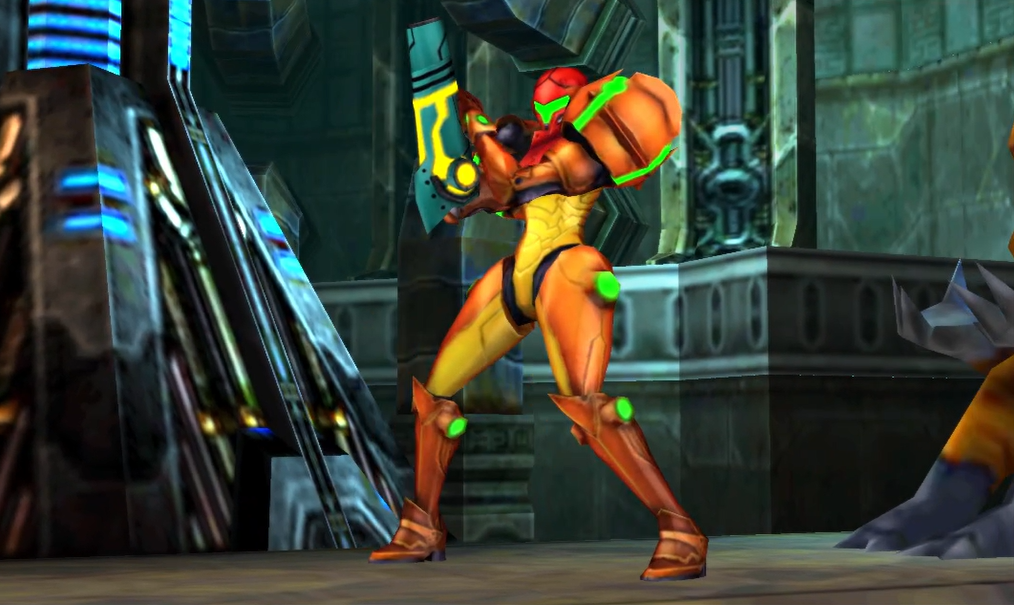
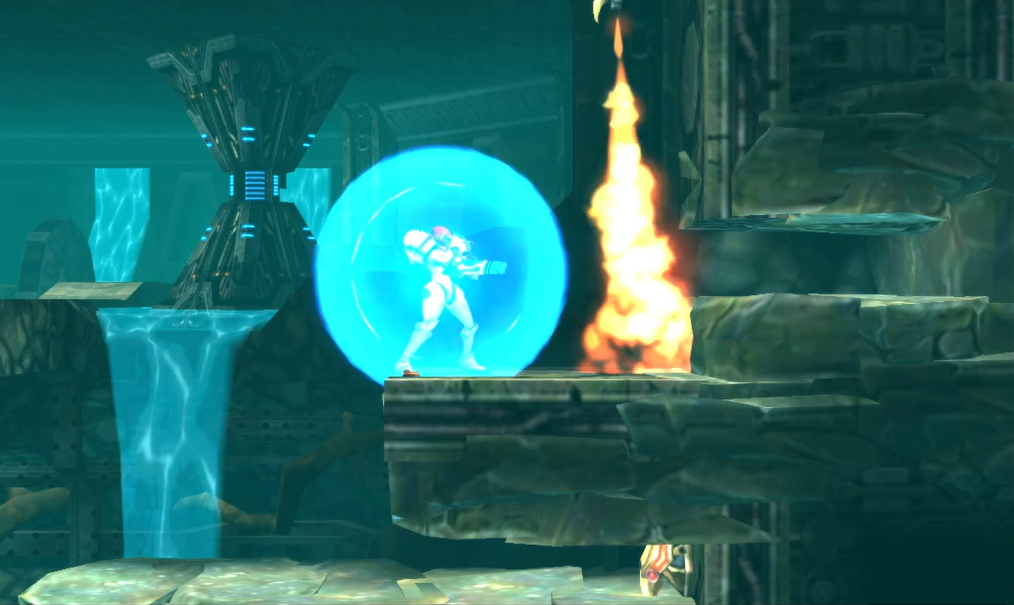
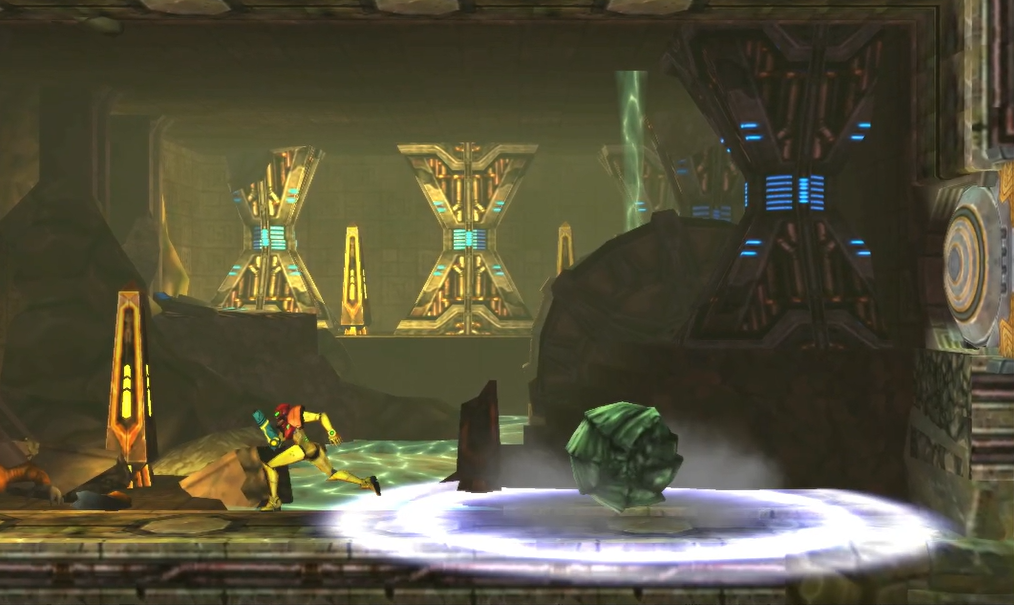
You’ll now find yourself back in the lower portion of Area 2, which has a decidedly Maridia kind of vibe to it. Run to your right, using the Save Station if you want, and then take the pathway that’s under said Save Station. You’ll run right into a fiery Blast Door, but unless you want our Power Suit to go from medium-rare to well done, don’t enter! Instead, shoot upwards and follow the Morph Ball tunnel to the Blast Door above. You’ll be in a small little connector room, but watch out for those Chozo fire machines, officially dubbed Wallfires! They take a boatload of missiles to destroy, so avoiding them will be easier for now, just watch your step. Destroy the red shield on the Blast Door and step inside the new room. A Chozo Statue will be housing your most crucial upgrade yet – the VARIA SUIT! And ooh BABY does it ever look great!
Head back the way you came (you’ll be tempted to go through the fiery Blast Door in the Varia Suit room, but don’t) and retreat back to the original fiery Blast Door in the previous room. Go through, and immediately a remix of the lower Norfair theme will start blaring (get ready to hear this theme every single time you enter a hot zone) to let you know the temperature is high, as if all the lava and fire and general red aesthetic wasn’t enough to clue you in. These hot zones are full of dangerous enemies, so proceed slowly and cautiously. When you get to about the halfway point in this room, use your Scan Pulse and you’ll see some blocks start glowing right above a Wallfire. Destroy the Chozo machine with some missiles and use your Spider Ball to scale upwards and grab MISSILE EXPANSION #15!
Once you’ve grabbed that, head to the lower-right portion of this hot zone; keep fighting your way forward until you get to a charge beam door in the very bottom-right of the room and enter. Something vicious awaits…
Chapter 3.2 Route:
Gamma Metroid
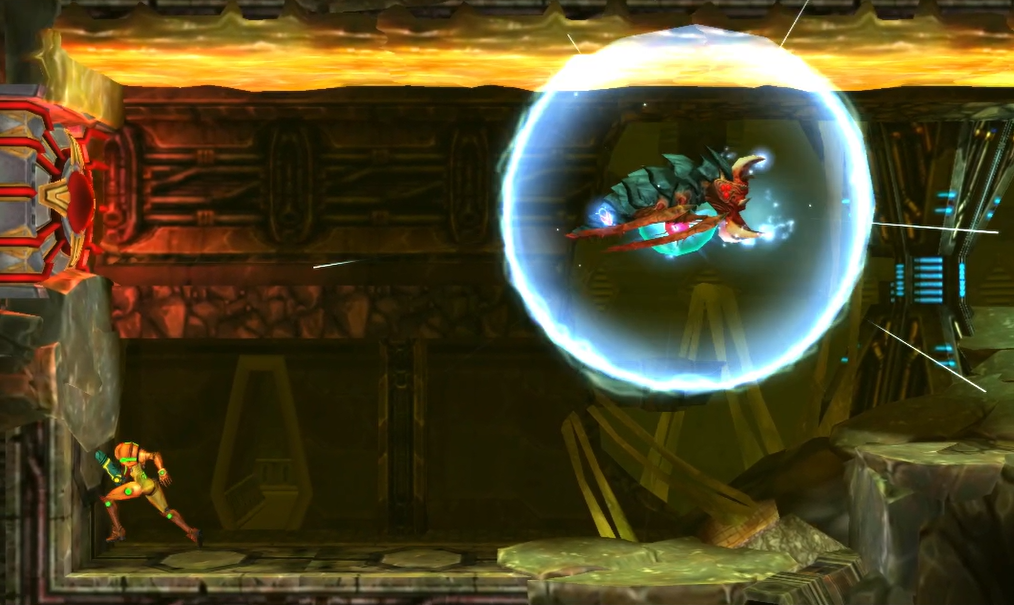
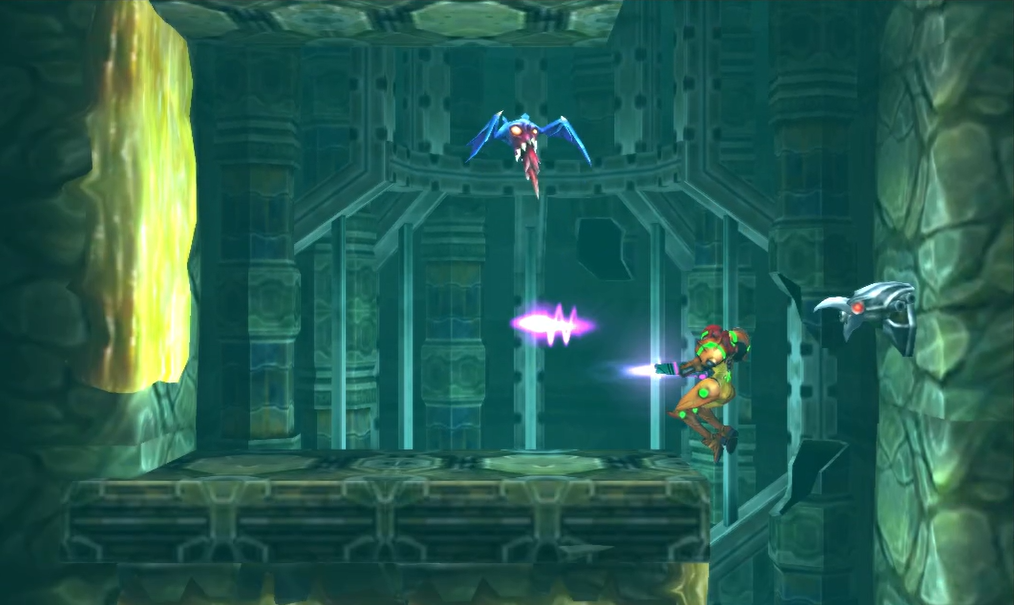
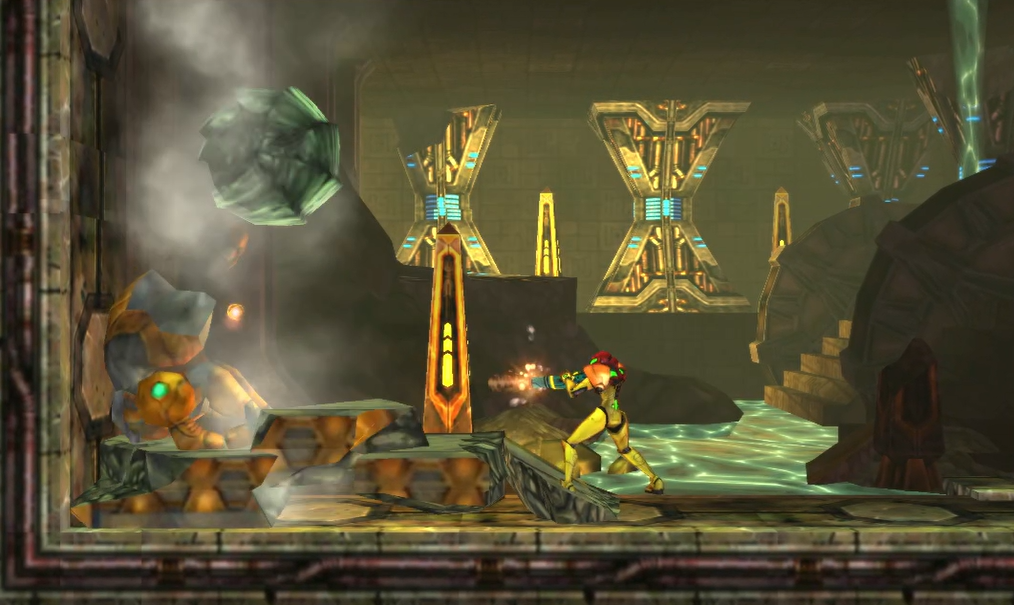
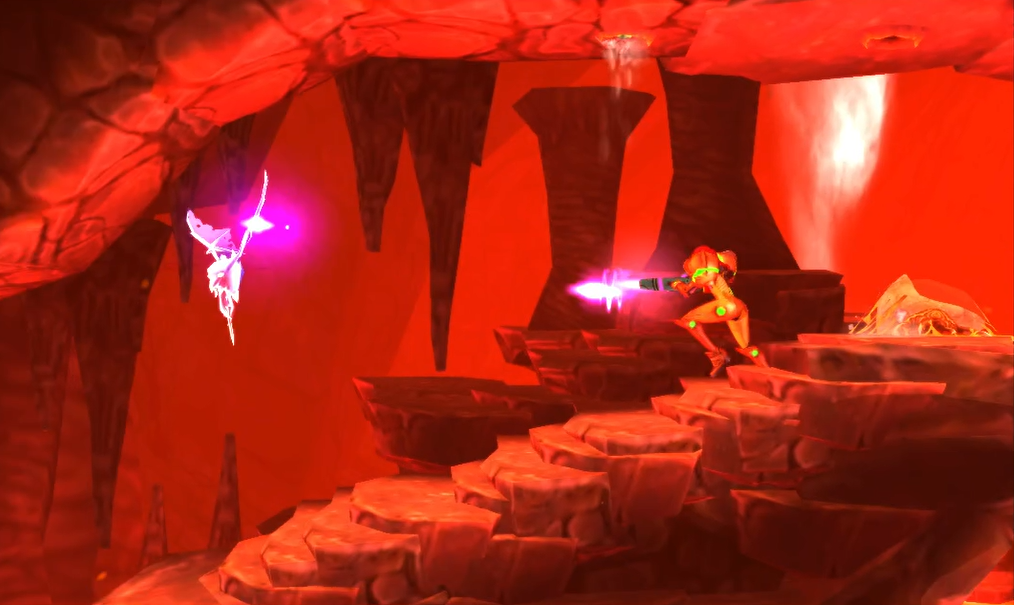
You’ll now be face-to-face with the next rung in the Metroid evolutionary ladder – the GAMMA METROID! This evolution still flies around like it’s previous evolution, but has started to grow limbs in which it can use to traverse the ground (and smack you with!).
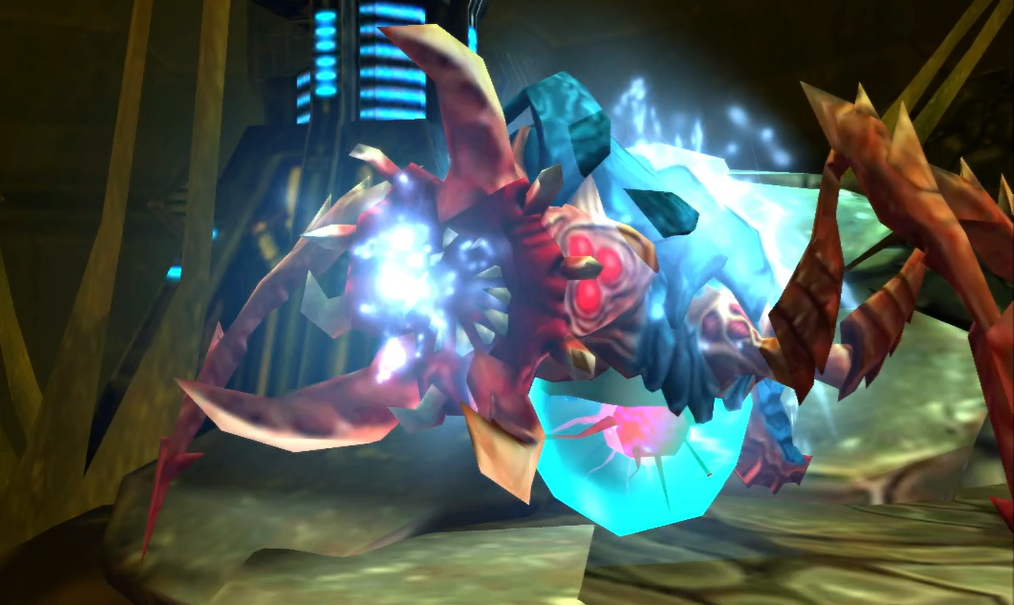
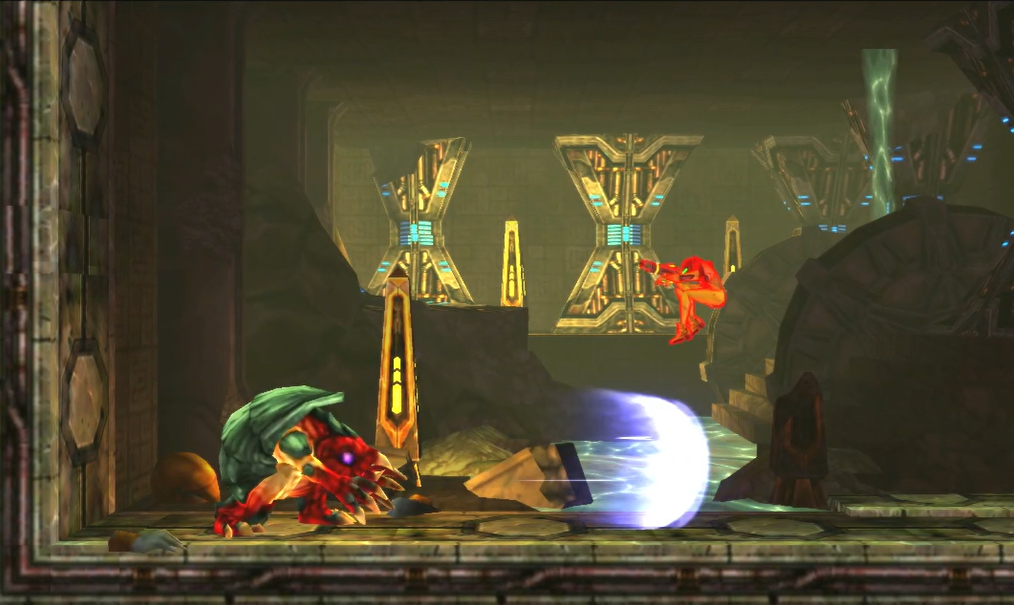
Limbs aren’t the only new tricks the Gamma has up its sleeves, either. This Metroid will shoot an energy beam at you (typically in a downwards diagonal direction,) that will do big damage, and can charge up a shockwave blast that emits from its body, only giving you a few precious seconds to get as far away as you can. The sweeping attacks and triple bombs are also still attacks you’ll need to contend with, just like the Alpha Metroid, so use the same strategies as you would with them.
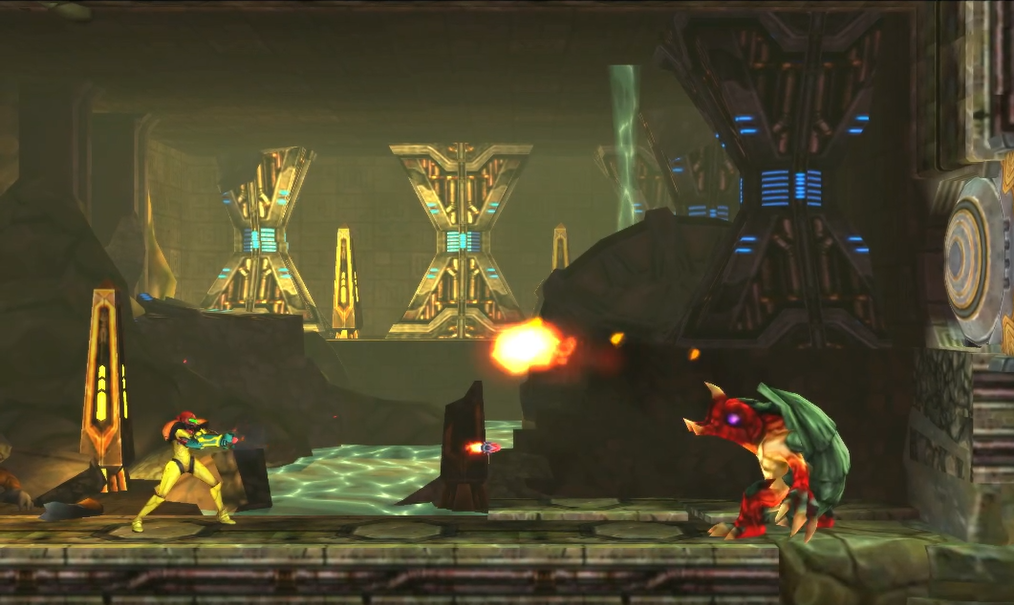
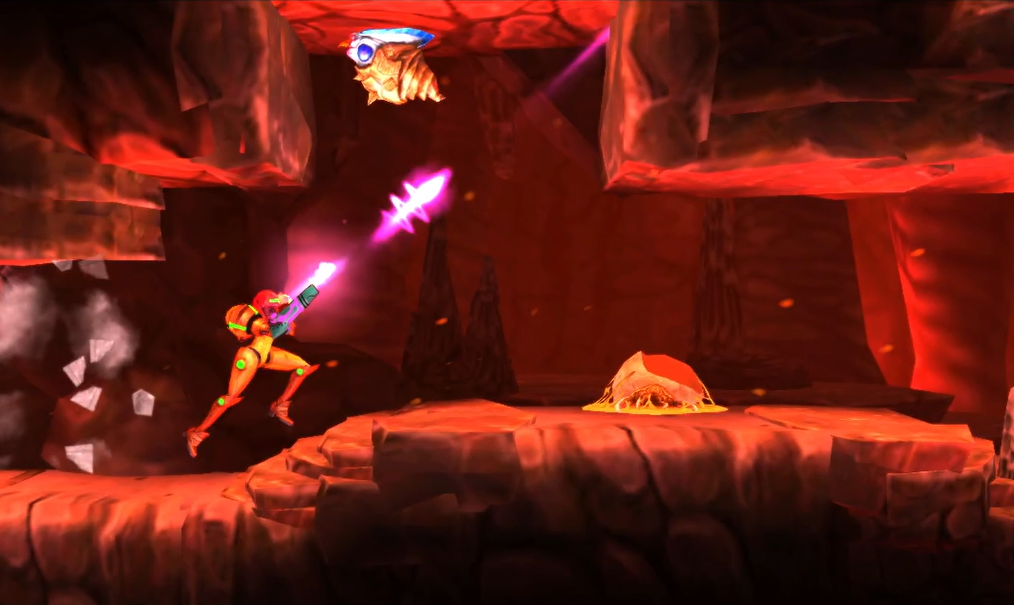
As mentioned, the biggest new attack you’ll want to look out for is when the Gamma gets on the ground and starts aggressively coming towards you. If you get rammed, that’s a big ouchy, and even if you stay a step ahead, you’ll still need to watch out for a laser attack that the Gamma will shout from its mouth. The plus side to this attack is that when the Gamma is on the ground and not glowing with energy, its mouth will line up perfectly with your arm cannon, so let those missiles fly! The Gamma will also snap its jaws at you sometimes instead of firing a laser, which will give you the chance to melee counter it. As a general rule for Metroids, but especially the later level evolutions, melee counters are going to be the most effective way to deal damage.
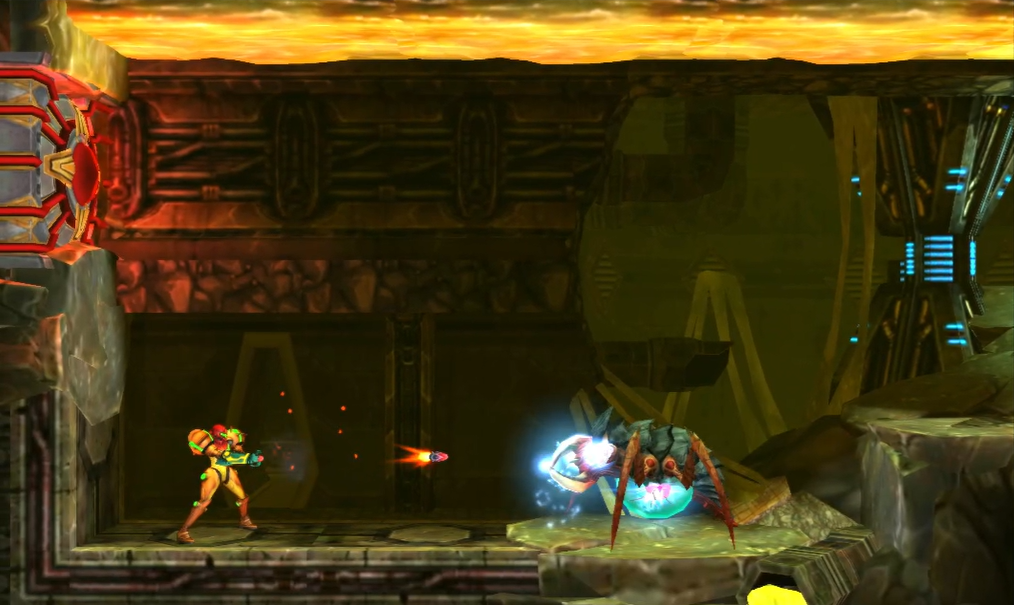
Aside from countering, you’ll deal damage to the Gamma in the same way you would the Alpha; shoot its underbelly every chance you get with missiles. Attack the mouth and the belly every chance you get, focus on avoiding attacks as your top priority, and eventually, you’ll take down this gruesome Metroid.
The Wave Beam
Once you’ve collected the Gamma Metroid’s DNA, head through the door on your right. You’ll run into a couple of silver Wallfires (they are, as of right now, indestructible, so just avoid them) blocking a long Morph Ball tunnel. Maneuver around them and continue to climb up and up the tunnel, until you pop out next to a Missile Recharge Station. Use it, destroy the Drivels hovering around you, and destroy the red shield on the Blast Door to your left. Enter the new room and claim the WAVE BEAM from the Chozo Statue! Exit the room when you’re ready.
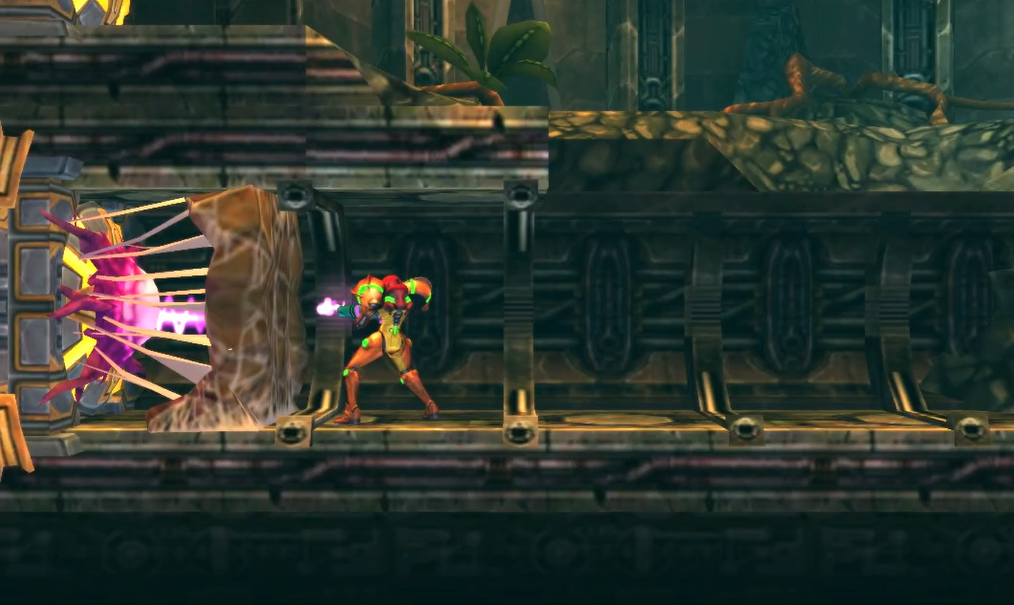
As always, let’s put our new toy to use right away and destroy the Wave Beam door in the lower left of the room. Fun fact: Samus Returns, in place of having the traditional different colored Blast Doors that require specific beams to destroy them, instead has creatures serving as the Blast Door obstacle! The Wave Beam door blocker is known as a Taramarga, but just to keep things simple, I’m going to stick with “the Wave Beam door”. Continue forward and you’ll pop back out close to the Save Station at the very beginning of the lower part of Area 2. Remember how we took the path below the Station before? Now we’re taking the path above!
Jump up the ledge and activate your Lightning Armor; start Spider climbing all the way to the top and go through the small Morph Ball tunnel. You’ll pop out right in front of a Wave Beam door, so destroy the Taramarga and enter. Cautiously drop all the way down this long shaft, avoiding Wallfires, until you enter a new watery room. There’s an Energy Recharge Station hidden in the lower lefthand side of the room, so I’d recommend using that. Once you’re ready, go out and destroy the Wallfire that’s shooting flames straight downwards and enter the Morph Ball tunnel.
You’ll come out in a new room which you’ll again need to descend downwards in. This shaft is also again littered with Wallfires, so destroy them, avoid them, whatever, but just make your way downwards. After dropping down to levels, you’ll see a Morph Ball tunnel to your right that you’ll need to take. You’ll come out into another long shaft, which – and stop me if you’ve heard this before – is covered with Wallfires and that you’ll need to descend to the bottom of. Honestly, just fall as fast as you can, avoiding everything that moves, until you land at the bottom. There’s a red blast shield blocking a Blast Door – what could our present be this time?
Open the door, step inside the new room, and abracadabra – you’ve acquired the HIGH JUMP BOOTS! Once you’ve nabbed them, lay some bombs on the floor in front of the door (use your Scan Pulse if you need to see where exactly the bricks are) and drop down to a little hidden alcove. There’s a hidden tunnel on the left wall, so destroy the blocks and go through. Eliminate all of the Gullug’s in this room and use the High Jump Boots to jump up to the opening in the top right of the room. Follow the path to grab MISSILE EXPANSION #16. Once you’re done, head back to and out of the High Jump Boots room.
Now comes the fun part – using your new kicks, you’ll need to climb the shaft you just descended from, all while avoiding the indestructible Wallfires. Yaaaay…Make the climb, and when you exit out of the room and back into the small Morph Ball tunnel you entered from, continue downwards, bombing the floor. Eventually, you’ll land in a pool of water. Exit the pool to the left and continue your descent. Once you’ve finally, mercifully gotten to the bottom, take the Blast Door to your right and proceed ahead into the new room. You’ll run straight into ENERGY TANK #3!
Now that we’re a little more powered up, it’s time to make the long trek back up yet again. Retrace your steps and make your way back, and stop only when you get into the shaft that had the Teleportal that you couldn’t reach before without your High Jump Boots. I don’t know about you, but I think it’s about time we used one of these bad boys, so step inside and teleport back to the Teleportal on the left side of Area 2, just outside of the hydroelectric station.
Once you’re back, head towards the station doors, but instead of entering it, use your Spider Ball and High Jump Boots to climb up the side of it. Once you make your way to the top of the station, continue towards the center; you’ll see an opening where you can drop down, so do so. You’ll see a red missile shield on your left. Destroy it, enter the room, and get ready.
Chapter 3.3 Route:
Arachnus
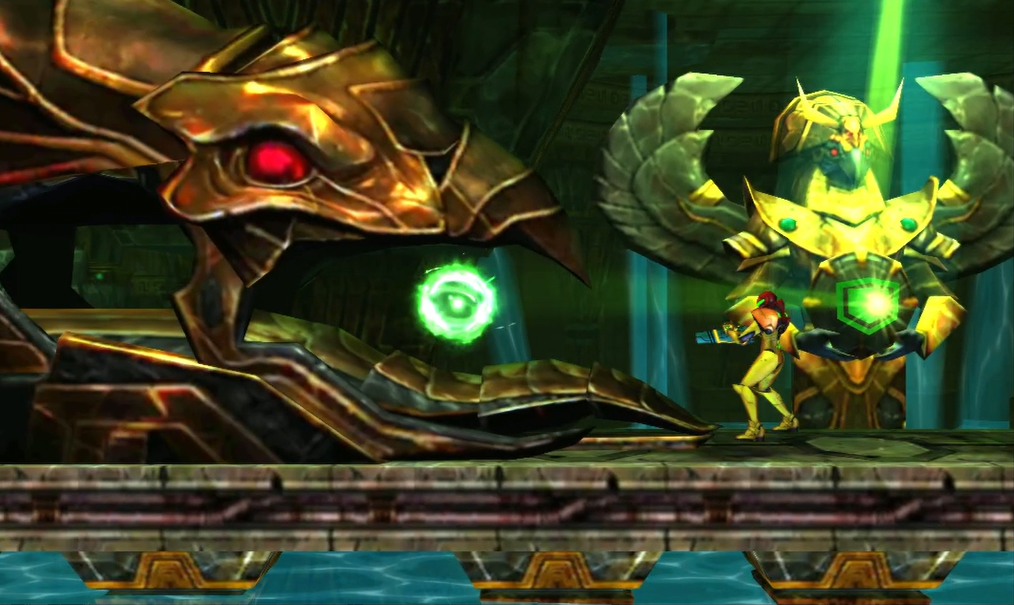
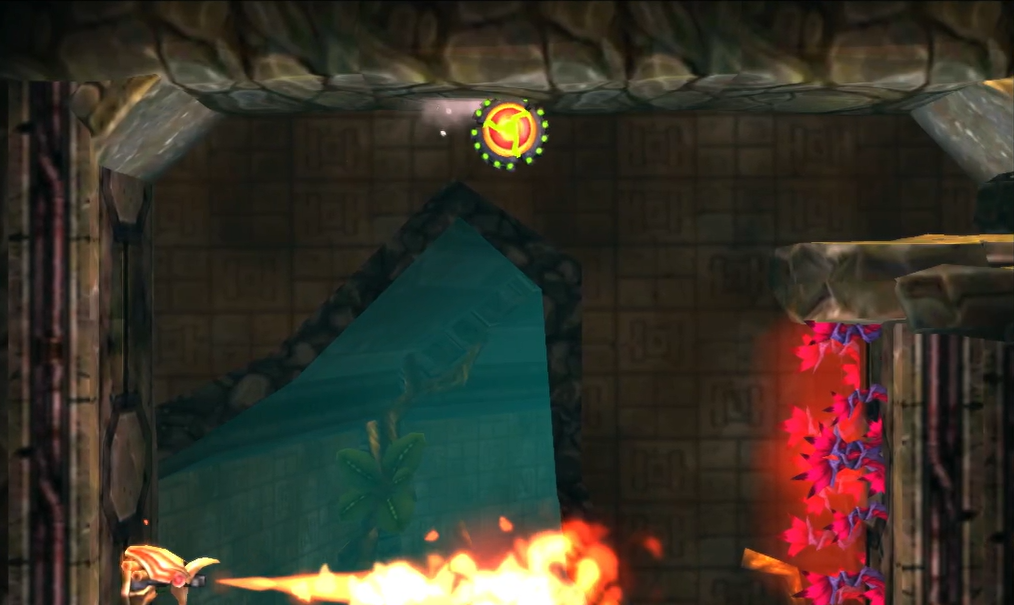
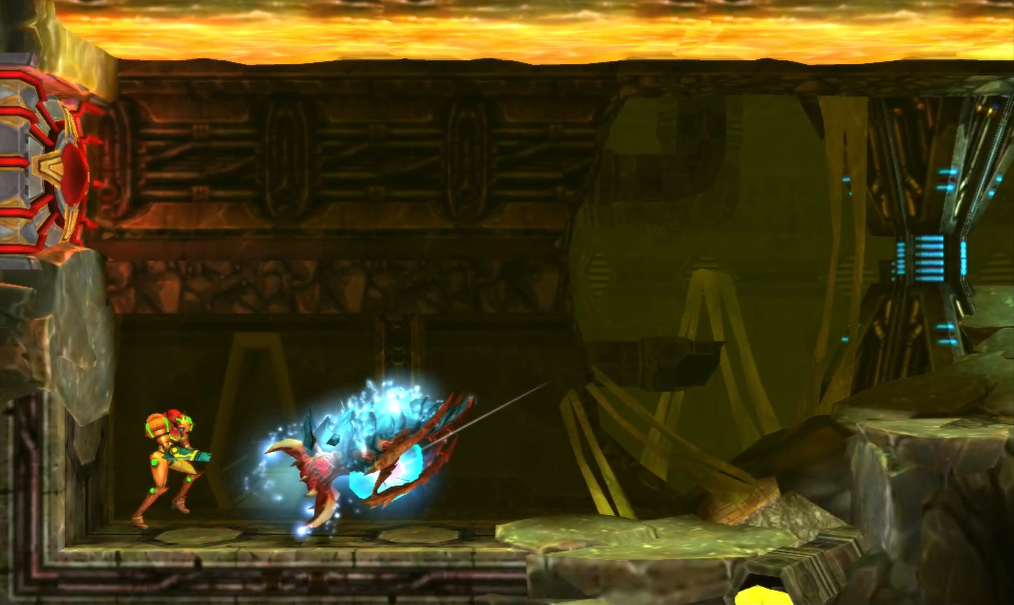
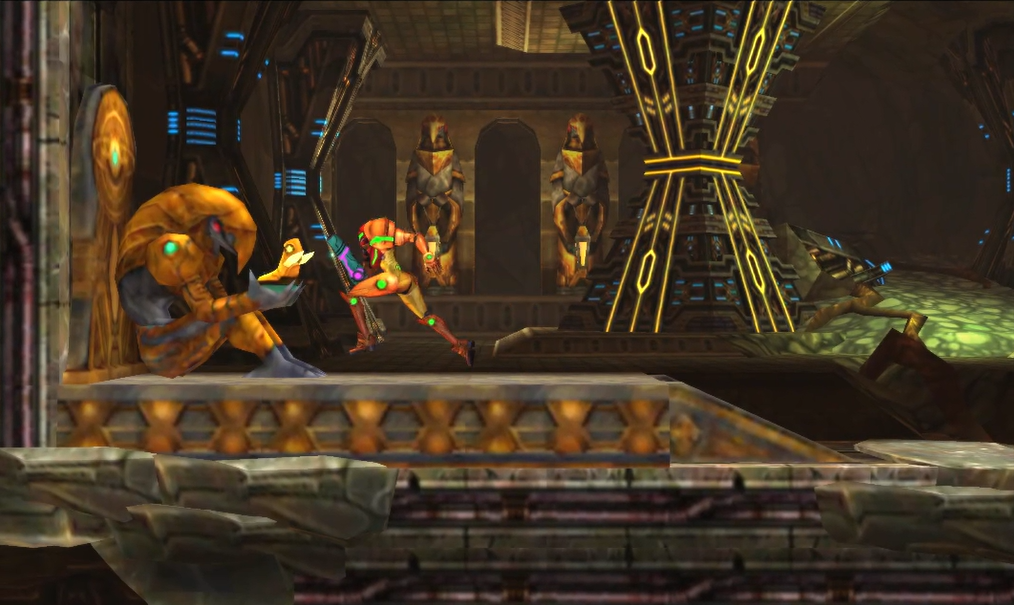
As you walk into this room, you’ll see a Chozo Statue as usual, although the orb that it’s holding looks a bit… odd. Come a little closer, and you’ll soon realize that what the Chozo is holding is no powerup, but rather a classic Metroid foe reborn: Arachnus!
Shoot the ball a few times and Arachnus will bounce right out, destroying the Chozo Statue and damaging you if you get too close. Once it lands, you’ll see Arachnus in all of its glory: as a hunched over, armadillo-esque looking creature with three fangs protruding out of its mouth, ready to try and lay the smack down on you for disrupting its slumber.
Arachnus is a formidable foe, but nothing that should cause you to throw your 3DS against the wall (hopefully). It has a few different attacks that you’ll want to look out for, with the first being its shockwave attack. As the name implies, Arachnus will swipe its claws at you, which will send a burst of energy flying your way. A simple jump should put you in the clear, so just make sure to time your jumps right, as Arachnus will usually fire off at least two shockwaves. You’ll also want to watch out for the fireballs that Arachnus will spit out of its mouth; again, these are usually fired off in bursts of three, so just make sure to avoid them.

Where you’ll really want to be mindful of Arachnus though is when it curls up into ball form. This is essentially the Arachnus Morph Ball, and one of its go-to attacks is morphing down and jumping up and across the room to try and smash you; it will usually do three hops, and those hops cover a decent amount of distance in this small room. You can either jump over or roll under, but either way, don’t let it hit you. Another regular move will be for Arachnus to jump in the air, turn into a ball, and slam straight downwards, causing a shockwave when it lands. You want to be anywhere in this room other than under Arachnus when it does this, and usually, Arachnus will spin in the air for a second, allowing you to move out of the way as long as you’re quick.
Its last attack is to get into ball form, charge up, and simply ram you. This is surprisingly not as easy to jump over as you might think, as I’ve always personally struggled with the timing; Arachnus will charge up for a second or two and then propel itself towards you. Now, you can jump over this attack and avoid it, OR you could risk it all and drop some bombs on the ground right before Arachnus unleashes itself. The bombs will stun the beast, allowing you to hammer it with missiles straight to the face.
Damaging Arachnus is simple enough, as your missiles to its body are all it takes. Obviously, just concentrate on avoiding attacks when Arachnus is in ball form bouncing around, but whenever its face is out, light it up! Stunning Arachnus with bombs as it tries to ram you is a great way to get some pretty easy shots in, so keep at it and it will fall.
Your reward for defeating Arachnus is one of the great items in the series, and I’d argue the most underrated: the SPRING BALL! When you’re ready, exit the room through a small Morph Ball tunnel in the bottom right and work your way back up to the top of the hydroelectric station.
Metroids in Area 2
Alright! Now that we’ve acquired every major powerup available in Area 2, let’s get to work on securing the rest of the Metroid DNA that we need in order to progress further into the planet. Once you’re at the top of the hydroelectric station, jump down on the left side and save your game at the Save Station. Walk towards the left, and you’ll see a Blast Door, some red weeds, and a Metroid husk. We’ll come back here in a bit, but for now, activate your Lightning Armor and start rolling up on the ceiling, through the weeds.
Keep on rolling and rolling, and eventually, you’ll find a tucked away Blast Door. Enter it and you’ll be greeted by an ALPHA METROID. This particular Alpha isn’t very hospitable, so do what you do best and teach it some manners. Once the Alpha is destroyed, collect its DNA, drop back down to the Metroid husk, red weeds, and Blast Door, and enter.
You’ll be in another long shaft room that you’ll need to descend down in. A ways down, shoot the one Blast Door on the righthand wall open – you don’t need to go in, but it’s a one way door, so why not – and continue to drop. You’ll notice an expansion indicator on your map, but don’t get sidetracked: you can’t acquire that expansion right now. Drop to the very bottom, stopping once you hit a pool of water, and take the door on your left.
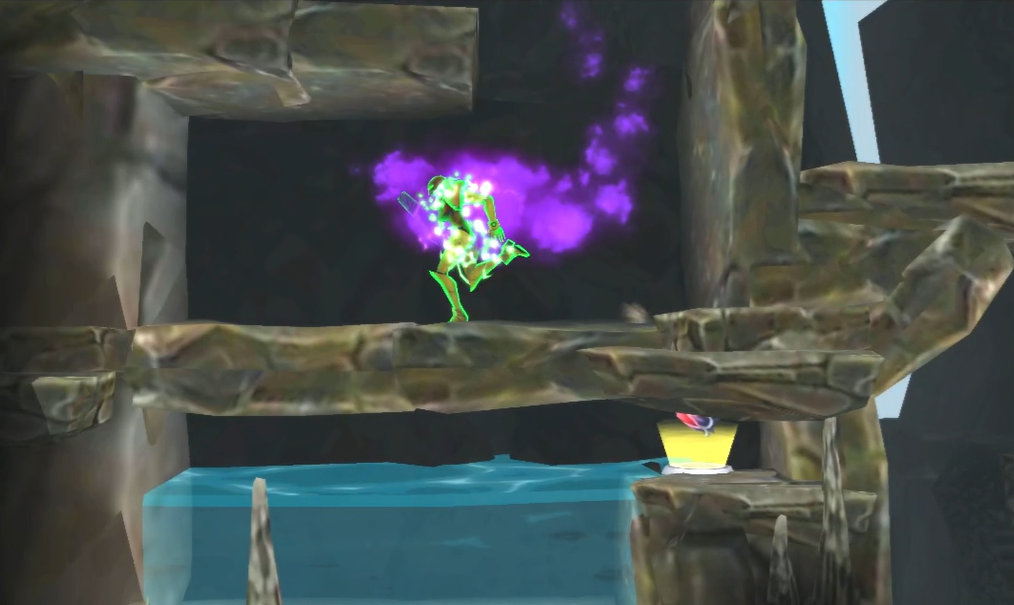
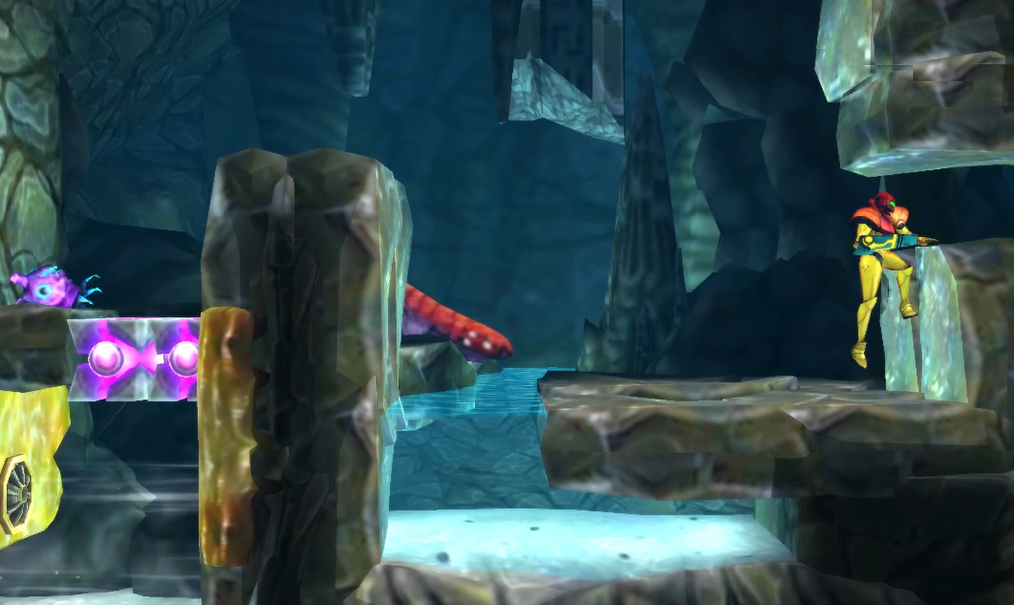
This new room has a Metroid husk, a Save Station, a Recharge Station, and this really cool looking red creature in the background that you can’t interact with; I don’t know about you, but it makes me feel at least a little more warm and fuzzy that not every single thing on this planet is trying to kill you! On the ledge right above the Energy Recharge Station, bomb the wall and a Morph Ball tunnel will open up. Roll on through!
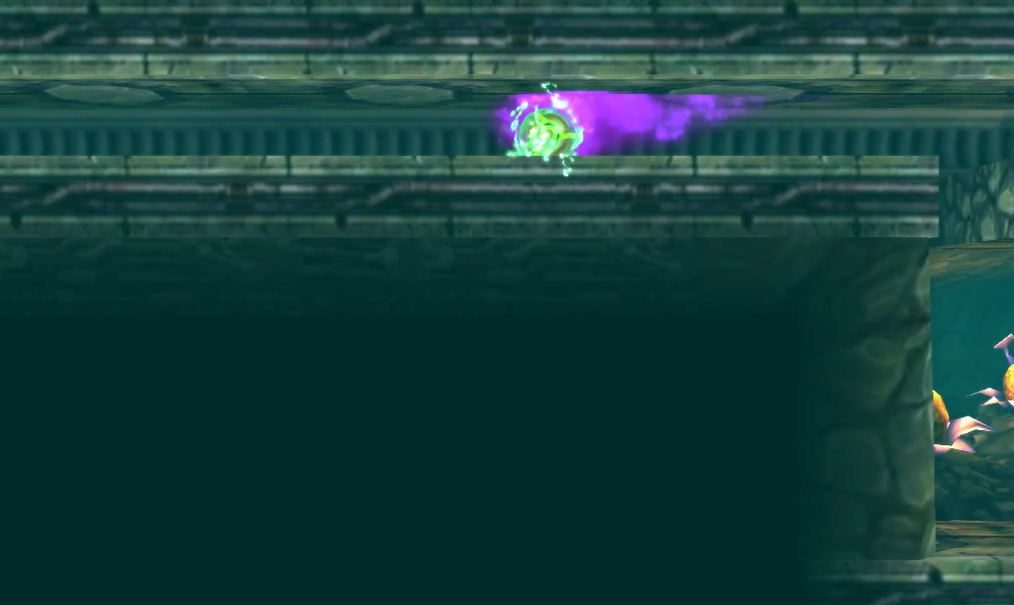
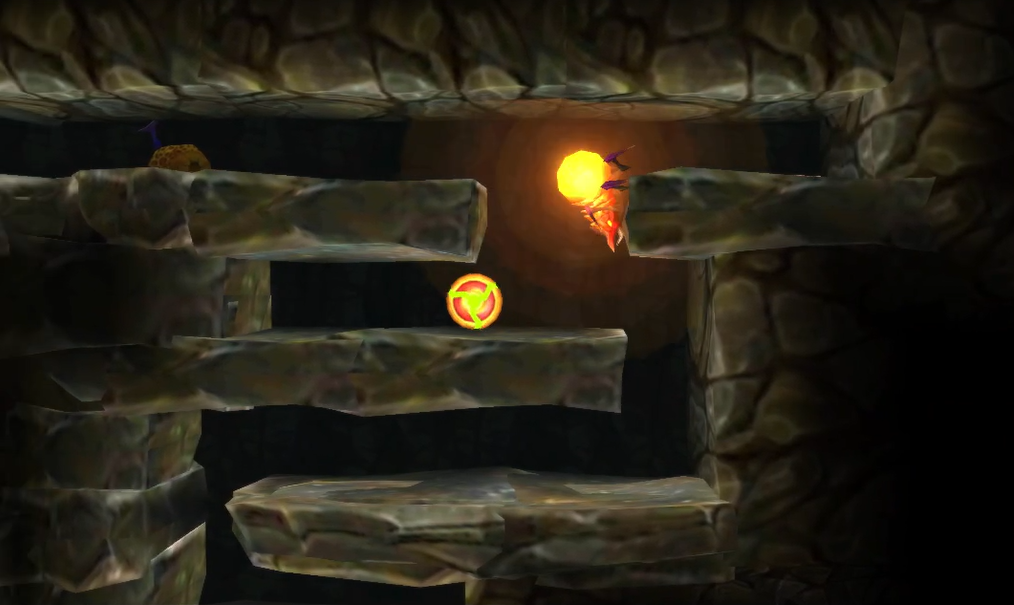
The good news is that this new room houses a missile expansion! The bad news is that it also is the first time – but certainly not the last – where you will be introduced to the Glow Fly, aka, the absolute worst enemy in this entire game. These little creatures move in a set path, usually in Morph Ball tunnels, from one burrow hole to another, and if you get too close to them, they will spontaneously combust. This explosion causes an insane amount of damage to you – usually a full energy tank, and that’s on regular difficulty, let alone Fusion difficulty. Needless to say, do everything in your power to avoid them. That being said, what you’ll want to do here is enter the Morph Ball tunnel, avoid these awful creatures, and roll to the top, where MISSILE EXPANSION #17 awaits you!
Once you’re done, roll back out and refill your health if you need to (and knowing how miserable those Glow Flies can be, you probably do!). Drop down and take the path on the right side and you’ll walk by yet another Metroid husk. Use your Spring Ball to jump up and lay some bombs when you get to the intersection with the fan blowing and yellow sludge on the wall everywhere. Continue through the door, and here we go! Another ALPHA METROID makes an appearance! This is a fairly standard encounter, so do your thing and eliminate it. Once you’ve collected its DNA, head back to the Save Station.
Save your game again and take the lower left door. Get ready, because we have another ALPHA METROID to contend with! Nothing too noteworthy about this confrontation, so just stick the same strategies you’ve used before and eliminate it. Once the Alpha has been destroyed, take the charge beam door on your left and enter the hot zone.
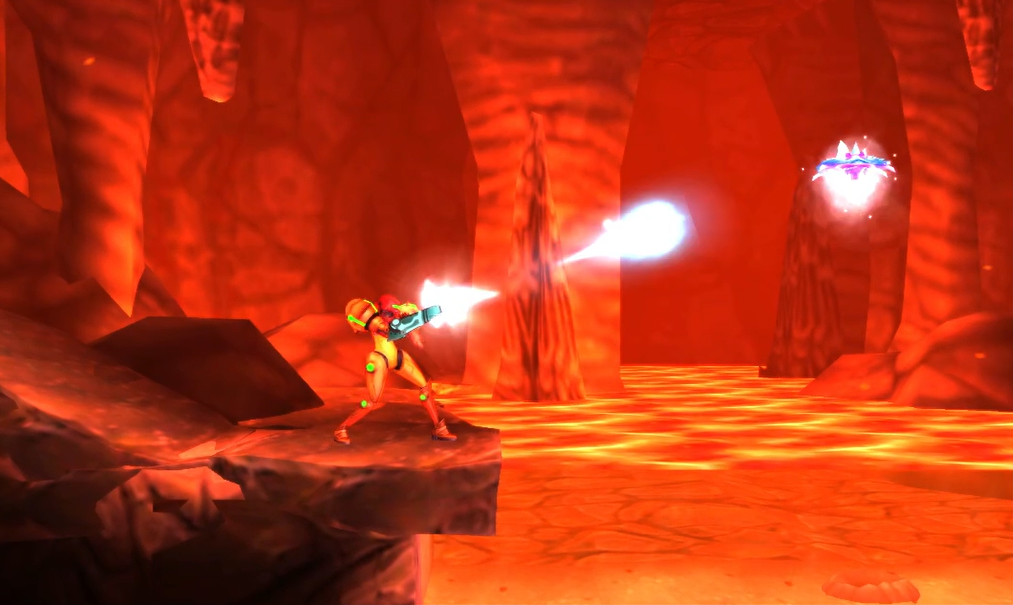
Once you’re inside, carefully eliminate any enemies in your path and head towards the Wave Beam door on the bottom left. Destroy the Taramarga and enter the room and get ready to act fast – you have an ALPHA METROID to contend with! There’s lava everywhere, so jump carefully. This particular Alpha will try and retreat to the higher level of this room, so follow it up and let it know there is no escape from Samus Aran, intergalactic bounty hunter. Once it’s destroyed, leave the room.

Once you’re back in the first room, press right, blasting anything in your way – wall, enemy, whatever! – and you’ll eventually run into a Teleportal. We’ll use that in a second, but for now, continue to press forward. You’ll eventually get into a small alcove where you’ll need to shoot out the blocks obstructing your path above you and use your High Jump Boots to, well, jump high enough to clear the ledge. Use your Ice Beam to turn the Chute Leech into a Chute Bridge and jump across the lava, entering the Blast Door.
This new room will have a fiery ALPHA METROID in it, but by now, you know all the tricks in the Alpha’s playbook, so do what you need to do and eliminate it. That’s all eight Metroids in Area 2, so we can finally move on! Head back to the Teleportal and use it to take you back to the closest Teleportal to the Chozo Seal.
Find your way to the Chozo Seal and release the Metroid DNA. FINALLY that darned purple acid will dissipate. Now don’t go rushing to the elevator yet, because there’s actually an expansion we can grab quickly. Get to the right side of the room and you’ll see a small tunnel filled with red weeds; activate your Lightning Armor, follow the path, and grab MISSILE EXPANSION #18!
That’ll pretty much do it for Area 2, at least for now, so descend down, step onto the elevator, and get ready to enter an even deeper, more hostile part of SR388…
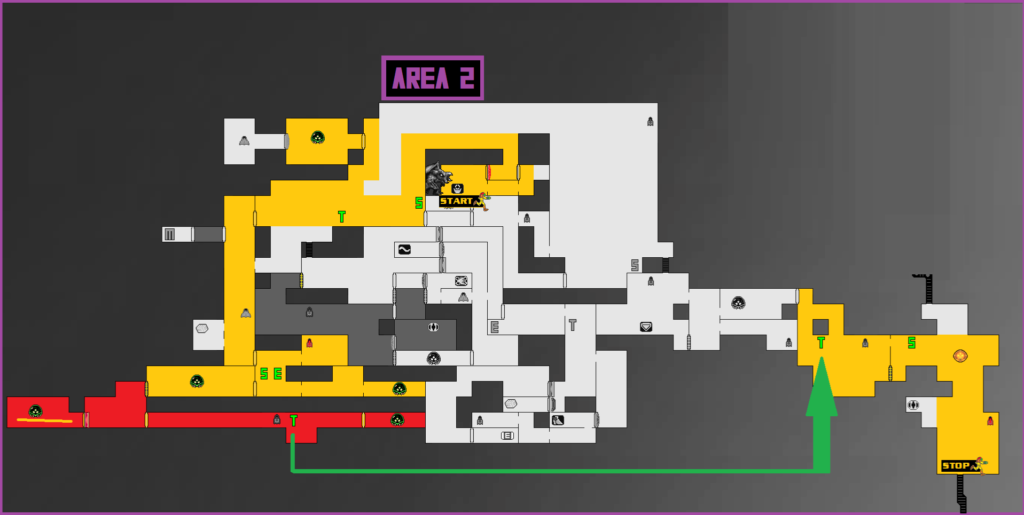
Chapter 3.4 Route:
Next Chapter: Area 3 – Aeion Mines