


Metroid: Samus Returns Walkthrough – Return to SR388
Walkthrough
- Return to SR388
- Area 1 – Ancient Chozo Ruins
- Area 2 – Hydroelectric Station
- Area 3 – Aeion Mines
- Area 4 – Crystal Caverns
- Area 5 – Flooded Greenhouse
- Area 6 – Diggernaut’s Domain
- Area 7 – Chozo Laboratory
- Area 8 – The Nest
- The Last Metroid
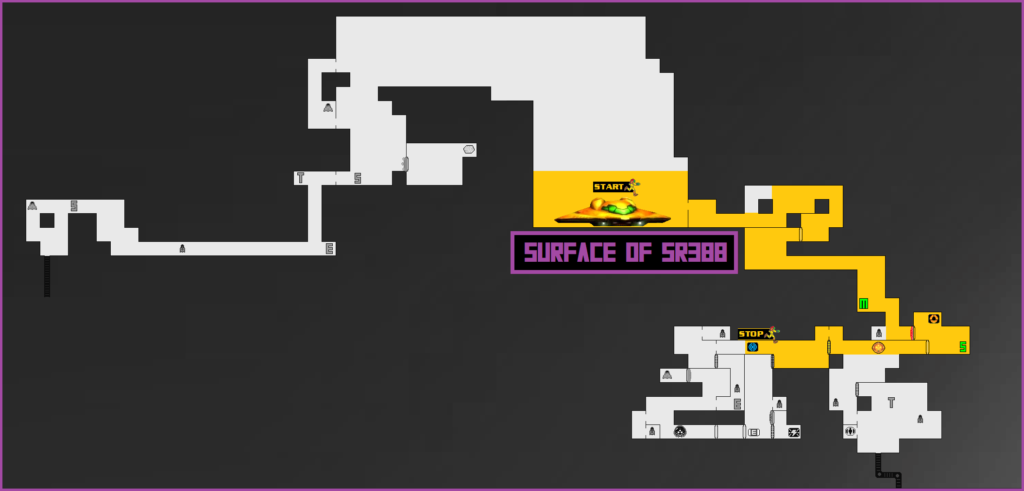
The Surface Awaits
“So long as they continued to exist, these Metroids would forever pose a devastating threat to the galaxy…”
Hello everyone and welcome to the full, 100% walkthrough for the enhanced remake of famed Bounty Hunter Samus Aran’s second adventure: Metroid: Samus Returns! Your mission is the complete eradication of the Metroid species from their native planet of SR388. A tall task, to be sure, but if there’s anyone who can do it, it’s Samus, and by extension, you!
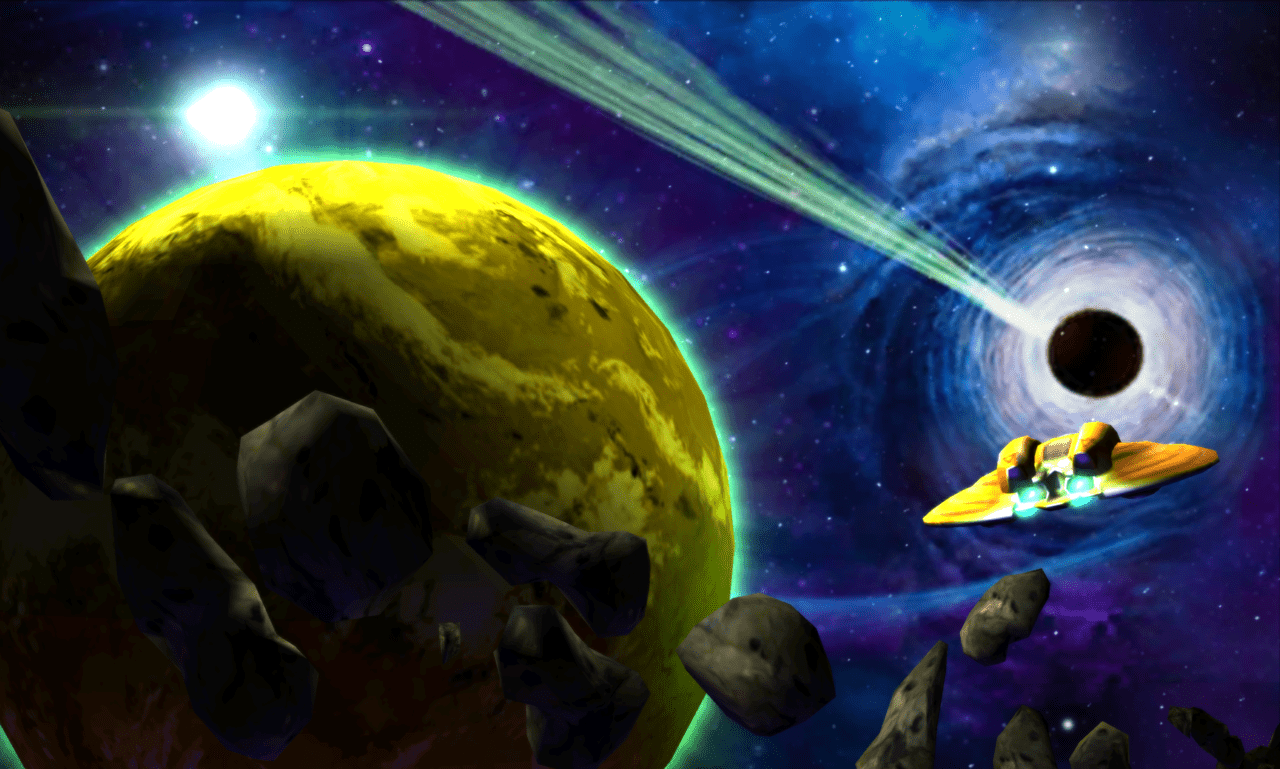
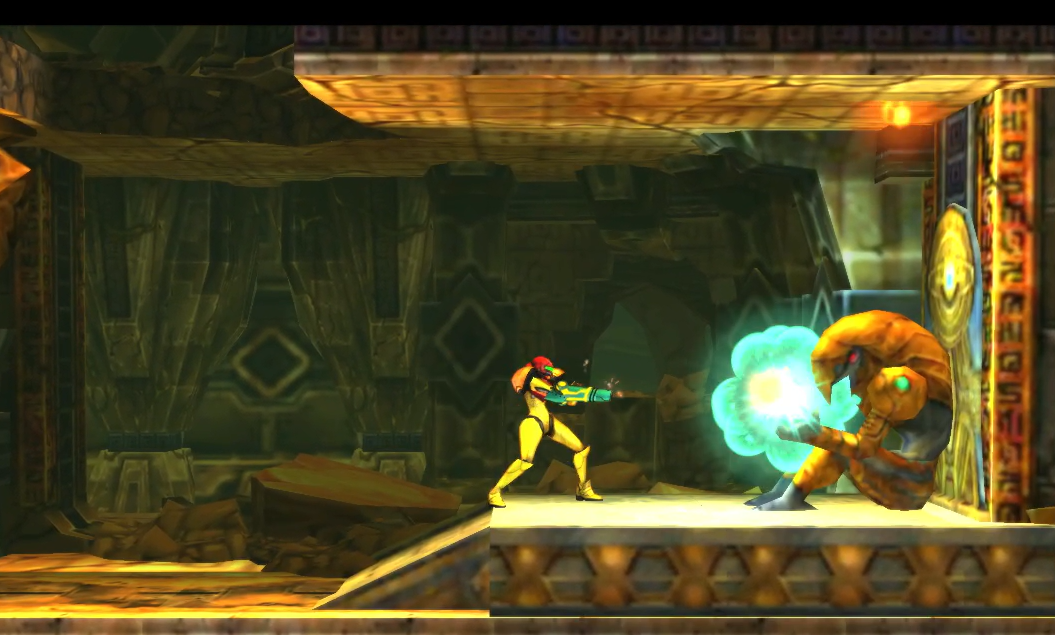
The action will begin immediately, as Samus’s Gunship touches down on the surface of SR388 and the legendary Hunter steps out. You’ll gain control of Samus, and right away, you’ll be able to tell that this isn’t your grandma’s 2D Metroid game. You’ll now have a designated button to hold that will give you full control over which direction Samus’s arm cannon is facing – this new mechanic is called 360° aiming and will be vitally important throughout your adventure, both in terms of combat and exploration.
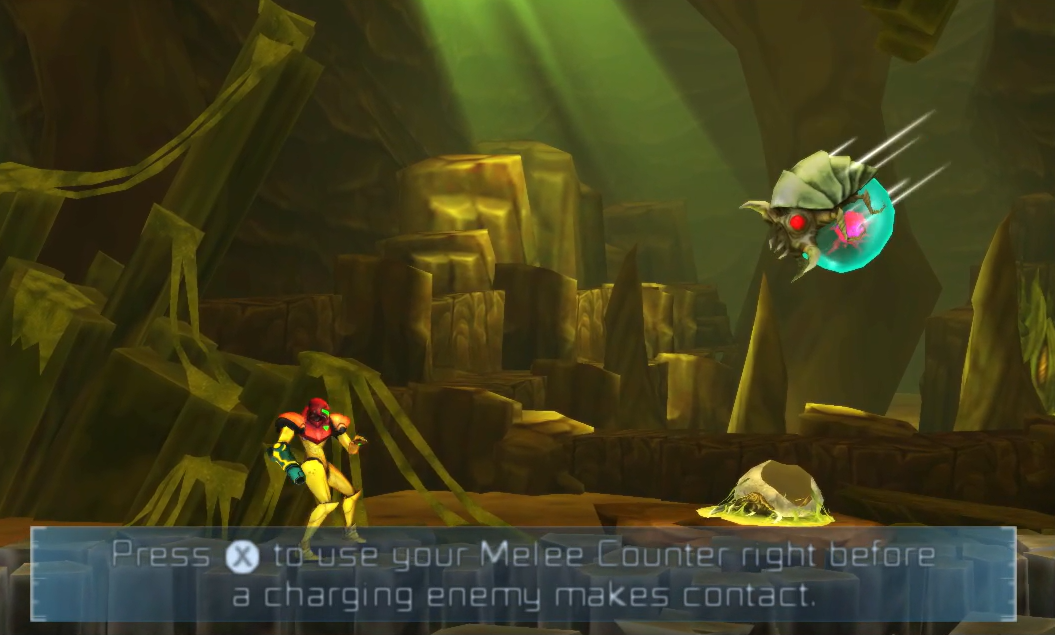
Another new feature is Samus’s Melee Counter. When you’re near an enemy and hear a click and notice a flash, you’ll have a second or so to hit the Melee button, and if timed correctly, you’ll execute a counter to whatever attack is coming your way. Not only will you avoid taking damage, but you’ll also stun your foe and be automatically aiming straight at them, allowing you to pulverize them with beams, missiles, whatever. Perform Melee Counters as often as you can, because this is CRUCIAL to your survival on the hostile SR388.
One final note before we get officially underway is that collecting expansions and backtracking will work a little differently in this game compared to previous 2D Metroid titles, with the reason being that Samus Returns forgoes an interconnected world for a more staggered approach to its areas, meaning you’ll complete one area as fully as you can and move on to the next, never needing to come back if you don’t want to. We’ll do a sweep of the board to grab all of the items, but it won’t come until much later in the game in this walkthrough. Of course, you can go back via the Teleportals at any time you feel like and collect away!
Take a moment to breathe in the air of SR388 and listen to the incredible ambient music raining down on you. This will likely be the most tranquil moment in the game, so enjoy it. Ready? Let’s get started!
Press ahead and shoot the block in front of you. Immediately after, you’ll see a frog-like enemy hopping around called a Hornoad – blast it away and continue forward. Destroy the missile block in front of you and press ahead – you’ll get to test out your 360° aiming now! Aim high above and destroy the grey block obstructing the ledge; once it’s gone, jump up, grab a hold and continue to press forward to the right!
Drop down a ledge and use your 360° aiming yet again to destroy a red missile block that’s obstructing yet another ledge; jump up and grab said ledge, and then aim again to the second, higher block and take it out. Jump up and drop down, following the path until you see a Galactic Federation soldier’s corpse sprawled on the ground, facing a door to your left. Go through the door and a small cutscene will play.
There will be a weird purple bat creature called a Gullug that will fly straight at you; the game will now give you a crash course in Melee Countering. As mentioned earlier, this is integral to your mission’s success, so MASTER this! You’ll know it’s time to activate your Melee Counter when you see a flash and hear a click. Be fast, react true, and you’ll smash this Gullug right in its ugly face, and get a ton of health and ammo for your troubles!
Drop down and continue to practice your Melee Counters. Once you reach the bottom of the path, head to your right and shoot out the bricks blocking your way. Continue pressing forward, destroying any enemies in your path, until you hit the far right wall. Shoot the floor and continue to drop down.
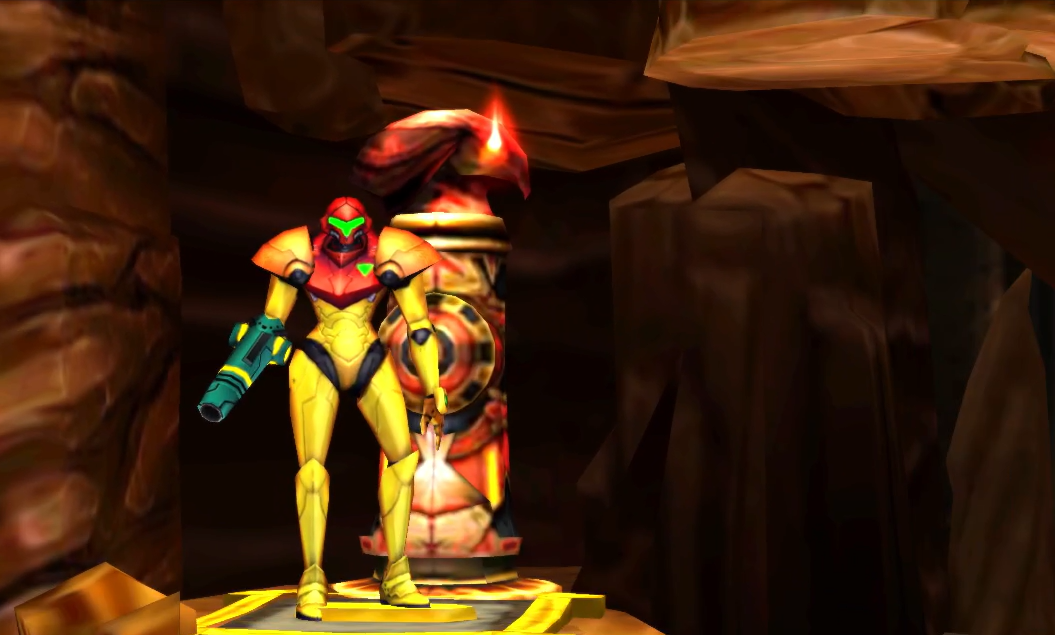
Eventually, you’ll come across an Ammo Refill Station. Use it if you need to and continue forward. Keep dropping down and you’ll eventually come across a Blast Door with a red shield covering it. Red = missiles, so fire away and break that shield into smithereens! Head through the door and you’ll see a Chozo Statue; head over, shoot the orb, and the game’s first powerup will be yours. Congrats – you’ve acquired the MORPH BALL!
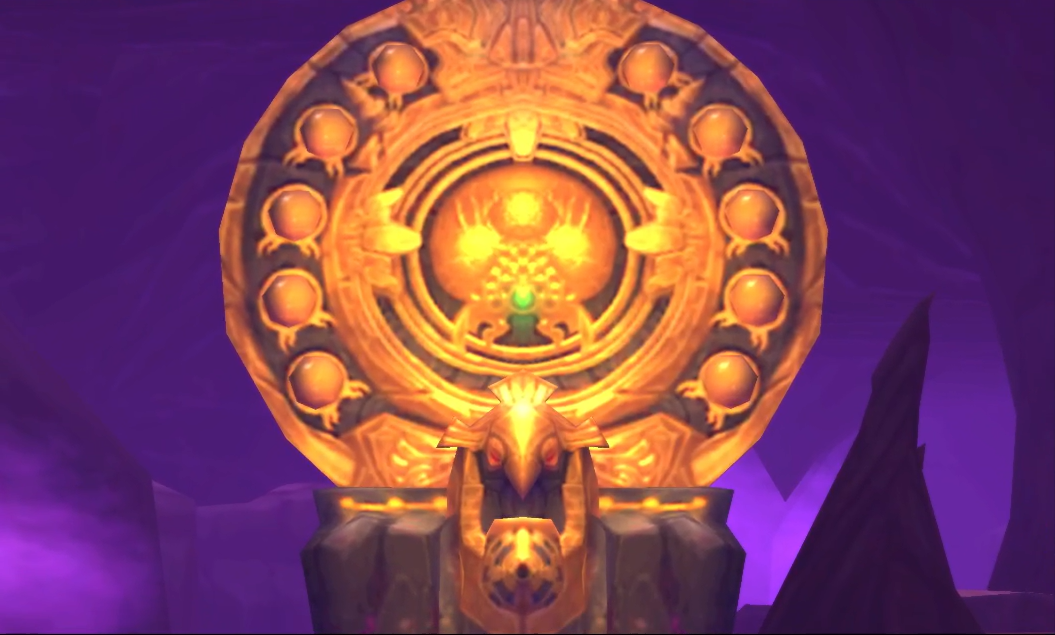
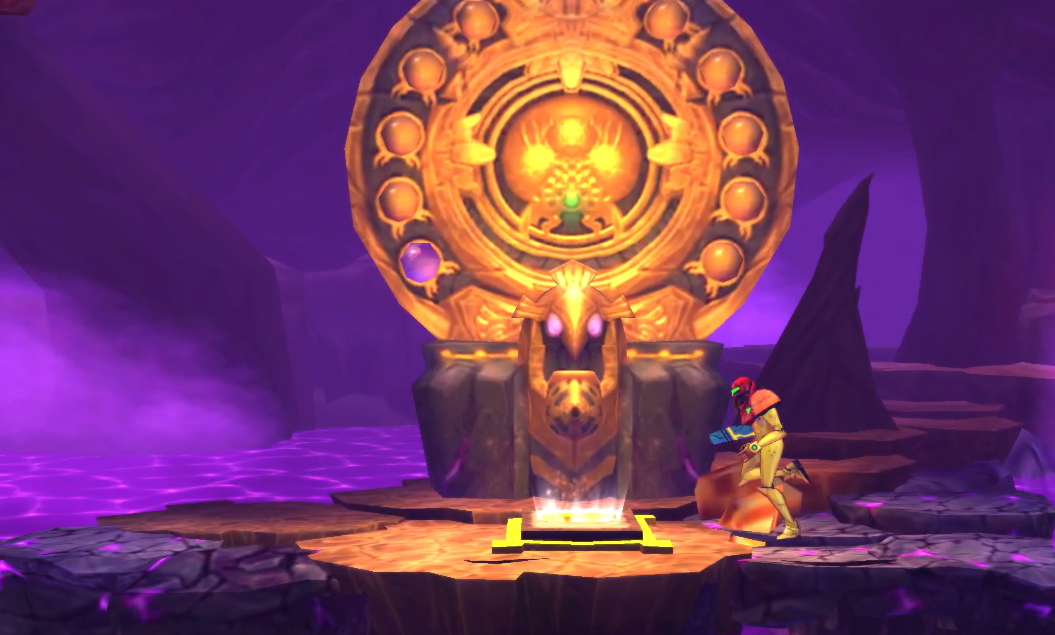
Let’s put that Morph Ball to use right away! Morph down and roll through a tunnel underneath the Chozo Statue and you’ll drop down right beside a Save Station. Use it if you want and then go left and through the door. You’ll be face to face with a really cool looking Chozo Seal, a golden circle with a Metroid insignia in the middle and a number of orbs on the side. You’ll see these scattered throughout the areas of SR388, and once you step on the platform directly underneath the Seal, those orbs will light up – this will be your cue to know how many Metroids are in each area. You’ll need to destroy all the Metroids and return their DNA to the Seal in order to progress further into deeper parts of the planet. Lo and behold, there’s only one Metroid in the Surface Area, so let’s get hunting!
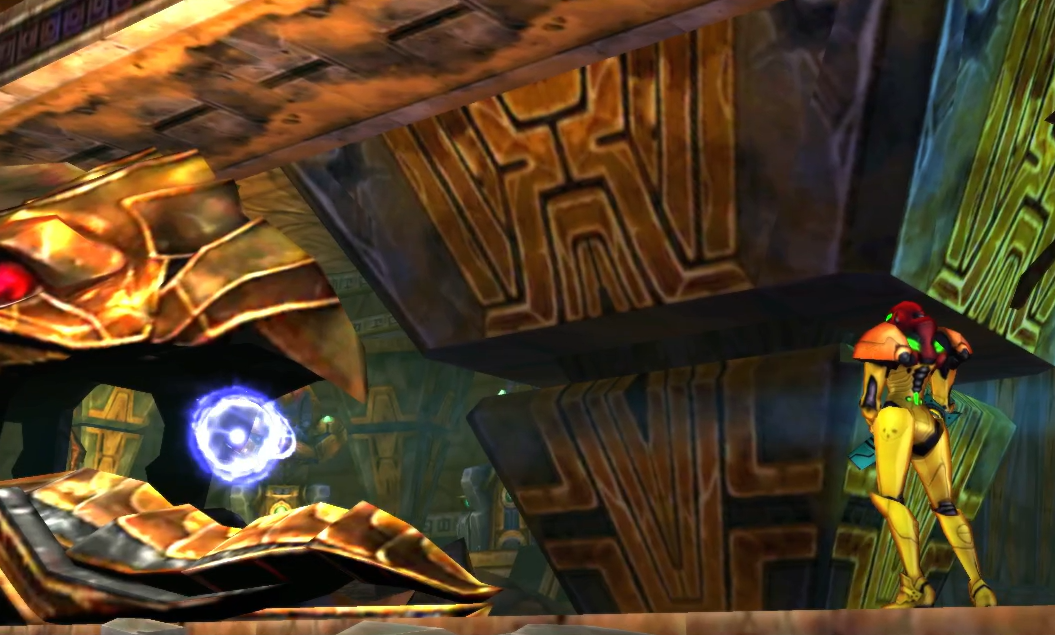
Make your way to the left of the seal, and you’ll run into a door with no power; you can’t open it yet, so jump up and grab the ledge above you instead, rolling through the Morph Ball tunnel and popping out on the other side. Walk forward a bit and take the top fork in the path and you’ll see an insanely cool looking Chozo… thing that will light up. Samus will walk forward a step or two and then grab a glowing orb that will grant you your first Aeion ability of the game – the SCAN PULSE. This is a really cool ability that’s kind of like an evolution of Super Metroid’s X-Ray Scope. You’ll also notice that you now have an Aeion gauge at the top of your screen underneath your health bars. As you might imagine, using Aeion abilities drains this gauge, so use your powers carefully!
On that note, what better time to test out your Scan Pulse than right now? Doing so will reveal a couple of flashing blocks to your left that can be blown up, so destroy them and head on forward! As a side note, I won’t really be referencing the Scan Pulse all that much in this guide, but feel free to use it to your heart’s content and have it potentially help you pick up expansions in a different order than I have in this guide!
As an aside, now that you’ve acquired the Scan Pulse, the Surface of SR388 Theme will start to play, which is one of my personal favorite themes in the entire series (dare I say, an iconic theme?). Take a moment and just listen and appreciate before continuing on!

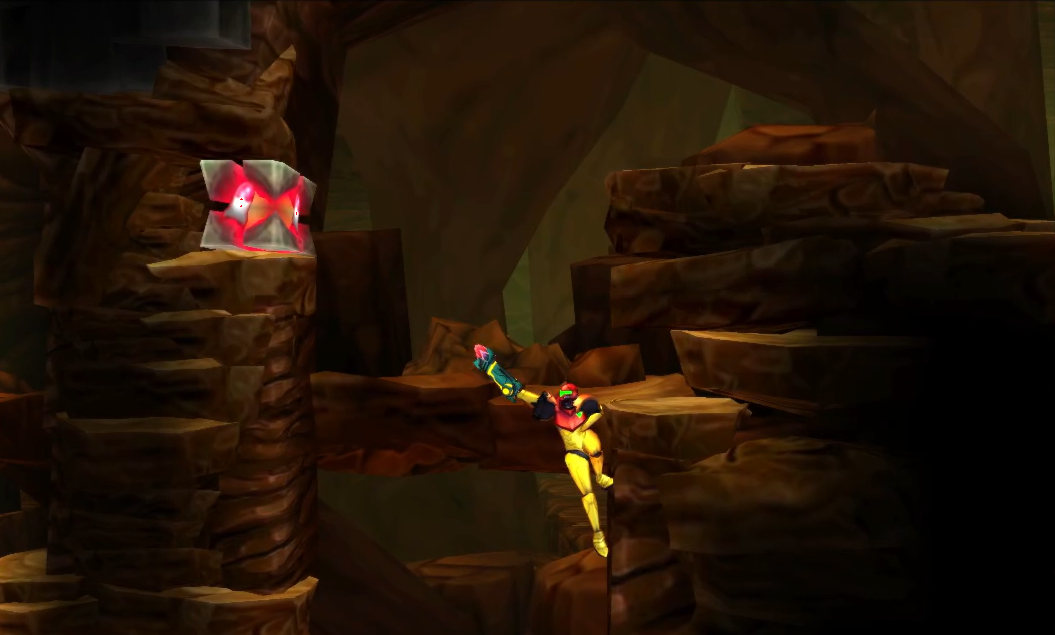
Once you’re in the new room, drop down to the bottom and shoot the two blocks to your left. Roll through the Morph Ball tunnel, destroy the enemies in front of you and jump up to grab the ledge on your left. Roll through, and you’ll see that the next ledge is out of your reach. What you’ll need to do is perform a wall jump, which is thankfully pretty easy! Jump towards a wall and, as soon as Samus hits the wall, hit jump again, and you’ll perform a second jump in the opposite direction! Practice this, this is another integral skill you’ll need to use on your journey.
Once you’ve wall jumped towards the upper ledge, deal with the enemies in front of you and then roll under the ledge – you’ll come face-to-face with MISSILE EXPANSION #1! Roll back through and retrace your steps until you’re back where you started. Go through the Blast Door and an eerie cutscene will start to play…
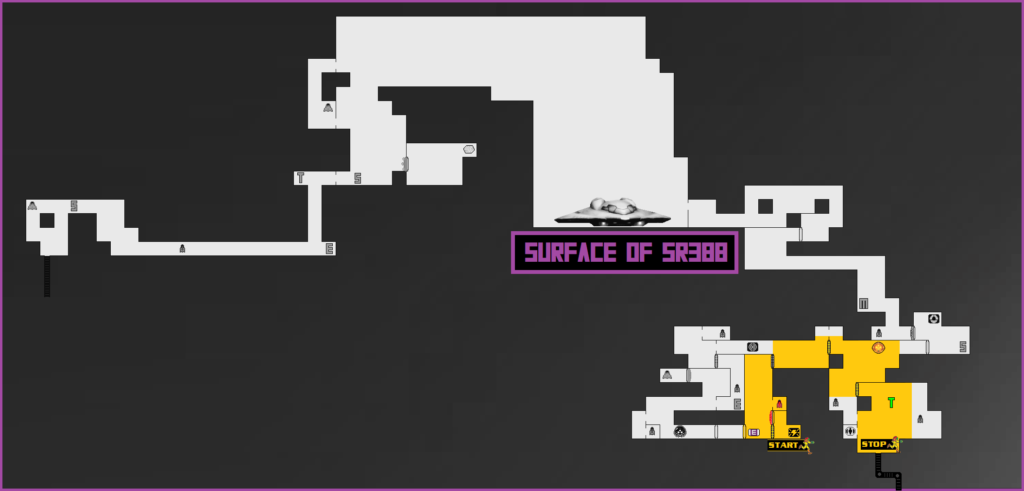
Chapter 1.1 Route:
Evolution
A single Hornoad, hopping around, minding its own business, gets attacked by a regular Metroid. Law of the jungle, right? And make no mistake about it, in the jungle of SR388, the Metroid is the apex predator. Be very careful going forward.
By the way, you’ll now be able to use amiibo in the game, so if you happen to have a Samus and Metroid Samus Returns amiibo or a Samus or Zero Suit Samus amiibo, use them now! Samus Returns’ Samus will give you a bonus reserve Aeion Tank, Smash Bros. Samus will give you a reserve Missile Tank, and Zero Suit Samus will award you a reserve Energy Tank! Sweet! Also, if you use the Metroid amiibo, you can not only unlock Fusion Difficulty mode (talk about a rough ride, ugh) but you can also unlock a snazzy tool for finding Metroids called the Metroid Marker. Give it a try!
Continue down the pathway, and drop down the Morph Ball tunnels in a very specific way! From the top, roll down and follow the path. Roll down the LEFT side when you get the option go either way, and before you drop down, shoot the wall to reveal MISSILE EXPANSION #2 hidden in a small alcove. Roll to the floor and continue.
Use the Energy Recharge Station; as you’ve no doubt noticed, your Metroid radar is going nuts, meaning a Metroid can’t be too far away. Ignore the ledge above you and press towards the left. Defeat some enemies and eventually there will be a bit of a clearing with a Save Station in the bottom part of the room. Use it if you want, and then jump back up and shoot out the leftmost wall. Drop down, sweeping out any creatures in your path, and follow the passageway until you’re facing MISSILE EXPANSION #3. Return back on the same path you took and get to the Save Station.
Use a missile to blast the lone block preventing your passage and roll through. You’ll catch up with that Metroid from earlier. Only, something is happening to it…
Chapter 1.2 Route:
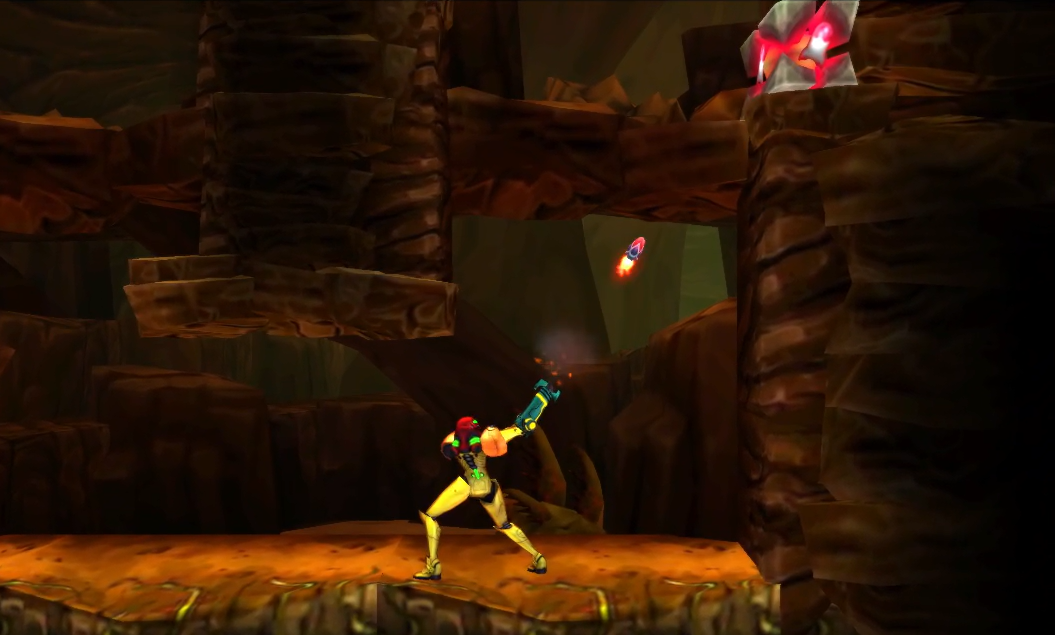
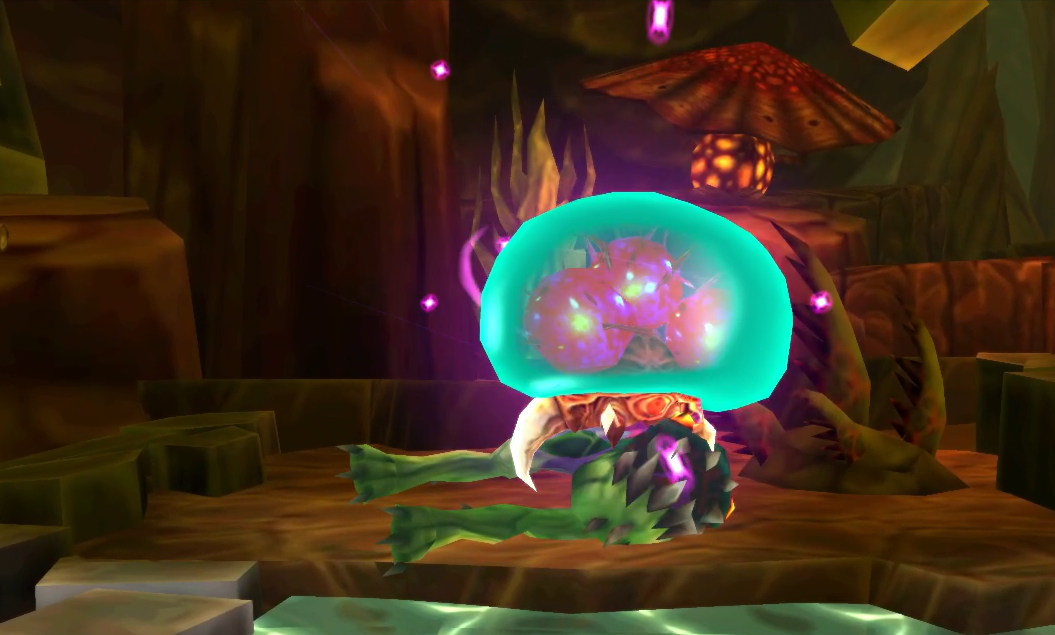
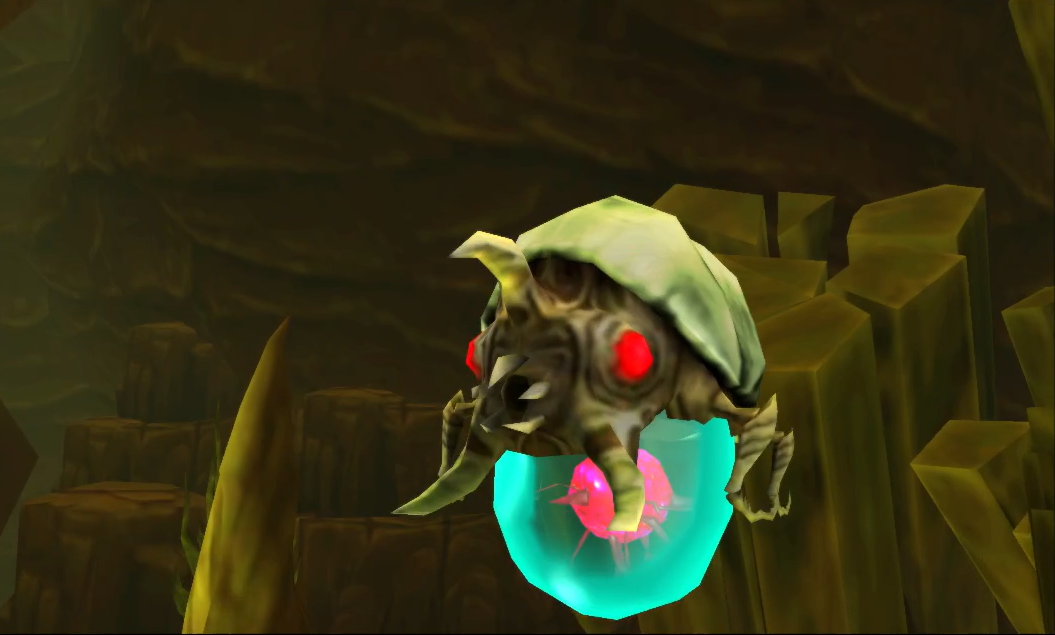
Alpha Metroid
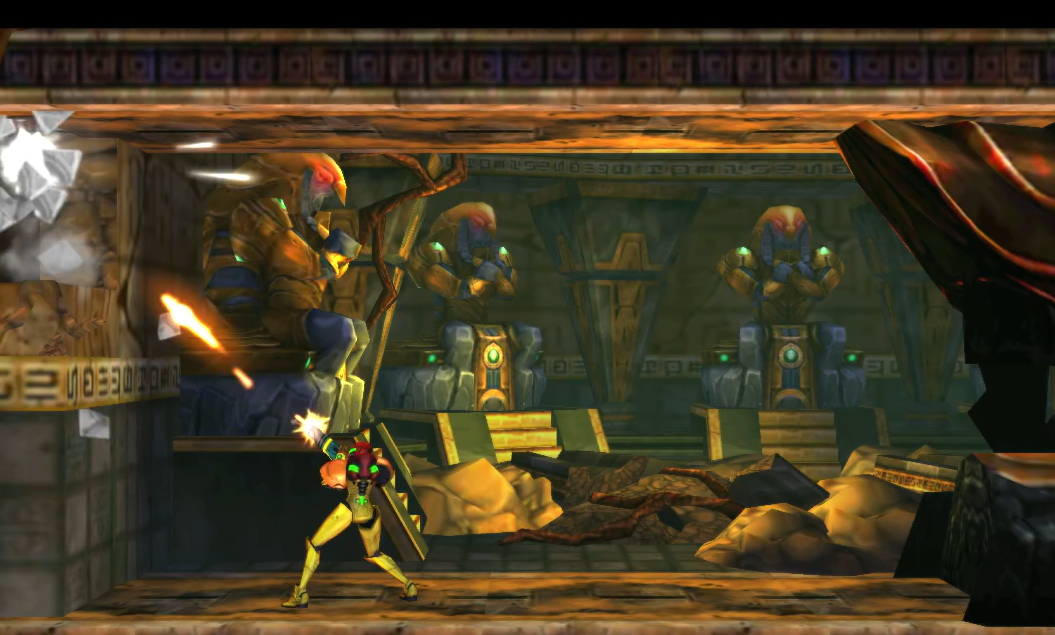
If you thought that the only kind of Metroids on the planet were the ones you already knew and loved, think again. This particular Metroid has evolved into the second evolutionary line of the Metroid family, the ALPHA METROID! You can quite literally see the skin that it shed during its evolution; yuck! That being said, Metroid skin is going to be a great visual indicator of where a Metroid could be hiding out, so pay attention to the husks when you see them, as they’ll often be leading you towards your goal.
Alpha Metroids are a fairly standard type of Metroid, and they make up the bulk of the 40 Metroids that you’ve been tasked with eradicating, but that doesn’t mean you should take them lightly! They are still a formidable foe, particularly when there are environmental obstacles to contend with as well. As just an FYI, I won’t be writing detailed battle notes for each individual Metroid battle (and that goes for every Metroid evolution) since most battles are more-or-less the same, so just refer back to this guide if you get stuck!
The Alpha Metroid has a few different attacks up its figurative sleeve, but what you’ll be mostly doing is jumping over it as it charges towards you. The Alpha Metroid will typically lunge at you in a swooping down pattern, starting high and levelling down, so a simple jump above it should prevent any damage. It will also drop energy balls in bursts of three, so be careful not to bump into those since those suckers will do more damage than you might think!
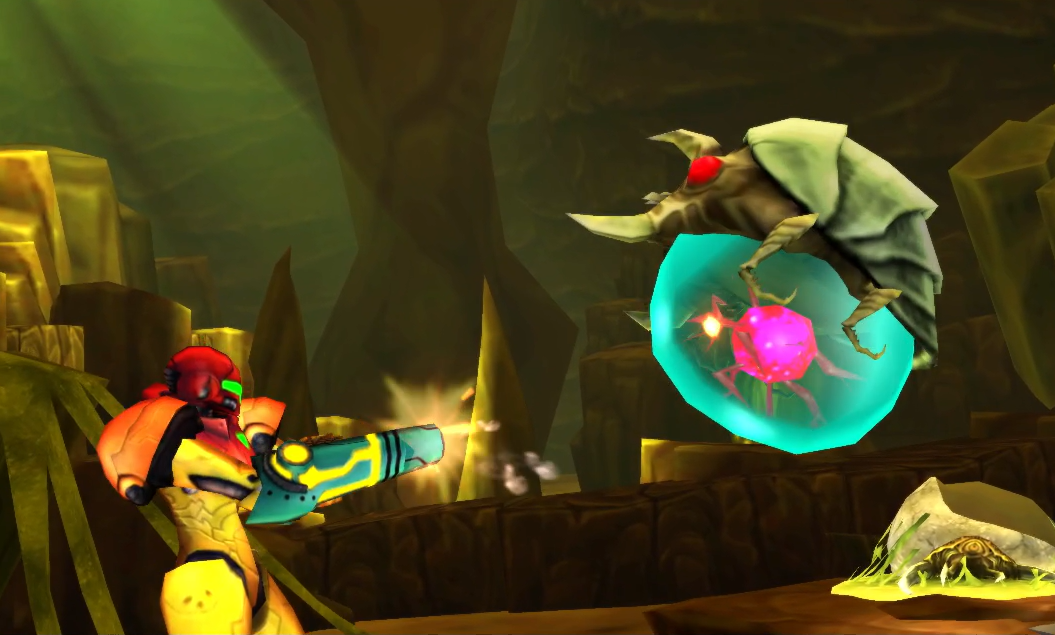
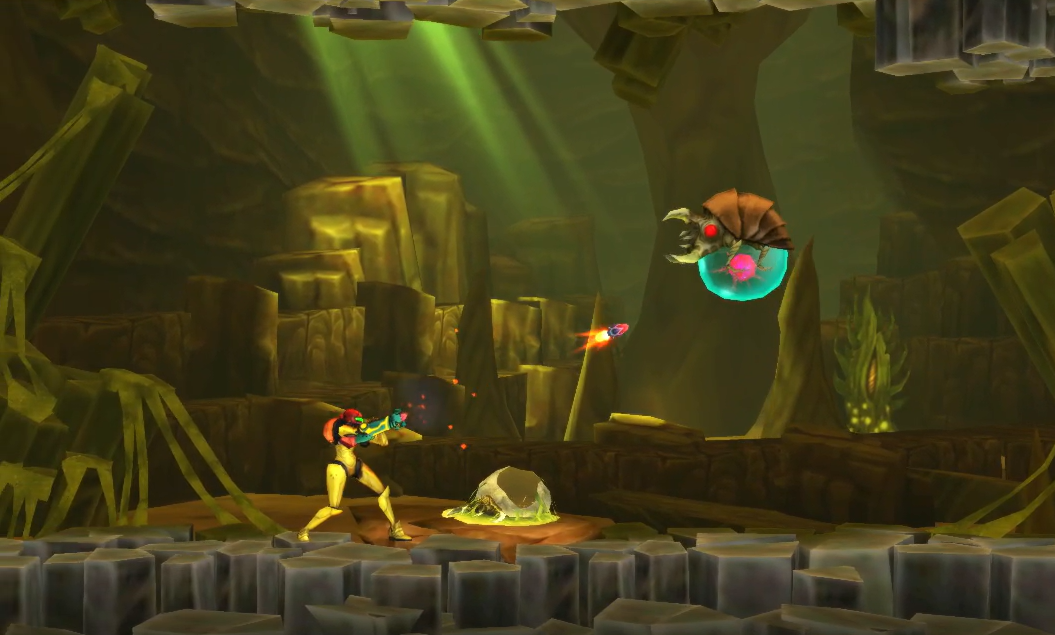
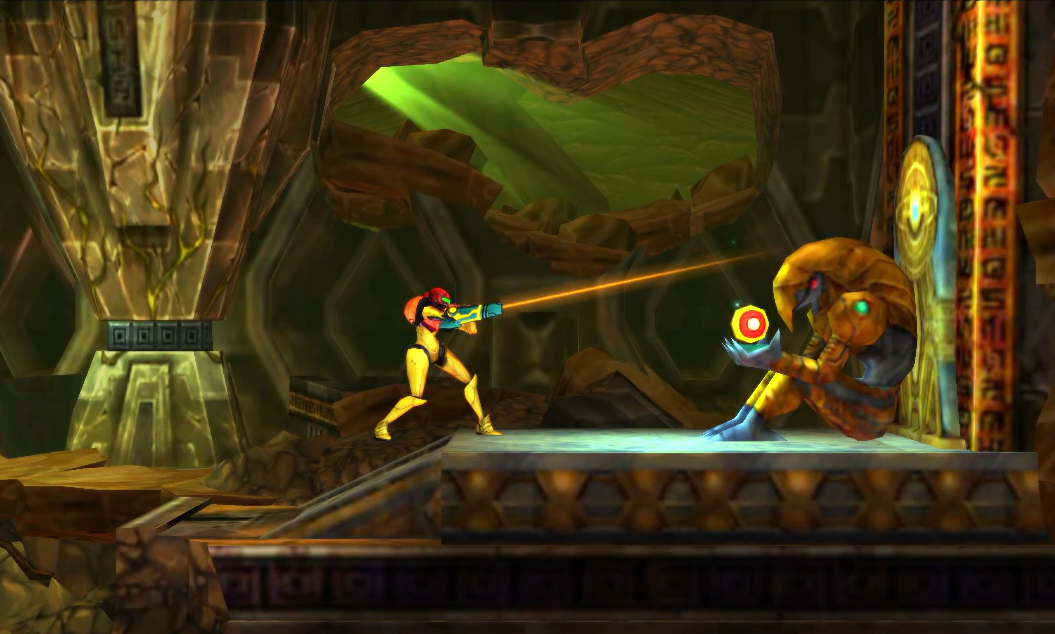
If it wasn’t obvious, the weak spot on this evolved Metroid is the green underbelly with the red nucleus. You’ll want to use your 360° aiming to bombard the belly with missiles, and that will certainly finish it off, but the even better opportunity you have to destroy the Alpha Metroid comes when it charges towards you and gives you a chance to melee counter it. Do this, and you’ll stun the Alpha, letting you fire missile after missile right into its mouth. Not only that, but you’ll refill your Aeion gauge and missiles at the same time! This is riskier, but faster.
Whatever your method, the Alpha Metroid shouldn’t give you too much trouble, so deal with it and collect the Metroid DNA that it gives off.
Descending
Go through the door on the right and use the Missile Recharge Station in the next room. Go through the door, drop down, and roll under a small ledge to grab ENERGY TANK #1. Jump up to the ledge on the right and use your missiles to destroy the red Blast Door. Enter the room and you’ll find a Chozo Statue waiting for you; approach it to claim the CHARGE BEAM! This will energize any doors without power, so test it out on the door to your left and get outta here!
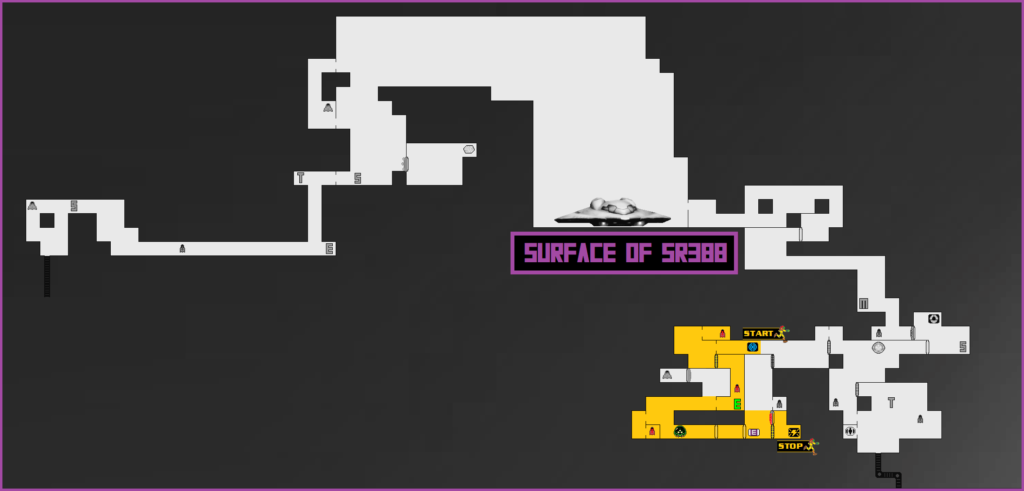
Start the climb back up, but when you get a couple of ledges up, stop and shoot a block in the lower right corner of the wall and a small tunnel will open up; roll through it to grab MISSILE EXPANSION #4. Exit and keep climbing to the top of the room, using a charged shot to open the door. From here, make your way back to the Chozo Seal and release the Metroid DNA. The purple acid guarding the elevator to the lower level of the planet will start to drop, so make your descent downward, progressing slowly and destroying all enemies in your path.
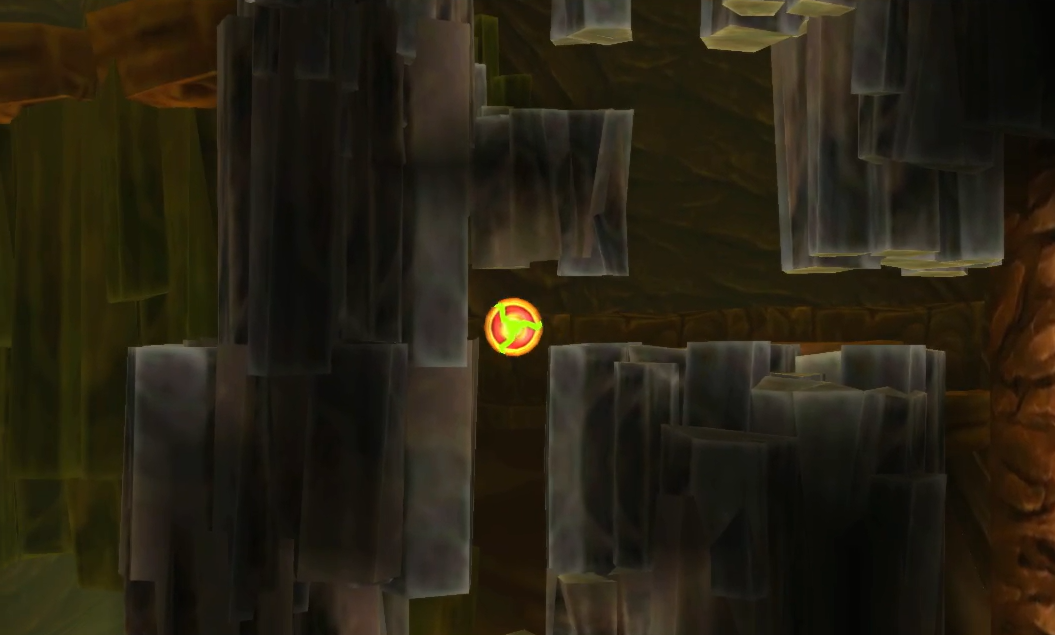
Go through the door and keep pressing forward. You’ll eventually run into a Chozo Teleportal. As the name implies, this will be very useful for fast travelling later in the game! Continue your descent downwards (you’ll see a missile expansion in the corner, but you can’t get it now, so just roll past it) and eventually, you’ll come to an elevator.
Take it, and get ready to enter the inner sanctum of SR388.
Chapter 1.3 Route:
Next Chapter: Area 1 – Ancient Chozo Ruins