


Metroid Fusion Walkthrough – Sector 4: Ultra-High Speed
Walkthrough
- Biological Space Labs
- Sector 1 – Atmospheric Interference
- Sector 2 – Unknown Saboteur
- Sector 4 – Ultra-High Speed
- Sector 3 – Rogue Security
- Sector 6 – Frozen Parasites
- Sector 5 – Cold Arsenal
- Sector 3 – Meltdown
- Habitation Deck – Signs of Life
- Sector 5 – First Encounter
- Main Deck – Power Failure
- Sector 2 – Overgrown With Vegetation
- Sector 5 – The Nightmare Awakens
- Sector 4 – Diffusion
- Sector 6 – Revelations
- Sector 1 – Neo Ridley’s Cry
- Sweeping the B.S.L.
- The Final Confrontation
The Hunt For Serris
Adam tells us that since the release of the Blue Locks, the SA-X and “thousands of X” have invaded the other Sectors. He orders us to eliminate a creature named Serris, a lifeform capable of ultra-high speed. He also lets us know that all the water is electrified and will make us into burnt toast if we touch it, which is fantastic news to hear in the AQA Sector. Regardless, we have a bounty to hunt.
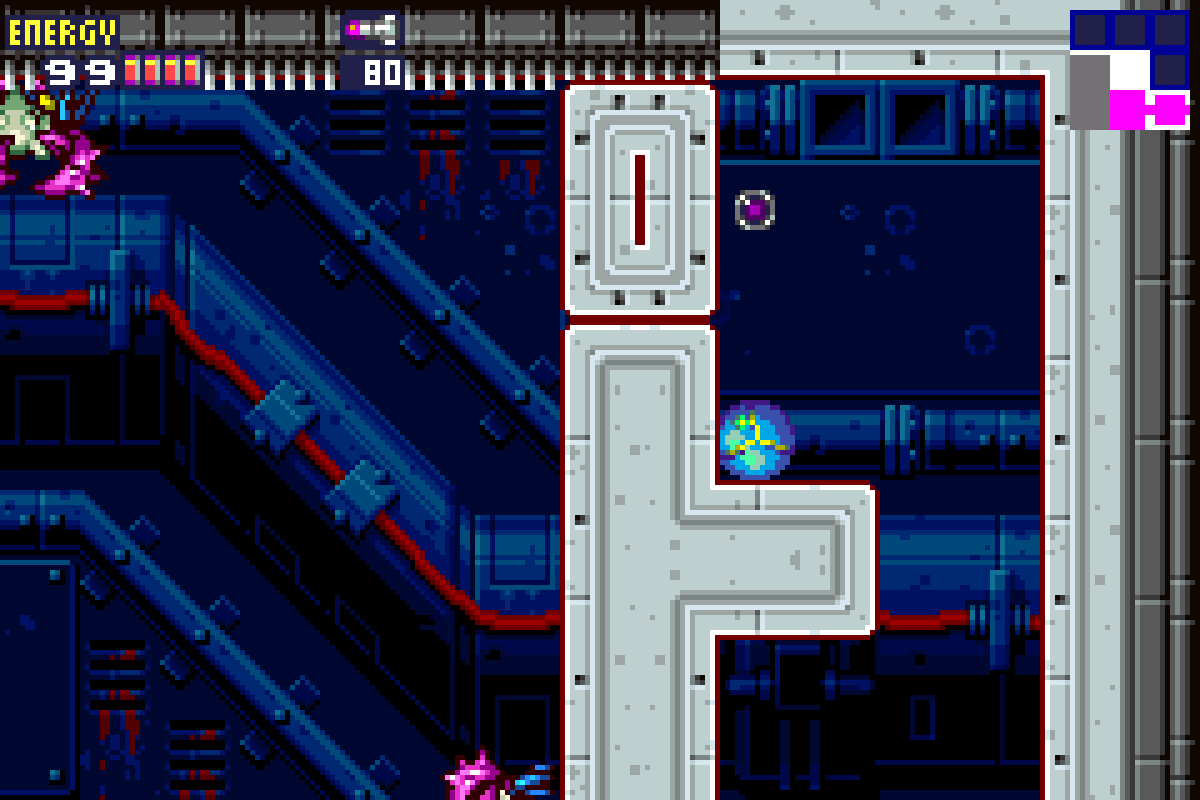
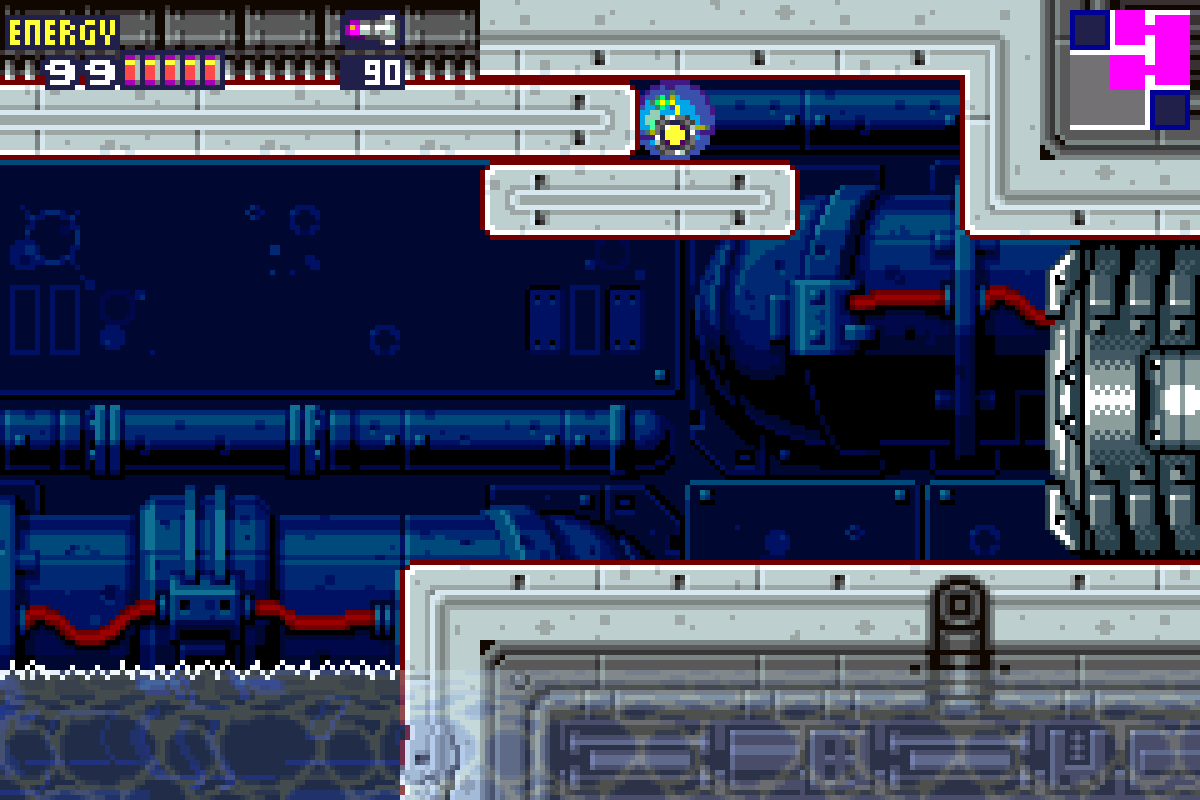
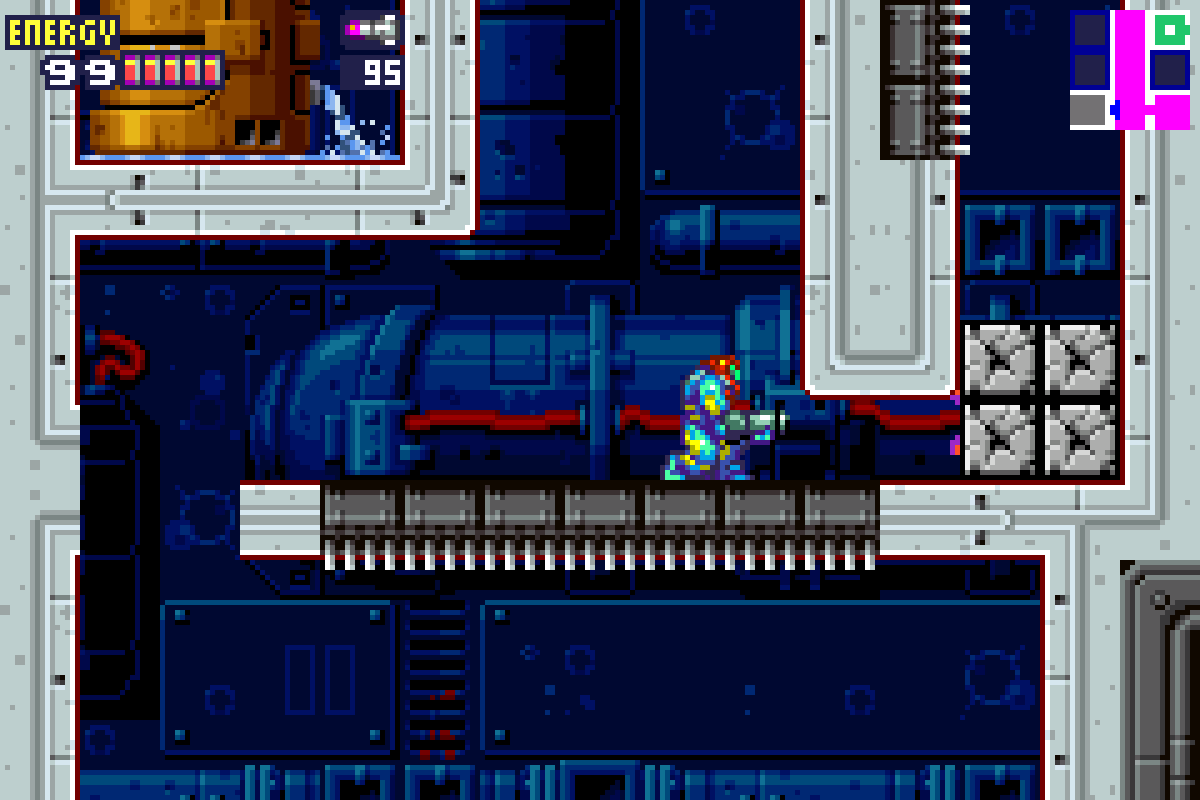
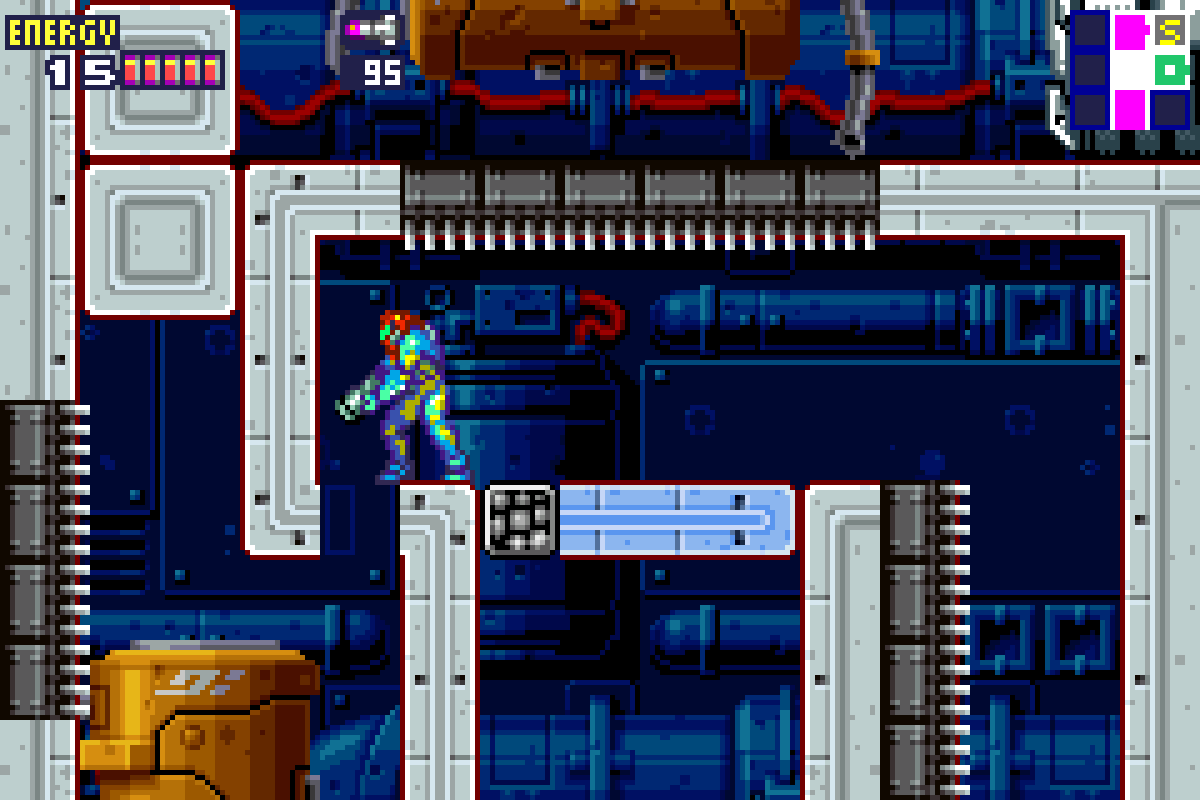
Head towards your left two rooms until you get to a large room with electric water and monkey bars at the top. Bomb the block blocking said monkey bars and then climb across as far as you can. You can drop down to some small platforms, but do not get in that electric water! Towards the middle of this room, you’ll see an opening in the ceiling. You’ll be in a giant room that wasn’t on the map, and it’s full of goodies! Press on to the other side of the room (you can go through the door and save your game if you want) and then wall jump up to the higher ledge. Bomb the center bit of the wall and watch it fade away, roll over and bomb the bottom the other section of the wall so the monkey bars are clear. Before you hop on, bomb the bottom left corner of the wall and you’ll find MISSILE EXPANSION #15. Hop on the monkey bars and shoot two Missiles to the wall; you can now roll through the opening to a little area below. Press on half a screen to the right, jump over the pit and jump up and shoot the upper right wall. Doing so will net you MISSILE EXPANSION #16. Not bad!
Exit this room and drop back down into the large room with the electric water. Make your way to the top left and go through the door. You’ll be in a smaller but similar looking room with a few pits full of NON-electrified water. This is good! Enter the water pit in the top left of the room and go through the door. Follow the path up and eventually you’ll come to a door that leads you right to ENERGY TANK #5!
(Side note – one of the annoying things about Metroid Fusion is its relatively unresponsive map. The map would suggest that you can continue on upwards from this point, when obviously the giant crushed platform would suggest otherwise. The game does the same thing when the SA-X destroys a door; the map will show that door as functional even when it is not. Just keep that in mind if ever you’re looking at the map and it seems like the route I’ve suggested is longer than it should be – that’s probably the reason why.)
Exit back to the previous room with the two water pits, and this time, make your way to the bottom left door. In this next room, there is a ton of electric water, so watch out. Bomb the wall covering up the monkey bars, jump up and get to climbing! Make sure that you take your time and shoot down any enemies in your way, cause if they knock you off… bzzzzzap!
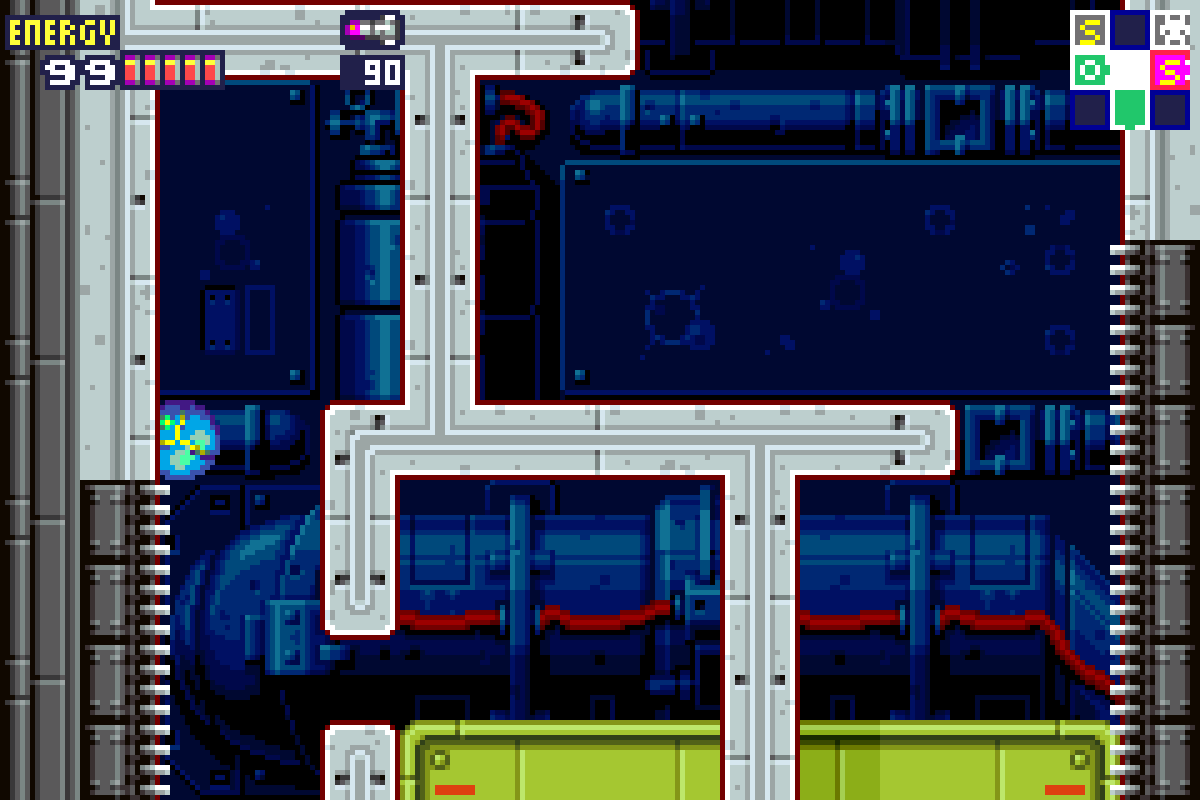
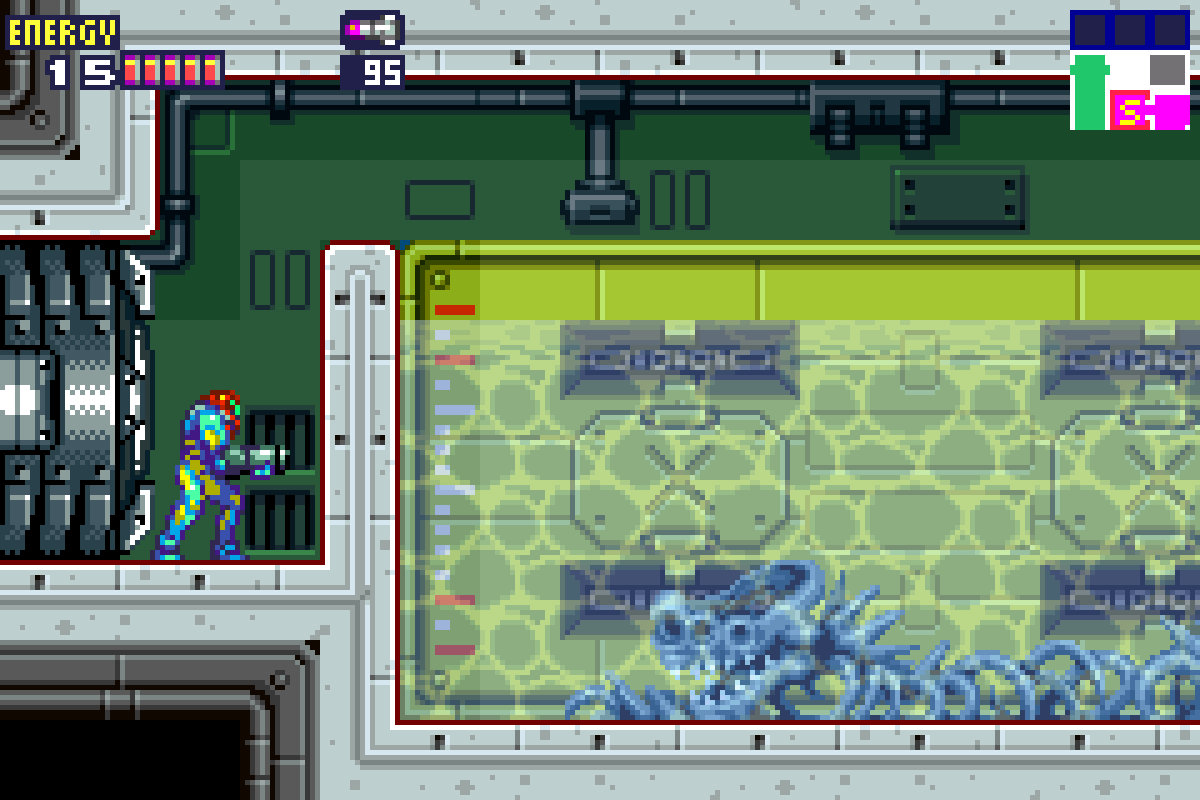
About halfway through this room, you’ll notice another break in the ceiling. Head up and you’ll be in another room not on the map. You’ll see a few more pits filled with water and monkey bars on either side of the room. At the top of the monkey bars on the left hand side, you can roll through an invisible wall (what is this, Maridia?!) to a secret room. Clear this room of enemies, roll over in the water and grab MISSILE EXPANSION #17.
Roll out of this room and back down to the long room with the electric water. Bomb the wall and press left, going through the door at the end. You’ll be in a long vertical room that has a blue door opposite you. Ignore that for now and instead head up. Blast your way up to the platform, money bar across, and blast your way up even further. Be careful all out stepping on the thin blue platforms; they’ll disintegrate as soon as you touch them. Make your way up to the Save Room.
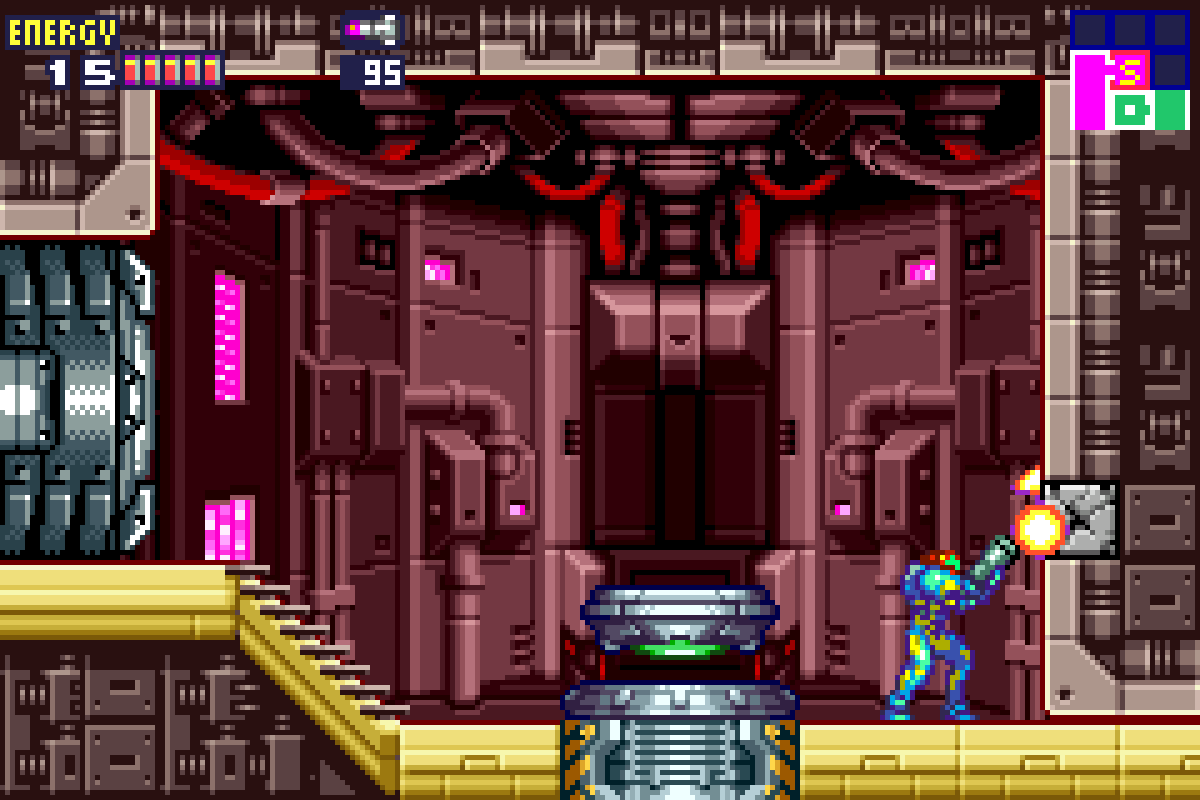
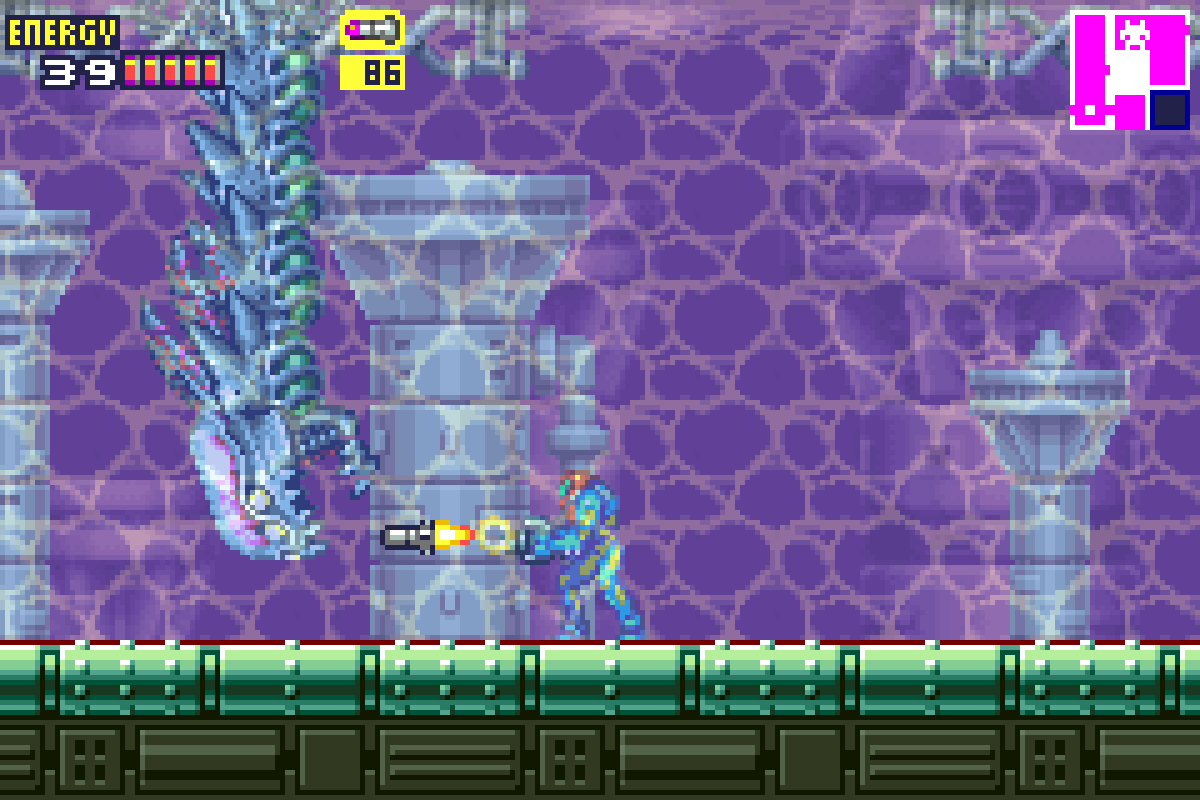
Here, after you save, you’ll notice another crack in the wall. Bomb it and roll through. You’ll now arrive at the spot where Adam told us that Serris would be, and he was kind of right… the skeletal remains of Serris are certainly here. Looks like something got to our man before we did. No points for guessing who. Continue on until you reach the other side of the wall where we got our last Energy Tank. Scale to the top, drop down and eliminate the Gadora, and brace yourself.
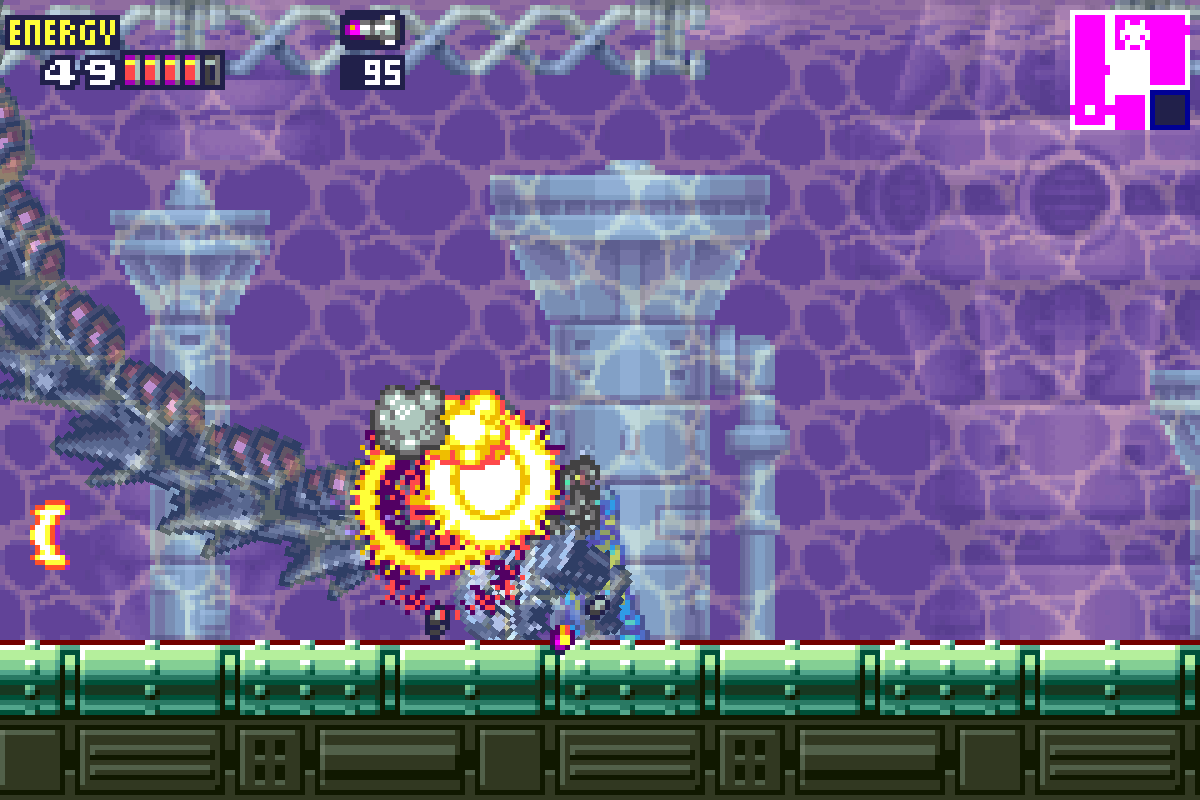
Serris-X
As we suspected, the X got a hold of Serris, and as the name of this chapter implies, this creature is ultra fast.
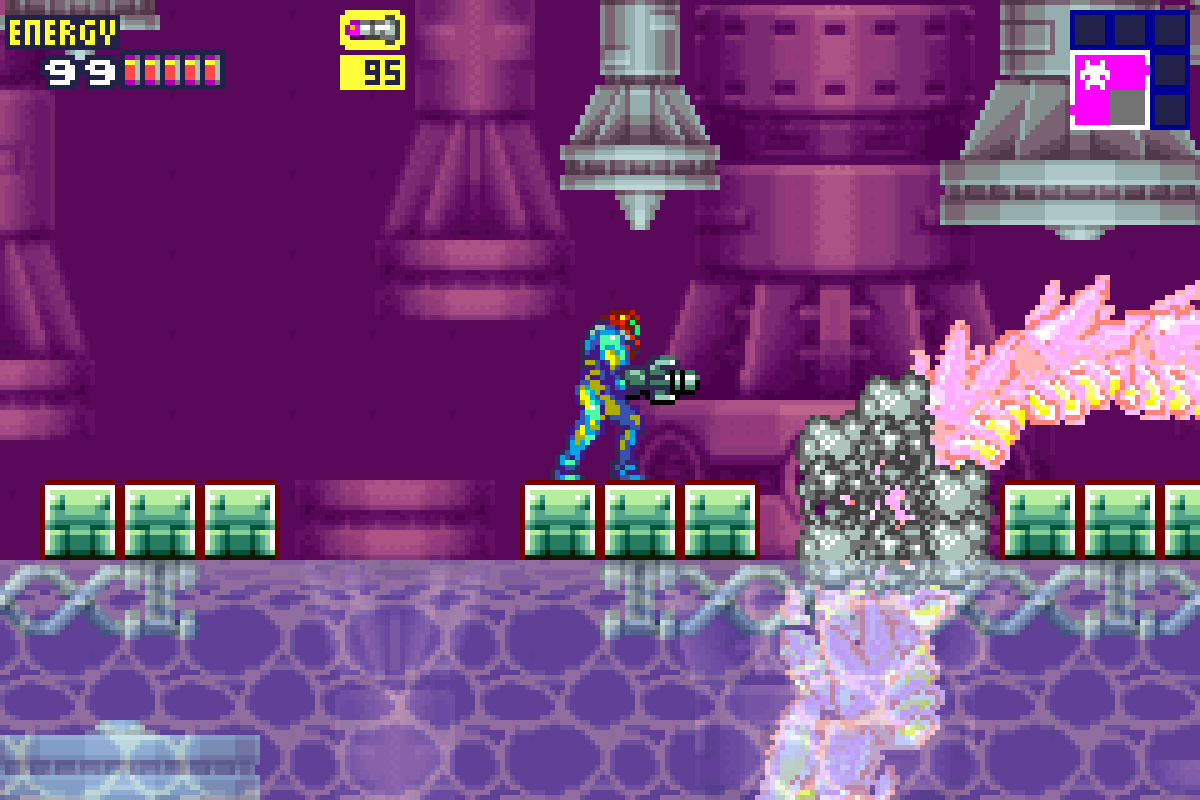
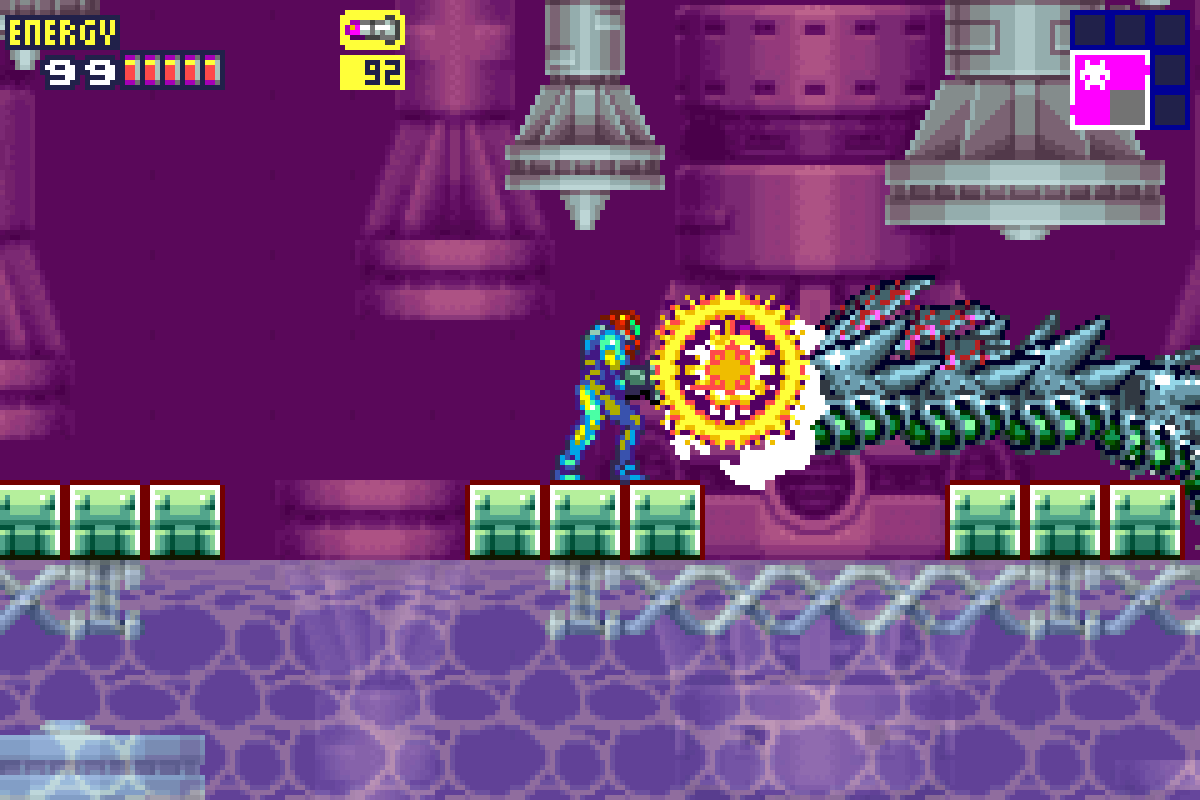
Scale up to the platform above the water and brace yourself; Serris is coming in hot and will destroy the platform, breaking it up into smaller platforms you’ll need to jump between. Fortunately, Serris doesn’t really have any attacks to speak of – he just moves really fast and if he rams into you, that’s a big ouch. Serris will move especially fast after you hit him, so get ready for that. He’ll weave and bob between the platforms, mostly doing half-figure eights, but sometimes ramming straight into you. Worth noting, Serris is invulnerable everywhere save for his head, so the only way that you’re damaging him is with a clean head shot.
There are a couple different methods that you can take to fighting Serris. The more traditional way to do this is to fight on the platforms and blast him in the head when the opportunity arises, but this leaves you far more open to take damage from his crazy movement. Once he gets going, it can be hard to react in time, so you’ll probably just end up taking a bunch of damage.

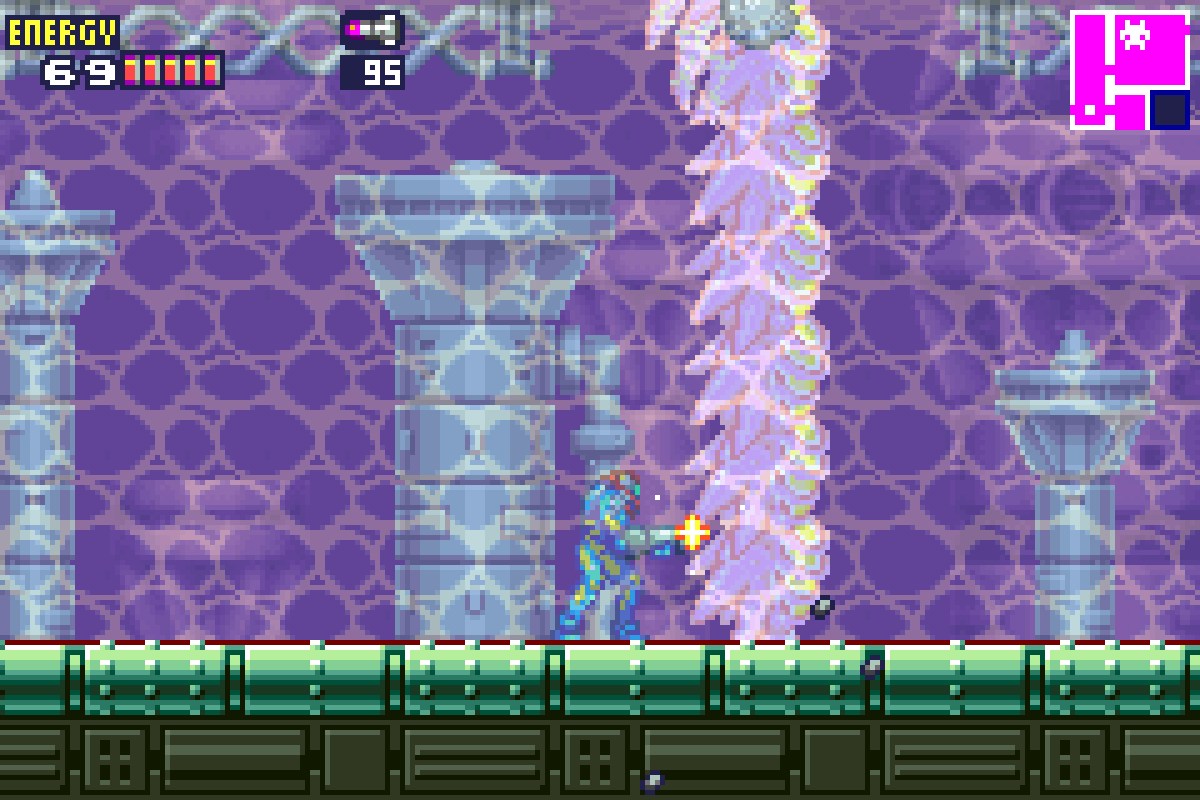
An easier way to deal with him is to actually sink to the bottom of the water. You’ll see a little burst of air bubbles on the ground, which means Serris is about to pop up and start racing around. That’s your queue to unload a bunch of Missiles in that direction. All you need is one hit to get through in order to set him off. You’ll have a far easier time avoiding his hits in the water too, not because you can dodge any faster, but because Serris doesn’t really go down that way. Just be sure to keep moving back and forth immediately after you hit him so he doesn’t rise up from the ground directly under you and hit you.

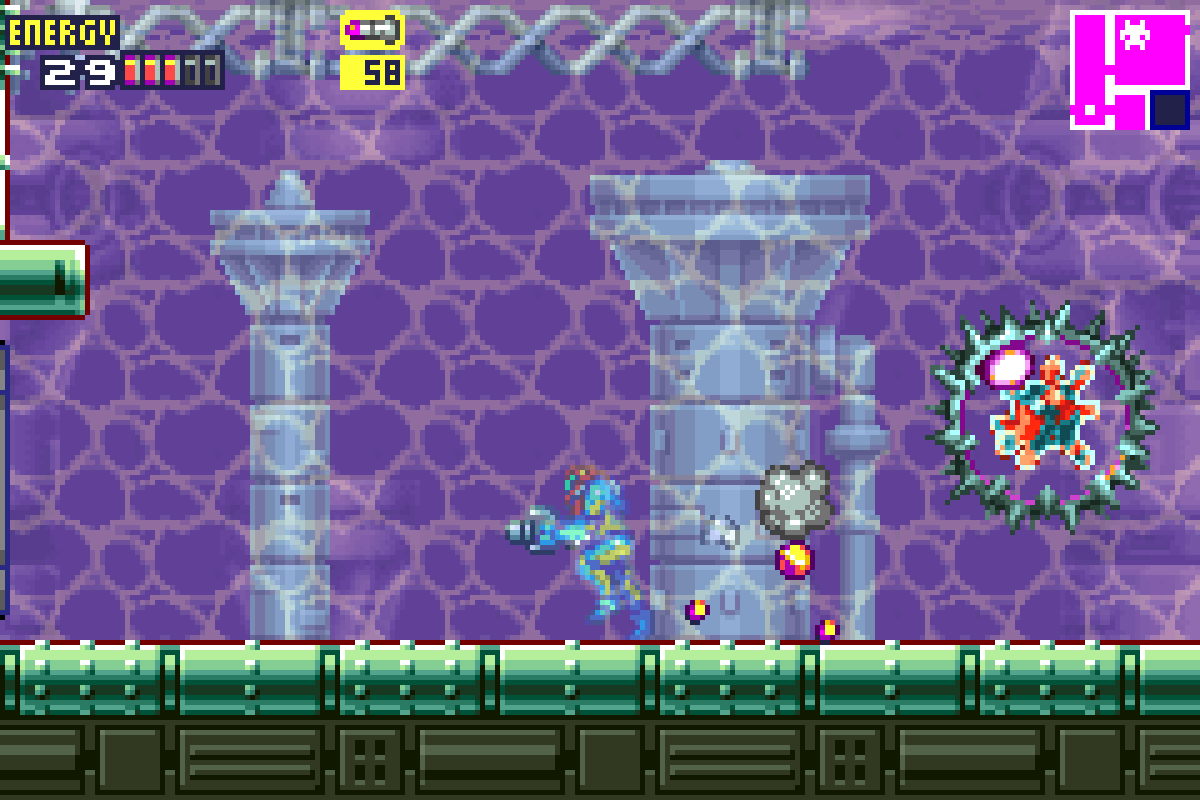
Eventually, Serris might start trying to ram you head on while you’re at the bottom of the water, but you should have a long enough space to be able to fire off a quick Missile to his brains before he hits you. If you get hit, don’t sweat it; by the time he starts smartening up to our strategy, he should be on the brink.
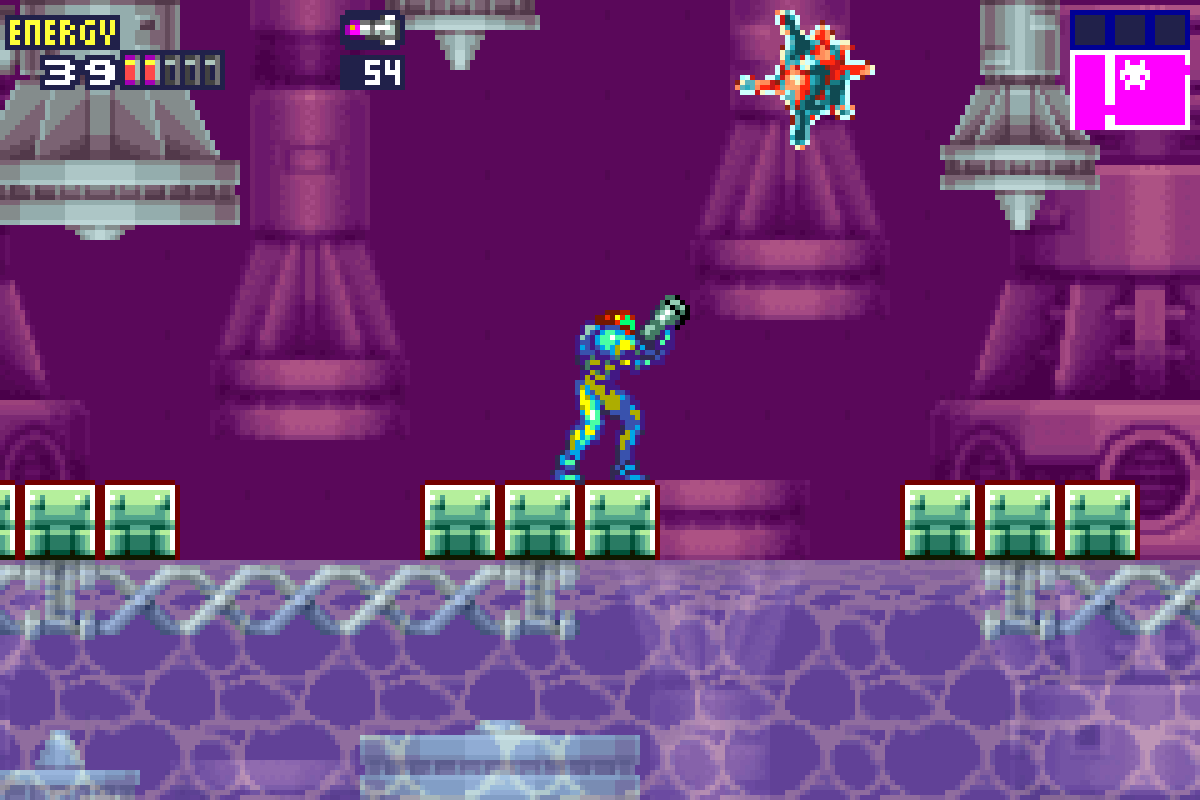
When Serris is defeated, try and get out of the water before the Core-X spawns. You can take out the Core in the water fine enough, but the freer movement above water should make it easier. Once you’ve destroyed him, you’ll be rewarded with the SPEED BOOSTER.
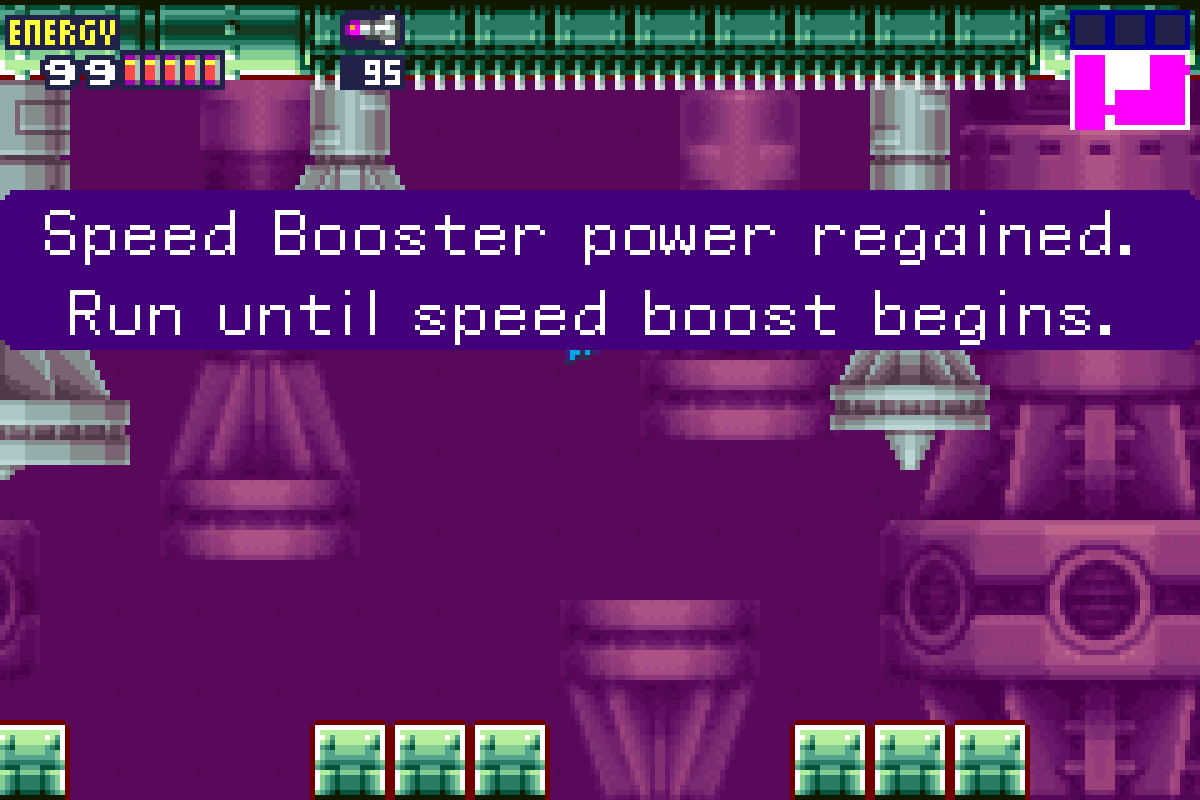
Pump Control
Exit from the Serris room and you’ll enter the top portion of the room we snagged the two Missiles in earlier. You’ll see a long platform with some enemies crawling underneath. Get on top of the platform, go all the way to the other side, bomb the wall, eliminate the enemies underneath, and get yourself back to the leftmost side. Time to run! Using our new handy dandy Speed Booster, simply run (no need to hold any buttons) and eventually, Samus will start to really speed up. As long as you don’t stop your momentum, you’ll be able to crush the blocks at the end, allowing you to fall down to the lower part of the area next to the Save Room.
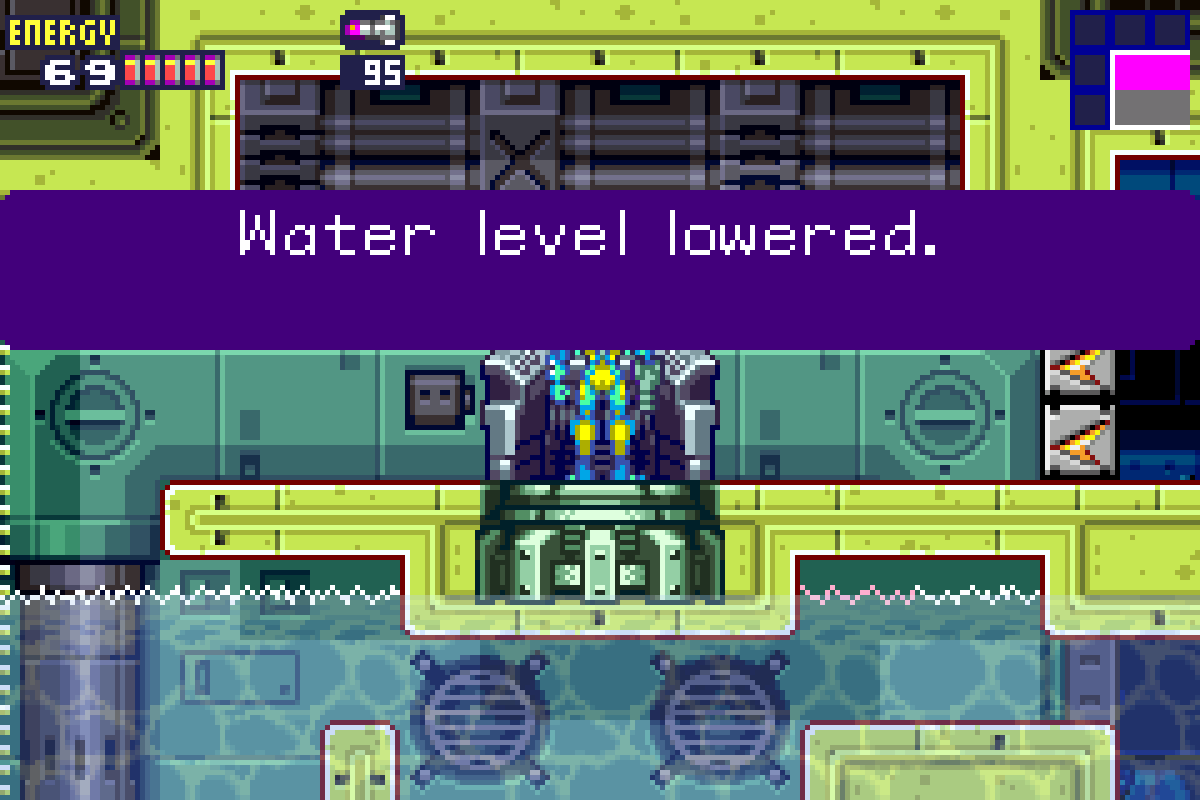
Drop down to the first room we started in with the electrical water and make your way aaaaaall the way back to the blue door in the vertical hallway right before the Serris room. Open the blue door, and start running. Speed Boost your way past the barriers in front of the Pump Control Unit. Once you’re in the room, activate the Pump Control and all the water will lower. Finally, no more getting zapped! Directly under the Pump Control Unit is an easy, no work required MISSILE EXPANSION #18.
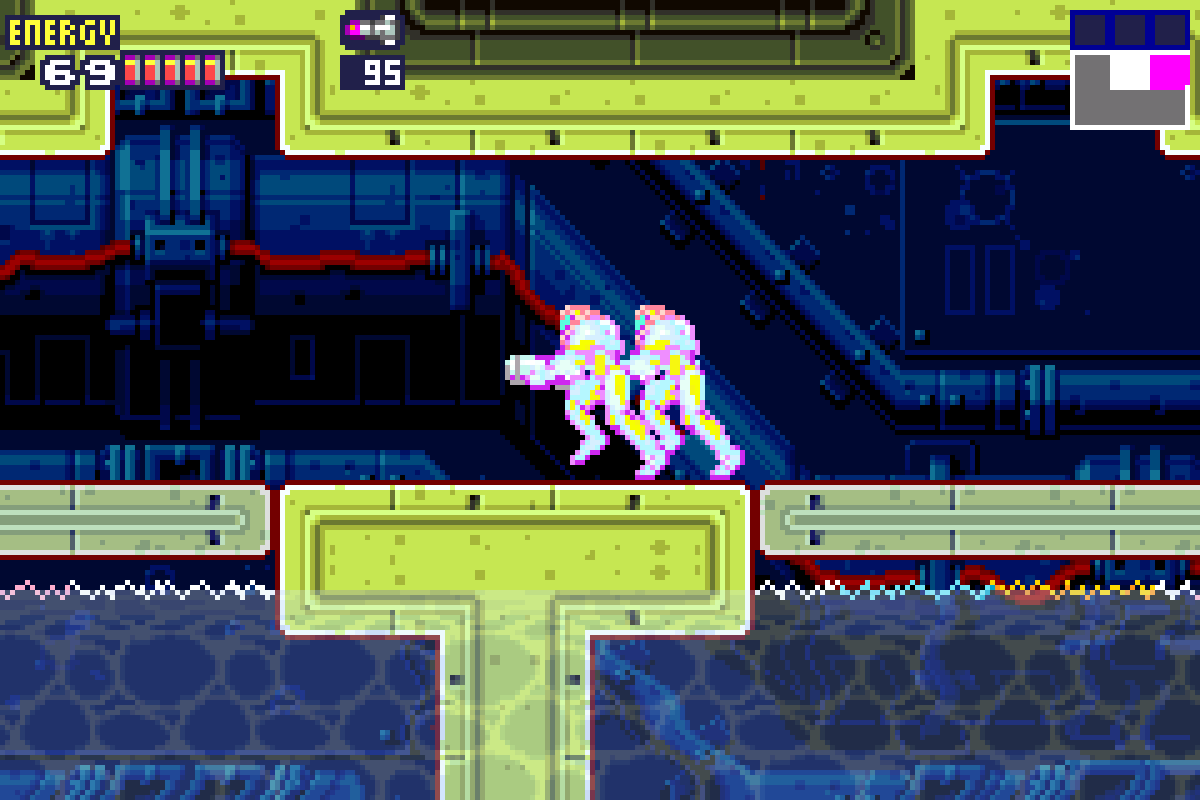
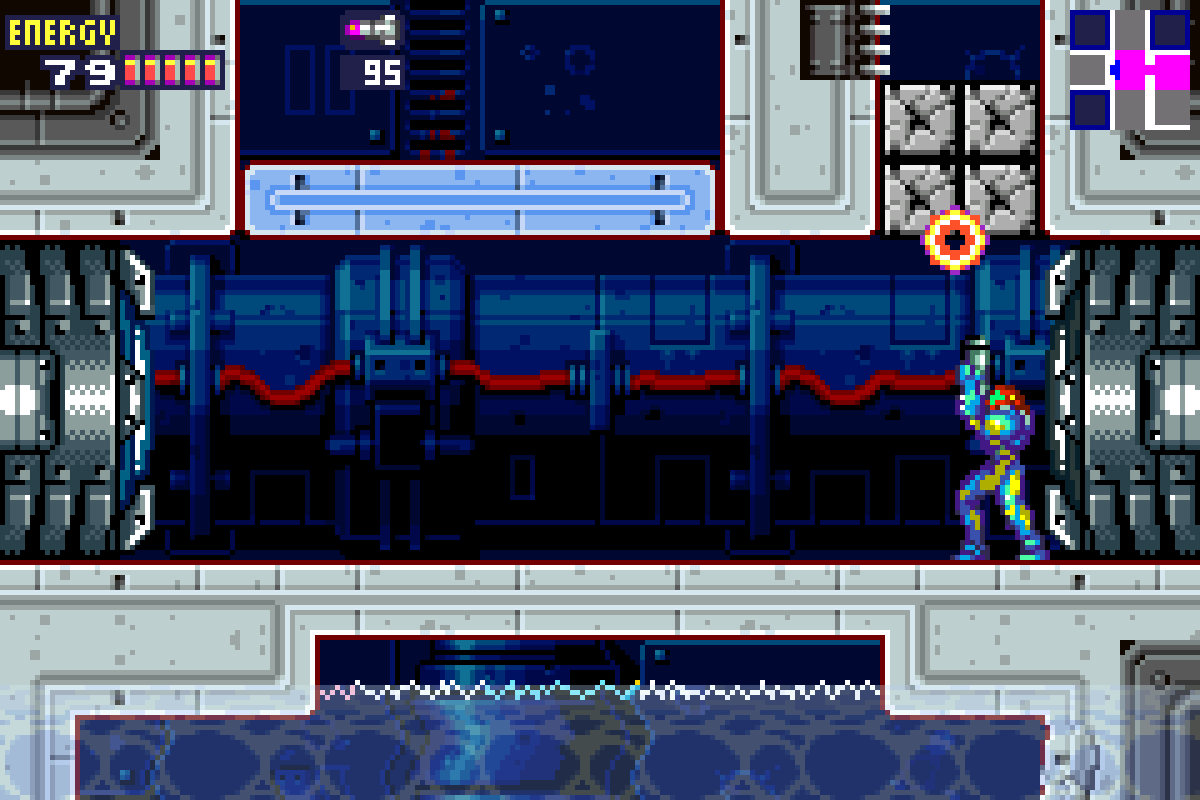
Now you can get yourself to the other side since the water is gone! This probably goes without saying, but stay away from the numerous exposed wires you’ll see. Make your way to the right. Once you get to the second room with exposed wires, drop down to the floor and get yourself over to the leftmost side of the room. You know what to do – start running!
You’ll go through a wall and see an expansion sitting in some water right above you. Stop your run, jump up, and trudge through the water to grab MISSILE EXPANSION #19. Go back and recharge your Speed Boost and keep running until you break through the wall. That’s about all we can do in Sector 4 for now, so make your way back to the Navigation Room to check in with Adam.
Next Chapter: Sector 3 – Rogue Security