


Metroid Prime Walkthrough – The Entrusted One
WALKTHROUGH
- Frigate Orpheon
- Planet Tallon IV
- The Ruins Come Alive
- Fire & Ice
- Phazon Laboratory
- Ghosts & Gravity
- Space Pirate Assault
- The Entrusted One
- Artifacts in the Wild
- The Great Poison
The Grapple Beam
Scans in This Section
None
Get back to the Central Dynamo and use the glowing blue platforms to make your way back to the top. When you reach Omega Research, an Elite Pirate will break free. Again, keep your distance and use Super Missiles while its energy-siphoning device is down to make short work of him. After the fight, go to the top and drop a Power Bomb on the Bendezium debris blocking the door. Enter the room to find a Map Station of the Phazon Mines. If for some reason you haven’t been scanning the Map Stations this whole time, this is your last chance before it’s gone permanently. Exit the room to the Ventilation Shaft and open your Scan Visor. Right in front of you should be a scannable grate made of Bendezium. Lay a Power Bomb on the grate and roll through. Scan the blue symbol on the other side to activate the ventilation fans, kill off the Puffers and reveal ENERGY TANK #10 for us! Use the half-pipe to get to the top of the room and keep moving until you return to Ore Processing.
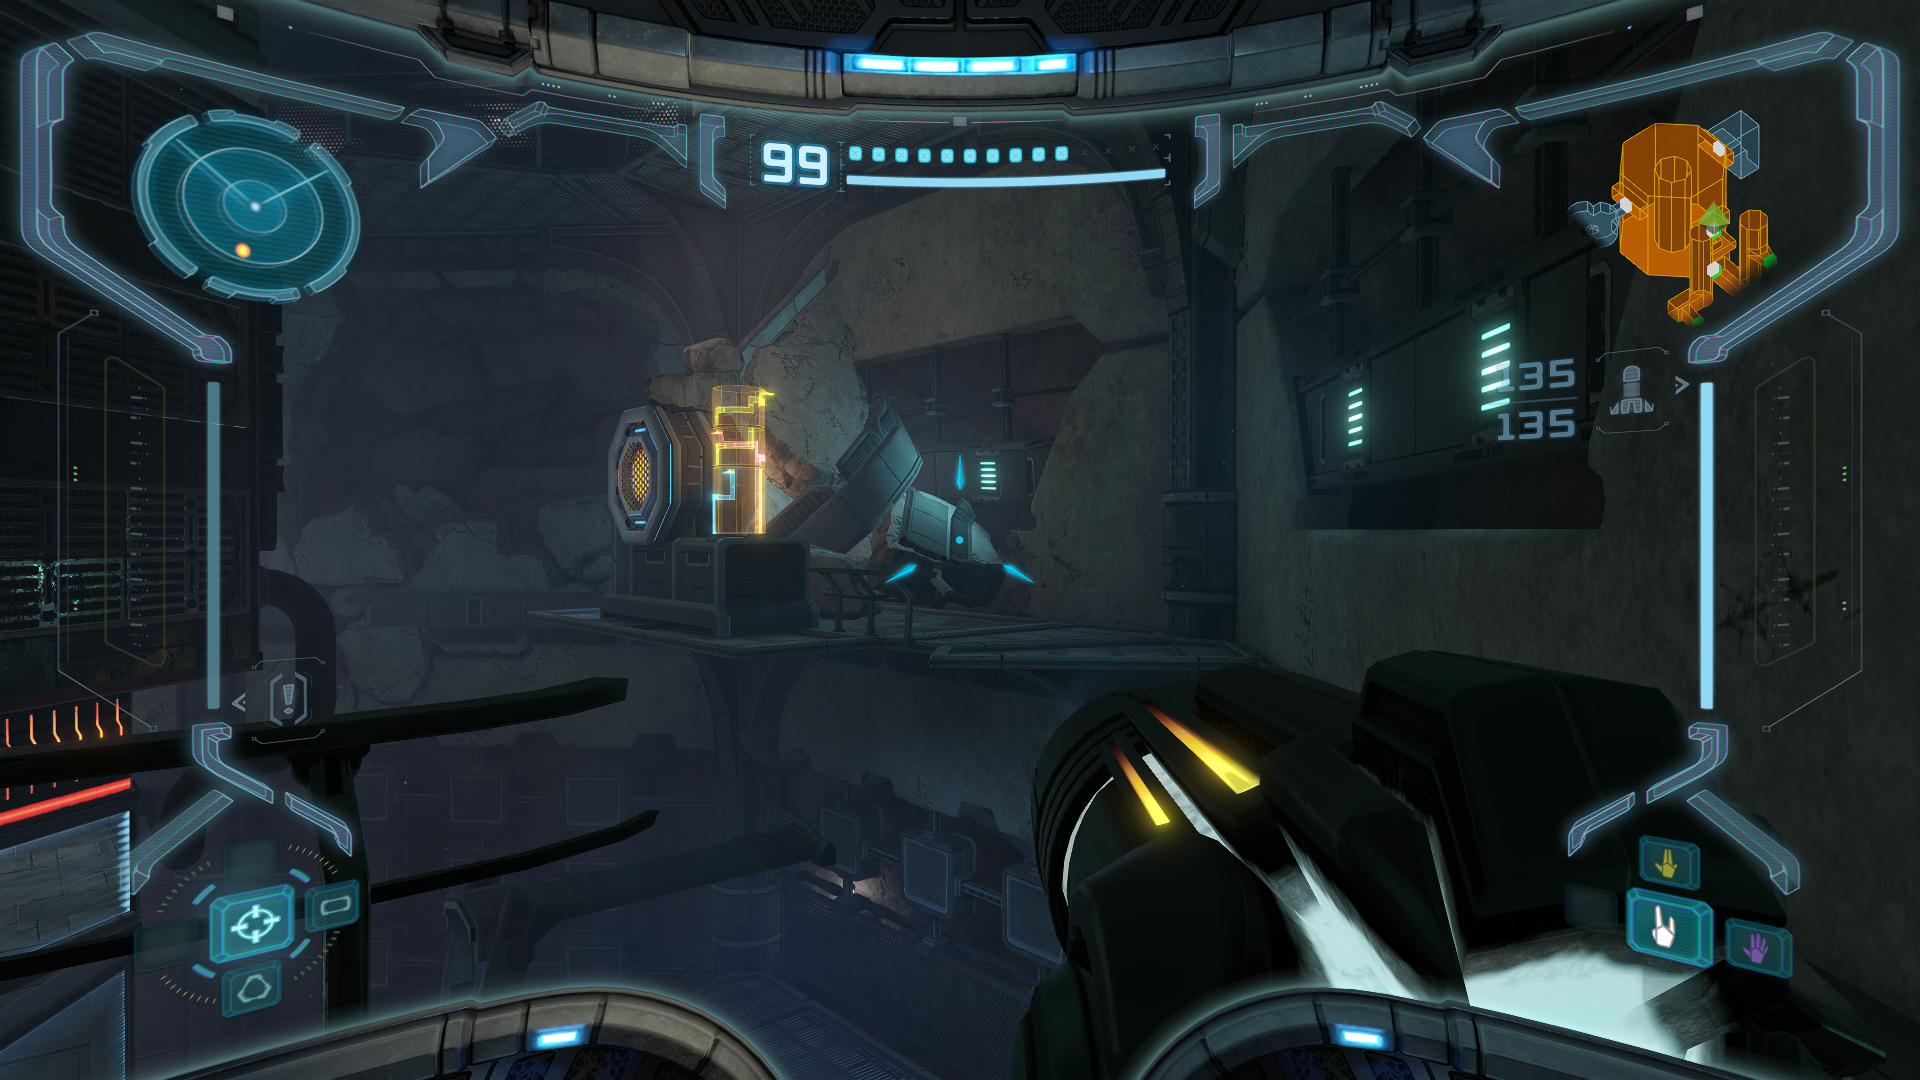
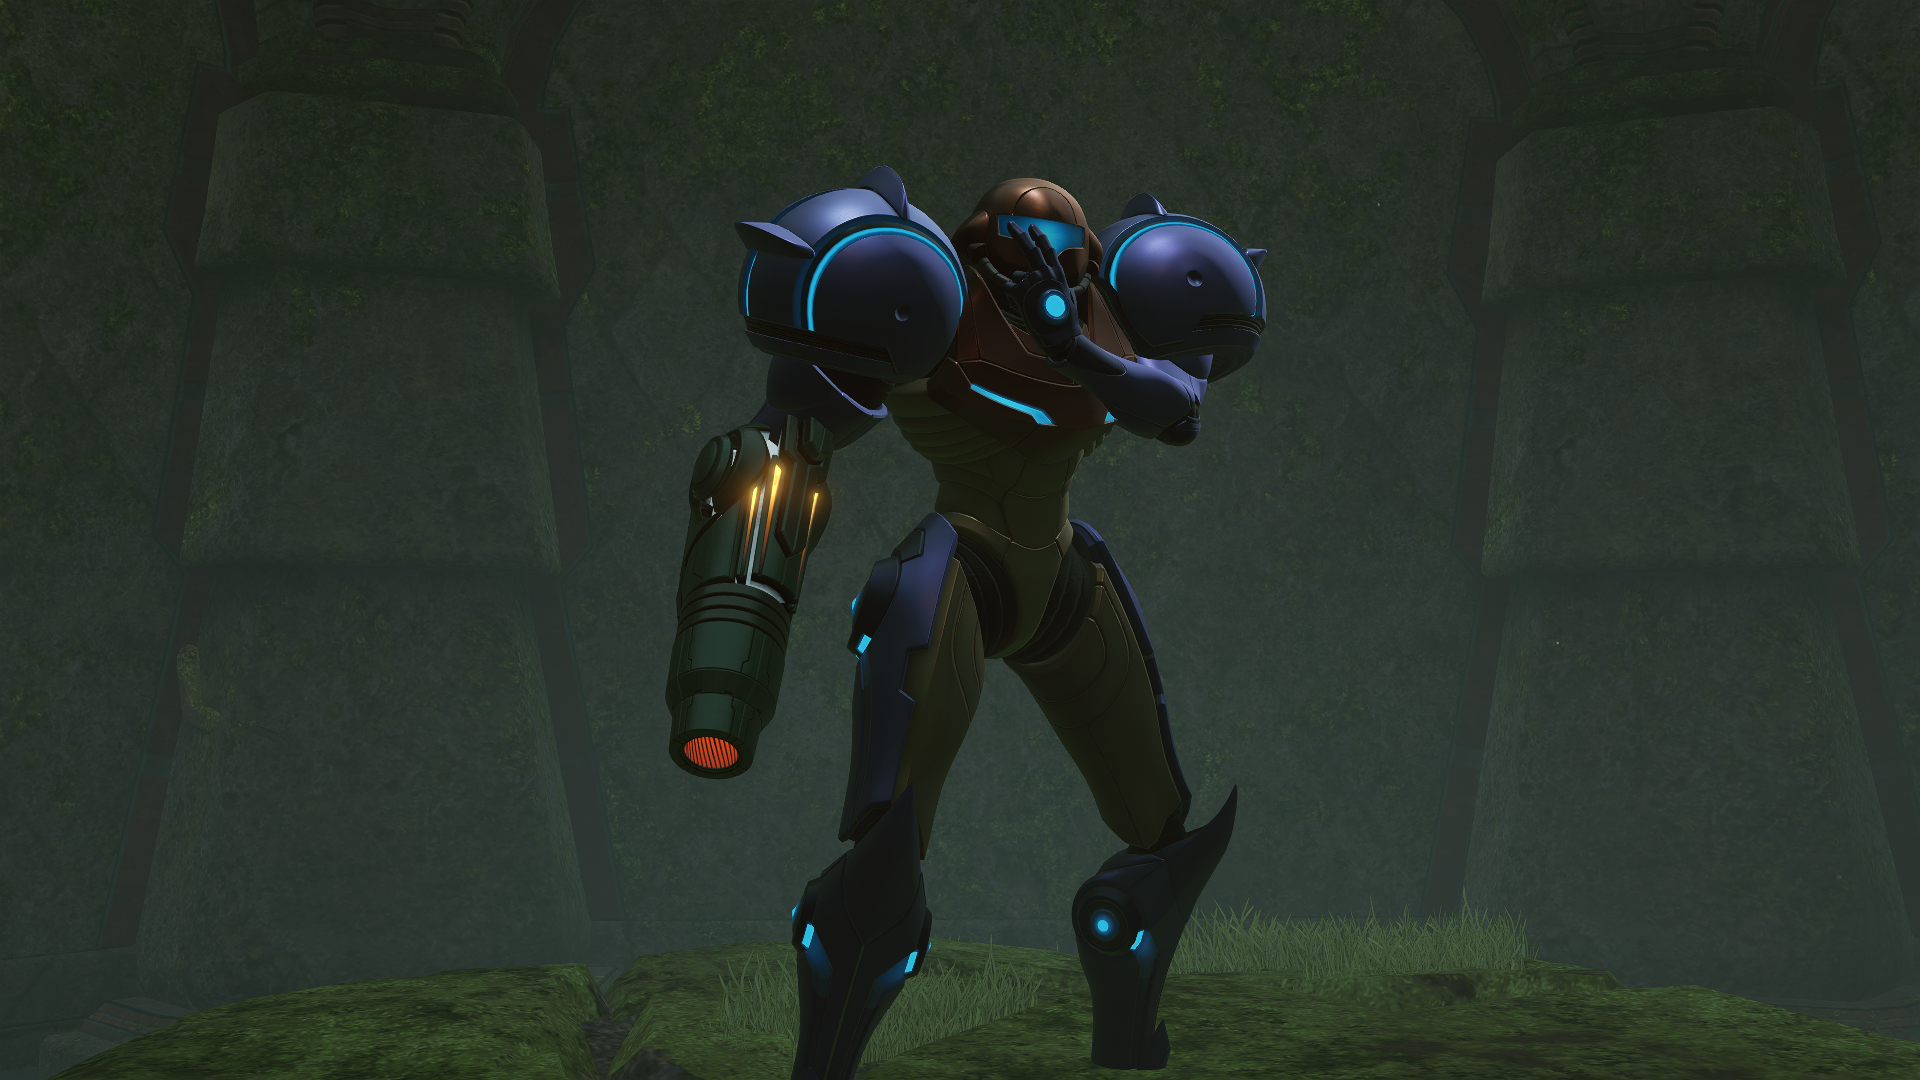
As soon as you enter Ore Processing, turn to your right and drop a Power Bomb on the Bendezium debris to access the top rotation control unit. This time we want to align the yellow tracks so that we can reach the fourth floor, which we’ve previously been unable to access. The track at the end that the central pillar is supposed to connect is out of view, meaning it’s directly behind the unit. Bomb the unit accordingly to line it up. Then move one level down for the remaining control units and use the hologram to line up the yellow tracks together. Make sure you’re lining up the tracks from the top downwards! You don’t wanna mess up and have to climb all the way up again. Once everything is in order, ride the yellow Spider Ball Track up and Power Bomb the debris blocking the door you drop in front of. Enter the room and collect the GRAPPLE BEAM, the final missing item since the explosion on the Orpheon!
The Plasma Beam
Scans in This Section
Research: Grapple Point
As soon as you exit Storage Depot B, scan the GRAPPLE POINT. You should now have all of the Research scans! Instead of taking the Grapple Point to the other side, go back to the level below and make your way back to Elite Control. Enter the Maintenance Tunnel and destroy the Bendezium rock slide with a Power Bomb. In the Phazon Processing Center, take the bridge to the right and drop to the platform below at the very end. Lay a Power Bomb on the platform to blow up the wall hiding MISSILE EXPANSION #28. Then make your way back up the platforms until you reach the level you started off on.
Once you arrive, take the left pillar with the Spider Ball Tracks to the ledge it drops off at, then continue platforming until you reach the top Ice Beam door. In Transport Access, swing over the Phazon pit with the Grapple Beam and take the Transport to Magmoor Caverns South up. In the Workstation Tunnel, don’t kill the Zoomers before destroying the Bendezium debris if you’re full on Power Bomb ammo. They have a good chance of providing drops! Once you’ve cleared the way, head to the Geothermal Core.
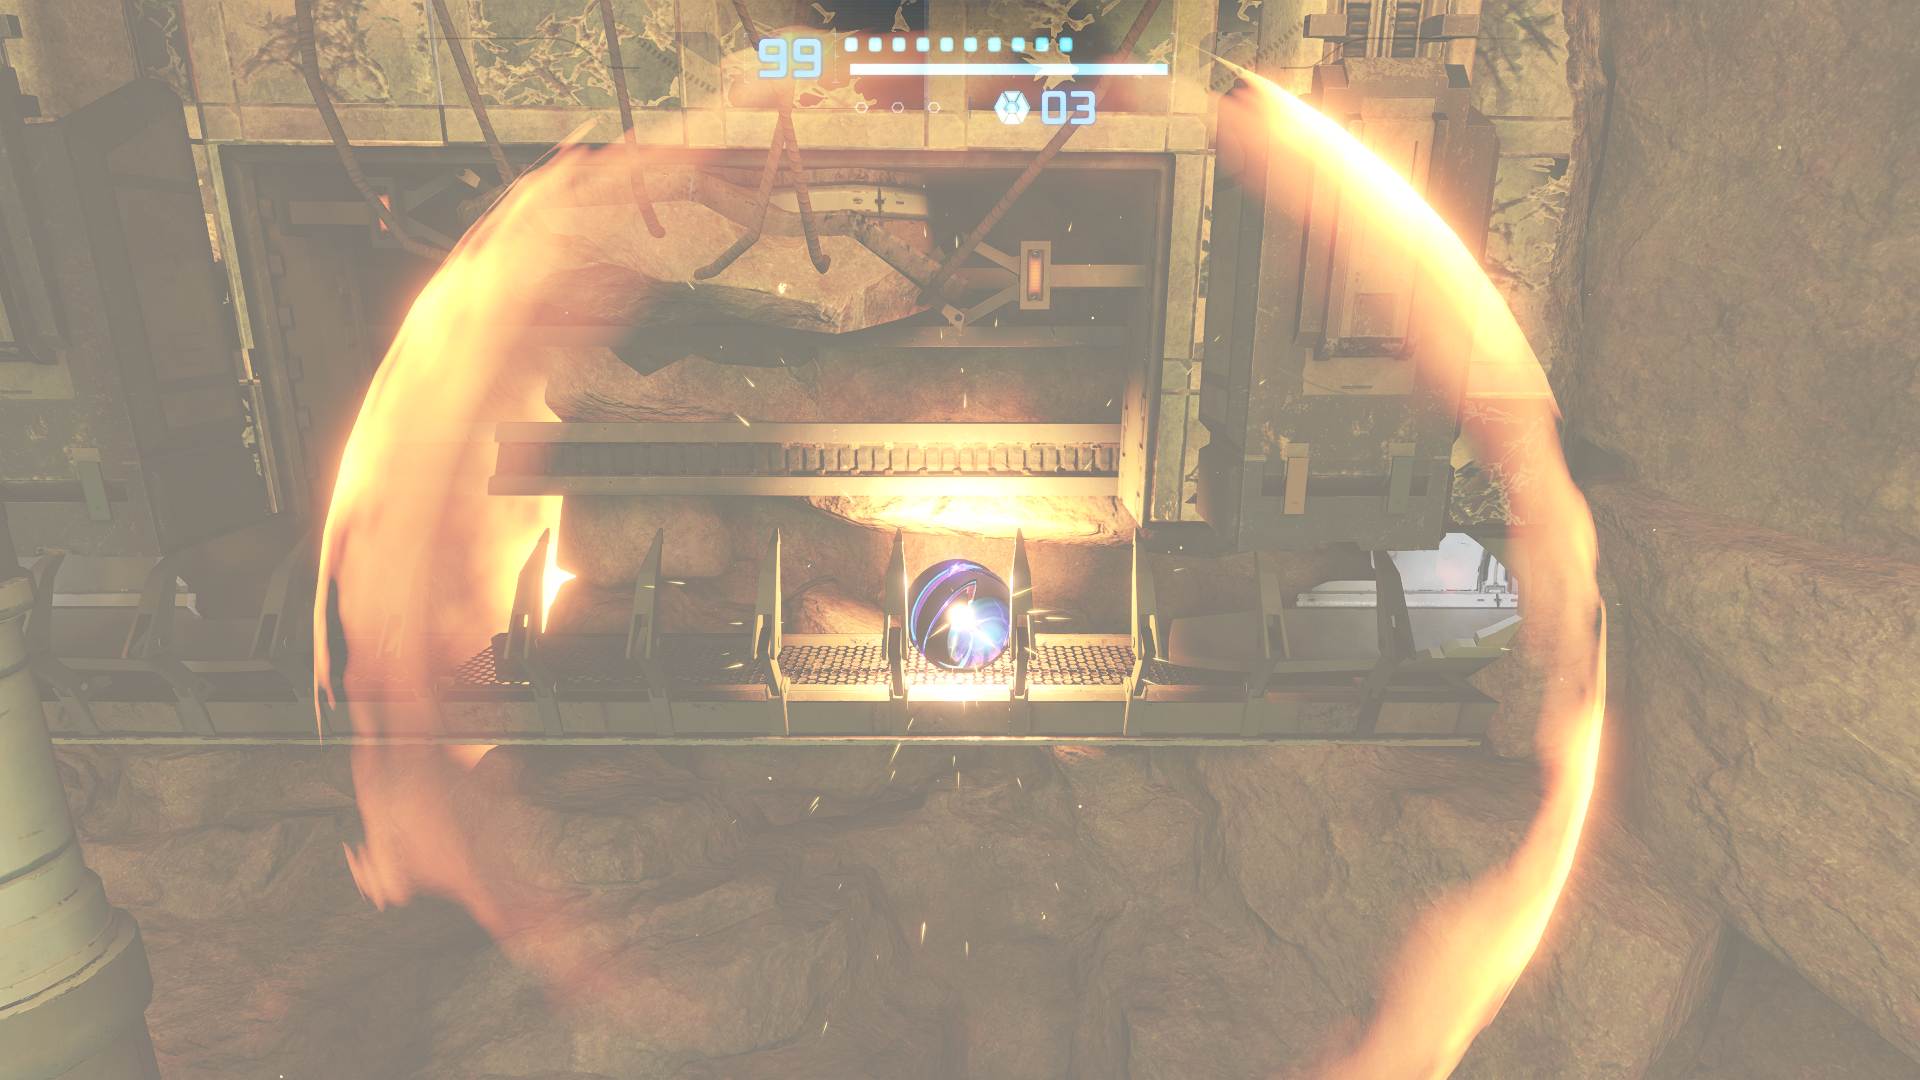
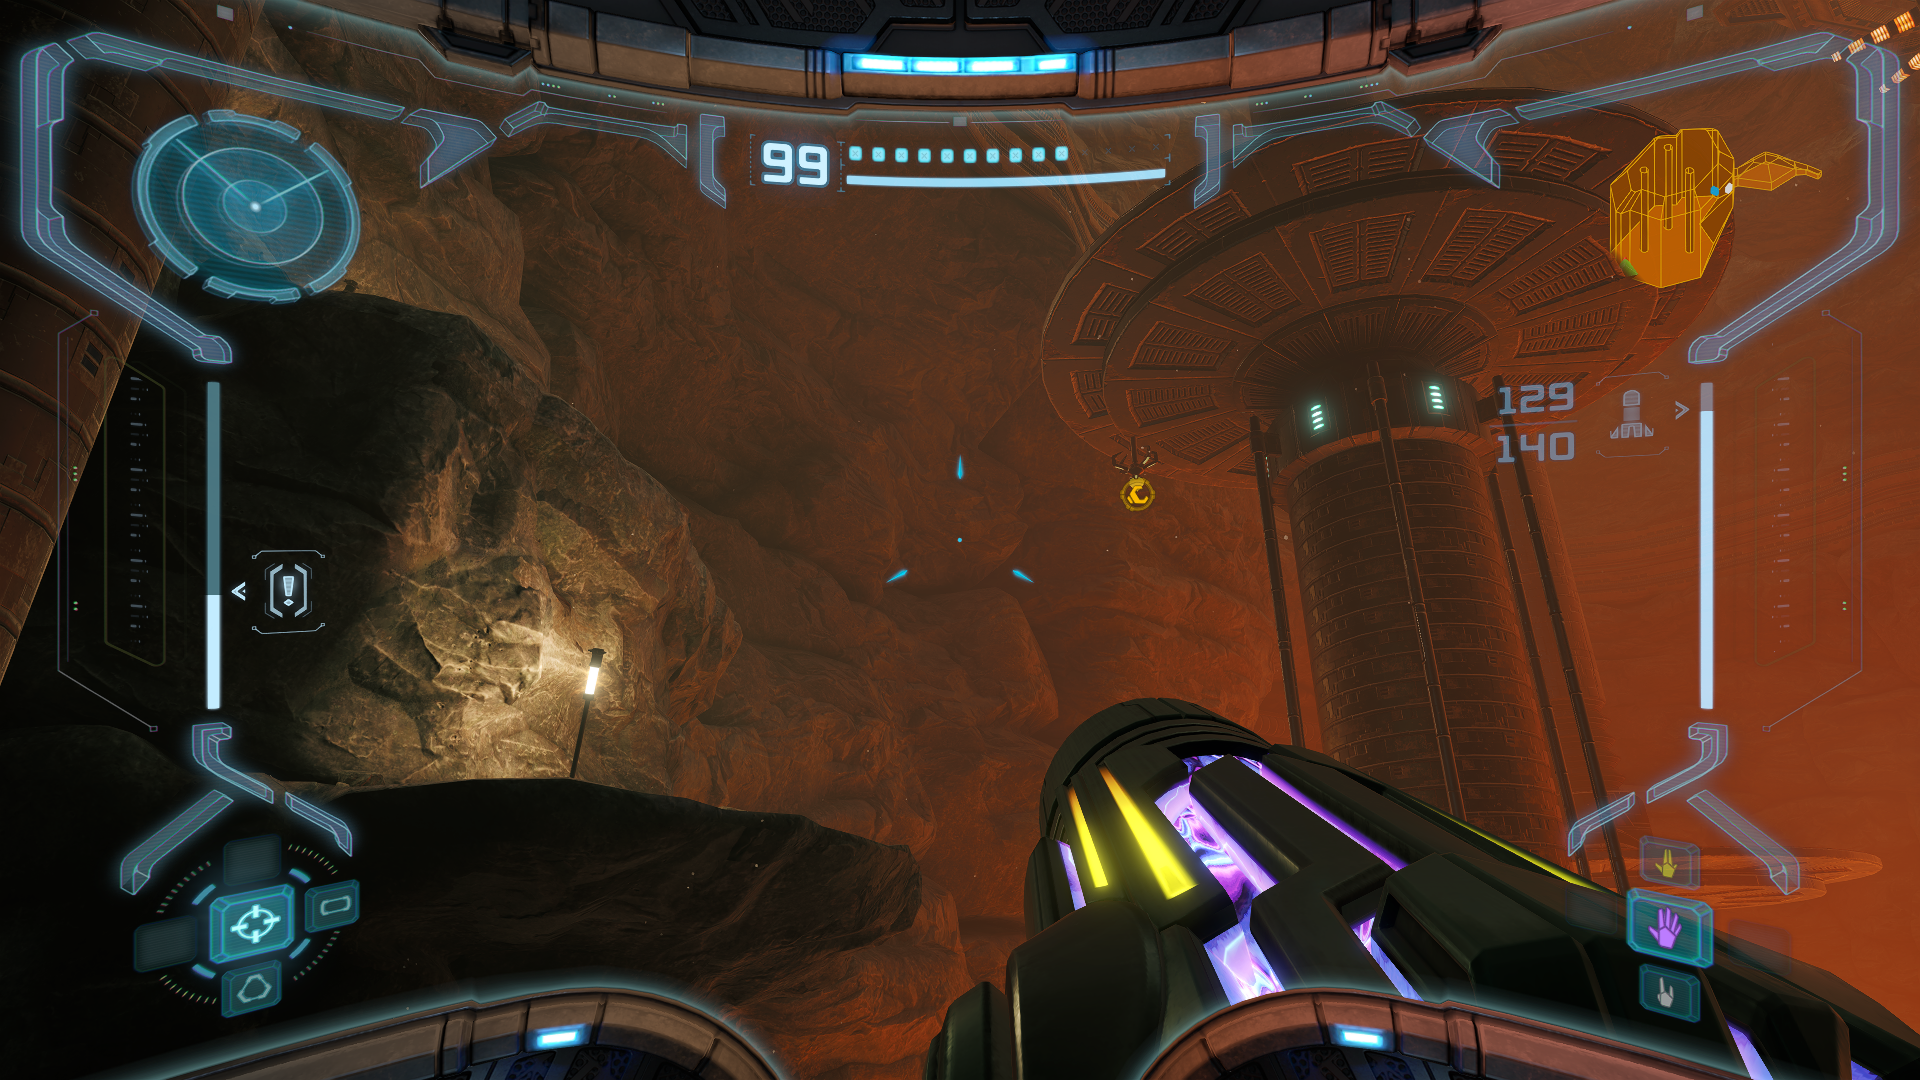
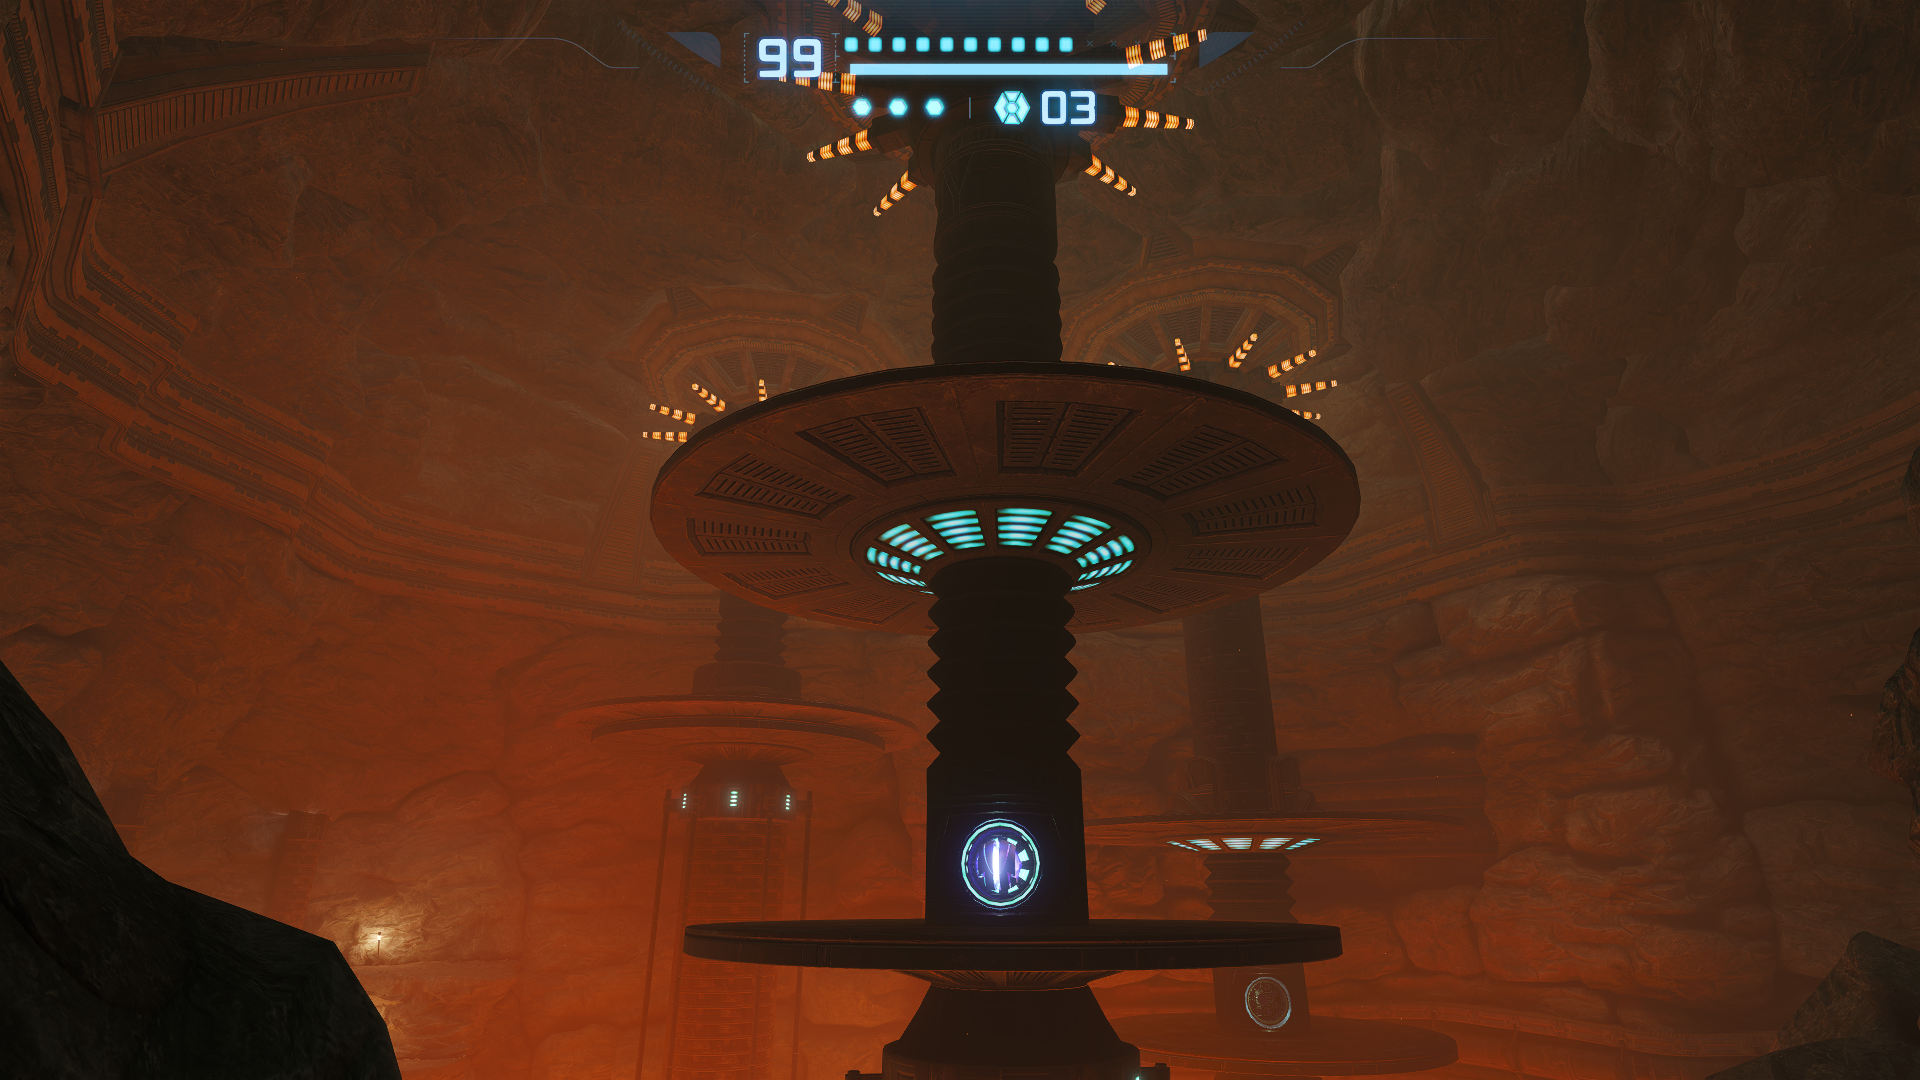
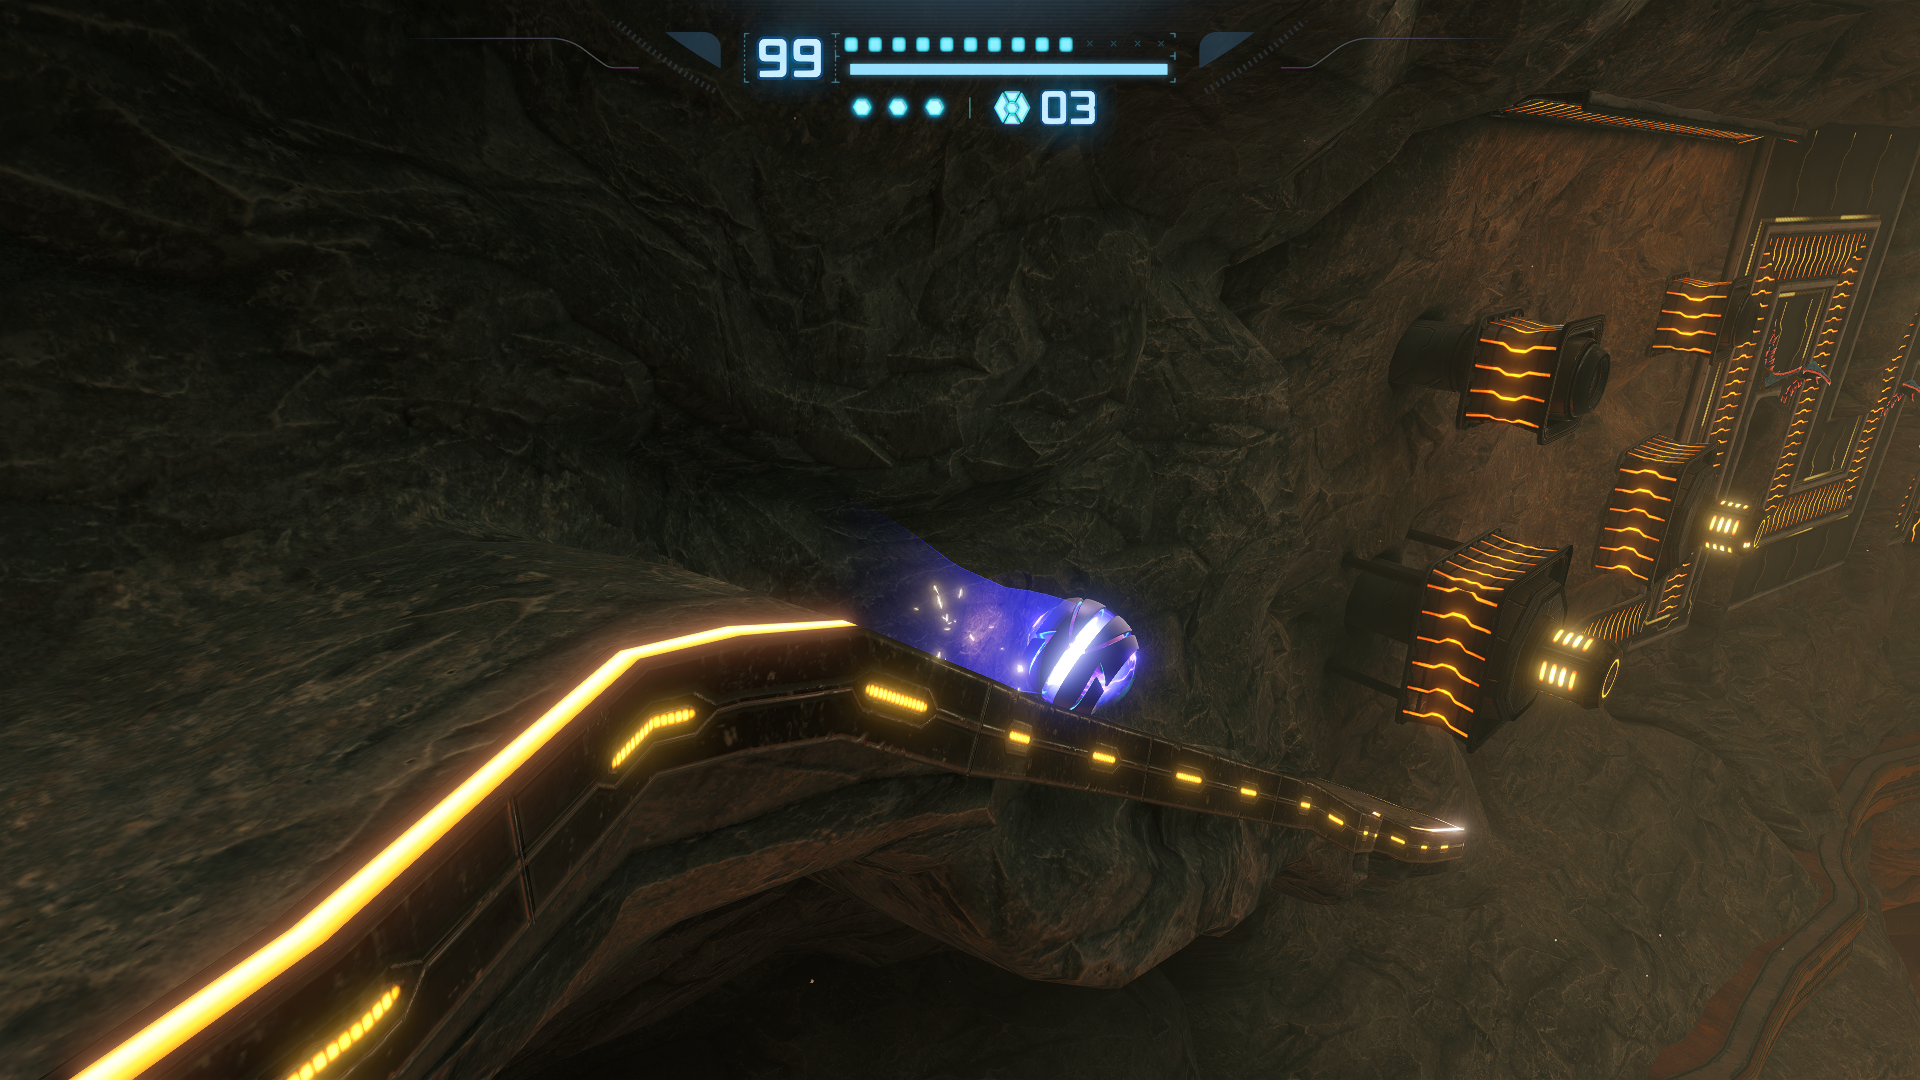
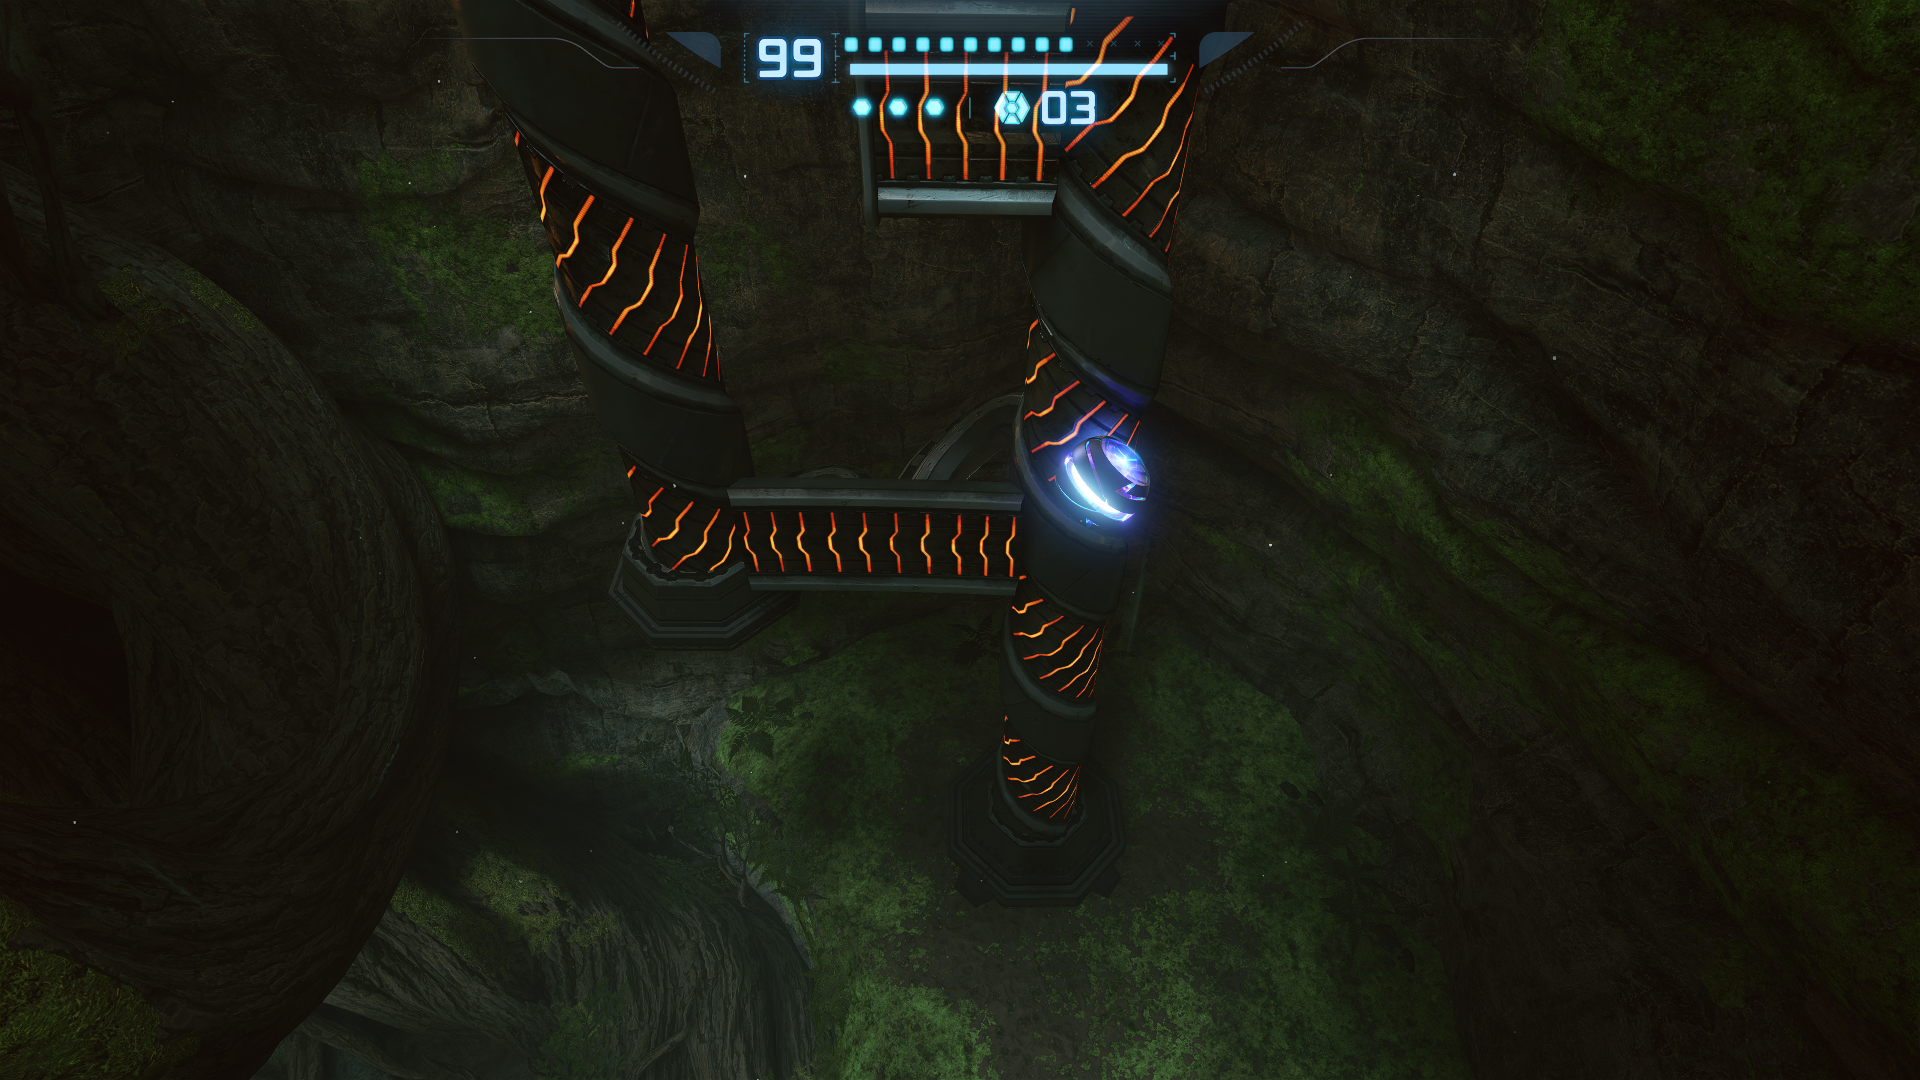
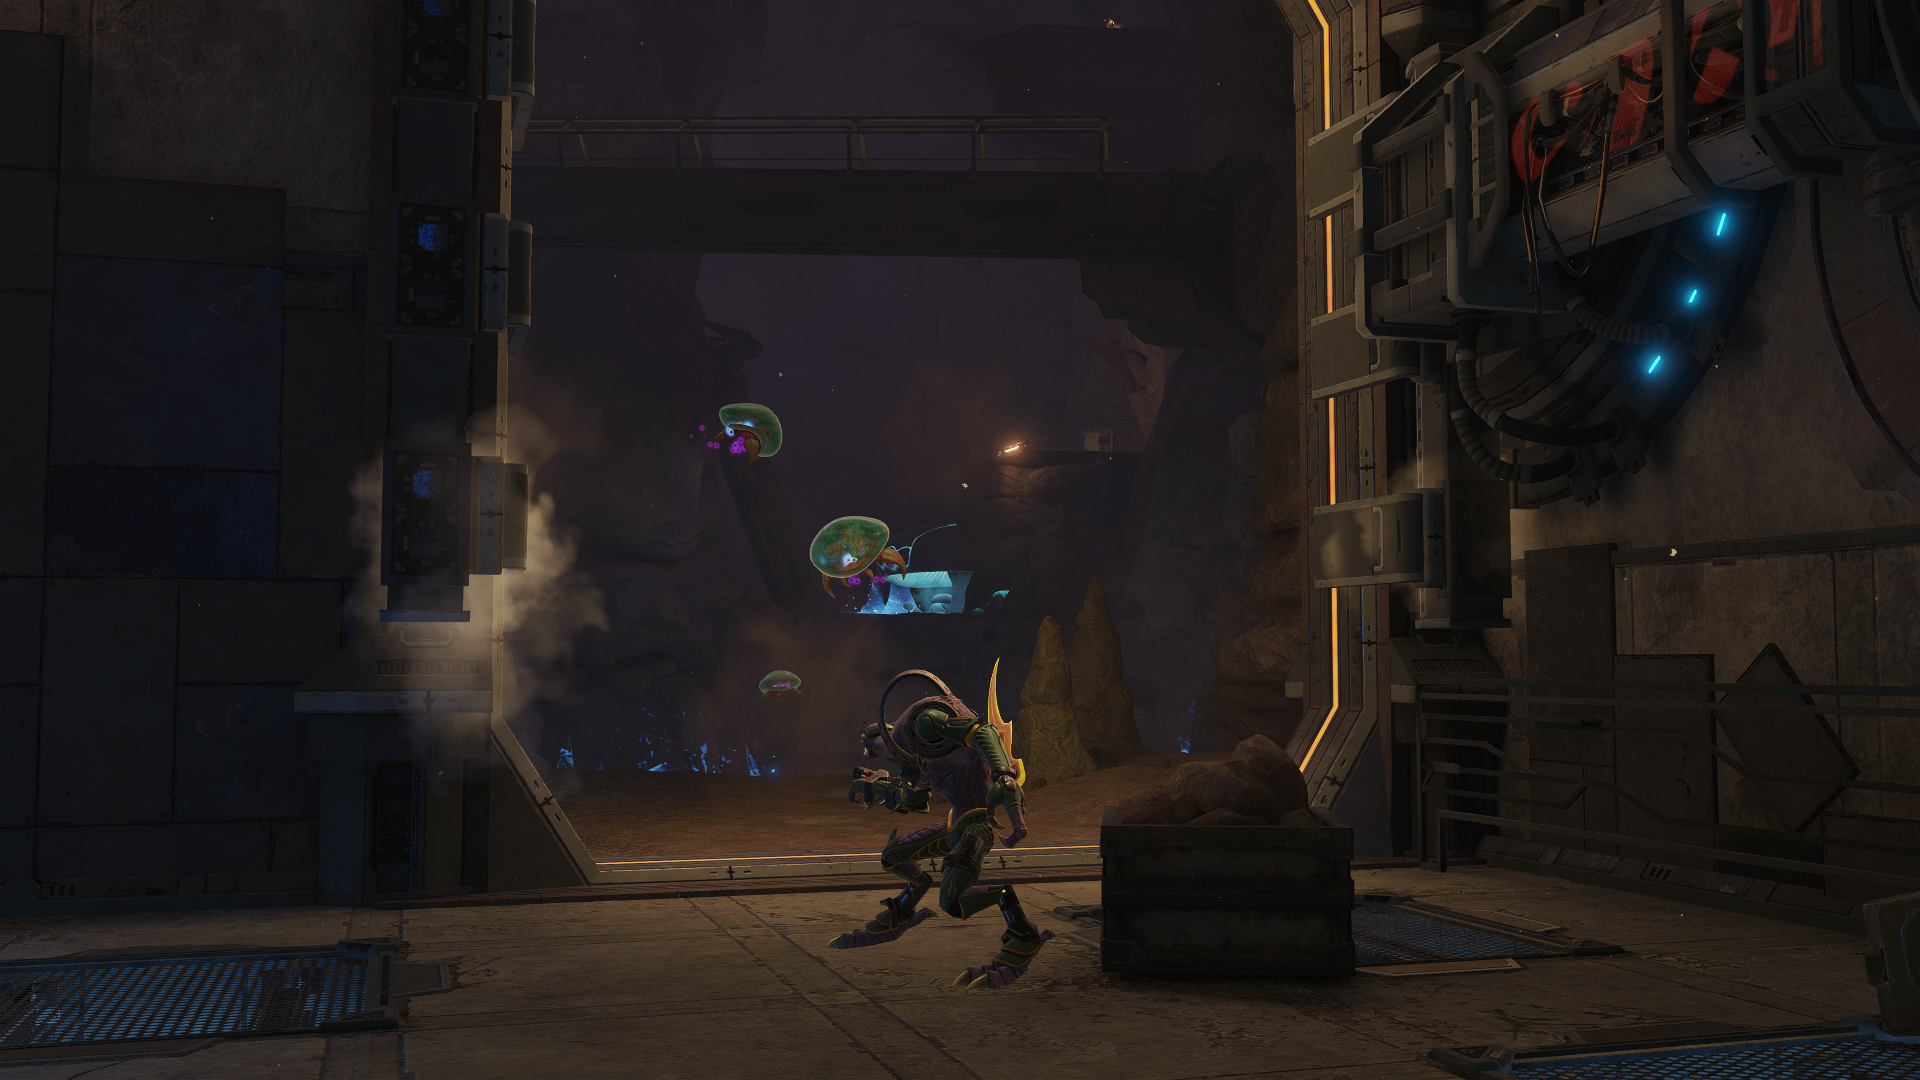
As soon as you enter, go to the left platform and use the Grapple Point to swing to the round platform. You’ll find a Spinner to the right, which upon activation will raise another circular platform up, starting up the game’s puzzle theme (I know we’ve already heard this piece a lot by this point, but I just wanted to shout out this underrated gem among the game’s score. I find it so relaxing and simultaneously mysterious). Jump to the next circular platform and do the exact same thing with its own Spinner. Once you’re done, jump to the platform you initially raised from the first Spinner. This will help you reach a fourth platform with another Spinner. Use that and take the Spider Ball Track to reach this new one you raised in the process. Finally, jump to the last platform and use the Morph Ball Slot to quite literally RAISE THE ROOF, revealing a massive Spider Ball Track puzzle for us to traverse.
This puzzle is my single favorite part about Metroid Prime and I love doing it every time as a certified Spider Ball enjoyer. Messing up this puzzle however is definitely not fun. If you follow these instructions though, you have nothing to fear! Lastly, before we begin make sure you have at least one Power Bomb remaining. You do not want to get to the very end and have it all be for naught, trust me. Okay, let’s begin!
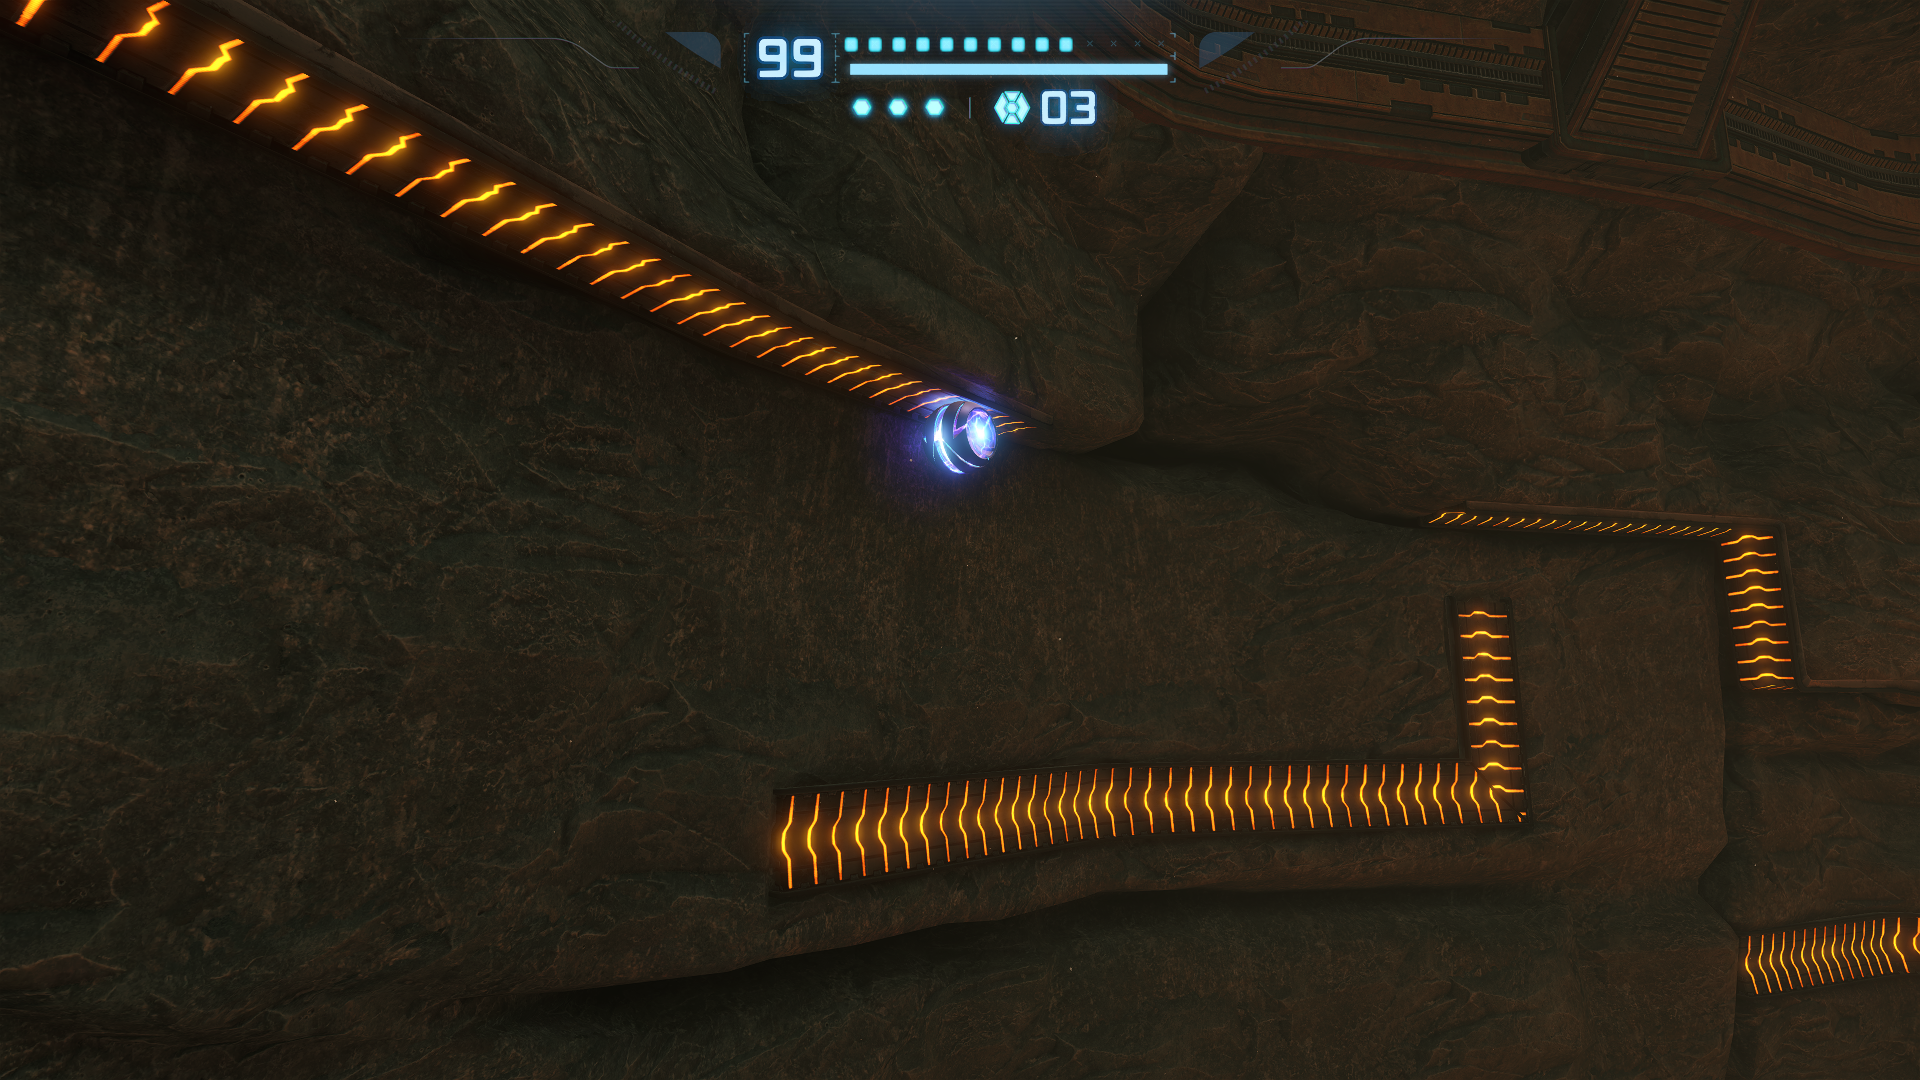
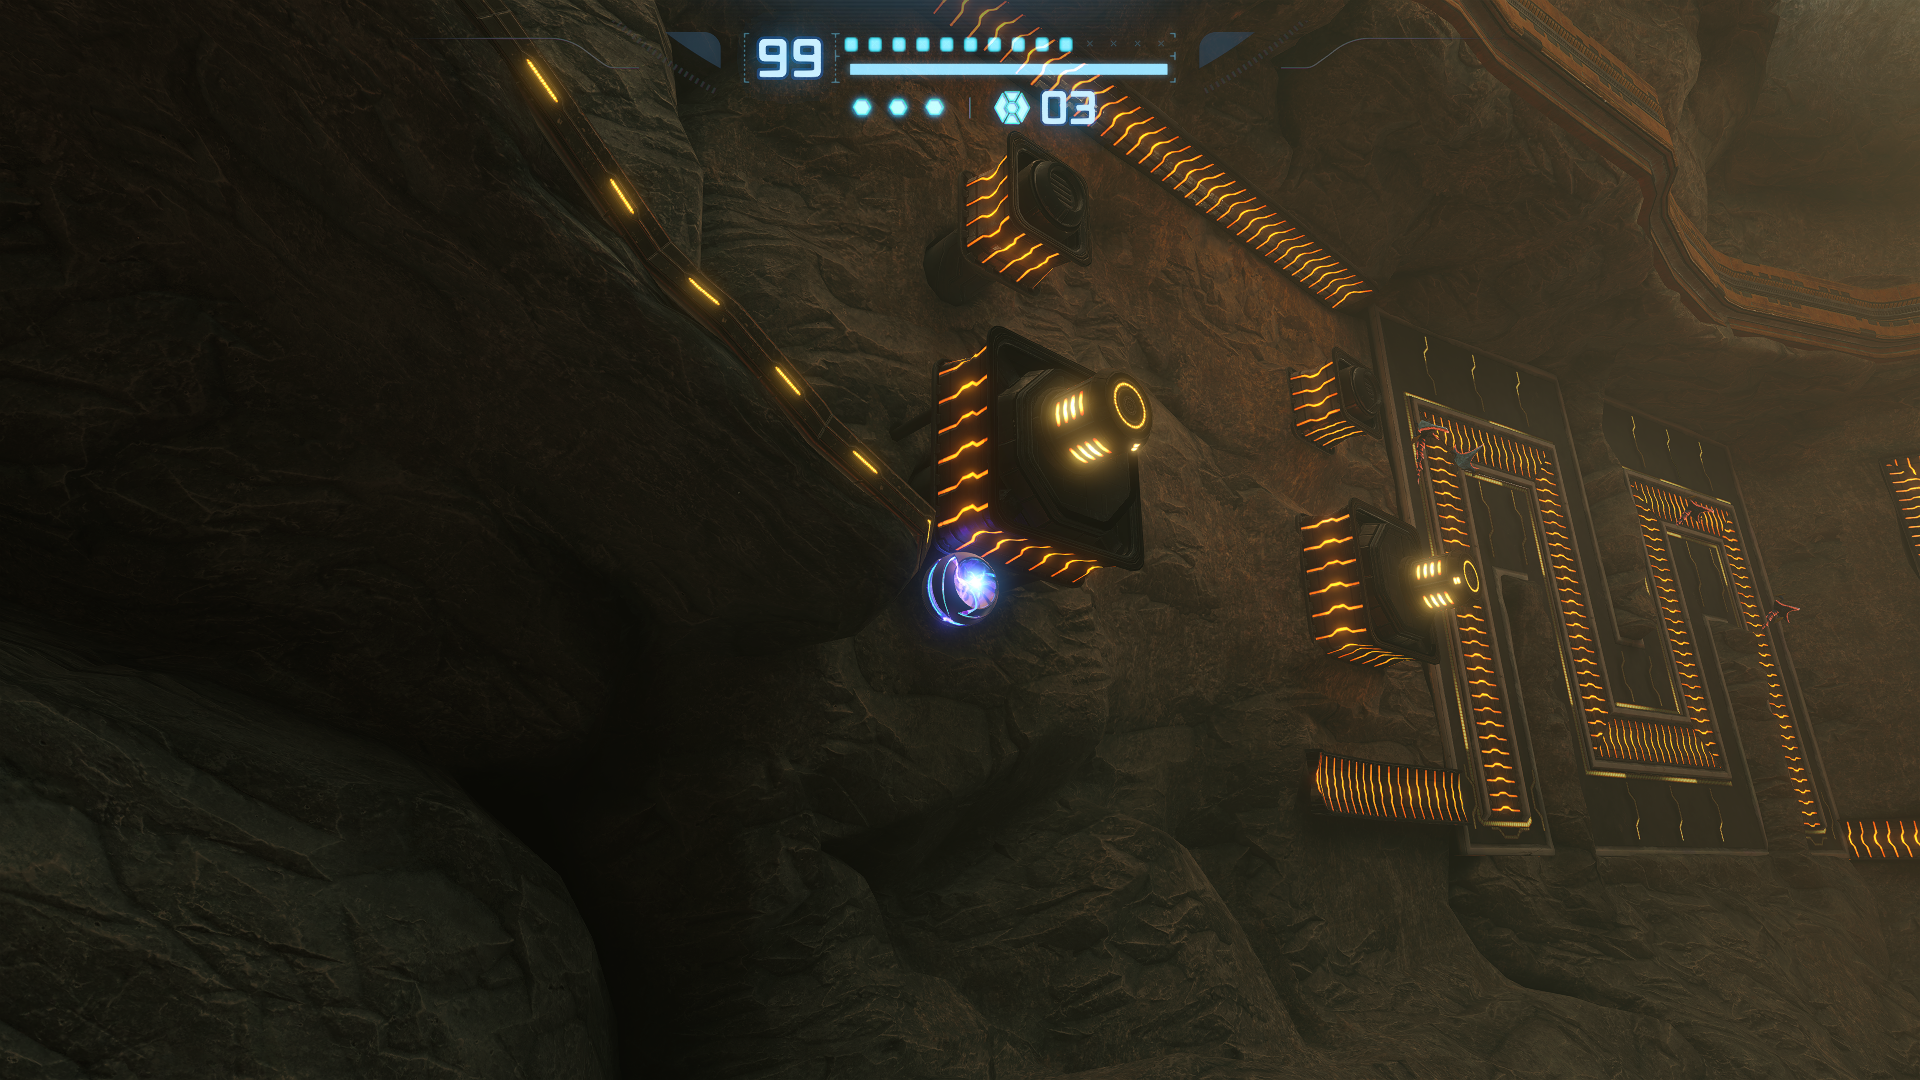
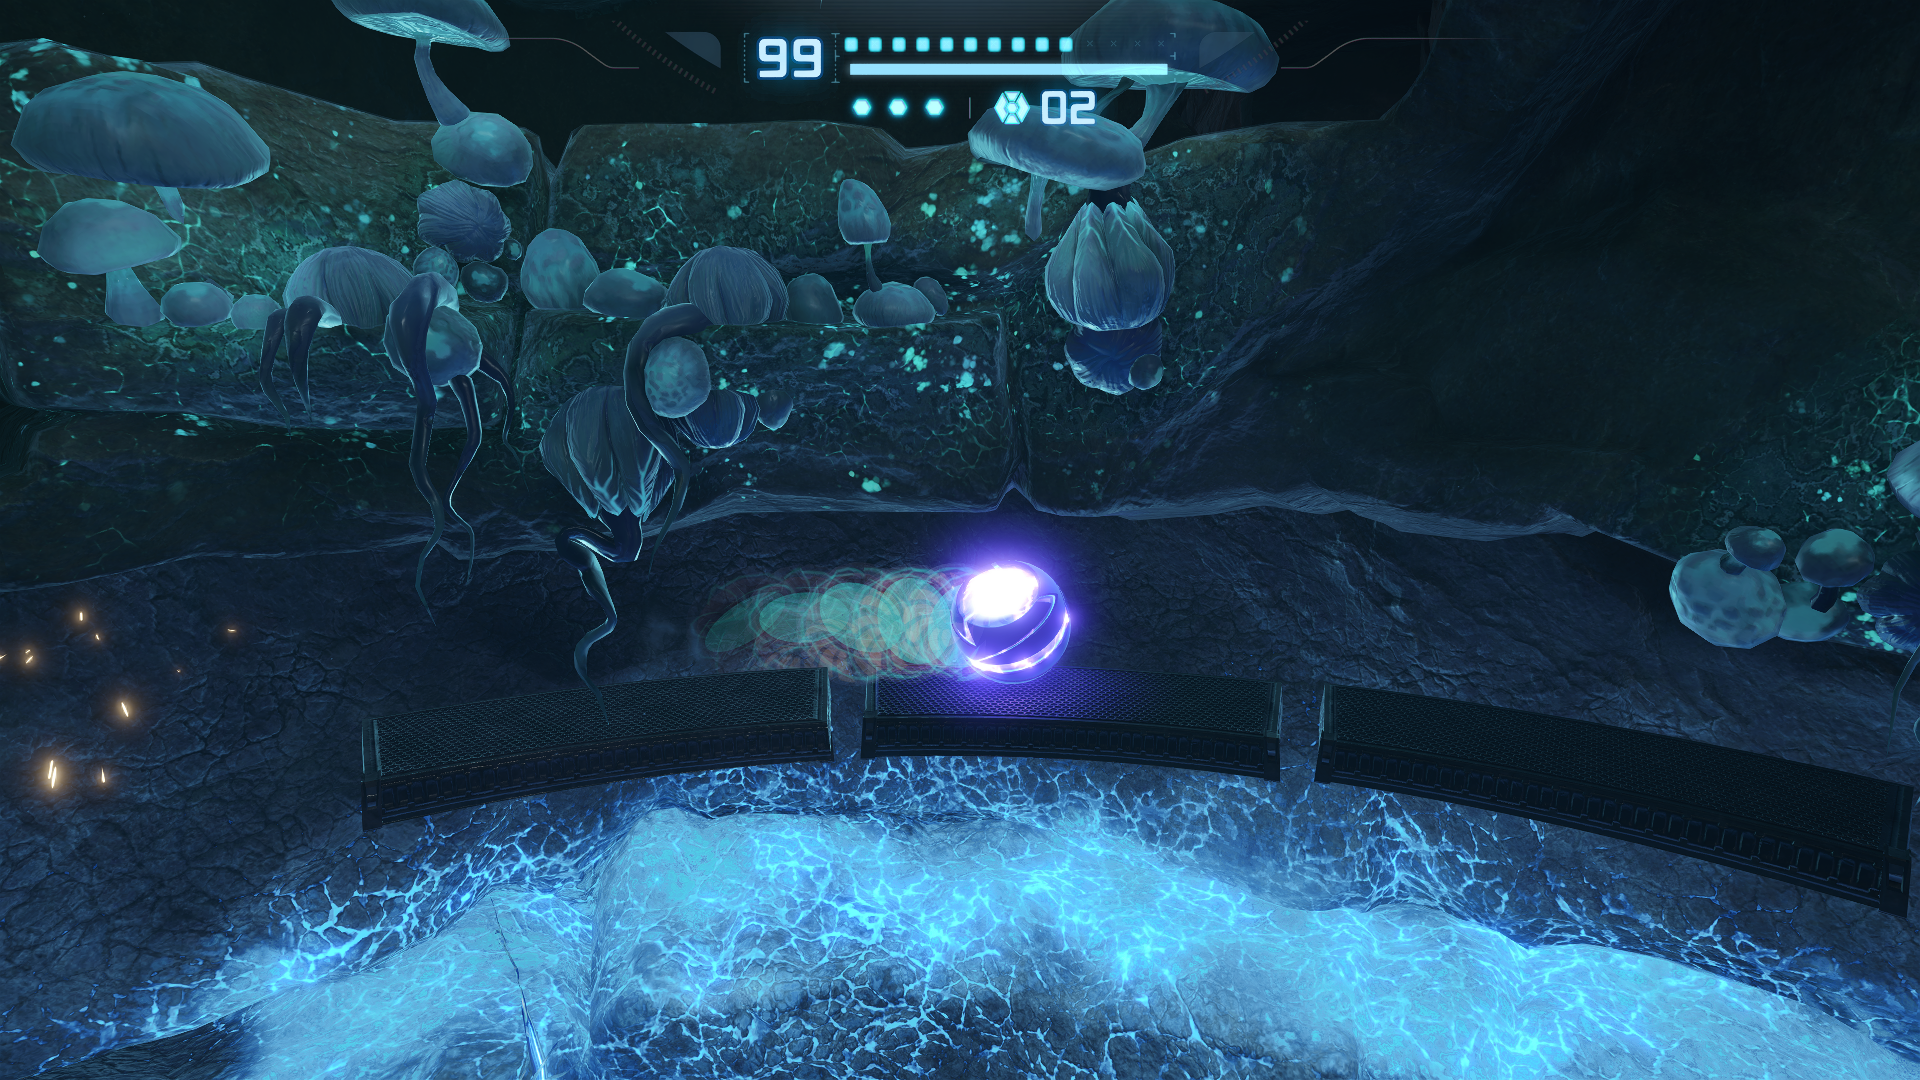
Jump to each of the raised Spider Ball Tracks until you see a parallel section below you. You’ll have to drop to this one, but it’s actually a lot less scary than it looks. You just need to momentarily release the Spider Ball and activate it again before passing the track during the fall. Keep progressing forward until you fall on to a small regular platform. Now the Spider Ball Track to the right operates a bit differently than the typical ones we usually find. I’m gonna dub these “Free Roam” tracks to differentiate them. Basically unlike normal tracks that only allow us to move forward and backwards, Free Roam tracks allow us to move in all eight cardinal directions. You can tell a Free Roam Track from a regular Spider Ball Track by the animated glowing yellow lights separating each connected segment.
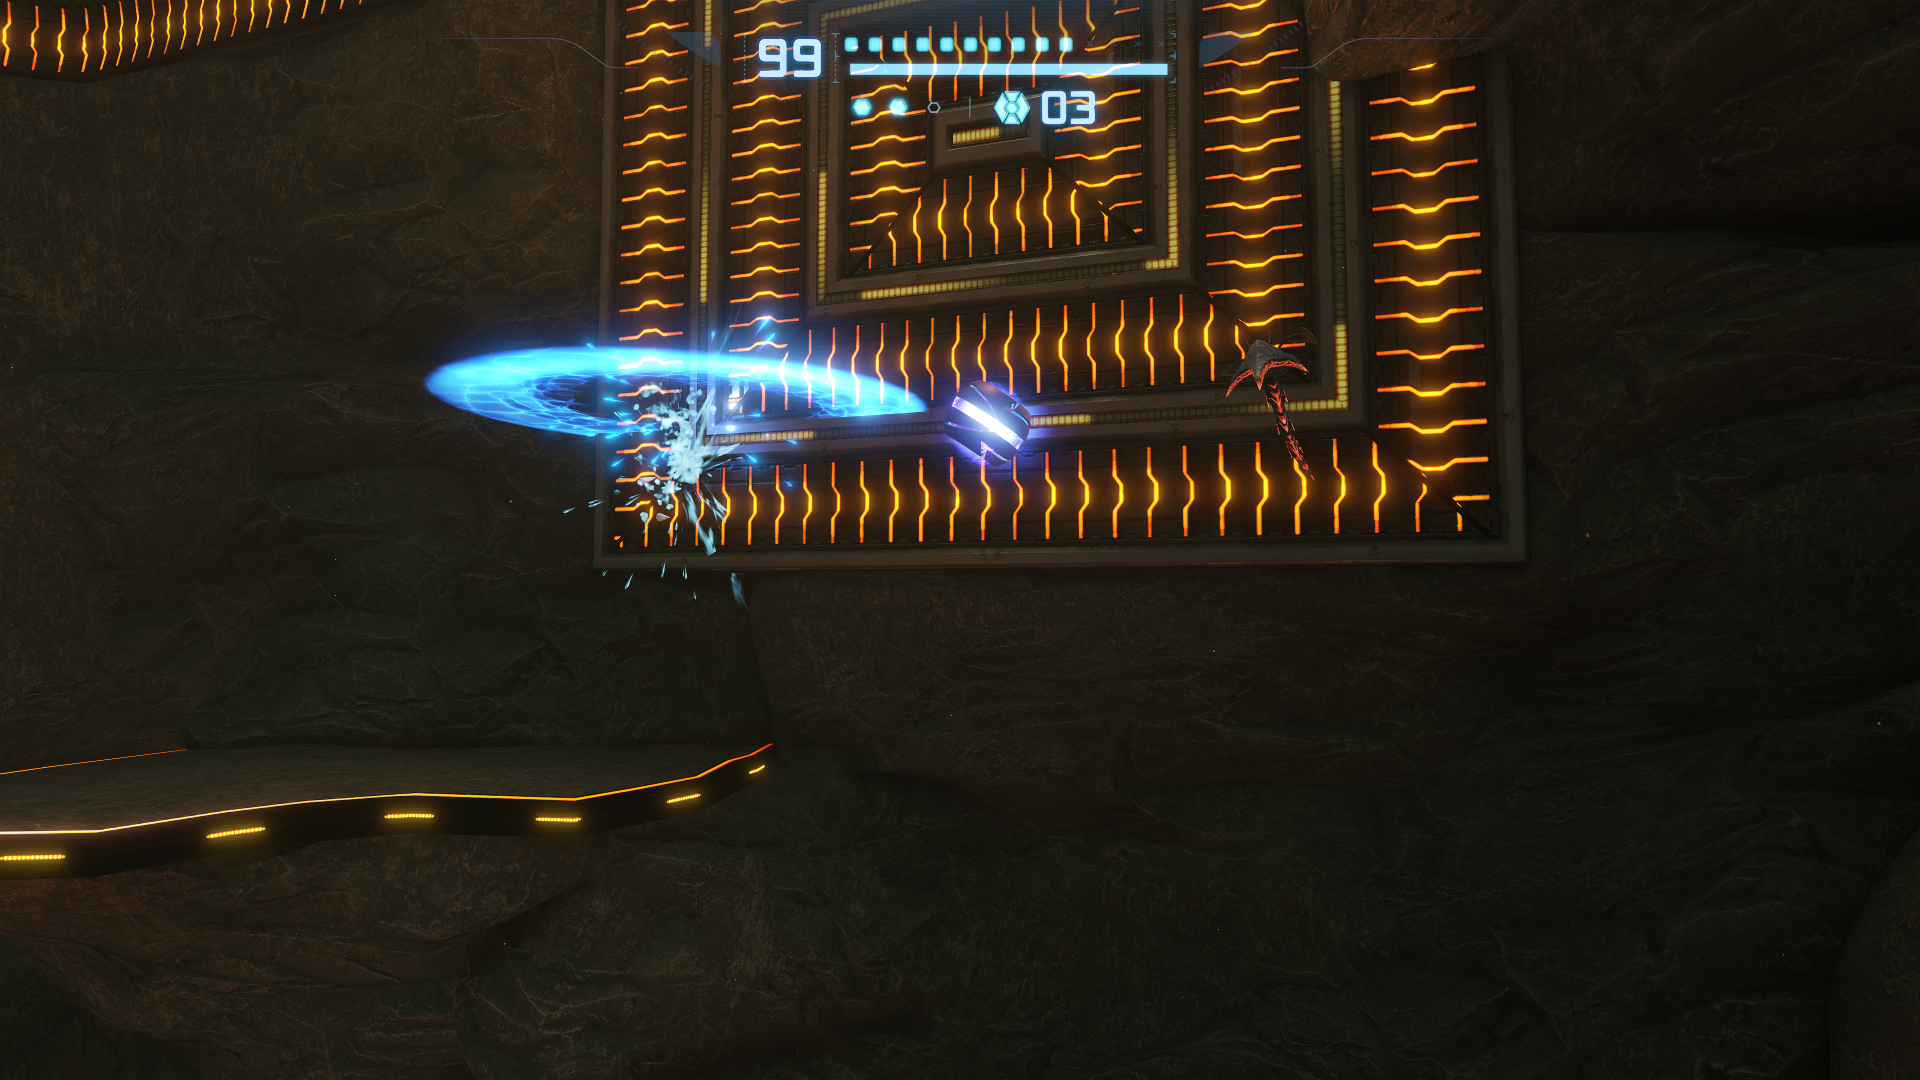
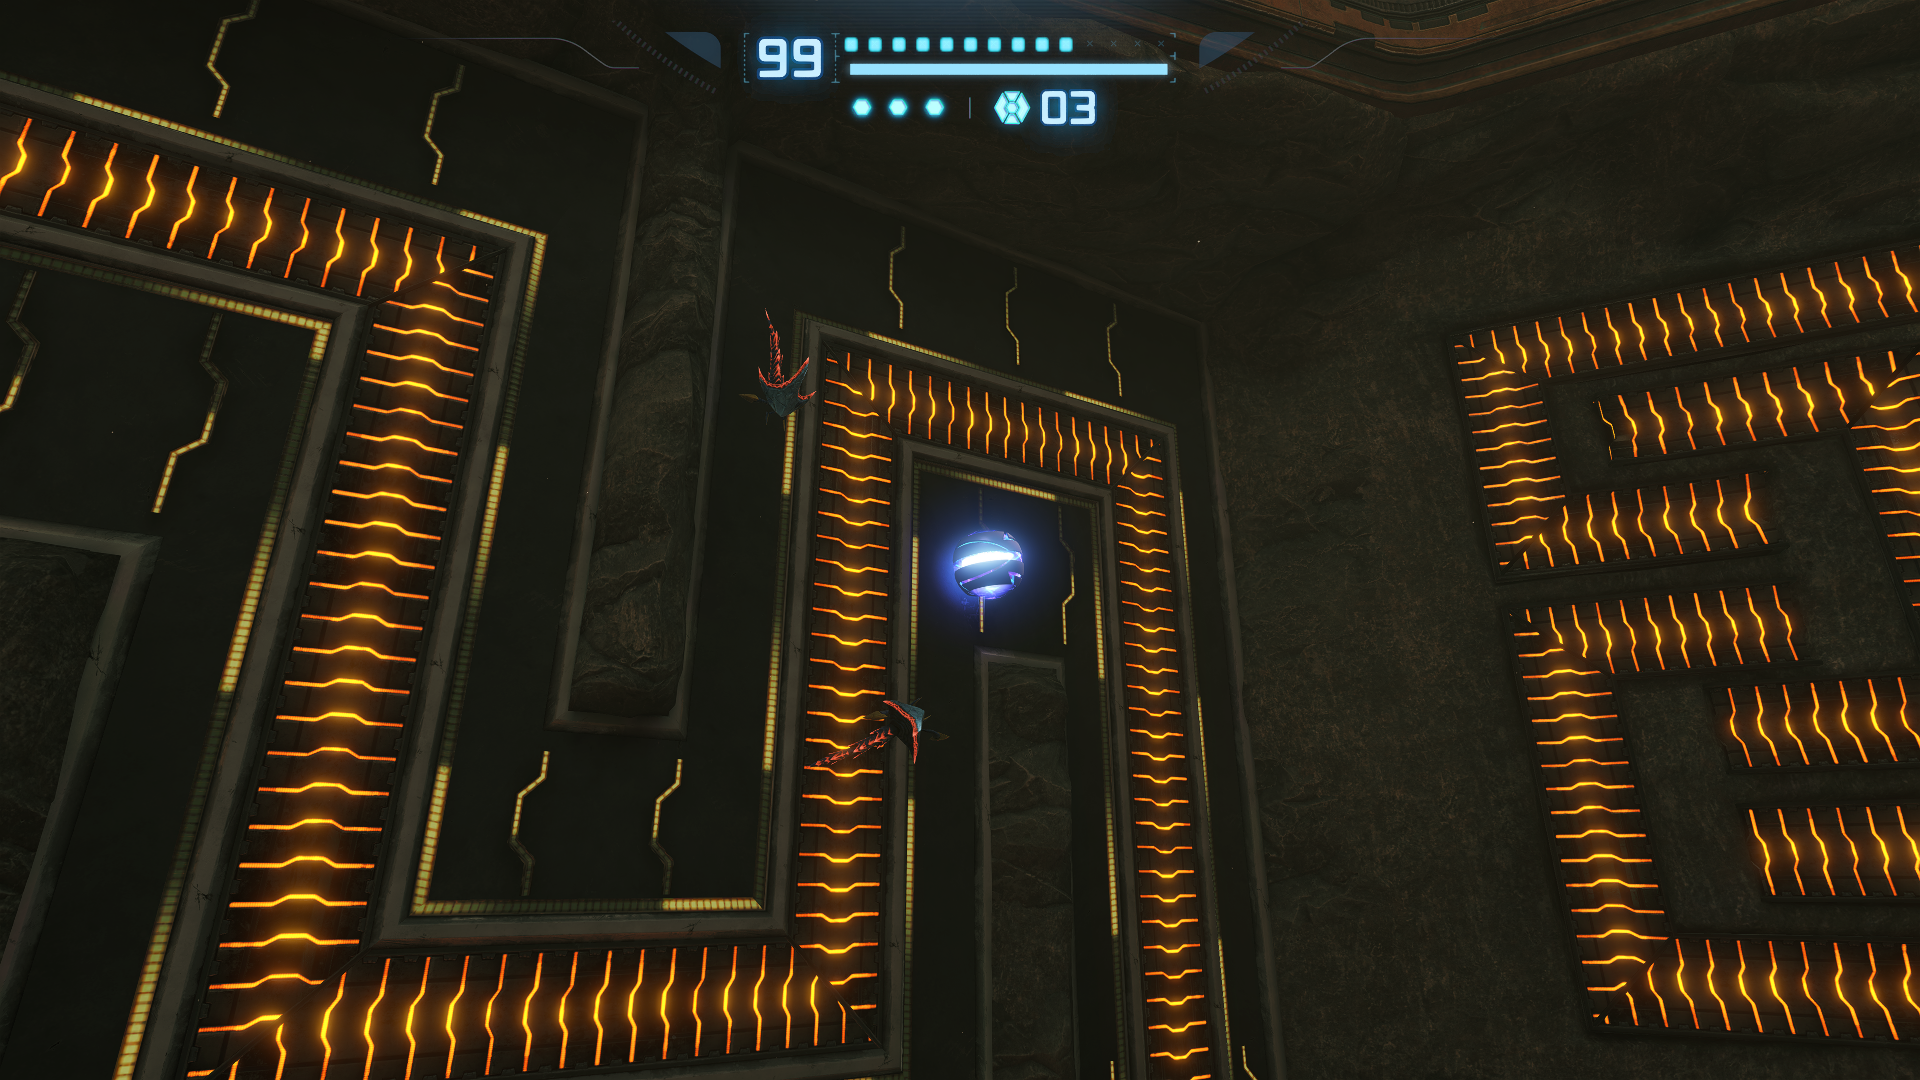
For these sections, each Free Roam track will also be home to some Plated Parasites that will knock us off if we come into contact with them. However they can also be taken out with bombs, or alternatively you can deal with a whole group using a Power Bomb. I do not recommend the latter as we still haven’t gotten a single Power Expansion yet and need to preserve resources. One thing that makes this a lot easier for us is the Plated Parasites follow a set path and never deviate from it. Just follow their movements, look for an opening and move through. If you need to take one out, be sure to move away from the bomb blast so that you don’t risk bomb jumping into another.
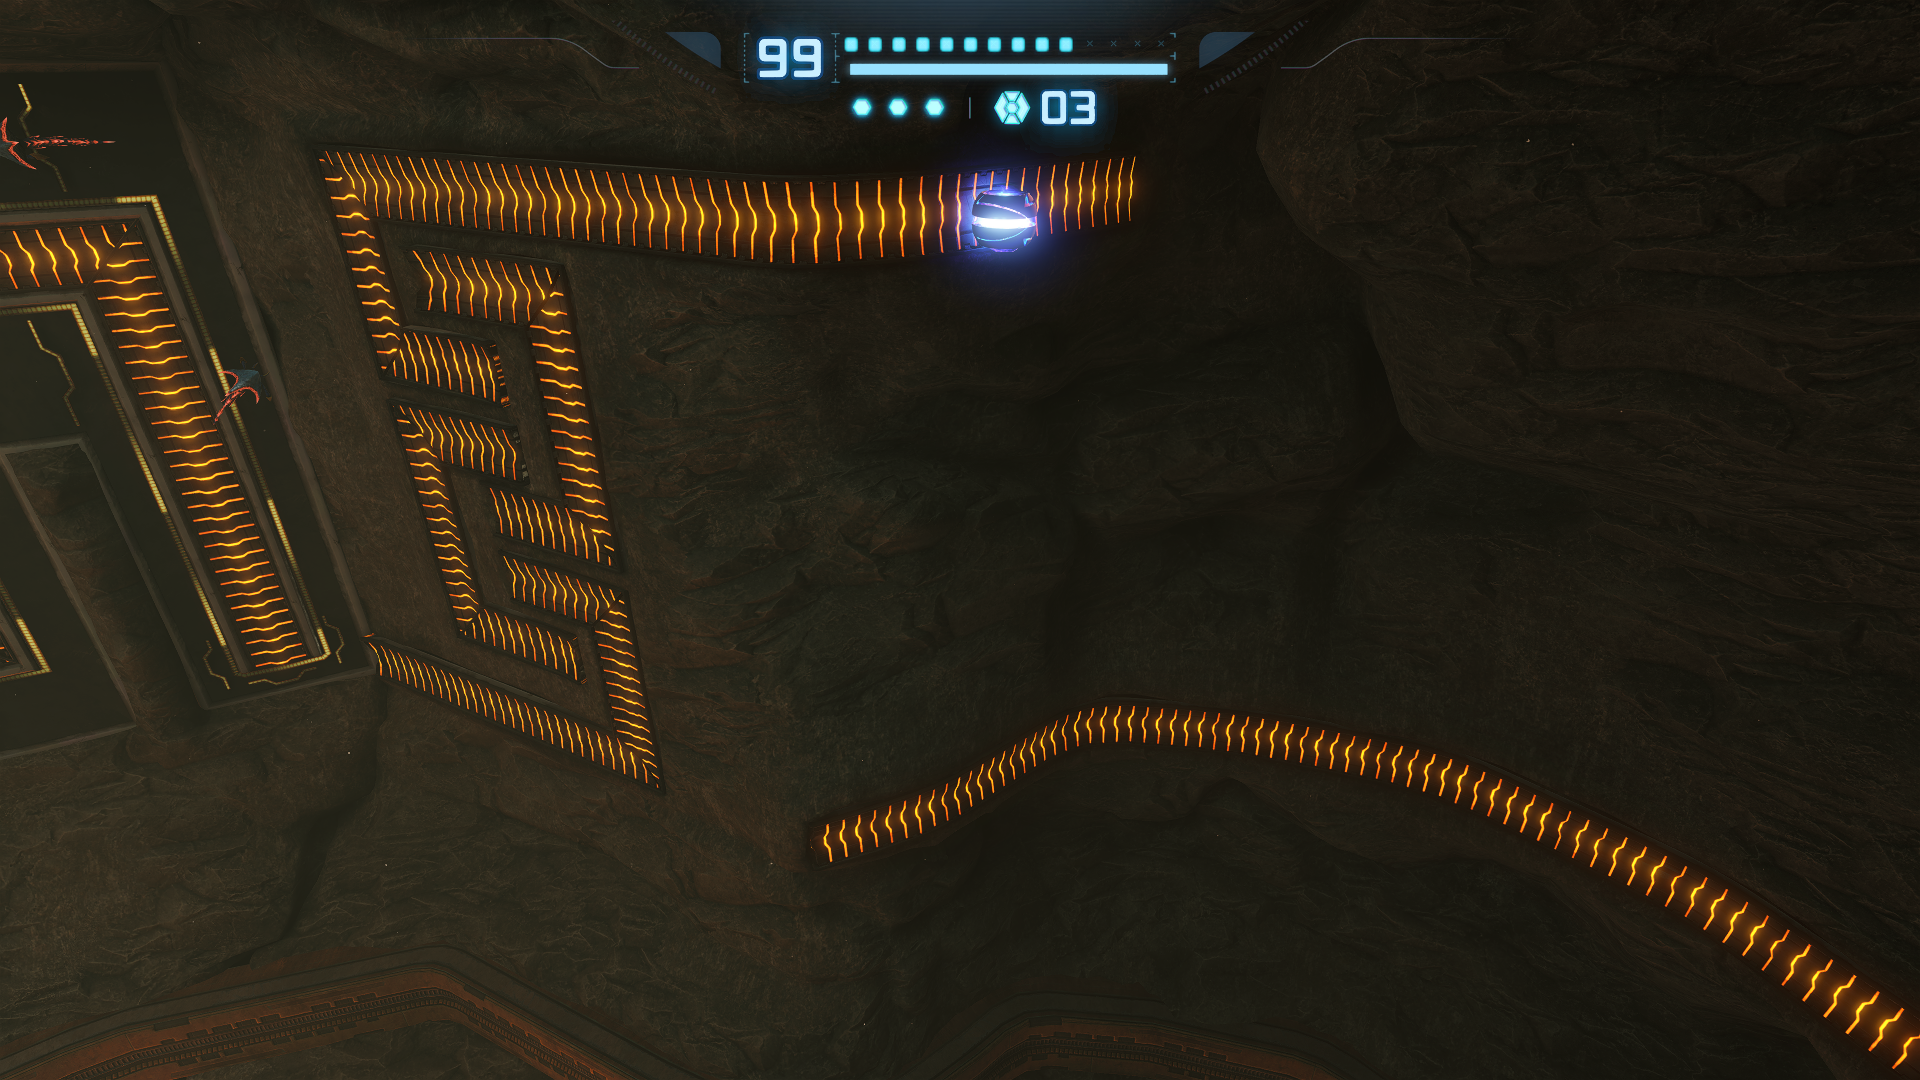
At the end of the Free Roam track, you’ll be met with a steep downwards slope leading to a short gap and some square Spider Ball tracks shortly after. Again, this is not anywhere near as scary as it looks. Just hold the Spider Ball button as you’re speeding down the hill and you’ll automatically stick to the track at the end. Continue navigating with the Spider Ball until you reach the next Free Roam Track. This one is a bit longer, has less manueuvrability and zig-zags a bit.
Same rules apply here as the last track, though you’ll definitely want to consider taking out some of the Plated Parasites. As you exit the Free Roam Track, the next Spider Ball section you can choose to fall onto the pieces that loop around or bomb jump to the next sections. I prefer bomb jumping, but there aren’t any disadvantages to either method.
At the end you’ll encounter a long drop from your current track to the one you need to get to. I know I’ve said this a lot, but I cannot stress enough that this is WAY less scary than it looks. In fact this is arguably the easiest Spider Ball drop we have to perform in this entire puzzle given that we have significantly more time to re-engage the Spider Ball during our fall.
Once you fall onto the track, you’ll roll into the final Free Roam Track of this behemoth puzzle. This is actually the easiest of the Free Roam Tracks to me because the Plated Parasites always move along the edges, so they shouldn’t give you much trouble. You can still bomb them though if you want to be extra careful. At the end, you’ll drop onto some more square shaped Spider Ball Tracks, this time with each one at an angle instead of directly on top of each other. Just move to the very edge of each square and bomb jump to reach the next track.
The top Spider Ball Track will finally lead you to the door we’ve been trying to reach, BUT WAIT JUST A MOMENT BEFORE YOU DROP DOWN, THIS IS VERY IMPORTANT! Most of you will encounter a pile of Bendezium debris blocking the door unless you’re playing the version 1.0 or Player’s Choice North American GameCube releases of Metroid Prime. If you have debris blocking the door, DO NOT DROP DOWN YET, as the angle has a very good chance of sending you all the way to the bottom which would be the gut punch of the century. Instead, deploy a Power Bomb while you’re still attached to the Spider Ball Track, then drop down and un-morph after the debris is safely disposed of.
If you need additional visual references to help you out with this massive Spider Ball test, check out the video below to watch a perfect run from start to finish.
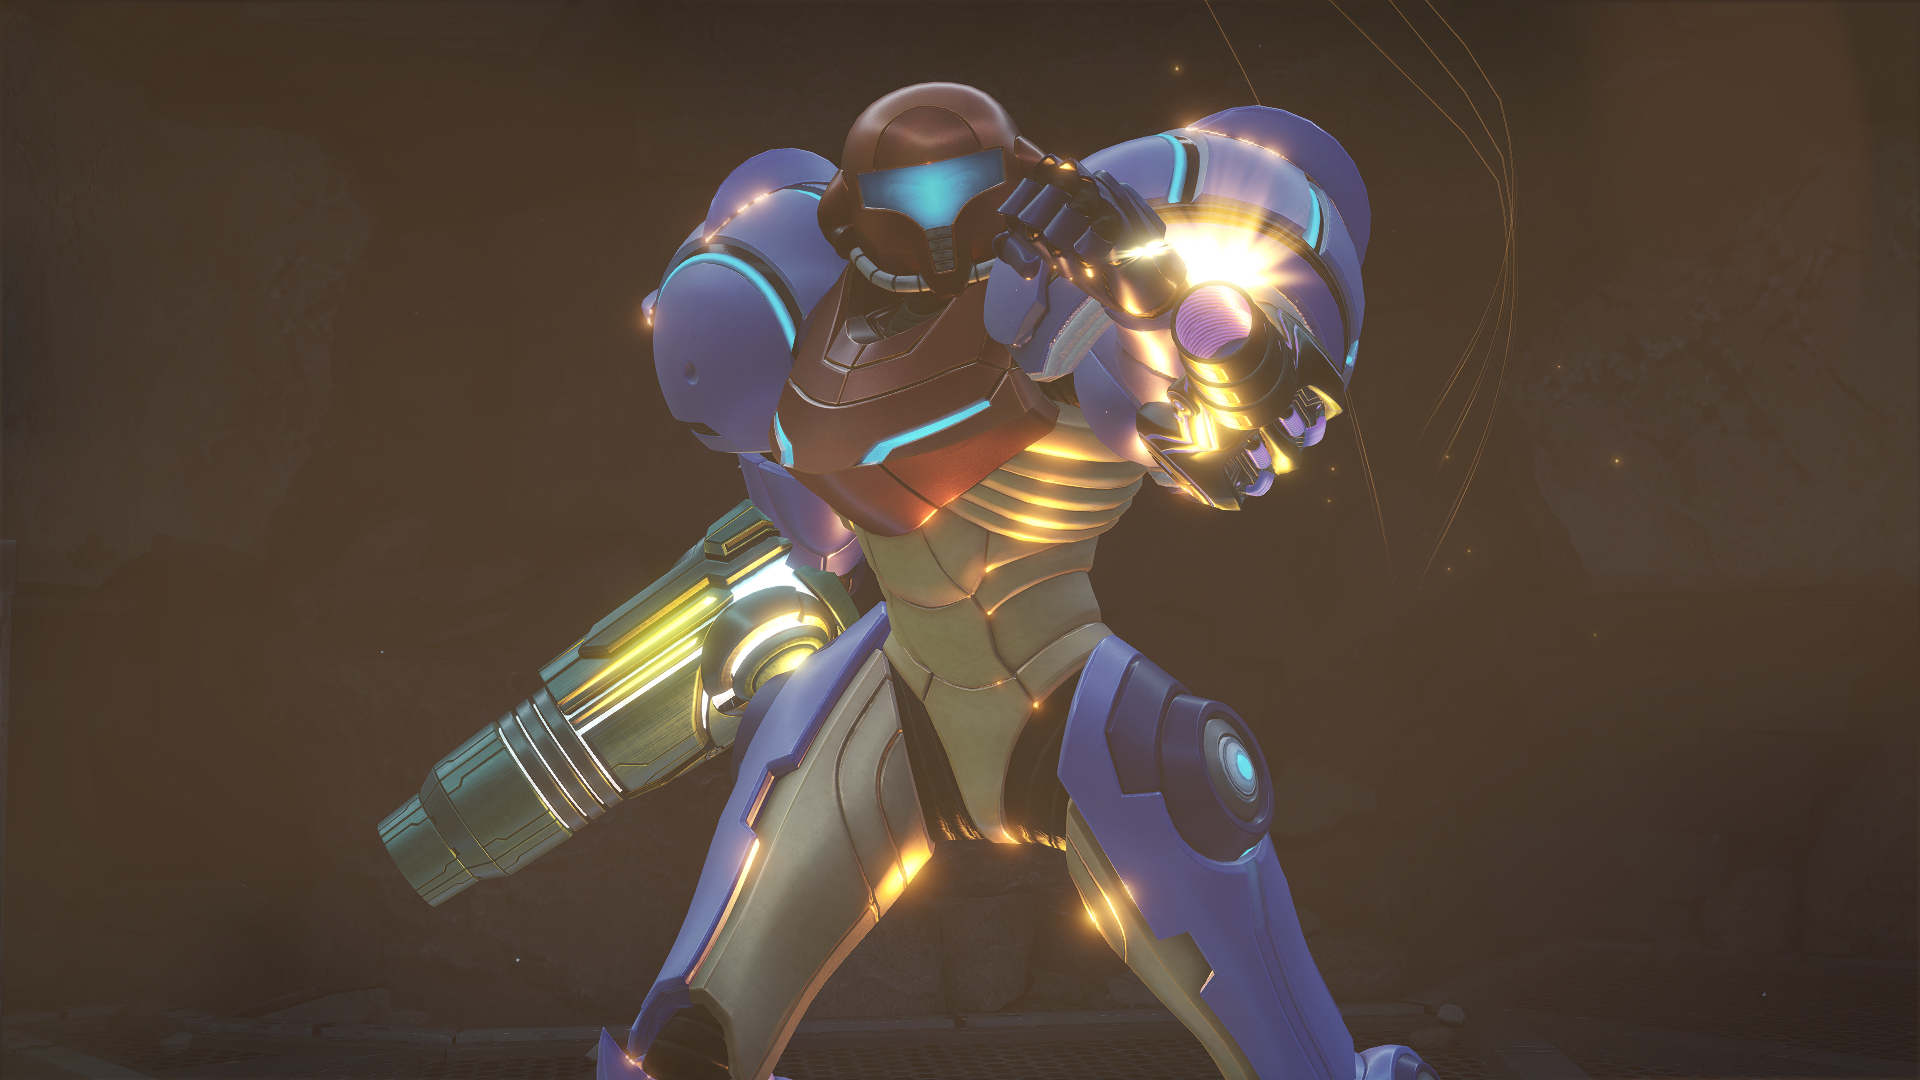
This puzzle might have been loads of work, but the reward you get is soooooooooo worth it. Just beyond the Ice Beam door is the final main beam upgrade of the game, the PLASMA BEAM. This thing is an absolute monster and should be your default weapon choice in most combat encounters moving forward. The Charge Beam one-shots just about everything and even the single shots do a ton of damage too. It has the second fastest firing rate of the beams and it also deals out burn damage over time. The Space Pirates should be terrified of you if they weren’t already.
The X-Ray Visor
Scans in This Section
Creatures: Plasma Trooper, Phazon Elite *missable*
Artifacts: Warrior, Chozo
With your new Plasma Beam, make your way back to the Transport to Phazon Mines West and test out your new toy on the poor Flying Pirates you encounter along the way. Once you’re back at the Phazon Mines, go to Elite Research. Make sure to scan the new PLASMA TROOPER that appears in the Phazon Processing Center along the way!
After you arrive at Elite Research, go to the bottom and drop a Power Bomb by the Bendezium stasis tank. You’ll release the PHAZON ELITE, an “enhanced” Elite Pirate with even more Phazon infusion. I use quotation marks because the fight plays out roughly the same as any regular fight except you need an extra Super Missile or two depending on your difficulty. They also move and attack slightly faster than Elite Pirates, but there’s so much space in the room that it’s not a meaningful buff. Lastly, they don’t carry any cannons, which again doesn’t make much of a difference compared to how you should be fighting standard elites anyways. Scan it, kill it, be done with it. As a reward, we’ll receive our first Chozo Artifact since visiting the Artifact Temple at the beginning of the game, the ARTIFACT OF WARRIOR.
Next up on our path is the Mine Security Station, just two rooms from where we are now. As soon as you enter, drop a Power Bomb at the Bendezium gate to the right and scan the terminal inside. This will deactivate the force field guarding the Plasma Beam door on the first floor. Make your way down, taking out the various beam troopers along the way and enter the door to receive the FLAMETHROWER. As cool as it is, unfortunately it’s kinda useless, so we’re just grabbing it for 100% items. After that, go to the very next room, Security Access A. Drop another Power Bomb by the weakened Bendezium gate at the end of the hallway to find MISSILE EXPANSION #29 stocked in the back. That wraps up this item hunt! Save your progress at the Save Station connected to the Main Quarry, then head to the Transport to Tallon Overworld South and take the elevator up.
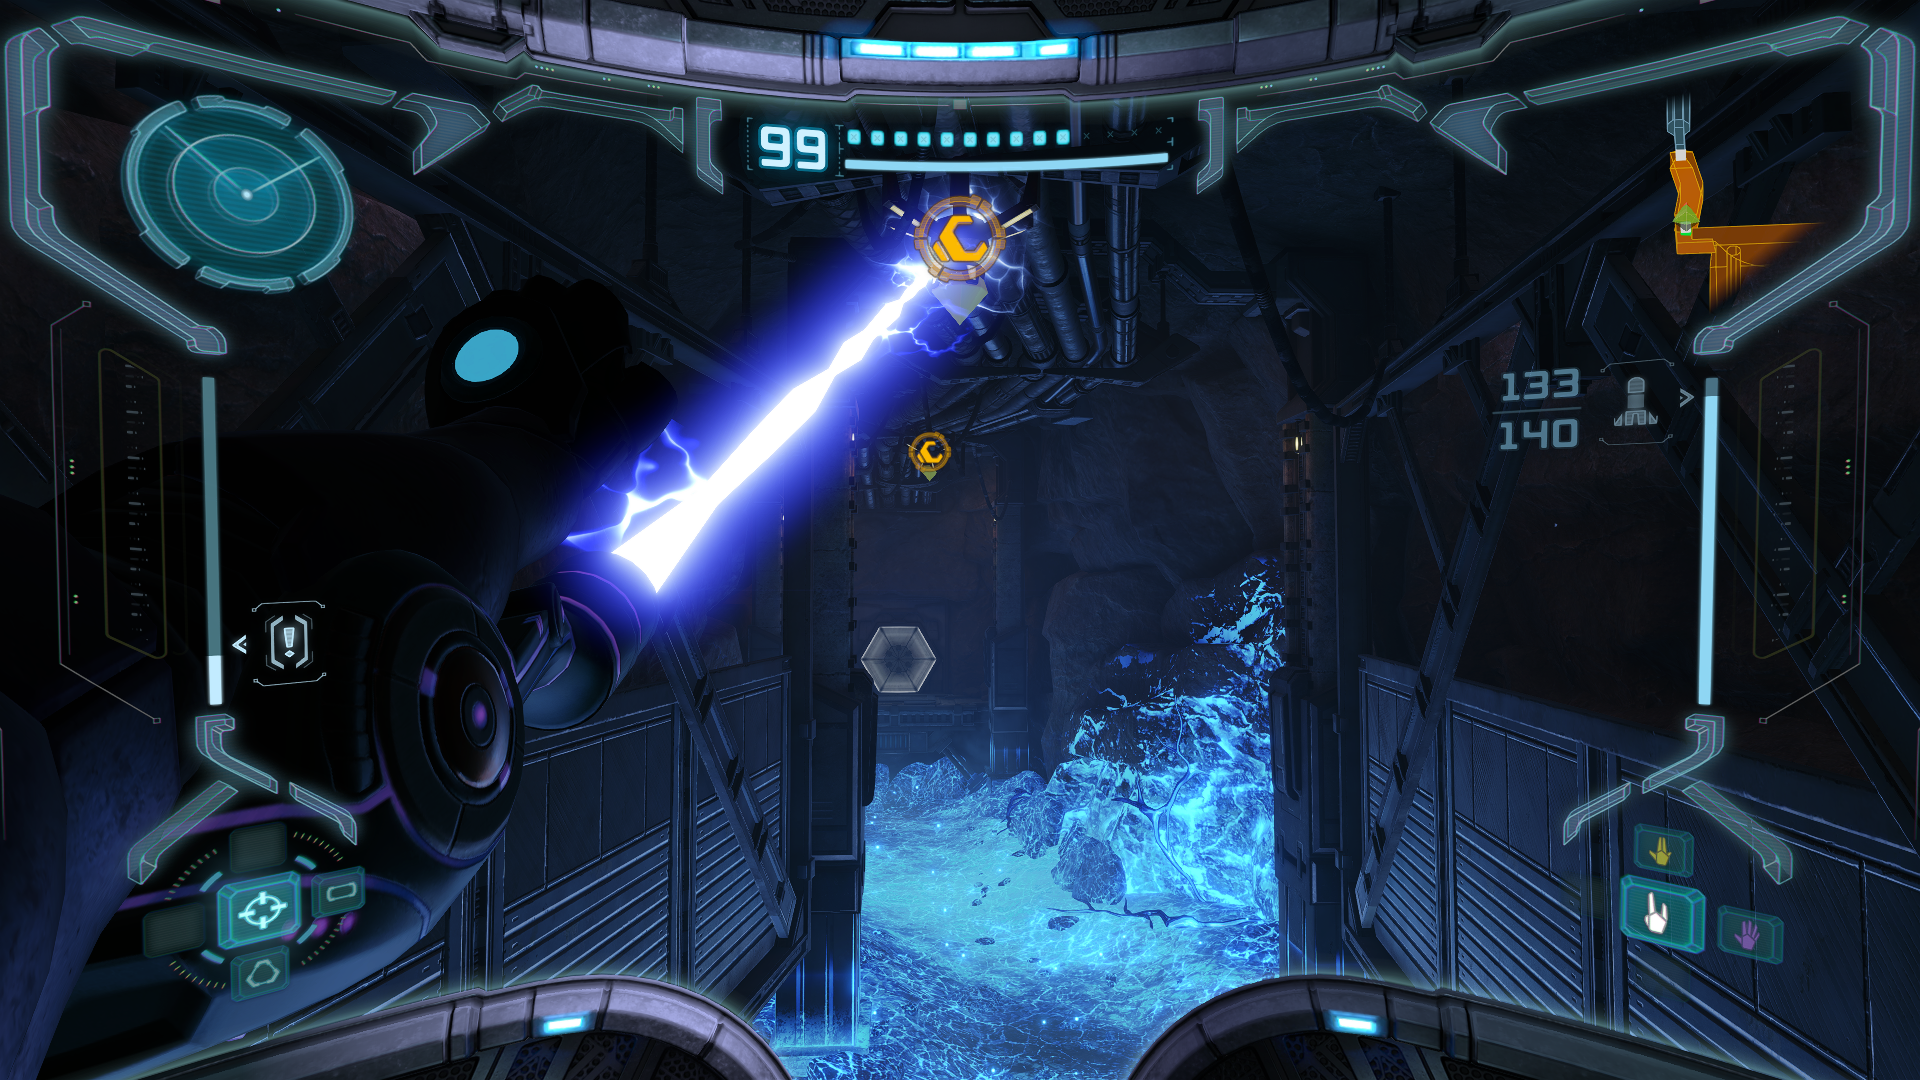
Back at Tallon Overworld, navigate the platforms until you reach the Spinner. Use it to disengage the security gate and move to the upper level of the Great Tree Hall. Take the Spider Ball Track up to the door leading to the Life Grove Tunnel. Drop a Power Bomb by the weakened Bendezium rocks to open a Morph Ball tunnel. At the half-pipe, boost to the top ledge and drop a bomb in the center to collect MISSILE EXPANSION #30. Once you’re done, keep rollin’ rollin’ rollin’ rollin’ to the Life Grove where the X-RAY VISOR awaits to be claimed. The X-Ray Visor allows you to see behind certain walls as well as invisible platforms and enemies. Pretty sure that’s not how X-Ray technology works in real life, but bird magic, right?
After collecting the new item, Seedlings will start infinitely spawning from the Morph Ball tunnel above. Each one is guaranteed to drop Power Bomb ammo, so this is the perfect time to fully stock yourself up. As you might have caught on, infinite Power Bomb drops is a big hint to what we have to do next. Activate the X-Ray Visor and you’ll be able to see a vast landscape outside of the small structure. Dropping a Power Bomb will destroy the walls and allow us to explore the rest of this area. Make sure to leave a Seedling spawned in before you blow the wall up so that you can get that refill right after, as they’ll stop spawning the moment the wall goes down.
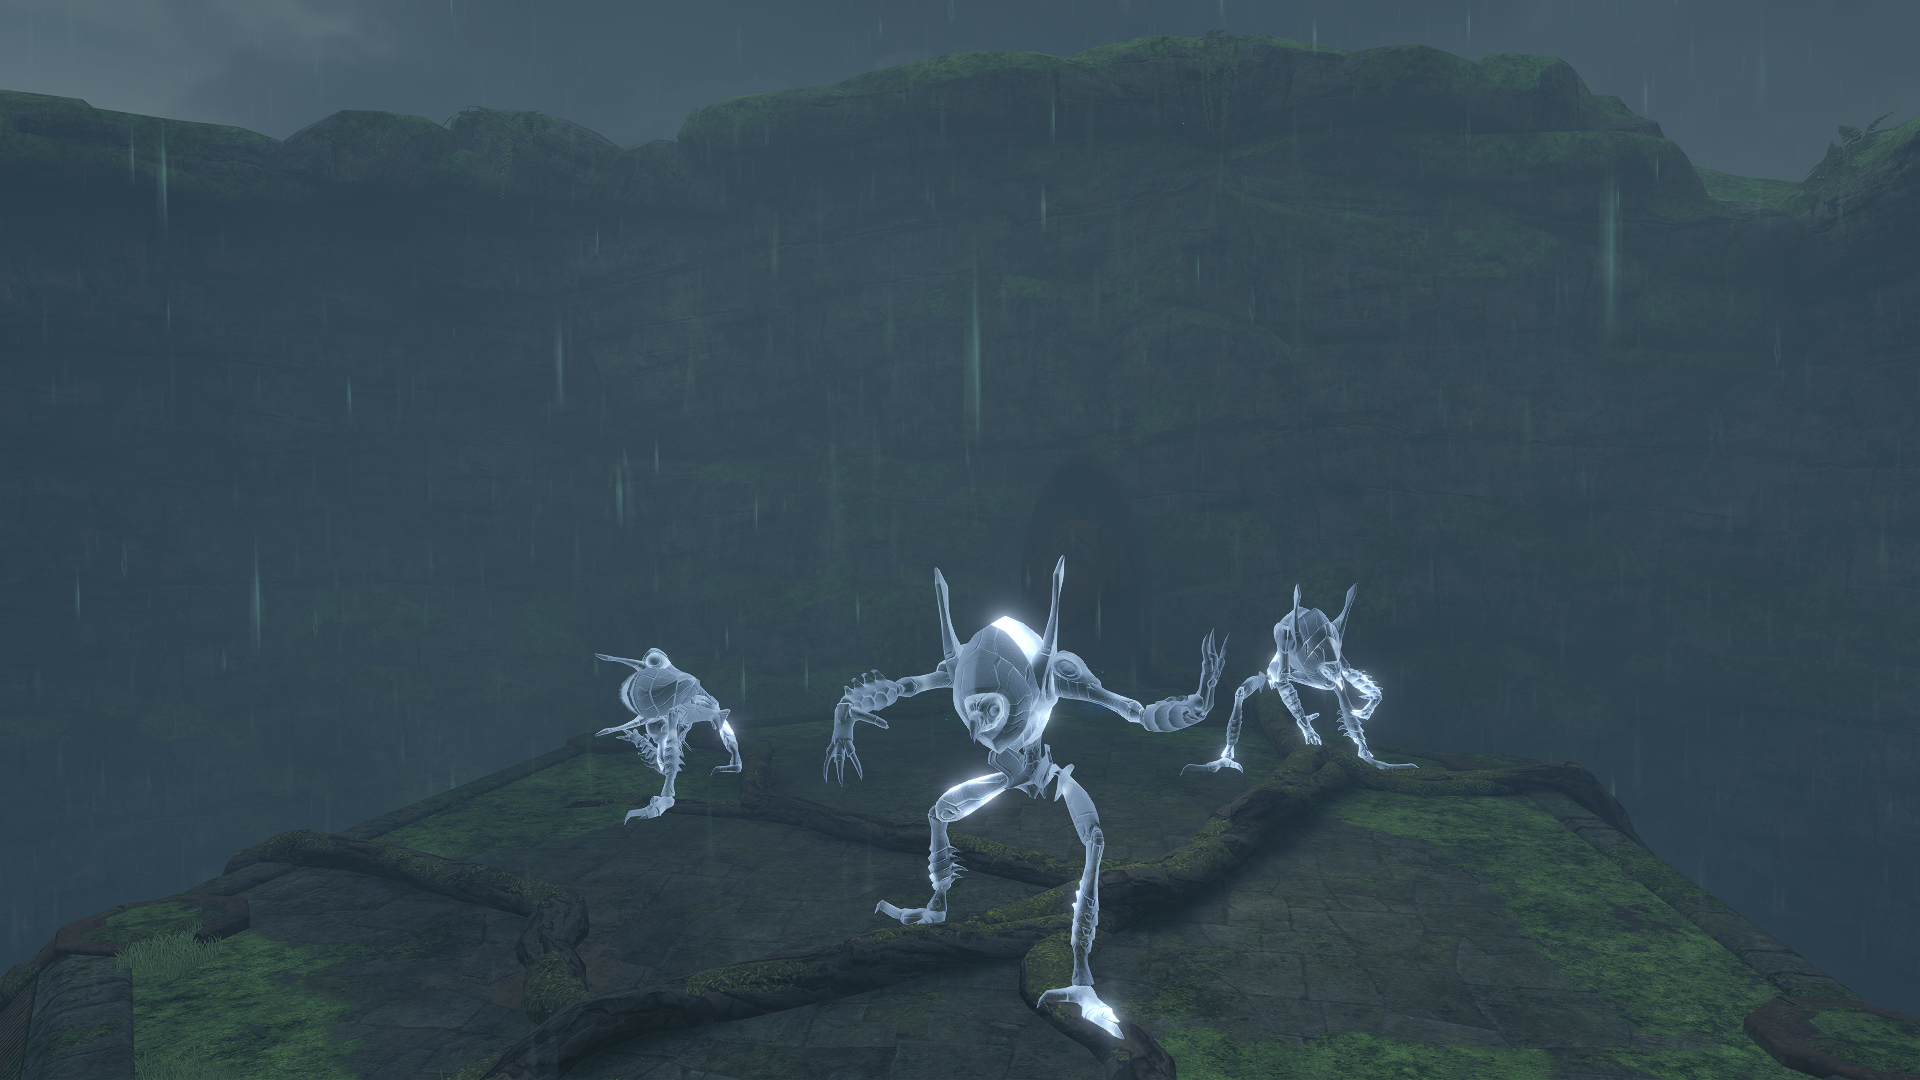
On the outside of the structure, go into the lake directly out front and drop a bomb on the symbol in the center. A pillar will rise from the ground followed by a Spinner supporting it. Use the Spinner to reveal another Chozo Artifact, the ARTIFACT OF CHOZO. We’re finally starting to collect these more frequently! After that, go towards the left where the Morph Ball track is and platform around the room. Once you reach the top, three Chozo Ghosts will appear to halt your progress. Unfortunately for them, the X-Ray Visor is able to detect them at all times even when they go invisible. Honestly the hardest part of the fight is just trying not to fall off the top platform so that you don’t have to do all that again. Otherwise, once you defeat the ghosts, a new passage will open up at the top letting you leave the area.
Once you’re back at the Great Tree Hall, go to where the Bloodflowers are and look up. You might notice the rain is seemingly hitting an invisible object. Hmmmm. Activate your X-Ray Visor to find an invisible platform that you can use to reach a new room holding MISSILE EXPANSION #31.
We now have all the necessary tools to explore deeper into the Phazon Mines. Go to the Transport to Phazon Mines East, take the elevator down and let’s crush the heart of the Space Pirate operation once and for all!
The Depths
Scans in This Section
Pirate Data: Special Forces
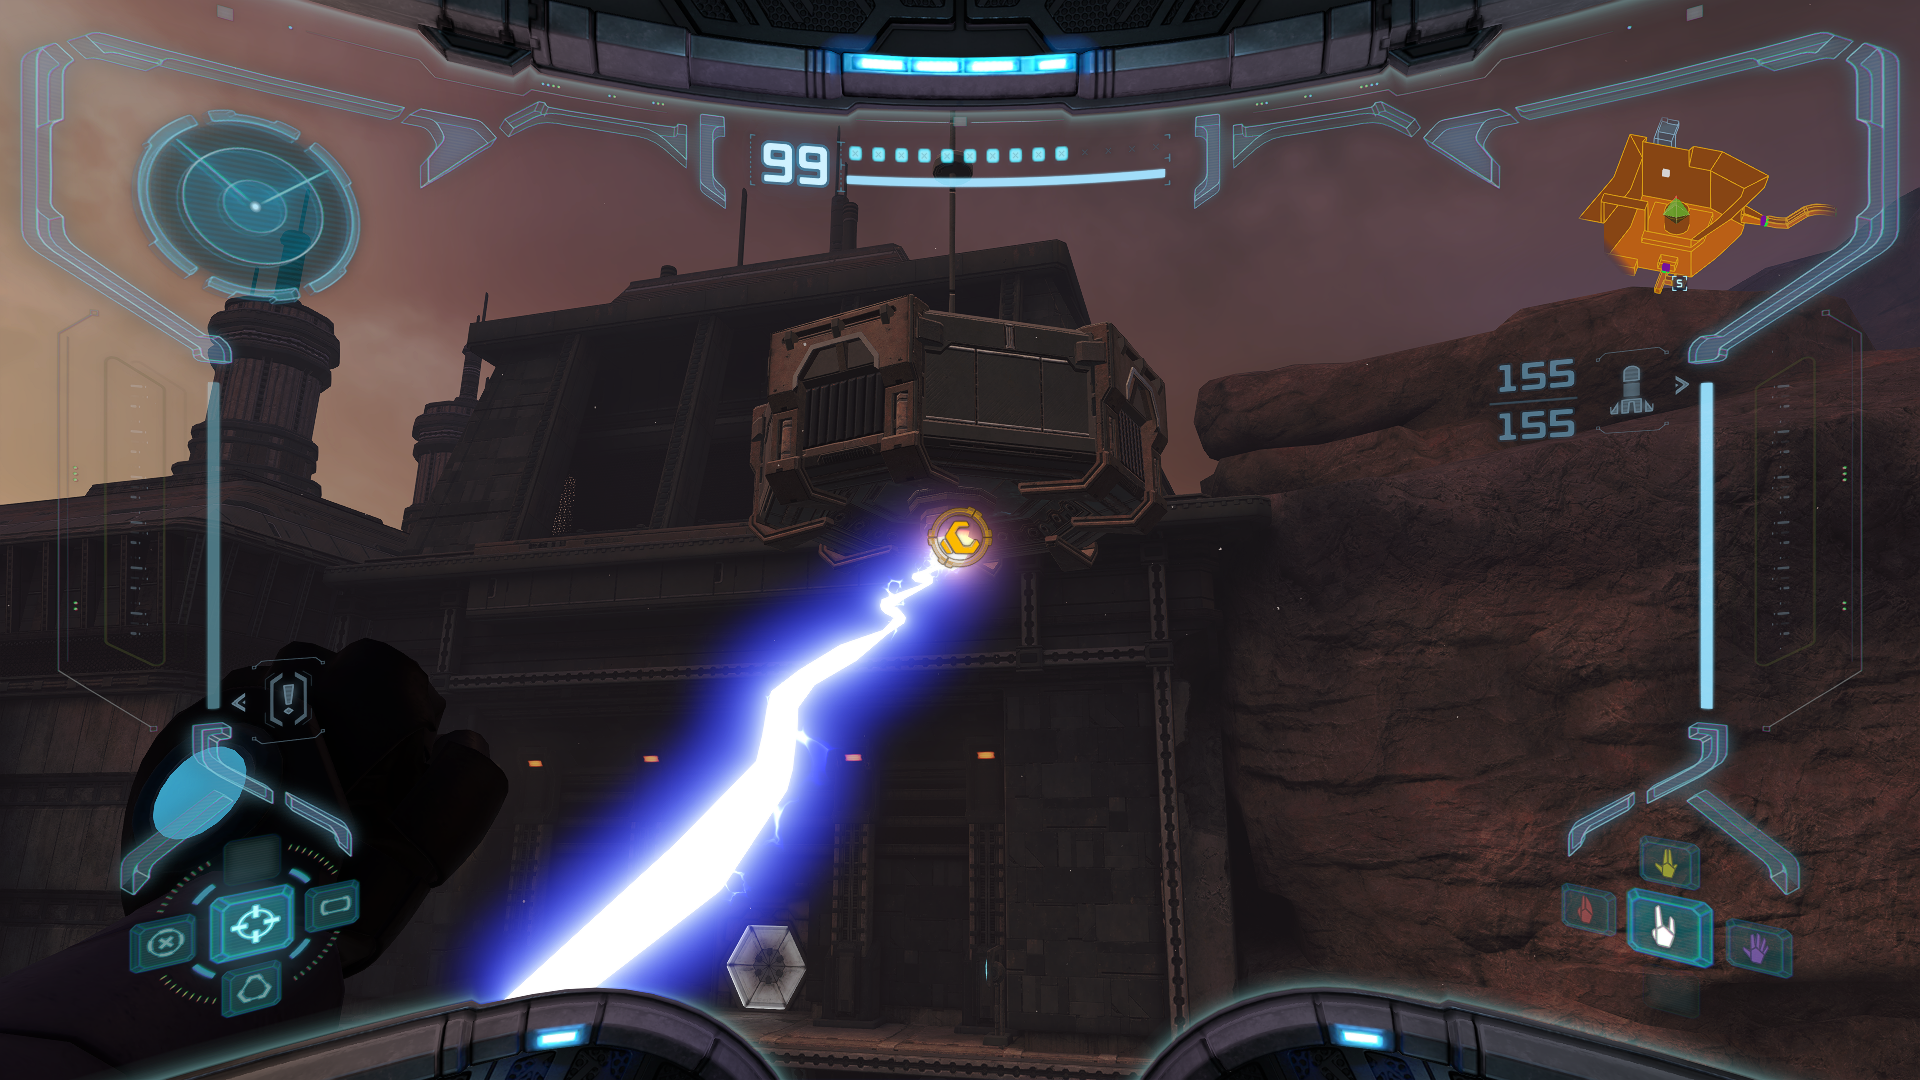
Go to the Main Quarry and access the terminal you used to move the crane for that Missile Expansion from earlier to reset it back to its original position. You can now use it as a Grapple Point to take a shortcut through Waste Disposal. You’ll need to jump where the bubbling vents are located for extra buoyancy. After you reach the other side, you’ll wind up in Ore Processing.
Continue your descent until you reach Dynamo Access, where an Elite Pirate will break free. This fight is a little trickier since it forces you into close quarters, but you can get in at least two Super Missiles before he’s able to put the energy siphon up so you should be fine. In Quarantine Access A, you’ll be met with four Mega Turrets. Instead of taking them all head on, go to the opening in the floor with your Morph Ball, roll to the other side and scan the blue symbol to deactivate them.
In Metroid Quarantine A, you’ll find some Space Pirates in the area protected by a force field with some Tallon Metroids on the other side. Unfortunately for these pirates, the terminal to deactivate the force field is right in front of us. Scan it to bring the days without incident tally back to zero. Once the Metroids have dealt with the pirates, use charged Plasma Beam shots to insta-kill them. I know I already mentioned the Plasma Beam does this to most enemies, but I wanted to re-emphasise it here as it does indeed apply to these Metroids as well. On the other side of where the force field once stood, jump onto the mushrooms and activate your X-Ray Visor to detect some invisible moving platforms that allow you to cross the gap.
On the other side, jump to the mushroom on the right and activate your X-Ray Visor again to find another invisible moving platform that leads to the opposite ledge. Drop a Power Bomb by the wall to destroy it, then drop another at the wall at the end of the tunnel. Ride the Spider Ball Track to the opposite side and use your X-Ray Visor to find a vertical moving platform that will take you to MISSILE EXPANSION #32. Proceed forward until you reach the access lift to level three and go down.

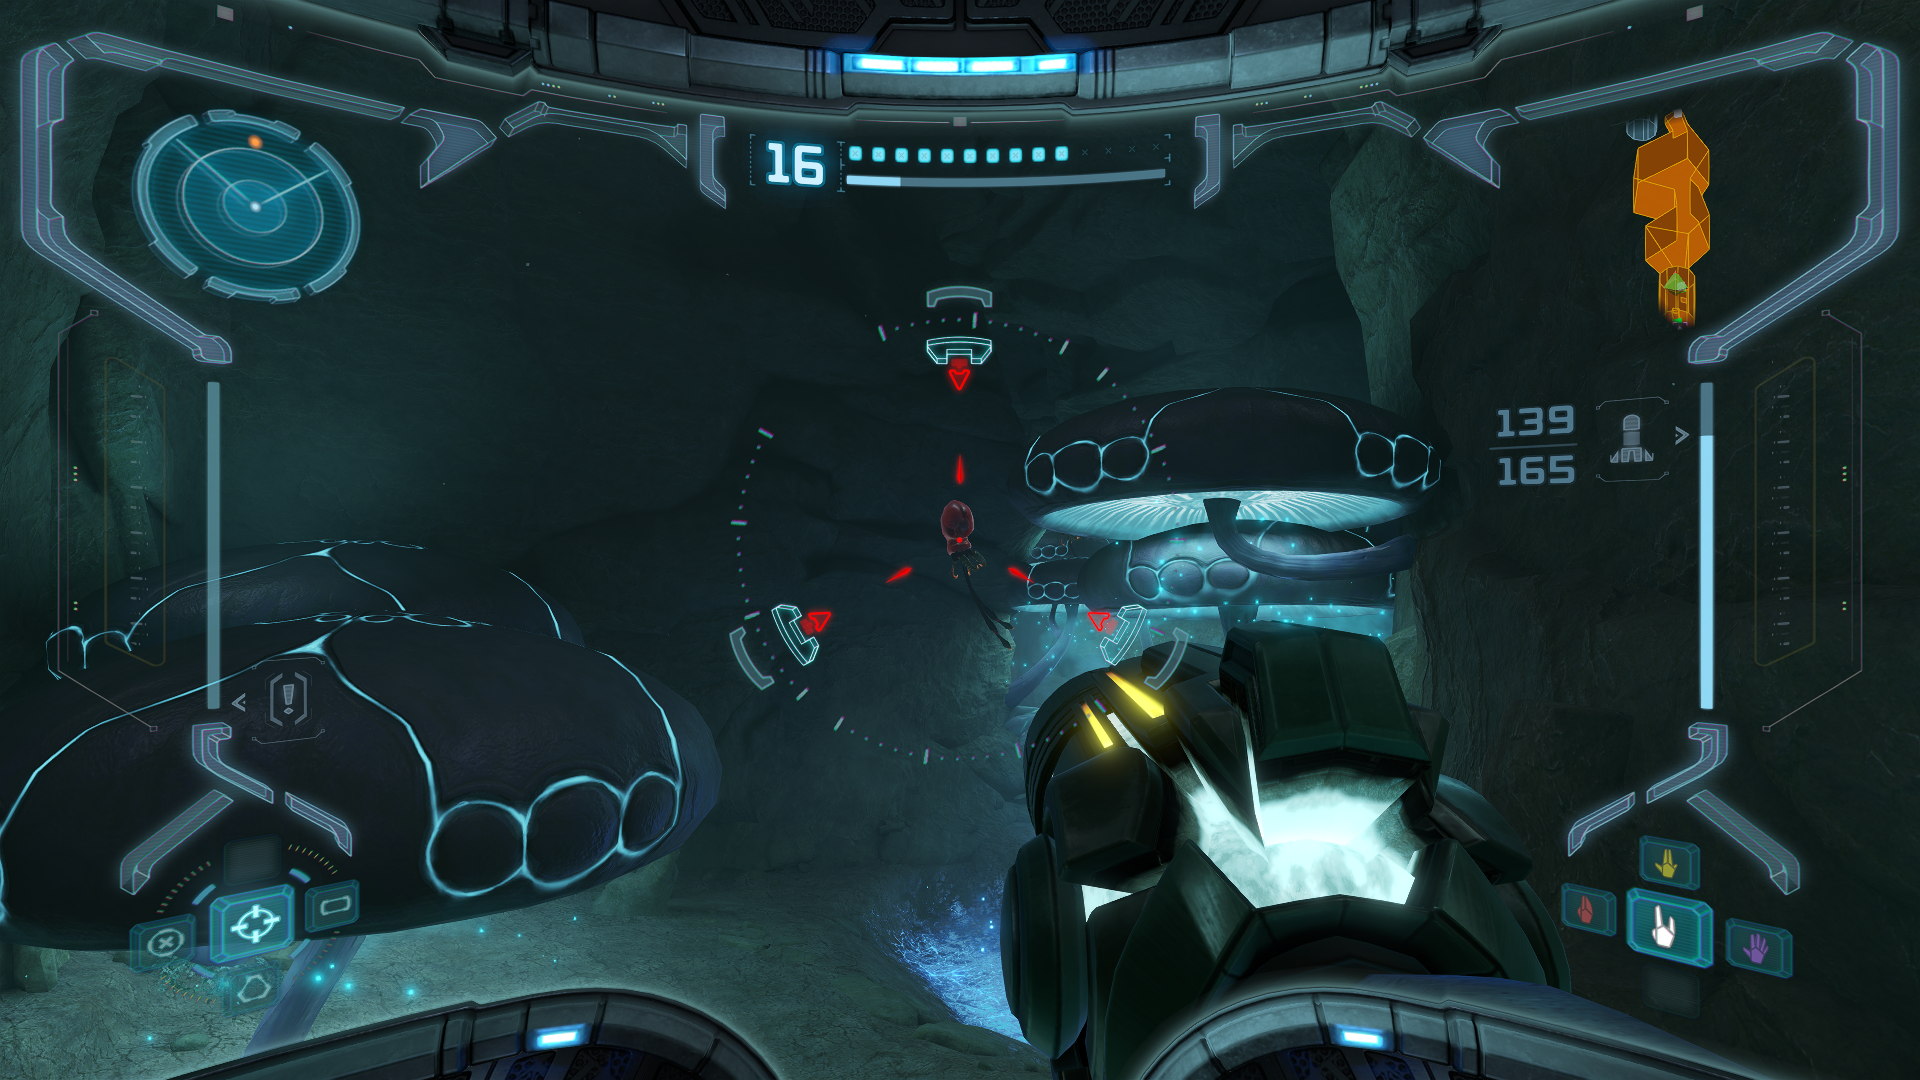
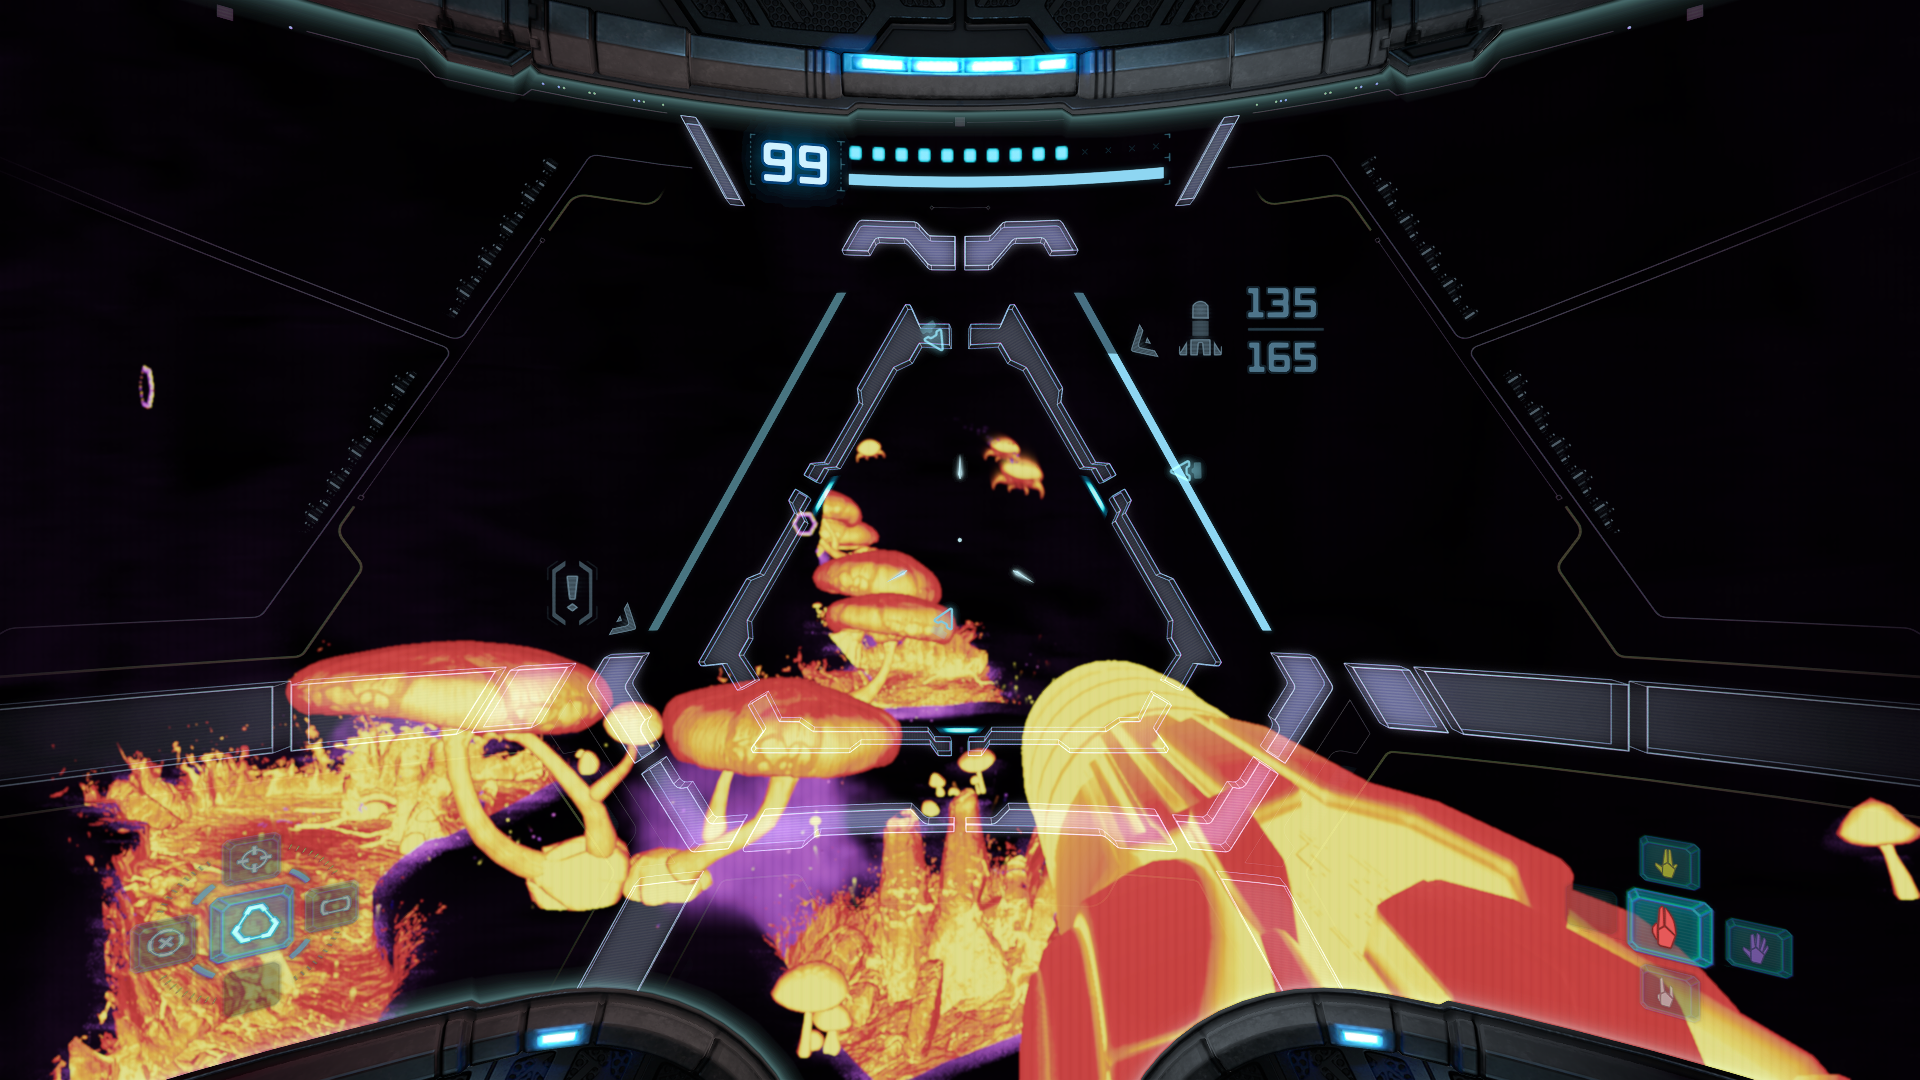
In Fungal Hall Access, go to the very bottom and hop onto one of the smaller mushrooms. You should see MISSILE EXPANSION #33 hiding underneath the big mushroom. We’ll take some damage getting it, but it shouldn’t be too much considering how many Energy Tanks we’ve gotten to this point. In Fungal Hall A, you’ll encounter Hunter Metroids. Unlike the Tallon Metroids, I recommend sticking with the Ice Beam and missile combo as charged Plasma Beam shots will not insta-kill them. If you’re playing on any North American GameCube copy of Metroid Prime, this should be the first time you’ve encountered a Hunter Metroid, so be sure to scan it now!
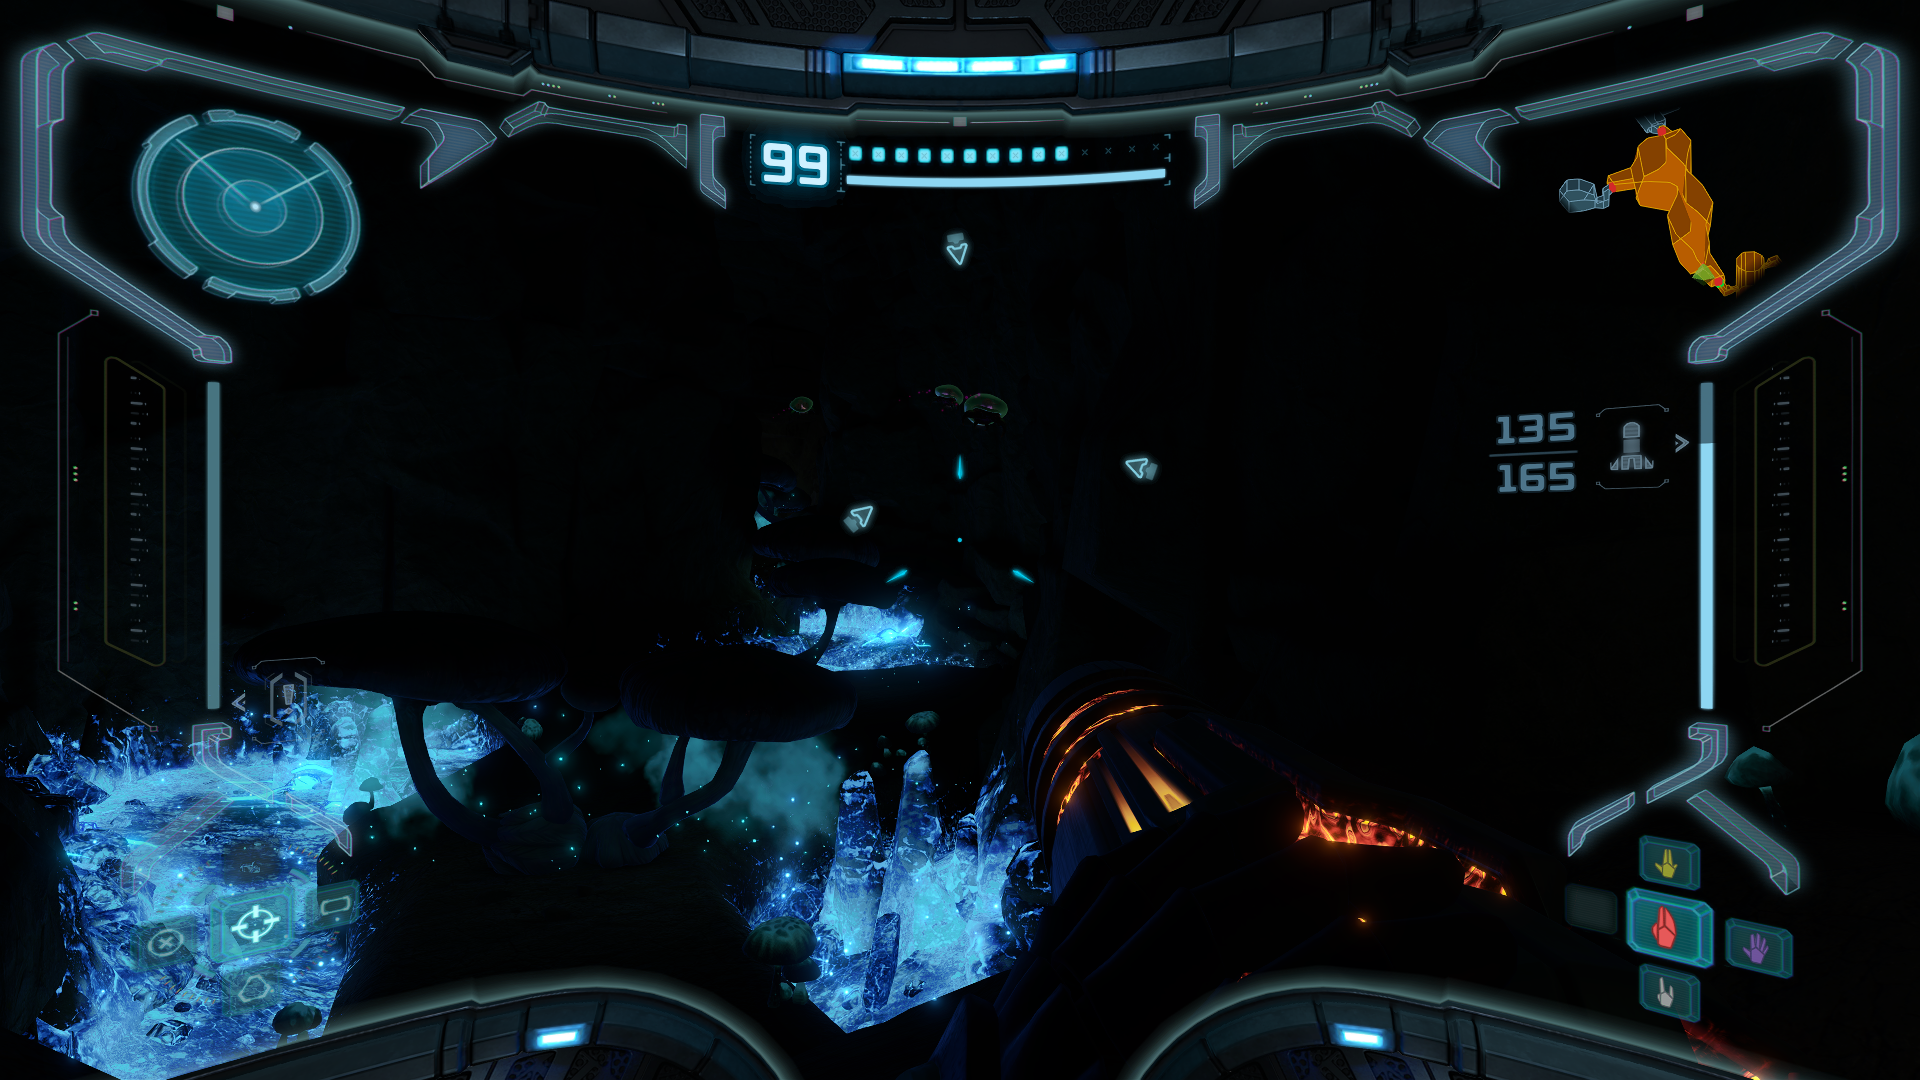
Once the Metroids are dealt with, use the Glider to swing to the other side of the room. You can also freeze it momentarily with the Ice Beam if you need it to stop moving. In the Phazon Mining Tunnel, destroy the Bendezium rock with a Power Bomb. When you get to the series of metallic platforms, use the Boost Ball to go over them as they will disintegrate quickly. There’s something here we need but cannot access yet, so keep this room in the back of your head and proceed onward.
In Fungal Hall B, go to the far end and use your Thermal Visor to locate MISSILE EXPANSION #34 underneath the ground. Drop a bomb above it to grab it. Next, go back to the start of the room and use the mushrooms to jump towards the back again to reach the Glider. If you’re having trouble seeing, the Thermal Visor should make your surroundings more visible. The door on the left leads to a Missile Station if you need more ammo, while the door on the right continues the path forward. In Quarantine Access B you’ll encounter invisible Pulse Bombus. Like the Cloaked Drone from earlier, these CANNOT be scanned and do not count towards your logbook. To deal with them, just activate the X-Ray Visor and use the Wave Beam on them just like their counterparts.
In Metroid Quarantine B, take out the Plasma Troopers and then ride up the Spider Ball Tracks near the edge of the platform. Swing to the other side and scan the terminal to disengage the force field. Take out the other beam troopers inside and then fire a Super Missile at the Cordite shaft to reveal MISSILE EXPANSION #35. After that, the final Pirate Data entry, “SPECIAL FORCES”, can be found just to the left at the terminals. The bottom door leads to a Save Station, which you should absolutely use right now. Then head to the second floor through the Plasma Beam door.
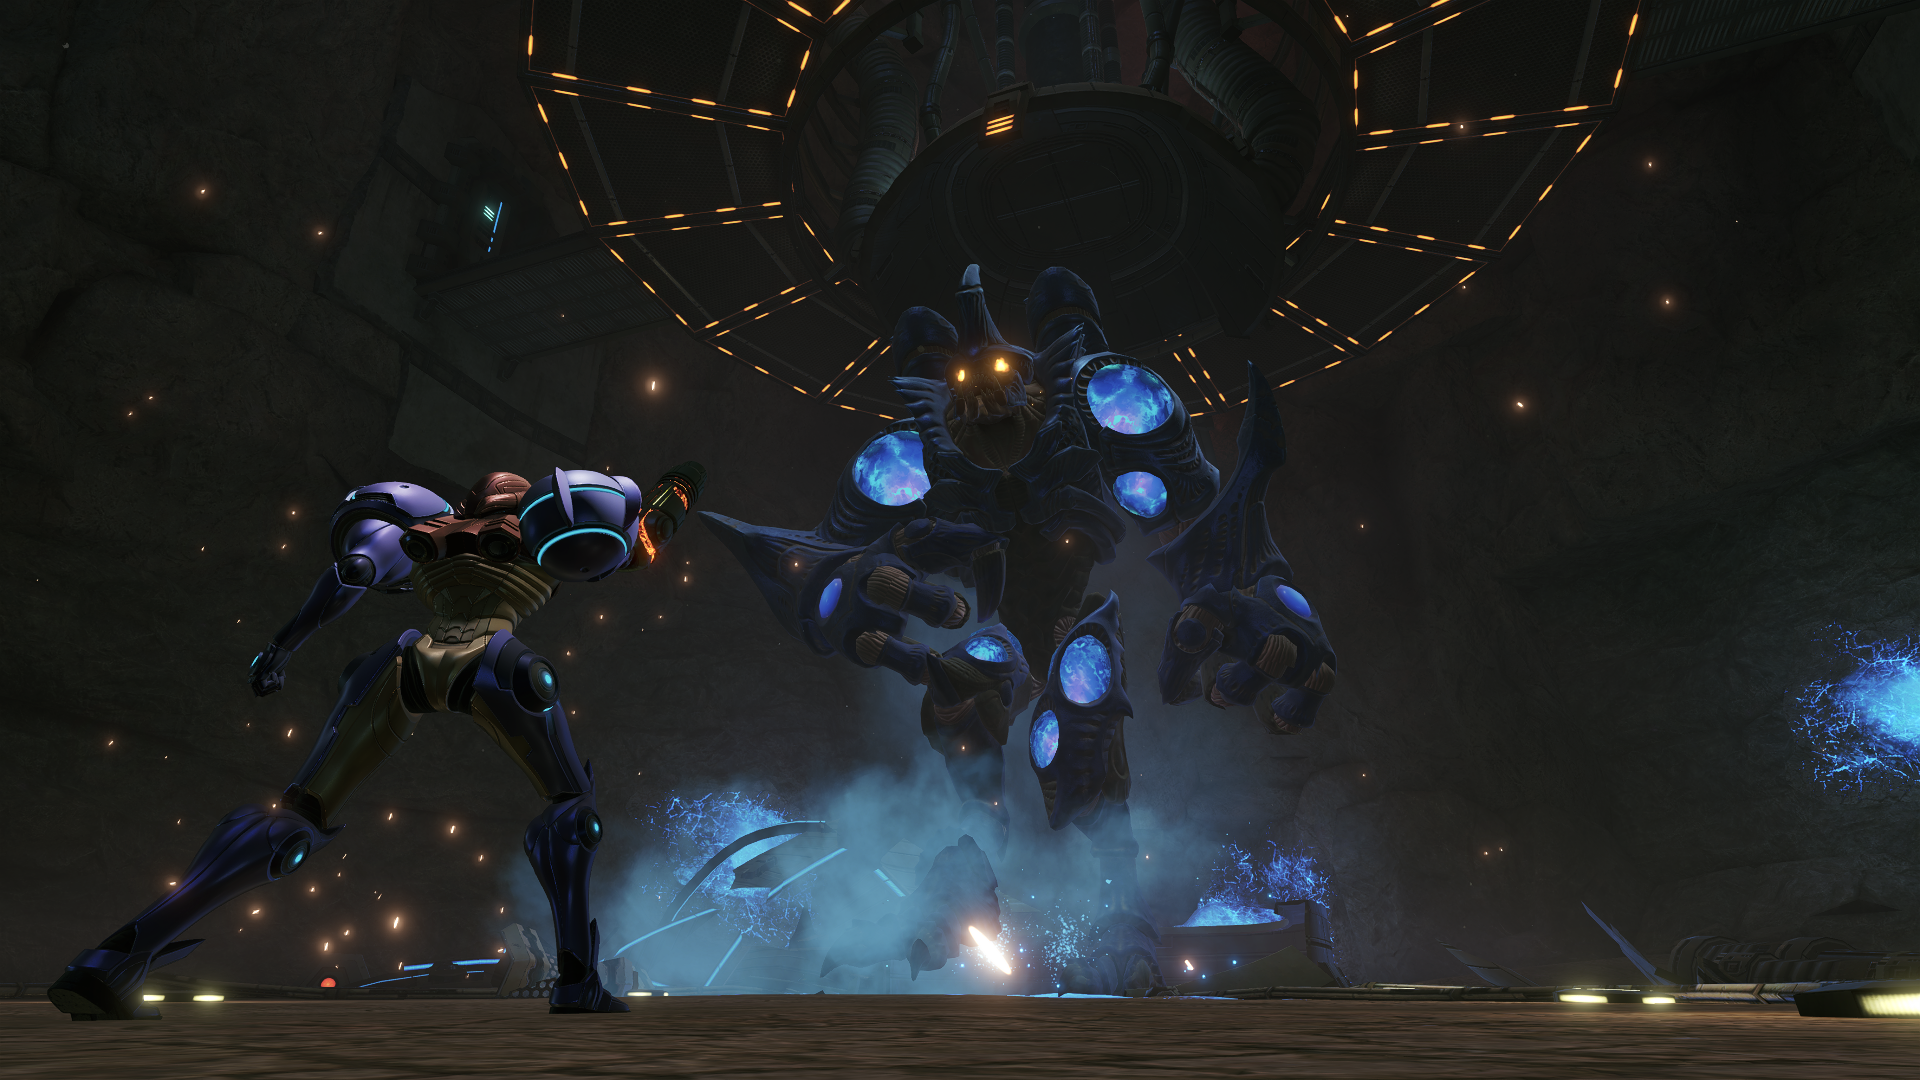
Take out the Plasma Trooper in the next room, then melt the frigidite shell with the Plasma Beam to disengage the security gate leading to Elite Quarters. Step inside and prepare for a heavyweight tilt.
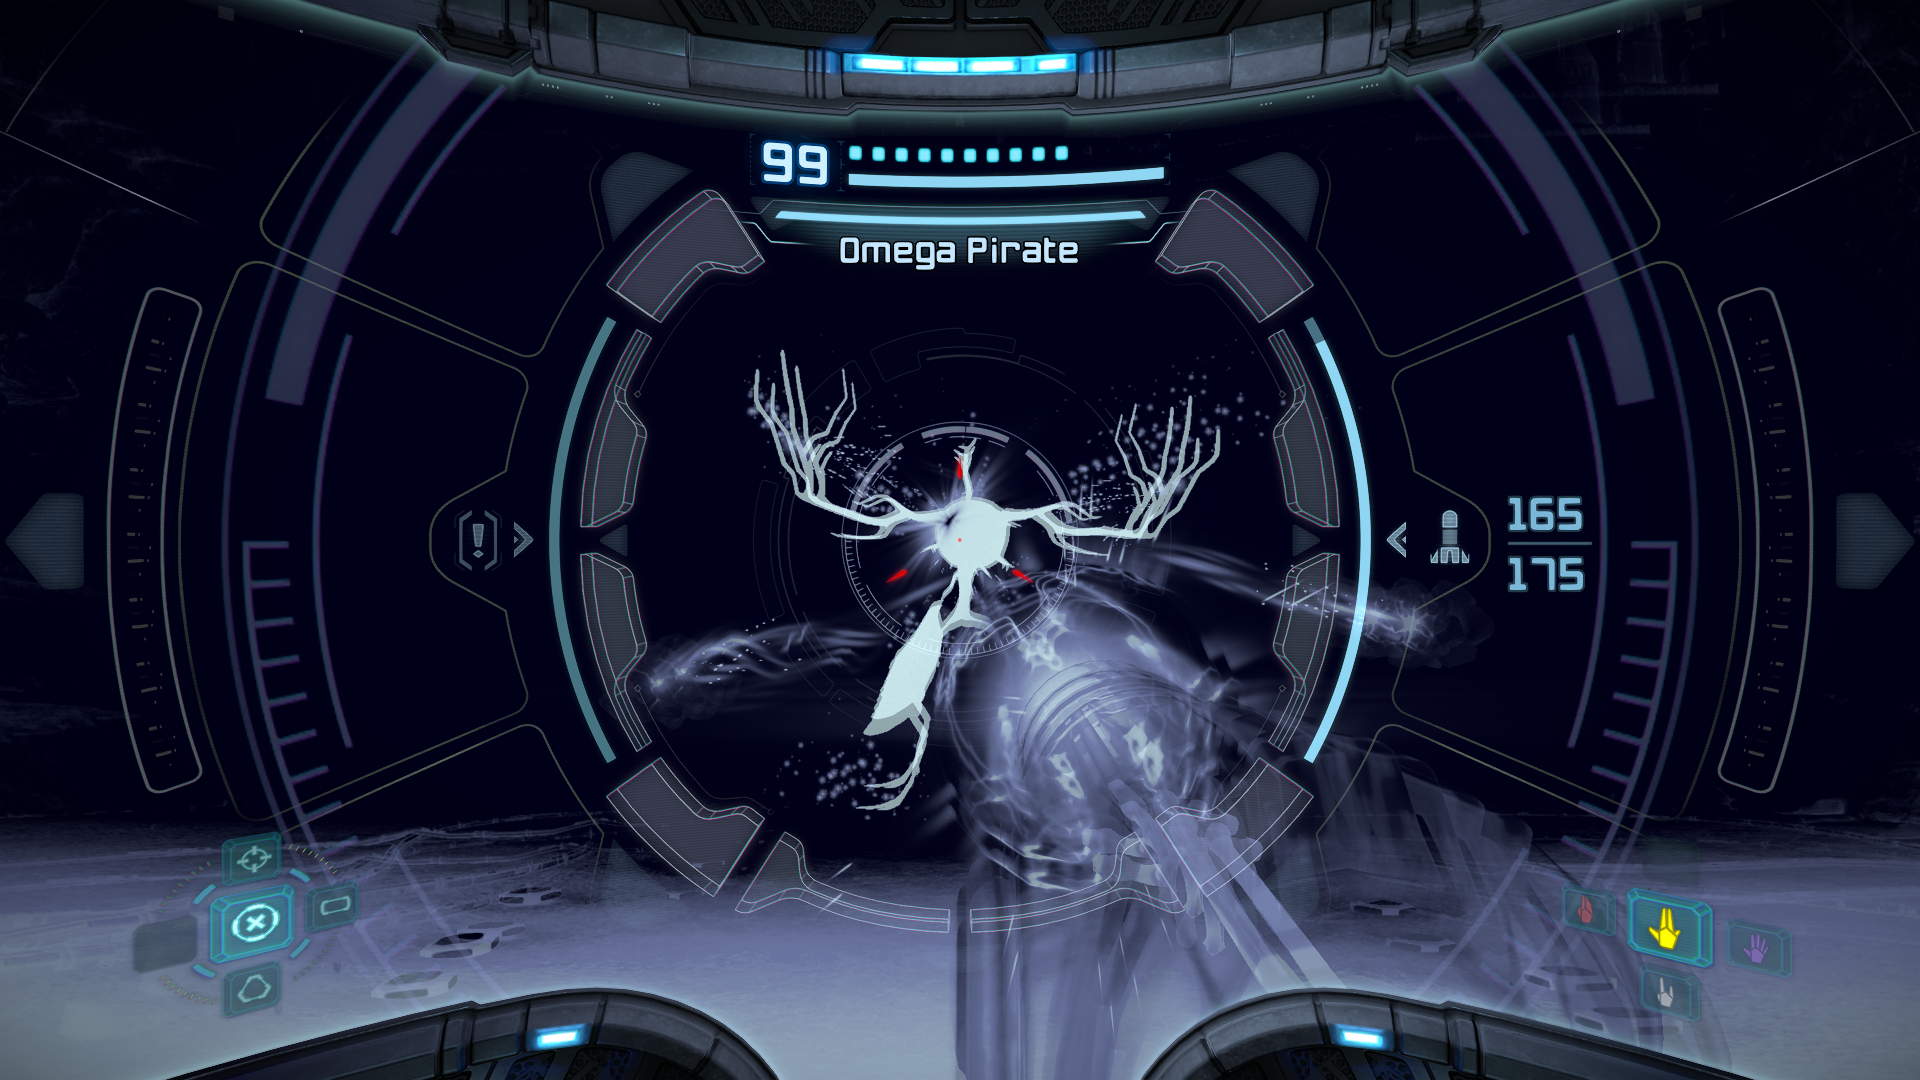
Omega Pirate
Scans in This Section
Creatures: Omega Pirate *missable*
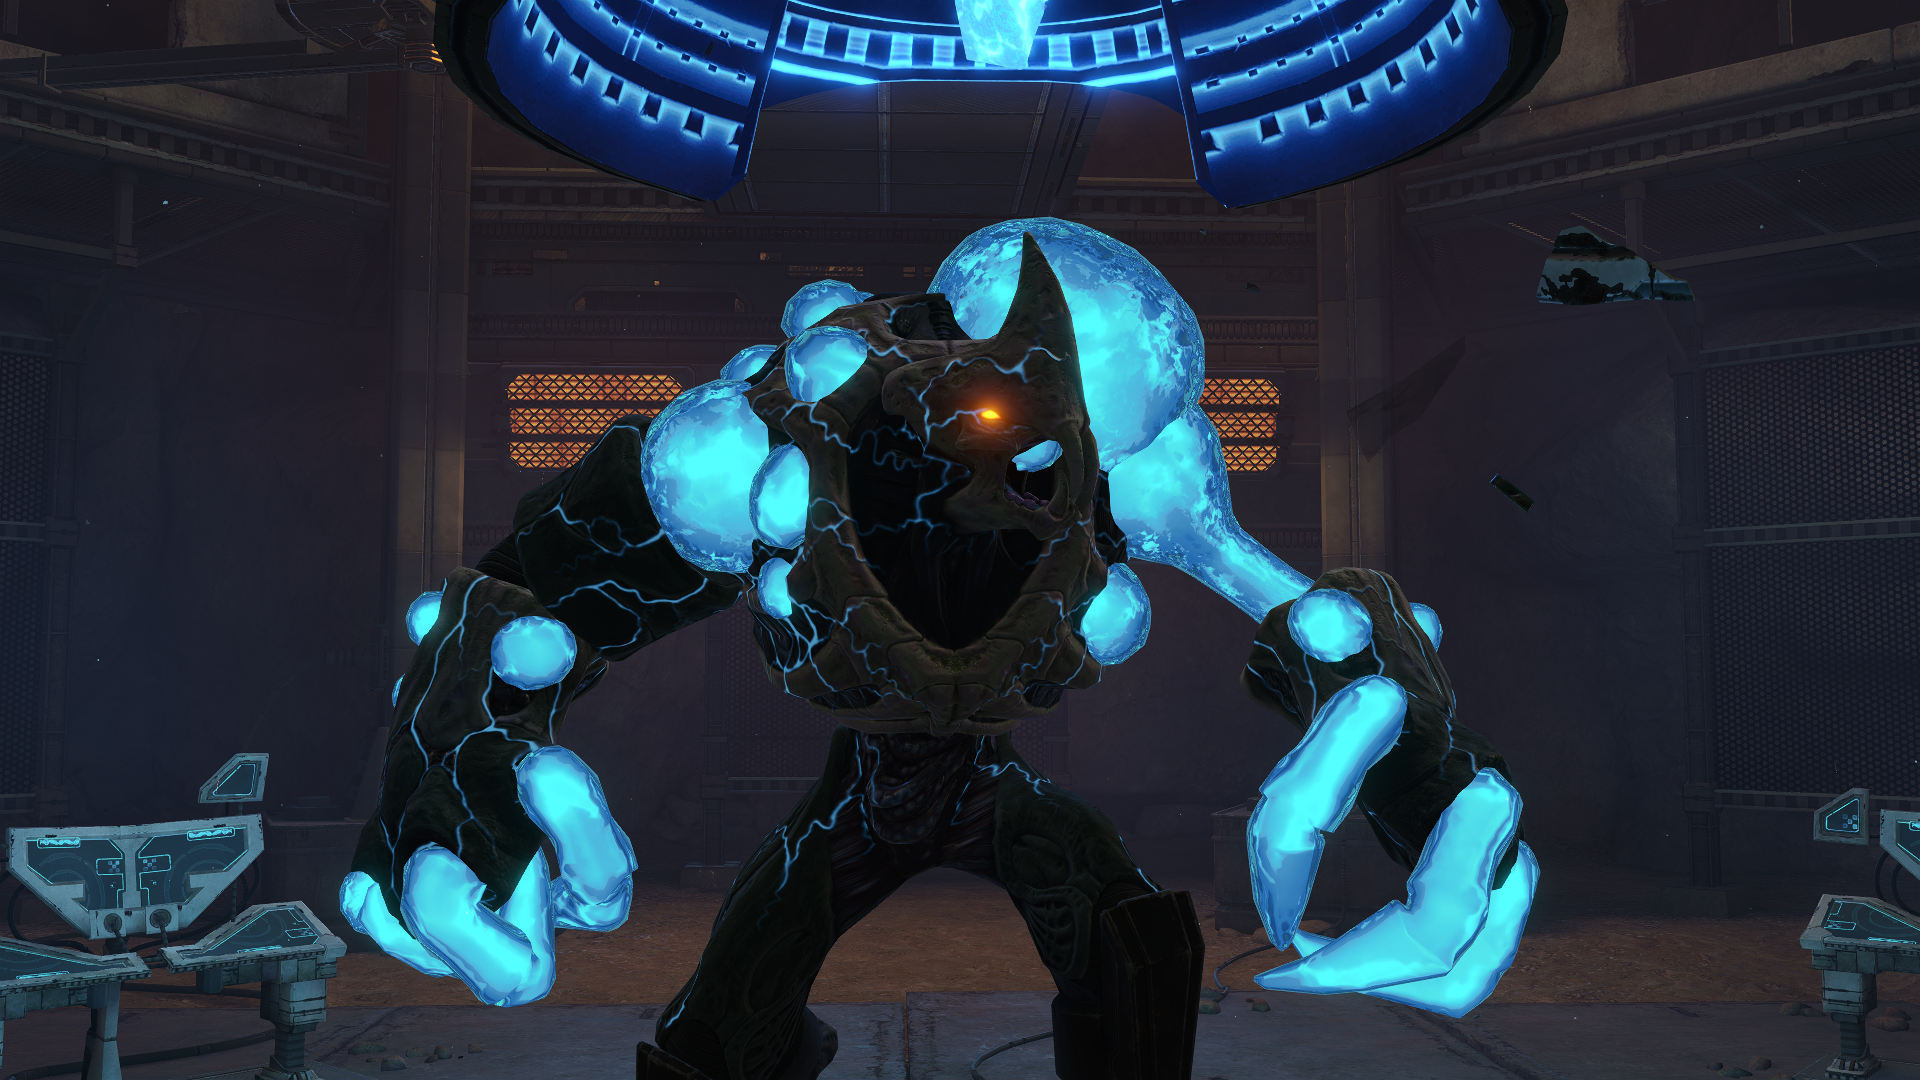
Get ready for a brawl. The hulking Omega Pirate will be the toughest challenge you’ve come across yet, and this brute has a lot of tricks up its sleeve that will make your life extra difficult, particularly if you’re challenging Hard difficulty.
First things first, as with every boss battle, make sure you scan the OMEGA PIRATE to record him to your logbook. Once you’ve done that, target him and start the battle.
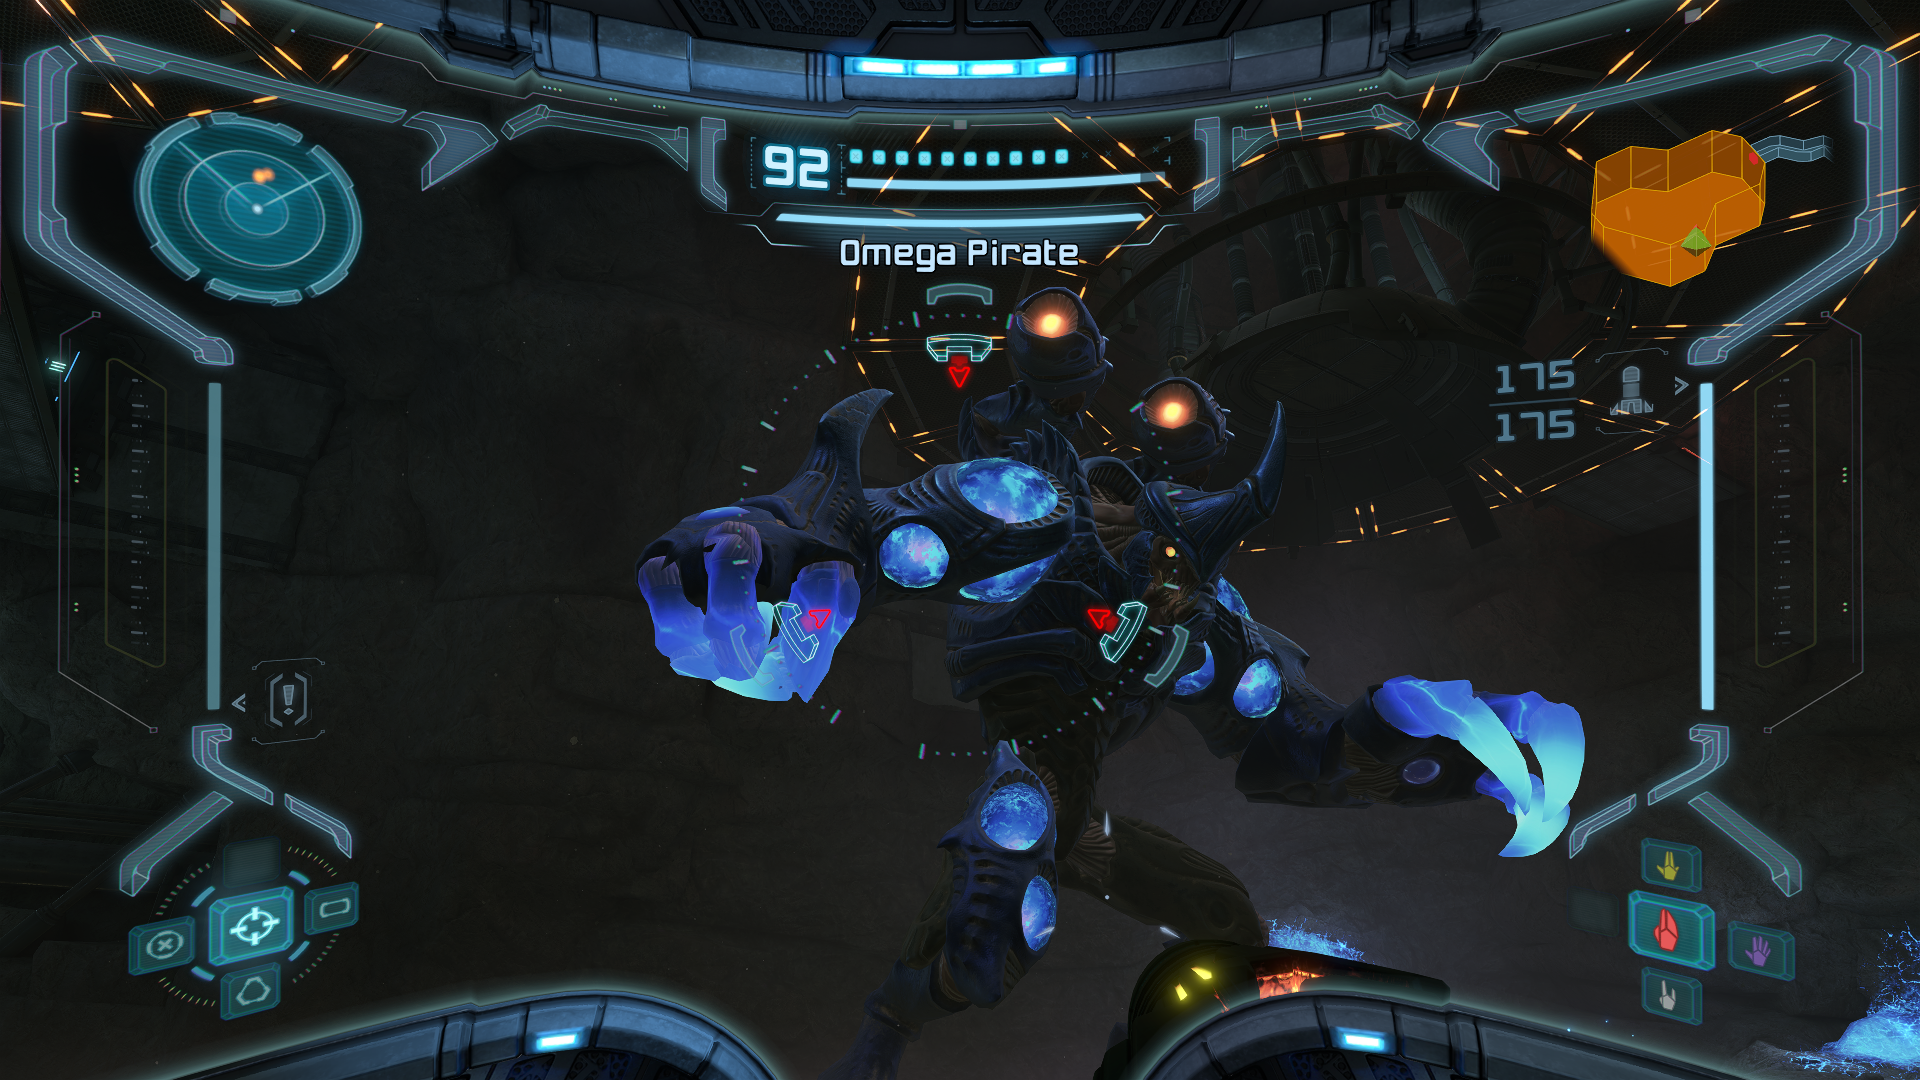
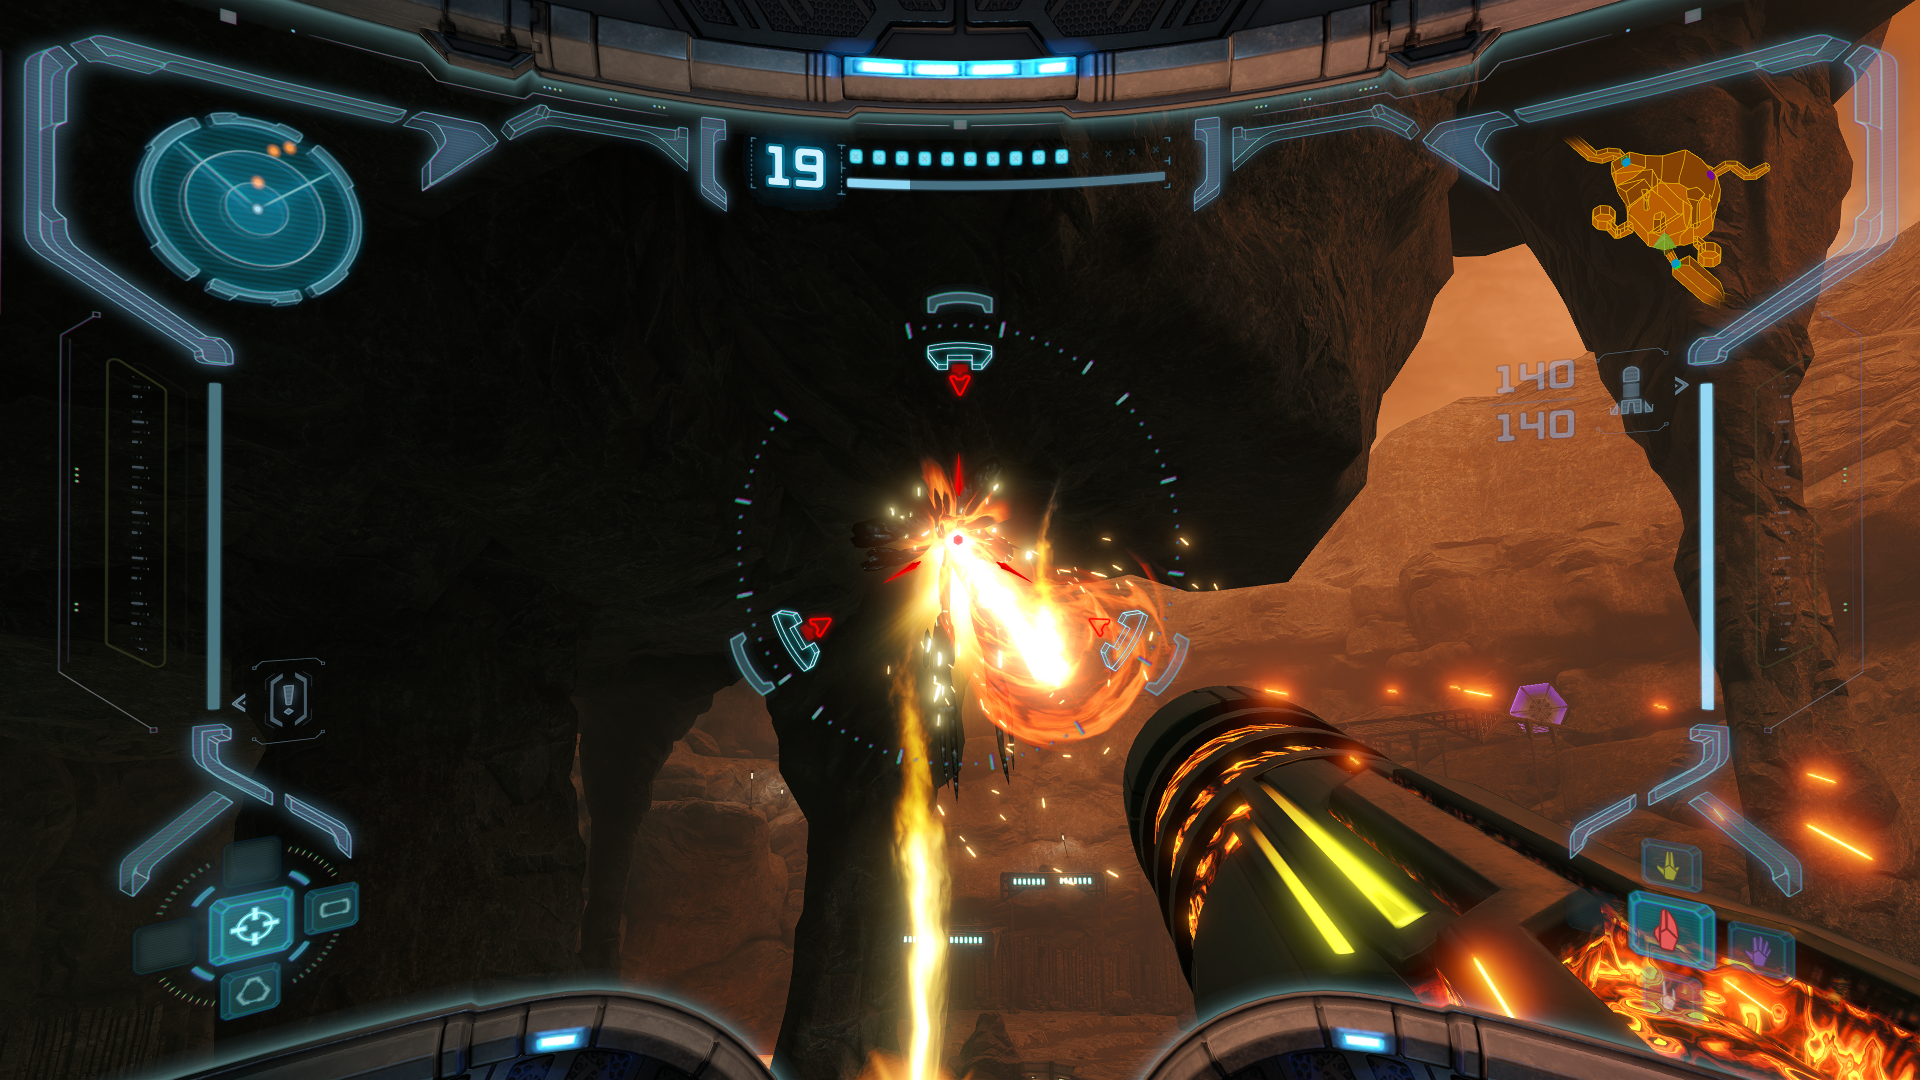
You’ll immediately notice some similarities between the Elite Pirates you’ve fought so far and the Omega Pirate. Omega will use the same ground-pound attack, so just be sure to jump over the shockwaves and stay out of battering vicinity. Omega also has the same energy absorbing hand as his little brothers, so you’ll have to pick and choose your moments to strike versus firing relentlessly. Furthermore, you’ll have to contend with the turrets mounted to the Pirate’s back; it will shoot out Energy orbs at you that you either avoid or shoot down. Worth noting too – there are pools of Phazon laying around the arena, so be careful not to step on one.
If this sounds like a lot, don’t worry – there’s more! For now, you’ll want to target the Omega Pirate’s various limbs and blast them when you can. You’ll have a good opportunity to hit him when he’s standing still, firing his cannons at you OR when he’s in the middle of (or just after) a ground pound. Super Missiles or charged Plasma shots will do the trick nicely, so keep firing until several of his limbs have been destroyed.
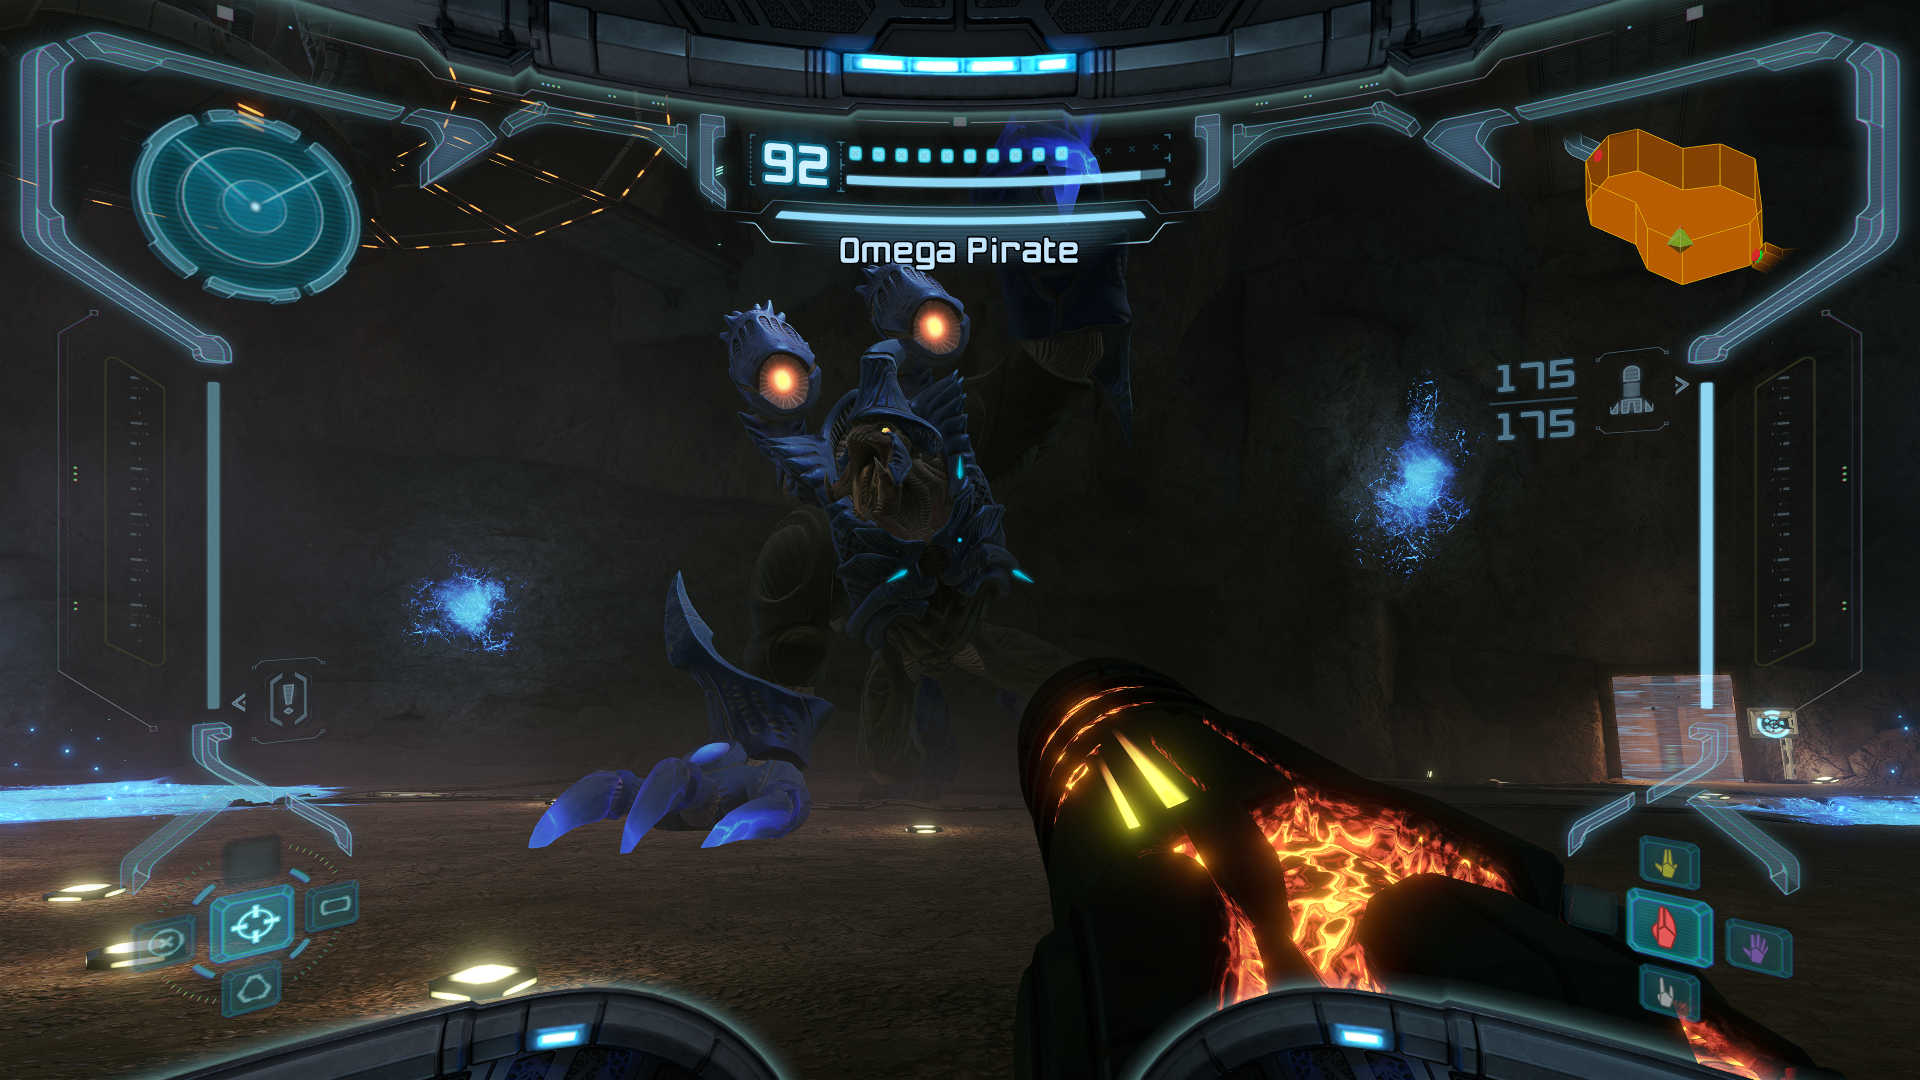
The Omega Pirate will go down, but this fight is far from over. Omega will call a couple of Space Pirates in for backup. Switch to whatever Beam you need to in order to deal with the Pirates, but don’t get too hung up on them. After a second, Omega will start to recharge his health, BUUUT he will be invisible to the naked eye. Switch over to your X-Ray Visor and blast him with a Super Missile shot or two while he’s regenerating. This will do massive damage. If you’ve still got regular Space Pirates on your tail, finish them off (lay a Power Bomb if there are multiple). You’ll get health and ammo from them, which is probably needed.
Rinse and repeat the process of destroying the limbs, combating the regular Pirates, and blasting Omega’s heart with Super Missiles, and soon enough, the Pirate will fall.
ADVANCED STRATEGIES: As soon as the fight starts, activate the Morph Ball and rush directly at the Omega Pirate at full speed. As you’re about to collide with him, use the Spring Ball to jump in the air. At the apex of your jump, drop a Power Bomb to instantly destroy ALL of the Omega Pirate’s armor in the blast.
During the healing phase where reinforcements are sent to protect the Omega Pirate, if you’re fast enough with your Super Missiles, you can finish him off completely in the FIRST PHASE! Take out the first wave of beam troopers but don’t bother with the rest that spawn in. When the Omega Pirate is healing, it’s best to rapidly spin around so you can easily find which of the spots he spawns in at. You can also use the audio of him re-appearing to determine the direction he’s at based on your current position if you listen close enough (headphones make this a lot easier too). Each successful Super Missile will resort in a shorter healing phase each time, so you’re gonna have to be quick on the trigger for the last couple of pulls! Four Super Missiles to the chest will be enough to send this behemoth packing.
Next Chapter: Artifacts in the Wild