


Metroid: Zero Mission Walkthrough – Kraid’s Lair
Walkthrough
Power Outage
That music… we’re in the depths now.
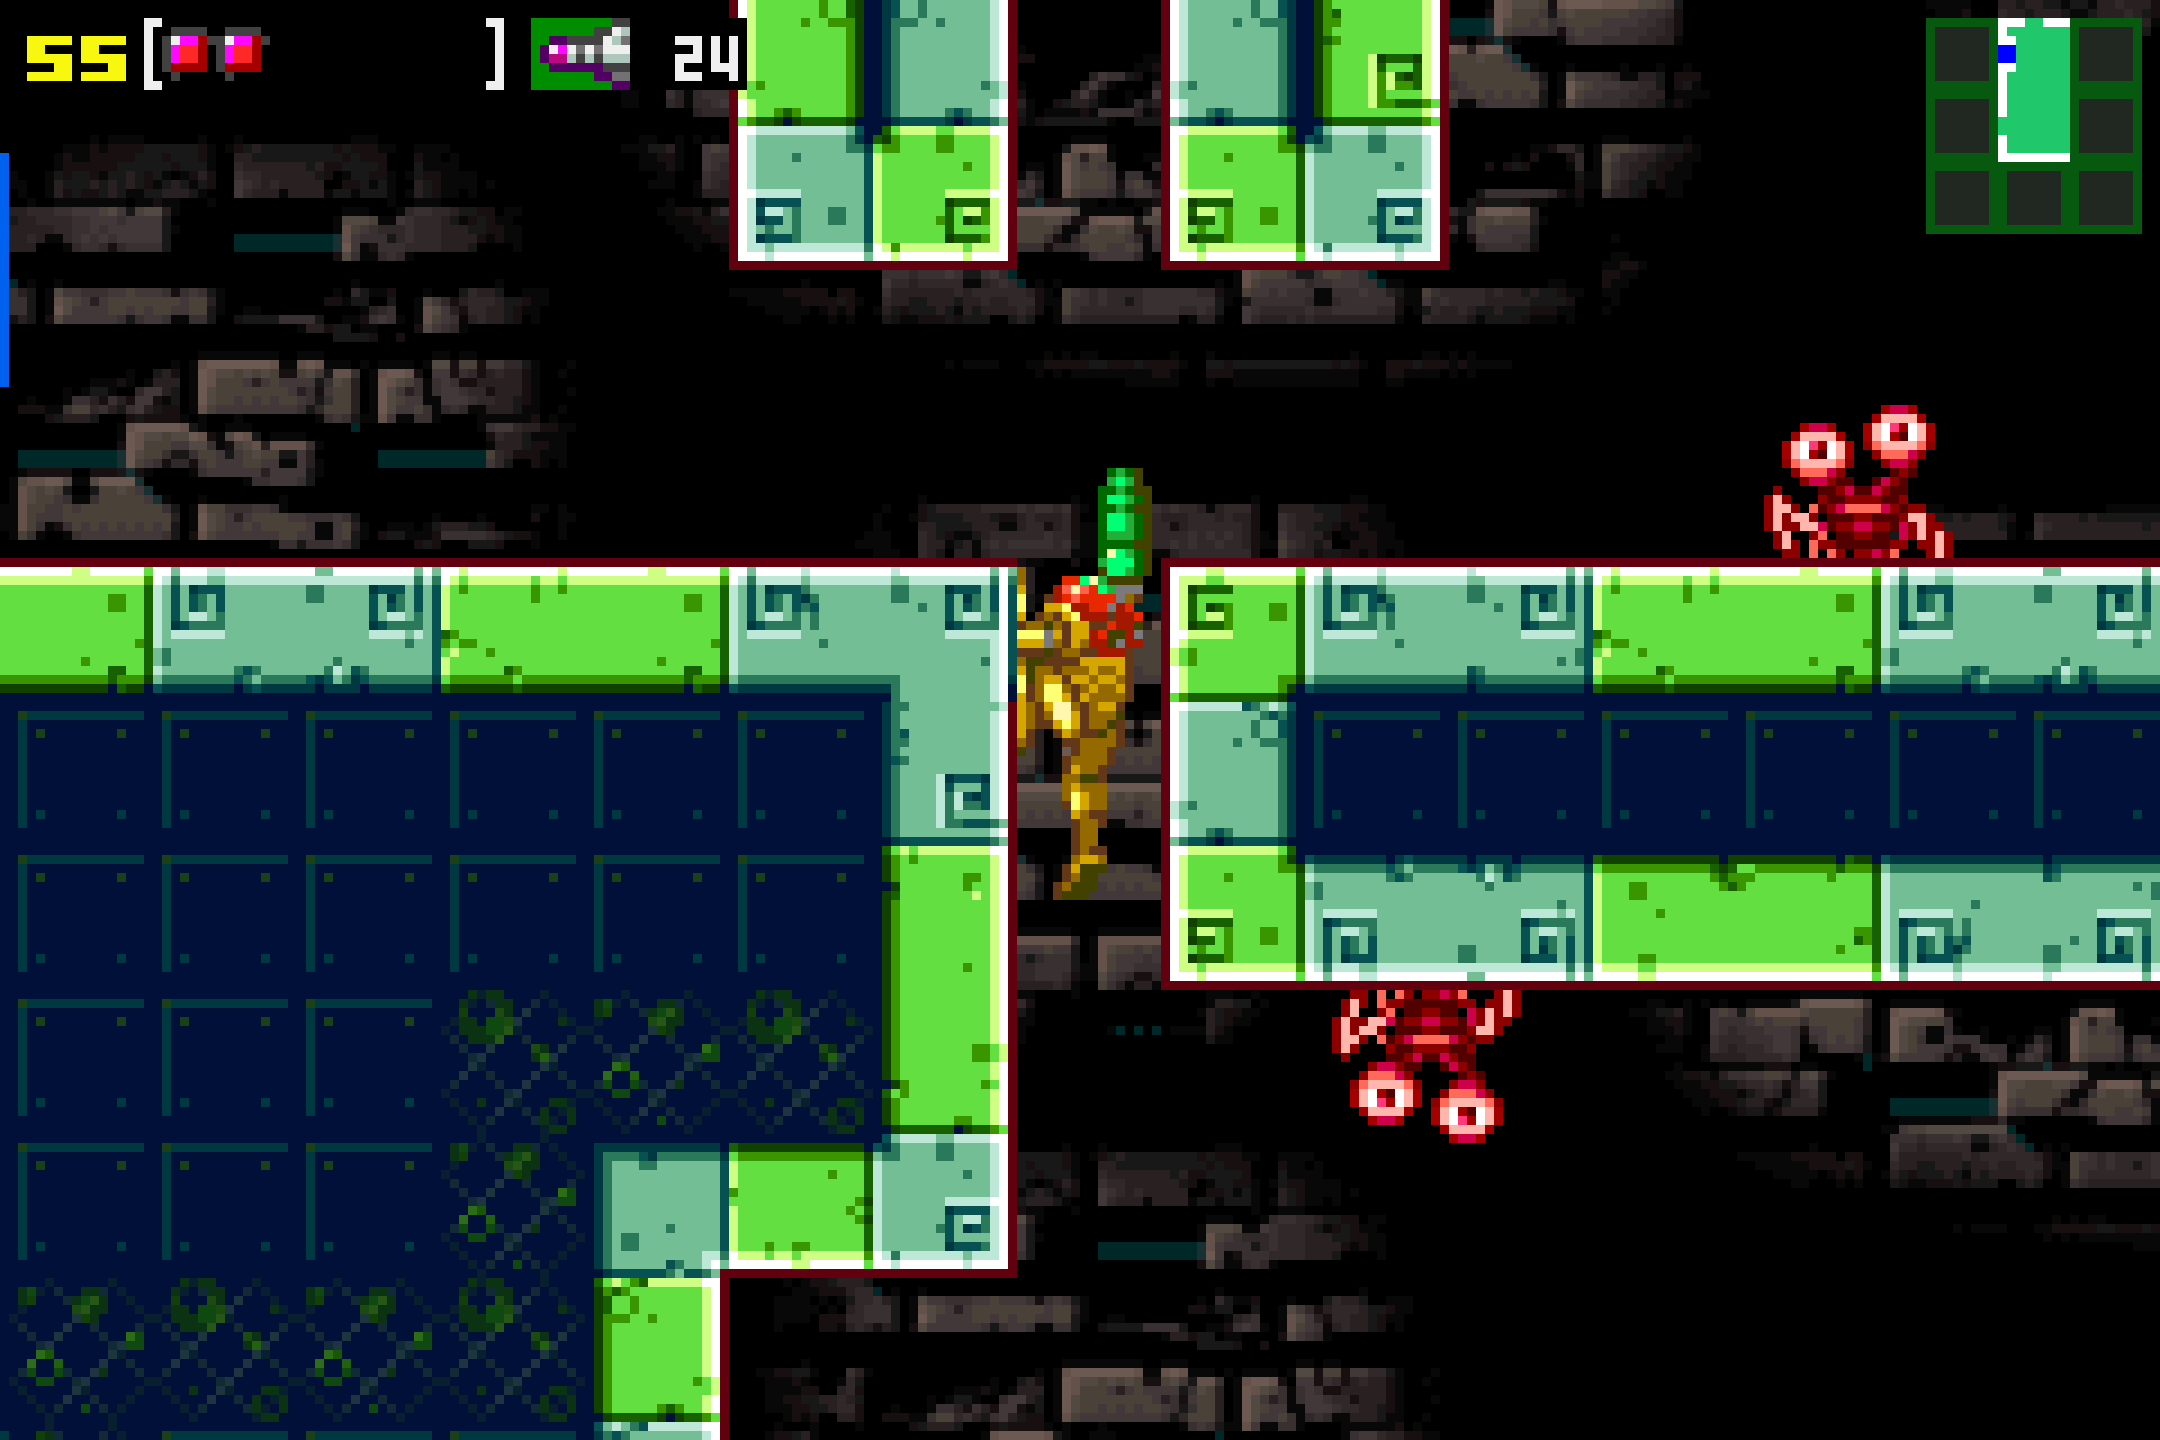
From the elevator, drop down and use the Save Station on the topmost door on your left. Inside the Station, press up against the left-hand wall, turn into a ball and lay a bomb. Press left while you’re being shot up and you’ll slide into a secret tunnel. Jump over and grab MISSILE EXPANSION #14 and then roll out into the main hallway.
Go through the red blast door directly across from the Save Station. There are a bunch of other doors you can go through, but unfortunately you won’t be able to make it very far in any of them as we’re missing power to the zip lines scattered around Kraid’s Lair. Press forward a short distance and MISSILE EXPANSION #15 will be sitting in plain sight waiting to be grabbed. Being careful of the Sidehoppers, press on and through the door.
You’ll be in a room now with a glass tube towards the far side that’s crawling with Rippers. Bomb the floor next to the tube and you’ll find a Morph Ball Launcher. Get inside, lay a bomb, and hold on tight! You’ll be blasted straight up, BUT HOLD ON! You’ll bonk a platform and start to fall down; IMMEDIATELY push towards the left and as you fall, you’ll tuck into a tunnel, which you can follow to grab MISSILE EXPANSION #16!
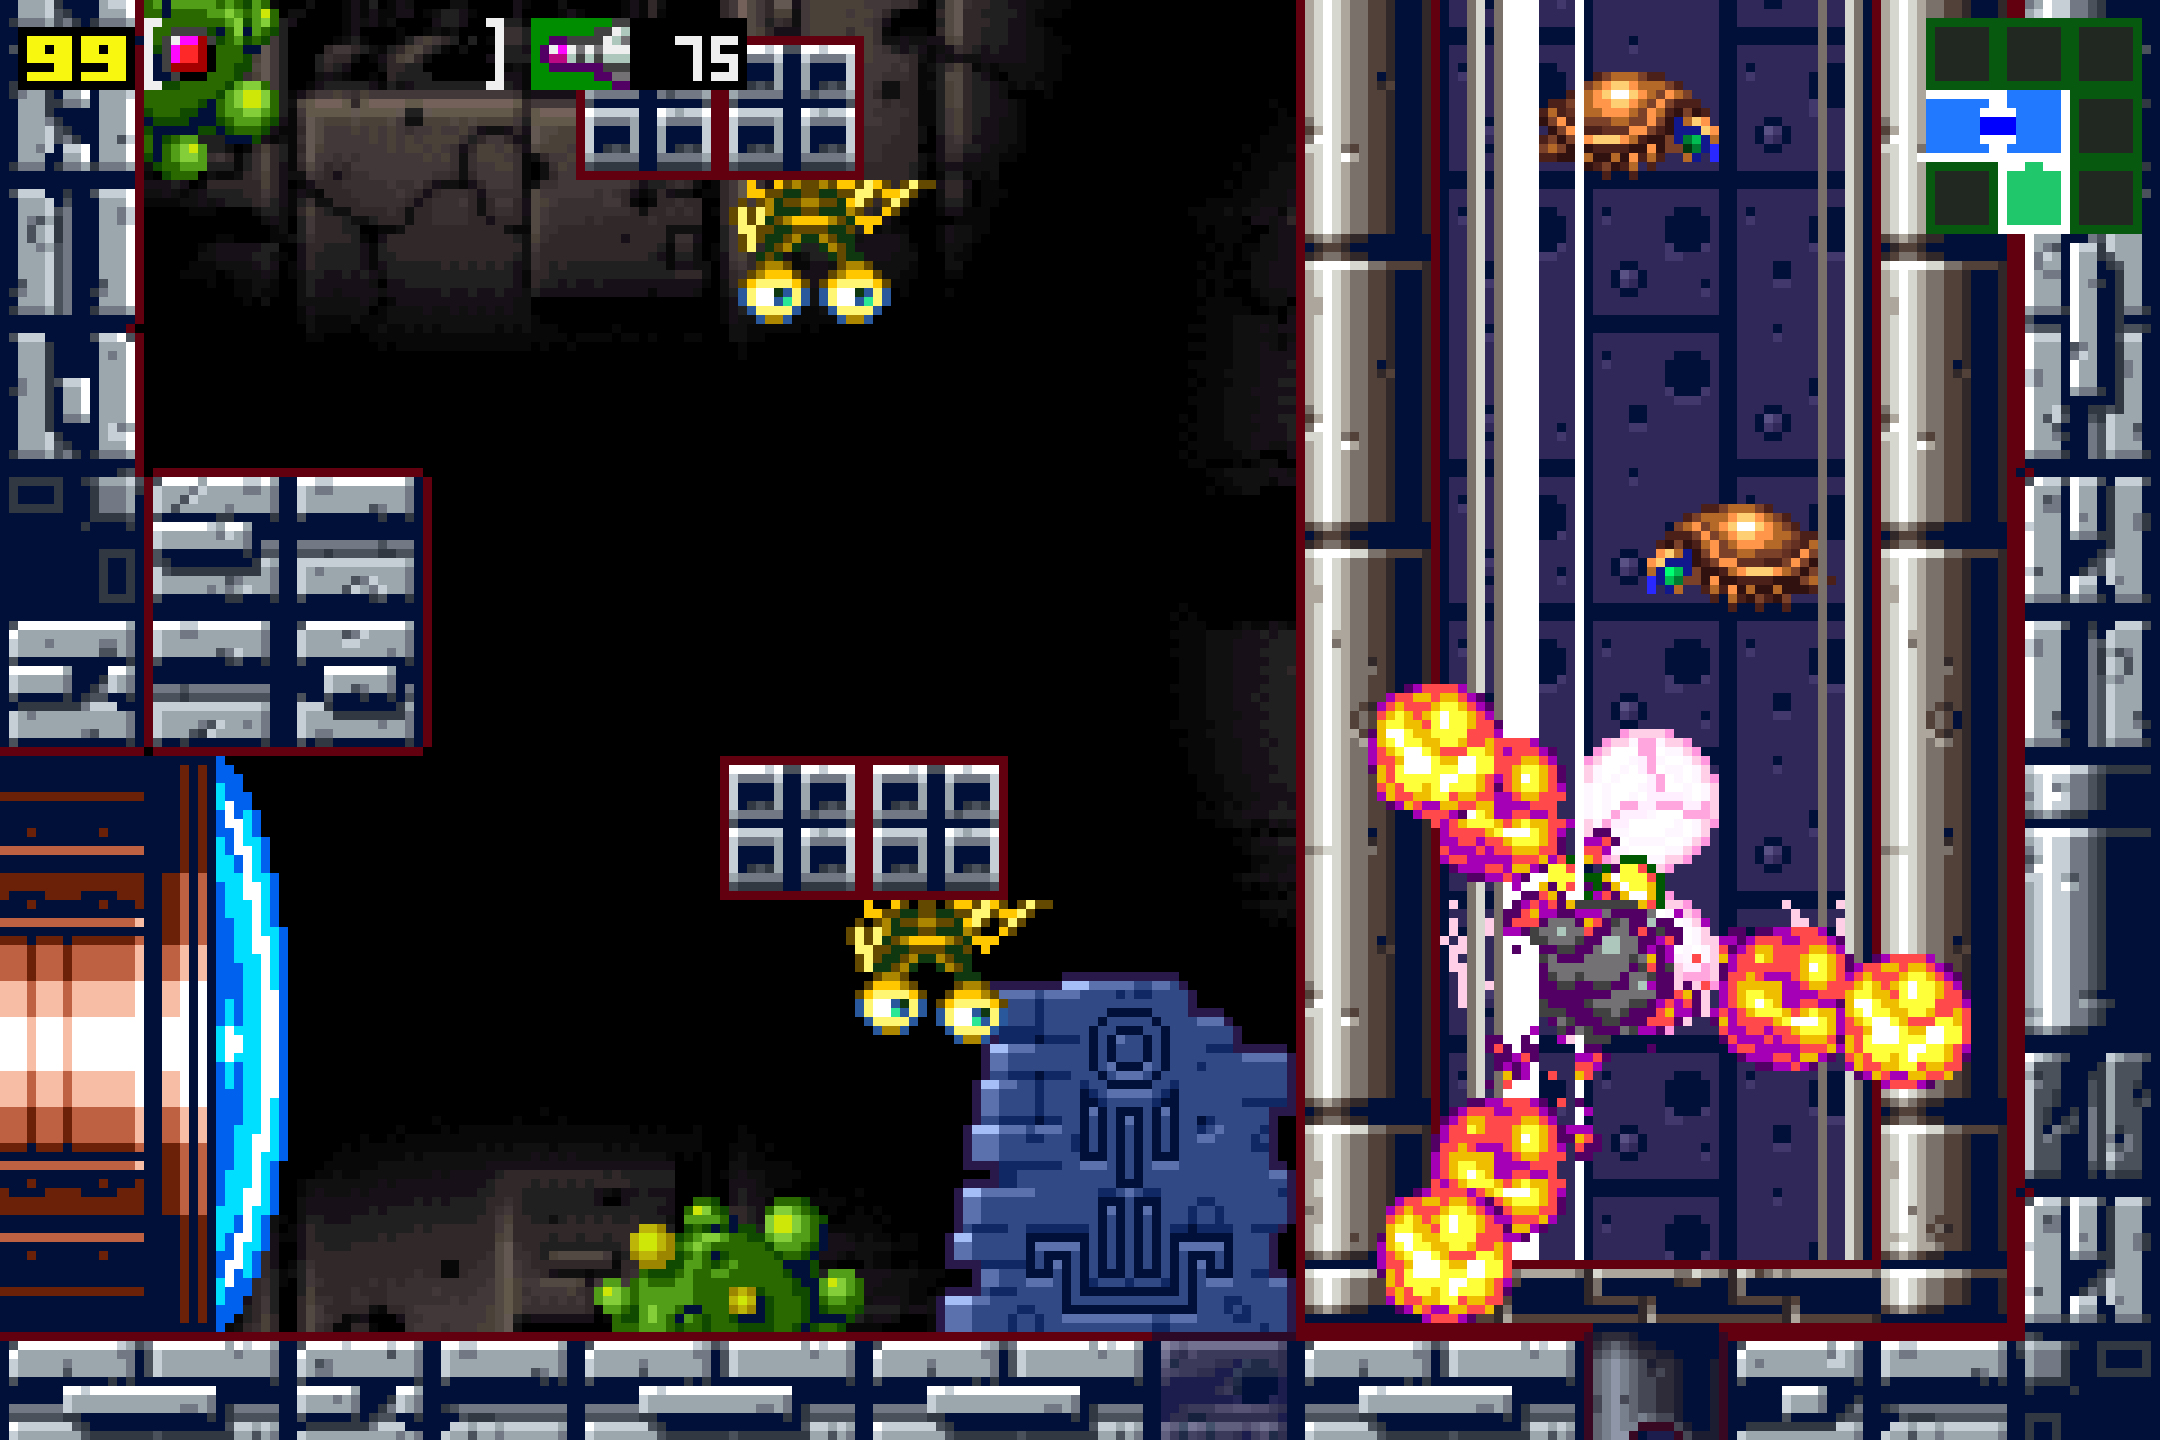
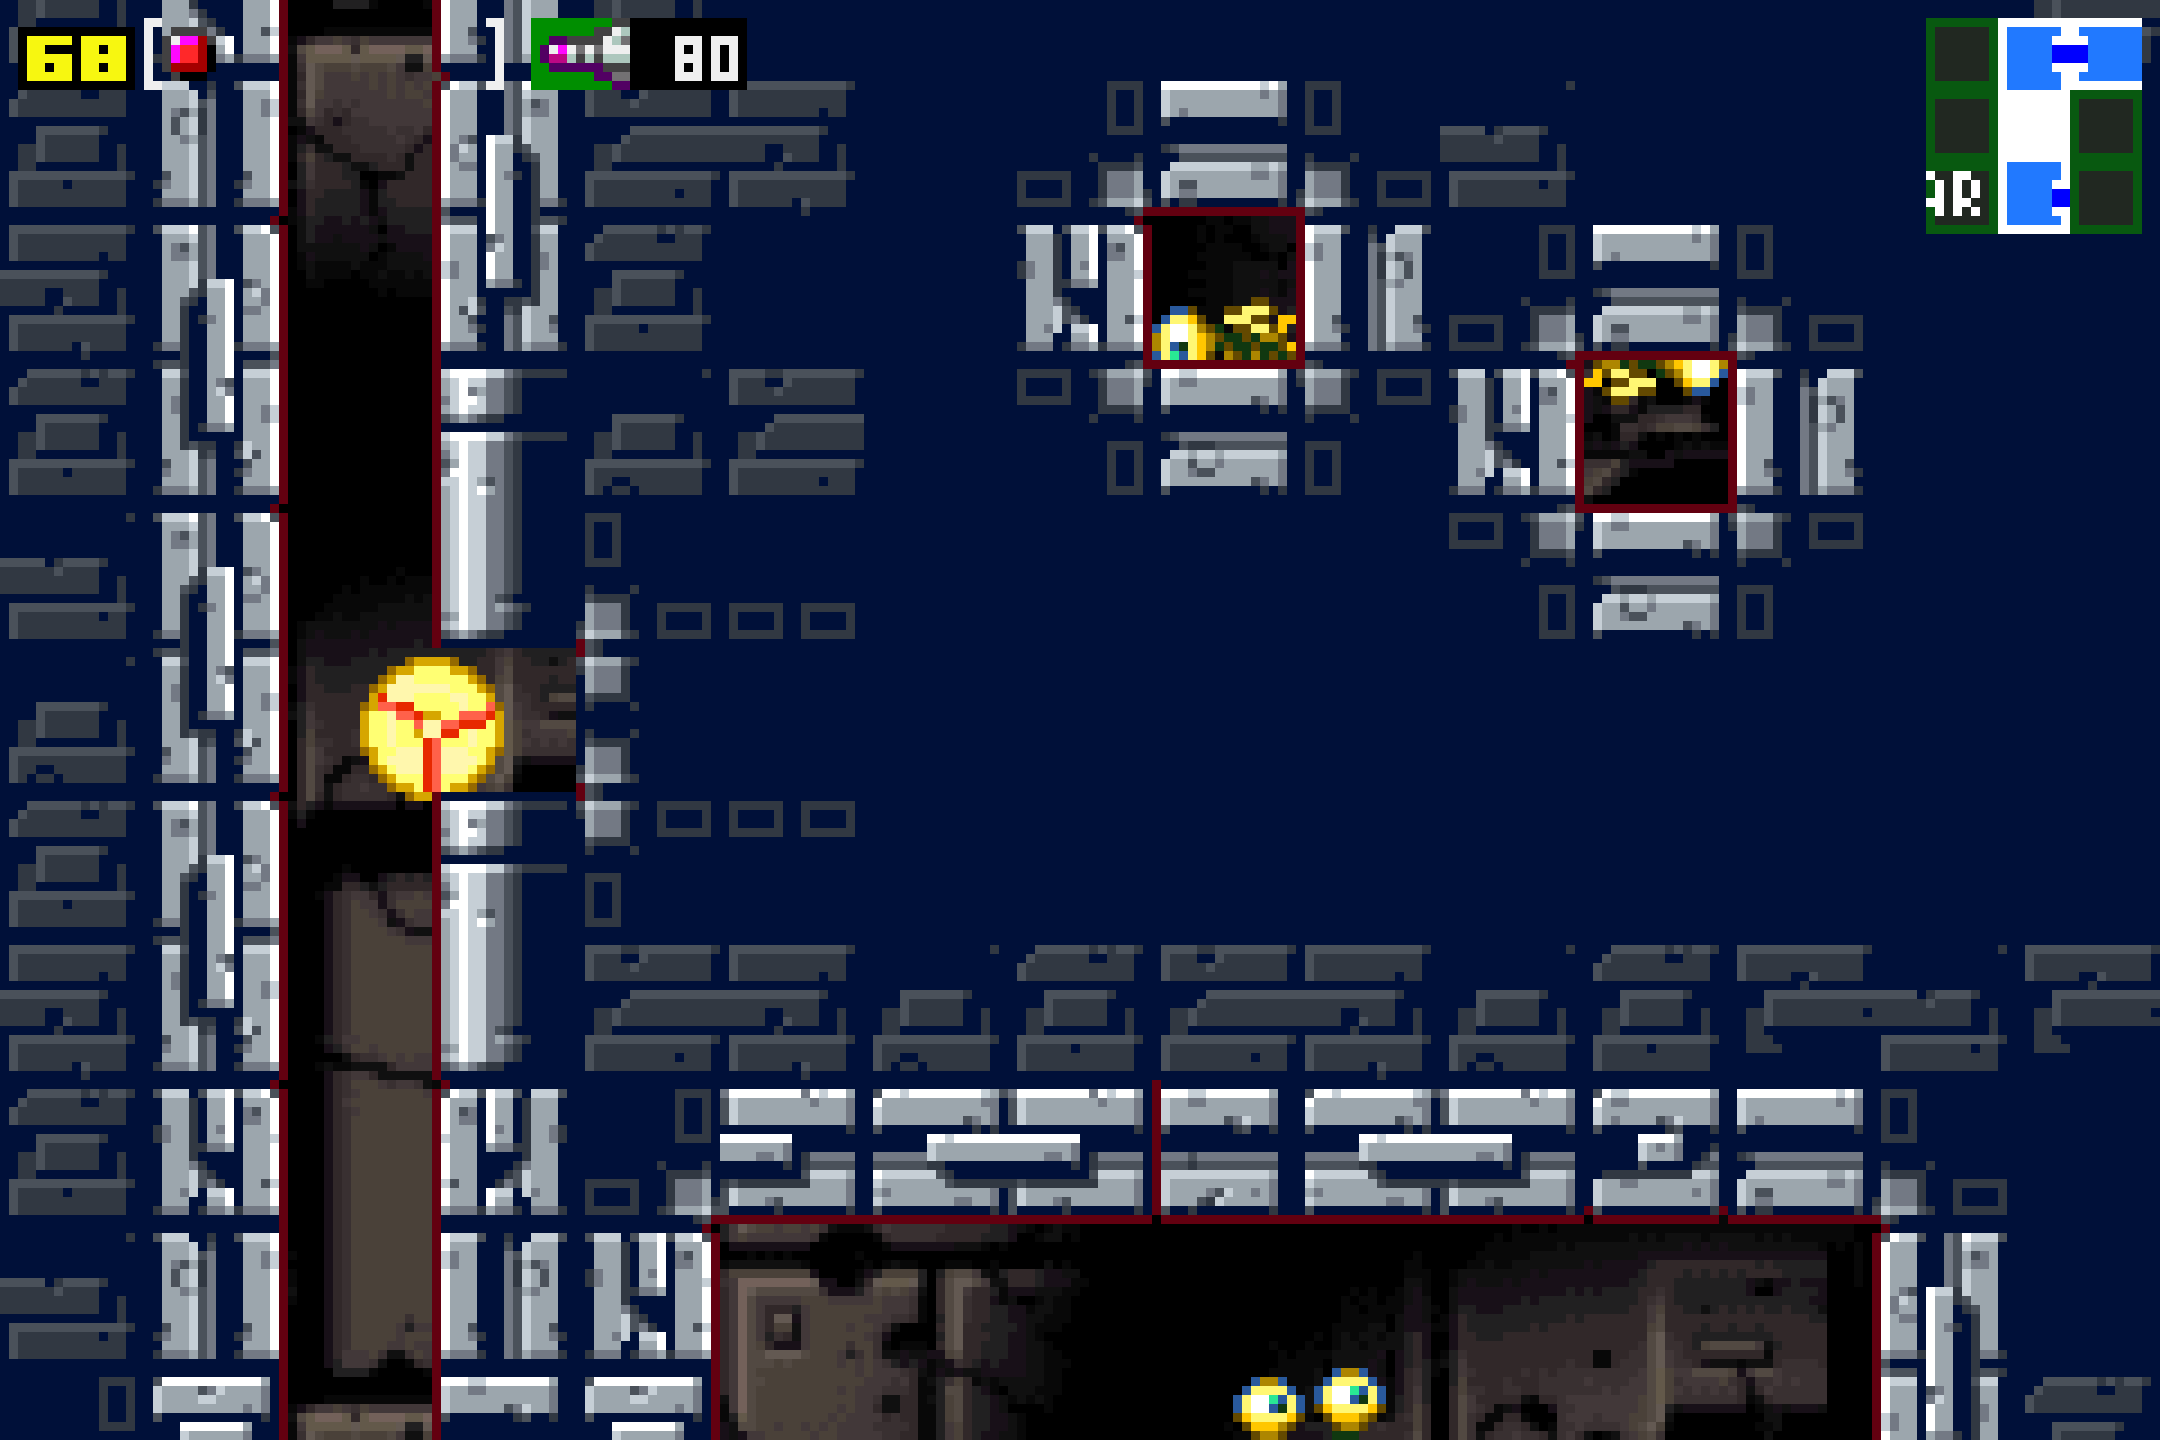
Drop back down and use the Launcher again. Start climbing up towards the ceiling and take the topmost door on your left. Creep towards the left (you might fall in the lava trying to make the big jump; that’s okay), and then through the far left door. You’ll be in a small vertical hallway now. Get into Morph Ball form and drop down, dropping a ton of bombs on your way. With any luck, you’ll have destroyed a block in the middle (you’ll be able to see some enemies creeping inside a hidden part of the wall). Use the Morph Ball Launcher at the bottom to shoot yourself back up, and as you’re falling, tuck into the tunnel you opened up and head through the red blast door.
Once inside, get into Morph Ball form and get inside the power conduit. Viola! Power is back online to the zip lines! Use the zipline in this room and grab ENERGY TANK #2, then exit through the door. Save your game, exit the room, drop down, and press forward another room. Brace yourself for a battle!
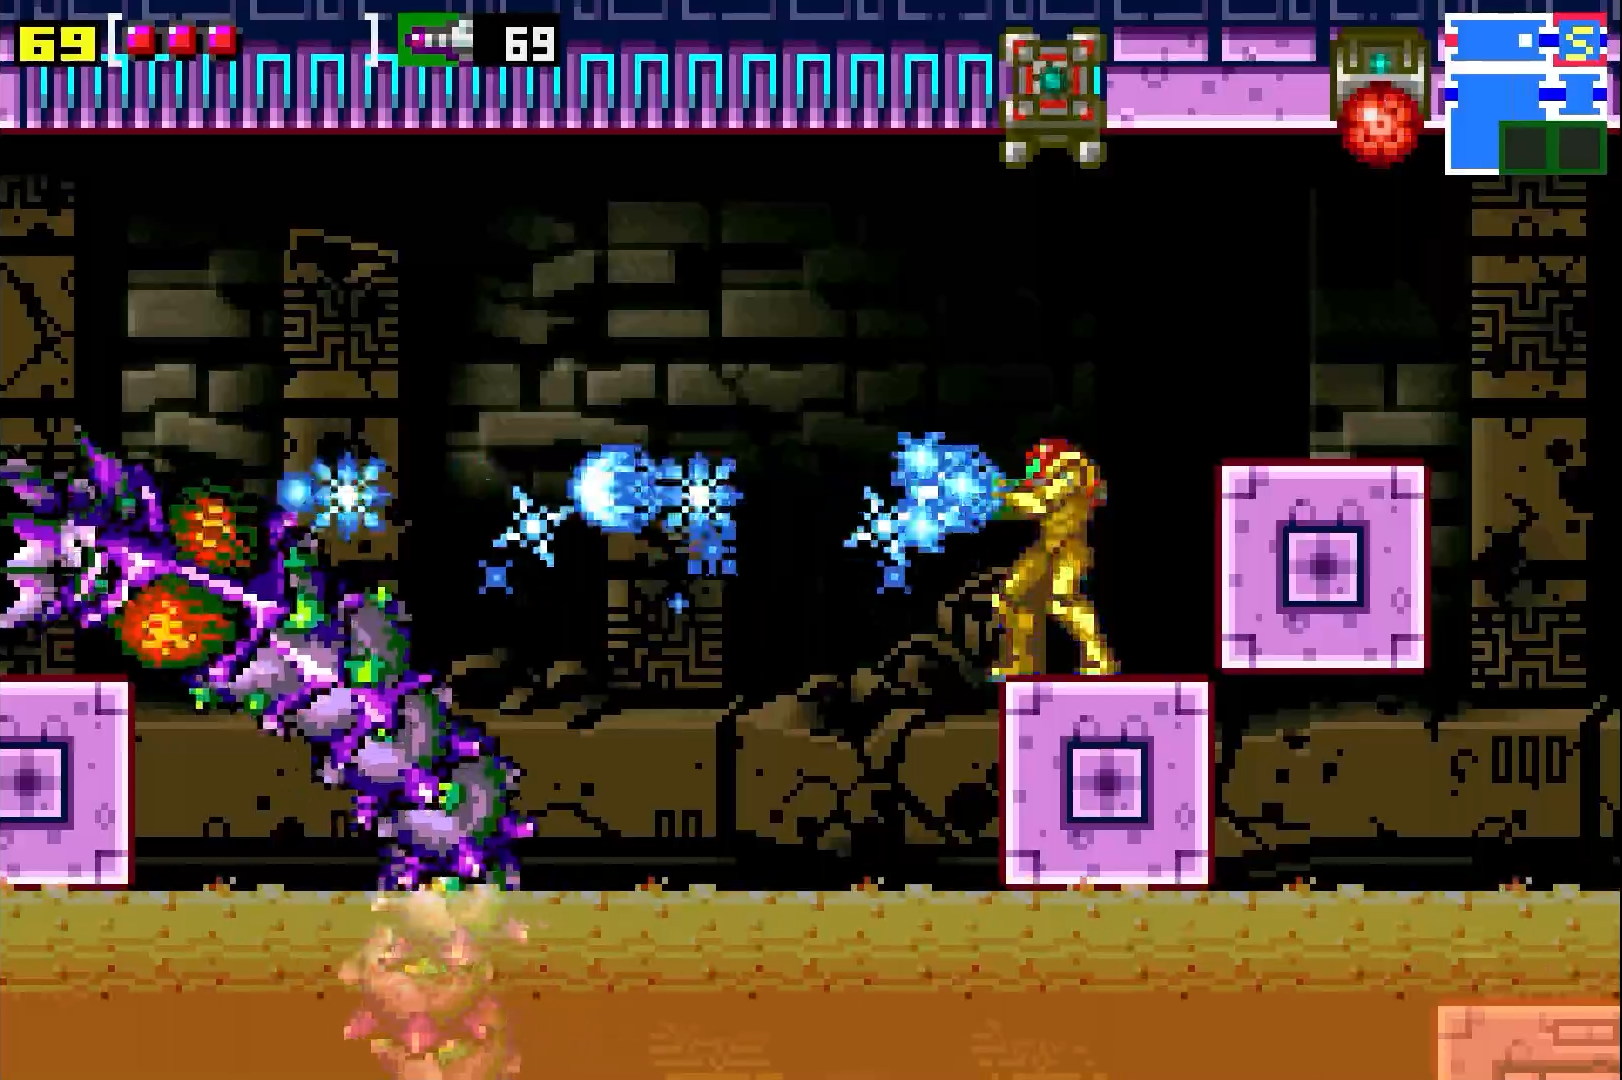
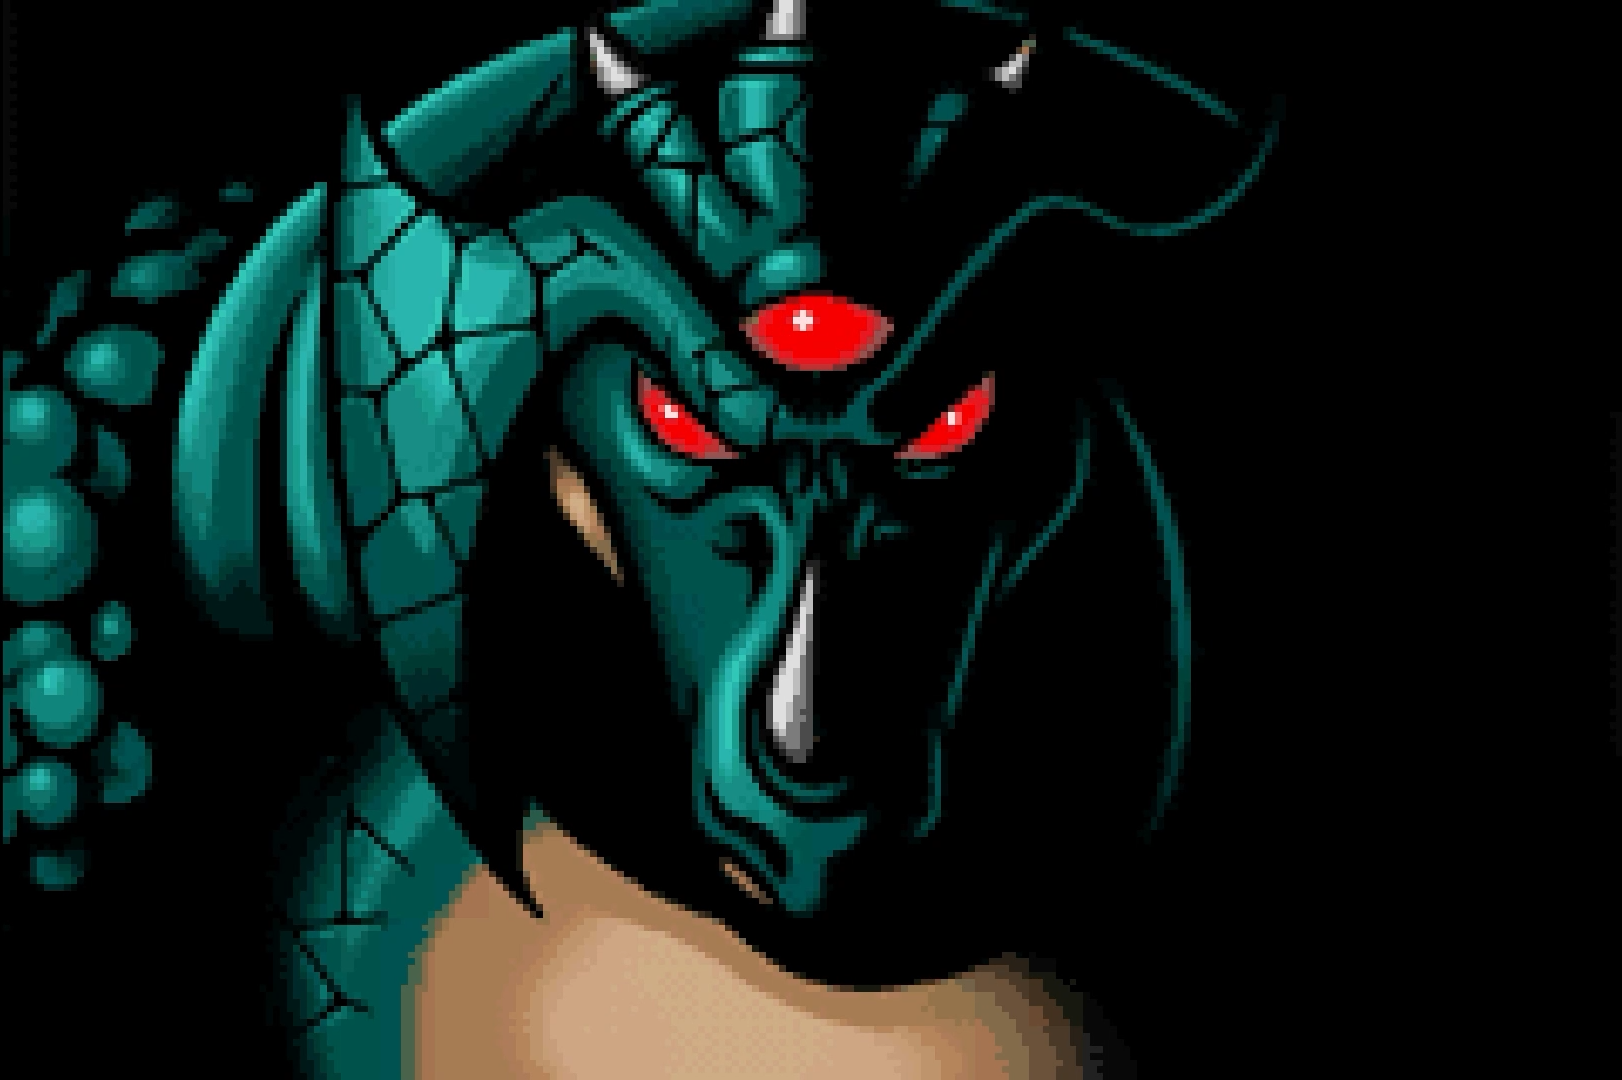
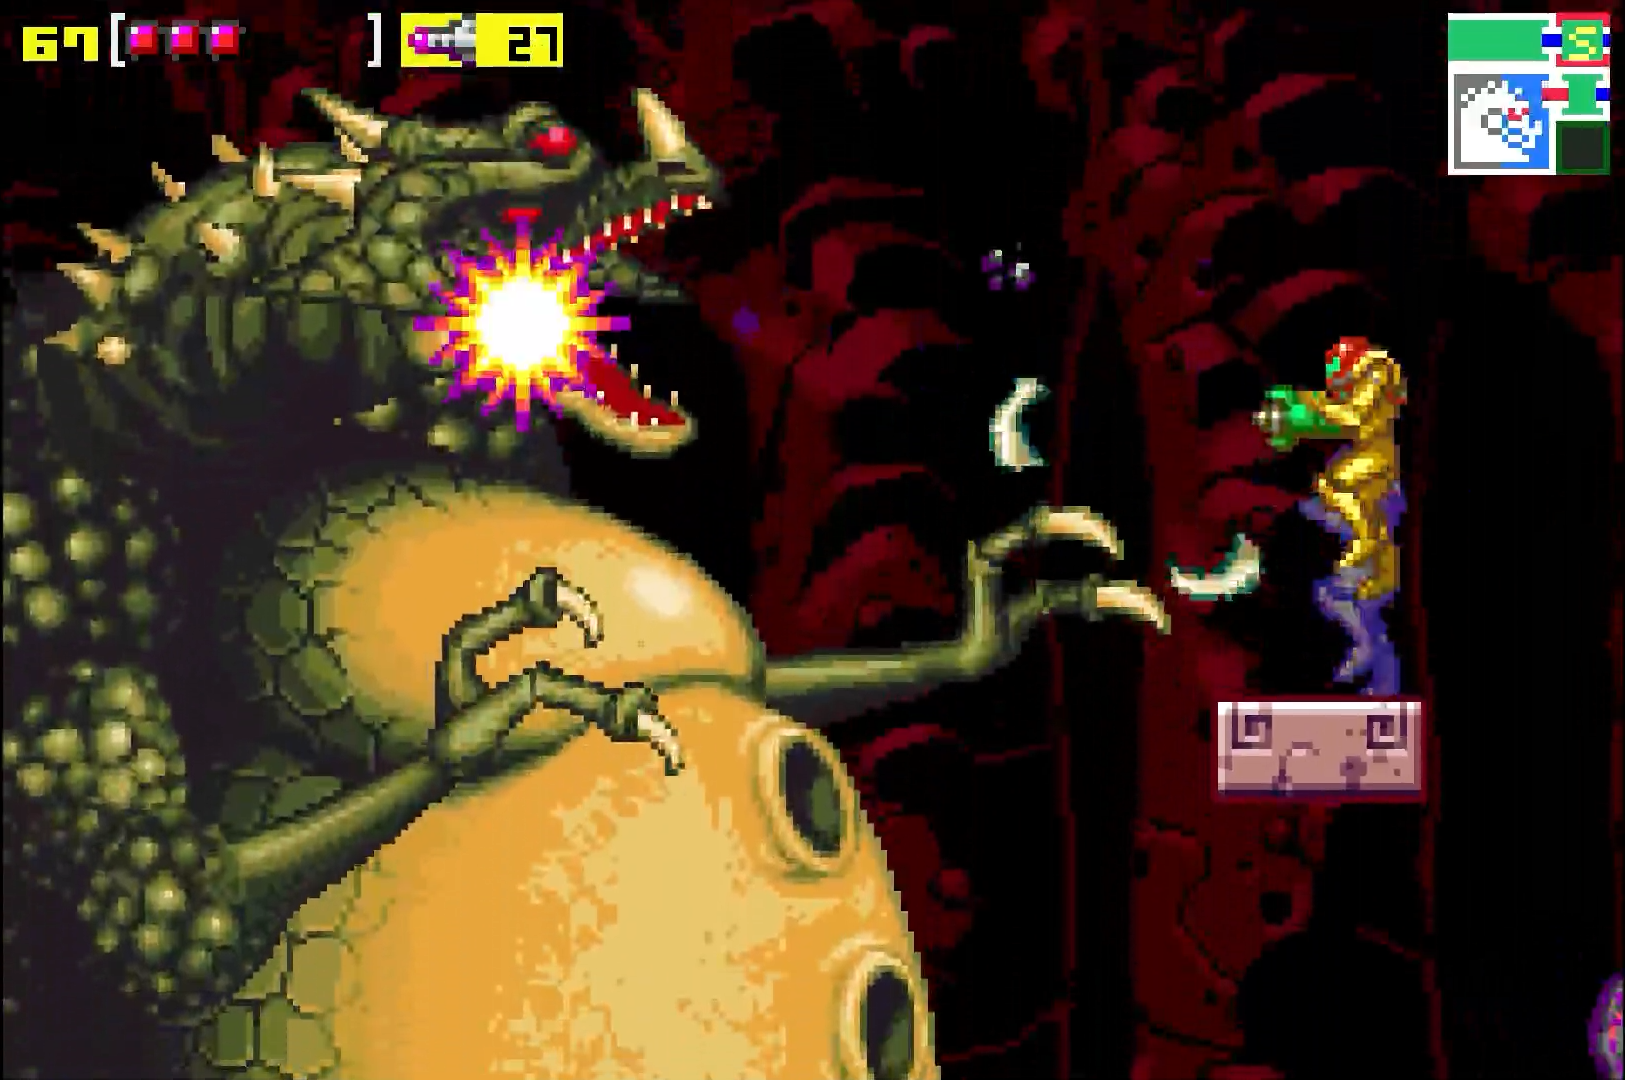
Acid Worm
Step inside the room and take a second to look at your surroundings. You’ll see a zipline on the ceiling that runs from side to side, a pool of acid on the bottom that you definitely don’t want to fall into, and three platforms sticking out – one on the left, the right, and the middle. Once you’re ready, take the zipline across to initiate the battle.

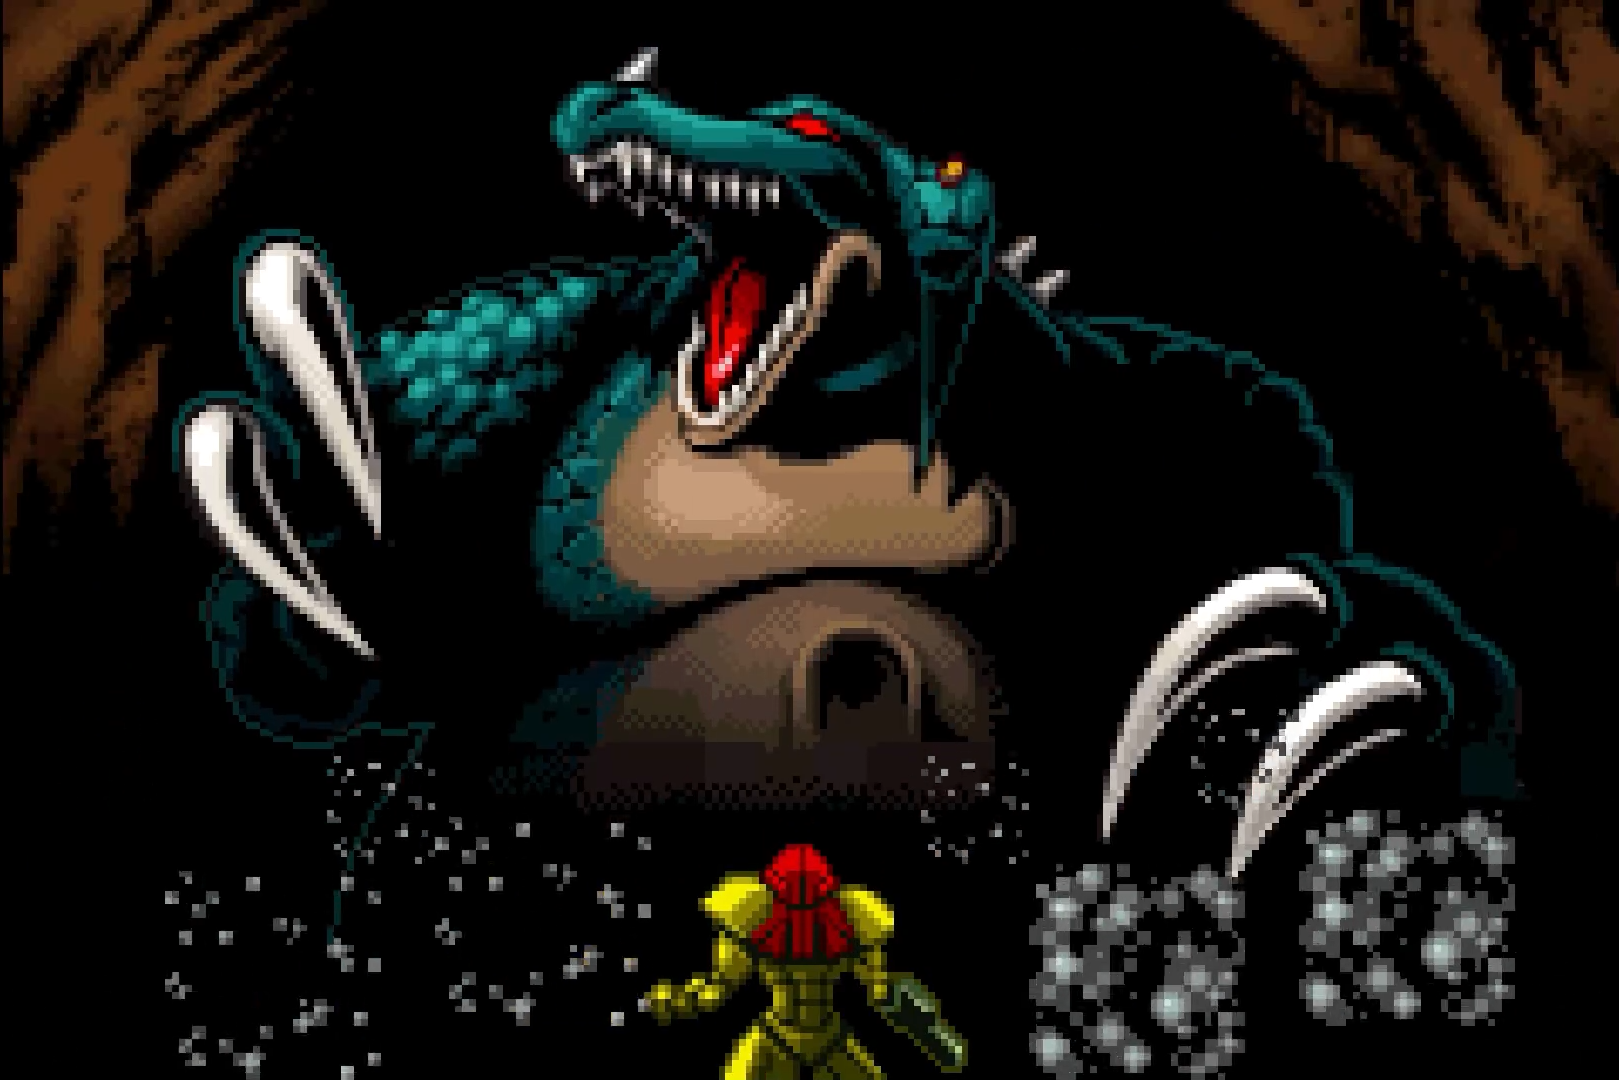
It won’t take long for the monstrous Acid Worm to shoot up from below and destroy the middle platform, leaving you with only the far left and far right platforms to stand on. The Acid Worm will park its body in the middle of the battlefield, which works to our advantage since we always know where it will be and the point of origin of all its attacks. With the right strategy, this boss battle will be a breeze, so let’s go worm hunting.
You’ll see two glowing orbs (are these supposed to be its eyes? Do worms have eyes??) just below the Acid Worm’s pincers; that’s the spot that we’ll want to concentrate fire. This first phase is pretty darn easy – stand on either side of the battlefield, watching the Acid Worm while it’s still submerged in acid. When you see its pincers flex once and then twice, jump up and grab the zipline. Err on the side of caution until you get the timing down correctly, as a zipline across too early will be far more preferable to a jump too late. As you’re zipping across, you’ll see the Acid Worm strike the now-empty platform and get its mandibles stuck, leaving it exposed for a few shots. Once you’ve landed on the opposite lower platform, turn around and fire off a bunch of missiles at its eyes. You’ll be perfectly aligned and have an opportunity to fire off multiple missiles.
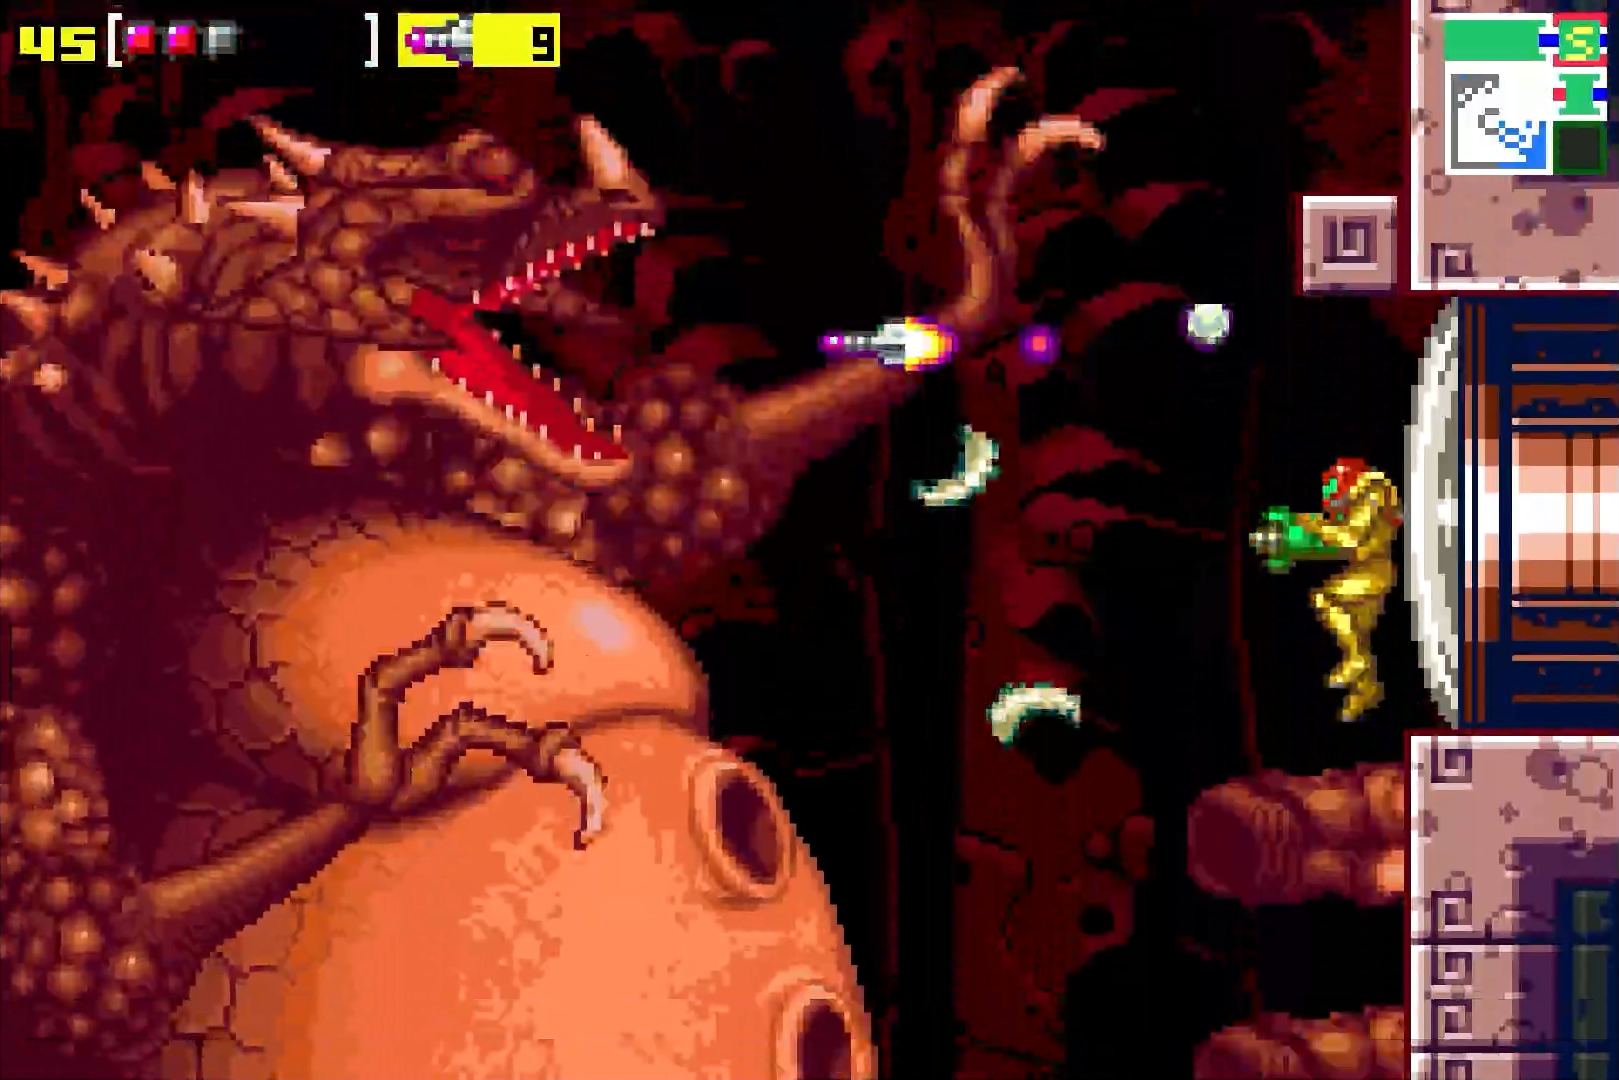
Once the Acid Worm has taken enough damage, it will retreat under the acid and scream. The acid in the room will now start to rise, submerging the lower platforms, but leaving the higher one’s safe. Fortunately, just as quickly as the acid rises, the acid will start to fall. When the acid is basically gone from the lower platform, quickly get down and zipline across, because the Acid Worm will be coming in hot to attack. Dropping down a bit early to the lower platform and taking a bit of acid damage is preferable to getting bitten by the Acid Worm, so do that if you need to.
Other than the acid rising and falling, nothing else about this fight has changed. Keep ziplining across just as the Worm is trying to bite you and pummel it with missiles when it bites the platform instead, and this boss will fall in no time.
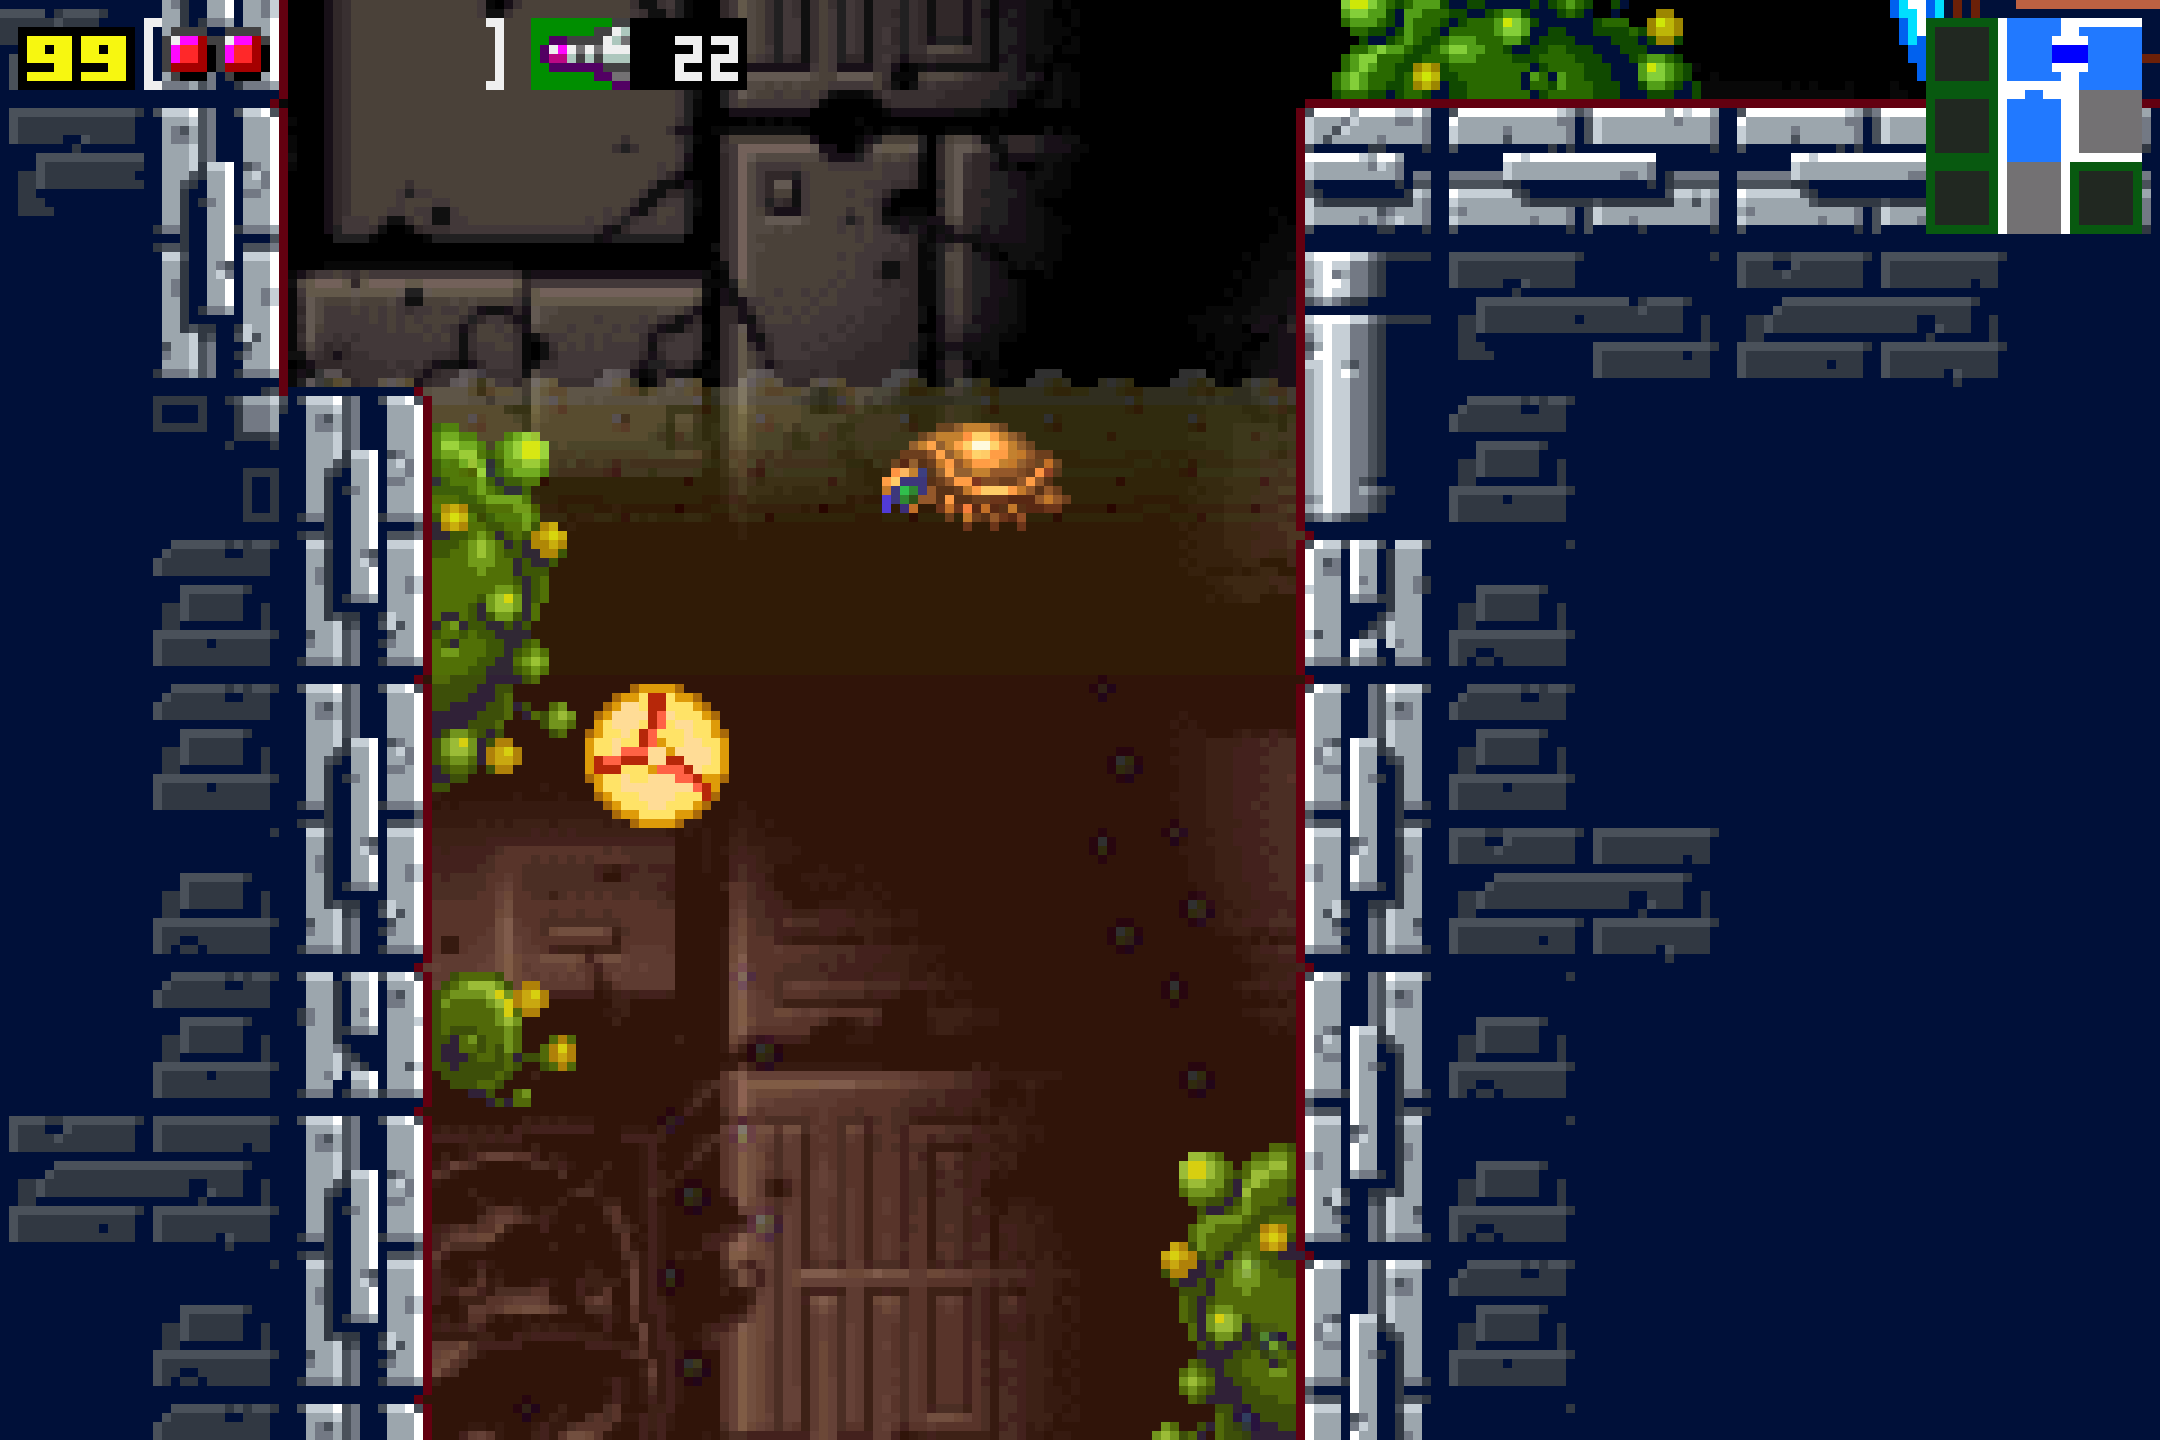
The Depths
Immediately after defeating the Acid Worm, the acid in the room will disappear. Drop down the the centre of the room and lay some bombs, dropping down a little further to a small tunnel underneath the battlefield. Jump towards the left and shoot the upper leftmost wall and a small tunnel will appear. Roll into this new room and grab MISSILE EXPANSION #17! Once you’ve collected it, roll back out and take the door on the left wall and follow the path back to the elevator shaft.
Once you’re back, save your game and then drop all the way down to the bottom! When you think you’ve reached the bottom, bomb the floor and keep dropping! You’ll fall past a couple Rippers flying around; when you land, you’ll want to take the blue blast door on your left.

Proceed through the next room, watching out for the many Sidehoppers hanging out. Go through the door and you’ll see a red blast door in front of you. Open it up and go download map data for Kraid’s Lair! Going back into the room you just came from, you’ll see a small platform raised just high enough off the ground for you to fit through. Morph down and then drop into the Morph Ball Launcher. Blast up and through the door.
You’ll be in a new room now, staring at a missile expansion sitting in a couple pillars raised off the ground. Drop down to the bottom of the room and blast away all the Sidehoppers and then get yourself up to the middle platform with the zipline switch. This might take a few tries to get the timing right, and it’s worth noting that you can blast the zipline switch while you’re on top of it by either laying a bomb or jumping and shooting, but what I’ve found the easiest strategy is to get the zipline so it’s on the right side of the room. Lay a bomb on the switch, and then roll over to the right and lay another bomb. The first bomb will activate the zipline so it’s moving towards the right, and ideally, the second bomb should propel you upwards into a grip of the zipline. Even if it takes a few tries, keep at it until you get it, and then ride the zipline over, dropping down over MISSILE EXPANSION #18!
Go through the door and you’ll find yourself back in the elevator shaft. Head up and take the door on the left, directly under the Save Station. Press forward in this room until you get to the zipline. Grab ahold of it, and start shooting in front of you; do this to destroy all the blocks that would otherwise knock you down and make you take an acid bath. Step into the new room, and head up and through the door on the upper right. Brace yourself: there are two creatures in here known as Baristute’s – basically really big, ugly, tough Sidehoppers – that you’ll need to take out. Fire off a half dozen missiles or so at the Baristute’s and they’ll be destroyed; nothing too worrisome, but still, be careful. Once they’re gone, head through the door at the top. Squeeze through the tunnel and claim MISSILE EXPANSION #19, and then drop down.

You’ll find that we just did a big circle, and might be tempted to head back to the elevator shaft to explore other hallways to progress. Never fear though, because there’s more to this room than meets the eye! At the bottom, below the ground, you should see a bunch of acid and a Ripper flying back and forth. In keeping with the spirit of the original NEStroid, the acid is a lie! Bomb the ground and then take a leap of faith into the “acid” and you’ll find yourself falling down a long vertical hallway. Press forward until you get to a red blast door. Shoot it and walk through.
Press forward and destroy all the Sidehoppers. You’ll be able to see a missile expansion to the left of the room, but no way to reach it. Hmm. Head over to the right side and you’ll see a bunch of purple Ripper’s ripping around. You’ll also see some blocks attached to the ceiling, blocking the zipline from taking you to the expansion. Worry not, because if you bomb the floor under each block hanging from the ceiling, you’ll see a Morph Ball Launcher that will blast you straight up, destroying the blocks! Do this three times, and then call the zipline over to the right-side and use the fourth Morph Ball Launcher to blast you straight up into the zipline’s loving embrace. You’ll be driven straight into MISSILE EXPANSION #20!
Once you’ve got that, head back to the room directly under the Map Station. You’ll notice that by the left door, there’s a crack in the floor. Bomb it and drop down. There will be another one of those Chozo blocks in your way, so bomb the floor again and keep falling. Use the Save Station to your left, and then continue right after. Just before the door, you’ll see a square on the ceiling that looks cracked and crumbled. Shoot it, but don’t climb into the tunnel! Instead, stand on the platform and jump up, shooting the right-side wall. Aim for the part that looks cracked, and a small tunnel will open up. Roll through and there will be a Chozo Statue sure to bestow upon you an awesome abil- UNKNOWN ITEM??! Again?? Come on!
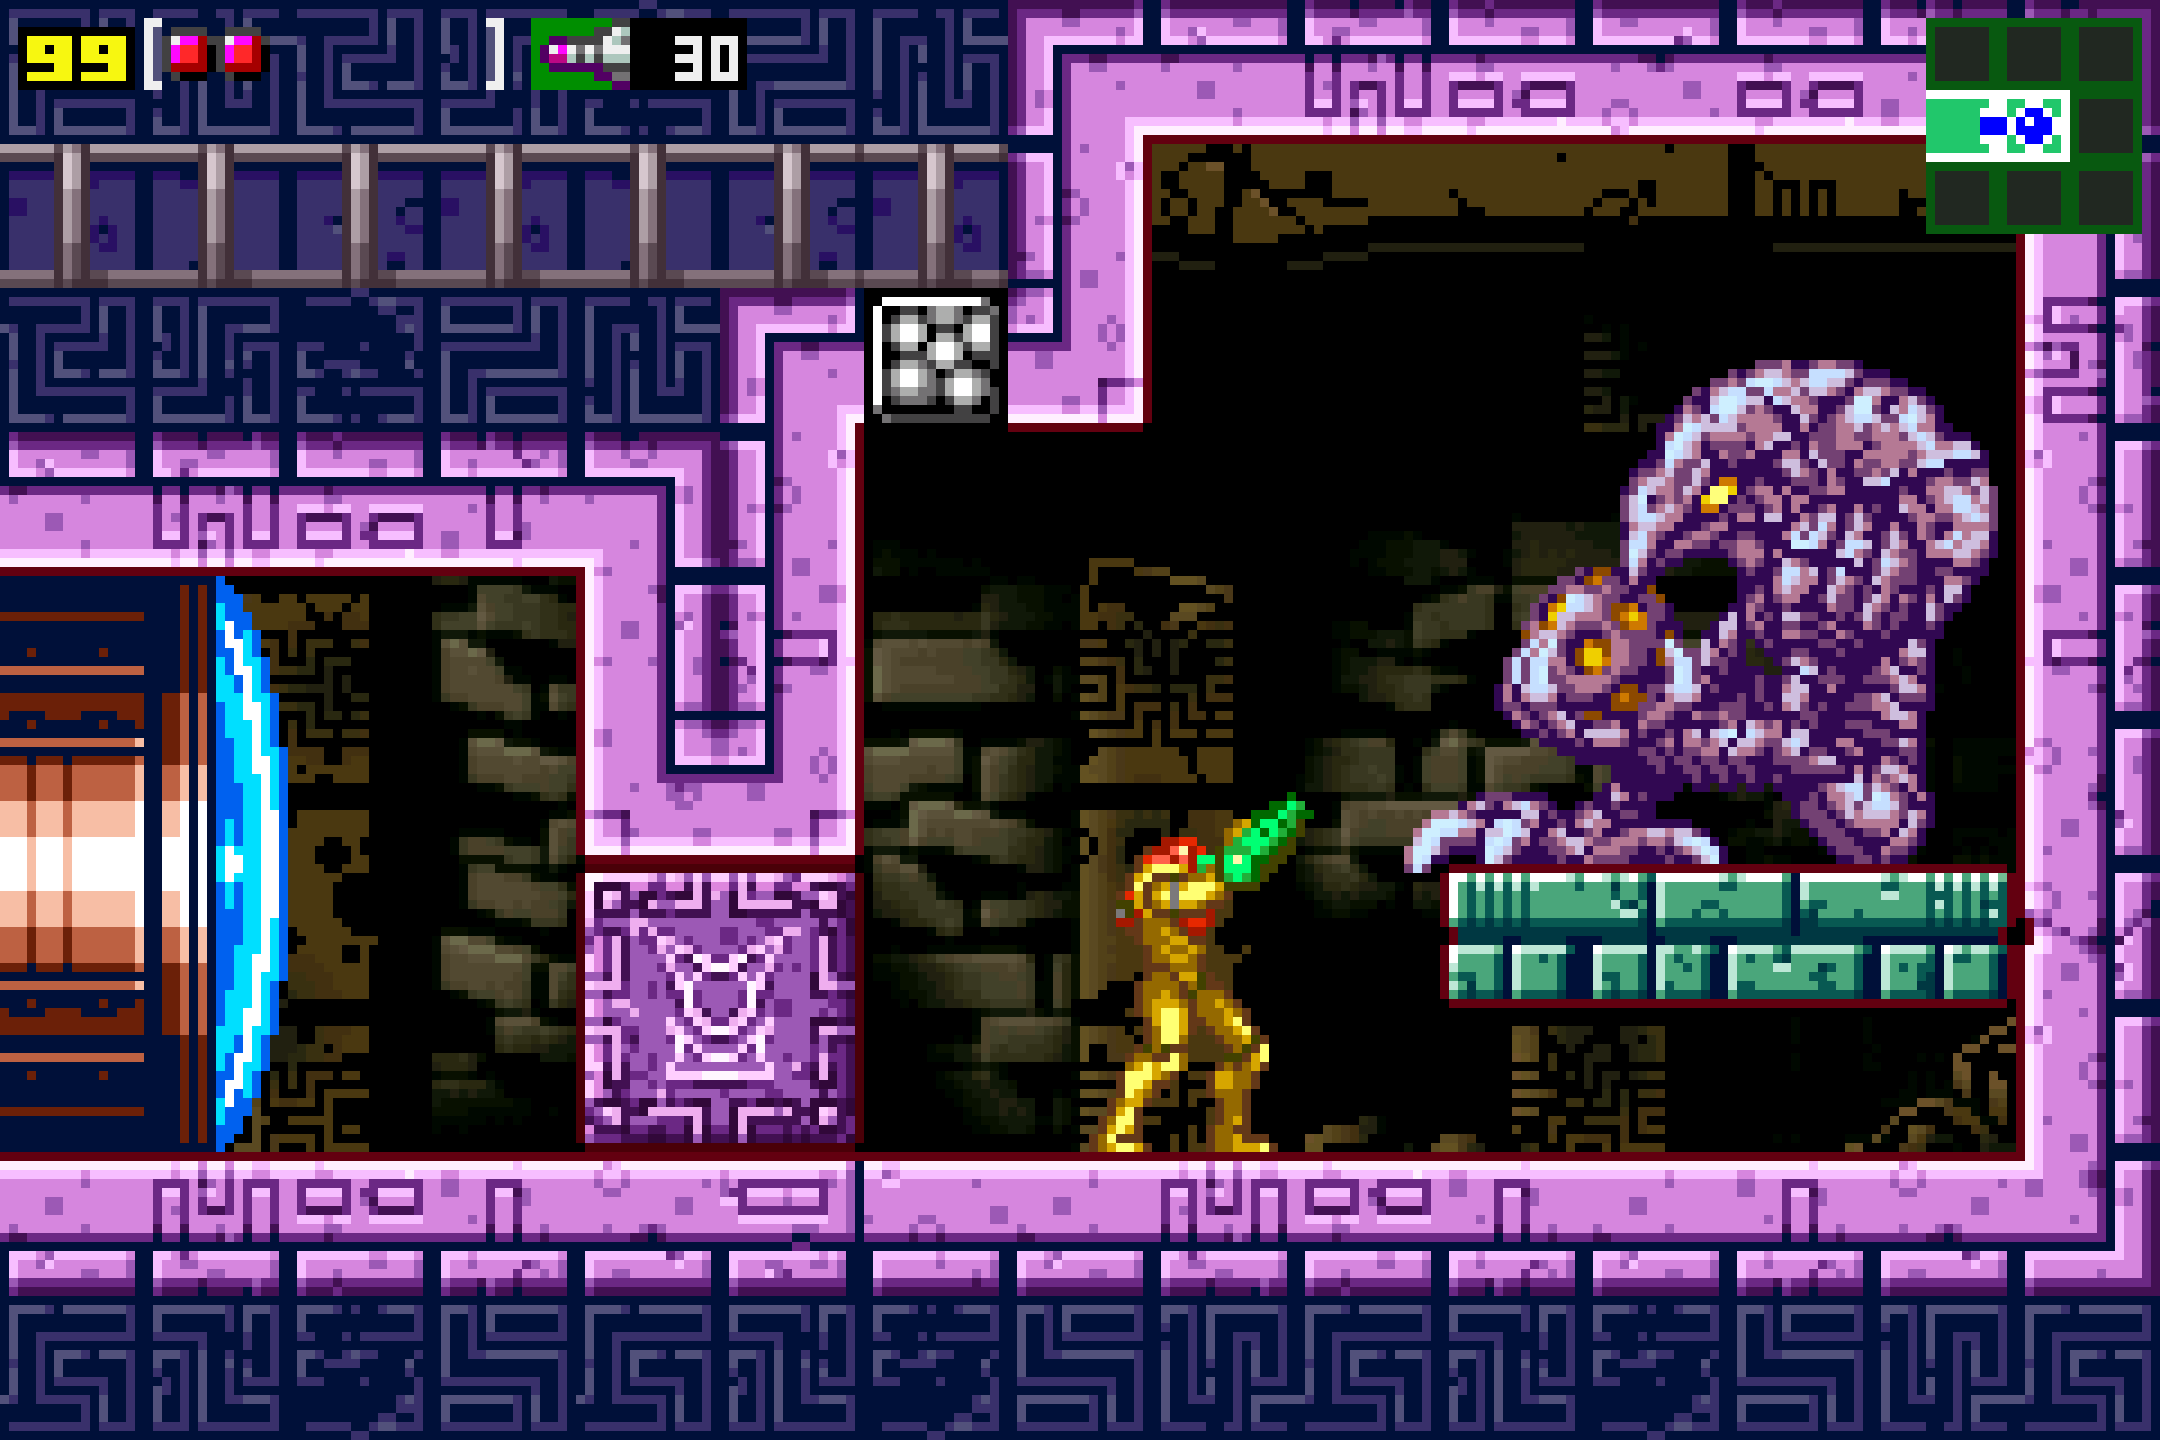
Yeah, this unknown item business is not the best, but at least those weird blocks can be destroyed now. Exit the room and get back up into the tunnel, this time rolling to your left, destroying the blocks, and then coming out on top. Go through the right-hand door and then slowly and carefully progress through this next room; there are Sidehopper’s and Reo’s everywhere, so just take it slow. Save your game once you get to the Save Station, and then in the next room, look for another tile in the floor that’s cracked. Bomb it and drop down.
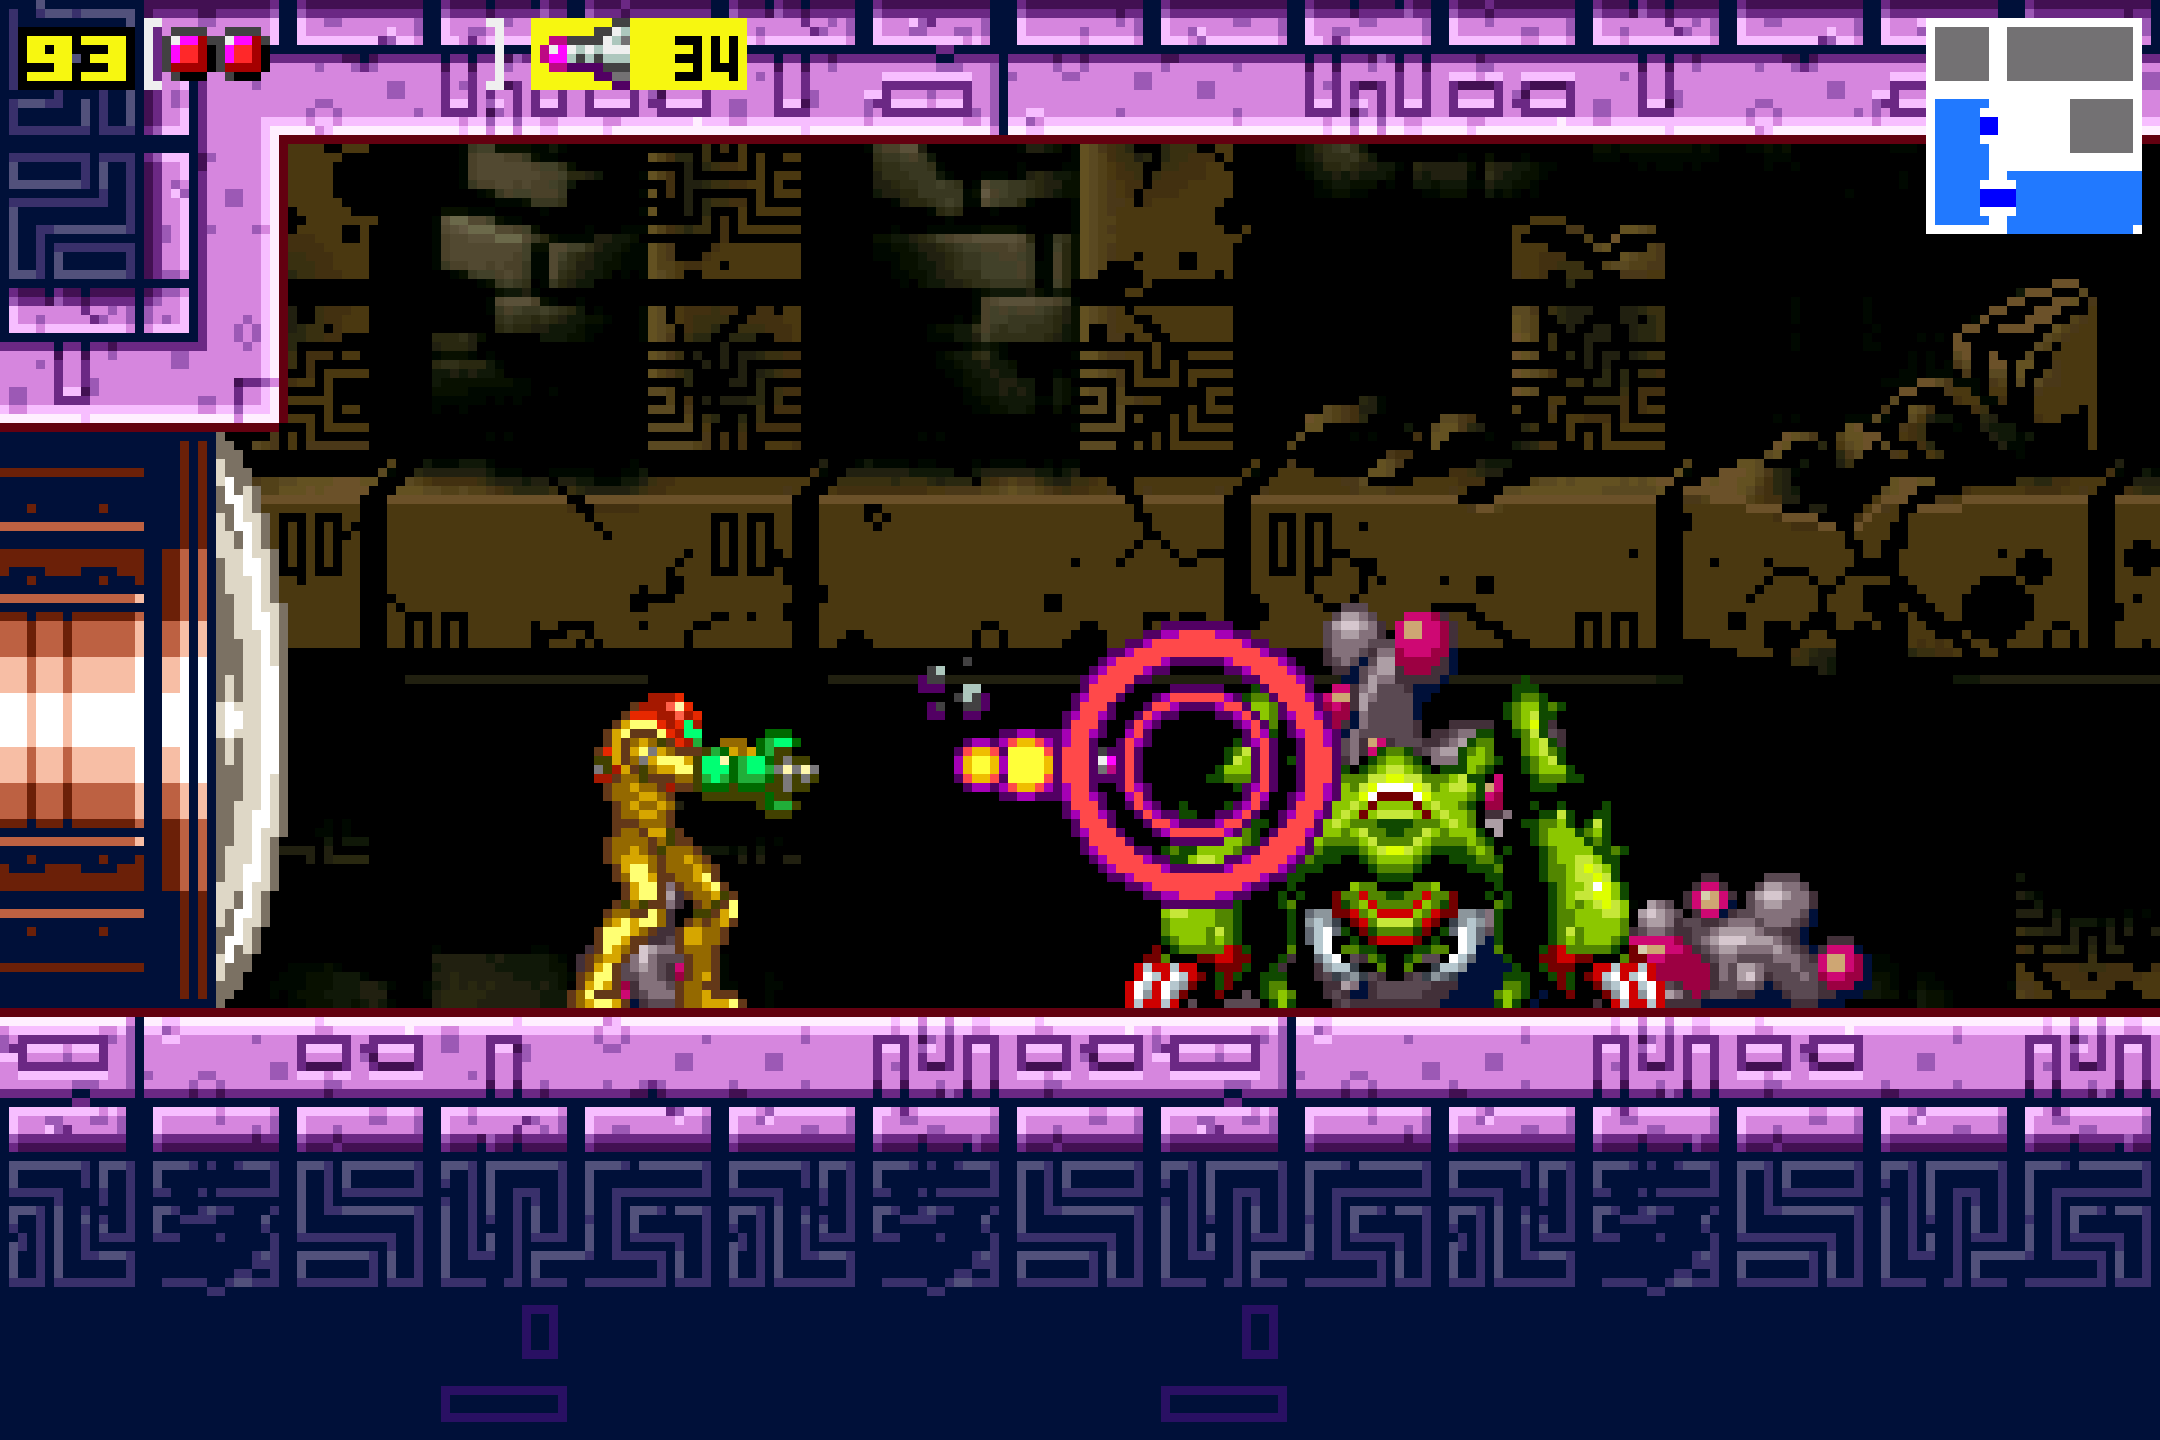
You’ll be in a big room, but don’t worry about anything in here for now. Instead, just make your way to the upper left door. Shoot the Gadora blocking the way and get ready for a colossal showdown with an old foe…
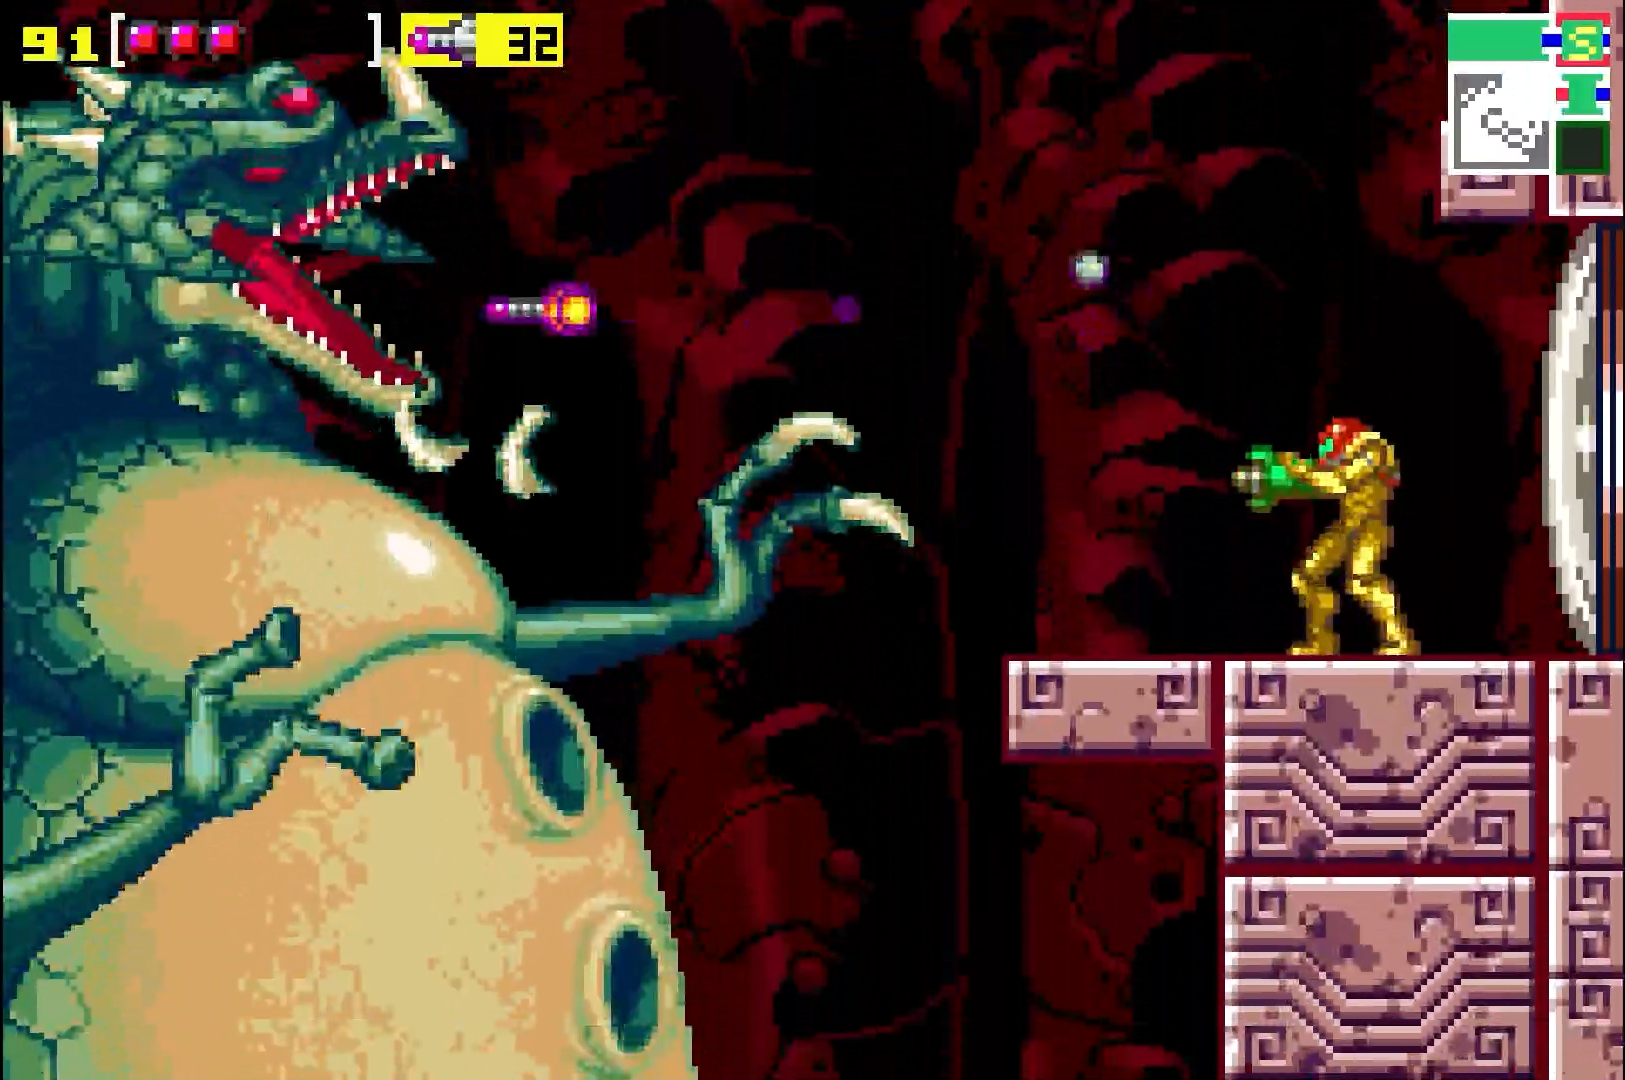
Kraid
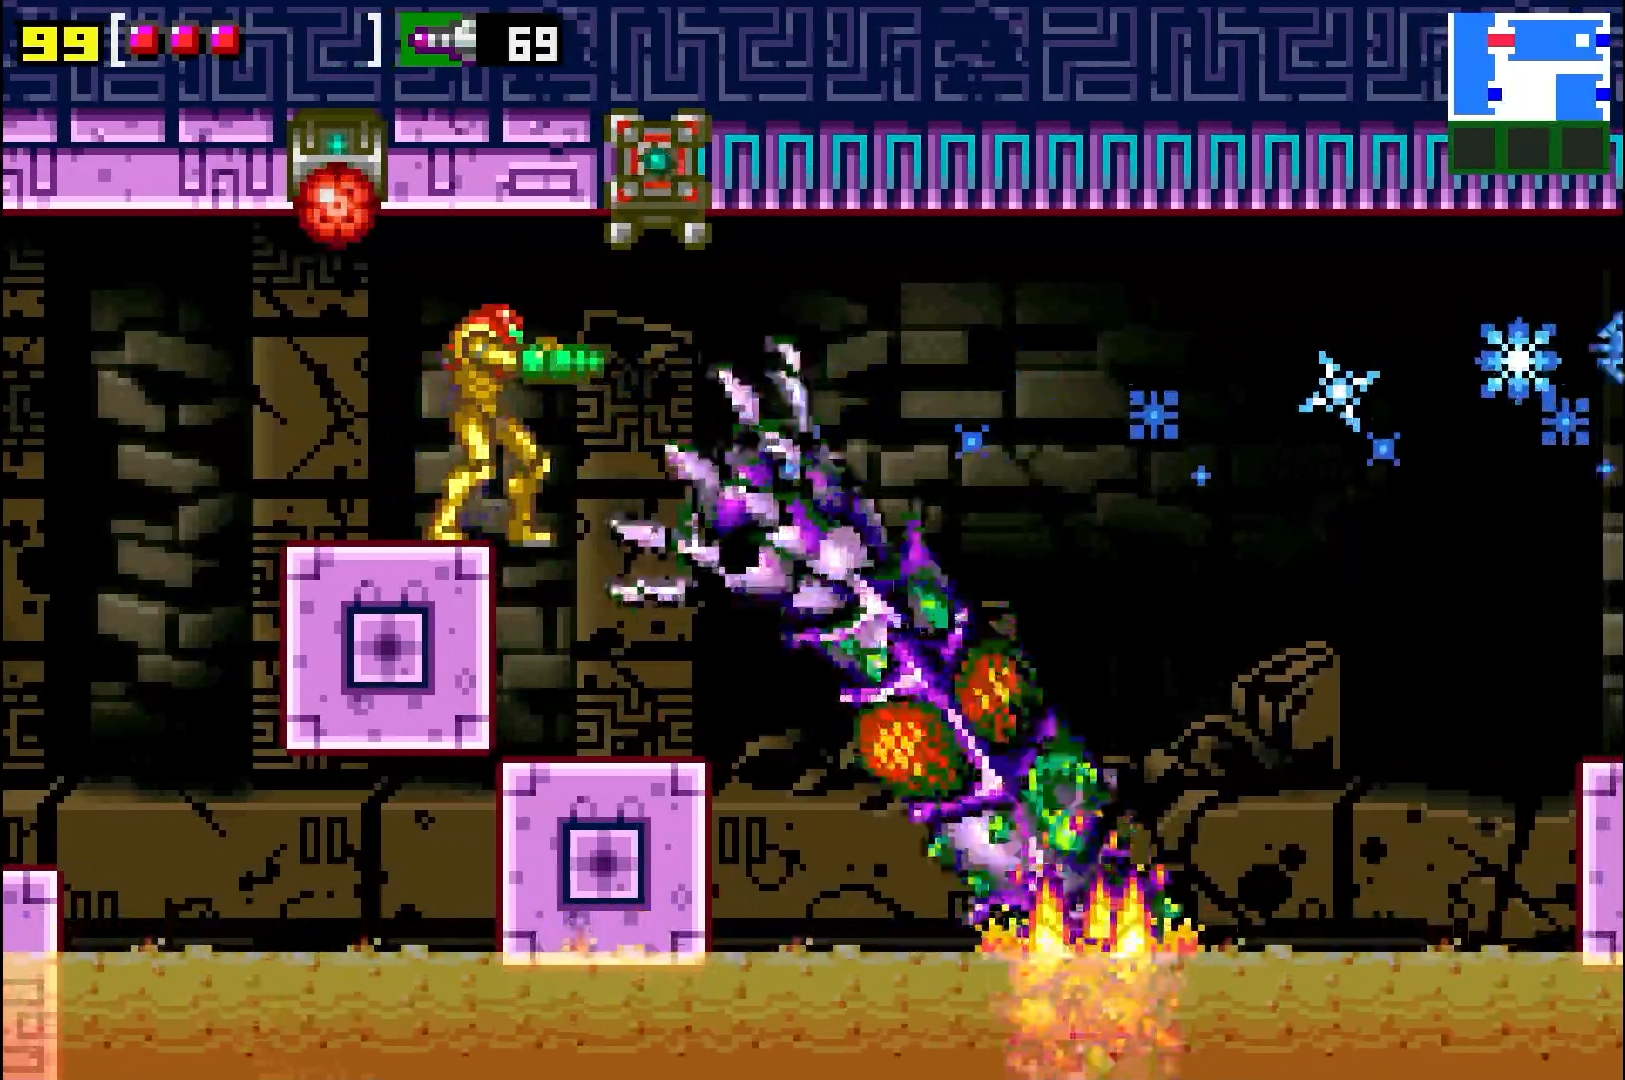
Kraid is back and bigger than ever! That’s right – this ain’t your granddaddy’s Kraid. Unlike in NEStroid, our reptilian foe is now several stories tall, and looking incredibly slick with his redesigned sprite. You’ll remember that Kraid is one of the bosses you’ll need to defeat before you can gain access to Tourian, so let’s get to work.
If you’ve fought Kraid in Super Metroid before, then luckily, you’ve basically fought him in Zero Mission too. The only difference is that we start off on a level playing field, which you should absolutely take advantage of. Kraid will start the battle off by letting out a massive scream, and this is your chance to act quickly and pop his mouth full of a couple missiles. Kraid’s weak point is indeed the mouth, so we’ll want to concentrate fire there. To get him to open his mouth, you’ll need to hit Kraid in the head with either missiles or a charged shot. Once it connects, his mouth will open and you’ll have a second or two to jump up and pop a couple shots down his throat.

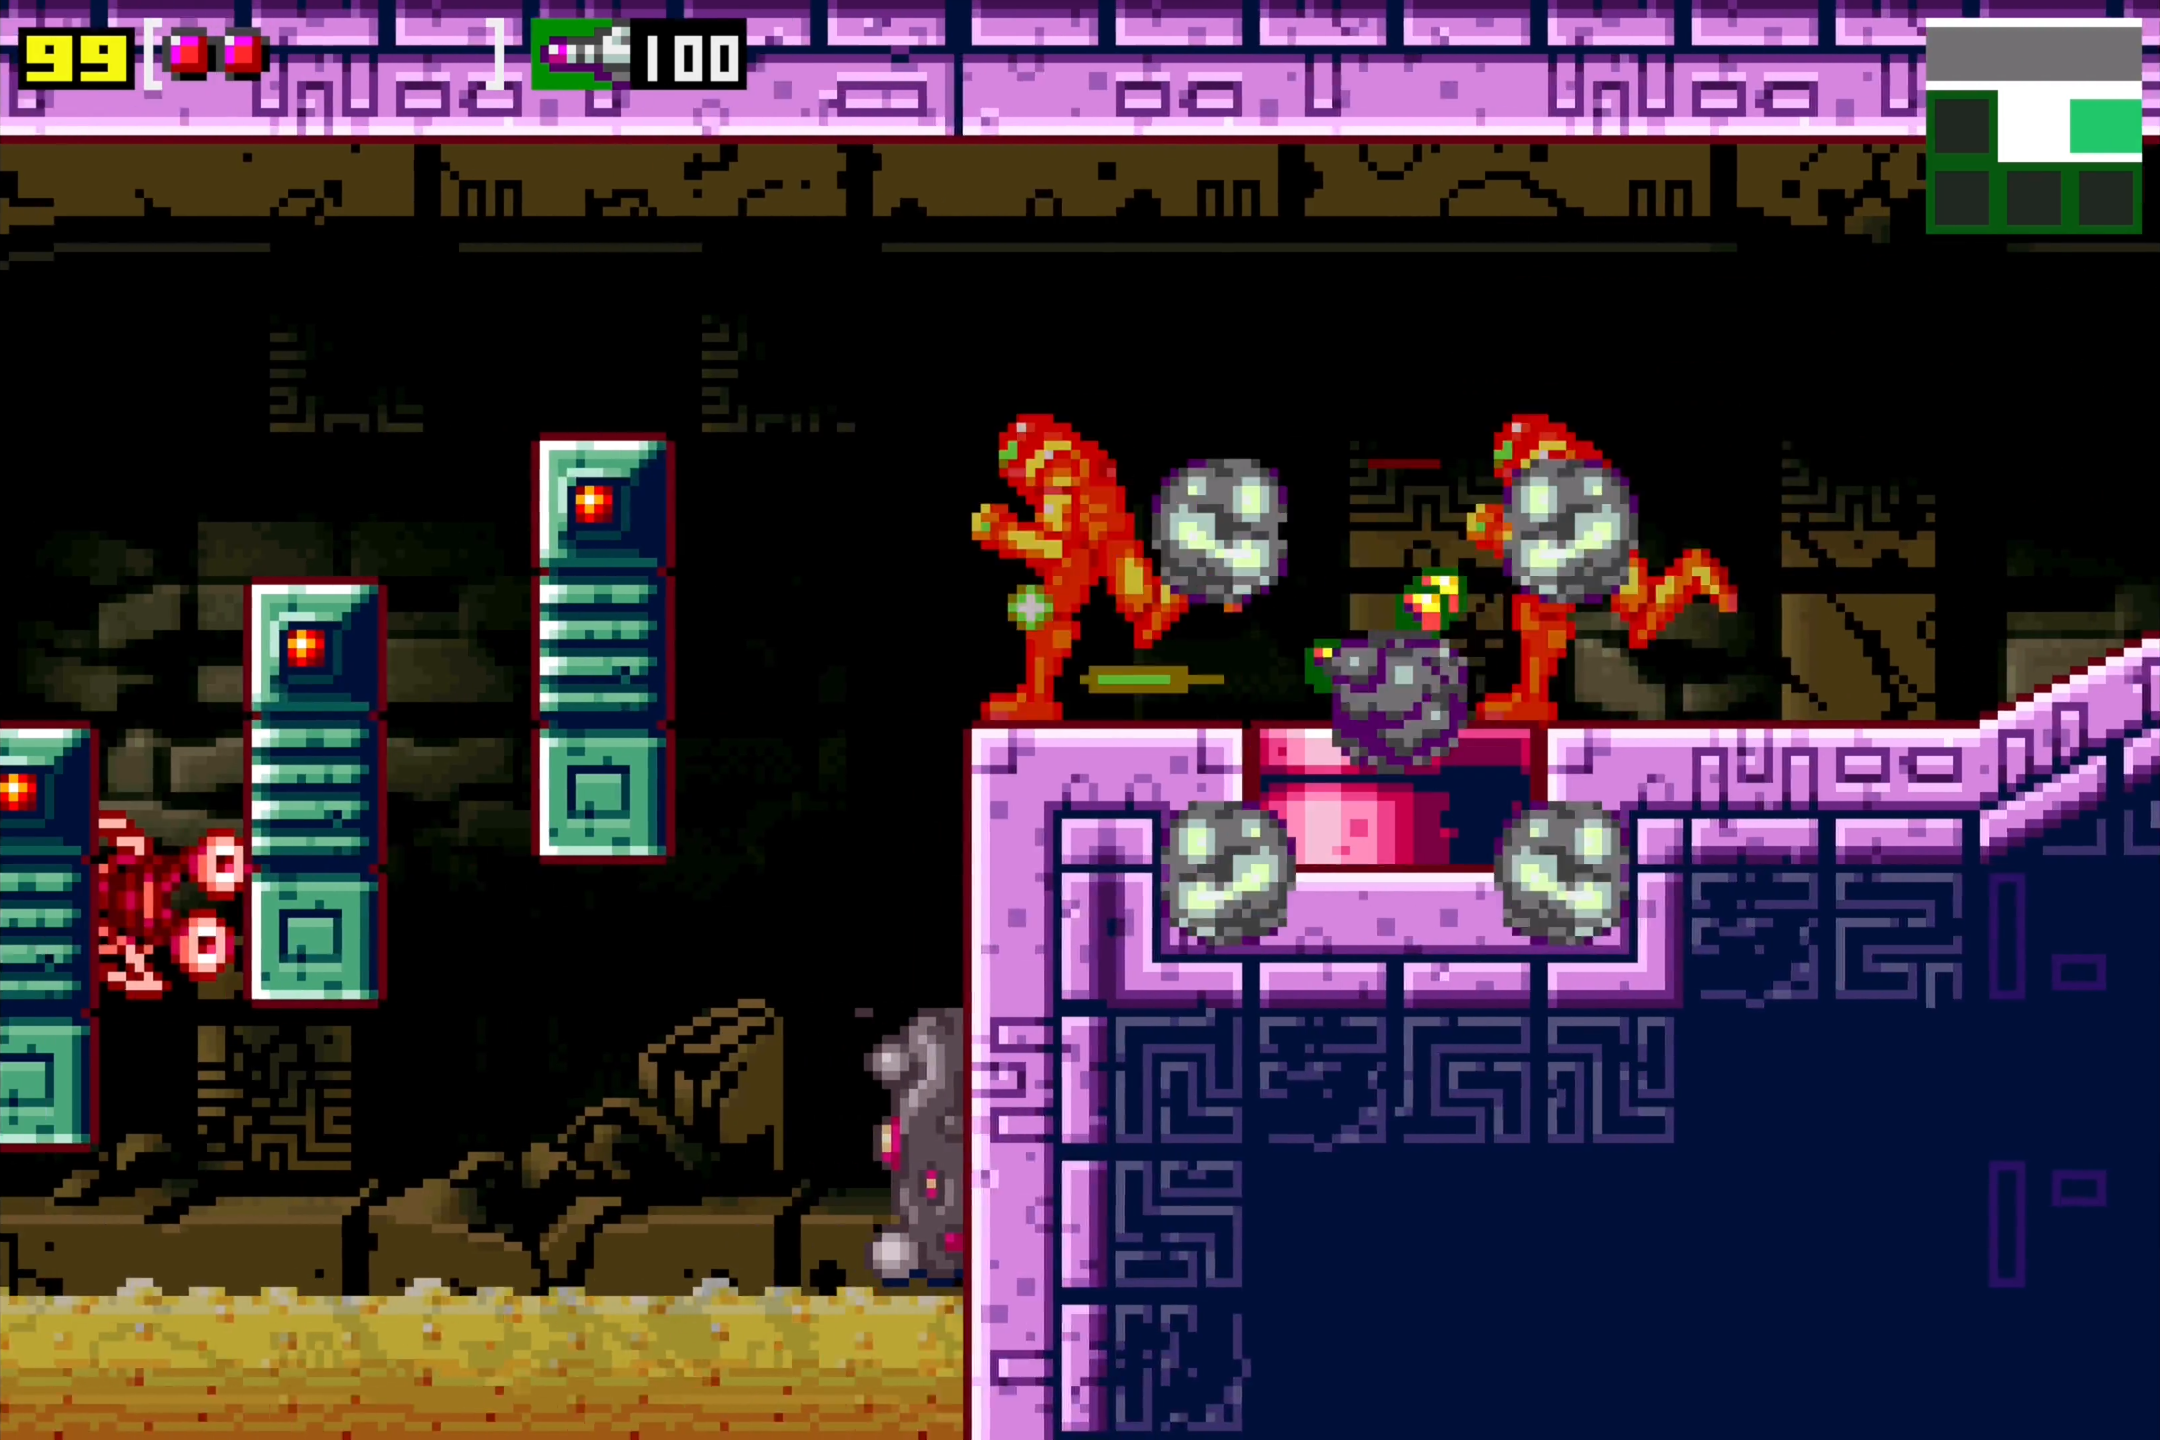
Kraid’s no pushover though, and he’ll be doing his best to make sure you don’t hit him. His main two attacks consist of swatting at you with his arms (they always kind of remind me of Tyrannosaurus arms, no?), which will knock you back and potentially off the platform you need to be on, and summoning two little spikes that will constantly be flying towards you, those also with the potential to knock you down. The good news is the spikes don’t move super fast and they can be shot to get health or ammo.
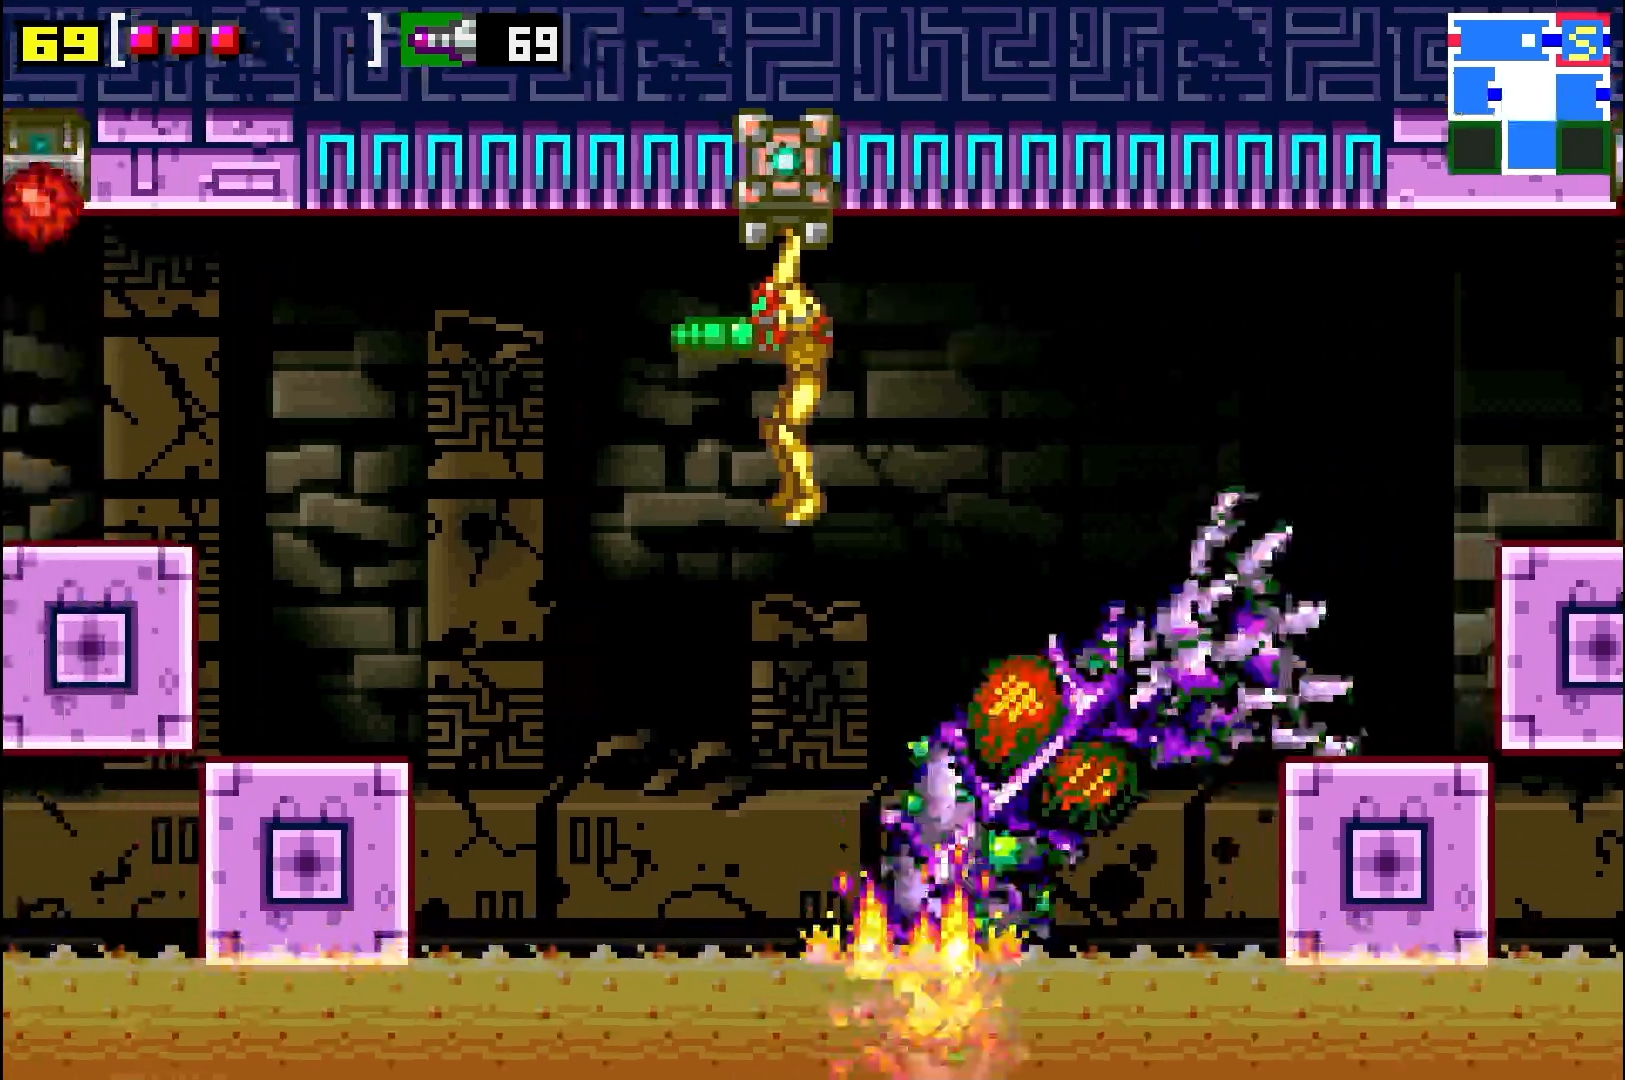
If you do get knocked down, be cautious. Kraid will fire off some pretty gruesome spiky platforms from his belly buttons (plural… yuck) that will smash into you if you’re in the way. Conversely, you can also climb these platforms once they hit the wall and use them to pull yourself back up to the platform. Kraid will fire off one platform, and then a second just above it, so time your jumps so you don’t get hit and can climb back up.
Keep peppering him with missiles and eventually the platform on the top that you’ve been shooting Kraid from will be destroyed. You have two options now: one, you can drop down and use the platforms that Kraid shoots from his belly to get the height you need to shoot his head. Kraid will now shoot out a third platform above the other two, so as long as you time the jumps right, this is probably the better choice. Option two is the little ledge in the top right corner of the room. I don’t really like this because you can’t get a great shot off to Kraid’s mouth, and you’ll more than likely need to drop down and fire, at which point, you may as well just jump up and shoot him from his belly button platforms. Worth noting too that the belly button platforms will have you out of reach of Kraid’s arm, so you just need to worry about dealing with the spikes.
Keep at it, shooting spikes, dodging his arm, climbing the platforms, and pumping his mouth full of missiles, and soon enough, the giant beast will fall. You’ll see a cutscene of Kraid’s statue lighting up in Tourian, signifying our enemy is down. Go into the next room and claim the SPEED BOOSTER.
Exiting Kraid’s Lair
Alright! Now that Kraid’s defeated, let’s clean up the last few expansions here and then blow this popsicle stand. Get to the corner under the Chozo Statue and start running towards the right. Soon enough, your Speed Booster will kick in, so just keep firing in front of you to open all the doors you need, and eventually after a few rooms, you’ll crash through some blocks and be in a long vertical hallway. Start climbing up and you’ll see 3 doors at the top. The door on the top right leads to a Save Station, so hit that up if you want. Take the lower door on the left and press forward across the platforms and falling acid until you hit the wall. Lay a bomb and MISSILE EXPANSION #21 will reveal itself! Collect it, head back into the vertical hallway and through the door on the top left.
You’ll be in a room with a zipline above you and a bunch of acid below you. Jump on the zipline and face towards the right. About a million Reo’s will start to follow you, so just start shooting missiles in their direction to destroy them. Don’t think you can outrun them; if you don’t fire missiles, the Reo’s will hit you and knock you into the acid, which will send you back down to the room below you. Once you make it across, blast the Chozo Square and head back into the elevator shaft.
Head towards the red blast door on the right (the one that’s directly across and one tile down from the Save Station). Go through it and start running. Your Speed Boost will kick in; you’ll be running on a platform above some acid. When the platform is about to end, don’t stop running – JUMP! Leap across the acid while you’re Speed Boosting, and you should go crashing into some blocks at the far end of the room that can only be destroyed with your Booster. Under the blocks is ENERGY TANK #3!
There’s one last expansion hidden in Kraid’s Lair, but for now, head back to the elevator shaft and ride the elevator back up to Brinstar. Along the way, you’ll see a cutscene of a familiar foe descending onto Planet Zebes…