


Metroid Dread Walkthrough – Quiet Robe
Walkthrough
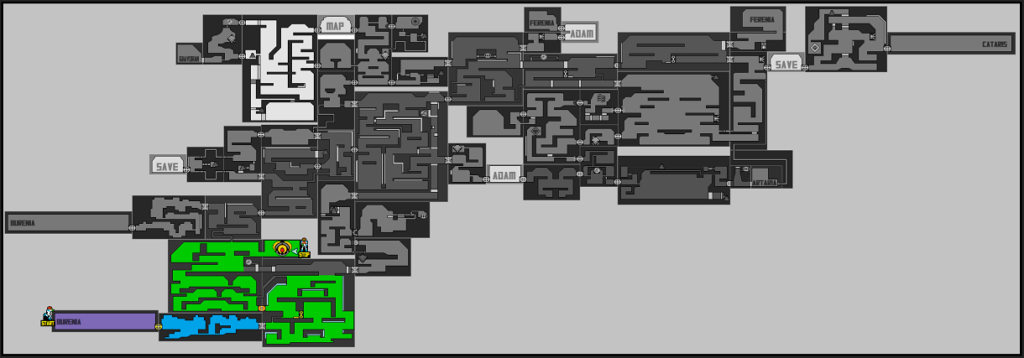
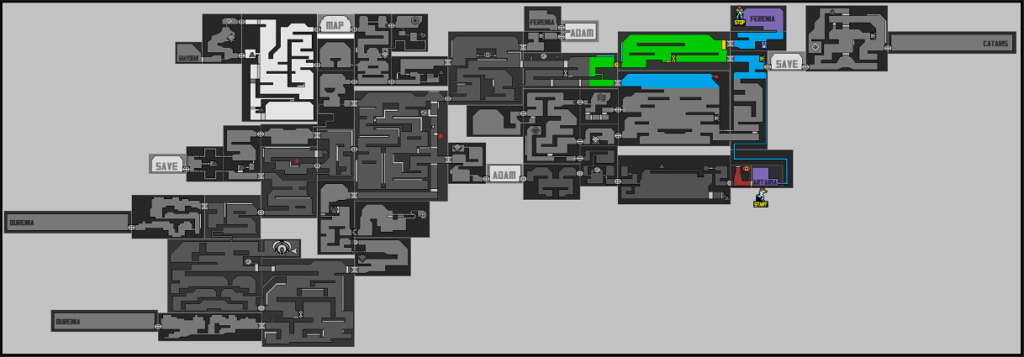
Dairon Central Unit
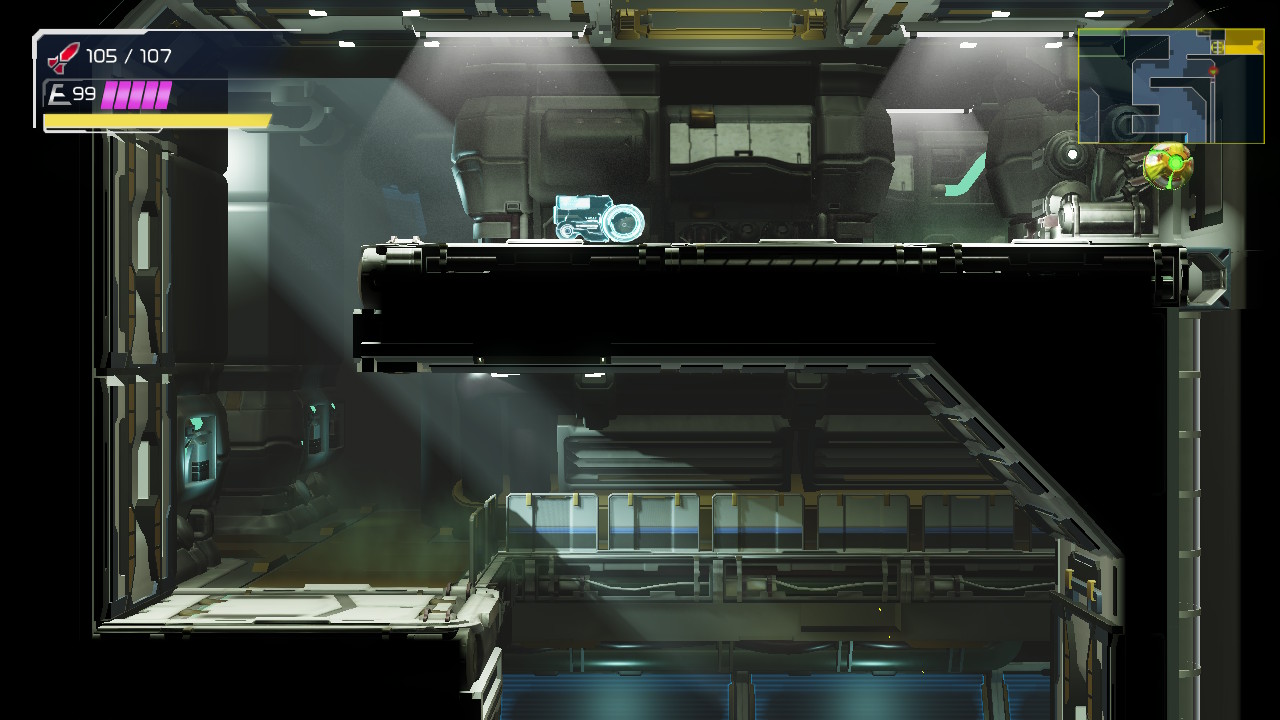
Fair warning – this next part is going to be rough. You’ll have to traverse through a bunch of water, and when matched up against a super high speed E.M.M.I., that can be quite frustrating, particularly given the random nature of the E.M.M.I. spawns. Nevertheless, we gotta do what we gotta do.
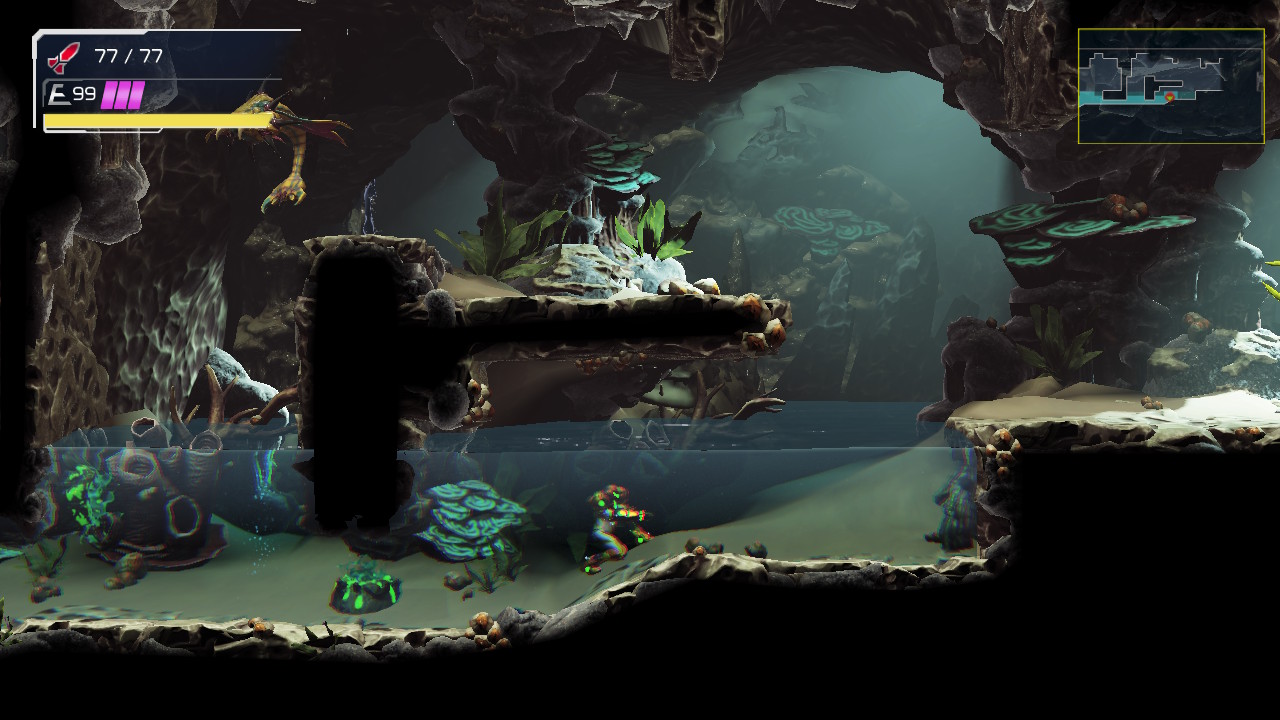
Start moving towards the right from the elevator room. You’ll find yourself in another cavernous, watery area. Just roll through to the door on the right as fast as you can and enter the E.M.M.I. Zone.
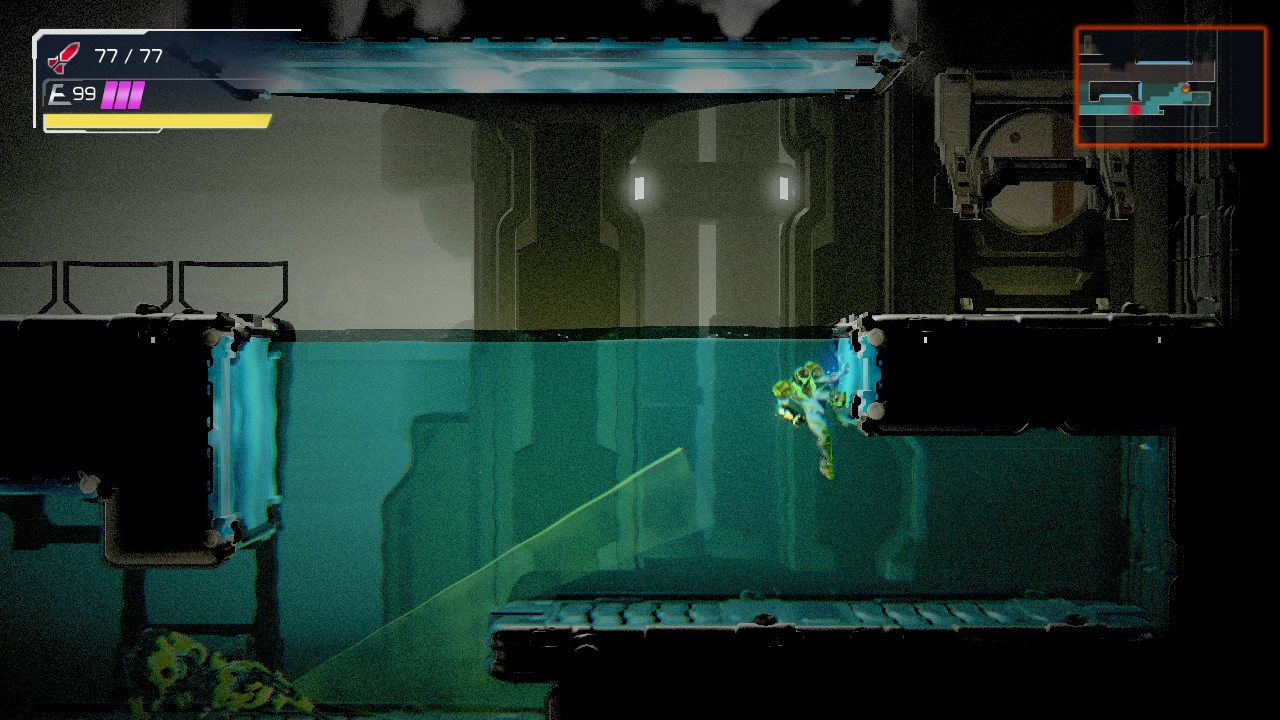
With any luck, the E.M.M.I. won’t be in your immediate vicinity. This is also a reminder that, particularly when underwater, your Phantom Cloak can really save your butt since we were never going to outrun this E.M.M.I., even at the best of times. Proceed into the water and head right. You’ll see a ledge with a very small spider track on it, basically just enough for you to grab. Get up there and start climbing the spider track on the wall, quickly. Jump off another first ledge, perform two quick slides and keep moving towards the left. Open the charged beam door and get through.
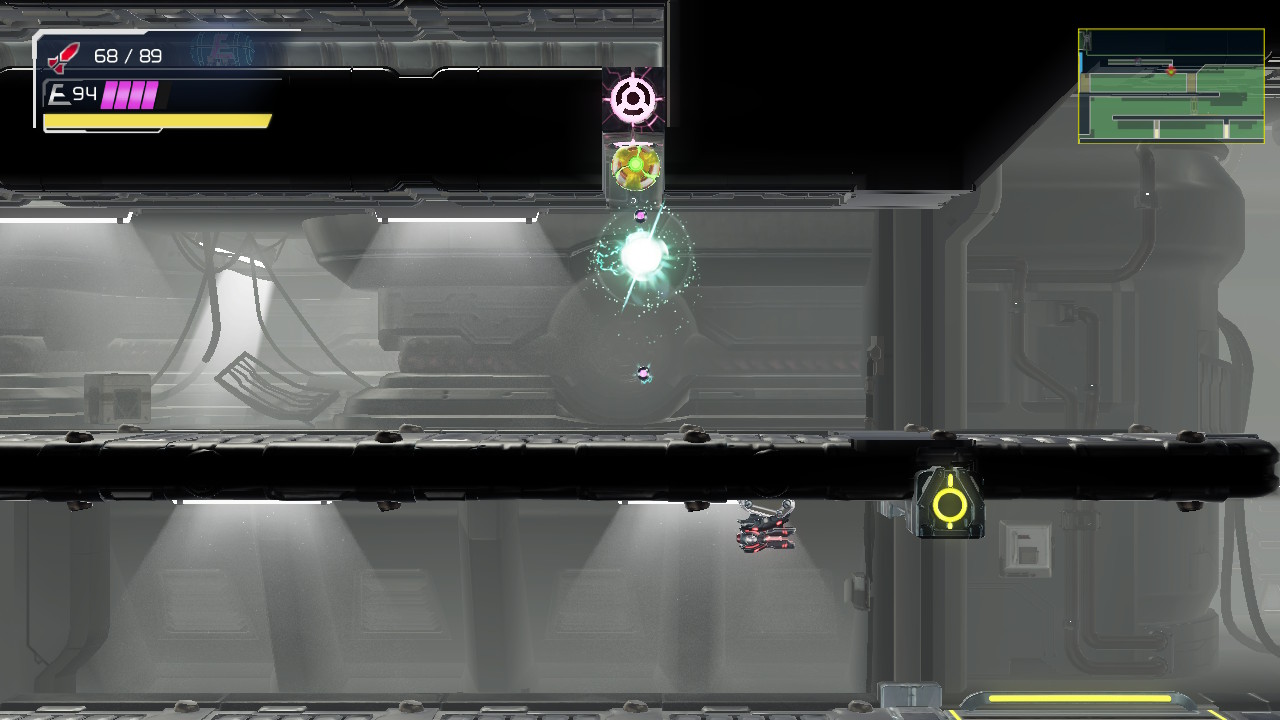
You’ll have to zigzag left then right then left then right again to get to the top corner of the room. Inside, the Central Unit awaits you.
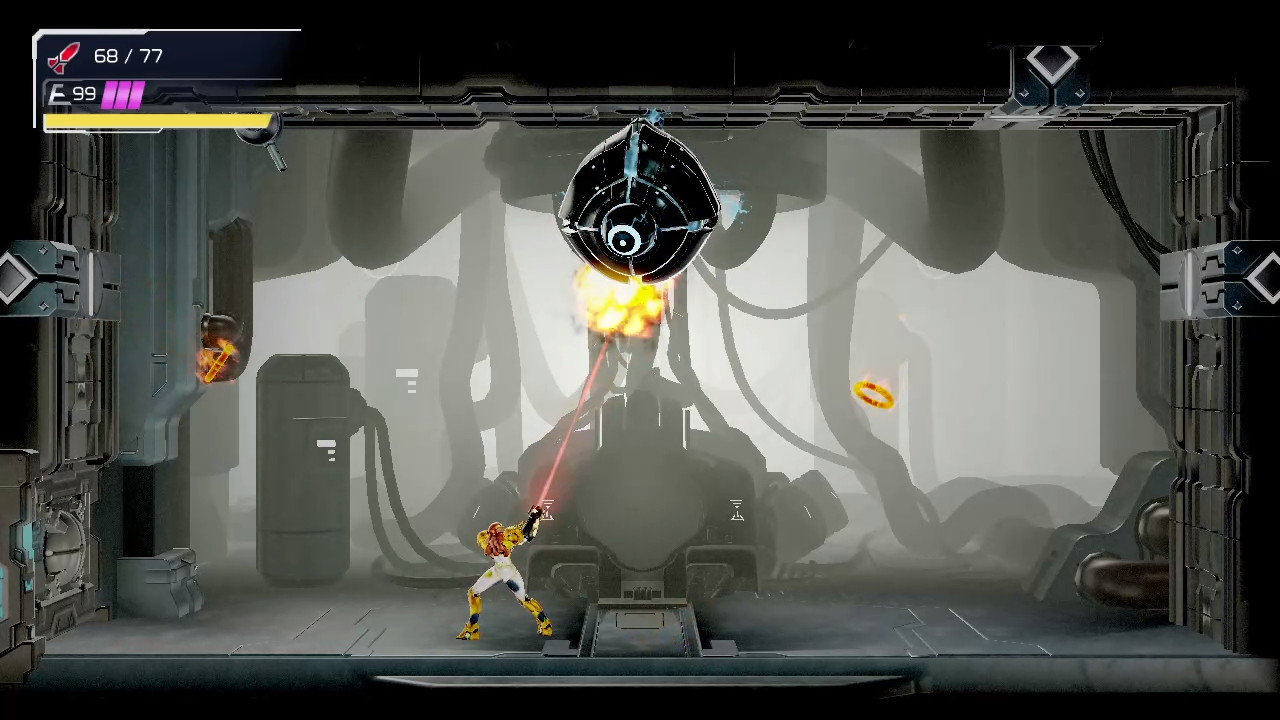
This will be no different from the many other times you’ve faced off against the Central Unit. Avoid the Rinkas and the turrets, bombard the big brain with missiles galore, and get yourself an Omega Canon as soon as it falls.
E.M.M.I.-04SB
Time to finish this E.M.M.I. off. Once you blast off the door to the Central Unit room, head out into the E.M.M.I. Zone. As usual, alarms will be blaring and the E.M.M.I. will be bearing down on your location, quickly.
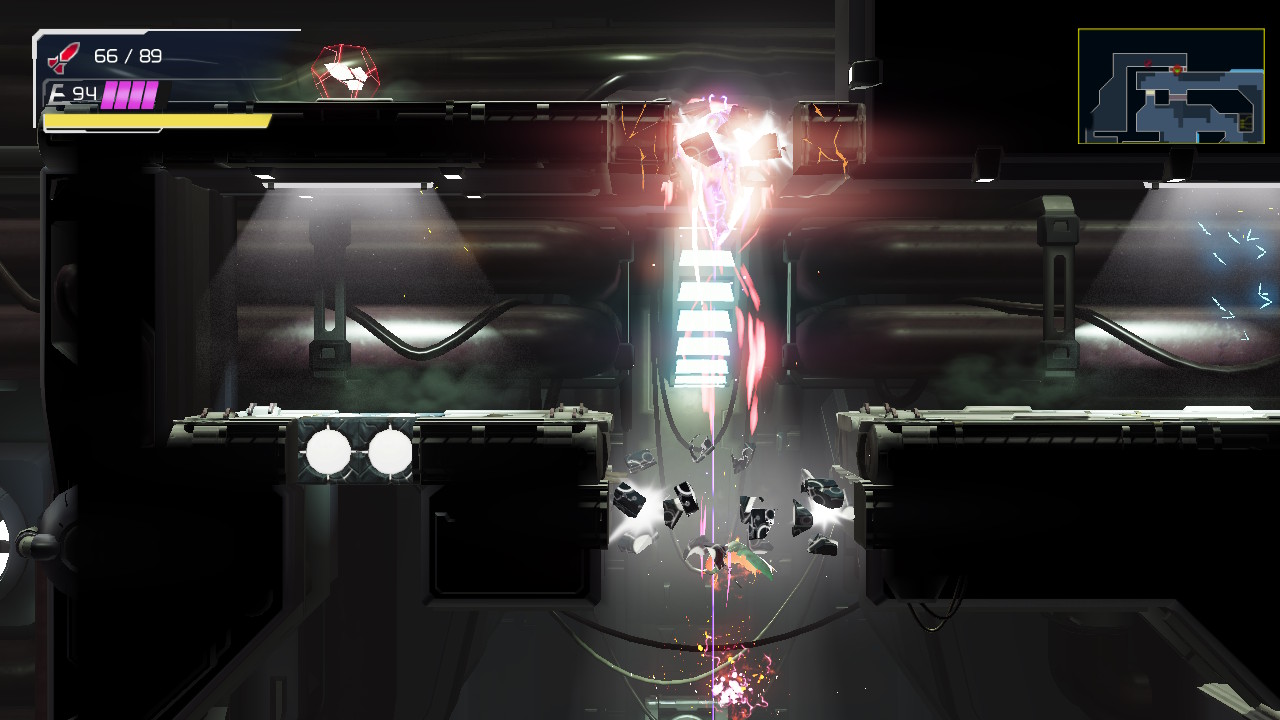
The zigzag room layout will fortunately give us a bunch of long landing pads to line up the E.M.M.I. and use the Omega Stream. Although this E.M.M.I. is all about speed, the force of continuous Omega Stream fire to the face will force it to slow down a bit, so aim carefully and use that to your advantage. Even so, this will be the toughest time you’ll have had so far getting the armor off of the E.M.M.I.’s face.

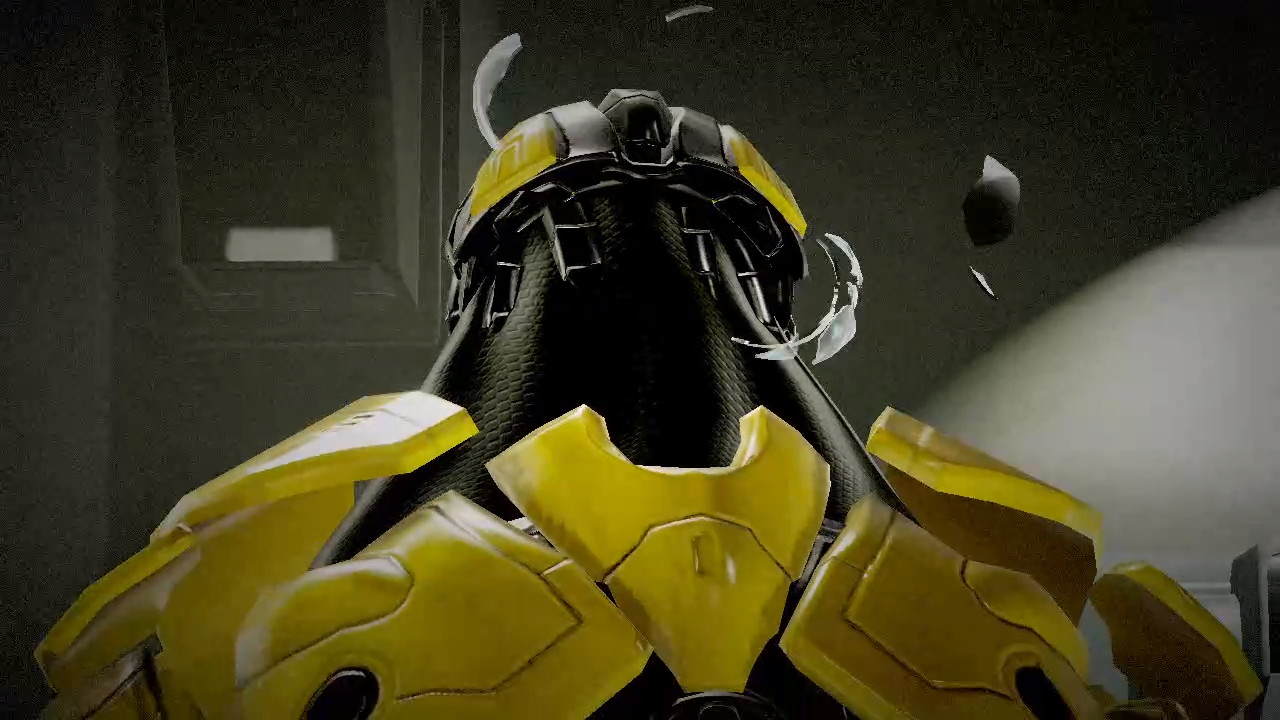
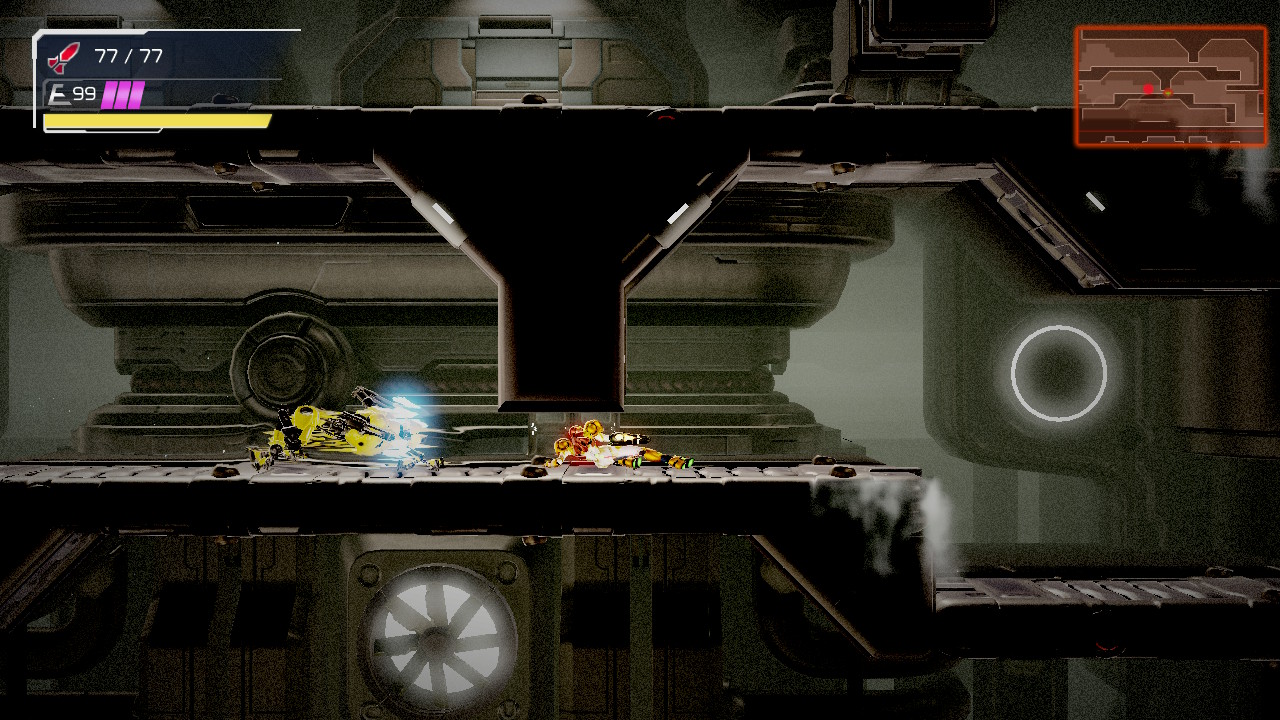
Once you’ve got the protective plating off, the E.M.M.I. will slow down significantly, so get to somewhere that you can line up the yellow robot and then blast its head off. You’ll finally be rewarded with the SPEED BOOSTER!
Dairon Goodies
Now that we have the Speed Booster, there are tons of pickups around ZDR that are now available. This version of the Speed Booster is also the most advanced version ever found in a Metroid game – you can jump, slide, wall jump and your Boost won’t be lost! This opens up the door for some absolutely incredible Shinespark puzzles, as will soon find out. For more information on Shinesparking, check out Special Abilities.
Once you’ve defeated the E.M.M.I., go to the right of the zigzag room. You should see an Energy Part that’s stuck in the wall. No worries! Head to the left and run to the right, activating your Shinespark just underneath the Energy Part. If you go a little too far and end up in the next room, don’t sweat it! Just head back and Shinespark straight up right beside the door. The Speed Boost blocks will break and you can grab ENERGY PART #4, giving you an extra tank of health!
Go back to the left and activate your Speed Booster again. May as well get one of these ridiculous Expansions out of the way now! You’ll need to trigger your Speed Boost, run straight towards the right, jump, exit the E.M.M.I. Zone, keep running, wall jump and then quickly slide into the next room. You’ll want to wall jump to keep your momentum for consecutive floors, and then you’ll go crashing through a wall to get MISSILE TANK #4. I know that description probably didn’t do much for you, so check out Shinespark Puzzles to see a video and get a better idea of how to pull this off.
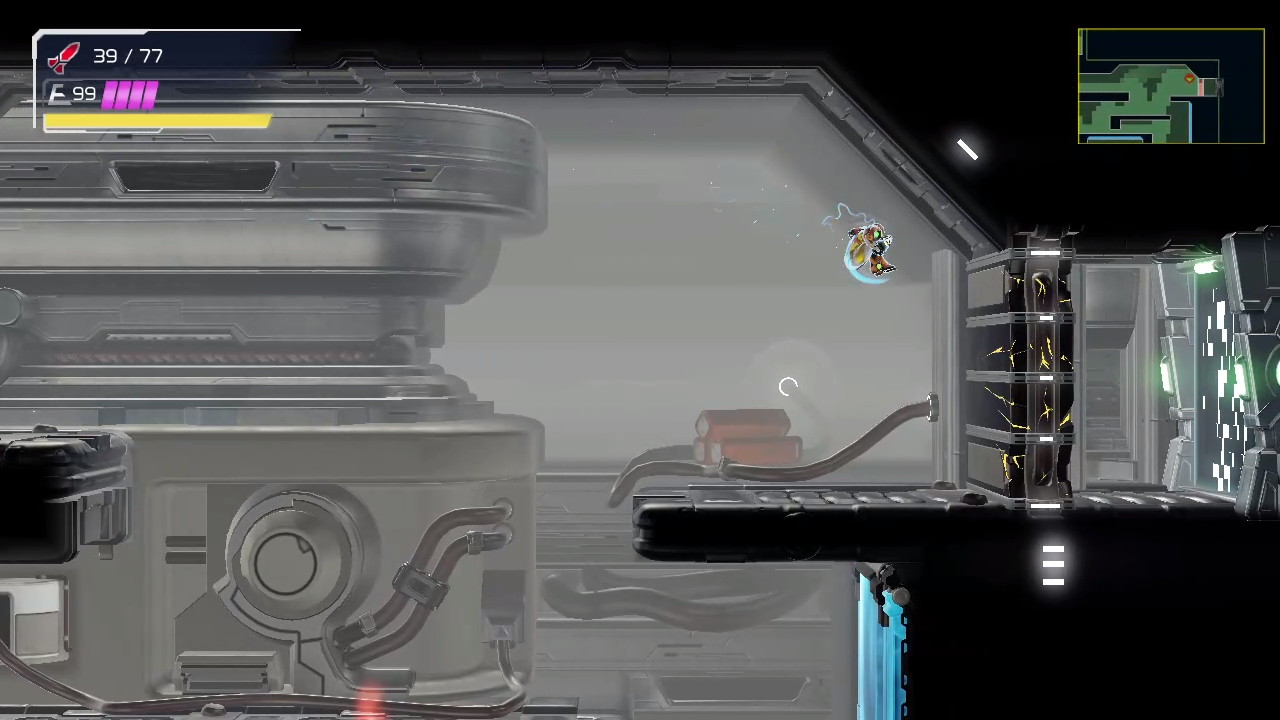
Once you’ve gotten the Missile Tank, drop a bomb beside the top left Storm missile switch and continue upwards. Get ready to boost! Activate your Speed Boost and run through the door. Keep running and when you see the end of the path, crouch and Shinespark straight up. Once you hit the top, fall back down from where you shot up and you’ll see ENERGY TANK #4 sitting on a ledge. Once you grab it, head back up top and run towards the left. Drop down and take the power beam door underneath the E.M.M.I. Zone door and continue to the next room.
Here, you’ll be able to see a missile expansion inside of a section of wall coming from the next room. Take the door directly underneath where the missile is and go left. Get to the top of this room and you’ll see a walkway just large enough for you to activate your Speed Booster. Go crashing through the wall and grab MISSILE EXPANSION #17.
From here, you’ll want to make your way all the way back to the opening room beside the Cataris elevator, buuuut making a pit stop along the way in a section of the E.M.M.I. Zone underneath an as-of-yet unexplored purple and yellow square tile. This area should be flashing white on your map, so activate your Speed Booster and head there, taking out the Speed Boost blocks on the way. Using the shutter below you as a measuring stick, walk about four or so steps to the left from the start of the shutter and shoot a missile at the ceiling. You’ll see a missile block give away. Quickly, turn into a ball, jump and lay a bomb, and then jump when the bomb is about to explode again. You’ll be shot up higher, so quickly lay another bomb at the apex of your jump, breaking the bomb blocks and allowing you get into the small tunnel above you, grabbing ENERGY PART #5. This is known as Bomb Jumping in Metroid, and luckily, its easier than ever to pull off in Metroid Dread.
Make your way to the room directly after the Cataris elevator. You’ll see some Speed Boost blocks, so get to running and Shinespark straight up in the middle of the room. You’ll break the block AND conveniently land right beside MISSILE EXPANSION #18. Drop down to your left and take the Yellow Teleportal Station into Artaria…
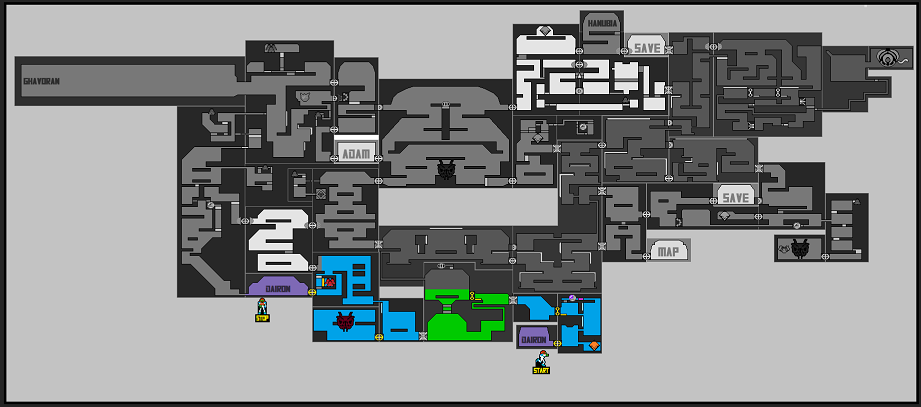
The Grapple Beam
Oooh BABY! We are back in Artaria and there is an absolute STUPID amount of missile expansions we can grab now, so buckle in, because we’re gonna do this fast and dirty. Ready?
Shoot the Spazer lock and exit the Teleportal room. Inside the E.M.M.I. Zone, head to the top platform of this room and make your way to the right, stopping when you get to the wall. Start Boosting and jump to the other side of the platform once you’re going. The ground right before the door will give away from your impact, allowing you to drop down and grab MISSILE EXPANSION #19.
Jump up and go back to the right side of this room, but this time, slide into the opening at the bottom. You’ll come out on a slope, so get ready to jump up and onto the first platform. Exit the E.M.M.I. Zone, jump up and grab MISSILE EXPANSION #20.

Keep making your way to the right of the map, getting yourself through that long tube over the fiery background and into the room with a bunch of doors we skipped past earlier since we were Varia-less. Now these rooms are fair game, so take the door on your right and climb up the spider tracks. There’s a platform up here; simply Flash Shift twice in succession and you’ll crash into MISSILE EXPANSION #21.
Exit this room and go back into the hall from before. Take the door on the left and jump up and grab the spider tracks. Carefully crawl across the ceiling; this probably goes without saying, but falling in lava = bad, so destroy all the enemies and avoid the fire shooting from the roof. Don’t get too cute, take your time, and eventually, you’ll grab MISSILE EXPANSION #22. If you want to cheat a bit, Flash Shift three times to get back – you may take a little lava damage, but it won’t be much!
From here, make your way to the Corpious room. When you get there, instead of going inside, stop and turn around, and instead head for the Save Station under you. Once you reach the door of that Save Station, drop below you and go through the Charge door there instead. Roll through and lay a bomb to grab MISSILE EXPANSION #23.
Continue on and head towards the top entrance of the E.M.M.I. Zone which housed the broken E.M.M.I. from the games tutorial. Don’t make any sudden movements, as the floor funnels you downwards if you fall. Instead, jump up and Flash Shift twice to reach the upper right side of the room. There’s a little nook for you to roll in; do so, lay a bomb, and grab MISSILE EXPANSION #24.
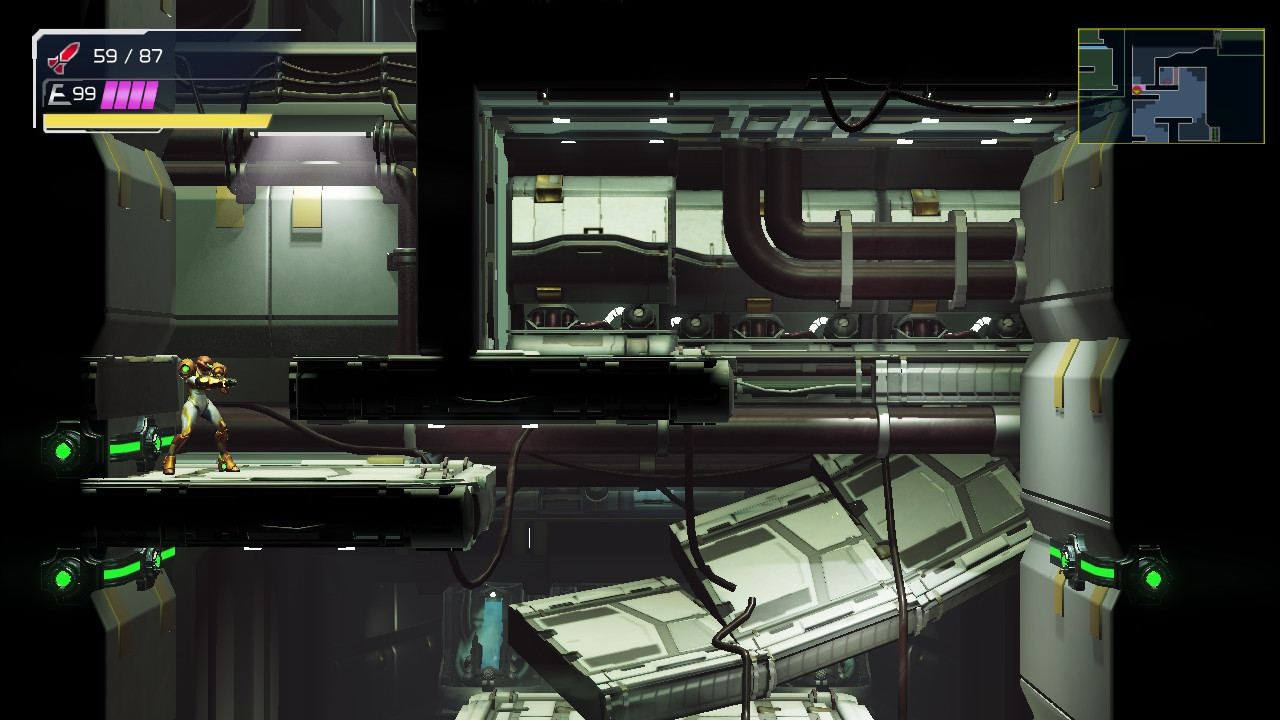
This will be a long trek, but make your way downwards towards the area you grabbed the Charge Beam in. There should be a spot on your map with an Energy Recharge Station just below the E.M.M.I. Zone – Head there. Once you arrive, jump up on the spider tracks, drop into the pool of water, and grab MISSILE EXPANSION #25.
From this room, make your way up into the E.M.M.I. Zone. Keep pressing upwards until you’re in a massive room that’s directly above the Energy Recharge Station and southeast of the Yellow Teleportal Station. You should see some spider tracks on the right hand side of the wall; climb them until you get to an open access door. Go through this door and start Speed Boosting. When you get to the end, stop and charge your Shinespark. Shoot the ledge in front of you and you’ll see a little nook open up; climb in the nook (you’ll be in Morph Ball form) and activate your Shinespark, heading left. You’ll go shooting to the left, past the door, through the giant room, and into a little tunnel where MISSILE EXPANSION #26 will be. Check out Shinespark Puzzles for a video on how this is done.
That’s it for now! Take a breather if you need and then head full circle, going back to the runway right beside the Yellow Teleportal Station room where we grabbed Missile Expansion #19. Start running in that exact same direction, but this time, don’t stop and turn around. Instead, run right out of the E.M.M.I. Zone and Shinespark straight up, bringing you to a door that will lead you to a Save Station.
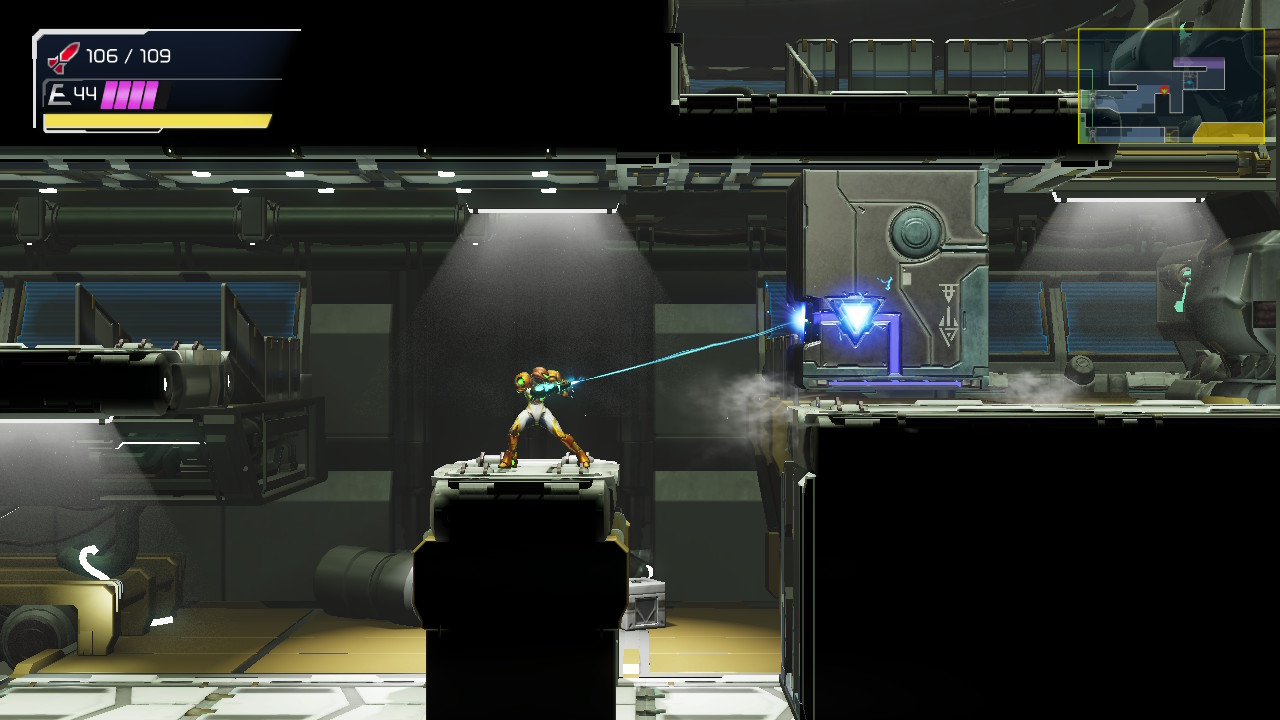
Once you’re done, exit right and then drop down. Follow the path until you get to that ever-exciting red missile door! Blast it open, shoot the Chozo Statue, and grab the GRAPPLE BEAM!
As the game will tell you, you can use the Grapple Beam in Metroid Dread not only to latch onto Grapple points, but to open specific doors, move large objects, grapple onto enemies, and pull yourself towards any spider track. Use the Grapple Beam right away, pulling the Grapple Box out of your way and then scaling upwards, using your new ability to pull yourself higher and higher using the spider tracks. Once you’ve arrived at the top, step onto the elevator back to Dairon.

The Road to Ferenia
Make your way into Dairon, and as soon as you get there, shoot the walls to the left of you. A small path will open, allowing you to Grapple up to the ceiling using the spider tracks. Shoot two missiles to the wall on your right and roll over and grab POWER BOMB EXPANSION #1! Alright!! Can’t wait to use those Power Bombs! … wait, what’s that? This item is an “unknown resource” and “cannot be used yet”??? Boooo!
Yeah, that’s pretty lame, but what are we gonna do? Press on like always, that’s what! Drop down and get to the right of the elevator. Destroy the Grapple block and ride the Morph Ball Launcher all the way to the top of Dairon. Once you’re there, step inside the E.M.M.I. Zone. Head all the way to the left of this room and take the lower door. In the new room, take the small Morph Ball tunnel and leave the E.M.M.I. Zone.
See all the Grapple hooks on the ceiling? You know what to do! Grapple over (this can be deceivingly hard, so make sure to hold on to your 360° aiming at all times) and collect MISSILE EXPANSION #27.
Exit back into the E.M.M.I. Zone and into the first room you entered in. Charge up your Speed Booster and go crashing through the blocks in the top right corner. Exit the E.M.M.I. Zone into this new room. Get the big Grapple block out of the way and hop on the elevator to Ferenia.
Quiet Robe
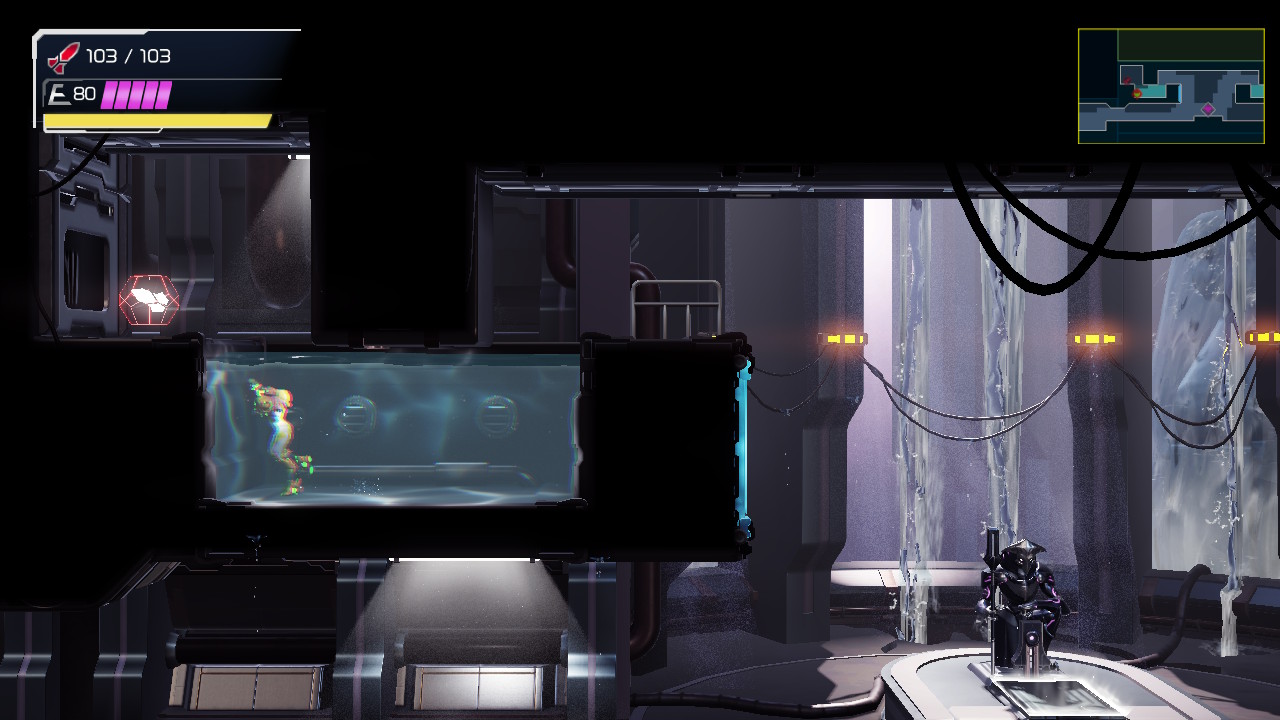
You’ll now find yourself in the Chozo city of Ferenia, although like most things on this planet, the city looks to be abandoned and in ruins. What could have happened here?
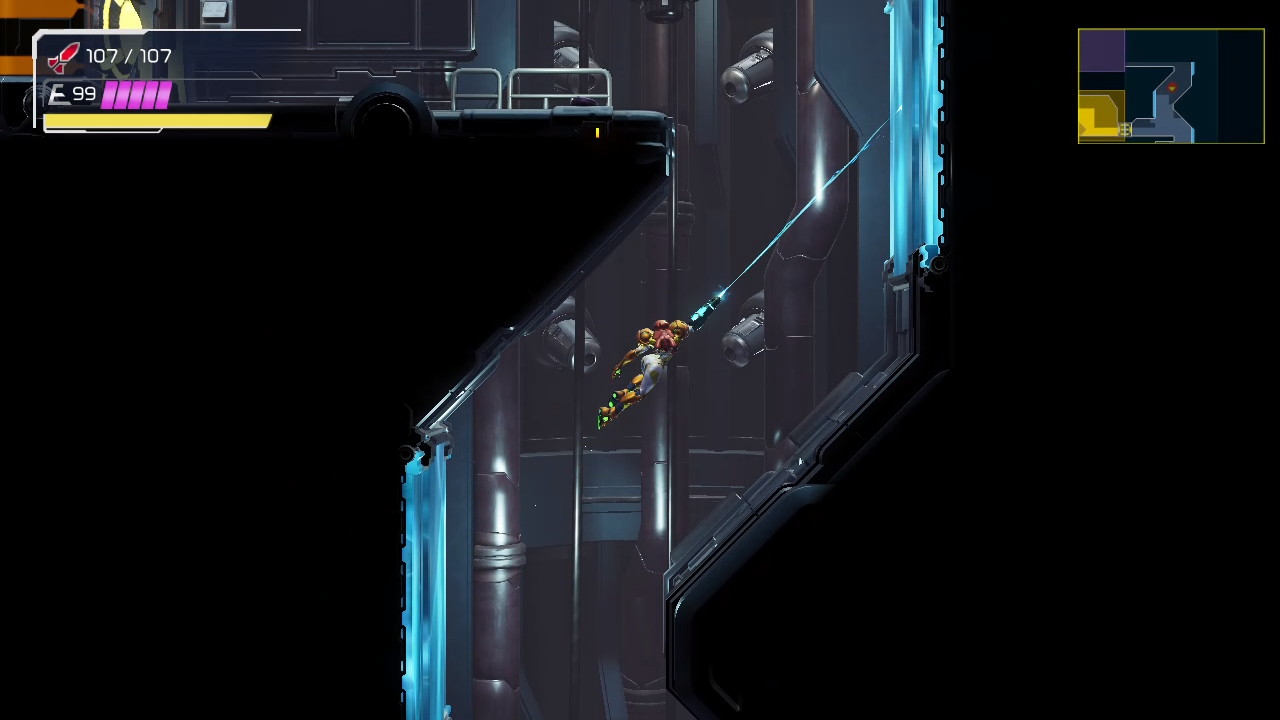
Make your way up, using your Grapple to pull you up so you can roll through the tunnel. Grapple up again; there will be two sets of spider tracks on the walls. Get to the top one, Flash Shift over to the other wall and immediately perform a wall jump. If done correctly, you should grab onto the ledge of the small tunnel. Pull yourself through, roll over and grab ENERGY PART #6.
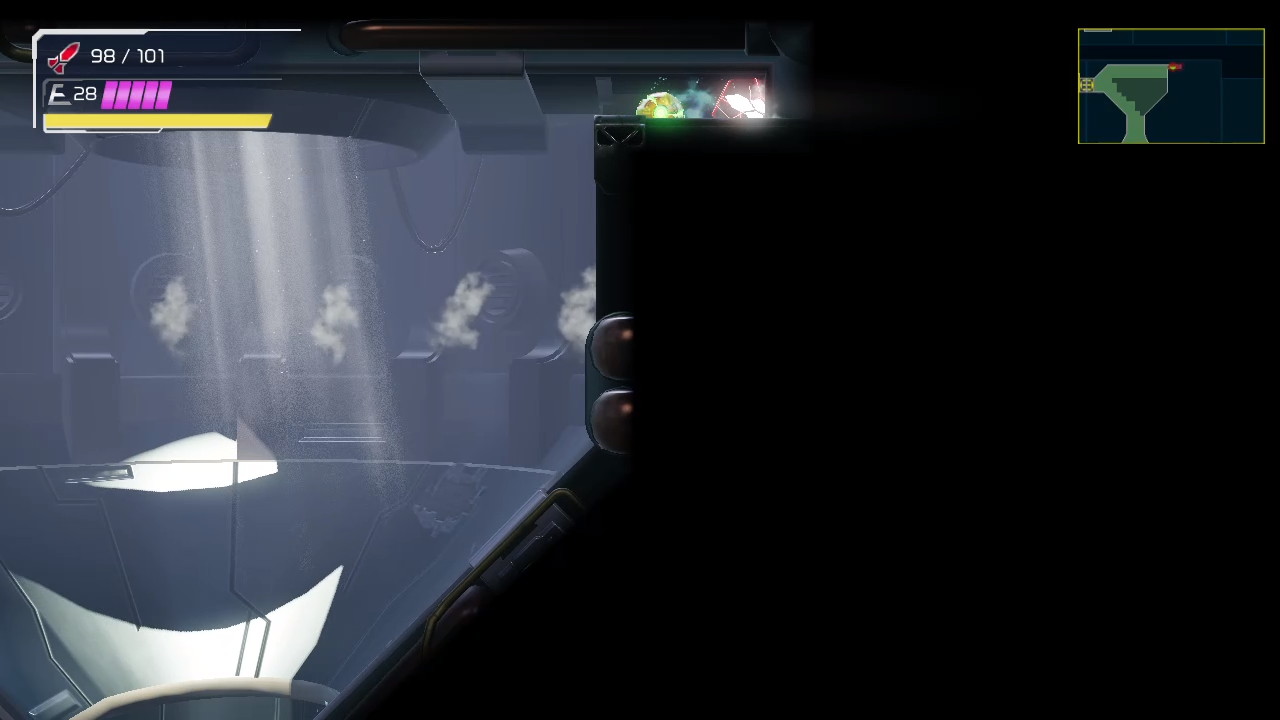
Continue over the shutter into the next room; Grapple up and into the E.M.M.I. Zone. Once you’re there, slide down.
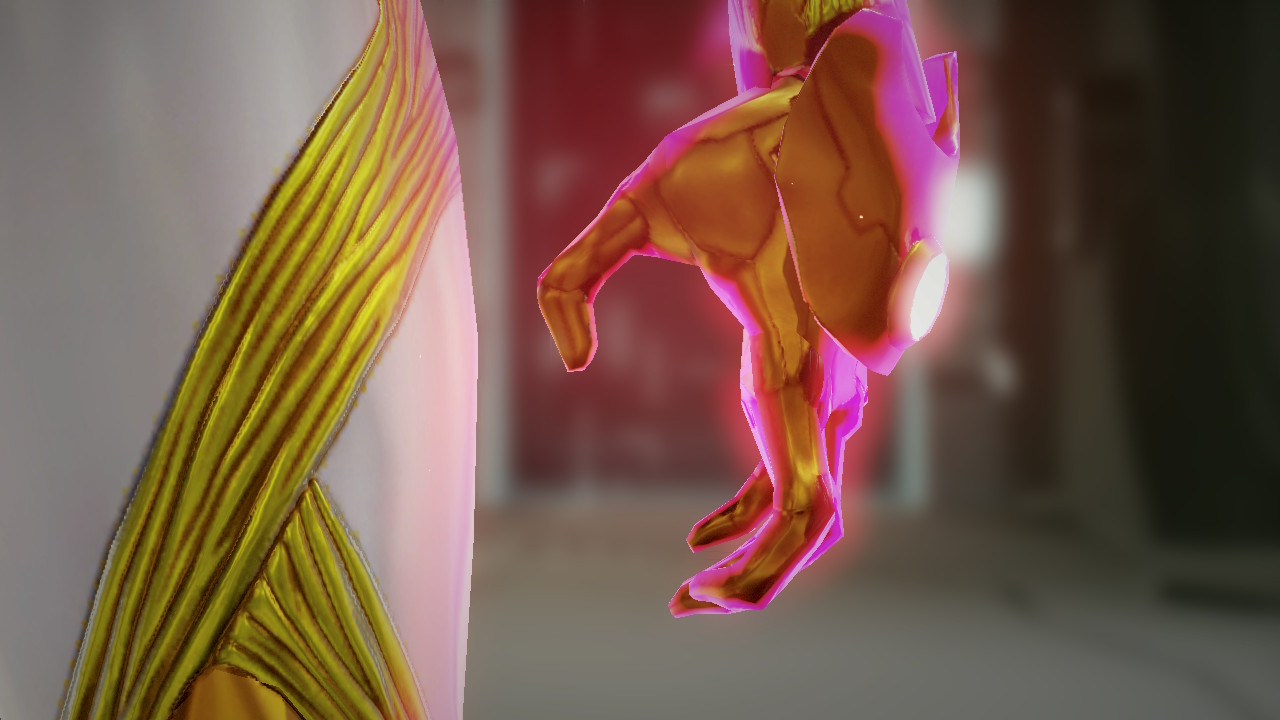
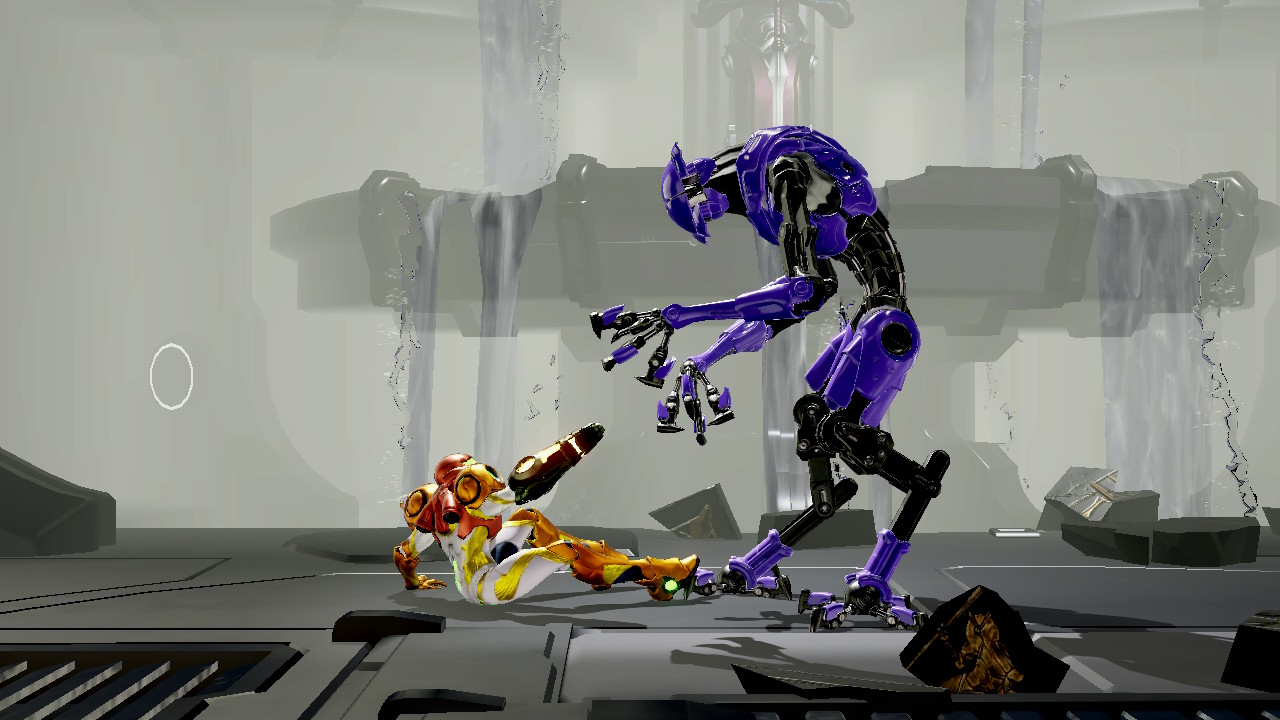
A cutscene will now trigger. Samus will drop down and check out some Chozo inscriptions depicting Raven Beak. Samus starts to have a weird reaction, but before she can fully react, a charged shot blasts through the wall and nails her right in the chest. Stunned, Samus stands up slowly, only to be confronted by a purple E.M.M.I.. Defenseless, it looks like the end for the Bounty Hunter, until a well timed save from a Chozo scientist stops all the E.M.M.I.’s from moving. Meet Quiet Robe – a living, breathing Chozo.
Quiet Robe explains that Raven Beak is a leader of a Chozo Warrior tribe called the Mawkin, who were called some time ago by another Chozo tribe, the Thoha, to help contain the Metroids on planet SR388 – Metroids which the Thoha created and control telepathically. Wanting to use these Metroids to rule the galaxy, Raven Beak instead turned on the Thoha, slaughtering them all except for Quiet Robe, intending to take the Metroids back to ZDR . Problems started to arise with this plan, as with the decreasing number of Metroids, an increasing number of X parasites appeared on SR388, including one who masqueraded as a soldier and followed Raven Beak and the Mawkin back to ZDR.
The singular X wreaked havoc on ZDR, wiping almost everyone on the planet out, save for Raven Beak, who managed to seal away the X threat. While he was doing this, however, Samus was on SR388, eradicating the last of the Metroids. With no more Metroids, Raven Beak’s plan lay in ruin… until he realized there was Metroid DNA still left in the world: in the blood of Samus Aran.

Raven Beak used the trapped X to lure both the Galactic Federation and Samus herself to ZDR. Taking control of the GF’s E.M.M.I.’s, Raven Beak programmed them to do one thing: extract the Metroid DNA from within Samus, so that his plan may yet come to fruition.
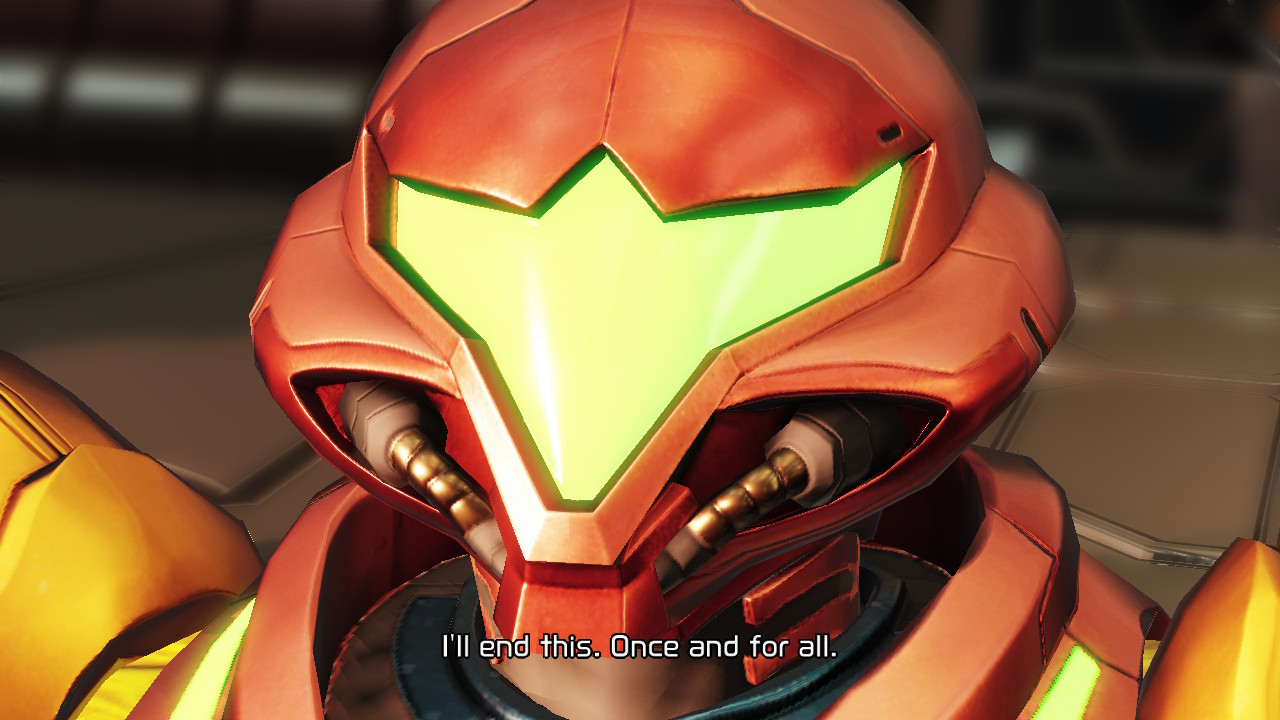
Samus pledges to finish Raven Beak once and for all as Quiet Robe releases the locks in the Lock Room in Burenia.
As fate would have it though, this union was not meant to last. Quiet Robe is shot through the chest by a robotic Chozo Warrior, killing him and triggering a boss battle.
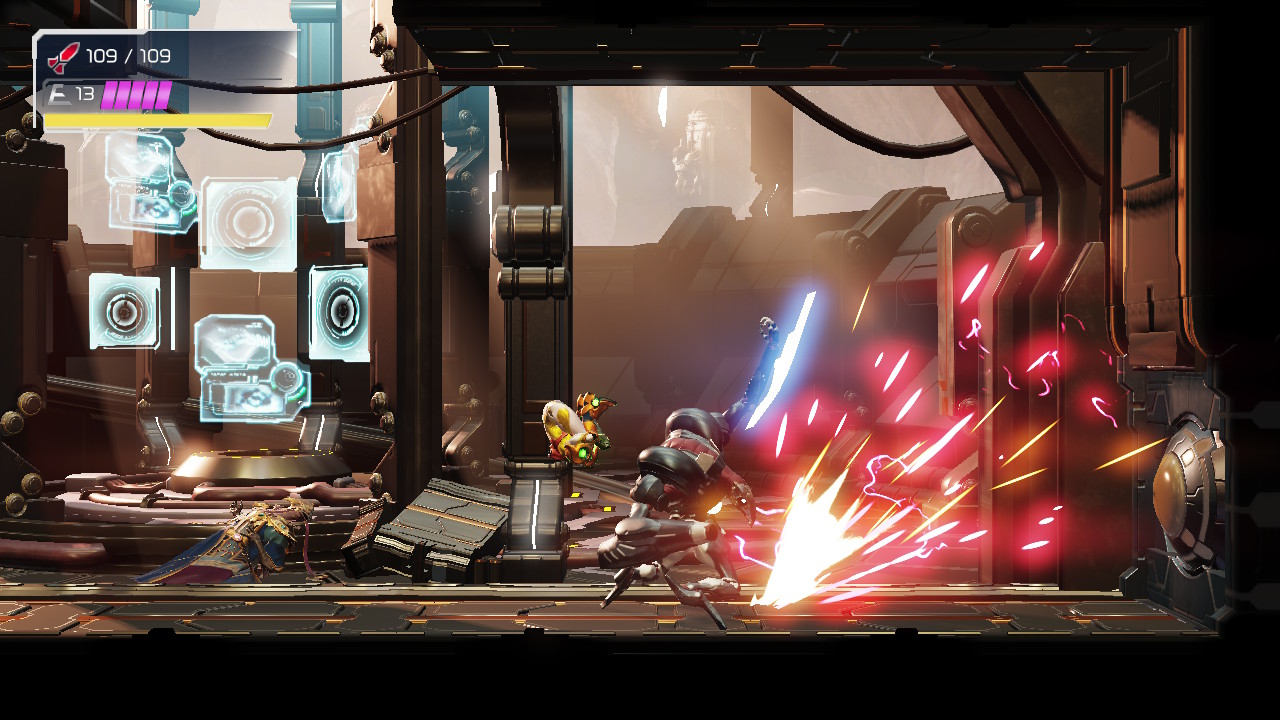
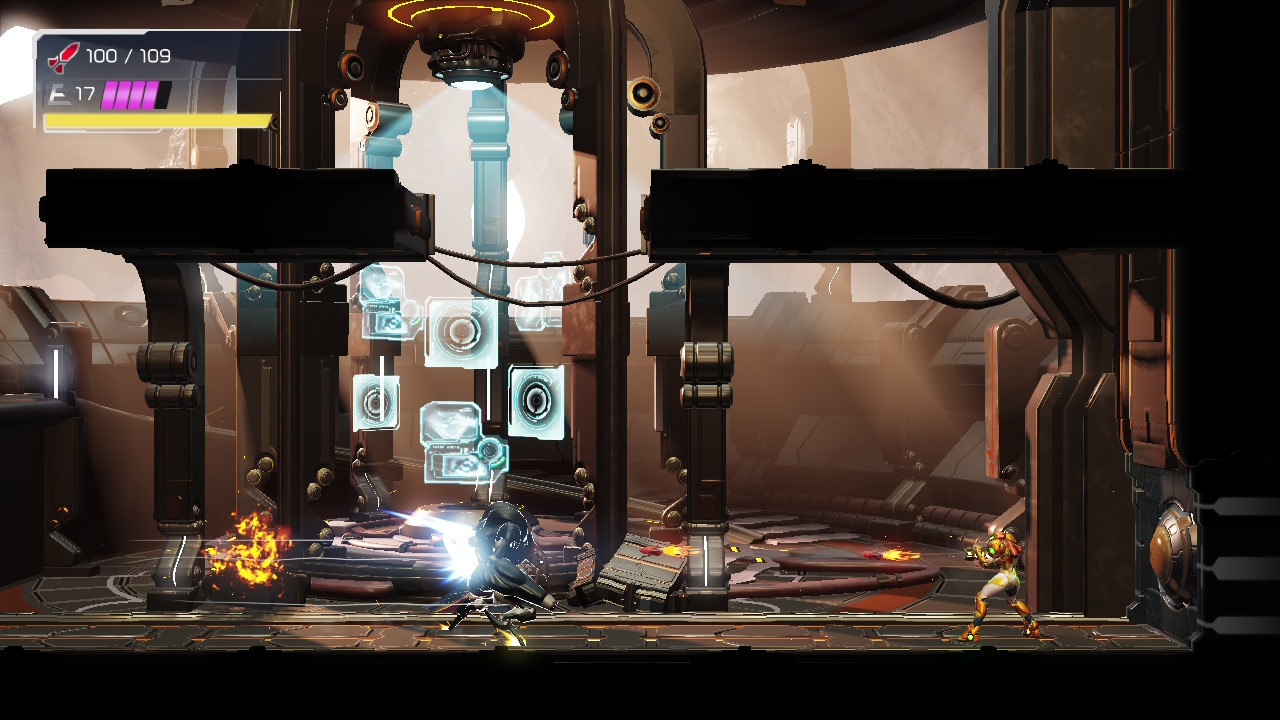
Robot Chozo Soldier
We get no rest after absorbing all of that information from the late Quiet Robe. Instead, we’ll be right in the thick of it, facing off against a pretty tough boss.
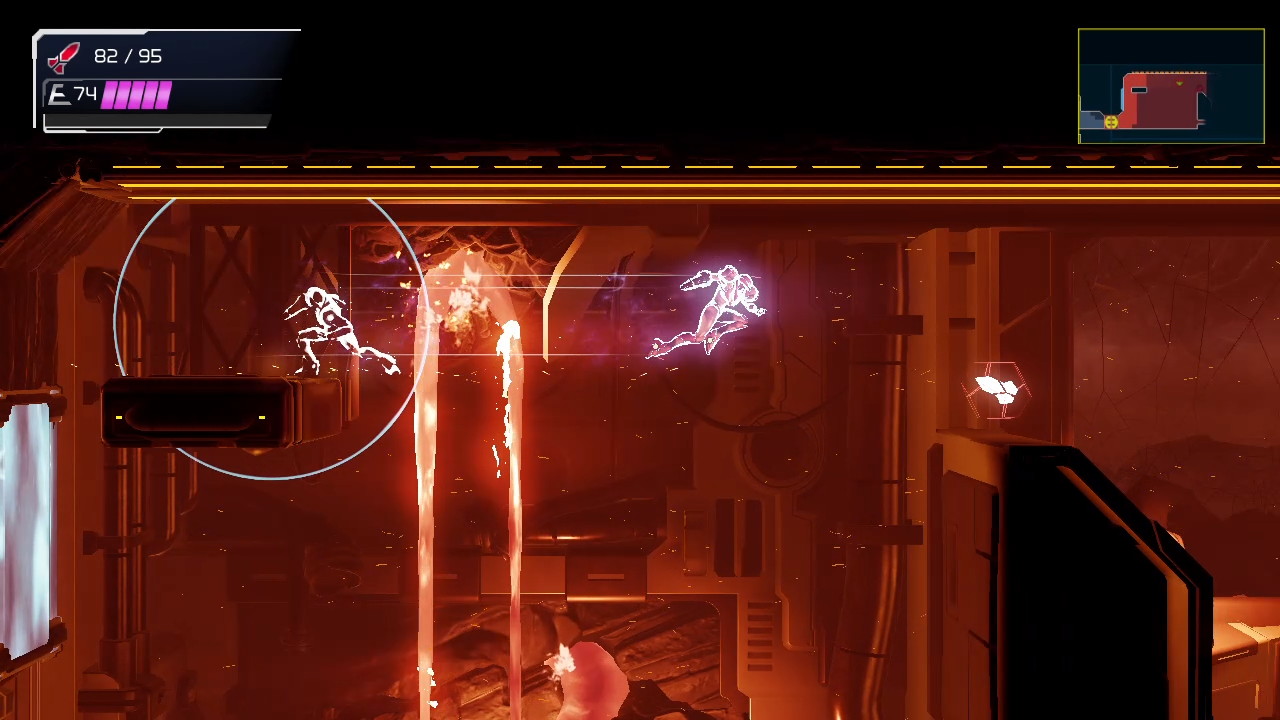
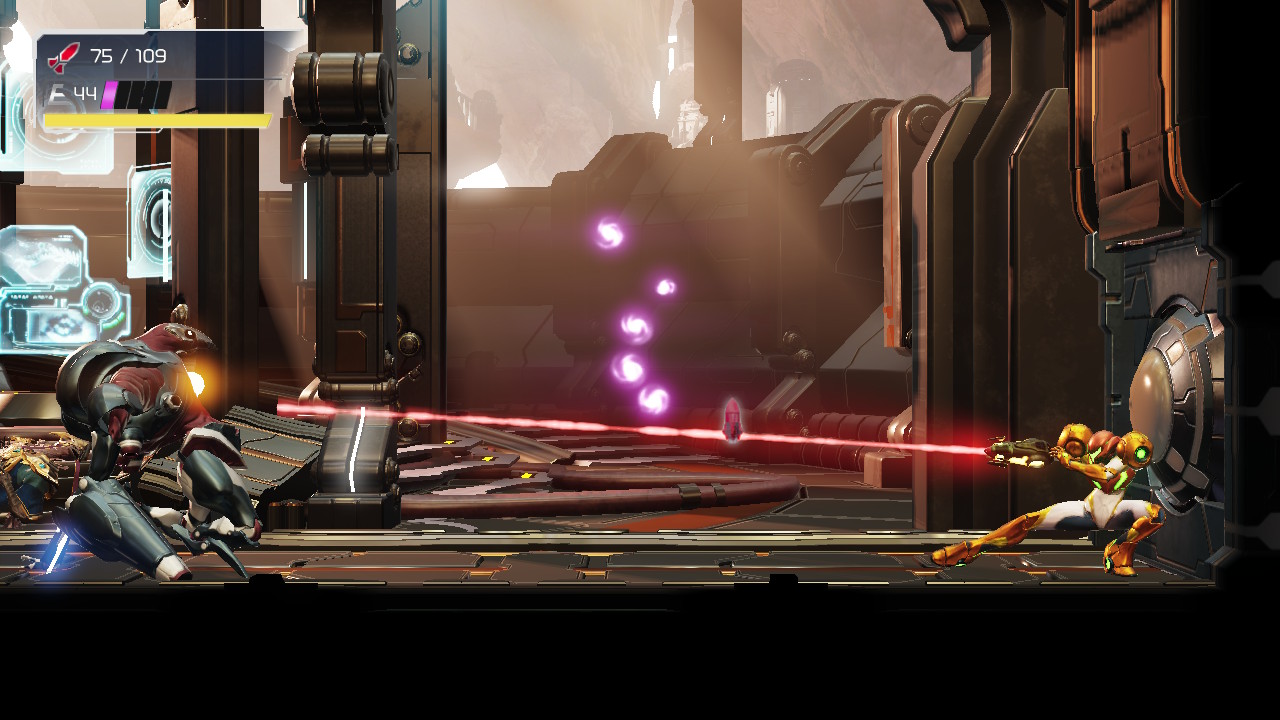
This Robot Soldier hits incredibly hard, so the key to victory will be moving fast and avoiding his fire. He has a couple standard attacks which are easy enough to dodge. He’ll charge up a laser shot and fire at you; simply jump up and over it, or jump up before he fires so that when he does launch, the shot goes above your head.
He’ll also fire off three quick shots, spaced out at a pretty decent pace. Do the same thing here, either jump over them (you’ll need two jumps at least to clear all three), or lazily jump up before he fires, sending the first two shots above your head, making for an easy jump over the last shot.
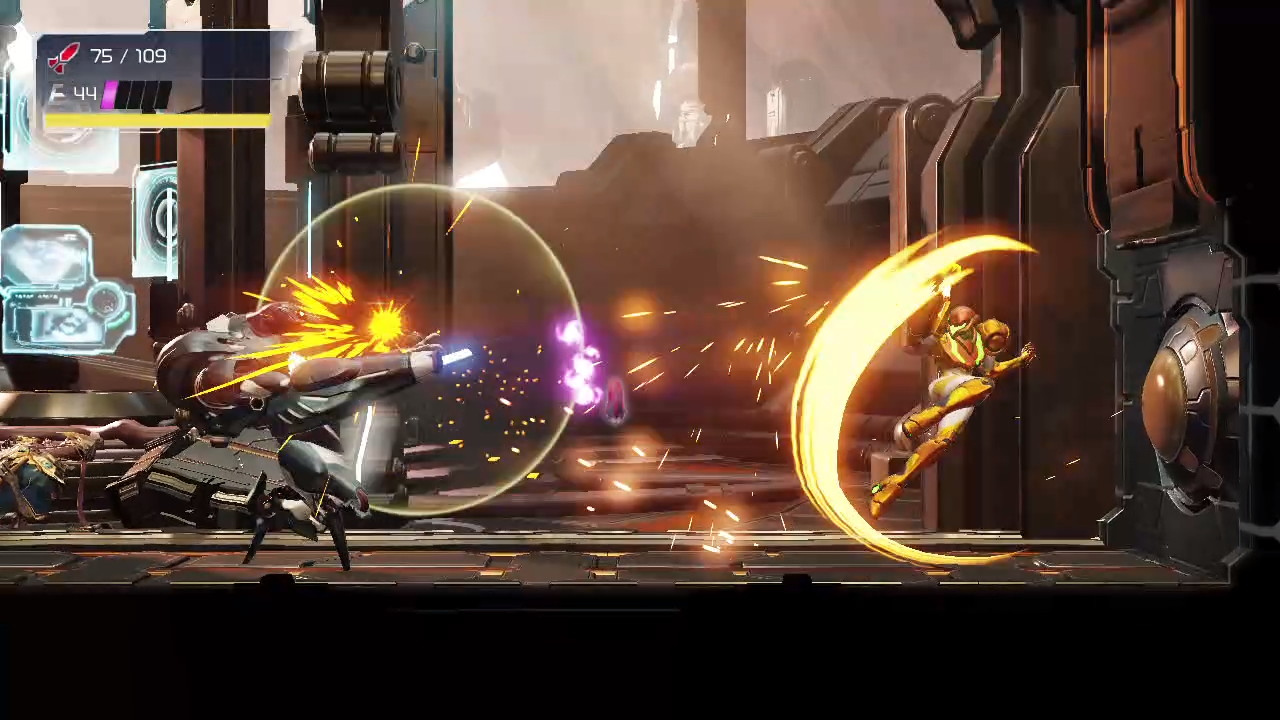
His next two attacks are infinitely more damaging and harder to avoid. You’ll see him cock his shield back and have it start grinding against the ground. If the sparks from this are red, GET OUT OF THE WAY! This attack is essentially unavoidable and un-counterable, so just dodge it, either by getting onto another platform or by jumping as high as you can and flash shifting over him. The Flash Shift method can be dangerous since the hit box for this attack is so big.
Luckily, however, if you see him charging up his attack and the sparks are white, GET READY TO COUNTER! This will be your biggest opening in the entire fight if you can counter this. The Robot will be stunned and just have his chest pointing right at you, which you should be unloading missiles into.
Damaging the Robot Chozo is straightforward enough. Either missiles or charged shots will do the trick, so if you can keep avoiding his attacks and peppering him with missiles, he should soon fall. Sweet revenge for our dear Quiet Robe!
Next Chapter: The Mystery of Elun