


Metroid Fusion Walkthrough – Sector 2: Overgrown With Vegetation
Walkthrough
- Biological Space Labs
- Sector 1 – Atmospheric Interference
- Sector 2 – Unknown Saboteur
- Sector 4 – Ultra-High Speed
- Sector 3 – Rogue Security
- Sector 6 – Frozen Parasites
- Sector 5 – Cold Arsenal
- Sector 3 – Meltdown
- Habitation Deck – Signs of Life
- Sector 5 – First Encounter
- Main Deck – Power Failure
- Sector 2 – Overgrown With Vegetation
- Sector 5 – The Nightmare Awakens
- Sector 4 – Diffusion
- Sector 6 – Revelations
- Sector 1 – Neo Ridley’s Cry
- Sweeping the B.S.L.
- The Final Confrontation
SA-X Encounter #2
Adam will tell you that while auxiliary power got the Save Stations and Recharge Rooms working, everything else is still malfunctioning and will be until the main silo is back up. We’ll need to find the source of the vegetation ourselves.
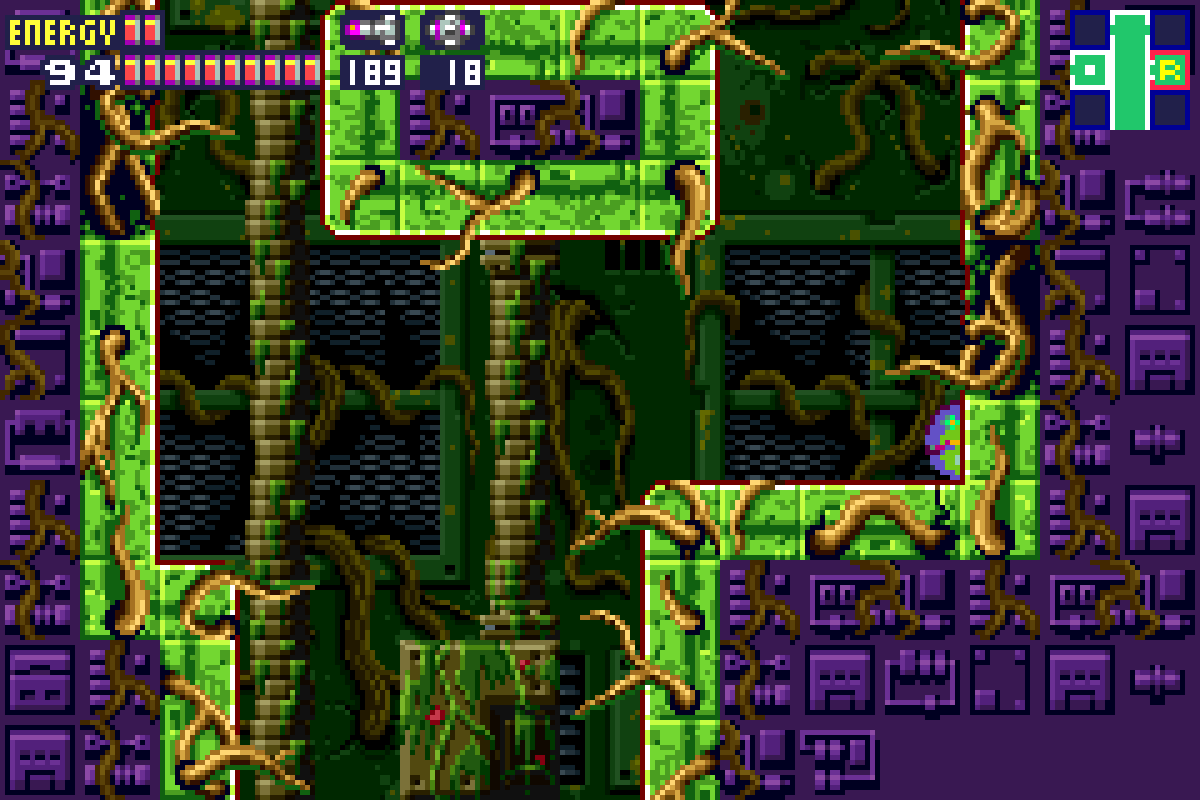
Exit into the Central Reactor Core and drop down to use the Save Station. This room is now crawling with bugs that hit pretty hard, so don’t be shy about using Power Bombs to clear out the room. If you Space Jump up to the upper leftcorner of the room, you’ll notice a small tunnel underneath the platform the top right door is on. This tunnel has some vegetation covering the entrance, but lay a Power Bomb in midair and get rid of it. Continue on and bomb away the rest of the vegetation.
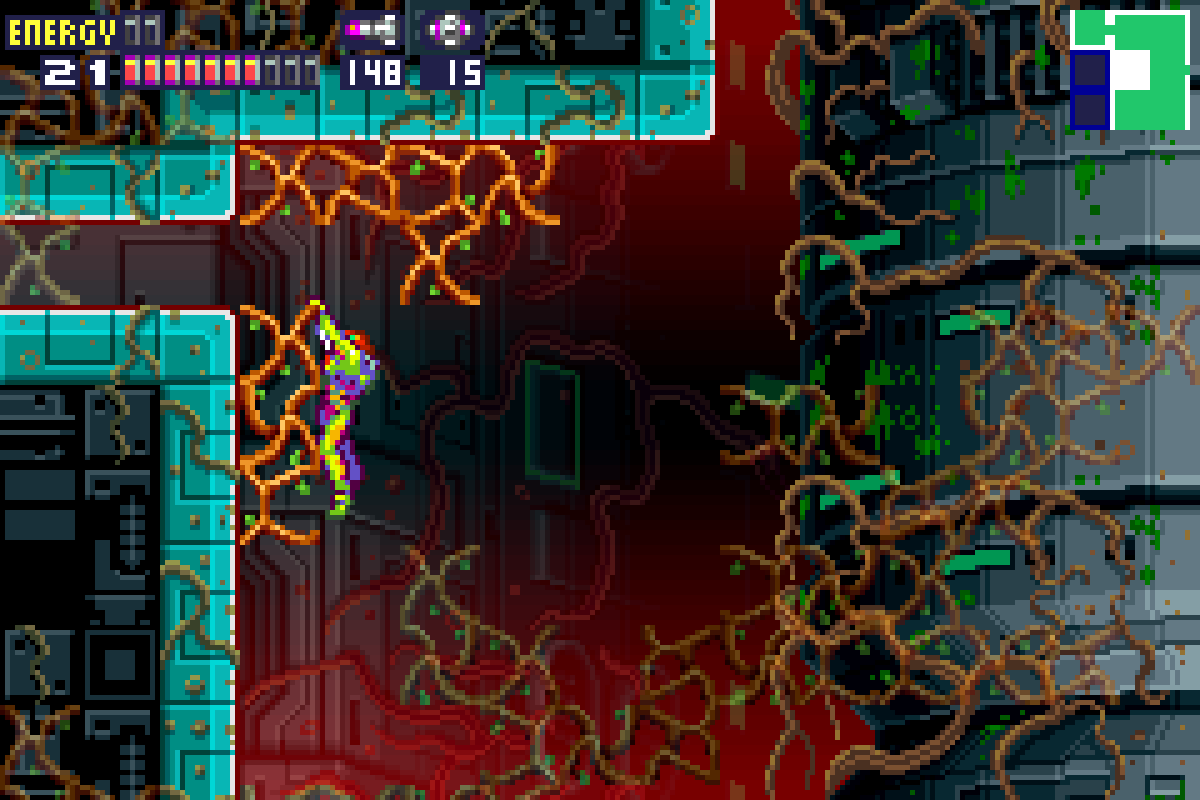
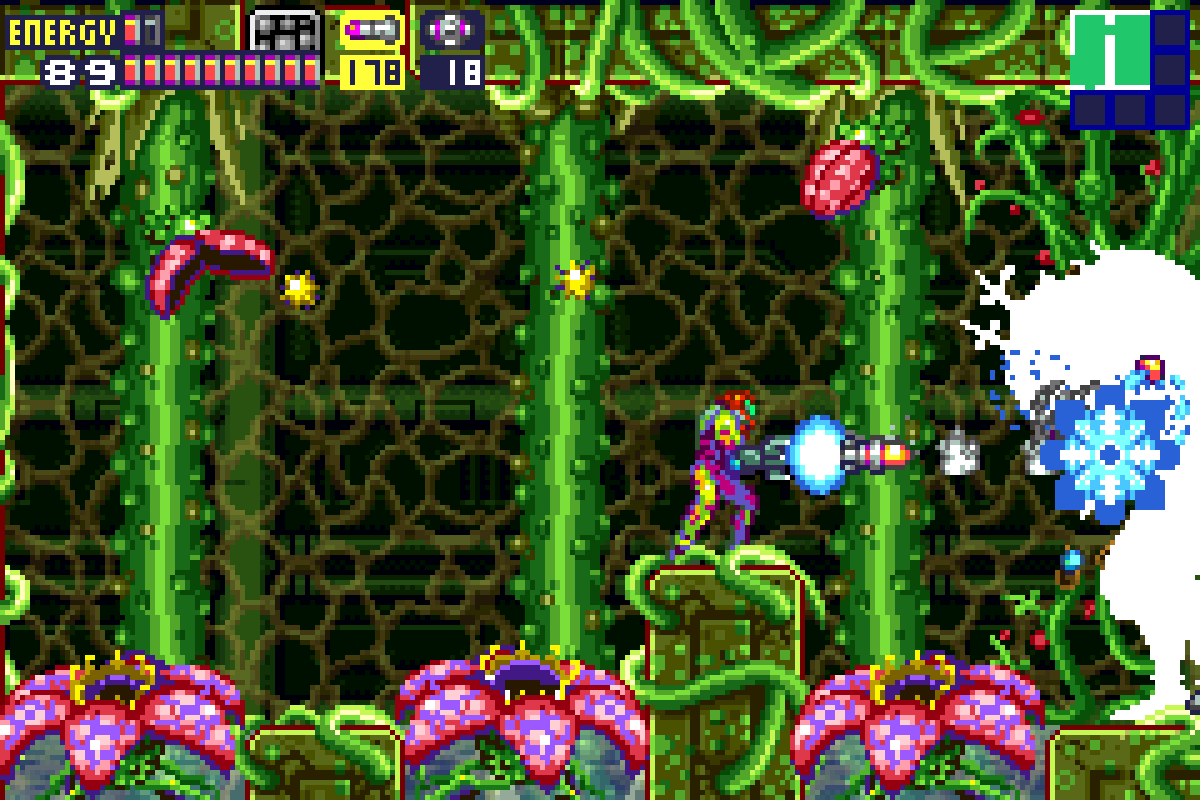
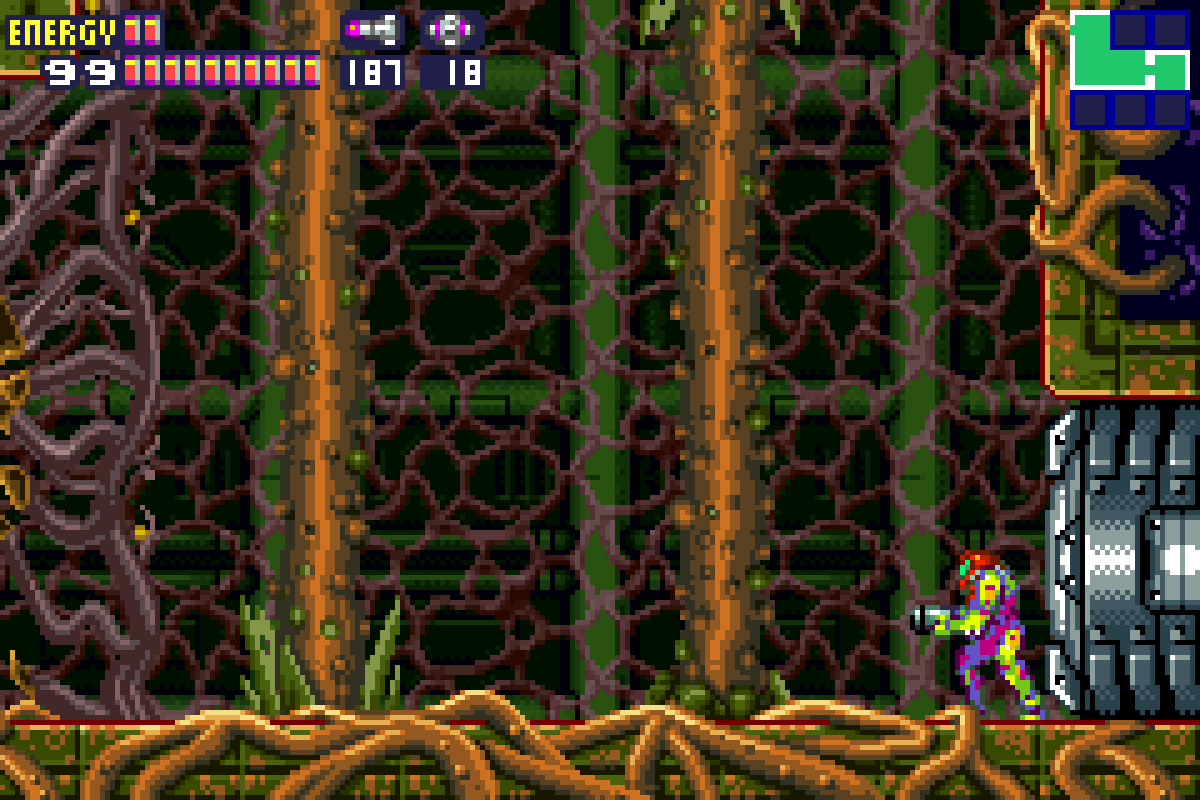
You’ll end up in Sector 2, and hear those oh-so-familiar footsteps. Now is the time for courage, because once again, there is no avoiding the SA-X. We have to confront it and get past it. Get your Ice Missiles ready.
Drop down and immediately freeze the SA-X. It will probably be pretty hard to avoid taking a hit when you land; you can try and time it to where you think the SA-X will be furthest away, but even then, you need to draw its attention away from the door so you yourself can proceed through the door. Not saying you can’t avoid being hit, but just saying that if the SA-X hits you, don’t panic, just make sure you freeze it before it can hit you again. Worth noting: getting hit will take away two Energy Tanks.

Now, your instinct is probably telling you to freeze and run as quick as you can, but just like the tortoise and the hare, slow and steady is going to win the day here.
When you hit the SA-X with an Ice Missile, it will be frozen for about a second and a half. However, if you hit it while it’s frozen with a new Ice Missile, that restarts the count. The trick is to always make sure that the SA-X is frozen. Hit it, jump over it if you need to, turn around and freeze it again. Take a step or two, turn around and hit it. Rinse and repeat to get through the first door.
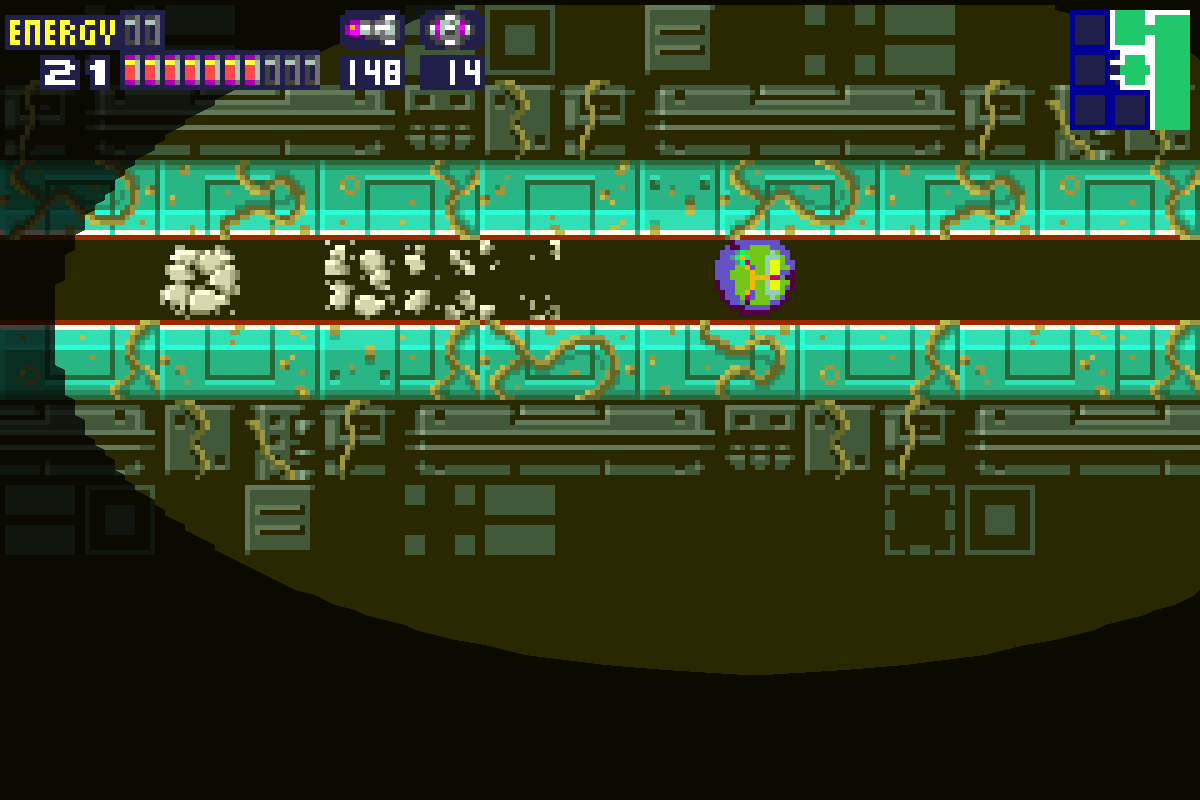
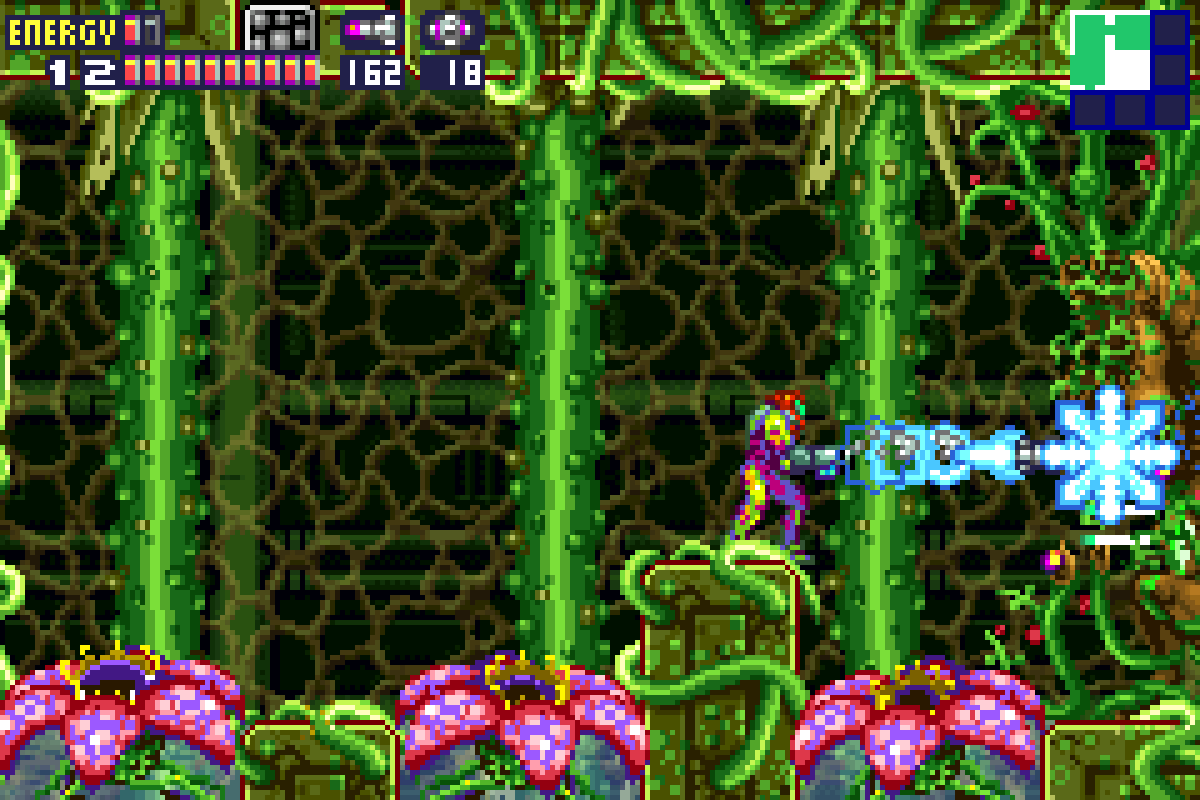
As soon as you get into the second room, just start firing Missiles at the doorway. You’ve got about a second before the SA-X gets in, but we don’t want to chance anything. Once you can hear that you’ve frozen it, lay a Power Bomb and immediately get up and hit the SA-X with another Missile before it thaws. The bomb will blow up the wall behind you; just keep bombarding the SA-X with Missiles until the wall gives away. Once the wall is gone, make a run for it and head towards the door. There’s enough obstacles in the way to ensure that the SA-X doesn’t get off many clear shots at you, and if it does sneak one off, it should be easy enough to jump over.
Get to room three and do the exact same thing as last time, blast the door entrance with Missiles until you can hear you’ve frozen the SA-X. Keep firing and move back slowly until you’re under the switch for the gate. Hit the SA-X with a Missile, aim up and shoot the gate switch, and immediately hit the SA-X with more Missiles. Repeat this for the second gate switch. Take your time moving back and just keep pelting the SA-X with a steady stream of Missiles. Once you’re through the second gate, quickly jump up and shoot the third gate lock and then run like hell through the door.
Once you get to this room, jump up and grab the ledge and hide behind the pillar. The SA-X will come in and leave. You’ve lost it for now. Congratulations: you’ve survived the SA-X.
Infestation
Whew. Now that that’s over, head back into the three gate room and bomb the floor. You’ll see a brick that needs a Missile to destroy it; oblige it and drop down.
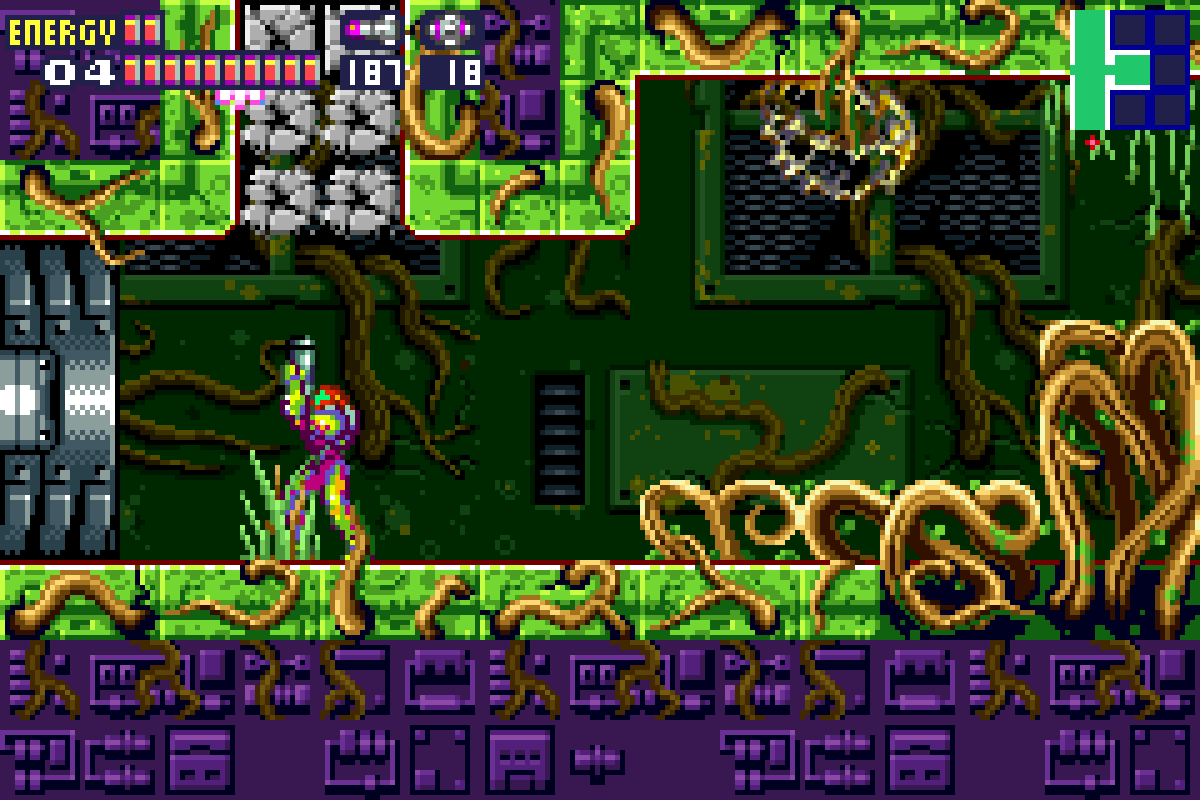
You’ll be in another room with a bunch of bugs and vegetation. Go up to the upper ledge and lay a power bomb. You should see the floor below you give away; drop down and take the door on your left, opposite the door you walked in from.
As awesome as that Save Station would be directly below you, the doors are still non-functional, so instead continue forward and you’ll be in a steely part of Sector 2 not infested with dead plants.
Space Jump to the top of this room; on your way up you’ll see a couple columns. Lay a Power Bomb in midair the walls will give away, allowing you to pop inside and grab POWER BOMB EXPANSION #4.
Keep jumping until you get to the top of this room and take the door on your right. Mercifully, you’ll finally be at a Save Station, so do your business and continue on.
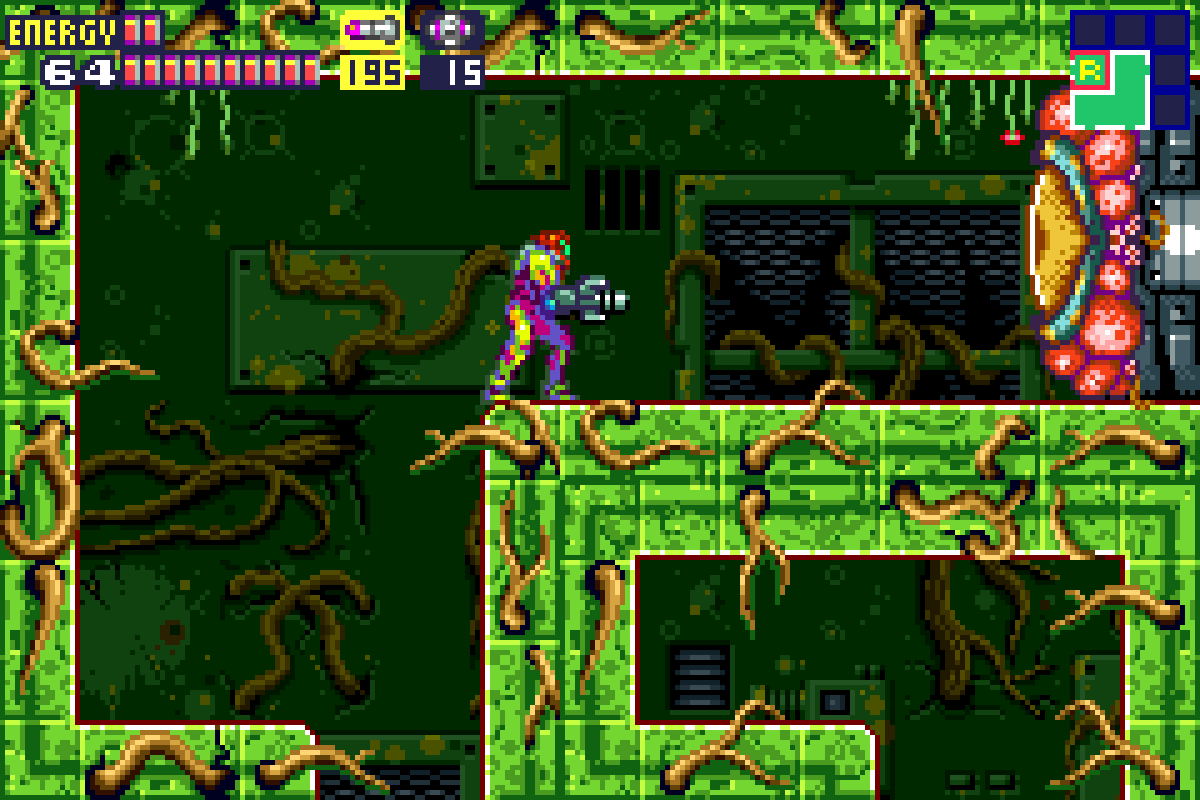
Head straight right and go through the door (NOTE: If you want, you can head upwards and you’ll find an invisible tunnel up above that you can roll into a Recharge Room from. You can go up if you want, but with the enemies and whatnot in the way, you might be better off just getting the red X from the Gadora coming up here in a sec. Choice is yours). You’ll be in a longer room now; if you look at the ceiling, you’ll see some bricks that look like they don’t belong. Shoot them out and jump up. Avoid the bugs and vegetation and press on and eventually you’ll see a Gadora. Seems kind of bogus to have to face a boss so soon after messing with the SA-X, but that’s life. Get ready and enter the door.
Nettori-X
This will be an odd battle. You’ll land on a platform and be face to face (kind of) with Nettori, a Chozo Statue-esq entity that is wrapped in vegetation and presumably the source of the power loss at B.S.L. Station. Nettori is actually a stationary boss that won’t attack you at all during his first phase, but don’t get overconfident. It is VERY easy to die in this battle if you don’t know what you’re doing.
To set the stage, there are two platforms in this room, and the rest of the ground consists of water and these awful Venus fly trap like flowers that will gobble you up if you fall off either platform. Chances are pretty good that you won’t even land on the platform to start the battle, you’ll just fall into the flowers. DON’T PANIC. Your first instinct will be to mash the jump button and try to get the heck out of the flower’s grasp. This will make you just stay in place! Think of it like quicksand; if you fall in, the more you struggle, the more you sink. Instead, if/when you are knocked off and get caught by the flowers, jump once and hold down the jump button. You can very easily die here if you do not do this! Trust me, I’m speaking from a lot of experience -_-
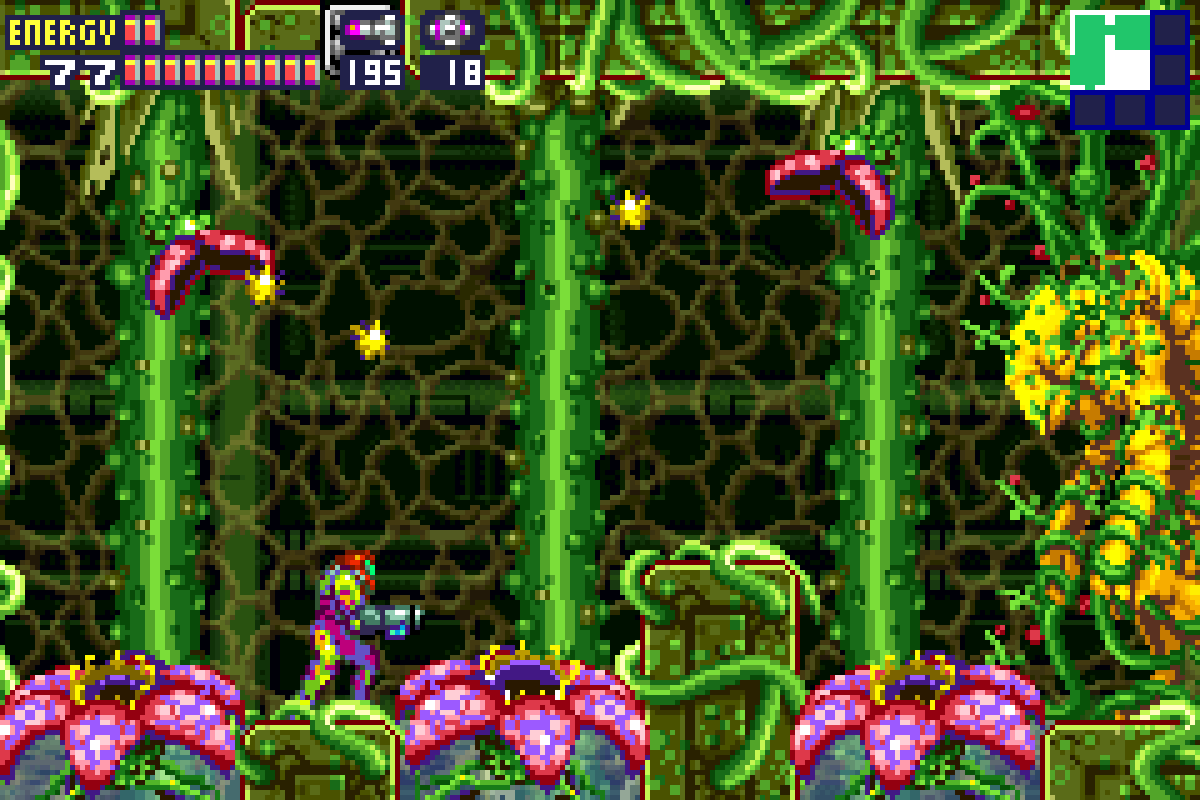
Now, like I said, in Nettori’s first phase, he himself will not damage you, but these flowers sure will. Add on top of that there are some different flowers in the ceiling area that drop spores at you. The spores don’t do very much damage, but they will knock you off balance, making it pretty easy for you to fall off the platform. The flowers spitting the spores can’t be destroyed unfortunately, but the spores themselves can. You can either shoot them with beams or charge up a shot, hold it, and jump into them to destroy them. They don’t drop anything, which is too bad, but not having them in your face will be nice.
That being said, I think my advice here would be to ignore the spores as best as you can. They’ll be falling in such a chaotic pattern and they do so little damage, I would recommend taking whatever damage they give you and trying your best to keep your fitting in exchange for quickly unloading Missiles into Nettori. Like I mentioned, Nettrori doesn’t attack you directly yet, but he is standing there and completely vulnerable to your weapons, so I would stand on the higher platform and unload on him with Missiles as quickly as you can. Give it about 20 Missiles or so and you’ll end the first phase.
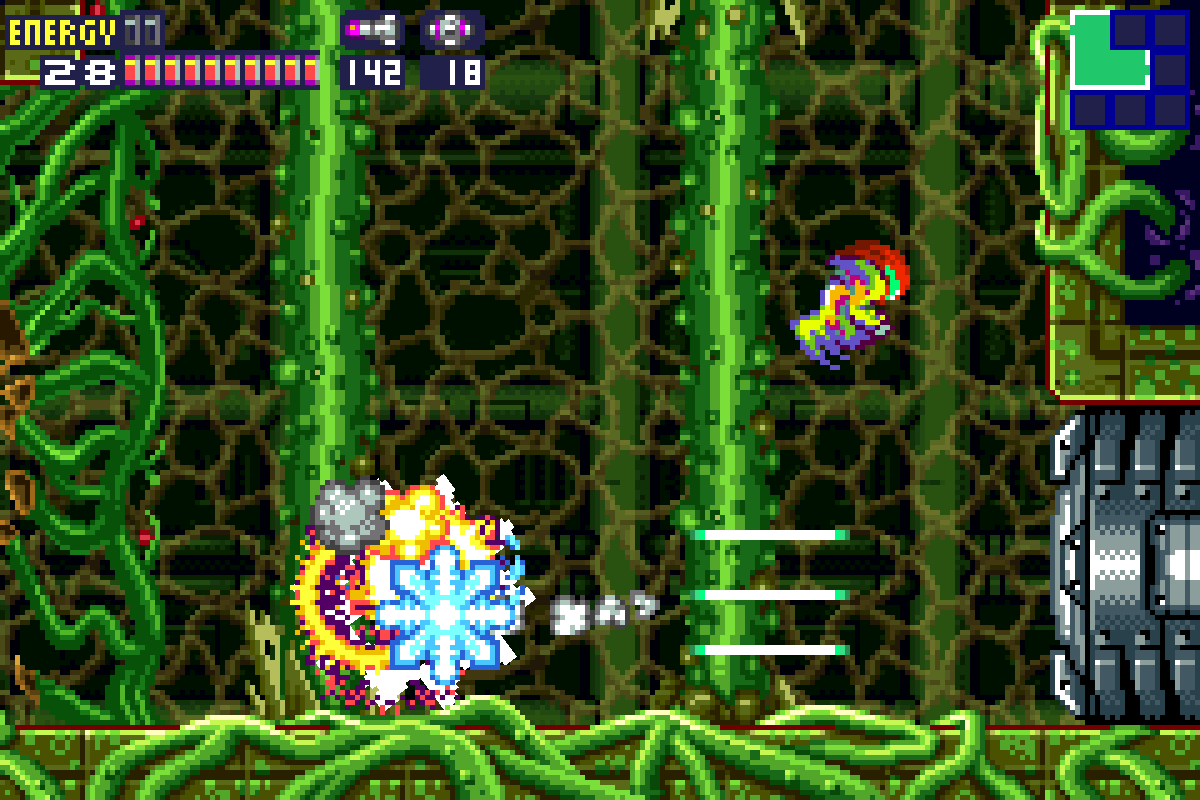
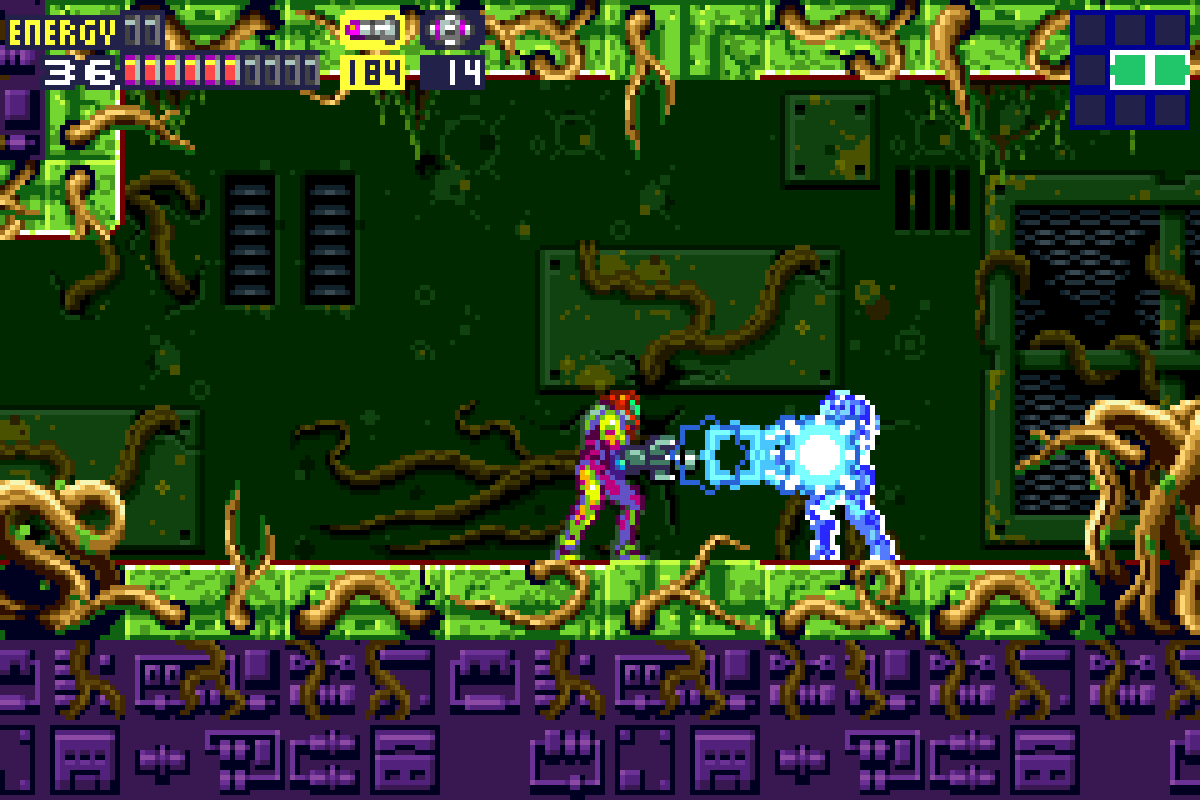
The second phase of this battle has Nettori actually attacking you, but thankfully, his attacks are super easy to avoid. Nettori will start shooting plasma beams at you; he’ll either fire a beam towards your torso, or towards your legs. This is pretty easy; if he fires at your torso, just crouch and fire Missiles at him; if he fires towards your legs, just jump over the beams and keep firing Missiles at him. Note that if you fire a Missile and it hits Nettori’s beam as it’s about to fire, the Missile will bounce away.
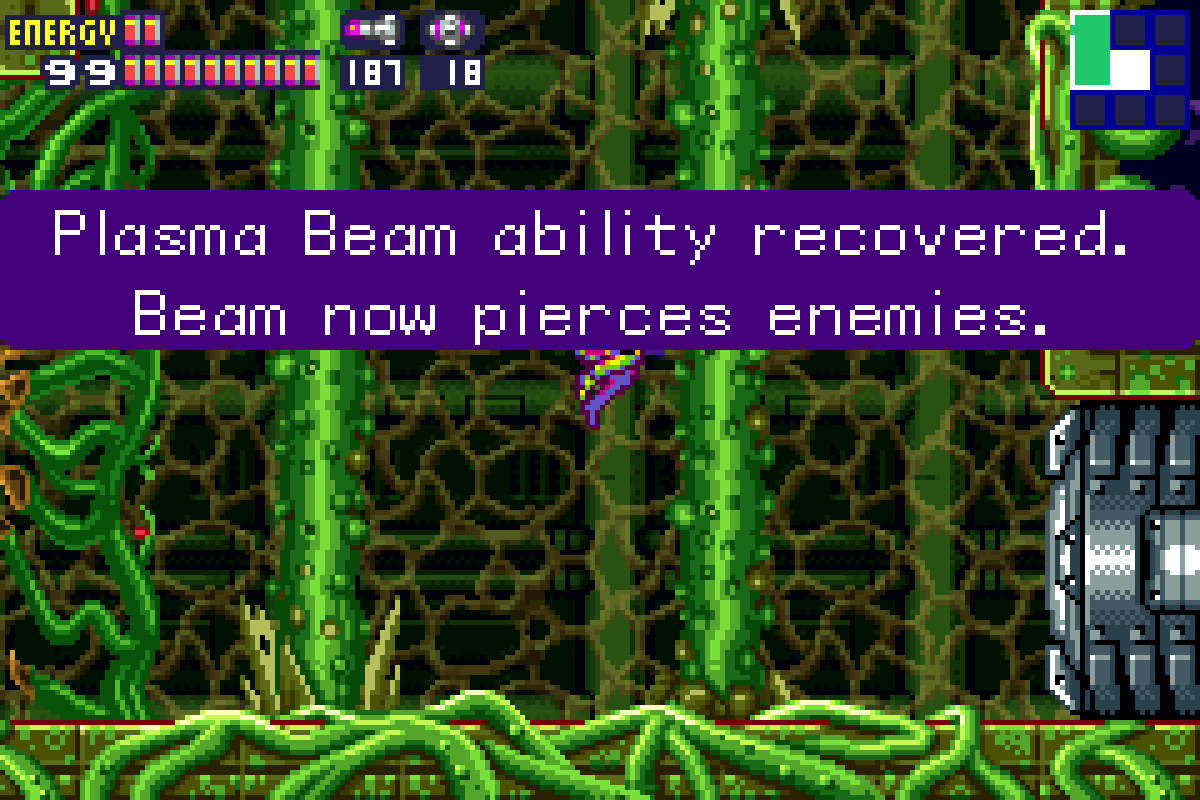
Feed Nettori about 25-ish more Missiles and you’ll see him turn crimson red and eventually explode. Deal with the Core-X (this one shoots the same beams, so be careful) and you’ll have the PLASMA BEAM as your reward!
Leaving Sector 2
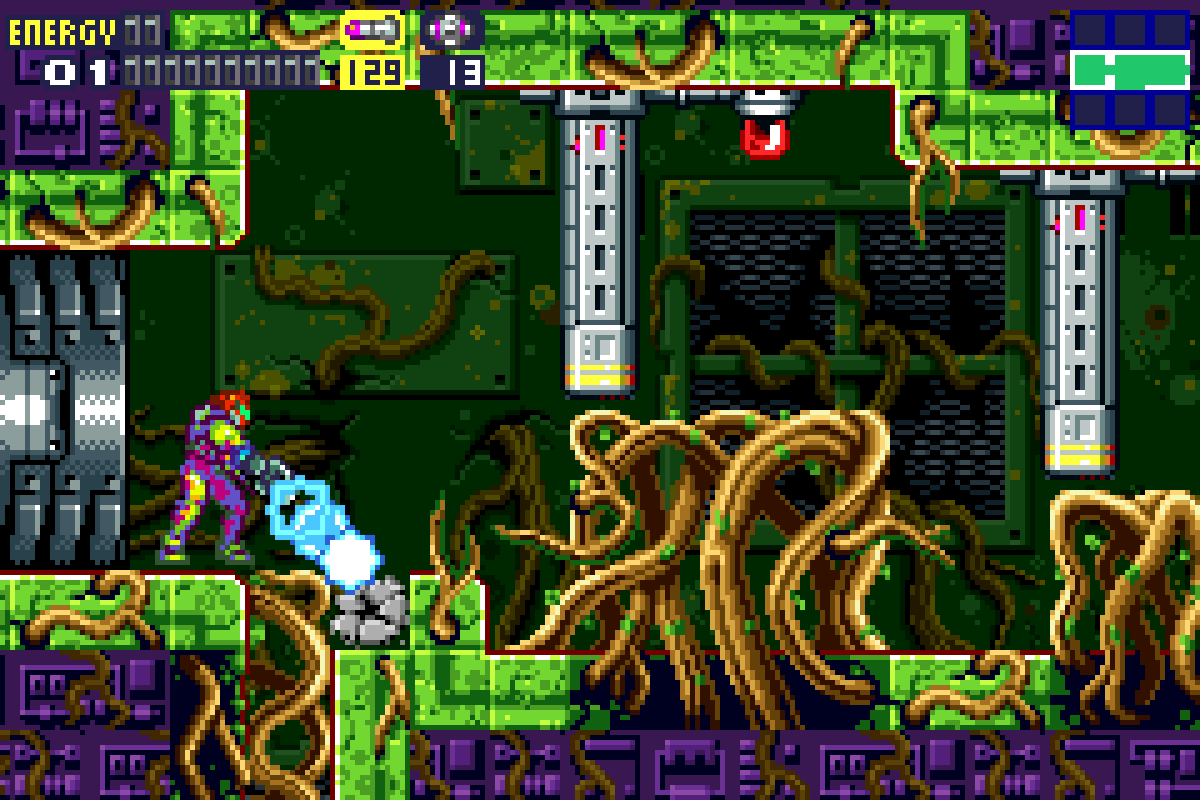
Continue on from Nettori’s room (which by the way, if you leave and immediately come back, the room is all brown and autumn looking – very cool) and drop down past all the Kihunters. Enter the now functional doorway (woo!) and continue left. Right before the Save Room, in the same hallway we passed earlier, make your way upwards. When you get to the top, you’ll see doors to your right and left. Take the door to your right first. Take out all the Owtches and jump towards the far wall. As you’re falling, you should grab an invisible ledge halfway through. Roll over into the second hidden room and get over the right side. Lay a Power Bomb and you’ll see ENERGY TANK # 13 hidden in the pillar. Grab it and exit the room.
Go through the left door now and follow the pathway; you’ll find yourself back in the “main” room of Sector 2. There’s an expansion we can grab here, but for the sake of not running around everywhere a million times, let’s leave it for now and come back when we have all our abilities so we can sweep the board. For now, head up to the Navigation Room and talk to Adam.
Next Chapter: Sector 5 – The Nightmare Awakens