


Metroid Dread Walkthrough – ZDR’s Secrets
Walkthrough
Note: the entirety of this chapter is optional. If you want to fight Raven Beak, go ahead. If not, keep reading below.
We’re finally ready for the final showdown, but let’s not be too hasty. Right now, if you’ve followed this guide, you should be at 65% item completion. I don’t know about you, but I’m greedy and want everything, so we’re gonna go for the full 100%. Not only is it satisfying, but the extra ammunition and health will come in handy against Raven Beak. With that in mind, let’s start sweeping the planet for everything it’s hiding.
It’s worth noting: we’re gonna be doing this hard and fast. No routes, no room-by-room guides. I think you’re at the point where you can get yourself where you need to be for the most part. Keeping this in mind, if you’re ever feeling lost, the Missile Expansions page also has a lot of this information as well as pictures, points on the map, and all that good stuff, so check that out if you need to. As an added bonus, if you want to get around faster, quickly head to Itorash and back. Doing so will allow you to freely warp between Teleportals, so instead of them taking you to the designated color, they’ll take you to any Teleportal Station.
Let’s get started.
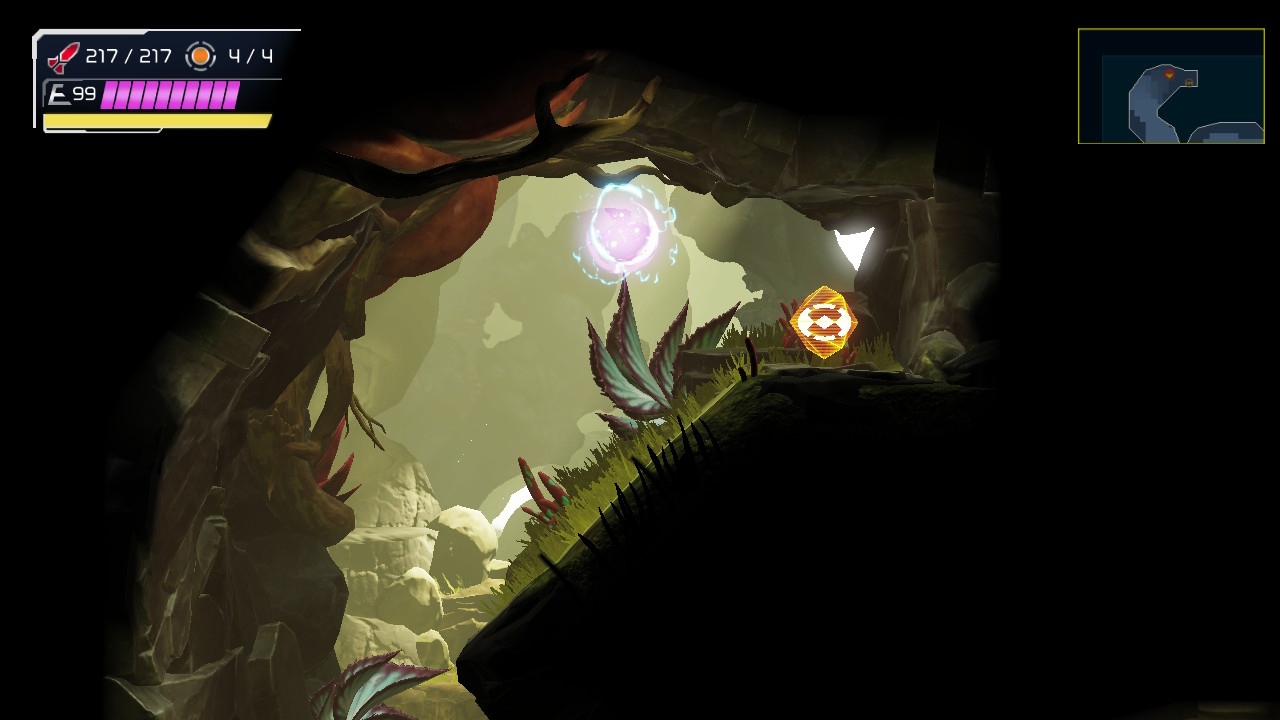
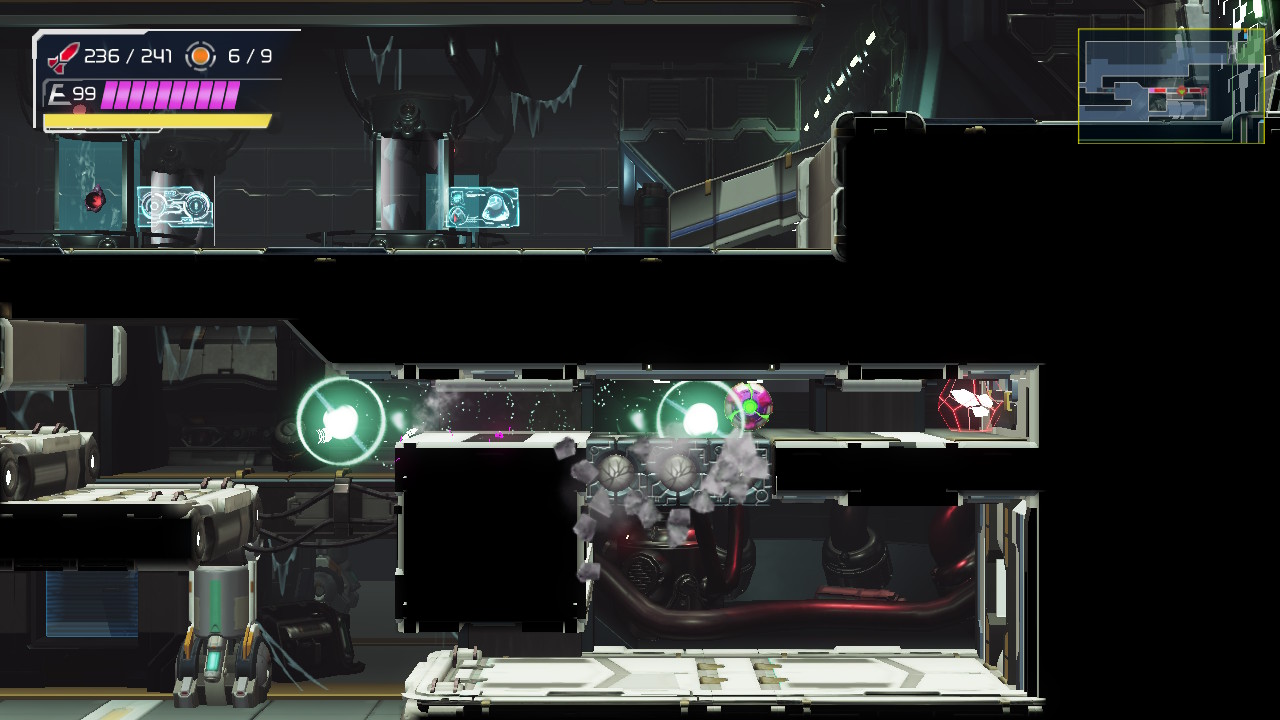
Ghavoran’s Secrets
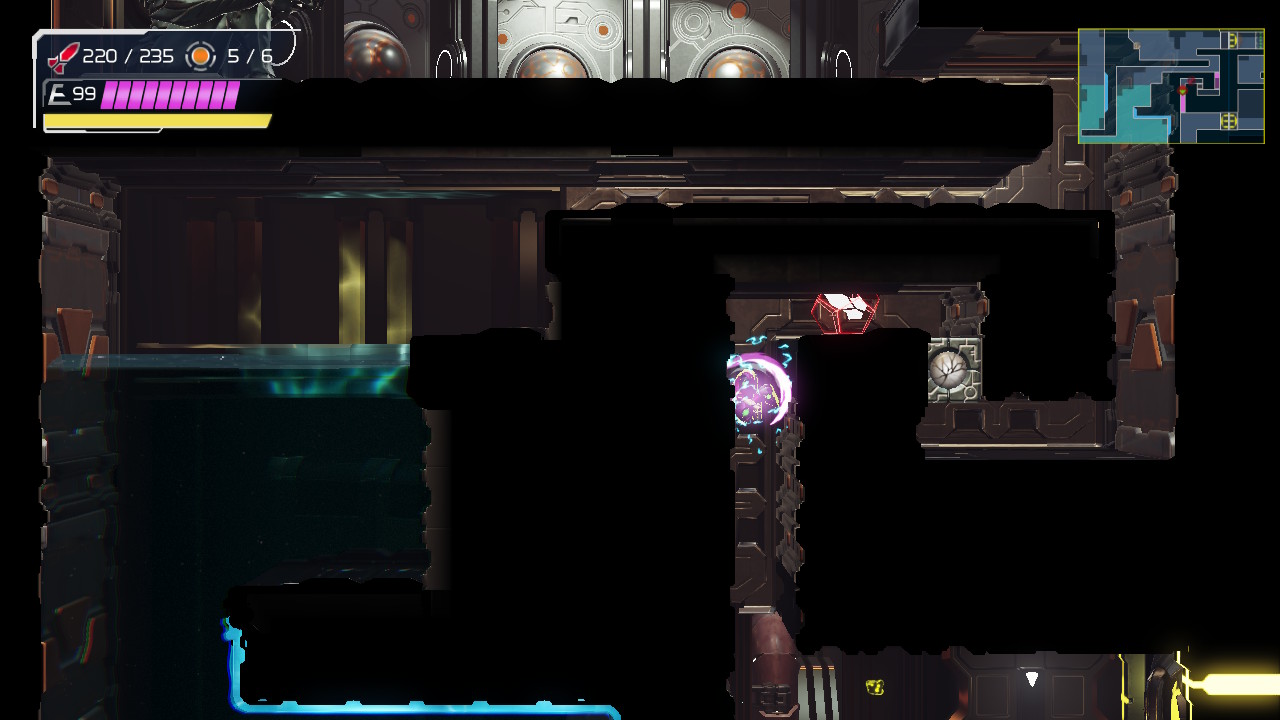
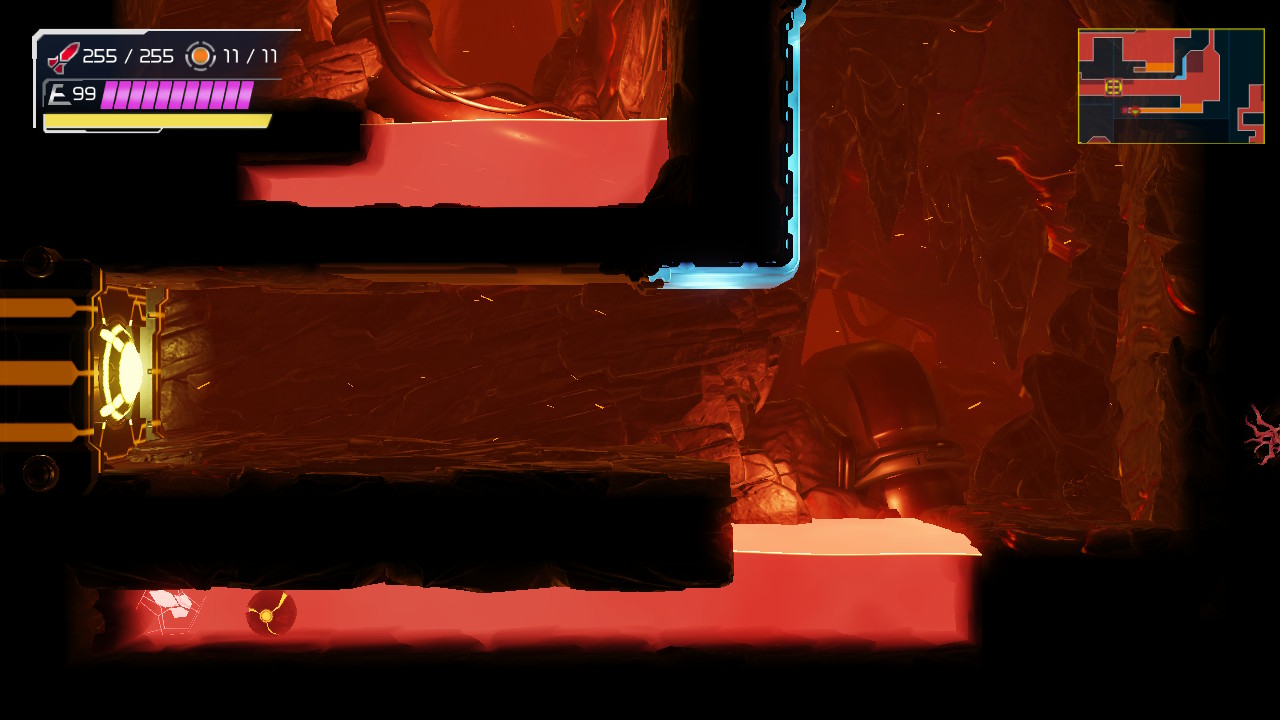
We’ll start here since that’s the first stop after Hanubia. To start off, head towards the Green Teleportal Station. Up above it is a small tunnel with pitfall blocks. Use your cross bombs to push you across and grab MISSILE EXPANSION #50.
Drop down beside the Green Teleportal Station and lay a Power Bomb. Slip through the opening in the floor. Drop down and then head through the door on the right. Jump up and use your Storm Missiles to hit the switches and move the Storm Box. Go through the door and jump up beside the Teleportal. Head into the now-unlocked room beside it and grab MISSILE EXPANSION #51.
From here, make your way to the Giant Tree room. Jump to the very, very top of the room and in the absolute highest peak is a little alcove that houses POWER BOMB EXPANSION #3!
Make your way to the room directly under the Map Station. Your Gravity Suit will allow you to jump up to the ledge and your Cross Bombs will allow you to cruise over the pitfall blocks, grabbing MISSILE EXPANSION #52.
Head to the elevator to Burenia (make sure you take the E.M.M.I. Zone path on the far left of the map). In the room to the right of the elevator room is a pool of water. In the top left corner of this pool is a missile block; shoot it and grab MISSILE EXPANSION #53.
That’s it for Ghavoran! Take the elevator to Burenia.
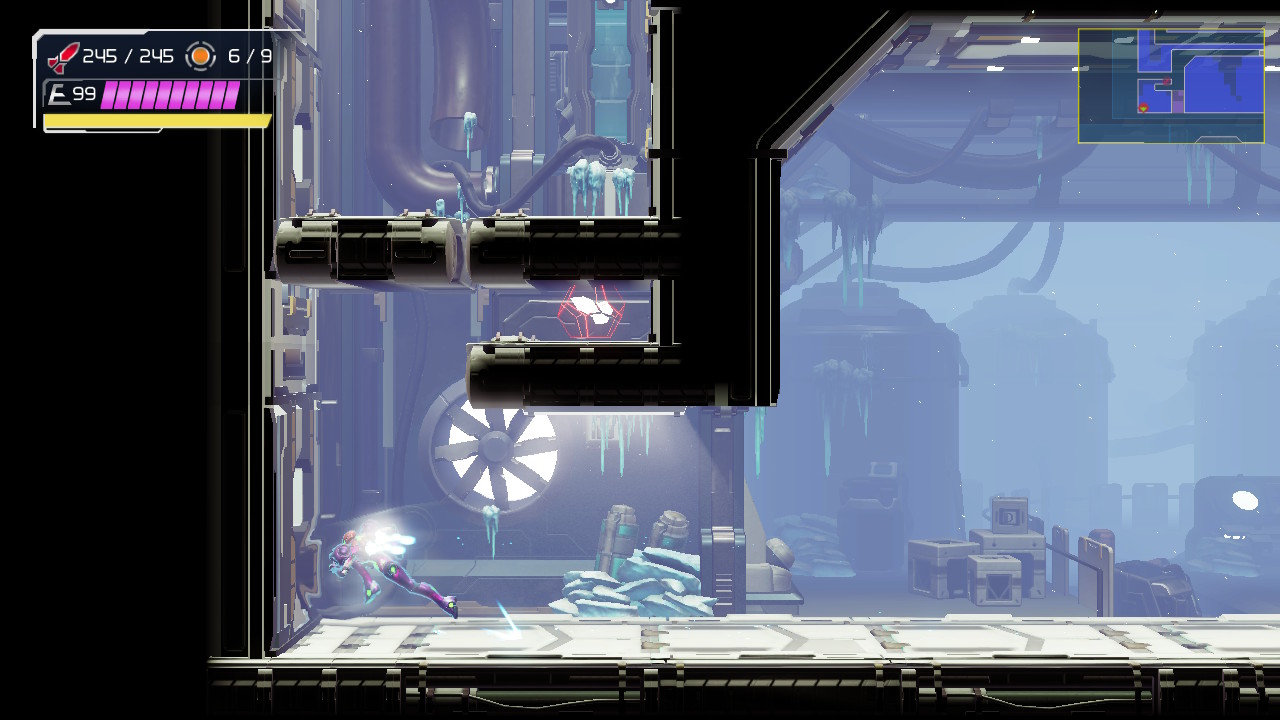
Burenia’s Secrets
The good news is there isn’t much in the way of expansions left here. The bad news is that the expansions that are here are on the polar opposite ends of this area. To add insult to injury, we need to get to the middle of Burenia once we’re done. “Rip”, as the kids say.
Head to the room directly under where we battled Drogyga earlier. On the far right side is a tunnel submerged in water. Climb inside and follow it to grab MISSILE EXPANSION #54.
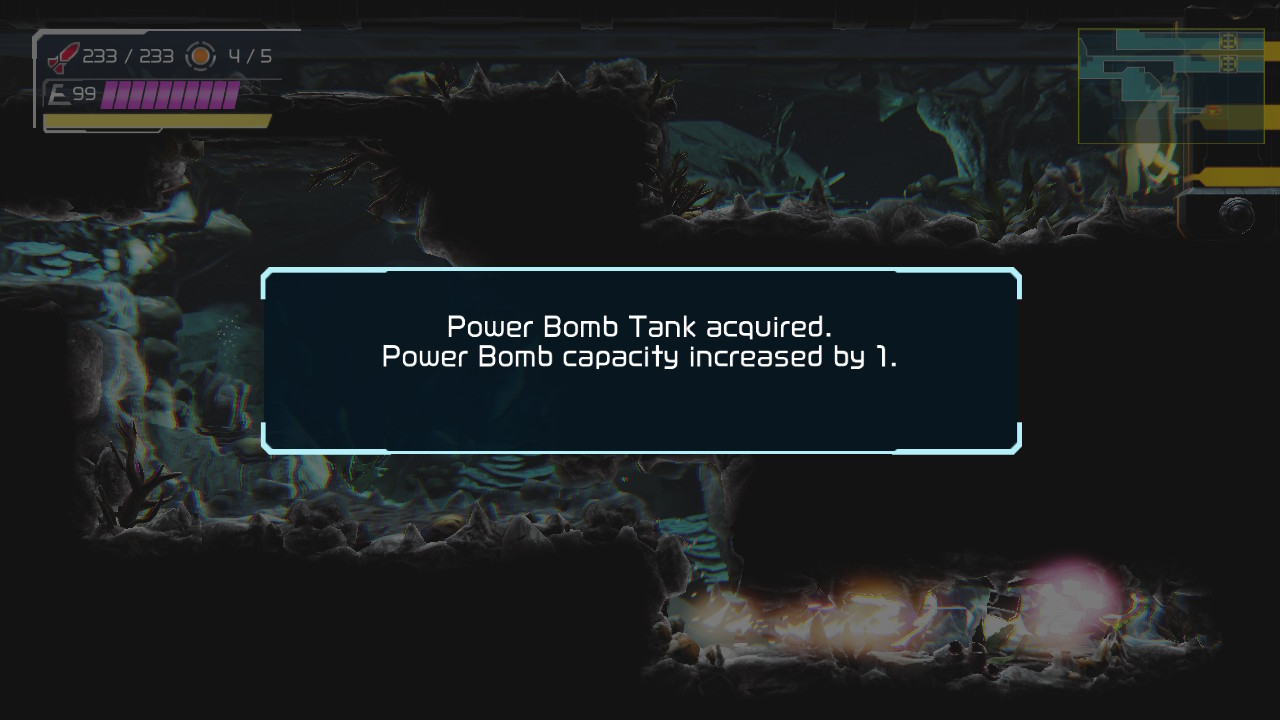
From here, you’ll need to trek down literally to the bottommost room in Burenia, where we saw that majestic looking whale earlier on our way to the Gravity Suit. Your map should be flashing white, so make the long trip and head to that location. You should be in a watery room directly underneath where the Gravity Suit was picked up. Lay a Power Bomb and a small tunnel will open on. This is where the fun begins. Head into the previous room and back up. Start Speed Boosting; charge your Shinespark right before the tunnel and then quickly slide in and drop down into the tunnel. As a ball, unleash your Shinespark and you’ll grab POWER BOMB EXPANSION #4.
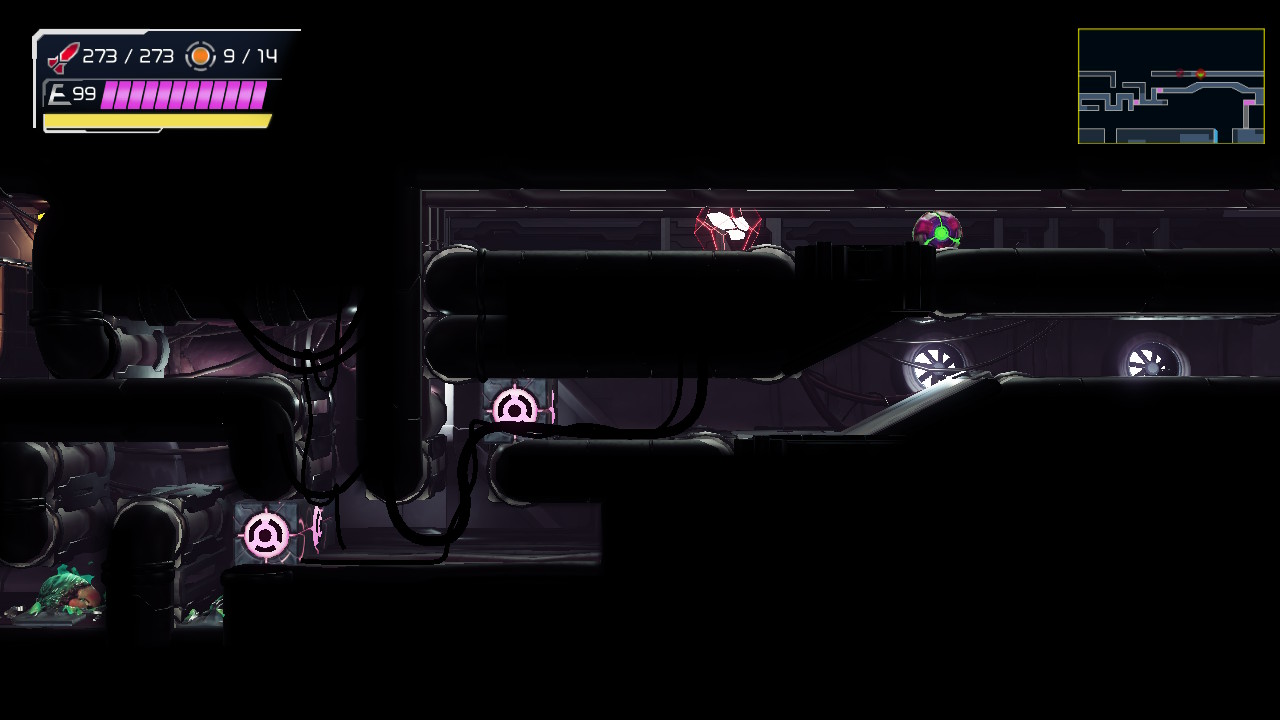
Backtrack to the room on the far left/upper middle of Burenia. This room connects to both the Map Station and a Network Station. In this room are some Storm Missile locks. Destroy them and then bomb the wall, revealing the Cyan Teleportal Station; hop inside. Great work!
Ferenia’s Secrets
Once you finish teleporting, roll into the next room and start shooting the ceiling. You’ll be able to jump up a few floors and grab MISSILE EXPANSION #55. Lay a Power Bomb and roll out.
Get to the Network Station that’s connected to the lower left side of the Main Hall. Head to the left and jump up to the top ledge. Lay a Power Bomb and then jump up through the tunnel to grab MISSILE EXPANSION #56.
You’ll be in the room you grabbed the Space Jump in. Follow the path into the water and around, and then either lay a Power Bomb or jump over to the left side wall and lay a Cross Bomb. Either way, a tunnel will open up. Roll through and get on the ledge. Use your Wave Beam to shoot the tumor across the room and the jump over to grab MISSILE EXPANSION #57.
Get to the bottom of this room and go through the tunnel on your right. Follow the path down until you’re in a larger, open room. There will be another long tunnel to your right that you’ll wanna hop into. You’ll be in a small room with an expansion up above behind some pitfall blocks. Simply lay a Power Bomb and jump over to grab MISSILE EXPANSION #58.
Roll back into the previous room and continue your descent. Destroy the Grapple block and keep heading down; once you get to the very bottom, destroy a tumor in the wall and a tunnel to the Dairon elevator room will open up.
Get into the elevator room and start Speed Boosting. Slide under the pillar and charge your Shinespark as soon as you land in the larger room. Jump up and release your Shinespark in midair, shooting towards the slope. When you hit it, you’ll start running. Once you get to the top, charge your Shinespark again and quickly slip through the tunnel. Midair Shinespark again up a smaller slope, and charge your Shinespark at the top again. Finally, shoot upwards and you’ll grab ENERGY PART #13! See Shinespark Puzzles for video.
From here, head past the Dairon elevator room into the E.M.M.I. Zone. Head to the area above where the whole Quiet Robe cutscene happened. Lay a Power Bomb and then jump up to grab POWER BOMB EXPANSION #5.
Backtrack and make the journey to the Main Hall of Ferenia. Once you’re there, get to the topmost platform and lay a Power Bomb. Blocks underneath you will explode, allowing you to grab POWER BOMB EXPANSION #6.
This next Expansion is tricky. From the Main Hall, take the bottom right door. Head up in this room to where the Energy Recharge Station is. The blocks on the left side of the ceiling are Screw Attack blocks, and the blocks on the right side are pitfall blocks. Jump up and get to the small tunnel at the top. This is tricky. Fall in Morph Ball form and position yourself in the middle. As you’re falling, lay a Cross Bomb; if it’s positioned right, it should knock out the blocks on either side of it. Quickly jump up and use your Grapple Beam to destroy the Grapple block. Lay another bomb, or even a Power Bomb if you need to, and jump over to grab ENERGY PART #14.
That’s it for Ferenia! Head towards the elevator room for Dairon!
Dairon’s Secrets
Start off by heading into the E.M.M.I. Zone. Run left until you’re by the E.M.M.I. Zone door that leads you to a Network Station and a different elevator into Ferenia. Lay a Power Bomb in this room and you’ll see POWER BOMB EXPANSION #7 just sitting there!
Exit the E.M.M.I. Zone to the left. You’ll see an expansion underneath you. Position yourself so you’re facing the blocks in front of the Expansion. Get into Morph Ball form and jump up, laying a Cross Bomb. Fire off four missiles to destroy the missile blocks and jump over into the tunnel. Lay another Cross Bomb and you’ll roll over the pitfall blocks into MISSILE EXPANSION #59.
Head into the low temperature room to the left of the Map Station. Space Jump over to the left until you grab the spider tracks on the middle of the wall. Use your Pulse Scan and you’ll see a tumor hidden in the wall to your left. Blast it with your Wave Beam and a tunnel will open. Alternatively, you could have just taken the elevator from Ghavoran to Dairon and ended up in this room. Either way, grab MISSILE EXPANSION #60.
Go back to the low-temperature room. Go to the bottom of the room and charge up your Shinespark. Shoot into the left wall, just underneath where the spider tracks are, and the wall will give away. Screw Attack through the blocks and then follow the tunnel to the bottom. Eliminate all the enemies down here and then start Speed Boosting towards the left wall. Don’t Shinespark yet though, just allow yourself to crash through the wall. Jump up and grab MISSILE EXPANSION #61. Now, Shinespark your way out.
Staying in the same room, get to the bottom and start Speed Boosting again. Charge up your Shinespark and then jump towards the top of the room as quickly and efficiently as you can. Once you’re at the top, midair Shinespark to your left and you’ll go crashing through the wall. Open the door and grab ENERGY PART #15. See Shinespark Puzzles for video.
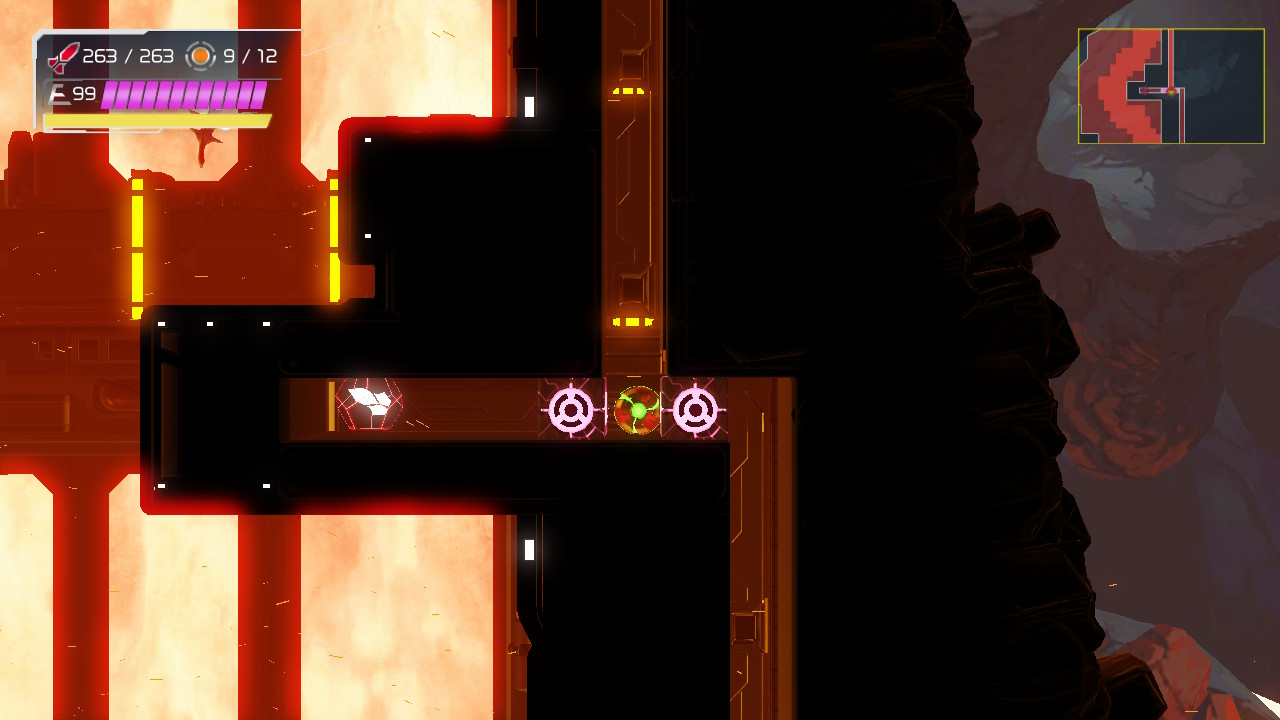
In the room to the upper left of the Missile Recharge Station (you grabbed Missile Tank #4 in this room), open up the Storm Missile locks and head into this new room. This will be tricky. Jump up and roll into the little nook at the top of the room and then lay a Cross Bomb. Roll out onto the blocks at the edge of the ledge, but be sure to not Screw Attack through them! Then around and destroy the Grapple block and then climb back in the tunnel. Use your Cross Bombs to roll across. Lay one last bomb and jump over to grab POWER BOMB EXPANSION #8.
Head towards the Network Station next to the high-temperature rooms at the bottom. Head into the next next room over (this will be where we grabbed Energy Part #3) and bomb the right side of the room. Drop down and shoot the tumor, then go through the door. Slide through and jump across the pool of lava until you get to the other side. Destroy the Grapple block and roll through the top tunnel and you’ll run into MISSILE EXPANSION #62. Once you’ve grabbed it, drop into the lava and go to the far left side of the room. Speed Boost towards the right and you’ll go crashing through some blocks and unearth MISSILE EXPANSION #63.
That’s it for Dairon! Head up and over into the elevator room and head to Artaria.
Artaria’s Secrets
Get inside the E.M.M.I. Zone and head towards the enormous room on the left side of the map. Simply Space Jump up to the top of the room and nab POWER BOMB EXPANSION #9.
Drop down and take the second exit on the right, underneath the spider tracks, and head right. Use your Grapple Beam to pull up the trapdoor that fell earlier. Doing so will let you jump across to MISSILE EXPANSION #64.
Head towards the room you got the Varia Suit in. Along the way, you’ll see a Super Missile cover door; go through the door and lay a bomb, jump up, and grab MISSILE EXPANSION #65.
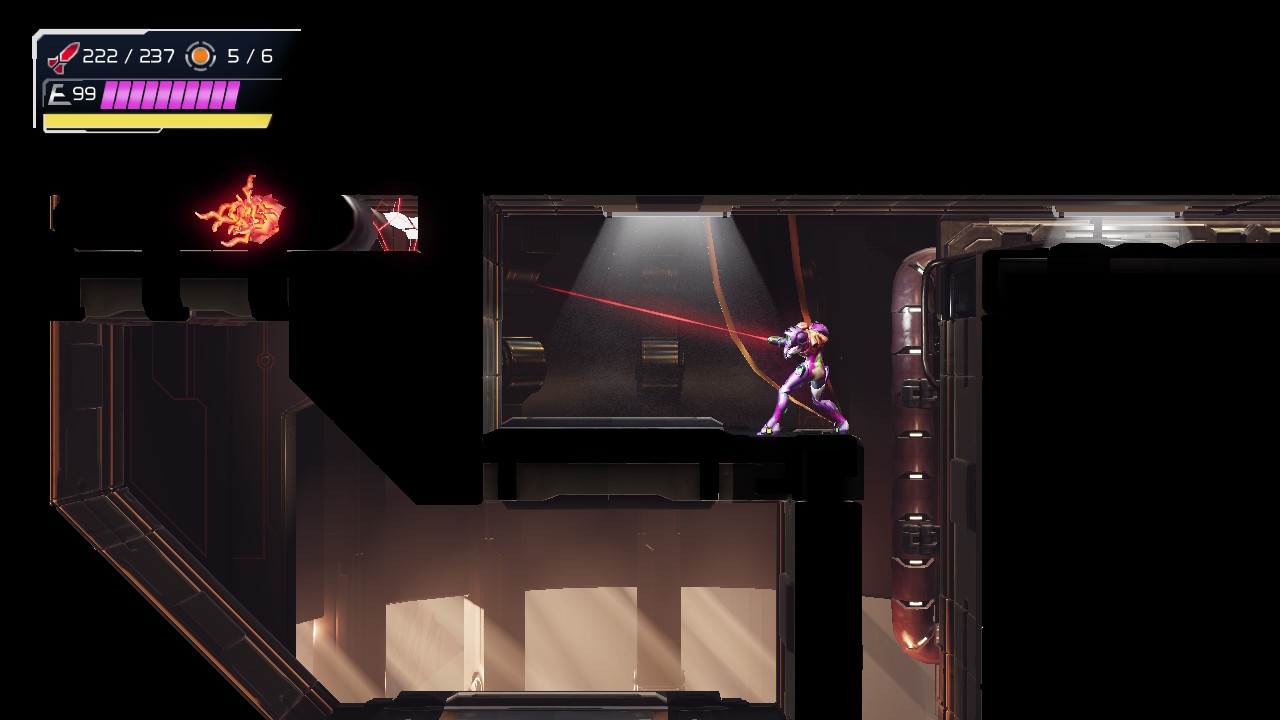
Head up from the Red Teleportal and make your way towards the Varia Suit room. Where there used to be a red missile cover, turn around and destroy the Grapple Block. Now, enter the Varia Suit room and run all the way towards the door leading to the high temperature area. Start Speed Boosting towards the left. When you get into the next room, charge your Shinespark, but watch out for the creatures on the ground! Once your Shinespark is charged, quickly get in the nook where the Grapple Block was and lay a Cross Bomb. Then quickly Flash Shift over the shutter. Unleash your Shinespark upwards and you’ll grab ENERGY TANK #8. As always, see Shinespark Puzzles for help!
That’s it for Artaria! Head back to the Red Teleportal Station and head to Cataris!
Cataris’s Secrets
This area has the most expansions left of any we’ve visited so far, so make sure you have your work shoes on!
From the Red Teleportal Station, make your way to the room above where you grabbed the Diffusion Beam. Once there, roll into the tunnel under the lower platform. Your Gravity Suit will protect you as you roll into MISSILE EXPANSION #66.
From here, get into the room you fought Kraid in. Drop into the lava and enter the tunnel in the bottom right corner. You’ll be in a new room submerged in lava with several tunnels. Lay Cross Bombs to help you navigate the tunnels, and when you get out, destroy the Grapple block and grab POWER BOMB EXPANSION #10.
Head towards the Purple Teleportal Station. Go through the Grapple Door and you’ll see a blocked door with a tunnel above it. Head through the tunnel and then turn around and shoot the Wave cover on the other side of the blocked door. Quickly exit the tunnel and go through the door now that it’s open. Keep pressing forward until you drop down in some lava; continue until you get to a Grapple block and destroy it. Head back to the Purple Teleportal Station.

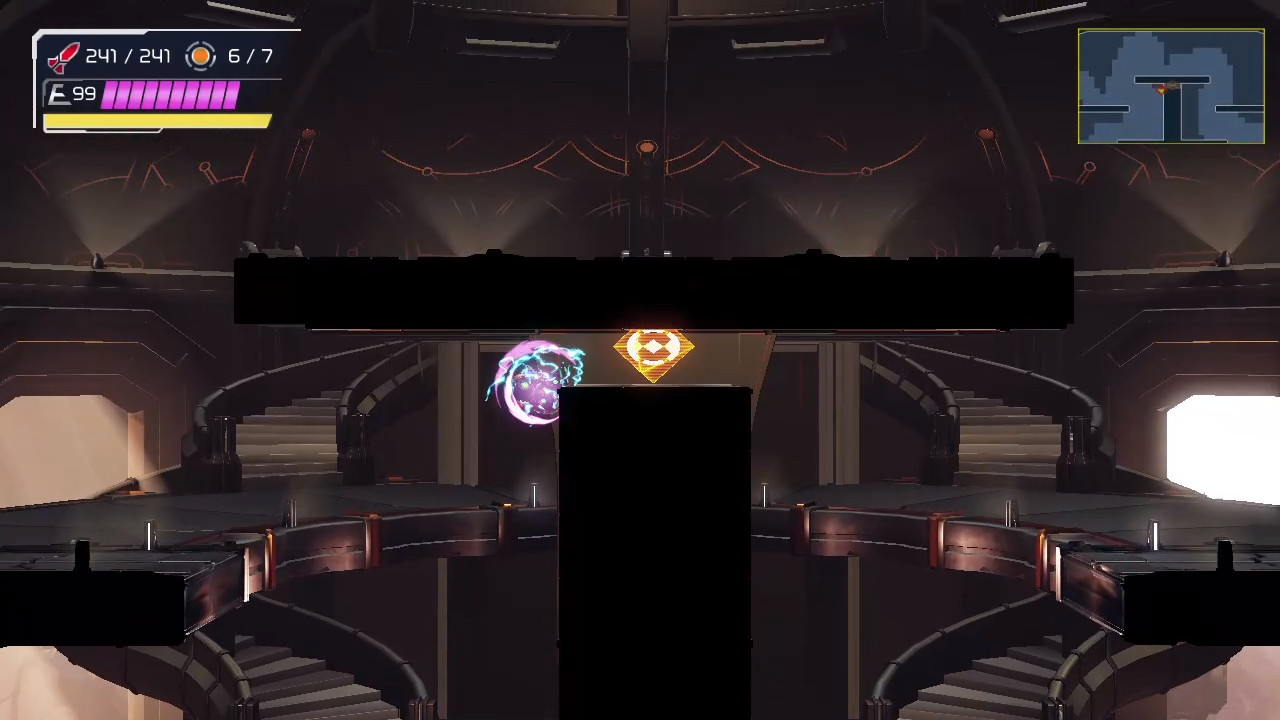
Directly in front of the Grapple door under the Purple Teleportal Station, shoot the floor and you’ll drop down into some lava. Slip into the tunnel in the bottom right corner of the room and then lay a Power Bomb. Part of the wall will explode; now, you’ll be able to run back across and start Speed Boosting. When you get to where the Grapple block was, Shinespark straight up and grab ENERGY PART #16! Congrats – you’re at maximum health!
Go back through the Grapple Door and then take the middle right door (the one below the E.M.M.I. Zone door). This door is covered by a tumor, so if you don’t see it, look for that. Get inside and jump over to the right side of the room. There are three tumors that all need a good destroyin’, so shoot them all and climb up into the tunnel that appears in the top corner of the room. Roll over to grab MISSILE EXPANSION #67.
Press right until you get to the higher temperature room above the Network Station in lower Cataris. Simply jump over and up to the top right corner to grab MISSILE EXPANSION #68.
Next, head to the hallway above the Experiment Z-57 boss room. You’ll see the thermal doors are shut tight, but you can Screw Attack through the left side wall to create a passageway to the room, as well as grabbing MISSILE EXPANSION #69 at the same time. Nice!
Make the long trip to the Blue Teleportal Station. Once there, head up to the top ledge and lay a Power Bomb. You’ll be in a very long, vertical room. Jump to the very very top, crawl into the nook, lay a bomb, and then fall down into the tunnel. When you land, blow up the blocks and grab MISSILE EXPANSION #70.
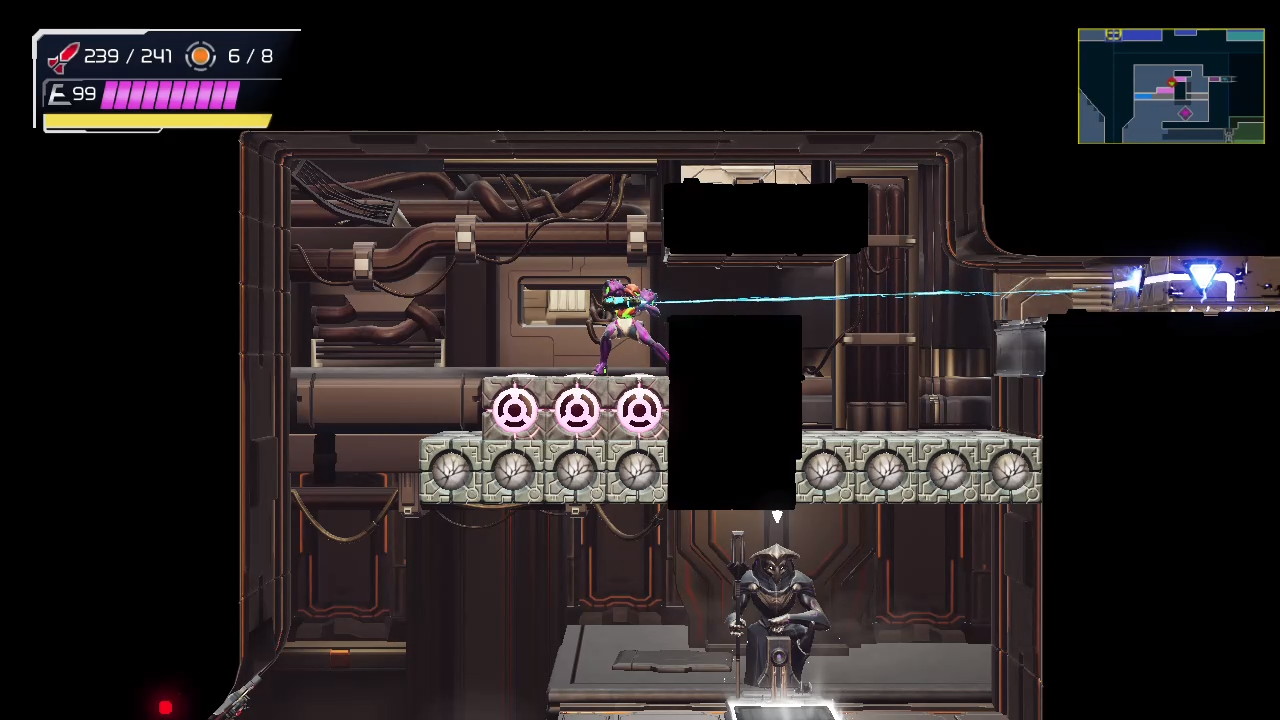
After grabbing the missile, you’ll fall down another tunnel and land back where you started. Head directly forwards until you get to a small tunnel, which you’ll want to slide through. Take the top door in this room and you’ll be back in the moving spider rail room. Jump up to the top right side and enter the Grapple door. There’s a platform with spider tracks on it that we need to drag down, but it won’t be that easy. There are six blocks in the way, grounded in a 3×2 grid. The top left block is a beam block, so shoot it and climb in the nook before it respawns. Lay a Cross Bomb to get rid of the uppermiddle and right blocks. Quickly grab onto the spider tracks and shoot the bottom three blocks with missiles and the platform will fall, allowing you to grab POWER BOMB EXPANSION #11.
Make your way back down and into the long vertical room from before. Across from where Missile Expansion #70 was sitting is a wall that can be blown up. Make your way all the way up until you come to a room with a Wide Beam Box and some pillars. Shoot the Wide Beam Box out of the way, bomb the floor, and shoot the left wall to grab MISSILE EXPANSION #71.
Head to the room that connects to the Dairon elevator (you should see this area flashing white). Get beside the used Wide Beam Box and start Speed Boosting. Charge your Shinespark and jump up to the slope above you. Release your Shinespark and quickly charge it again as you start to run. Jump up to the top and Shinespark straight up into the higher part of the ceiling. You’ll go crashing into MISSILE EXPANSION #72. See Shinespark Puzzles for video!
Get yourself to the Map Station and then enter the E.M.M.I. Zone. Head through the door on the left and in this new room, slide into the tunnel and roll about halfway through it, then drop a Power Bomb. Exit the tunnel and jump up and to the left, getting under the spider tracks and heading into the next room. Start Speed Boosting back towards the tunnel, sliding under the pillar and then charging your Shinespark. Quickly roll into the tunnel and when you hit the blocks, and activate your Shinespark to the right. You should go crashing right into POWER BOMB EXPANSION #12. As always, see Shinespark Puzzles for video.
Roll through the rest of the tunnel to the left and position yourself in the room immediately above the Red Teleportal Station (it’s in the same square in the map). Right beneath the diagonal spider rail is a tumor; shoot it and head into this room. Immediately drop into the lava and get yourself to the far left wall. Shoot the bricks in front of you and start Speed Boosting. Almost as soon as you trigger your Boost, you’ll need to slide under some pillars sticking down. Pull off the slide and you’ll go crashing into MISSILE EXPANSION #73.
In the same room, jump towards the ceiling. There should be a small spider track for you to grab onto. Shoot the wall to your left and a secret alcove will reveal itself, which has the Orange Teleportal Station. Head over to it and get beside the Teleportal, then yank out the Grapple block. Roll through then jump straight up to grab MISSILE EXPANSION #74.
Awesome! That’s it for Cataris! Drop down and step inside the Orange Teleportal and let whisk you away.
Elun’s Secrets
Once you’re finished warping, you’ll find yourself in a room at the very top of Ghavoran. From here, make your way through the forest and get to the tram that takes you to Elun.
Once you’re in Elun, jump up to the room to the left of the Chozo Soldier boss room. You’ll see tunnels in the wall; get inside them and follow the path. Eventually, you’ll pass by a missile expansion that you’re unable to get. Keep going until the tunnel starts to descend instead of pressing right. Use your Pulse Scan and you’ll see some blocks in the top right corner that can be destroyed. Lay a Power Bomb and jump up the new tunnel. Roll over to grab MISSILE EXPANSION #75. Congratulations – that’s every Missile Expansion in Metroid Dread!
Keep following the tunnel downwards and right there at the end is the final expansion of Metroid Dread – POWER BOMB EXPANSION #13! Amazing job!
Now that you have 100% items, there’s only one thing we need to accomplish: the defeat of Raven Beak. Make your way back to Hanubia and take the elevator up to Itorash as we prepare for one final battle and a date with destiny.