Metroid Dread Walkthrough – E.M.M.I. Encounters
The following guide will walk you through confronting and finishing off the E.M.M.I.’s once you are powered up with the Omega Cannon and Omega Stream. While some encounters are more straightforward than others, this can still be difficult to pull off.
- E.M.M.I.-01P (Damaged, Artaria)
- E.M.M.I.-02SM (Silver, Artaria)
- E.M.M.I.-03MB (Green, Cataris)
- E.M.M.I.-04SB (Yellow, Dairon)
- E.M.M.I.-05IM (Blue, Ghavoran)
- E.M.M.I.-06WB (Purple, Ferenia)
- E.M.M.I.-07PB (Orange, Hanubia)
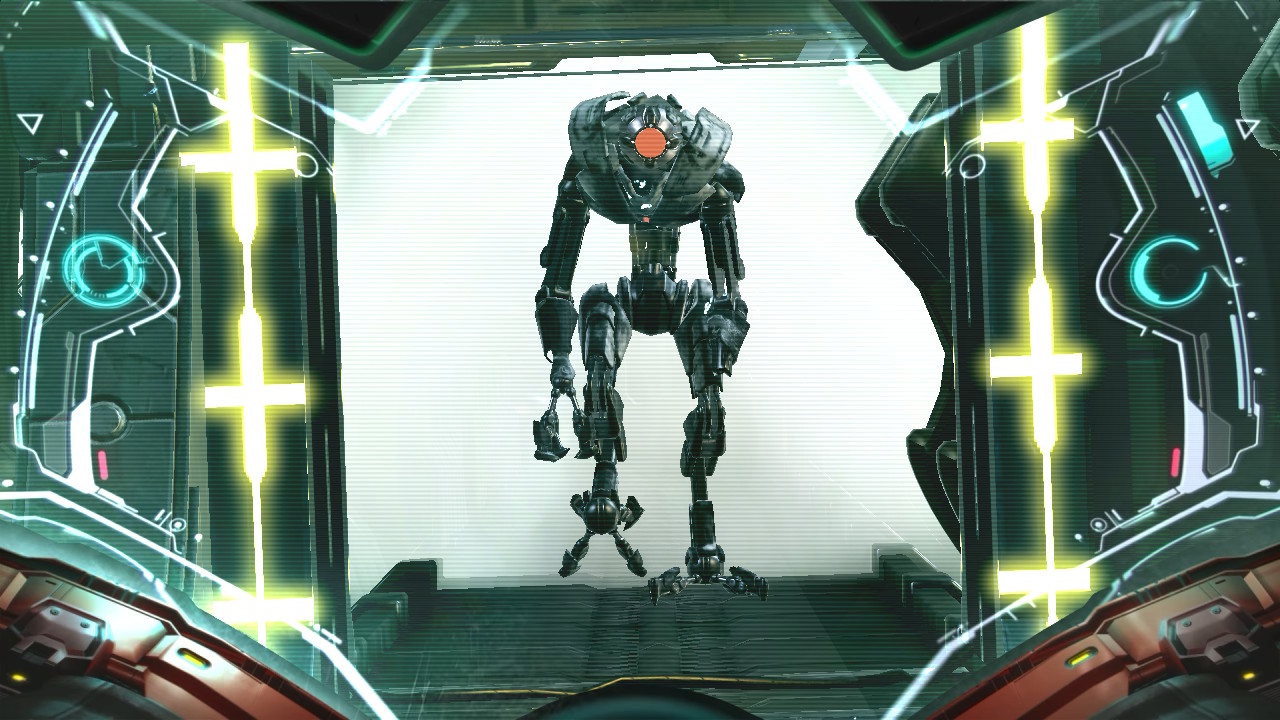
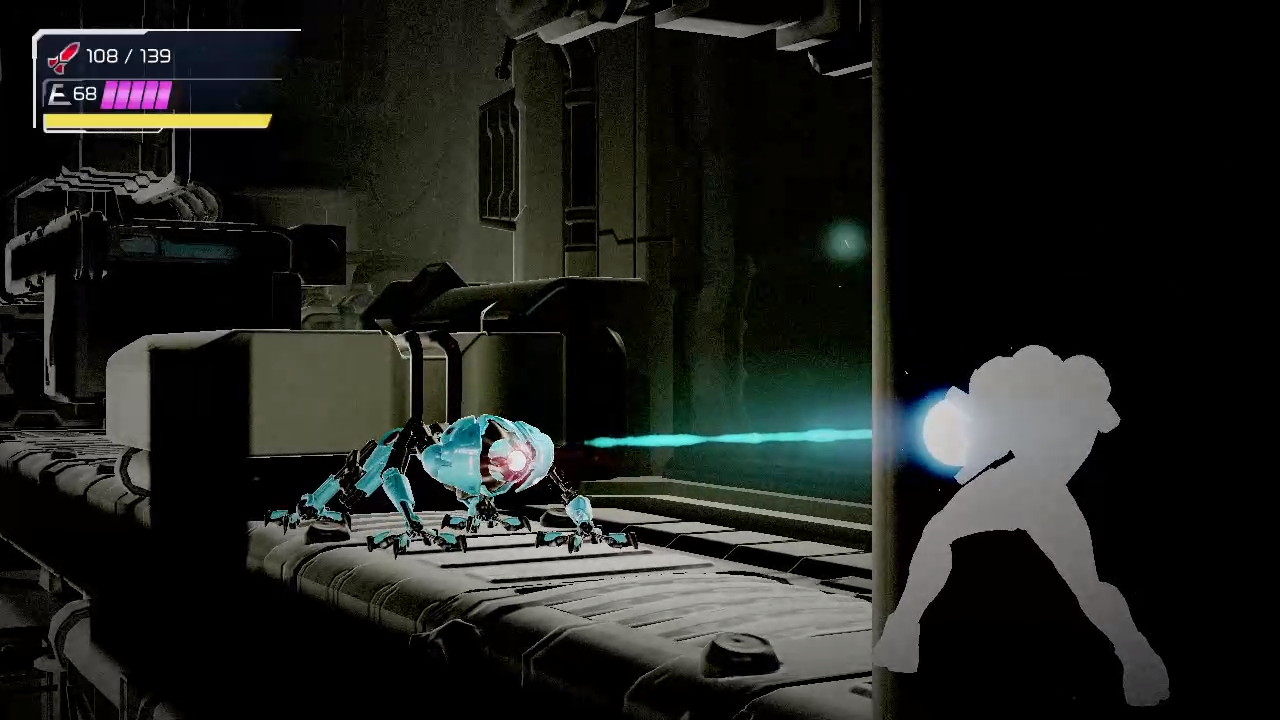
E.M.M.I.-01P
Once you’re inside, you’ll see a suspiciously Brain-looking organism on the ground. This too looks like it’s been damaged quite a bit. Walk over to the brain and you’ll be able to absorb it (??!), which powers up Samus’s arm cannon to the OMEGA CANNON. This weapon is the only thing that is capable of damaging E.M.M.I.’s, but unfortunately, it has a very short usage span. This is to say that we better make our shots count!
The game will teach you how to use the cannon (hold L to aim and then R to charge, lastly pressing Y to fire), so blast away the door to the Central Unit room and get back into the hallway.
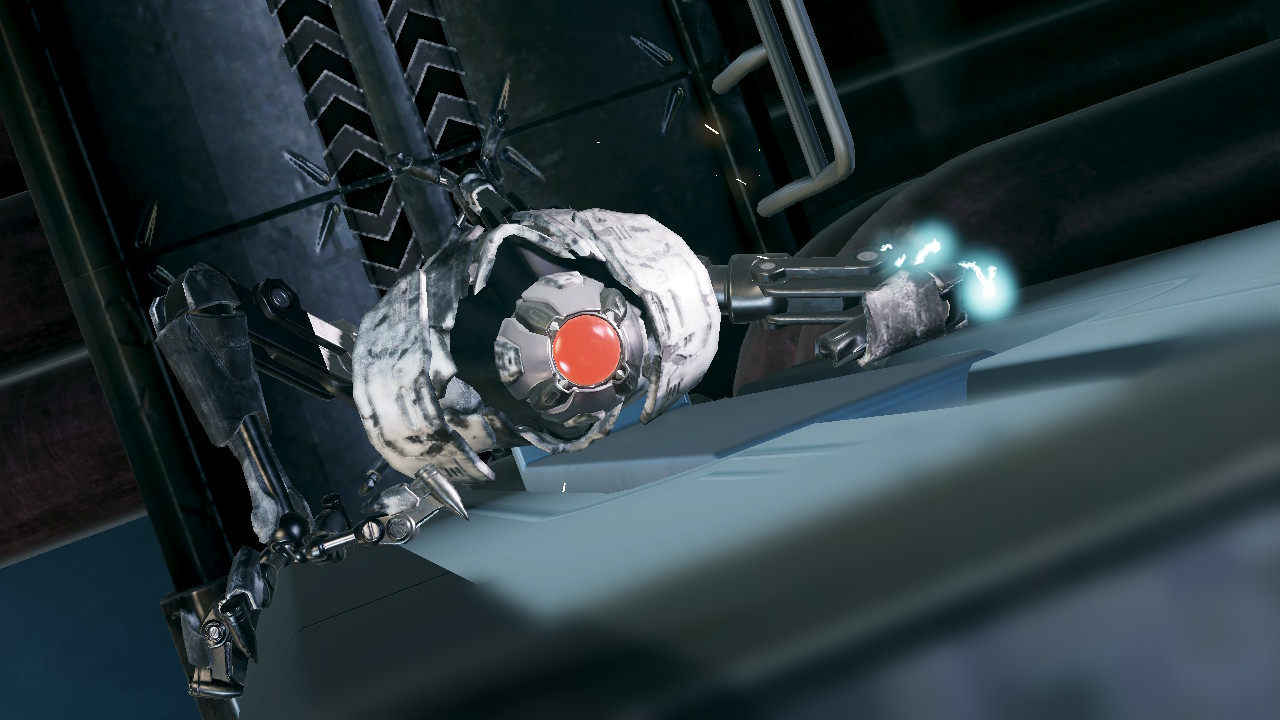
Drop down and charge up your Omega Cannon. You’ll see the broken E.M.M.I. creep through the door. Aim carefully and blast it right in the head with a charged shot. Pro tip – the “eye” of the E.M.M.I. will change from red to glowing blue if you’re aiming in the right spot, so fire when you’re charged up and see that!
The E.M.M.I. will fall, finally destroyed, and your Omega Cannon will go offline.
E.M.M.I.-02SM
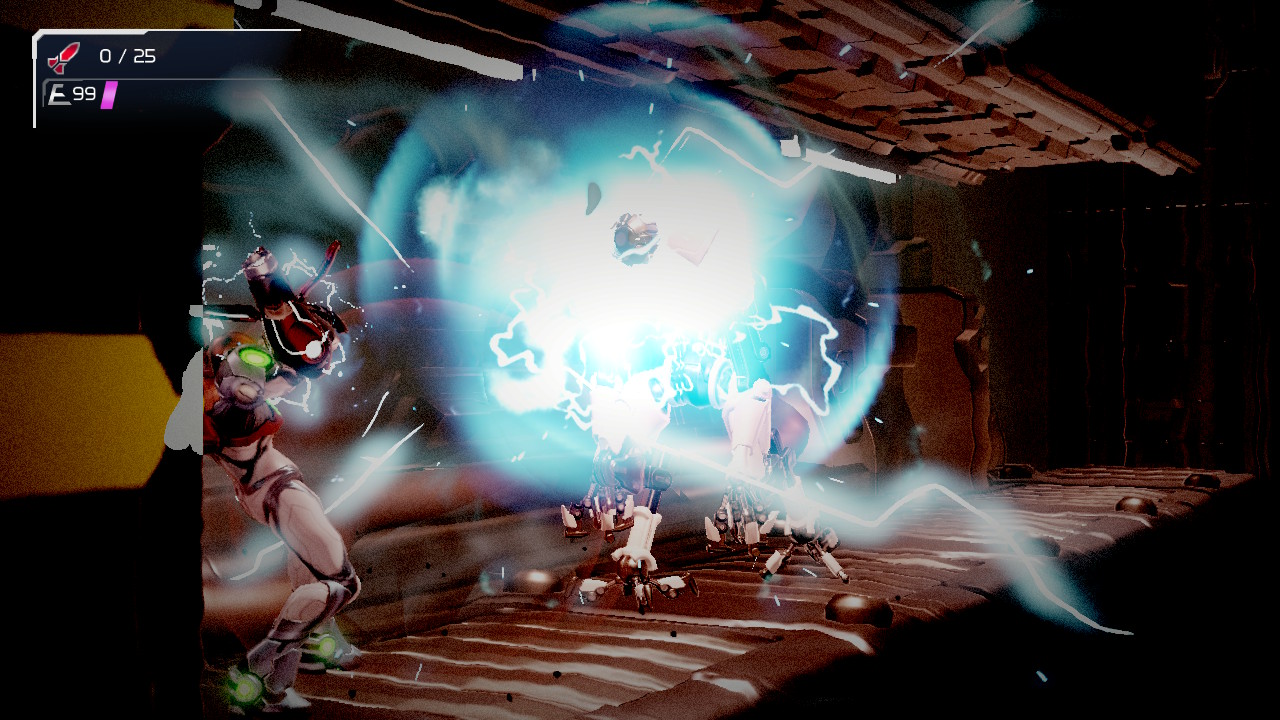
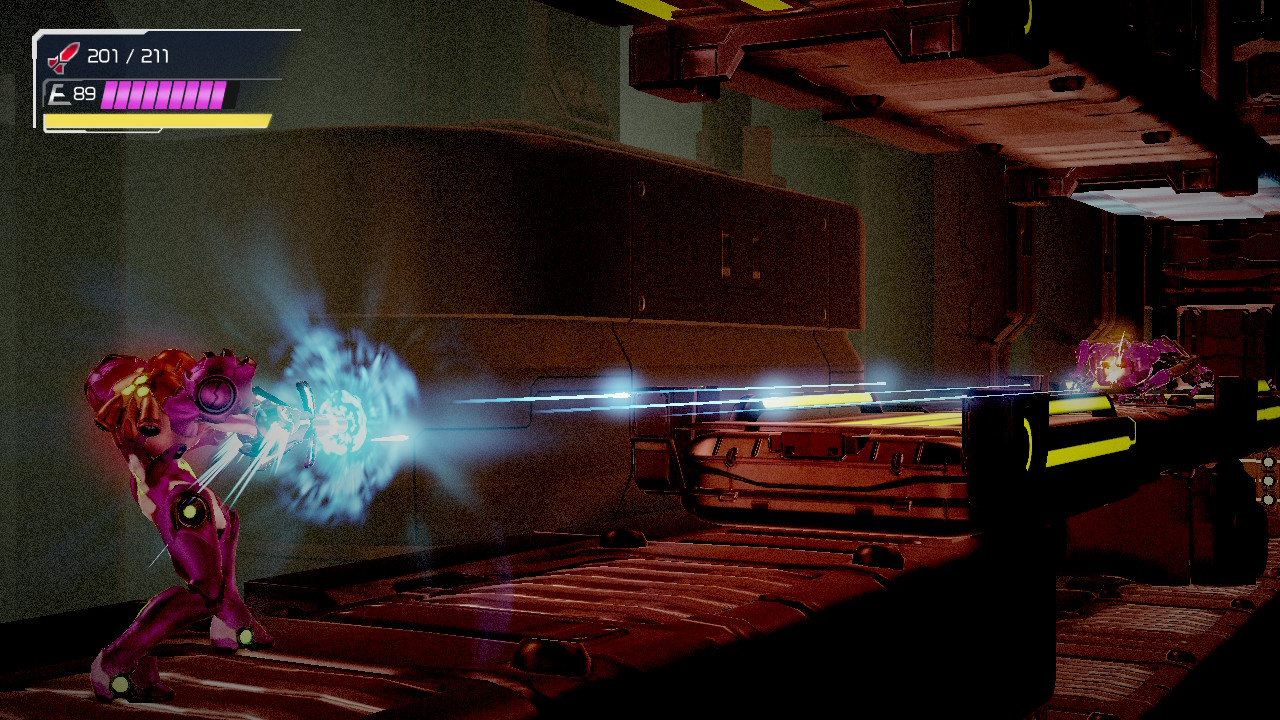
So, before we face the E.M.M.I., it’s important to know the difference between the Omega Stream and the Omega Blaster. Omega Stream is a continuous fire that will melt away the protective metal plating on both the door and the E.M.M.I.’s head. You’ll need sustained, continuous fire in order to melt away the protective plating – if you leave it, then the plating will cool and you’ll have to start over again, and with the E.M.M.I.’s, we won’t have much room for error. The Omega Blaster is the part you should be familiar with already – aim, charge, fire. That being said, destroy the lock on the door and blast it open.
Exit the Central Unit room. I’ve found the best place to use the Omega Stream is the ledge of the upper platform after you fall. The E.M.M.I. will start crawling towards you, so blast it right in the face, carefully aiming. You’ll have to slowly and carefully move the cannon as the E.M.M.I. moves, but luckily, direct contact from the Steam to its face slows the E.M.M.I. down slightly, so you should have enough time to melt off the protective plating. It’s worth noting that after you destroy the E.M.M.I.’s face plate, you’ll have a few seconds while the E.M.M.I. shakes off to go and get away.
Now quickly drop down below and get to the very far left door. Turn around and start charging up your shot. When you see the E.M.M.I., line up your shot and fire away. If you’ve lined up your shot correctly, you should see the E.M.M.I.’s face fall off and the unit collapse.

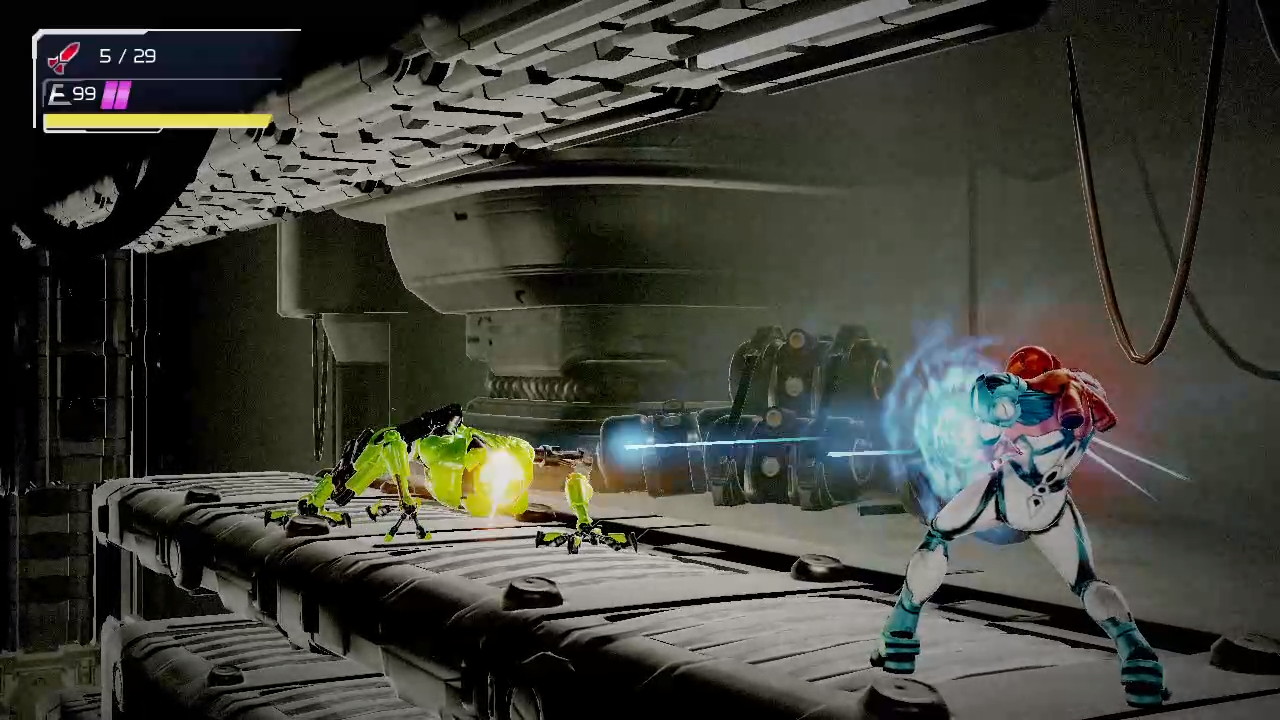
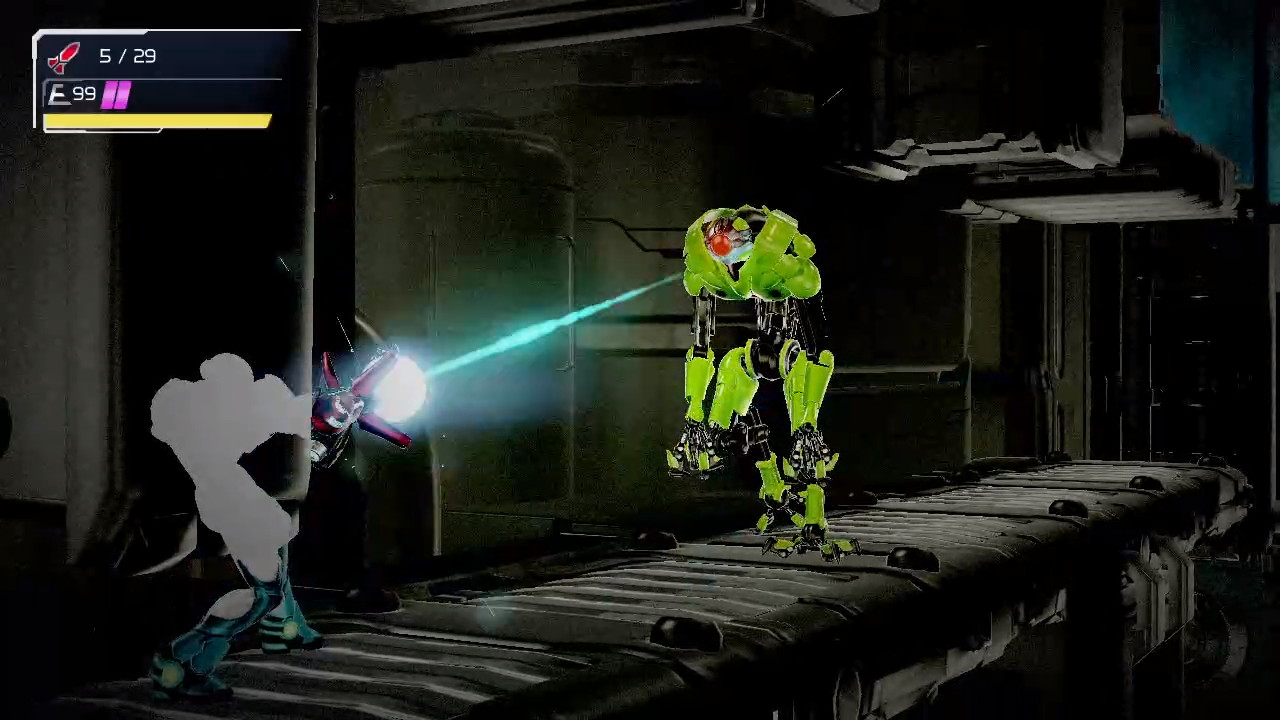
E.M.M.I.-03MB
The alarms are of course going haywire and the E.M.M.I. will be crawling towards you. This is fine actually, because there are a bunch of places where we can finish off this green goblin pretty easily. For starters, jump on the middle platform right outside the Central Unit room. There’s a passageway for the E.M.M.I. to crawl under, so just watch out for which side it goes to. You can probably finish the E.M.M.I. off entirely on this platform if you act fast actually. Wait until the E.M.M.I. comes up and melt its face off; with the time that it spends shedding its armor and readjusting itself, you should have enough time to change up the Omega Canon and blast it. If not, no worries – just drop down and there’s a big flat piece of ground where you can charge your shot. When the E.M.M.I. comes down, boomshakalaka. Once he’s defeated, get yourself the MORPH BALL.
E.M.M.I.-04SB
Time to finish this E.M.M.I. off. Once you blast off the door to the Central Unit room, head out into the E.M.M.I. Zone. As usual, alarms will be blaring and the E.M.M.I. will be bearing down on your location, quickly.
The zigzag room layout will fortunately give us a bunch of long landing pads to line up the E.M.M.I. and use the Omega Stream. Although this E.M.M.I. is all about speed, the force of continuous Omega Stream fire to the face will force it to slow down a bit, so aim carefully and use that to your advantage. Even so, this will be the toughest time you’ll have had so far getting the armor off of the E.M.M.I.’s face.
Once you’ve got the protective plating off, the E.M.M.I. will slow down significantly, so get to somewhere that you can line up the yellow robot and then blast its head off. You’ll finally be rewarded with the SPEED BOOSTER!

E.M.M.I.-05IM
This is a pretty intense showdown, and was to me certainly the most difficult of all the E.M.M.I. encounters. To know how to destroy this blue meanie, it’s important to know the layout of the room. At the bottom, there are steps and raised platforms, meaning there’s not enough room for you to melt the armor off the E.M.M.I.’s face. There’s two doors on the right side of the room, but both just lead to a small connecting room that, again, has no room for you to melt off any armor. There’s only one option left, and it’s the roof.
On the roof of this room is a spider rail, and this will be our key to defeating this E.M.M.I.. What you’ll want to do is to drop down to the middle of the room and somewhat engage the killer robot, or at least make sure it’s following you down. Once you see the E.M.M.I. on ground level, head to the bottom door on the right and head up through the connector room. Ride the spider rail to the other side of the large room (this will be the doorway you originally entered from), and wait. You’ll see the E.M.M.I. emerge from the door and start crawling across the roof on its way to extract your DNA. This is your chance to line it up and fire your stream. The aiming can be a little tough, but you’ll get it eventually.
Once the face armor is melted off, either quickly charge your Omega Cannon, or if the E.M.M.I. is too close for comfort, drop down and repeat the cycle of luring it back to the roof. Blast its head off and collect the ICE MISSILES as your well earned reward!
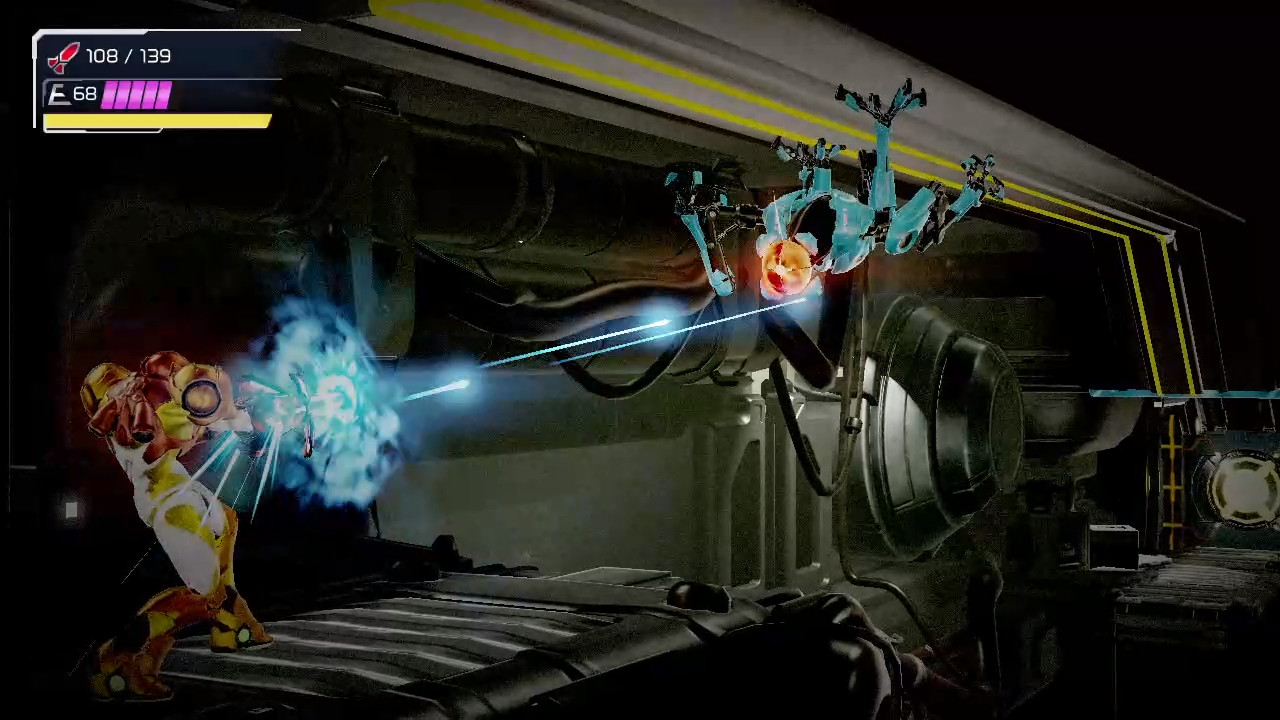
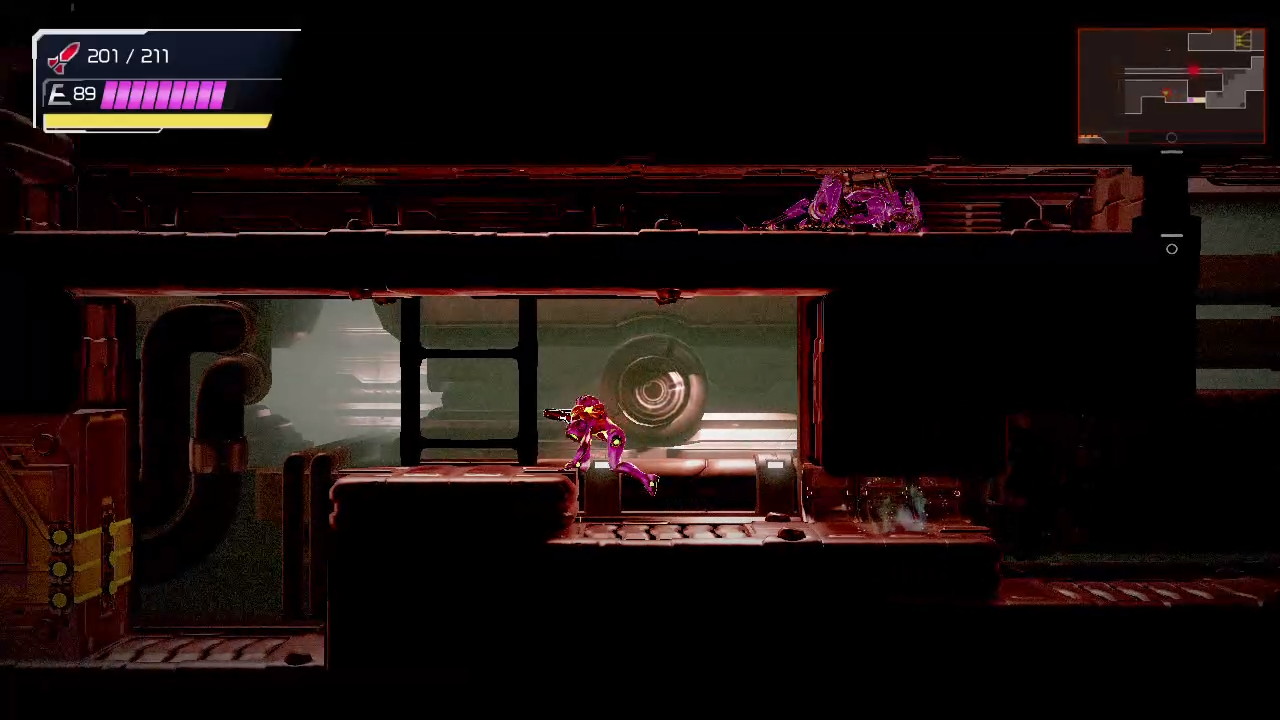
E.M.M.I.-06WB
Use your Omega Cannon to blast your way out of the Central Unit room. Once you’re back in the elevator room, charge up another shot and let it rip; the elevator will start to descend, allowing you to take the Morph Ball tunnel and Launcher.
You’ll be spat out in a room that serves as somewhat of an obstacle course. You’ll need to lay bombs, blast blocks, shoot tumors, jump over shutters, and more, all while the E.M.M.I. is tracking you from behind. This probably sounds more menacing than it really is, however. You should have plenty of time to get yourself to the end of the course, and best of all, once you’re there, you’ll be able to see the E.M.M.I. crawling towards you which lines up PERFECTLY with your Omega Stream! Finish it off with a blast and go and claim the WAVE BEAM!
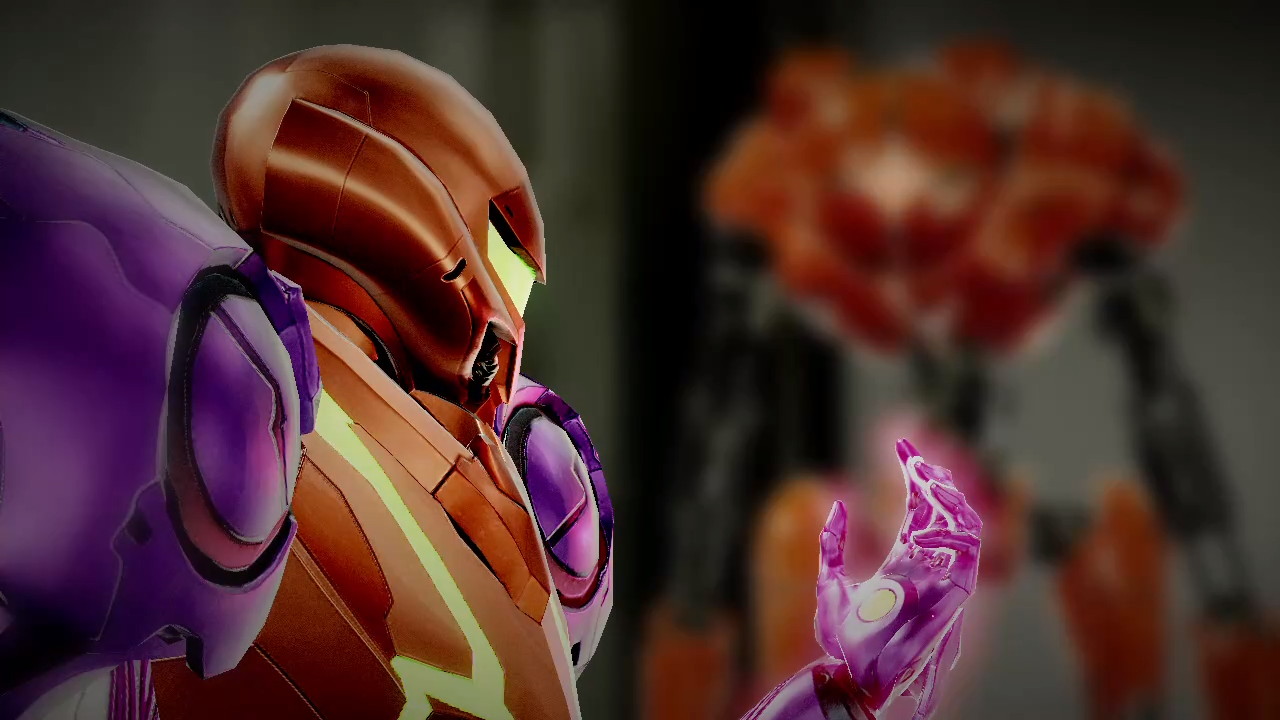
E.M.M.I.-07PB
This isn’t really an encounter as much as it is a cutscene, but it’s still pretty cool!
Head into the Hanubia E.M.M.I. Zone and drop down and head through the door. You’ll see that the E.M.M.I. knows we’re here, but there’s really nowhere to run. Suddenly, a huge blast will come and shatter the walls and knock Samus down to her knees. The E.M.M.I. is here. It will grab Samus by the neck and force her down, looking to finally finish off the Bounty Hunter. Something strange then happens, though. Whatever is going with Samus’s arm finally comes to a head, and Samus grabs the E.M.M.I.’s needle just as it’s about to pierce her suit. The new powers within Samus manifest themselves through her arm as she literally sucks the life out of the E.M.M.I., destroying it and ending the E.M.M.I. threat once and for all.