


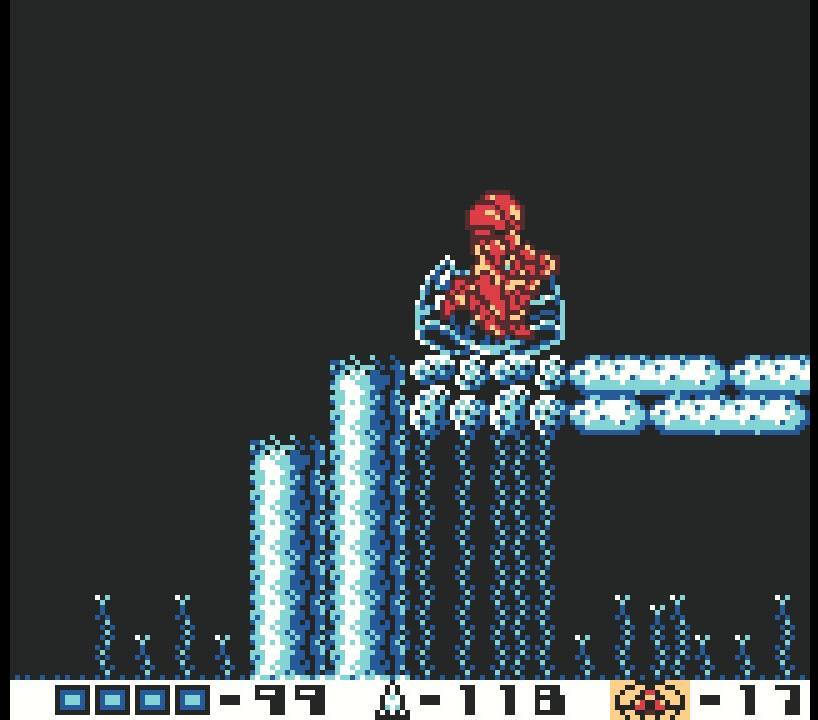
Metroid II: Return of Samus Walkthrough: The Complex – Gamma Metroids
Walkthrough
- A Few Things To Know Before Starting
- The Ruins – Alpha Metroids
- The Waterworks – Gamma Metroids
- The Complex – Gamma Metroids
- The Tower – Zeta Metroids
- The Tunnels – Omega Metroids
- The Finale – Queen Metroid
The Space Jump
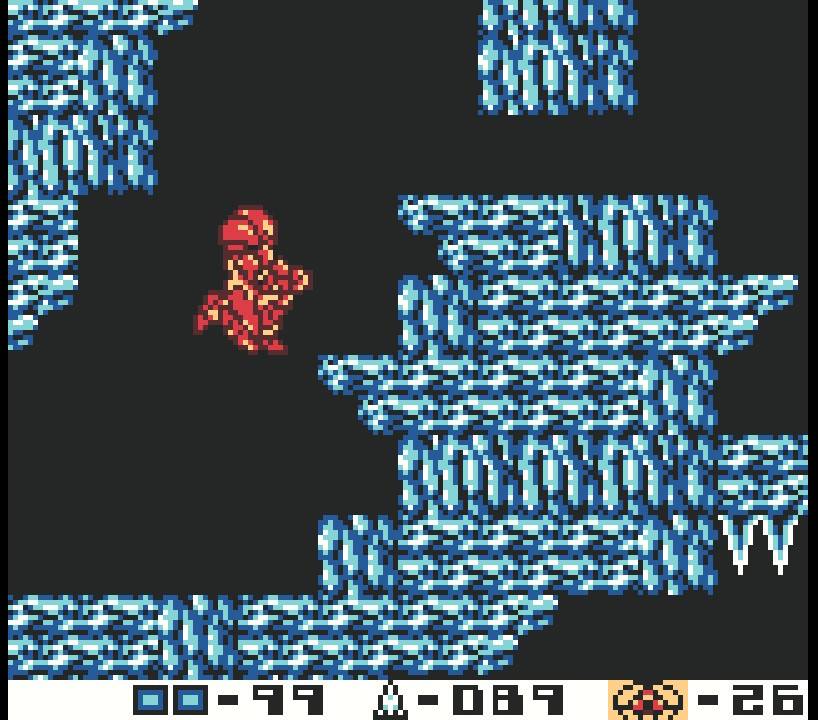
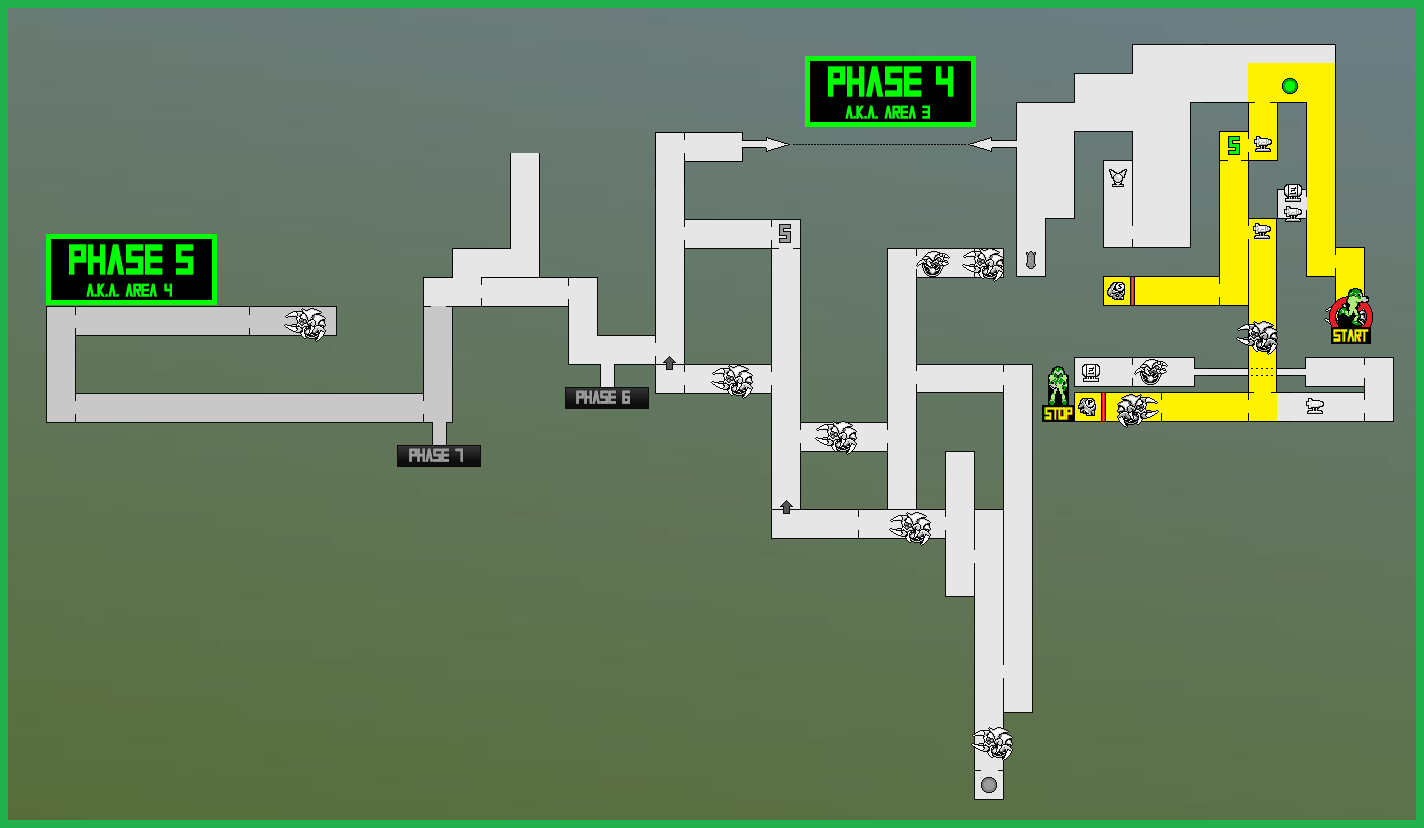
Once you’ve gotten yourself to the Phase Four entrance (you’ll remember we had to use the Spider Ball to roll upside down through a small tunnel over lava, which, hey, isn’t there anymore!), start dropping down. Follow the pathway – it’s long, there’s about a million bugs dropping from the ceiling, but it’s a straight shot until you enter Phase Four. You’ll know you’re there when the Surface theme tops and the rocks on the wall look sharper and more jagged.
Navigate your way down through the Morph Ball tunnels and enter the next room through the lower right passageway. Jump across some lava and then proceed to the next screen. You’ll be at the bottom of another long shaft with floating platforms. Start climbing and keep climbing until you reach the very top – about halfway up, there will be a passageway, but ignore it for now (don’t worry, we’re coming back).
Once you hit the top entrance, this will lead you into what I’ve dubbed the Complex – the paradoxical structure that shouldn’t fit into the map of SR388 but does anyways. Press forward through the sandy room and forward again through another hallway; this particular room will be filled with these woodpecker looking bugs called Yumee’s (this game has the best name for its enemies, heh) and these actually sting pretty good, so get through this as quickly as you can.
You’ll now be in the Complex, so first order of business will be jumping off of the ledge and straight downwards, on top of the pit of sand. Shoot the sand beneath you and you’ll sink down into a little alcove; keep blasting the sand away and you’ll see there’s a Missile Refill to your left. You probably need a top-off, so fuel up and climb back out of the sand.
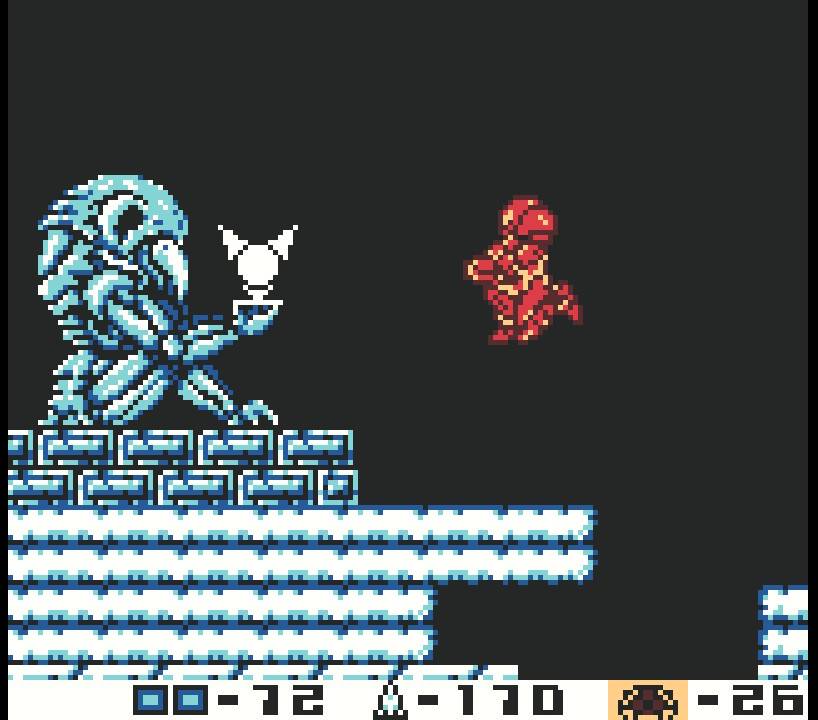
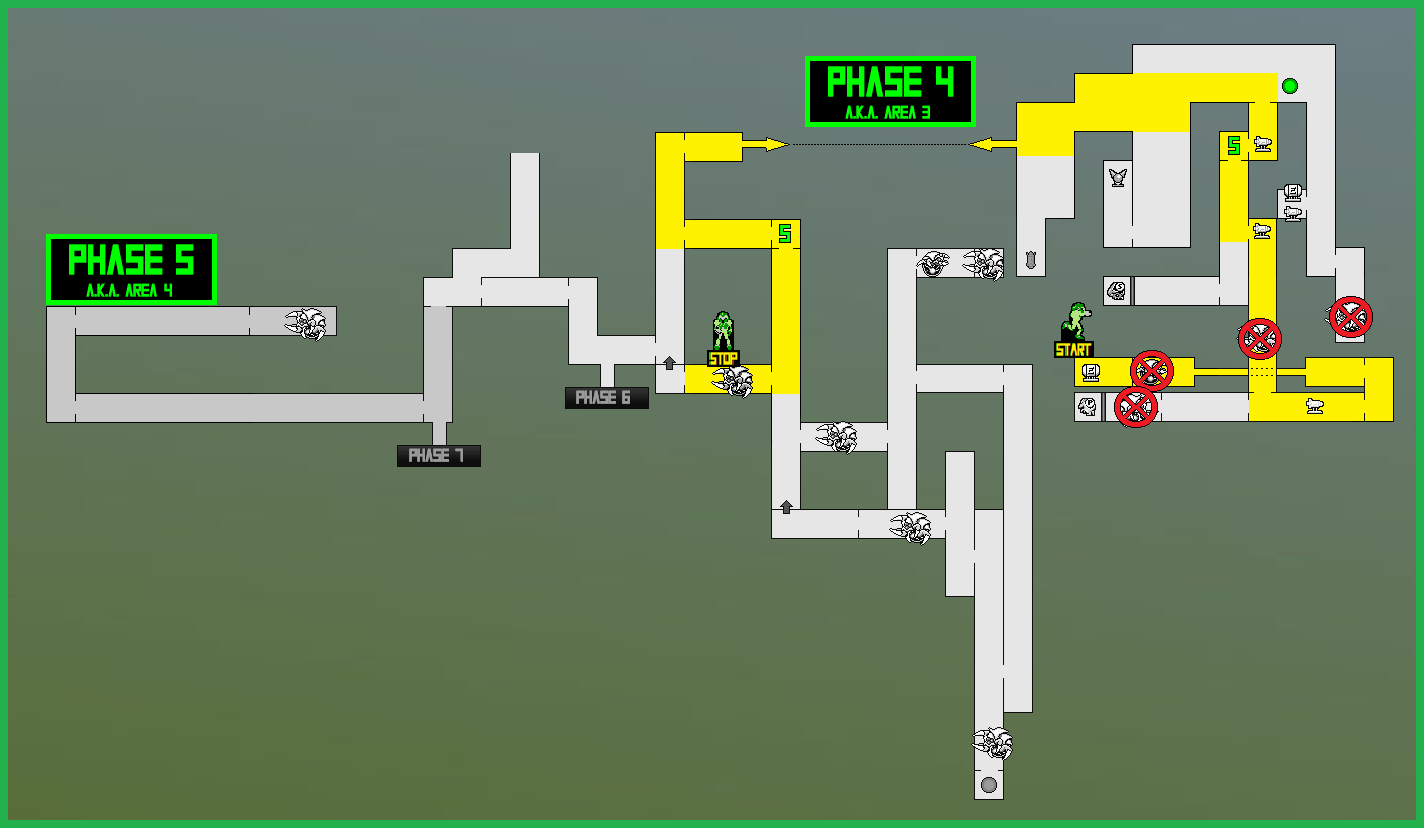
Use your Spider Ball to start climbing the side of the Complex and don’t stop until you reach the top. Press forward a bit and you’ll see another, even bigger pit of sand. Shoot the sand and drop down and you’ll see a passageway on your left; enter the Complex. Blast away a little more sand and then climb up the shaft. You’ll come face to face with a Chozo Statue housing one of your most crucial upgrades – the SPACE JUMP!
Now, for any newcomers that may be playing Metroid II for the first time are used to the more straightforward version of the Space Jump found in later games, I’d probably recommend getting back outside the Complex and practicing a bit – this Space Jump is not as simple as just pressing the jump button again to activate your jump. There’s a rhythm involved, and you’ll want to wait until you’re on the descent of your jump to hit the jump button again – it’s similar to Super Metroid’s Space Jump, but a tad more cumbersome.
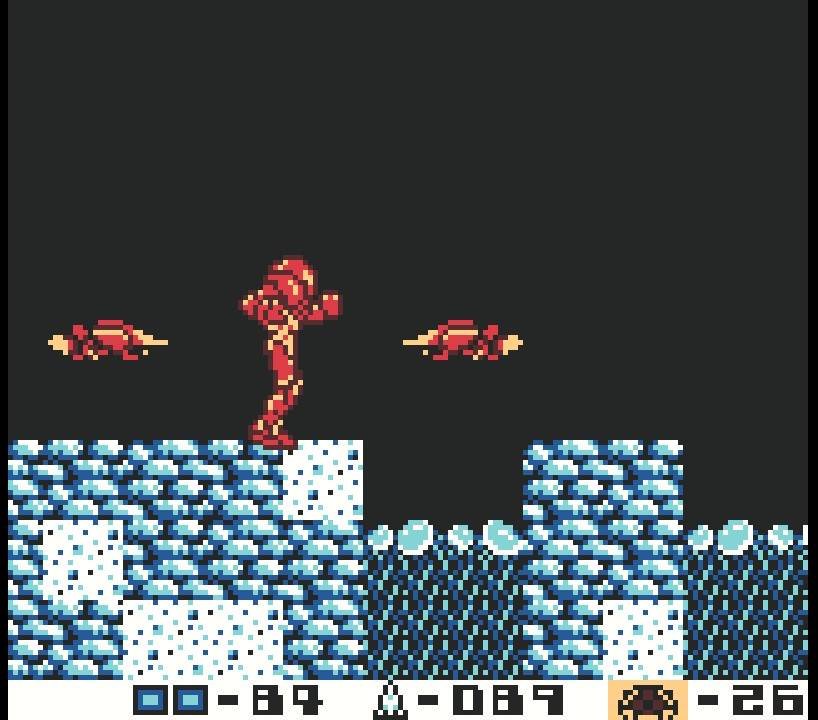
Nevertheless, exit the Complex, blast away the sand above you, and start Space Jumping up and to the right. You’ll want to get to the roof of this massive structure and start walking towards the right. Eventually, you’ll see an opening on the roof that you can drop into, but ignore it for now and press forward. When you get to the other side of the Complex, drop down and stick to the right side. There will be a bunch of robotic enemies called Proboscum’s alongside the wall and you’ll be able to stand on them for a moment before they give away. Drop down to the fourth Protoscrum and enter Morph Ball form; you’ll have about three seconds, so JUMP to the other side and use your Spider Ball to stick to the wall!
If you did that right, you’ll be sticking to the outside of the Complex and you should see a missile expansion. Roll up a bit and bomb the block covering up a tunnel that will lead you inside. Roll forwards a bit, bomb the block in your way, and jump across to grab ENERGY TANK #3! After that, drop down below where the Tank was and roll towards the right. You’ll roll directly into MISSILE EXPANSION #15! With your new goodies secured, roll out of the tunnel and drop all the way to the bottom of the Complex. Take the right passageway and enter the new room.
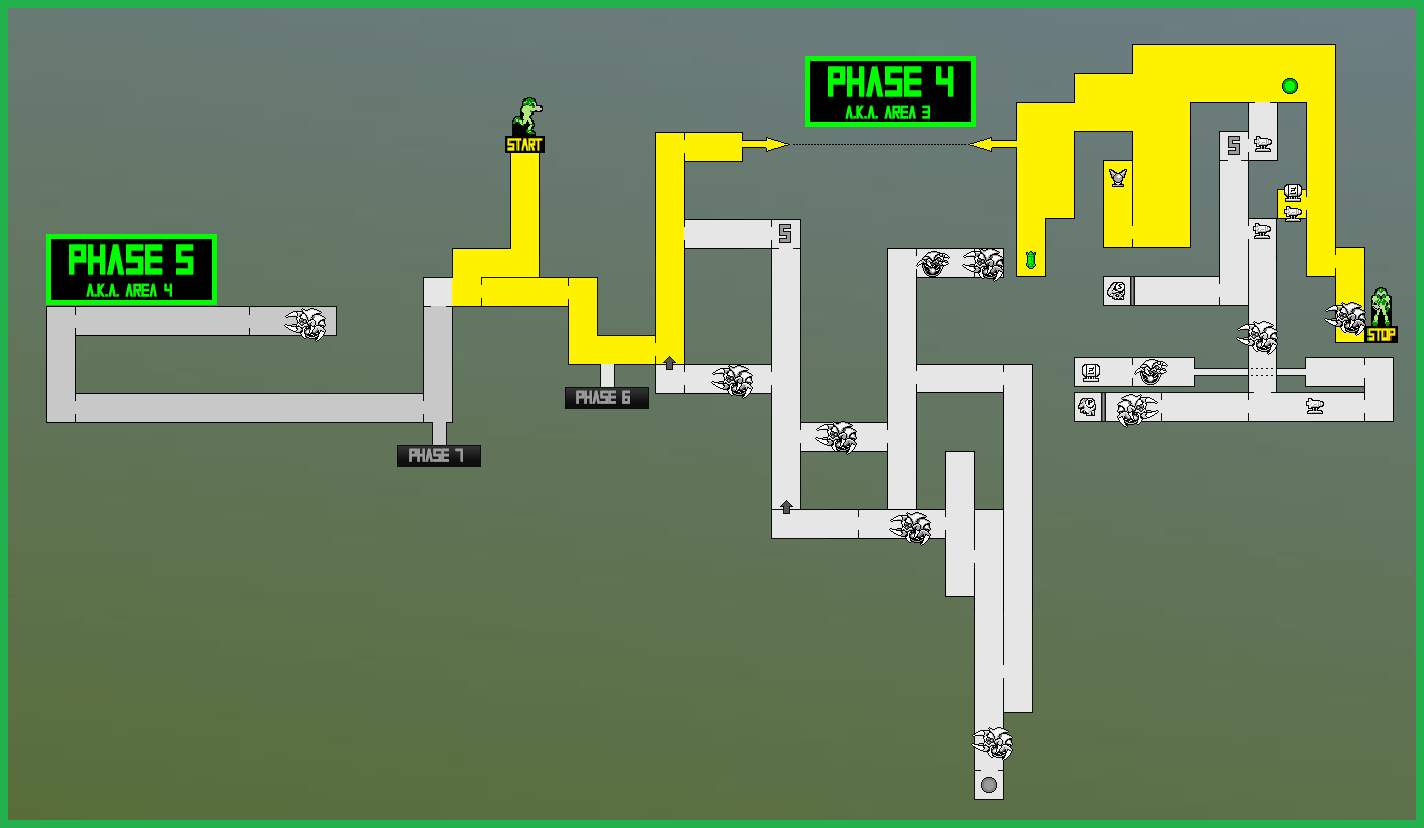
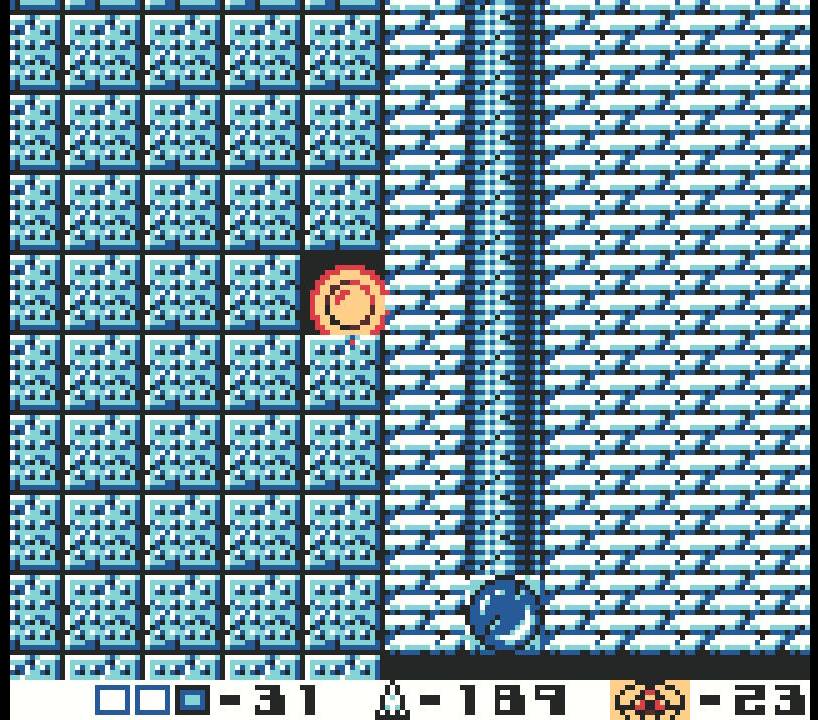
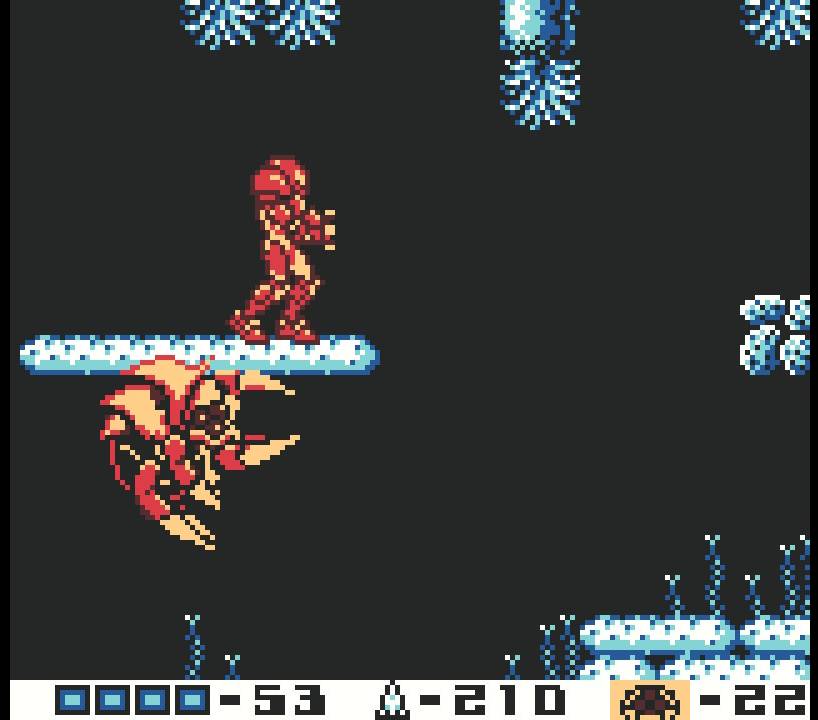
You’ll enter another shaft, so fall down, but be ready – there’s a GAMMA METROID waiting for you about halfway down! Use the verticality to your advantage and pummel the Gamma with missiles to its underside. Once this menace has been annihilated, backtrack to the top of the Complex where we saw that opening. When you’re ready, drop inside…
Space Jump Route:
Beam Weaponry
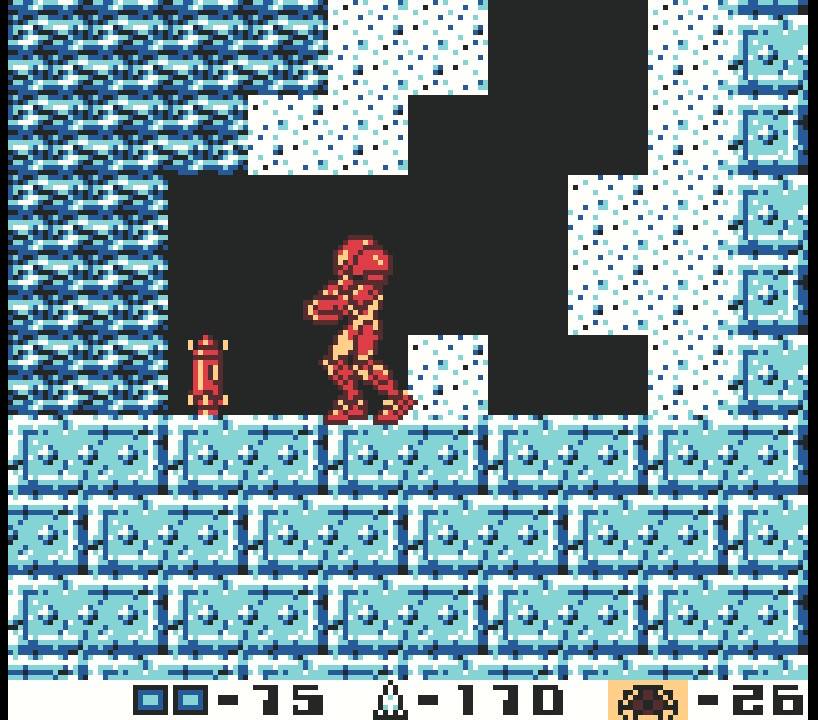
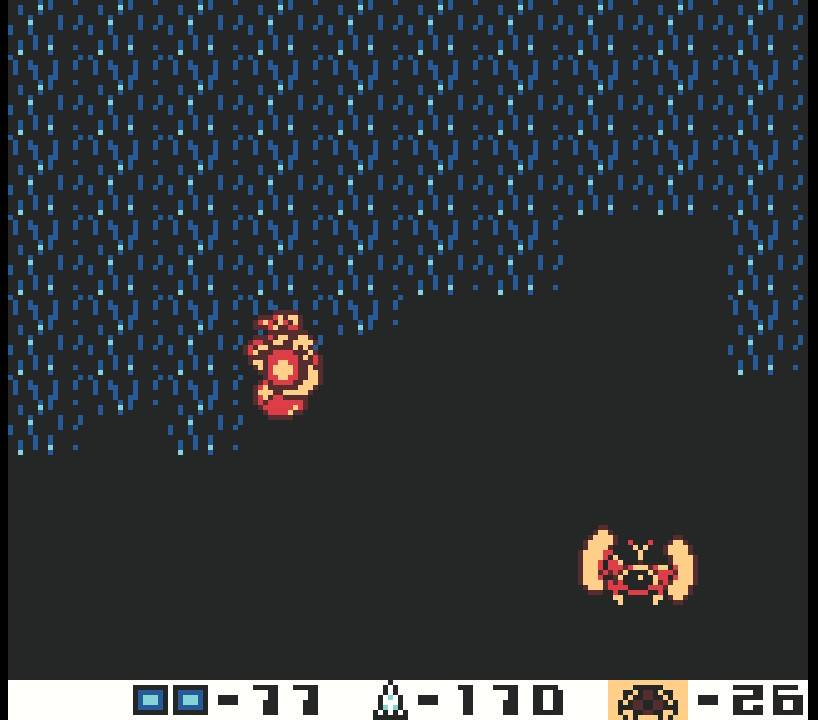
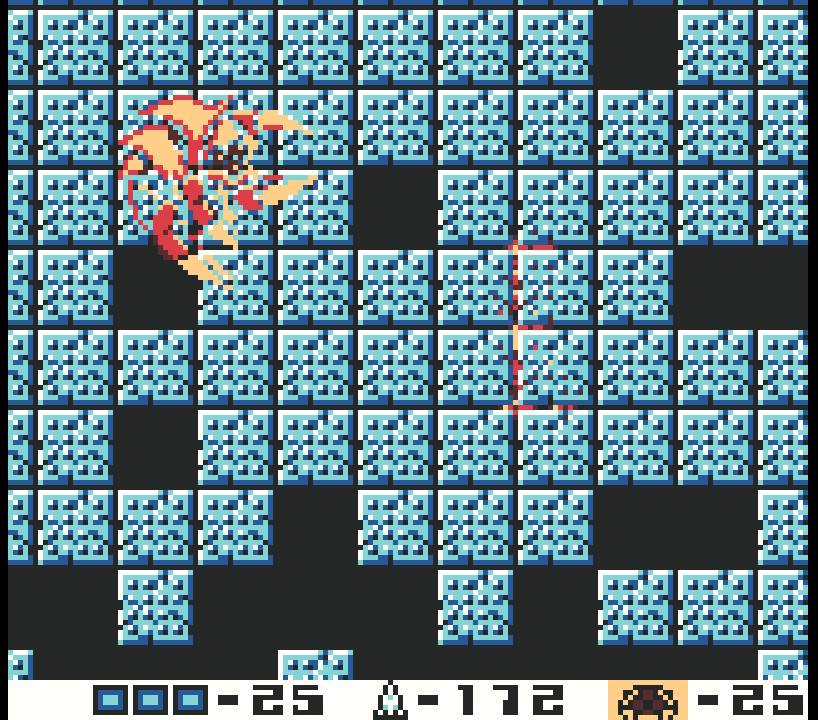
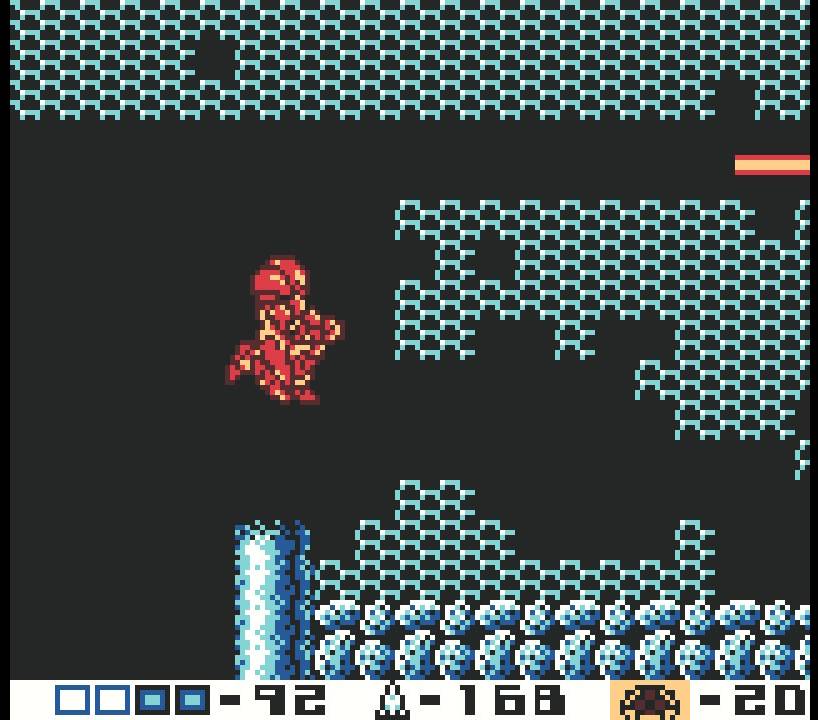
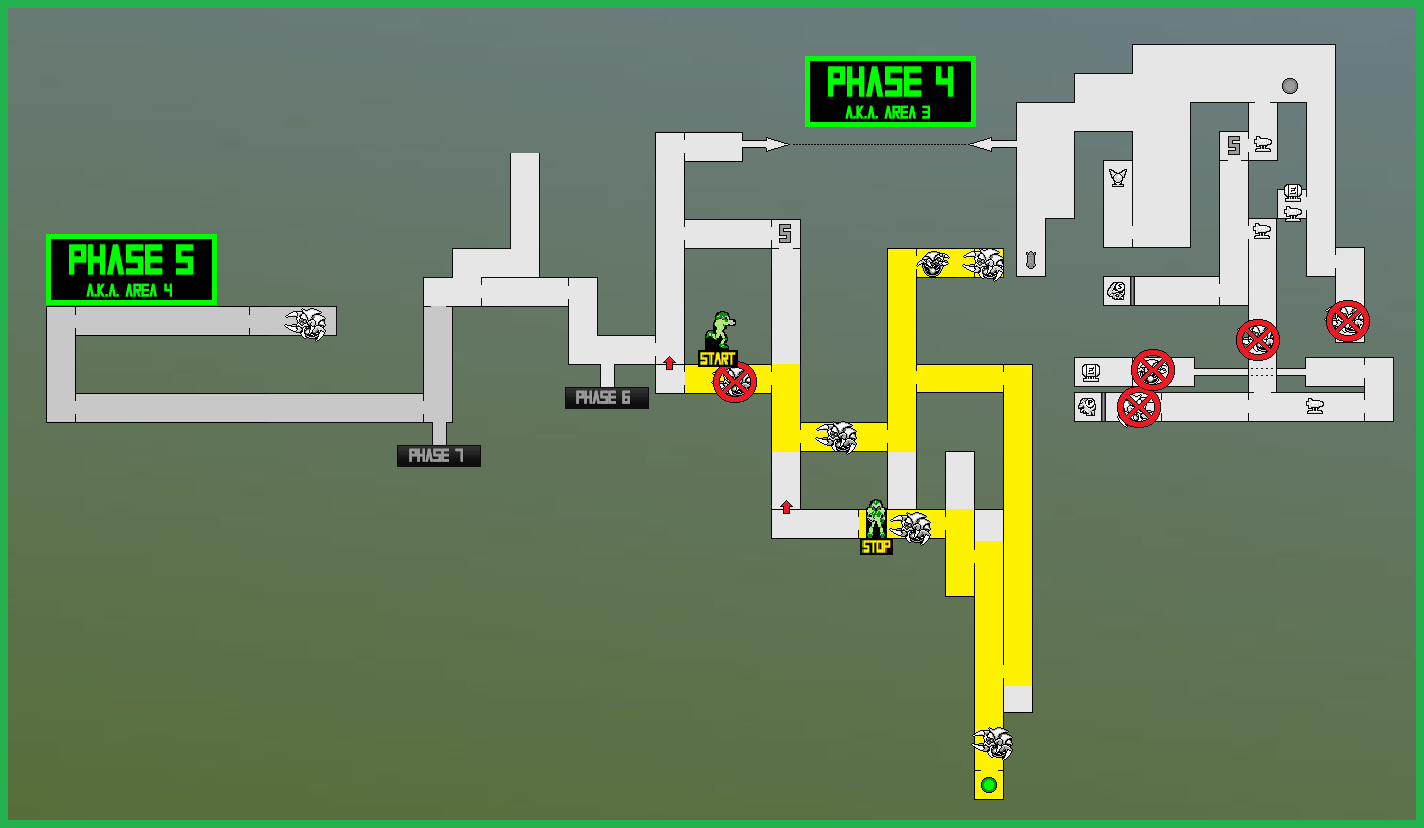
You’ll drop down into another giant pit of sand, so start shooting it so you can drop down (is it just me, or does anyone have this strange impulsive need to shoot away all of the sand? Anyone??). Near the bottom of the pit, you’ll actually uncover MISSILE EXPANSION #16 buried within the sand, so grab it and head to the left. Use the Save Station if you want, and then drop down the opening. You’ll unfortunately start falling down a shaft with no platforms and a bunch of Autrack’s firing lasers at you. This could be a rough fall, so just try and avoid the lasers as best as you can and when you finally hit the bottom, blast away the Autrack directly in front of you.
This next part is optional, but just to give you the option, once you hit the ground, you should see a passageway to the left. Enter it and then blast away all of the enemies in this new room. Press forward and you’ll see a red blast door. Blast it away with five missiles and enter the Chozo Statue room to grab the SPAZER BEAM! Like I mentioned earlier, the beams in Metroid II don’t stack unfortunately, and I’m not a big fan of the Spazer Beam in this game, but get it if you want. Don’t worry – you’ll have an opportunity to get any beam you want later in the game!
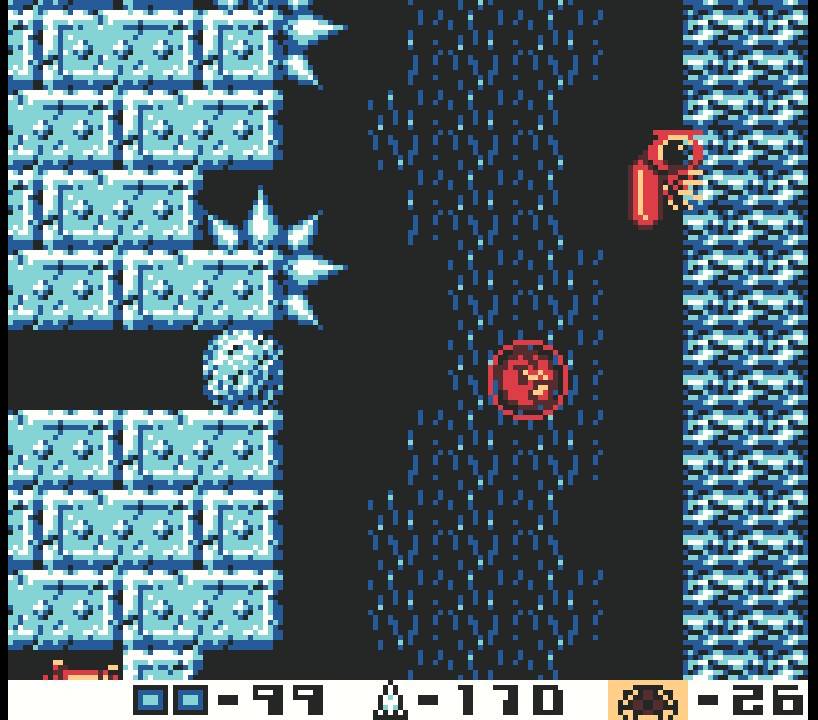
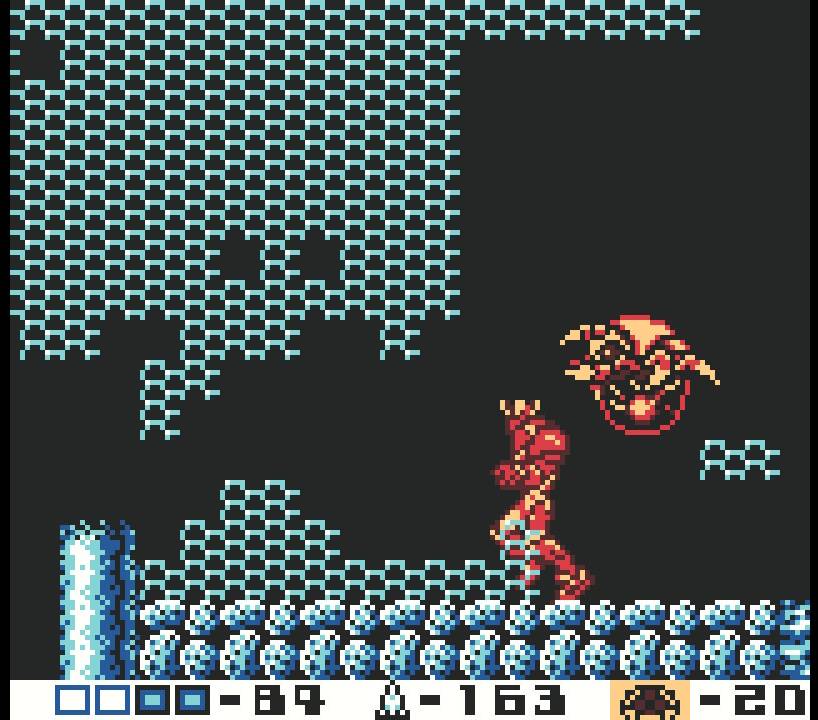
Make your way back to the Autrack shaft and then take the entrance about halfway up on the right side. You’ll get into the new room and pretty much start falling right away, and guess what – you’ll have a GAMMA METROID all over you in seconds! Once you land and get your bearings, make sure this Metroid eats its vitamins and says its prayers – AND BY THAT I MEAN feed it missile-shaped vitamins and ignore its prayers for mercy. Once you’ve destroyed it, jump to the top of the room and use your Spider Ball to stick to the roof. Lay a bomb and you’ll be able to slip into the top portion of the room, where a hidden tunnel on the left wall will lead you right to MISSILE EXPANSION #17!


Once you’ve grabbed that, drop to the bottom of the room and shoot the sand in the center of the room to drop down even further. When you land, you’ll be in a big hallway. Start off by heading to your left. In this new room, you’ll immediately be confronted by a GAMMA METROID, and I don’t know if it’s the layout of this room, but I always seem to struggle with this particular Gamma. Eliminate this Metroid and press forward into the next room. Destroy the Autoads hopping around and go through the red blast door. There will be a Chozo Statue holding the most powerful beam in the game – the PLASMA BEAM! This beam is more powerful than the Wave Beam, but its range of attack is more narrow, so pick whatever beam you want and exit back to the right.
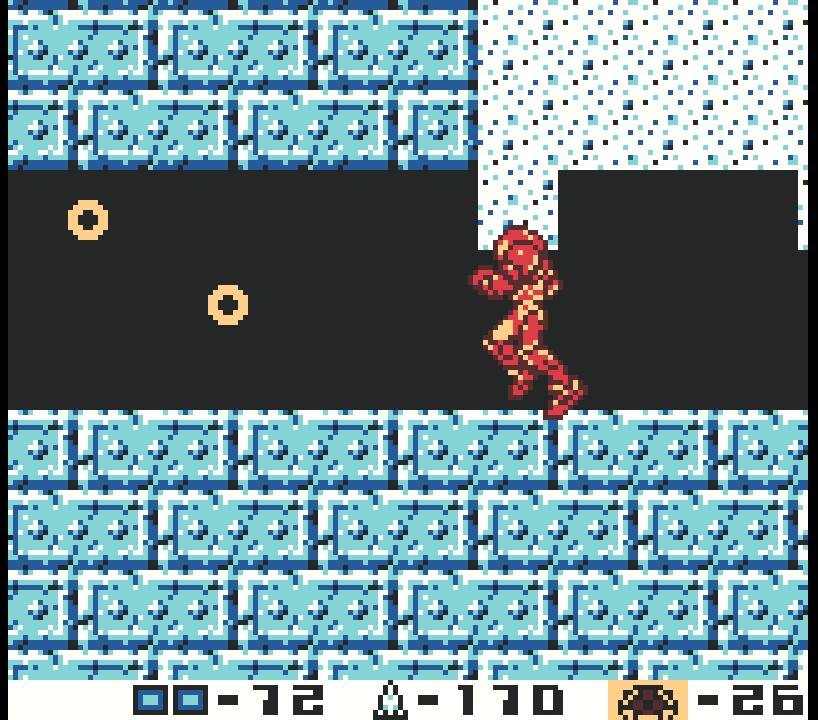
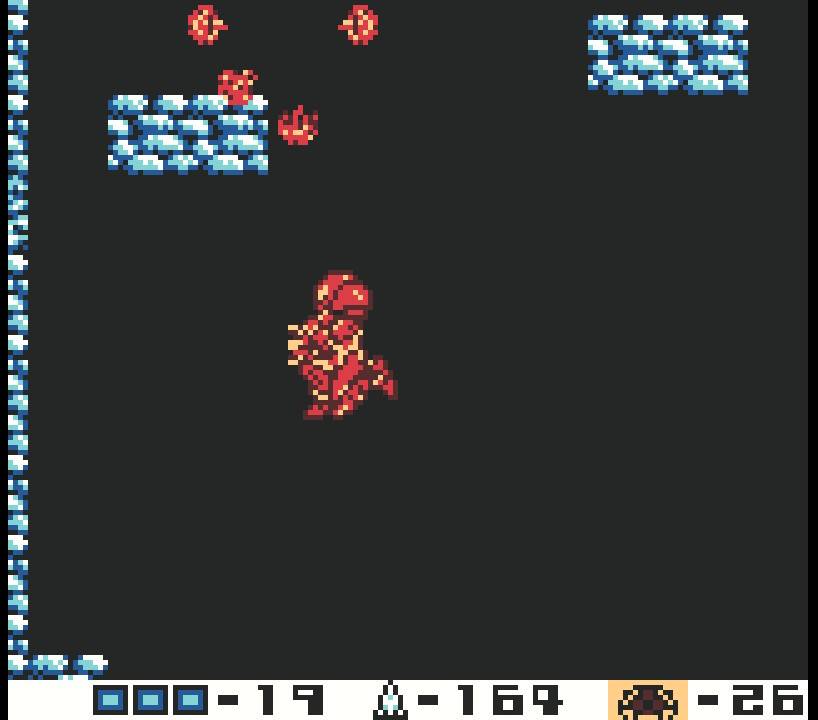
Go back to where you landed and you’ll see a Metroid husk buried in the sand. Walk forwards a bit and you’ll see MISSILE EXPANSION #18 just sitting there for the taking! Grab it and continue forwards, eventually going through the righthand passageway. This next room can be tricky – you’ll need to Space Jump your way upwards, and there are spikes on each side of the wall, so your jumps will need to be short and concise. Once you get to the top, you’ll need to avoid the flame-spitting Autom and eliminate the mechanical Gunzoo. Press forward until you reach the far wall.
Morph down and jump up and you’ll sneak into a hidden tunnel on the upper left side. Lay a few bombs and you should open up a tunnel that will take you rolling towards the left. Keep on rolling through until you pop out on the other side, where you will be confronted by an ALPHA METROID. Derezz it and keep pressing forward. You’ll be in a new room with a couple of openings that you can sneak through. Your reward at the top will be ENERGY TANK #4!
That’s it for things we need to do inside the Complex, so make the long, long journey back outside. Once you’re there, press forward to get yourself back to the very very first shaft in this Phase (the one we took the top entrance of, where we skipped the middle. As always, follow the routes below, and when you’re there, we’ll continue!
Beam Weaponry Route:
Beam Weaponry Part 2 Route:
Metroids in the Complex
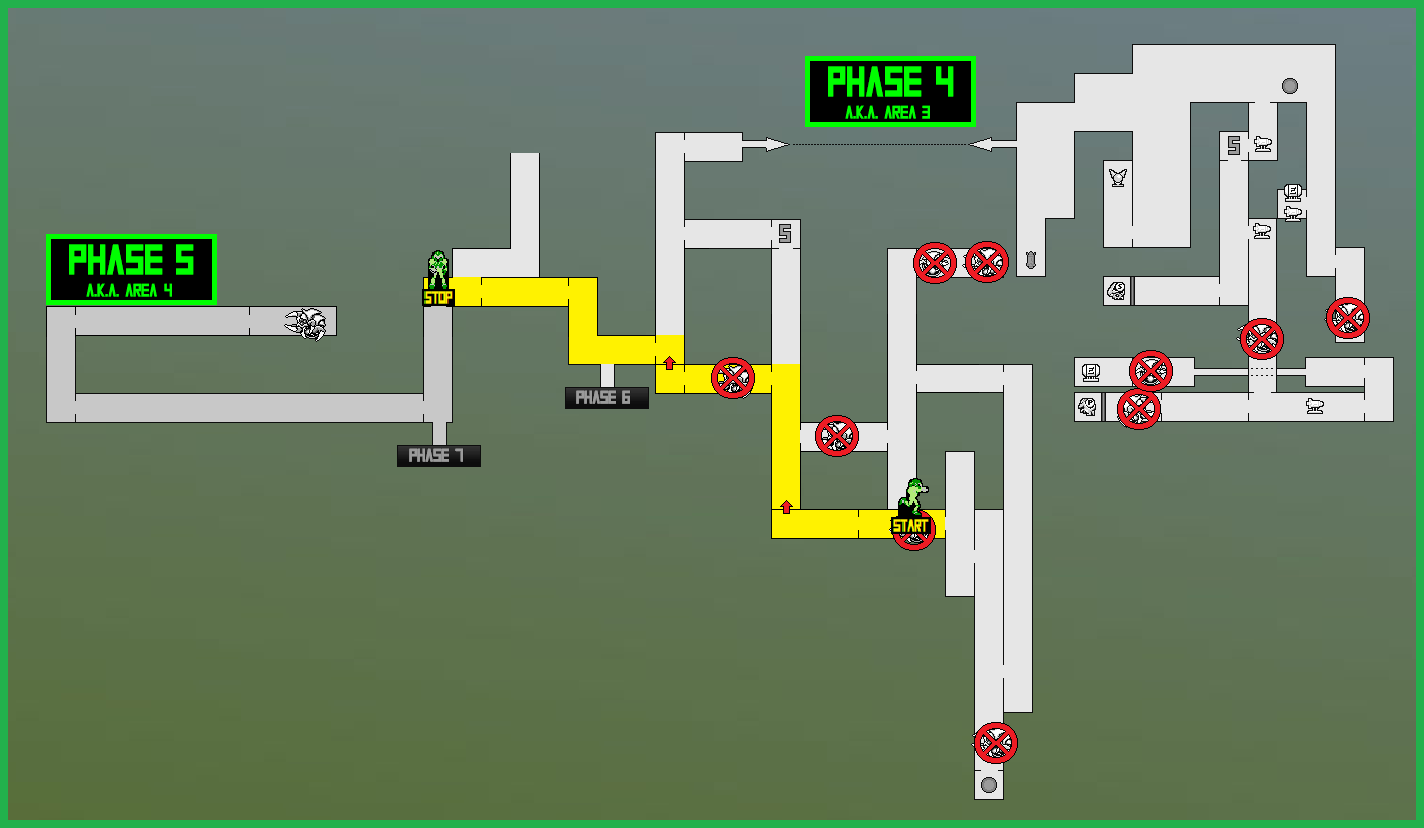
Next up: eliminating the remaining Metroids in the tunnels around the Complex! There are several Gamma Metroids scattered throughout, so it wouldn’t be the worst idea to top off your missiles. Just so you know, there are no powerups left to distract us with, so this section might seem a little light as we’re pretty much just marching from Metroid to Metroid, but I’ll do my best! Once you’re back in the original shaft we started this Phase in, drop down and take that middle passageway. Use the Save Station at the far end and then drop down!
This is the first of several incredibly long vertical shafts underneath the Complex, so fall for a while and take your first passageway on the left. You’ll see a bunch of vines and sharp plants around, so navigate around them and walk forward a bit, past the Metroid husk. A GAMMA METROID will spawn and confront you, so do your thing and destroy it. Leave and exit the way you came in, and continue to drop down the shaft.
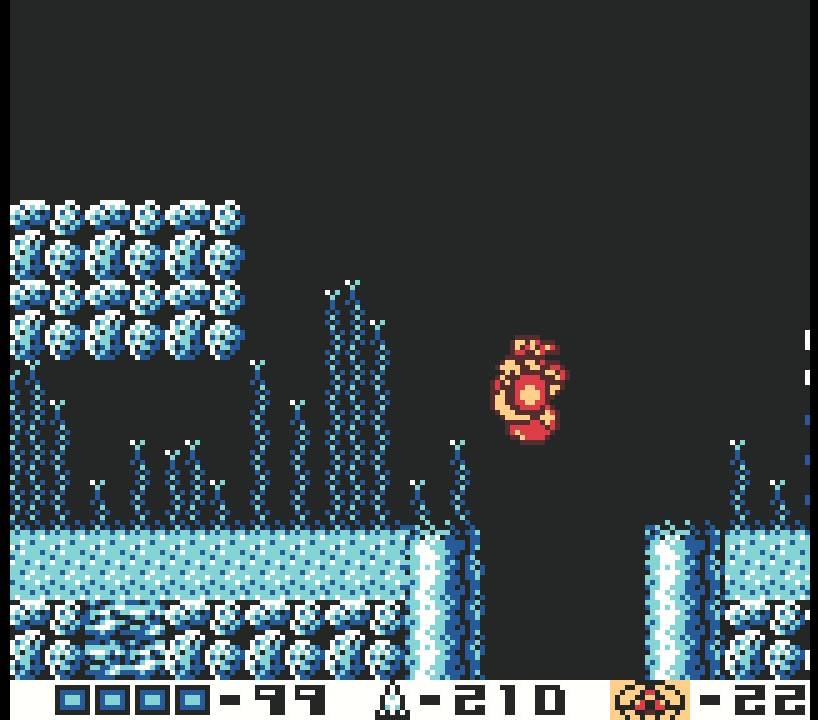
Just below where you just came from is another passageway, this time on the right side. Enter it and get ready to dance with another GAMMA METROID. Show it ya moves and then, once it’s been destroyed, lay some bombs at the walkway just after the entrance to drop below. Walk ahead and enter the new room to your right. This is another long vertical shaft with multiple small platforms for you to stand on. You’ll want to climb up to the very very top – once again, we’re skipping past the middle entrance. You’ll see another Metroid husk at the top, so when you get there, jump up into the upper room.
This room has a weird kind of… webbing(?) everywhere that will impede your missiles. The Wave Beam will come in handy here, but the Plasma Beam will also do a decent job of getting rid of the webs. You’ll want to clear as much of the webbing as you can, because almost right away, you’ll encounter an ALPHA METROID! The webbing will respawn, so you’ll want to finish this Alpha off quickly. Once you’re done, Morph down and Spider Ball it up the right side of the wall until you see an opening in the roof. Enter the tunnel and roll into the new room.
You’ll see another Metroid husk on the ground, which you might be tempted to walk past, but wait! Jump on top of the husk and you’ll actually fall through it into a secret tunnel! Roll through and you’ll find yourself in another room full of webbing and, unfortunately, a GAMMA METROID. The webbing and small space will make this fight tougher than the average Gamma fight, but you should have learned a thing or two by now about the best way to bring these Metroids the pain, so finish it off as quickly as you can.
Backtrack to the vertical shaft and take the middle entrance we skipped over earlier. Walk straight through the new room into the next and you’ll find yourself in – you guessed it! – another long, vertical shaft! There’s not much to do in this shaft, so just drop to the very bottom and take the left passageway. This new room you’ll enter is – all together now! – yet another long, vertical shaft, although, you’ll want to be on your guard, since there is a GAMMA METROID waiting for you at the bottom. You’ll need to get under it, and you’ll need to watch out for the spiky plants at the bottom. This is another tougher-than-average Metroid, but just get through it any way you can. Once the Gamma is destroyed, drop to the very bottom of the room and use the Energy Refill tucked away in the right side tunnel. Once you’re healed up, climb back up and take the leftside passageway.
I’m going to say what type of room this new room is, since you already guessed I’m sure, but once there, scale up and take the leftside passageway yet again. You’ll enter a new room and immediately hear that familiar Metroid battle theme as a GAMMA METROID steps up to the plate to try and take you down! Walk forward a bit and jump straight through the Metroid husk; handle your business with the Gamma Metroid, and once its defeat is secured, you’ll hear the familiar sounds of earthquakes on SR388!
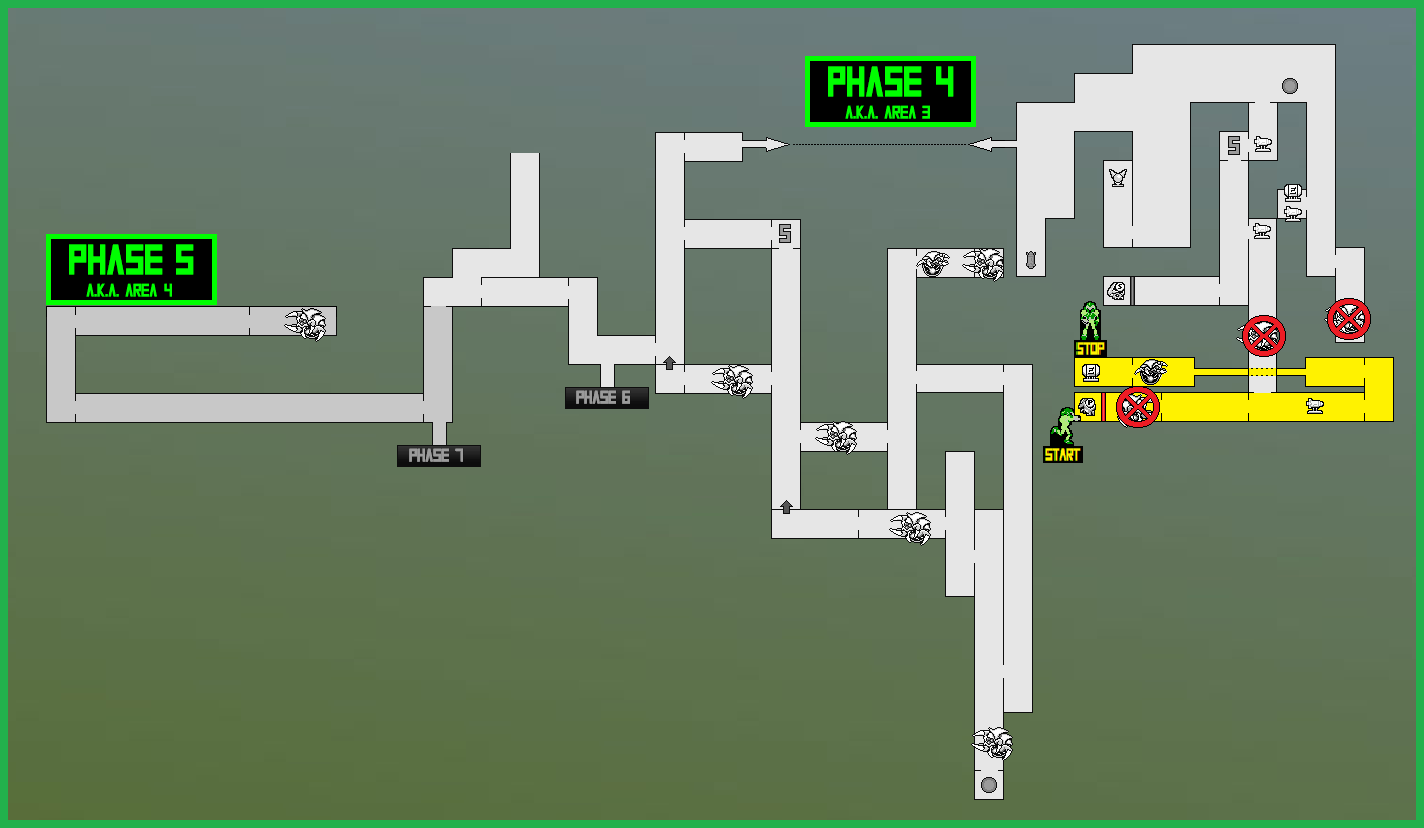
Utilize the one way traversal points to quickly get back to the entrance of Phase Four (use the routes!) and buckle up – things are only getting more dangerous from here!
Metroids in the Complex Route:
Metroids in the Complex Part 2 Route:
Phase 4 to Phase 5 Route:
Next Chapter: The Tower – Zeta Metroids