


Metroid Prime Walkthrough – Ghosts & Gravity
WALKTHROUGH
- Frigate Orpheon
- Planet Tallon IV
- The Ruins Come Alive
- Fire & Ice
- Phazon Laboratory
- Ghosts & Gravity
- Space Pirate Assault
- The Entrusted One
- Artifacts in the Wild
- The Great Poison
Spider Sense
Scans in This Section
Creatures: Puddle Spore
Research: Spider Ball Track
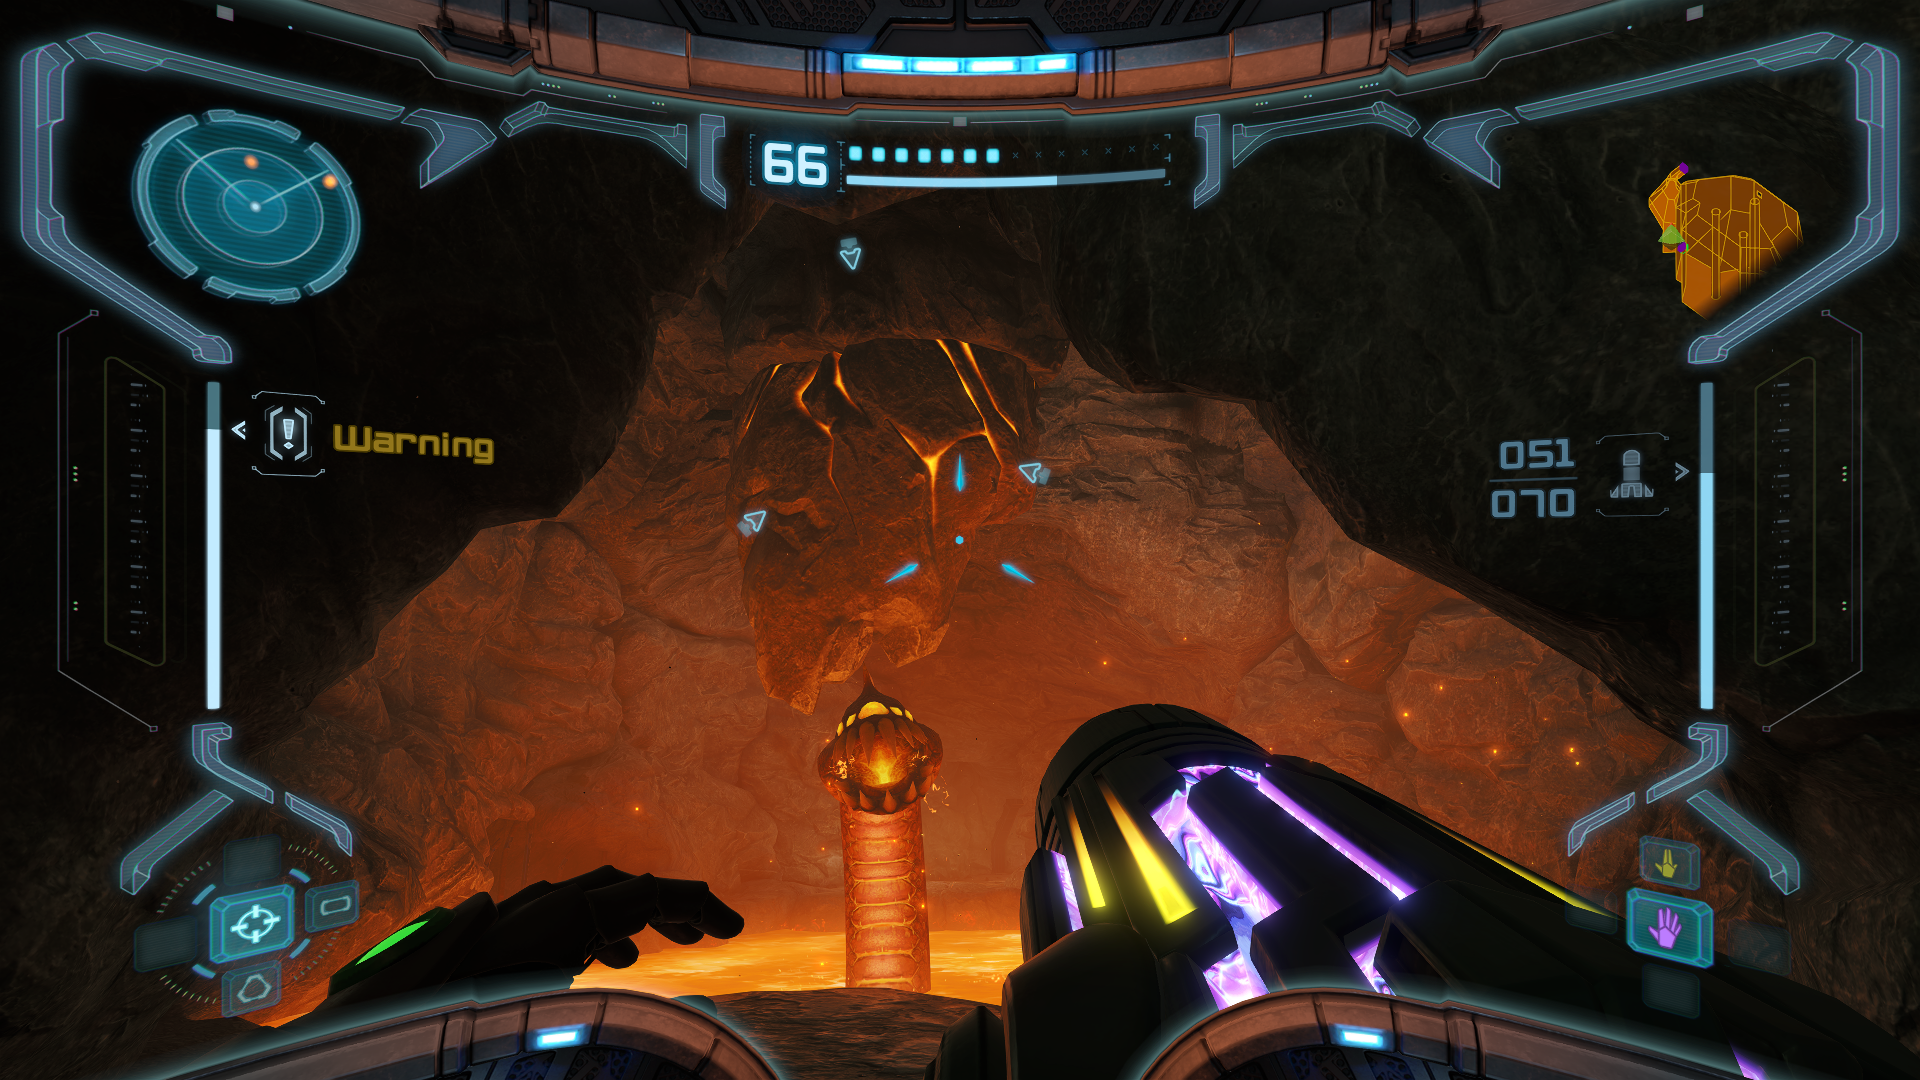
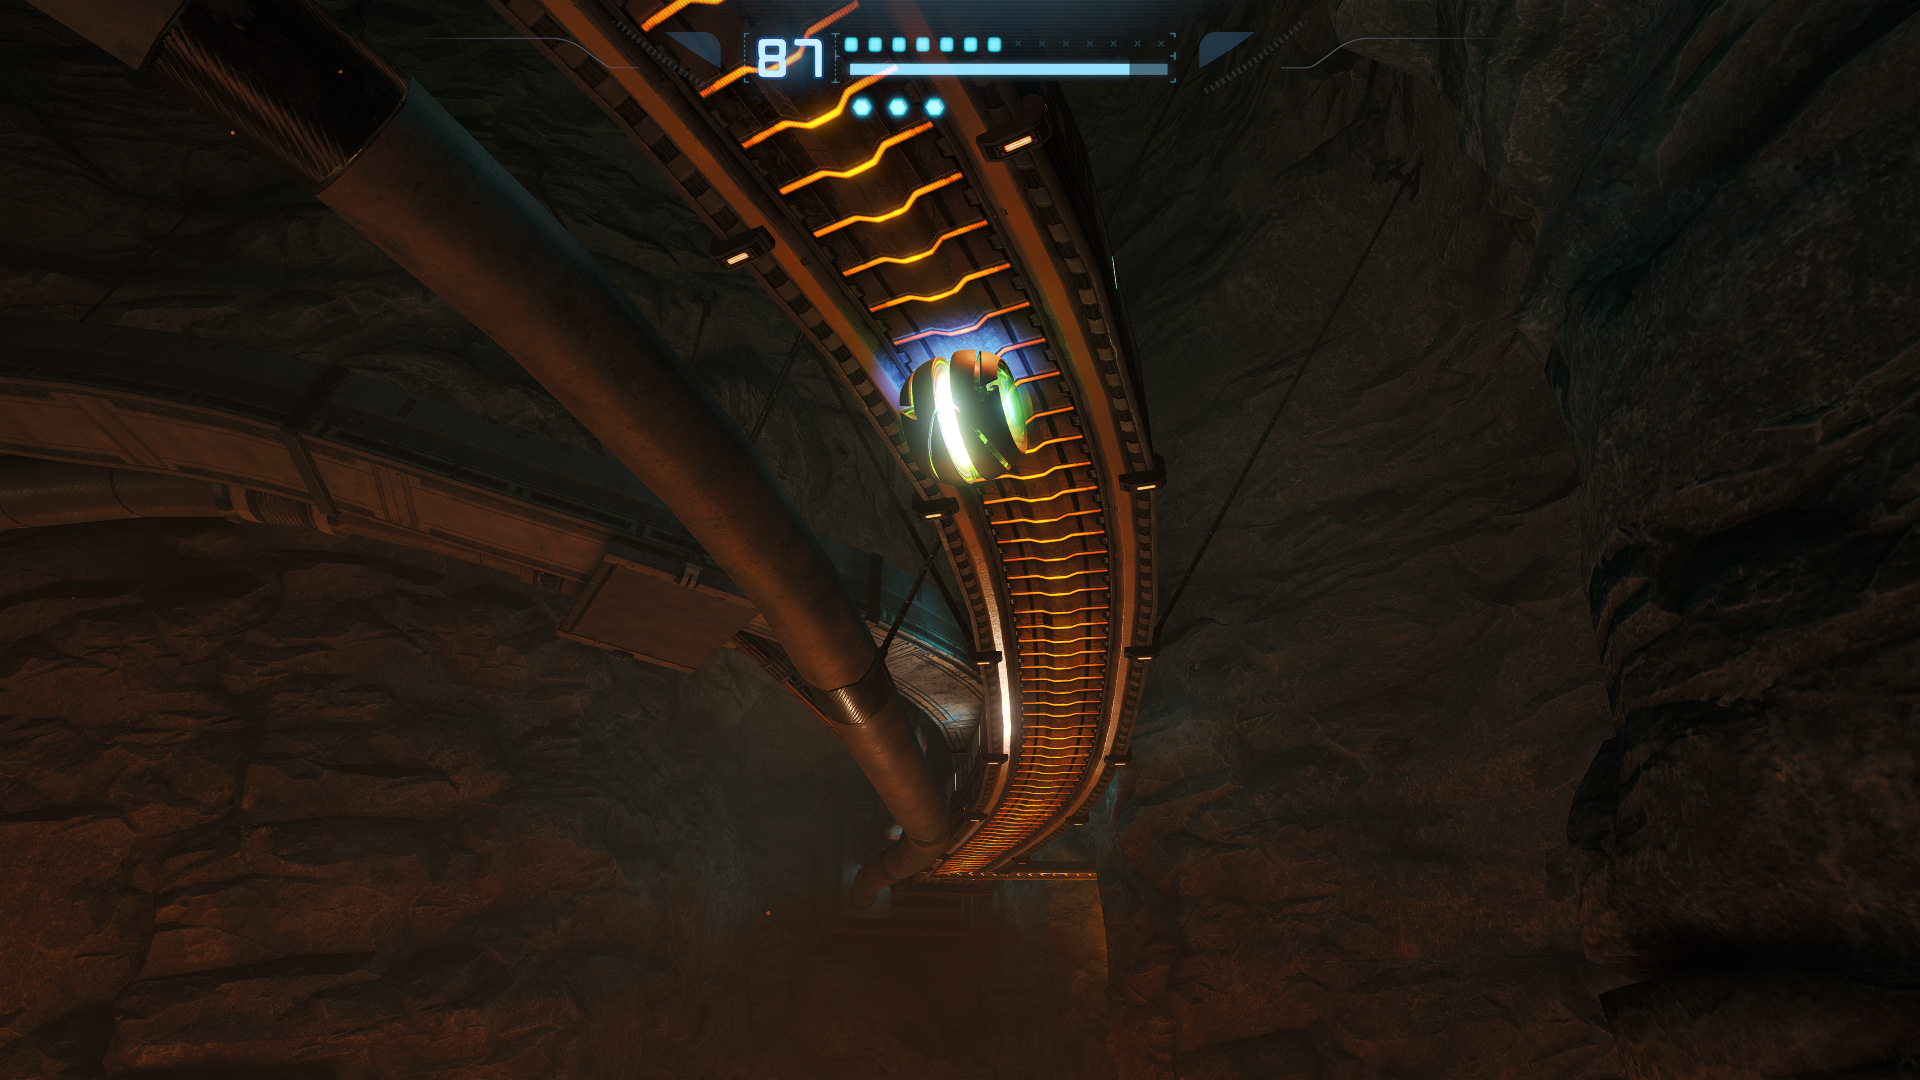
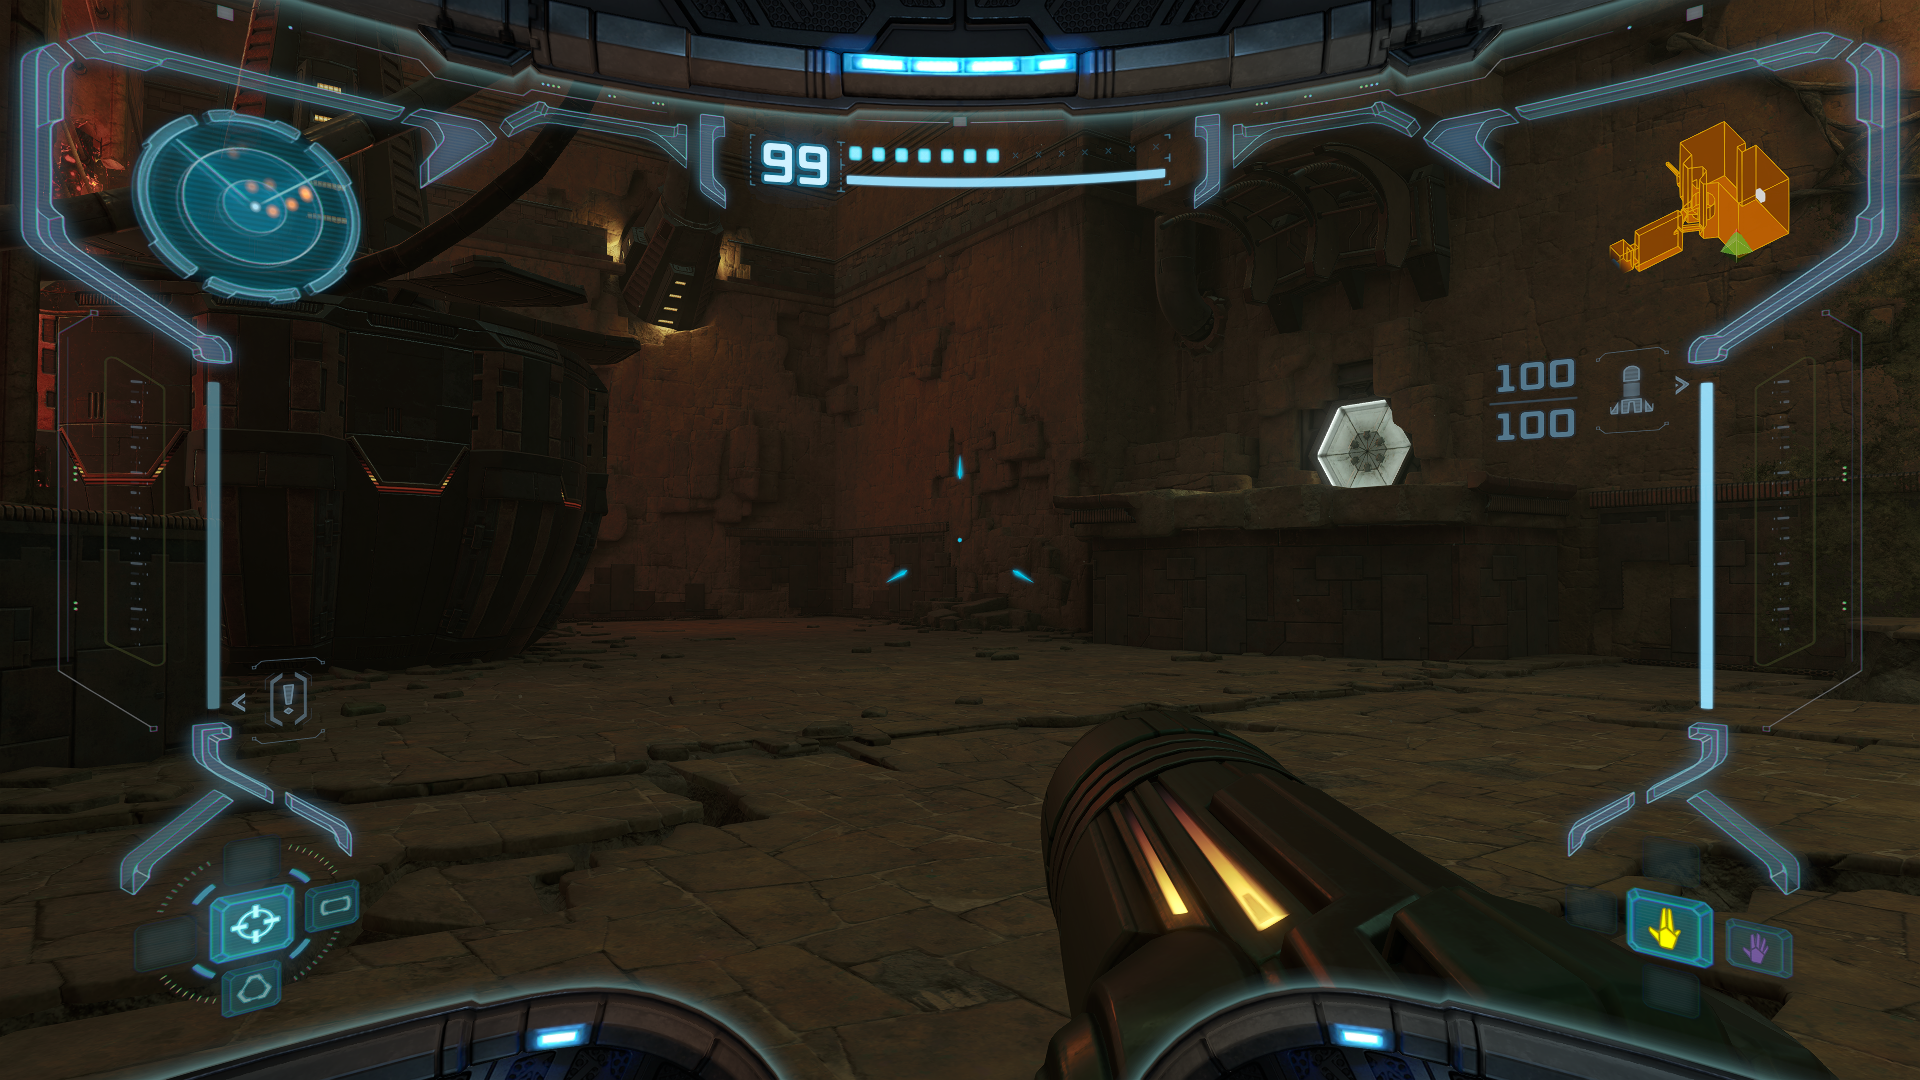
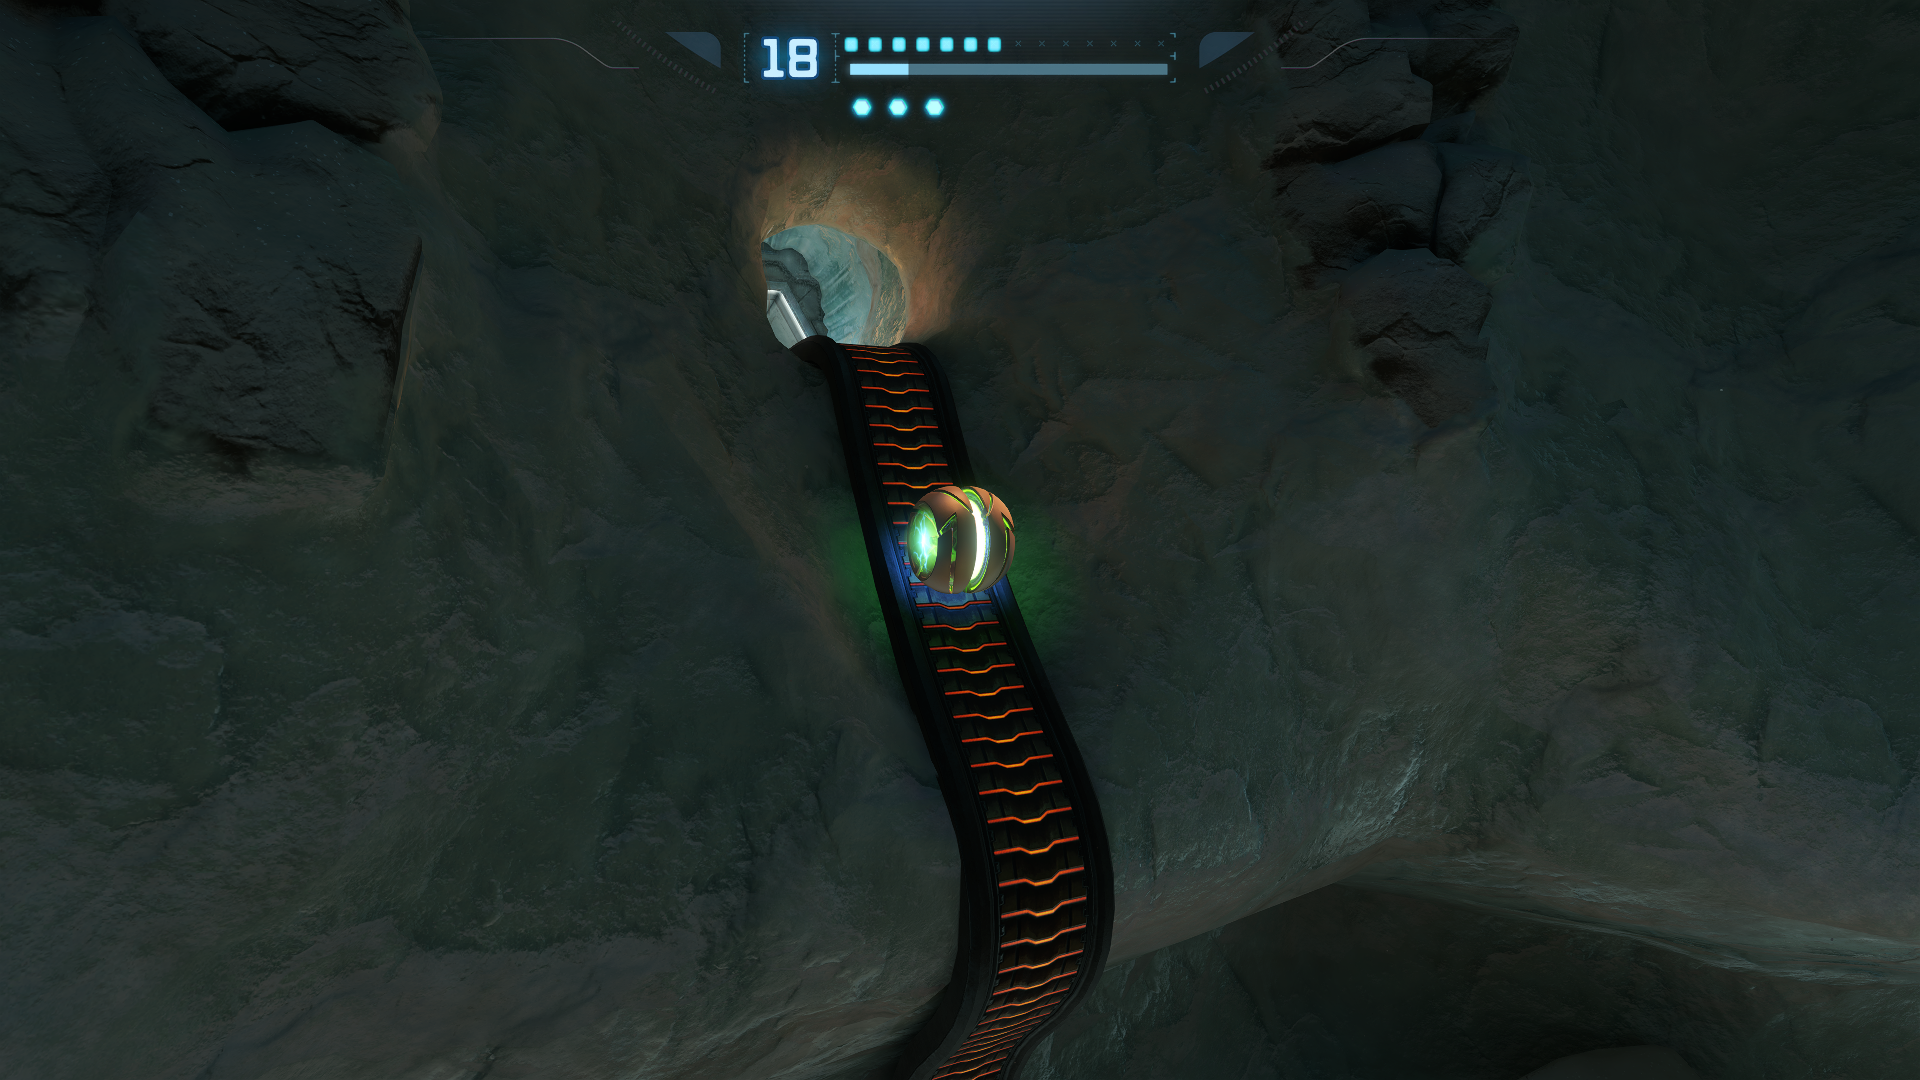
We got the Spider Ball now and it makes our Morph Ball look ABSOLUTELY SICK! But more importantly, we now have the ability to stick to the magnetic rail systems we’ve been seeing throughout our adventure. Be sure to scan one of these SPIDER BALL TRACKS before rolling to the South Quarantine Tunnel. After reaching the Transport to Magmoor Caverns South, take the elevator down. Once you arrive, there’s a Save Station behind you protected by a Blast Shield; use it if you want. Go to the Magmoor Workstation and take out the Flying Pirates, then activate your Thermal Visor to scope out three conduits that need energization from your Wave Beam.
Once the conduits have been energized, a machine will activate a series of cooling vents that harden the west magma channel in the Morph Ball passage below. Go down into the passage and take out both of the Triclops’ at the center, then roll into the cooled magma channel. At the end you’ll find a scannable terminal. Scan it to cool off the east magma channel on the opposite side. A timer will activate so be quick unless you want to take a magma bath. The east channel will have another terminal to scan, this time cooling the north magma channel, which will be to the right from where you are. Quickly get to the north channel before time runs out and you’ll be met with ENERGY TANK#7. After you grab it, the timer will stop, allowing you to exit the passage.
The Workstation Tunnel is blocked by Bendezium debris, a material that none of our current arsenal can counter at the moment. We’ll have to come back to that later, but for now go to the South Core Tunnel and scan the PUDDLE SPORE. Keep moving forward until you reach the North Core Tunnel. You’ll be met with a Magmoor, but instead of taking him head on, drop the Stalactite hanging above him for an instant kill. You’ll find yourself in the same situation on the second half of Twin Fires, so go ahead and drop it like it’s hot! At the Twin Fires Tunnel, look for a hole in the side of the wall with Spider Ball Tracks inside. These tracks are what you need to use to get to the other side of the room. In the next room is the Transport to Tallon Overworld West. Take the elevator up to Tallon Overworld, then make your way to the Transport to Chozo Ruins West which isn’t too far away from where you are.
The Wavebuster
Scans in This Section
Creatures: Plated Puffer
Once arriving at the Chozo Ruins, make your way to the Main Plaza. It’s time to collect some expansions, y’all! First open your Scan Visor and look for the section of the big tree that reads “This tree seems to be weakened due to cellular decomposition”. Fire a Super Missile at that area to reveal MISSILE EXPANSION #15. You won’t be able to reach it from the ground, so you’ll have to jump from the upper level of the plaza. While you’re on the way to the upper level, take a second to use the half-pipe and grab MISSILE EXPANSION #16. Next head to the Ruined Shrine, jump back into the pit and look for a Sandstone wall section to bomb. Follow the tunnel and it will lead you to MISSILE EXPANSION #17. BUT WAIT, THERE’S MORE! Get back to the half-pipe preceding the pit and use your Boost Ball to get to the right upper wall from where the camera is positioned. You’ll see an open Morph Ball tunnel that will take you to MISSILE EXPANSION #18. Now, boost to the opposite side of the half-pipe to find a Spider Ball Track that will take you to the Wave Beam door.
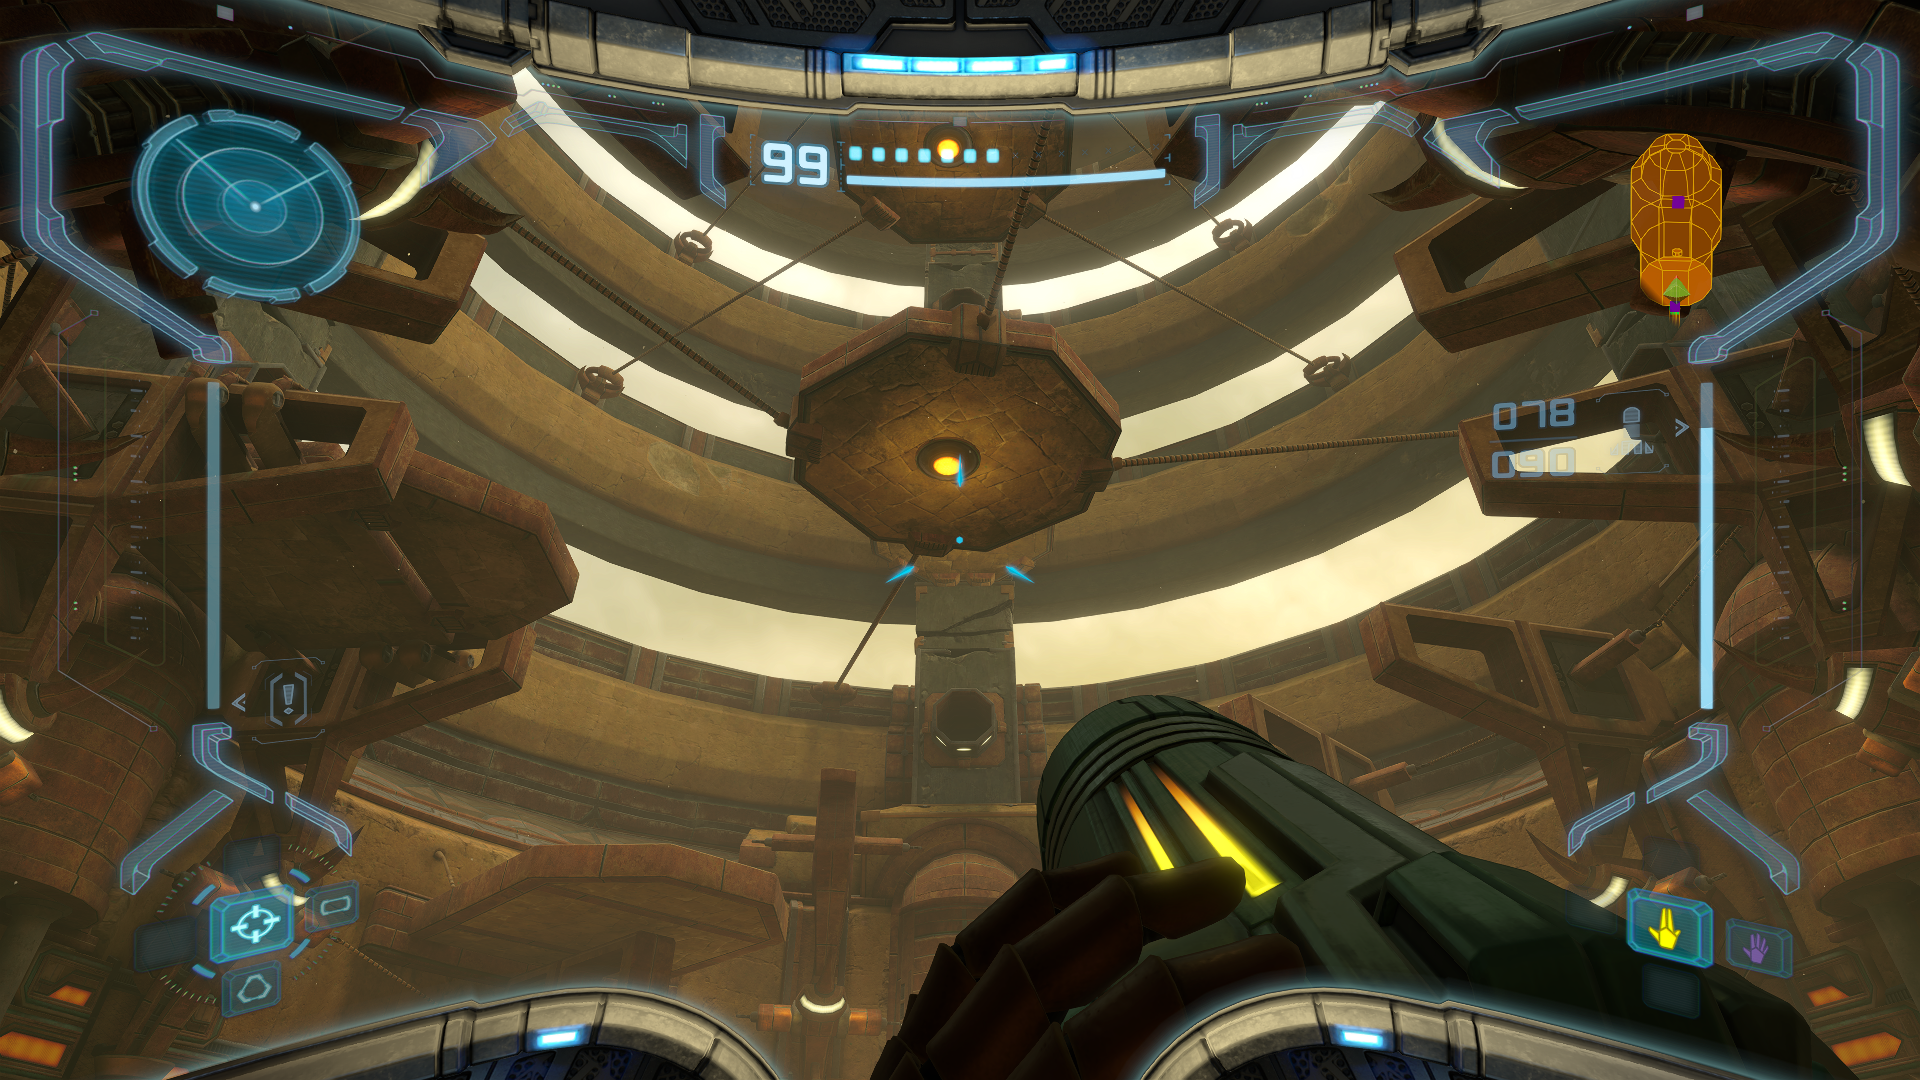
For this next section, you need AT LEAST thirty-six missiles available, or seventy-two missiles on Hard Mode. I recommend even more, preferably fully stocked, but without those minimum requirements this puzzle cannot be done and will be reset if you leave the room. Once you’re ready, enter the Tower of Light and jump around the platforms until you reach the center. You need to blast all four of the damaged Brinstone blocks located on the pillars. Use your Scan Visor to identify them if you’re having trouble making them out. Each block requires three missiles, or six on Hard Mode.
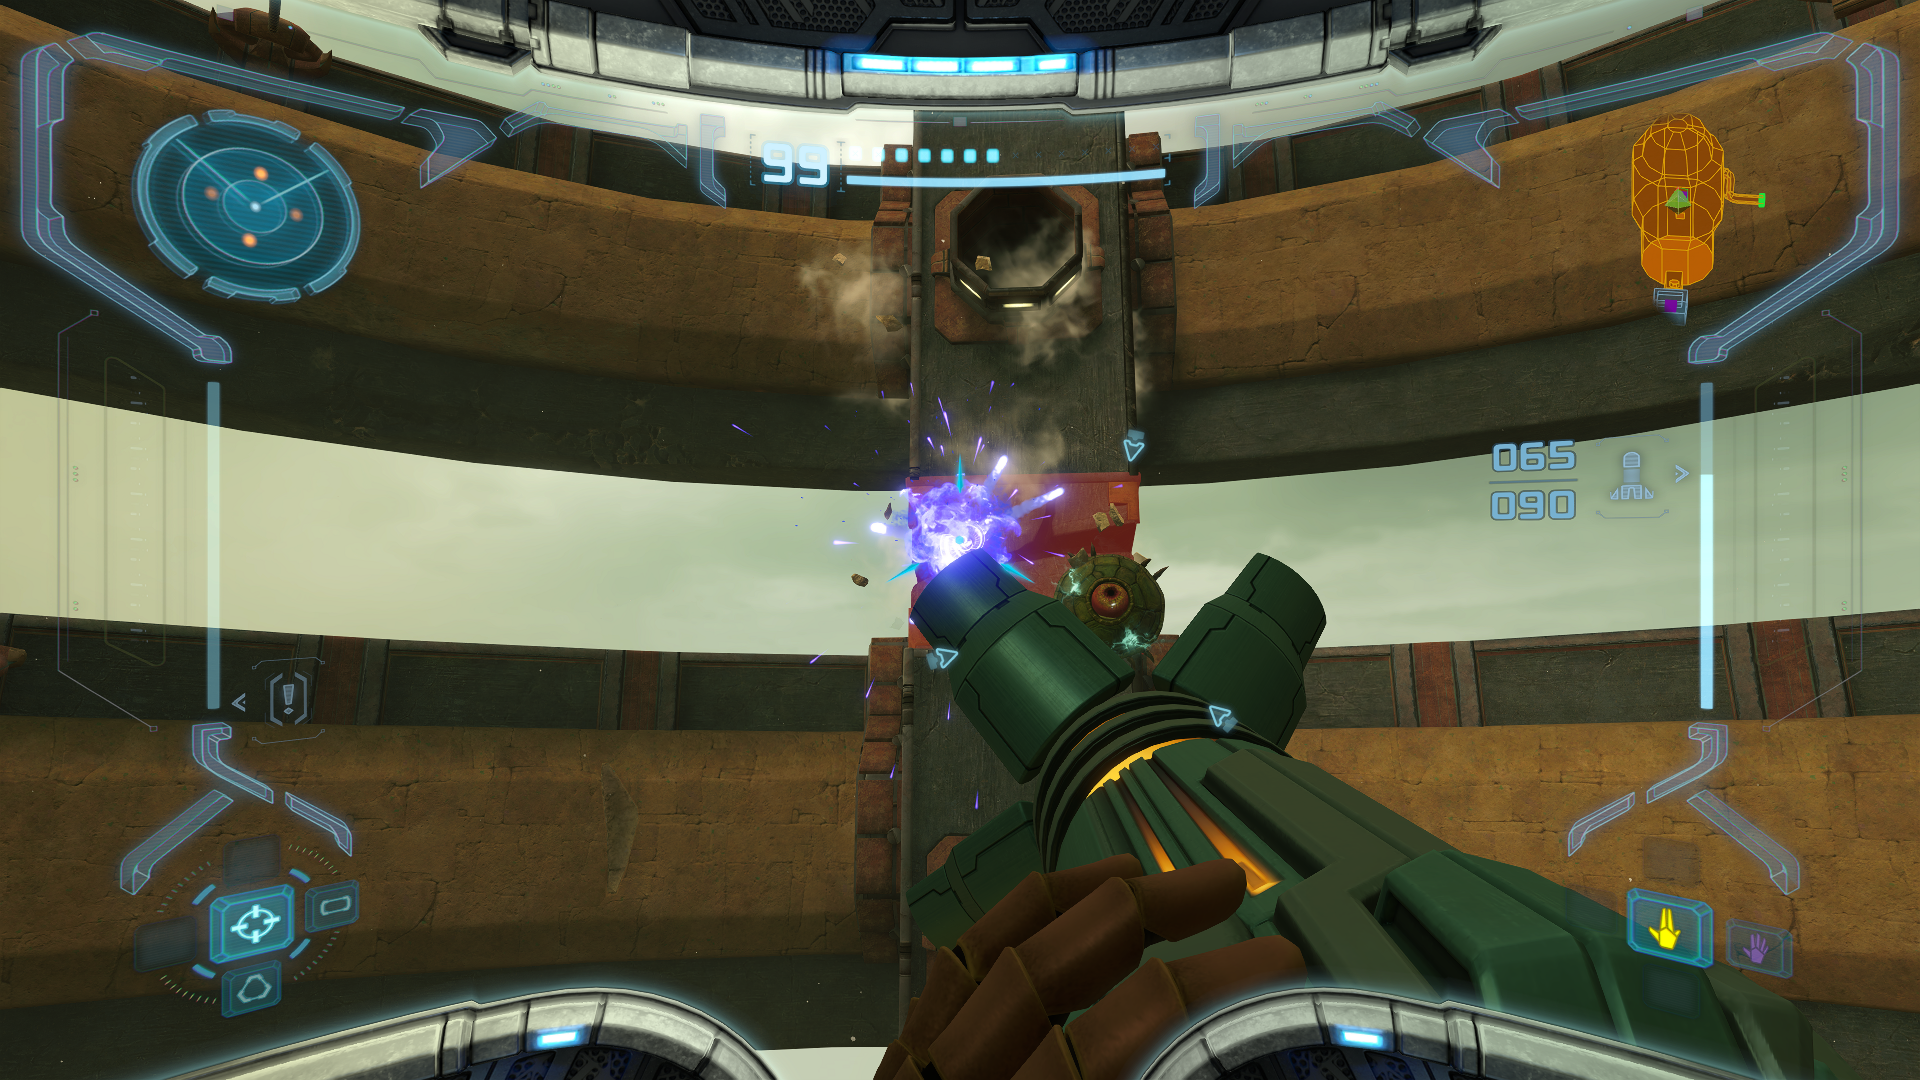
After destroying all four blocks, a cutscene will show the structure falling down a level and creating some new Brinstone fractures on the next level. After the cutscene, jump to the new platform in front of you, then turn around and scan the PLATED PUFFER that comes out of the vent. Now get to the next center platform and repeat the process, now taking account for the Oculus’ surrounding two of the blocks that can reflect your missiles. BE CAREFUL NOT TO WASTE YOUR AMMO. After destroying everything, the structure will fall down another level, revealing four more fractures, this time all filled with Oculus’. After taking out this final series of fractures, jump up to the new set of platforms and into the warm embrace of the WAVEBUSTER.
The Ice Beam
Scans in This Section
Chozo Lore: Great Poison, Worm, Cradle, Infestation, Shapeless
Creatures: Plated Parasite, Chozo Ghost
Research: Missile Station
Make your way to the Ruined Fountain and you’ll find out it isn’t so ruined anymore thanks to the work you did earlier on Flaahgra. Go inside the fountain, roll into Morph Ball, and hold the Spider Ball button. The fountain will shoot you upwards onto a Spider Ball Track which you can take to a hidden alcove holding MISSILE EXPANSION #19. From there, make your way to the Gathering Hall. Once there, jump to the very top of the room. Right before entering the door, you should see a couple of glowing red cylindrical lights that almost look like lava lamps. Use those as a perch to get to an upper platform above. Lay a bomb at the Sandstone gate and collect MISSILE EXPANSION #20.
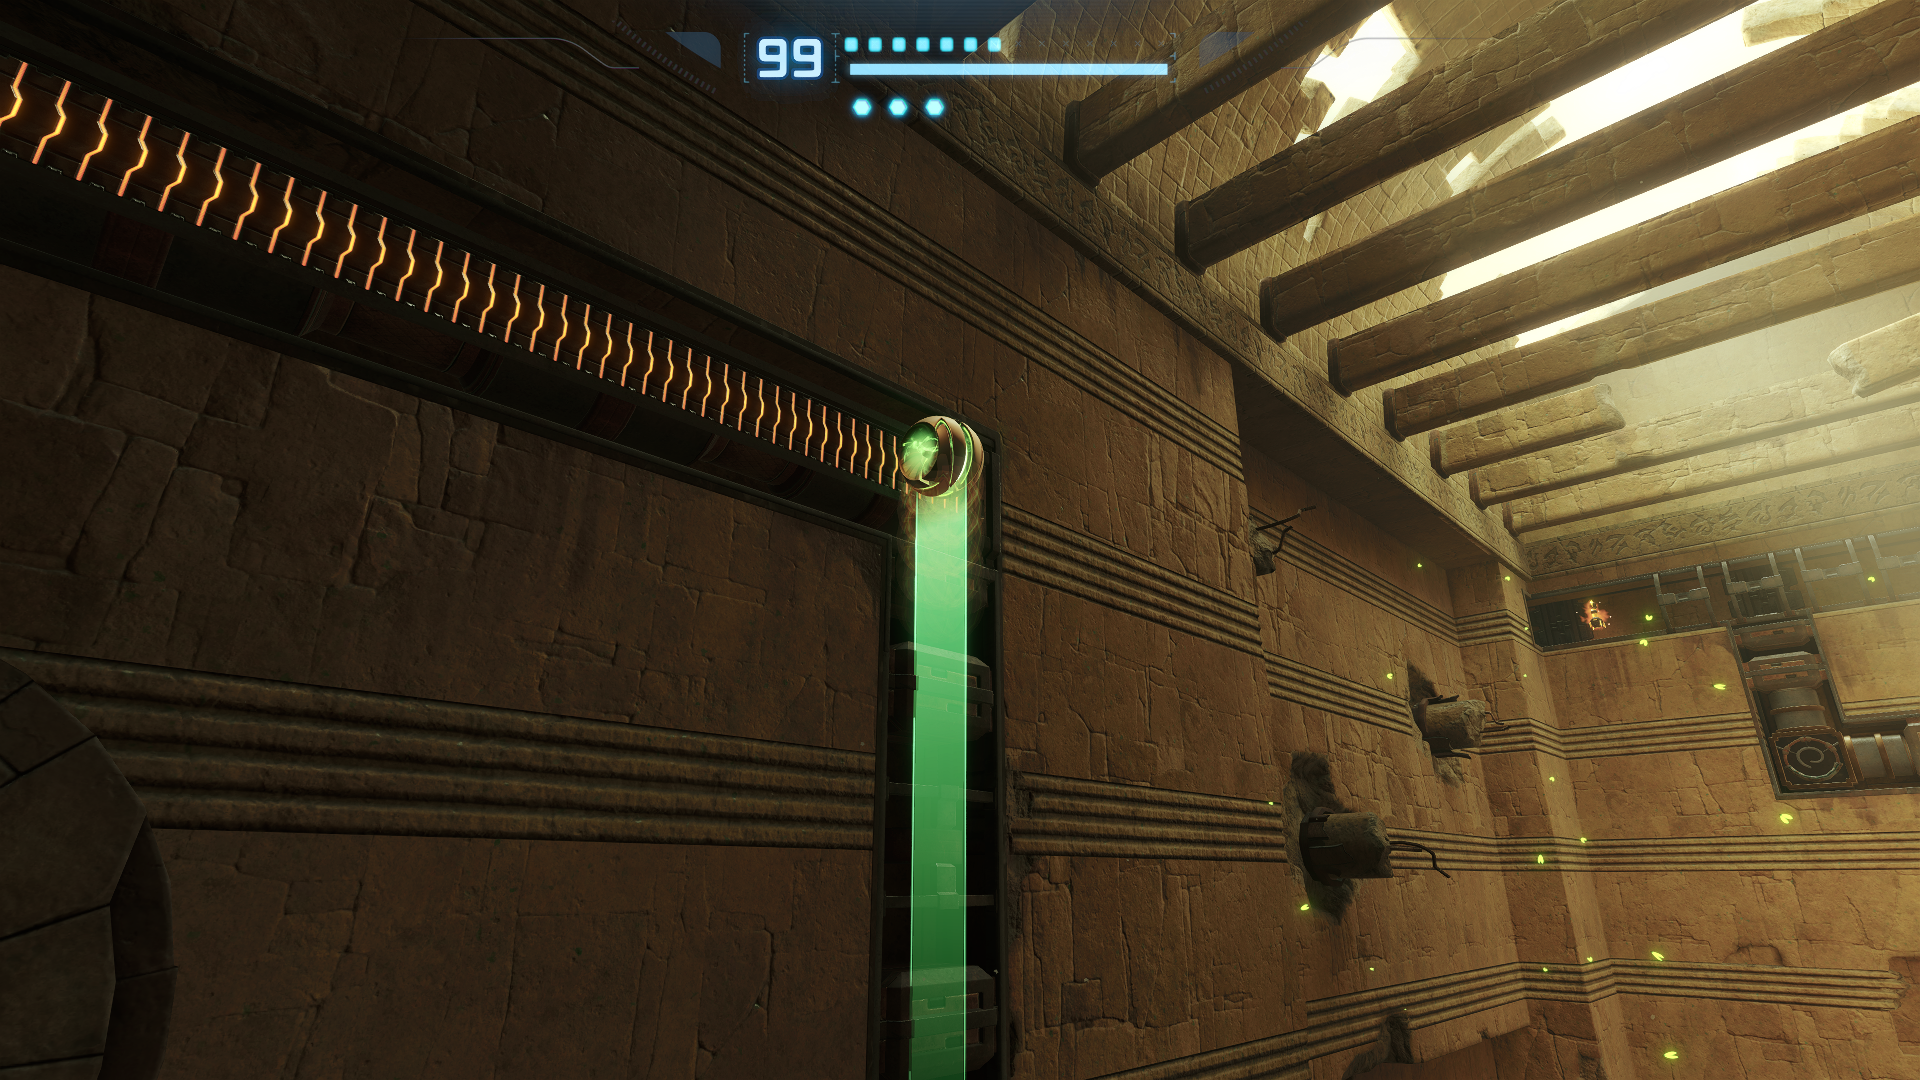
From there, continue onward towards the Furnace. Yes, it’s finally time to explore this area that eluded us earlier! Once you arrive, take the Spider Ball Track to the upper Morph Ball tunnel. You’ll have to roll across some quickly disappearing blocks so be quick! Once you arrive on the other side, look to your upper right and scan one of the PLATED PARASITES occupying the Spider Ball Tracks above. We can’t do anything with these tracks yet, nor can we proceed through the white door. Our only option is to take the Morph Ball tunnel to the left. Before entering however, scan the Chozo Lore, “GREAT POISON”, located just on top of the tunnel entrance.
We have a couple of things to do at the Crossway. First, get to the other side and scan the three pieces of Chozo Lore on the left wall. These include “WORM”, “CRADLE” and “INFESTATION”. Next, blast the Cordite ornament with a Super Missile and scan the panel behind it. A Spider Ball Track will be revealed which needs to be reached using the half-pipe. Once there, bomb the Morph Ball Slot to reveal another Spider Ball Track on the opposite end. Reach the track and bomb the second slot. A small piston will lower to the ground and a short timer will be set. Get to the entrance of the hole before time runs out and the piston will take you to the top level where MISSILE EXPANSION #21 is waiting for you. After entering the Hall of the Elders, DO NOT jump down to the ground level just yet. First enter the Morph Ball tunnel to your left and scan the MISSILE STATION on the other side. There’s a decent chance you need to replenish too after the Wavebuster puzzle, so step inside and use it if needed. You’ll definitely want to be stocked up for what’s coming next.
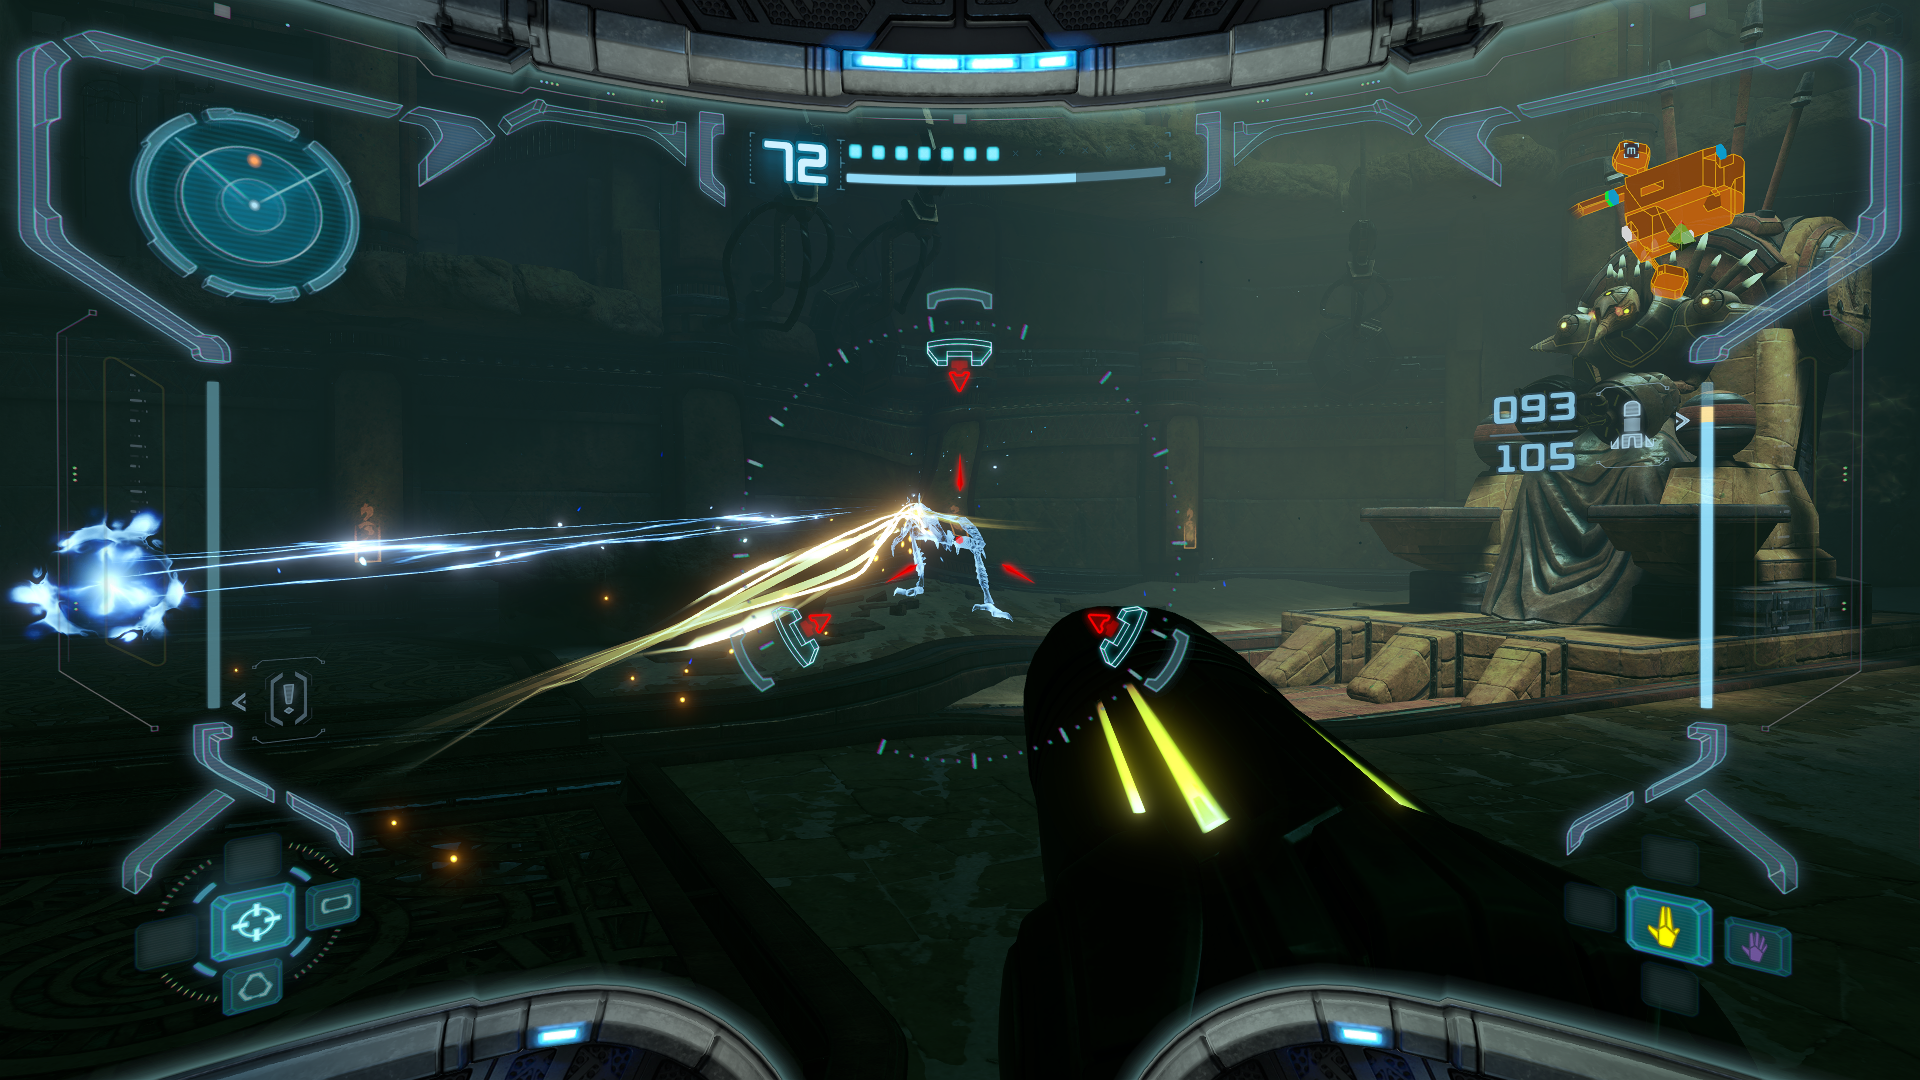
Now that your missiles are fully restocked, drop down to the center of the hall and meet your new “best friend”, the CHOZO GHOST. Now, if you were to ask most people who’ve played Metroid Prime, the Chozo Ghosts will almost certainly rank as the number one most hated enemy. These poltergeist party poopers might be the bane of most players’ existence, but I have a little secret to tell you: Chozo Ghosts are STUPID EASY, even on Hard Mode. After scanning it, fire a Super Missile and follow up with a single charge shot from your Power Beam. If the ghost turns invisible, pay attention to your radar so you can immediately see where it reappears to deal the killing blow. That’s really all there is too it. In fact, I’ll bet you can even solo this hotshot without taking a single hit!
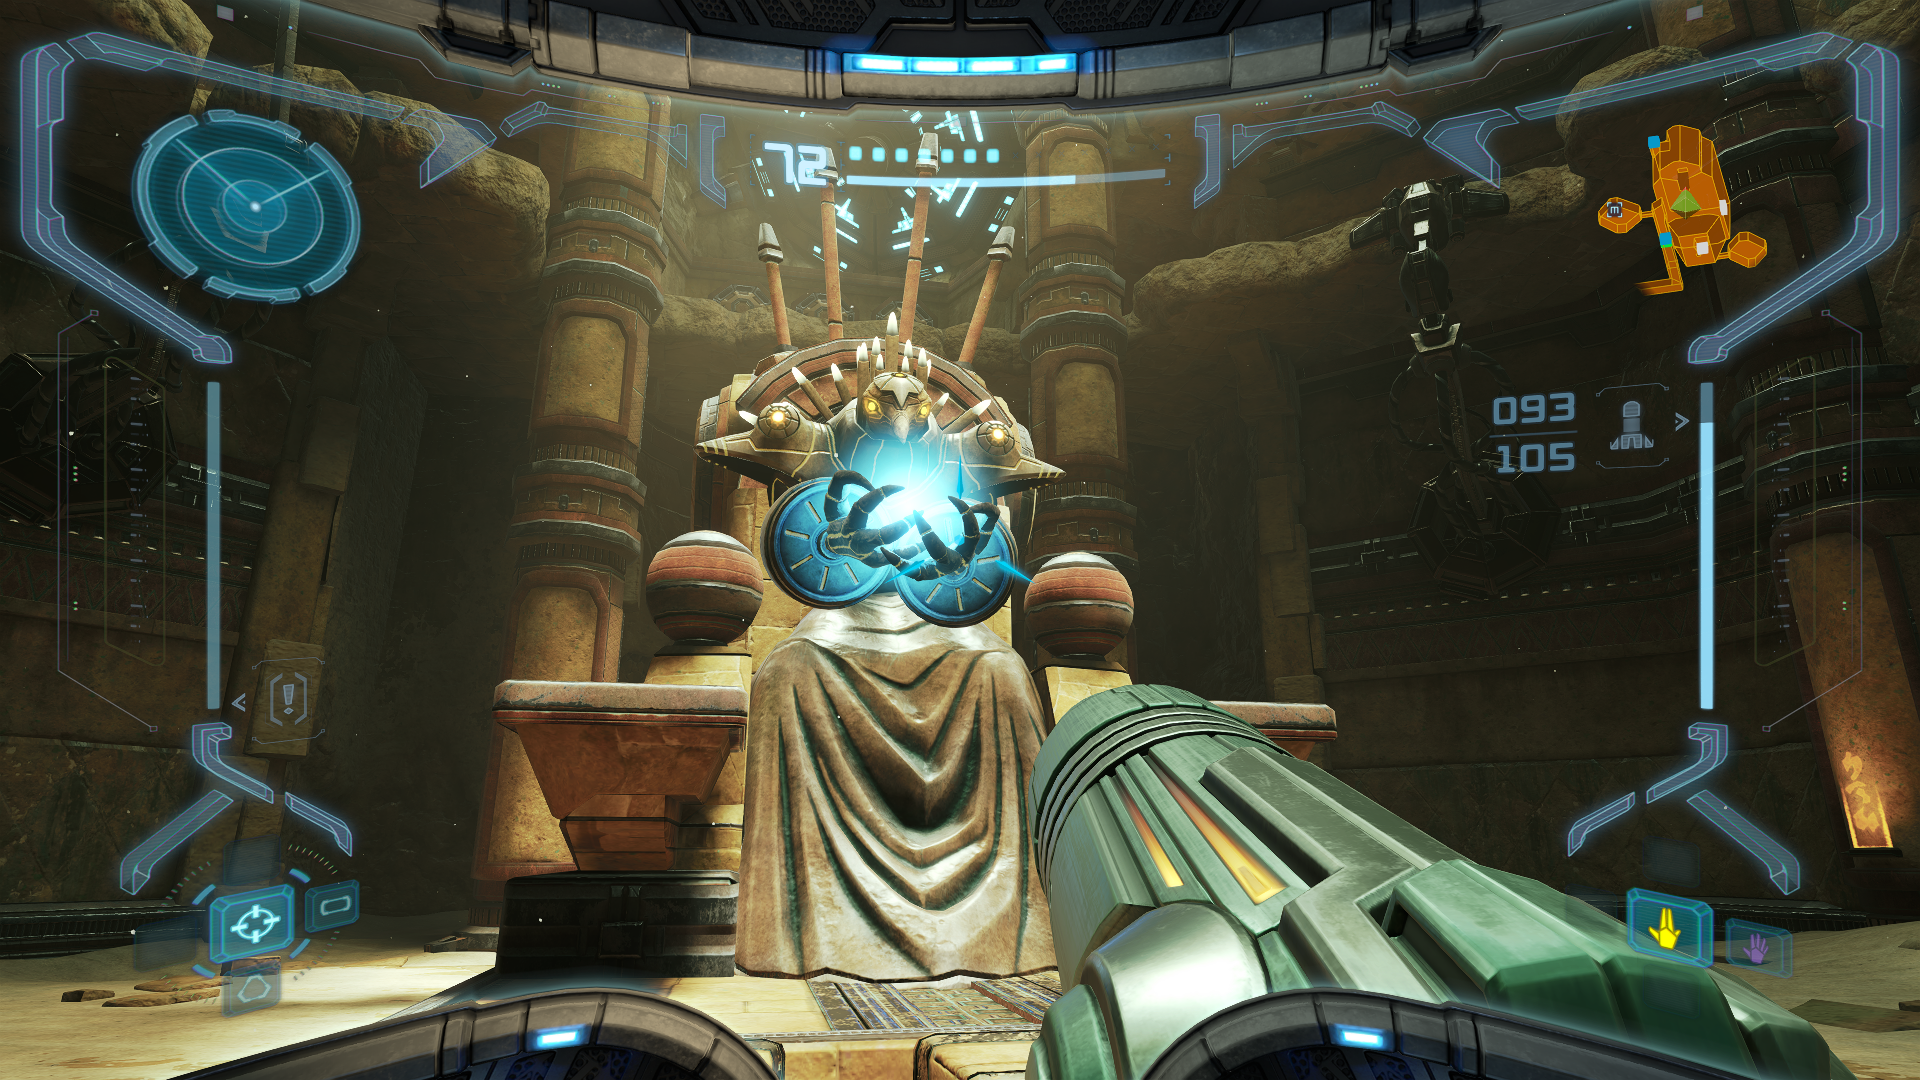
Once the ghost is busted, go behind the statue and scan the Chozo Lore, “SHAPELESS”, then go to the statue’s hands, roll into Morph Ball and hold the Spider Ball button. You’ll be bowled in the most literal sense into a Spider Ball track leading to a Morph Ball Slot. The slot will activate a series of color coded shields, which, as you probably guessed, corresponds to the colors of beam weapons. We only have the Wave Beam currently, so use it to shoot the purple shield and bomb the slot behind it. A new path in front of the statue will be revealed, so go back to its outstretched hands for a strike! You’ll be shot to the very top of the room as a result of the new path, which leads to the exit. Before leaving, don’t forget to scan the blue symbol which lowers the shield so that you don’t have to repeat this process every time.
In the reflecting pool, jump to the bottom and bomb the Talloric Alloy drainage cover to empty the pool. With the water cleared, use the half-pipe to get to the second story of the room. Once you reach the top, take the door on the left to grab your second beam weapon, the ICE BEAM. Unlike the Wave Beam, the Ice Beam has PLENTY of utility that will greatly speed up combat encounters moving forward. It freezes most enemies in one shot, including Metroids, who can then be blown to pieces with a single missile faster than you can say “hasta la vista, baby”. With the Ice Beam secured, jump to the adjacent door and save your progress. Then go through the Morph Ball hole to the right and you’ll arrive at the Transport to Tallon Overworld East. Take the elevator down and get ready for your next excursion.
The Gravity Suit
Scans in This Section
Creatures: Hunter Metroid, Glider, Jelzap, Aqua Reaper
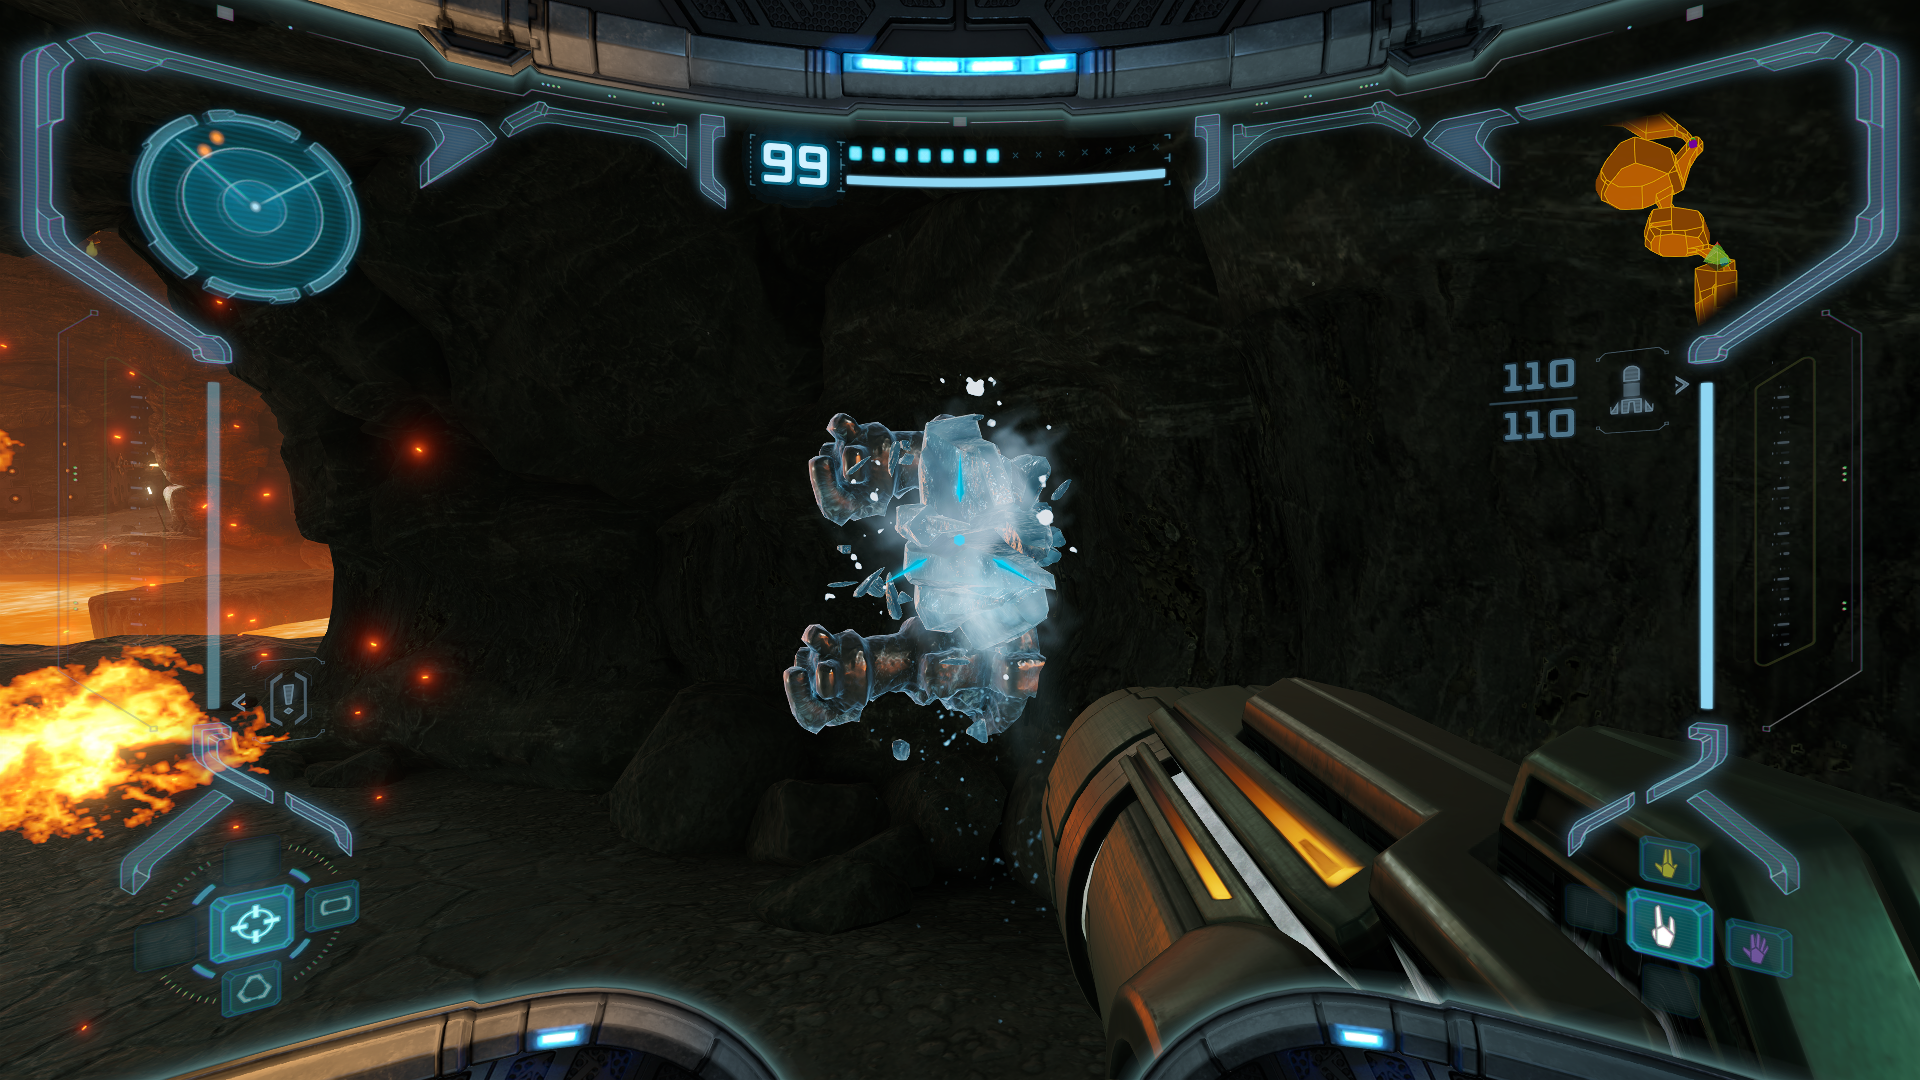
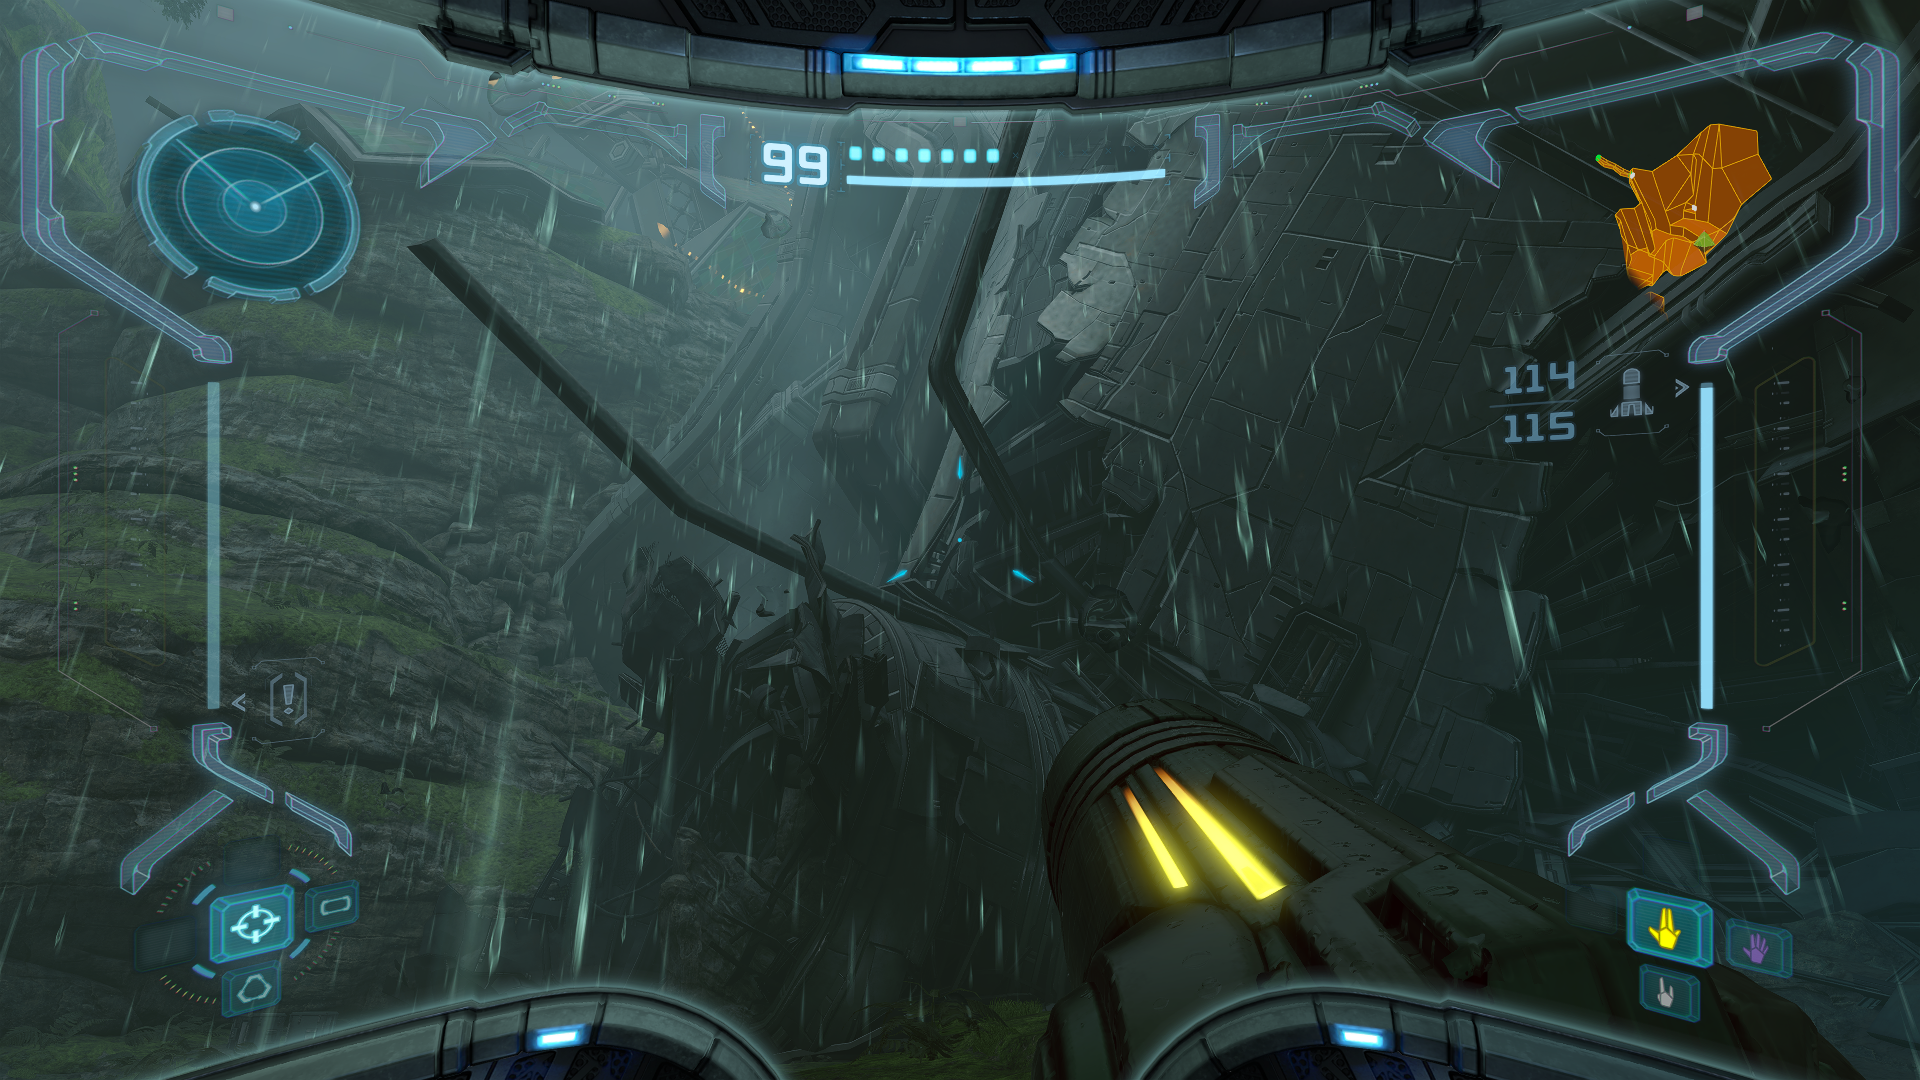
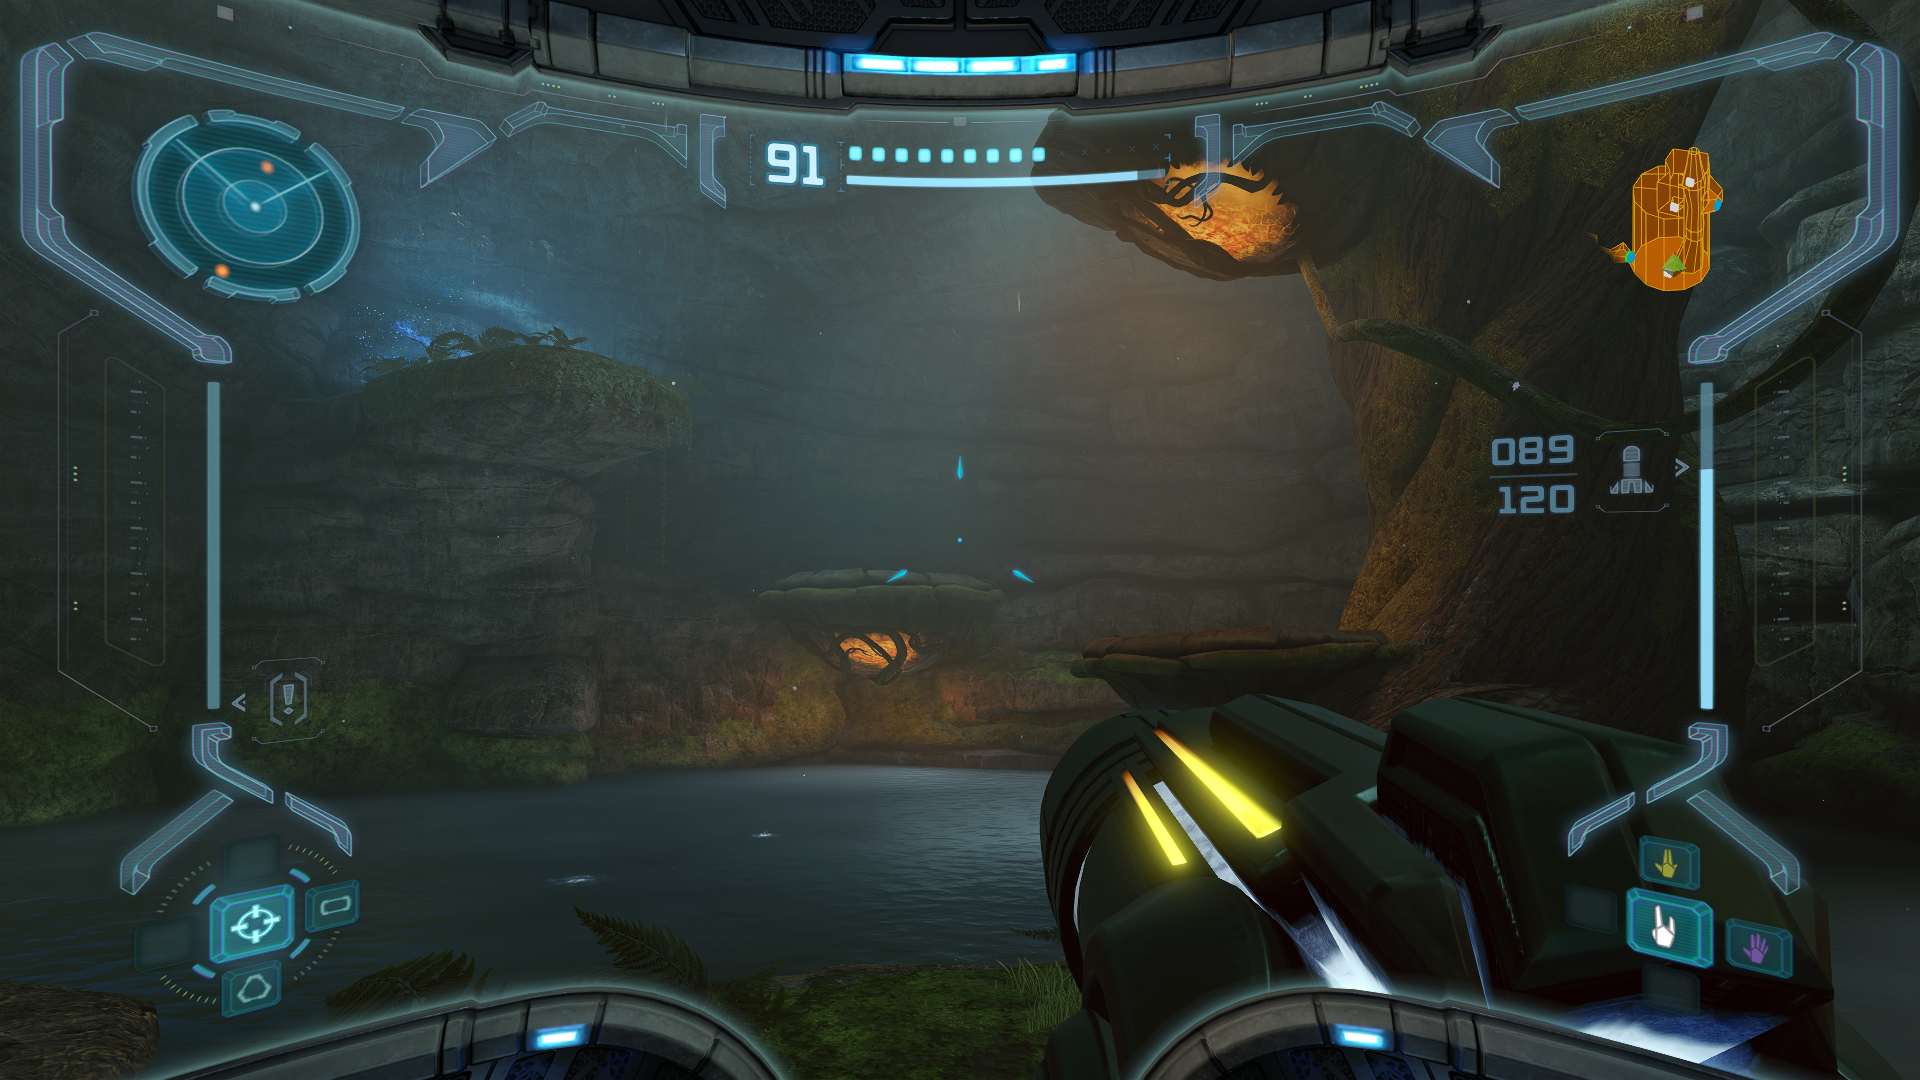
Make your way to the Overgrown Cavern, shoot out the Venom Weeds and roll through the tree branches to collect MISSILE EXPANSION #22. At the Frigate Crash Site, you’ll see the remains of the Frigate Orpheon you escaped from back during the tutorial. There’s an Ice Beam door that is practically begging to be explored at the front of the wreckage, but don’t give in because it’s a DIRTY TRICK. We cannot explore this vessel yet and the game will take its sweet time before finally roadblocking us. Instead, head through the Waterfall Cavern which leads directly back to the Landing Site where you can save at your ship. From there, head to the Transport to Magmoor Caverns East and take the elevator down. Once you arrive, take the left path until you reach the Transport to Phendrana Drifts South. Along the way, try testing out how effective your Ice Beam is against the fire-based enemies home to this area. It can also freeze those annoying flamethrowers that always seem to slow you down too! After arriving back at the Phendrana Drifts, turn around and enter the Ice Beam door.
At the Frozen Pike, you’ll see three doors further down from where we’re standing. We wanna take the second one to keep ourselves on the right track. At Frost Cave we’ll run into our first Metroid evolution, the HUNTER METROID. Hunter Metroids share the same strengths and weaknesses as Tallon Metroids, but also have a tentacle that can siphon energy from a distance. Your Ice Beam will still make short work of them though and should be of no concern. If you’re playing on any North American GameCube copy of Metroid Prime, Hunter Metroids won’t appear in the game until much later. We’ll let you know when you get there, though, so don’t worry about it for now!
After dealing with it, scan the GLIDER near the ceiling. Shoot the Stalactites in the room to gain access to the two doors. The one on the right leads to a Save Station, while the one on the left is the path forward. At Phendrana’s Edge, take out the Flying Pirates, jump into the water below and scan the JELZAP. Jelzaps can only be damaged while they charge their seismic blast; I recommend charging up a shot beforehand and releasing as soon as they open. Shoot the three stalactites in Hunter Cave to cross the lake. You also might have to take out the Flickerbats if they’re getting in the way.
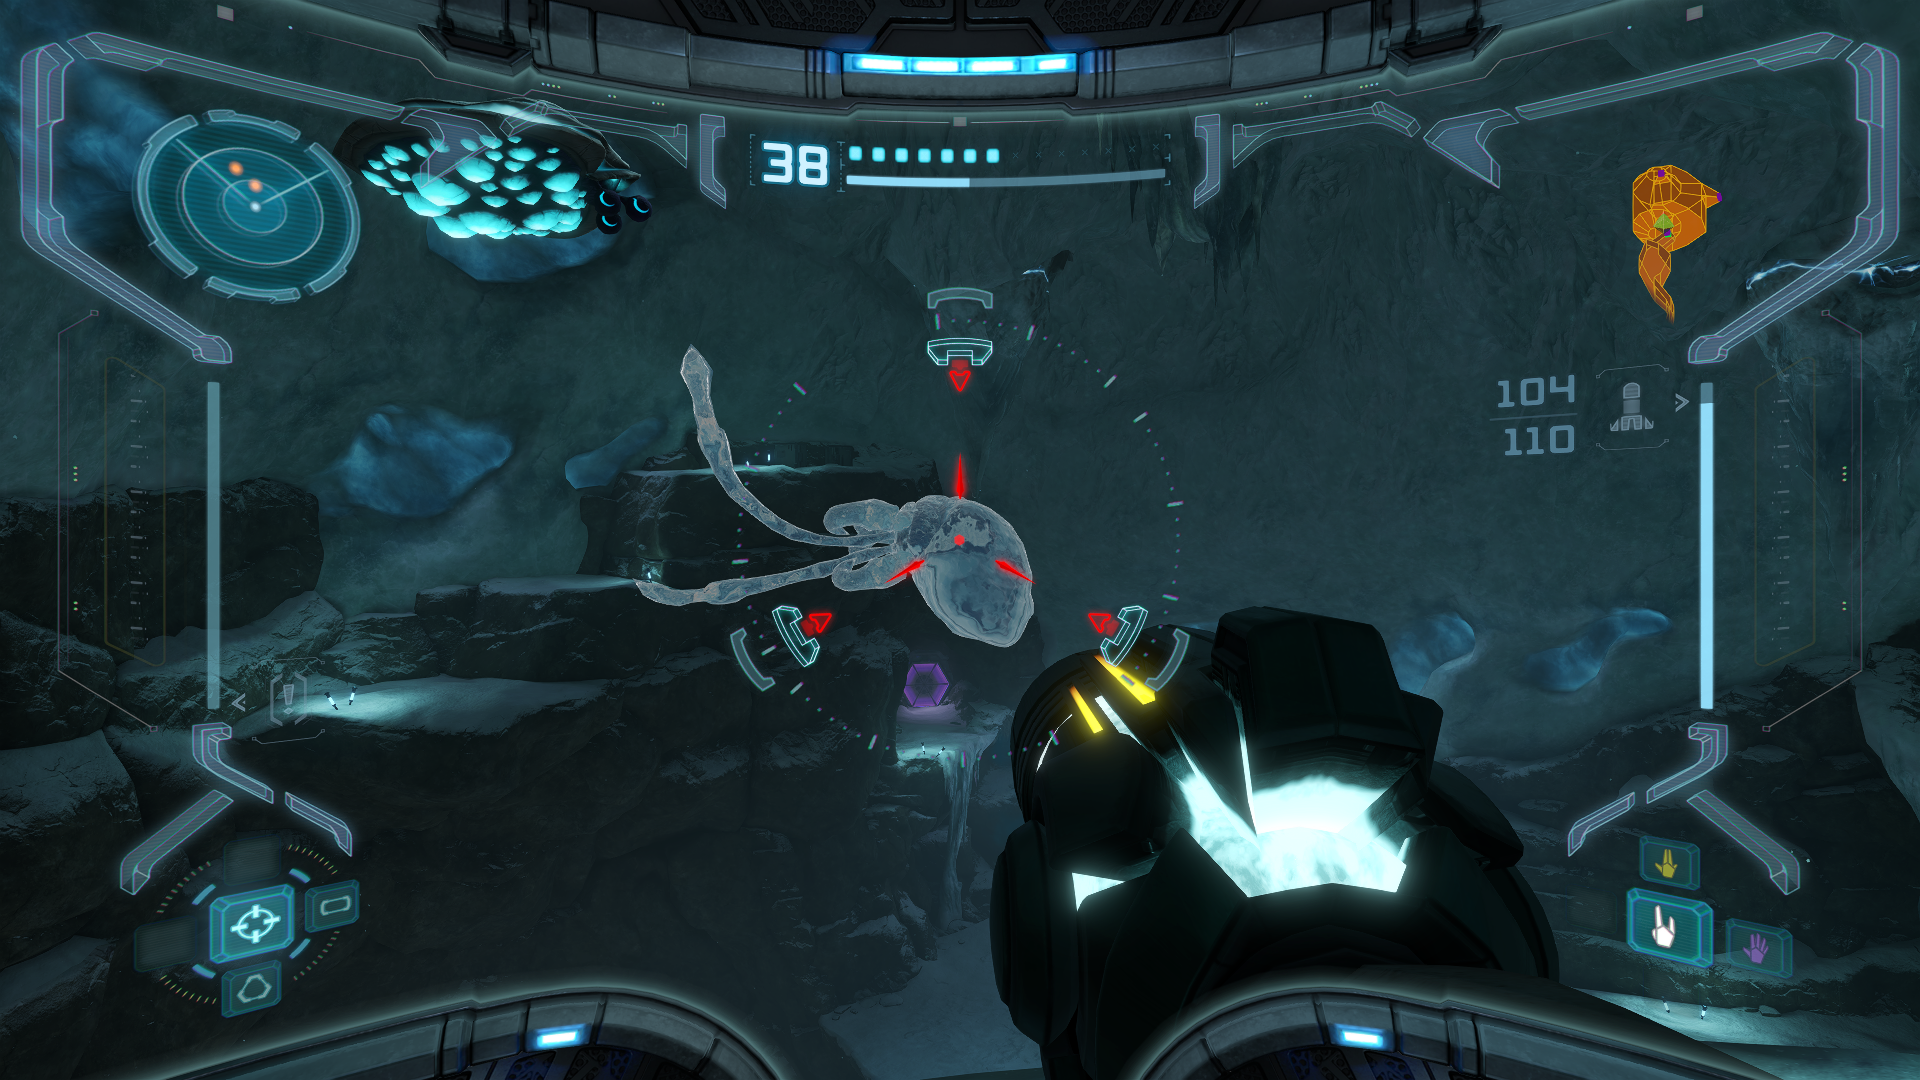
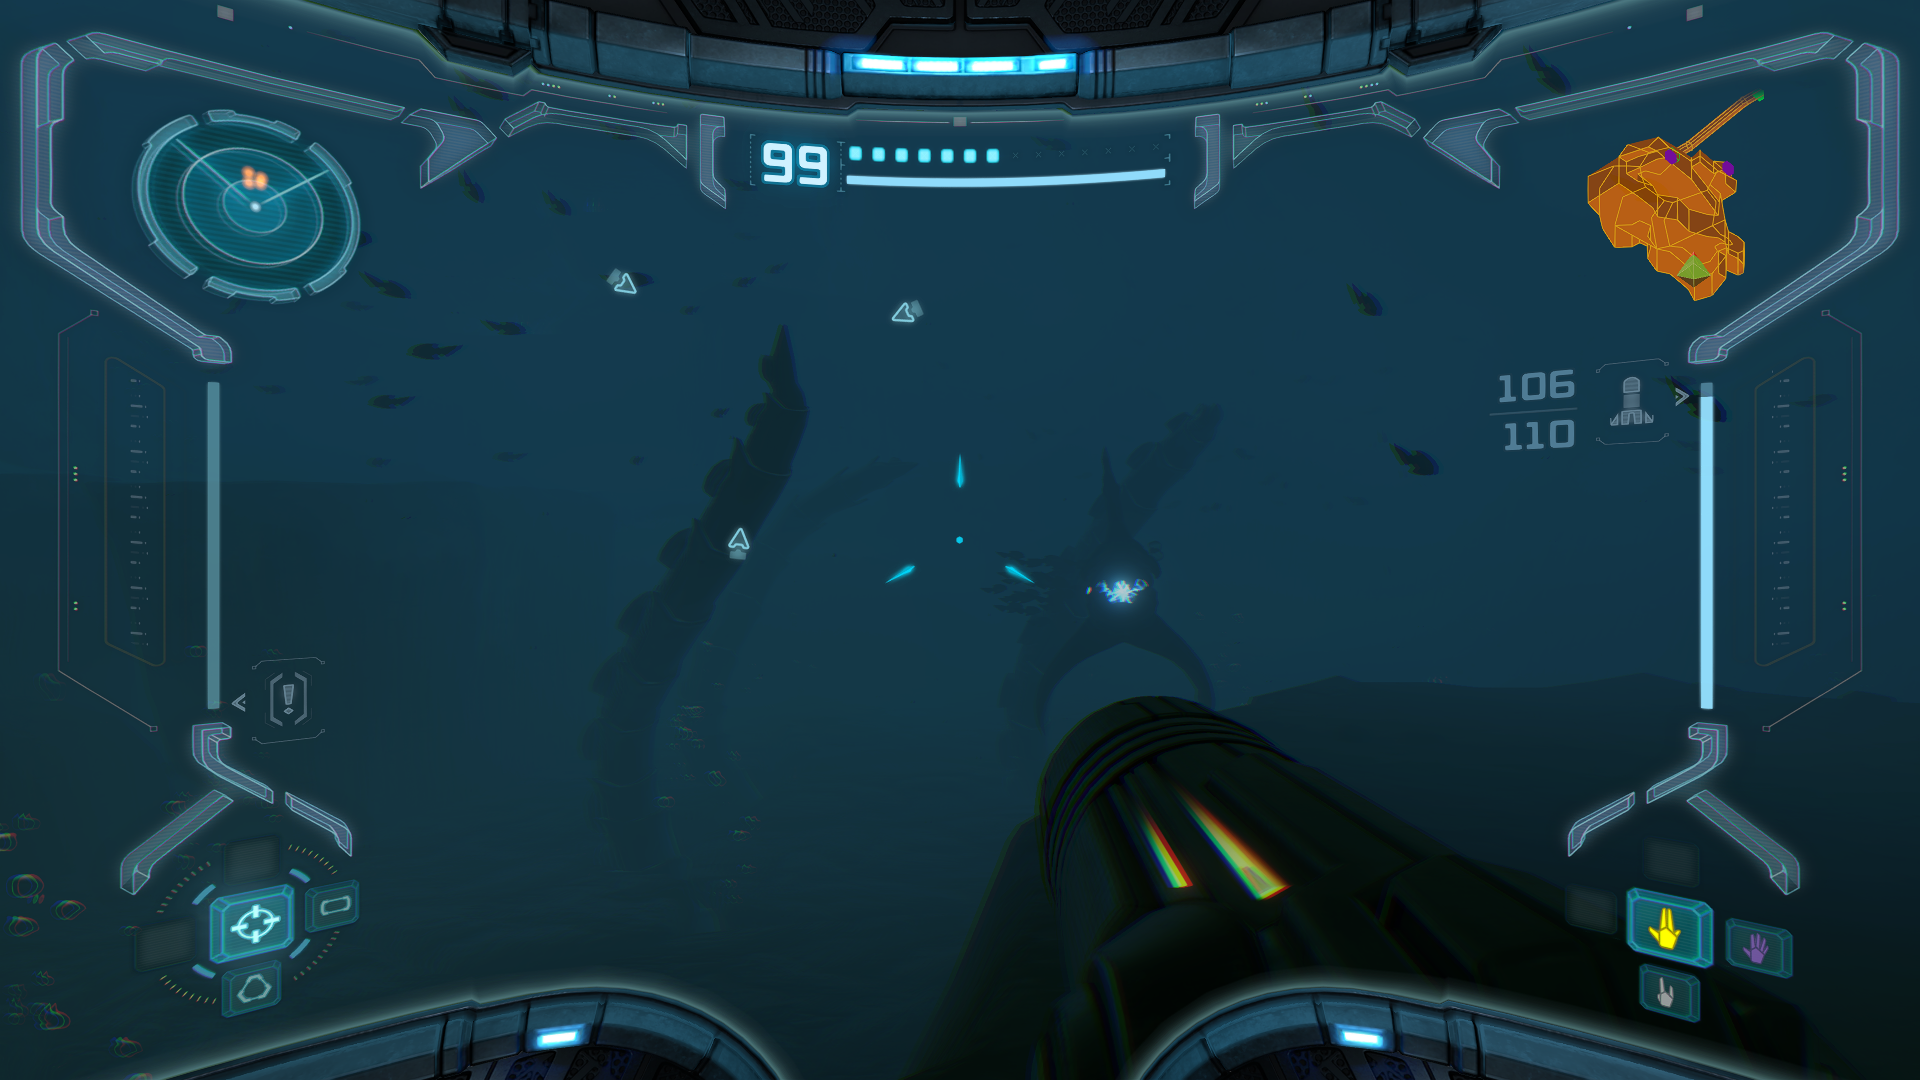
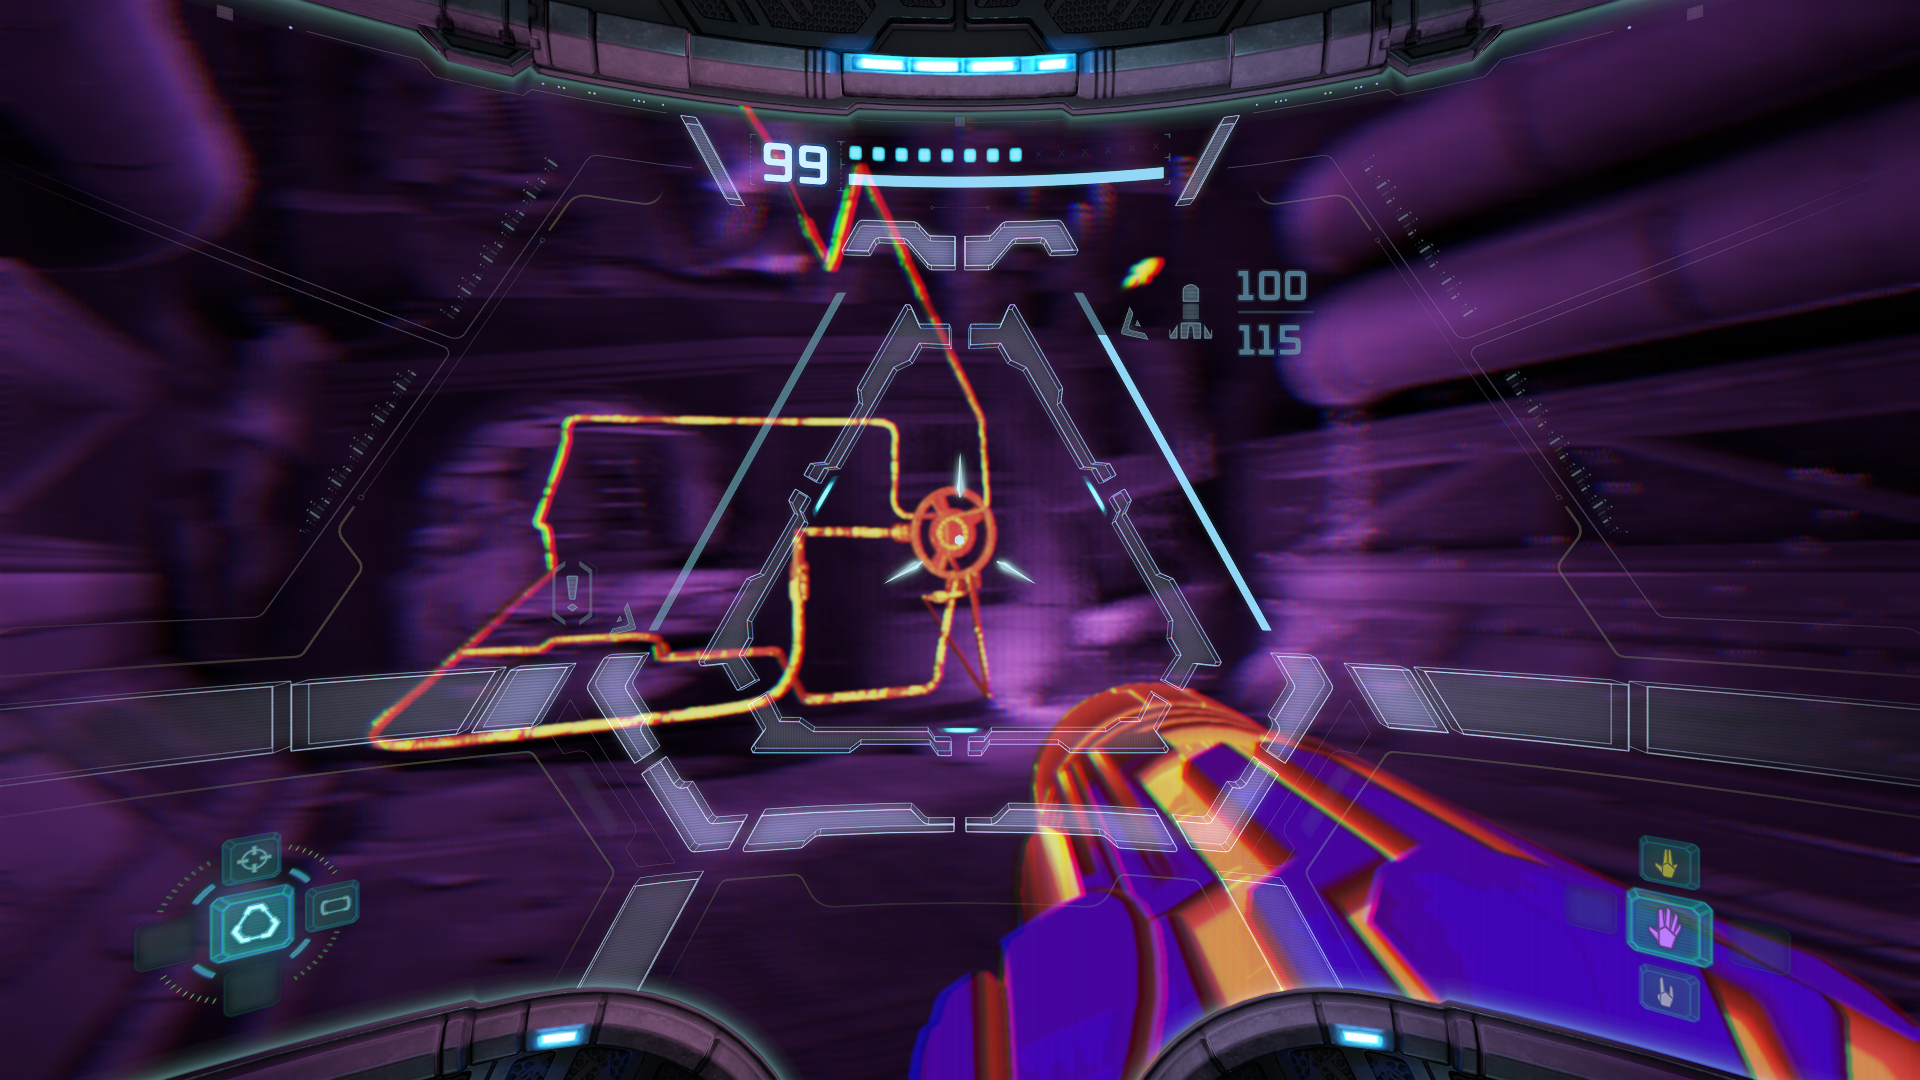
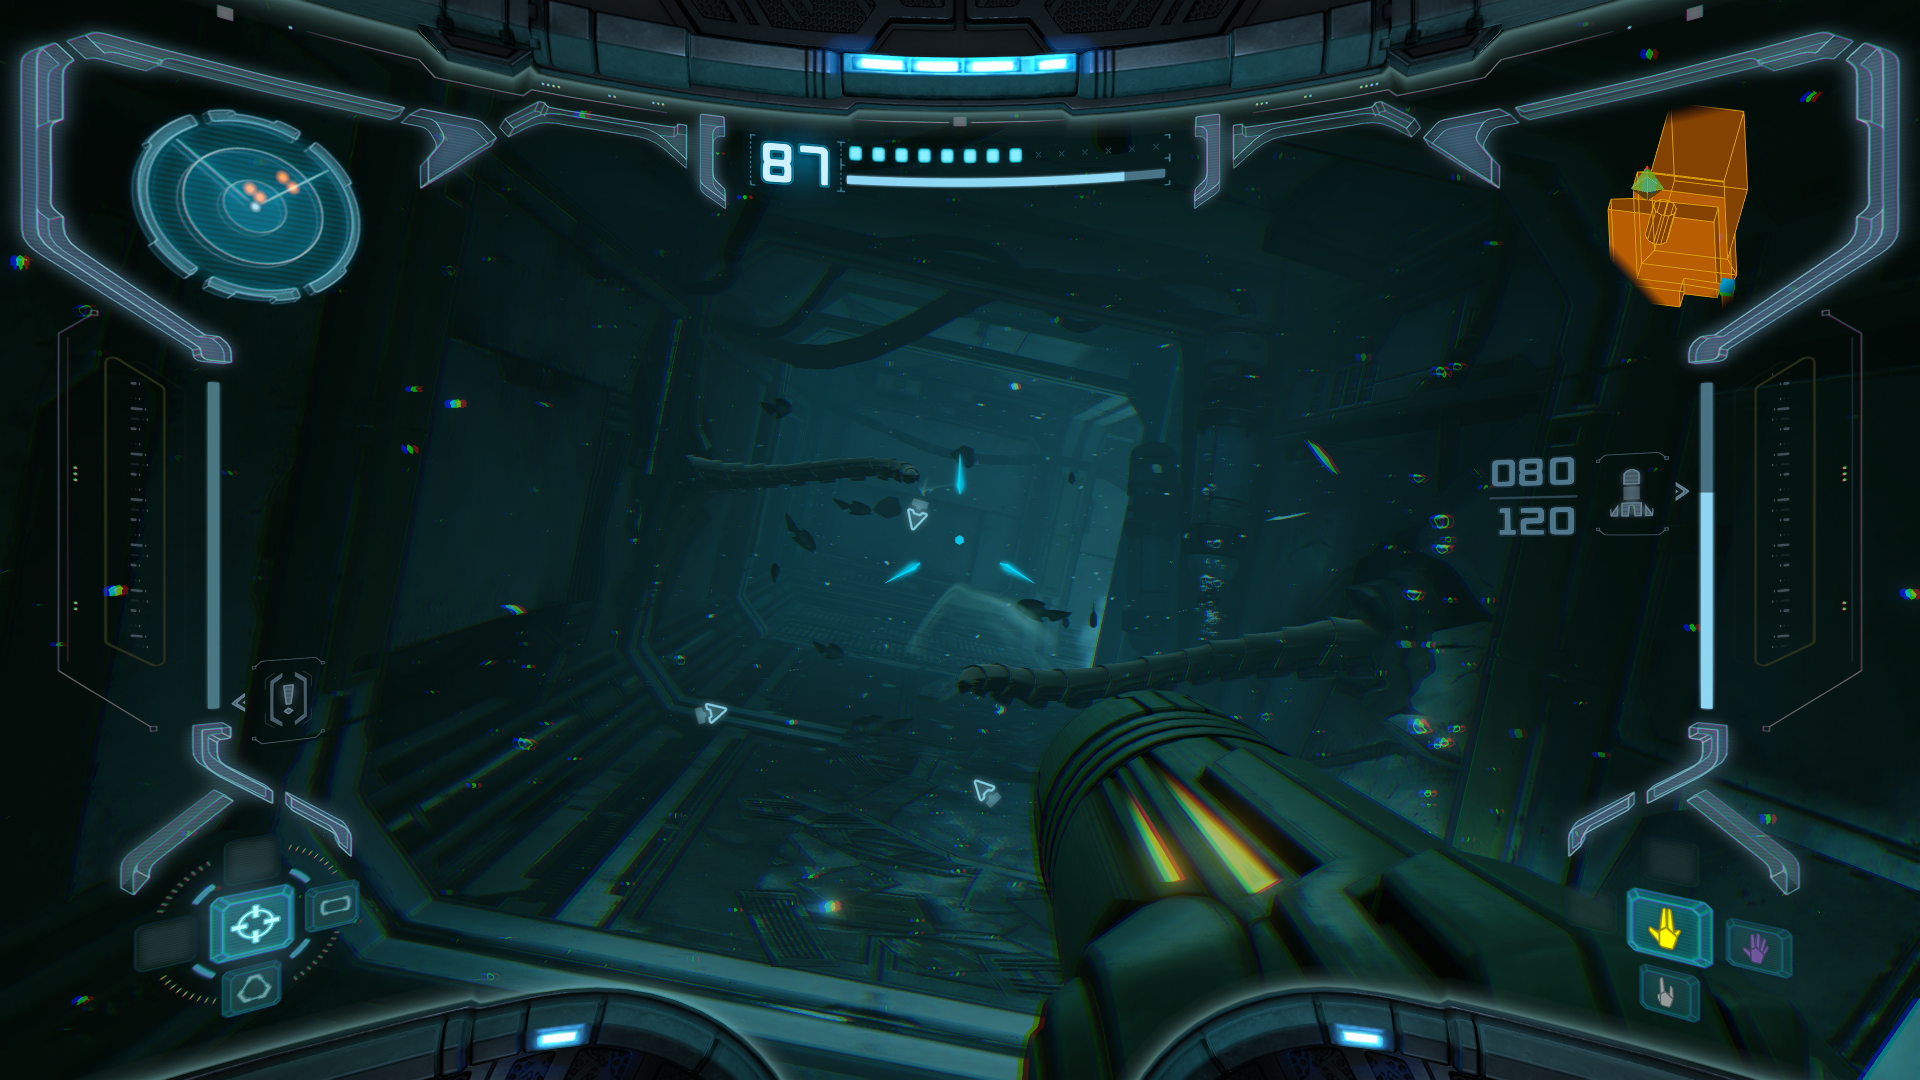
Once you reach the Gravity Chamber, you’ll be completely submerged in the water and your vision will be significantly limited. The Combat Visor will still be able to see its surroundings, but its limited vision will only pick up objects a few meters deep. Meanwhile the Thermal Visor will be able see much further ahead, but it’s harder to grasp your direct surroundings. Use both visors in tandem to help with navigation. Move forward and scan the AQUA REAPER. These function identical to Reaper Vines on the surface, so stun them and quickly move out of the way before they come back. After you get past the Aqua Reapers, you should see the lake-bed move up in steps. If you spot glowing crystals along the route, you’re going the right way. Shoot the Aqua Reapers and move past them. You’ll reach another set of ascending rock steps, this time leading to the GRAVITY SUIT. Now movement in liquid environments is no longer hindered AND our underwater vision is all cleared up!
Crashed Frigate
Scans in This Section
Creatures: Tallon Crab, Aqua Pirate, Aqua Drone *missable*, Aqua Sac
After grabbing the Gravity Suit, follow the glowing crystals from the other ledge to find your way back to the surface. From there follow the paths back to the Transport to Magmoor Caverns South and take the elevator down. Once you arrive, make your way to the Transport to Tallon Overworld West and go up. Once you arrive, head to the Frigate Crash Site. You can save at your ship too if you want since it’s along the way. Once there, go into the lake and look to your left to find a small alcove with MISSILE EXPANSION #23 tucked in. Your Gravity Suit will allow you to easily make the jump! Follow the Jelzaps to find a small Morph Ball tunnel that will eventually lead you to the surface on the other side of the lake, then enter the Ice Beam door. It’s time to finally re-enter the frigate.
In Main Ventilation Shaft Section B, after taking out the turrets use your Thermal Visor to locate a hidden conduit above the door to power it up (be prepared, you’re going to be doing this a lot here). In Main Ventilation Shaft Section A, scan the pack of TALLON CRABS as they forage the wreckage.
In the Reactor Core drop down and scan one of the AQUA PIRATES lurking. These guys are basically the underwater equivalent of Flying Pirates, but with slower movement, so you shouldn’t have much trouble with them. Once you’ve defeated them, pop open the Thermal Visor and look for four conduits to shoot with your Wave Beam to power up the next door. Two will be on the outer ring, one will be inside the ring hugging the wall and the final one will be beside the door to be powered up. In Reactor Access, there’s two more conduits on each side of the door that need to be powered. Give ‘em the juice, then go to the door on the right and save your progress.
In the Cargo Freight Lift to Deck Gamma, open the Scan Visor and look for a door right in front that can be taken out with a concussive blast. Fire a charge shot at it and collect ENERGY TANK #8. Immediately afterwards before you start climbing the debris, activate the Thermal Visor and look for three more conduits to power up the next door. The first will be outside the destroyed lift, the second will be on the platform behind you after taking down the first Aqua Reaper, and the third will be at the very top. As you’re climbing, many of the platforms will be behind you when it looks like you can’t reach the next platform in front, so just keep your head on a swivel if it looks like there’s no more road left.
In Biohazard Containment, take out both the turrets, then activate the Thermal Visor and search for two conduits to power the door below. After those are electrified and before jumping in the water, pop open the Scan Visor. Look around the flooded section below and you should see a yellow square in the water. Scan it to add the AQUA DRONE to your logbook. Much like the Aqua Pirates are to the Flying Pirates, the Aqua Drones are to the Sentry Drones. Drop below and take them out. Once the drones are done, turn on the Scan Visor again and look for a Cordite door to blast with your Super Missile. Awaiting you inside is MISSILE EXPANSION #24. Finally, open the Thermal Visor one more time and look for the final conduit nearby in one of the open containment cells. In Biotech Research Area 1, drop the Aqua Pirates and activate the Thermal Visor yet again to locate three conduits. The first one is right by the door you exited, the second is just below that on the lower level and the third is adjacent from that on the opposite side.
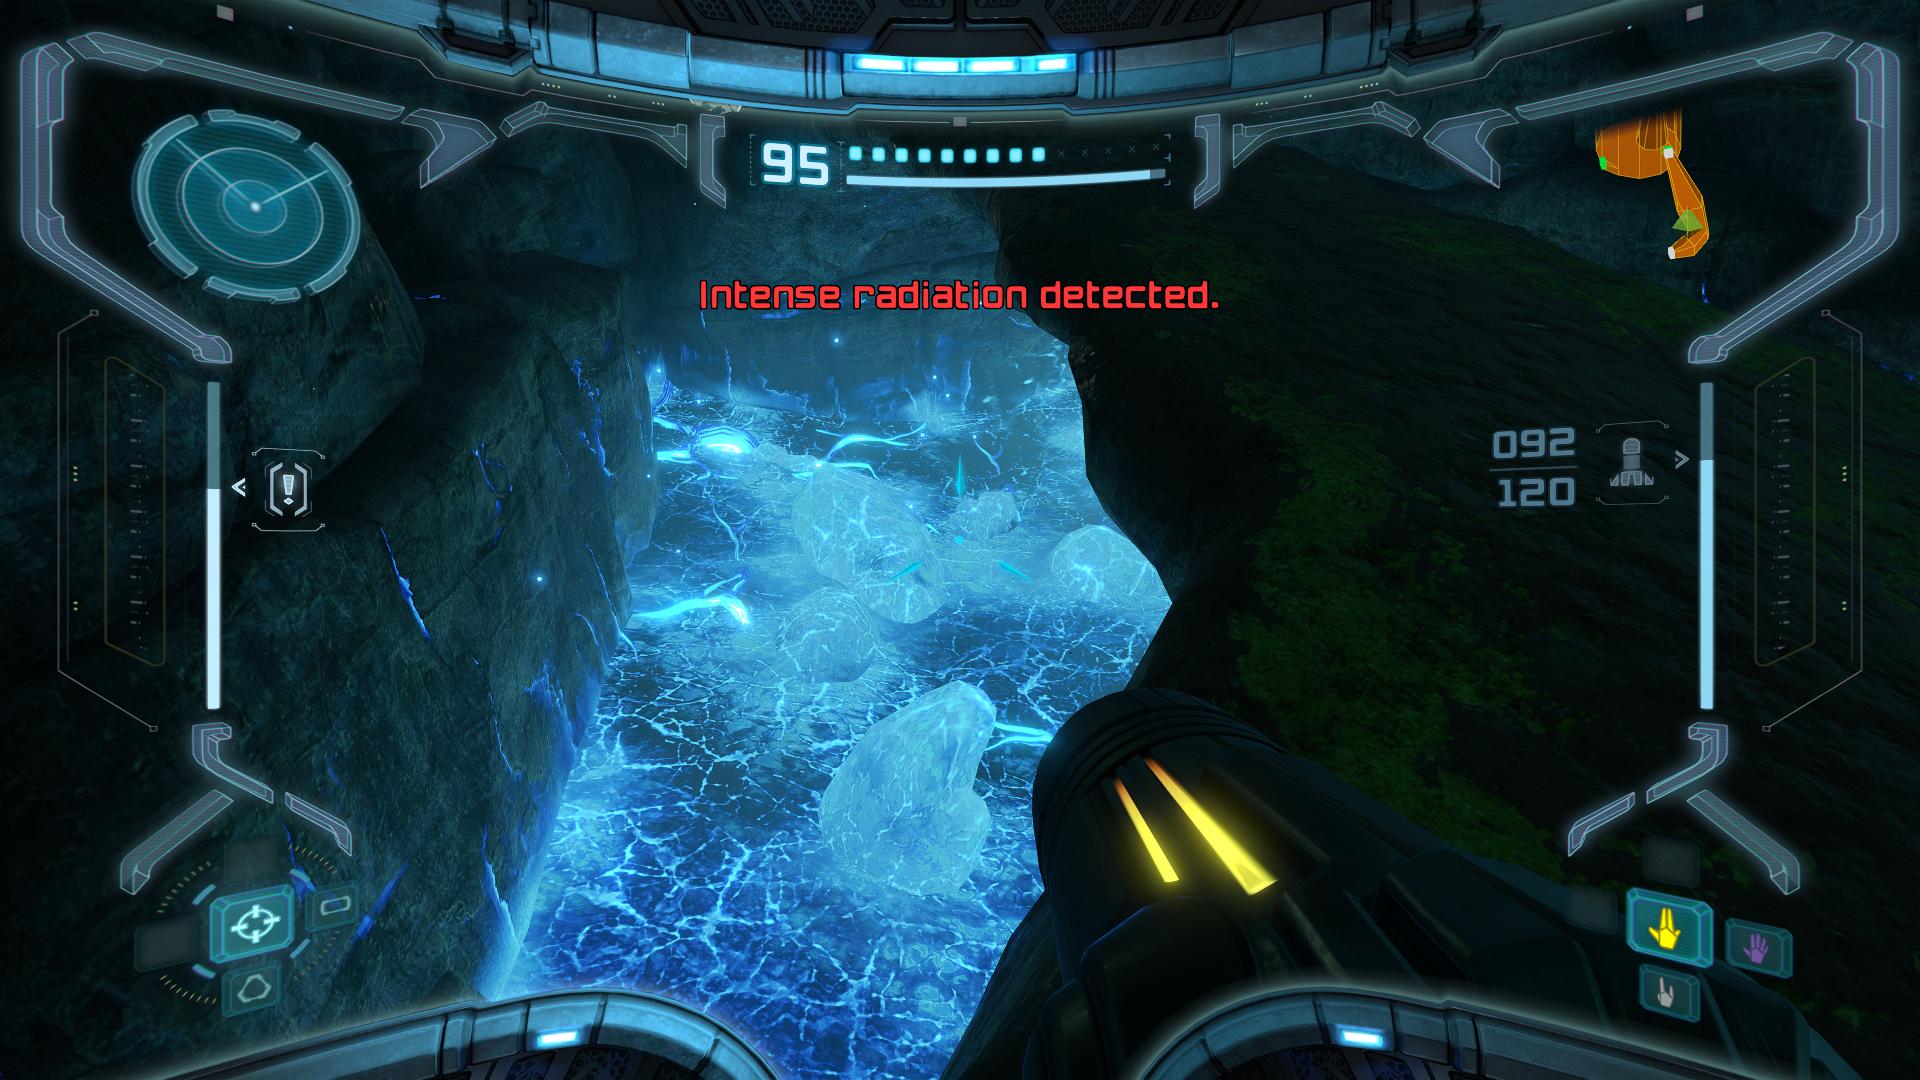
In the Connection Elevator to Deck Beta, scan one of the AQUA SACS located in the shaft below. In the Hydro Access Tunnel, enter the Morph Ball tunnel and jump up the first vertical path. You’ll be significantly more buoyant giving you far greater jumping height than usual. In the second vertical shaft, use some well time timed bomb jumps to take you soaring to the top where ENERGY TANK #9 awaits. After you exit the Morph Ball tunnel and destroy a couple of Jelzaps, you’ll find yourself back on the natural lands of Tallon Overworld. Enter the Ice Beam door and as you cross the bridge you’ll see some alien looking blue substance surrounding it as your suit warns you of intense radiation. When you enter the Transport to Phazon Mines East, take the elevator down and get ready. We are about to face the biggest skill check in the whole game.
Next Chapter: Space Pirate Assault