Metroid Walkthrough – The Planet Zebes
Walkthrough
- A Few Things You Should Know Before Playing
- The Planet Zebes
- Ridley’s Lair
- Kraid’s Lair
- Mother Brain
Welcome to Zebes
Alright, let’s get started! By now, you know the story: the nefarious Space Pirates have taken the mysterious life forms known only as Metroids – creatures with a perplexing ability to suck the energy out of living beings – to their base on the planet Zebes. There’s only one bounty hunter in the universe bad enough to stop Mother Brain and her cronies: Samus Aran. The game begins with Samus descending into Brinstar, one of the planet’s many areas.
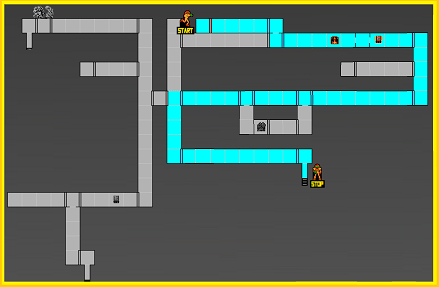
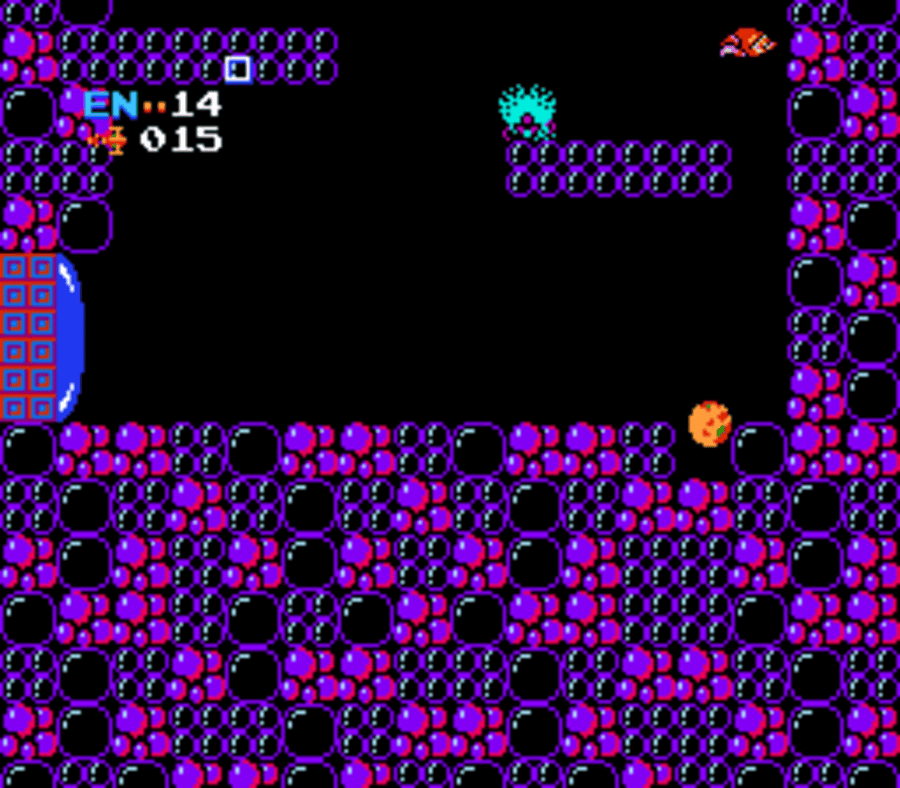
As soon as you gain control of Samus, head left, jump over the ledge and grab the MORPH BALL. Press down to activate it; roll out from under and head towards the right. Watch out for the falling enemies called Skree that will bombard you from the ceiling. You’re faster than them, so either just press forward, or shoot them to try and get some health.
Go through the blue door and keep going right through the next blue door. You’ll be in another long room. Press towards the right, rolling under the big block and continuing on until you exit the blue door.
You’ll now find yourself in one of the biggest vertical hallways in the game. Make your way up carefully. The enemies crawling around the platforms are called Zoomers, and they can be destroyed. The ones flying back and forth are called Rippers and they cannot. Proceed upwards until you get to a blue door on your right. Go through it and continue on through the next blue door.
You’ll now be in a golden vertical hallway; make your way towards the bottom and exit right.
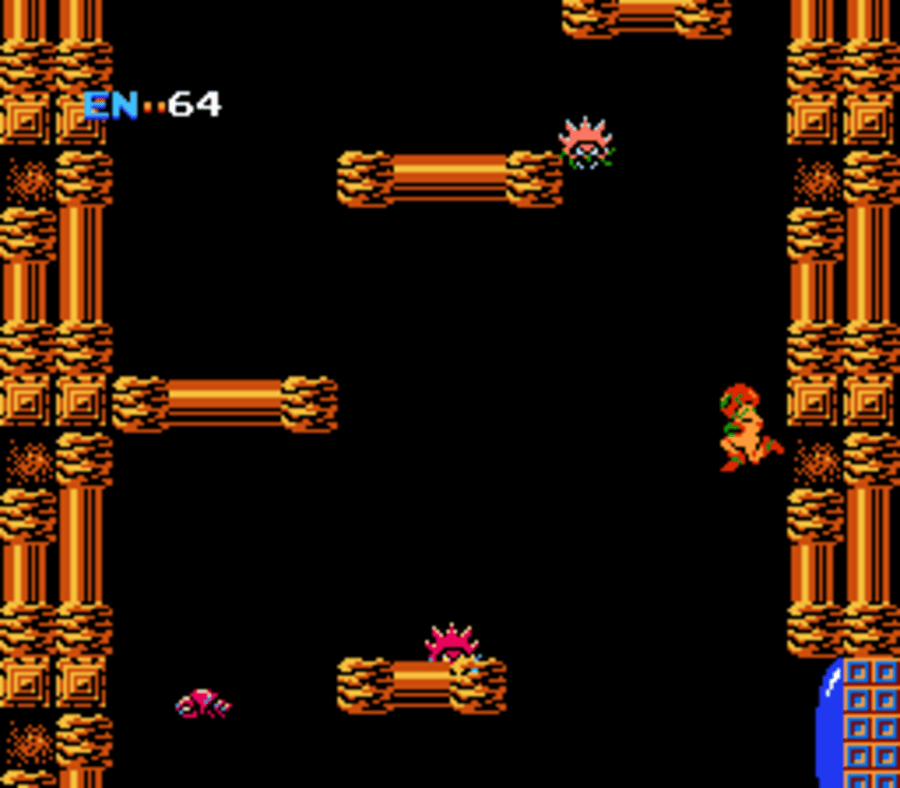
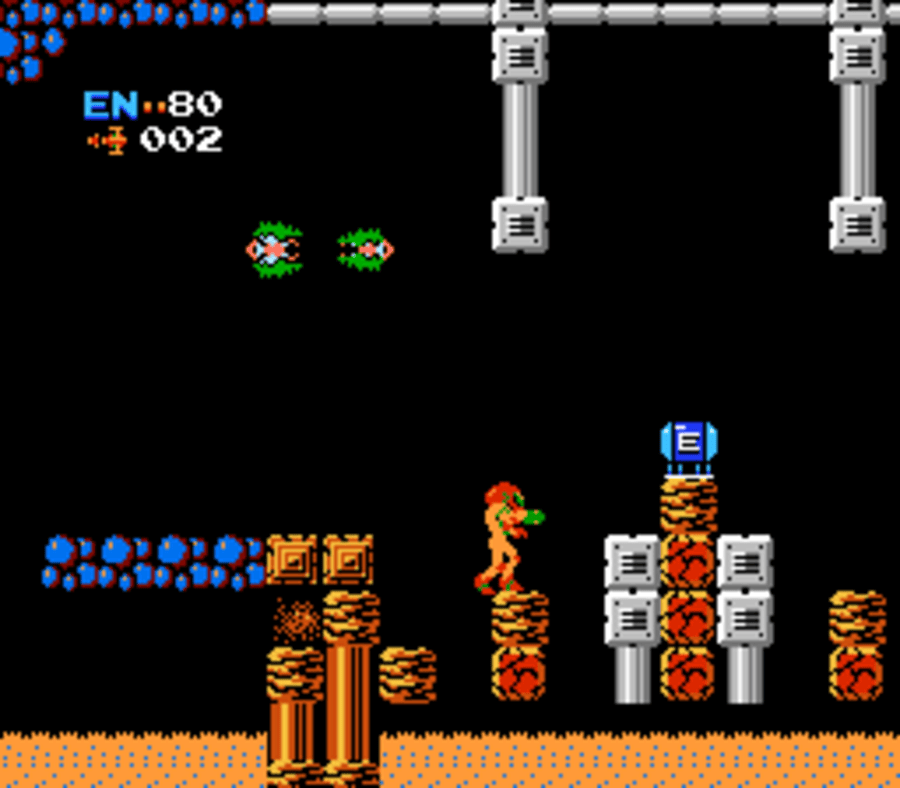
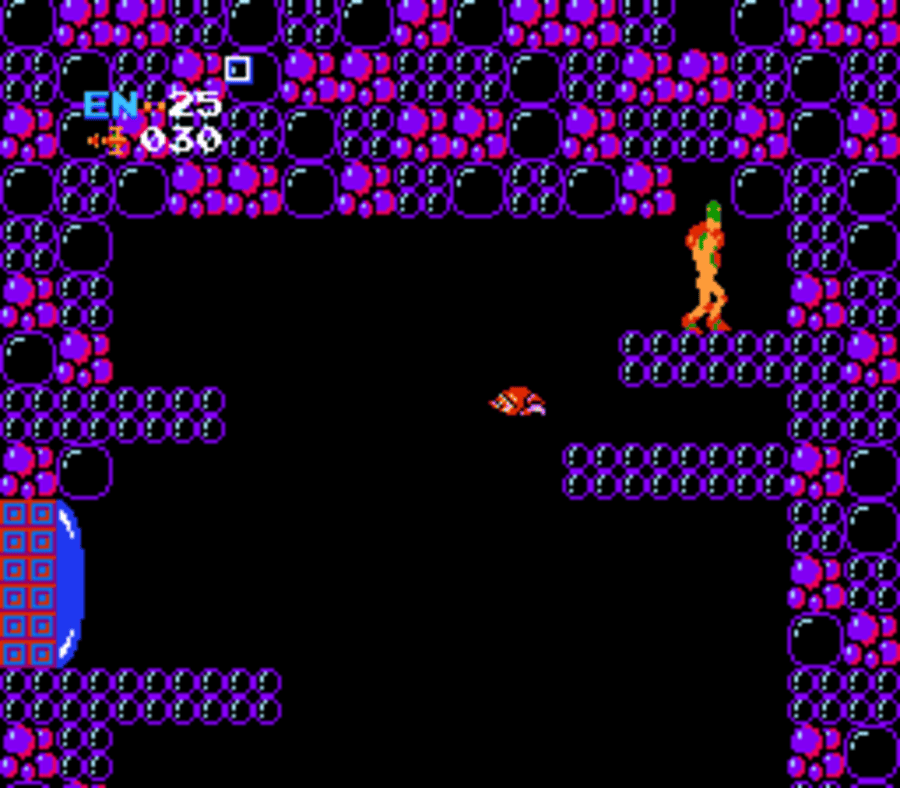
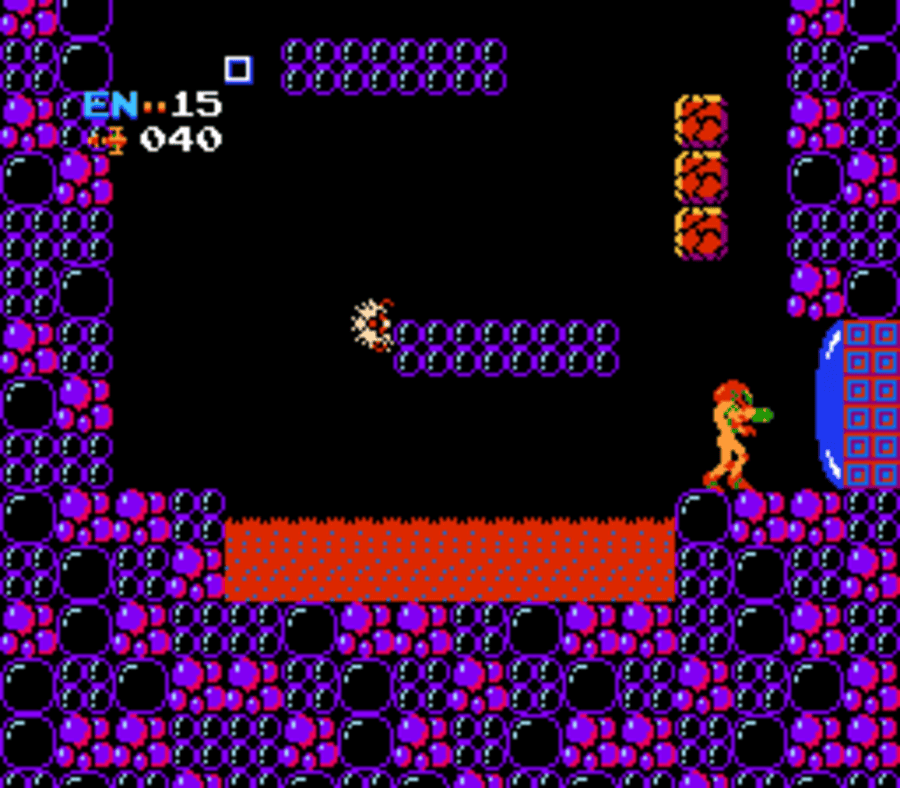
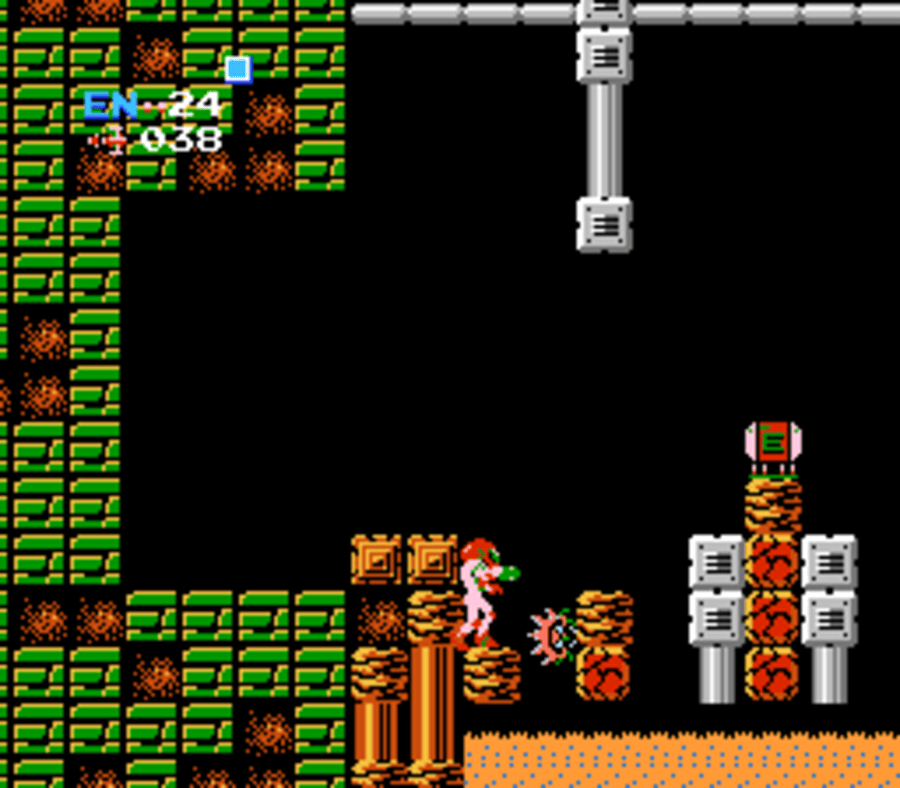
You’ll be in another golden hall. Press towards the right; I’d recommend shooting all the Skrees falling on you in this room since there are a ton of other enemies and we don’t need these guys causing us problems. Continue until you get to a block. Carefully press forward, evading or destroying all the enemies flying at you until you get to a couple pillars just floating in the air. Side note: the stuff below the pillars is supposed to be lava, but it looks more like quicksand if you ask me. Either way – something you don’t want to fall into!
Carefully jump up and over and you’ll finally get to MISSILE EXPANSION #1.
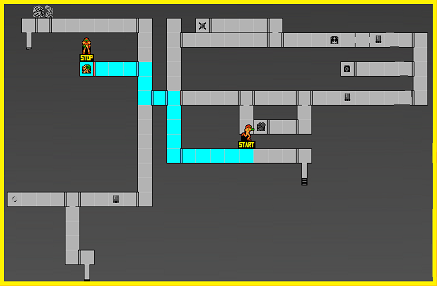
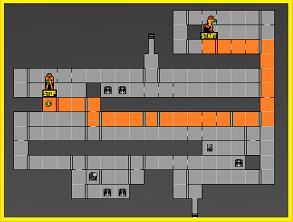
Missile Expansion #1 Route:
The Long Beam
From the Expansion, backtrack and towards the left and exit the golden room and get back to the vertical hallway. Make your way up, avoiding the Rippers and Zoomers, and exit through the first blue door on the left (the one you came in from). Continue through and exit the blue door on the left again back into the blue vertical hallway.
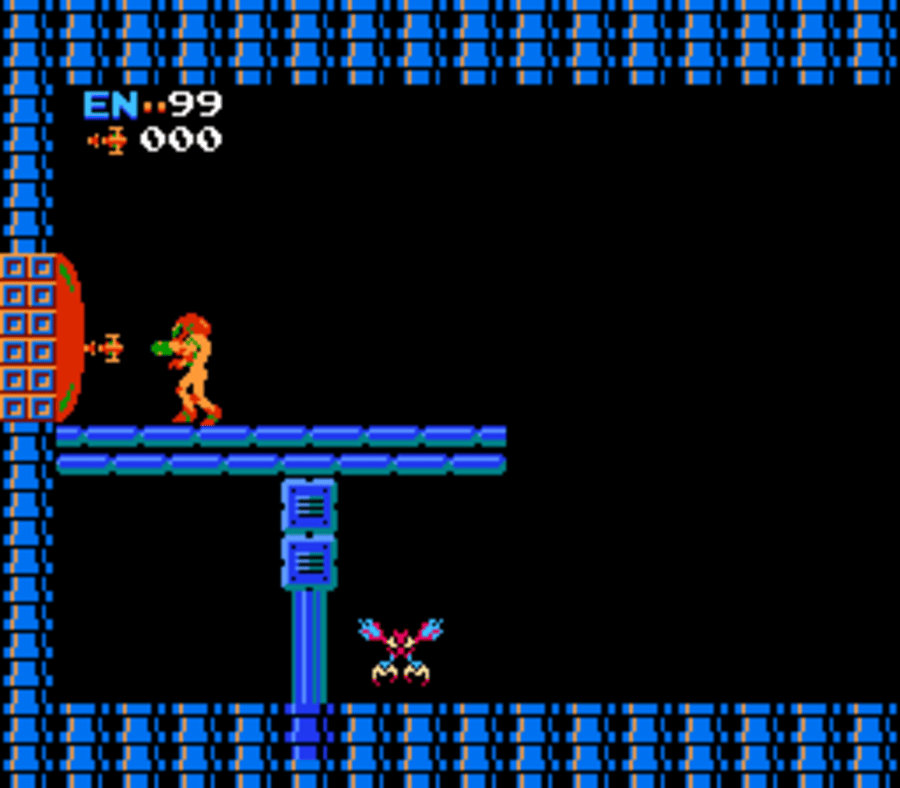
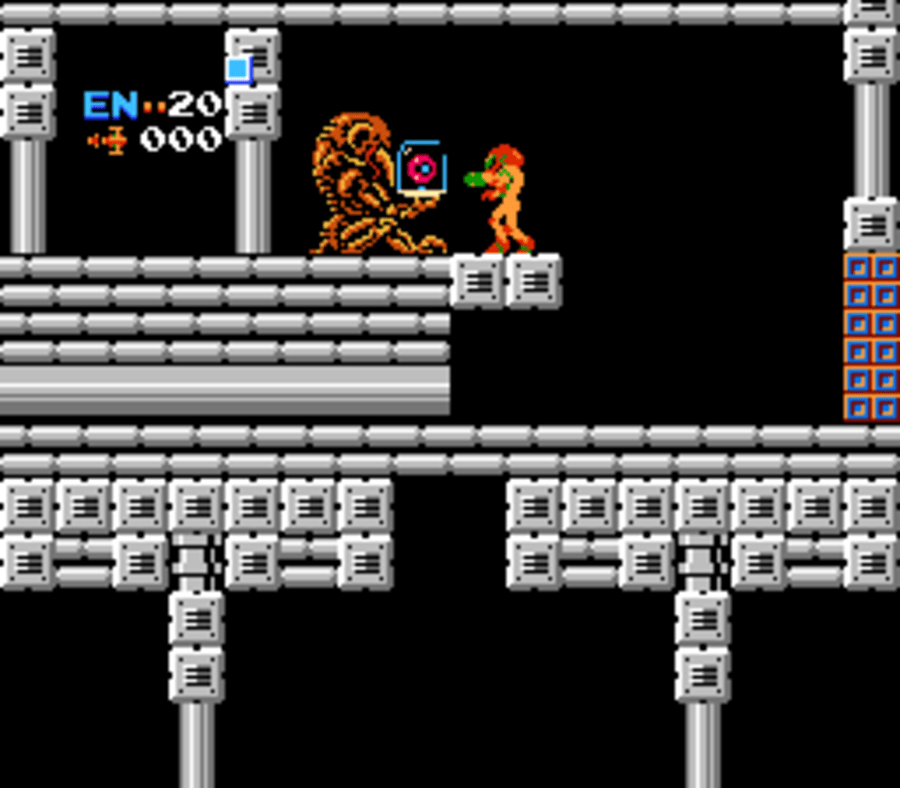
Make your way upwards until you come across a blue door on your left. Go through it. Something about that original NES item room theme just hits the spot, no? Just me? Either way, press forward, avoiding the insane amount of Zoomers and Rio’s in here and stop in front of the red door. Unload five missiles and the door will open. Like I mentioned earlier, be careful entering! If any Zoomers are moving towards the door, they won’t stop, even if the game itself stops to load the room. This is an insanely cheap way to take damage, but it happens. Walk inside and you will encounter canonically the first Chozo Statue Samus ever sees (so far!). Blast it open and grab the LONG BEAM.
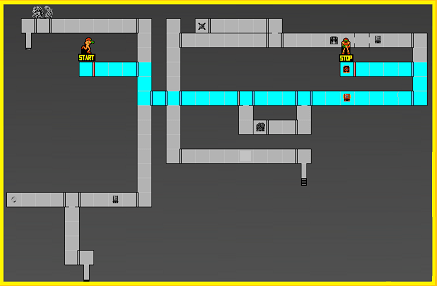
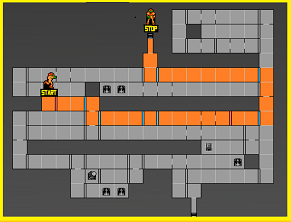
Long Beam Route:
Morph Ball Bombs
From the Long Beam room, head back into the giant blue vertical hallway. Drop down and go back through the first door on your right, the one you originally entered from. Continue on right and enter the next room. You’ll find yourself back in the golden vertical hallway. Instead of dropping down, continue right.
Make your way across the room, jumping on platforms and avoiding all the Wavers flying at you. Press through the door and jump! A Waver will be flying right at you in this small room, so get above it and press forward into the next room.
Continue pressing right for a couple room, dodging enemies and platforming, and eventually you’ll run into ENERGY TANK #1!
Continue right a couple more rooms until you get to another golden vertical hallway. Instead worth noting, as much as we want to generally avoid enemies, you’ll need to pick off a few to refill your missiles since we’ll soon be at a missile door.
Jump up the vertical hallway and take the first door on your left. Press on in this room and destroy the missile door. Enter the room, blast that Chozo Statue, and grab the BOMBS.
Bombs Route:
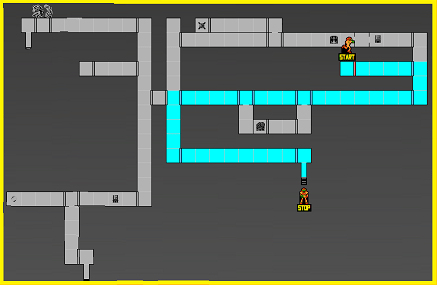
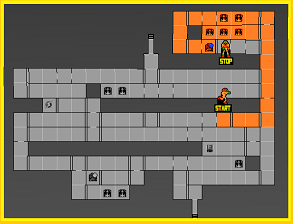
Unfortunately, we’re gonna have to do some major backtracking, all the way back to the very first hidden vertical hallway where we picked up our first missile expansion. Platform and make your way back, and once you arrive, continue pressing onwards until you get to the far left door.
Enter the room and take the elevator down into Norfair.
Brinstar-to-Norfair Route:
The Hi Jump Boots
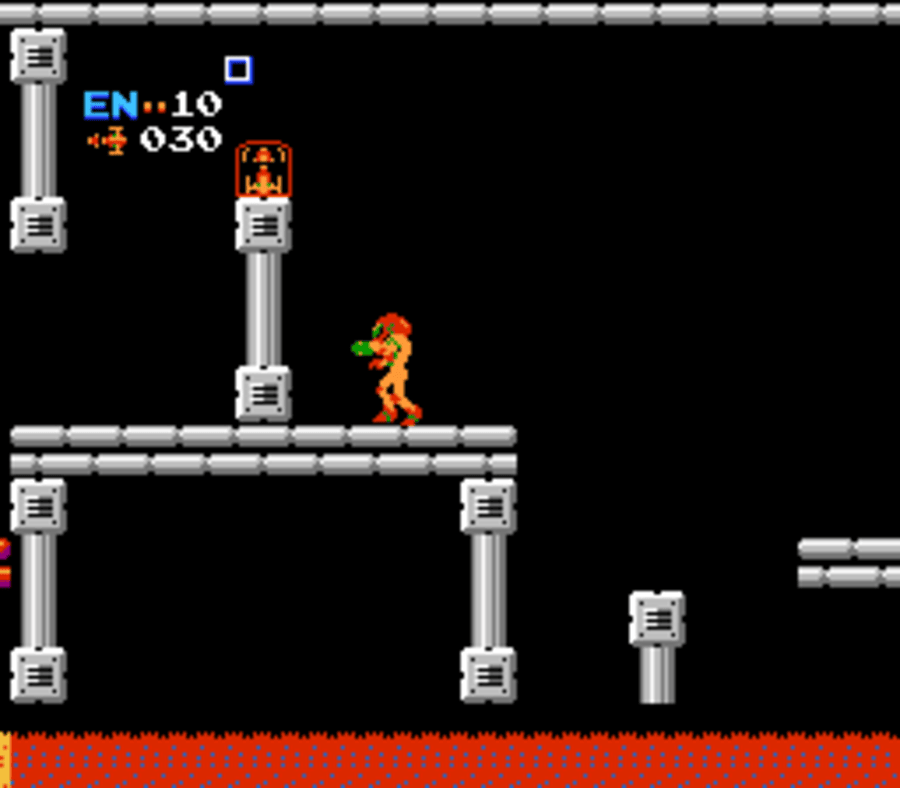
First thing we’ll want to do now that we’re in a very purple looking Norfair (weird!) is drop down and take the door to your left. I won’t lie to you – these couple rooms will be tough, but the extra missiles will be worth it.
What you’ll really want to look out for is blast-door-looking enemies called Polyp’s. These things are ground based enemies that will spit out several rocks at you if you rush over them, so take your time and press towards the left. Keep going and you’ll see MISSILE EXPANSION #2.
Keep going left and you’ll run into a purpley bubbley wall. Bomb the bottom and roll through to the left. Exit the bubble wall and there will be about a million Polyp’s blasting rocks at you. Go carefully but quickly, pressing left until you get through the door. In this next room, drop down and hug the righthand wall, landing on a platform with a door on it. Enter it and go through.
Press towards the right and eventually you’ll grab MISSILE EXPANSION #3! Good work!
Norfair Missiles Route:
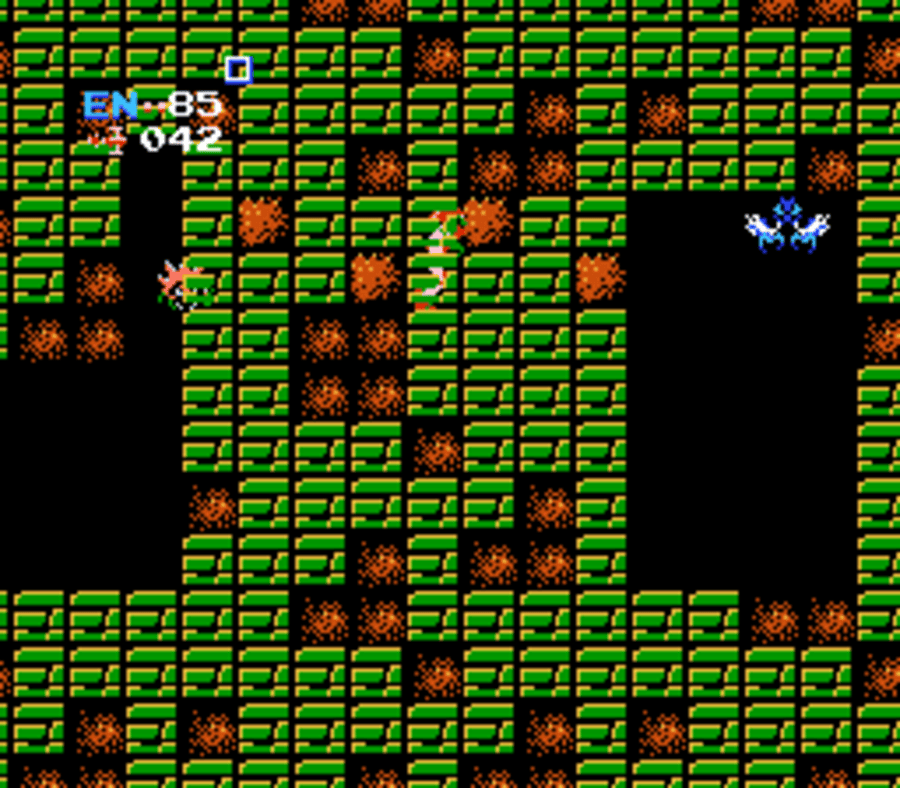
Now carefully make your way back to the elevator room, avoiding the enemies as best you can. Once you’re there, take the door on the right. Once you get through to that room, you’ll meet some new enemies, including Nova’s, which are basically just souped-up Geemers, and Squeepts, which just jump up and down. Keep pressing right, platforming and shooting out any blocks you need to in order to get across. Enter the door in the far right.

You’ll find yourself in a purple vertical hallway. Drop to the very bottom BUT DON’T GO THROUGH THE DOOR! Instead, lay some bombs at the far righthand side and you’ll see a tunnel open up. Drop down!
You’ll see that this purple vertical hallway goes way deeper than we thought, but fortunately, we just need to take the first door on the left after dropping. Enter the room, make your way through, blast open the missile door and then grab the HI JUMP BOOTS!
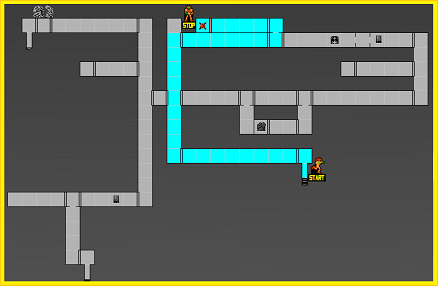
Hi Jump Boots Route:

The Ice Beam
Now that we got the Hi Jump Boots, we can really upgrade our arsenal with a stupid amount of missile upgrades. First things first, scale back up the vertical hallway we just dropped down. To get back up through the floor we dropped down, you’ll need to shoot out the blocks, wait a second, and then drop back up as the block respawns below your feet.
Make your way all the way to the top of this hallway. Once you reach the roof, you’ll see a door on your left and two small platforms on your right. We’ll come back to the platforms in a second, but for now, take that door.
This room rocks. Almost right away you’ll run right into MISSILE EXPANSION #4. Keep pressing left and you’ll run into MISSILE EXPANSION #5, and if you can believe our luck, if you head left some more, MISSILE EXPANSION #6 is there too! Woohoo! Exit back into the vertical hallway you came from.
Jump on the top platform and shoot the ceiling and a tunnel will reveal itself. Do the same thing we just did; shoot, wait, blocks will respawn, and go up.
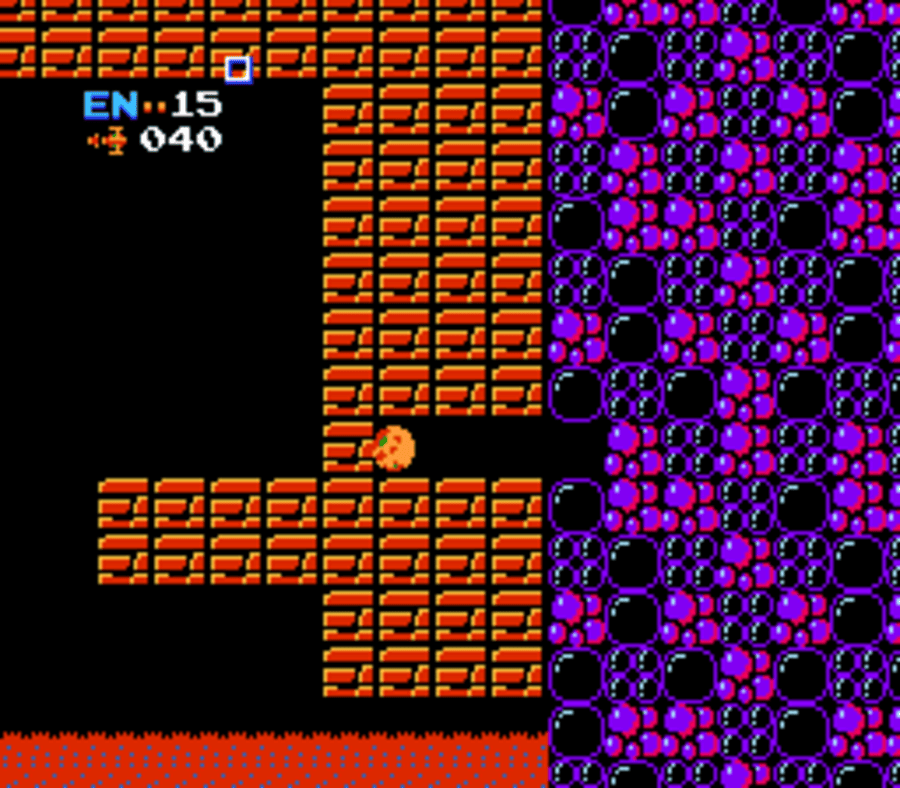
Enter the door on your right and press forward in the next room. Pretty quickly, you’ll grab MISSILE EXPANSION #7. Keep going right, being mindful to avoid that super annoying Geruta thing flying around, and grab MISSILE EXPANSION #8. Don’t stop though – bomb the wall on the right and keep rolling, bombing, rolling, bombing (what!) until you pop out on the other side. Keep pressing left and go through the blast door.
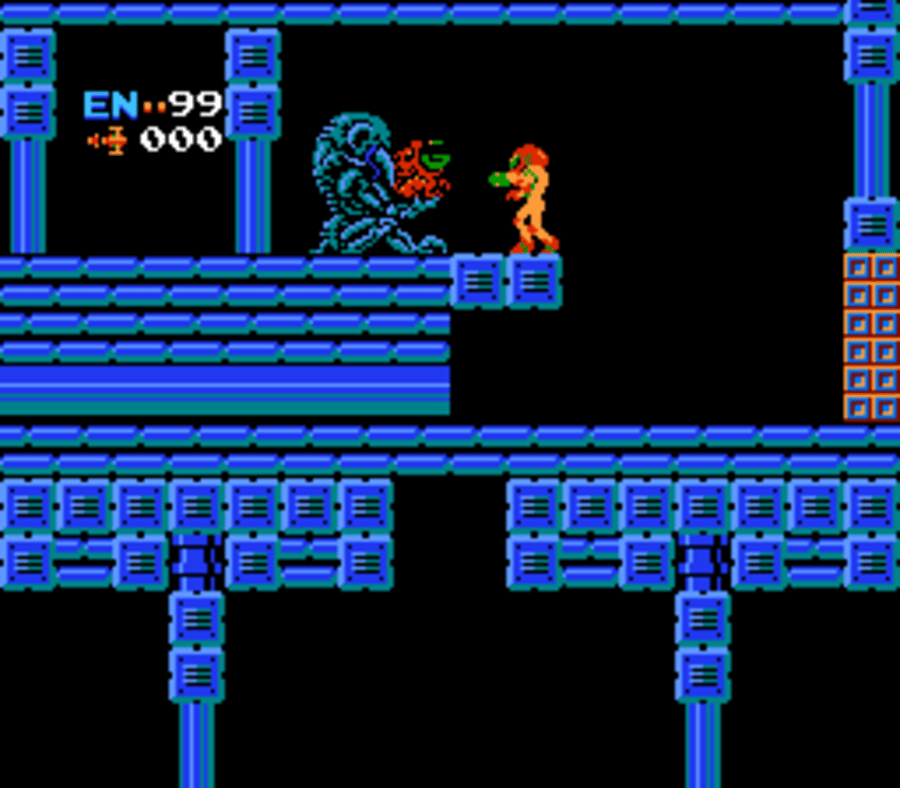
Drop down, hugging the wall to the right, and enter the door at the bottom. There’s three annoying bubble enemies called Multiviola’s that are going to be all over you as soon as you enter, so maybe use some missiles if you can spare them so you don’t take a bunch of damage. Jump across and bomb the bottom right corner, and you’ll that old familiar Chozo Statue. Roll up and grab the ICE BEAM.
Ice Beam Route:
The Screw Attack
Now, for some more backtracking. You’ll need to go aaaaaaall the way back to where we picked up the Hi Jump Boots. I know this may not seem optimal, but with the Ice Beam, now we can acquire the most powerful item in the game, which will make navigating this nightmare planet a lot easier. Start trekking.
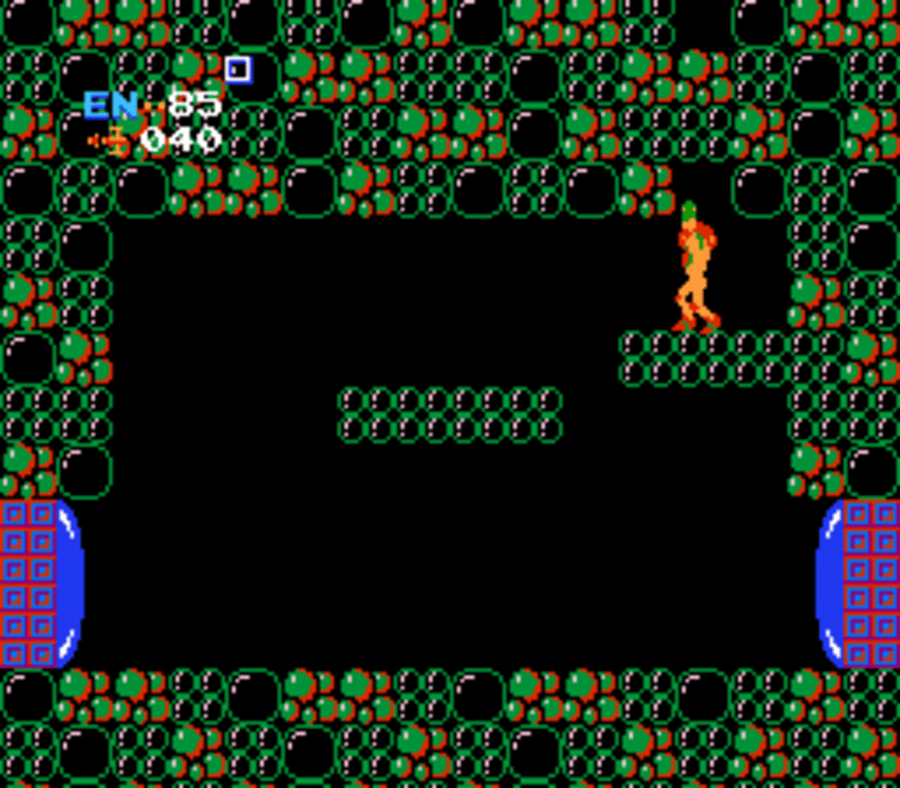
Once you get to the Hi Jump room, bomb the floor under the Chozo Statue and roll under it towards the left. Keep rolling through until you exit the tunnel. Pick any of the three enemies in front of you and freeze them. Once they’re frozen, use them as a nice step stool to climb up and over the ledge and keep pressing left. Do this again and head through the door on your left, and again through that door until you’re in a new room. Keep pressing left until you arrive at a room with green bubbles. This looks like a room with only doors on your left and right, but actually, if you jump up to the small platform sticking out of the righthand side of the wall and shoot the ceiling, a tunnel will emerge. Jump up it and head through the door on your left.
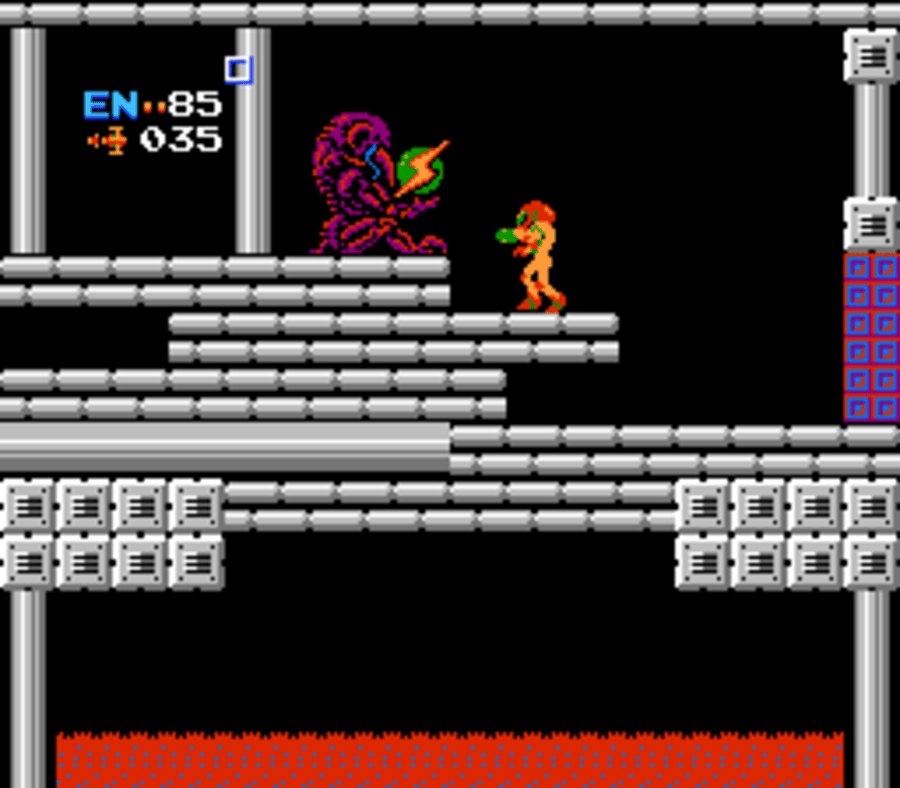
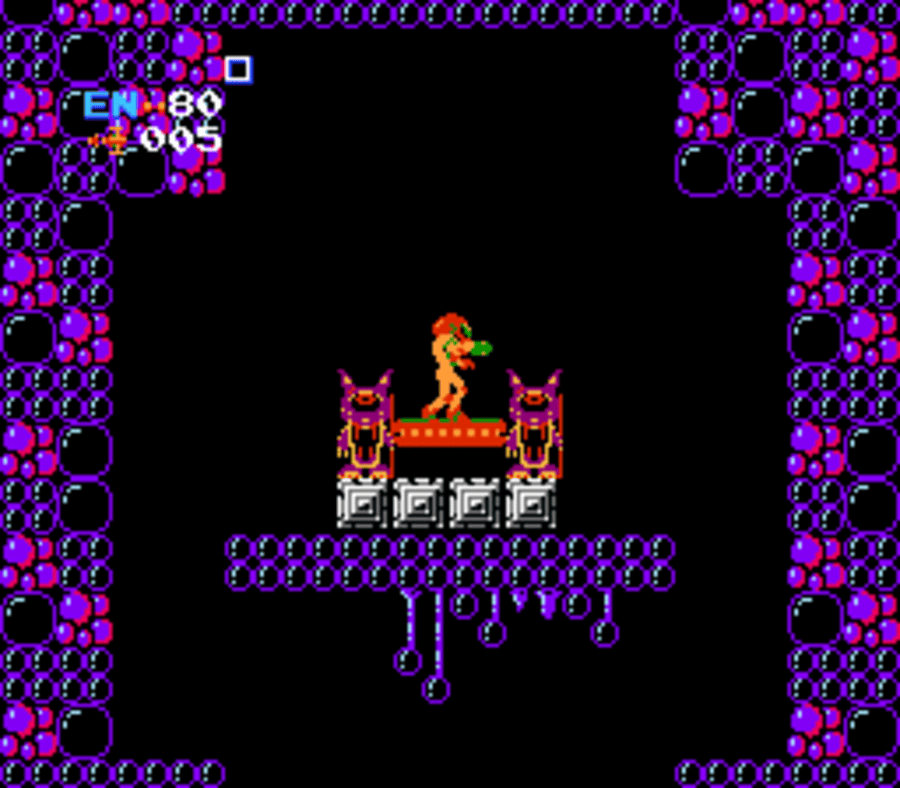
Make your way across this room, jumping and avoiding enemies, and unleash your missiles on the red blast door. Step inside this room and behold Samus’s ultimate weapon: the SCREW ATTACK.
This will allow us to navigate a little more brazenly, as almost any enemy that comes into contact with us now will be shredded to little bits if they touch us. With this said, there’s nothing more for us in Norfair right now. If you’re so inclined, there is another Energy Tank, but I wouldn’t recommend getting it since, as we know, there is a limit on the amount of tanks you can have and there are much easier tanks available. When you’re ready, head all the way back to Brinstar – it’s time for our final suit upgrade!
Screw Attack Route:
Norfair-to-Brinstar Route:
The Varia Suit
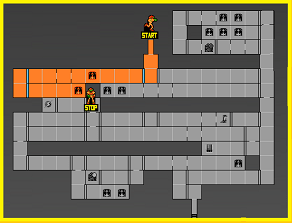
Once you’re back in Brinstar (the air is a little nicer up here, no?), press all the way left, using your handy dandy Screw Attack to make dog meat out of all the enemies in your path, until you get to the hidden vertical hallway. Ready to climb? You’re going to want to scale aaaaaall the way to the top, taking the door on your right once you get all the way up there.
You’ll now be in a green looking room full of Wavers. Screw Attack through them and press right. Bomb the wall and you’ll see a bunch of silver tunnels stacked on top of each other leading right. Take either one of the top two tunnels (watch the Geemers!) and roll through to the other side. Press through and go through the door.

This room looks pretty straightforward, but as this game has taught us by now, nothing is ever as it seems. Freeze or destroy the Waver and then shoot the ceiling in the middle of the room and a tunnel will open. You know what to do. Head up and make a tight jump up the door on the high ledge.
Continue left, slicing through enemies and blasting open the missile door and go claim the VARIA SUIT. Damage is now reduced! Awesome! Also worth mentioning, if you’re playing as Justin Bailey, now you have the absolute most iconic look in the series.
Varia Suit Route:
Exit this room and drop back down to the original small room we climbed up from. Continue working your way to the right. There are a lot of enemies in pretty close quarters, but hopefully the Screw Attack is allowing some reprieve. Continue forward and grab MISSILE EXPANSION #9. Keep heading right, until you get to a small alcove that looks like a dead end. Hug the wall and shoot up, revealing a tunnel. Jump up and over, continuing right.
Keep heading left, bombing a few passages, and you’ll run smack dab into ENERGY TANK #2! If you keep heading towards the right, eventually you’ll come to a door that takes you into a vertical hallway. Look familiar? This is the same hallway we got the Long Beam in! Now that you know where we are, re-calibrate yourself – it’s time to head back to Norfair! Make the long trip and take the elevator down.
*NOTE: at this point, you can either head to Kraid’s Lair or Ridley’s Lair. This walkthrough will go on the assumption that you’re following along and taking the Ridley route first.
Brinstar-to-Norfair Route: