


Metroid Fusion Walkthrough – Sector 1: Atmospheric Interference
Walkthrough
- Biological Space Labs
- Sector 1 – Atmospheric Interference
- Sector 2 – Unknown Saboteur
- Sector 4 – Ultra-High Speed
- Sector 3 – Rogue Security
- Sector 6 – Frozen Parasites
- Sector 5 – Cold Arsenal
- Sector 3 – Meltdown
- Habitation Deck – Signs of Life
- Sector 5 – First Encounter
- Main Deck – Power Failure
- Sector 2 – Overgrown With Vegetation
- Sector 5 – The Nightmare Awakens
- Sector 4 – Diffusion
- Sector 6 – Revelations
- Sector 1 – Neo Ridley’s Cry
- Sweeping the B.S.L.
- The Final Confrontation
Atmospheric Stabilizers – First Unit
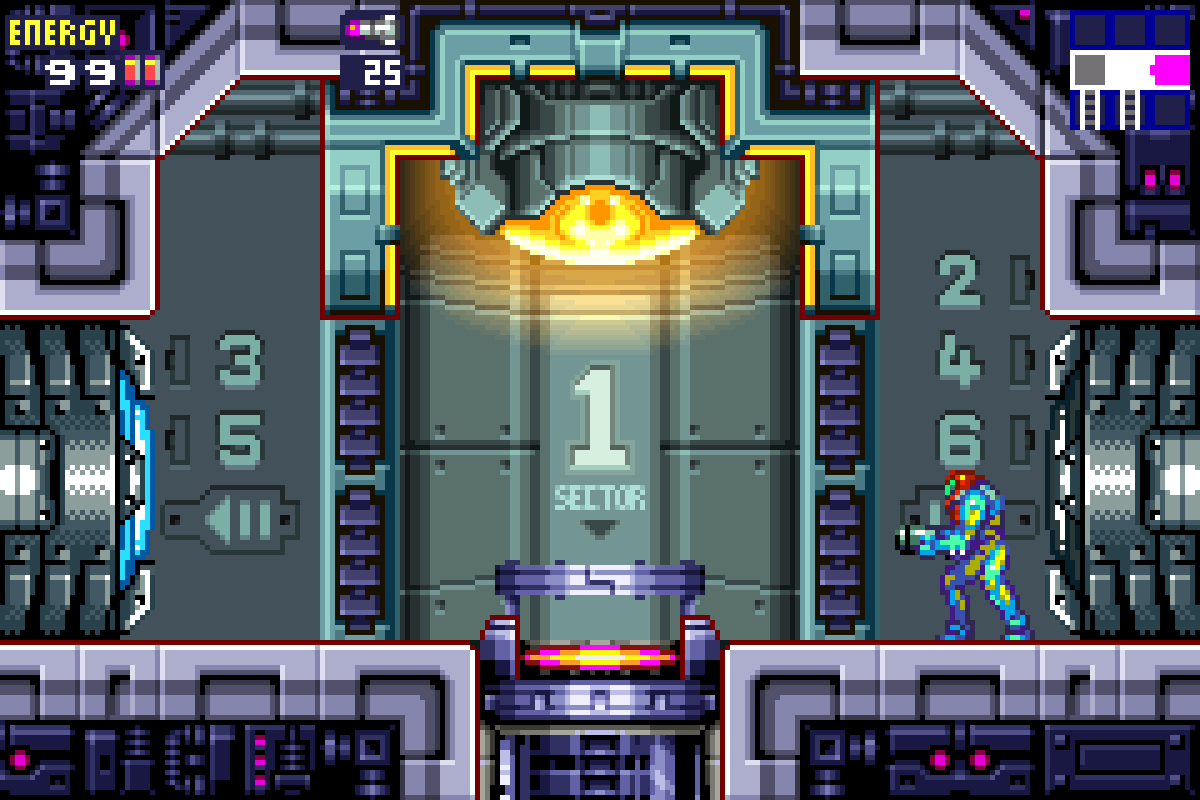
Get to the Navigation Room and report in with Adam. He will tell you the elevators are pooched, so we’ll be stuck in Sector 1 (SRX) for a while. Worth noting, Sector 1 is replicating the environment of the Planet SR388, home of both the Metroids and the X. It seems the X have compromised five atmospheric stabilizers, so it’s up to us to get them working again.
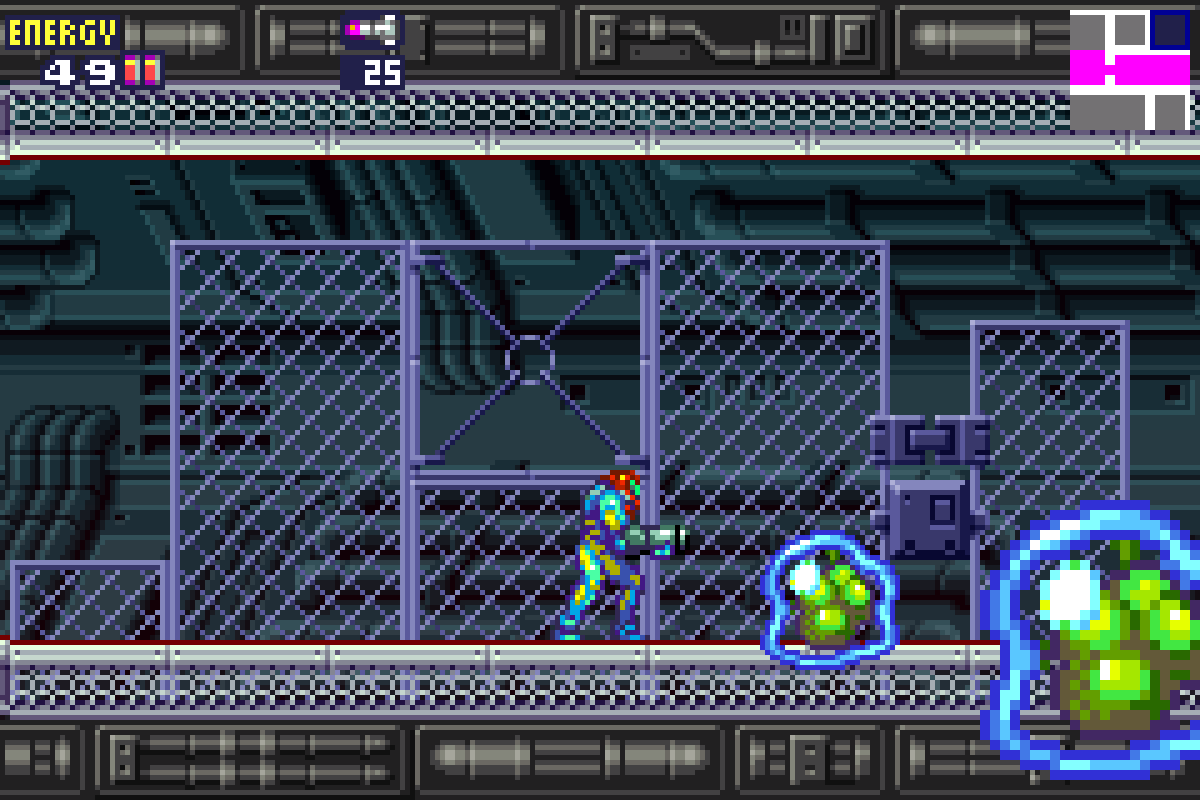
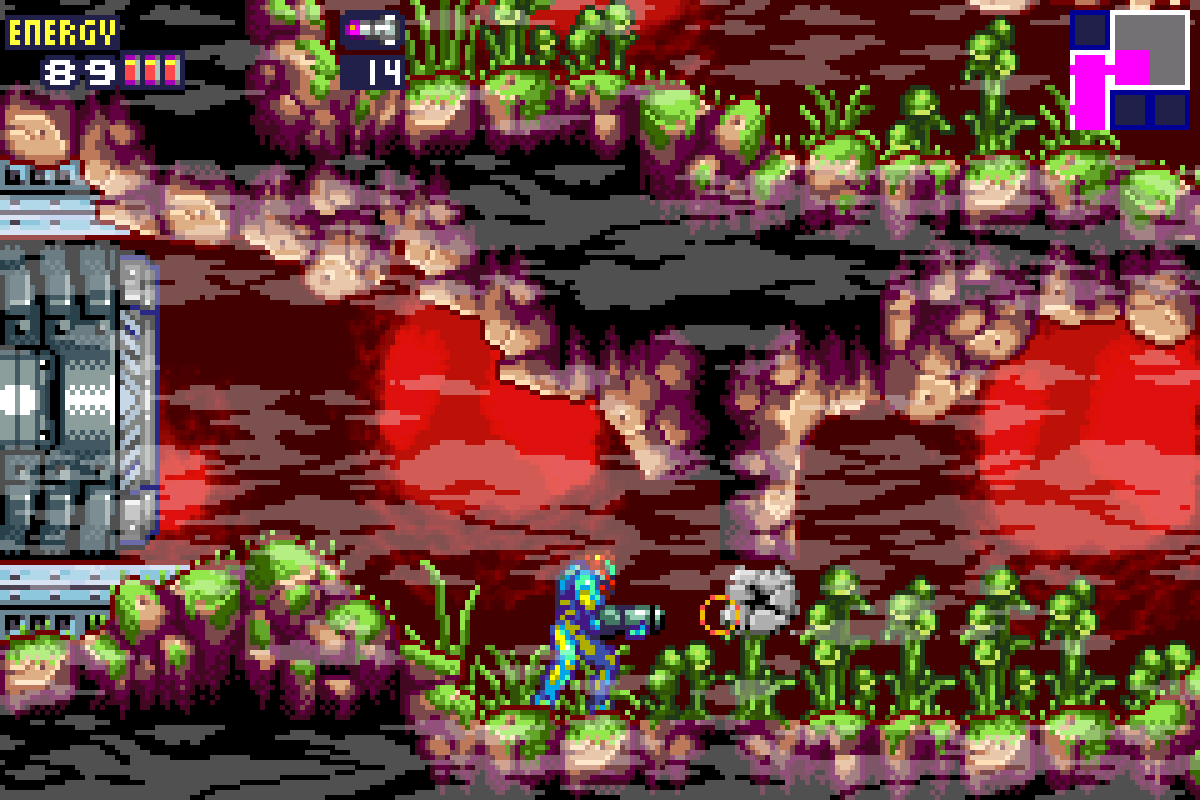
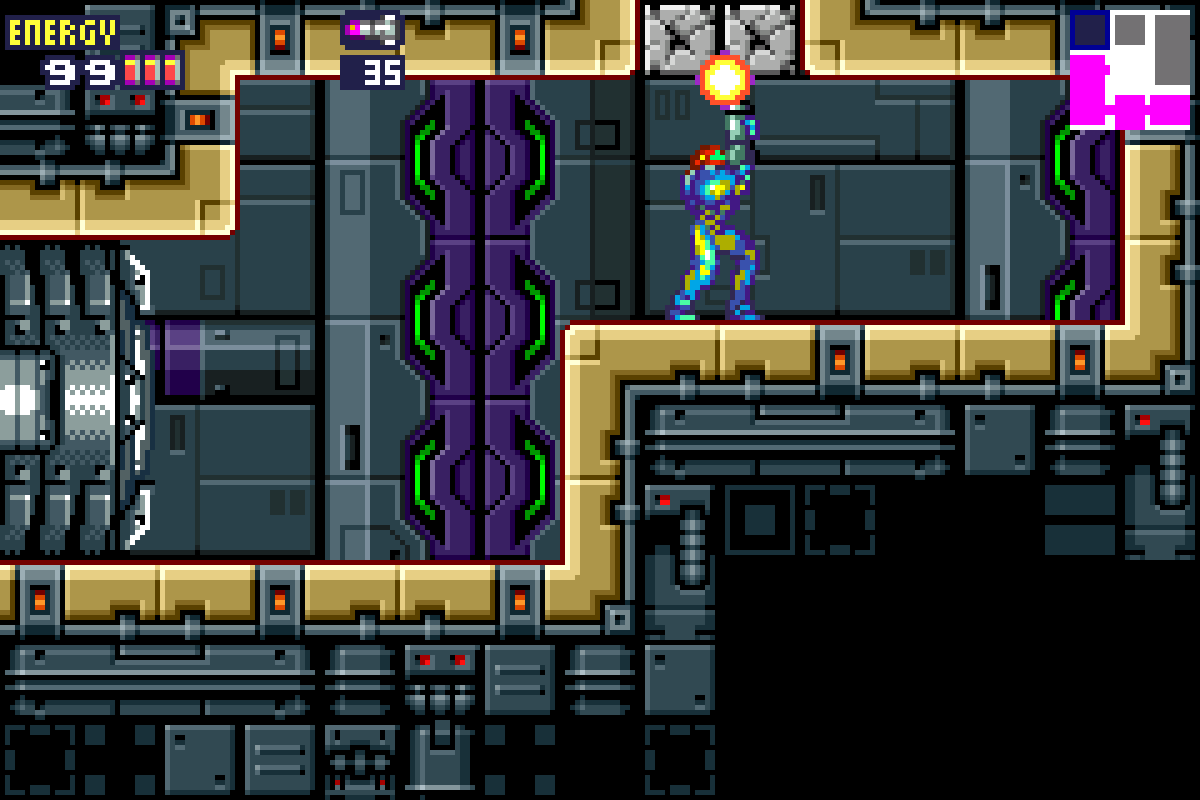
Start off by entering the first room. You’ll see there are three doors, but two are locked with blue and green seals. Head to the bottom right and go through. You’ll notice a couple squiggly looking enemies called Yameba’s. These things almost look like Metroids, and will attack in a similar way, hovering over you and zapping your energy. Blast them away and then get rid of the eyeball barrier in front of you with three Missiles.
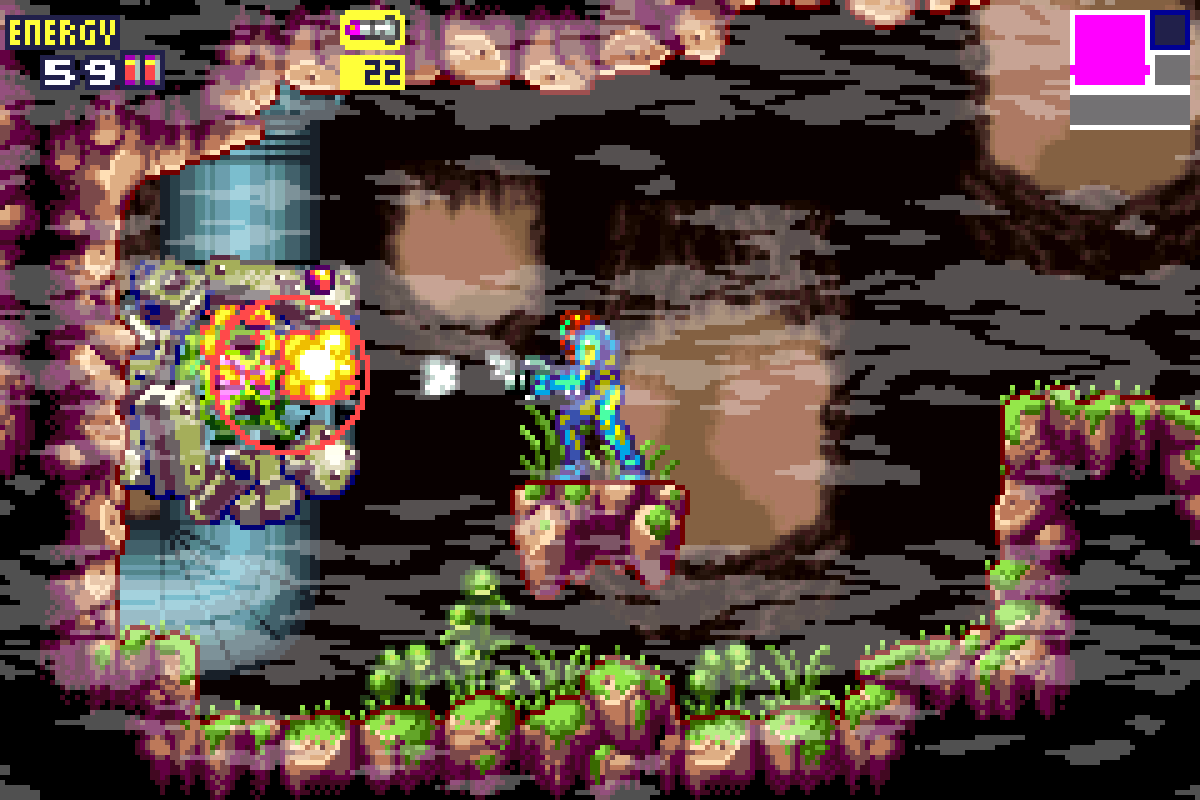
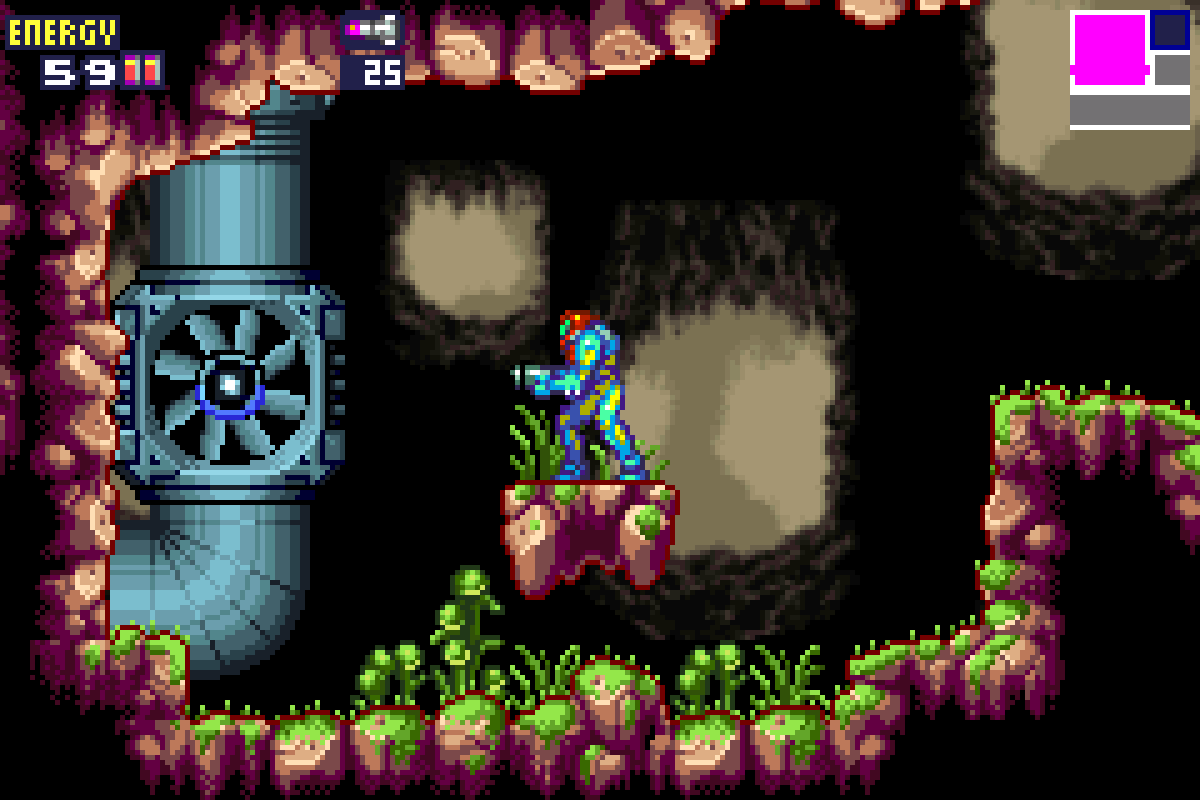
You’ll enter your first atmospheric stabilizer room, as evidenced by the haze and the sound of the X you can hear. Hop up and over to the far side of the room, land on the platform and give the X parasite inside of the stabilizer three missiles for its troubles. This will get the stabilizer back online. One down, four to go.
Atmospheric Stabilizers – Second Unit
Press towards the right. Eliminate the Hornoads in the room, though be careful, because the X will form into different enemies. When you get to the small ledge, stop and crouch. Shoot in front of you and you’ll see a Morph Ball tunnel. Roll through to grab ENERGY TANK #3. Roll back out and head through the door. Instead of dropping down, head through the door on the far right.
This is the second stabilizer room. Shoot the thin wall blocking you with your beams and then jump up to the ledge; press left and shoot the roof with your beams to create an opening for you. Jump up and make your way right. Be careful not to step on the line strip of ground at the top! This will give away as soon as you touch it, so just jump over it to get to the other side. Once there, aim upwards and give the X clogging up the stabilizer three Missile shots to eliminate it. Once done, exit the room.

Atmospheric Stabilizers – Third Unit
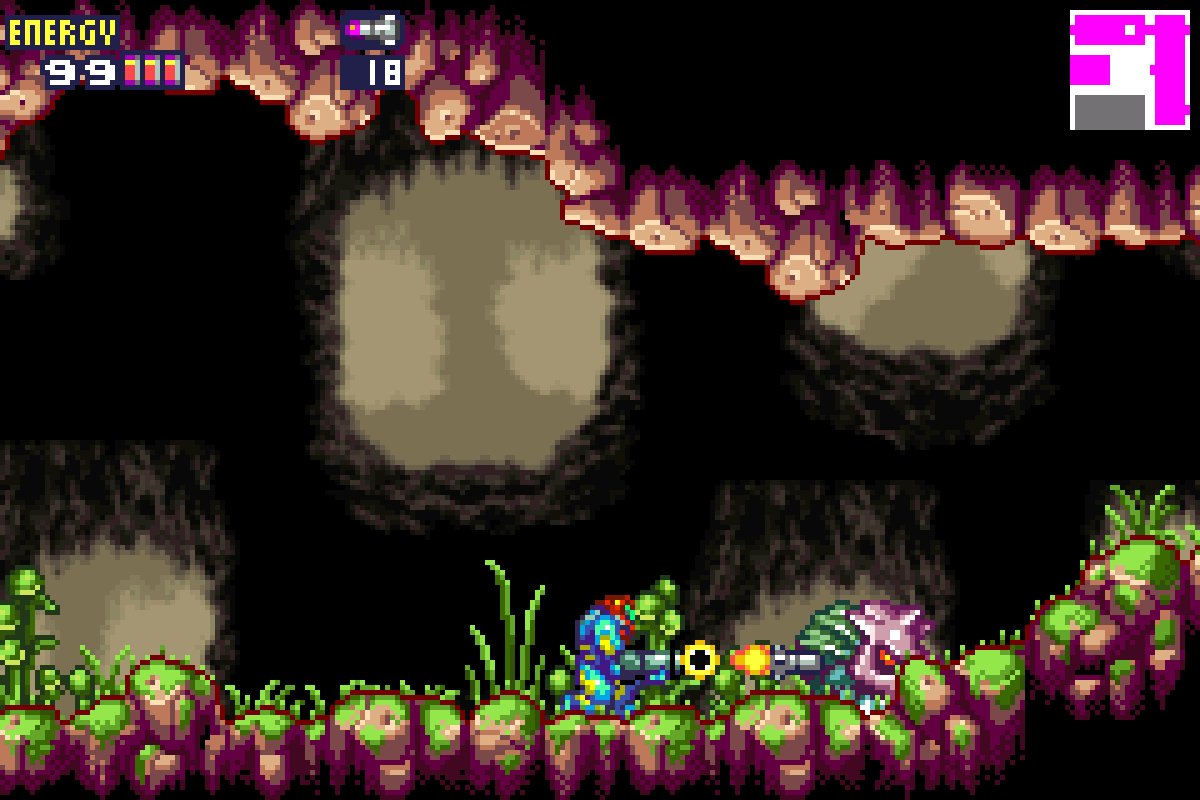
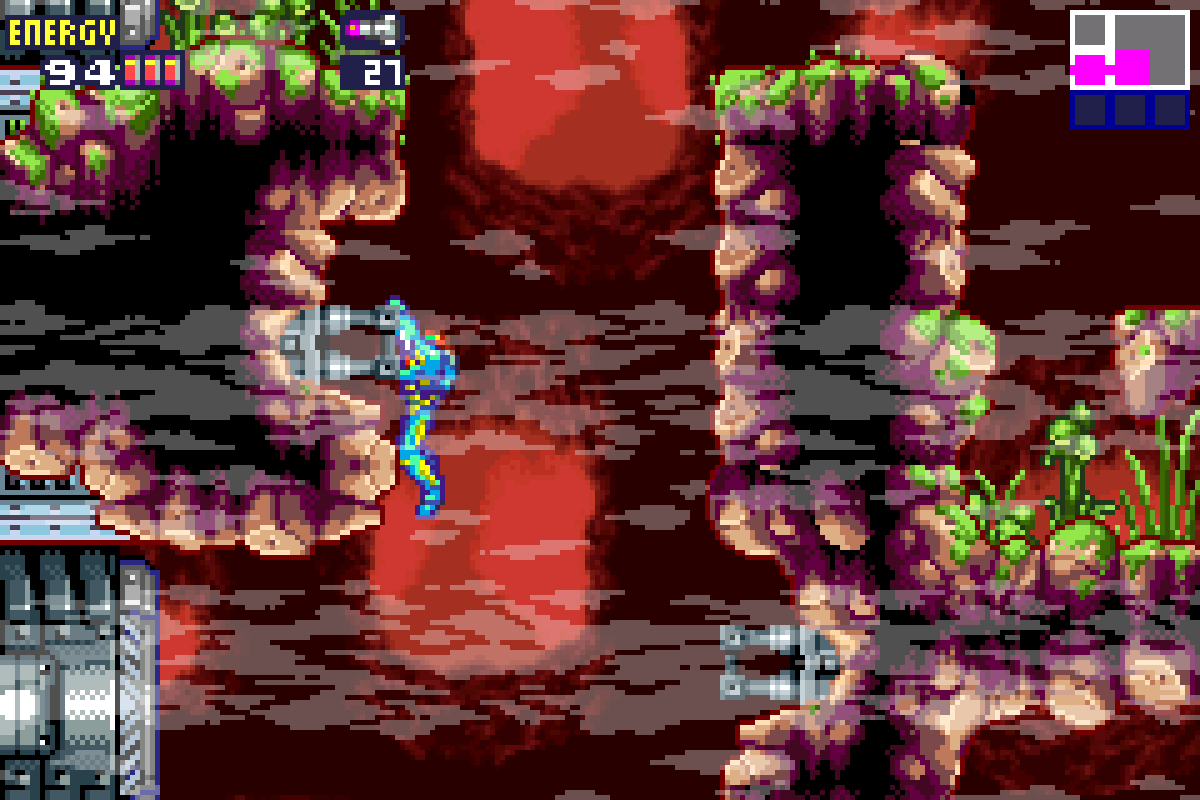
Once you’re out of the second stabilizer room, you can drop down the shaft that we previously jumped over. From here, we’re going to drop halfway down this shaft and then enter a long hallway to our left. This room is filled with some pretty nasty creatures named Moto’s. These guys will try and ram you, but a well-timed jump and a single Missile to their exposed backside should take care of them quite nicely. Work your way to the end of the room, and exit left. You’ll be in another long vertical hallway, but before we drop down, jump over and enter the room to your left.
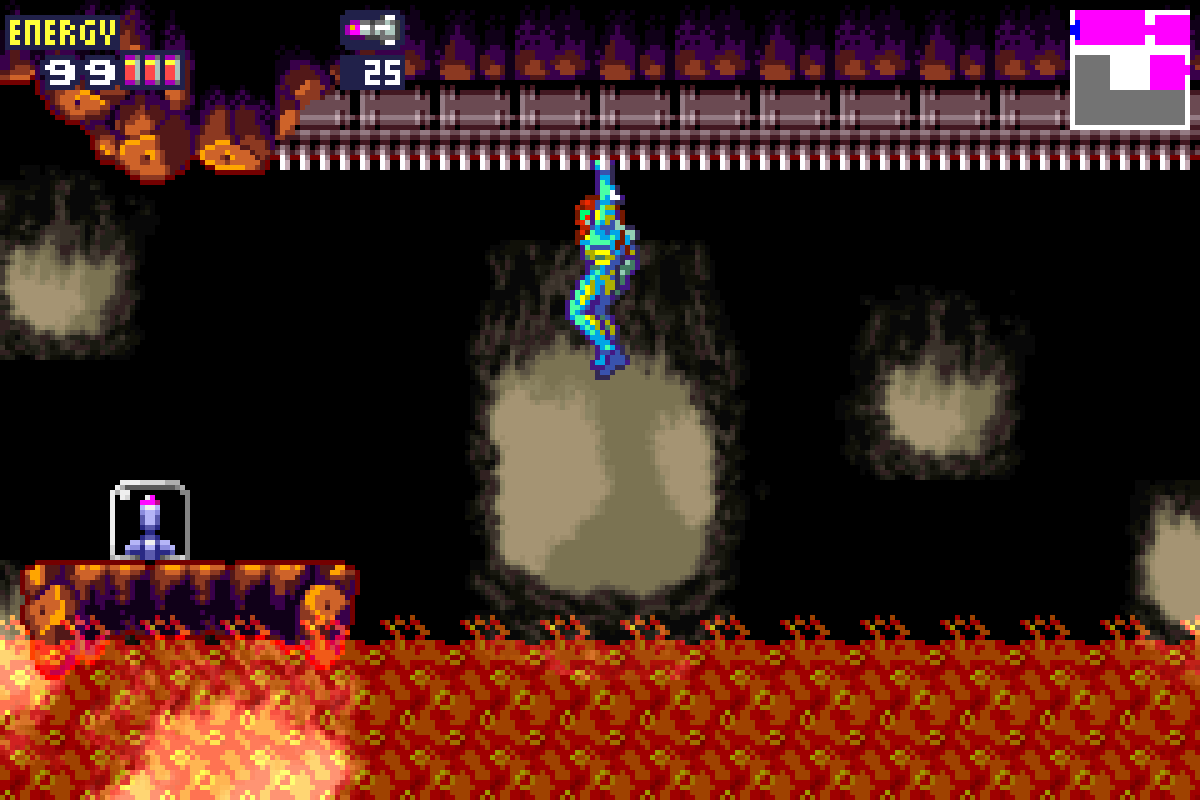
You’ll see a ton of lava in this room, with what goes without saying, we want to avoid. Jump up to the ceiling and grab the monkey bars (that’s what they are, right!?) and climb over until you see a platform. Drop down and snag MISSILE EXPANSION #4. There’s nothing else we can do in this room for now, so exit back out back into the vertical hallway.
For anyone that’s played Super Metroid, this room should feel intimately familiar. The X are forming Space Pirates, and these infected Pirates are climbing to the walls, just like they did in Crateria. Either eliminate or avoid the Pirates and make your way to the bottom of the room; enter the door to your right.
Press forward until you reach the third stabilizer room. Jump across the pits until you get to the far side of the room. Scale the monkey bars and shoot down the X inside the third unit. With this one cleared, we only have two left to go!
Atmospheric Stabilizers – Fourth Unit
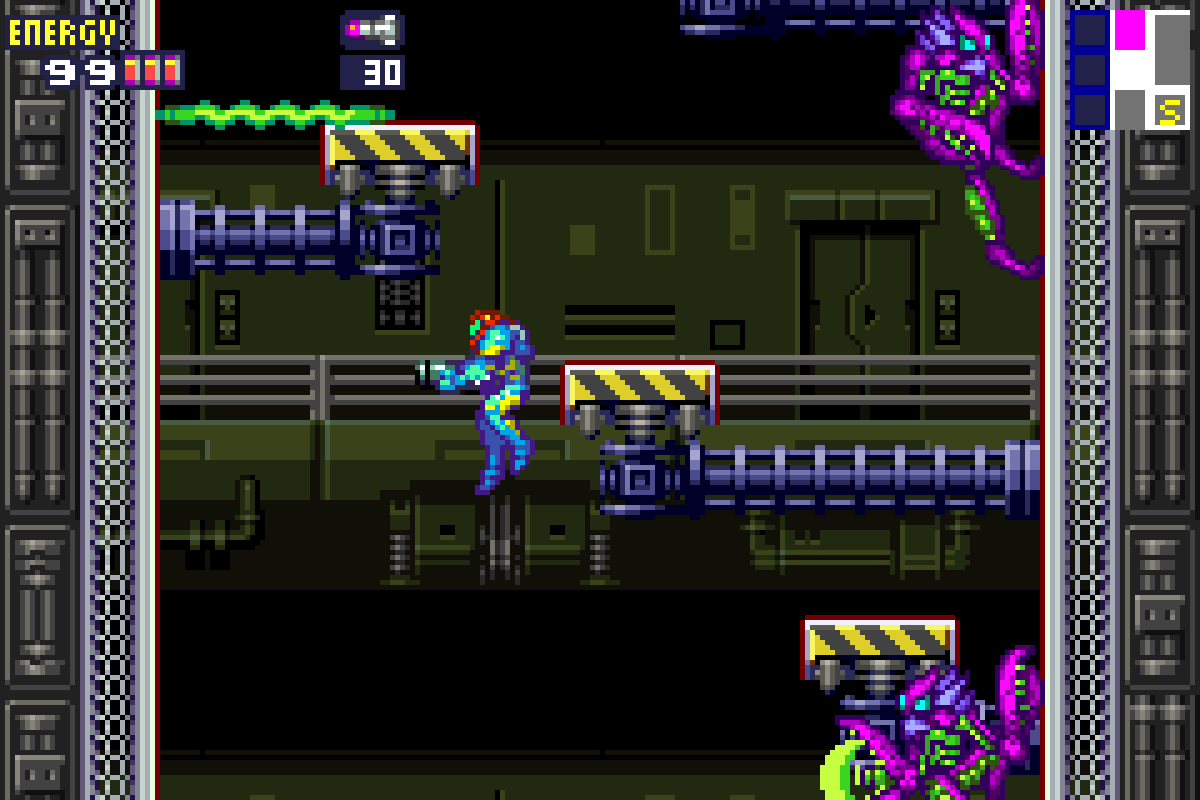
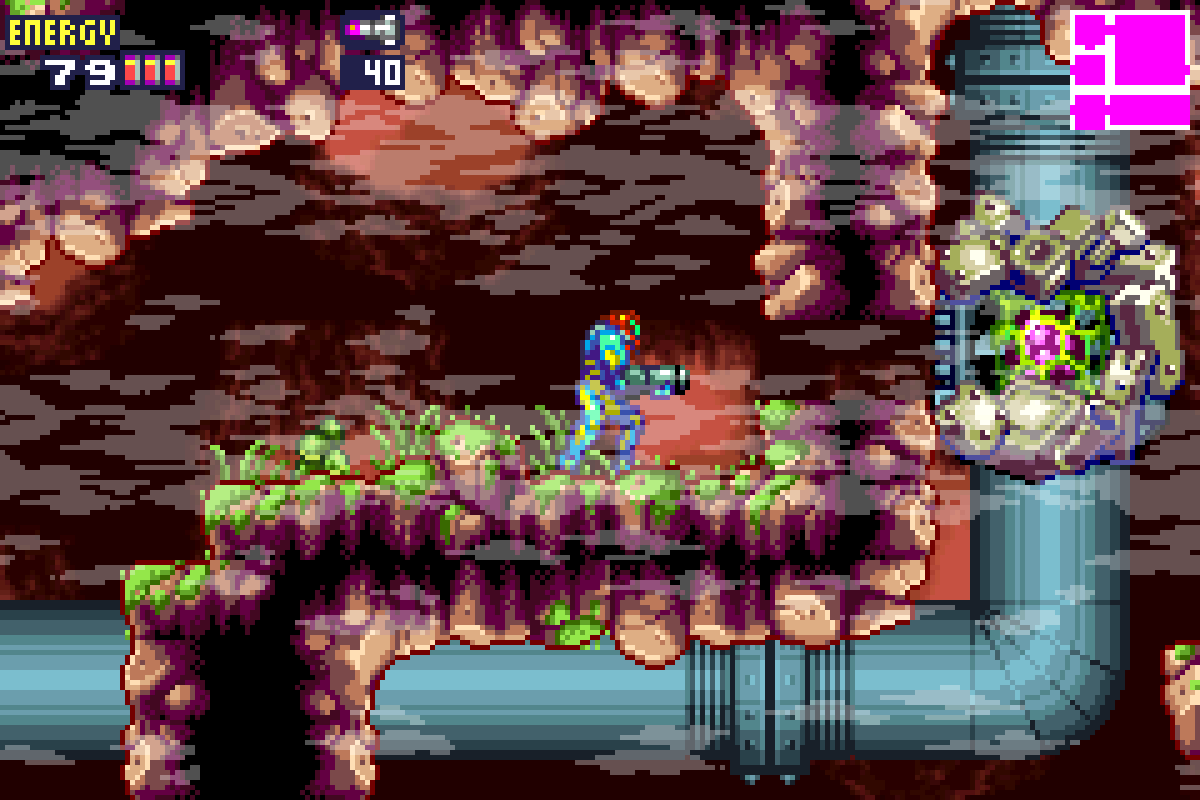
Exit the lower-right door in the third stabilizer room and press forward. After going through a room with a single Moto, you’ll actually hit the fourth stabilizer room right away. You’ll see two pipes sticking out of the ledge that we’ll be able to grab onto. Jump up and then use the monkey bars to move over to the right. There are a bunch of Hornoads beneath you, so try not to fall. You’ll see the X infested stabilizer in front of you. You know what to do.
Once the fourth stabilizer is back online, head over to the upper left door, which is now unlocked. Pop in and grab MISSILE EXPANSION #5, which is conveniently just sitting there for us. Exit back into the stabilizer room and out of the door on the lower right-hand side.

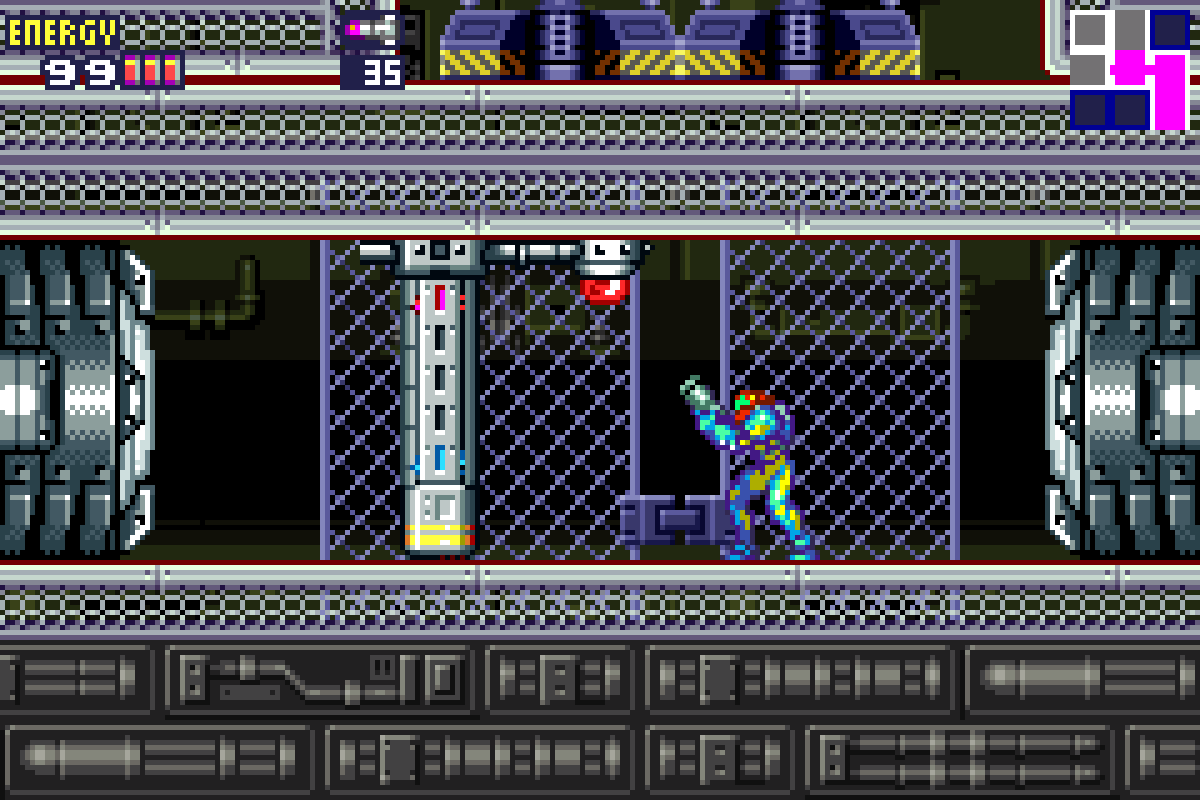
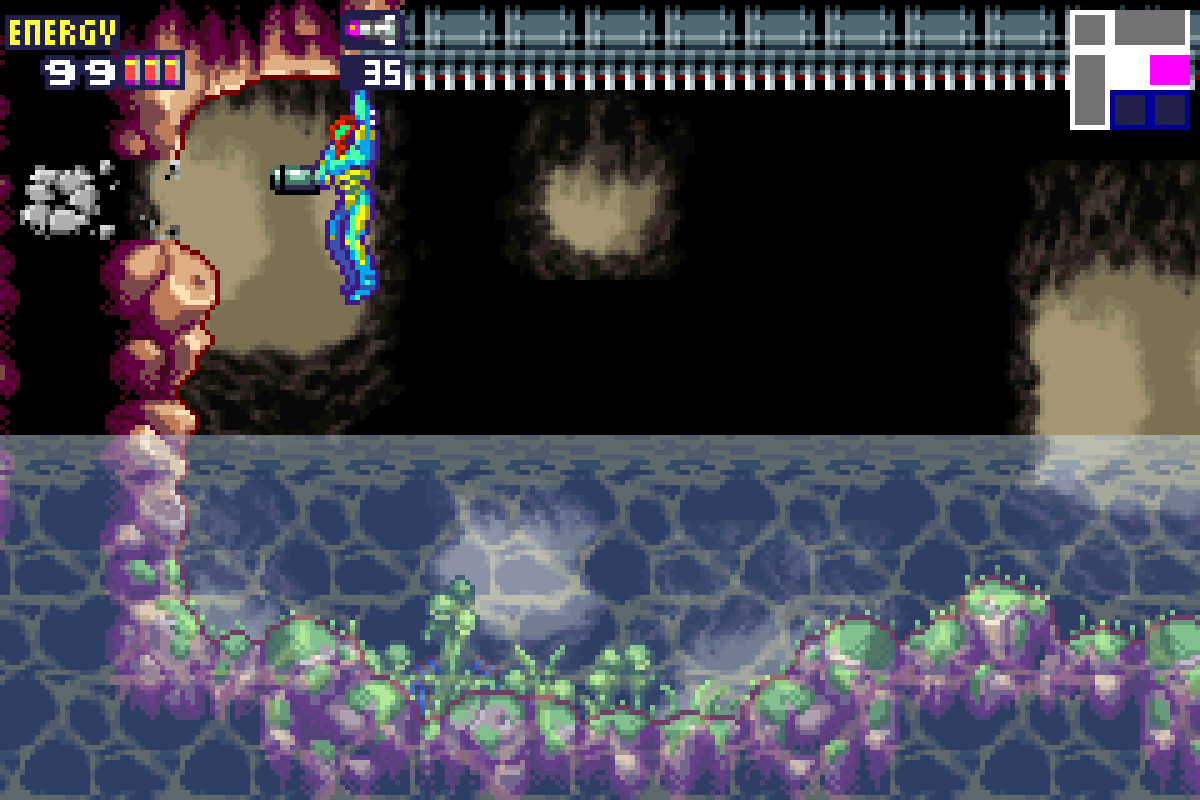
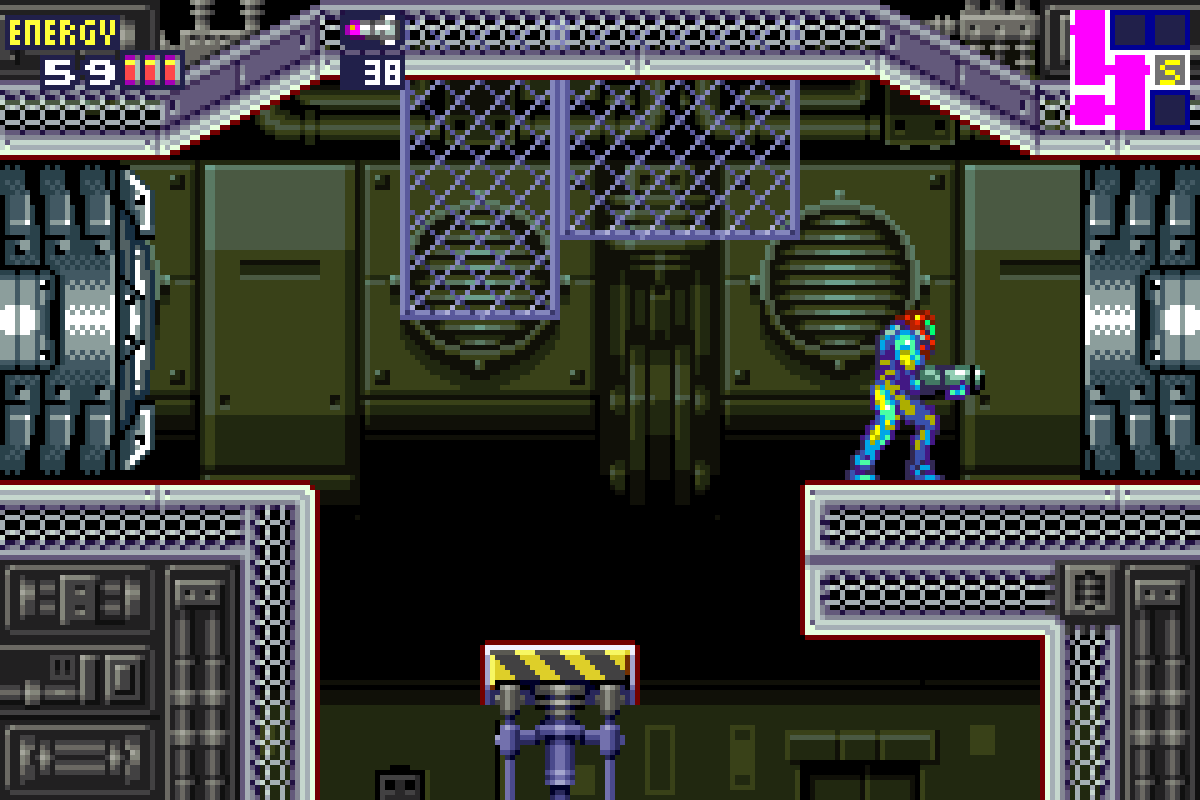
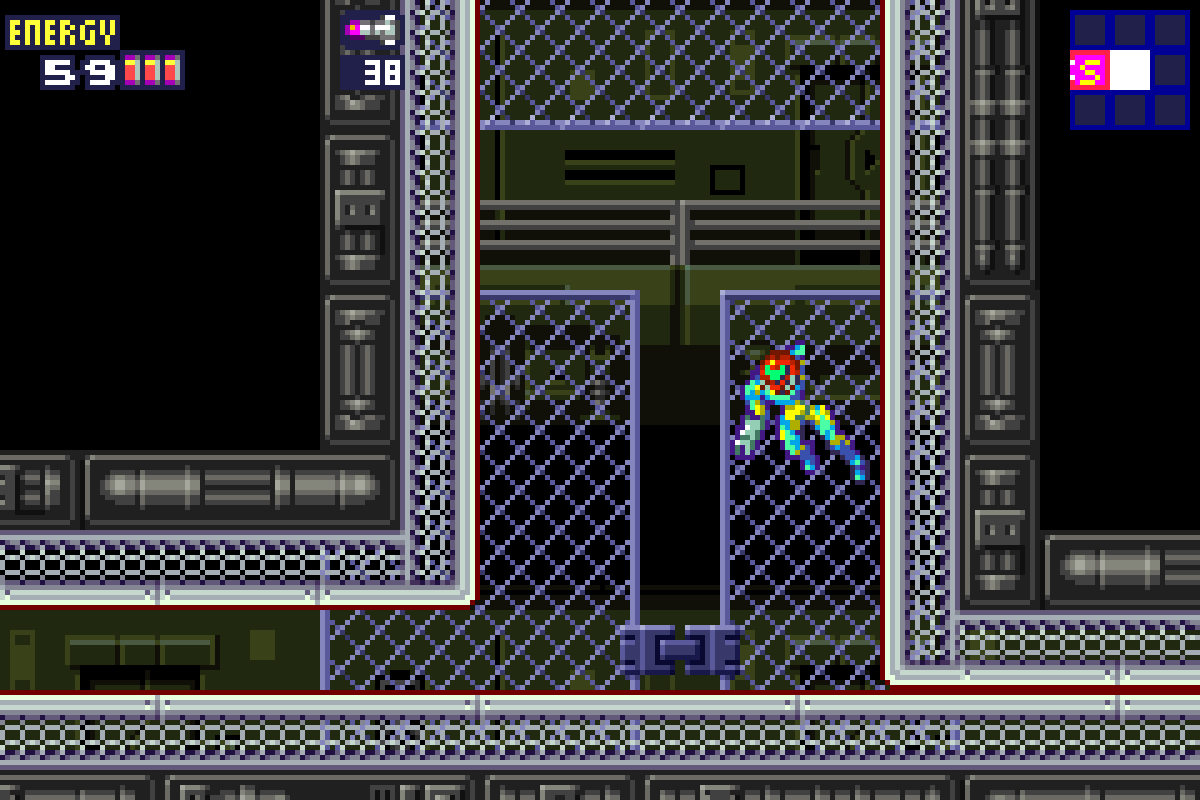
Make your way up the Space Pirate infected shaft, taking them out with Missile shots, until you reach the top left door. Blast the switch in this next room, opening the gate in the hallway, and press on. You’ll now be in a room with monkey bars at the top and water at the bottom. Climb across the monkey bars, eliminating any enemies in your path, until you get to the end. Shoot the wall and you’ll end up with a space big enough for you to crawl through.
Enter the door, drop down into the next room and make your way to the Save Room. Once you’ve done your business, go up and destroy the Gadora, and get ready for your second boss fight.
Elephant Bird
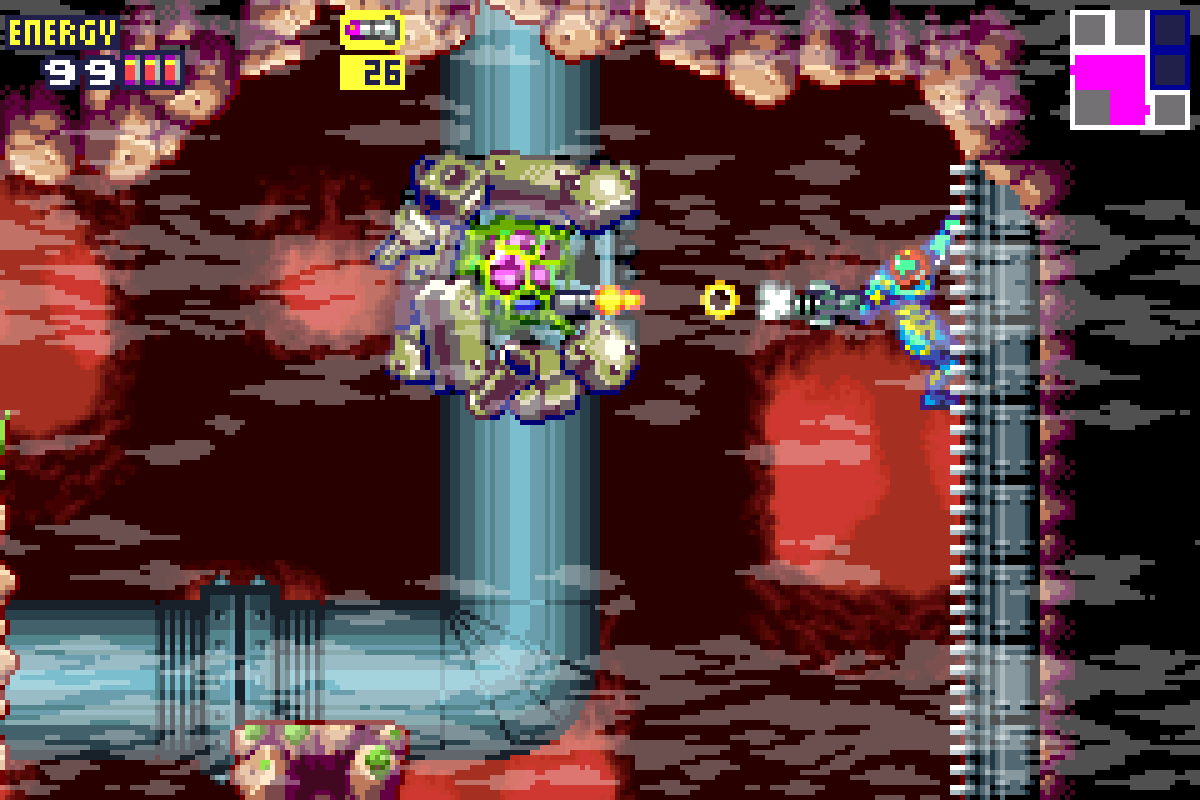
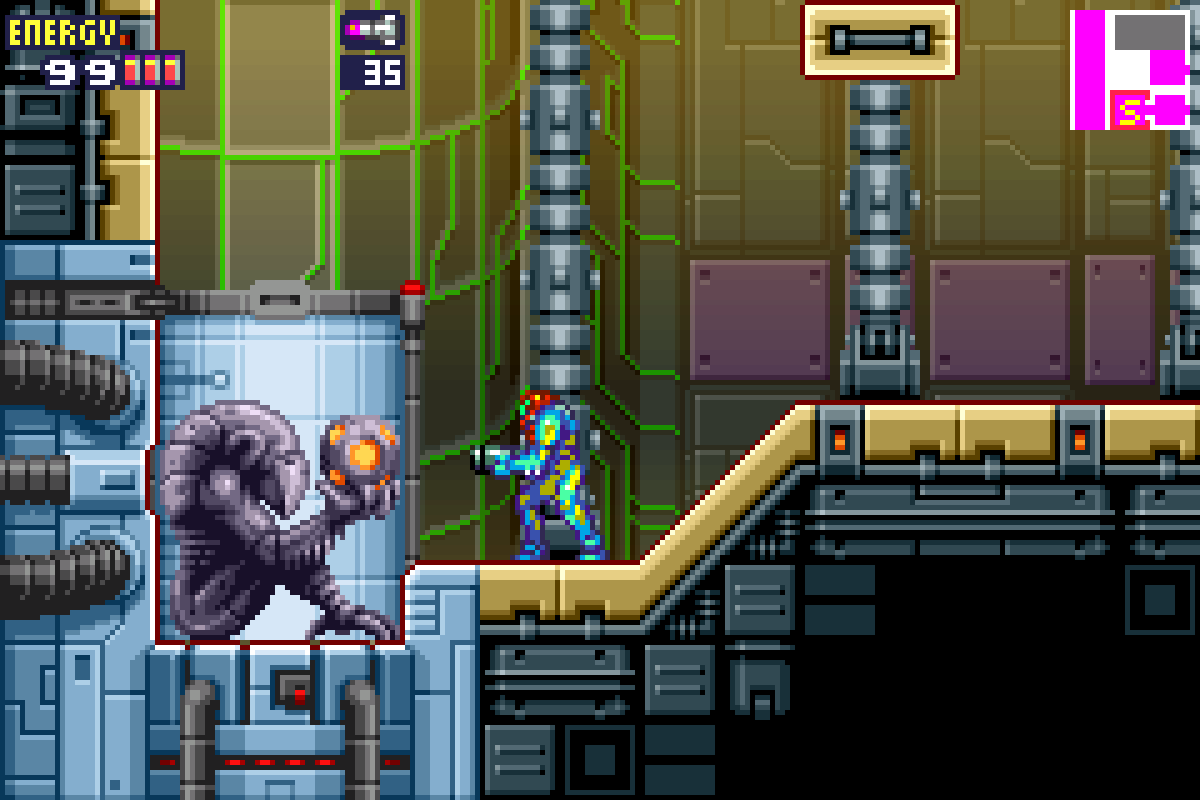
This starts off a little weird. You’re going to run into this room only to find… a Chozo Statue? What the heck is that doing there? Unfortunately, we don’t have long to stop and find out, as pretty quickly this Chozo statue transforms into Elephant Bird, an enhanced X-Core that will shoot out charged beam shots at us.
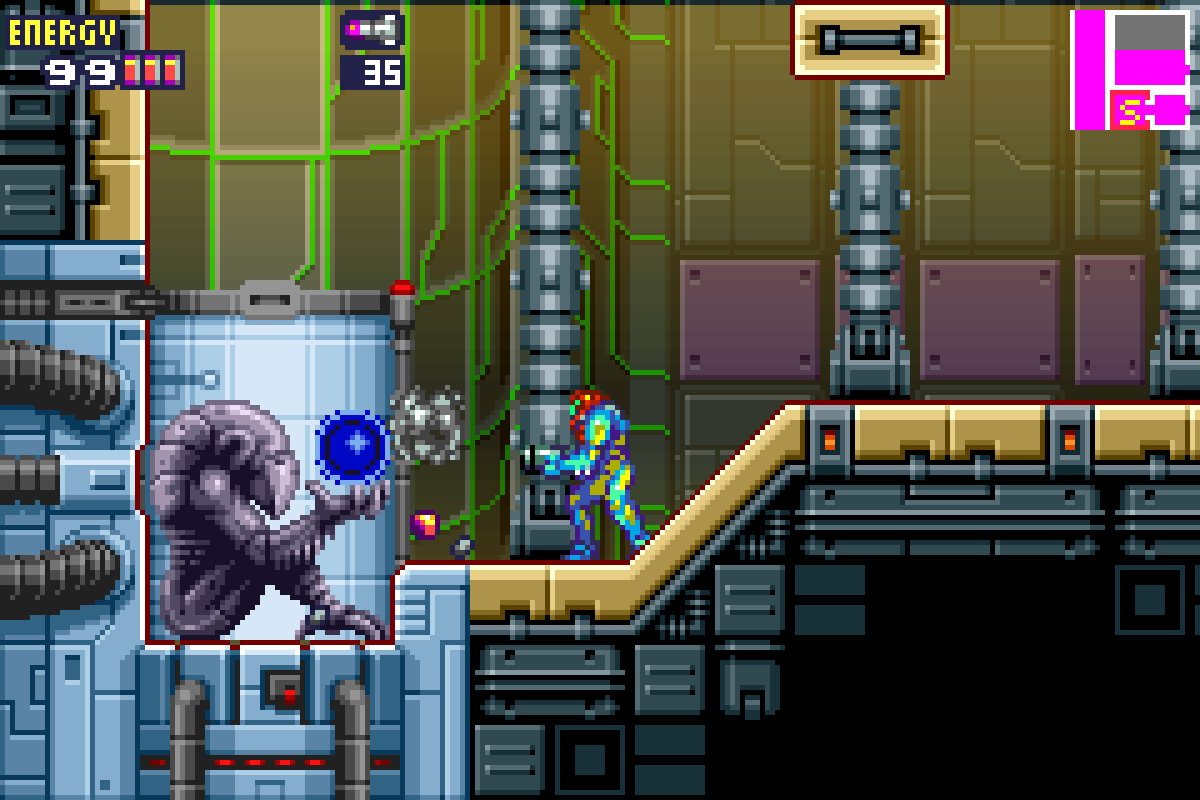
This boss fight is pretty simple actually. The Elephant Bird will follow you around, opening its eye to shoot beams at you. The eye is where you want to strike; aim your Missiles at the eye when it opens and let ‘er rip. Make sure that you dodge the charges shot that will come through when you’re firing.
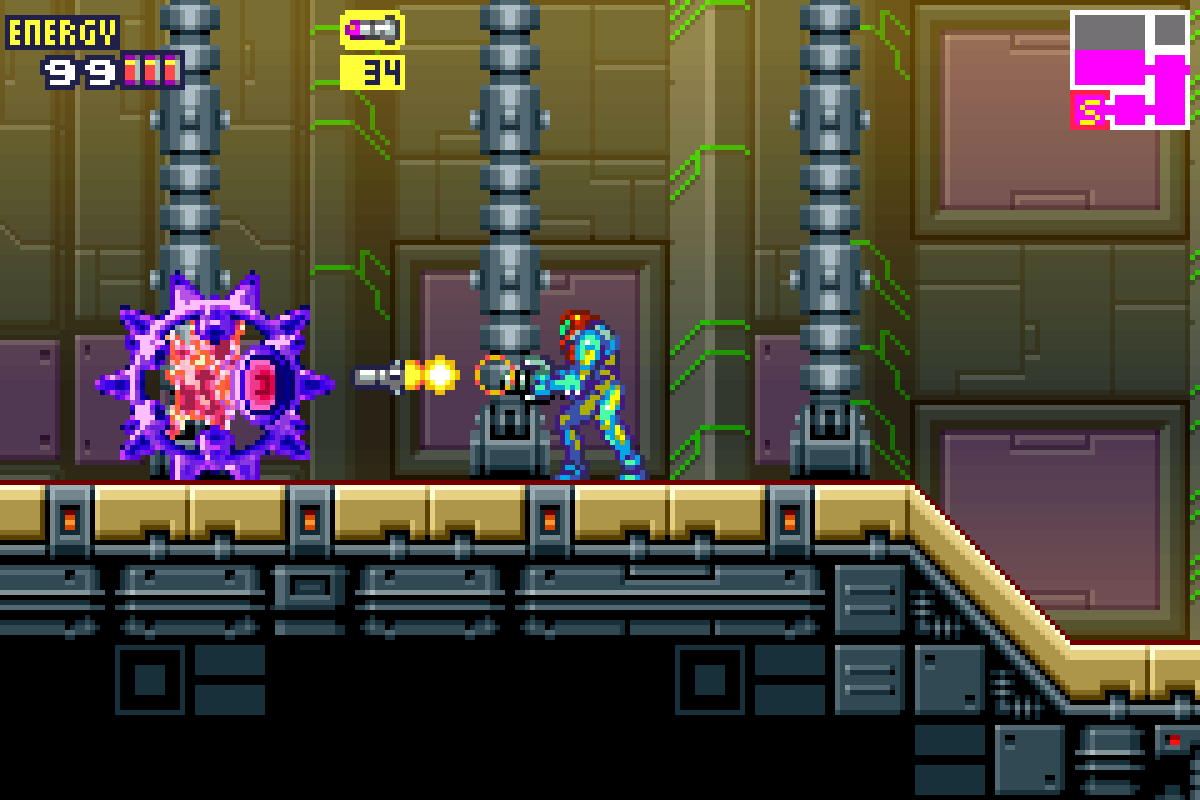
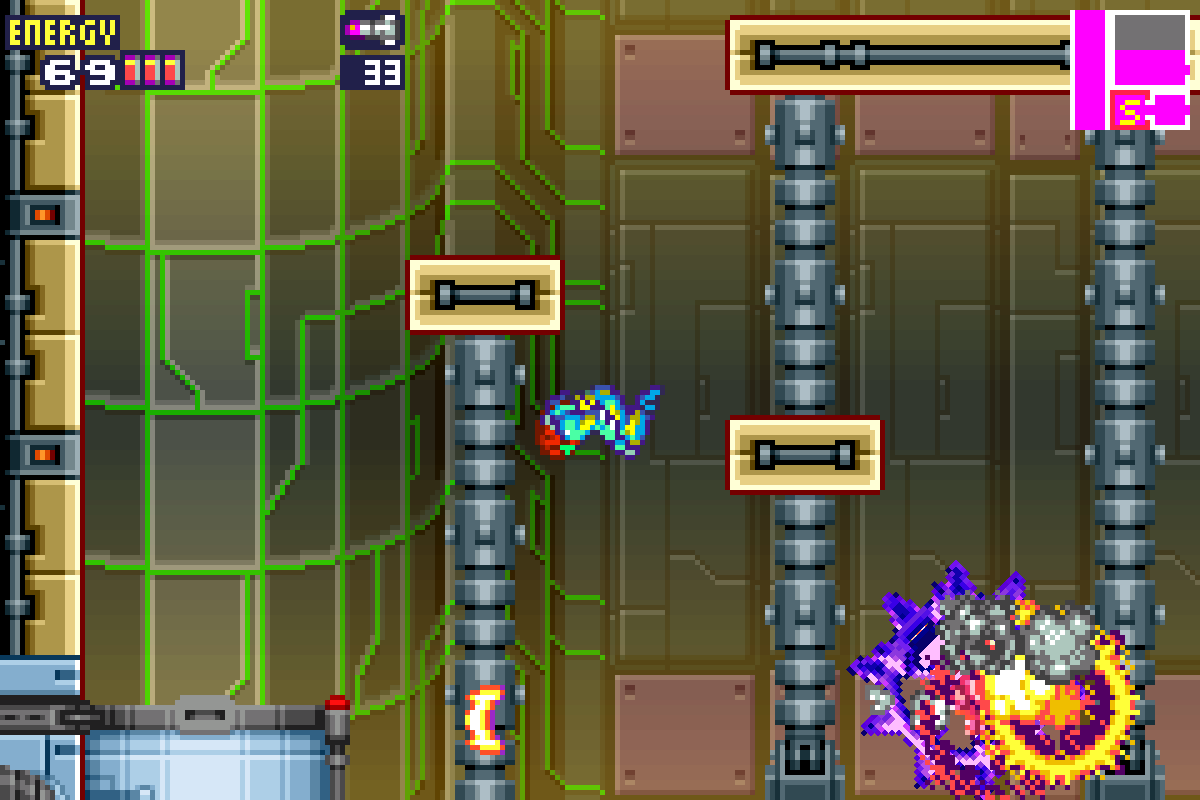
The Elephant Bird will follow you around and has the same spiky barrier on it as the last X-Core. Fortunately, it moves pretty slow and there are lots of ledges around to grab onto to help you avoid it. There’s really not much more to this fight other than that. Blast it with four or five solid shots to the eyes and you’ll have destroyed it, picking up the CHARGE BEAM as a reward.
Atmospheric Stabilizers – Fifth Unit
After you’re done, head out through the top right door. Shoot the middle part of the ceiling in this next room and jump up. You’ll see some monkey bars at the top of this room. Jump up and fire a couple of Missiles to the left side of the wall, revealing a passage. Crawl through and eliminate all the creatures in this room, picking up MISSILE EXPANSION #6 at the bottom. Keep this room in mind, because we’ll be returning here later to grab an Energy Tank that we can’t access right now.
Exit out and enter the fifth stabilizer room. Head over, down, and around, rolling in the small tunnel until the X-stabilizer is on your right. Shoot out the wall and then put the final nail in this X with three Missiles. Finally, all five atmospheric stabilizers are online!
(Conversely, if you don’t mind taking a bit of damage, you can charge up a shot, hold it, and jump right into the X-stabilizer from the right side and it will destroy it. Up to you!)
Exit this room, blasting open the lock, and exit into a vertical hallway. There’s a Save Room at the top. Normally, I’d leave choosing when to save up to you, but we’re going to want to enter this particular Save Room because there’s an item inside. Once you’re in the Save Room, you’ll notice part of the wall is cracked. Shoot it and roll through. Note, you’ll have to jump in the air and press down twice at the apex of your jump to get the Morph Ball inside.
Now, this can be a little tricky, and if you want to come back later in the game once we have the Space Jump, that’s totally fine. BUT, if not, let’s get that expansion.
You’ll want to wall jump (see Special Abilities for a breakdown on what that is and how to do it) up to the very top of the room and snag MISSILE EXPANSION #7. Don’t worry if this takes you a few tries; wall jumping in this game feels very different than in Super Metroid, so it can be tricky.
There’s nothing more we can do in Sector 1, so head back to the Navigation Room and talk to Adam about your next moves.
Next Chapter: Sector 2 – Unknown Saboteur