Super Metroid Walkthrough – Energy Tanks
Energy Tanks
Here you’ll find the location for every Energy Tank in Super Metroid, as well as detailed explanations on how to get them and what powerups you’ll need.
Energy Tank #1
Location: Crateria
Requirements: Bombs
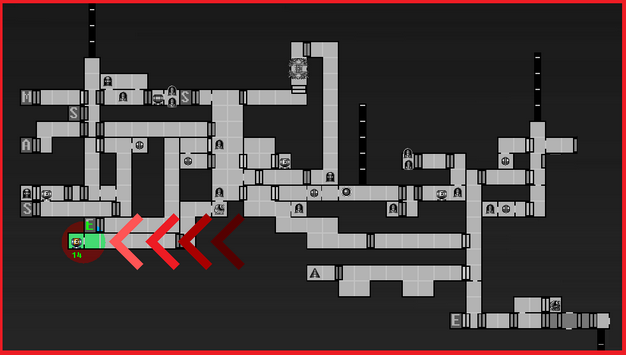
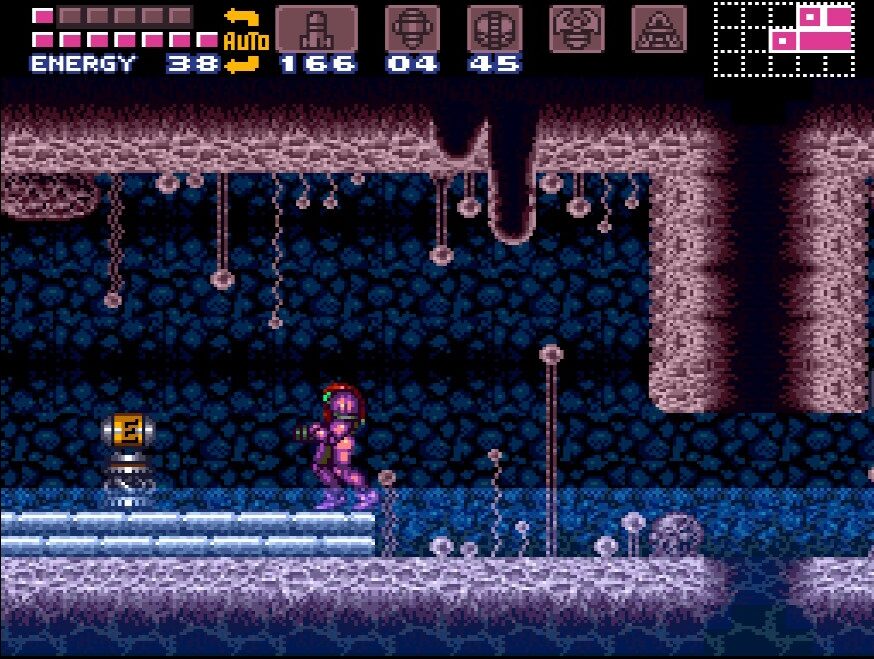
From your ship, head to the left, and even though it looks like a dead end, our new fancy bombs are gonna make short work of that wall. Bomb it and continue left, watching out for enemies on the ground. Keep following this room and we will stumble across ENERGY TANK #1
Energy Tank #2
Location: Norfair
Requirements: Missiles
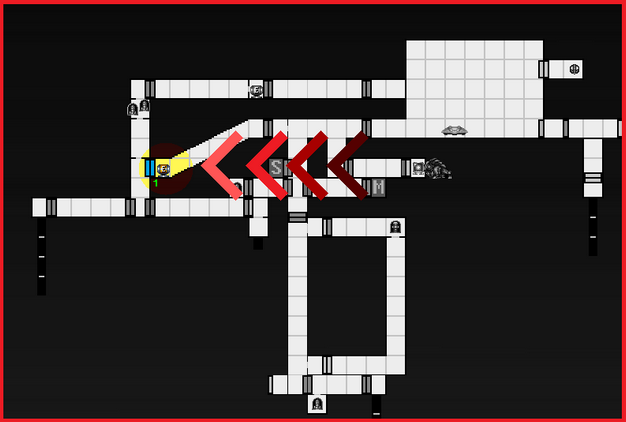
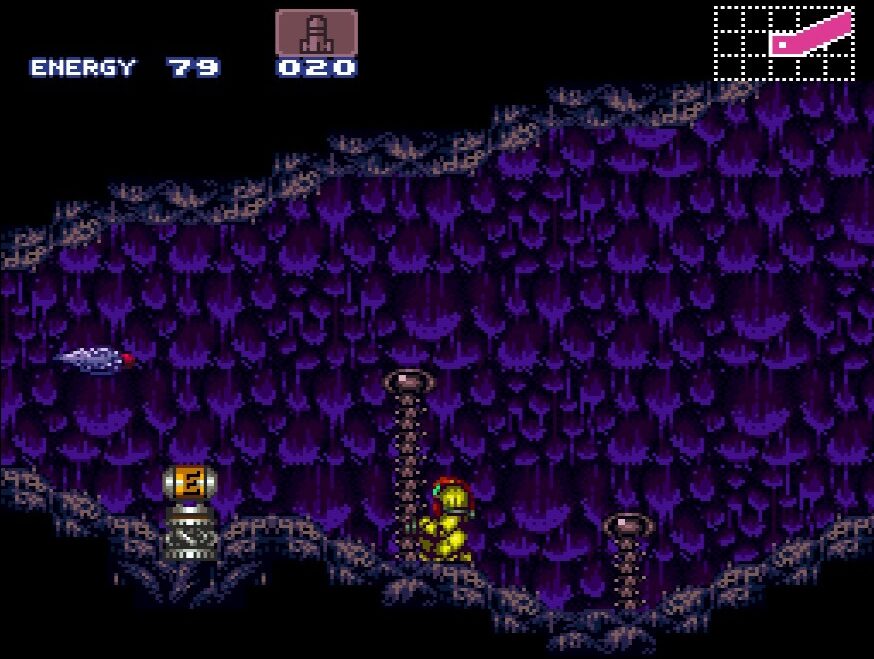
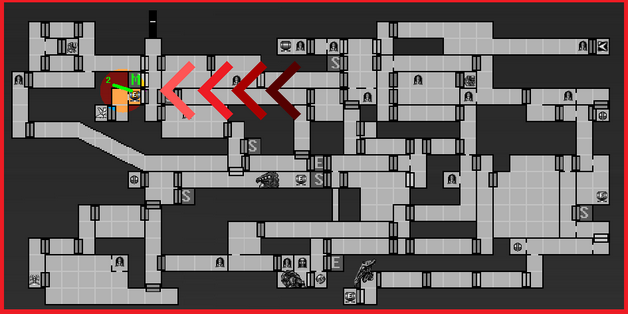
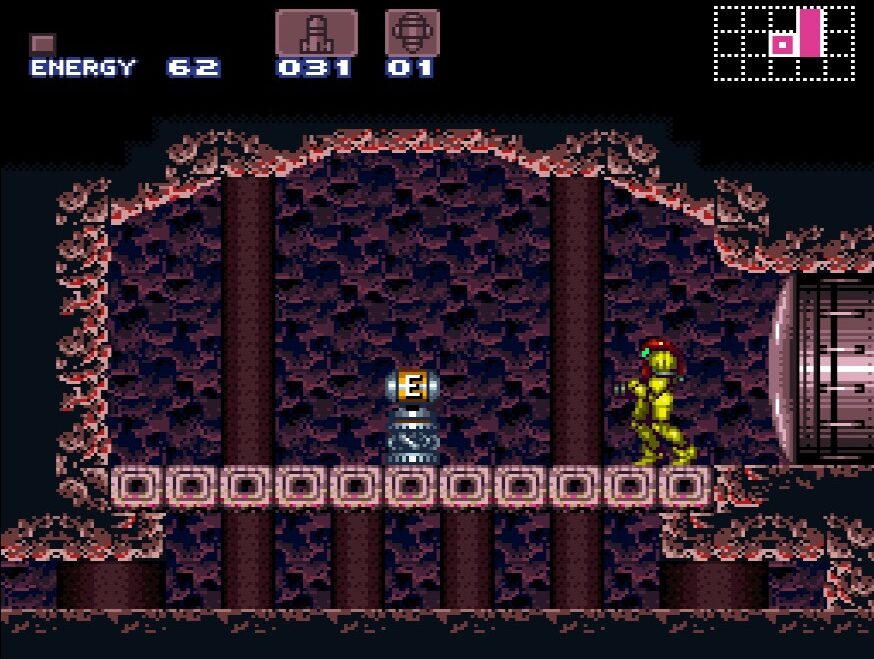
From the elevator shaft in Norfair, head straight down and ignore every door that you see, going through the pink blast doors at the bottom left corner. Let some Missiles fly and enter. Immediately as you walk in, you’ll be able to grab ENERGY TANK #2
Energy Tank #3
Location: Brinstar
Requirements: Defeat Kraid
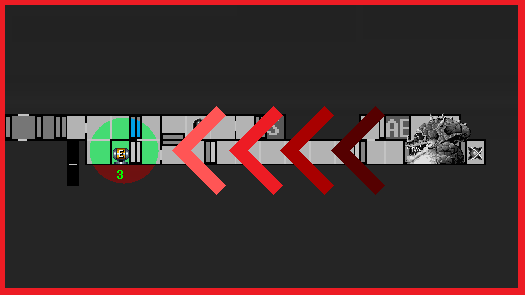
After defeating Kraid, the seal on the locked door in Kraid’s Lair will be flashing and very inviting. Go in, but get ready – as soon as you walk in the room, you’ll be attacked by some little suction monsters (they actually attack very similarly to Metroids). These guys will cling on to you and start sucking your life away. Get into Morph Ball form and roll back and forth, laying some bombs. You’ll want to stay moving while you do this, since a stationary bomb will just propel you upwards with our unwanted friends still attached. Once you’ve destroyed all the monsters, start shooting the ceiling with your beams. You’ll find ENERGY TANK #3 hiding up there
Energy Tank #4
Location: Norfair
Requirements: Speed Booster, Wall Jump, Grapple Beam (optional)
In the room you fought Crocomire in, there is an Energy Tank to the far left. The game would lead you to believe you need the Grapple Beam to get it, but if you don’t taking some damage, you can get it as soon as the Croc fight is over. DO NOT ATTEMPT THIS IF YOU HAVE LOW HEALTH! What we want to do now is speed boost to from the left side of the room to the right, and then jump as far as you right before the lava starts. If done correctly, you’ll land just below a ledge where you can see an energy tank. Wall jump up and grab ENERGY TANK #4.
Energy Tank #5
Location: Crateria
Requirements: Speed Booster, Power Bombs, Gravity Suit (optional, but will make this easier)
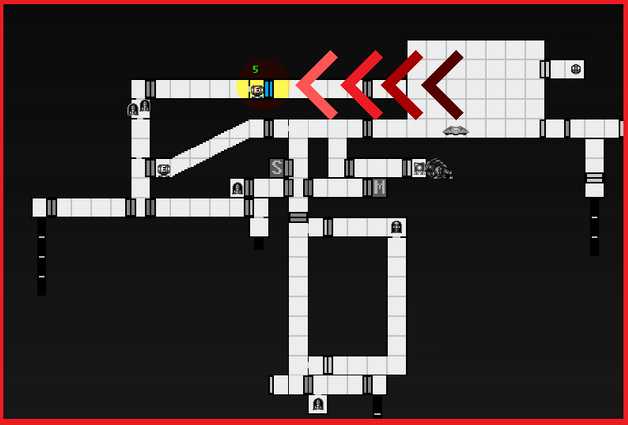
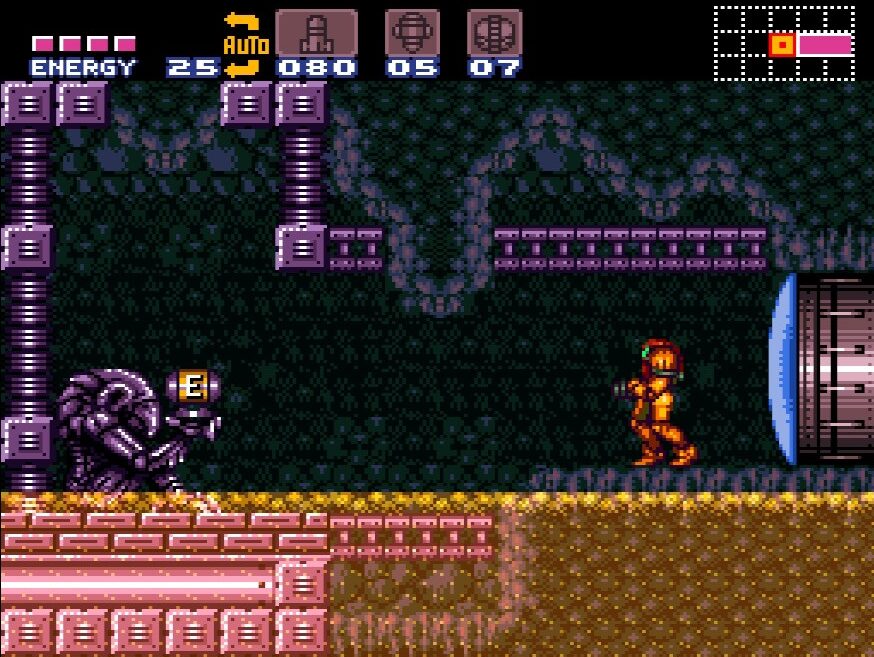
Speed boost in the area your ship is in. Run from the right side to the left, and right before you get to your ship, jump and launch yourself diagonally in the air, straight towards the upper portion of the rocky wall.
You should land on a crevice about halfway up the wall. Either lay a power bomb or wall jump up to the flat part of the wall and bomb it as you fall (see the map for the exact location). You’ll see a section of wall be destroyed, allowing you to wall jump up and into this new pathway. Once you’re in, go through the door.
This room has a bunch of rock walls that need to be bombed to progress. Trouble is, there is rising and falling lava which burns a lot when it touches. Again – if you come back later with the Gravity Suit, you will be immune to the lava, but if you proceed now and take as little damage as you can, we’ll have some extra goodies for the upcoming areas. Drop power bombs to break the walls, don’t mess around with regular bombs, and cross to the left side as quickly and with taking as little damage as you can. Watch out for the enemies that grab you, and make sure you have at least one power bomb when you leave.
Head into the next room and grab ENERGY TANK #5, which will mercifully fill your health back up.
Energy Tank #6
Location: Brinstar
Requirements: High Jump Boots
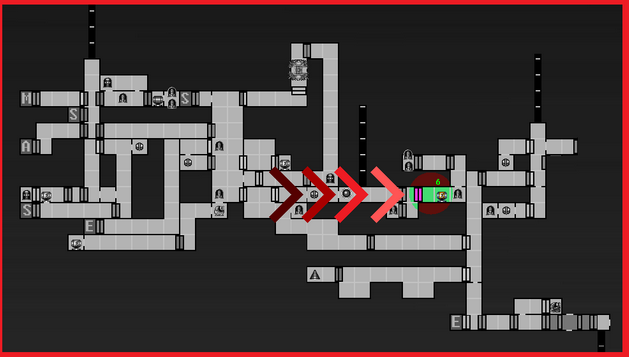
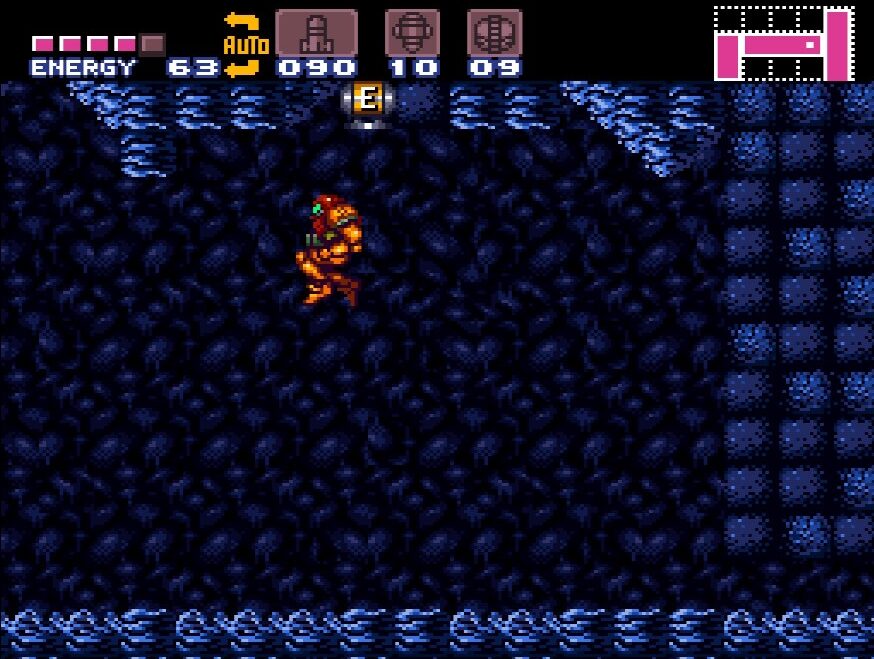
The first thing you’ll want to do once you’re off the Brinstar elevator is run right a couple rooms until you get into the large room at the very end where we found Missile Expansion #2. Shoot the ceiling in the middle-ish of the room and you’ll see ENERGY TANK #6
Energy Tank #7
Location: Brinstar
Requirements: Wave Beam, Power Bombs, Wall Jump
In the big pink room in Brinstar, open the yellow blast door on the middle right with a power bomb. You’ll be jumped by some ugly creatures as soon as you walk in this room, but quickly take them out. There’s a big wall in the middle here. Wall jump up towards the top, and when you’re within range, give the gate at the top a blast with your Wave Beam so it unlocks. Wall Jump up and over to the other side. Go into the room there to claim ENERGY TANK #7.
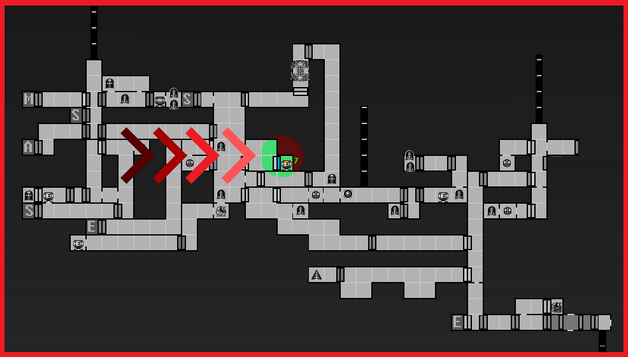
Energy Tank #8
Location: Brinstar
Requirements: Power Bombs
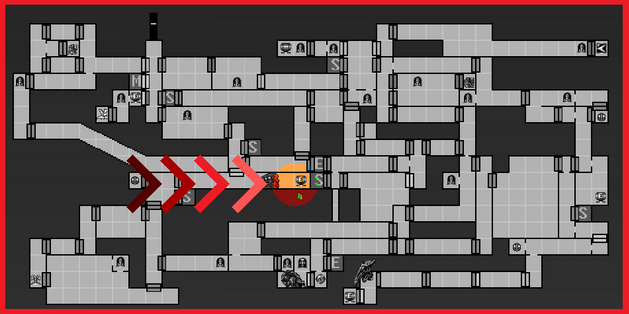
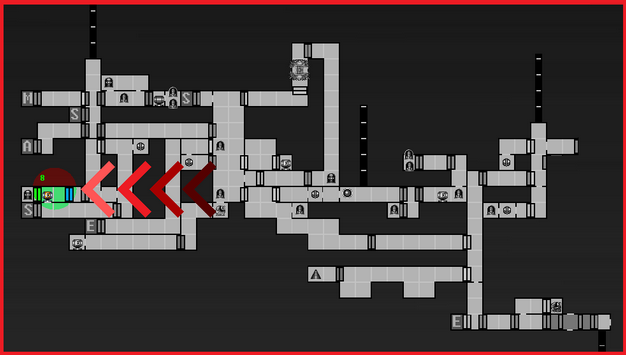
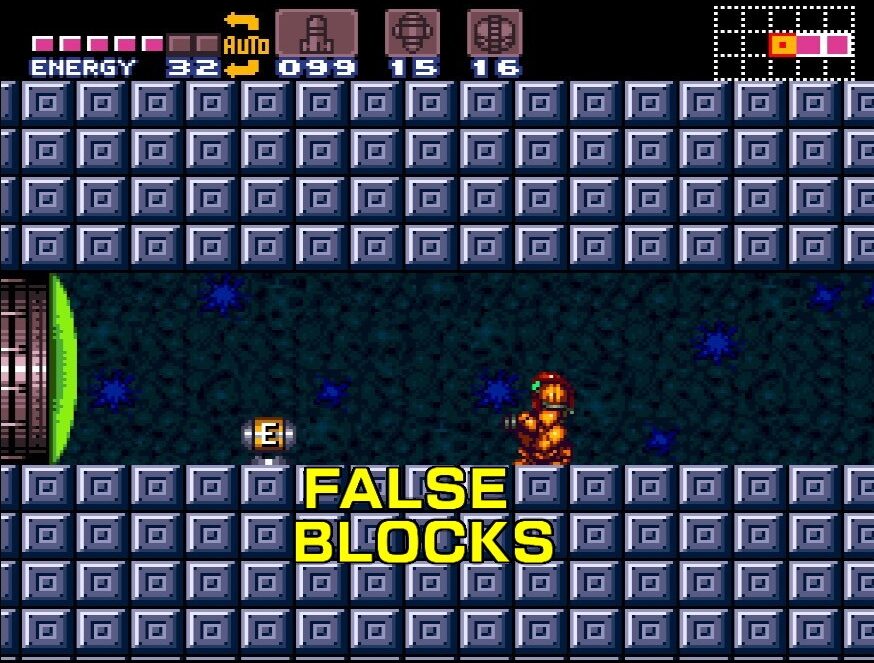
Drop all the way down to the bottom of the elevator shaft. Lay a power bomb and watch the ground below you go bye bye. This shaft goes down a decent way, so let yourself fall to the very bottom. Once you’re there, enter the room on your left. There are four of those awful latching enemies in here. Take them out with bombs and continue left. Keep going left until you get to this new metallic room, but go slowly! When you see the Energy Tank, STOP MOVING! The ground right before it isn’t solid and will give out the second you touch it. Instead, jump over the ground and grab ENERGY TANK #8
Energy Tank #9
Location: Wrecked Ship
Requirements: Gravity Suit
You’ll find yourself in a big room full of water and some platforms to jump across. The ground is covered with spikes and some nasty aquatic life, so be careful and watch your step. Jump across the platforms, letting them sink a little bit before you jump so you don’t hit the ceiling, and grab ENERGY TANK #9!
Energy Tank #10
Location: Maridia
Requirements: Grapple Beam, Missiles
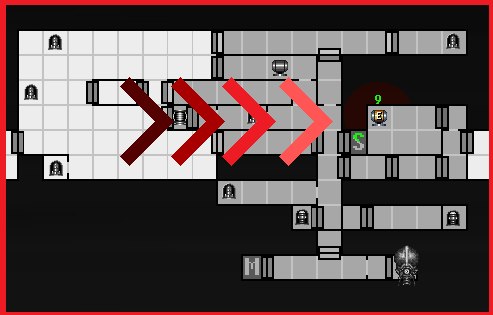
From the broken tube, head on up into the main Maridia hall. Jump up a little bit, and head to the blue blast door on your right. Head inside and we’ll be in another huge room with lots of cliffs and crevices in it. Wall jump up and over the first big hill in this room until you’re standing in the middle of the room. Drop straight down and fall into a pit with a nasty looking pink Space Pirate. These pink fellows are impervious to our current beams, so don’t even try to engage with them. Instead, run over to the righthand side wall, do a little hop and run right through it. This is the first of many invisible walls as I call them (that’s actually backwards – the walls are visible, but they shouldn’t be, but it’s the name I chose and I’m sticking to it!) in Maridia that we’ll need to go through. Keep running to the right and enter the pink blast door.
This room will have a bunch of baby turtle’s (cute!) and a big tough mama turtle who’s going to spin-attack us with her shell when we get close (not so cute). The mama turtle is actually going to be quite helpful to us however. If you jump on her back, she will propel you straight towards. Quickly jump onto the upper left ledge of the room and equip your Grapple Beam. In the top corner is a singular grapple block. Jump up, grapple it, swing around and land on ENERGY TANK #10.
Energy Tank #11
Location: Maridia
Requirements: Spring Ball (recommended)
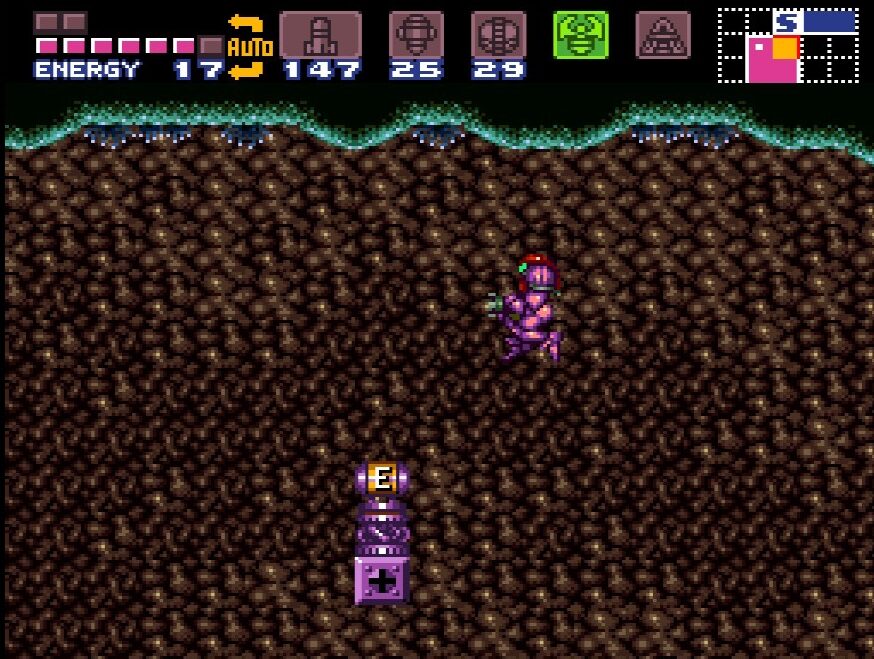
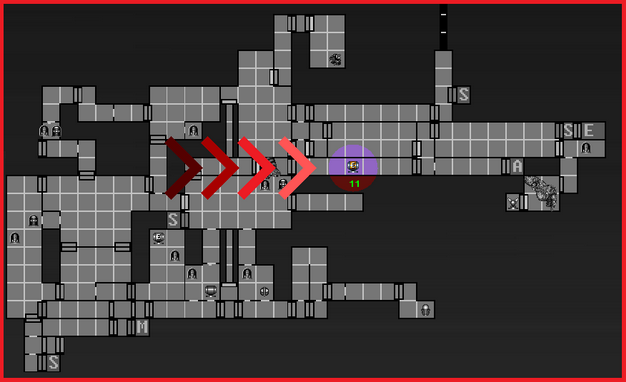
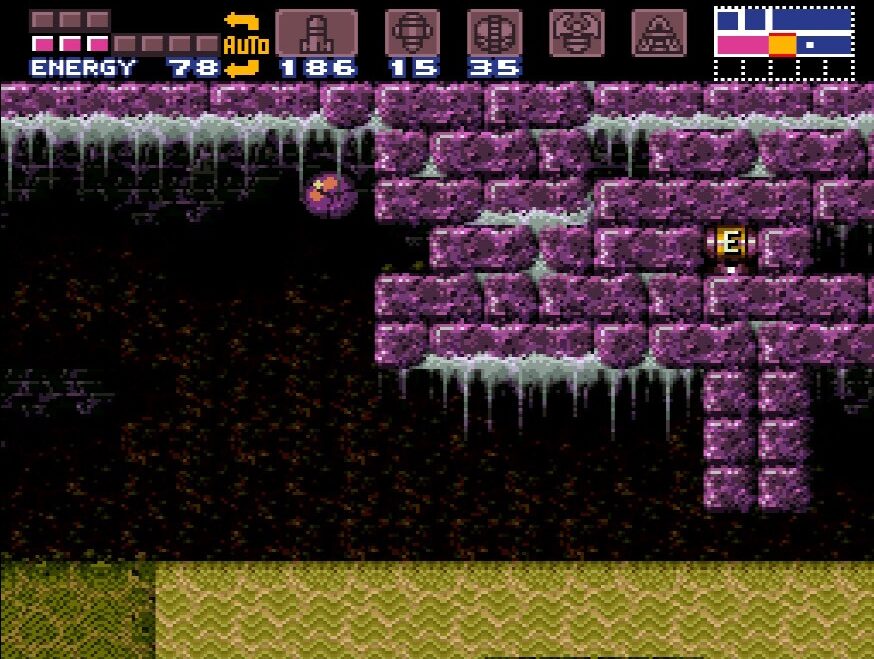
In the room to the right of Botwoon, you’ll find yourself in a hallway with sand in the middle. Take out all the enemies in your way; we’re going to Speed Boost here, but before we do, get into Morph Ball form and roll over. Just before the sand starts, jump up diagonally to the right as high as you can. You should squeeze into a little ledge, which you can roll over into to grab ENERGY TANK #11.
Energy Tank #12
Location: Norair
Requirements: Super Missile, Space Jump
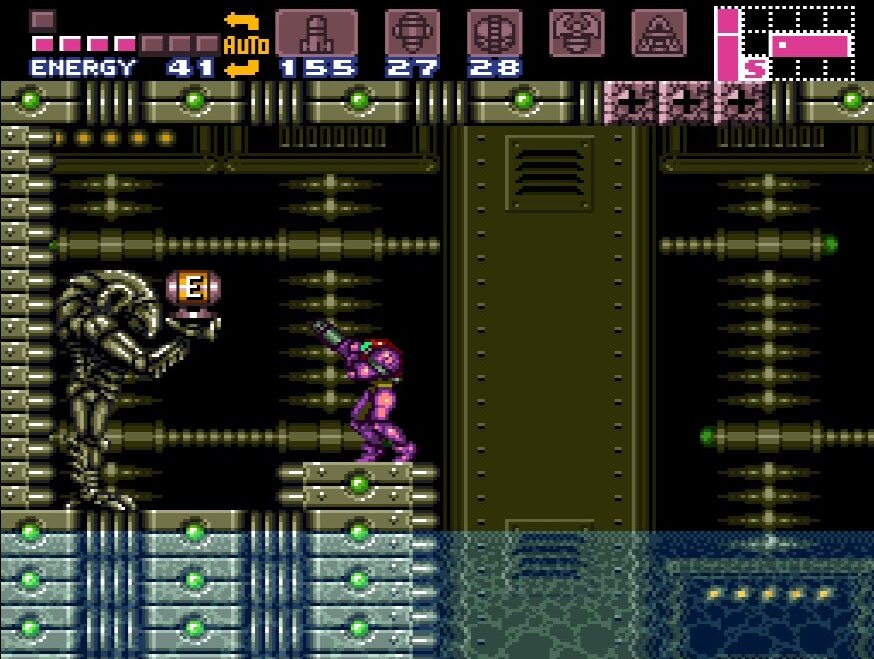
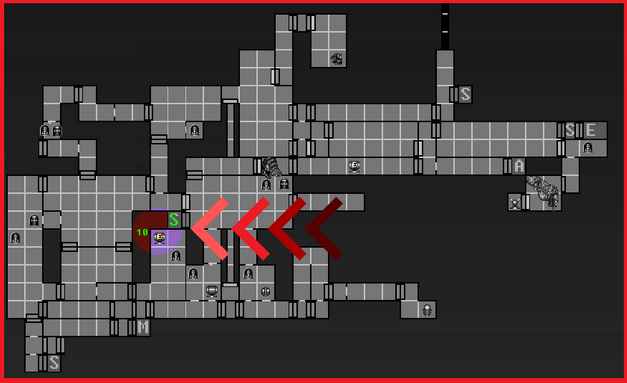
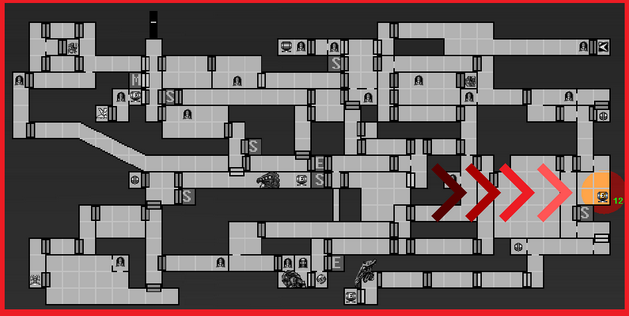
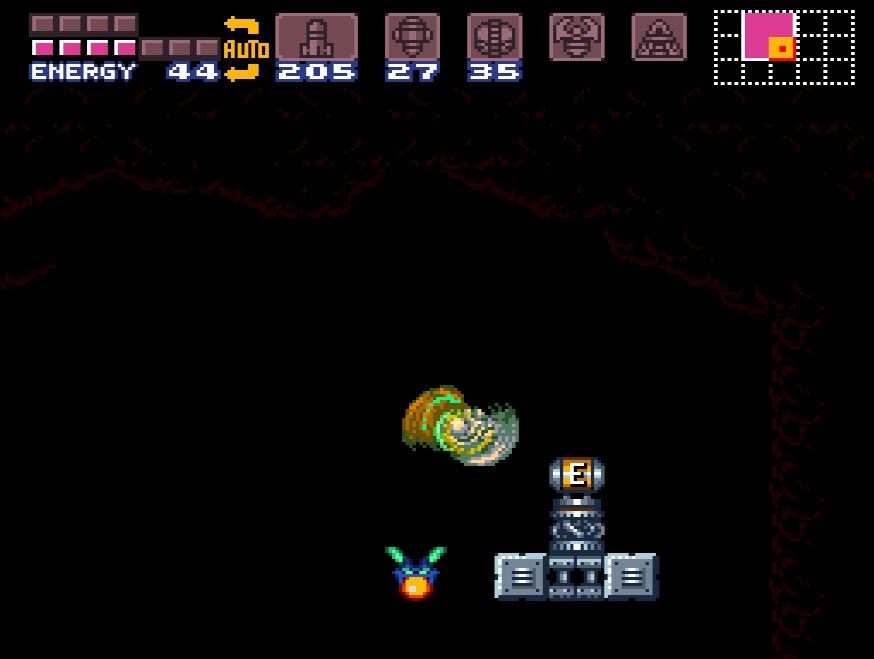
You’ll come face to face with a giant statue of what almost looks to me like an amalgamation of Ridley and Kraid. In this statue’s mouth is another damn Xenomorph. Instead of freezing or ignoring them as we usually would, this time blast it right in the face with a Super Missile. Head over to where the Xeno was and you’ll find you can actually drop down. Walk across the hand of the statue (creepy) and Space Jump below it and to the right. You’ll find ENERGY TANK #12 sitting on a line platform. Do your best to avoid hitting the fireflies here, unless you like jumping in the dark.
Energy Tank #13
Location: Norair
Requirements: Defeat Ridley
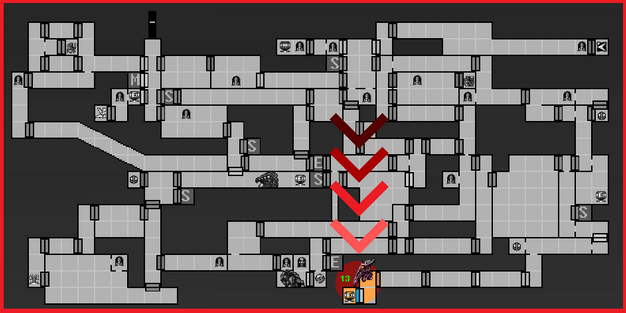
Once Ridley is defeated (see Bosses for strategies), head over into the next room, shoot the blocks underneath the door and grab ENERGY TANK #13.
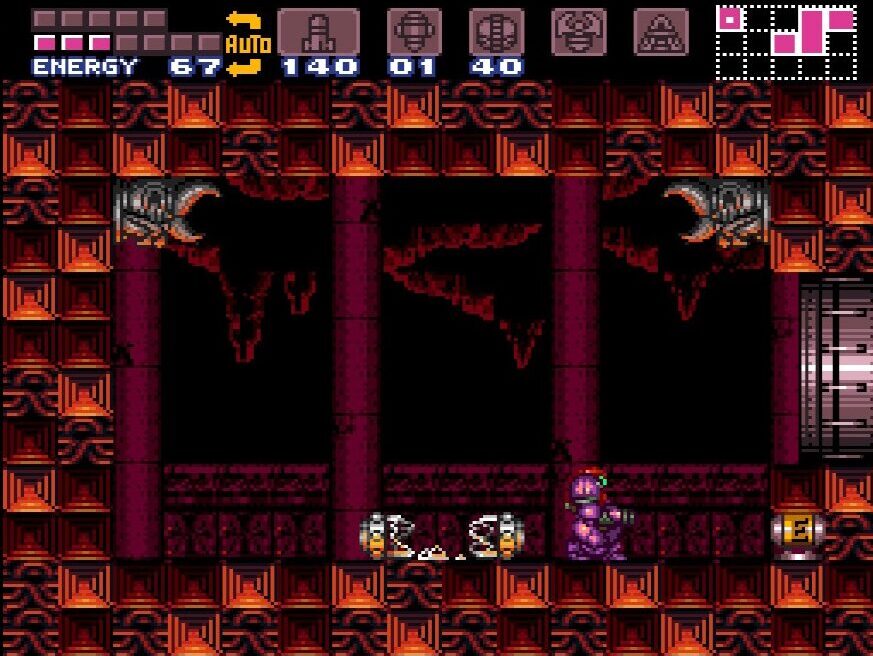
Energy Tank #14
Location: Brinstar
Requirements: Speed Booster, Gravity Suit, Power Bombs
In Brinstar, backtrack all the way to the big pink room where we first acquired the Charge Beam way back when. Infact, drop down to the actual Chozo Statue that held the Charge Beam for us earlier. Lay a power bomb and roll right under the statue, falling downwards until you reach a door at the bottom. Head through and take drop down into the waist level water. Take care of any enemies in your path and Speed Boost to the left hand side of the room. You’ll come crashing through a wall and run right into ENERGY TANK #14.
