


Metroid Fusion Walkthrough – Sector 6: Revelations
Walkthrough
- Biological Space Labs
- Sector 1 – Atmospheric Interference
- Sector 2 – Unknown Saboteur
- Sector 4 – Ultra-High Speed
- Sector 3 – Rogue Security
- Sector 6 – Frozen Parasites
- Sector 5 – Cold Arsenal
- Sector 3 – Meltdown
- Habitation Deck – Signs of Life
- Sector 5 – First Encounter
- Main Deck – Power Failure
- Sector 2 – Overgrown With Vegetation
- Sector 5 – The Nightmare Awakens
- Sector 4 – Diffusion
- Sector 6 – Revelations
- Sector 1 – Neo Ridley’s Cry
- Sweeping the B.S.L.
- The Final Confrontation
Nocturnal Hunter
Adam seems less than happy that we just upgraded our Missiles and unlocked Level 4 locks without his authorization, but it seems that there are more pressing matters at hand: Security Robot B.O.X is rampaging through Sector 6 and needs to be put down. Let’s get to work.
Make your way to Sector 6 and talk to Adam one last time before setting out; he will tell you the SA-X is actively hunting you, so move fast. Greeeat. The only way out is forward, however, so stay frosty and head out into the NOC Sector.

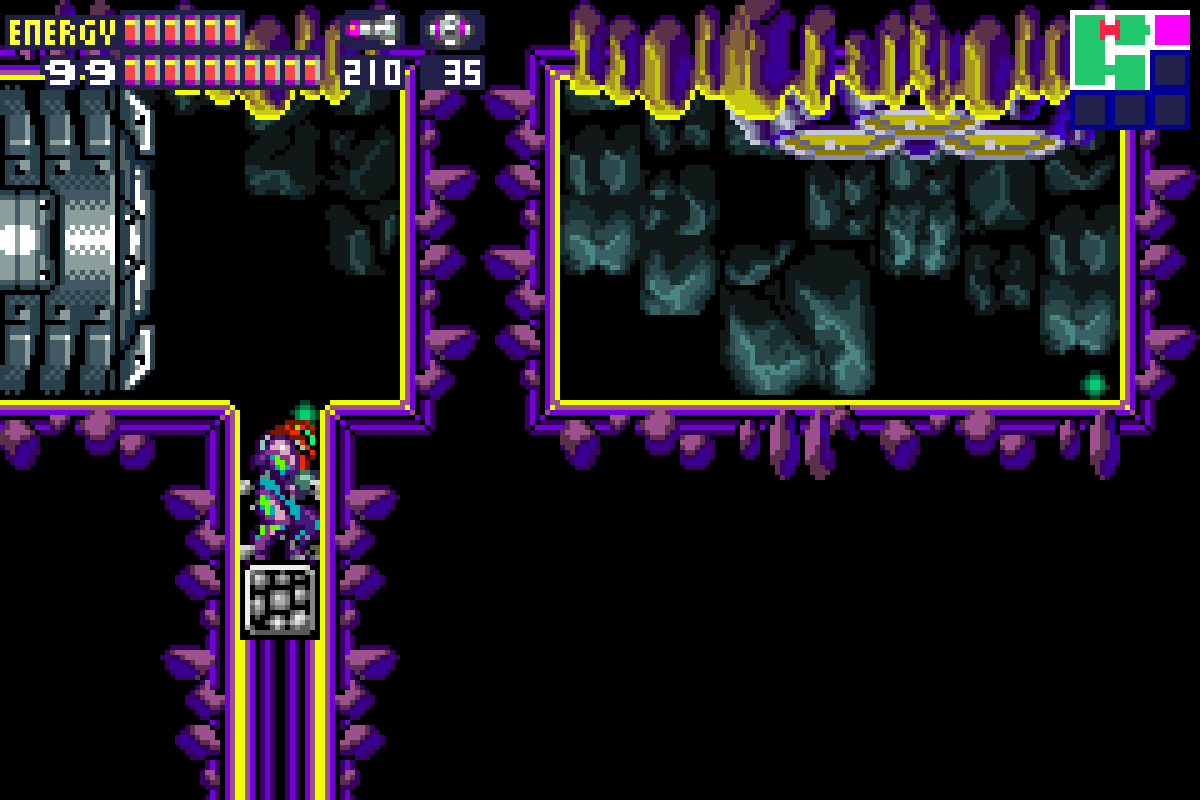
Work your way right three rooms and keep going until you get to the first vertical hallway. Drop down and take the middle door on your left; this is the room that earlier had about a million frozen X in it. We’ll call this room the Frozen X room since I’ll be referencing it later. Go ahead and get to the left most part of the Frozen X room and, once there, lay a Power Bomb. The wall beside you will give out, allowing you to pass through.
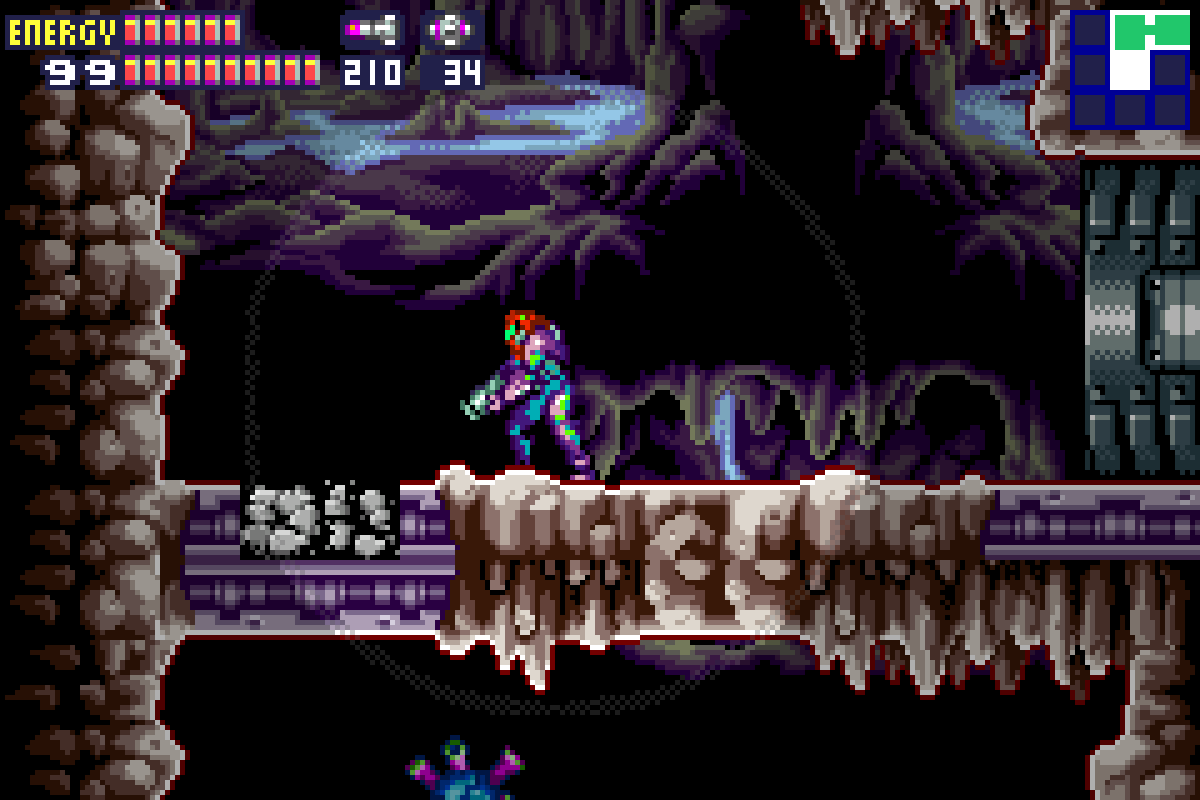
Continue left and then drop down and enter the door to your right. The floor will give away in this new room, dropping you into a shallow pit full of water. Shoot the door to your immediate left and enter. Drop down (use the Save Station to your right if you want) and then exit left.
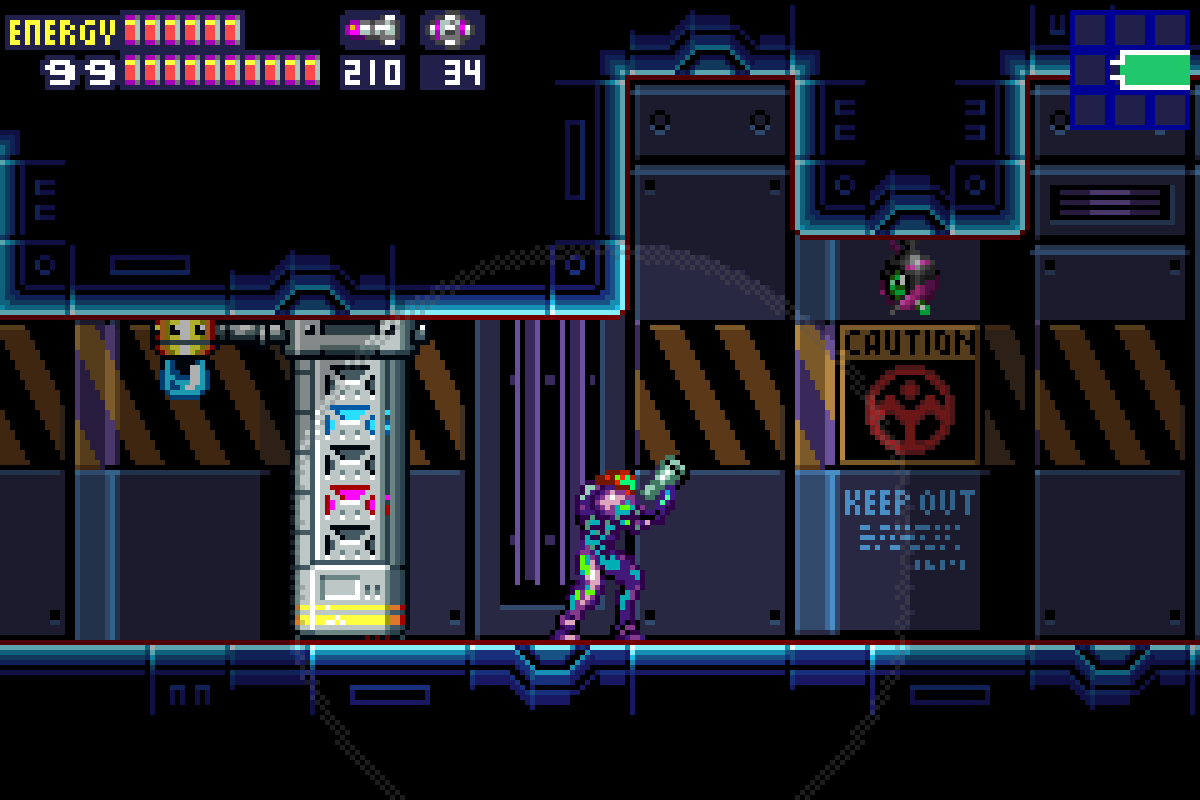
As music hits its most ominous, you’ll come in contact with a huge gate blocking some kind of off limits area. There’s a security camera that obviously sees you, because the intercom of the B.S.L. starts going nuts, repeating “WARNING. No entry without authorization” over and over again. I know you’re itching to know what the heck is going on here, but there’s nothing really we can do here for now.
Turn back and head back towards the room with the shallow water pit. You’ll hear a giant crash in the distance on route, which can only mean one thing: time for a rematch!
Security Robot B.O.X 2
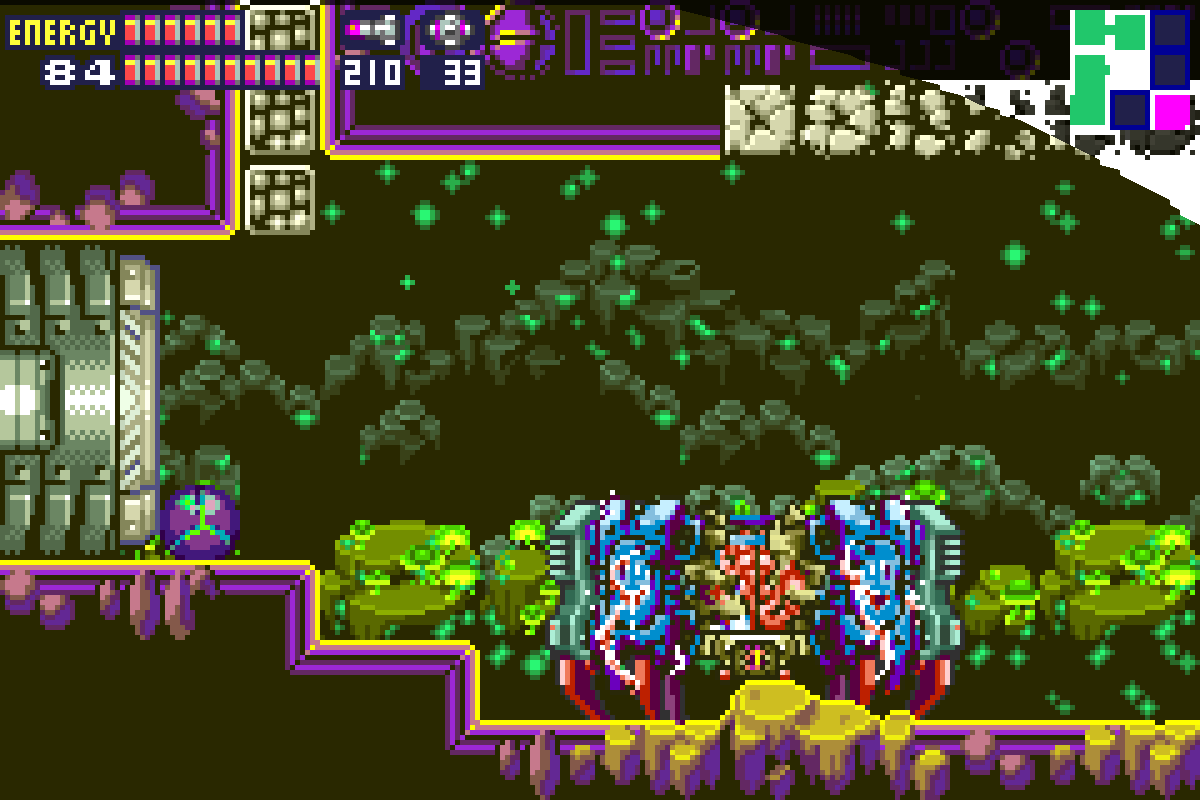
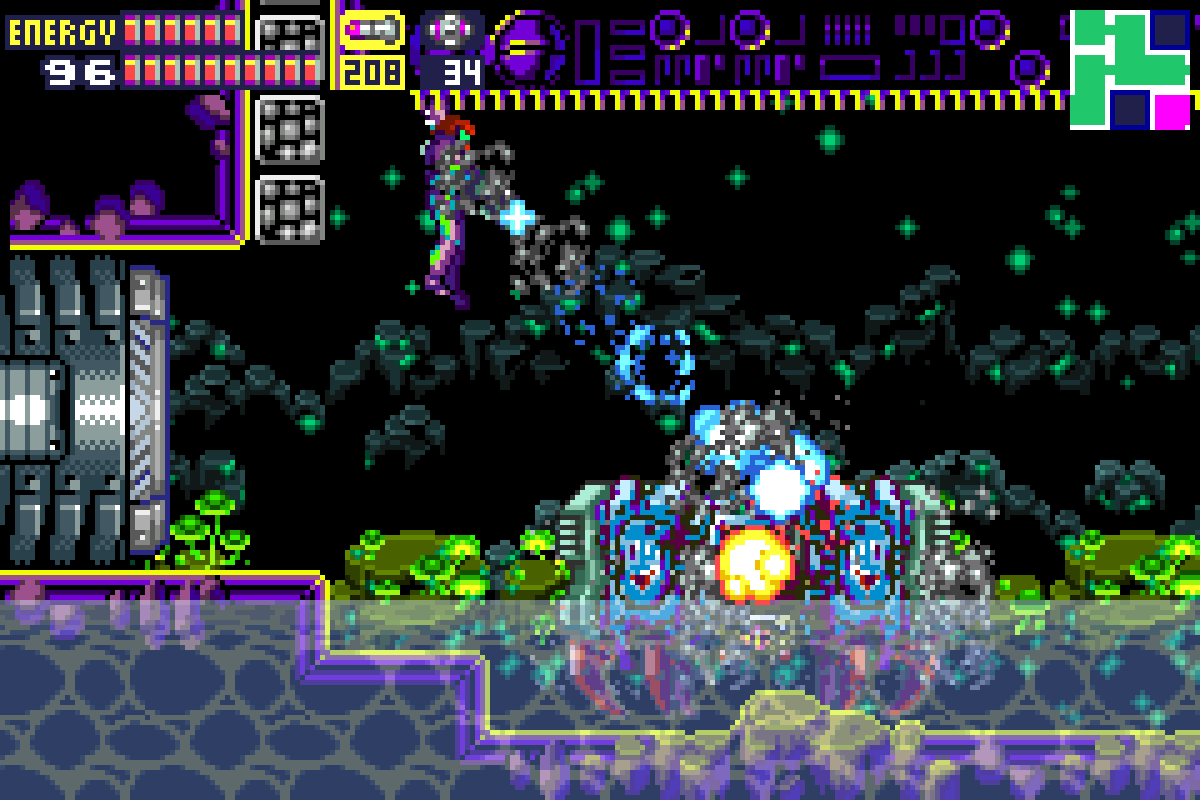
Our friend B.O.X. is back, and if one could describe a piece of somewhat organic machinery as ‘deranged’, that would certainly be appropriate. B.O.X. looks a little worse for wear after the licking you gave him earlier, but unfortunately, that works more in his favor than it does yours since all his broken conduits and other bits that are hanging out of his body are electrifying the water, making touching it a bad idea for us.
First things first, lay a Power Bomb and, just like last time, a row of monkey bars above the water will reveal itself. This fight is actually pretty much the same idea as last time, and fortunately, it’s just as easy. While there are a few differences that make B.O.X. a little more unpredictable this time around, he’s still basically the same robot we trashed earlier.
As I mentioned, the same premise of the fight is the same: while you hang on the monkey bars, B.O.X. will jump around and shoot projectiles at you, trying to knock you off. Just like last time, we want to fire Missiles straight downwards right on top of B.O.X.’s head. His arms are impervious, so don’t bother. Knowing this, there are a few key differences to be aware of.
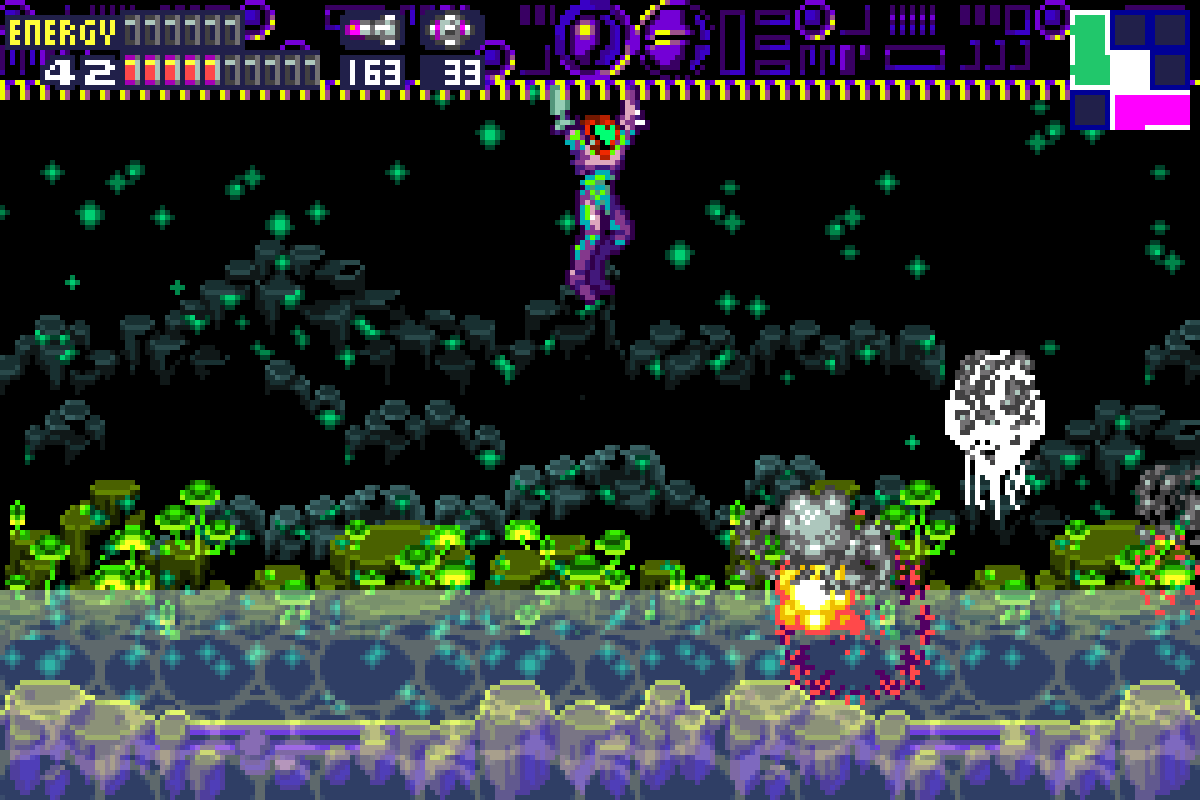
Last time, when B.O.X. jumped up, he didn’t jump high enough to touch you and you didn’t have to worry about him hitting you or knocking you off. This time, we’re in a smaller space, so his jumps can hit you and knock you off into the electric water. Make sure to stay clear. Also last time, B.O.X. shot out a fire bomb that would erupt in two flame spires; this time, he shoots out five flying Missiles at you (they look like small airplanes actually, pretty cool). You can easily shoot them down, although they won’t drop anything.
Knowing his attack patterns now, we can easily neutralize any of his attacks and put him away quickly.
Once B.O.X. shoots off the five airplanes at you, shoot them down and then move away from him. B.O.X. will almost always perform a little hop after firing his airplanes; move far away enough so that you’re not in range, but close enough that you can quickly get overtop of him. When he hops, he’ll stumble a little on his landing and take a second to find his footing. This is your chance to get overtop of him and shoot two Missiles straight down into his brains. Two is probably all you’ll have time for, as you’ll want to move away after the second shot since B.O.X. will be preparing his airplane missiles to shoot at you.
(Alternately, you can try and a great your Missiles diagonally towards B.O.X.’s head without moving over top of him, but the angle is so precise that you’ll probably just end up wasting Missiles and elongating the fight unnecessarily. I would strongly recommend the method I laid out.)
Rinse and repeat this formula until you’ve put twelve Missiles in his skull and you’ll finally destroy B.O.X. for good. Anyone else kinda sad about all this?
Deal with the Core-X (the water will no longer be electrified) that spawns out of B.O.X.’s remains and you’ll nab yourself the WAVE BEAM.
The Restricted Zone
Now that B.O.X. is gone and you’ve recovered the Wave Beam, head towards the door to your right. You’ll be in a long room with an expansion hiding behind a gate. Now that we have Wave Beam functionality, all you need to do is shoot the gate switch from the other side of the gate and your beam will pass right through and hit it. Walk over and grab MISSILE EXPANSION #41.
Turn around and make your way back down towards that huge gate in the lowest corners of Sector 6. Something’s rotten in the B.S.L. and my gut is telling me whatever it is, the core of it is in this off limits area. Once you’re at the gate blocking entry into the off limit area, blast it open with your Wave Beam and head inside.

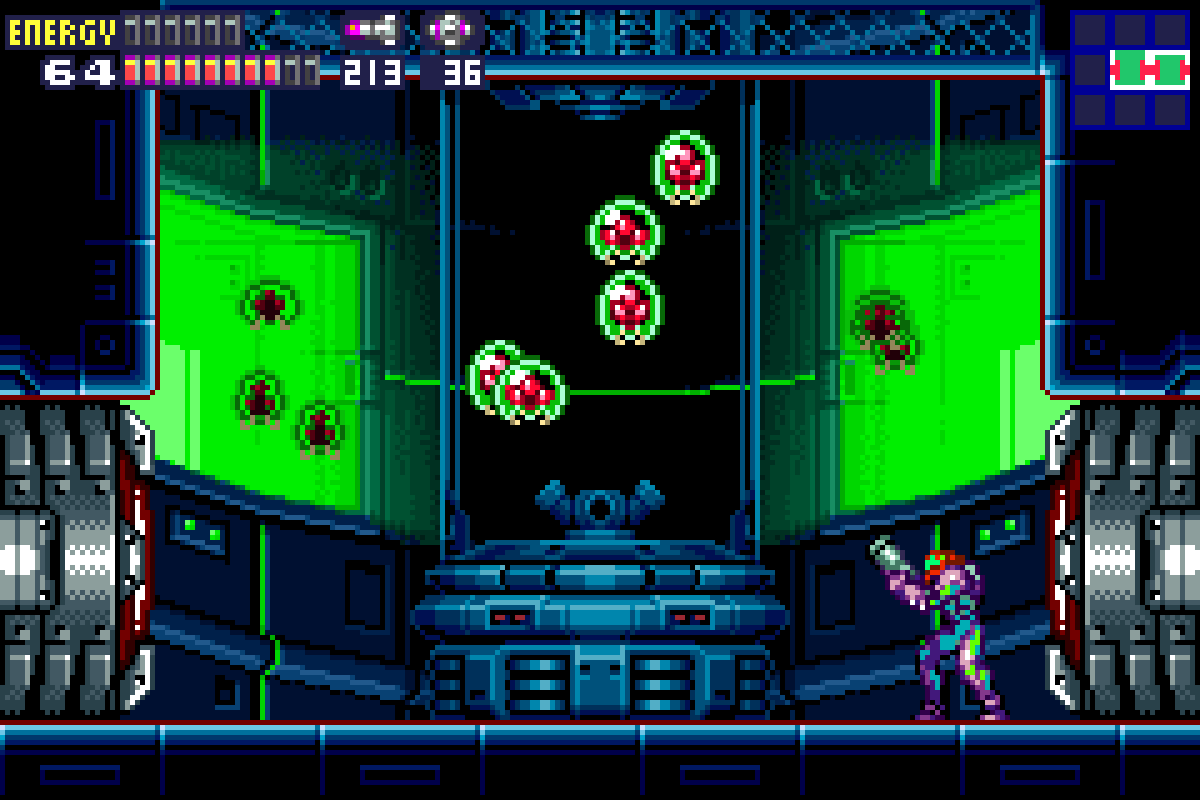
Make your way forward and get ready for a shocking sight… Metroids. Tons of them. Breeding tanks full of Metroids and their evolutions – Alpha, Gamma, and Zeta – in what is obviously a breeding ground to create new Metroids after they were previously thought extinct.
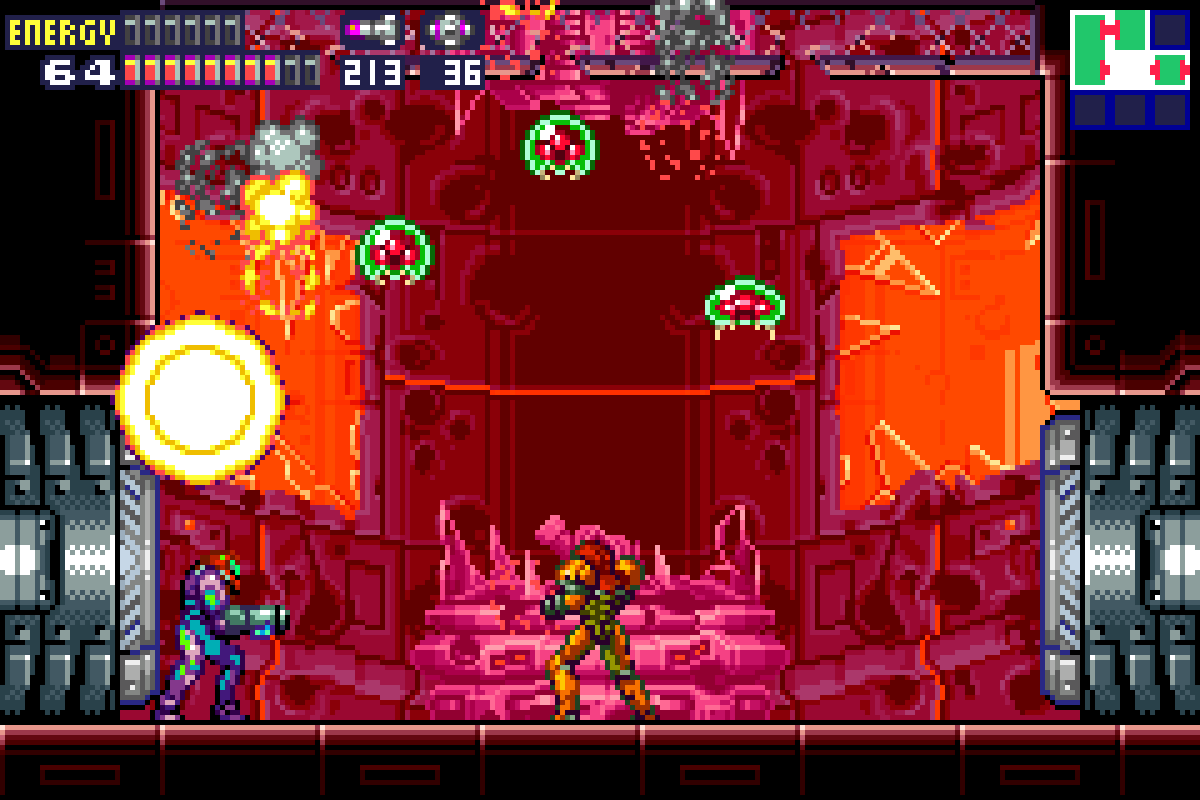
Once you get to the top of the Restricted Zone, you’ll hear a huge explosion and things will start to go haywire. Race back down and you’ll see the SA-X blasting Metroids – the main predator of the X – away as fast as it can. You don’t have to worry about the SA-X damaging you here, but you will need to get ready to jump, because the Metroids soon overwhelm the SA-X and all the destruction triggers the Restricted Zone’s detachment and self destruction. You’ve got 60 seconds to make your way to the top left door, so Space Jump up, avoiding the Metroids as you go, and get the hell outta there.

Enter the Navigation Room and talk to Adam, who owes us a big explanation. Adam doesn’t BS you; he admits to what we very clearly saw happening: the Galactic Federation was working on a top secret Metroid breeding program (“for peaceful applications, of course”). Adam is pretty upset at what just went down and threatens that you may have to pay a price for it. Worse yet – the one silver lining of this whole mess, the destruction of the SA-X, is a moot point since due to their asexual nature, there are no fewer than TEN SA-X’s running around the B.S.L. I’ll never forget the chills I got the first time I heard that.
Adam instructs us to leave before the SA-X arrive, so for now, let’s oblige him while we figure out what to do about this unraveling conspiracy. Exit the Navigation Room and take the elevator up to Sector 1.
Next Chapter: Sector 1 – Neo Ridley’s Cry