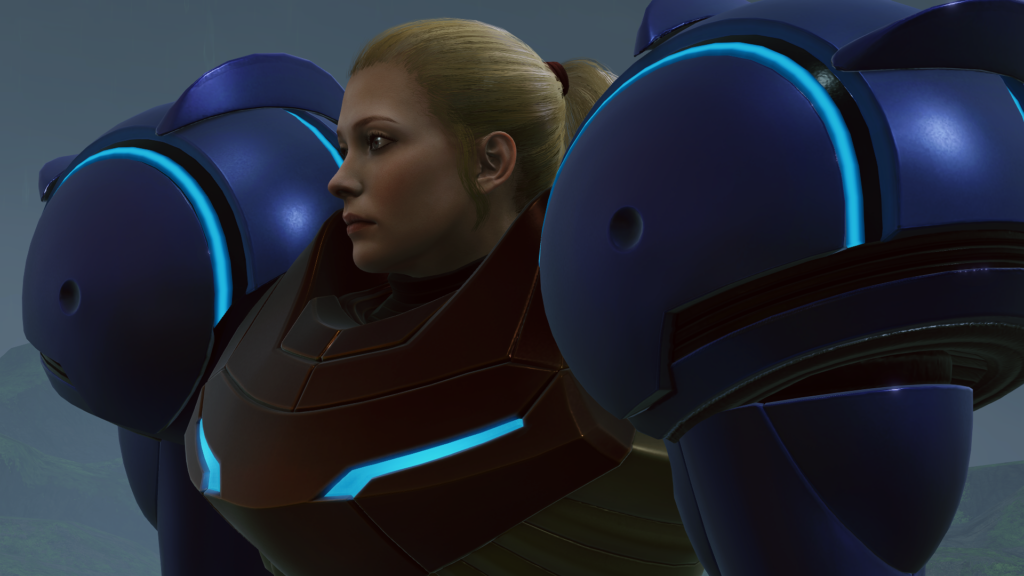
Metroid Prime Walkthrough – The Great Poison
WALKTHROUGH
- Frigate Orpheon
- Planet Tallon IV
- The Ruins Come Alive
- Fire & Ice
- Phazon Laboratory
- Ghosts & Gravity
- Space Pirate Assault
- The Entrusted One
- Artifacts in the Wild
- The Great Poison
The Leviathan
Scans in This Section
Creatures: Lumigek
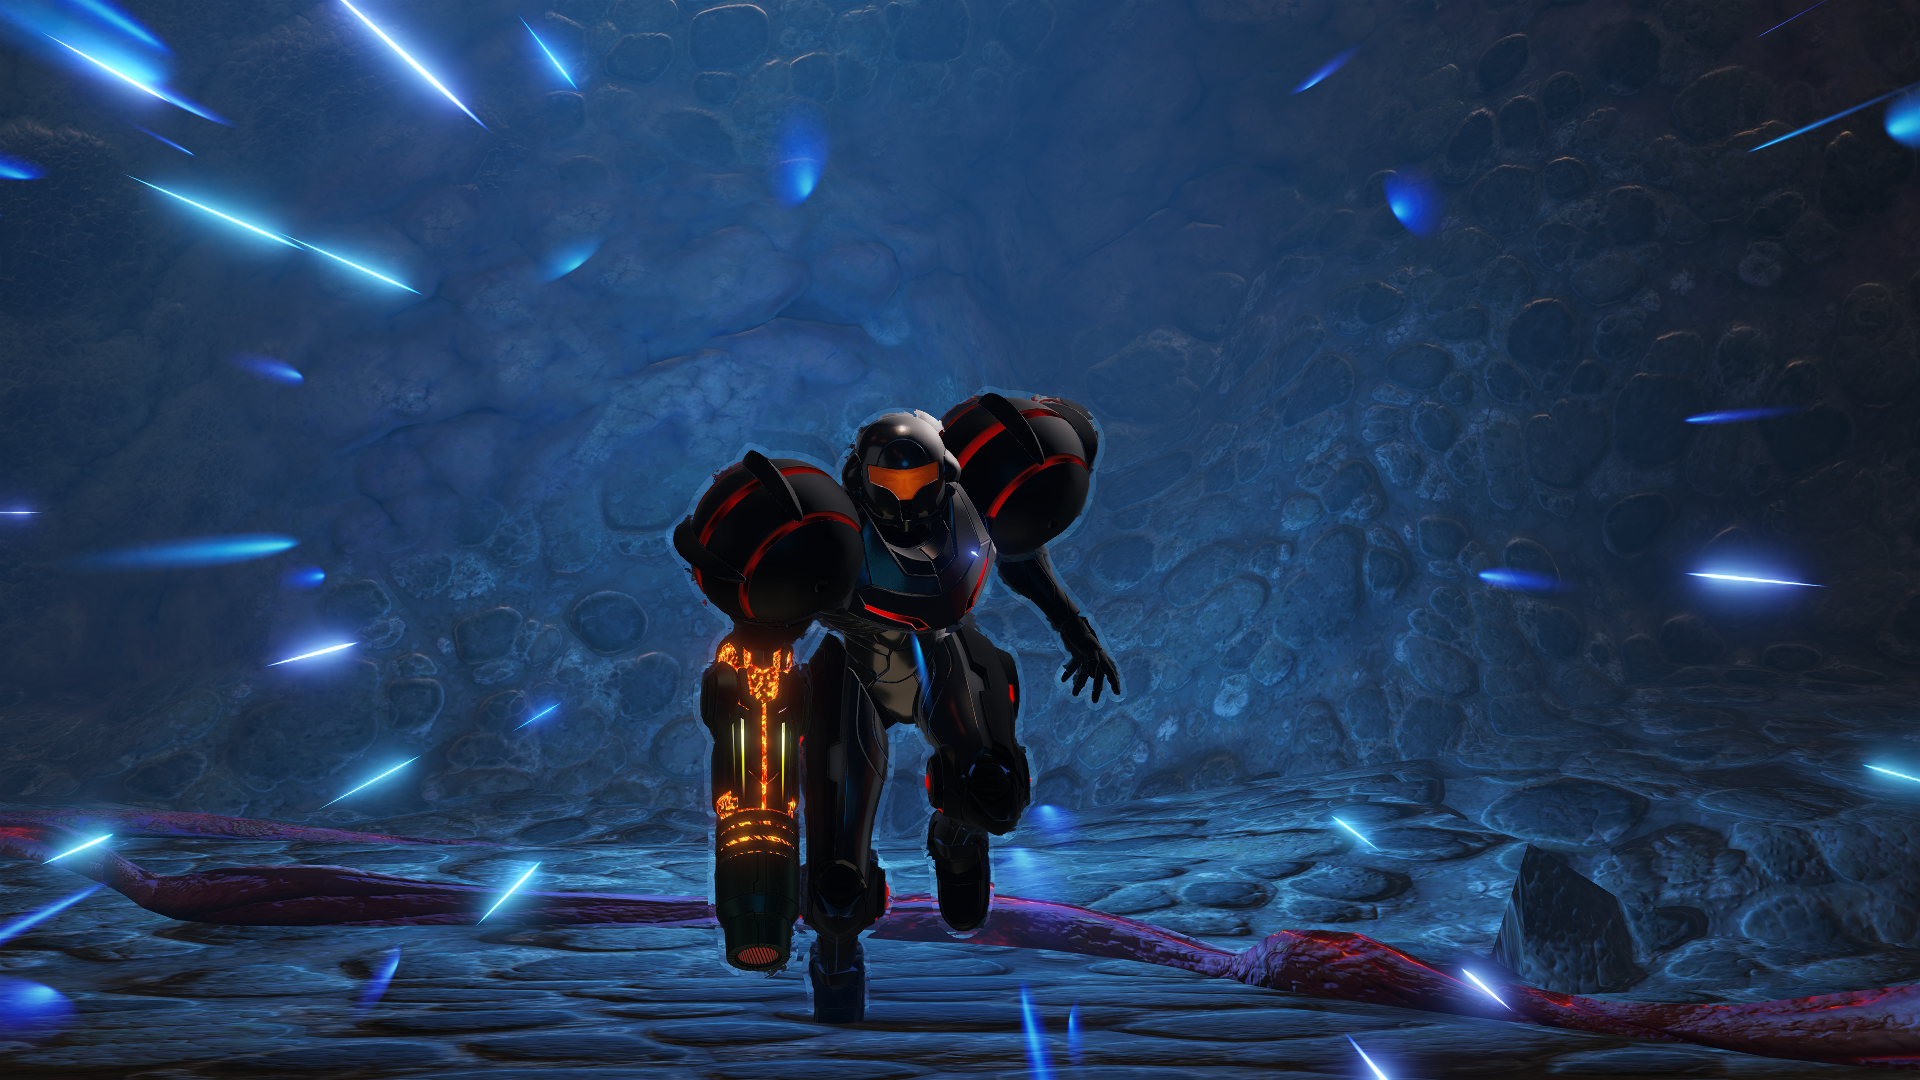
The Impact Crater. The source of the deadly Phazon substance on Tallon IV. Where this meteor originally came from we don’t know (yet), but regardless it’s time to eradicate it for the safety of this planet, and, ultimately, the galaxy.
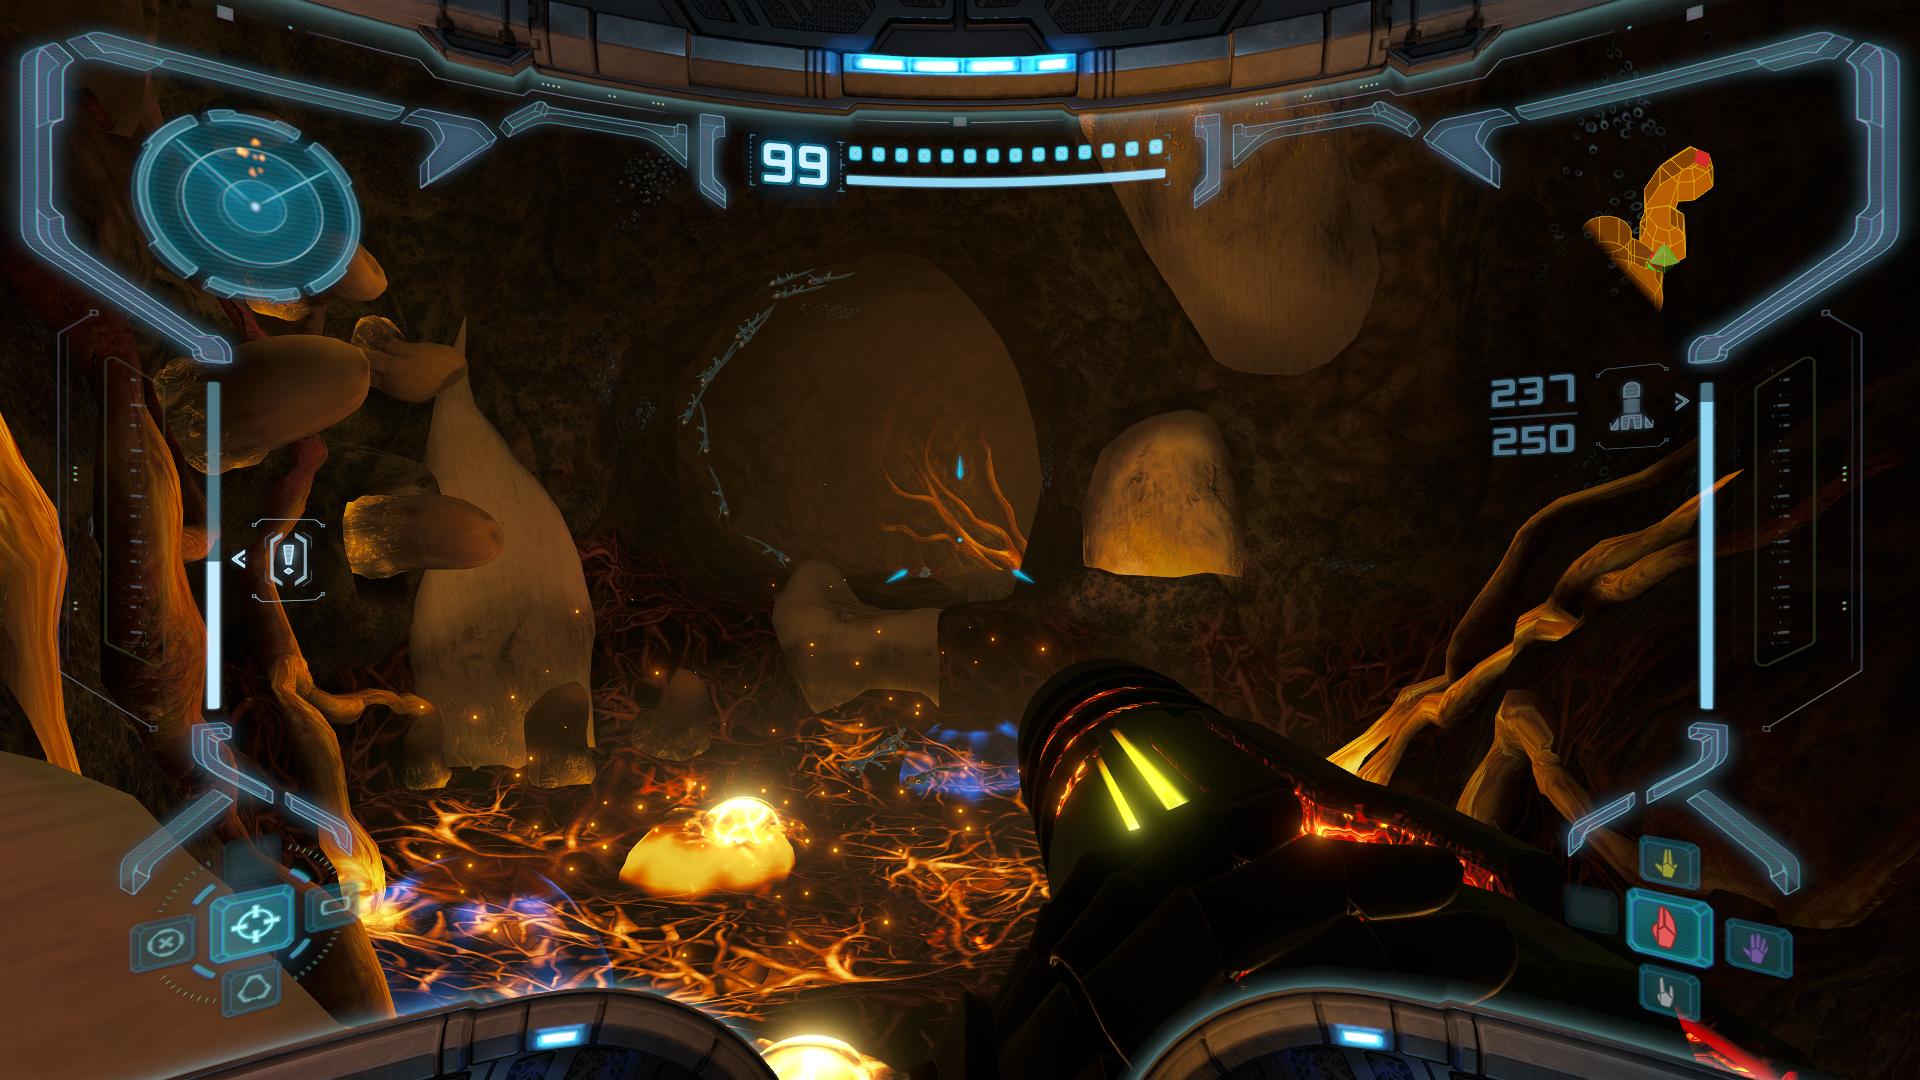
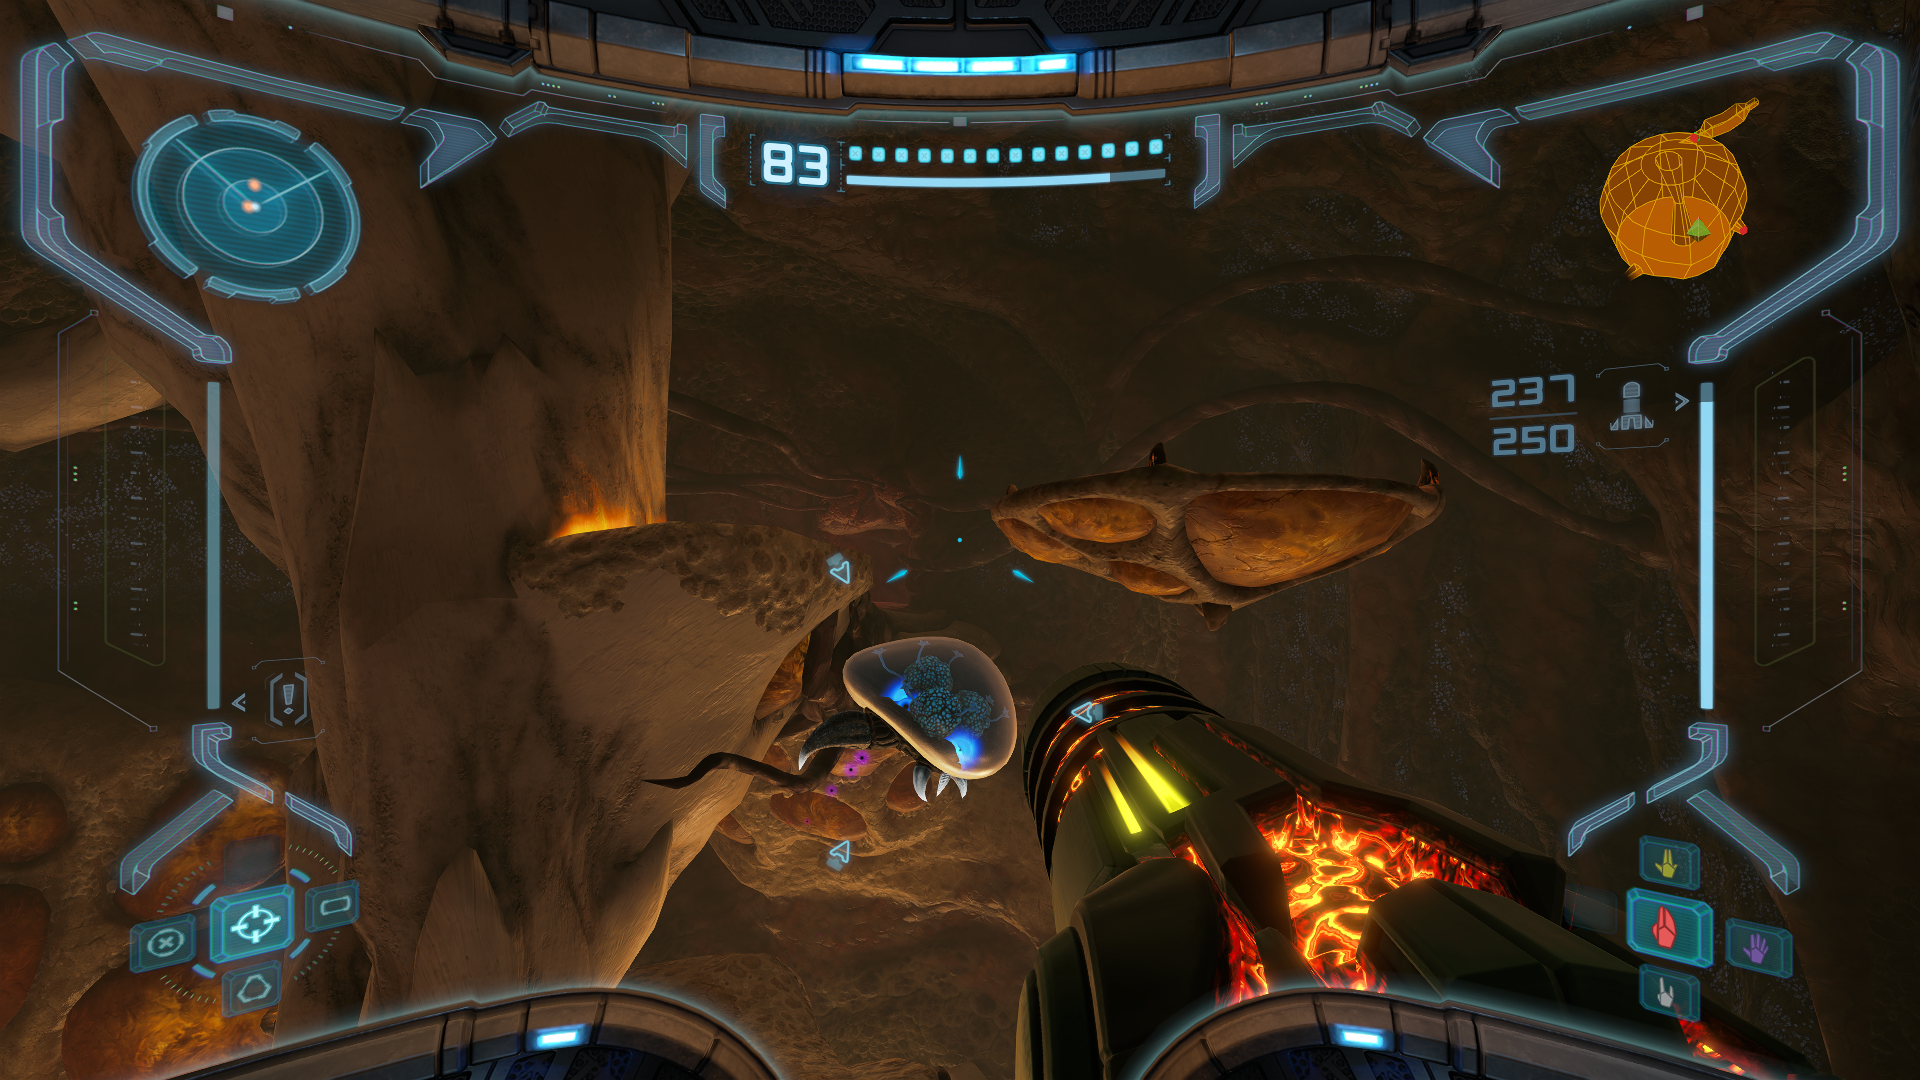
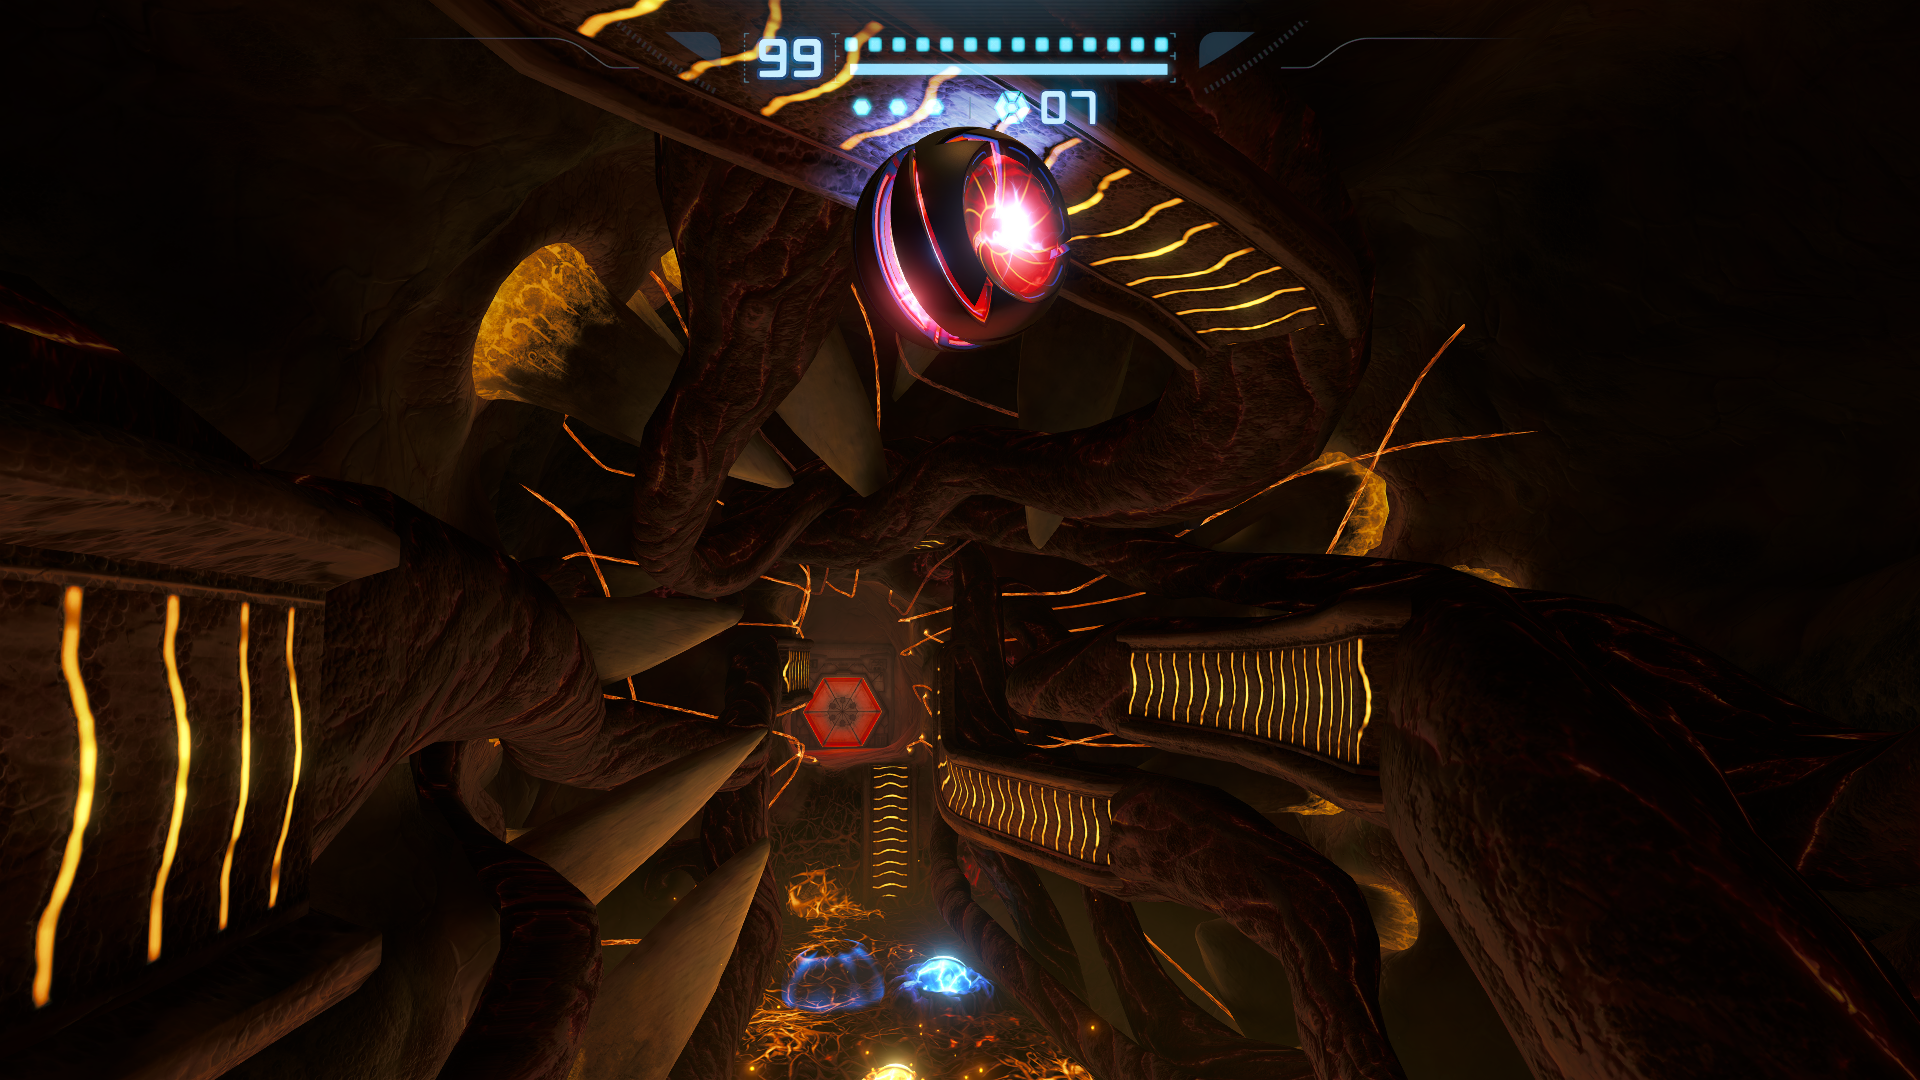
After you’ve warped in, there will be a Save Station located directly to your left. Save your progress here because this is the only one you get from this point forward. In Crater Tunnel A you’ll see a pack of LUMIGEKS in the distance to scan. You’ll also notice the Phazon within here is a bright orange rather than the neon blue of before. Even our Phazon Suit takes damage upon touching it, so this is serious stuff that we want to avoid.

Remember those annoying Fission Metroids we encountered before? Yeah? Well, they’re here too in the Phazon Core and they’re even worse than before. Why? THEY INFINITELY RESPAWN. This single room can be absolutely traumatizing if you don’t know what you’re doing, especially if you have to traverse it again if you die at the final boss.
We’re going to avoid that however with this guide. As mentioned before, Power Bombs will insta-kill a Fission Metroid, and that weakness remains here in the Impact Crater. Ideally we want to save at least a couple Power Bombs for the final showdown, but this takes precedence in terms of importance, so use all eight Power Bombs if you need the support.
When a Metroid has their attention on you, they’ll make a very distinct screeching sound (you’ve probably heard it several times already), so that’s your audio cue for when you need to prep your aresenal. Pay attention to your radar too since a lot of the times these Metroids will be out of your line of sight. When you do feel some creeping up on you, stop what you’re doing, wait for them to strike and drop a Power Bomb. The first door you come across will lead to a Missile Station, giving you a moment to breathe while they back off. The second door isn’t too far off, so just stick with those same tips and you’ll make it just fine.
Check out the provided video below to see a perfect run of the Phazon Core if you need more visual information.
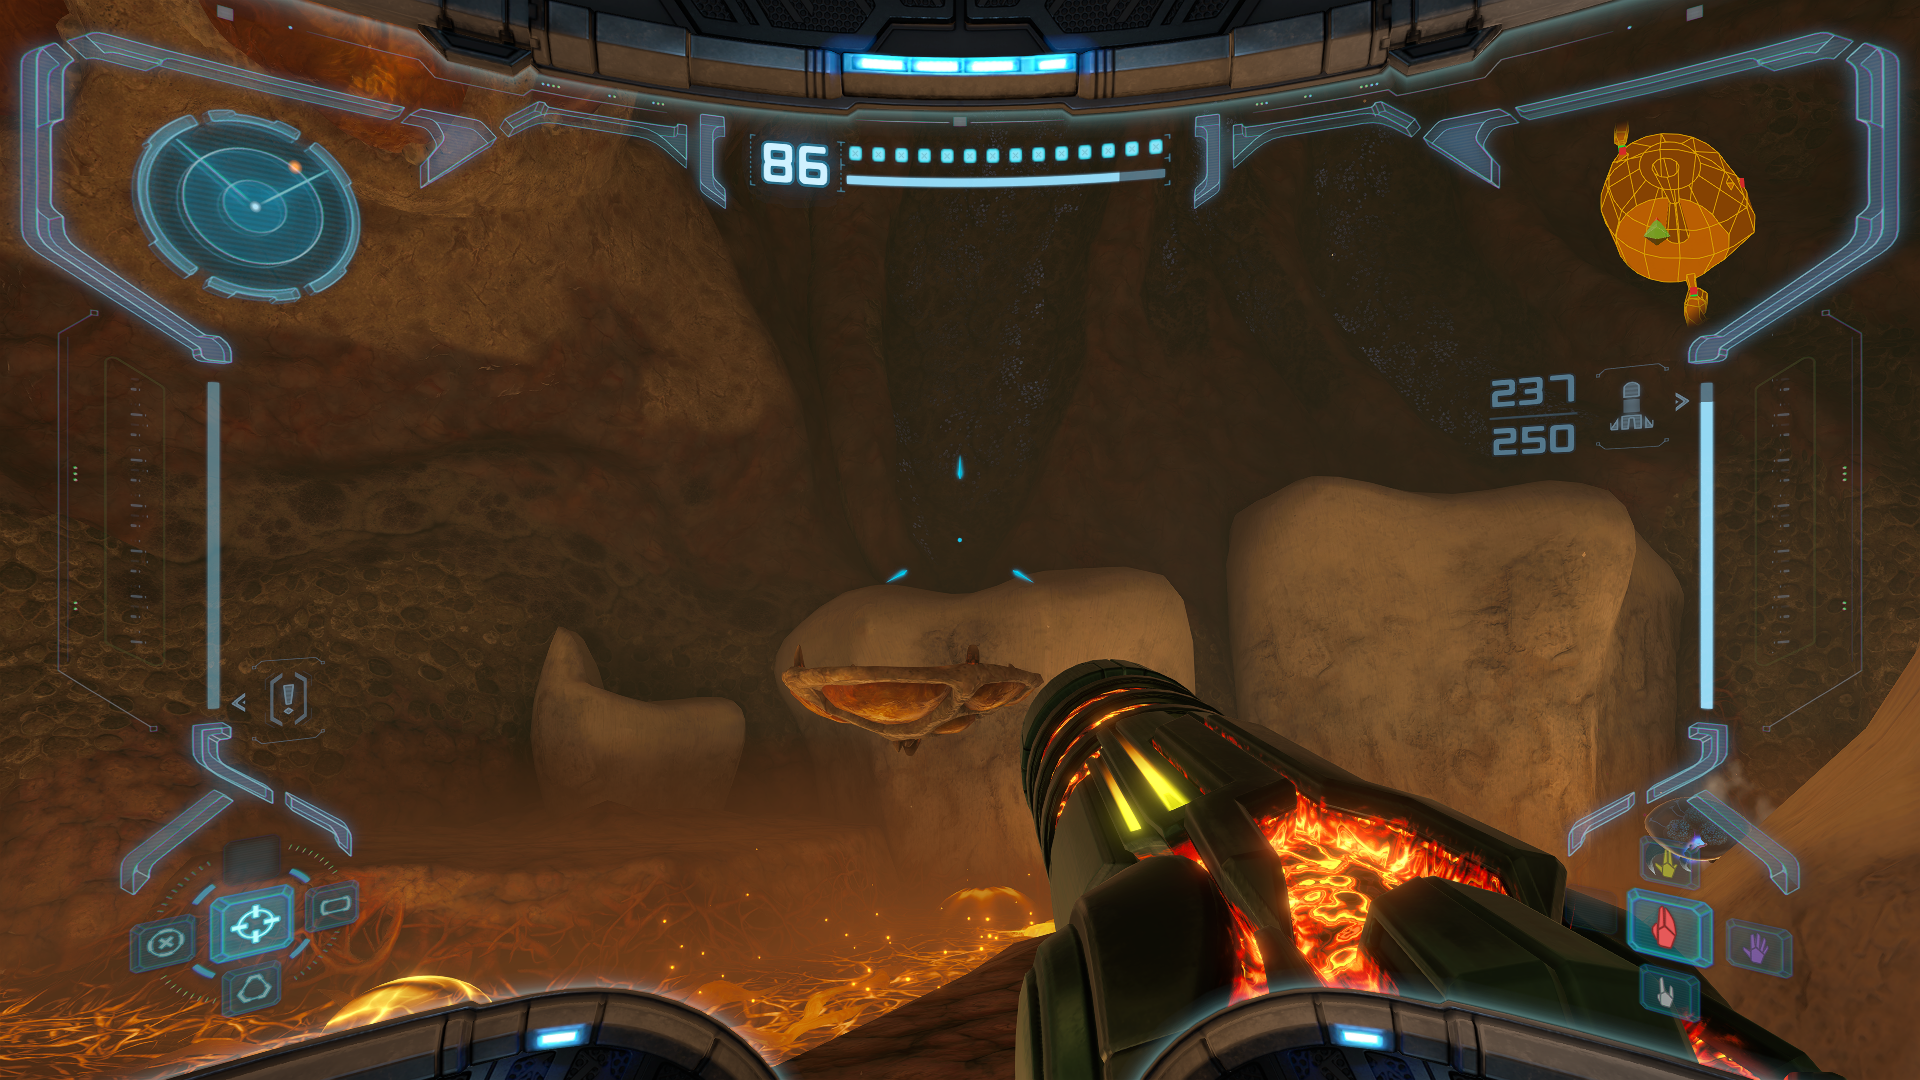
In Crater Tunnel B, use the Spider Ball Tracks to safely cross the other side. If you mess up and accidentally fall into the orange Phazon, don’t try to get back on the track. Instead just use the Boost Ball to quickly reach the other side before you take too much damage.
Once you’re across the pit, get ready. It’s time to avenge the Chozo of Tallon IV, and the planet itself.
Metroid Prime
Scans in This Section
Creatures: Metroid Prime *missable*
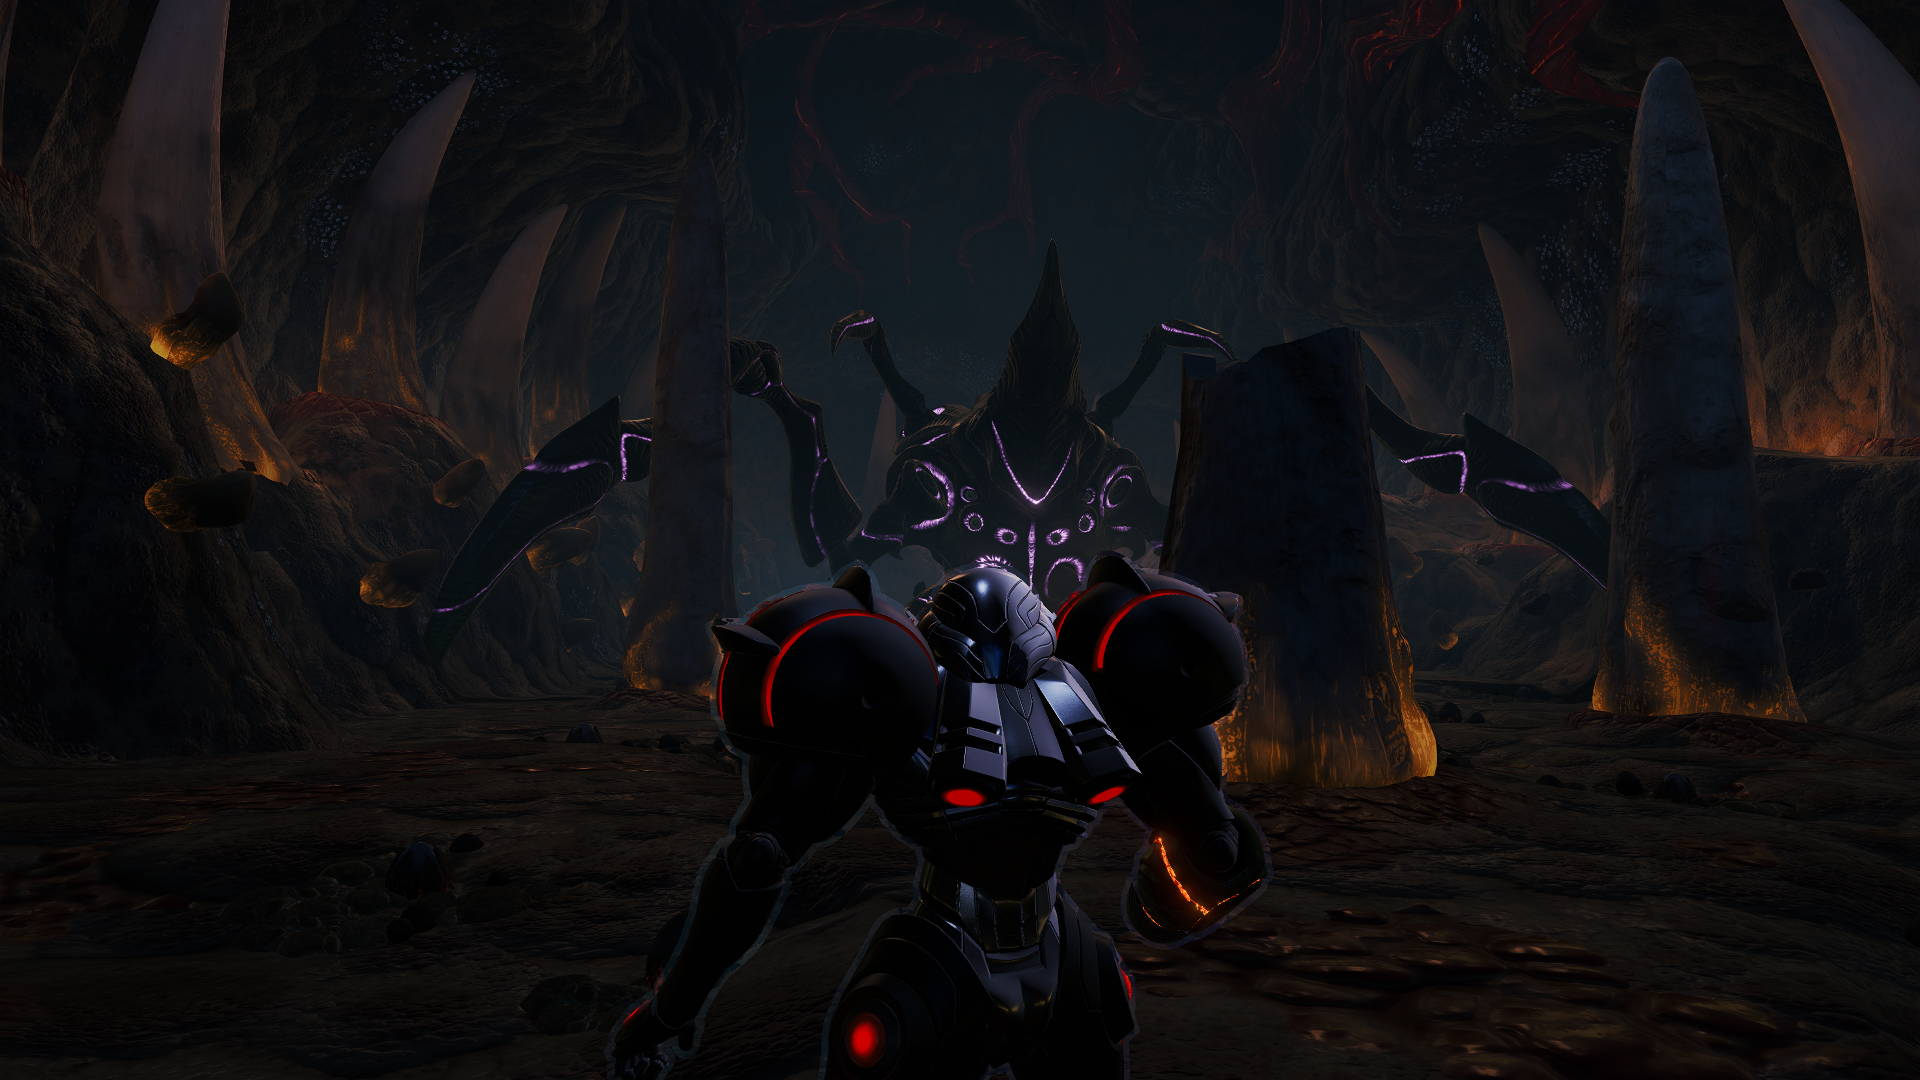
This is it. The final battle. Your entire adventure on Tallon IV has led to this moment. Take a second to soak in the music, the atmosphere, the big fight feel, and once you’re ready, step forward to fulfill the Chozo Prophecy and eliminate the Worm once and for all.

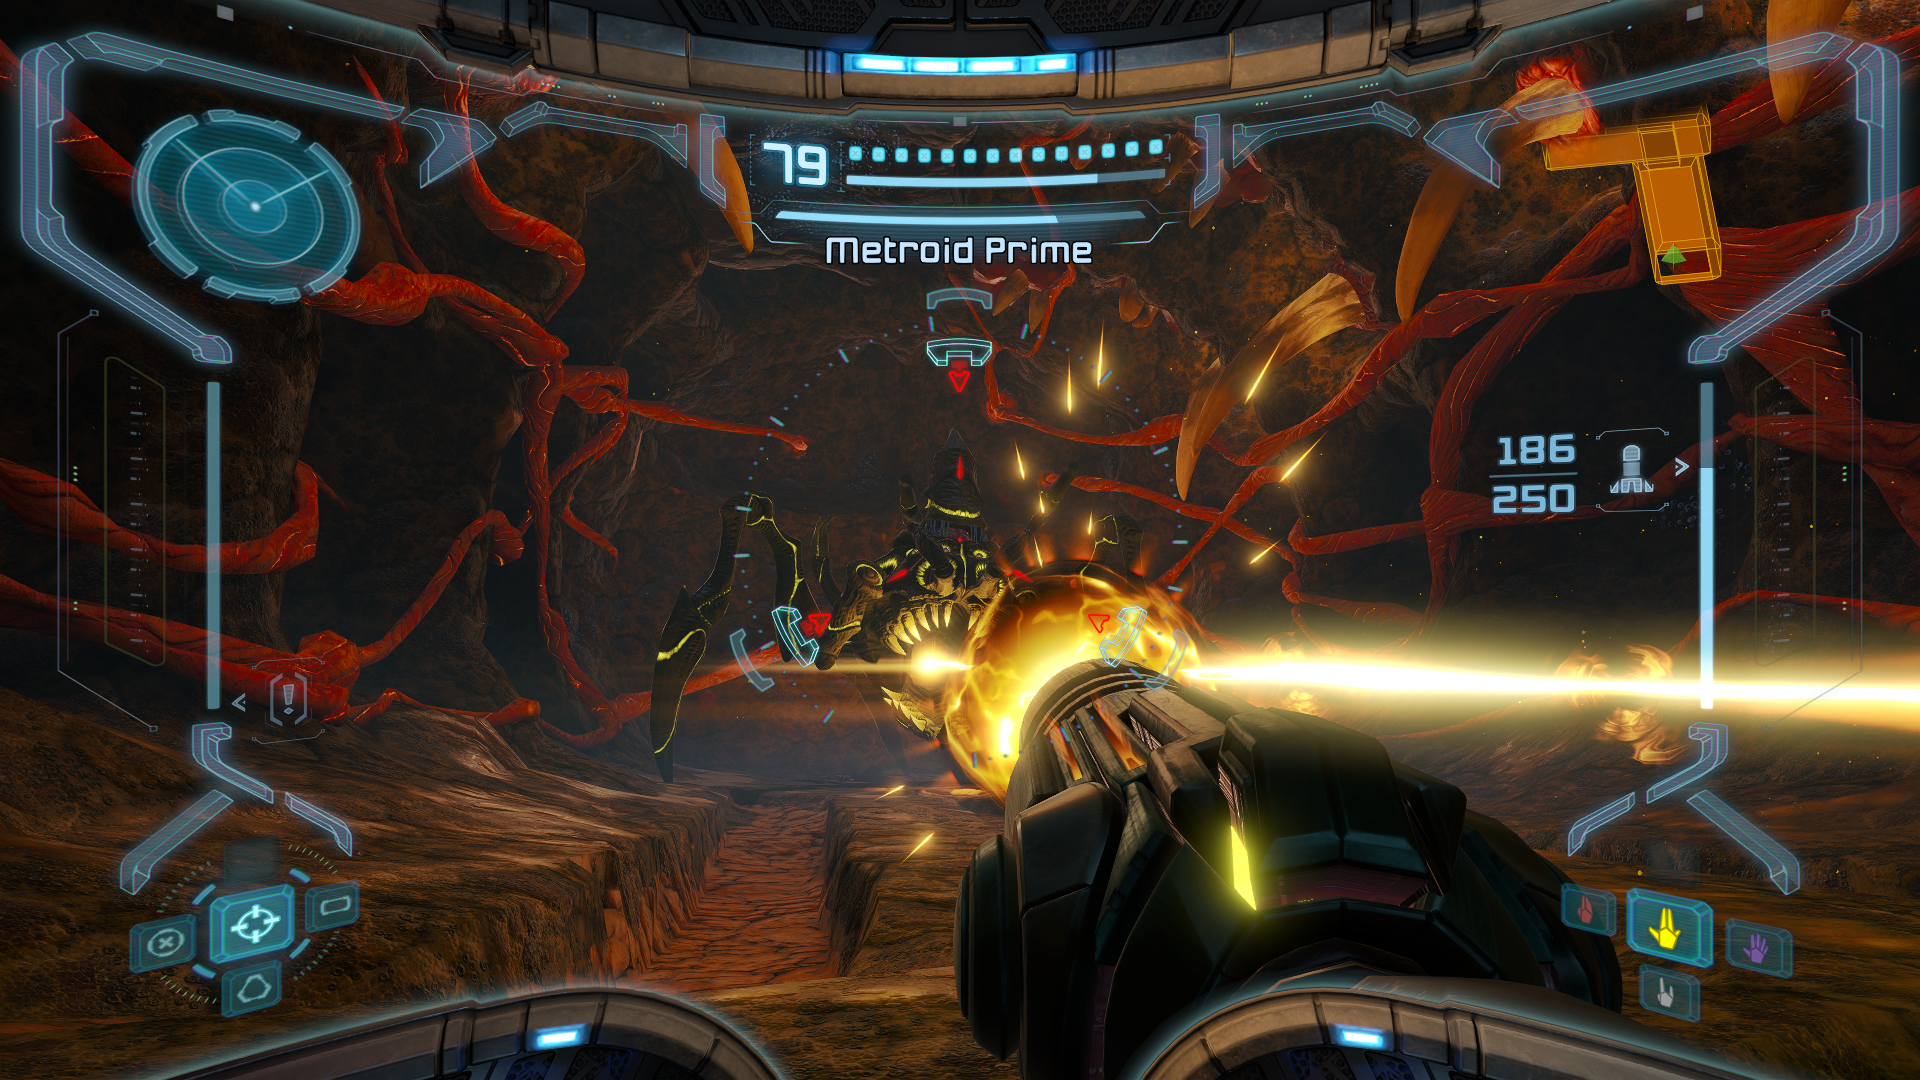
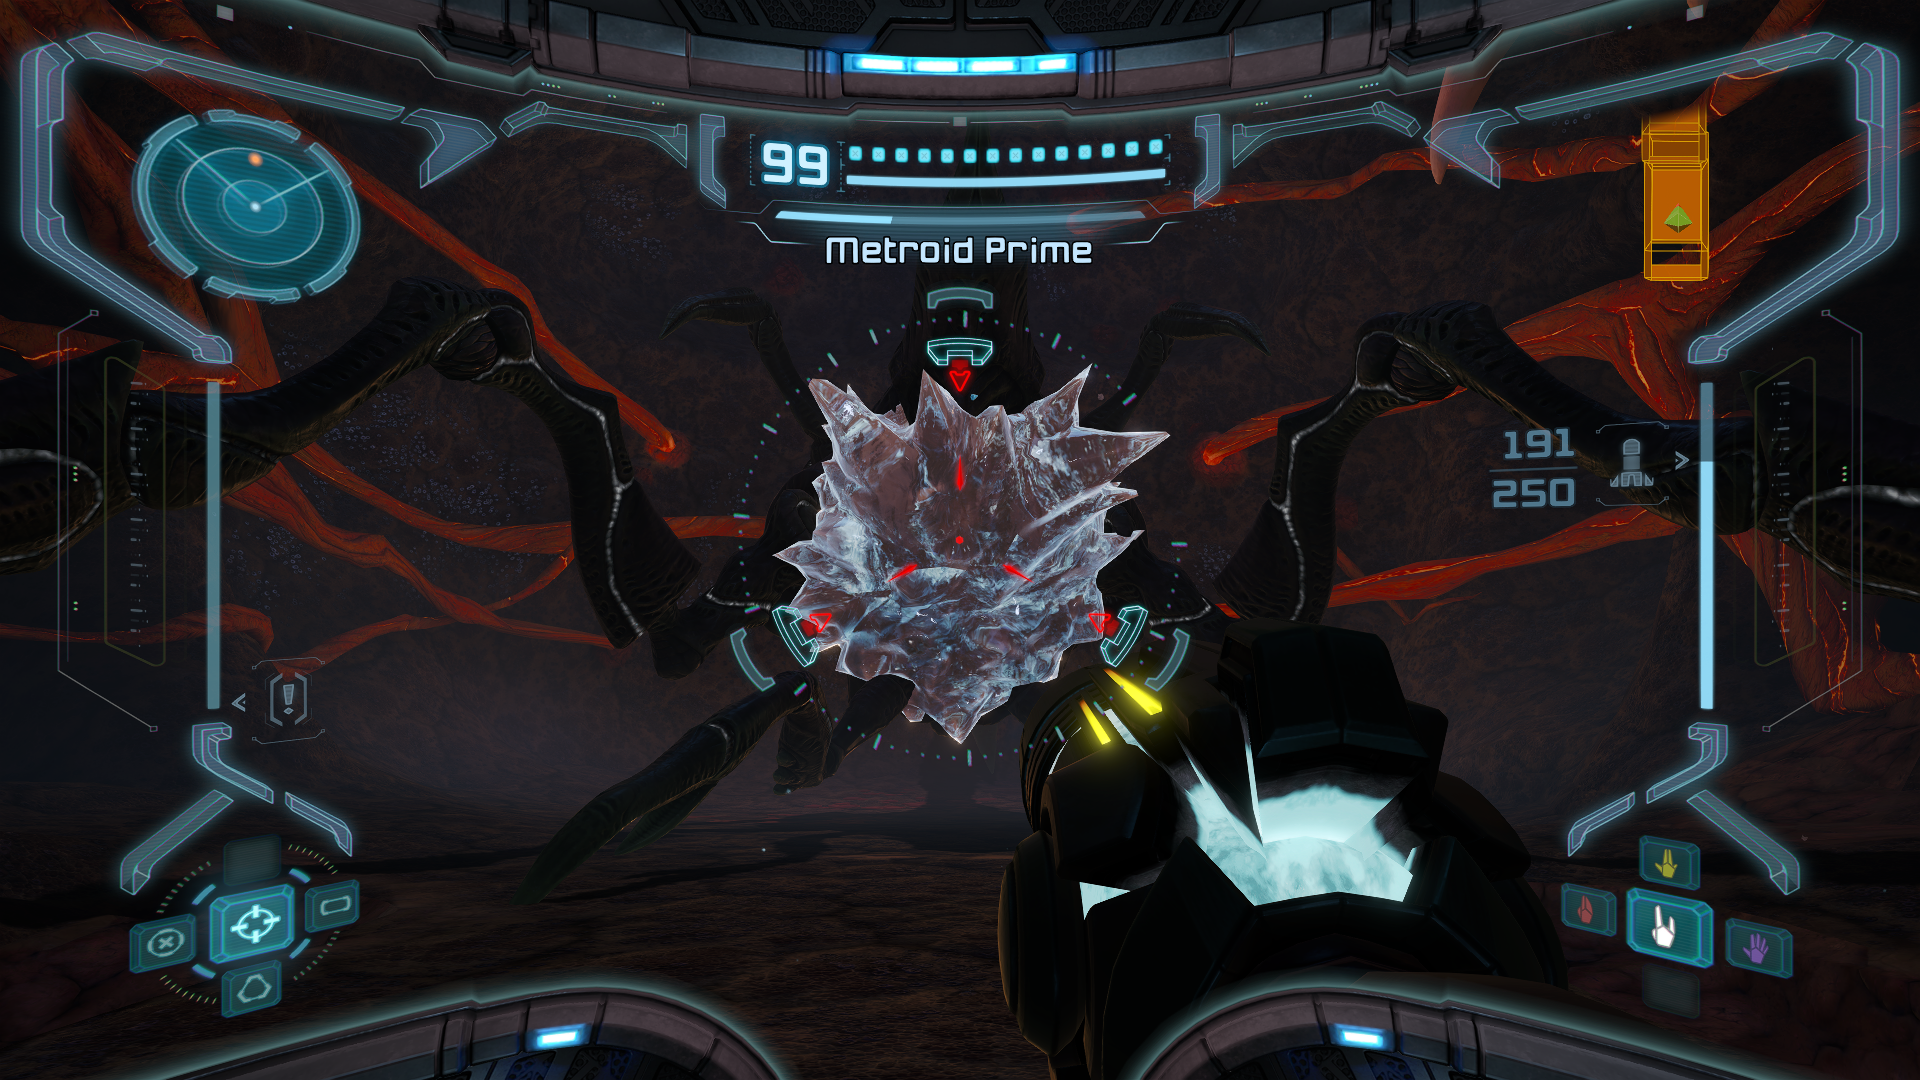
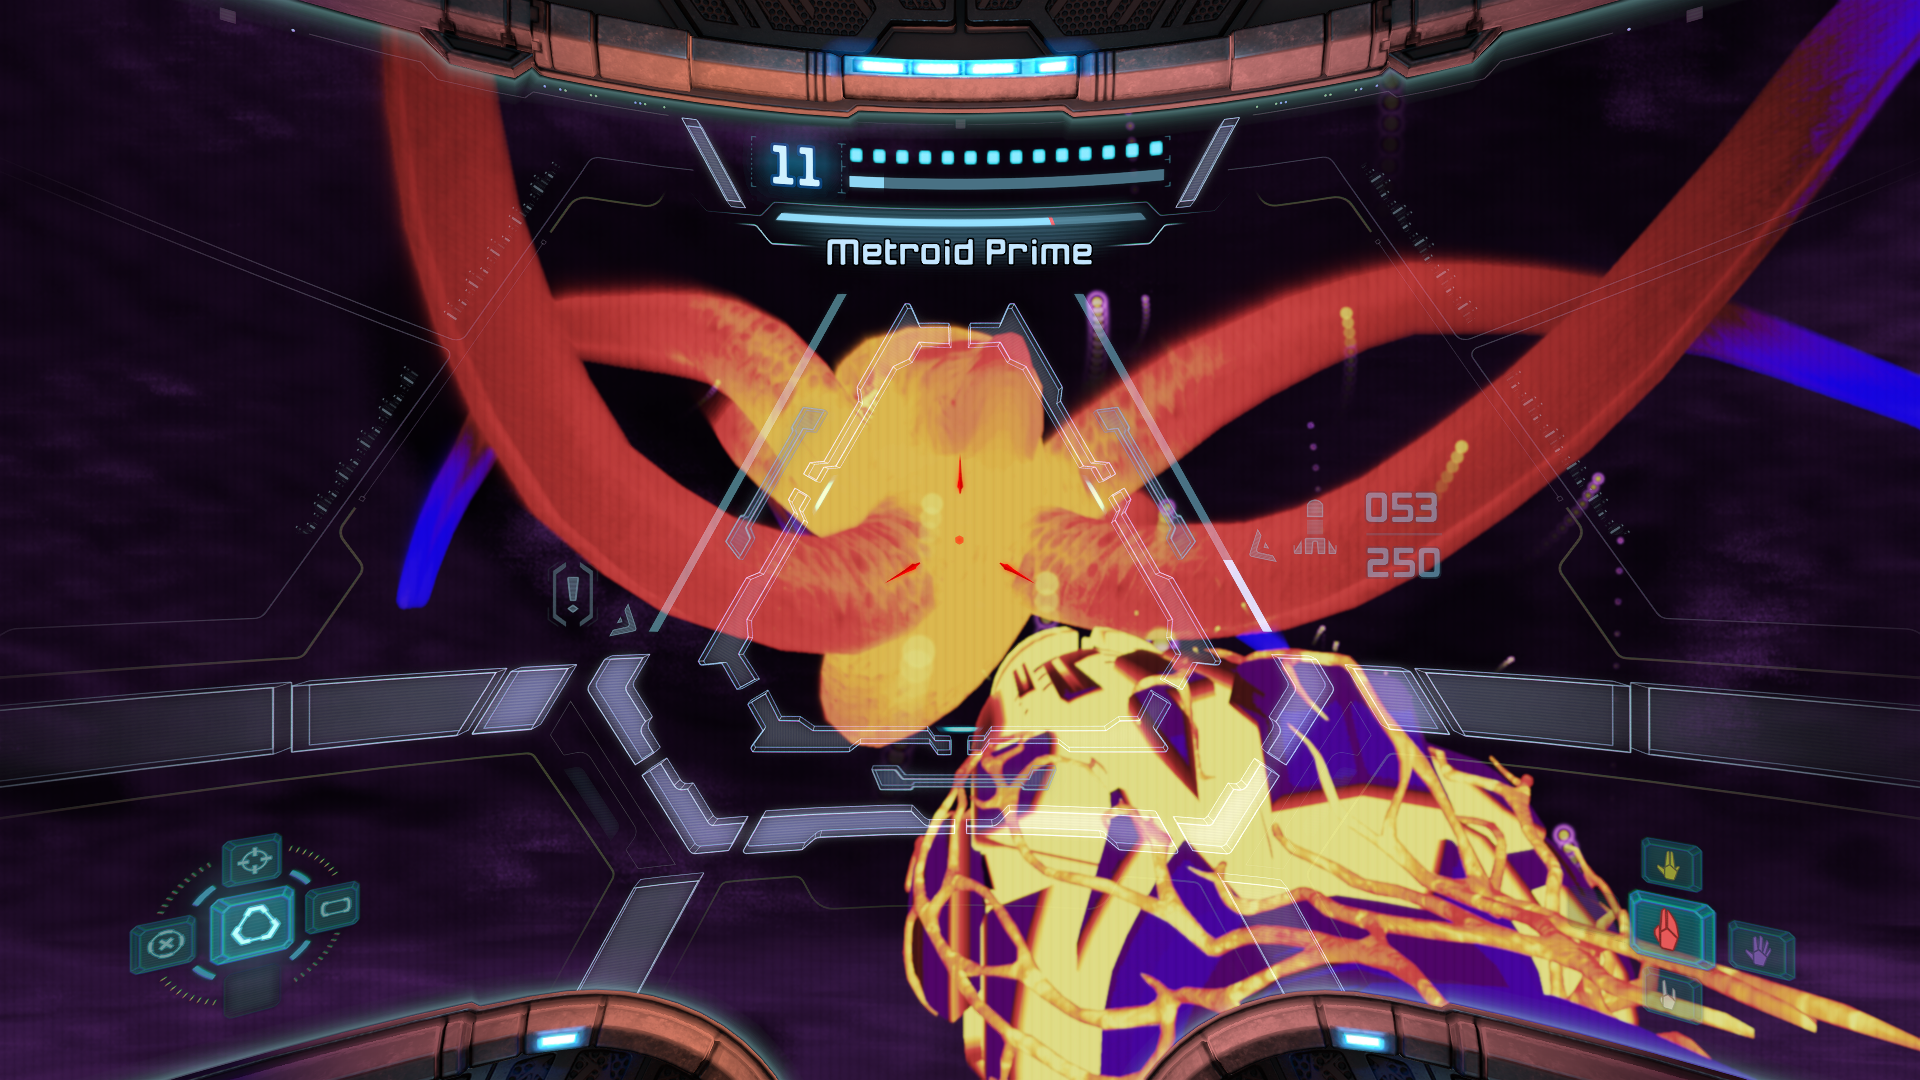
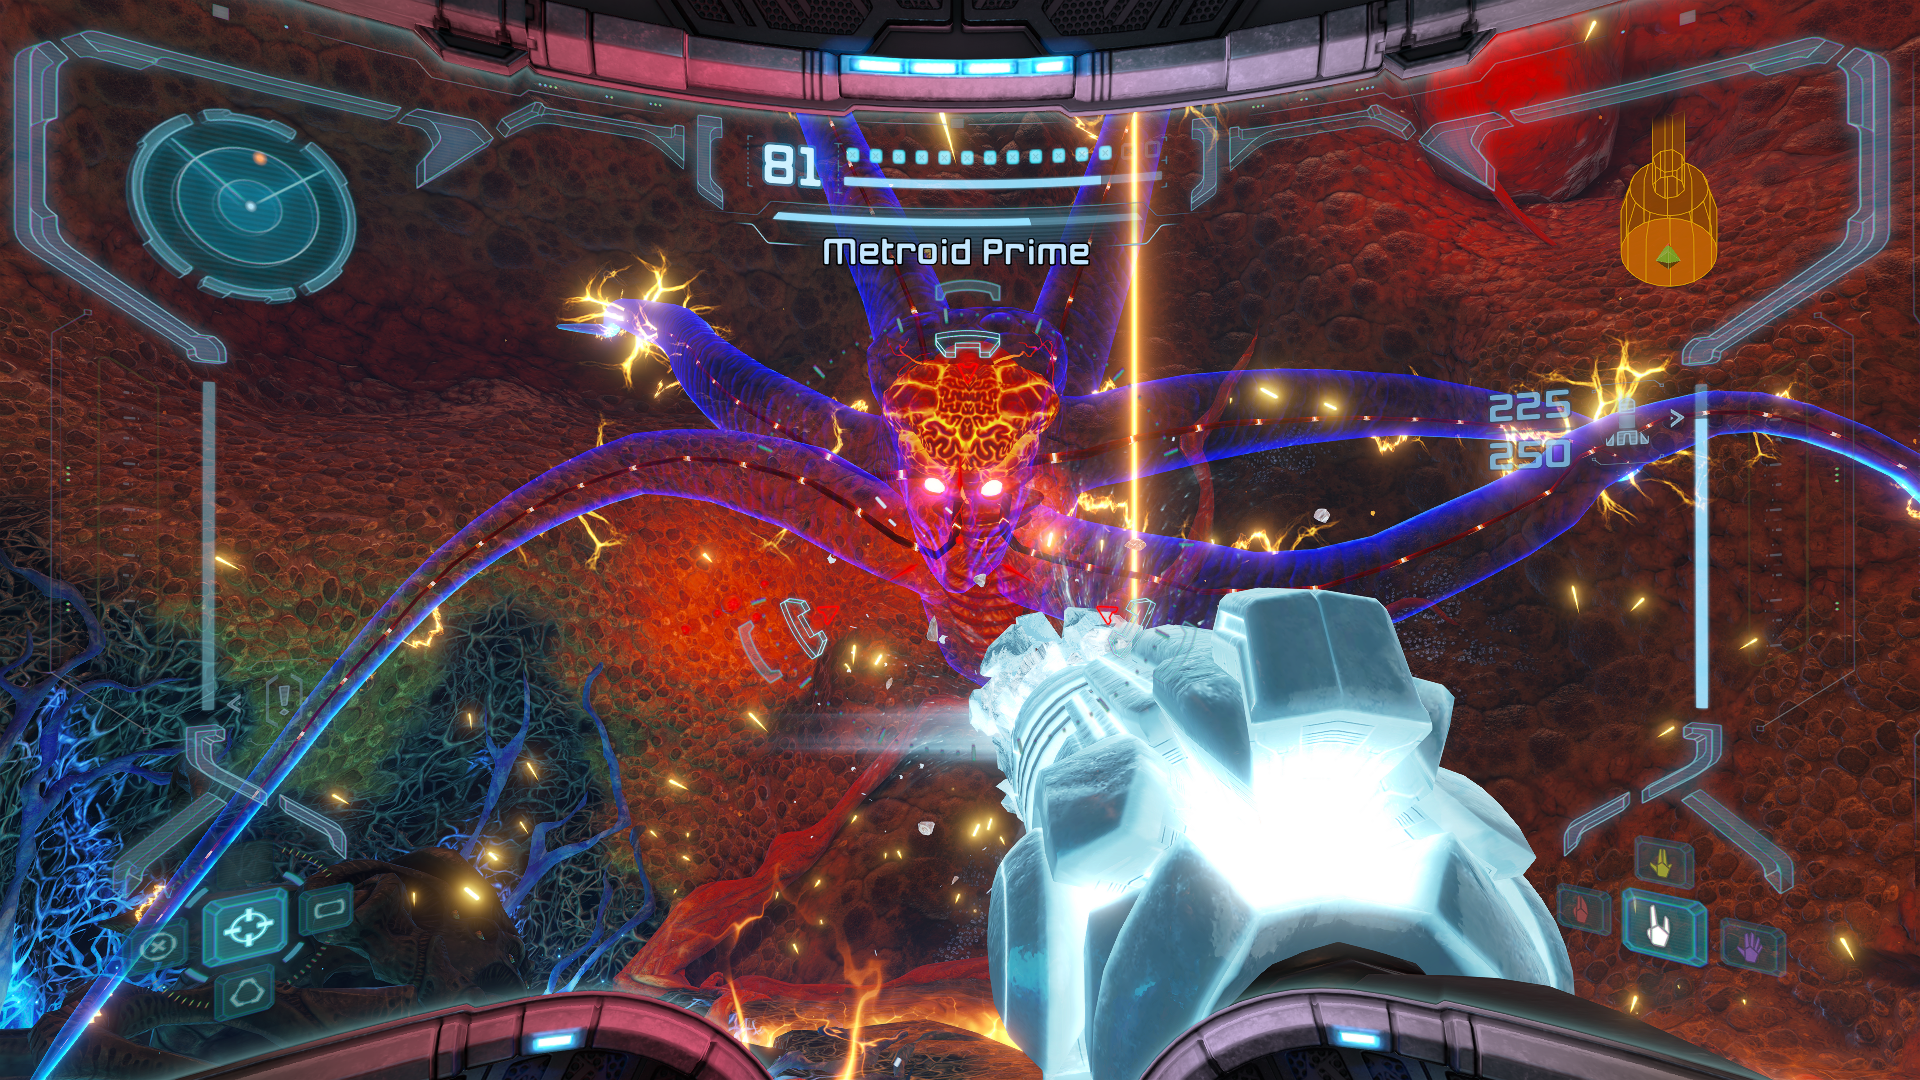
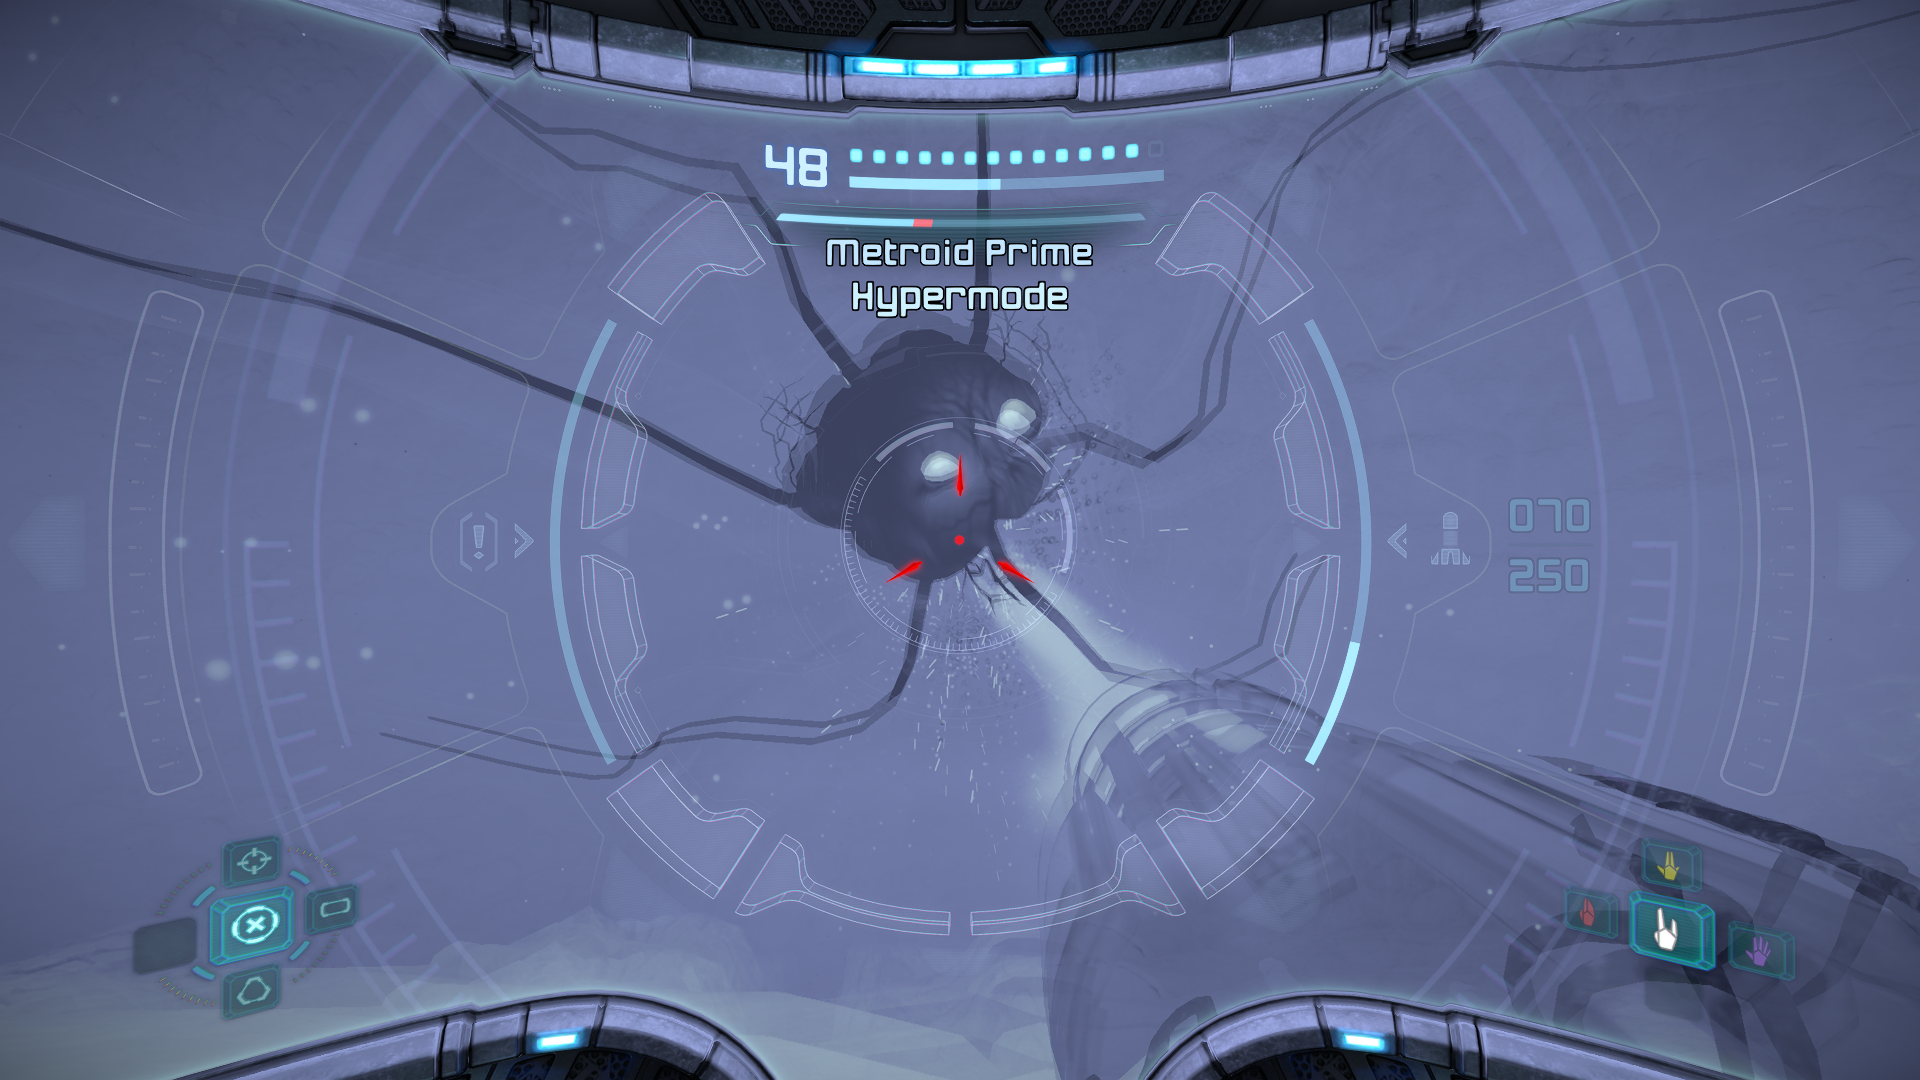
Metroid Prime is the giant creature the game has hinted about, and the source of the Phazon poisoning the insides of Tallon IV. Evil has been found; now it’s time to finish the fight.
You’ll run after Metroid Prime as it burrows deeper and deeper into the Impact Crater. As always, make sure you scan METROID PRIME. You’ll need to pay special attention to the color of Prime’s body; it will change weaknesses throughout the fight, with the color corresponding to which Beam you’ll need to use to damage it. This should be obvious by now, but Yellow = Power Beam, Purple = Wave Beam, White = Ice Beam, and Red = Plasma Beam. It’s important to note that, for example, if Prime is Yellow, you can use not only your Power Beam, but your missile combo. You’ve acquired all these missiles, and now is the time to let them fly.
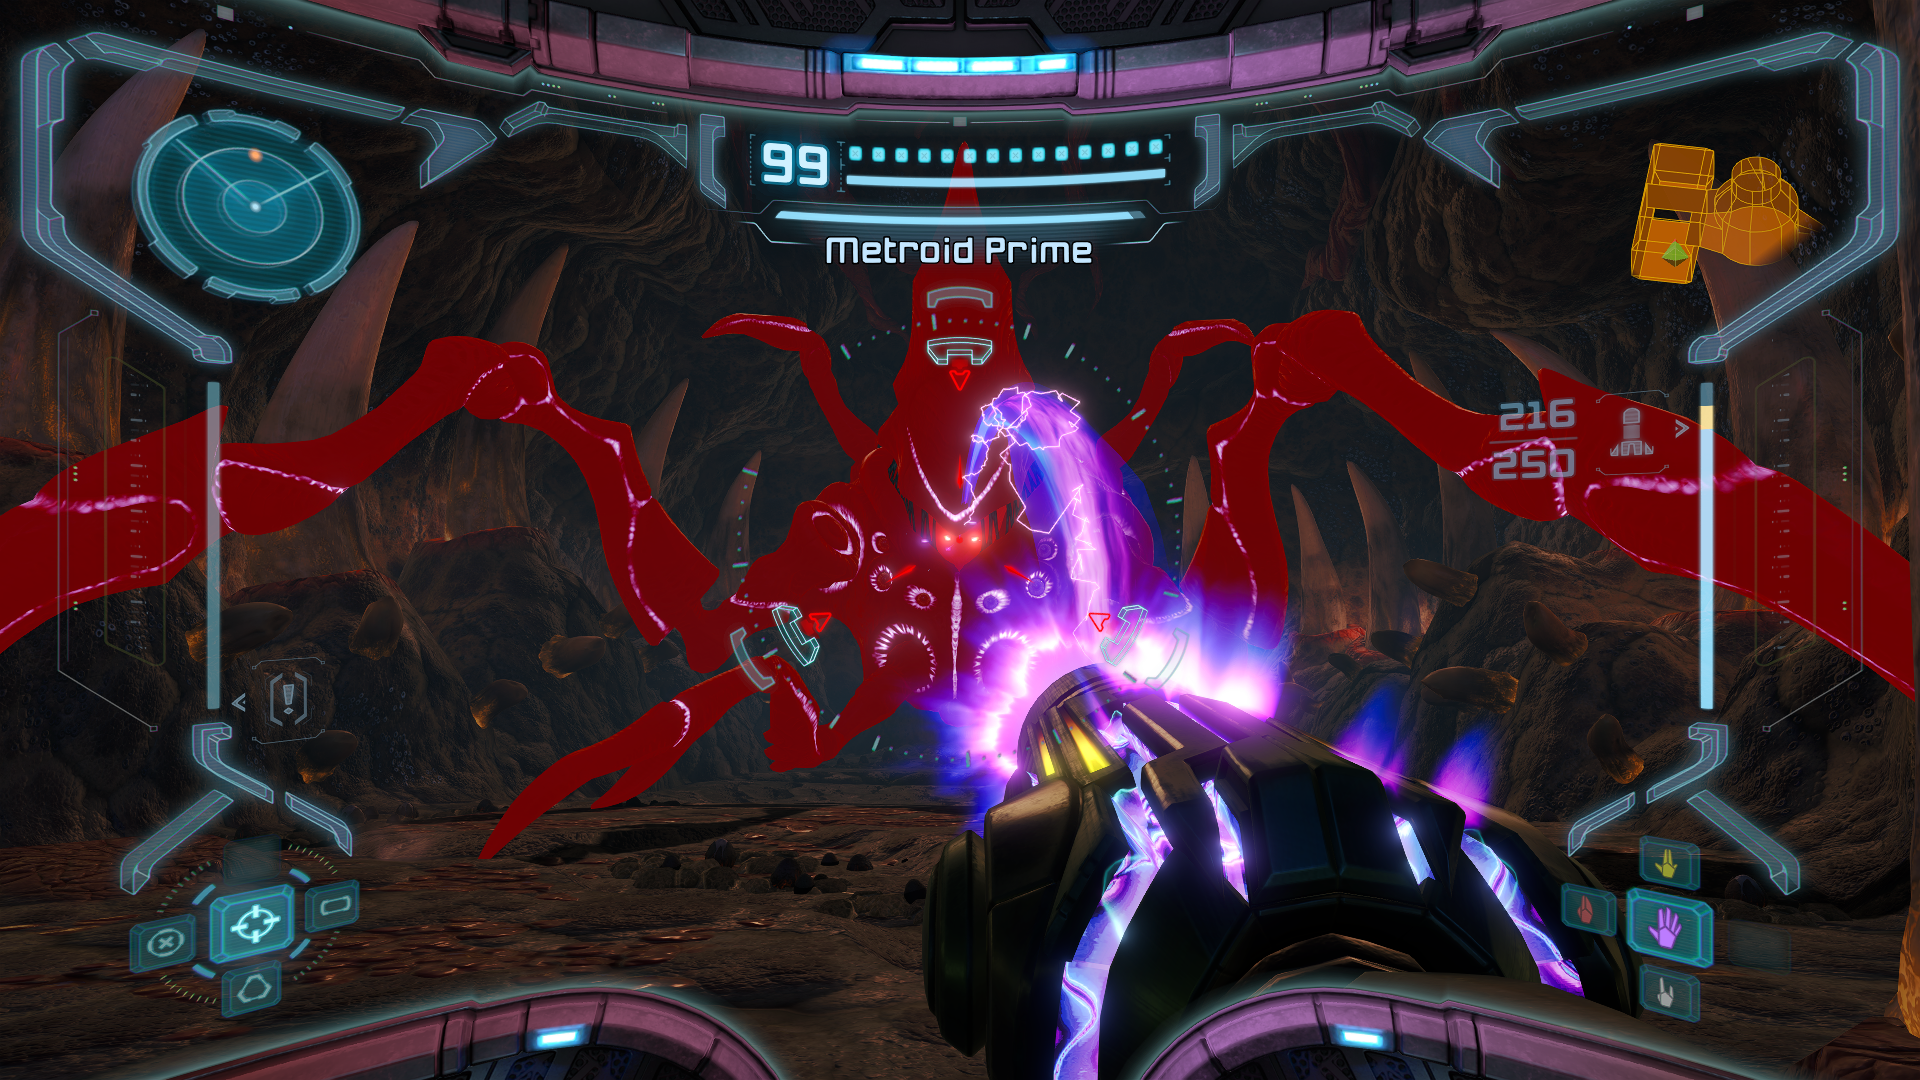
I would recommend target locking Prime and continually jumping, strafing, and moving around. Prime has an abundance of attacks depending on its form, but most can be avoided if you’re moving around. Even so, let’s run down a few of the attacks that will be coming your way.
Firstly, as if it wasn’t painfully obvious by the ginormous, hulking frame of this abhorrent creature, but getting into a fist fight with Metroid Prime is strongly discouraged. Keep as much distance as you can, because Prime’s melee attacks hit mega hard.
Second, there will be some variation of a laser beam that Prime will shoot out, no matter what form you’re in. Similar to Ridley’s laser breath, you just want to sidestep this as best you can. Prime will also shoot out multiple acidic missiles, again, similarly to Ridley, so step aside when those start to fly as well. Be careful of the poisonous residue they leave behind.
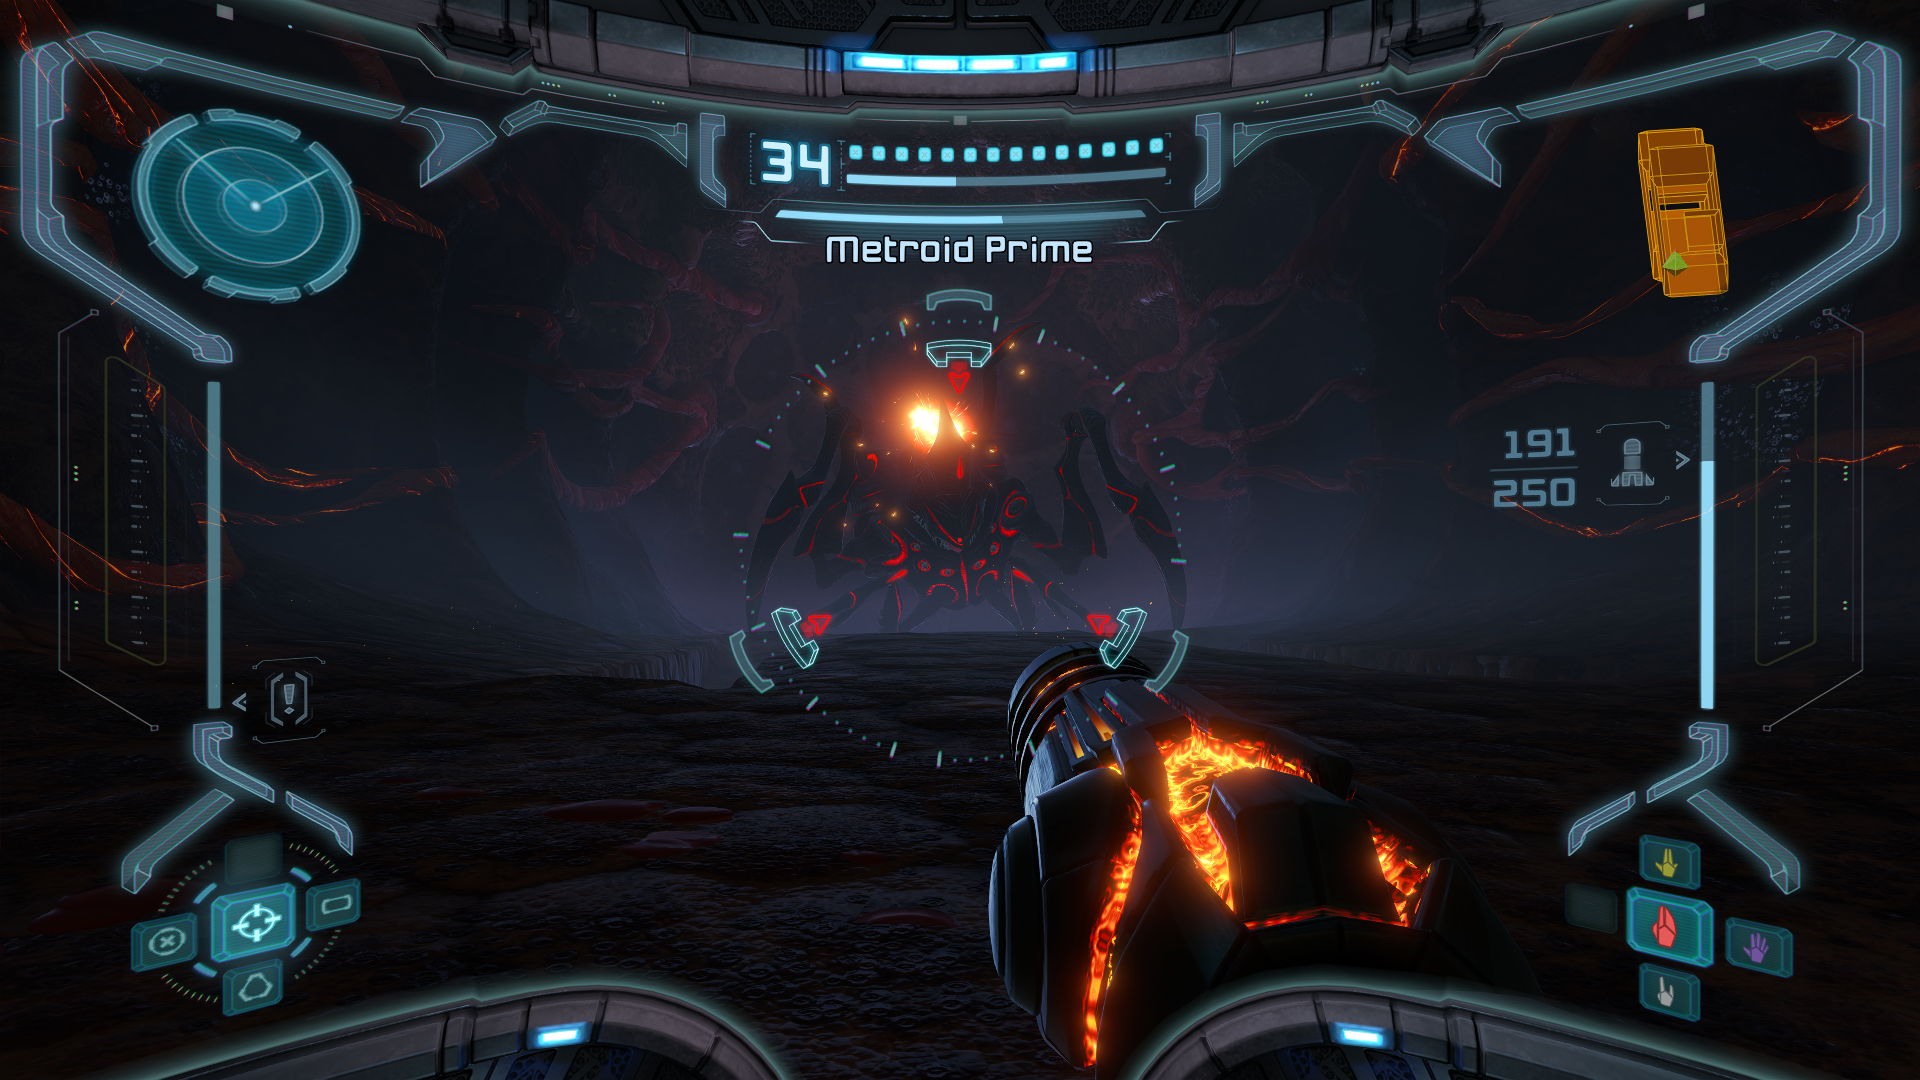
Metroid Prime also has some color specific attacks. When it’s Purple, there will be a pulse wave that will disrupt your Visor functions; when White, Prime will shoot its frigid breath at you, freezing you.
Once you’ve damaged Metroid Prime enough, it will retreat to the lower level. When you follow, you’ll see that there are rivets in the ground. Use them! When Prime takes enough damage, it will recoil and then start to charge straight towards you. Get into Morph Ball form and roll into the rivets to get to the other side. Prime will stampede right over top of you; be careful not to be too fast though, since its back legs can still do pretty heavy damage if they clip you.
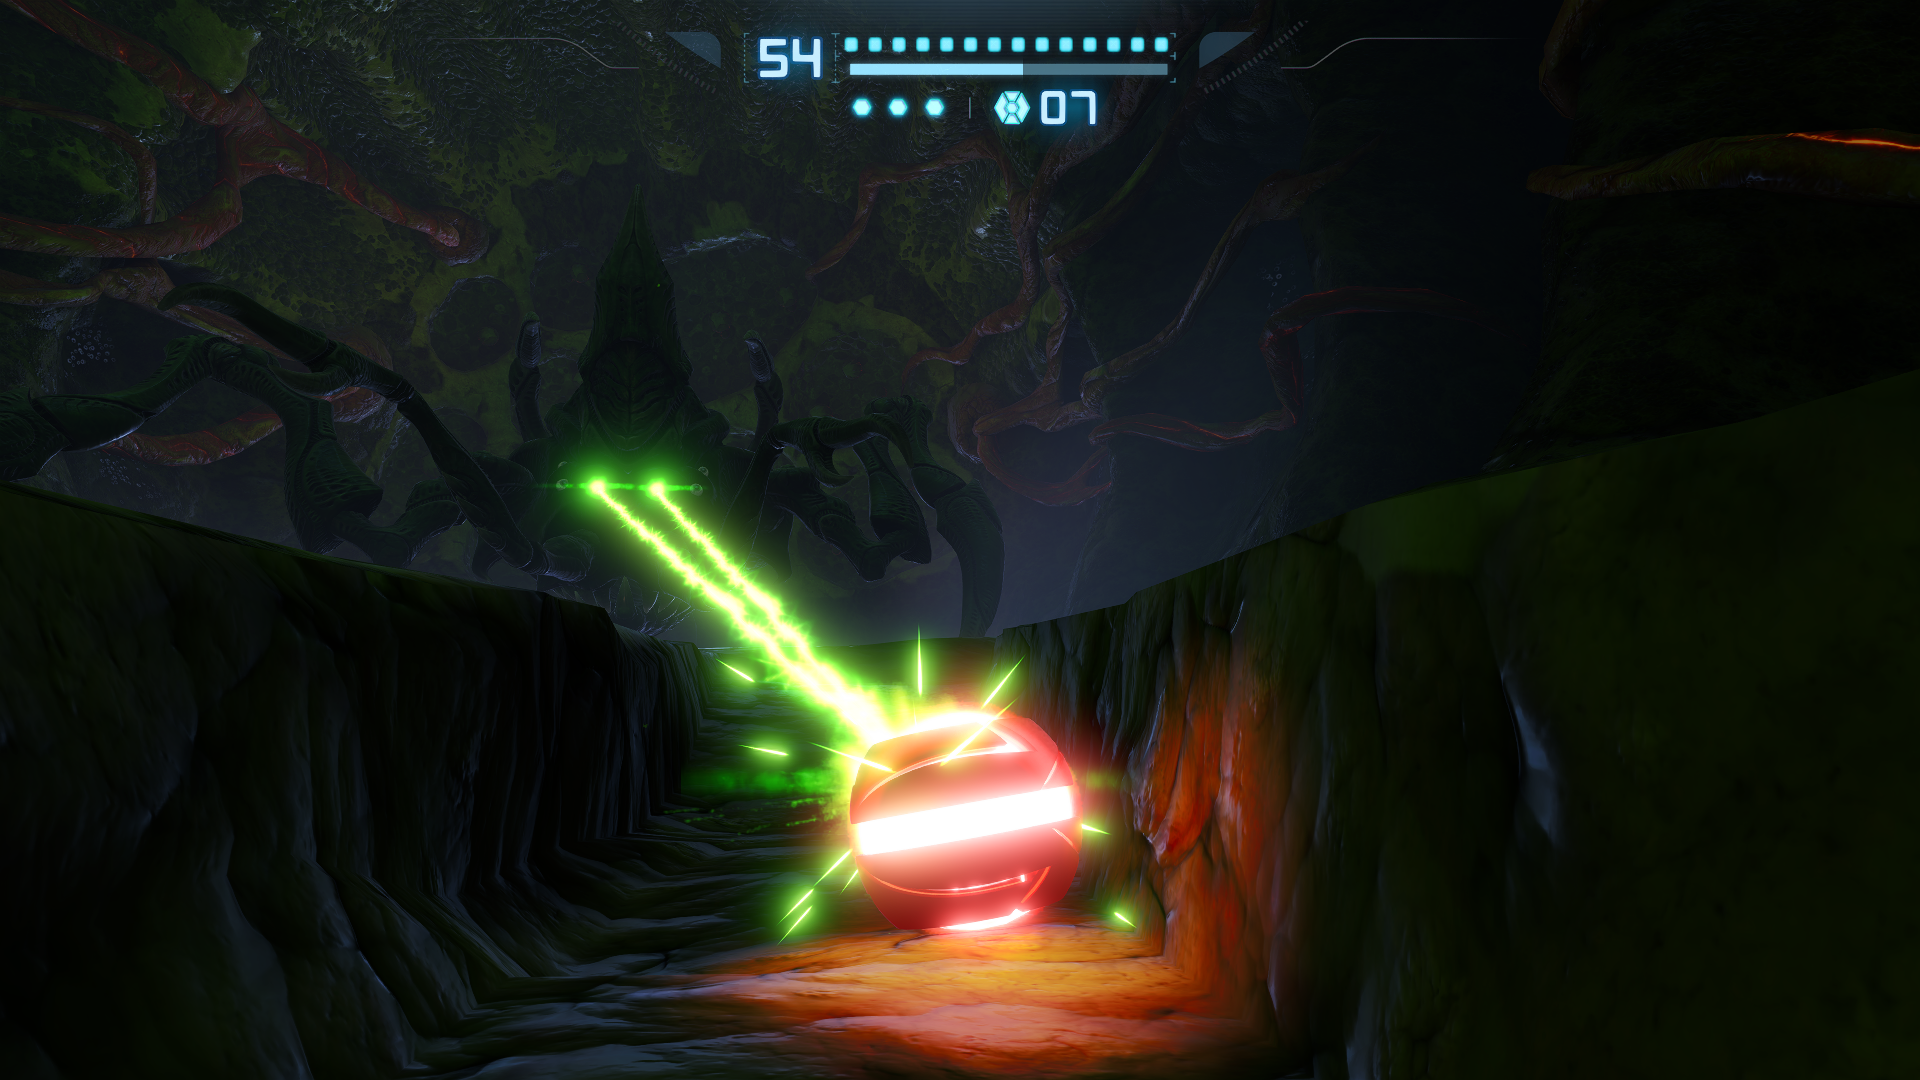
Eventually, Prime will also start shooting out two balls of energy that will correspond to whatever color the mutated Metroid happens to be. These are actually pretty welcome, since they move slowly and drop health and ammo once destroyed. Just don’t forget to shoot them!
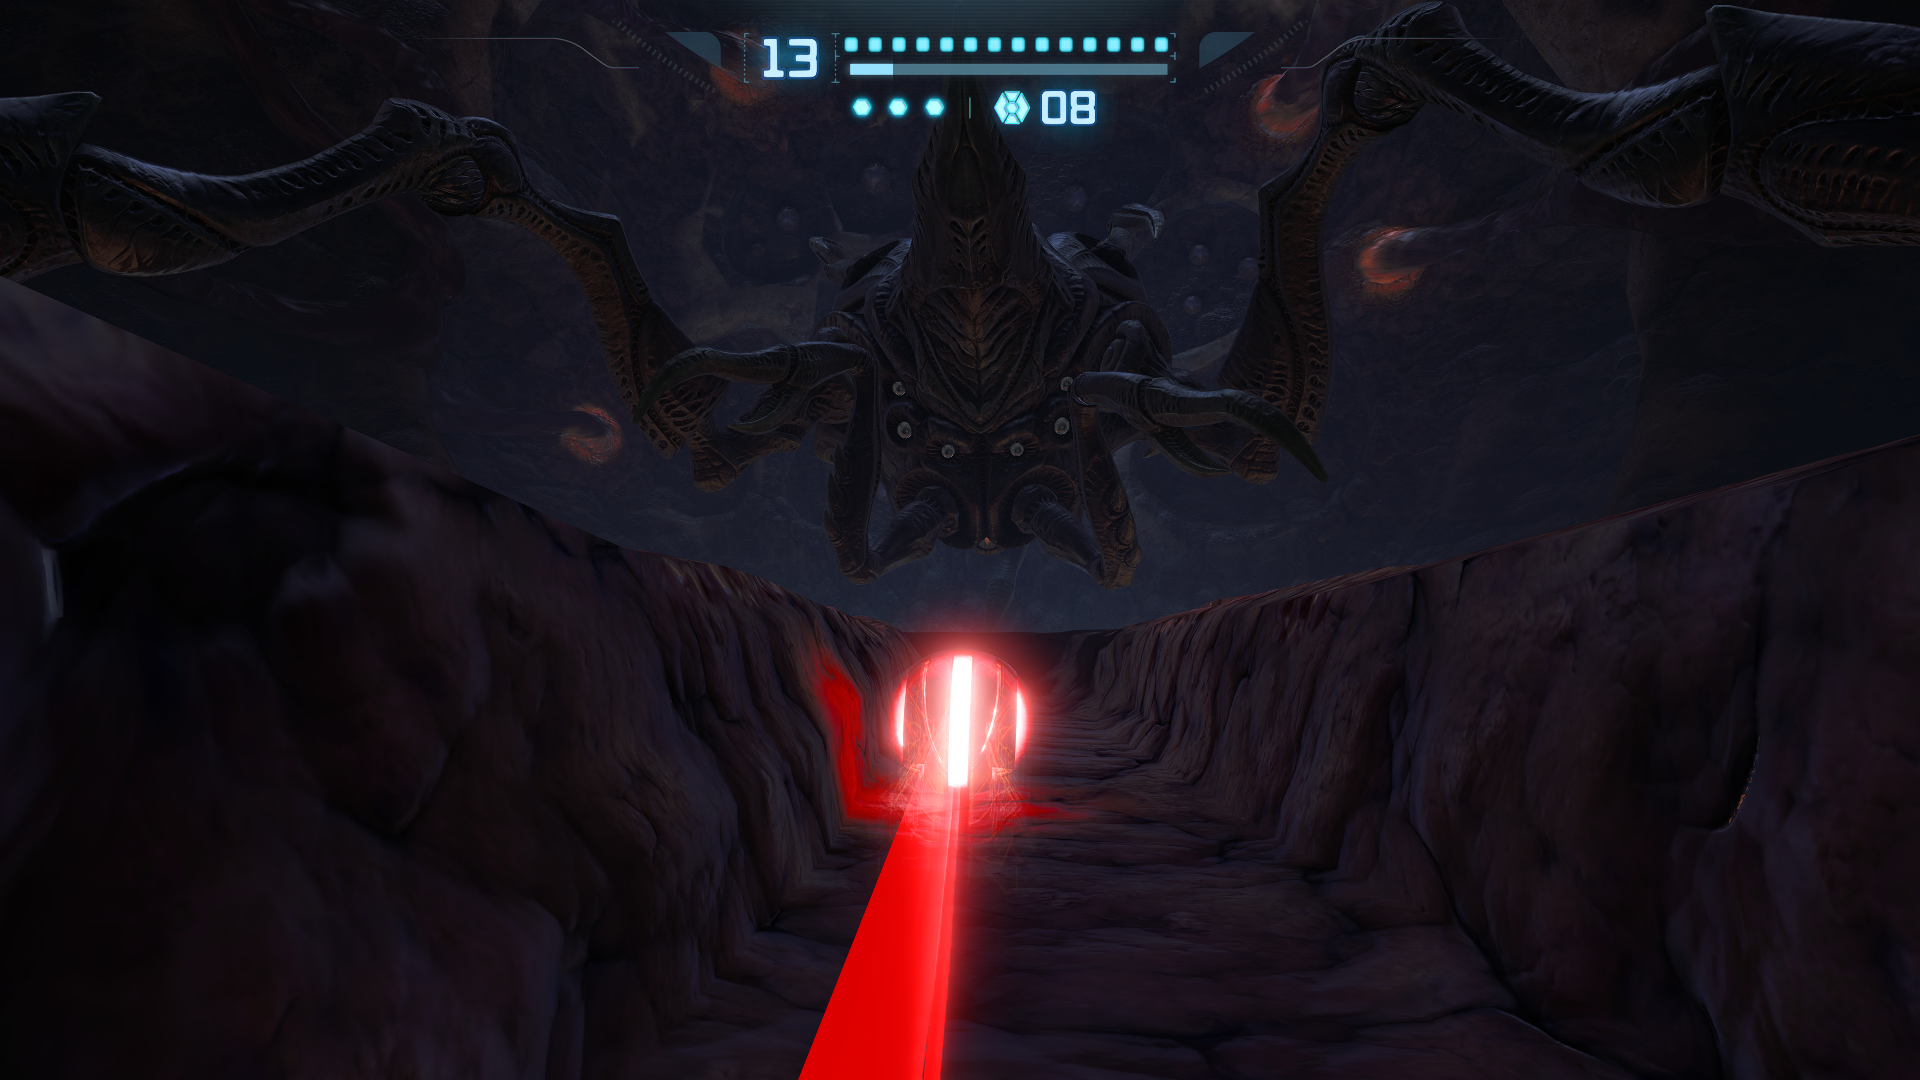
There’s even more attacks in Prime’s arsenal, unfortunately, and the lower on health Prime gets, the more desperate it becomes. Probably the single worst attack that Prime will bust out is its Snare Beam. This will entrap you and pull you towards the head of Prime, with a switch clothesline waiting for you if you don’t escape. Escaping is tough too, since the only way out is to Morph down and use your Boost Ball to get away. This is tricky, but doable. Luckily, Prime uses this attack more sparingly than others.
Metroid Prime hits devastatingly hard, but keep moving and strafing. As its health lowers, Prime will become more sporadic with how often it changes color and how soon it lunges from side to side. Remember, missiles are worthless after this fight, so let the Super Missiles fly, and don’t be afraid to use the Wavebuster and Ice Spreader too (I’ve found the Flamethrower isn’t very effective).
Continue to avoid its attacks and just keep hammering it with everything that you’ve got, and eventually, you will send Metroid Prime to the depths of Tallon IV. Don’t get too comfortable yet, though – this fight is far from over.
Metroid Prime (Core)
Scans in This Section
Creatures: Metroid Prime (Core) *missable*
Finally. The final battle.
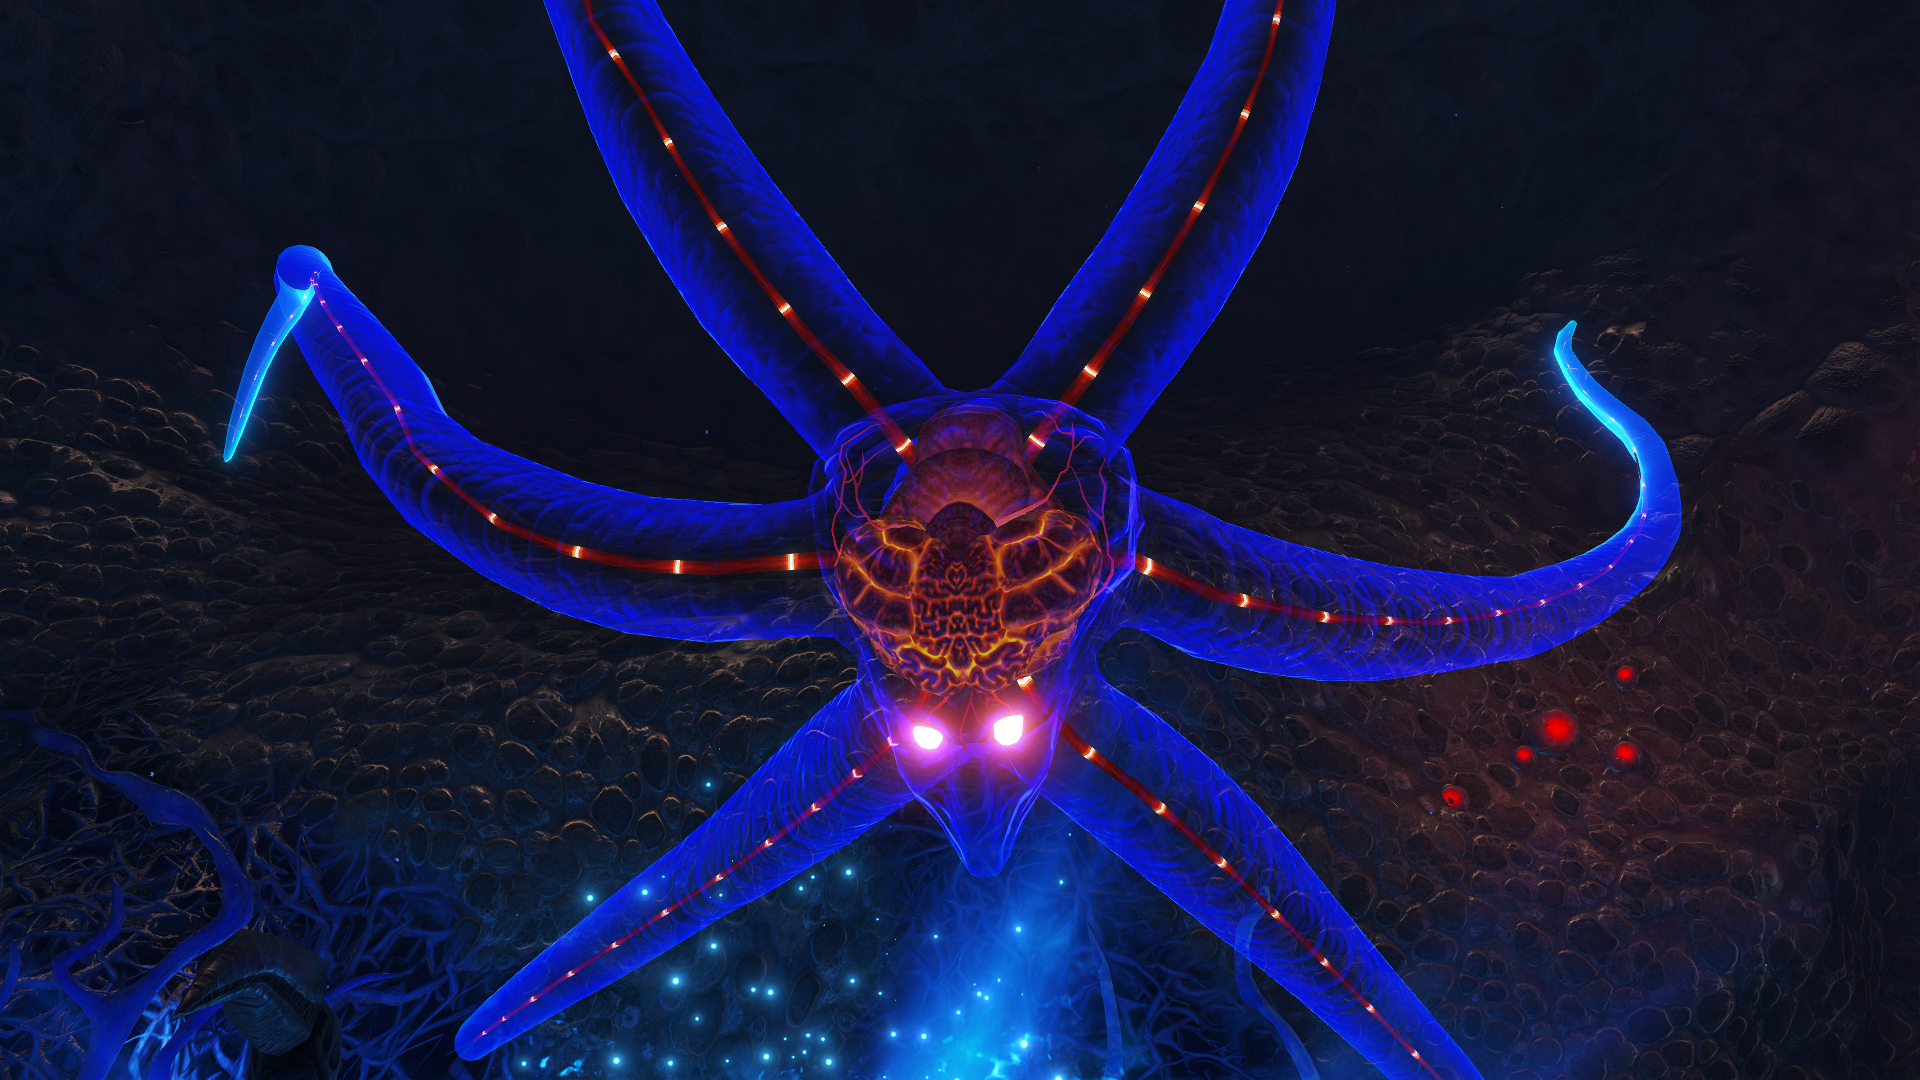
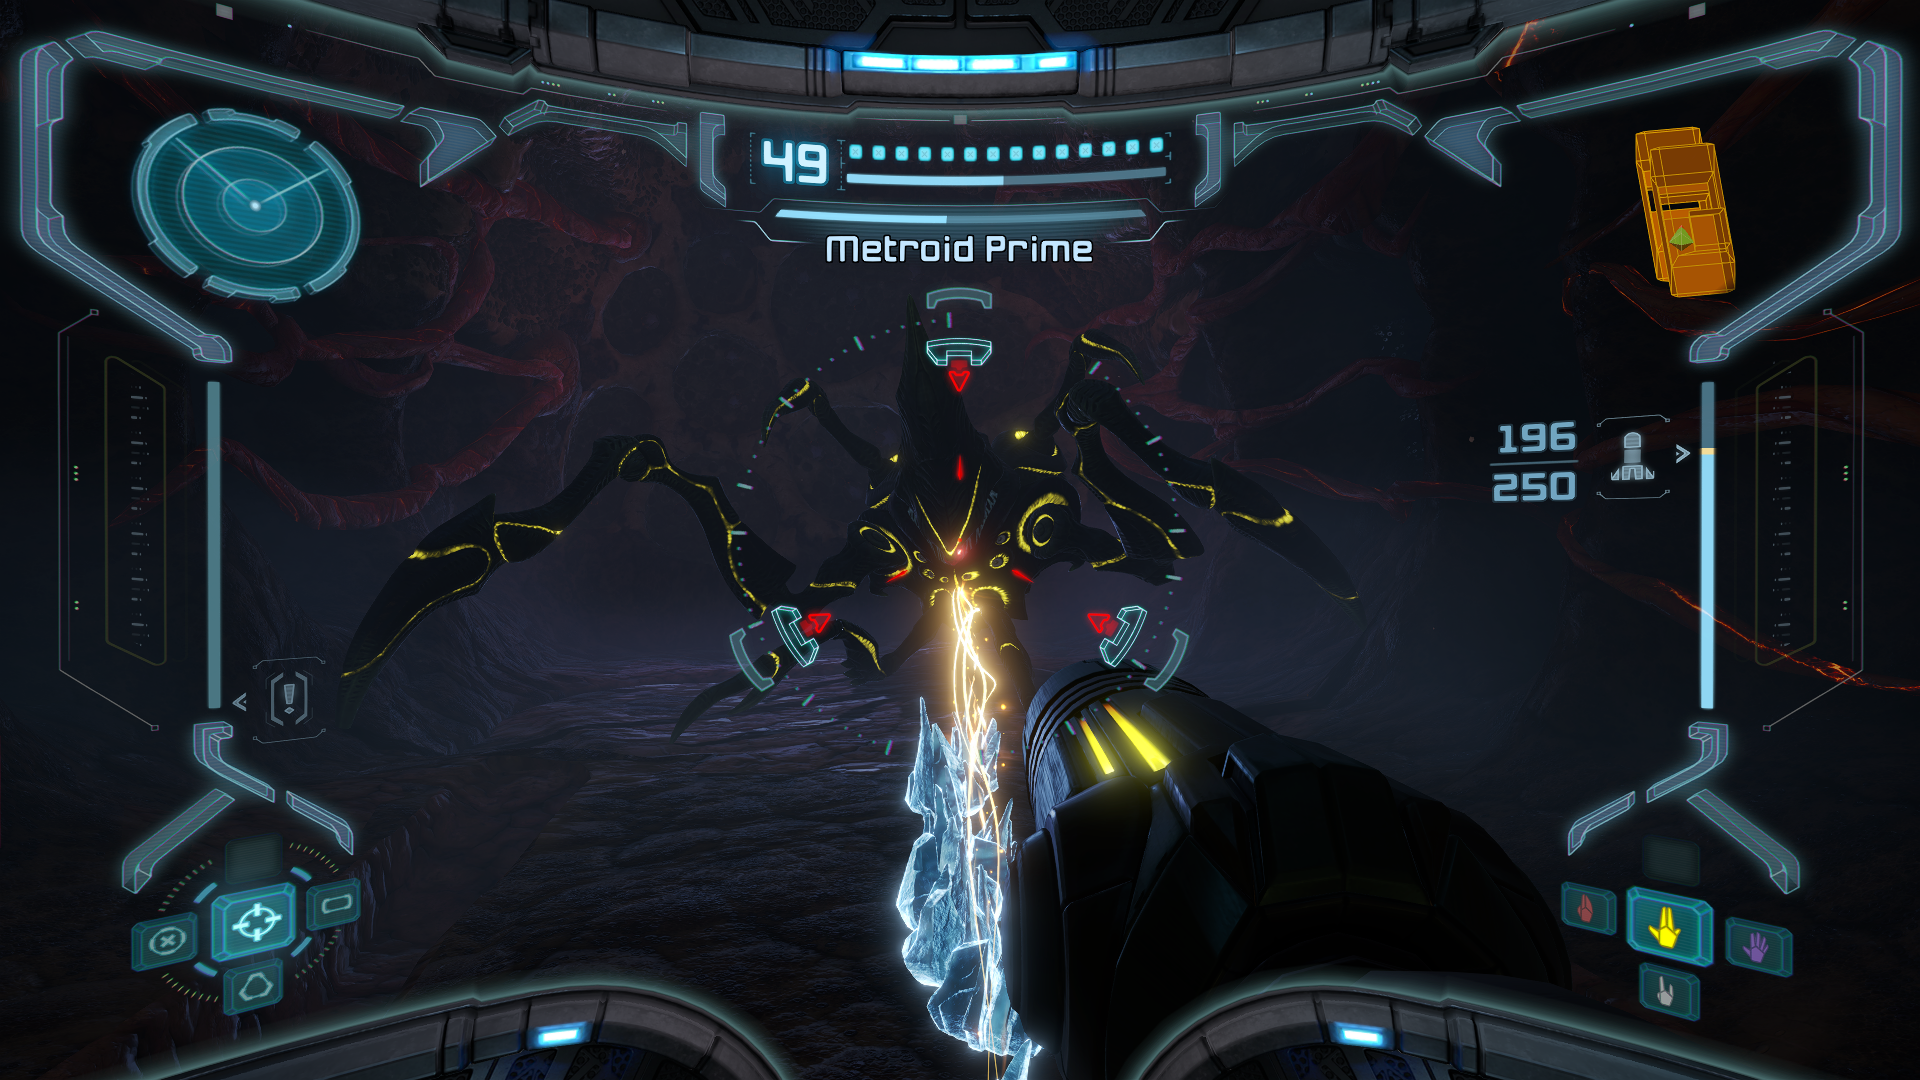
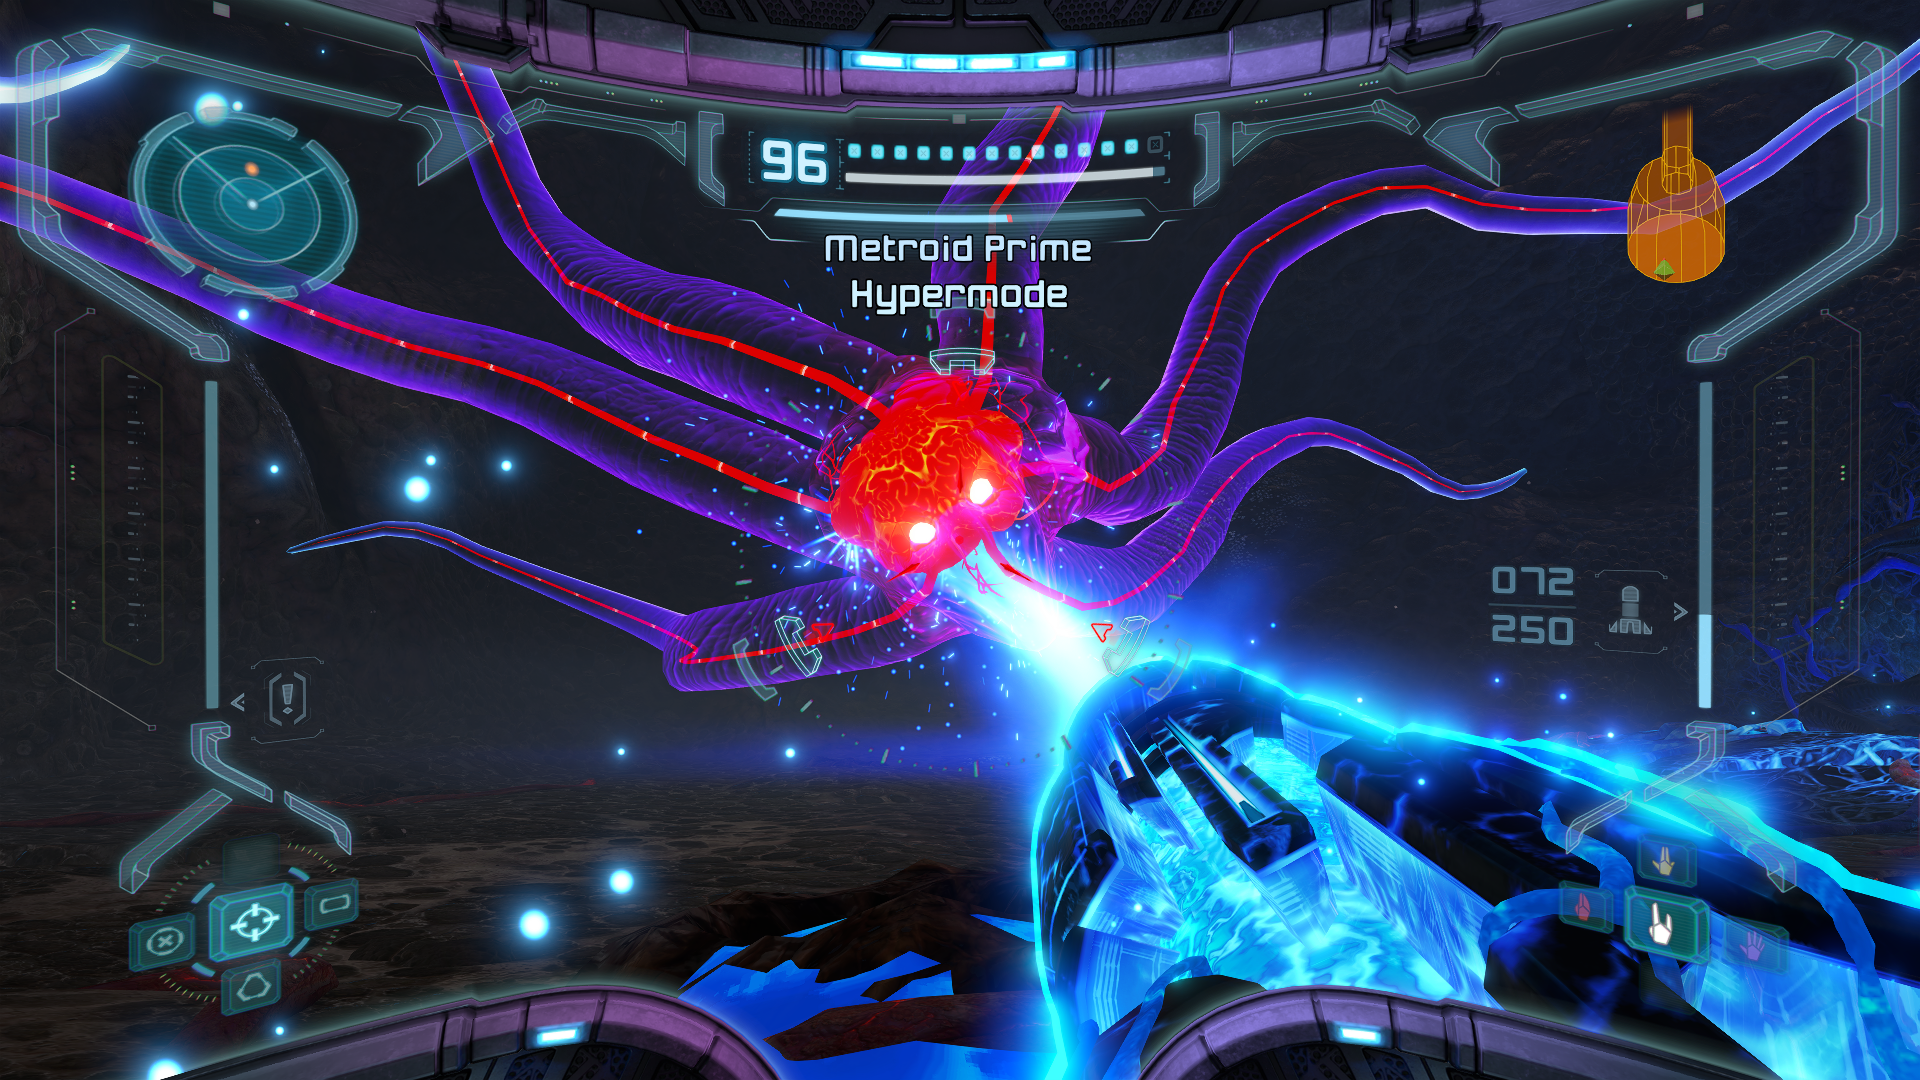
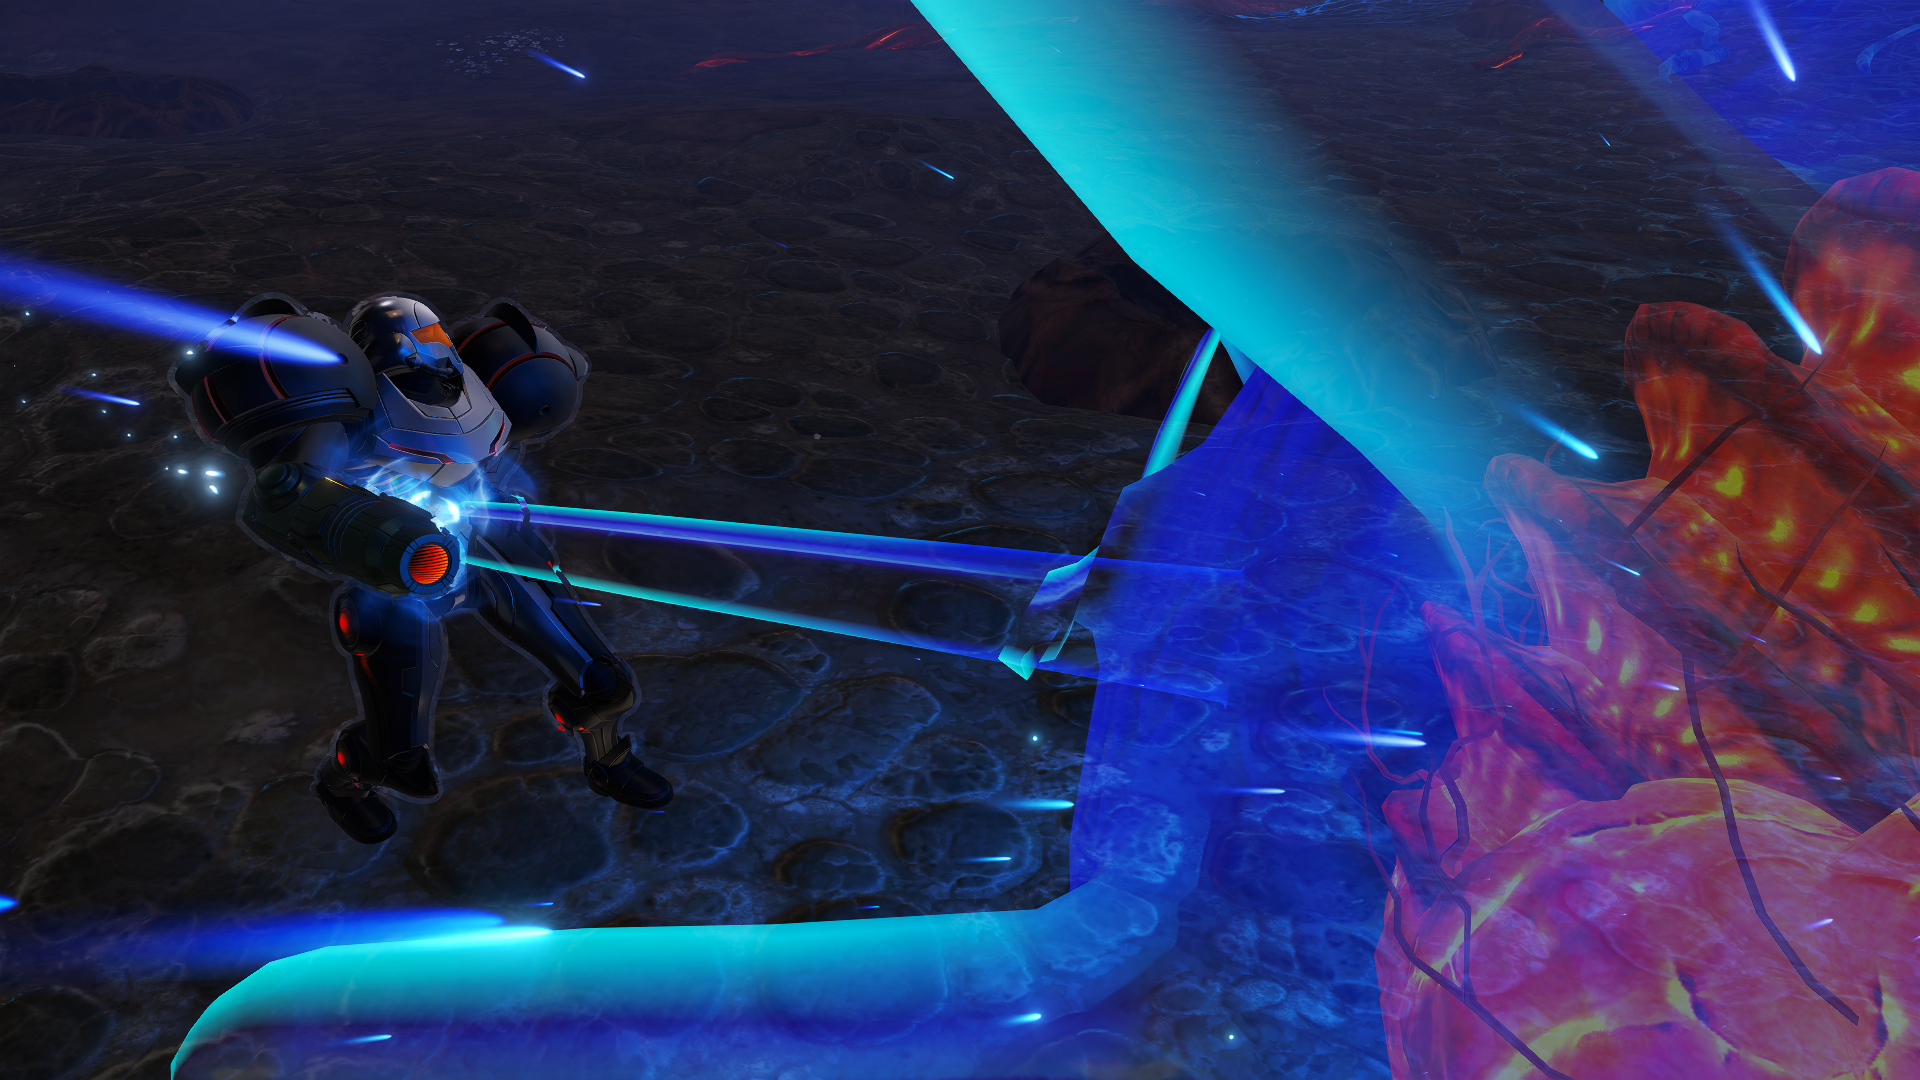
Emerging from the destroyed husk of Metroid Prime is a new evil – the core essence of Metroid Prime. This entity is entirely made up of pure Phazon, so don’t worry about using your beams or missiles to do damage – they’re no use here anymore. The only thing that can kill this monstrosity is Phazon itself.
Before we do anything, make sure to scan METROID PRIME (CORE), the final creature entry needed to 100% your logbook! This battle is actually not as tough as the first phase in my humble opinion, but that doesn’t mean we shouldn’t proceed with caution.
The Core really only has one offensive attack, which is a ground pound shockwave, similar to the Elite and Omega Pirates. This is simple enough to jump over; just don’t get cocky and forget! Similarly to the first phase, it’s good to keep your distance from Prime, since close quarters combat will still have you taking some major lumps.
Jump over a few shockwaves and eventually, Prime will create a pool of Phazon on the ground and disappear. Rush over to that pool of Phazon; when standing on it, you’ll enter Hypermode and be firing off beams of pure Phazon. These beams are the only thing that can damage the Core. Switch to either your Thermal or X-Ray Visor and lock on to Metroid Prime; as soon as you see it, fire and keep holding until.the Phazon runs out! Prime will freely switch its visibility, so keep your fingers on the visor switch and be ready to change visors at a moment’s notice.
Once the Core reaches about 75% health, it will start summoning Metroids when it creates the Phazon pools. It will start off by summoning Tallon Metroids, introducing Hunter Metroids into the mix as more health is drained and bringing in Fission Metroids as well when its health is critical. Use charged Plasma Beam shots for the Tallon Metroids and the Ice Beam + Missile Launcher for Hunter Metroids. When Prime starts summoning Fission Metroids, you can either lay a Power Bomb to destroy them or race to the Phazon pool and use your Hyper Beam to get rid of them. Do not engage in a regular Beam fight with them, as it takes too long and is too distracting.
That’s really all there is to it. Avoid the shockwaves, destroy the Metroids as soon as they appear, and keep attacking the Core with your Hyper Beam. The Core of Metroid Prime will be destroyed and you will have officially beaten Metroid Prime the game. Congratulations!
Mission Final
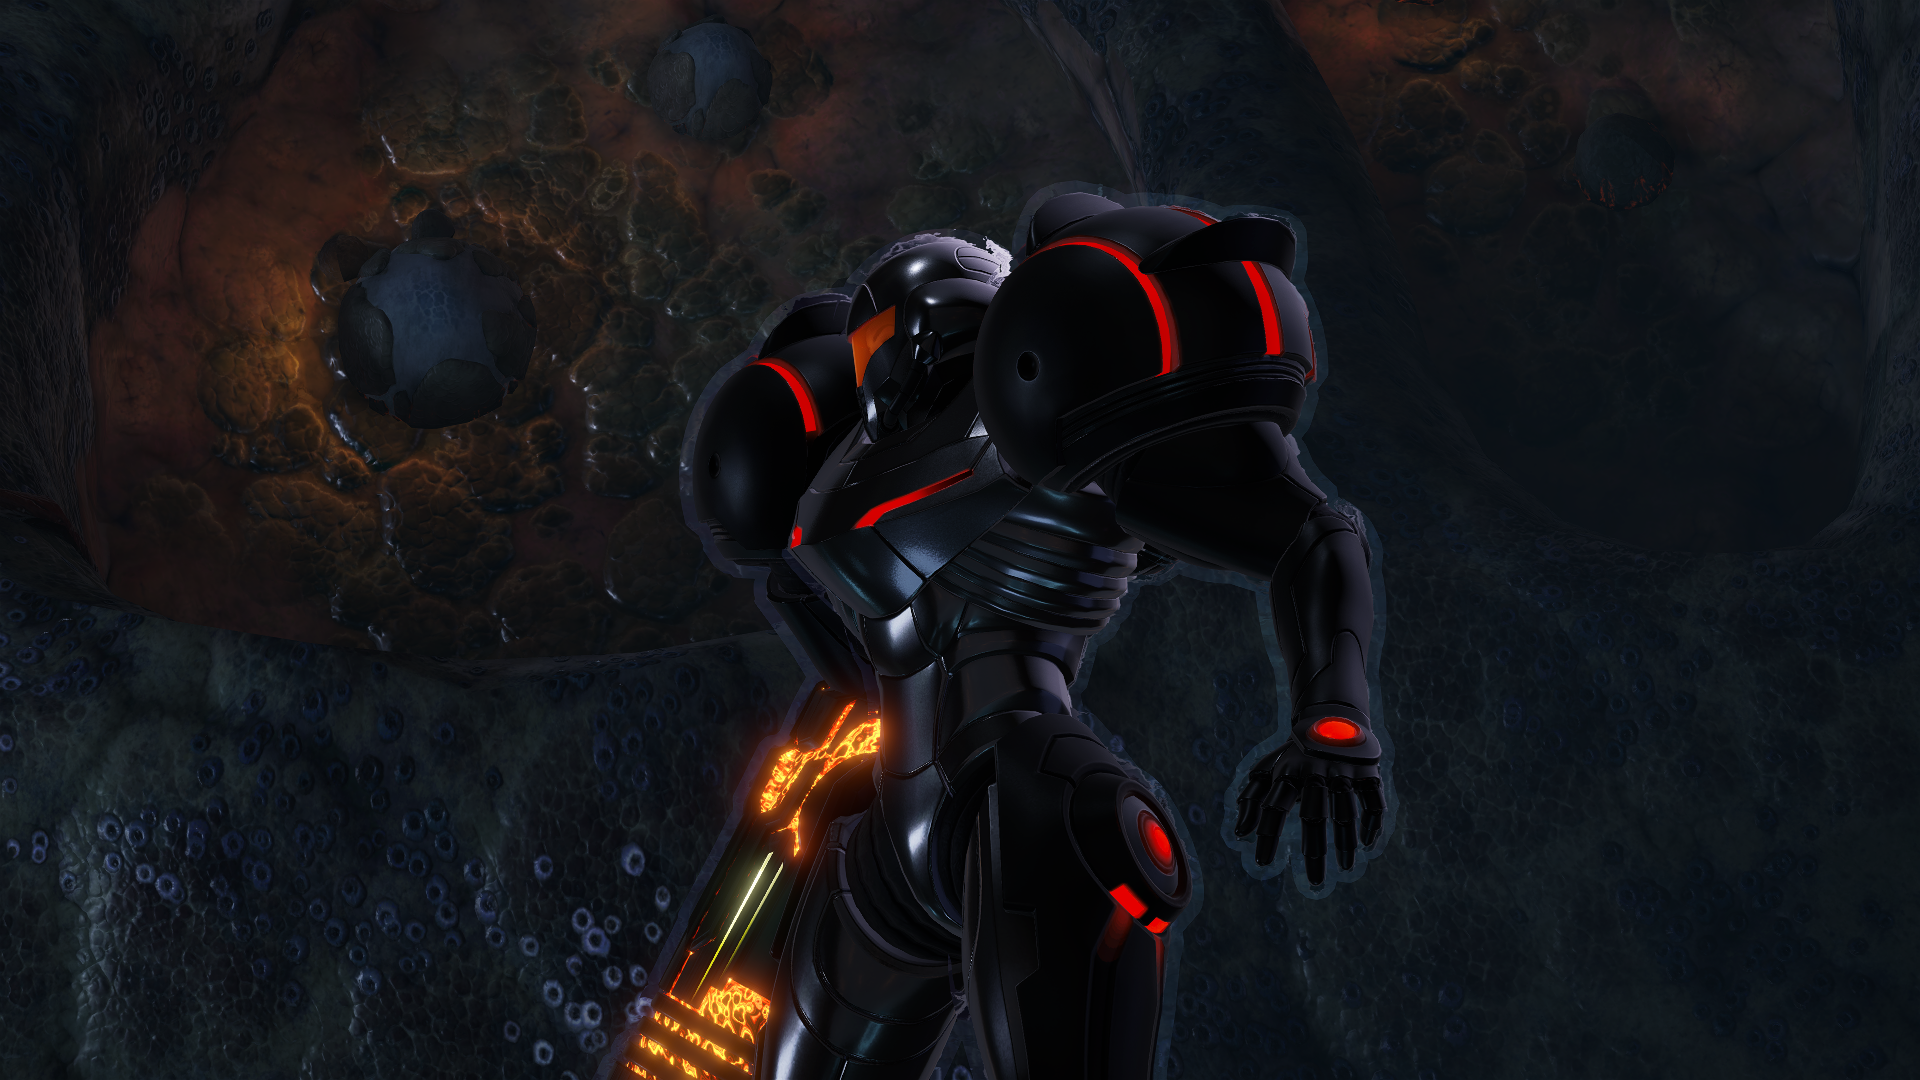
In a last ditch effort during its moment of defeat, Metroid Prime will latch onto Samus and tries to pull her in, as if it wants to consume her. Samus, with all her strength, resists, but while doing so, loses her Phazon Suit to the Core. There isn’t much time to process this, as Metroid Prime begins to seemingly self-destruct after absorbing the suit, causing a collapse of the now weakened Impact Crater.
Samus makes a run for it, calls her ship and makes it in just the nick of time. She looks on at the destruction of the Artifact Temple with a sense of accomplishment, but with a hint of sorrow as she closes her eyes. She had successfully fulfilled the Chozo’s prophecy and carried out the responsibility that they had unknowingly set on her, yet she still couldn’t save them. She was never meant to.
The Hunter looks upon Tallon IV one last time before flying off into the stars above, awaiting her next mission. Meanwhile, deep in the remnants of the Impact Crater… Something sinister is reborn…
Acknowledgements
Doom here! First and foremost I want to thank all of the readers out there who made it all the way through to the end! You’re the reason why we make these guides in the first place.
By extension I want to thank all of the staff who’ve contributed to the various iterations of this masterpiece for over 20 years now. This includes those at Nintendo, Retro Studios, Iron Galaxy Studios, Airship Images Limited, Atomhawk Design, CGBot, Gamesim Inc, Liquid Development, Original Force LTD, Shanghai Mineloader Digital Technology and Zombot Studio. Whether your name appeared in the credits or not, I hope if you’re reading this you know how much I and the Metroid community as a whole appreciate the work you did.
Finally, I want to thank my fellow friends and colleagues at Omega Metroid for setting such a high bar of quality and supporting me along the way. Until next time…
See you next mission!