Metroid Dread Walkthrough – The Depths of Burenia
Walkthrough
The Flash Shift
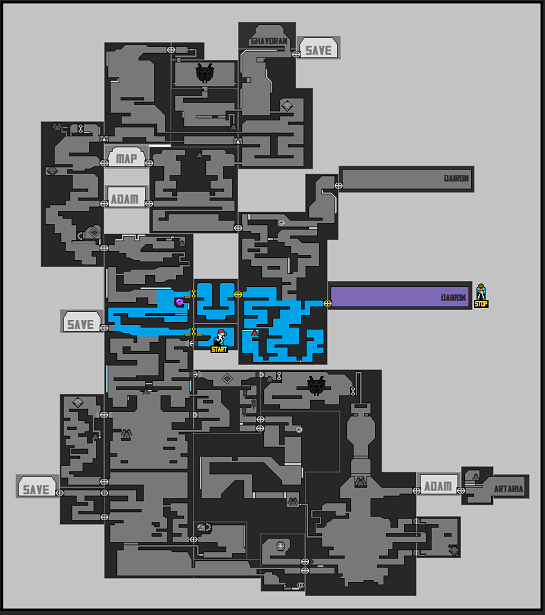
What an absolutely spectacular view. When you arrive, you’ll see a storm brewing in the background, with crashing waves and torrential downpour all around you. Makes you kind of want to curl up with a hot chocolate and watch the storm. Unfortunately, we have a mission to complete, and we’re all out of hot chocolate, so let’s get moving.
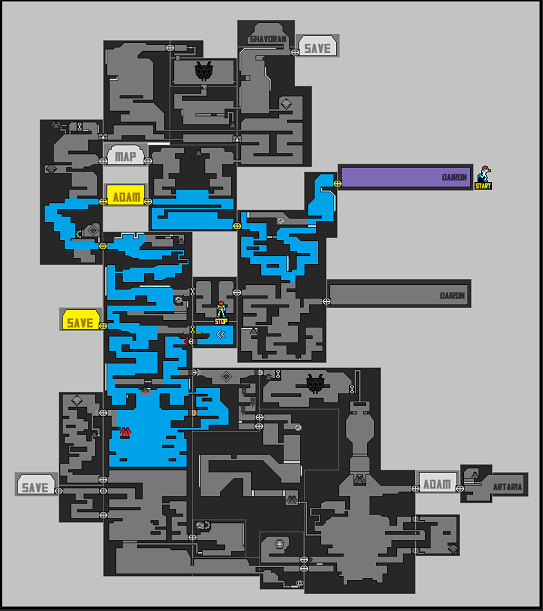
As you might have inferred from the scenery, Burenia is “the water area”. This is a long and narrow area that is largely submerged underwater, and the Gravity Suit won’t be immediately available for a while, so we’ll need to contend with slow movement and altered gravity in addition to everything else. The one positive is that there’s no E.M.M.I. Zone in Burenia, so thank goodness for small favors.
Leave the elevator room and drop down. FYI, these enemies that suck you in and damage you are absolutely everywhere in Burenia, so be on the lookout for them constantly. I can’t remember what their actual name is, so I’ve been calling them Suckers . Slide through and you’ll see an Energy Part. The big fan behind it means we can’t grab it now, so just shoot the floor and drop through. Drop into the water and follow the pathway, slowly jumping and shooting all the Suckers until you roll around and out of the water in front of a door.
Go through and you’ll be in a large, metallic looking room. This is actually a pretty important landmark, so we’ll call this room the Lock Room. Make your way to the left and then jump up to the tunnel and over. There’s a giant lock (go figure) preventing us from going up any further, so for now, just exit to the left.
You’ll be in a Network Station now chatting with Adam. Captain Obvious will tell us that Burenia has a bunch of water before sending us on our way. Head out and continue left. You’ll now be presented with two paths, either up or down. Up is a dead end for now, so instead, drop down, being mindful of all the enemies around you. On your descent, you’ll see a tumor in the wall covering some kind of green switch; this is actually a Storm Missile Block, and you’ll need to hit all 5 switches at the same time to activate the block. We don’t have that yet obviously, but may as well destroy the tumor now. Keep heading down and take the spider tracks on the ceiling towards the door.

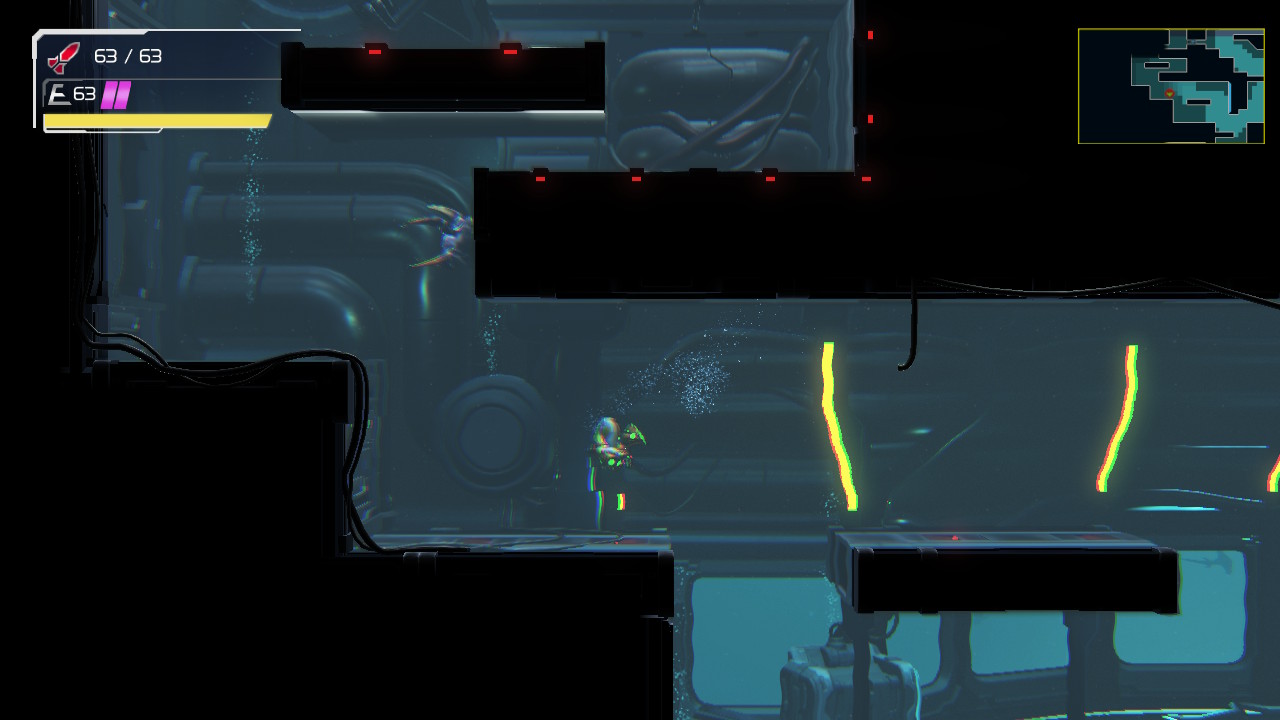
In this next room, jump on the spider tracks on the ceiling and follow them to the platform above the water. You’ll see a Morph Ball tunnel, but before you enter, do two quick jumps, firing off missiles at the apex of your jump, to destroy two blocks blocking your way. Once the two missiles blocks are gone, roll over and grab MISSILE EXPANSION #15. Once you’ve gotten that, jump in the water and continue your descent.
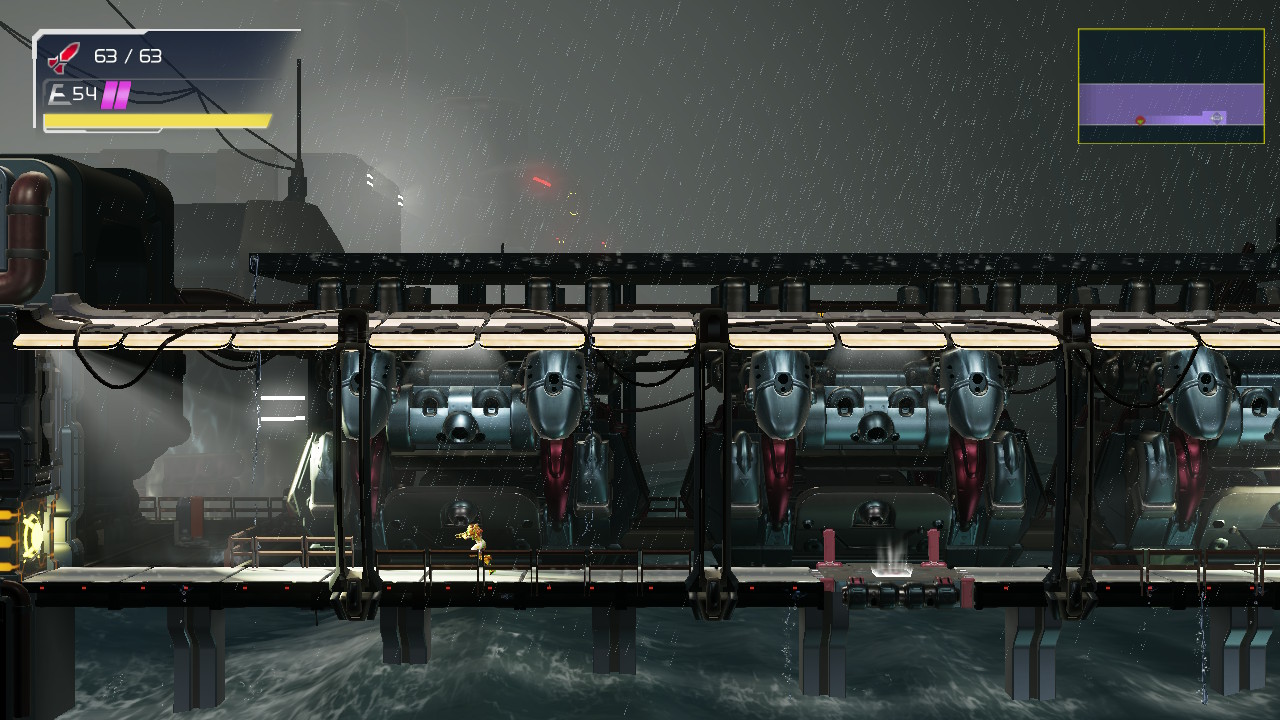
You’ll eventually come to some spider rails; keep dropping down, ignoring the doors and Energy Tank for now. Keep dropping and you’ll see a door on the left hand wall before a slope; this is a Save Station, so go do your thing and continue on. Keep going down, blasting away the Suckers, and get yourself to the ledge that’s right in front of what looks like a big dial in the background. Drop down, going past the submerged spider rail, climb up and STOP! There’s a big drop off after this point, and there’s an expansion here, but you’ll have to angle yourself correctly to get it. Drop and immediately push towards the left as much as you can. You’ll be in water, falling fast, but if you pushed over enough, you’ll land on a small platform housing MISSILE TANK #3. Score!
Just let yourself sink to the bottom of this pit and move over to the right. Climb the platforms as best you can under these submerged circumstances until you get yourself to a small tunnel in the right wall.
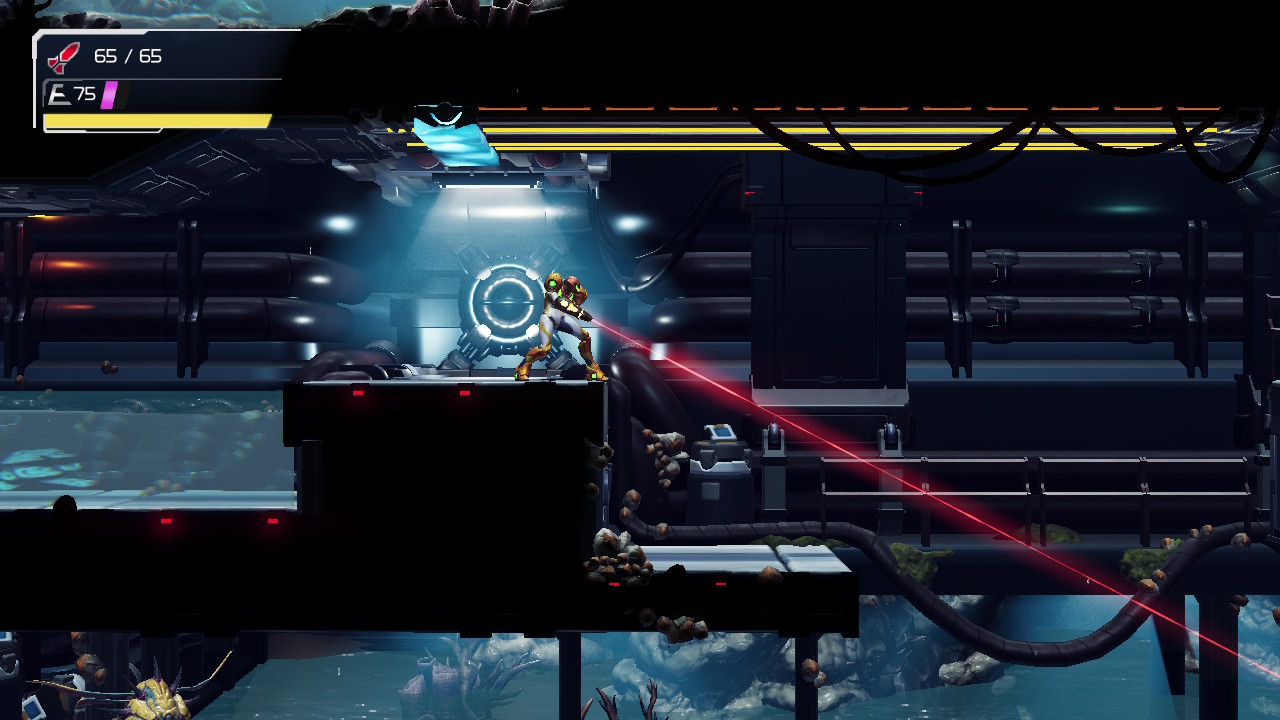
Roll through and make your way up, blasting the inactive door with a charged shot and shooting out the tumor in the wall at the top. Take the spider tracks up and press forward until you see the missile cover on the door. You know what that means! Walk inside this room, and you will be granted with one of the most crucial abilities in the game: the FLASH SHIFT.
Through the Depths
Now that we have our latest Aeion ability, it’s time to leave Burenia and finish our fight with the E.M.M.I. patrolling Dairon. First things first, put that new Flash Shift to work and shift over the shutter blocking you in the room. You’ll be back in the long hallway from before, so start working your way back up. If you want, save your game in the door directly opposite from you.
From the Save Station, jump up and eliminate all the enemies; straight ahead of you, you’ll see that Energy Tank we skipped over earlier. Flash Shift over the pitfall blocks and grab the spider tracks on the wall and use them to grab ENERGY TANK #3! Once you’ve grabbed it, shift over the shutter to your top right and enter the next room.

Make your way through the water and into the next room. This room is kind of neat; when you sink in the water, there will be two tumors on either side of you that you’ll need to destroy in order to let the water level sink. Destroy the one on the right first, and then get ready to act quickly on the tumor to the left. There’s a missile expansion here that the game intends for us to come back with the Grapple Beam in order to get, but if you act very quickly, you can get it now. No worries if you’re unable to pull this off though, it’s quite tricky. Shoot the tumor and immediately jump up! After that, immediately perform a wall jump off the left hand side wall. If you’re quick, you should be able to do this before the water fills up, allowing you to grab MISSILE EXPANSION #16 (Wooooo!).
Now that the water level is lower, climb back up and make your way to the right. There will be a little nook for you to fit in that has a giant tumor above it. Use your Diffusion Beam and blast it away, revealing a pathway that leads you to an elevator room. Hop on the tram and ride back to Dairon…