


Metroid II: Return of Samus Walkthrough: The Finale – Queen Metroid
Walkthrough
- A Few Things To Know Before Starting
- The Ruins – Alpha Metroids
- The Waterworks – Gamma Metroids
- The Complex – Gamma Metroids
- The Tower – Zeta Metroids
- The Tunnels – Omega Metroids
- The Finale – Queen Metroid
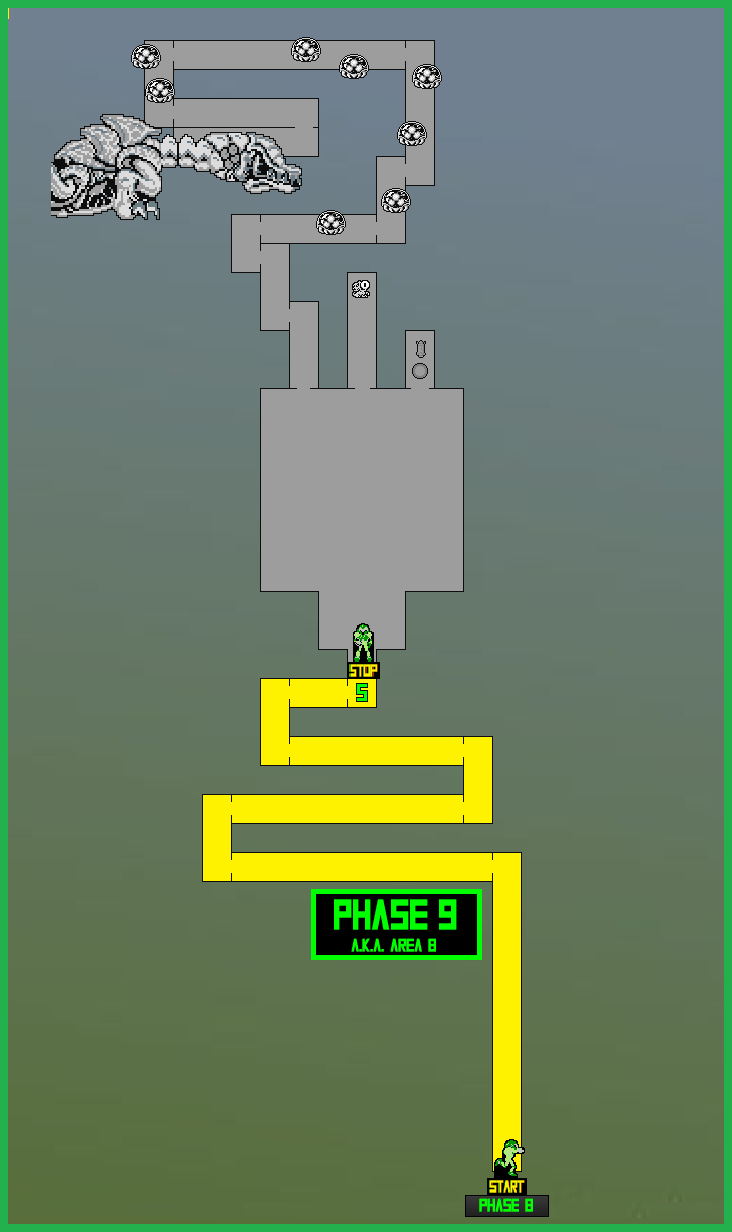
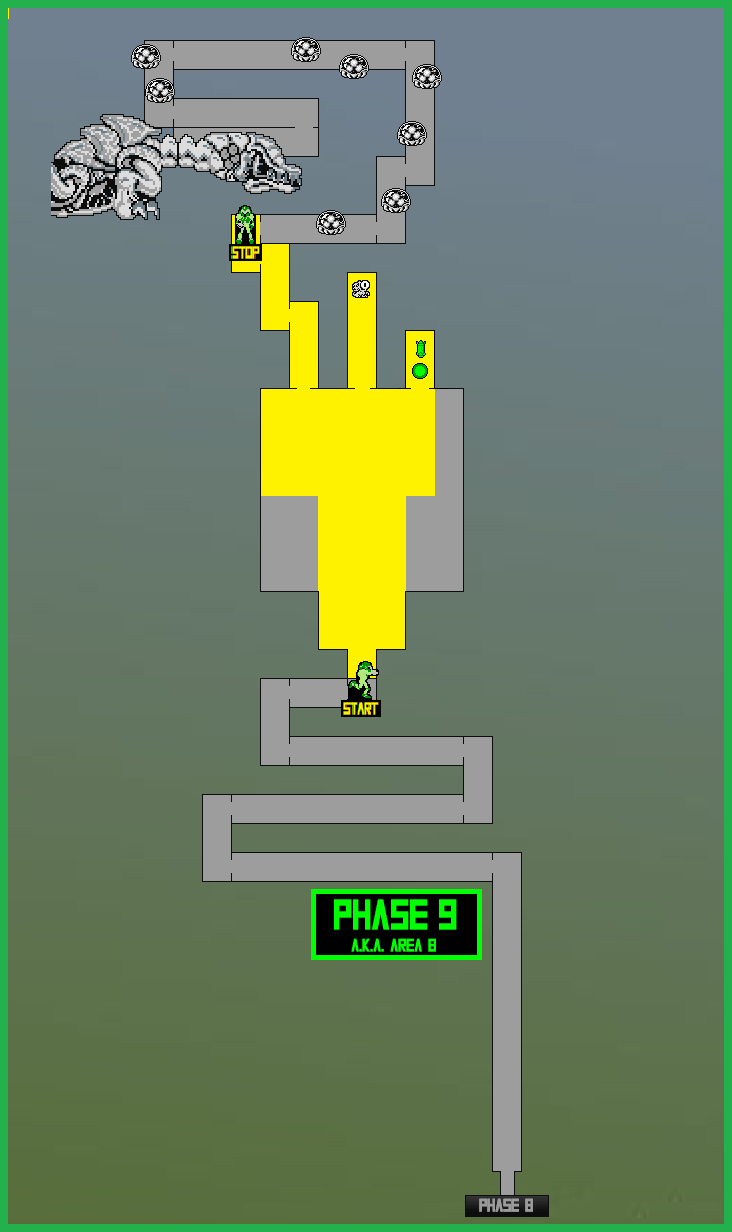
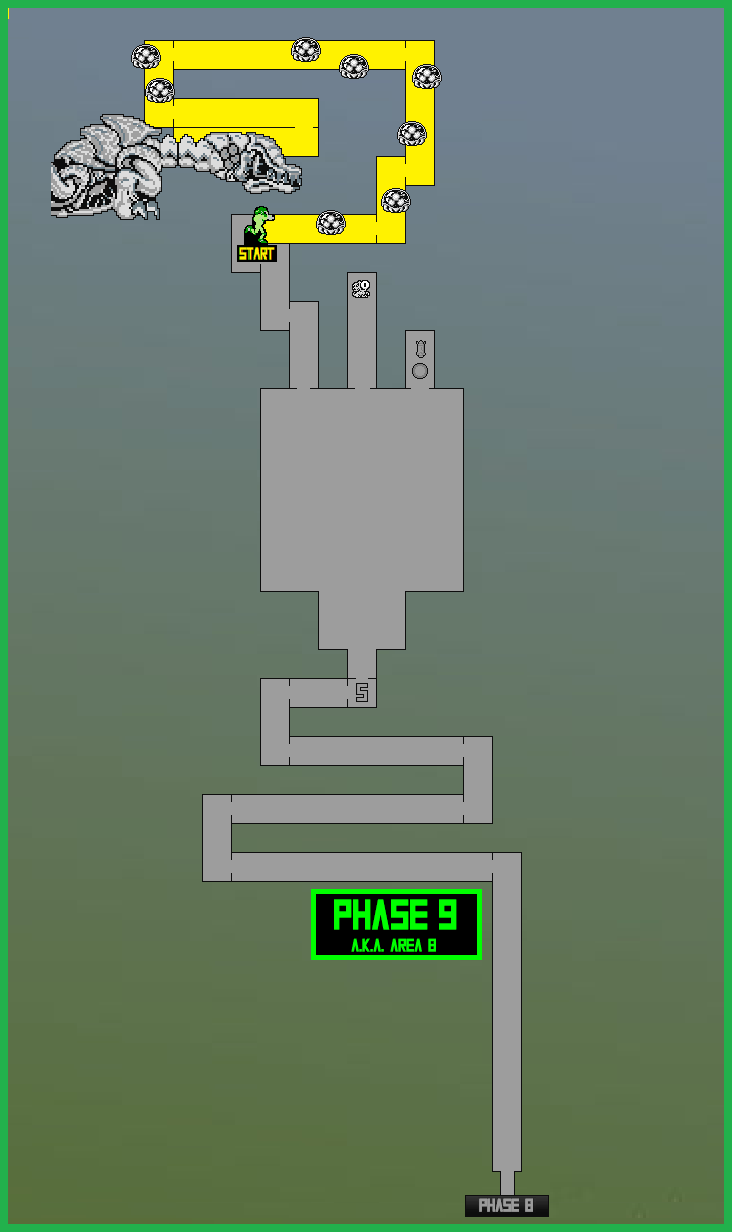
Phase Nine
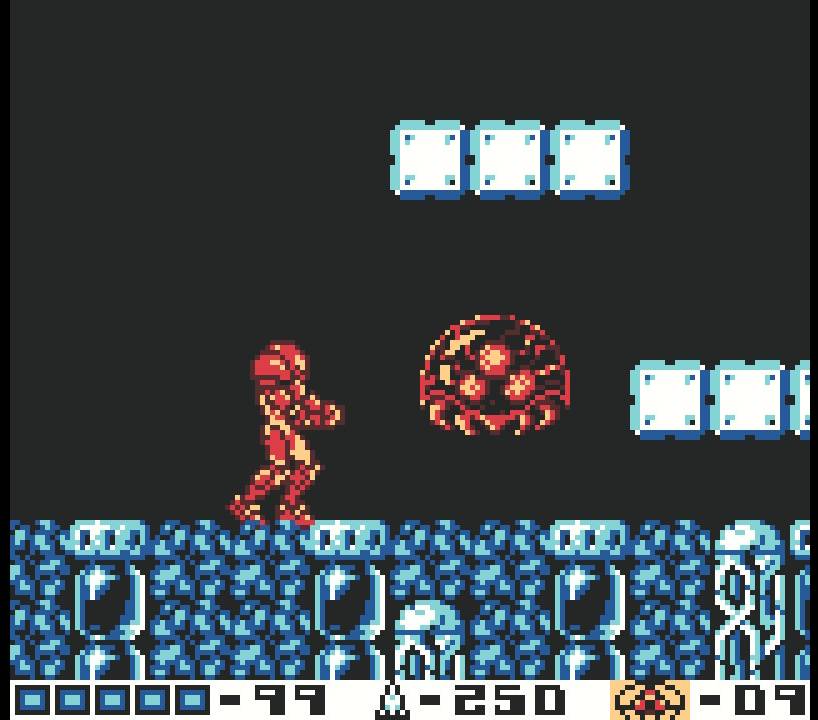
Your journey on SR388 is almost at an end, with a singular Metroid remaining. We need to venture into the heart of the Metroid Nest on the planet to completely eliminate the Metroid threat, which is going to be surprisingly barren in terms of enemies and lifeforms. Indeed, Phase Nine is basically empty – maybe implying the Metroids wiped out anything else that breathes there? Either way, that’s where we need to go.
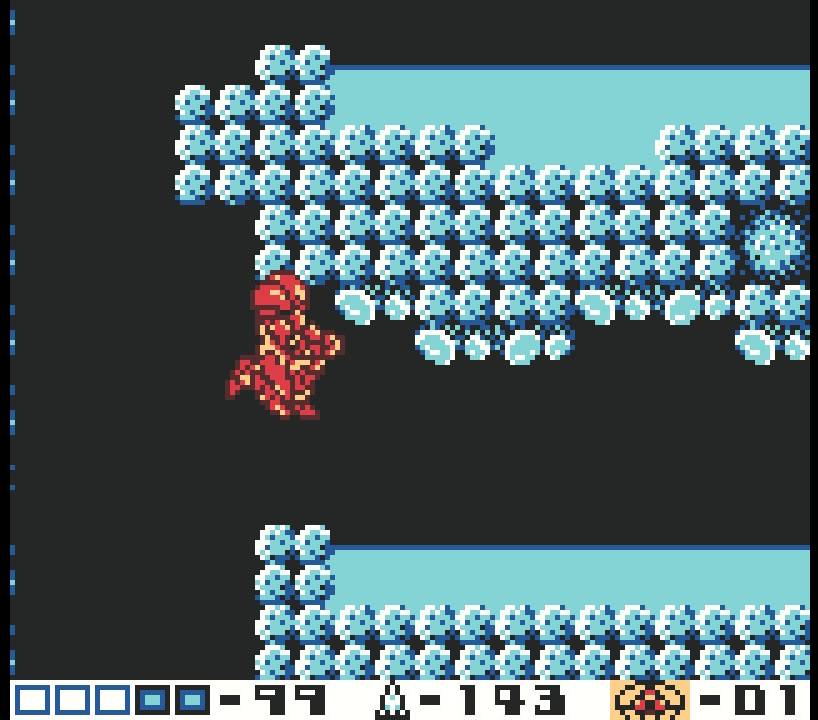
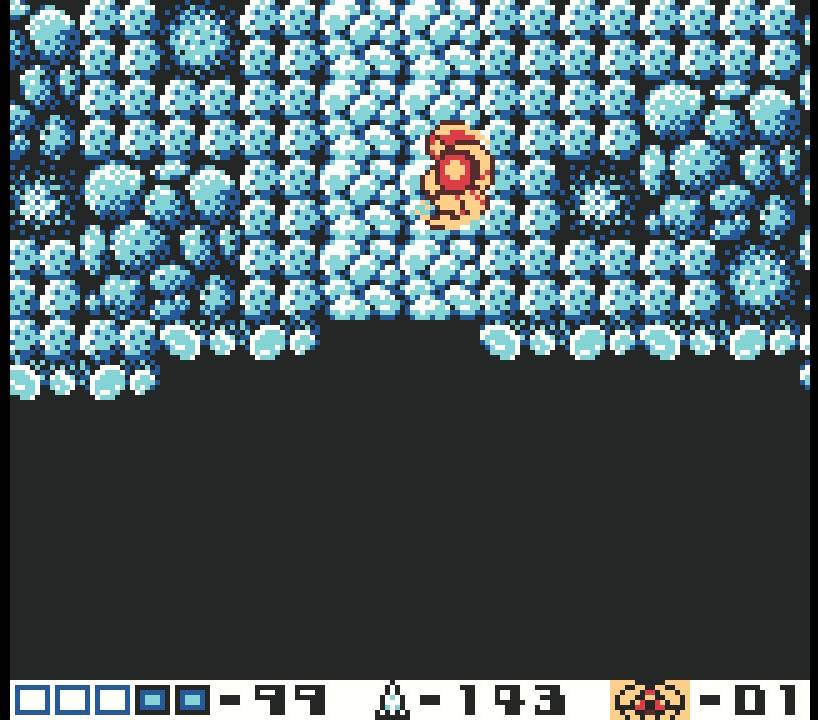
When you’re ready, jump into the pit. Fall down a bit and follow the pathway for a long while. There’s only one way forward and the path is narrow, so keep going. Eventually, you’ll come across some pools of liquid (it looks like water, but who knows!) that will slow you down if you jump inside. Try to avoid the pools of liquid as you continue your march. Also worth noting that some of those pools will actually have you fall through the bottom into a lower tunnel or platform, so stay sharp.
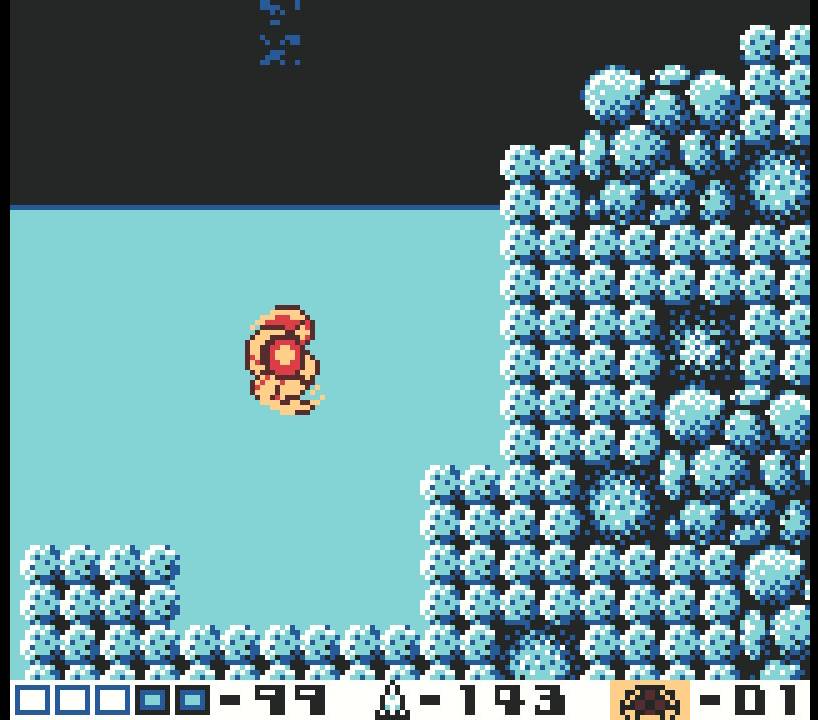
Keep following the path until eventually you hit a Save Station. This is your final chance to save, so use it and Space Jump towards the ceiling when you’re finished. You’ll come up through some liquid, so just keep jumping until you get out and are able to land on a solid surface.
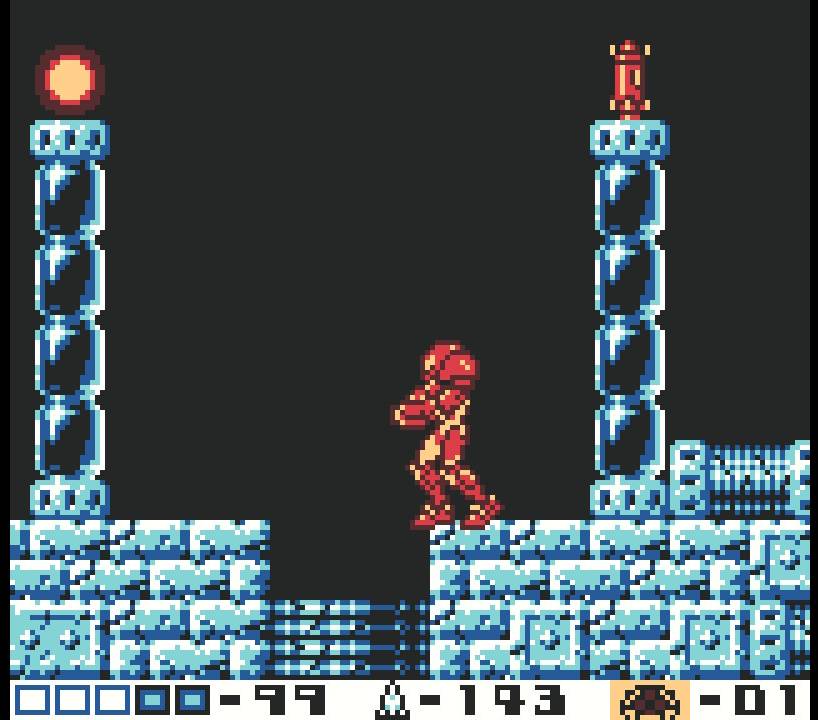
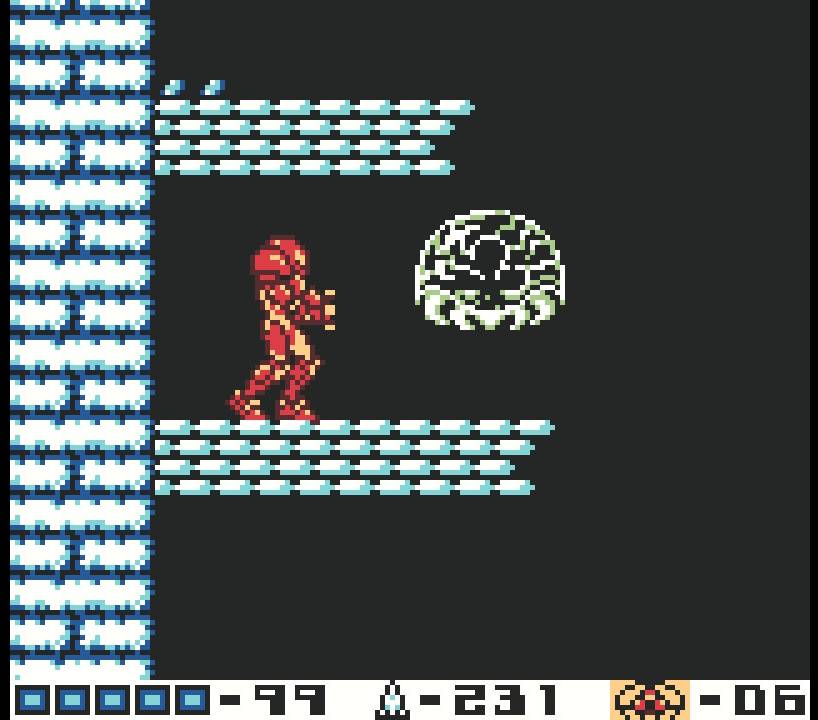
When you touch down, take a look around. You’ll be in a massive, empty cavern (probably the biggest room in the game) that is directly below the Metroid Nest. There are a few things we need to do before moving on. In the very top of the cavern, in the ceiling, are three passageways: one on the left, one on the right, one in the middle.
Start off by Space Jumping to the passageway on the right side of the ceiling. Make your way up and you’ll see what I’m sure are much needed Energy and Missile Refills. Chances are good you were left pretty decimated from the Omega Metroid encounters, so heal up. Once that’s done, exit and Space Jump to the second opening in the middle.
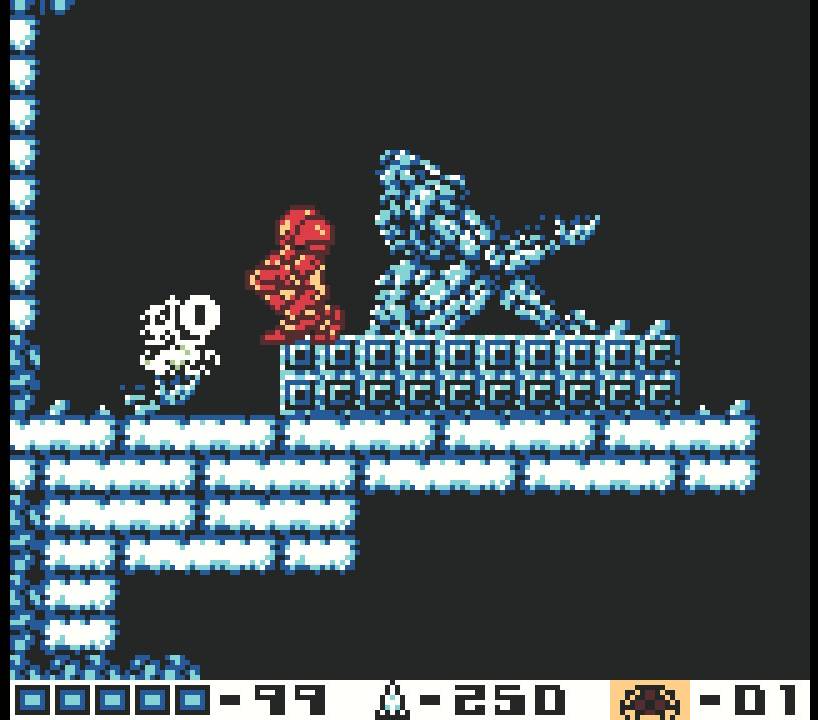
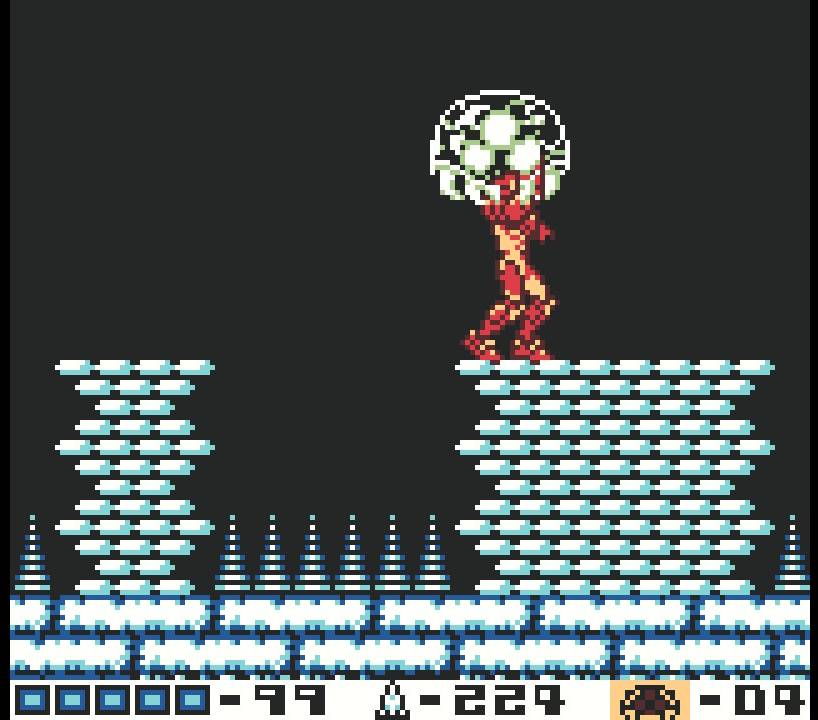
Once you land, you’ll be able to see a bunch of test tubes in the wall, which is pretty creepy. It’s not hard to imagine the so-called benevolent Chozo species doing all sorts of weird experiments here, including the one that birthed the very species we’ve been eradicating this whole game. Either way, jump upwards and you’ll enter a new room with a broken Chozo Statue. The arm is still holding an orb, so shoot it open to get the ICE BEAM. You will need this beam to finish the game, so make sure you grab it!
Make your way back down and Space Jump to the ceiling passageway on the left side. This next part is the final sequence before the ultimate showdown, so make sure there are no loose ends or anything else left that you need to do. When you’re ready, step inside the door at the top.
Phase Nine Route:
The Inner Sanctum
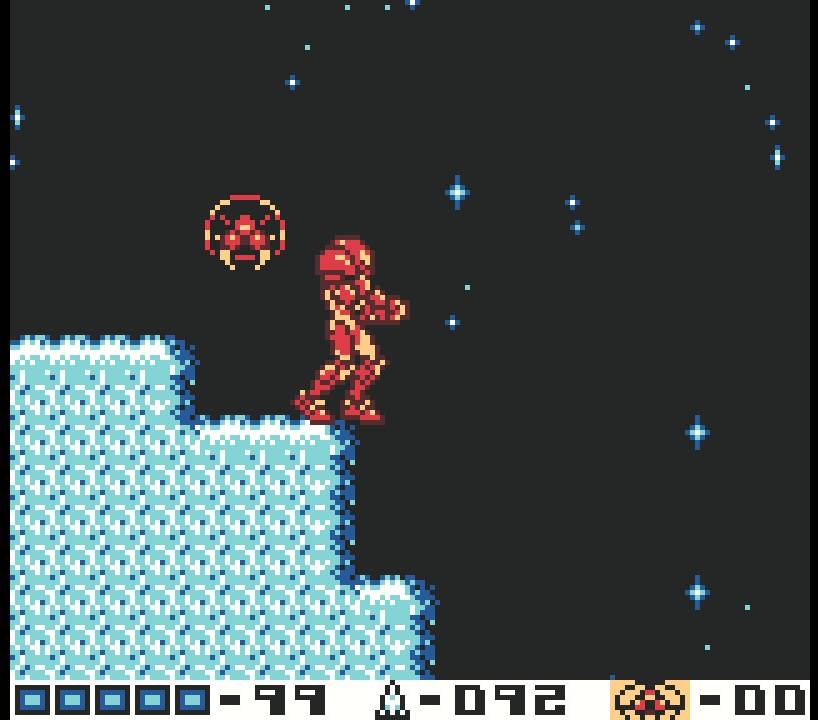
Take a moment and just let the creepy music sink in; the end isn’t far. Step inside the new room and jump up, going platform to platform until you go through an entrance in the ceiling. You’ll actually want to morph down and use the Spring Ball to jump up, as there’s a small tunnel you’ll need to fit through that’s right underneath… an egg??
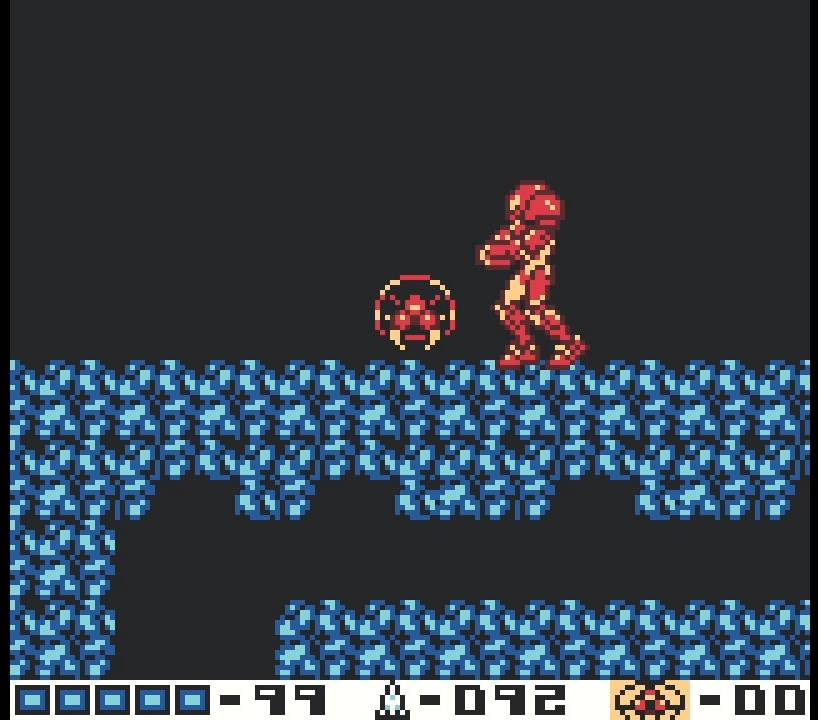
No sooner will you start to roll under the egg when all of a sudden, your Metroid count will go from one to nine. There’s no choice but to keep going, so continue through the tunnel until you pop out on the other side, falling down a pit. Be ready, because you’re in danger of a Metroid attack. Walk forward a bit and one standard Metroid will start to fly towards you. I don’t need to tell you the damage it will inflict if it grabs a hold of you, so hit it with the Ice Beam, and while it’s frozen, pump it with five missiles to destroy it. If you do get caught by the Metroid, get into Morph Ball form, roll back and forth and lay bombs to shake it off.
Proceed to the next room. There is one Metroid lurking here, and will be waiting underneath the entrance platform for you. Lure it out, freeze it, destroy it, and go through the door at the top. This next room has two Metroids – one at the bottom, underneath the entrance platform, and one flying about halfway up the room. Eliminate them and go through the door in the top-left.
Be ready to act quickly, as a Metroid will fly at you almost as soon as you walk in. Destroy it and proceed further down this ominous corridor; about halfway through, a second Metroid will attack. Freeze and obliterate the Metroid and continue through the door on the left.
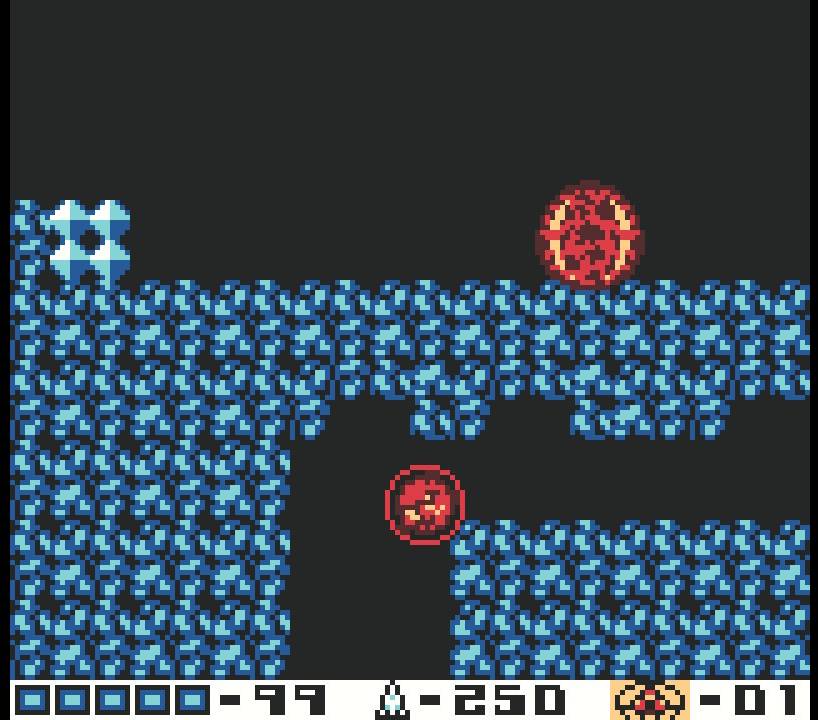
There are two Metroids in this last room: one underneath the entrance platform and one closer to the door on the lower entrance. Once they have been annihilated, you’ll feel a shake – something is not happy. Proceed through the bottom doorway and you’ll be in a room full of spikes and test tubes – something unholy has almost certainly happened in this room. The music will start pulsating, letting you know the end is near.
Make your way to the right side of the room, carefully Space Jumping through the spikes on the ceiling and floor. At the very far side lies a tunnel where you can drop down.
This is it. Let’s finish this!
Inner Sanctum Route:
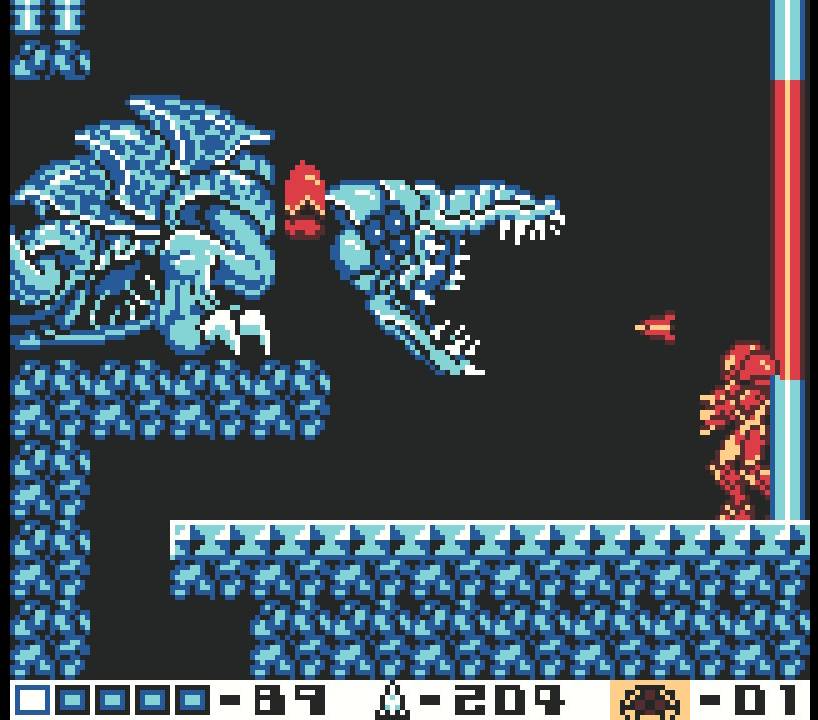
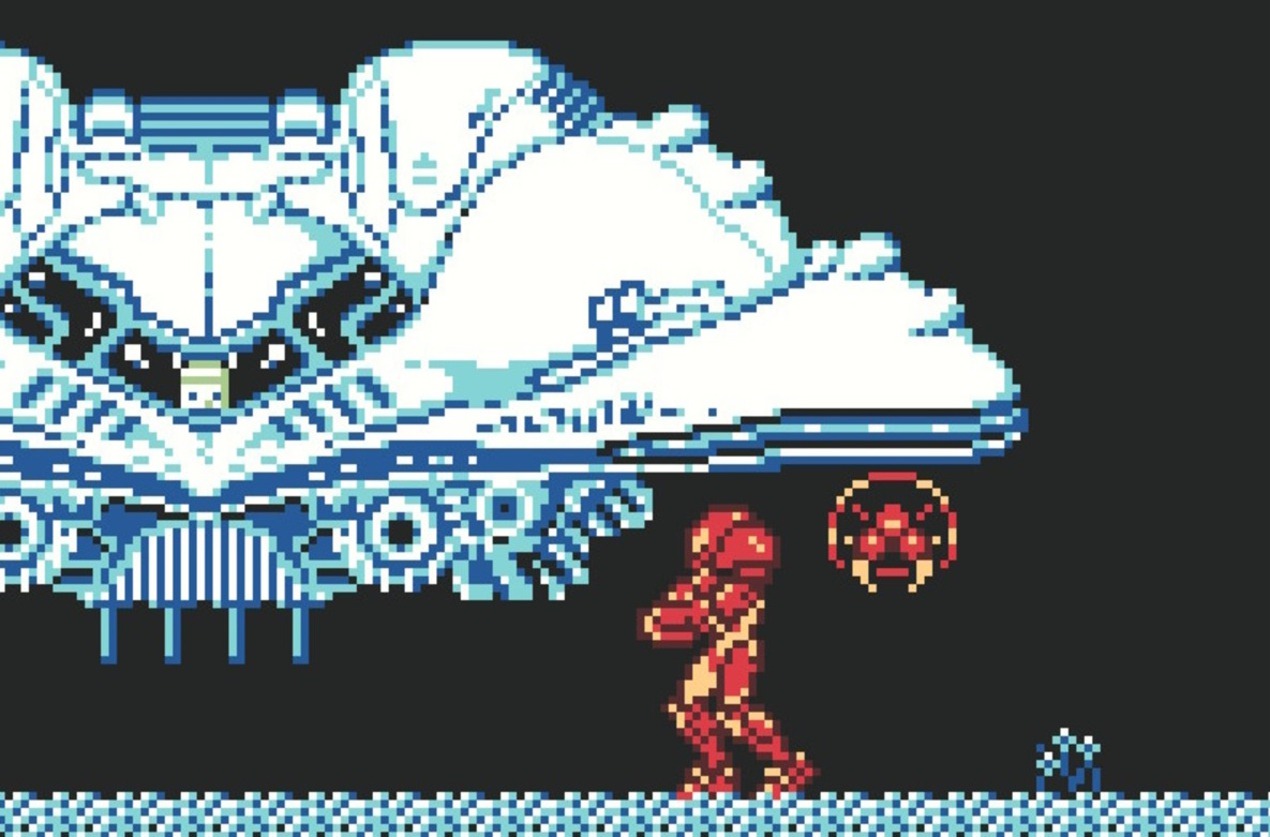
Queen Metroid
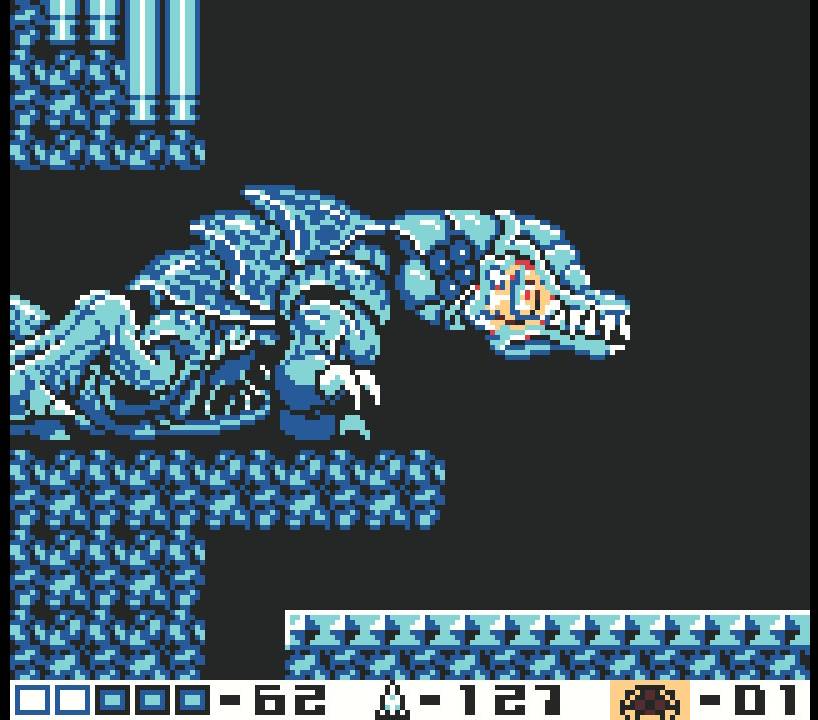
This is it! The fight for all of the marbles! Samus versus the desperate Metroid Queen, the last known living Metroid! Your mission is almost done, but putting down this final nemesis will be, by far, our toughest challenge yet!
The Queen Metroid is a hulking, almost dinosaur-like creature with a long, flexible neck and a nasty bite. The good news is that the Queen actually has a fairly limited attack toolbox; the bad news is that the Queen’s defence is on a whole other level. You will need to fire off ONE HUNDRED AND FIFTY missiles directly into the Queen’s mouth in order to destroy it, so buckle up.

(Worth noting before we get into the fight – you’ll notice a small tunnel underneath the Queen; if things get really hairy and you’re looking for a reset, roll into that tunnel and you’ll fall down, landing back in the room with the Ice Beam. Use that to tactically retreat and try again.)
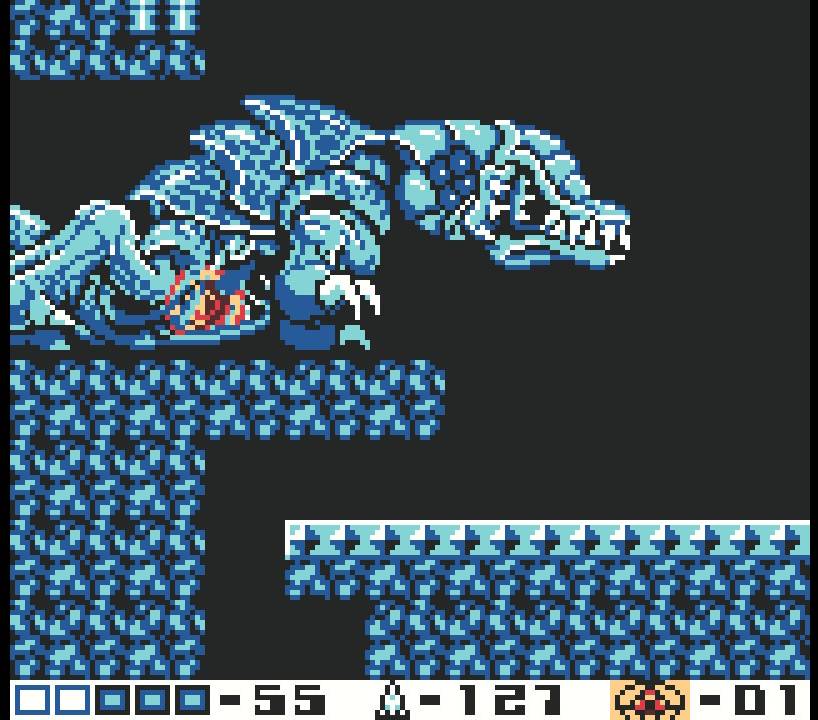
The Queen has two main attacks – the first of which is smashing you with her jaws. She’ll move her head with both her mouth open and her mouth closed, and I think they do about the same amount of damage, so just try and jump over her head. She will always attack twice (and sometimes three times when she gets low on health), so just be ready for the followup swipe after the first. The second attack will follow you, so if you jumped high, she’ll bite you higher in the air, so keep that in mind – a good strategy might be performing a short Space Jump over the first attack to get you to about the halfway mark of the back wall, and then a second, long Space Jump to clear you of the second.

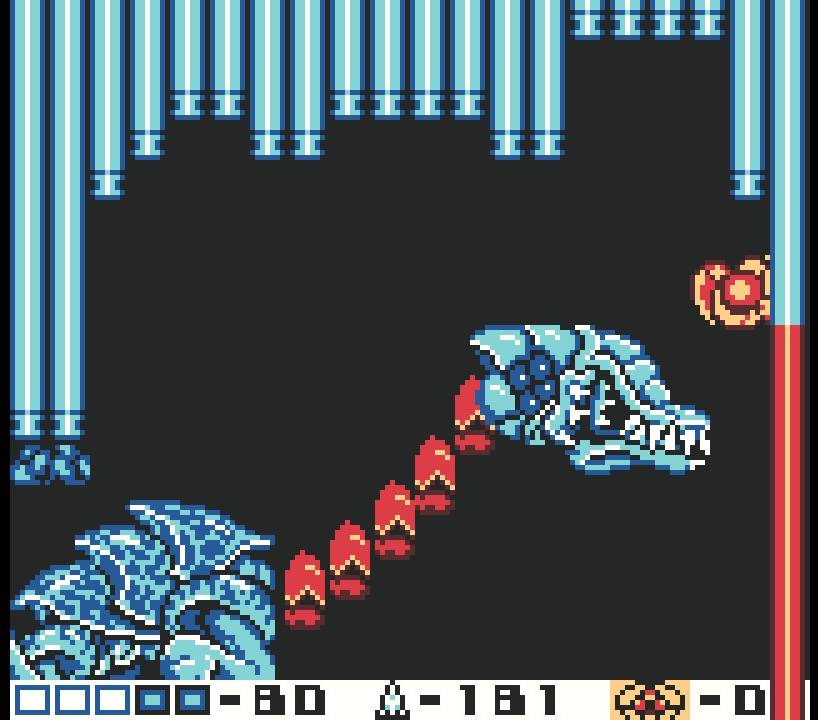
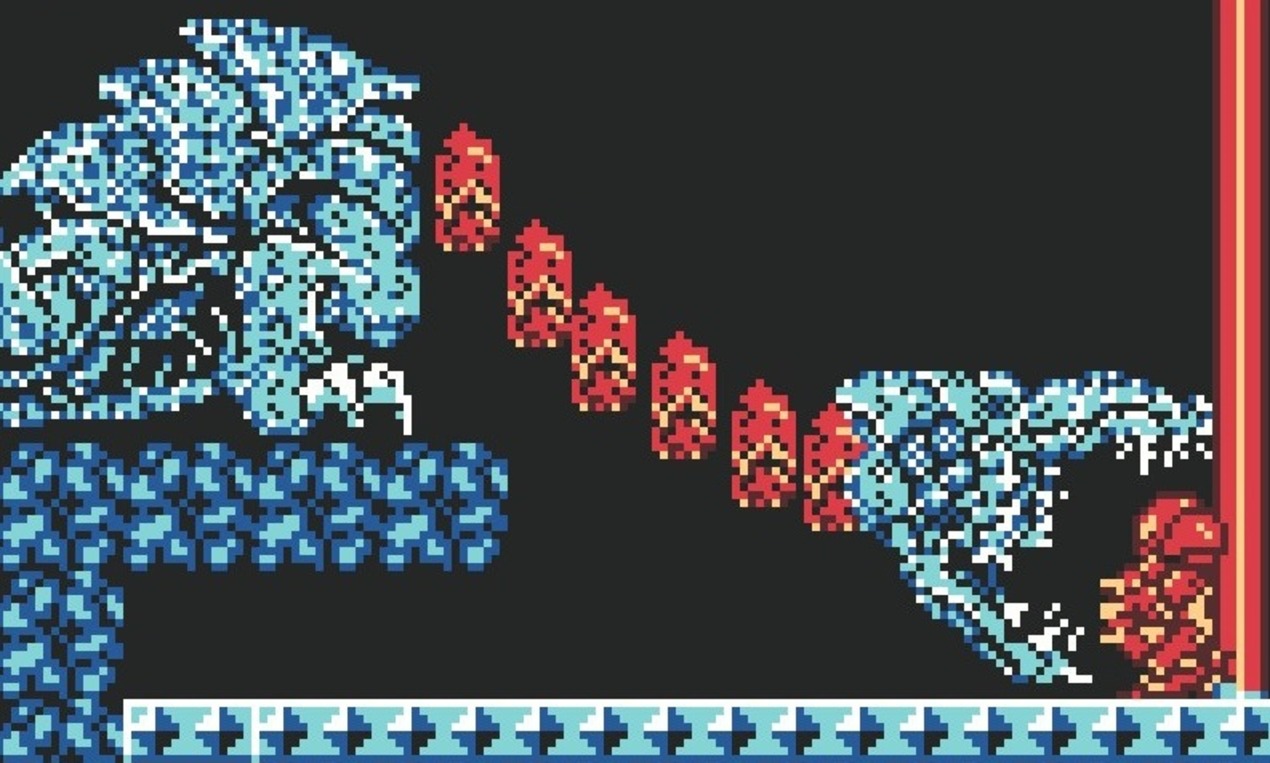
The Queen will almost always follow that up with shooting these three red fireball blobs at you – these can be destroyed with missiles, but a far easier method is to just Screw Attack through them. You won’t destroy them, but they won’t damage you either, so do this and they’ll fly off screen, leaving you no worse for wear.
You’ll want to fire missiles into the Queen’s mouth to damage it, but with the amount of missiles needed to destroy her and the amount of damage those jaw attacks hit you for, you will almost certainly die if you try and fight this final Metroid in a traditional way. We’re going to employ a different strategy, one that requires courage and precision.
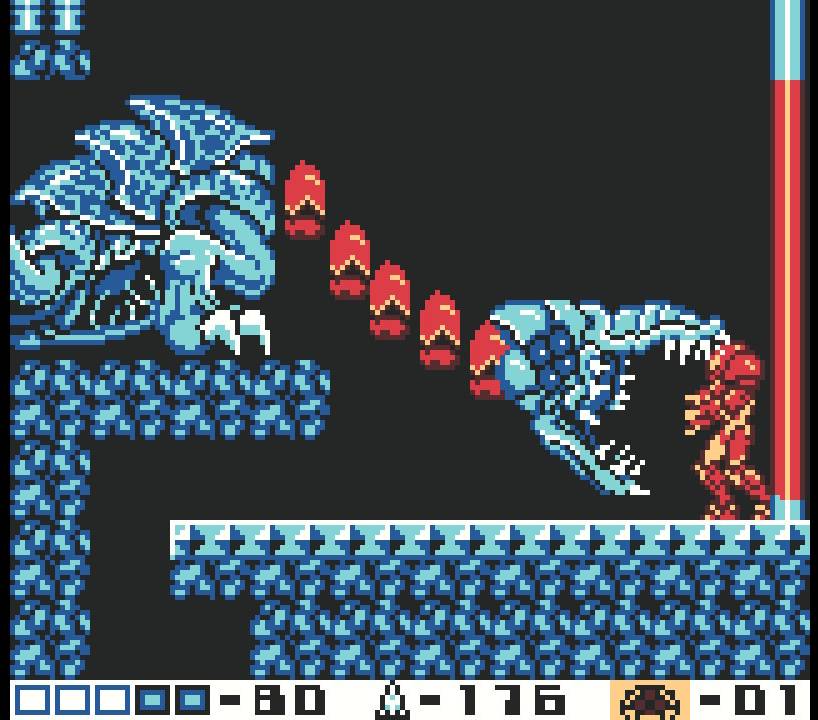
Anytime that the Queen Metroid lunges at you with her mouth open, instead of jumping over the attack, stand your ground and fire a missile into the Queen’s mouth. This will stun her for a few seconds, hopefully directly in front of you so you don’t even have to move, allowing you to fire off ten to fifteen missiles directly in her mouth. This is BY FAR a more effective strategy than trying to avoid taking damage from her attacks – you’ll still take damage here more than likely, but you’ll also be dishing it out just as fast.
Keep in mind – this obviously only works when the Queen’s mouth is open. If she attacks you with her snout, jump over it. This is my preferred method for defeating her. There is another way, however, and it involves even more risk.
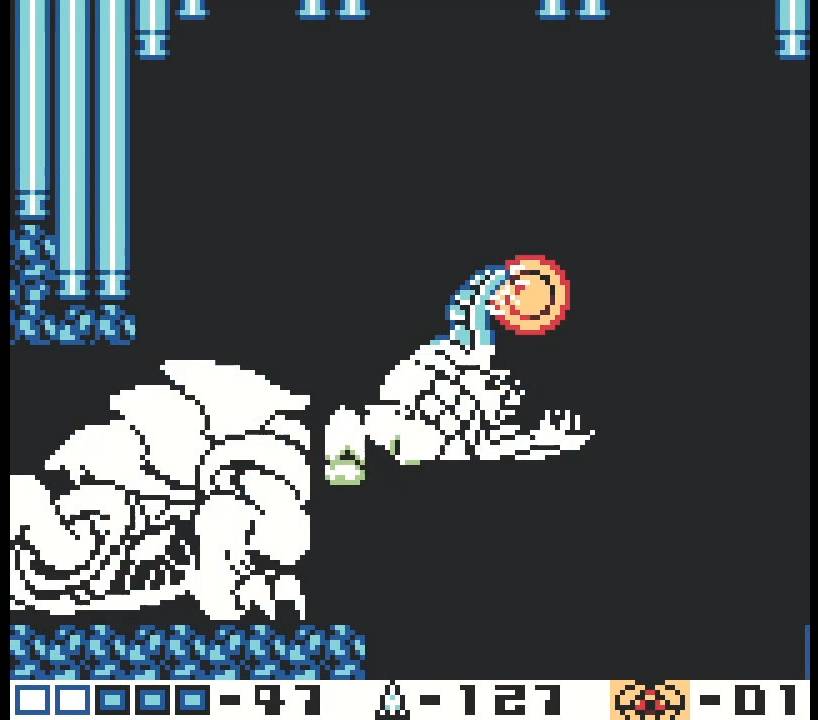
If you start to run low on missiles, stick to the same strategy of holding your ground and stunning the Queen when it has its mouth open. You’ll need to stun her so she is directly in front of you; once she’s stunned, morph down and roll inside her mouth. You will take damage here, so try and act fast. Roll towards her belly, and once you’re in the nucleus, lay some bombs. This will cause big damage! The Queen will spit you out after, and you’ll need to do this about four or five more times to defeat her.
Whatever method you prefer, stick to it, keep firing away, and the Queen Metroid will finally be defeated. Your mission is finally over.
The Last Metroid
Once the Queen’s body has finished disintegrating, your health will be restored and you can continue down the pathway that the Queen Metroid was blocking.
Press forward and you’ll run directly into that egg we rolled past earlier. Out of the egg will hatch a creature that, unbeknownst to Samus at the time, would have massive implications on the Galactic universe: the BABY METROID.
This sweet little squishy bug thinks that Samus is its mother, and in a moment of reflection, Samus decides to spare the infant and take it back with her. The Baby Metroid will eat away any of the crystals that you see in your path, so walk ahead and follow the tunnel to get back to your ship. Space Jump up to the top of the large mountain summit and then drop back down into your Starship.
Congratulations! You’ve beaten Metroid II: Return of Samus! Feel free to challenge the game again to get the best ending!
Acknowledgements
First shout out has to always go to my wife Samantha, for allowing me to indulge in my passion for Metroid. Thanks to my Omega Metroid colleagues for their help with image formatting, proofreading, and more! It takes a village to make a guide like this, and I couldn’t ask for a better team!
The biggest thank you goes to you, the player, for allowing me to be a small part of your journey through this hostile planet. As always…
See you next mission!