


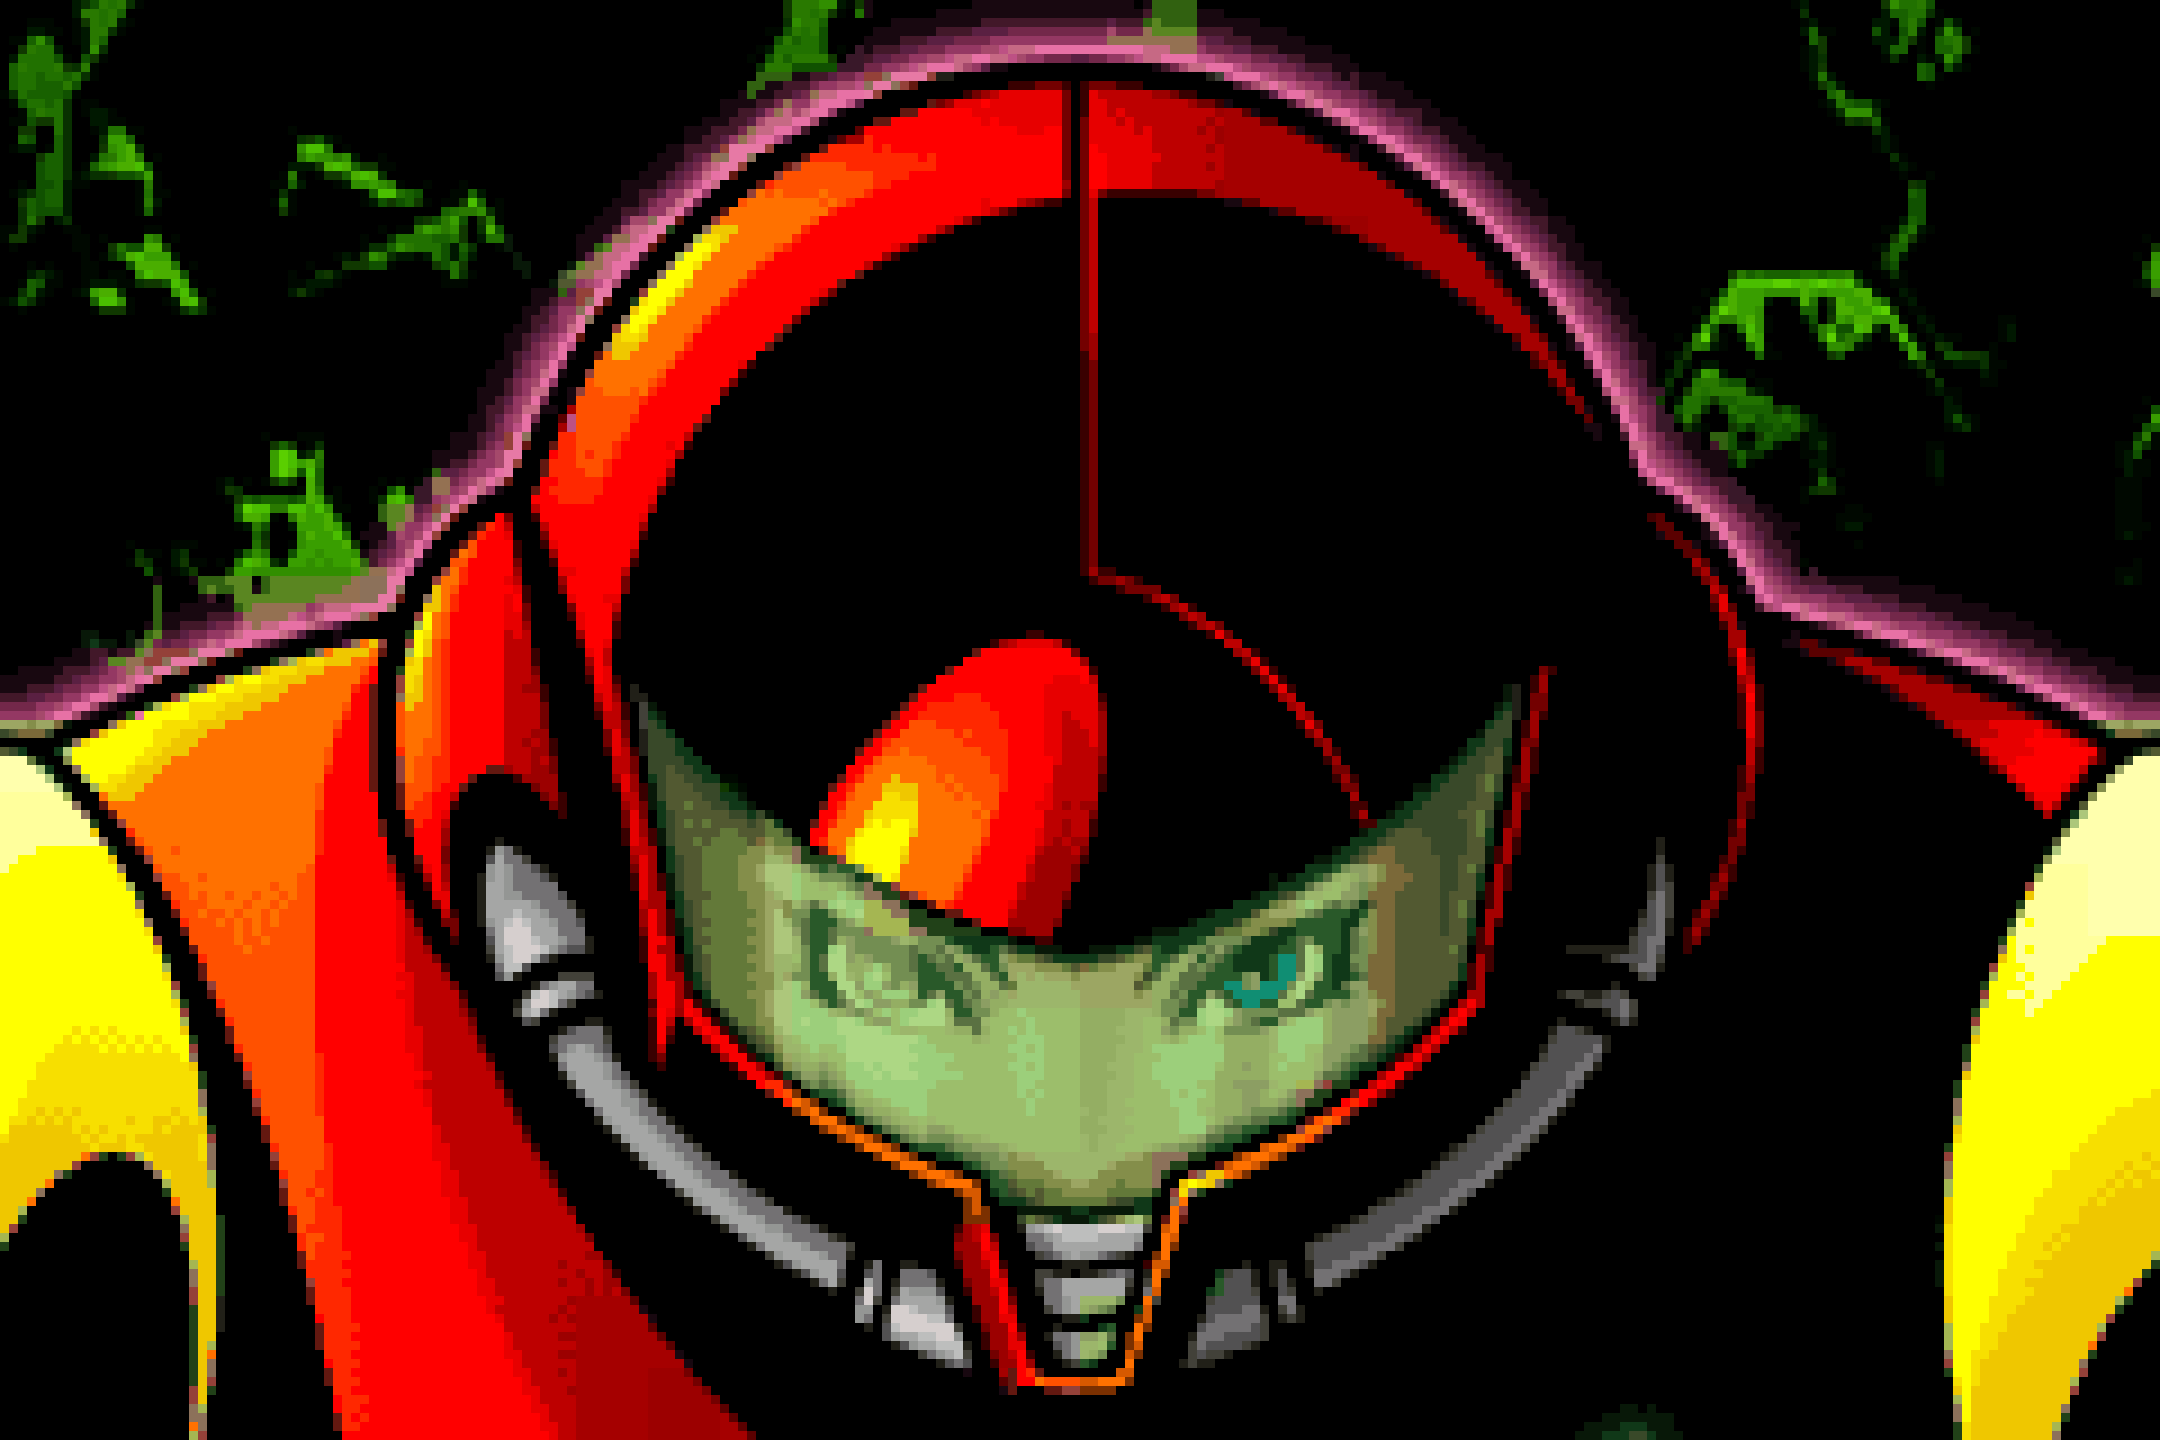
Metroid: Zero Mission Walkthrough – Return to Zebes
Walkthrough
Welcome Back
“Planet Zebes… I called this place home once, in peaceful times, long before evil haunted the caverns below. Now, I shall finally tell the tale of my first battle here… my so-called Zero Mission.”
Get ready to return to Zebes! I’ll be your guide on this journey, helping you navigate the planet, defeat all the hostile lifeforms, and pointing you towards the many hidden items and expansions tucked away on Zebes.
After landing on the surface of the planet, Samus will start the game off in a familiar place: the same caverns of Brinstar where the series first began all those years ago! After a short cutscene, you’ll take control of Samus. The first thing you’ll want to do is turn towards the left, start walking and jumping over the pillars in your way and grab the first item of the game, which is just sitting there for the taking: the MORPH BALL! After grabbing that, head back towards the right and keep pressing forward until you reach a blue blast door. You’ll be in a small room with another door in front of you and a bunch of blocks on the floor that look like they could be destroyed pretty easily. Hmmm. We don’t have the necessary tools needed to go down, so for now, keep pressing forward.

You’ll enter a new hallway with a bunch of enemies in the ceiling. Run past them and get into Morph Ball form and roll under the tunnel. You’ll see a Chozo Statue just chillin’ with its arms cupped out as if it wants you to curl up into a little ball and snuggle in its arms, and who are we to deny this statue that? Jump in and you’ll see a point of interest appear on your map. Our next goal will be to get to where the Chozo is trying to lead us. It’s worth noting too that you should see a small circle on your map in the hallway you just traversed. That means that there’s an expansion somewhere hidden there; when you acquire said expansion, that will turn into a dot. We don’t have the necessary tools to get that particular expansion right now (man, we’re gonna be saying that a lot over the course of our adventure!), so for now, press on through the door.
Use the Save Station to your right if you desire, and then begin the long climb upwards. A ways up, you’ll see a door that’s behind some blocks, but keep climbing up higher yet, taking the first door on your left. Crouch down and shoot the blocks in your way and then roll through the tunnel, pressing forward until you reach the blue blast door. Shoot it open, enter the room, and claim the LONG BEAM from the Chozo Statue! Exit back out of the room, and this time, take the higher ledge. Shoot out all the blocks and then jump upwards. Continue following the path until you come out on the topmost hallway. You’ll be right in the middle. You’ll want to head through the door on the right, but that darn thing is locked. Instead, venture to the left and go through the door and you’ll see a giant statue of two familiar foes that houses the entrance to the heart of the Space Pirate operation. Once you’ve taken in the sights, head back and through the door on the right. Go through the hall, take out the Dessgeega that falls from the ceiling, and then curl into the Chozo Statue for your next point of interest.
Exit back into the long vertical hallway from before and drop back down to that door that was behind all the blocks. Your Long Beam will make short work of those, so shoot them out and proceed through the door. You’ll be in another long vertical hallway, so start dropping down. The first blue door on your right houses a Save Station, so use that if you want, and continue your descent. Once you’re at the bottom, head through the door.
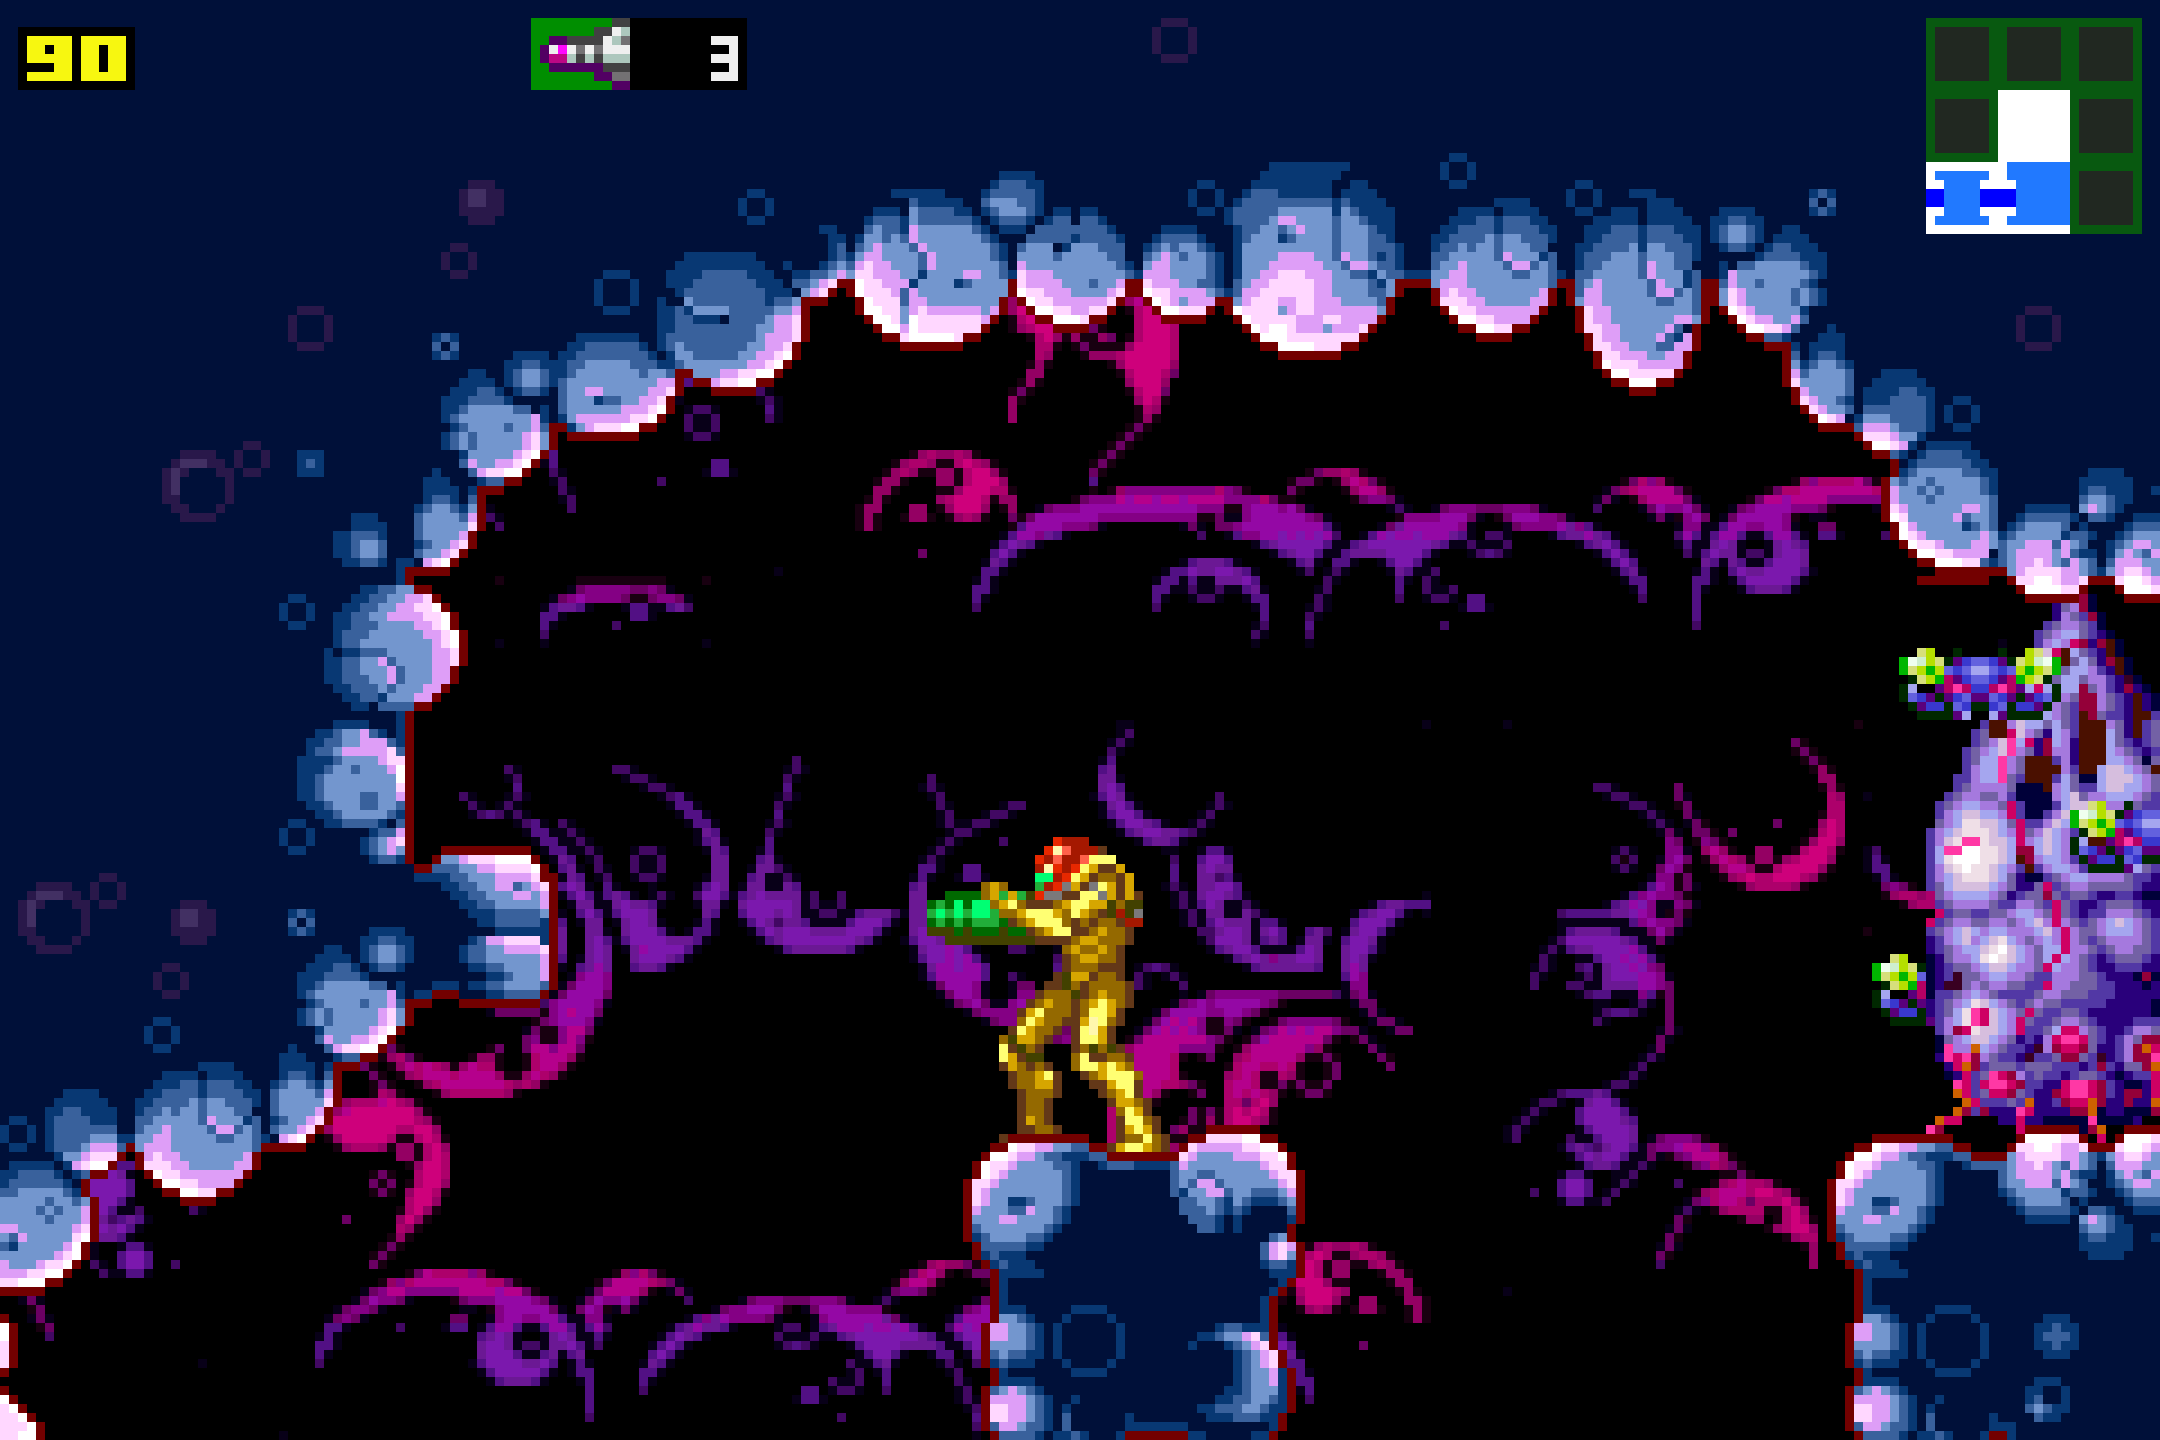
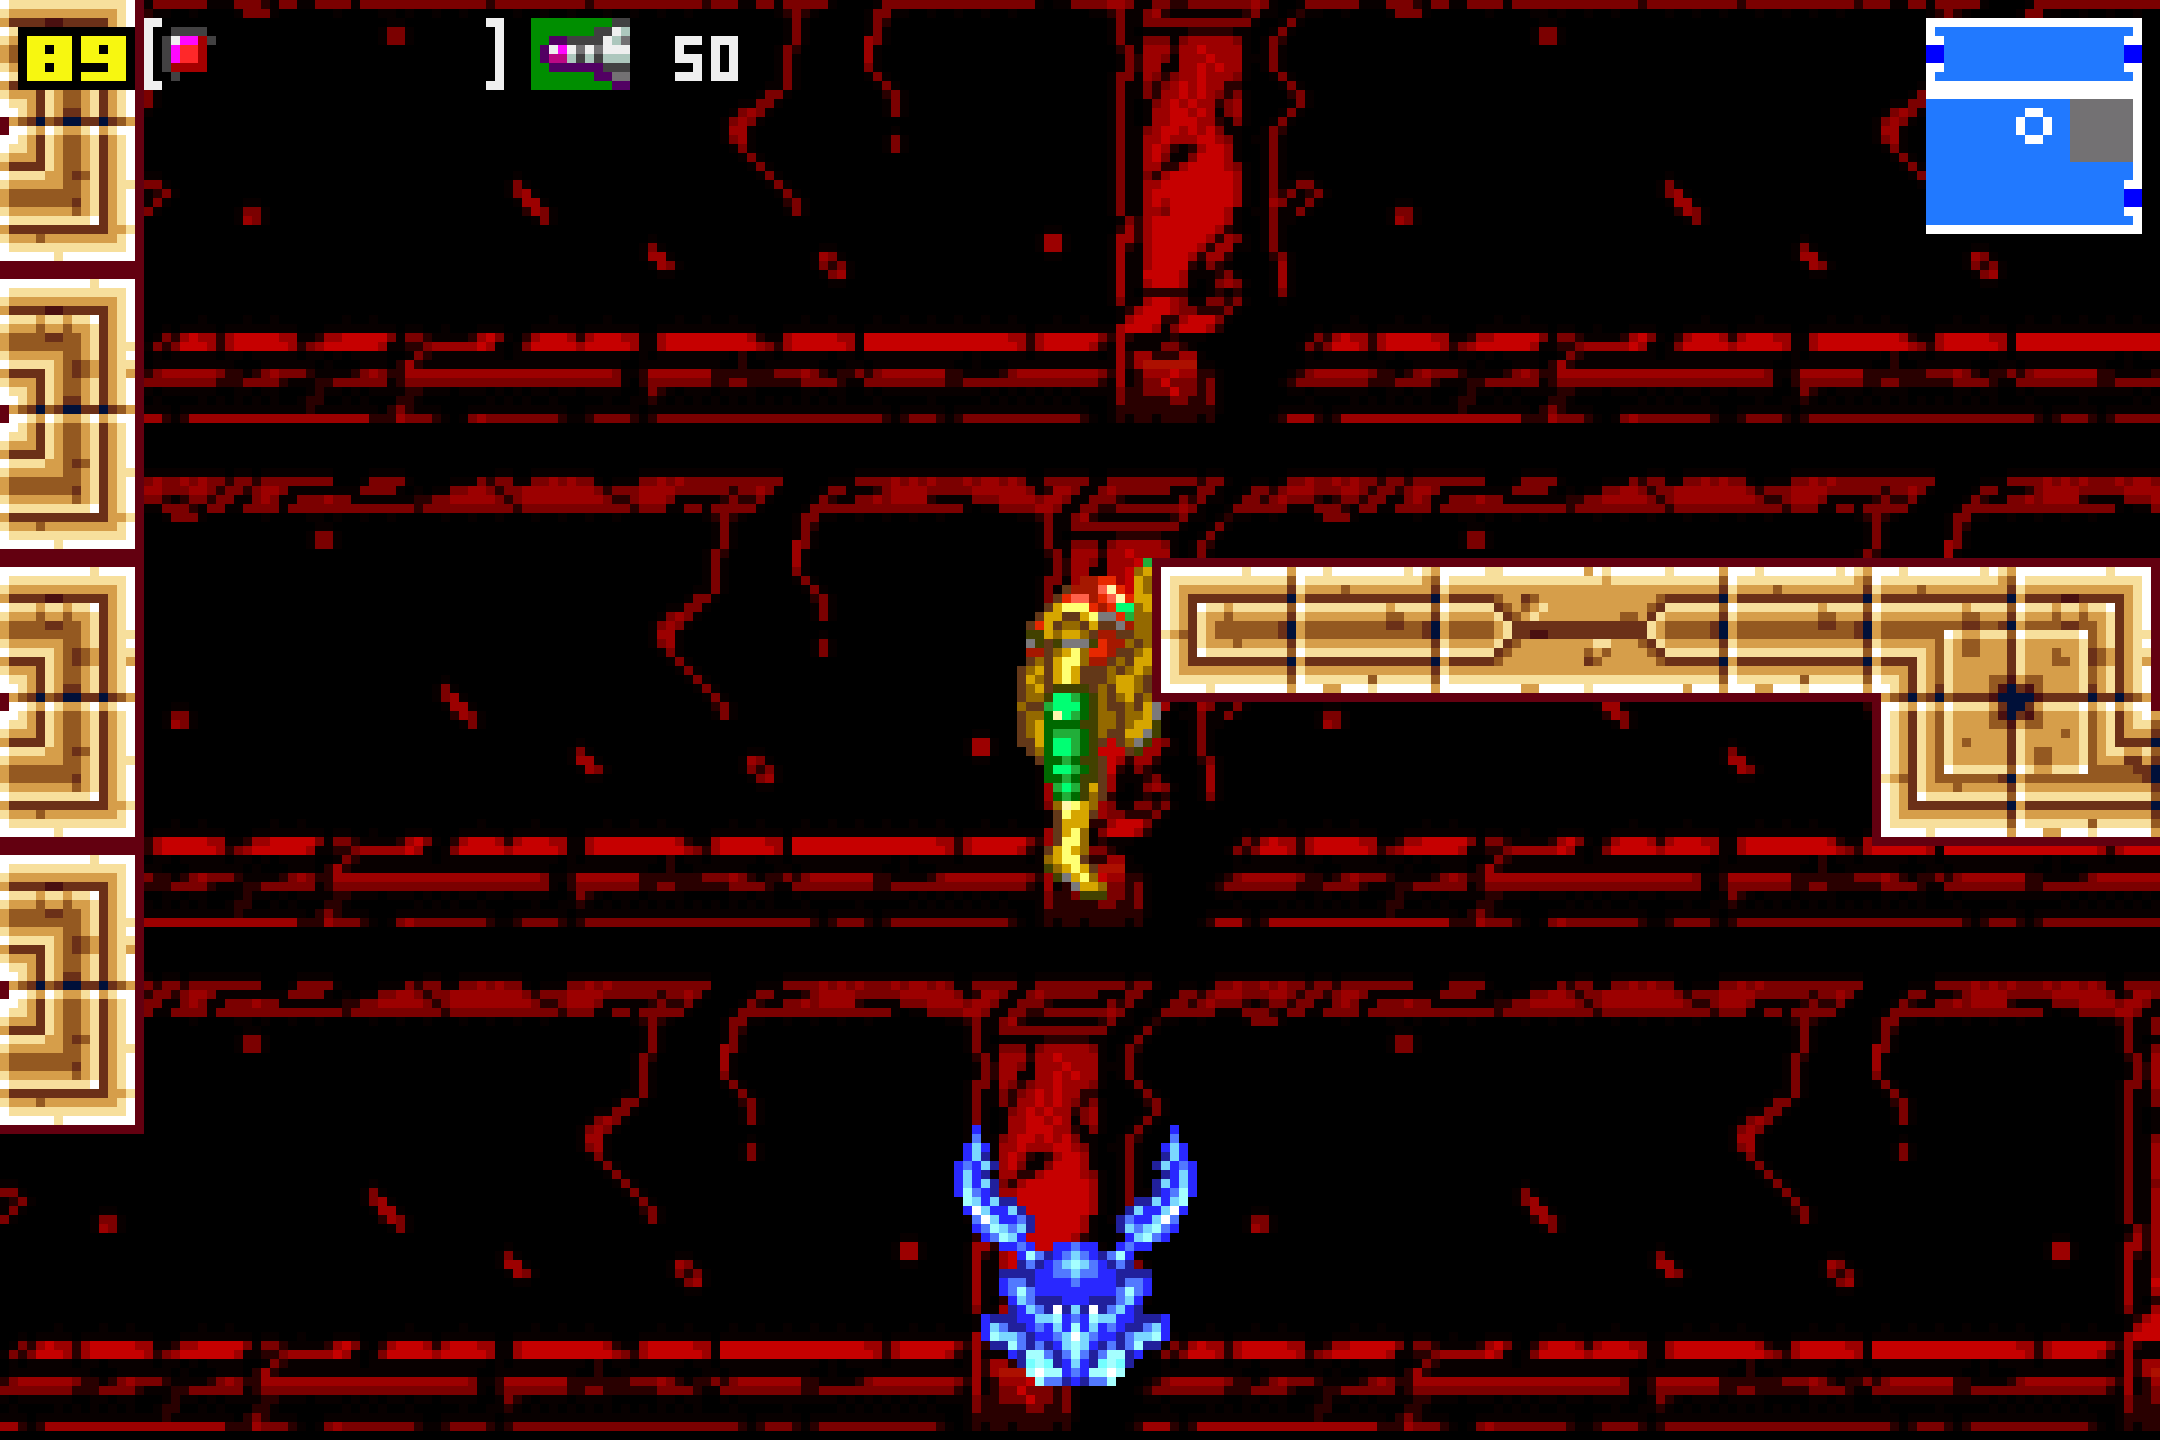
You’ll see that the room is shaking. Uhohhh… Nevertheless, press forwards and on a pillar over some lava, you’ll see MISSILE EXPANSION #1 just sitting there, waiting for you! Rock on! Unfortunately, the way forward is blocked, so turn around and get ready
Deorum
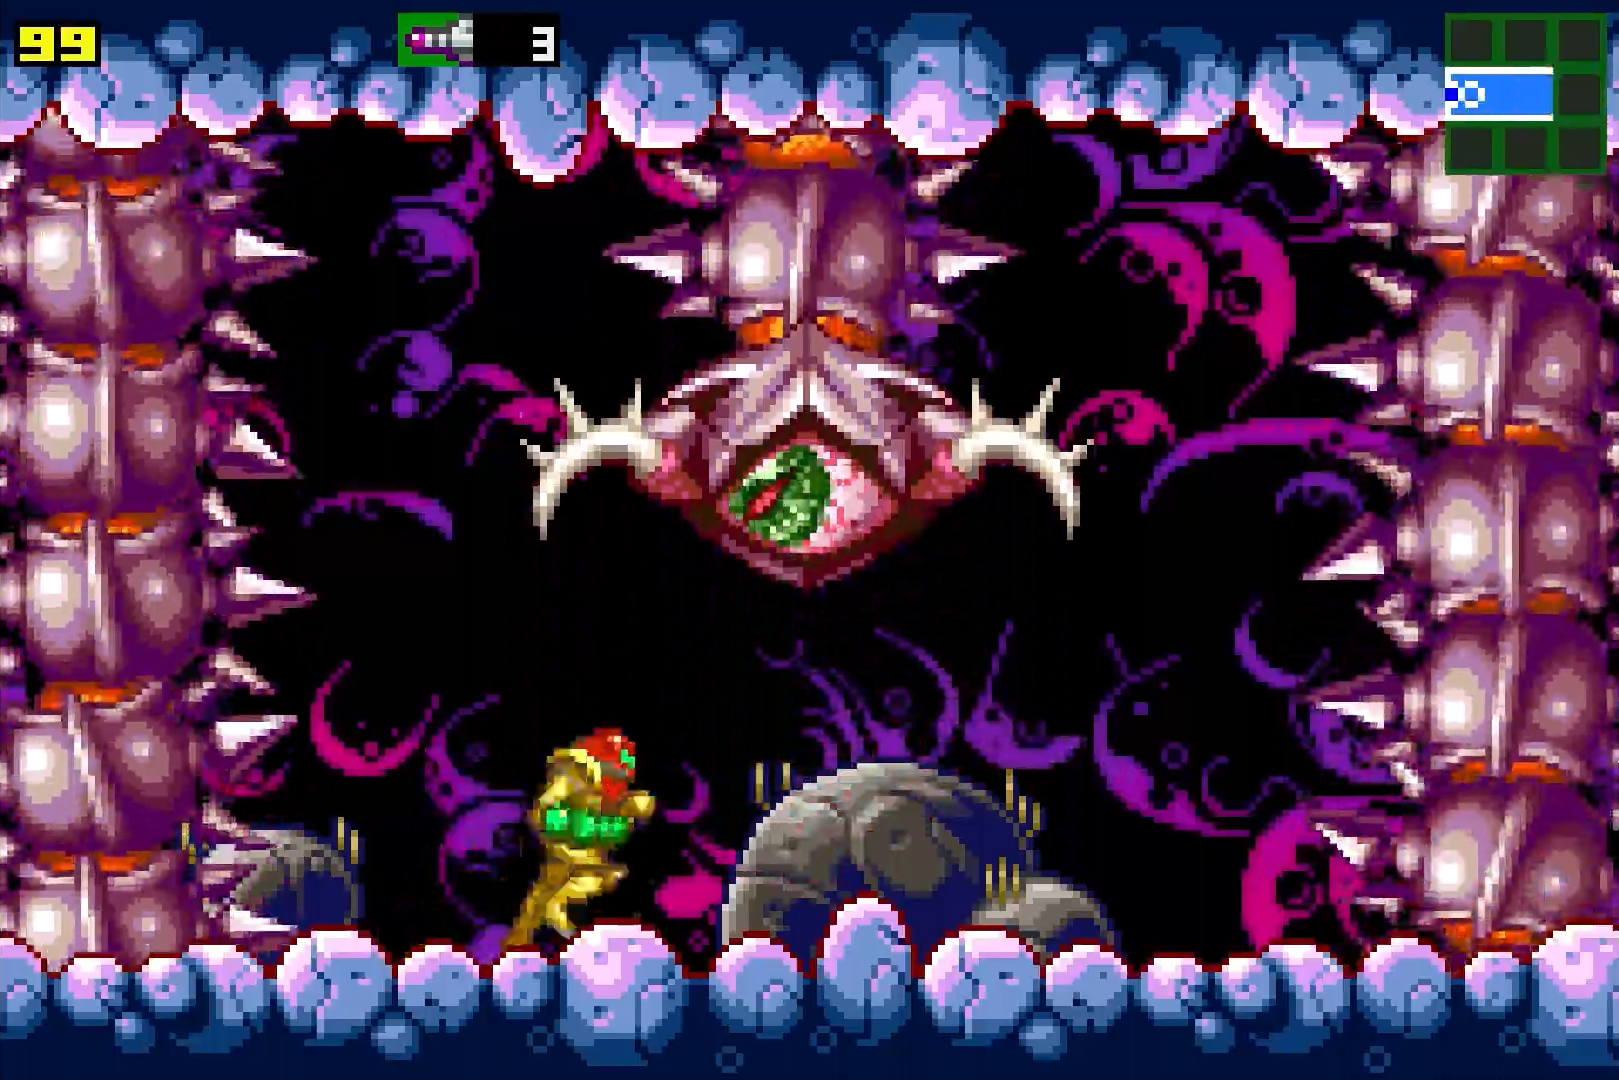
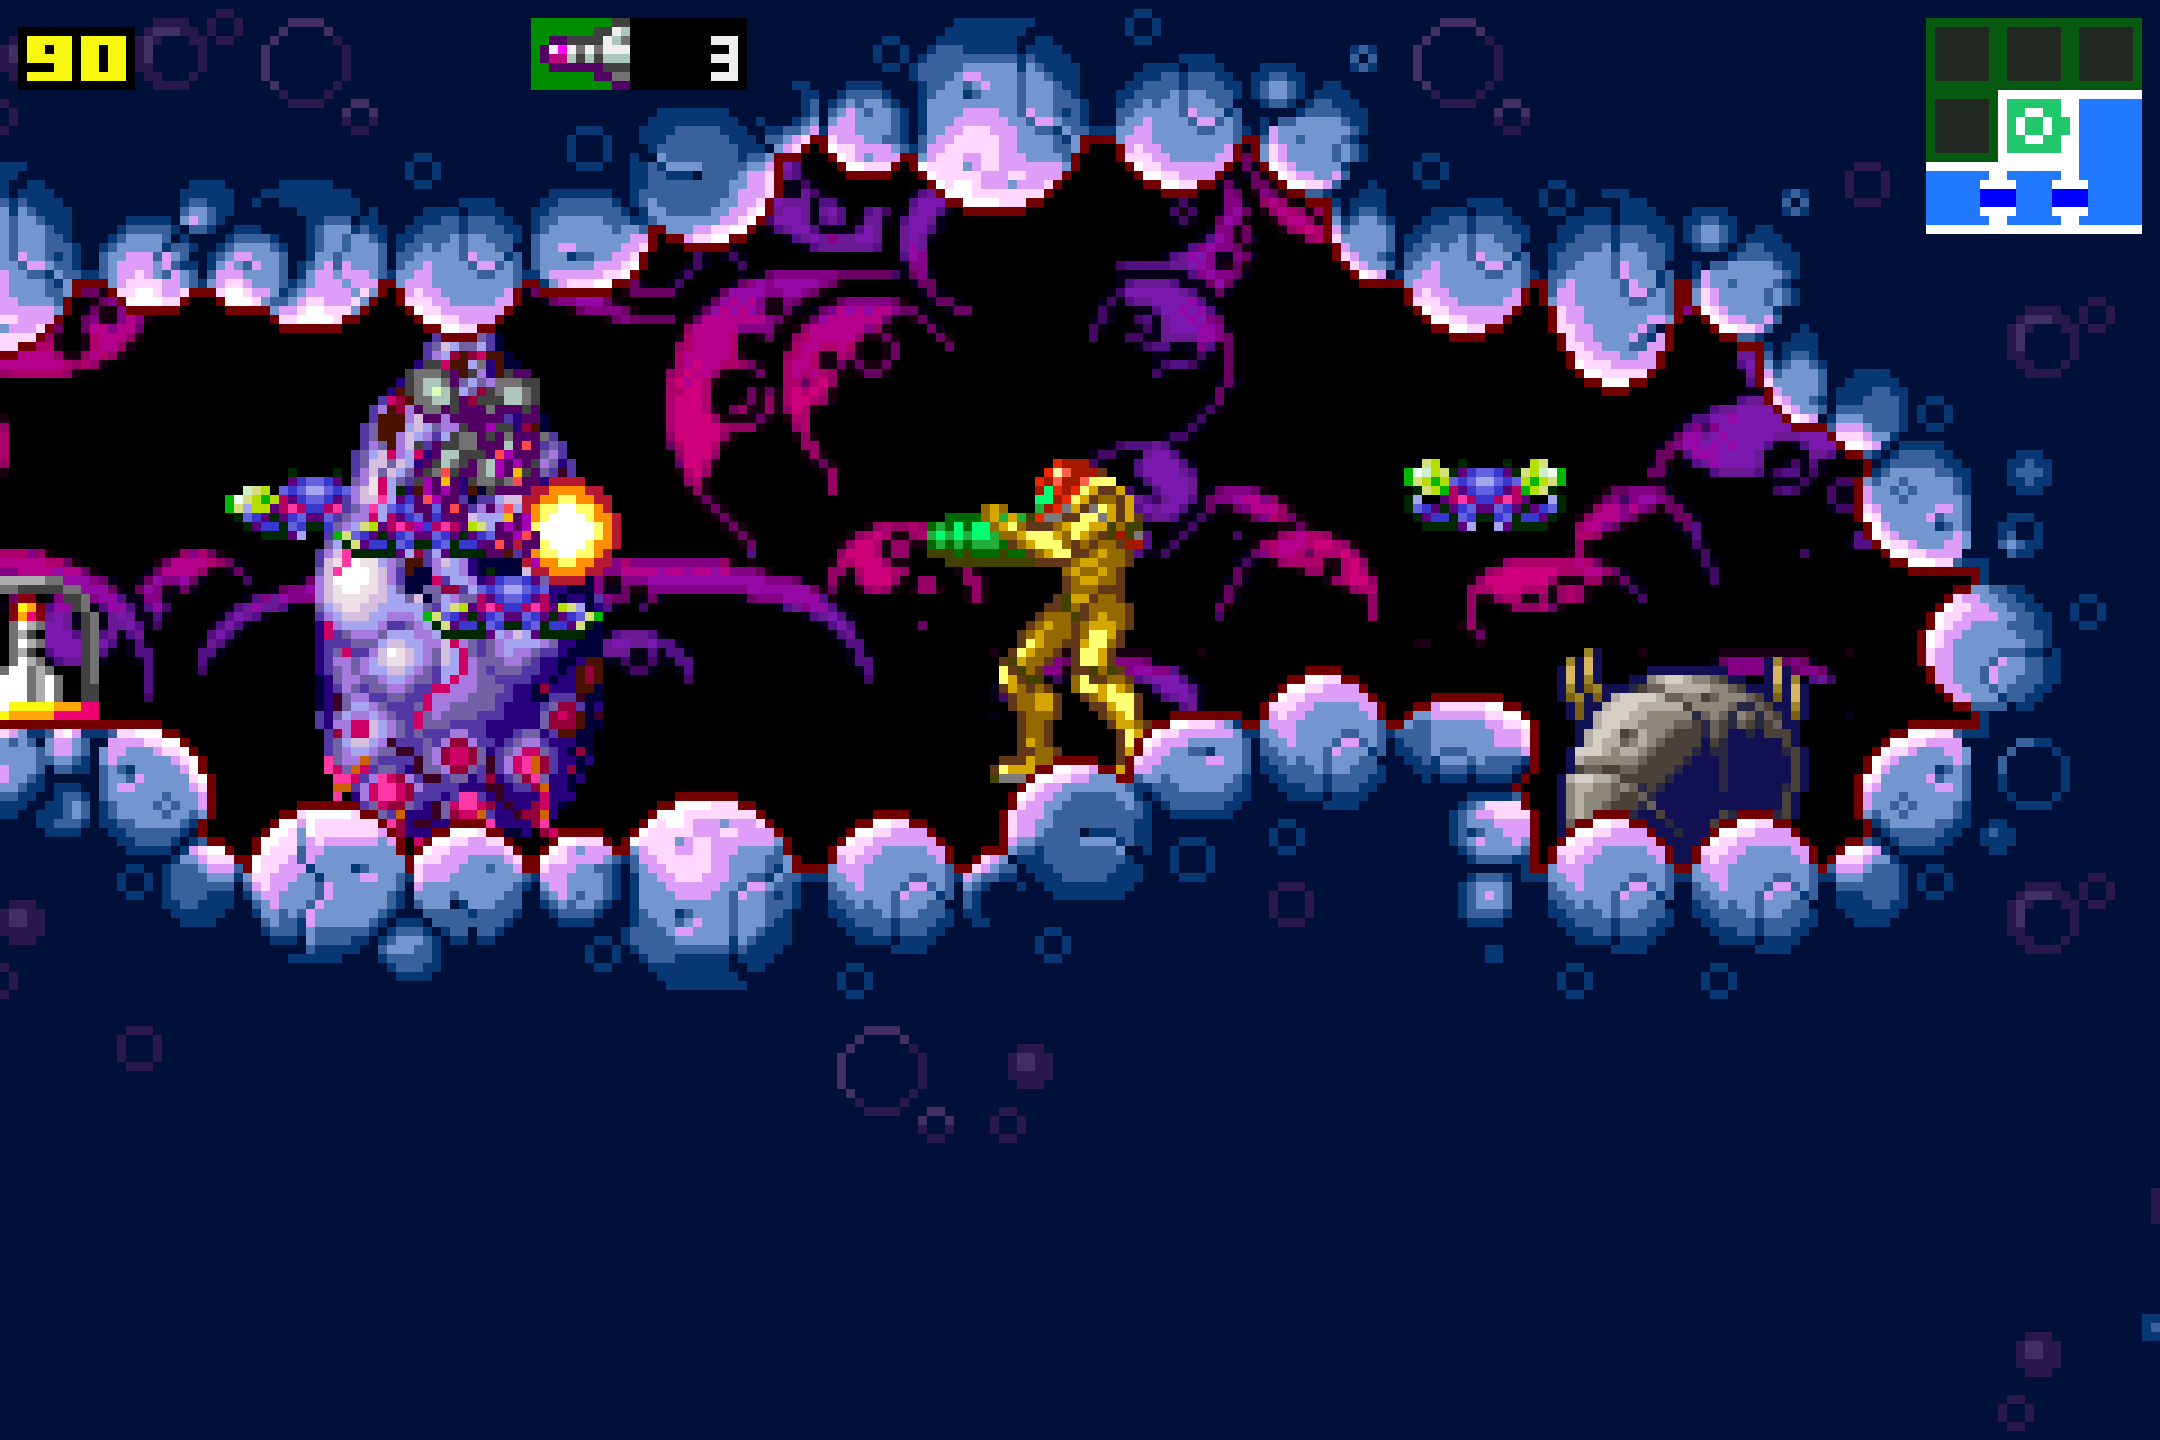
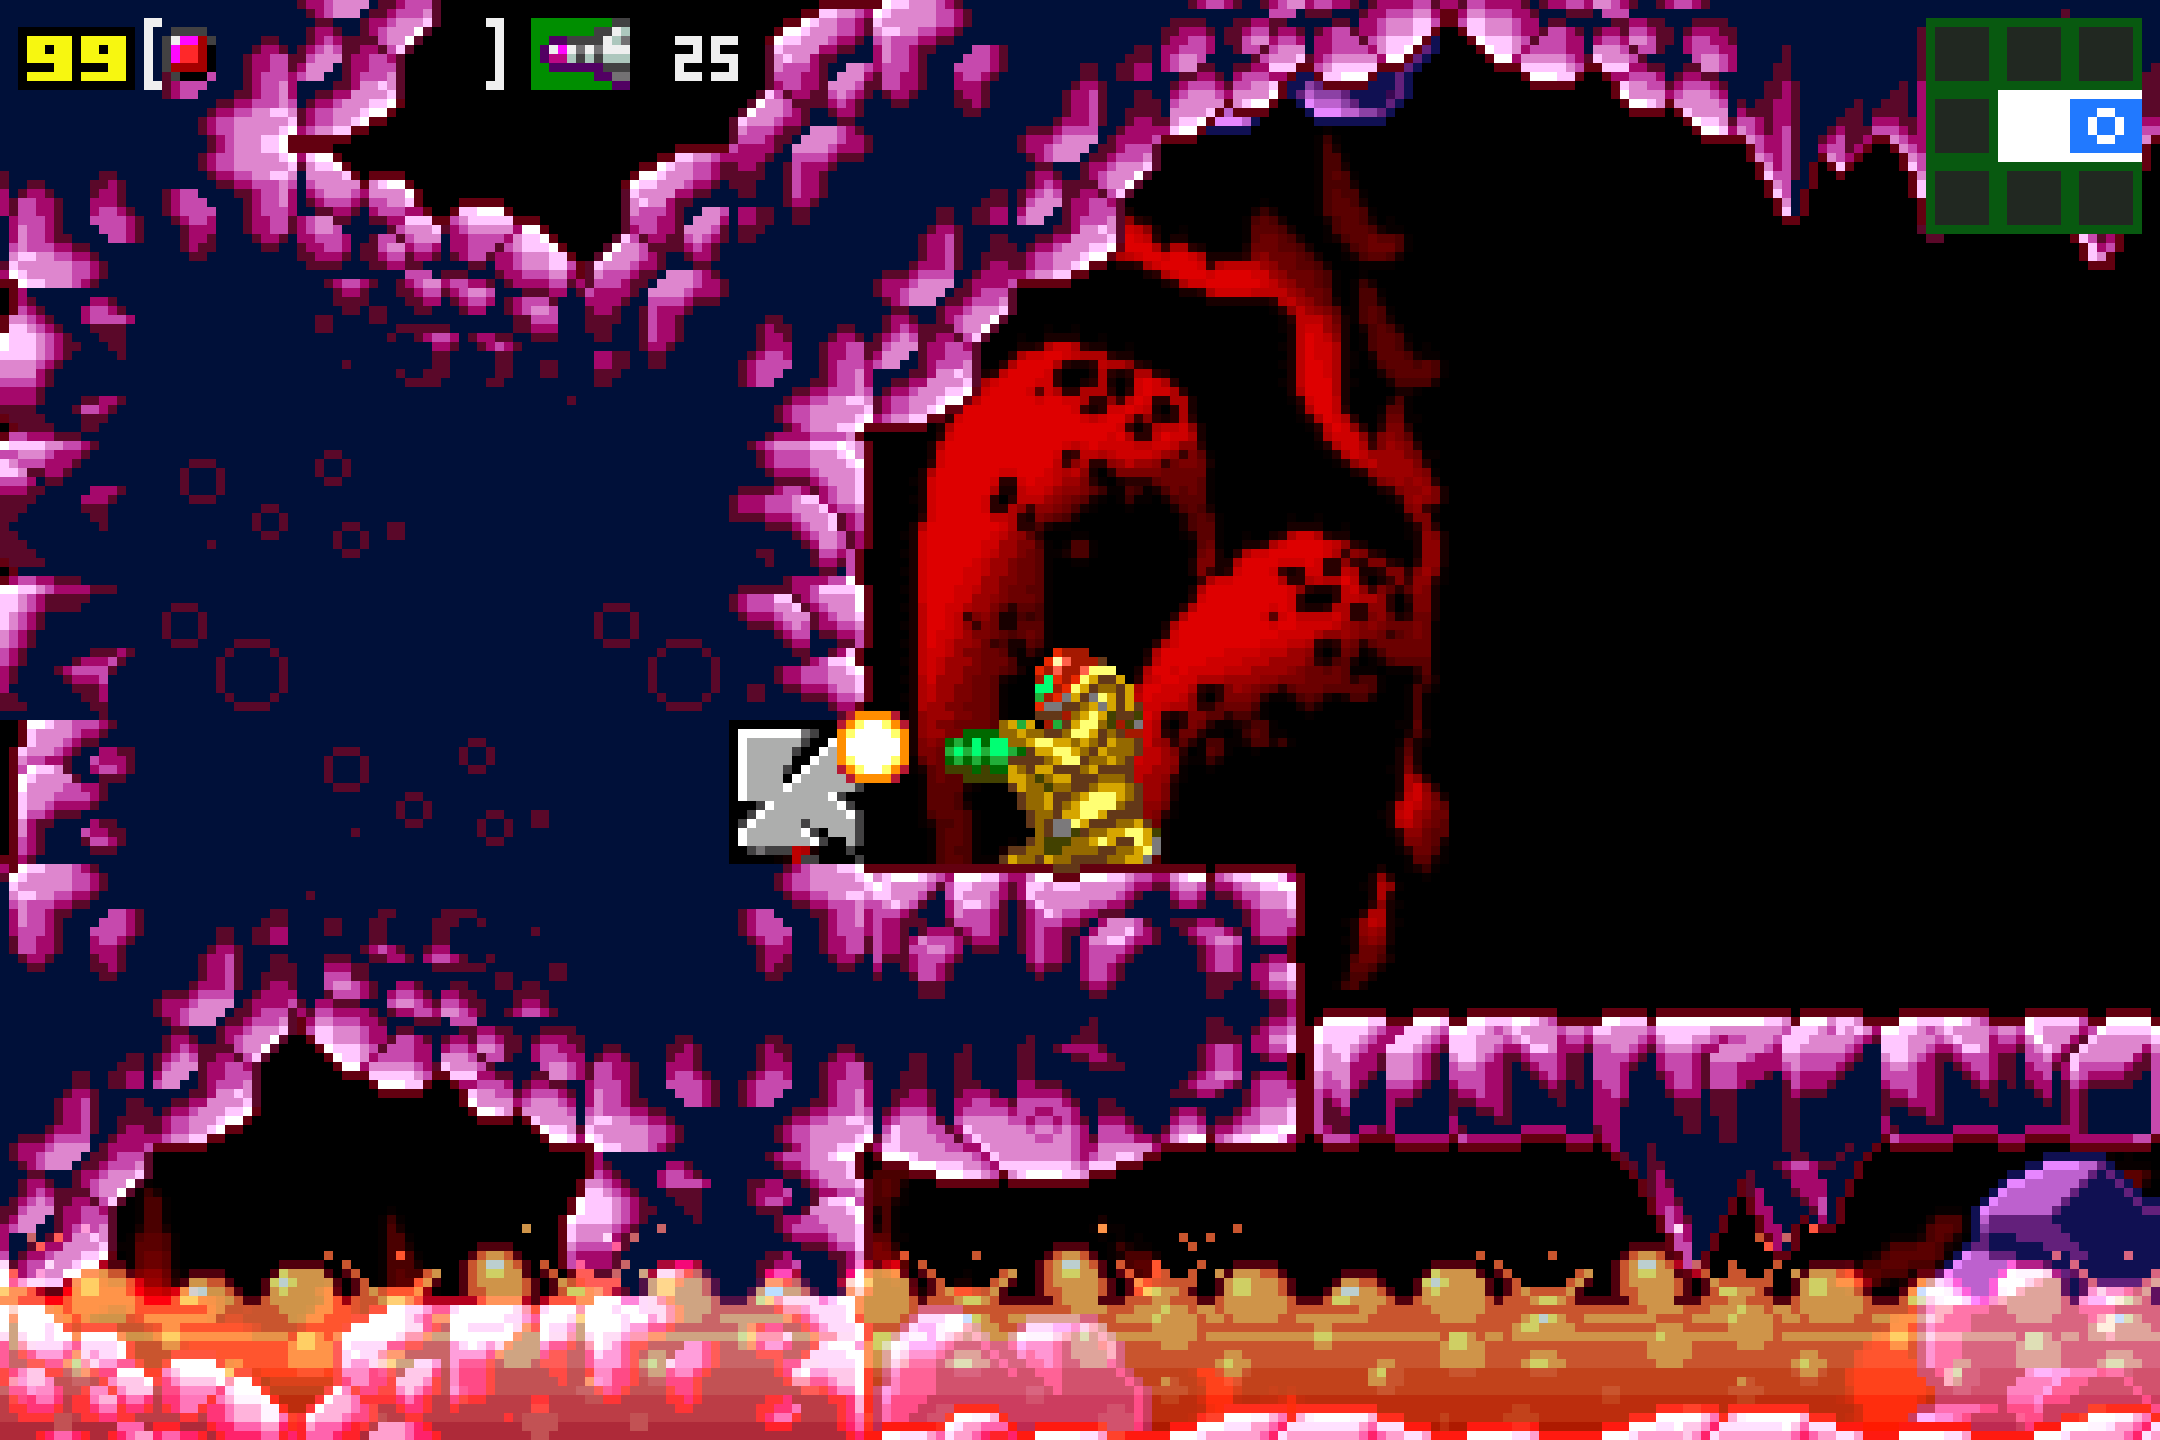
Here we go, the first boss battle of Metroid: Zero Mission! This is actually a pretty unique boss in that it’s actually optional. You’ll be forced to deal with Deorum’s attacks, but if you take too long to actually kill it, Deorum will slither away and retreat. You’ll have opportunities to fight it again at different points of the game early on, so don’t be dismayed if this giant worm escapes your wrath at the beginning, but if you really don’t want to throw down with this fella, you don’t actually have to.
Of course, we’re a bunch of bloodthirsty bounty hunters, and I for one want the powerup that Deorum is housing, so let’s get to work!
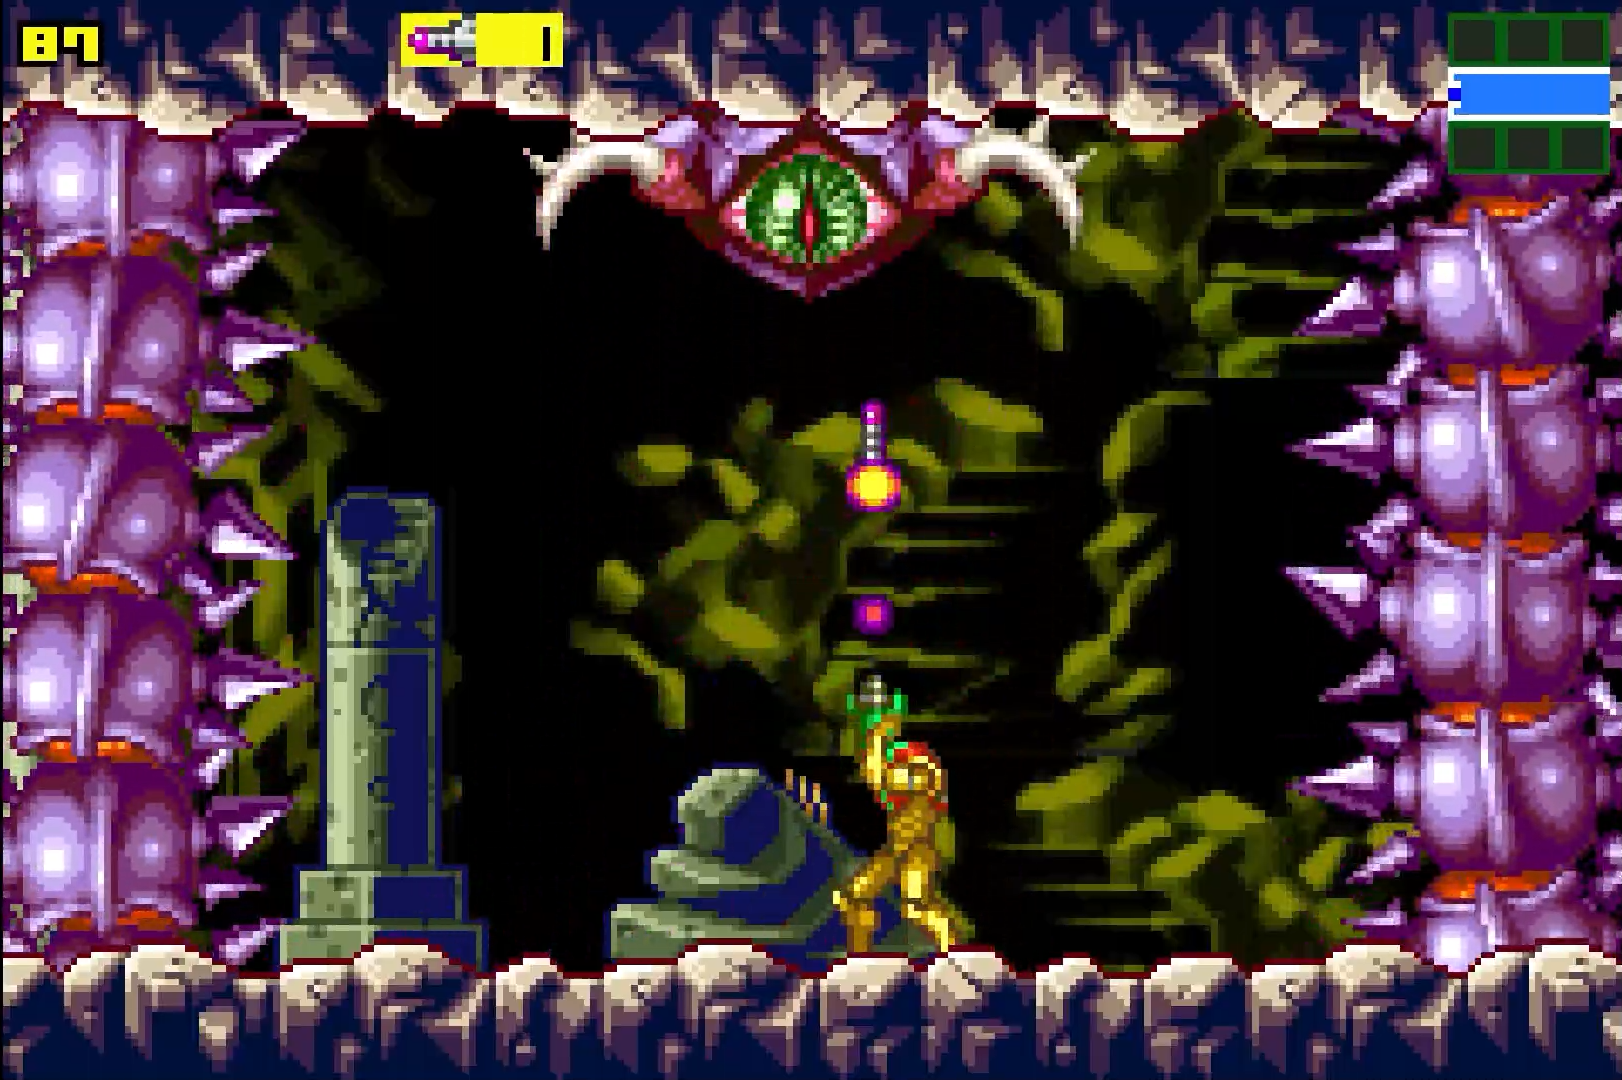
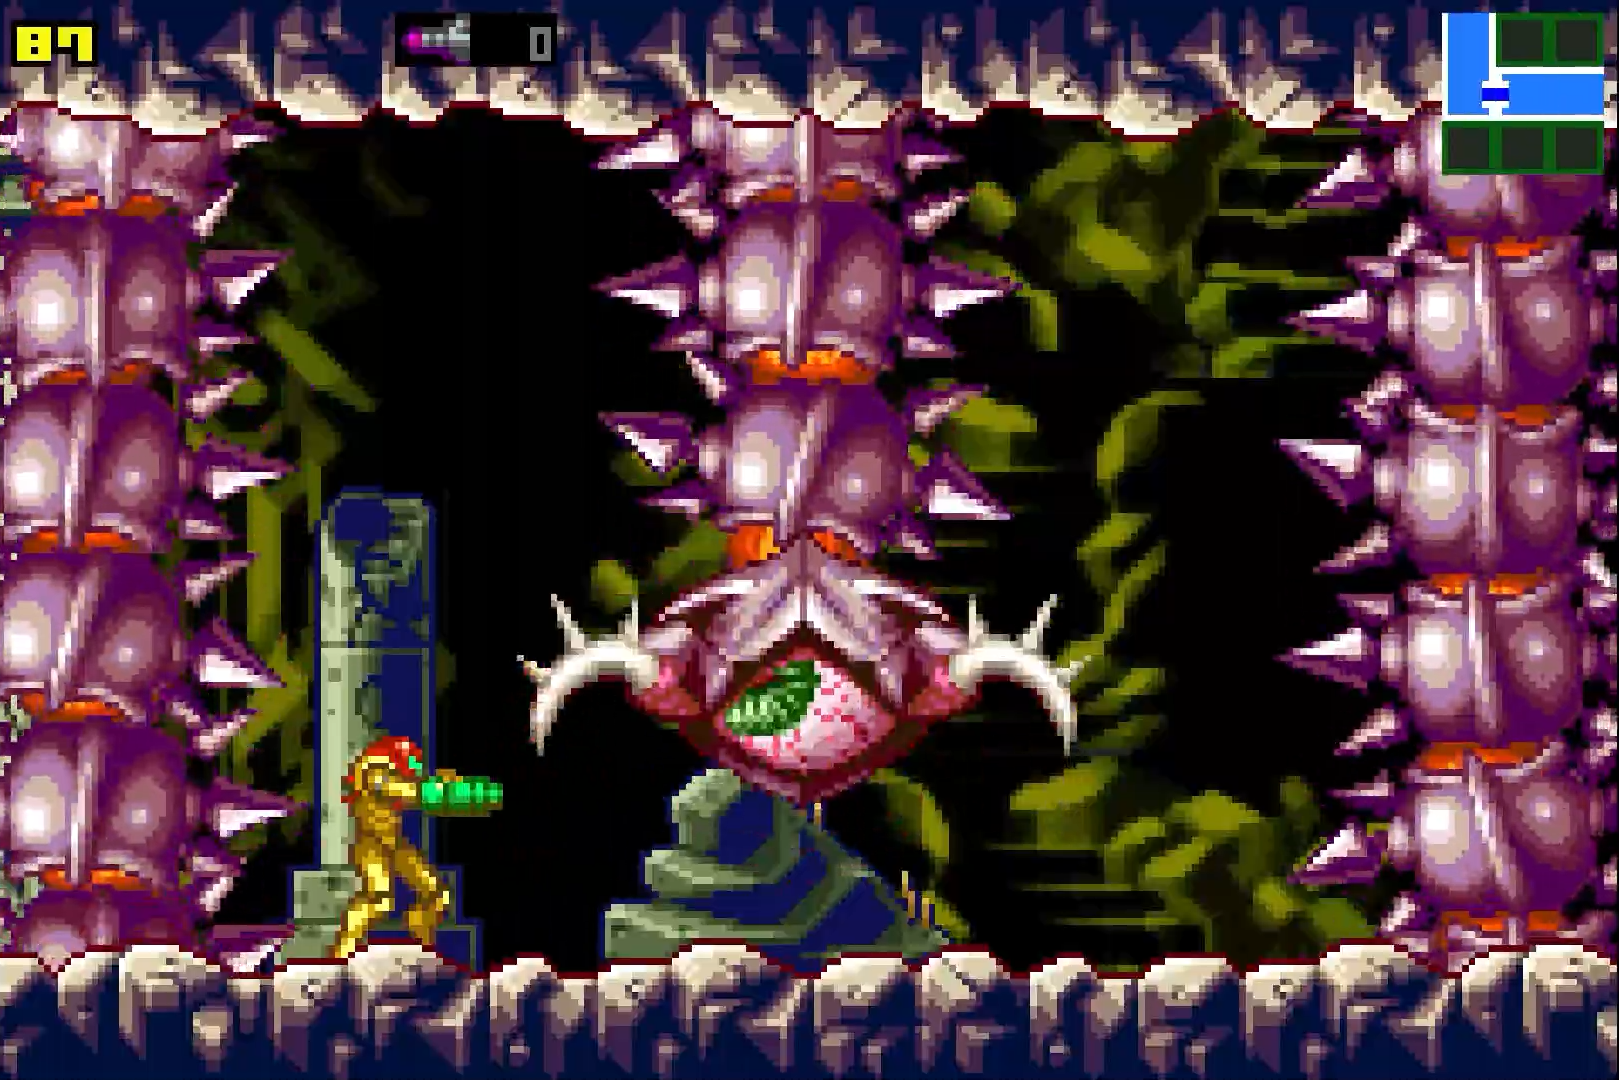
You’ll be trapped in a small arena, with Deorum’s big smelly tentacles on the left and right boxing you in. Deorum’s head will be in the middle of the screen, and if you didn’t already put it together, his eye is the weak spot we want to hit. Its attack is basically just the head lowering down and bonking you if you happen to be standing directly under him, so don’t do that! That being said, as soon as it starts to slither back up towards the top of the screen, run back so you’re directly under it and blast a missile right into its eye! You’ll only have time for one missile shot, so make it count!
Once Deorum’s head is back at the top of the screen, his tentacles will start to fire off little spikes in your direction. You can either avoid these OR shoot them down for some health and ammo. These two attacks are all Deo has in its bag of tricks, so just make sure that you’re running under its head and blasting the eye on its ascent to the top of the screen, and then avoiding those spikes, and you’ll be just fine.
Three missiles to the eye is what you’ll need to bring Deorum down. Doing so will net you the CHARGE BEAM! Again, if Deo ran away, don’t worry. You’ll get a chance to finish him off soon enough.
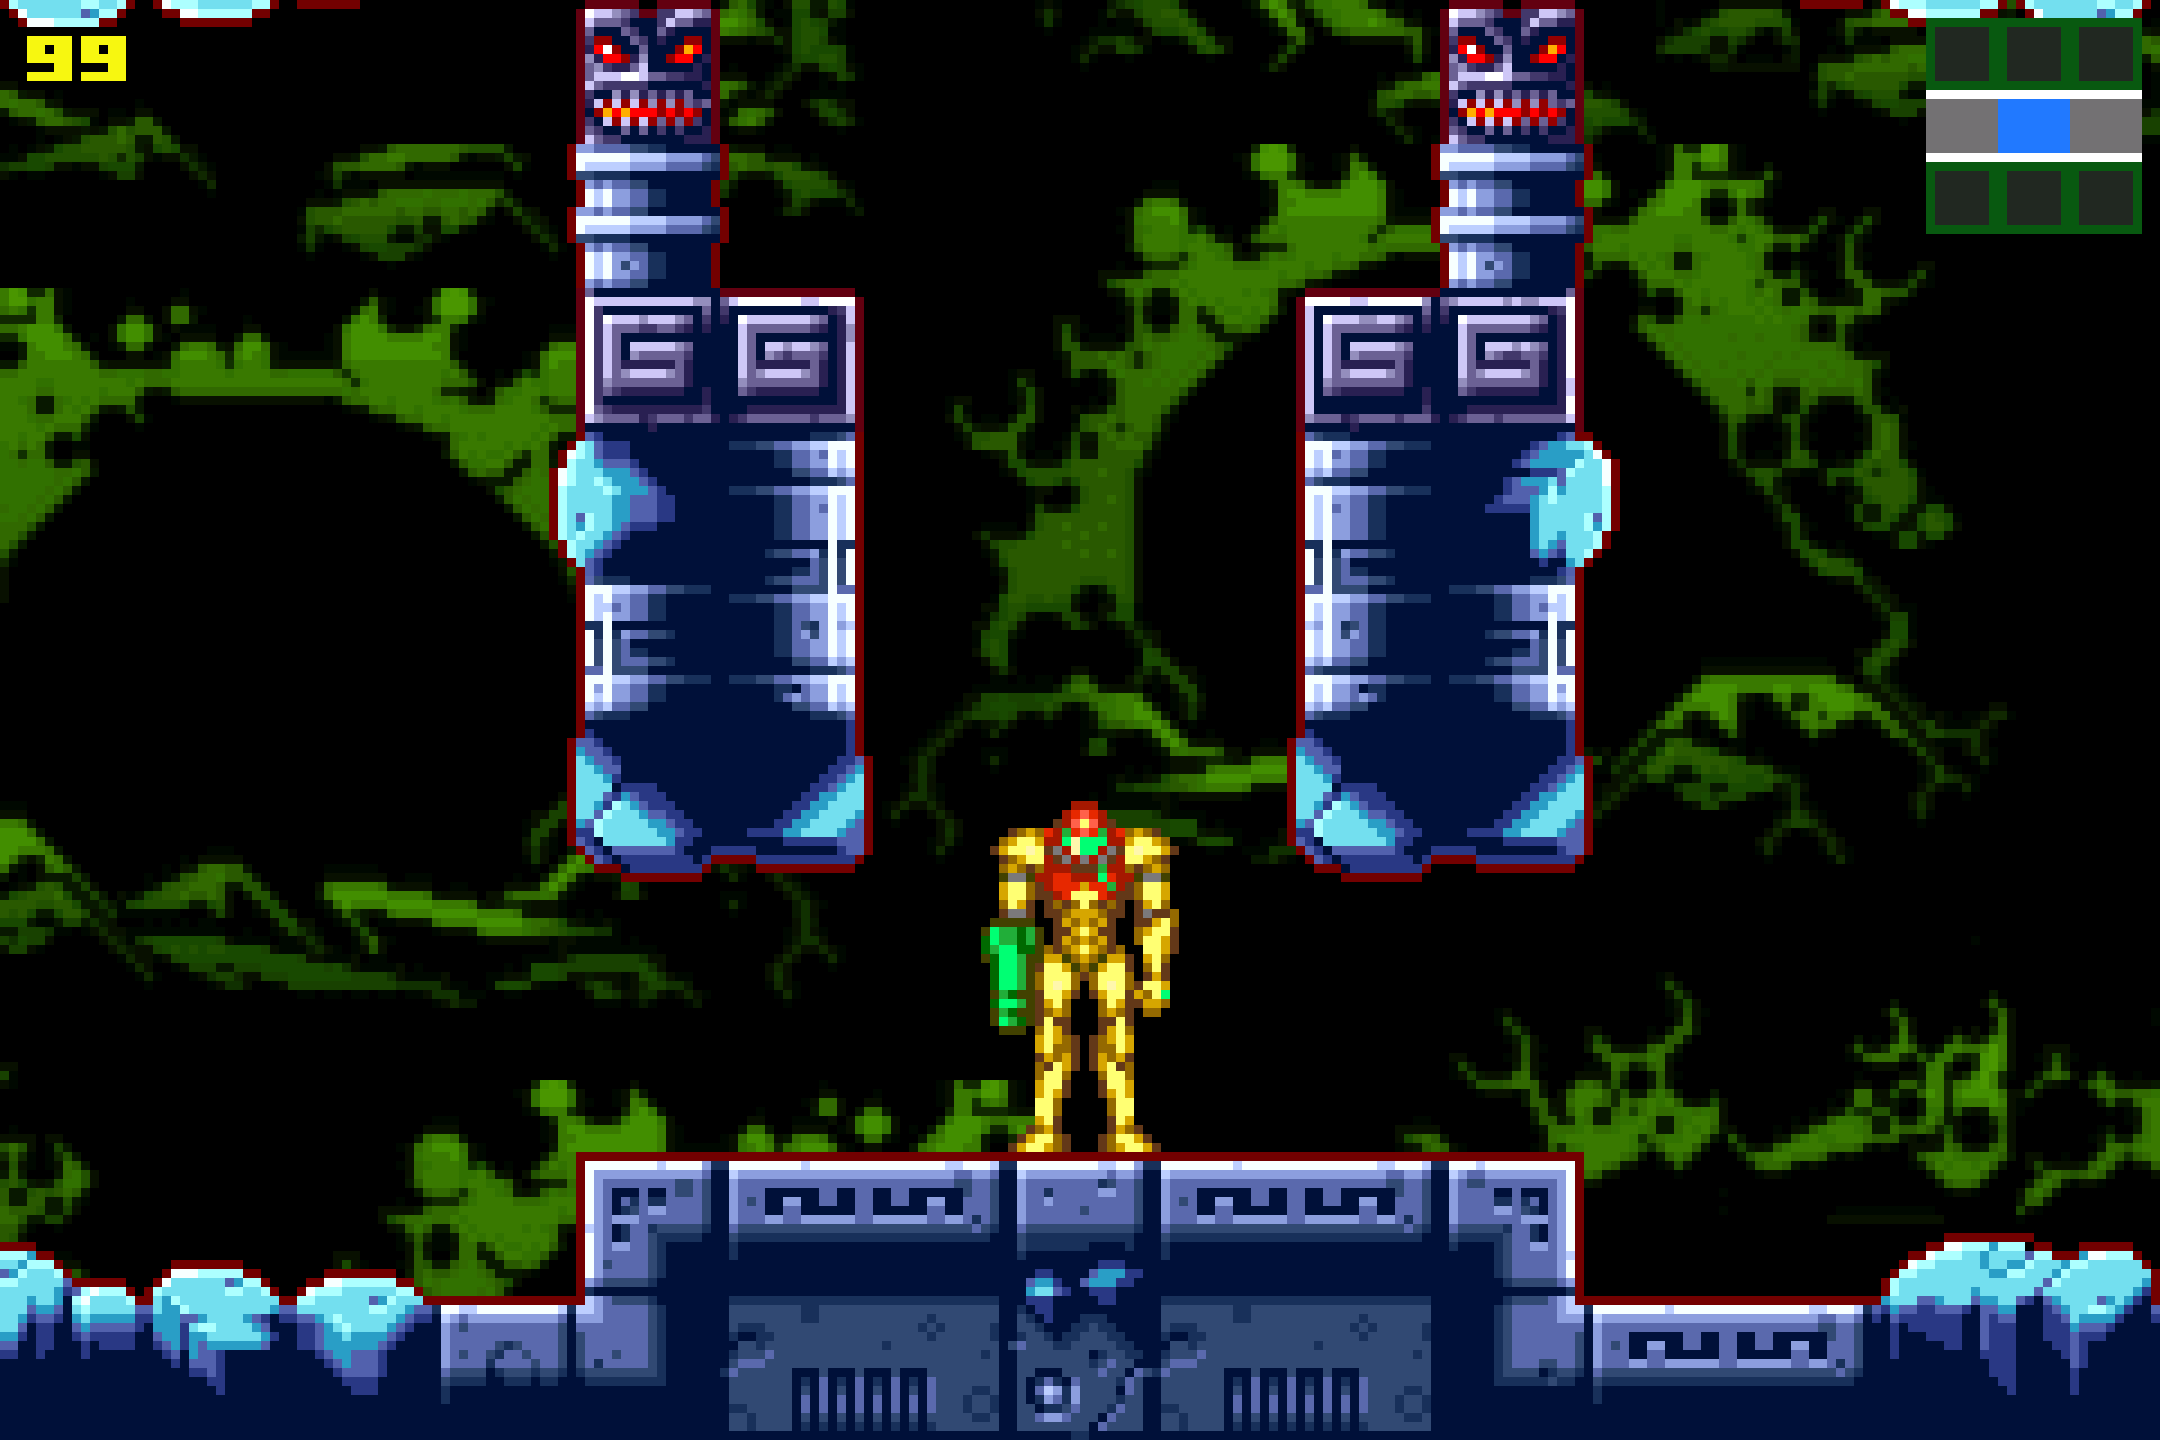
Bombs
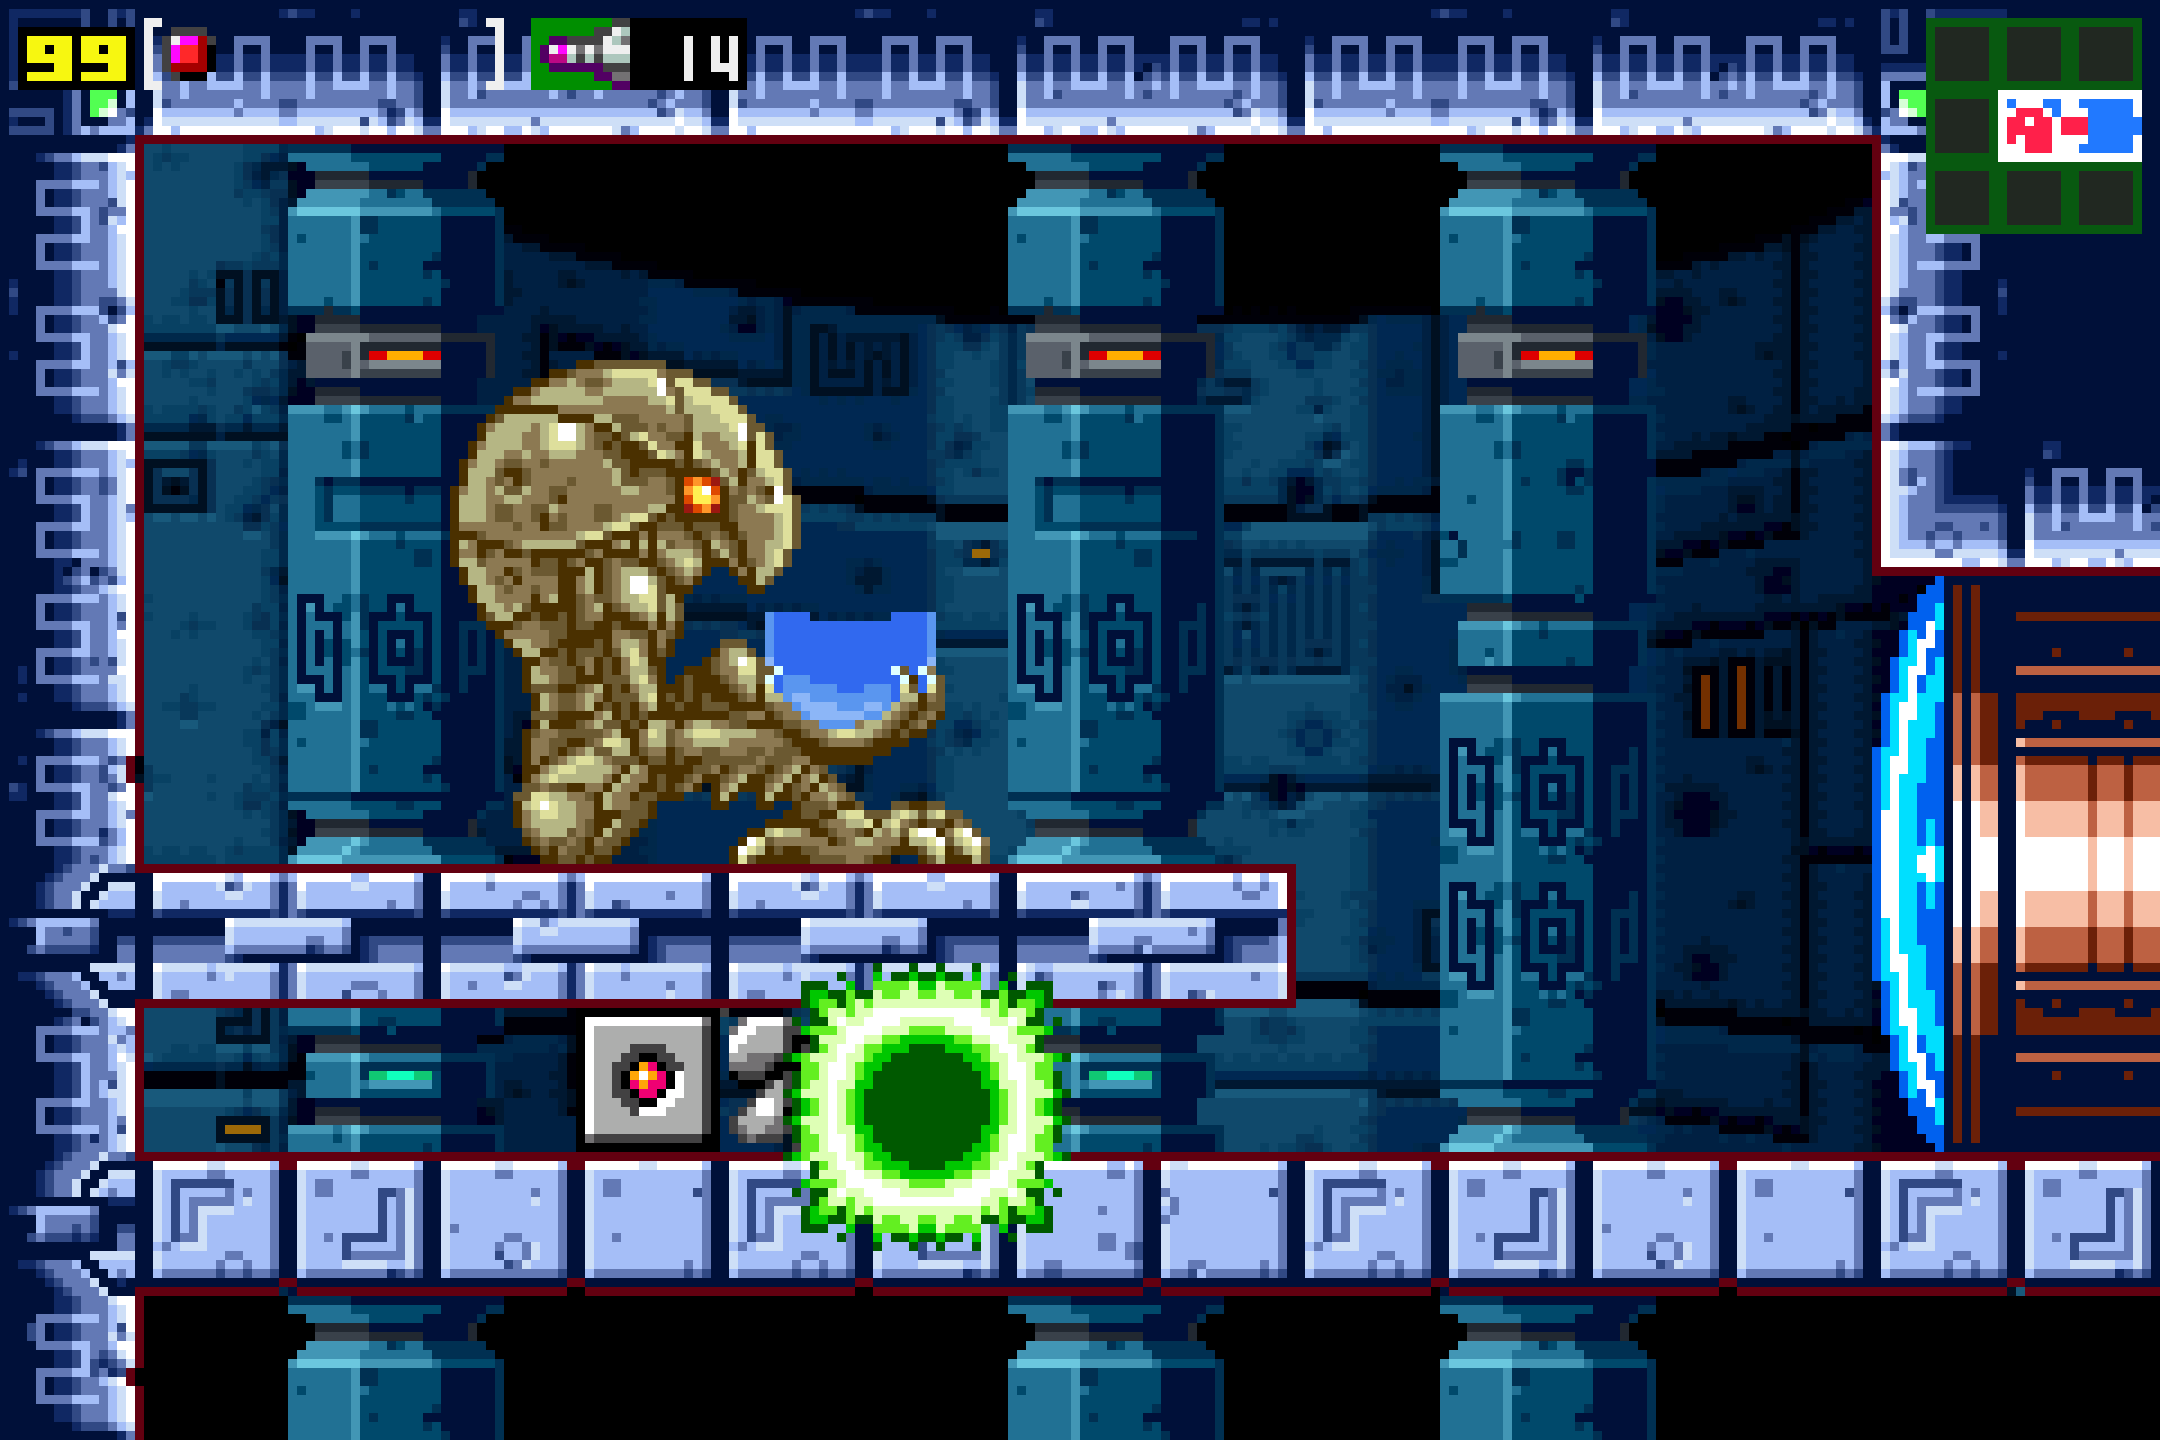
Head back into the vertical hallway and climb your way back up. Save your game, and then use your missiles to open the red blast door on the right-hand side of the hall. Press forward, jumping over the acid and avoiding the bats flying everywhere, and head through the door on the right. Keep going until you’re in a larger room; you’ll be able to see the source of all these annoying bat-things: giant, gross looking sacks of purple nastiness that seem to be spawning these things. Yuck! Jump up on the ledge, and you should see a small nook on the upper left side of the wall. Jump up and then run through the wall; you’ll see one of the purple hive things, so destroy it and grab MISSILE EXPANSION #2. Destroy two more purple hive creatures and exit through the door on the right.
Continue through another door and you’ll find yourself in a new room with a big wall seemingly blocking your progress. Shoot the wall and it will disappear, and as a special bonus, in the lower left portion of this wall, there’s MISSILE EXPANSION #3 waiting for you! The hits keep coming too, since just a little ways ahead, sitting in plain view for you is ENERGY TANK #1! Alright! Keep blasting the “walls” away and make your way carefully across the acid until you get to the blue door on your right.
Once through, drop down and open the red blast door. You’ll download Map data for Brinstar (man, how much better is the original Metroid when you have a map, am I right??). Exit and start heading up. Take the door on your left, and go through another door to use the Save Station if you want. Head up and through the door on your left. Roll through the tunnel at the top towards the Chozo Statue and you’ll be rewarded with BOMBS. Put those bombs to immediate use, bombing the two blocks directly under the Statue and rolling into the room on the left. Lay some bombs and propel yourself upwards until you grab MISSILE EXPANSION #4! Roll back out and lay a bomb at the bottom of the initial room. A bunch of small critters will fall out, all just begging to be bombed, so oblige them and head back out into the main hall.
You’ll want to do some backtracking now. This is optional, but if you’re a map completionist, get to the small room with three blocks sticking out just before the room with all those gross purple things; you know what to do. Bomb them and drop down. Make your way left and you’ll be greeted by another Chozo Statue that will point you where you need to go. I swear this thing is trying to take my job… Once you’re done, go through the large room with the purple things and stop in the small room on the left side of it. Bomb the floor and you’ll drop down. There will be a ledge on the middle right-hand wall. Get yourself on top of it, get into Morph Ball form, and drop down, bombing the block guarding the expansion. Quickly make your way back up, Morph Ball and fall, but press right once you drop and you’ll tuck into the ledge, grabbing MISSILE EXPANSION #5.
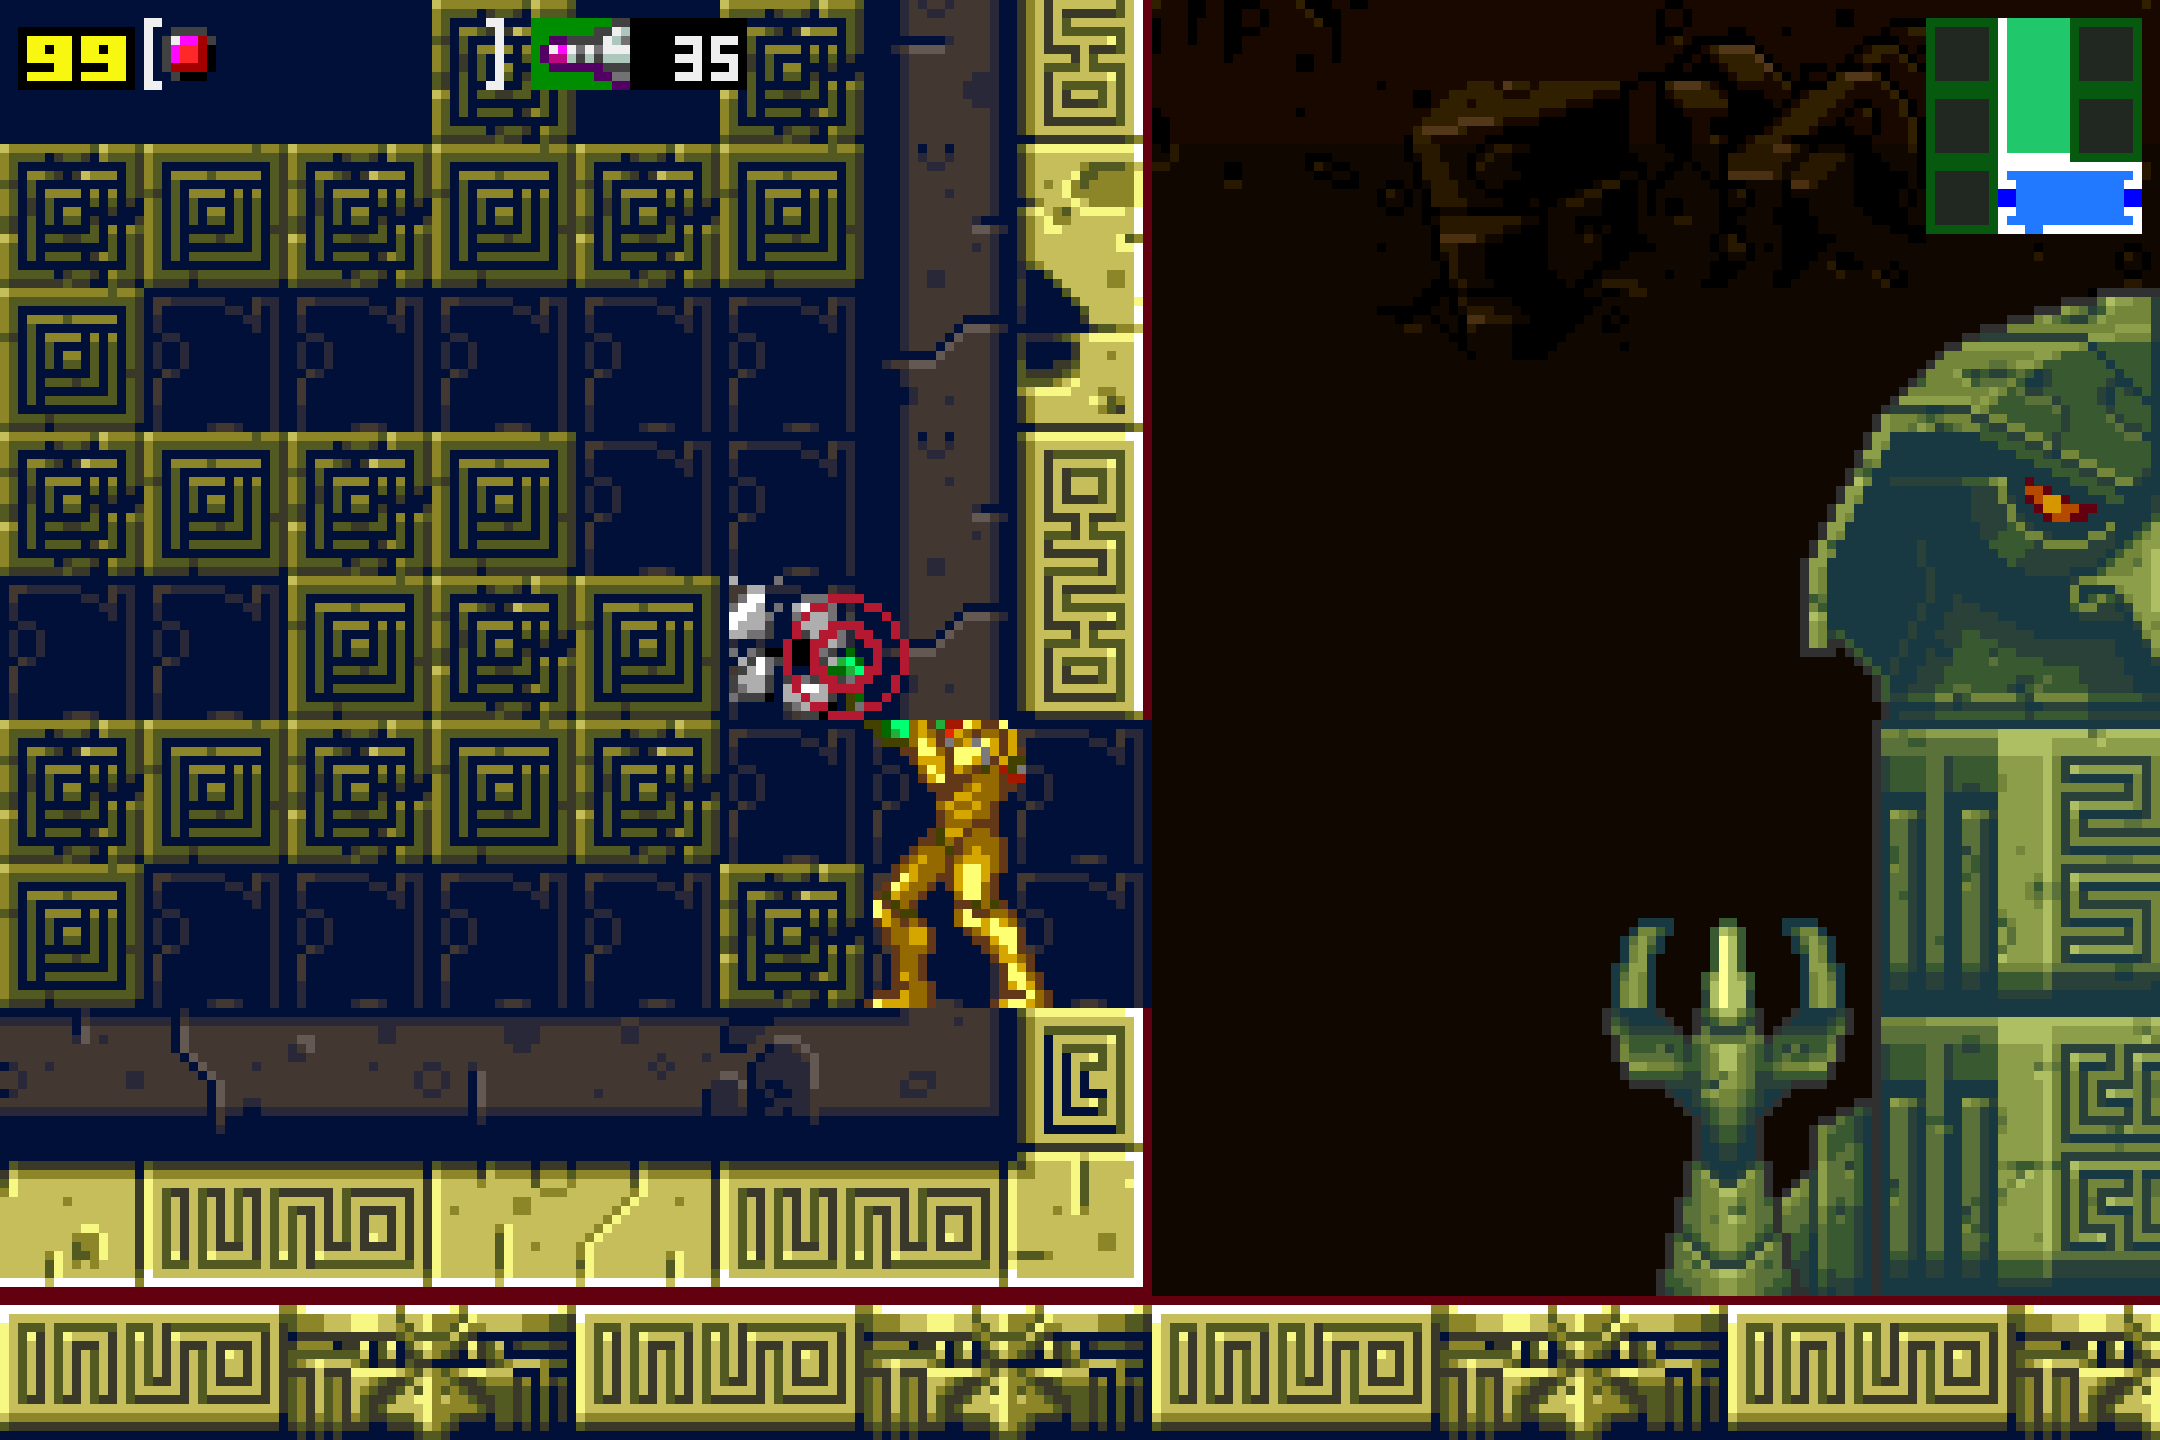
Make your way all the way back to the hallway you grabbed your first missile and fought Deorum in. Your bombs will allow you to progress all the way to the far right-hand side of the room. Go through the door and take the elevator to Norfair…
The Power Grip
Once you step off the elevator, drop down and head through the door on your right to save your game. Once you’re finished, exit back out where you came from and head towards the left. Run and gun your way leftwards, passing under a missile expansion (we can’t get it right now), rolling through a tunnel, and avoiding enemies until you exit the far left door. Our trip in Norfair will be quite brief, as there’s an elevator waiting to take you up to Crateria.
As a short aside, I love that Crateria has made an appearance in Zero Mission! The rainy rock area was one of my favorite places to visit in Super Metroid, so it’s cool to see it pop back up here. Once you’re finished, head back to the elevator room.

Step through the door on your right and once in the next room, head into the water. Shoot the walls and ground on your lower left and you should see the walls give out. Keep bombing and shooting until a little nook opens up. Shoot the left wall and you’ll see that it houses MISSILE EXPANSION #6. Once you’ve gotten that, make your way back to the surface and start jumping on the platforms and working your way up to the top of the room, exiting through the top hole.
You’ll now be in the Chozo Ruins section of Crateria, stuck in a small tunnel, so just keep pressing forward until you roll out in front of a blue door. Worth noting, along the way while you were in the tunnel, you should have seen a weird block that was in your way. Pay special attention to these, since after acquiring certain powerups, they are able to be destroyed. For now, they’re invincible, so head through the door on the right.
Go over and drop in the water; you’ll see a Chozo Statue! Sweet! Blast it open to receive… UNKNOWN ITEM? Huh?? What the heck is this?? “Item incompatible with current suit”?? What kind of malarkey is this? Yeah, kind of lame, but at least this trip isn’t a total bust: by acquiring this unknown item, those weird blocks from before can at least be destroyed now (you’ll see them flashing, so shoot or bomb them to get rid of ‘em). Destroy the block closest to the door, drop down and get MISSILE EXPANSION #7! Protip – shoot the walls on the left side to jump out of the water. It took me longer than I’d like to admit to remember this.
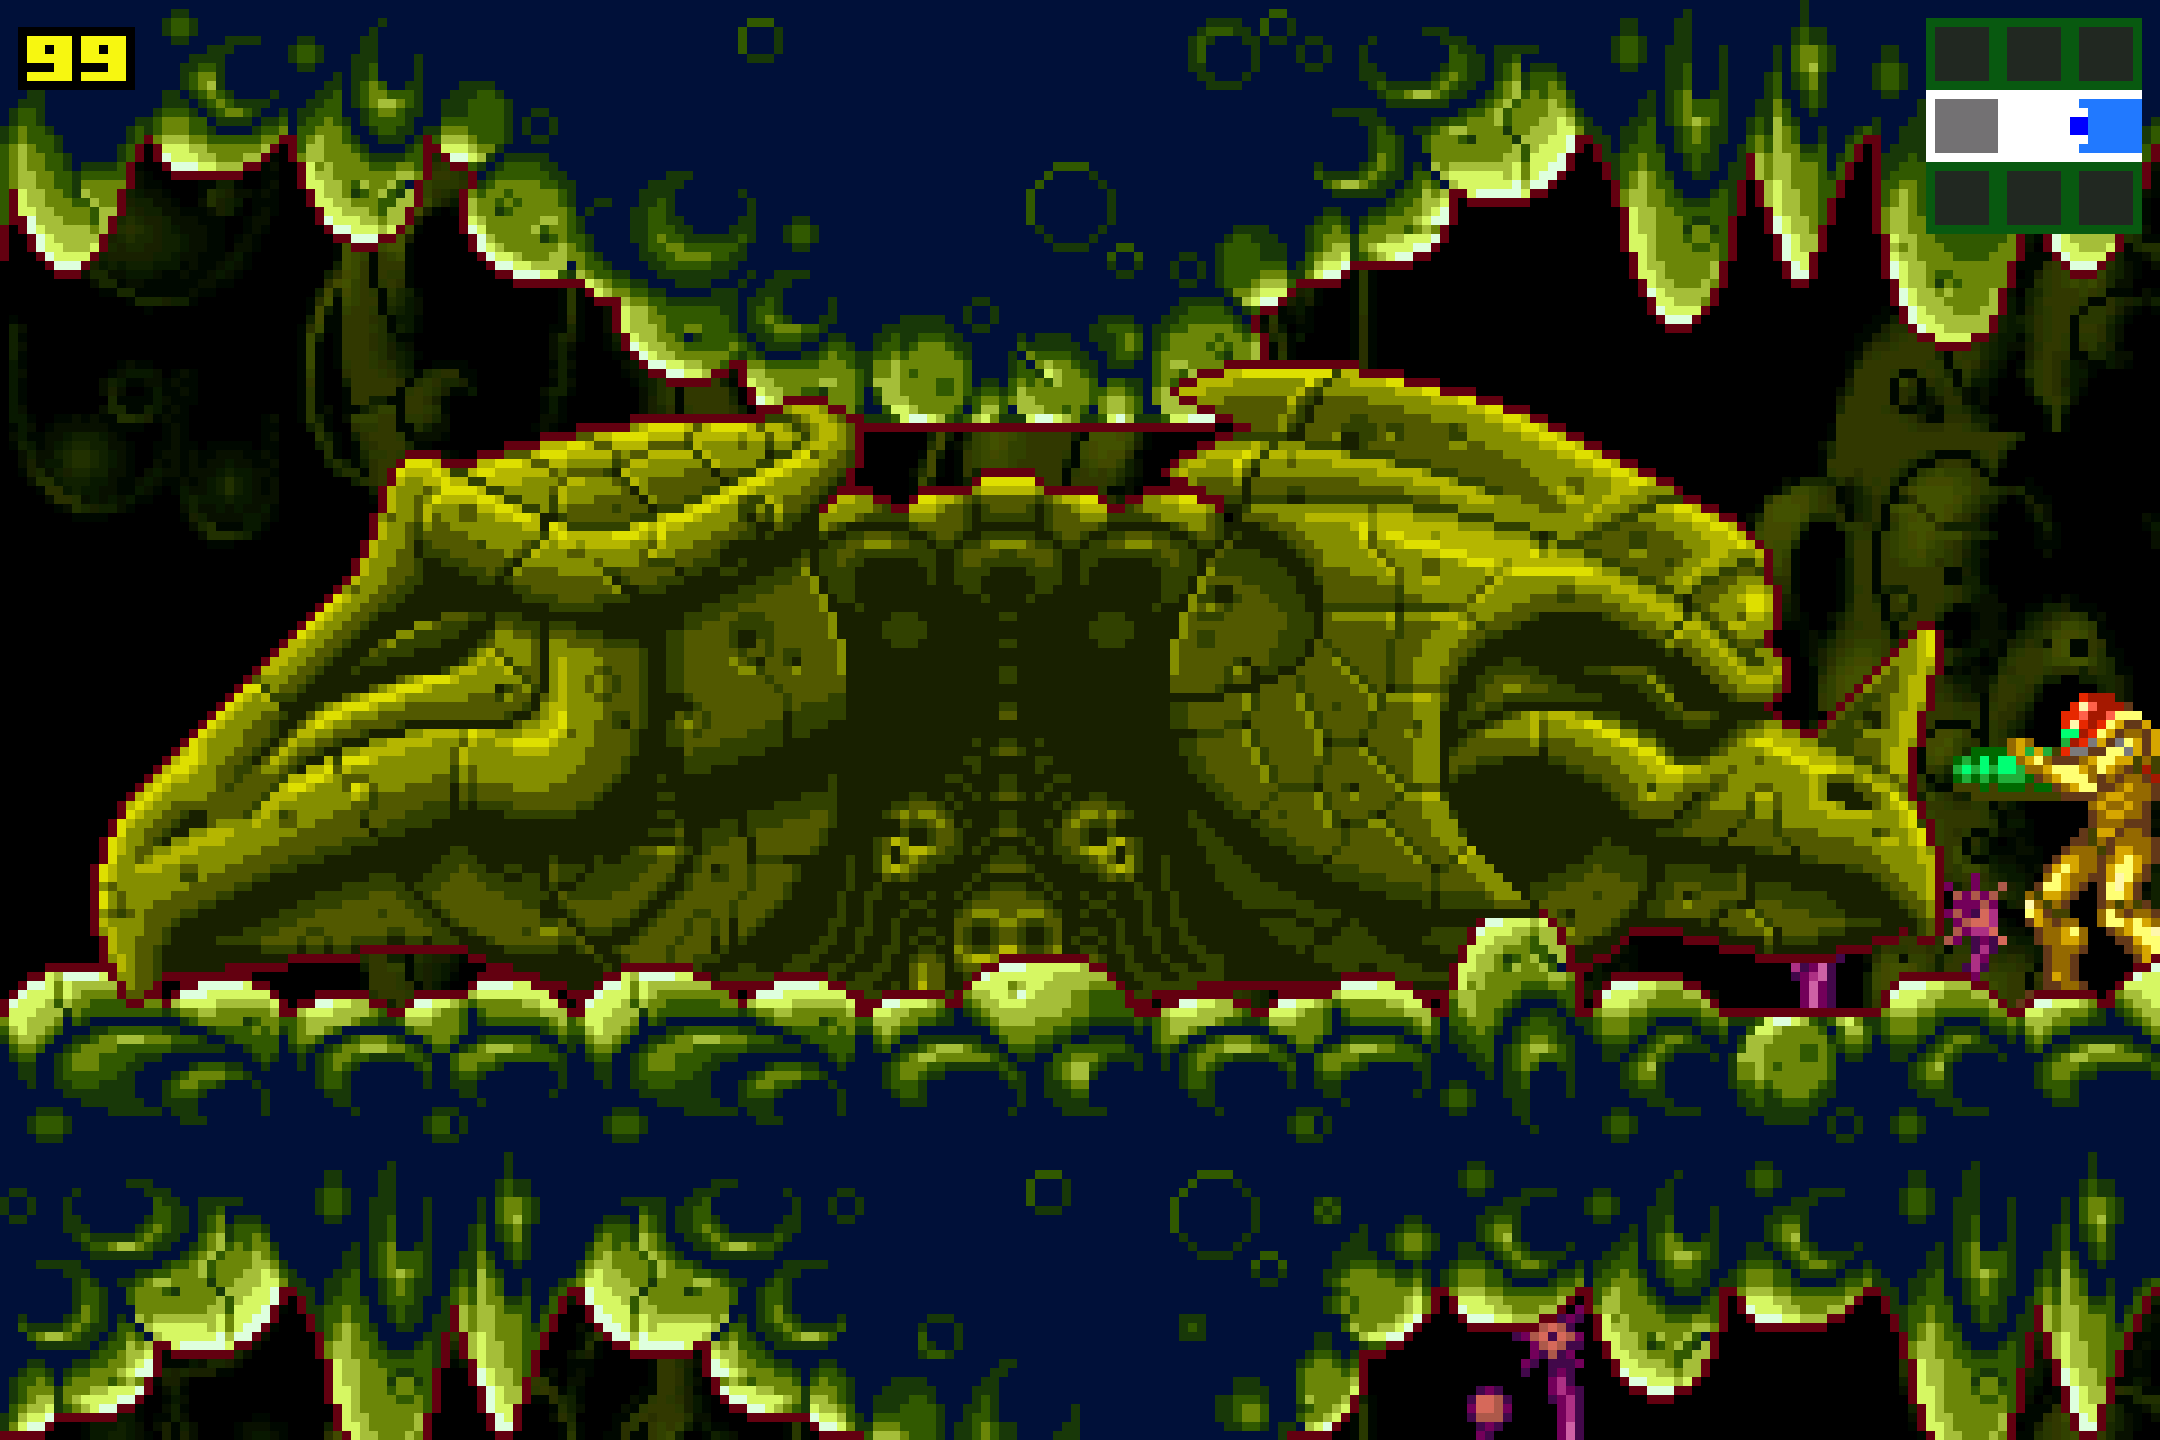
Head back into the Morph Ball tunnel and take out the Chozo square at the top that was blocking you before. Head left, jump up the platforms, and take the door on the left wall. You’ll be in a large room with a bridge that will collapse as soon as you try to walk on it, so just let it take you. After falling forever, you’ll land in a big pit that looks like it has no way out. We know better than that, though! Shoot the wall on the left and squeeze into the hidden passageway. Bomb your way over to the left-hand side wall, and roll through into a secret room. There will be the most absolutely awesome Chozo Statue you’ve ever seen holding the POWER GRIP. Go and grab it!
This nifty upgrade let’s Samus grab ledges, which truth be told is kind of lame since that seems like a power that a renowned intergalactic bounty hunter should just have always, but nevertheless. Roll back out and you’ll see a giant Chozo Statue rise out of the ground, with ledges that you can jump and grab onto that will pull yourself back up. Use your Power Grip to climb up, and then through the door on your left. Again, climb and pull yourself towards the left, and exit into the landing site where your ship resides. Head back towards the elevator room and take the lift back down to Norfair.
The Ice Beam
Once you get off the elevator, use your Power Grip to pull yourself into the small ledge in the middle left side of the room, and fall down, taking the door on the right. Press forward in this room, jumping and blasting away enemies, and you’ll run right into MISSILE EXPANSION #8! Once you’ve grabbed that, head back to the elevator room and take the middle right-hand door. Press forward, and, hey, remember that missile expansion we had to run under earlier? Well, now that we have the Power Grip, we can jump up and grab MISSILE EXPANSION #9 easier than you can say ‘free candy’! Press forward until you arrive at the Save Station.
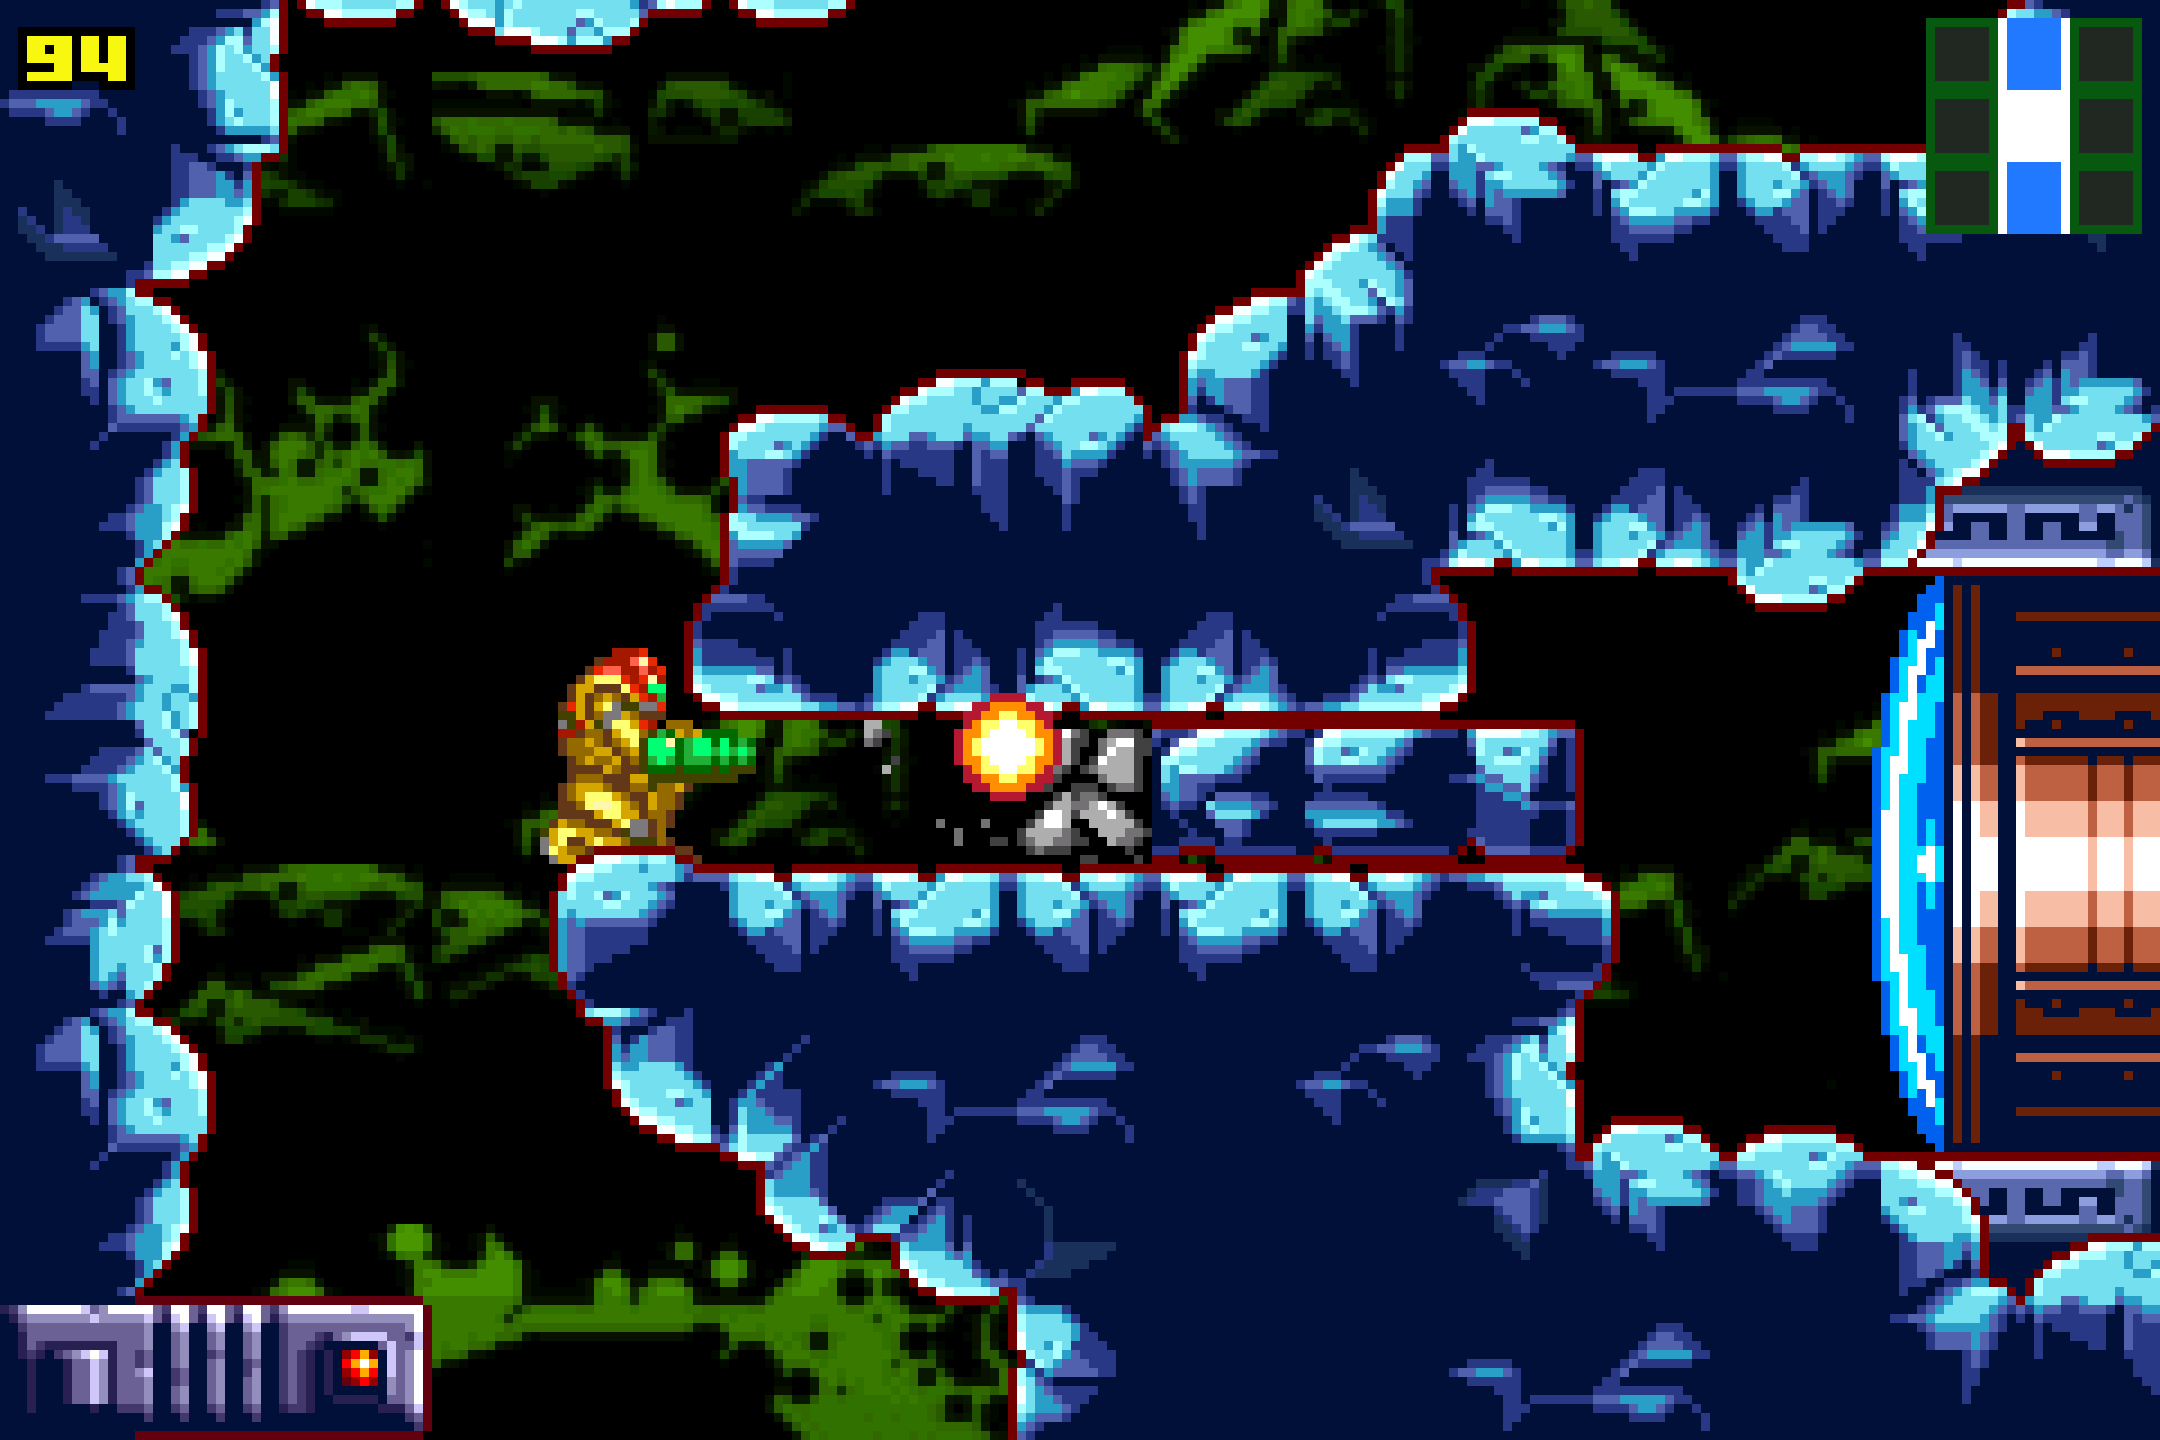
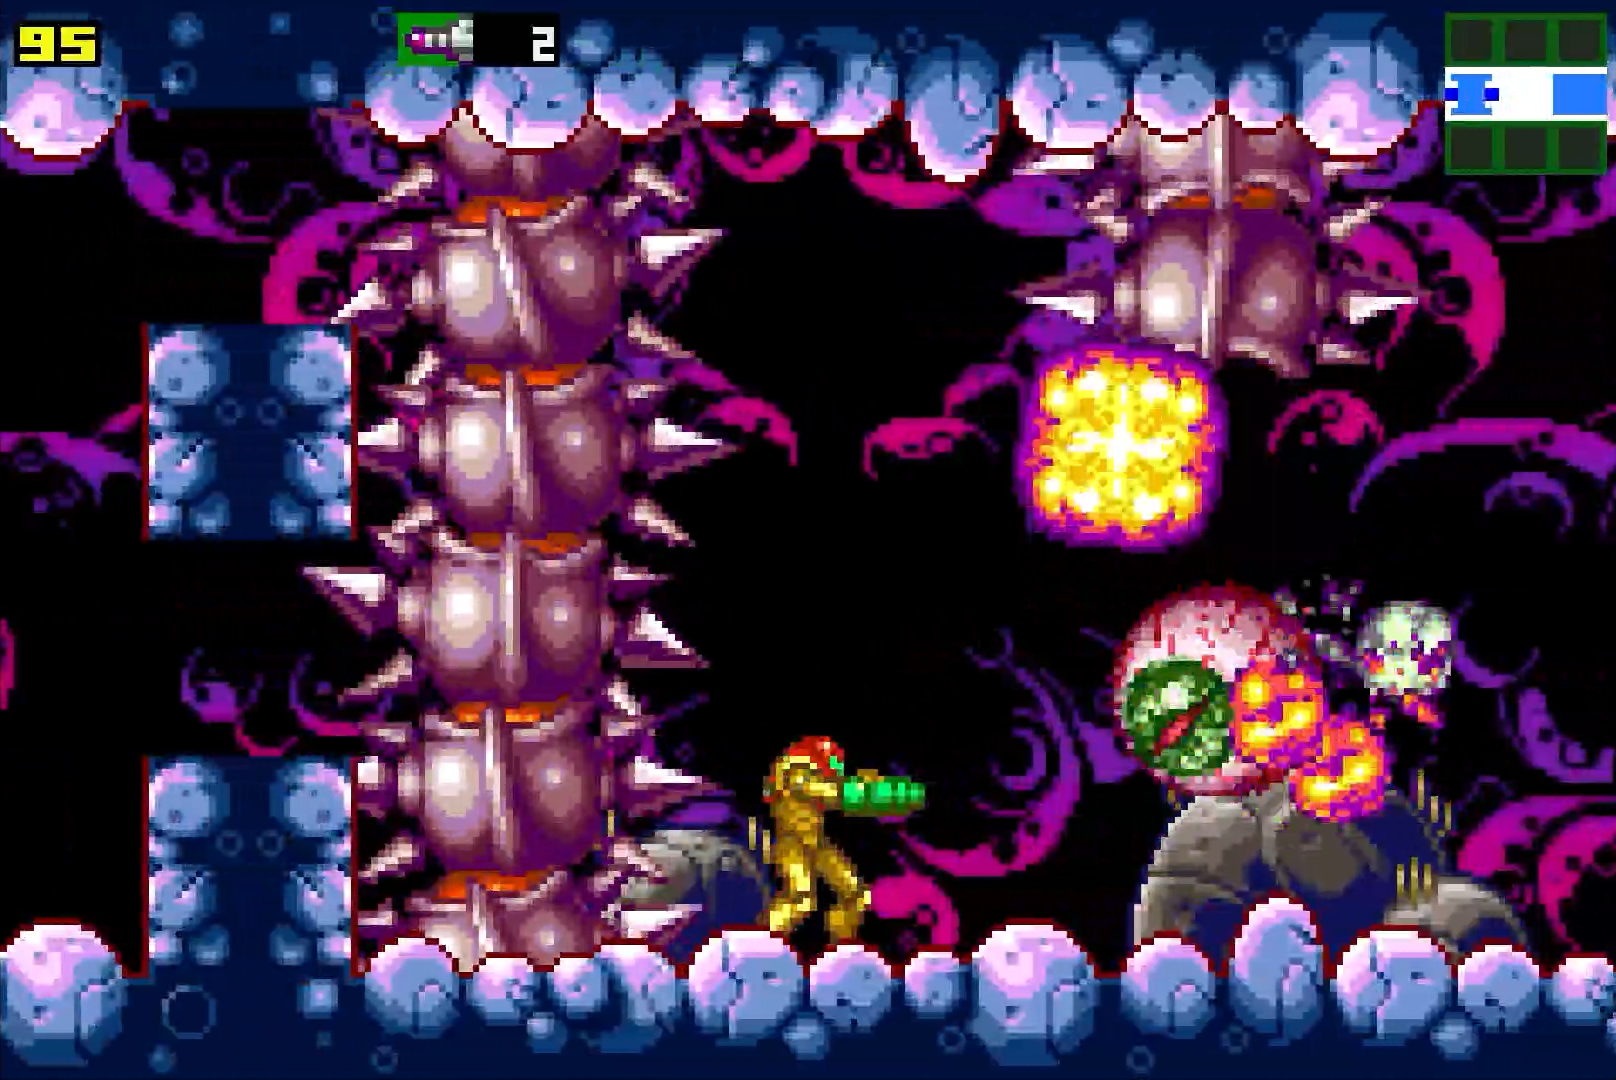
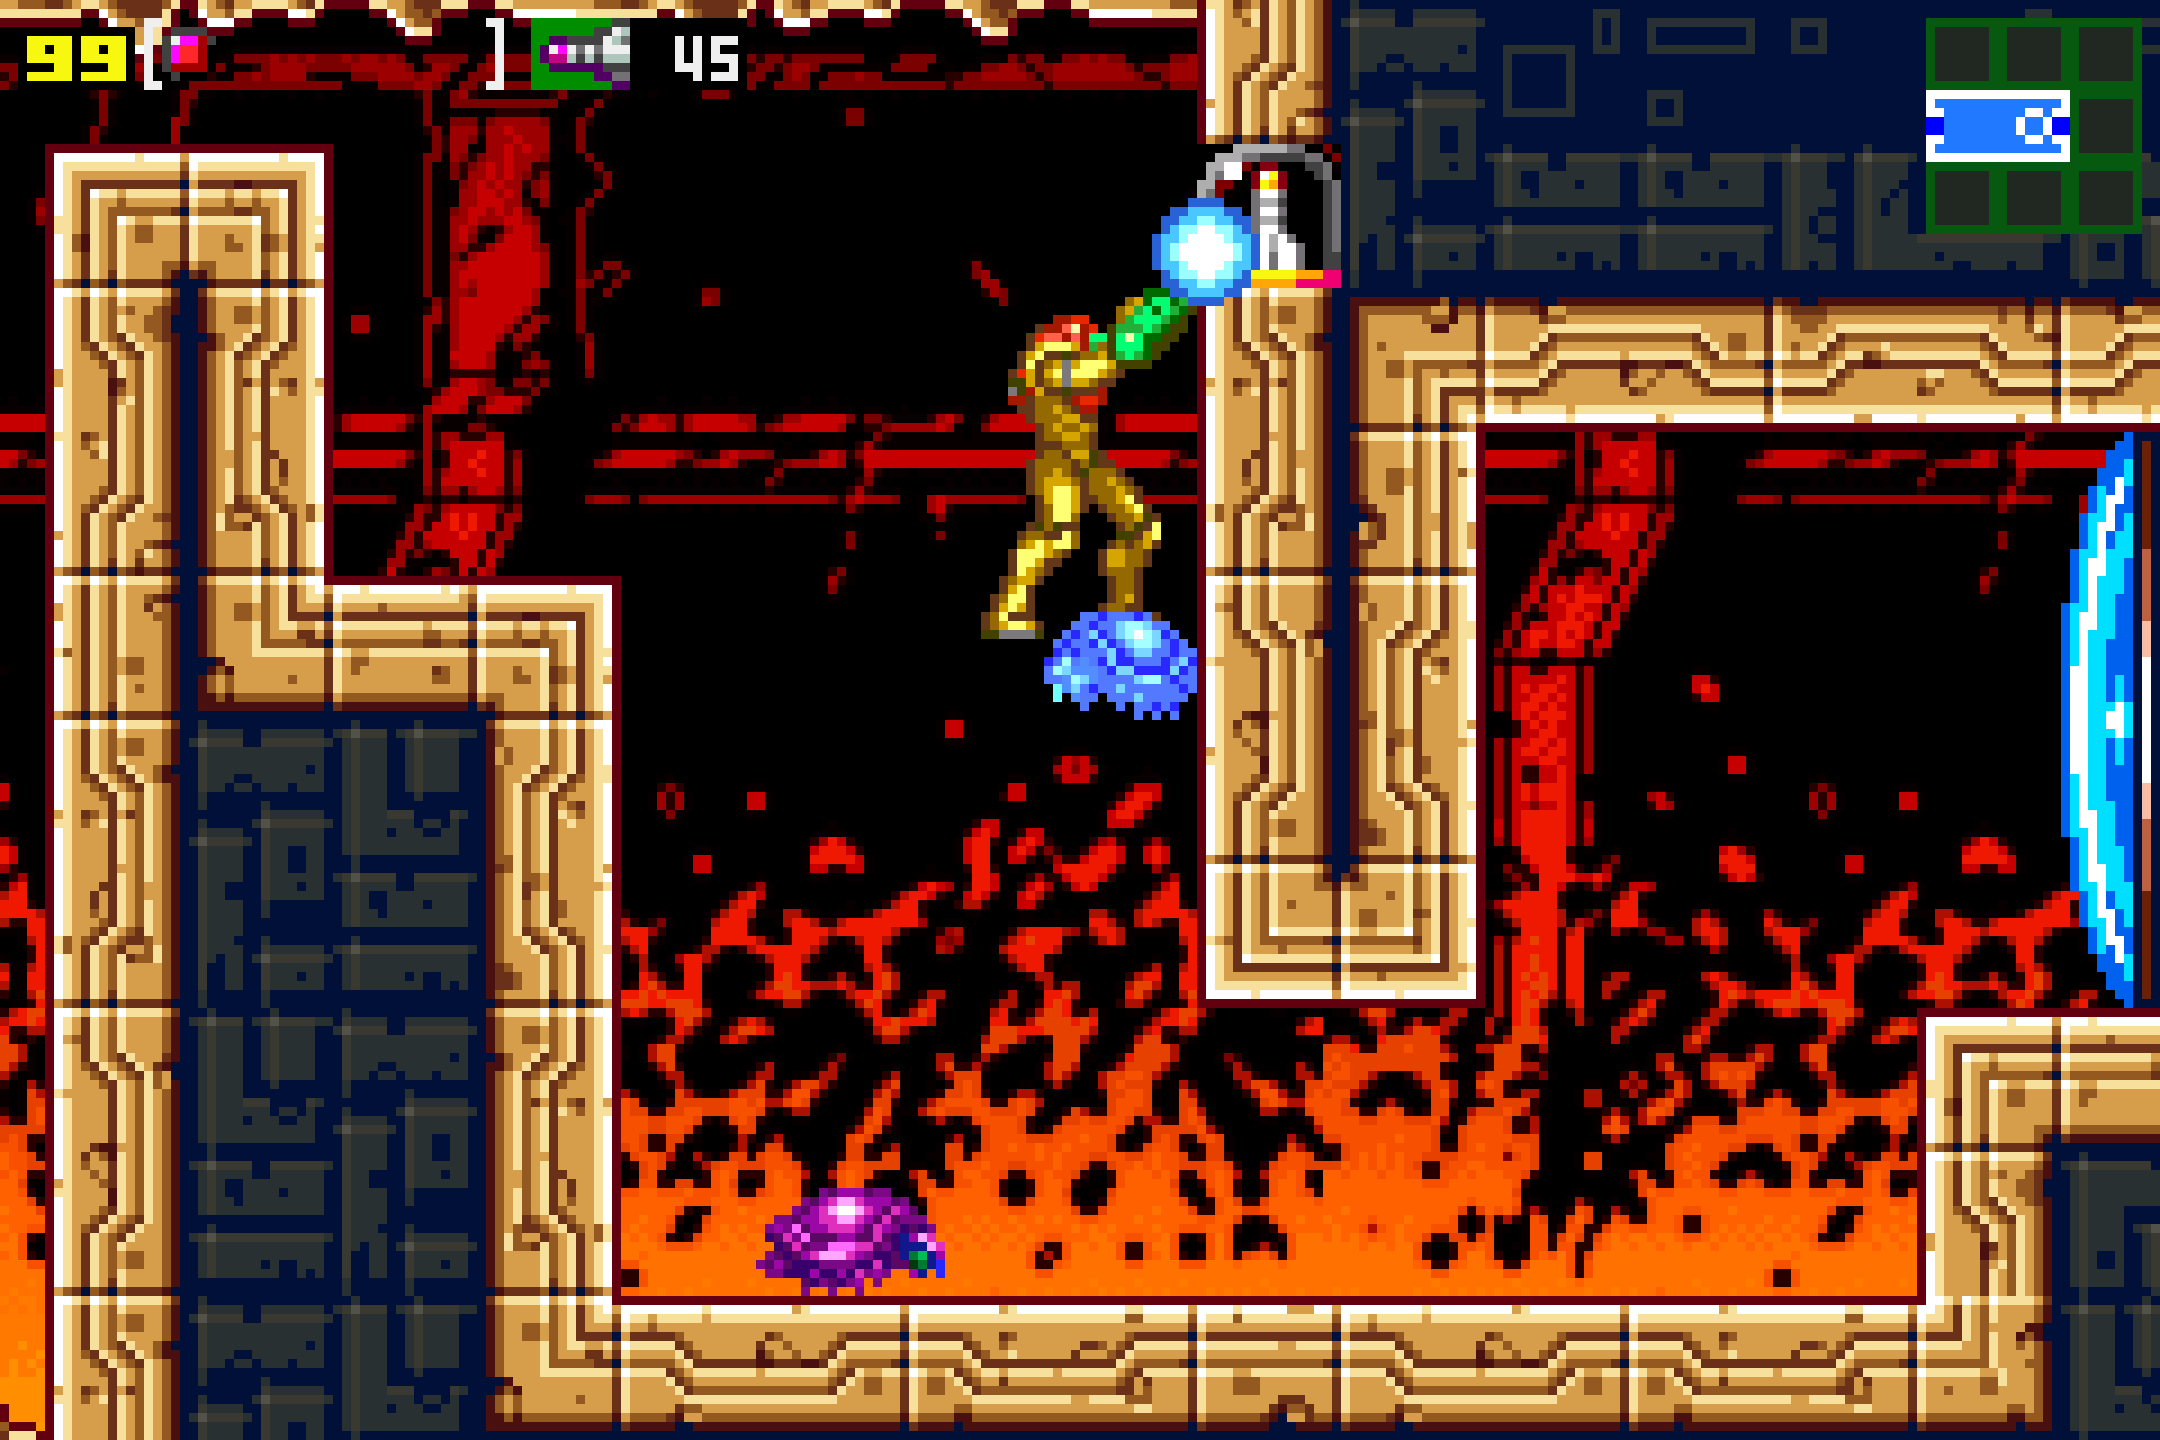
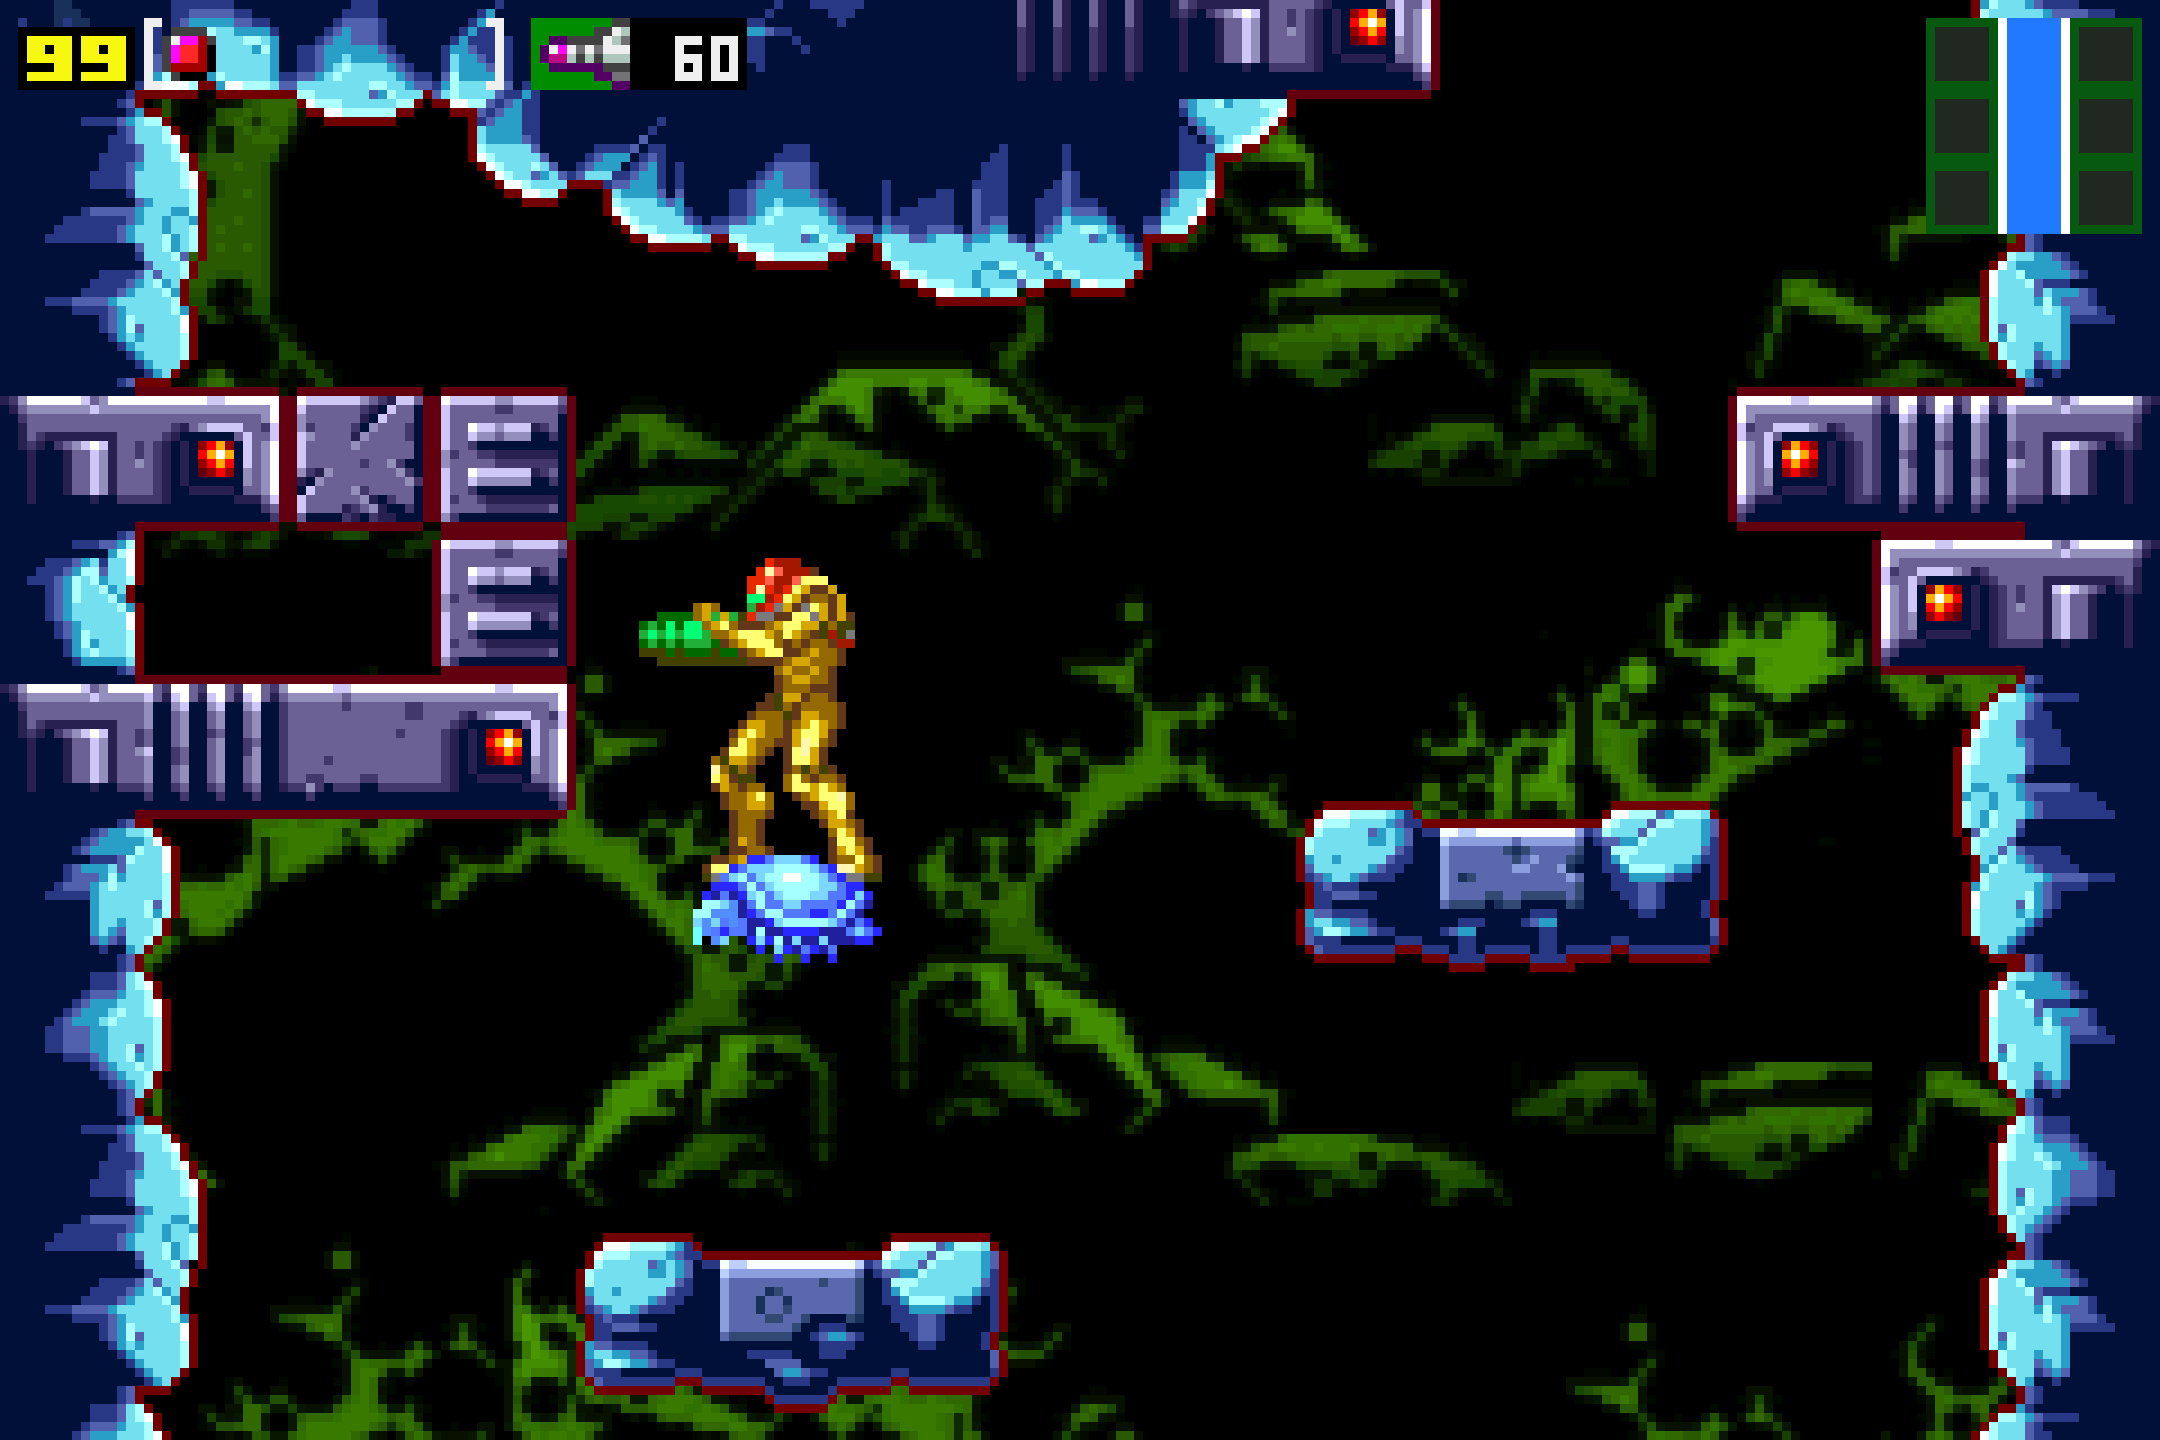
Head through the right door and you’ll find yourself in a big room full of platforms and lava on the ground. Proceed across, skipping past the expansion for now, and go through the door on the right. You’ll find yourself in a vertical hallway full of green bubbles. Head up and take the first door on your left. This room has lava on the ground and veeery small platforms for you to jump onto. Be careful, eliminate any enemies in your way, and plan your jumps. Falling in the lava is obviously not ideal here. Once you’re across, head through the blue blast door. On the other side, a Chozo Statue awaits. Shoot it and claim the ICE BEAM.
The door behind you will now be locked (how rude), so roll under the Chozo Statue and freeze the Ripper flying back and forth to use it as a platform for you to climb higher. Take the door on the left.
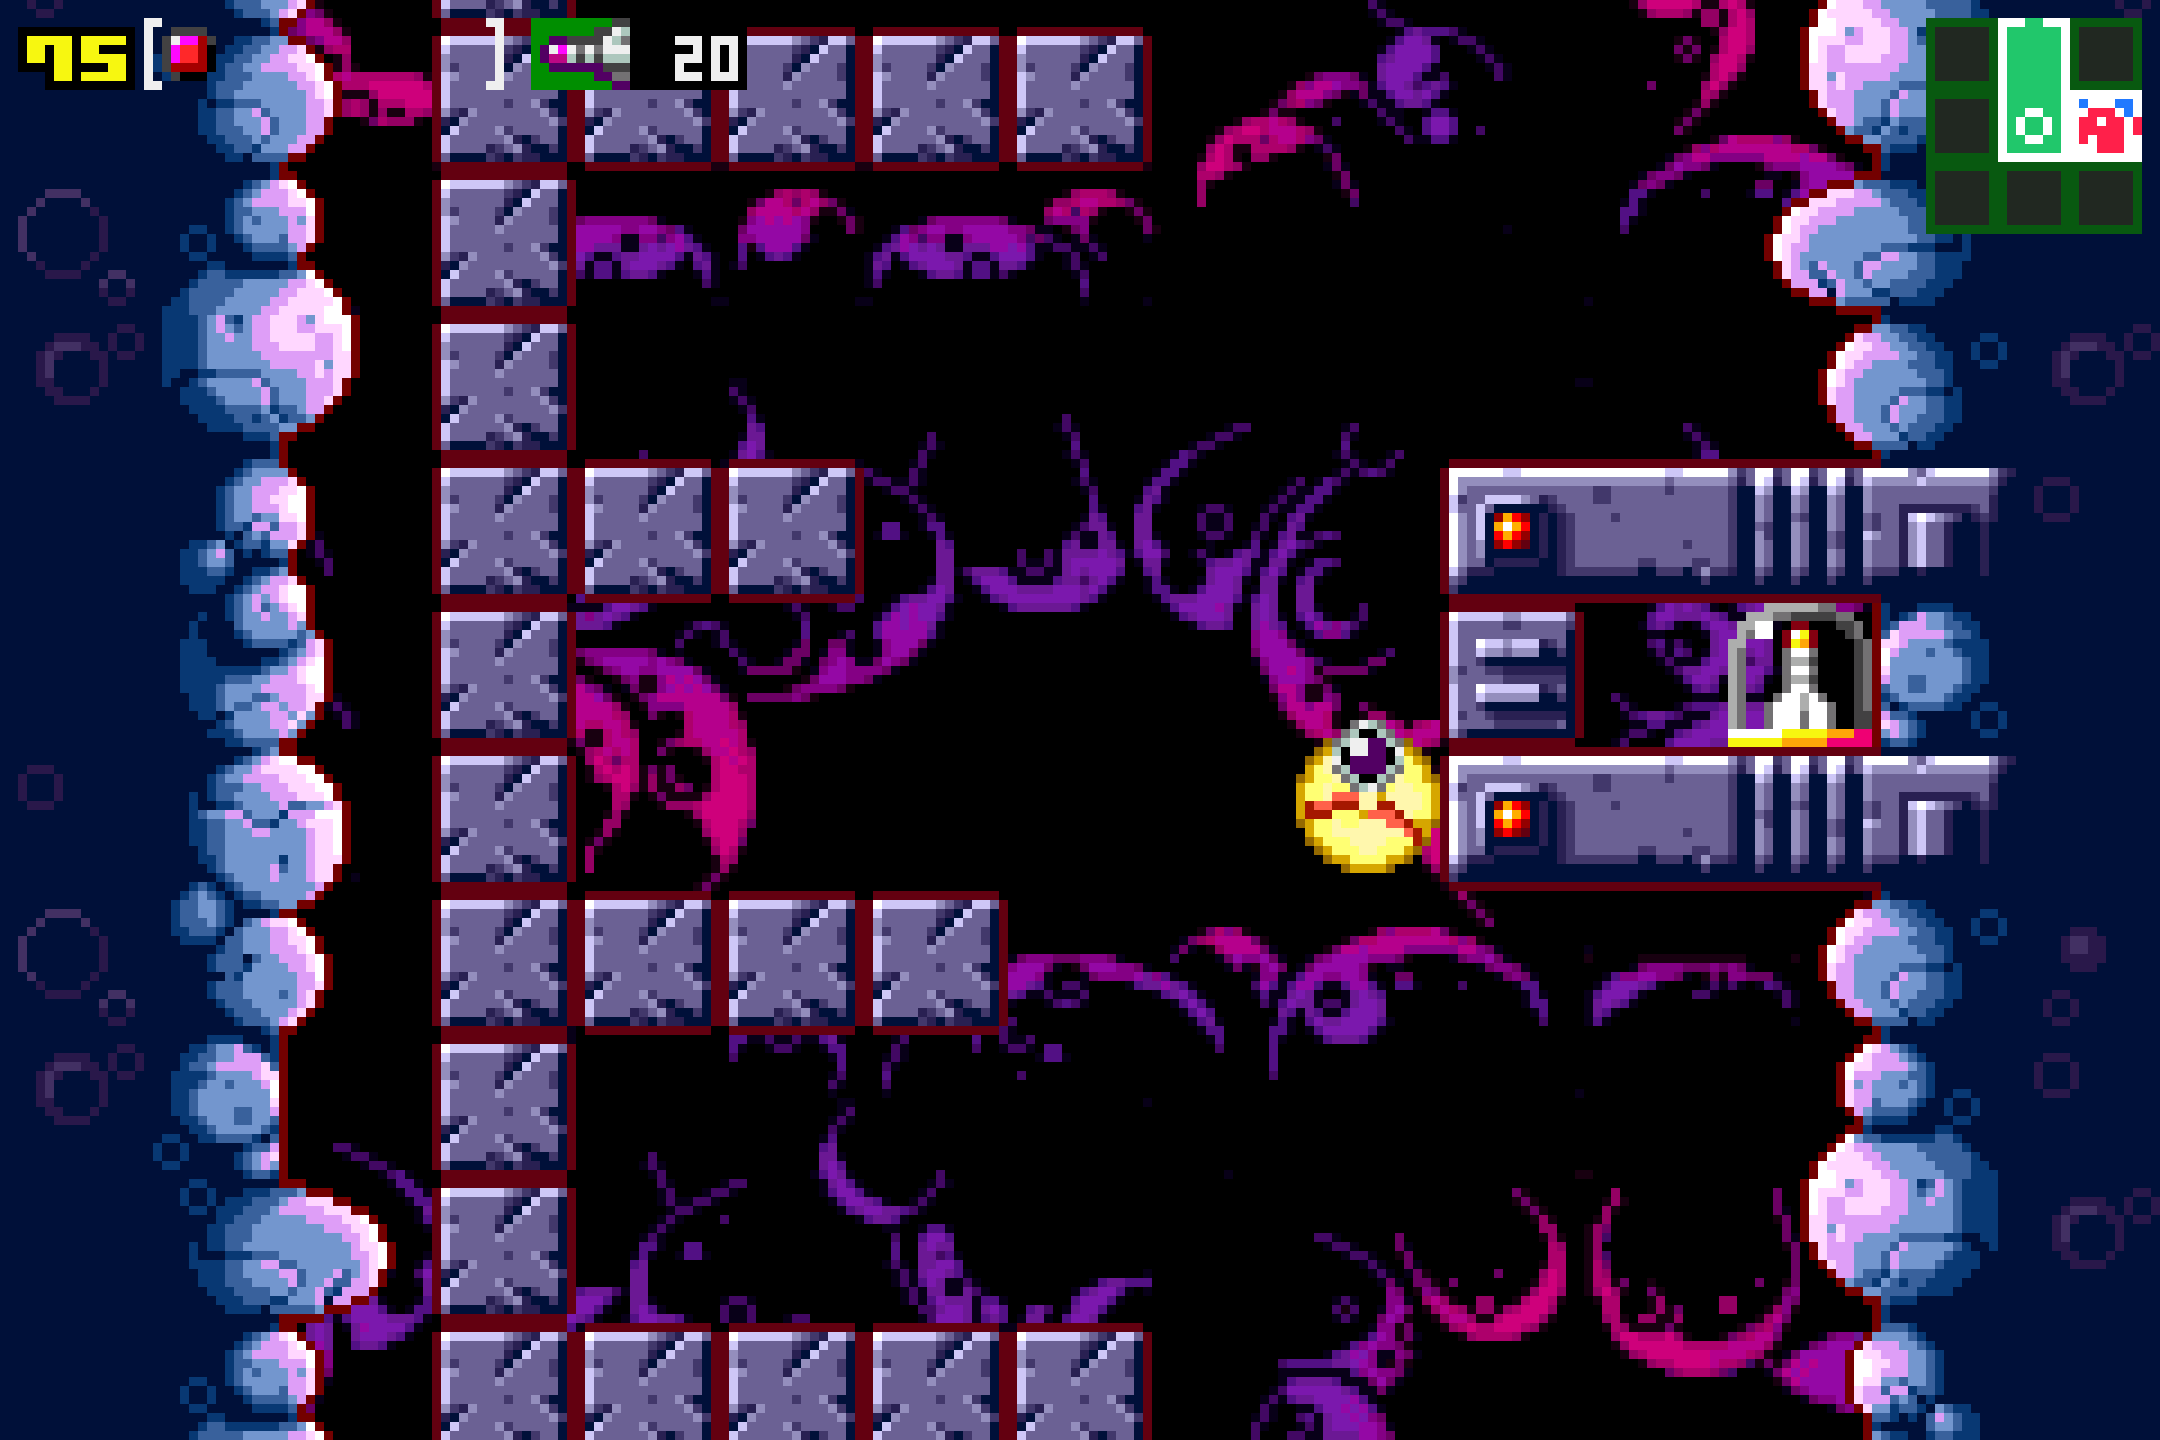
There will be a Save Station on your left that you can use if you want, otherwise, start climbing up, freeze the Rippers and use them platforms, and take the door on the top right hand side. In the next room, similarly freeze the enemies to use as platforms, and then jump into the loving hands of the Chozo Statue and let it guide you towards your next point of interest. Once the Chozo has done its thing, head through into the next room. Work your way across, stopping when you get to the middle of the room where one Ripper is flying around higher up and one is flying closer to the ground. Shoot the one higher up so it’s close to the wall, and then shoot the wall itself (you’ll want to aim for the second tile down from the top). You’ll see MISSILE EXPANSION #10 exposed, so go jump and get it!
Make your way back into the large room with platforms and lava, the one next to the Save Station. You should see an enemy trapped under some blocks. Bomb the blocks and then freeze the enemy at the apex of its jump; climb on top of it and grab MISSILE EXPANSION #11. Make your way back to the elevator room and out of Norfair…
The Road to Kraid
The Chozo Statue point of interest has pointed us in the direction of Kraid’s Lair, but before we descend into that hostile territory, let’s shore up our offence a bit, shall we? Work your way left from the elevator room until you’re back in the super tall vertical hallway. Climb ALL THE WAY to the top, freezing the Rippers at the peak and grabbing into the ledge, which will pull you into a secret room where MISSILE EXPANSION #12 is waiting for you!
Bomb your way down and you’ll now find yourself in another tall vertical hallway. Drop down until you see a ledge with a Ripper flying under it. Freeze the Ripper and just onto the ledge; bomb the block and roll through. Take out all the enemies, keep dropping down, and grab MISSILE EXPANSION #13. Roll back out into the vertical hallway and drop all the way to the bottom.
Make your way towards the left, stopping in the room with bombable blocks on the floor. Destroy them, drop down, and take the elevator to Kraid’s Lair…