Metroid Prime Hunters Walkthrough – Boss Fights
Here you’ll find a detailed list of strategies, information, and tips for fighting the many bosses of Metroid Prime Hunters. Before we begin, though, first:
A Note About Metroid Prime Hunters Bosses
Hunters does their boss encounters a bit differently than other Metroid games in that it relies less on strategies and pattern recognition as it does on your ability to perform and hit the enemy you’re fighting. There are multiple fights where you will know exactly what you need to do and where you need to fire within the first couple seconds of the battle – the challenge comes from being able to actually do it!
Due to this, my ability to help you out with these boss encounters is going to be… limited, let’s just say. I can still provide some tips and tricks, plus which weapon will serve you best for a few of these baddies, but you’re ultimately going to be doing most of the heavy lifting yourself. When I say “hit Boss X here”, that may sound easy enough, but be a pain in the butt to actually do!
Nevertheless, let’s get to the bosses! They will be broken up into two sections – Bosses and Hunters. Hunter encounters will be written from the perspective of your first encounter with them, using the toolset that you had at the time. Keep in mind, Hunters will randomly spawn up in designated areas after, so feel free to battle them with whatever weapons you want, but keep in mind – if you lose, whatever Hunter defeated you will steal an Octolith and you’ll have to fight and defeat them again to get it back!
Hunter Battles
Boss Battles
- Cretaphid v1
- Slench 1
- Cretaphid v2
- Slench 2
- Slench 3
- Fire Spawn
- Cretaphid v3
- Arctic Spawn
- Cretaphid v4
- Slench 4
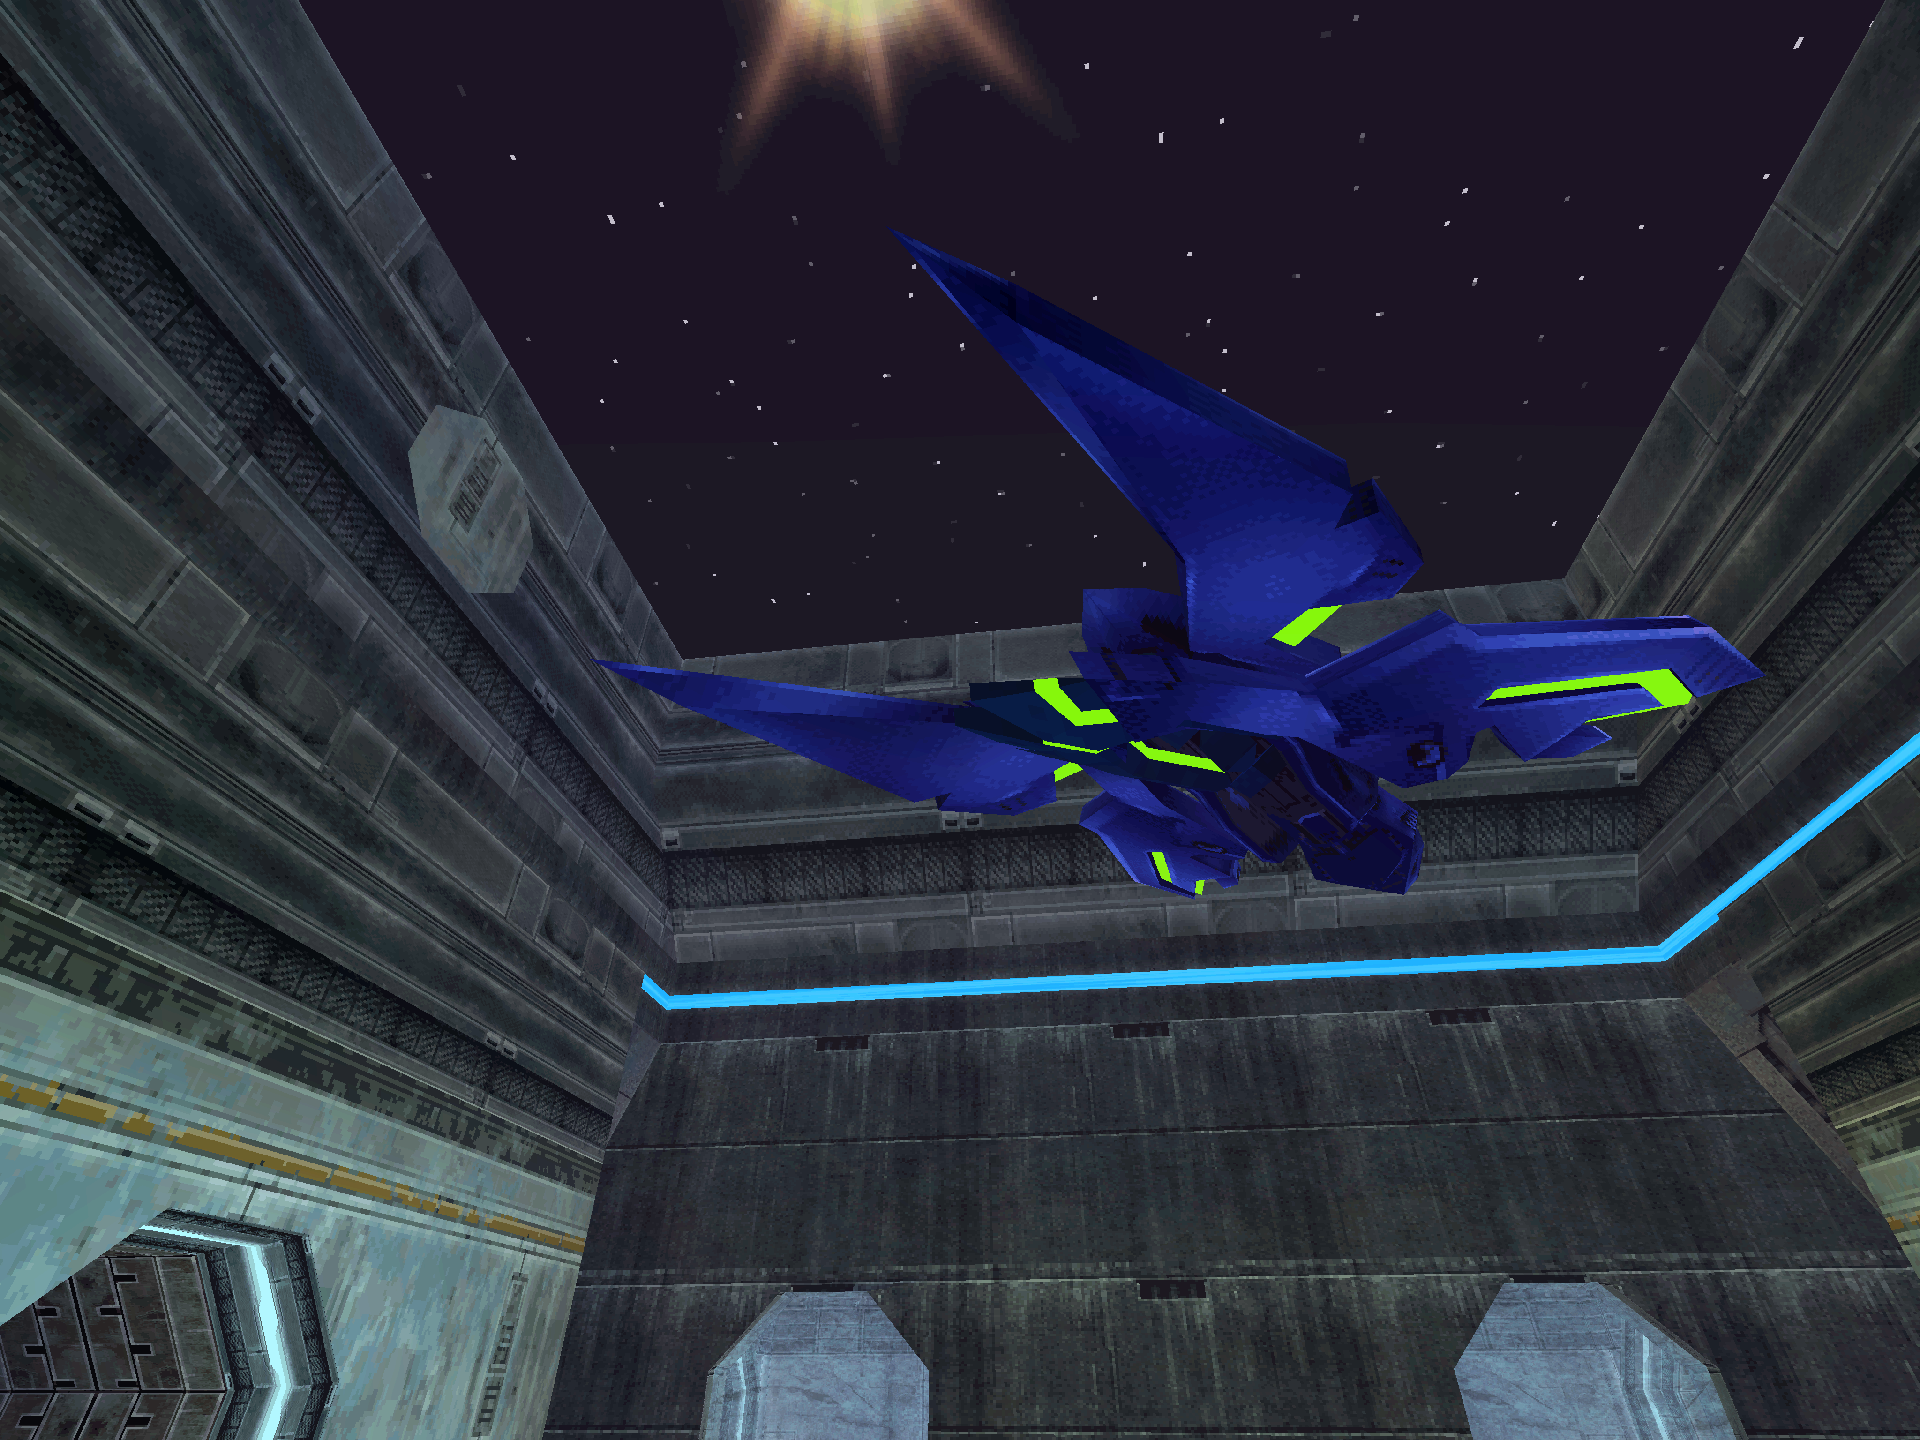
- Gorea
- Gorea 2
HUNTER BATTLES
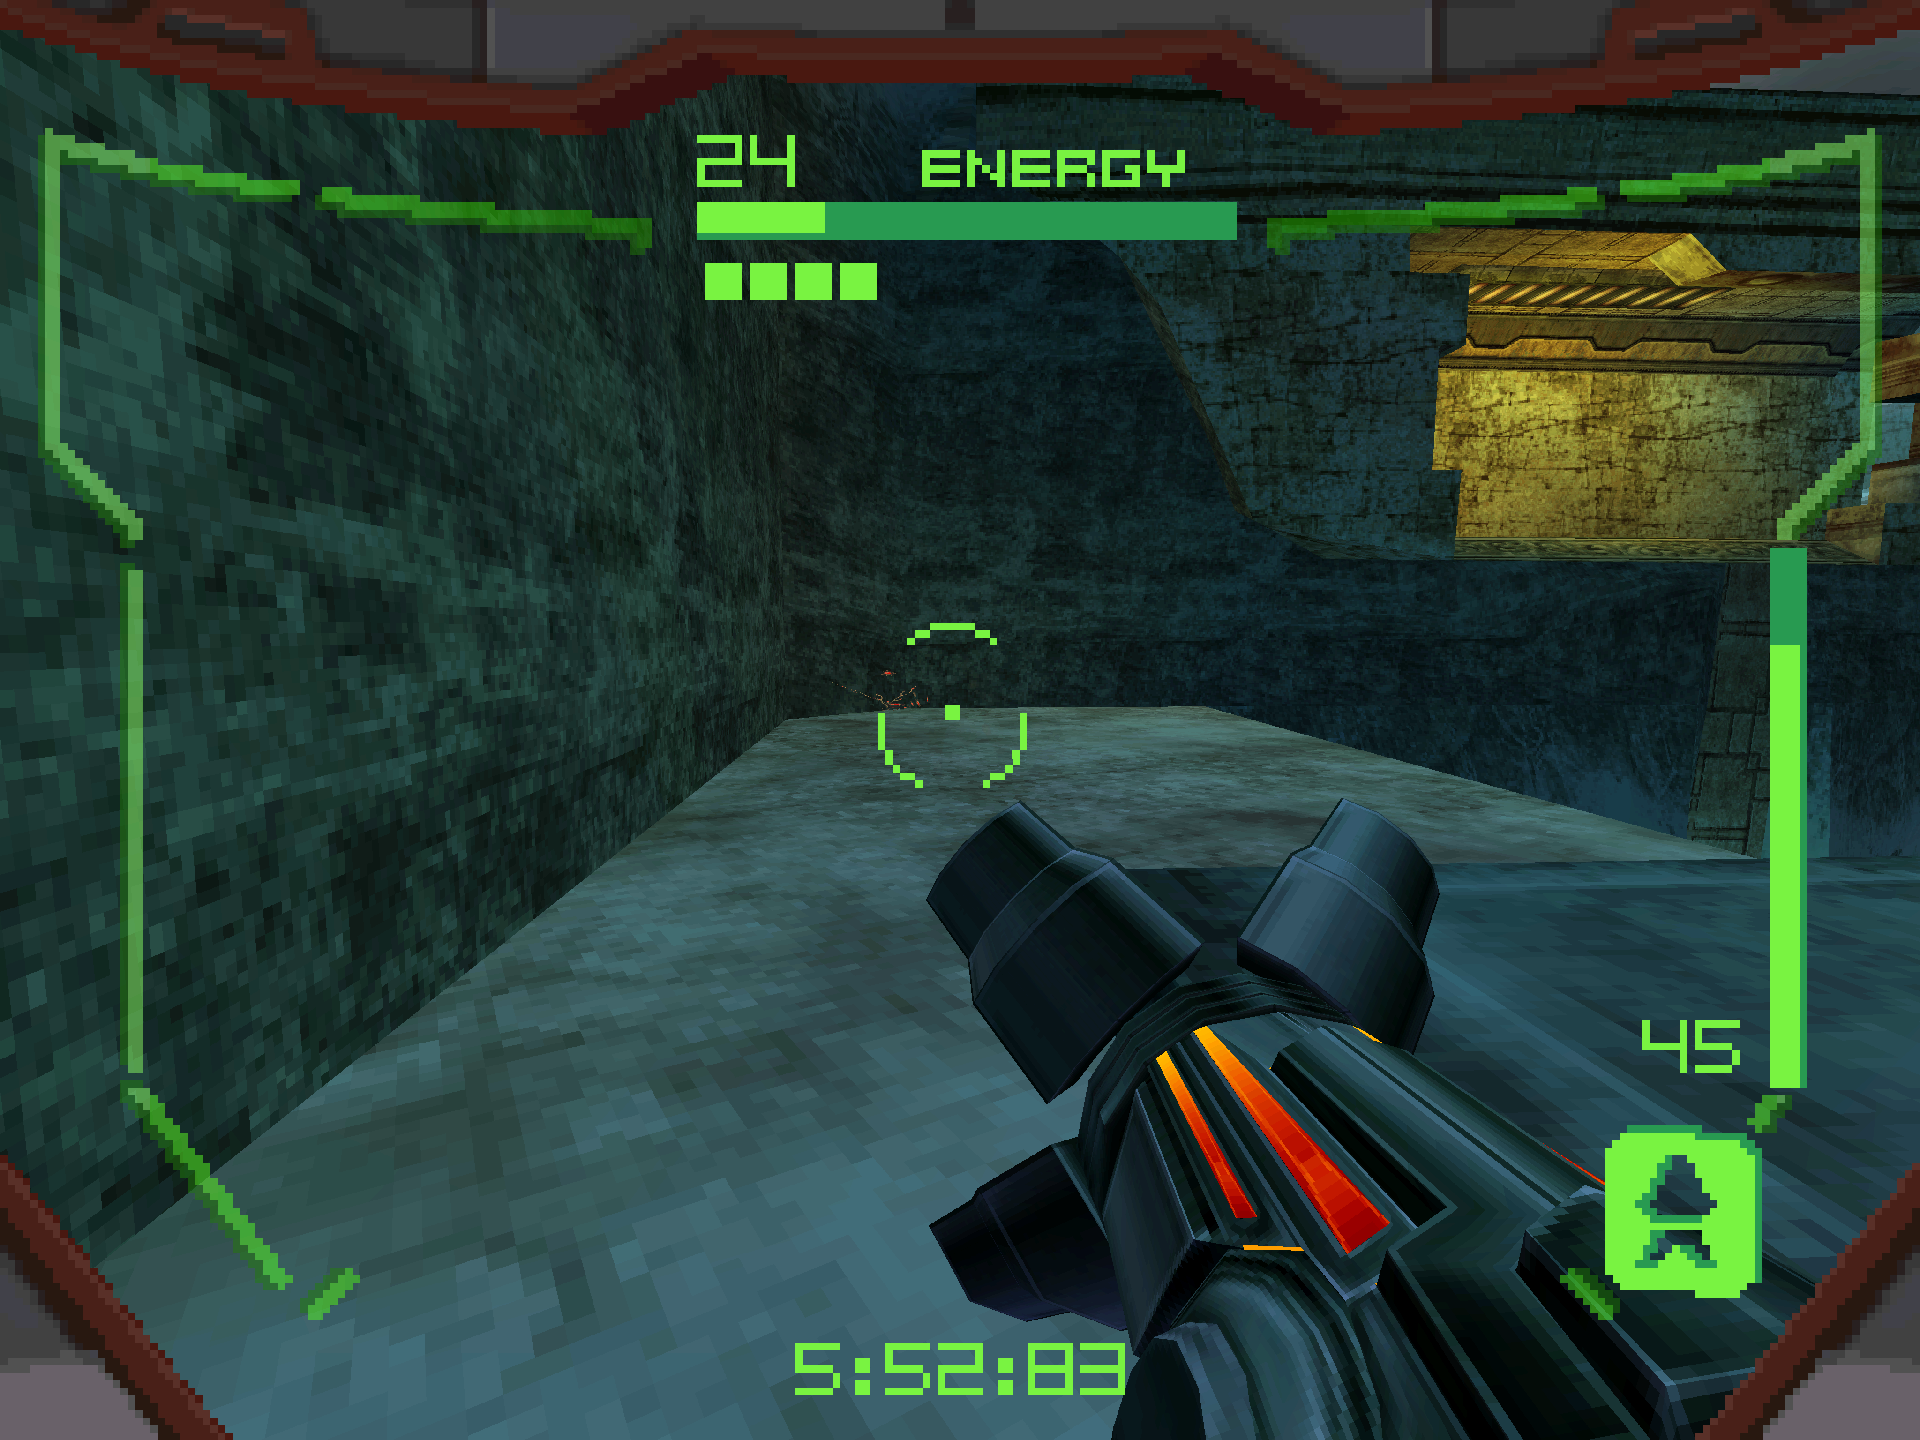
Kanden
KANDEN marks not only our first boss fight, but our first Hunter encounter. These work a bit differently than your standard boss fights. While most bosses have weak points and some sort of puzzle to expose them, the Hunter fights are essentially multiplayer bot matches. Anything will damage them, with headshots delivering extra damage. Each Hunter will fight exclusively with their Affinity Weapon in bipedal form, while also transforming into their alt forms at various points throughout. After the main scripted boss fight, the Hunter can appear randomly in other areas of the game and challenge you to another fight.

With that out of the way let’s get to Kanden’s specific strategy for this fight. First off, make sure that you scan both him as well as his STINGLARVA alt form. After that, the strategy is pretty similar to the Psycho Bit swarm encounter. Keep strafing around the area while you blast shots into Kanden. Use your charged homing missiles if he’s further away, but otherwise stick with the Power Beam for close and medium range encounters. Try to go for headshots if you feel comfortable for extra damage! Kanden will occasionally fire off charged Volt Driver shots which will distort your visor if they hit. The projectiles are slow moving, but also hone in on you so keep your eye out for them! When Kanden transforms into the Stinglarva, match him up with your own Morph Ball and drop bombs when he’s in the vicinity. If you’re proficient enough with the Boost Ball, you can use that for some extra damage too and completely melt his health away!

Spire
SPIRE’S strengths are in close quarters combat, but his arsenal is far from optimal at long range. Up close he can hit you with the DIALANCHE as we’ve seen leading up to the fight, however now he can also fire off charged Magmaul shots too. A charged shot not only has splash damage, but will do burn damage over time when hit. From afar however, all he can do is lob standard Magmaul shots, which have severe drop off. Keeping our distance from Spire is the play! By this point we should have thirty-five missiles, so we’re gonna take full advantage of that! The homing effect of the charged missiles are a HUGE advantage on High Ground, so abuse those while keeping your distance. Charged Power Beam headshots also do critical damage if you run out of missiles. Spire will try to close in on you to gain the upper hand, but as long as you keep moving away from him, there’s not much he can do.

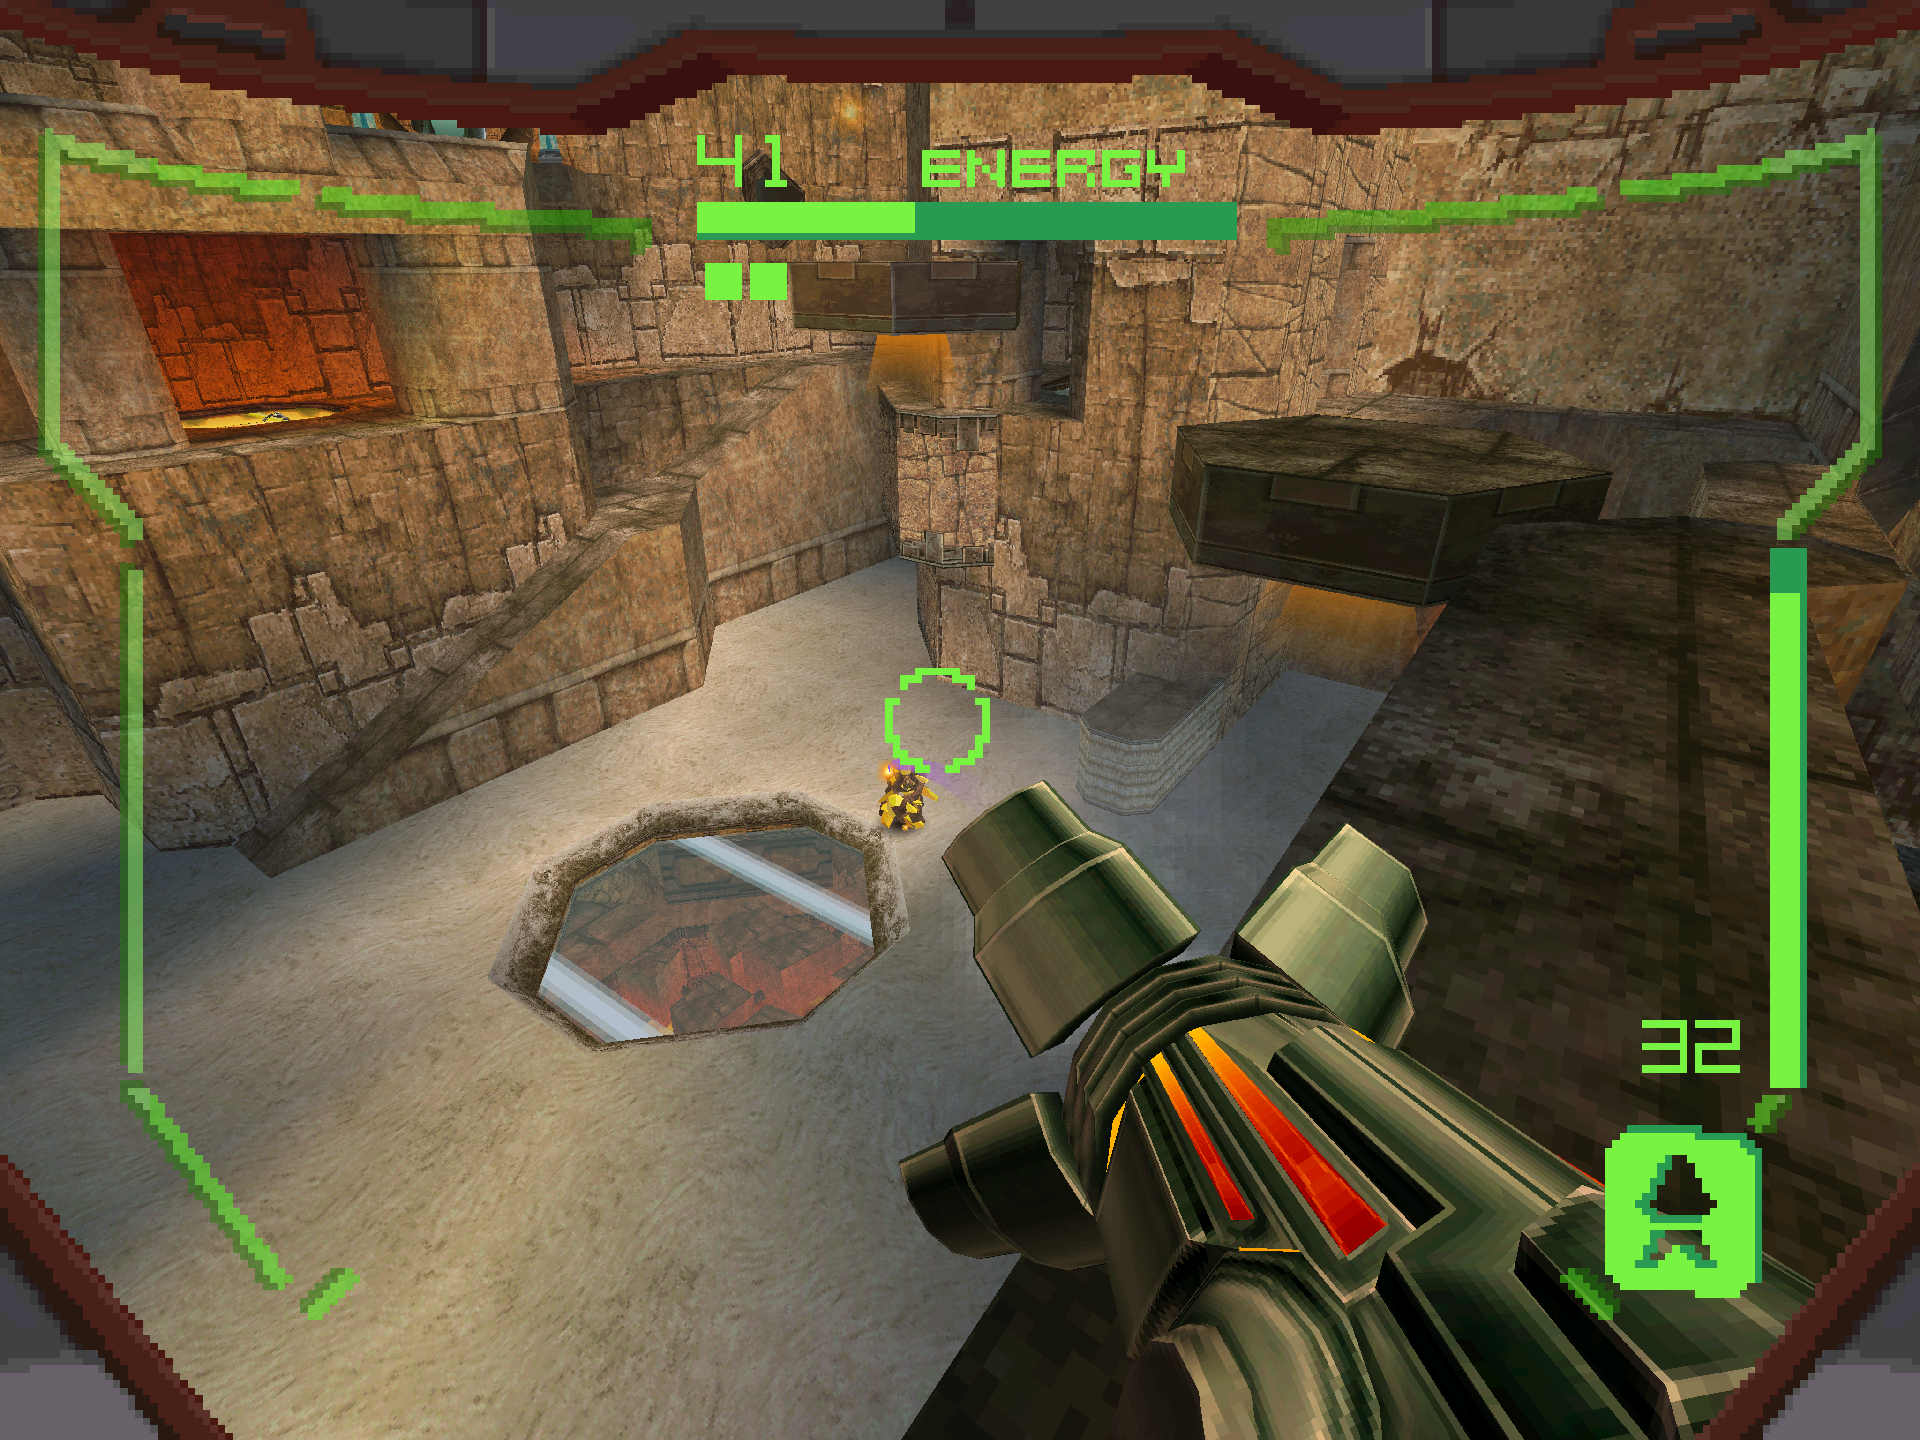
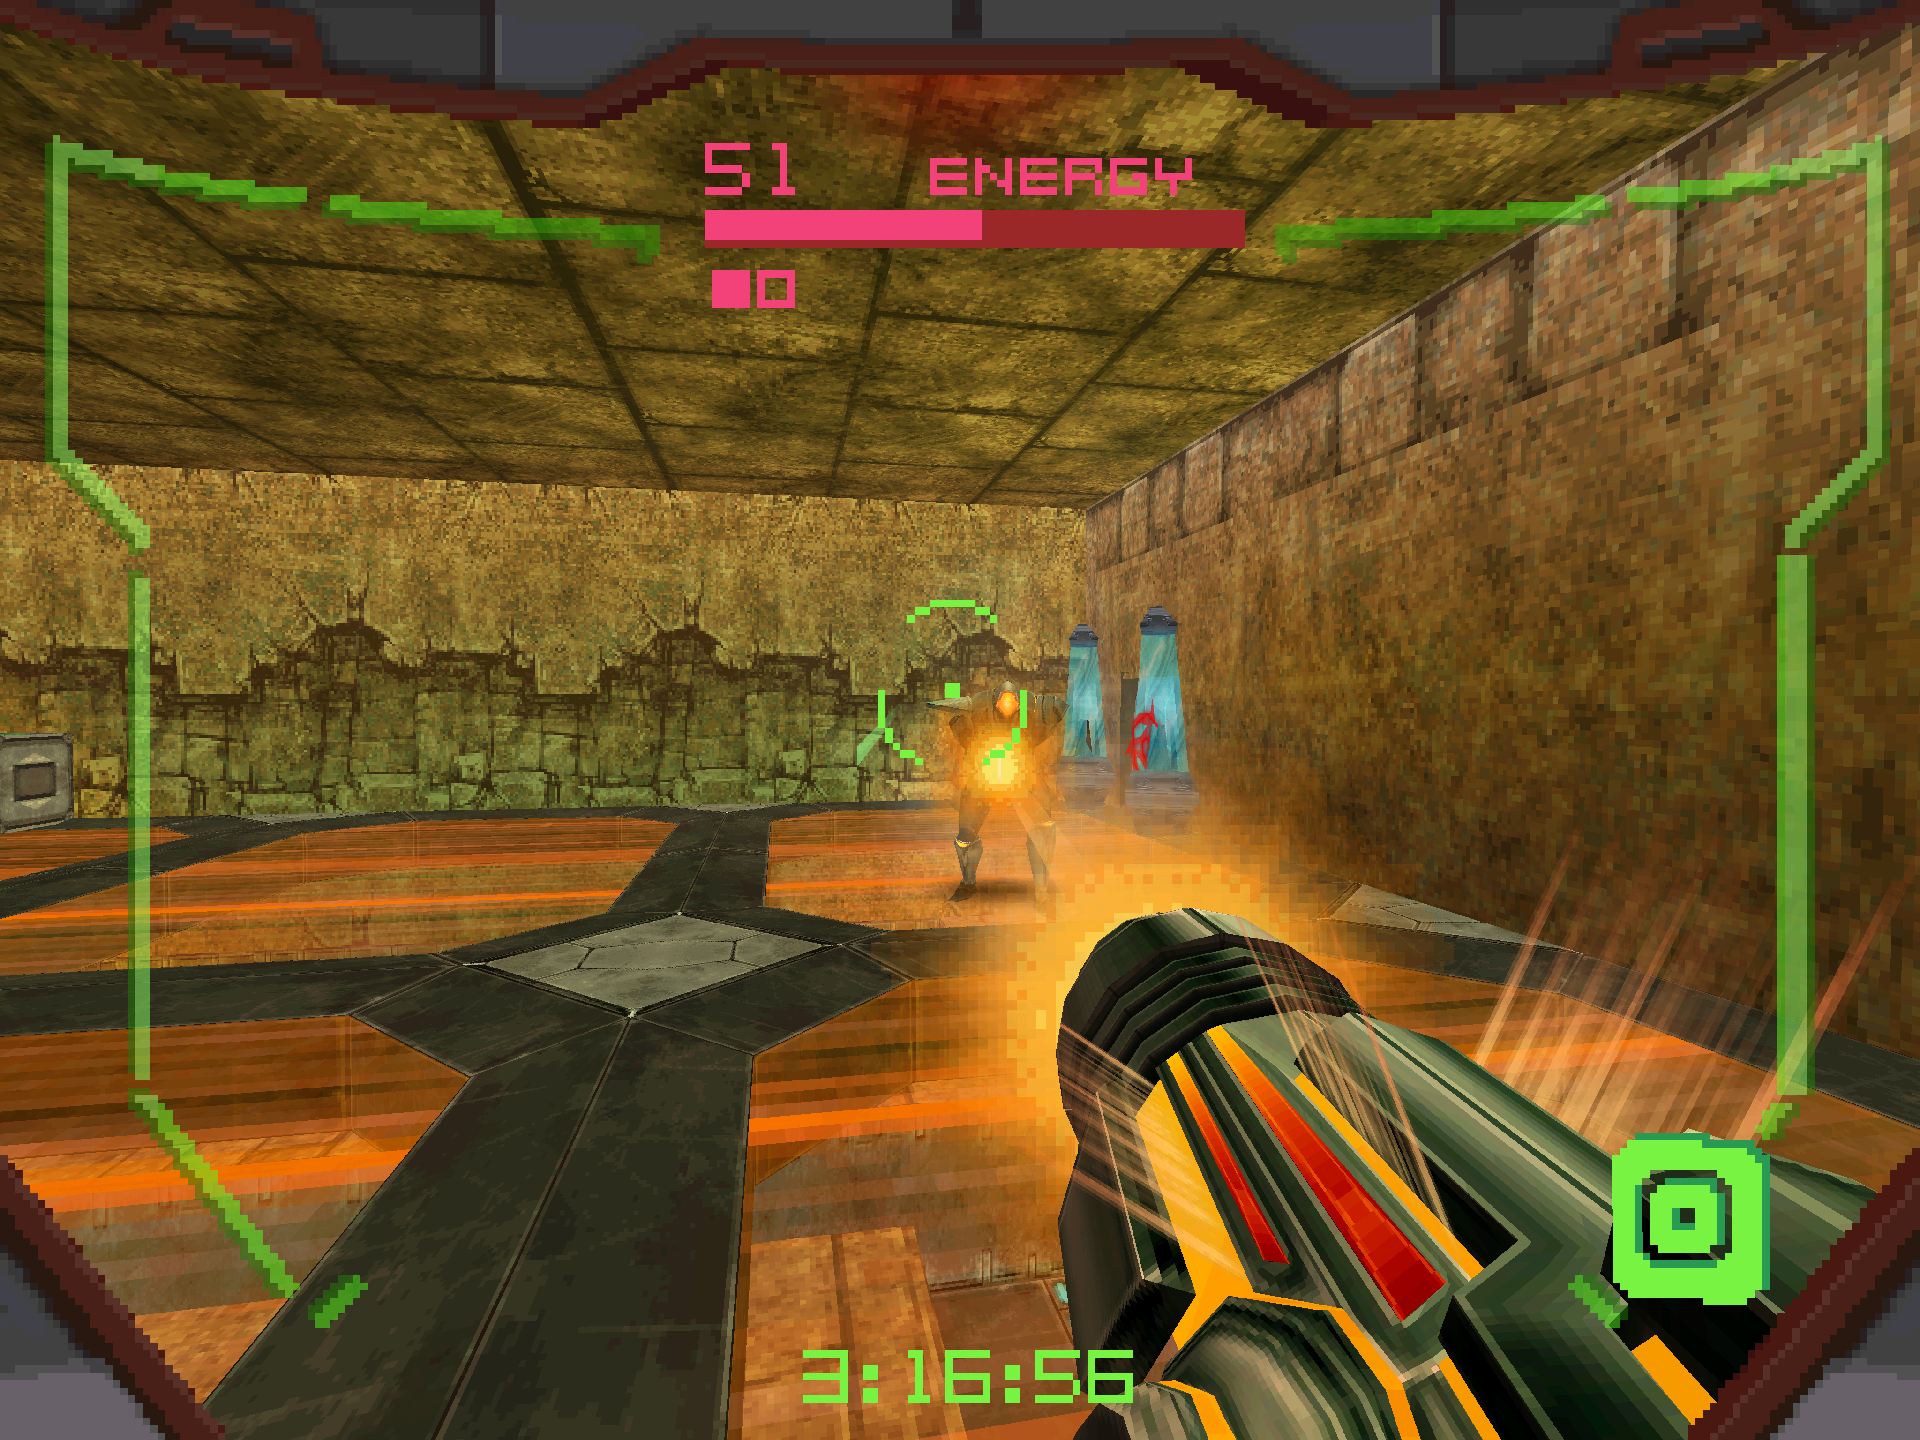
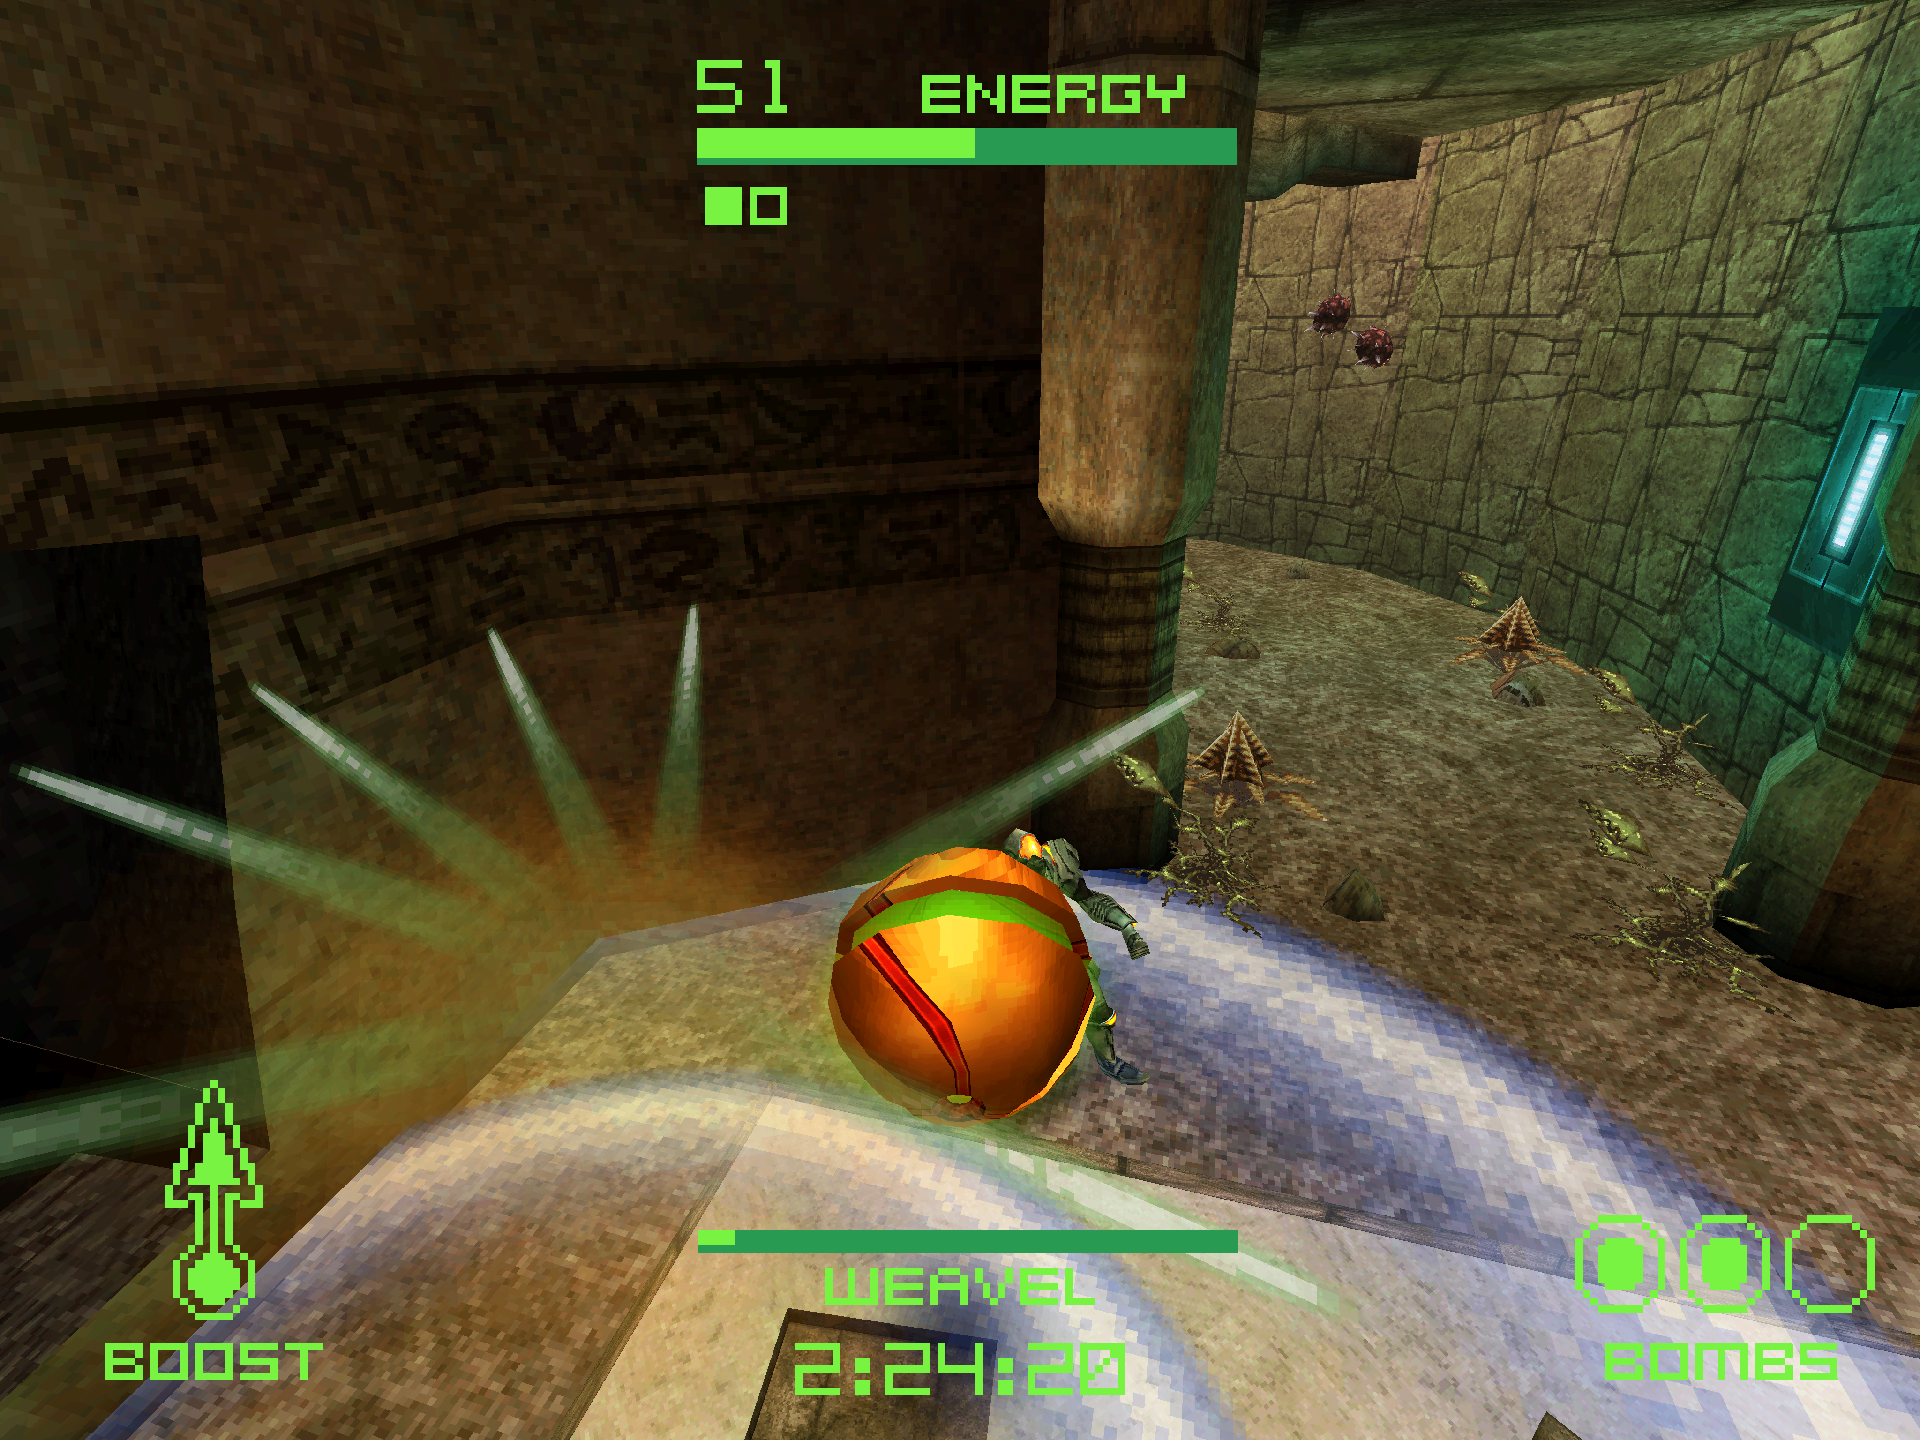
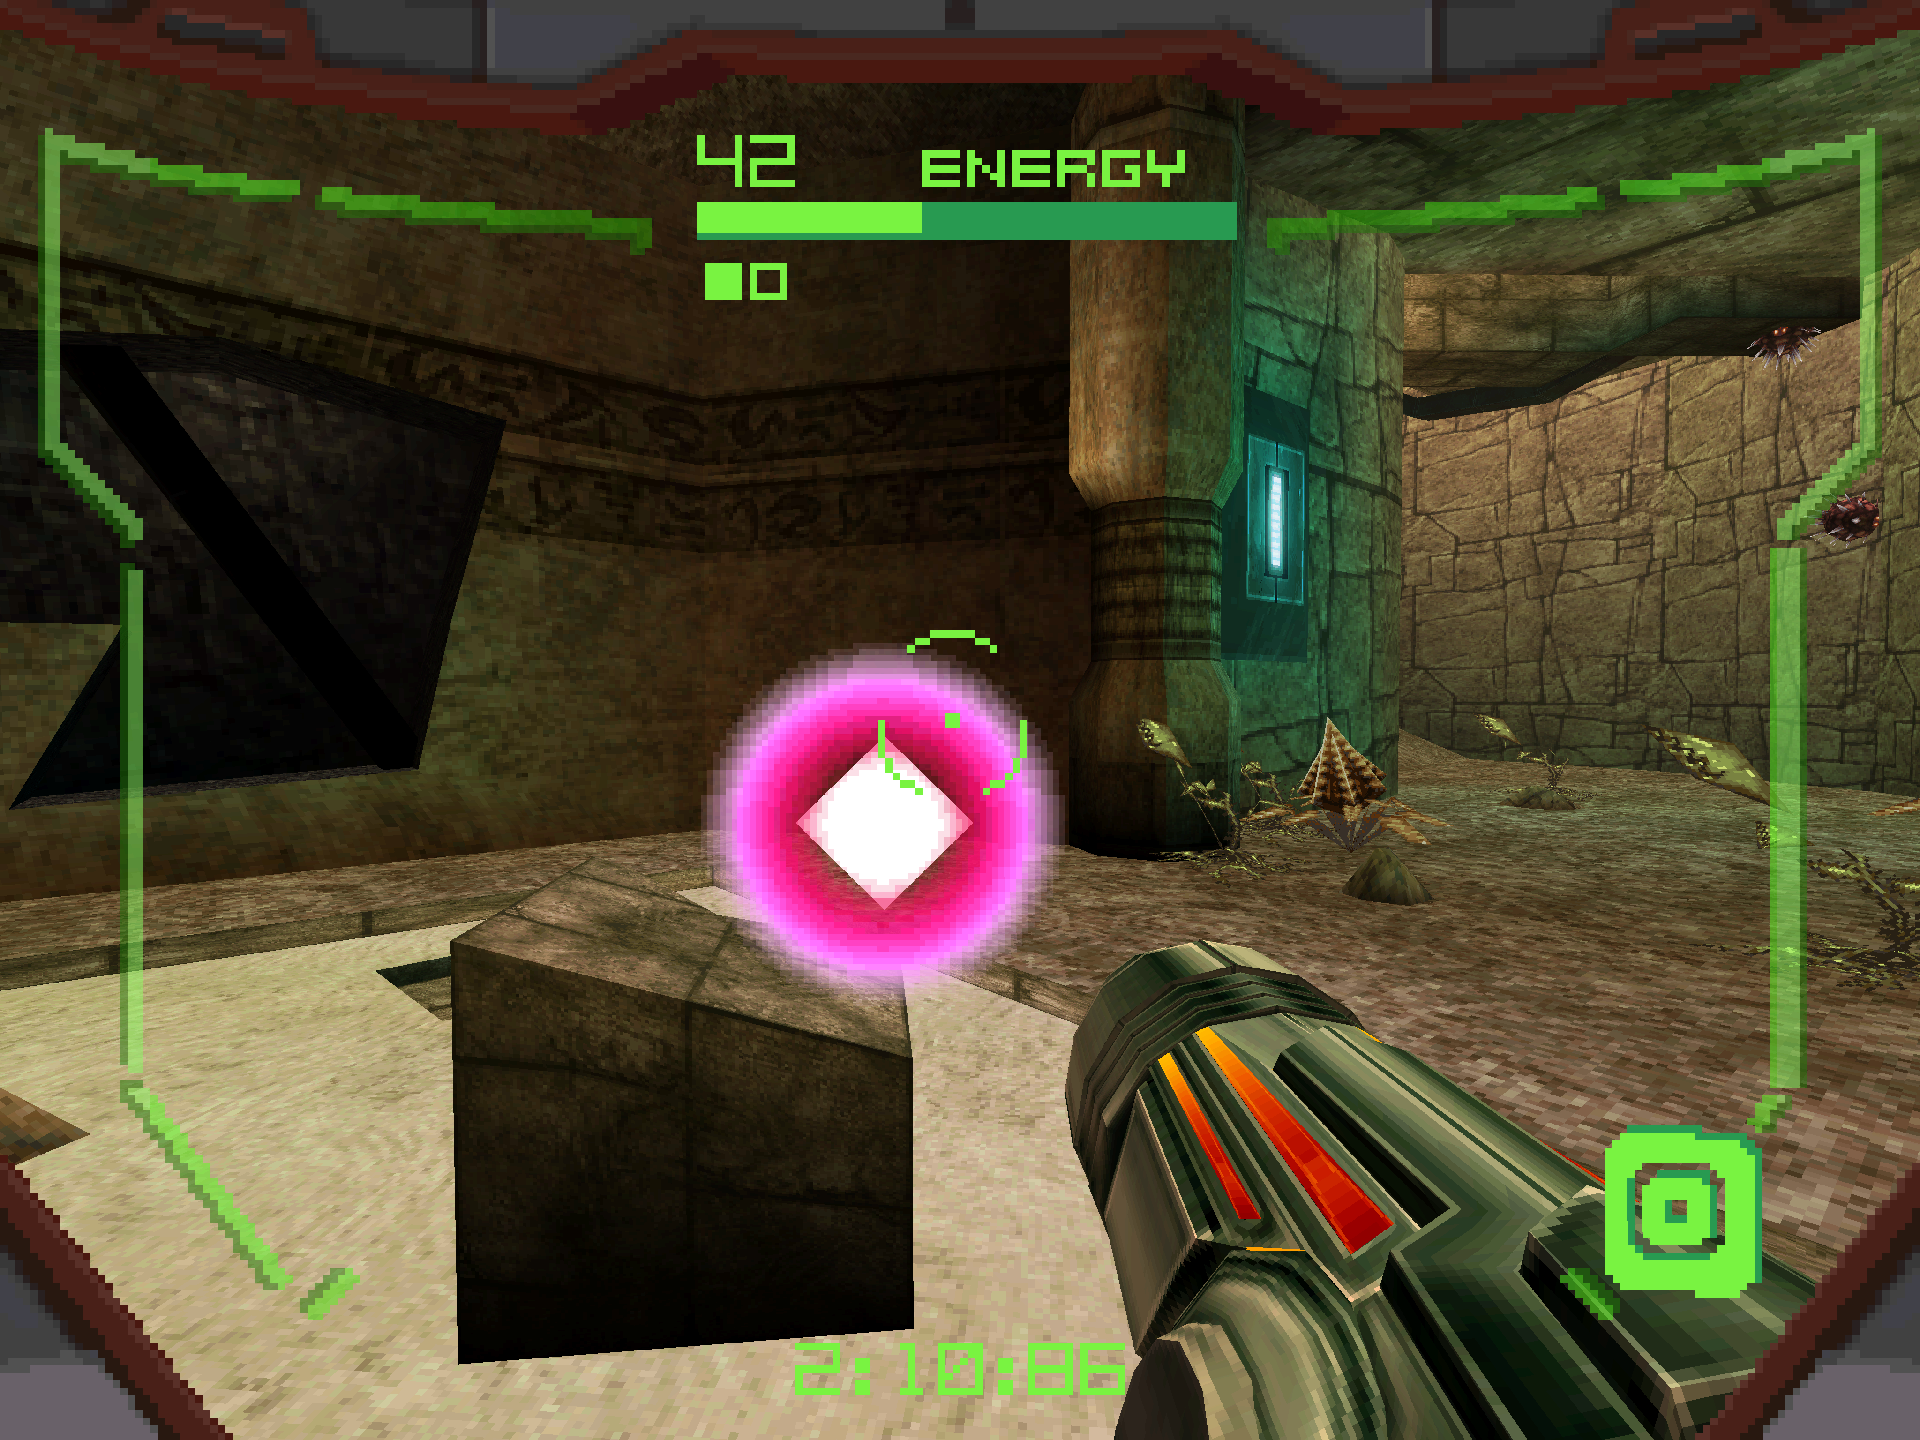
Weavel
Just when we think everything is going according to plan, we’re ambushed by WEAVEL at the top of Echo Hall! Weavel is a mortally injured Space Pirate Samus fought back on Zebes in Metroid: Zero Mission. Reconstructed with a new Power Suit through the Space Pirate’s cybernetics program, Weavel now occupies a special forces unit that carries out priority missions for the pirates. Presumably, he was sent to the Alimbic Cluster to retrieve the ultimate power for the Space Pirates as a means to turn the tides in their war against the Galactic Federation.
Weavel comes armed with the Battlehammer, and this thing packs a punch in this close quarters space! The Battlehammer is another lobbed projectile similar to Spire’s Magmaul, but it has a significantly faster firing rate and extra splash damage. For the start of the fight, I recommend using all of the Morph Ball’s abilities offensively if you’re comfortable with that. Otherwise, sticking with Power Beam shots is going to be the best strategy so that you don’t accidentally damage yourself with missiles up close. If you’re running low on health, there’s some crates surrounding the walls you can shoot for a chance refill. After you take out about 1/3rd of Weavel’s health bar, he’ll activate his HALFTURRET form. Weavel’s lower abdomen becomes an auto-turret that fires less damaging Battlehammer shots, while his upper torso chases us down and attempts to melee us with his energy scythe. For this, just keep circle strafing and jumping around the room while focusing all of your remaining missiles on the Halfturret, as it shares the same health pool as Weavel. After enough damage, Weavel will retreat through one of the Morph Ball tunnels.

On the other side, Weavel will be back in bipedal form with his Battlehammer at the ready. This is actually a great place to replenish resources from the Zoomers and toxic plant life littered throughout the arena. Other than that, keep using the same strategies against Weavel, though keep an eye out on that countdown timer because it ain’t stopping!
Once Weavel is taken care of, make a mad dash to your ship and get the hell out of there! We’re done with Alinos for now!
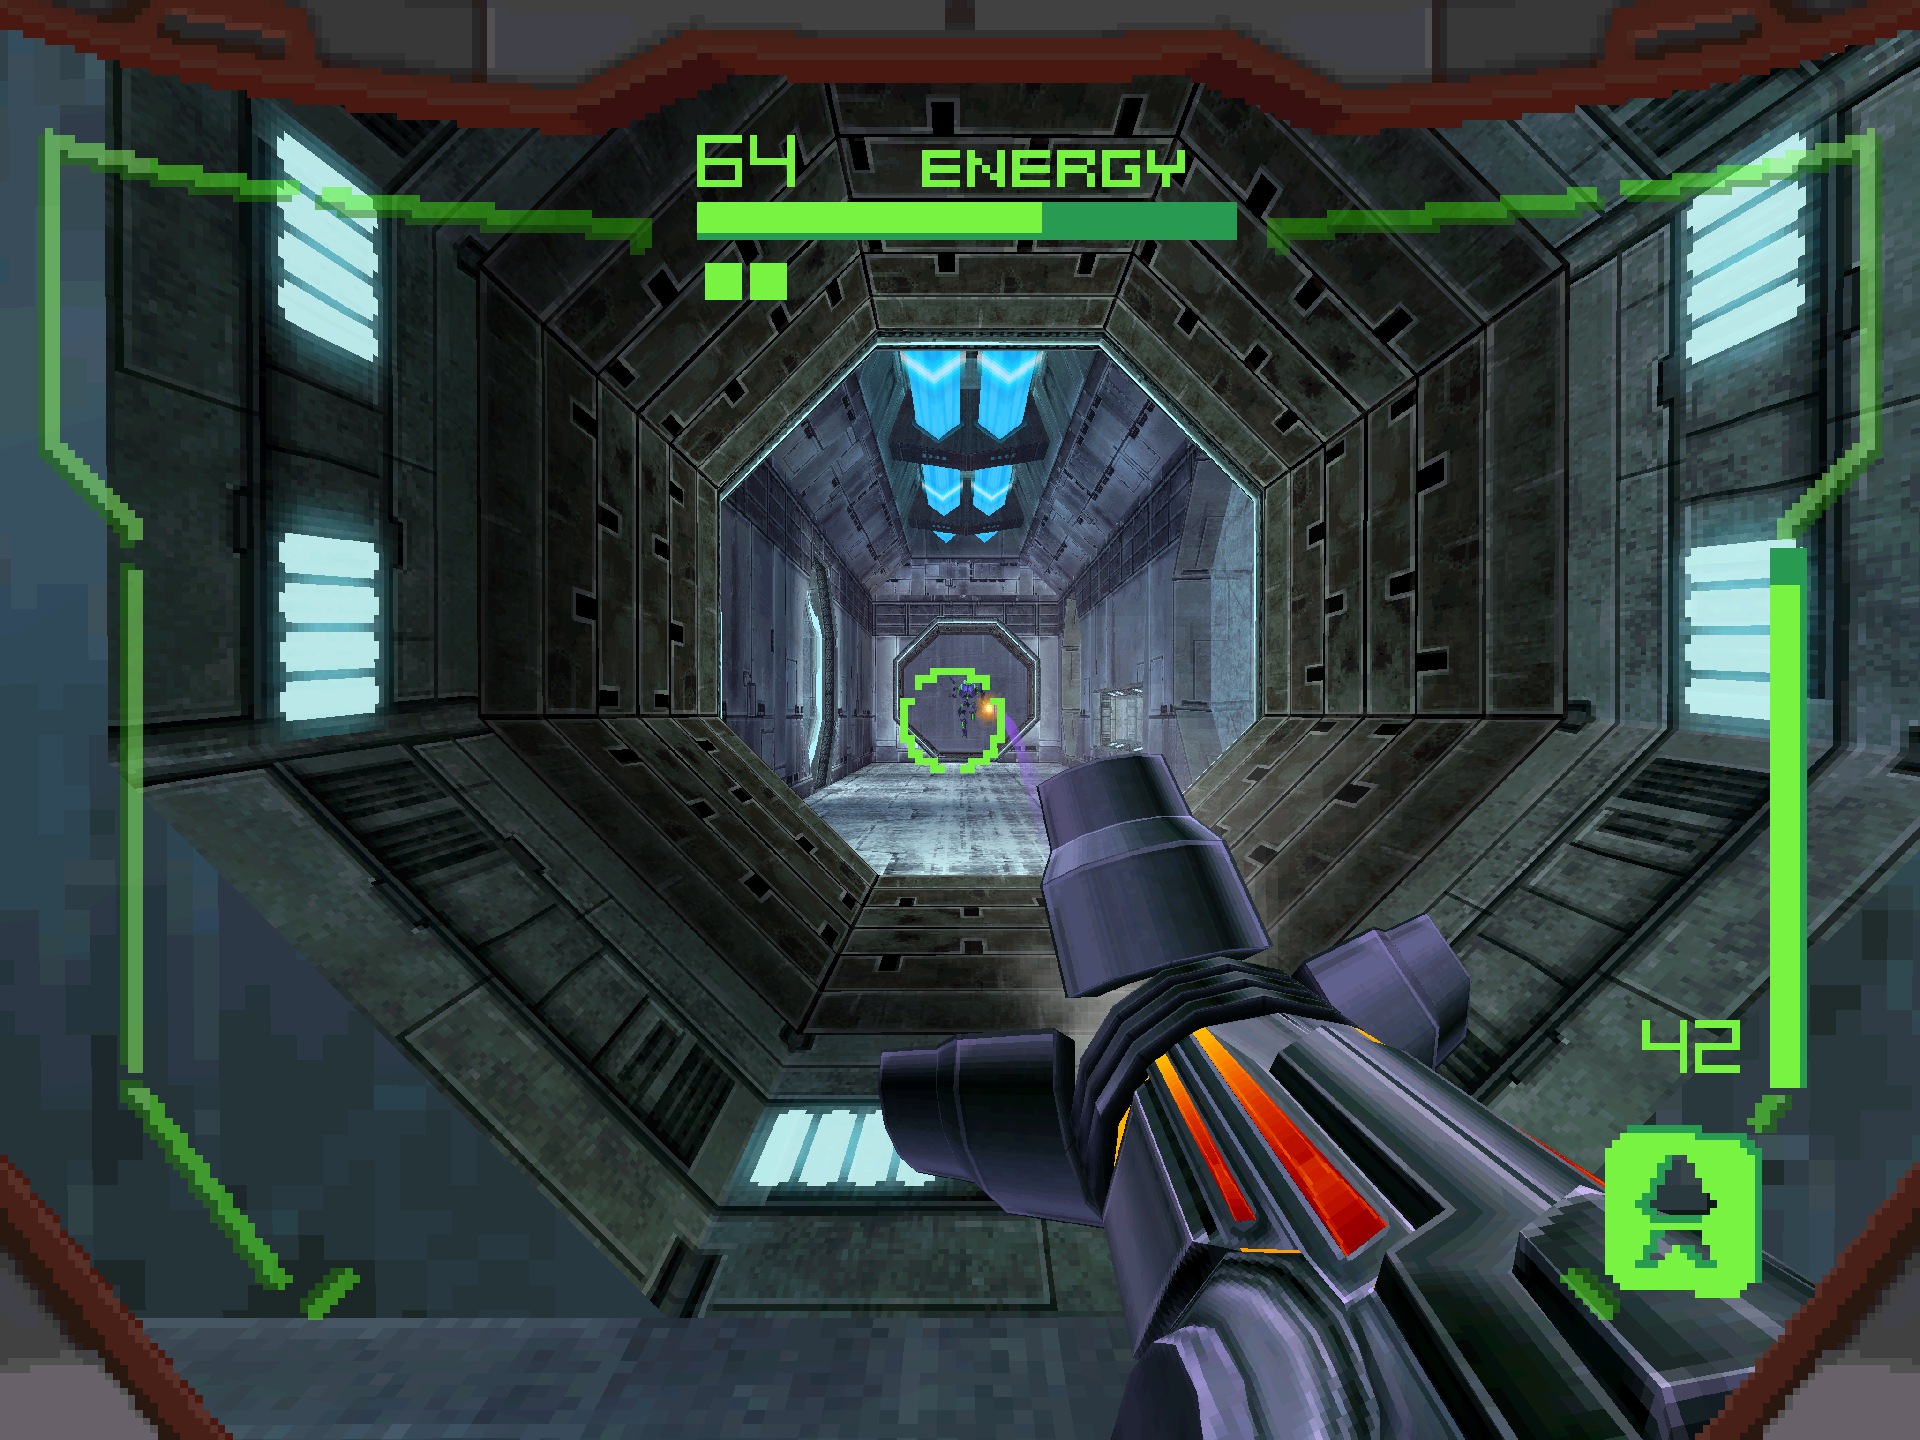
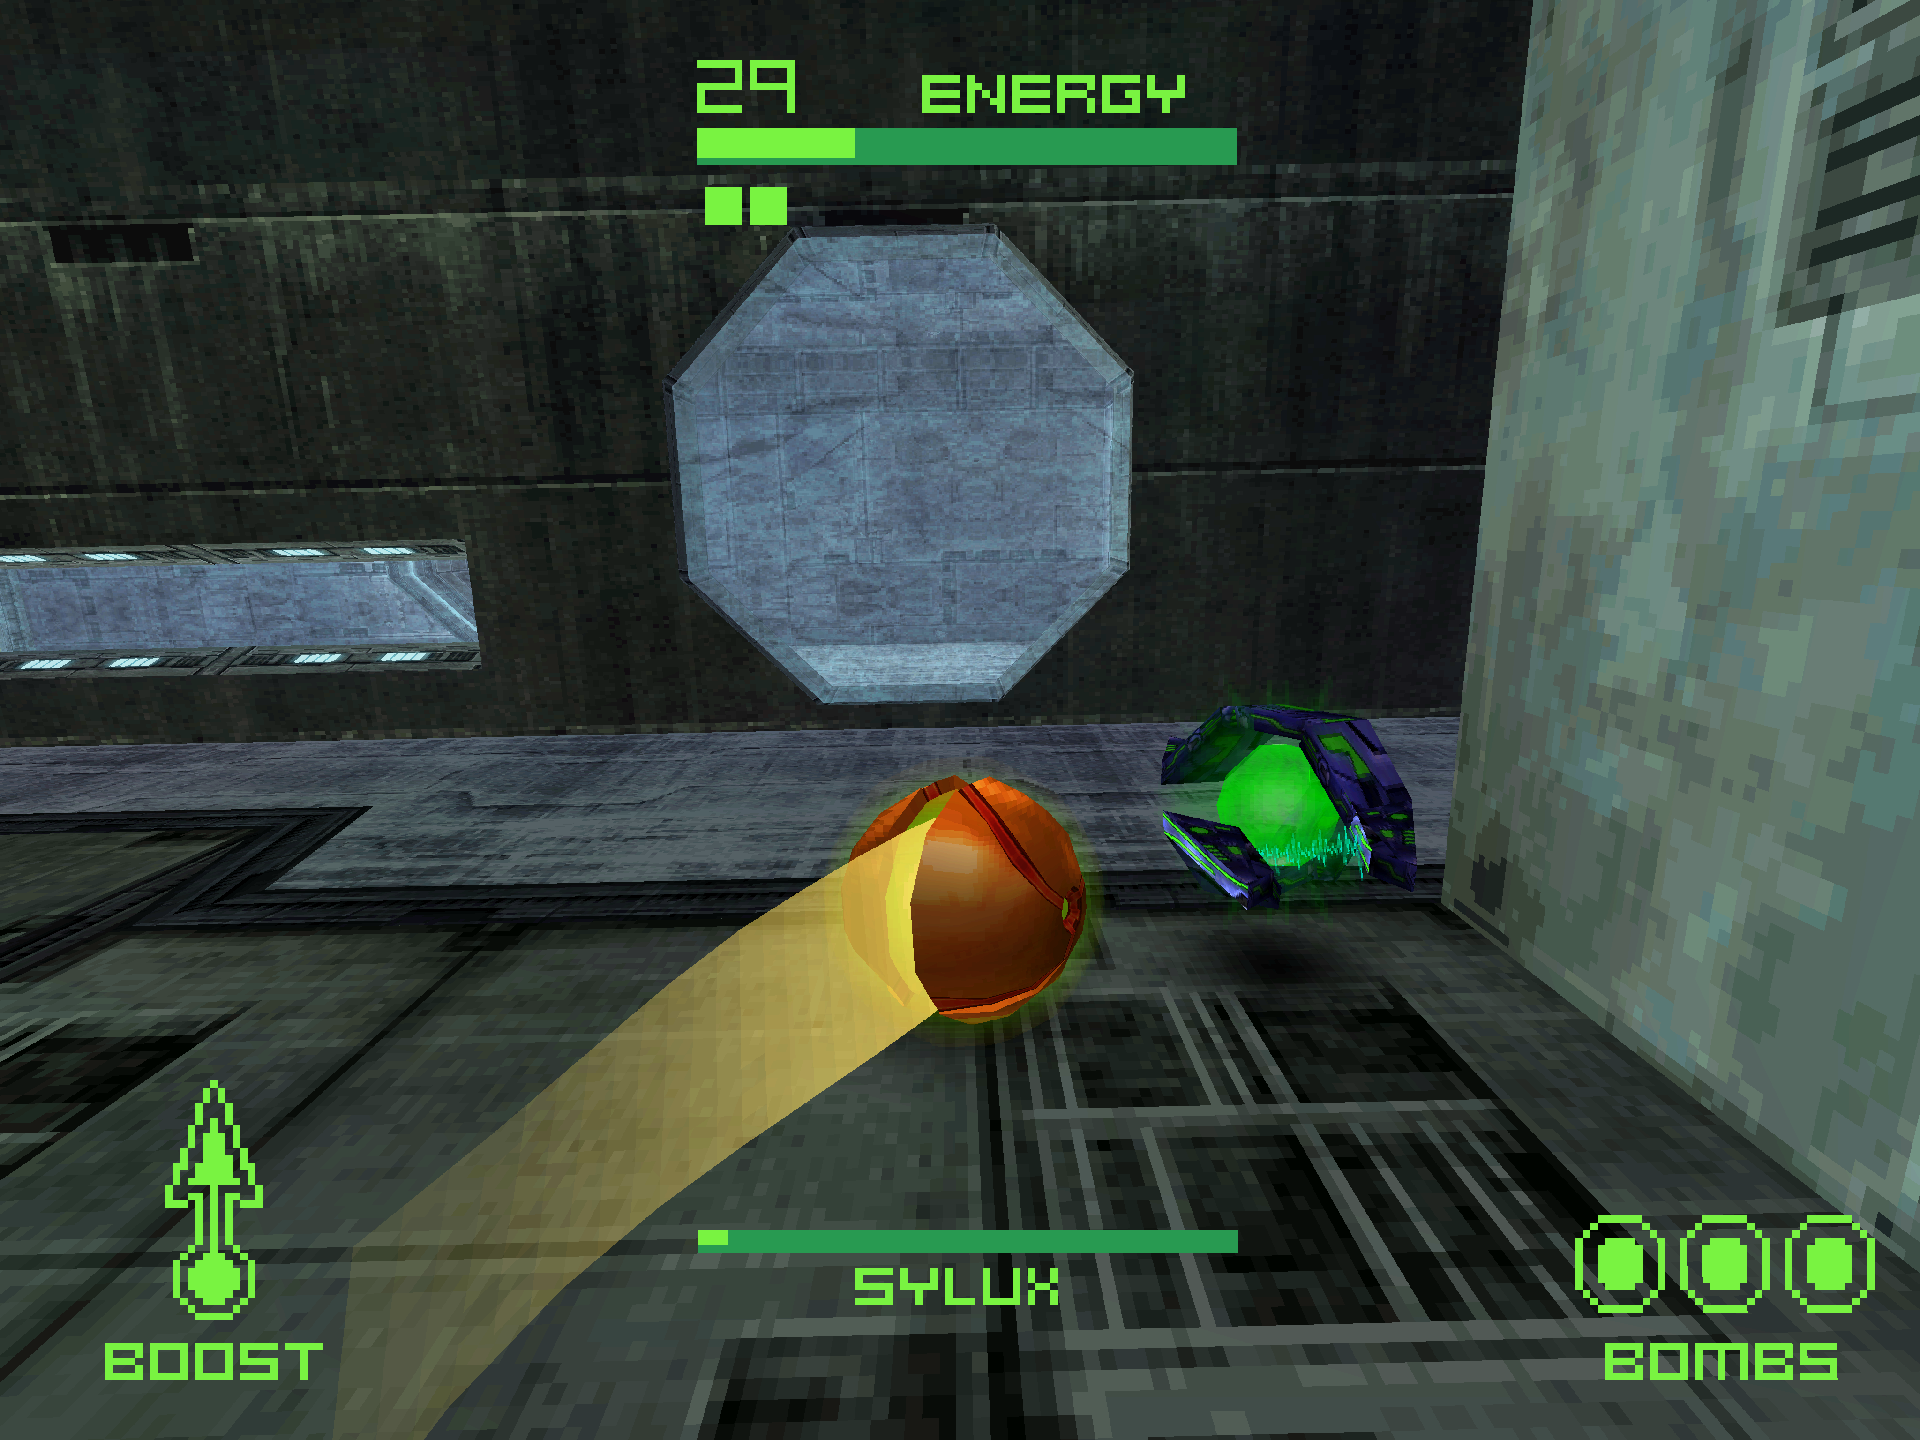
Sylux
At the end of the hallway, we come face to face with SYLUX, another Hunter searching the Alimbic Cluster for the ultimate power. Sylux is a bit of a unique character amongst the cast in that he later becomes a major antagonist in Metroid Prime 4: Beyond, but for now all that’s known about him is his intense hatred for the Galactic Federation as well as Samus by association. He specializes in tracking targets, making him a deadly foe in the shadows as hinted at in later Metroid titles. Despite that, he’s not afraid to go on the offensive either. All of the weaponry and technology he uses are stolen Galactic Federation prototypes, including the Shock Coil which has since become a banned technology. That’s the side of Sylux we’ll be seeing in Metroid Prime Hunters.
Sylux will be rushing you down most of the fight with the Shock Coil. If hit, you’ll begin slowly losing health, however the true potential of this weapon is actually never shown off in singleplayer. In multiplayer, Sylux will replenish his health for every unit of damage done, and a consistent connection with a Shock Coil stream will result in rapid health drainage after a short period of time. We don’t have to worry about those effects here though. This weapon is only effective in close quarters, so keeping your distance is the number one rule to remember during the encounter! The first phase of the fight is essentially a long interconnected square-shaped hallway, so whenever Sylux gets within Shock Coil range, activate Morph Ball and boost yourself away, dropping some bombs along the way. Homing Missiles are a great option for most of the hallway, though I prefer the Power Beam at the end with the Gestation Tanks as Sylux can occasionally weave between them, making missiles a little more difficult to connect. If you start running low on health and ammo, you have a few crates lying around that can provide a refill.
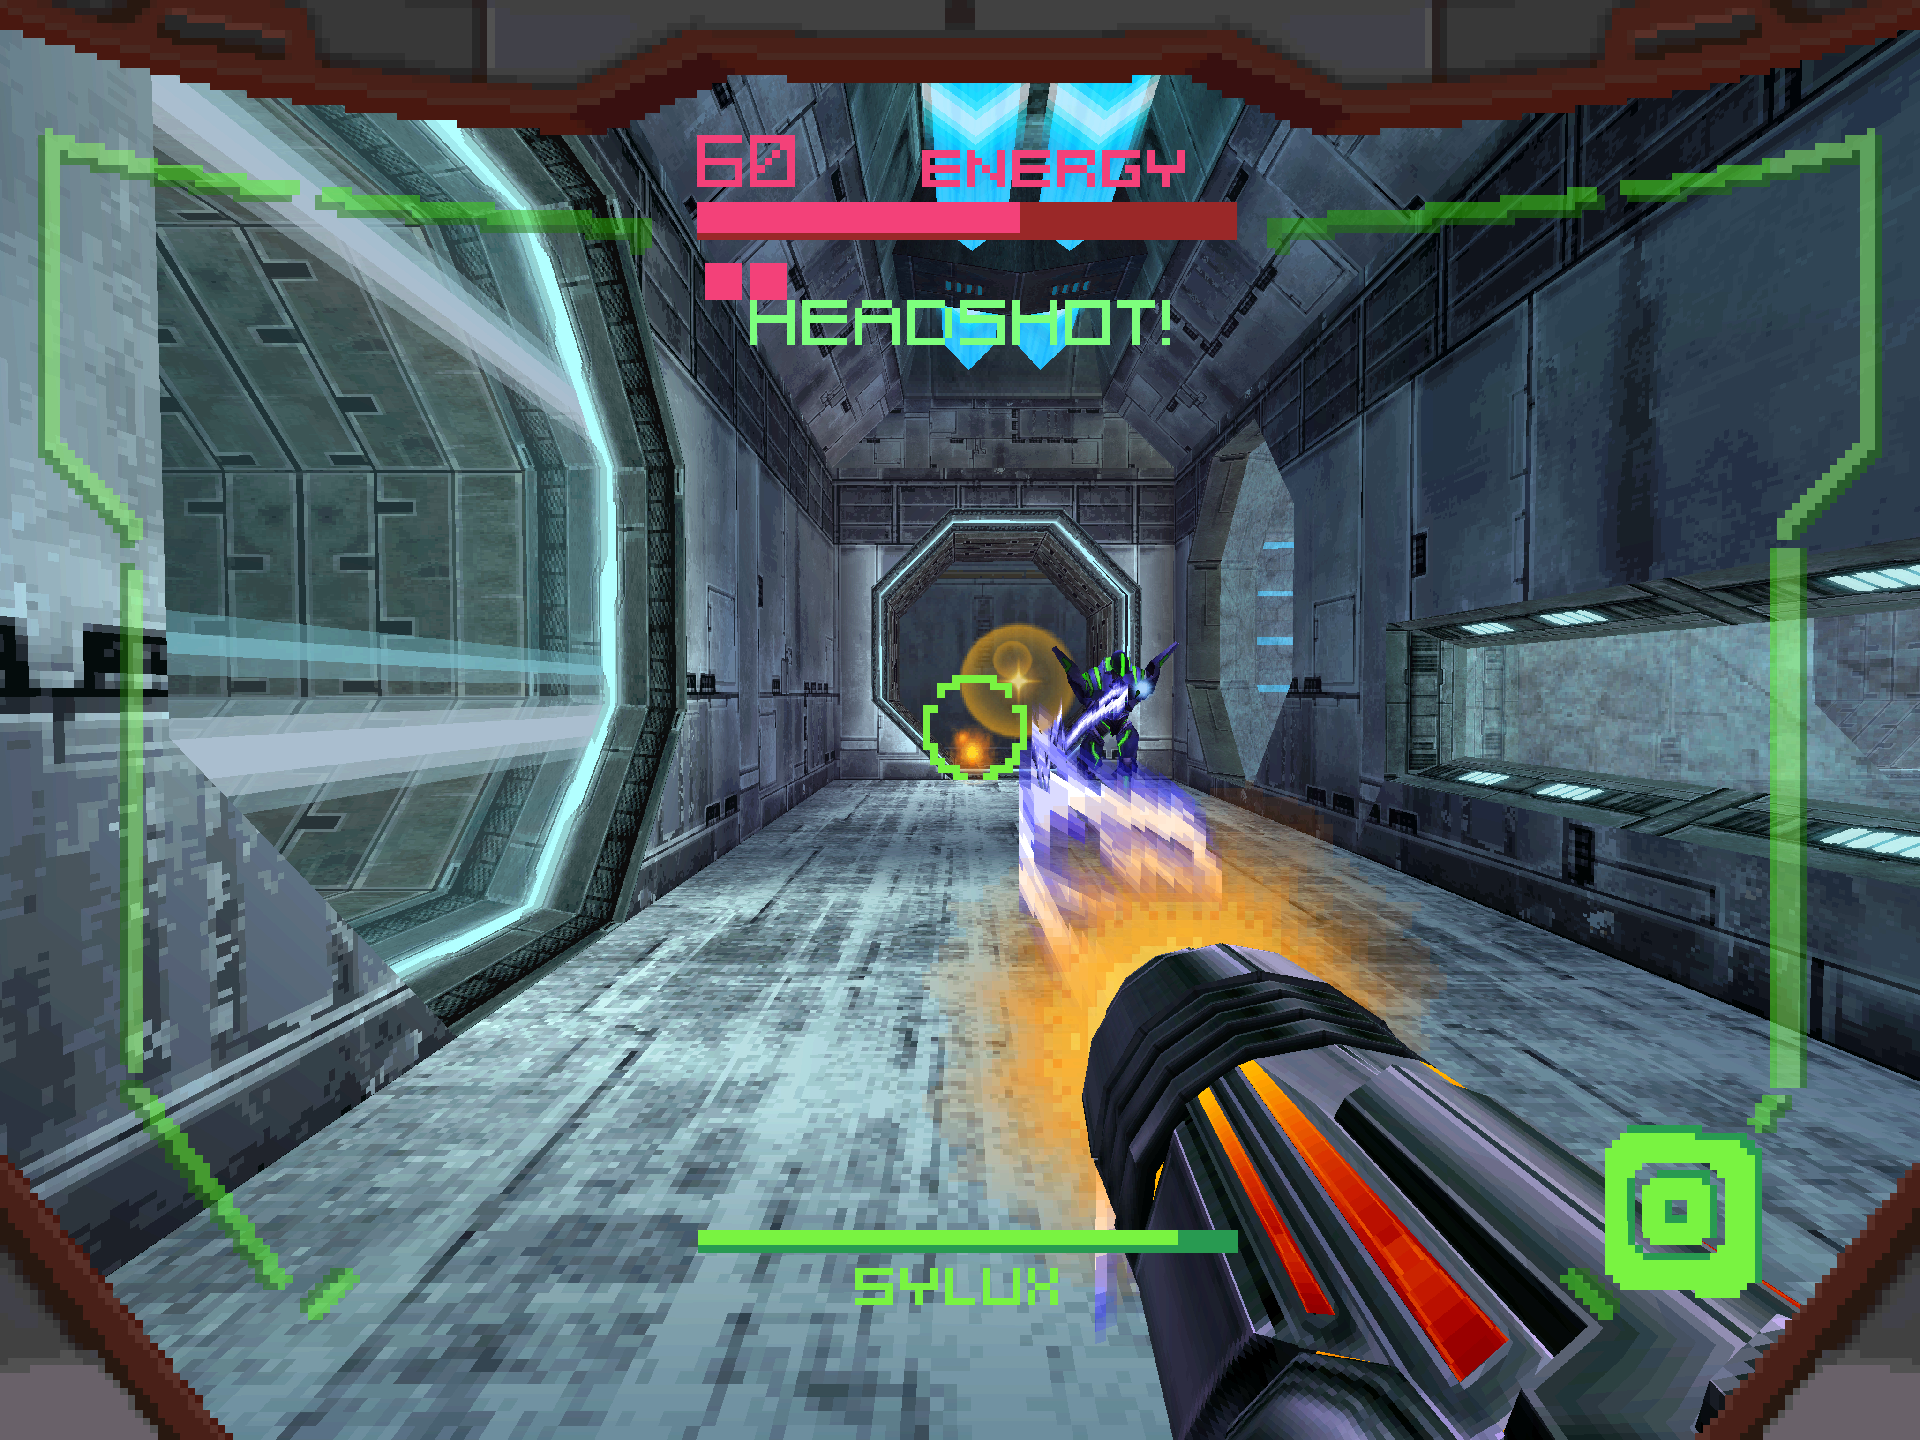
After you’ve dealt a little bit of damage, Sylux will start occasionally transforming into the LOCKJAW. The Lockjaw is very fast and will catch up to you, so your best bet is to bunny hop around it while firing off your Power Beam. Sylux will drop trip wire mines that you’ll want to avoid. A single mine does minor damage, a trip wire does decent damage, and getting caught in the center of a connected trio does CATASTROPHIC damage. We want to avoid this latter scenario at all costs! After enough damage has been dealt, Sylux will retreat to the center of the Weapons Complex. If you’re running low on health and ammo, blast open the crates in the hallway before following him in. This is also a great time to scan the GESTATION TANKS since you won’t be pre-occupied with the battle.
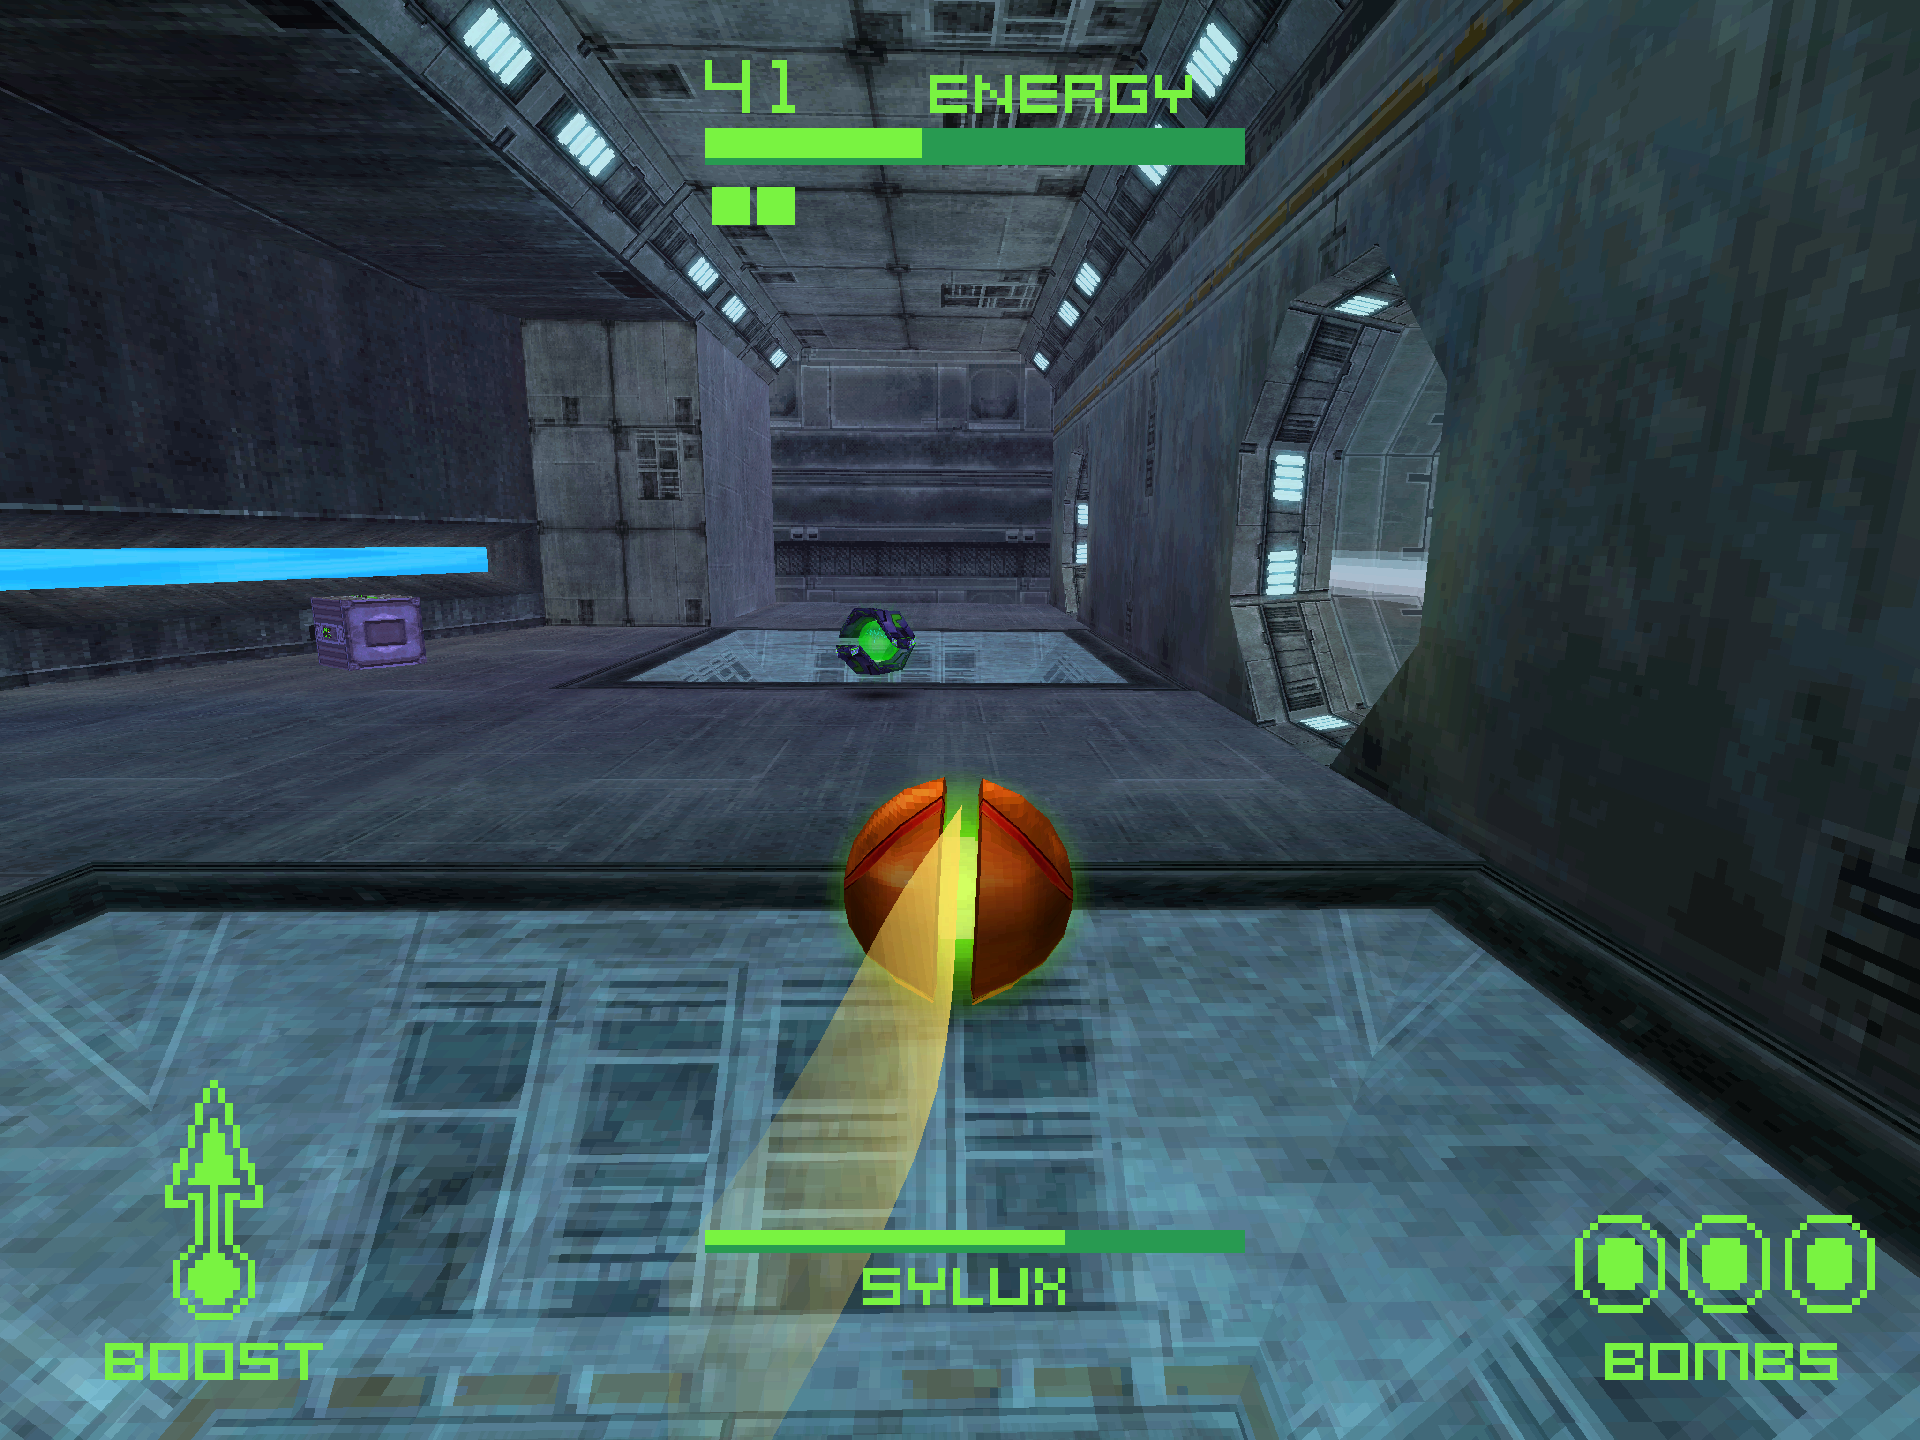
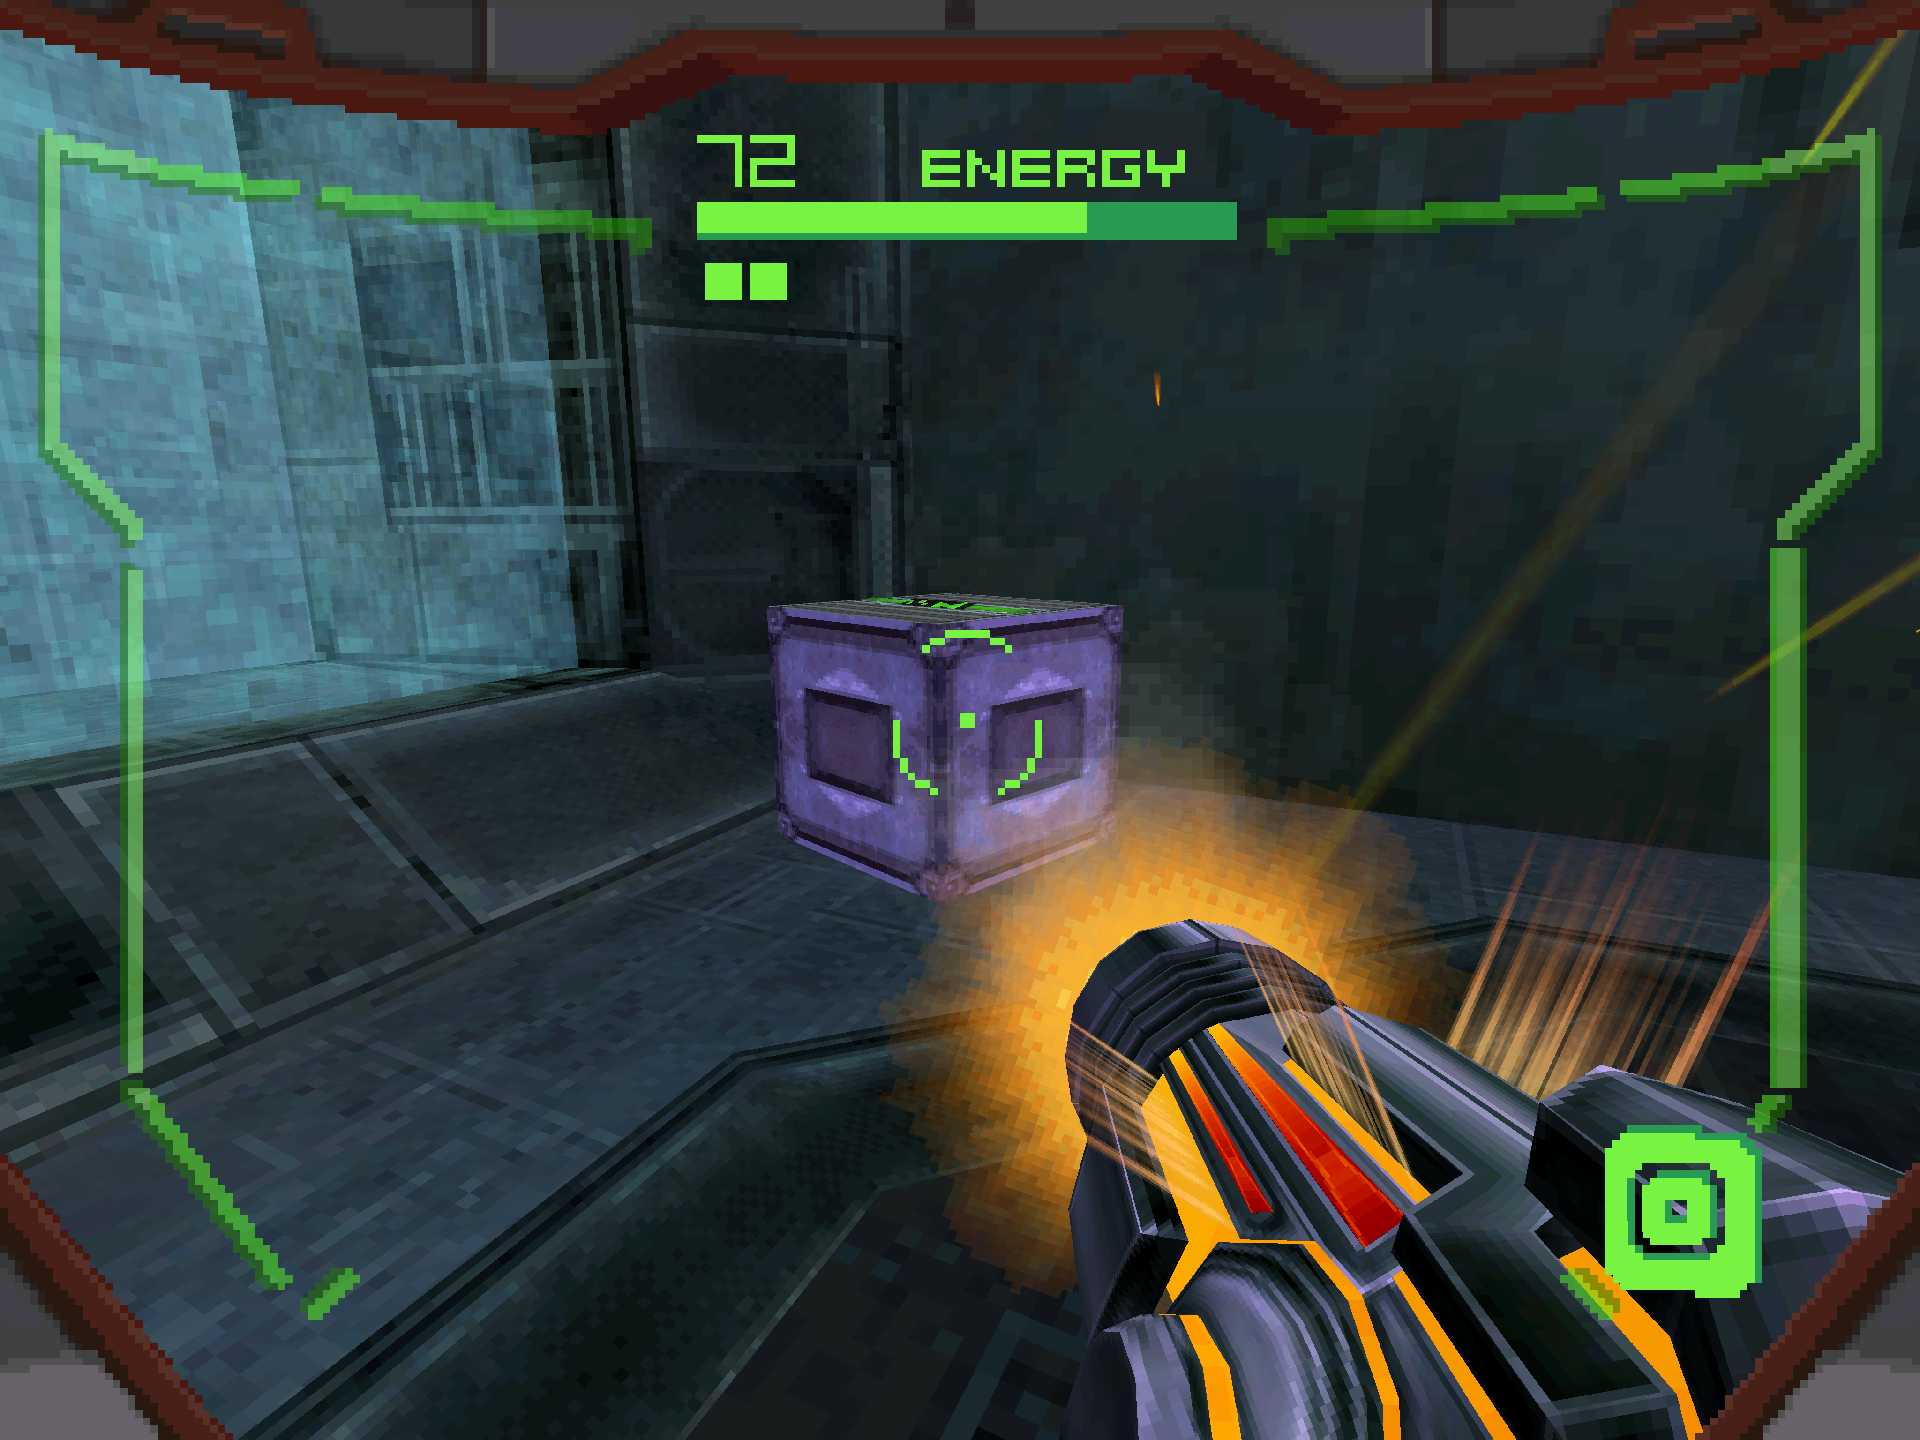
When you enter, a Force Field will lock you into the new arena and Sylux will attempt to ambush you. There’s some more crates inside if you’re still running low on resources, but I’d try to save them for later if you can. After about thirty seconds, Sylux will call in his ship, the DELANO 7, through the opening to assist him. Be sure to scan this, it’s the only logbook entry during a Hunter fight that’s missable! The Delano 7 has an autocannon that will lock on to you and fire low damage shots if you stand still. You can fire at the ship to momentarily disable the cannon, but I wouldn’t even bother with this. You should always be moving during the fight anyways, and as long as you’re moving, the autocannon shouldn’t be an issue.
Your biggest concern should be Sylux’s trip wires, as they stay up even after he leaves his Lockjaw form. He will try to pressure you into these traps as he rushes you down, so keep your spatial awareness in-tact so that they don’t eat away at your precious health pool! Due to the nature of the arena, you’ll also want to go into Morph Ball whenever Sylux activates the Lockjaw. It’s very easy to get ensnared while standing, even while bunny hopping. The best way to avoid the trip wire traps is to circle around the edge of the arena in Morph Ball while Sylux does his thing.
Keep your focus on Sylux and he’ll be forced to retreat with the Delano 7. The battle is won for now, but the war will have to be finished at another time…
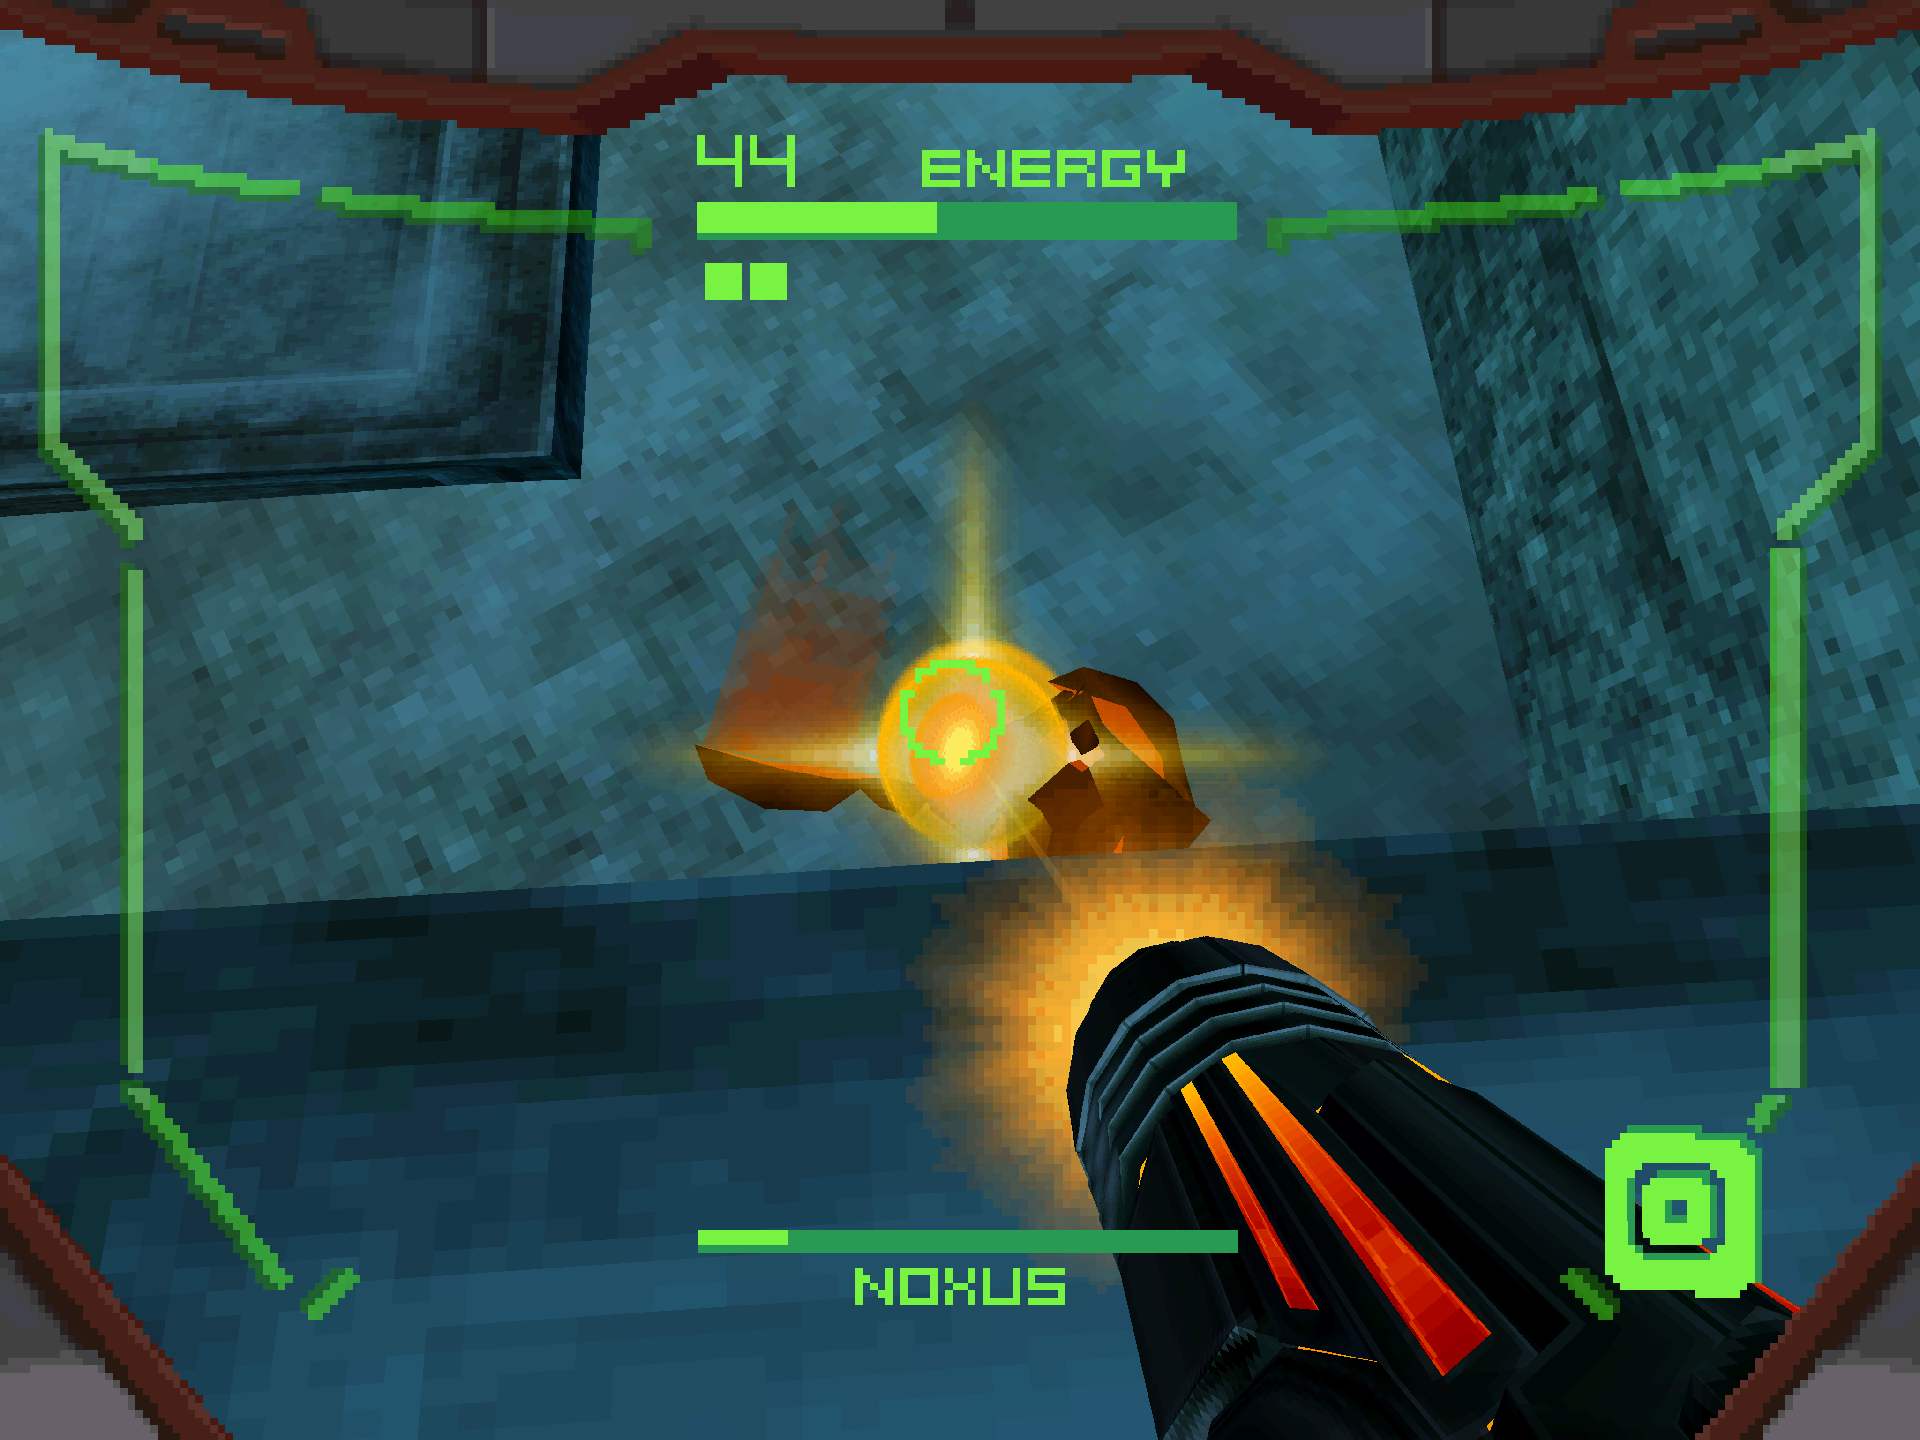
Noxus
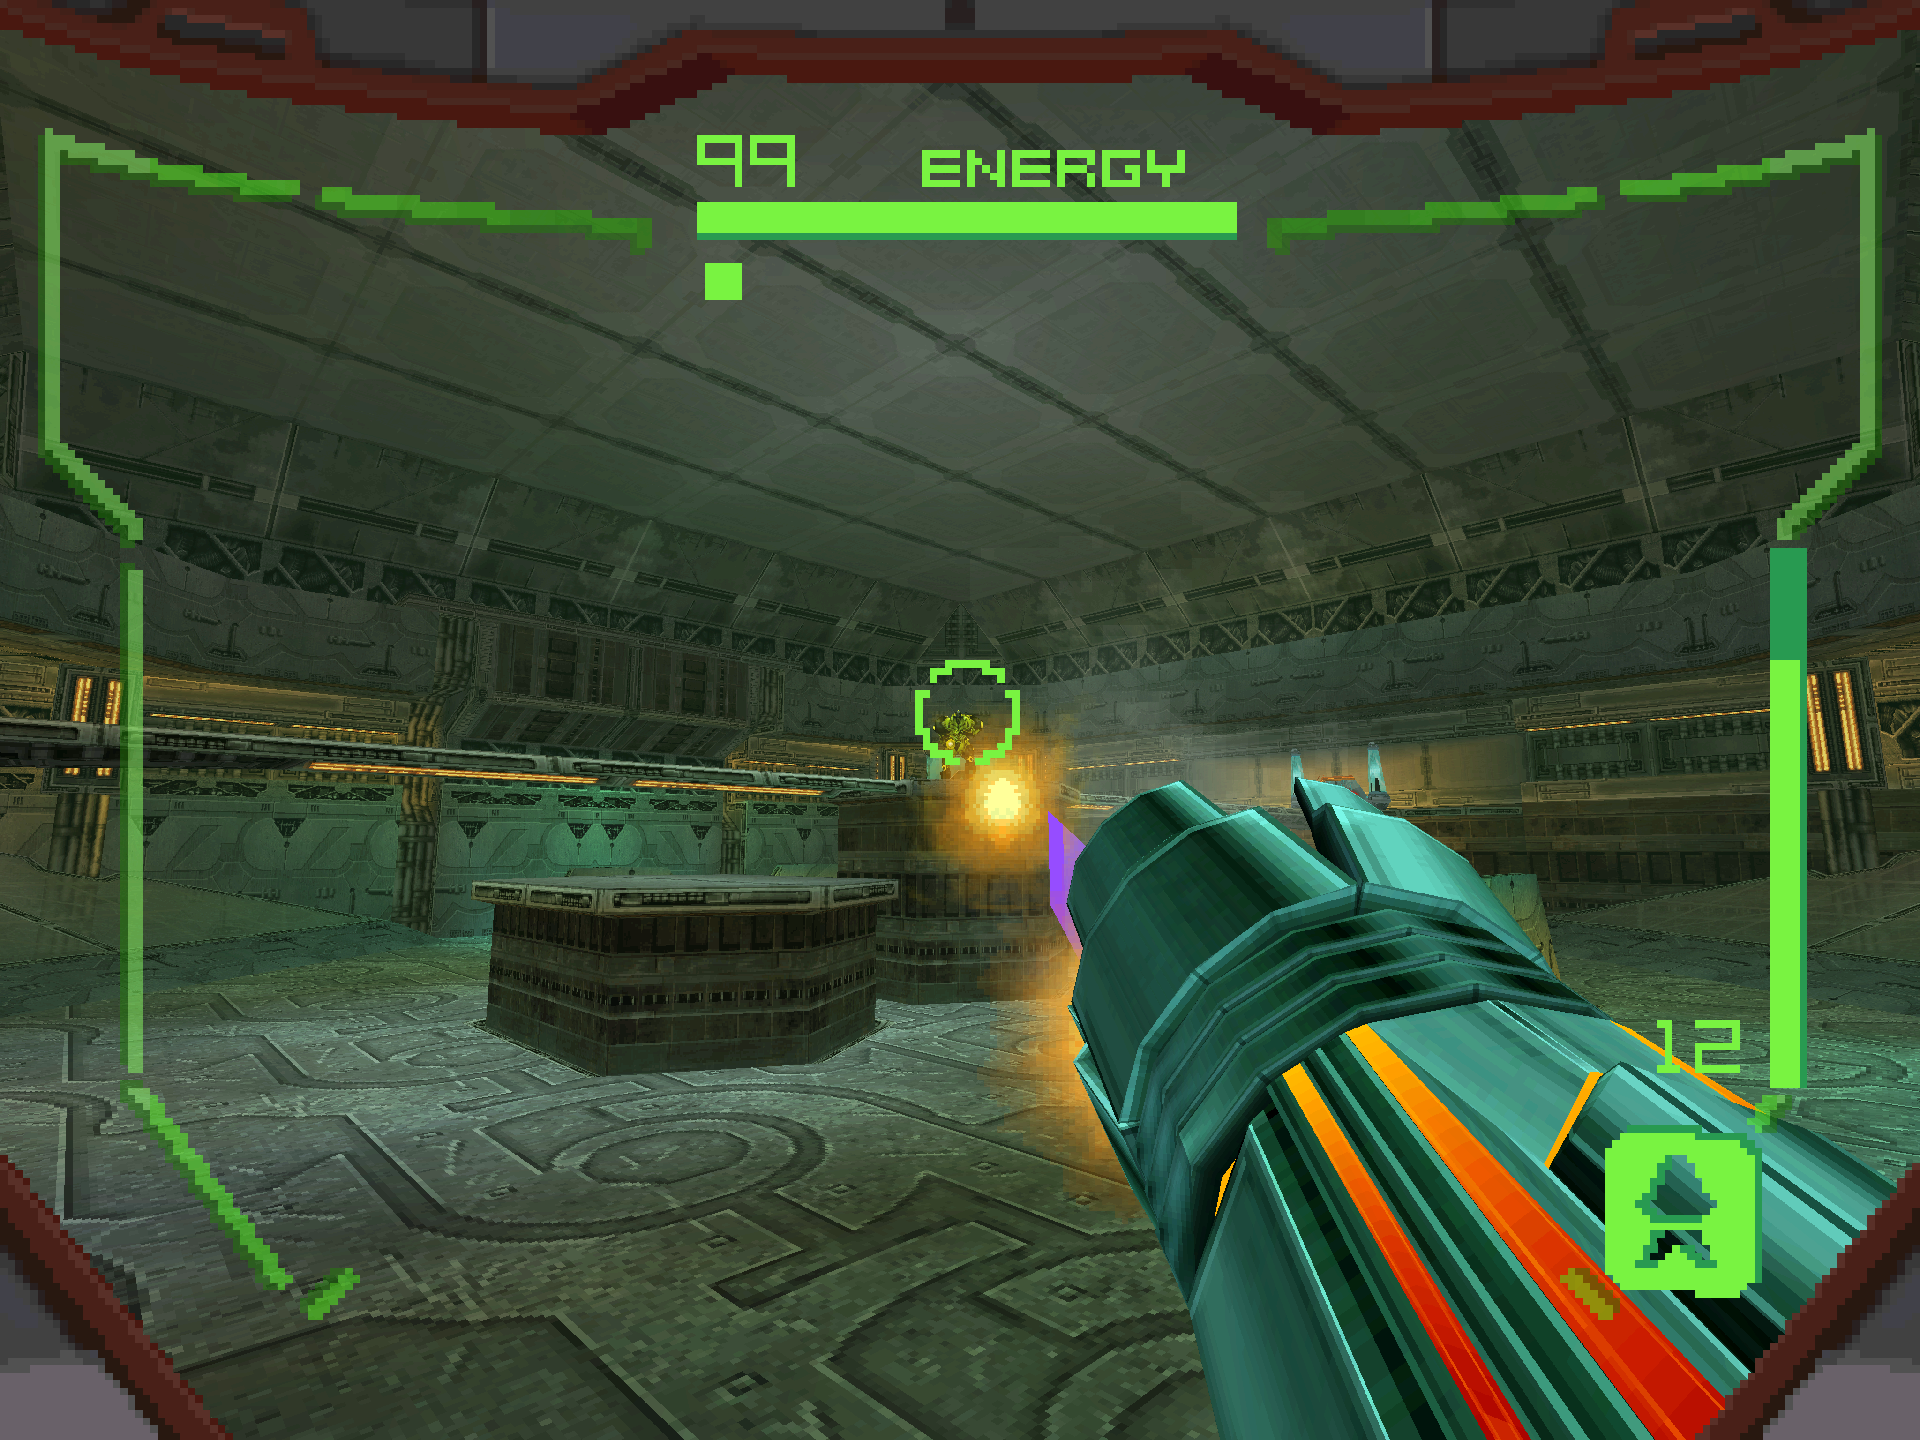
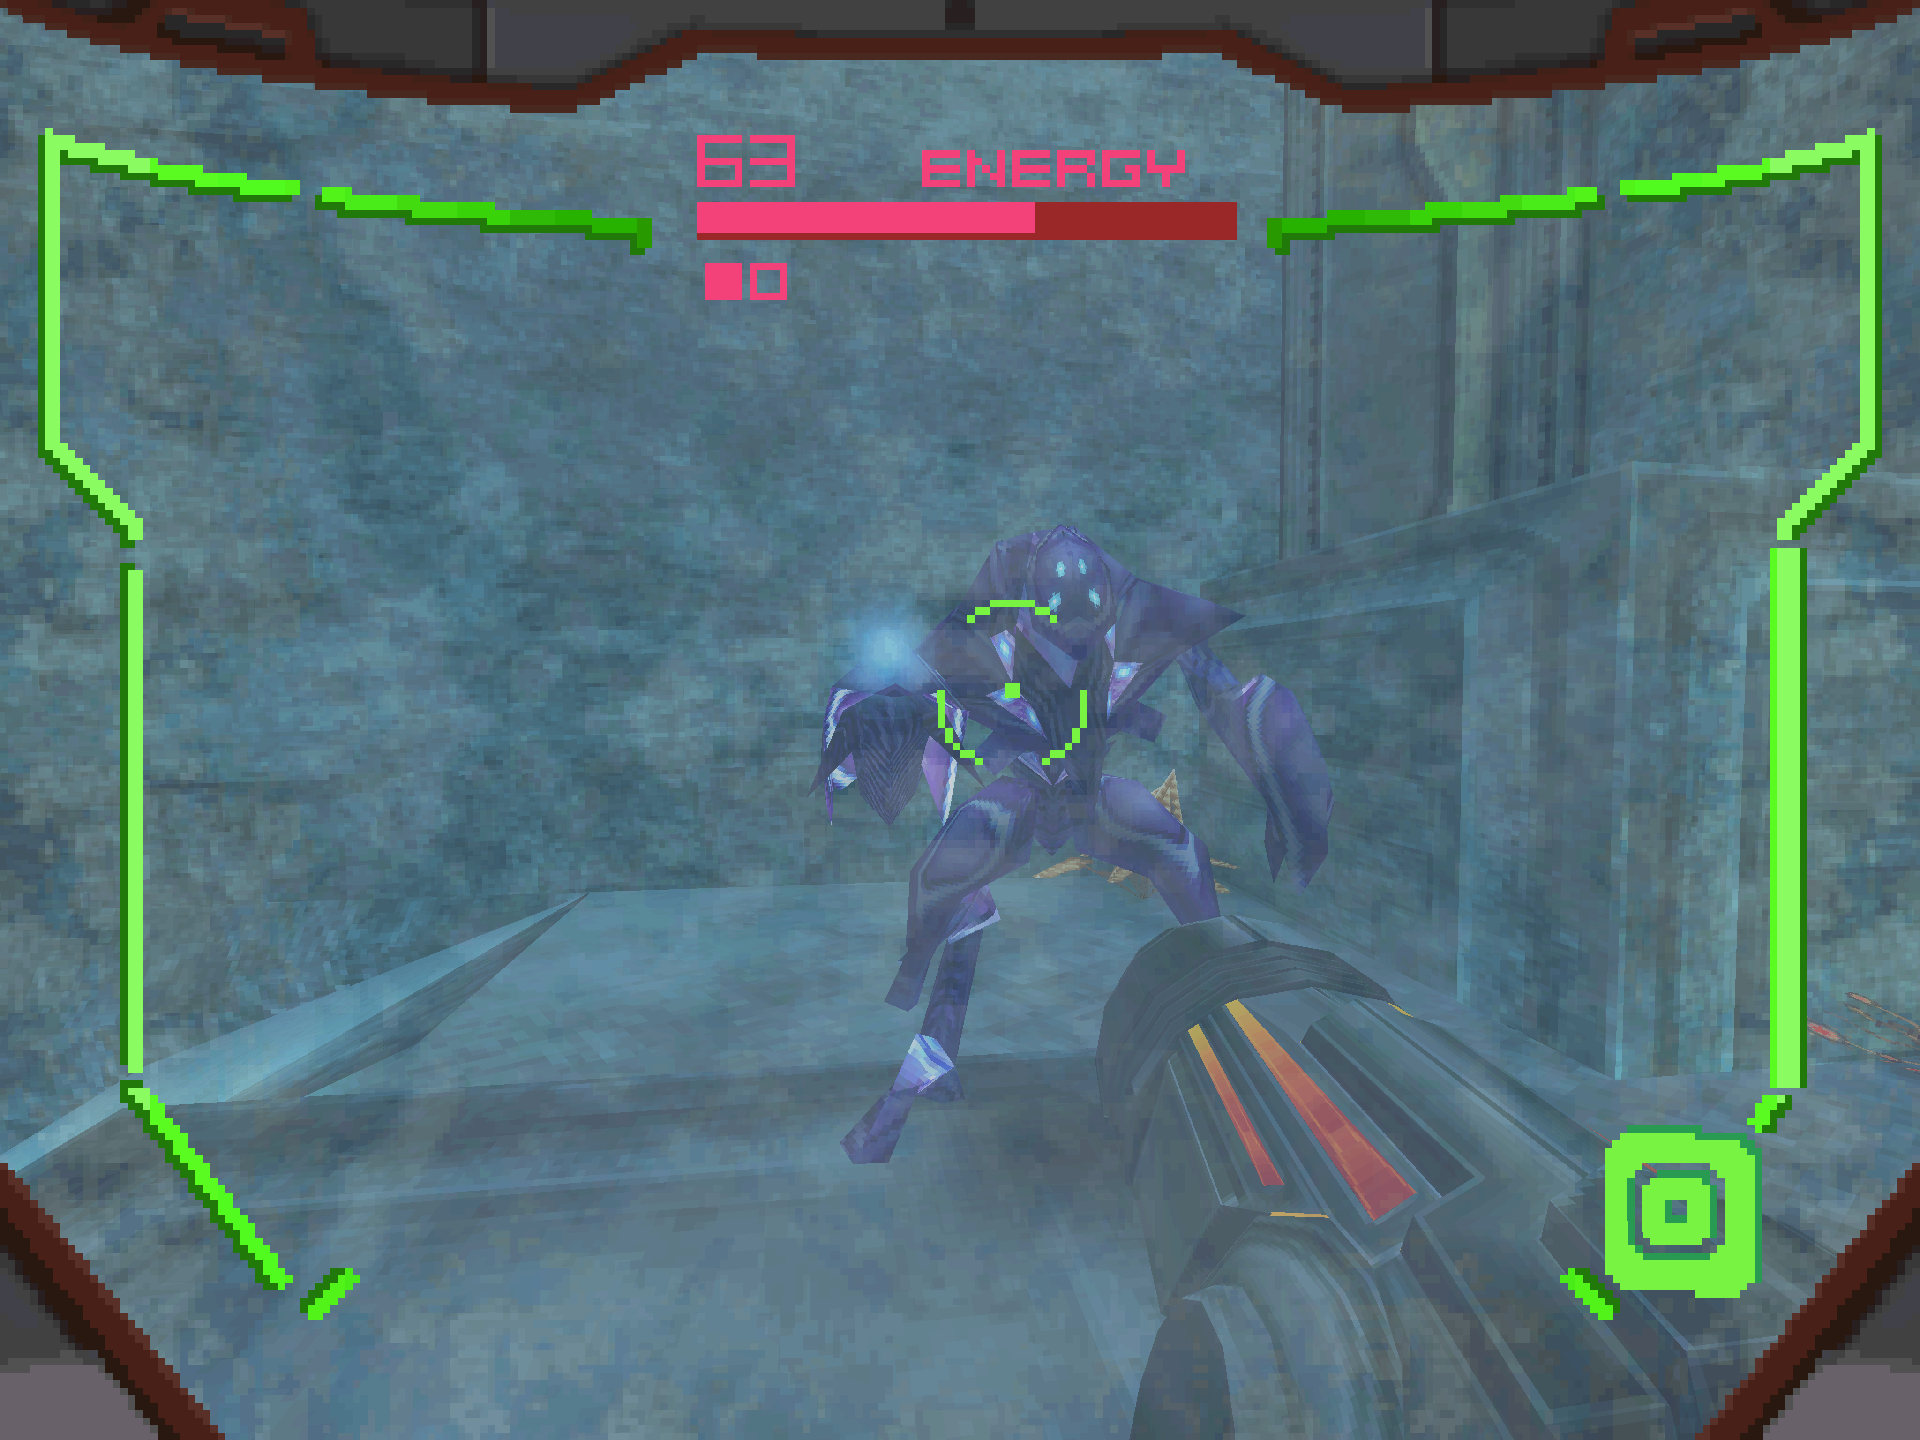
We’ve stumbled upon a kerfuffle! As we turn the corner of Sic Transit, we see two new Hunters engaged in combat; Noxus and Trace. Noxus is a member of the Vhozon, a fanatical species located in the outer rim outside of Galactic Federation jurisdiction with a strict code of moral and spiritual ethics. Noxus’s mission is to obtain the ultimate power to keep it from falling into the hands of the unworthy. Trace meanwhile is a member of the Kriken Empire, a reviled galactic species notorious for the invasion of numerous inhabited planets. Part of Kriken tradition is to exile their youth at a certain age as they search for new planets to conquer. Trace is one of these young Kriken on its rite of passage, seeking the ultimate power for fame and glory in the empire.
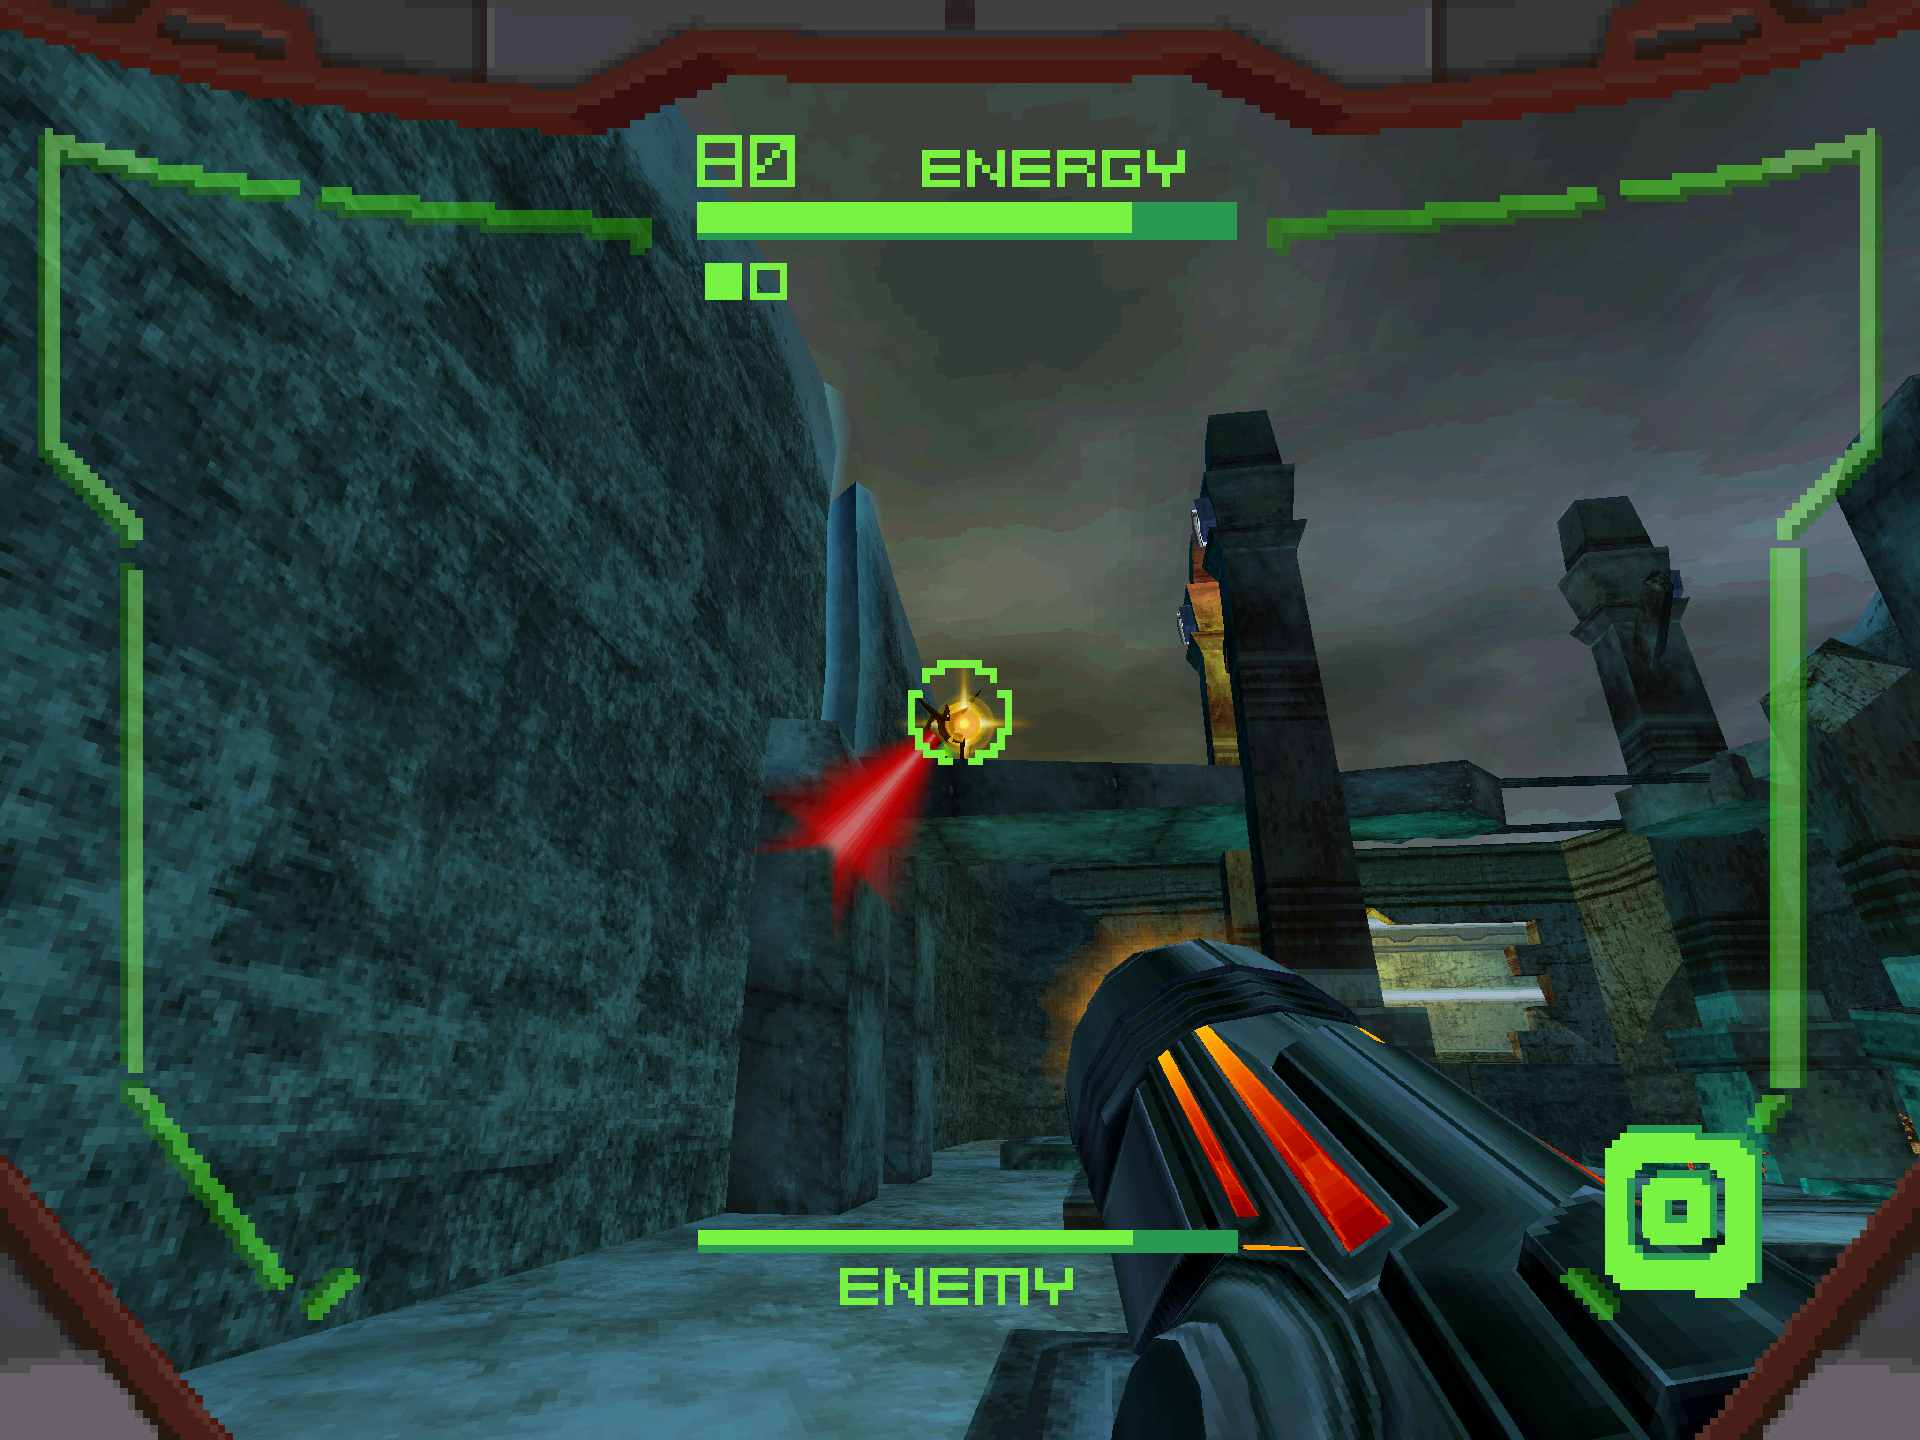
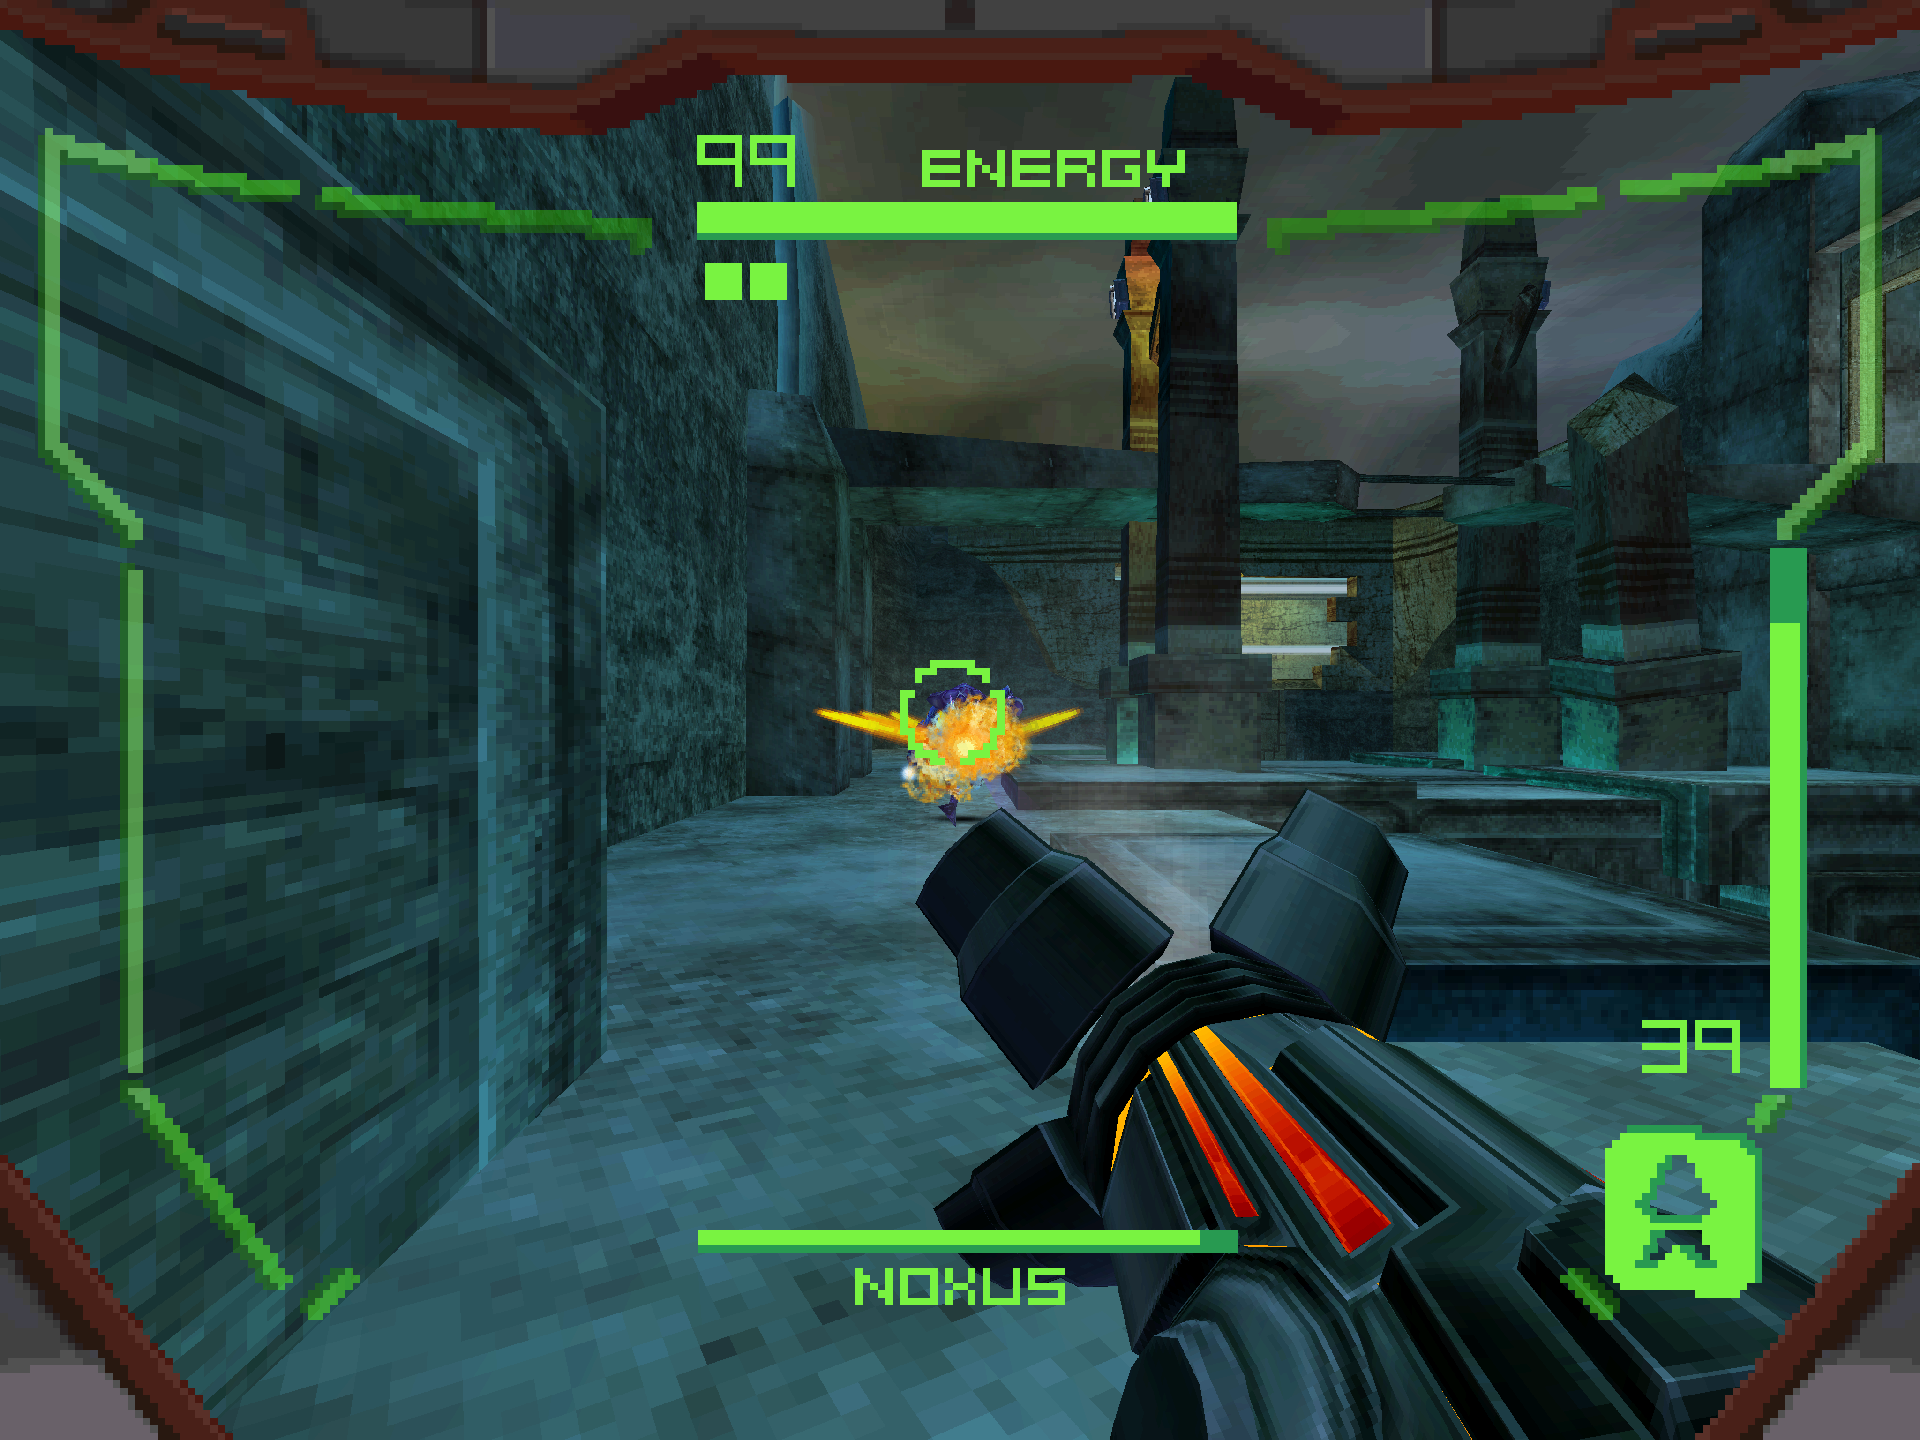
As soon as we walk in on the fight, everyone turns their attention to us. NOXUS is the primary Hunter we’re fighting, however Trace will still try to snipe us from the bridge above. A few shots at Trace is all it takes for it to retreat into the background so that you can focus all your energy on Noxus (Note: Trace CANNOT be scanned during this fight).
Noxus comes equipped with the Judicator, a weapon that fires supercooled plasma bolts at opponents. The standard shots ricochet off the surface, however the Charge Shot fires a close quarters ice spread that will momentarily freeze you if you’re caught in the blast. Noxus will try to rush you down as a result, however this arena is very open and not ideal for him. Keep your distance and this will be an easy win. When Noxus transforms into the VHOSCYTHE, jump onto any elevated position to avoid getting hit. You can shoot the toxic plant life around the arena for health and ammo, however considering how easy the fight is I think it’s more beneficial to take them out early if they’re in your way to avoid excess damage.
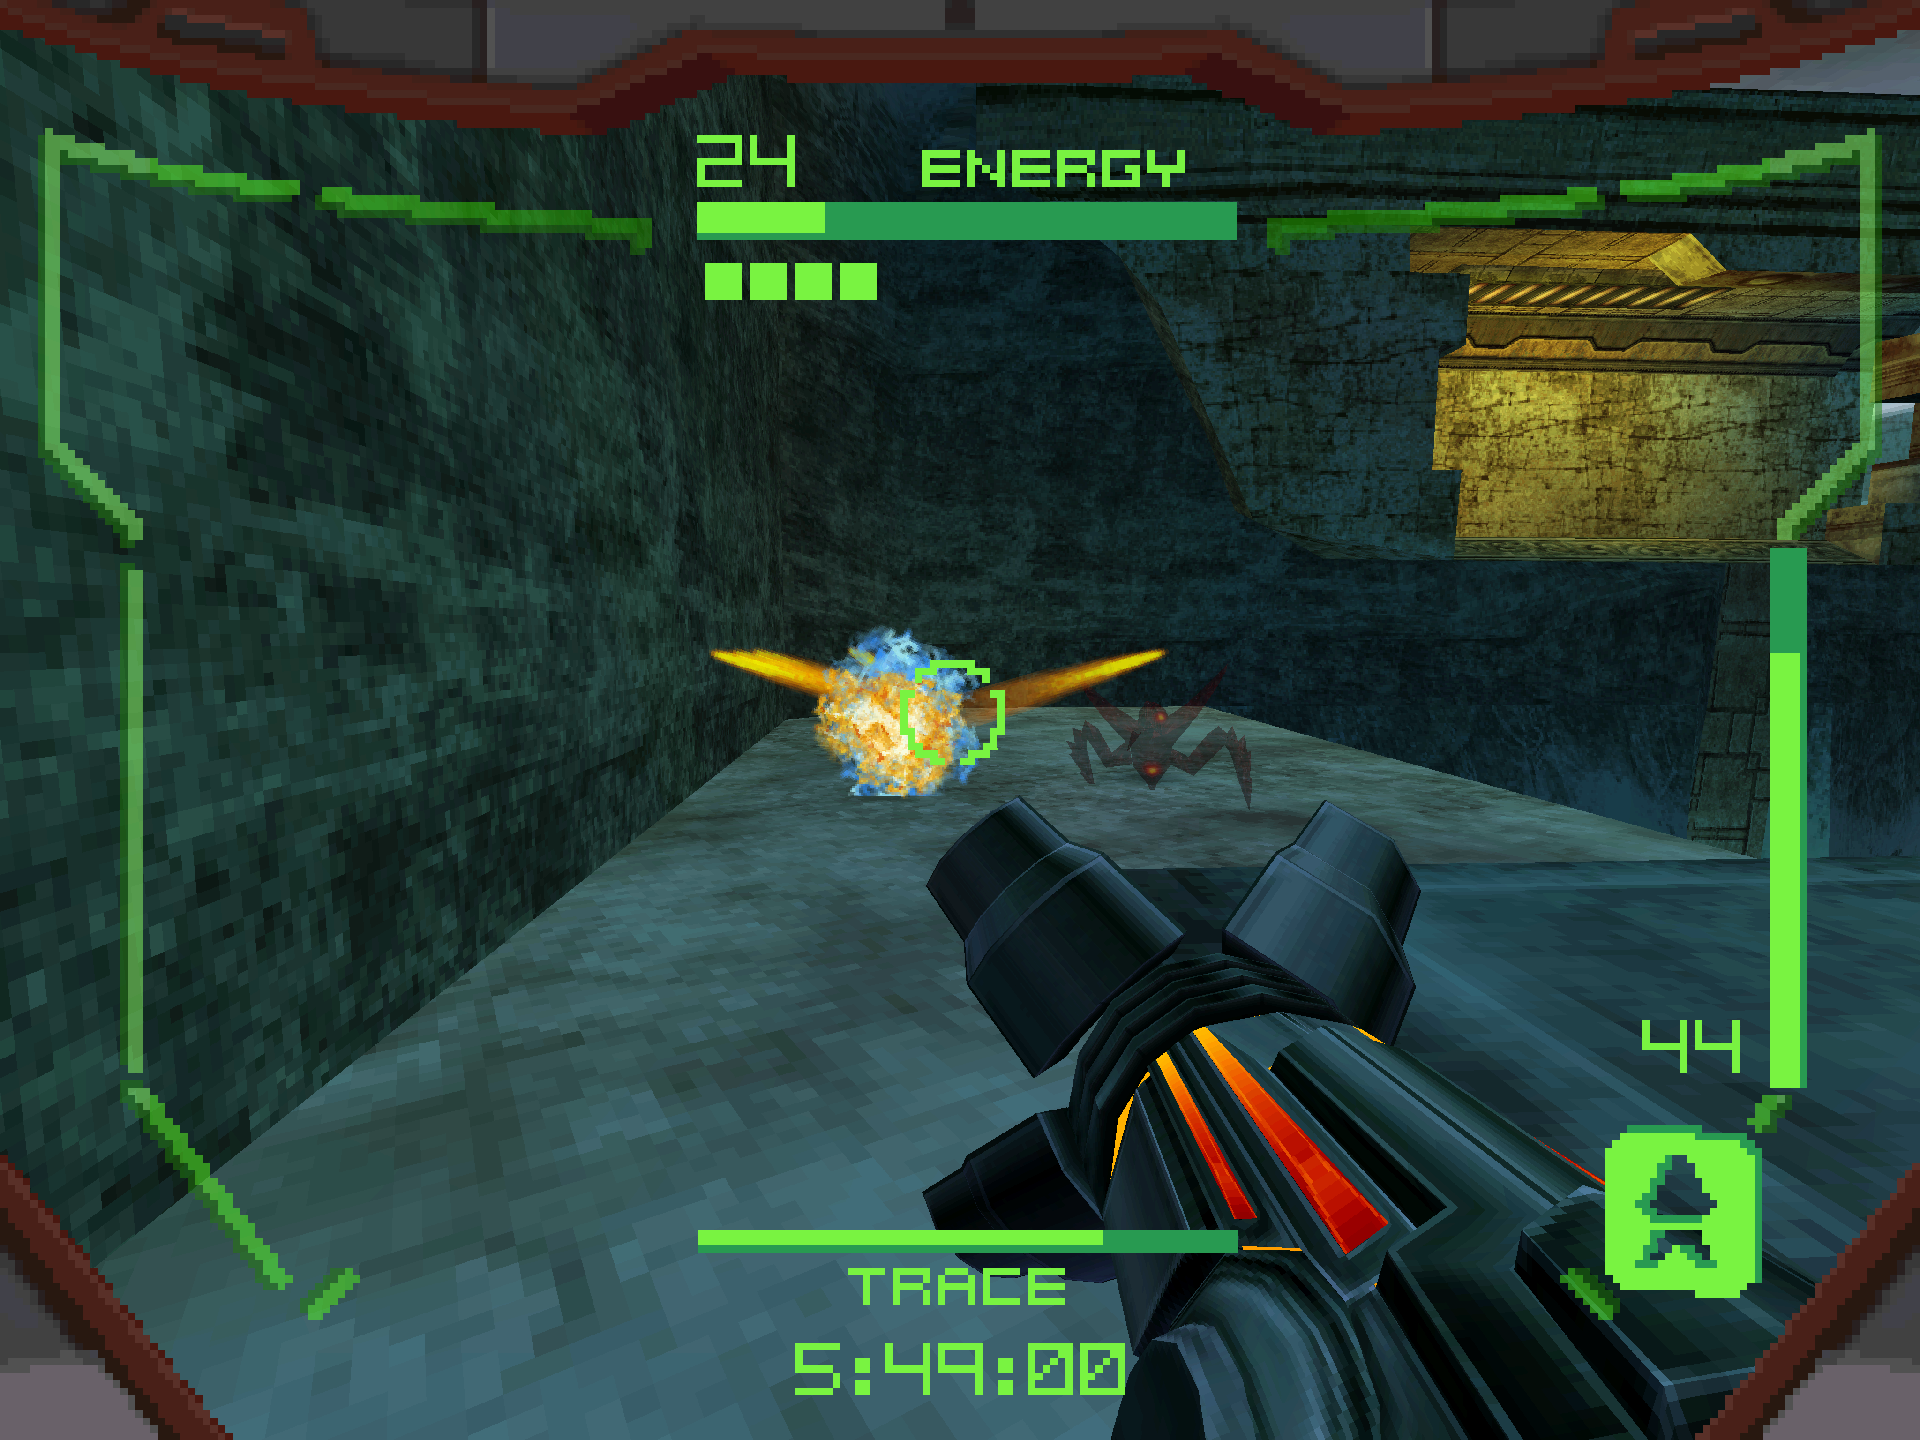
Trace
TRACE is here for payback after we made it retreat from the Noxus fight. It comes equipped with the Imperialist, a precision sniping laser that does massive damage. Trace can also turn invisible when standing still for a short period of time, giving it a bit of a different playstyle compared to the other Hunters we’ve faced thus far. This also prevents it from showing up on your radar. Trace is perched at the back of the map with an advantageous high ground over us. It underestimates our power though, because we have homing missiles! Invisible or not, your missiles will always track Trace.
After enough damage is dealt, Trace will abandon its perch and transform into the TRISKELION. The Triskelion does a lunging attack, dealing decent damage and also making Trace hard to hit. Be careful as Trace can also turn invisible by standing still while using the Triskelion. It will use this to its advantage by running away from the fight at numerous points to hide somewhere, waiting to ambush you. When this happens, you will have to search for it because otherwise Trace will happily run down the timer and give you a game over.
BOSS BATTLES
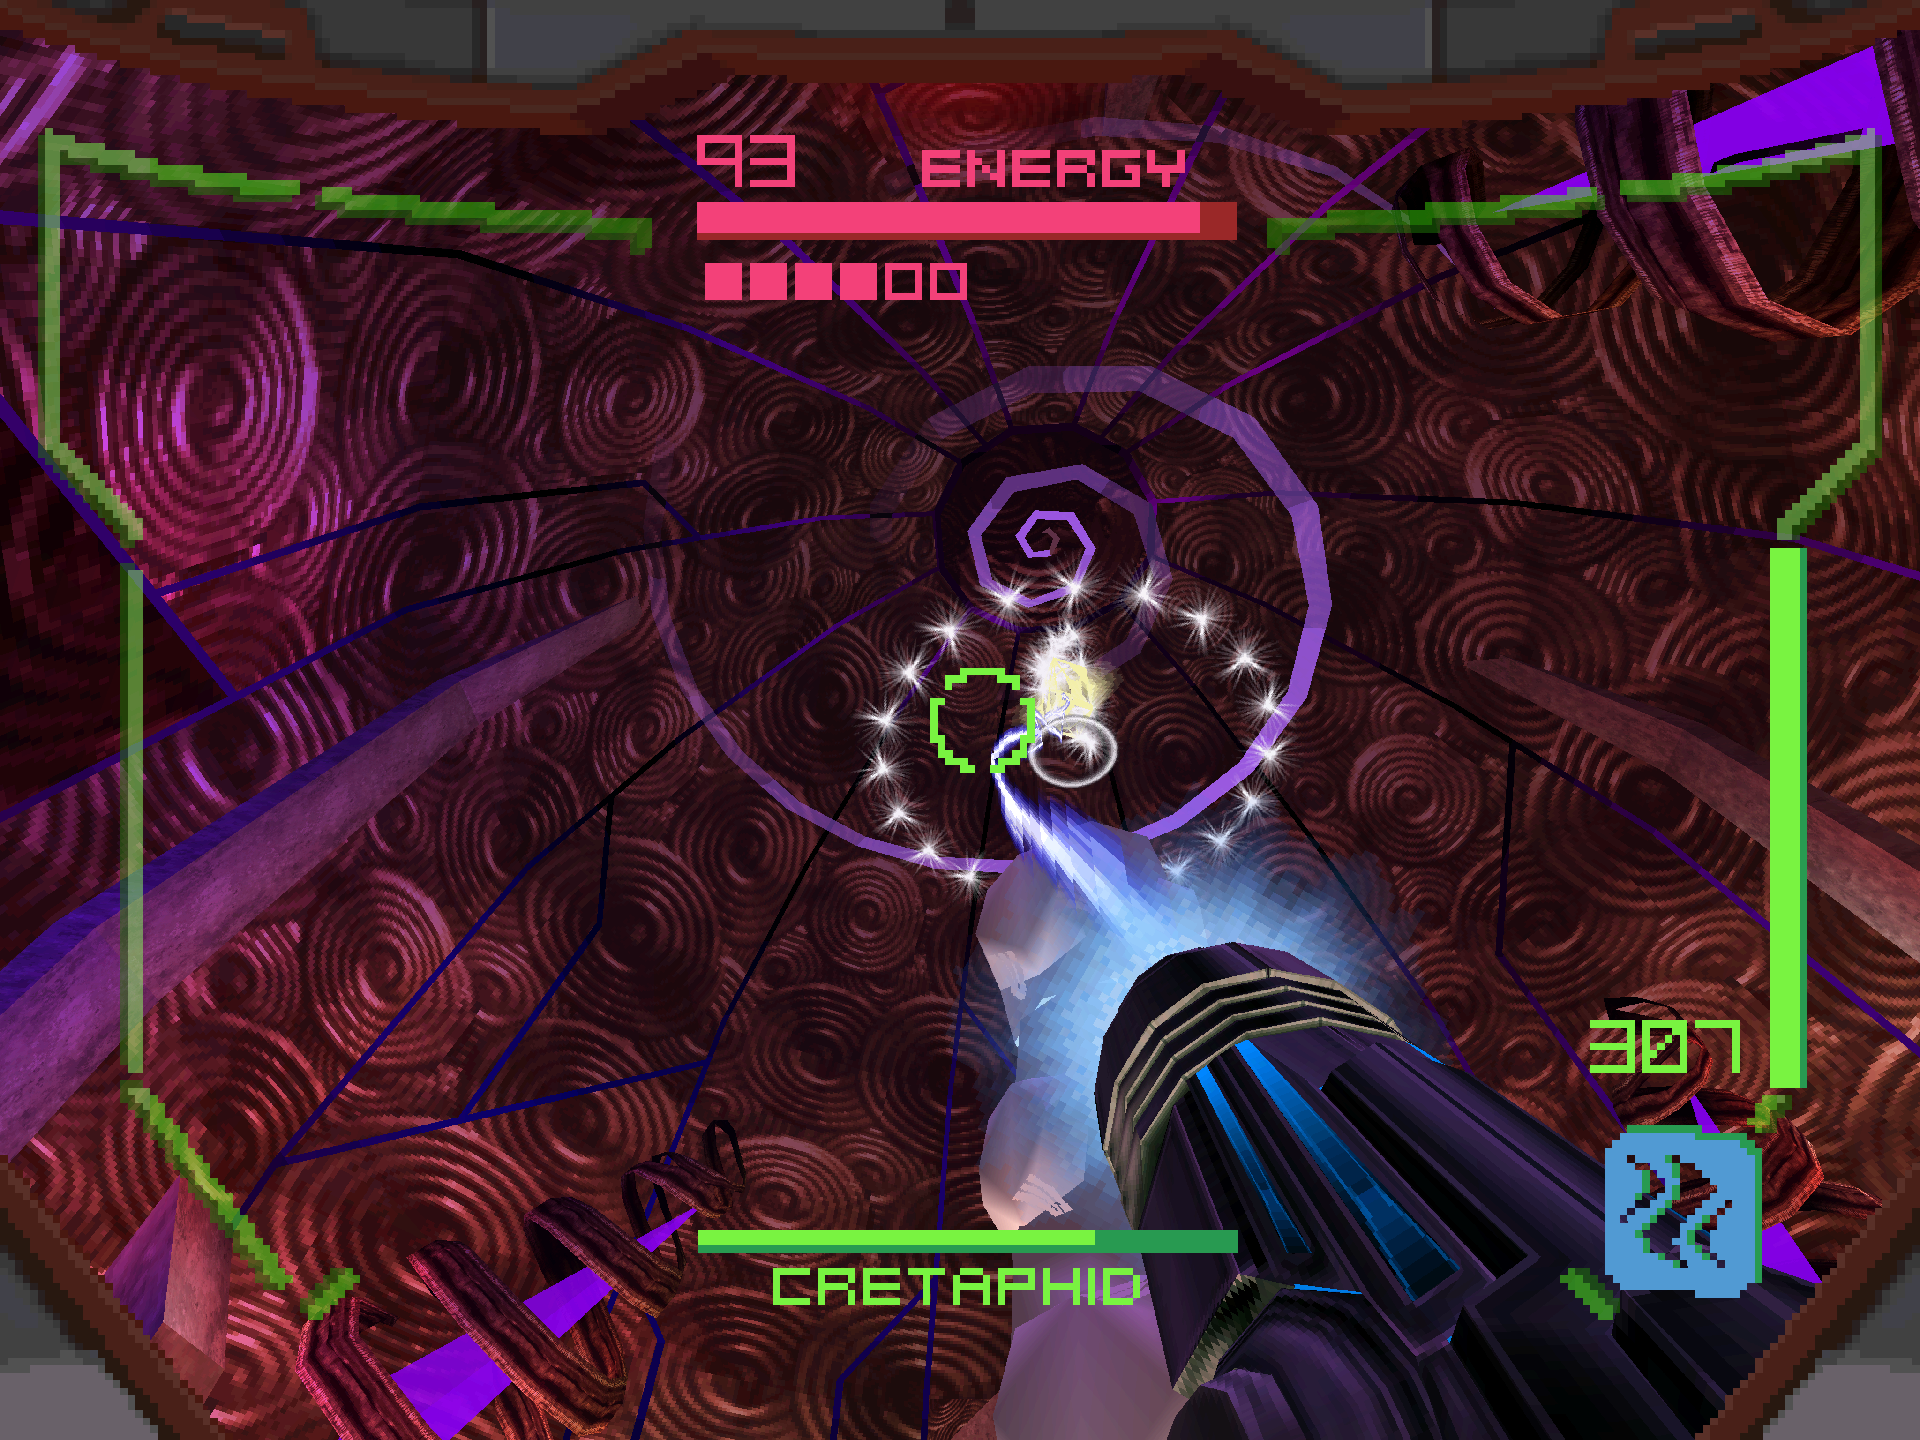
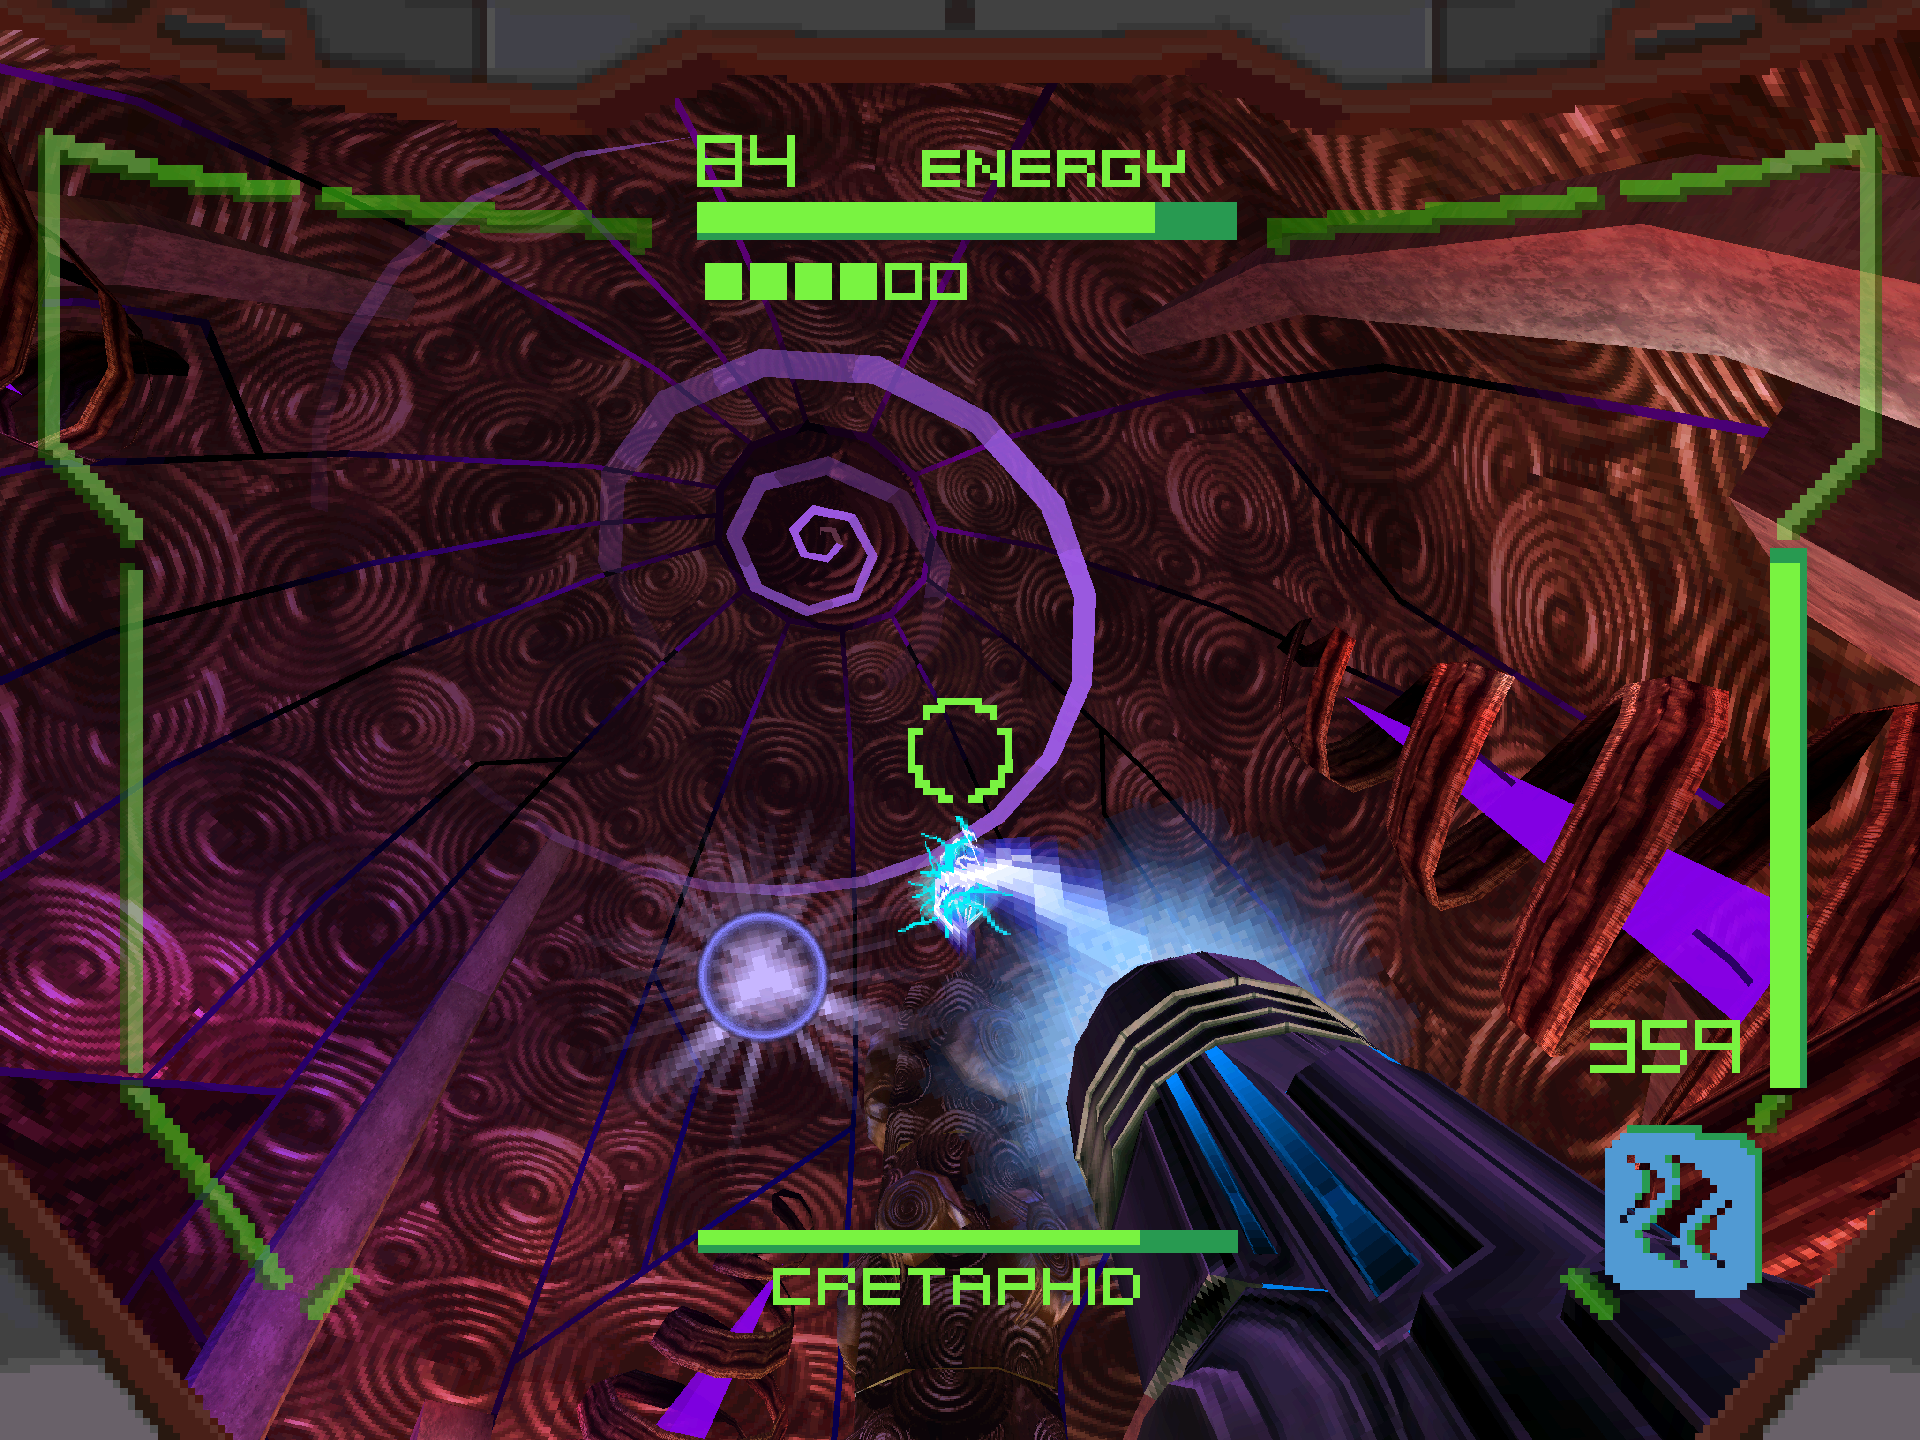
Cretaphid v1
This one is pretty simple! Scan both the CRETAPHID V1 and BIODEFENSE CHAMBER A datashade, then blast away at the blue weak points on its outer shell with the Power Beam. Run underneath and past the lasers if they get too close, and keep strafing like all of the other enemy encounters so far. When all of the weak points have been shot, the mainframe will exit the top of the cylinder and start firing projectiles. Stick with the Power Beam and you should be able to get to the next phase in a single try. Each phase of the fight will move the lasers lower towards the ground. When this happens, you’ll want to incorporate some jumps over the lasers depending on their angle. Otherwise, keep at it until it’s done for!
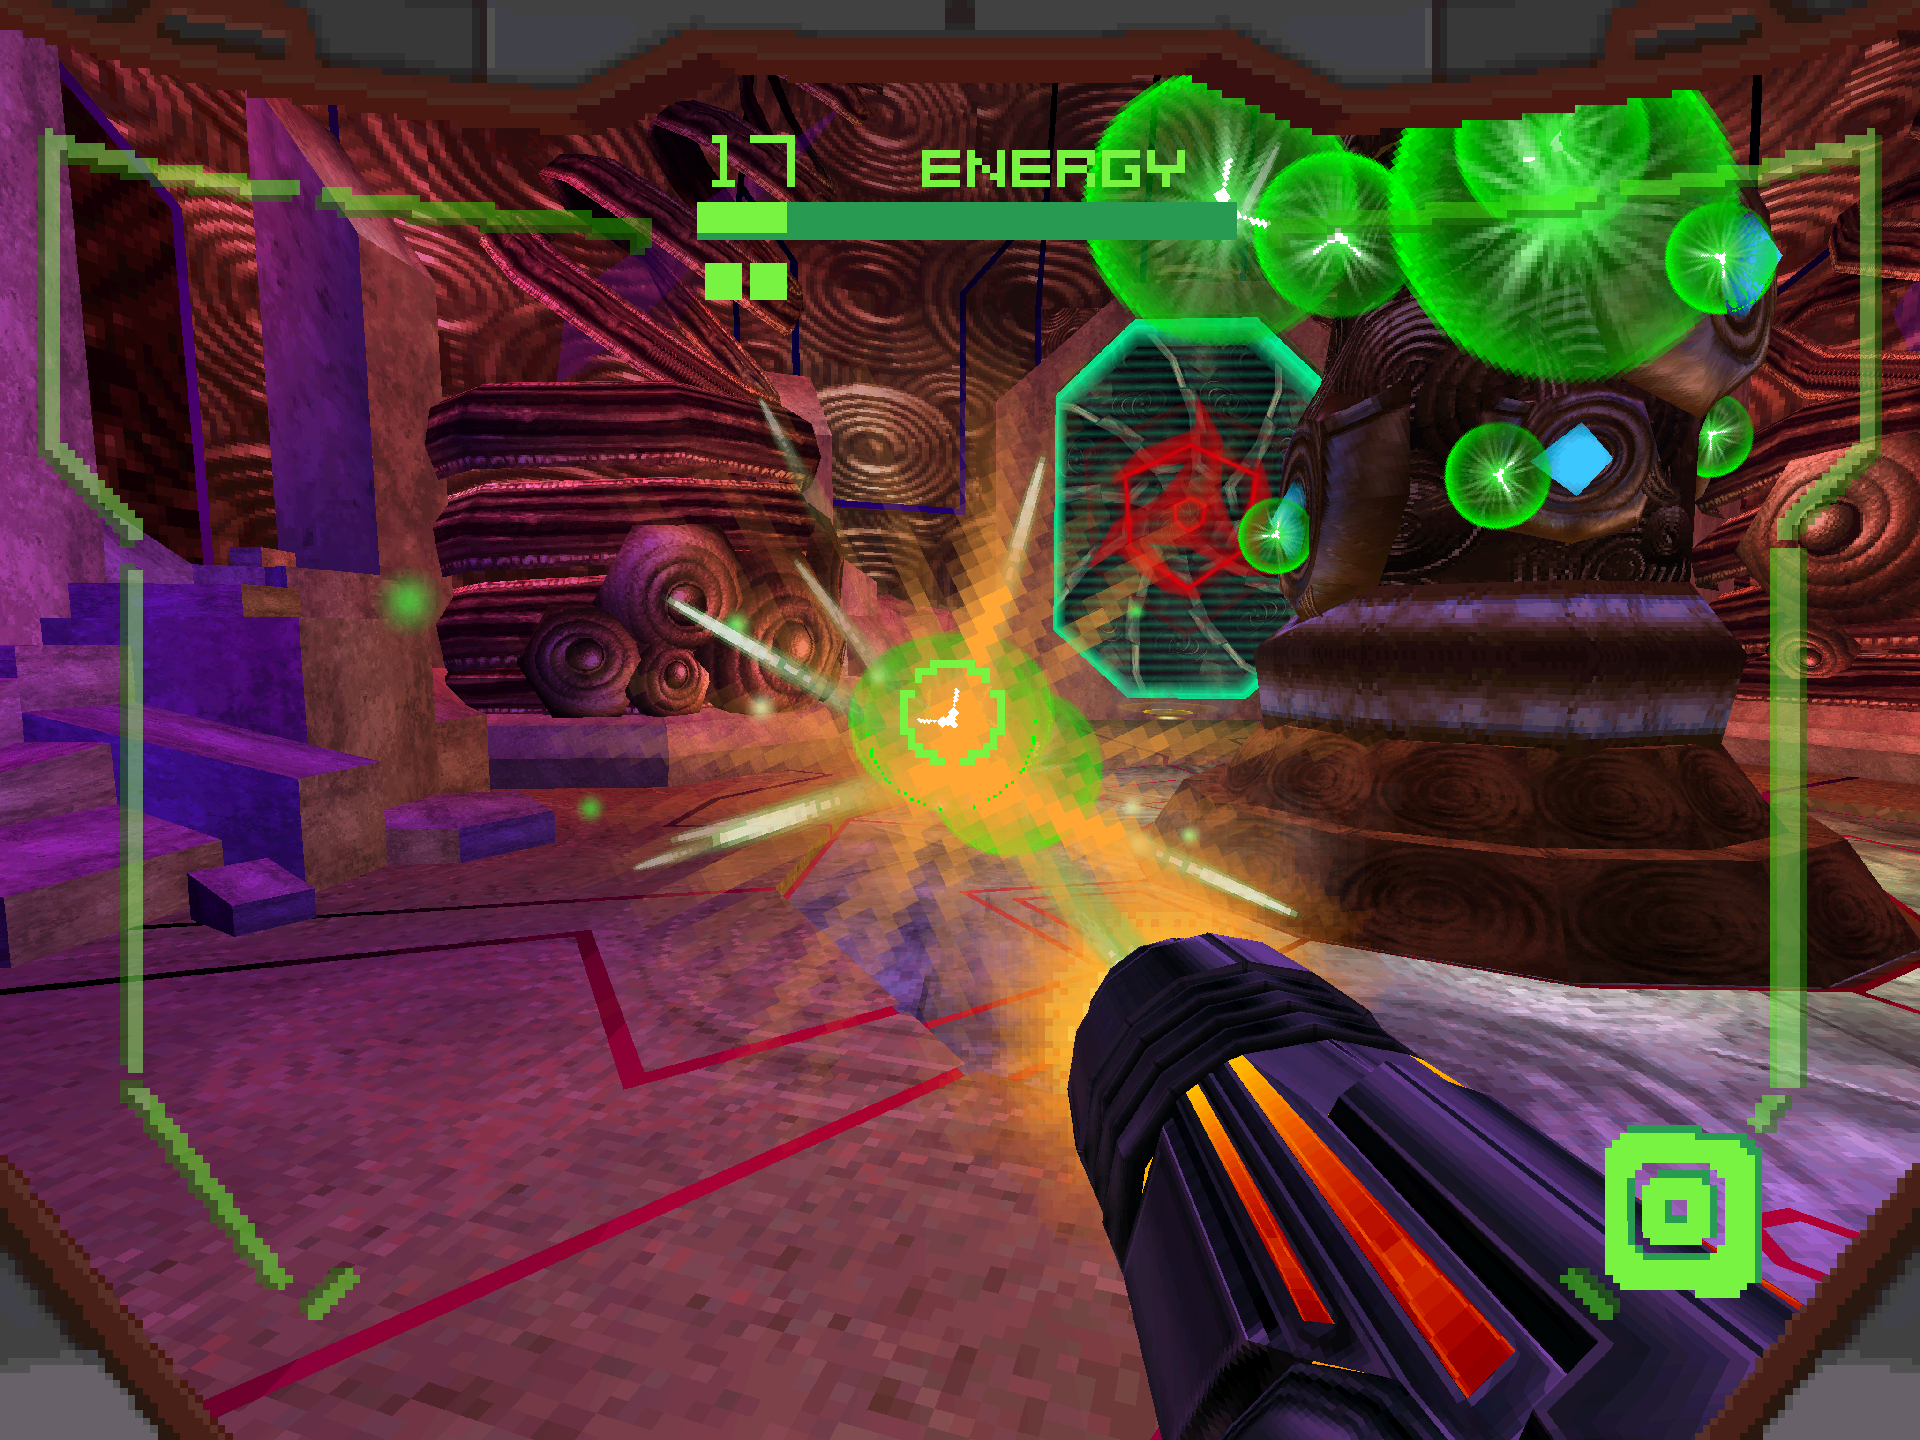
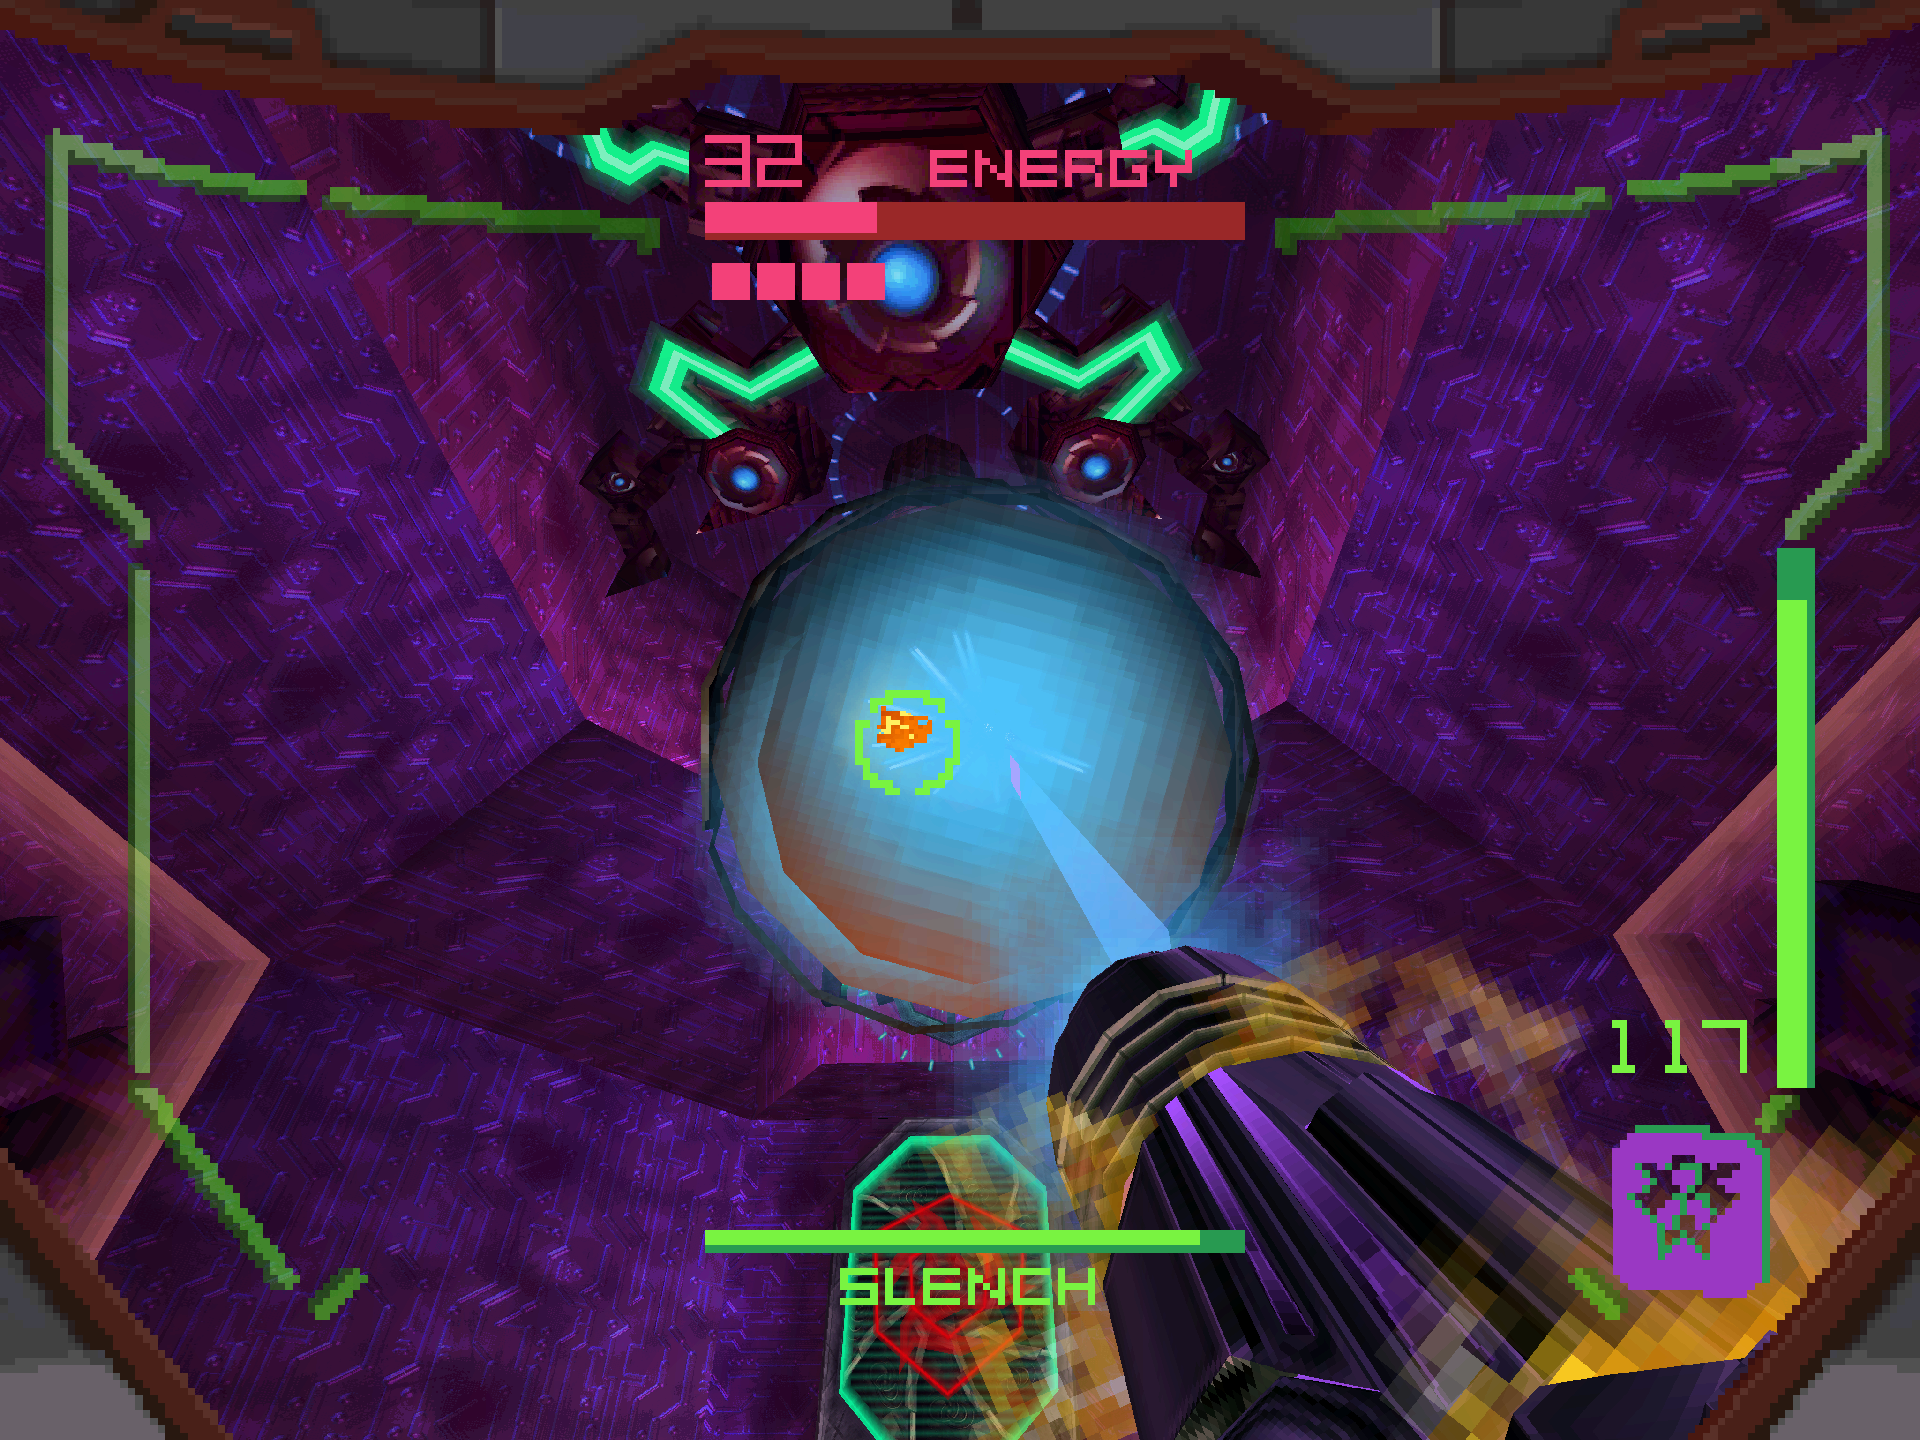
Slench 1
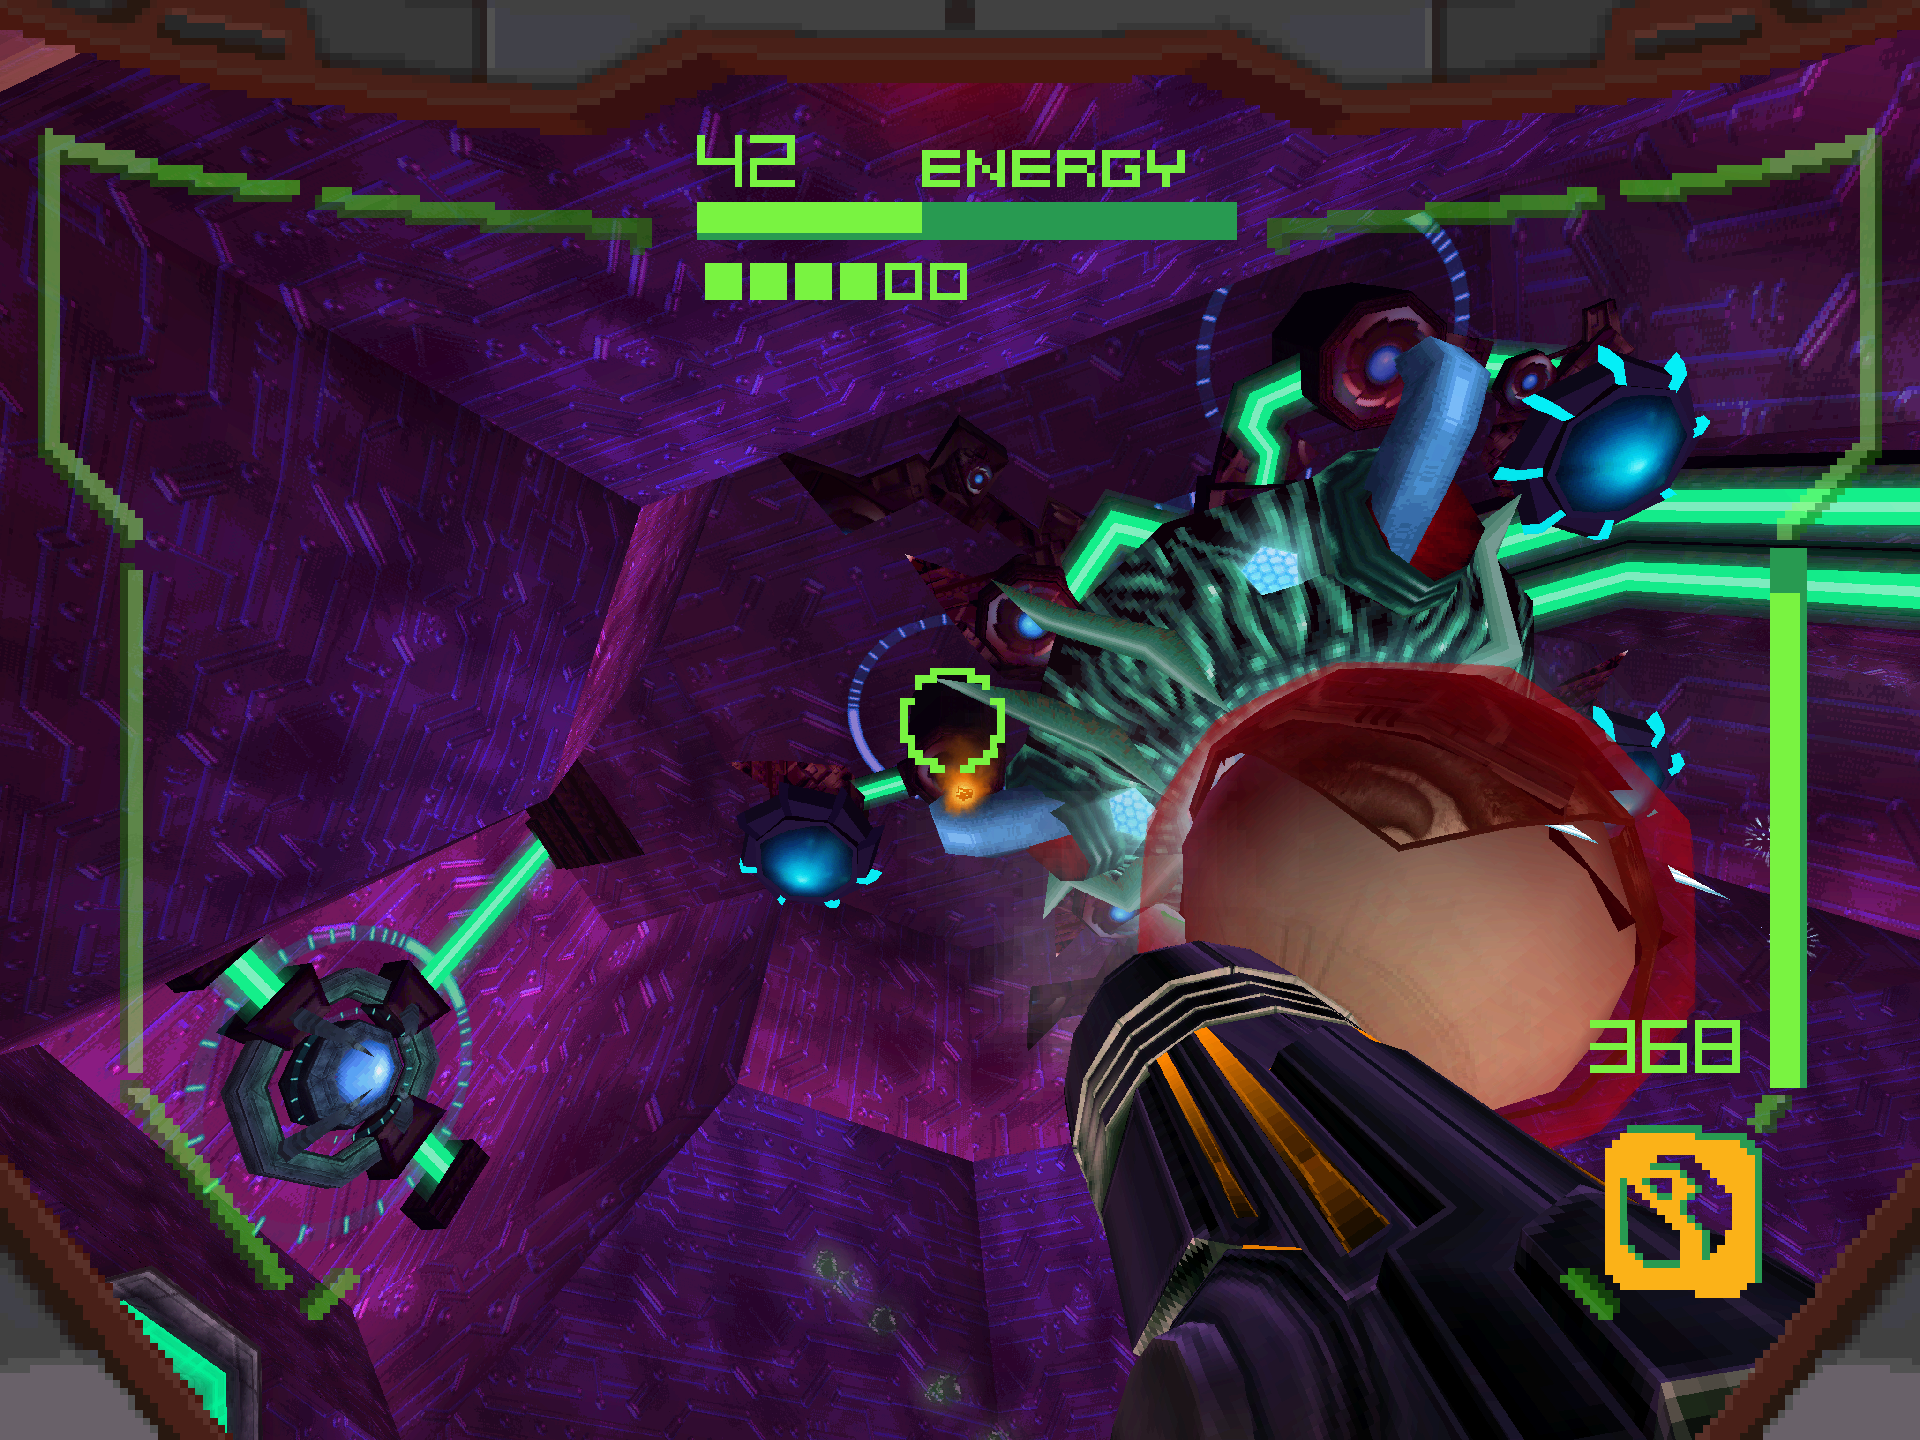
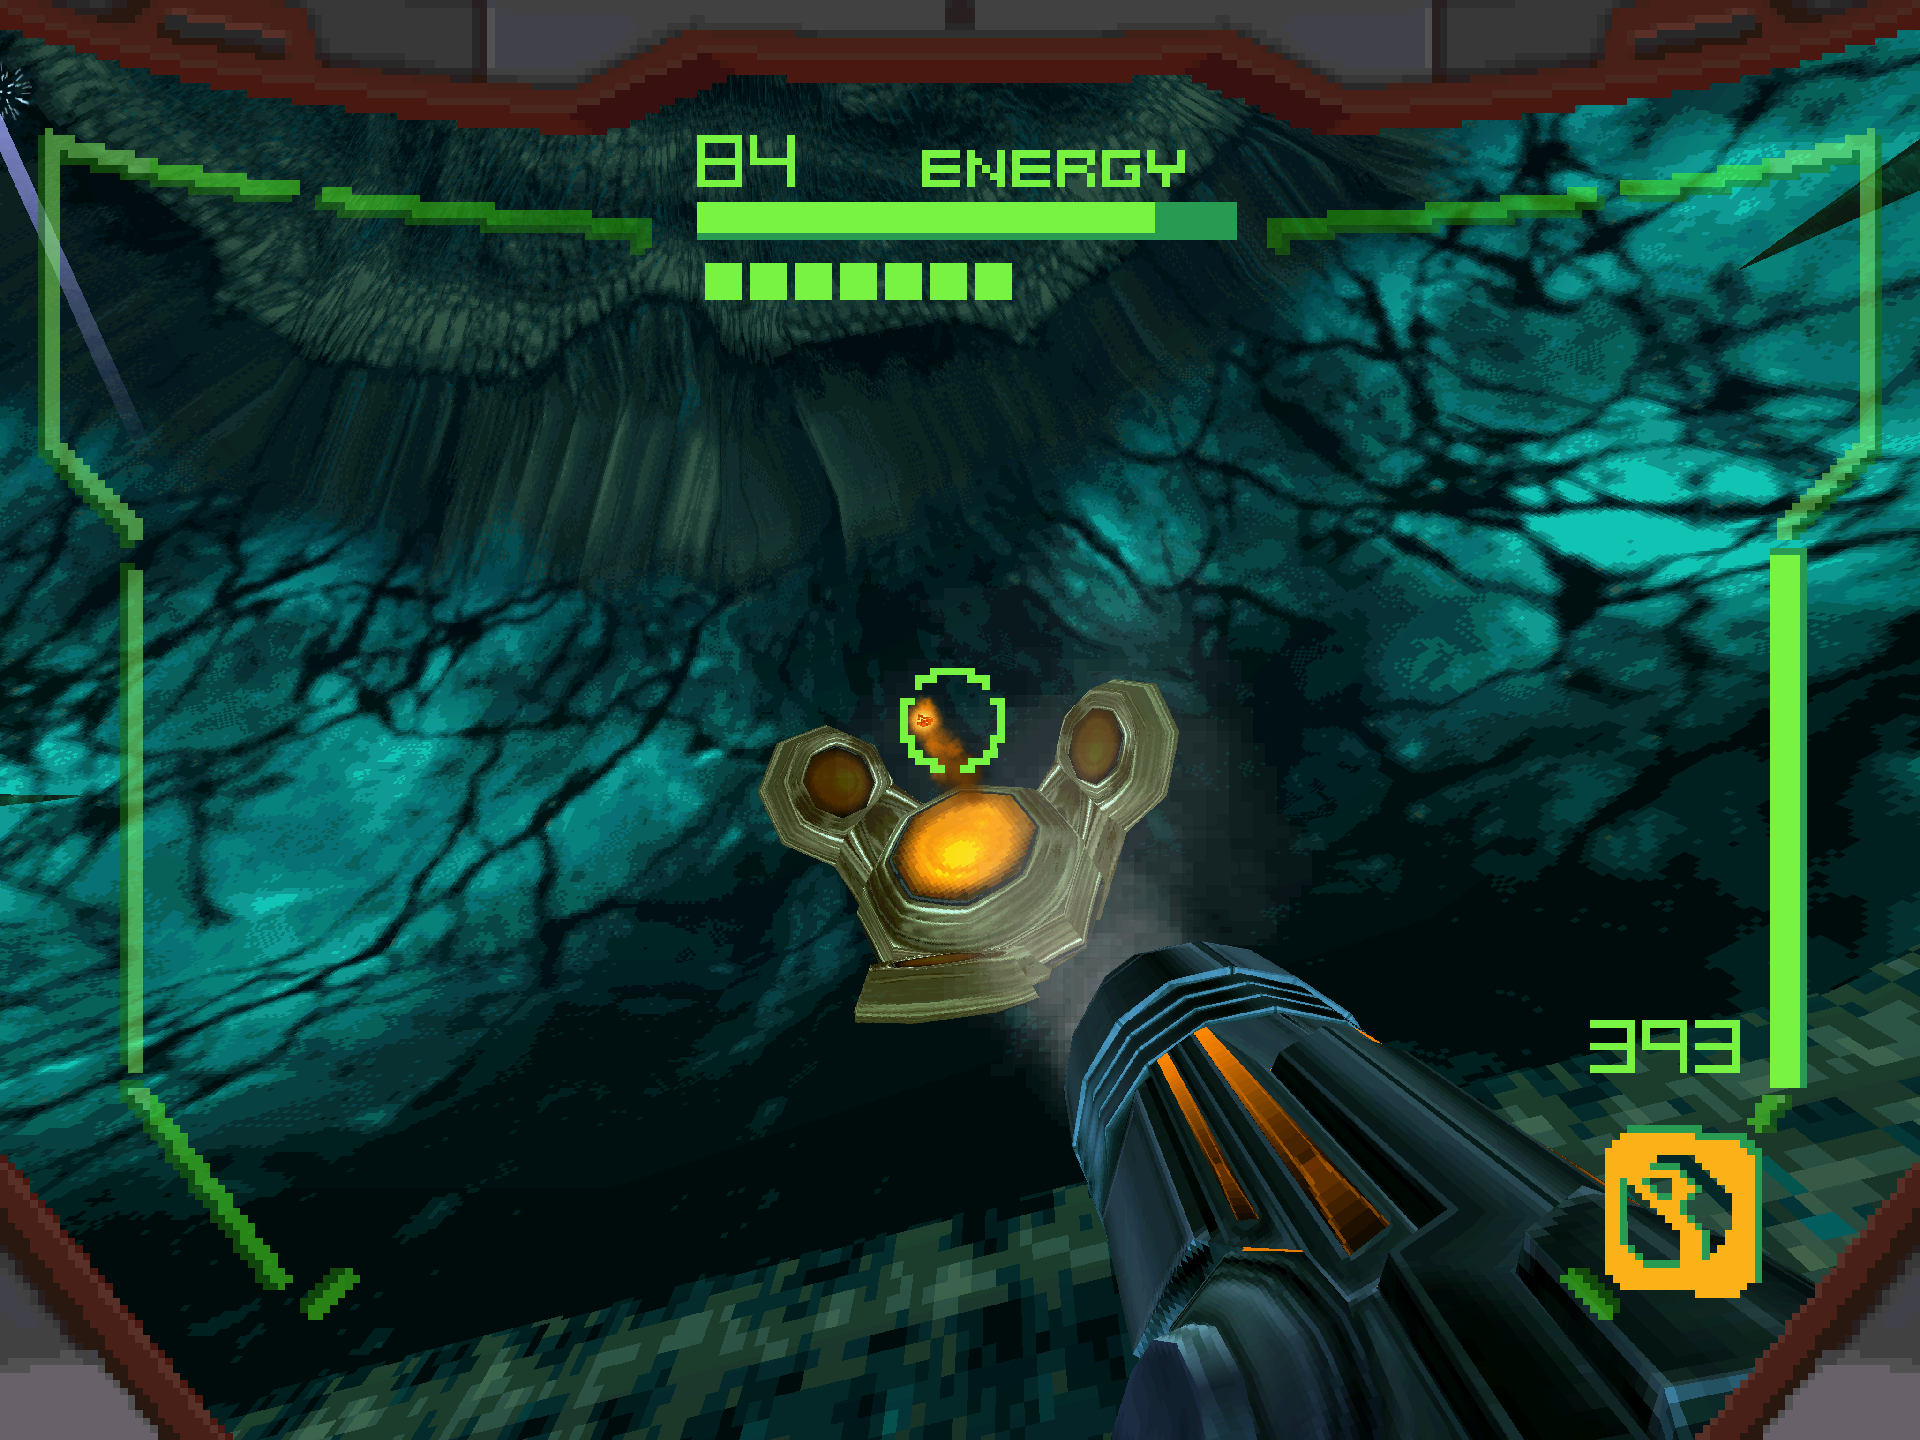
First things first, we got a few things to scan right off the bat! Scan the SLENCH 1A, the ENERGY BLASTER on the wall and the BIODEFENSE CHAMBER B datashade. Now onto the fight itself! The Slench will start the fight attached to the wall with a shield blocking its weak point. It will constantly fire slow moving green venom projectiles at you, which can also be shot for health and ammo. Meanwhile the Energy Blasters on the wall powered by the synapses will periodically fire much faster projectiles at you. These synapses are the key to the first phase of the fight. You have to destroy all three to detach the Slench from the wall. If you take too long after removing a synapse, it will grow back. That shouldn’t be too much of a problem in this fight though, as they go down in a few Power Beam shots.
Taking out all three synapses will aggravate the Slench, detaching itself from the wall and beginning the next phase where we can start dishing out some REAL damage! As soon as this happens, scan the SLENCH 1B and secure that logbook entry! While detached from the wall, the Slench will hover around the chamber rapid firing projectiles at you with its weak point completely exposed. Keep moving around the arena to avoid getting shot while you focus your aim on the eye. As the fight progresses, the Slench will increase speed during this phase, so you might want to stick with your Power Beam if it gets too tricky to lead with your missiles.
Cretaphid v2
This thing, again!?!?! Yup, this is the point in the game where I have to inform you that there are only two types of Octolith guardian bosses that you will be fighting FOUR times each. Yeah, it’s a doozy. The basic strategies for these fights play similarly to their counterparts, usually with some new attacks added or a required sub-weapon to deal damage.
First off, scan CRETAPHID V2 before anything else and add it to your logbook. Every variant of these fights count as their own individual entries, so it’s important not to miss these since they are all missable scans! From there you’ll want to take out the weak points to expose its core and damage it just like in the initial fight. The big change to this fight is heat-seeking plasma projectiles that will follow you around the arena replacing the lasers on the v1 model. You can destroy them with a Charge Shot, but much like the Delano 7 from before I don’t think it’s even worth bothering with since they rarely leave behind any health or ammo pickups. Keep that in mind as you’re moving, but otherwise use the same strategies from before to claim your Octolith. Battlehammer is a great weapon to use on the core if you’re comfortable aiming the arced projectiles.
Slench 2
Slench 2 is nearly identical to the first fight and you’ll be using the exact strategies. The biggest difference is that this time it will fire superheated magma projectiles at you, with added burn damage while hovering. Your Judicator is also the only weapon that will damage the synapses this time, and will deal the most damage to the eye when it detaches from the wall. Don’t forget to scan both the SLENCH 2A and SLENCH 2B during this fight, as they’re both missable scans!
Slench 3
As always, whenever we begin one of these fights, scan SLENCH 3A before it begins its attack. This time the Slench will fire Volt Driver shots at you, with the shots it fires in its hovering phase causing visor distortion upon contact. It also has a new ramming attack that it periodically uses during the hovering phase. When it telegraphs this by closing its shutter and shaking, activate Morph Ball and boost out of the way. You’ll need to use the Battlehammer to damage the synapses this time, taking four shots each before they retract. The Battlehammer also does the most damage during the hovering phase, however it can be difficult to hit the weak spot once the Slench begins speeding up. If you’re having difficulty getting hits, switch to a weapon with a faster firing rate. Less damage is certainly better than no damage! Otherwise, don’t forget to scan SLENCH 3B during the hover phase and that’s about all the new info you need to best this monstrosity!

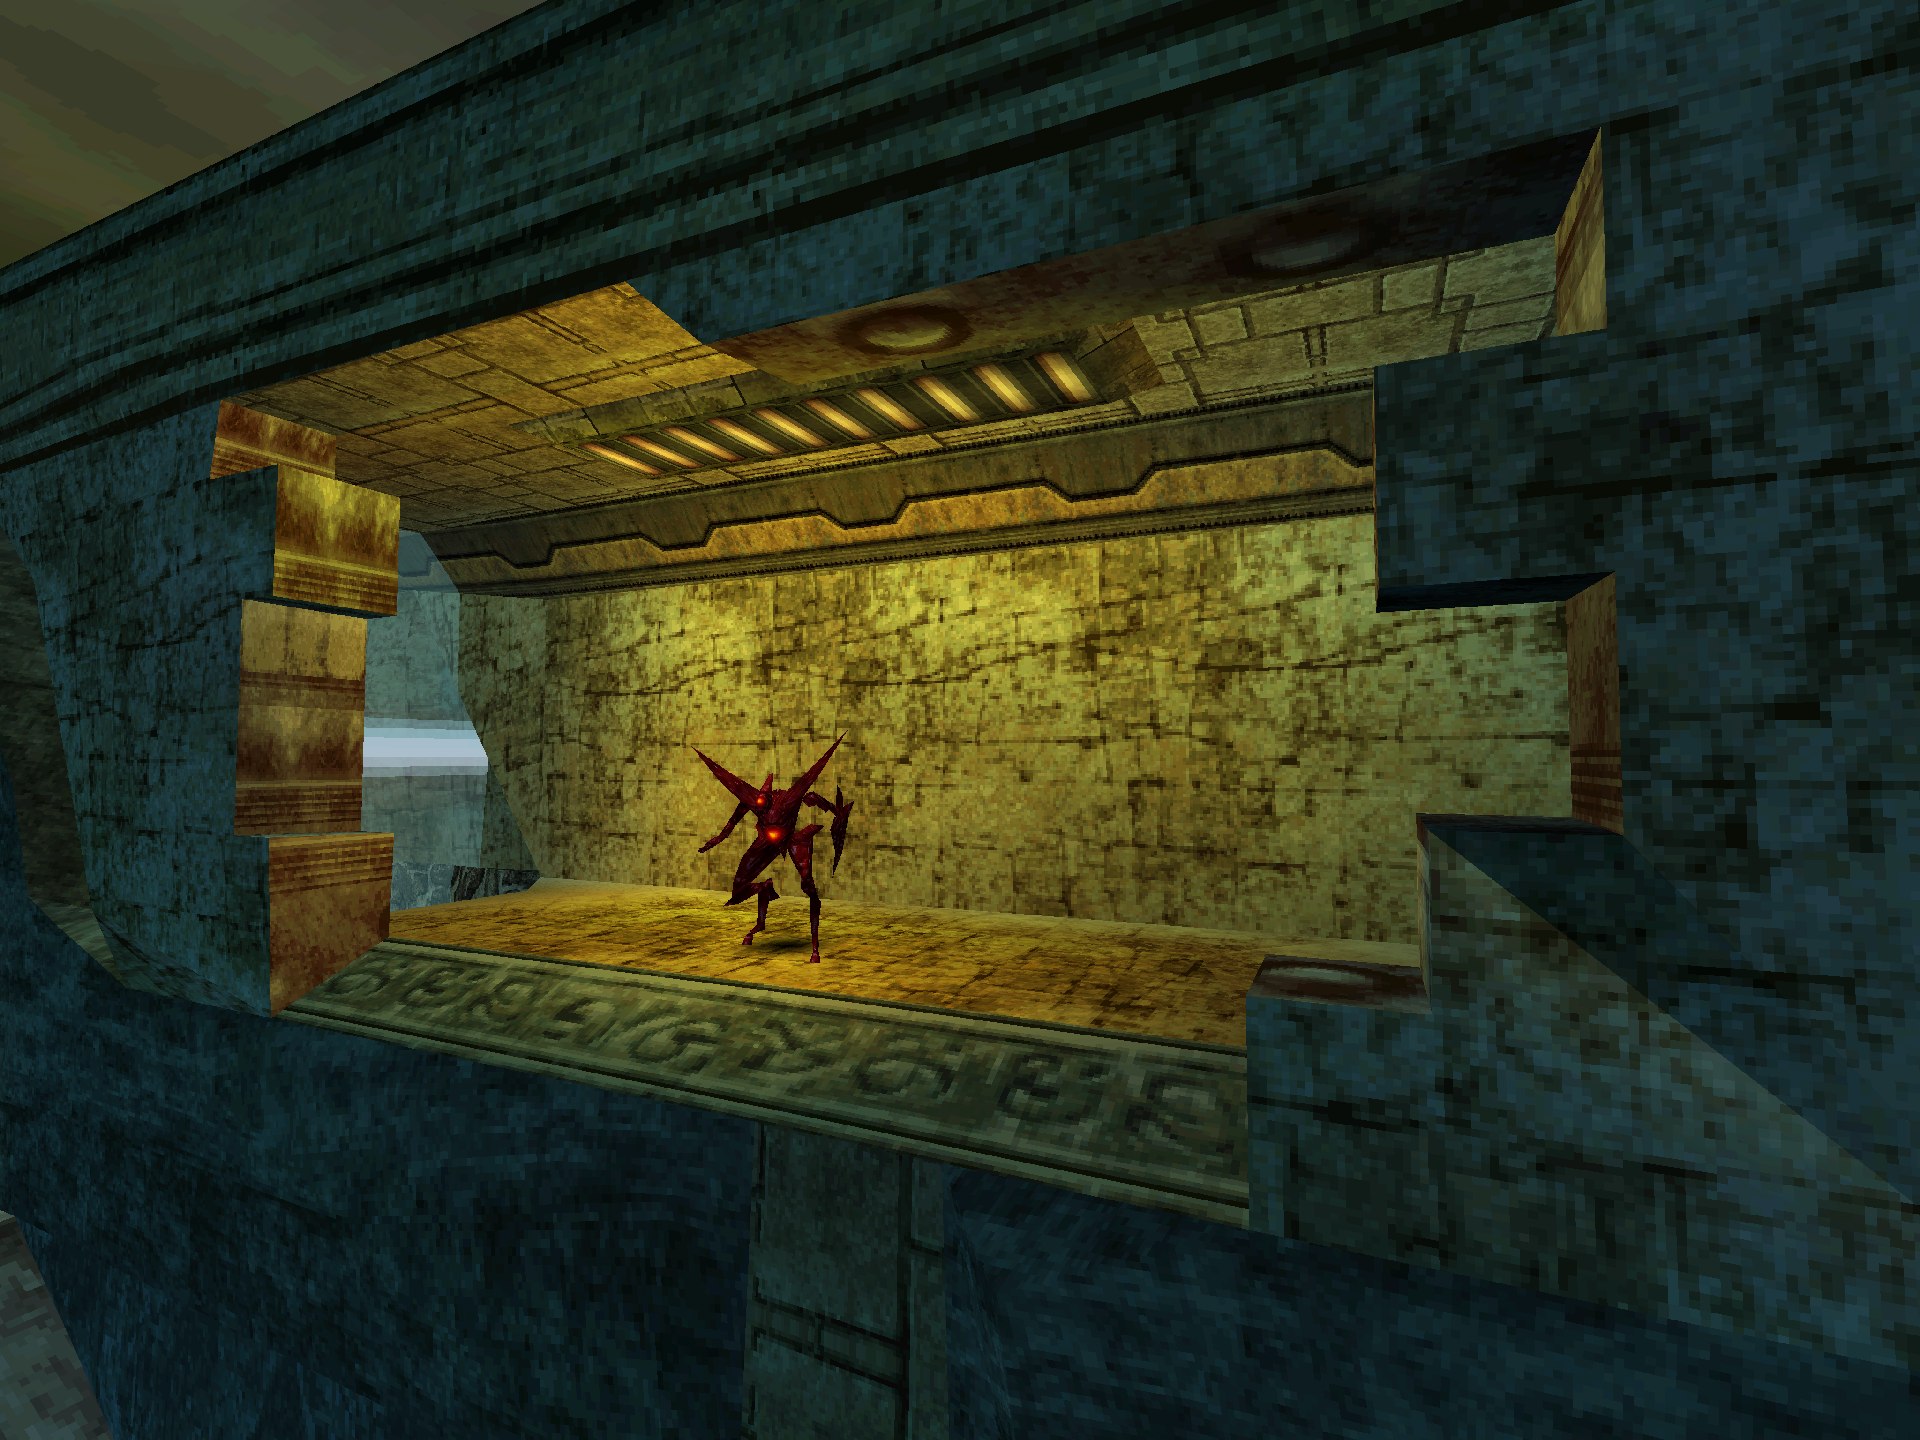
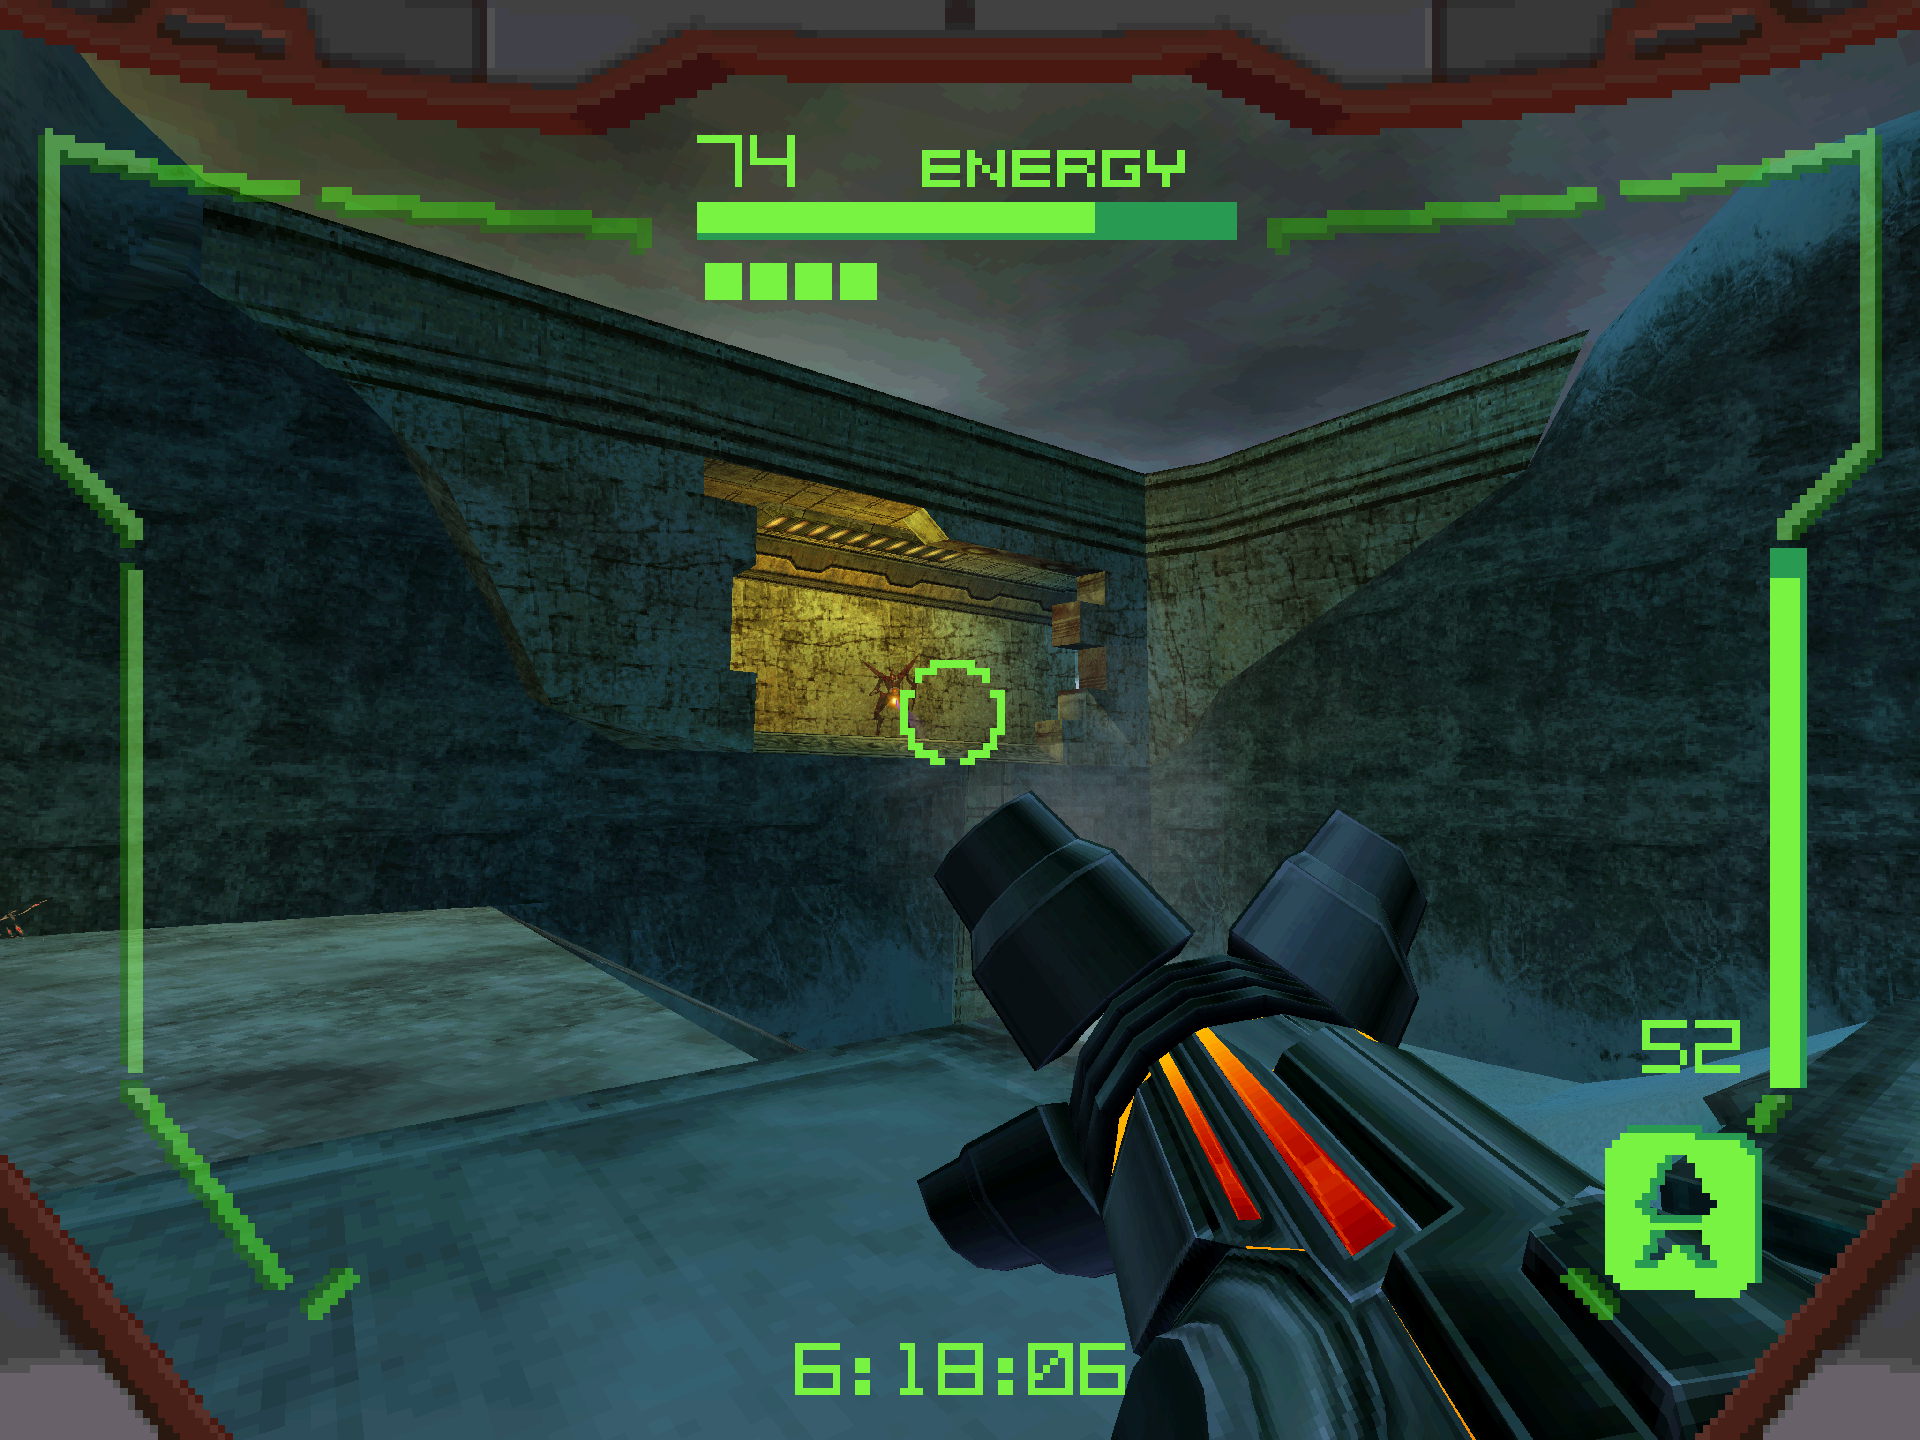
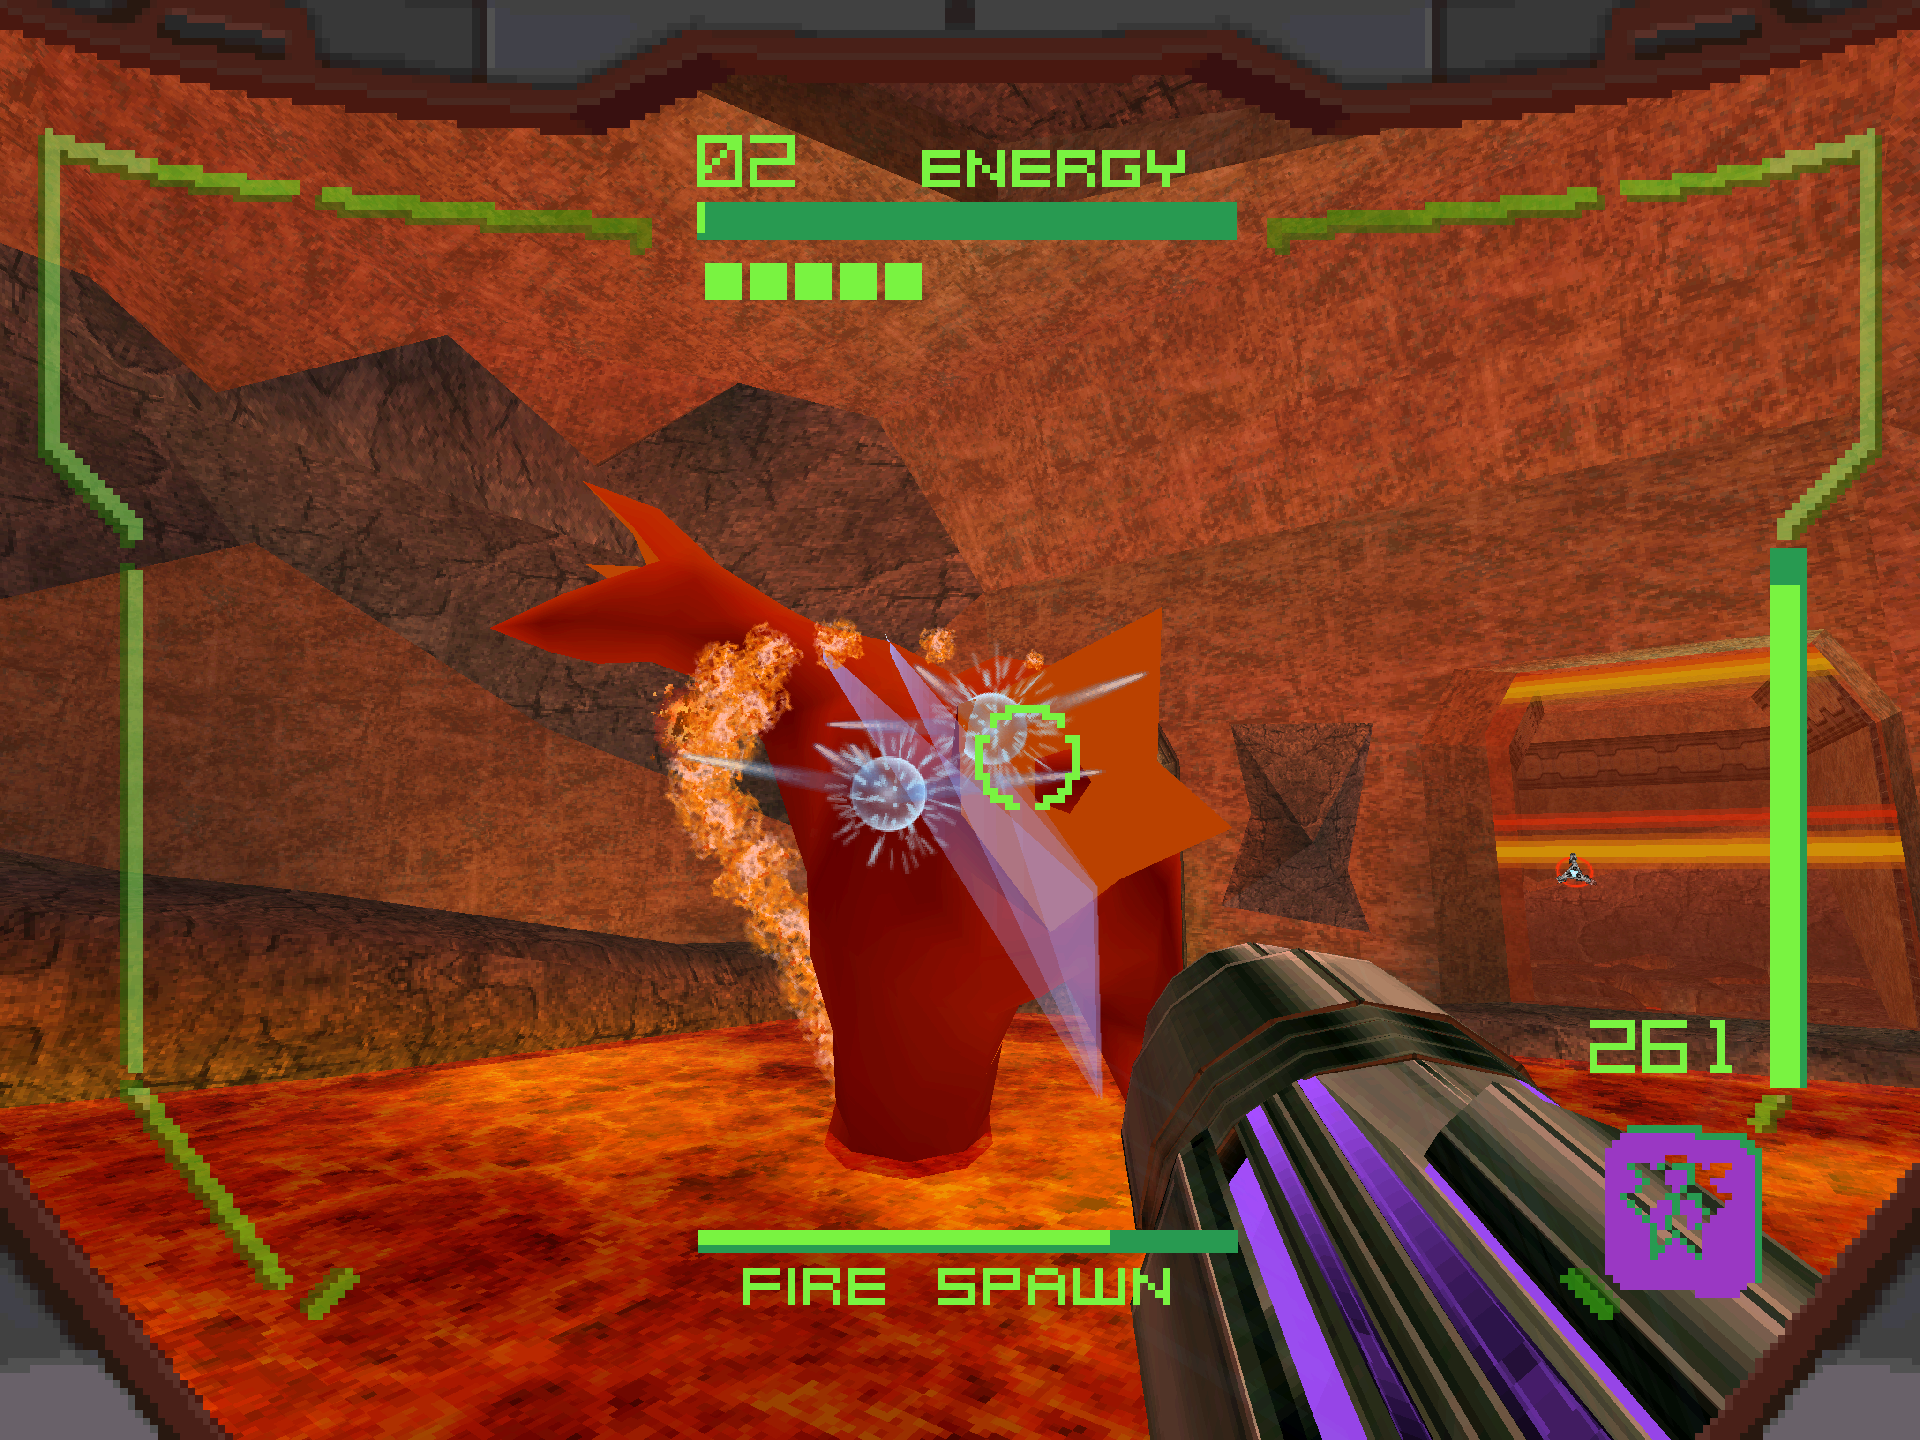
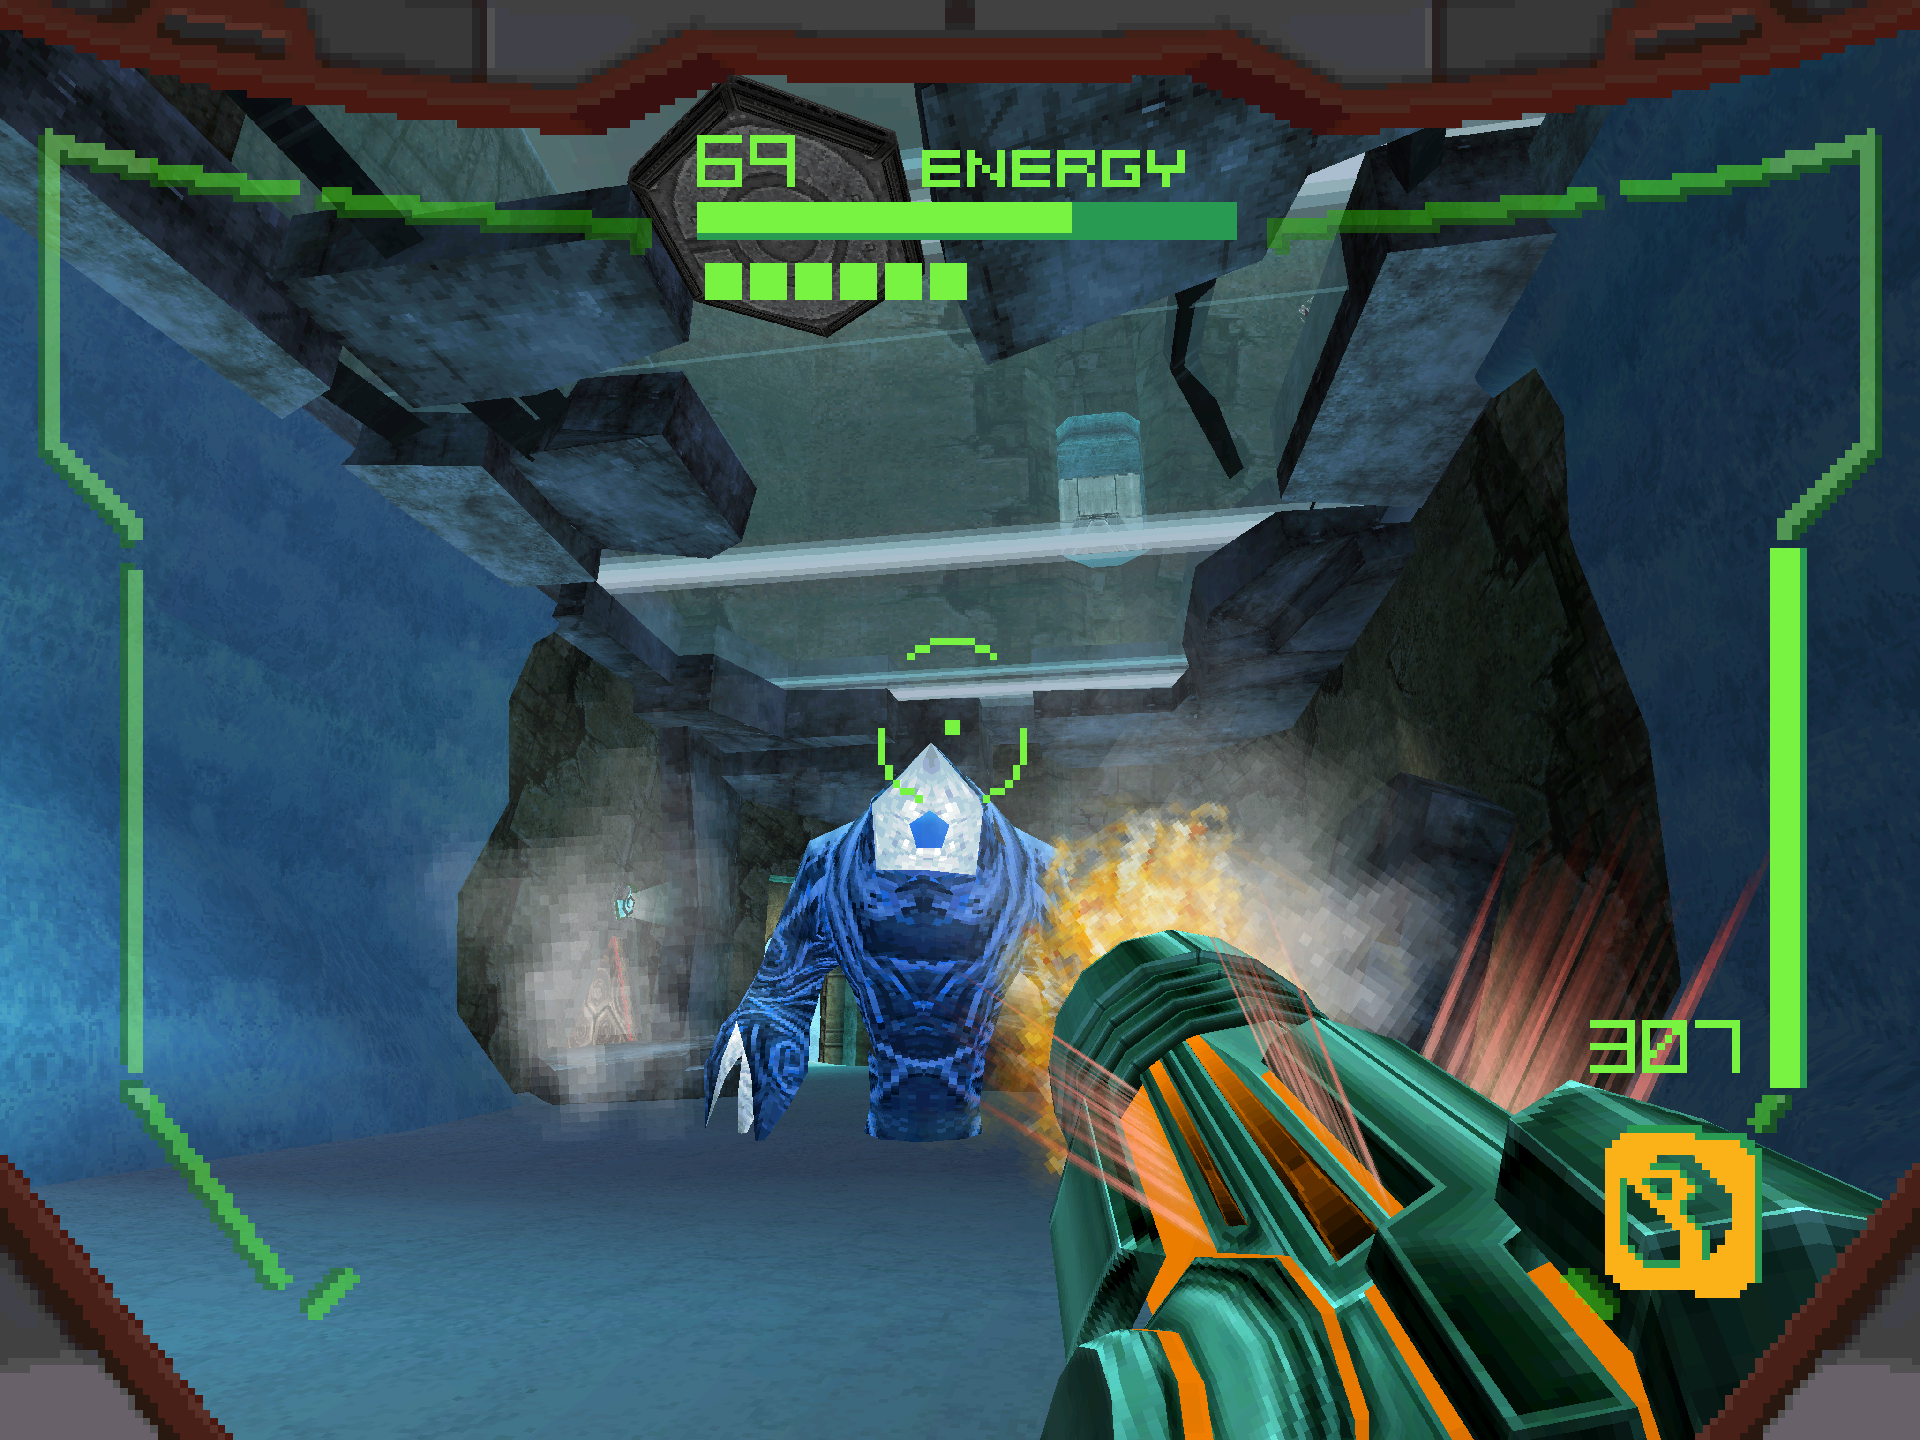
Fire Spawn
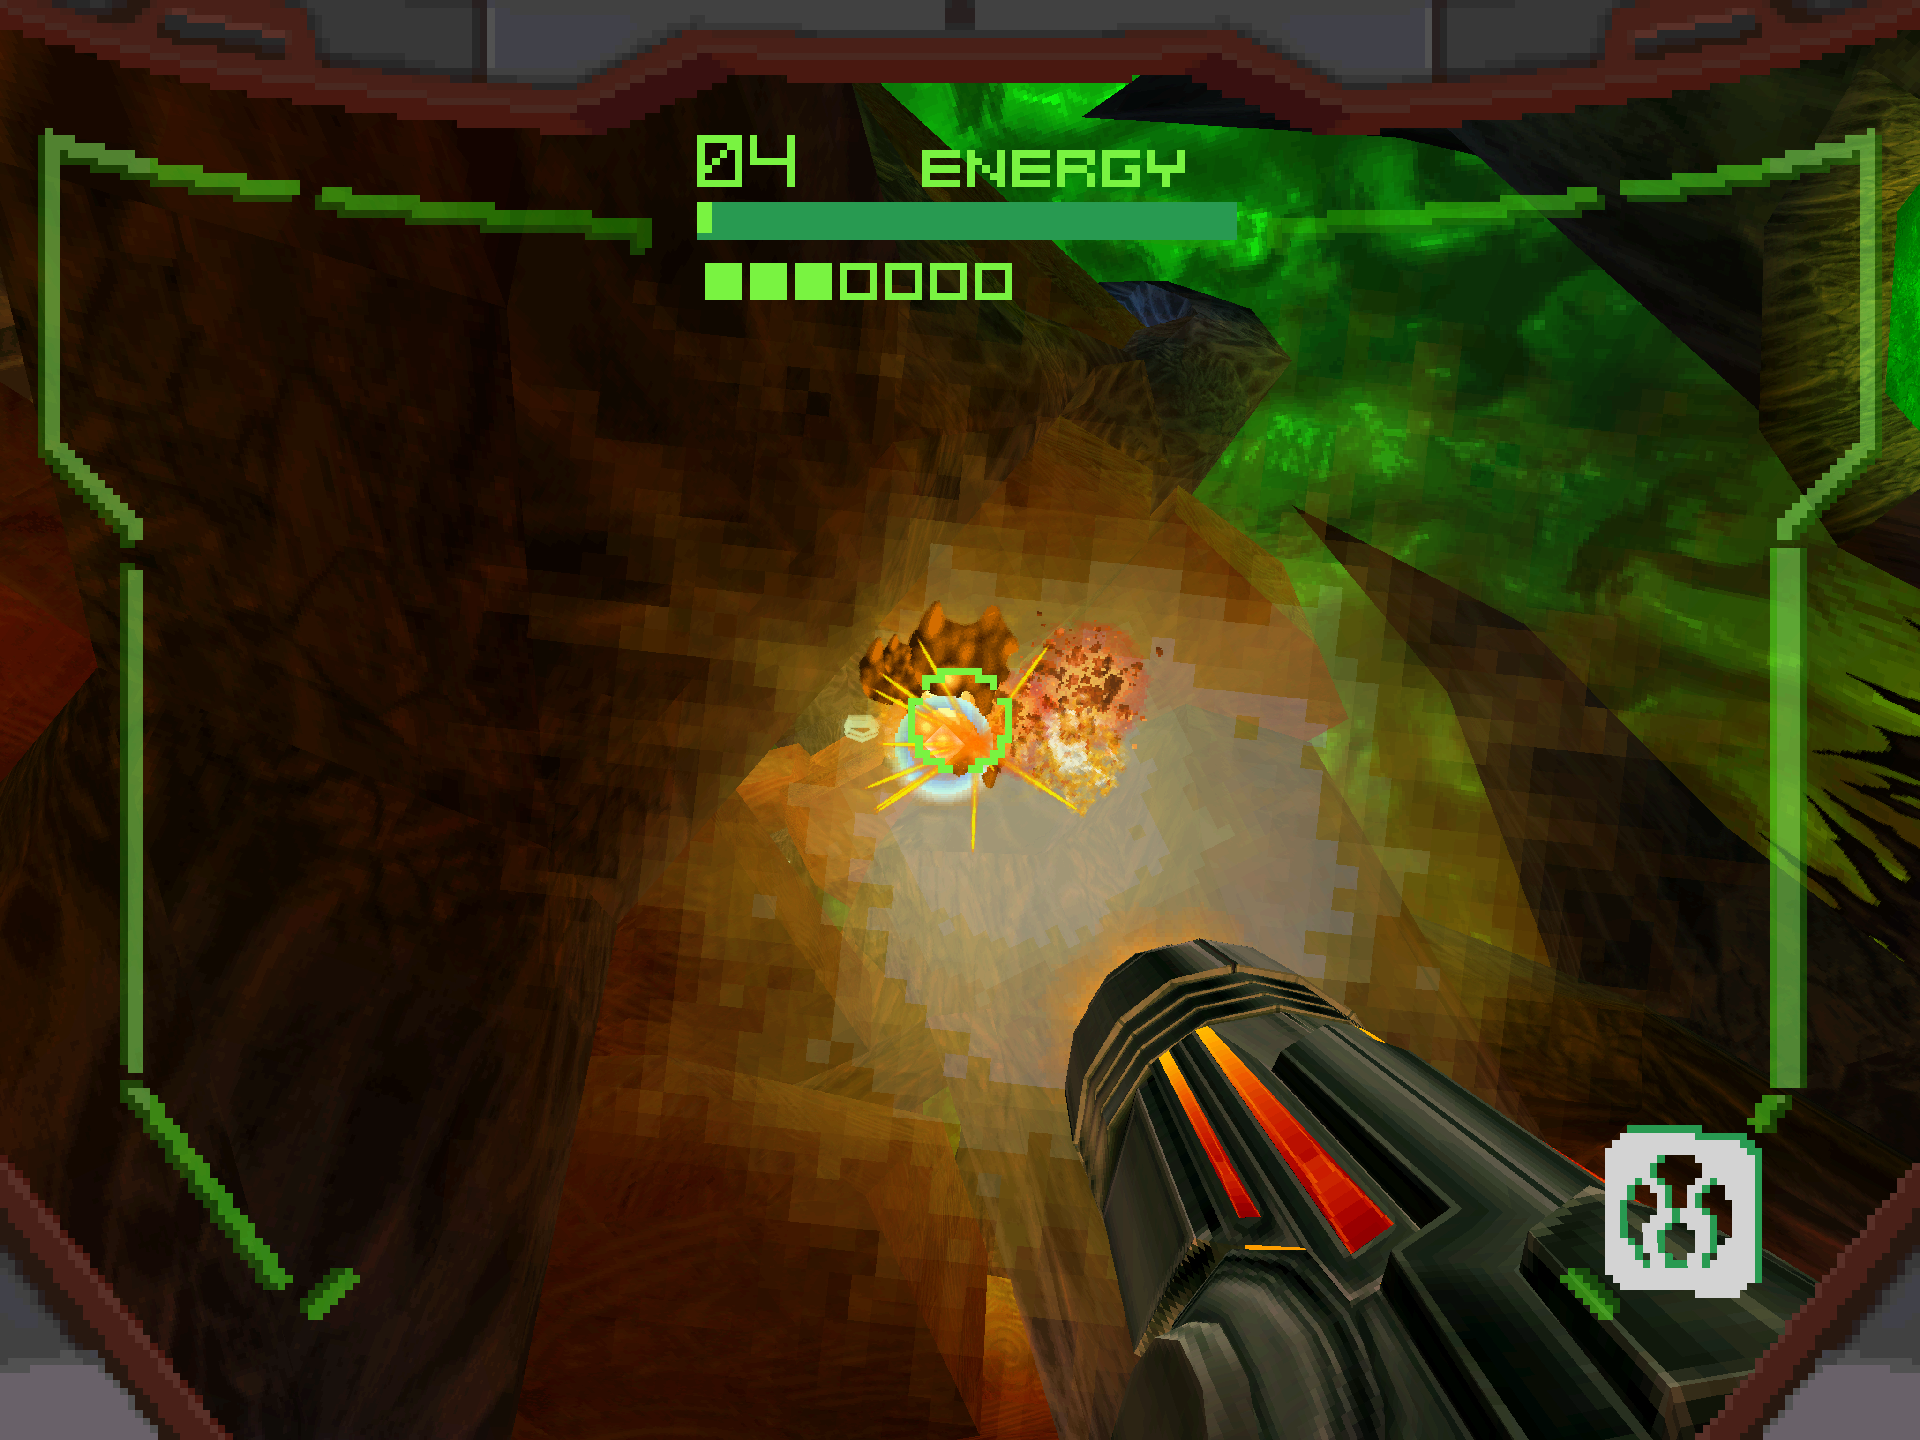
A boss fight that isn’t Cretaphid or Slench? What a relief! It’s not a lot, but it’s still a much needed pallet cleanser after facing so many carbon copies. The music that plays during the fight is a cover of the Parasite Queen theme from Metroid Prime, and an earlier version of this arrangement can be heard in Metroid Prime Hunters: First Hunt during the Morph Ball training mode.
Alright trivia time is over, we’ve got a boss to fight! Scan the FIRE SPAWN, switch to your Judicator and start blasting when it opens its bright, glowing mouth that just screams “WEAKPOINT”. It will occasionally scoop up some of the lava in the pool it resides in to hurl at you. A simple jump to the side is all you need to avoid it, though it will give you lasting burn damage if it connects. It’s a good idea to charge your Judicator while it dives underneath the lava, but otherwise this battle is pretty simple and straightforward.
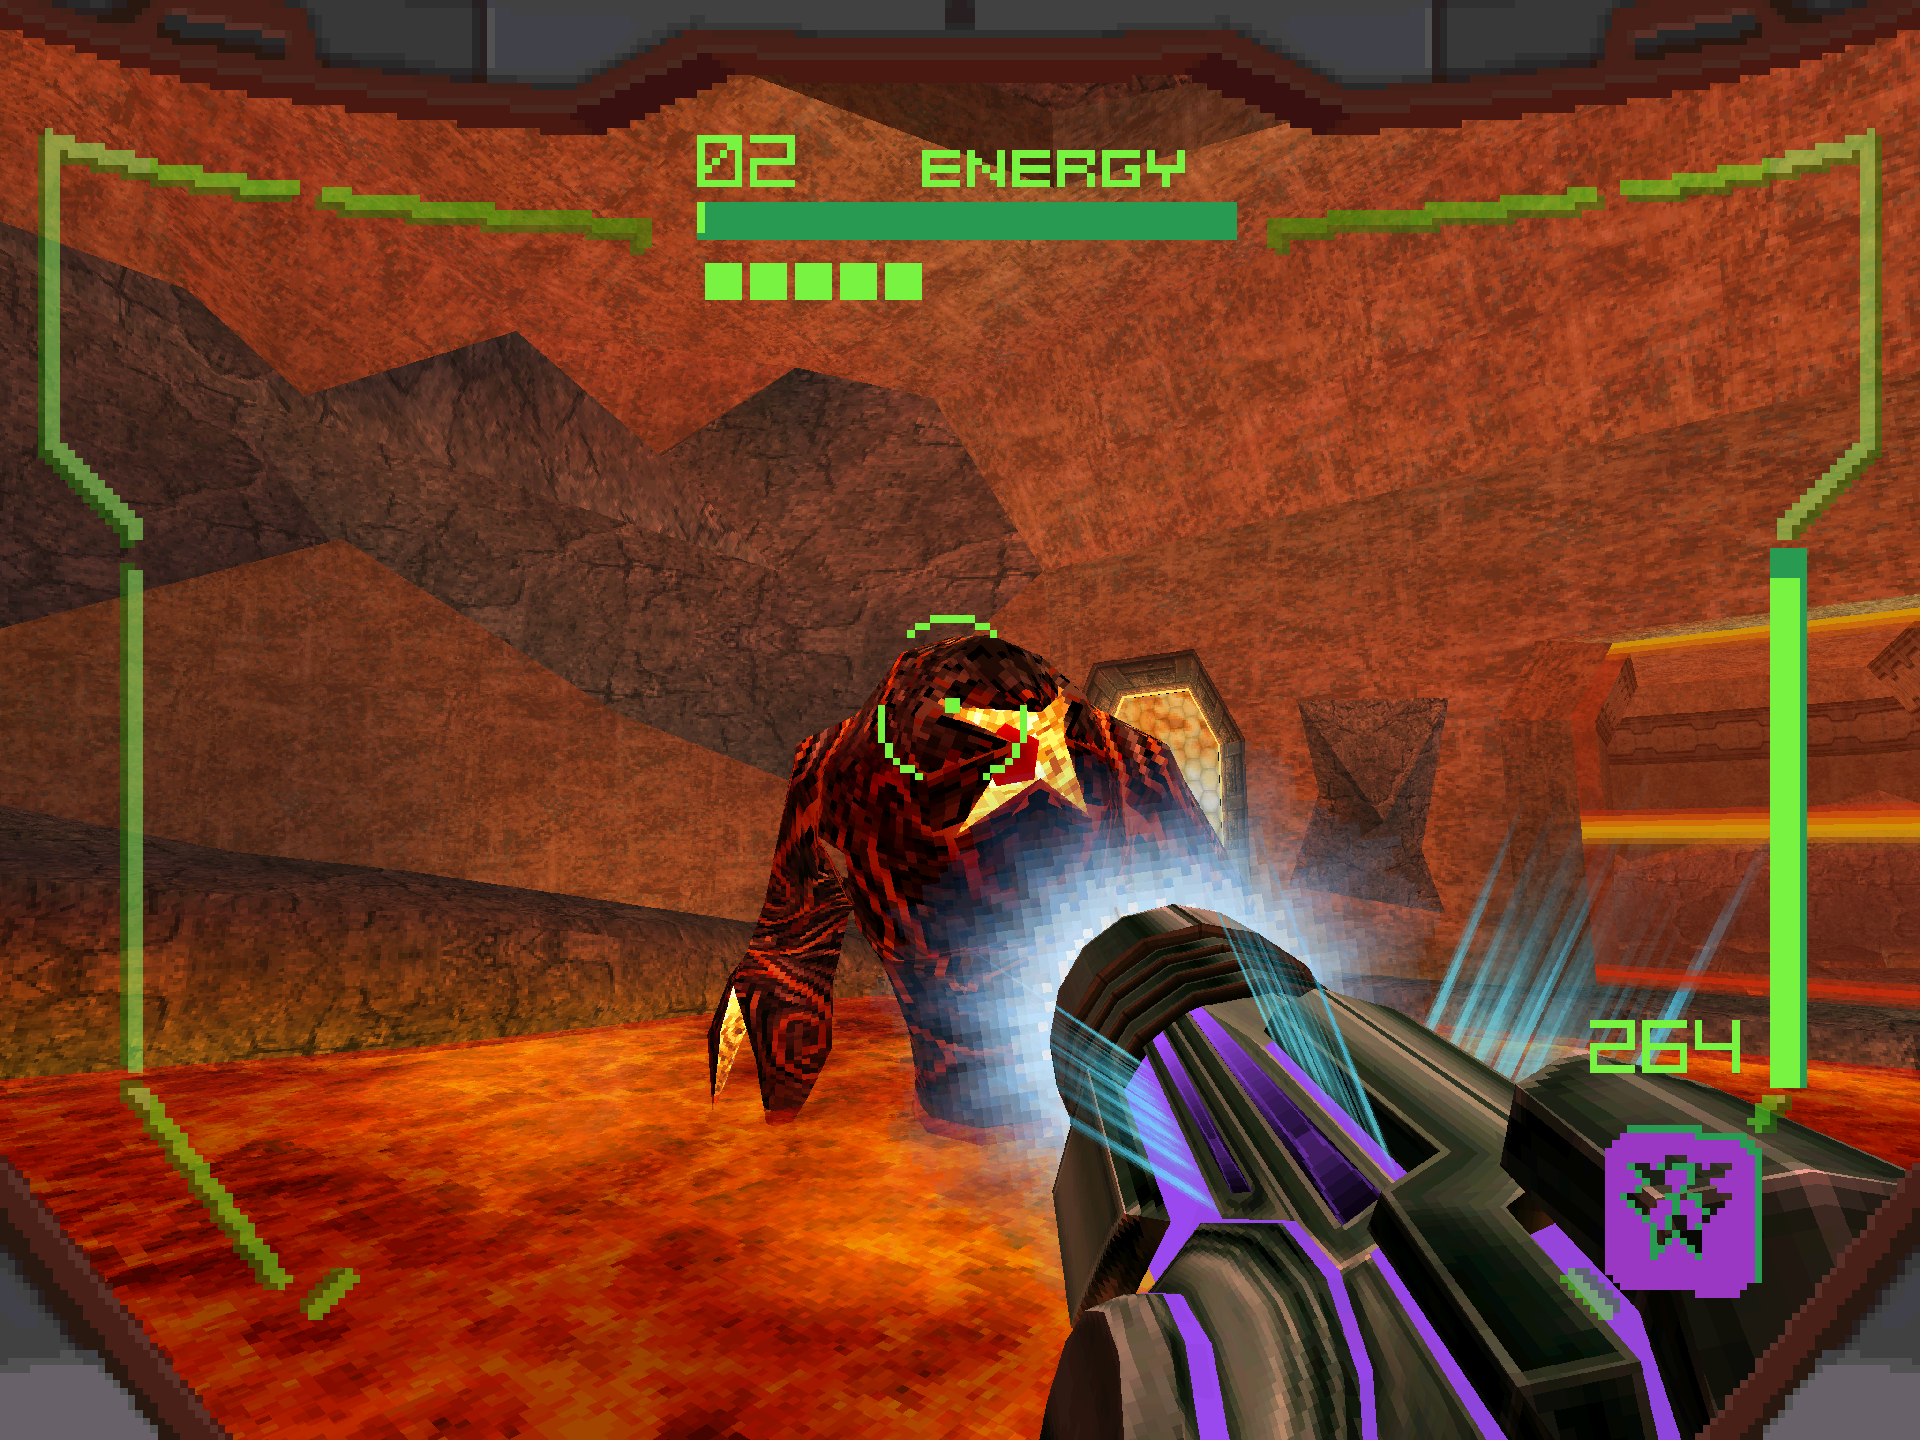
Defeating the Fire Spawn will grant you the MAGMAUL, allowing you to lob your own searing hot projectiles!
Cretaphid v3
We’ve got another battle with our favorite military defense system; the CRETAPHID V3 (really stretching the definition of “favorite” here). The v3 doesn’t offer anything that we haven’t seen before, but instead combines both the chemical lasers from the v1 with the heat-seeking plasma orbs of the v2 model. For the weak point phase, I recommend sticking with the Power Beam and using Charge Shots to absorb any pickups that materialize. You’re going to get hit A LOT by all of the incoming fire, so anything to top yourself off can only benefit you. When the core pops out, switch to the Shock Coil and watch its health completely melt away. Three phases of that will fry this thing real good!
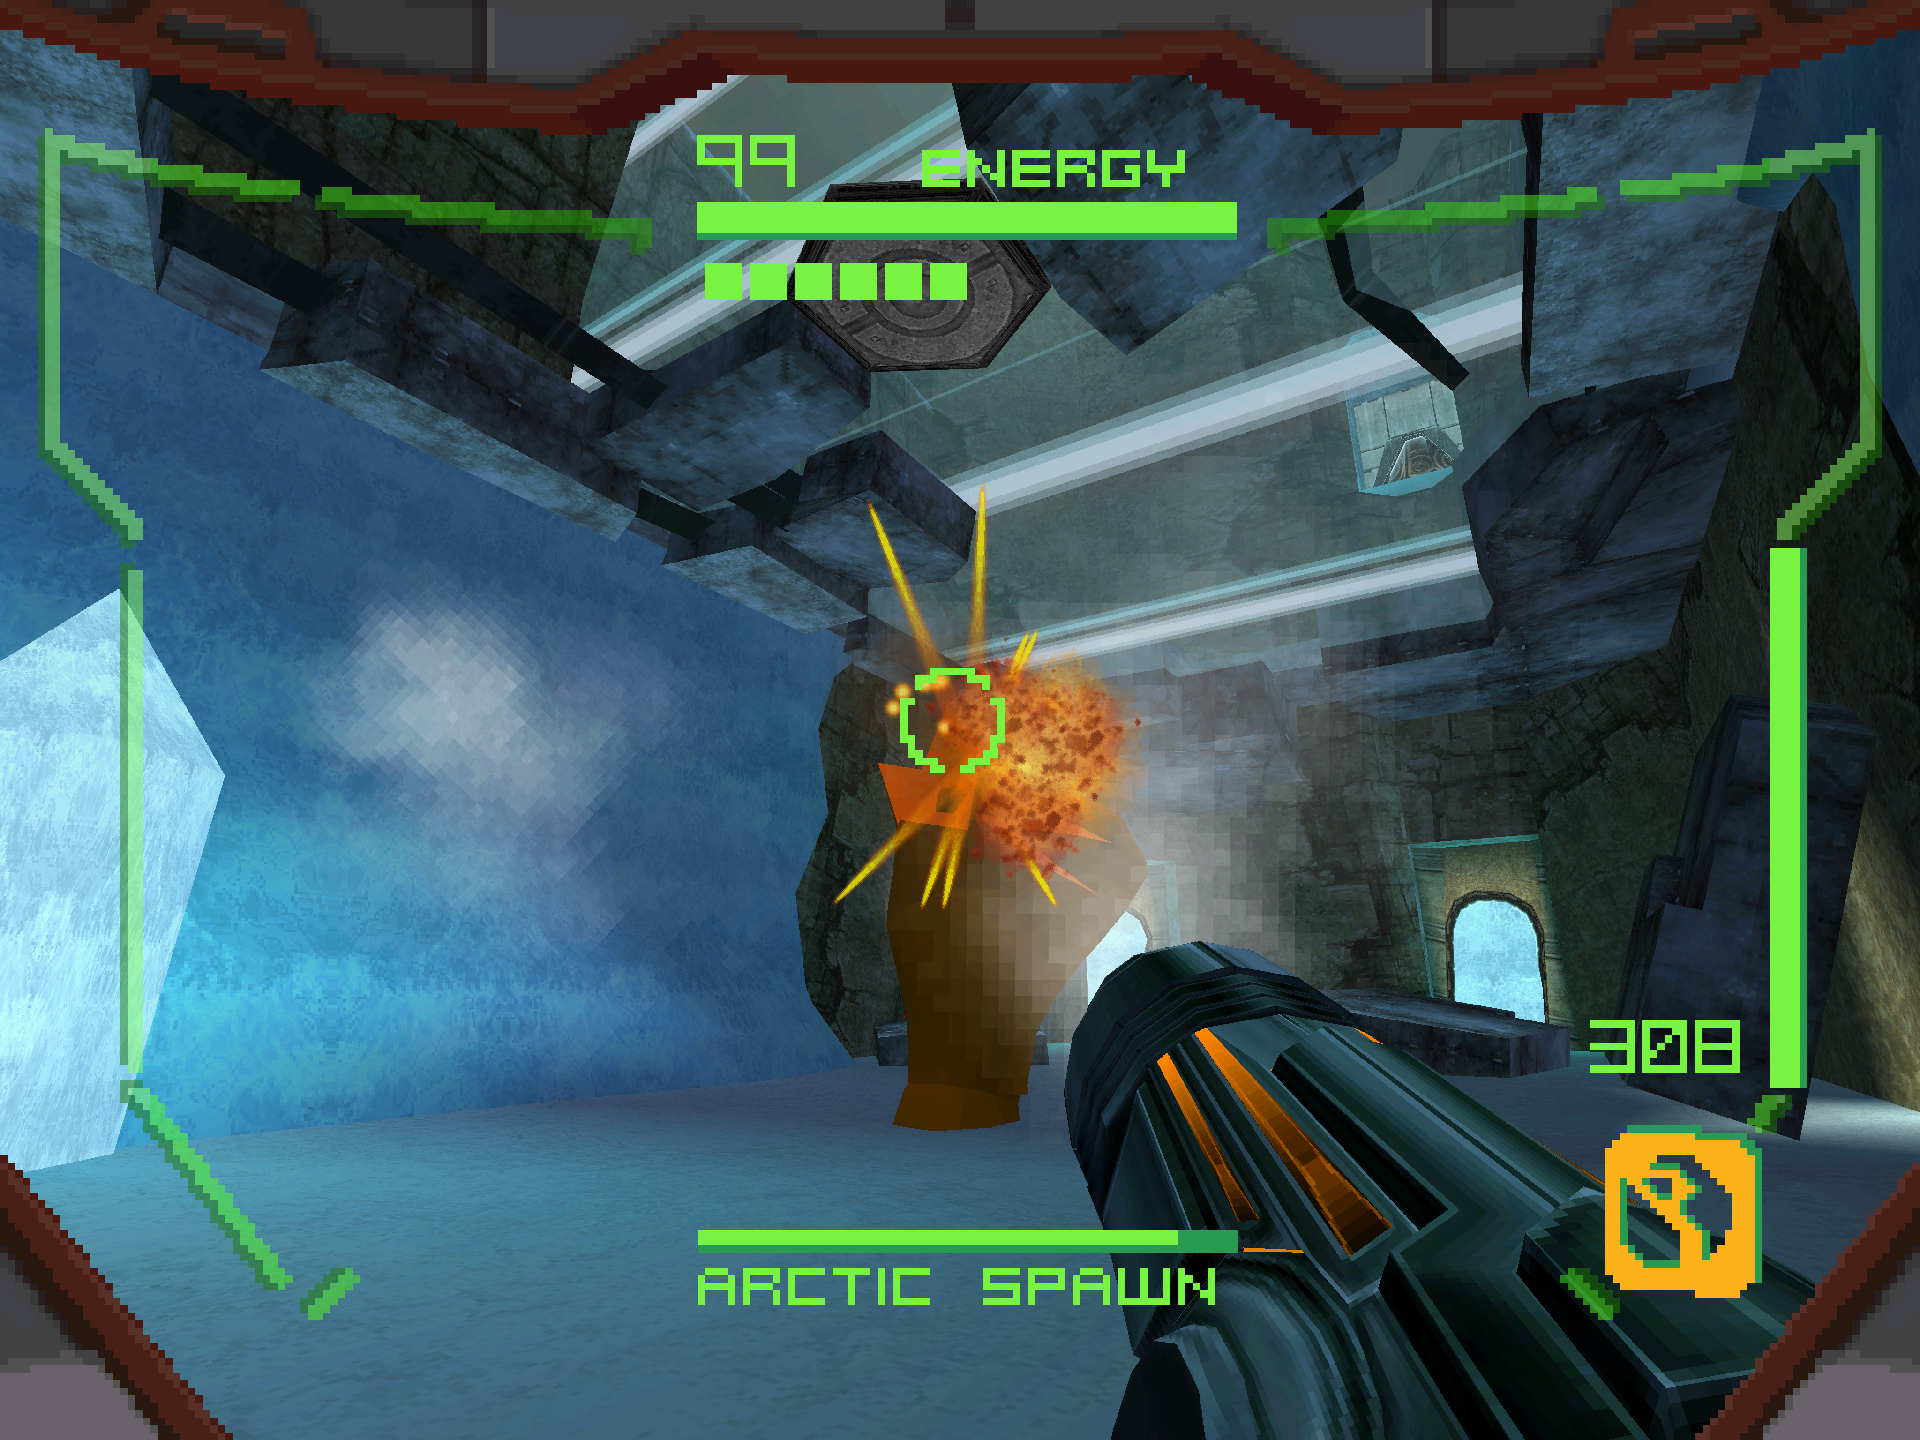
Arctic Spawn
Not even the Fire Spawn could escape getting reused! The Arctic and Fire spawns are nearly identical except for their surface level differences. You probably don’t need me to tell you about them, but I’m going to anyway in order to increase the word count. The Arctic Spawn scoops up snow from the ground to make the deadliest snowballs in the Metroid saga. So deadly in fact that you’ll freeze upon contact! You’ll want to use the Magmaul as well against it to do the most damage. Like the Fire Spawn, charge your beam while it dives into the snow and release once it resurfaces. Don’t forget to scan the ARCTIC SPAWN before you melt it away! Upon defeat, you’ll earn the IMPERIALIST. Hope you like getting headshots!
Cretaphid v4
The last Cretaphid we’ll ever have to worry about! This fight takes everything from the v3 and adds one more key feature… it moves! That’s right, on top of chemical lasers and heatseeking plasma (which do more damage), Cretaphid will now slowly move from one side of the room to the other, making it the most deadly DVD screensaver ever conjured up! The strategies here are pretty much identical to the v3 fight. This time we’ll also be keeping an eye on which direction it’s moving though so that we don’t get cornered. On the final phase, you also might want to take out the chemical laser weak points first since the extra movement can make them a little trickier to avoid at ground level. Don’t forget to add the CRETAPHID V4 to your logbook before the end of the fight!
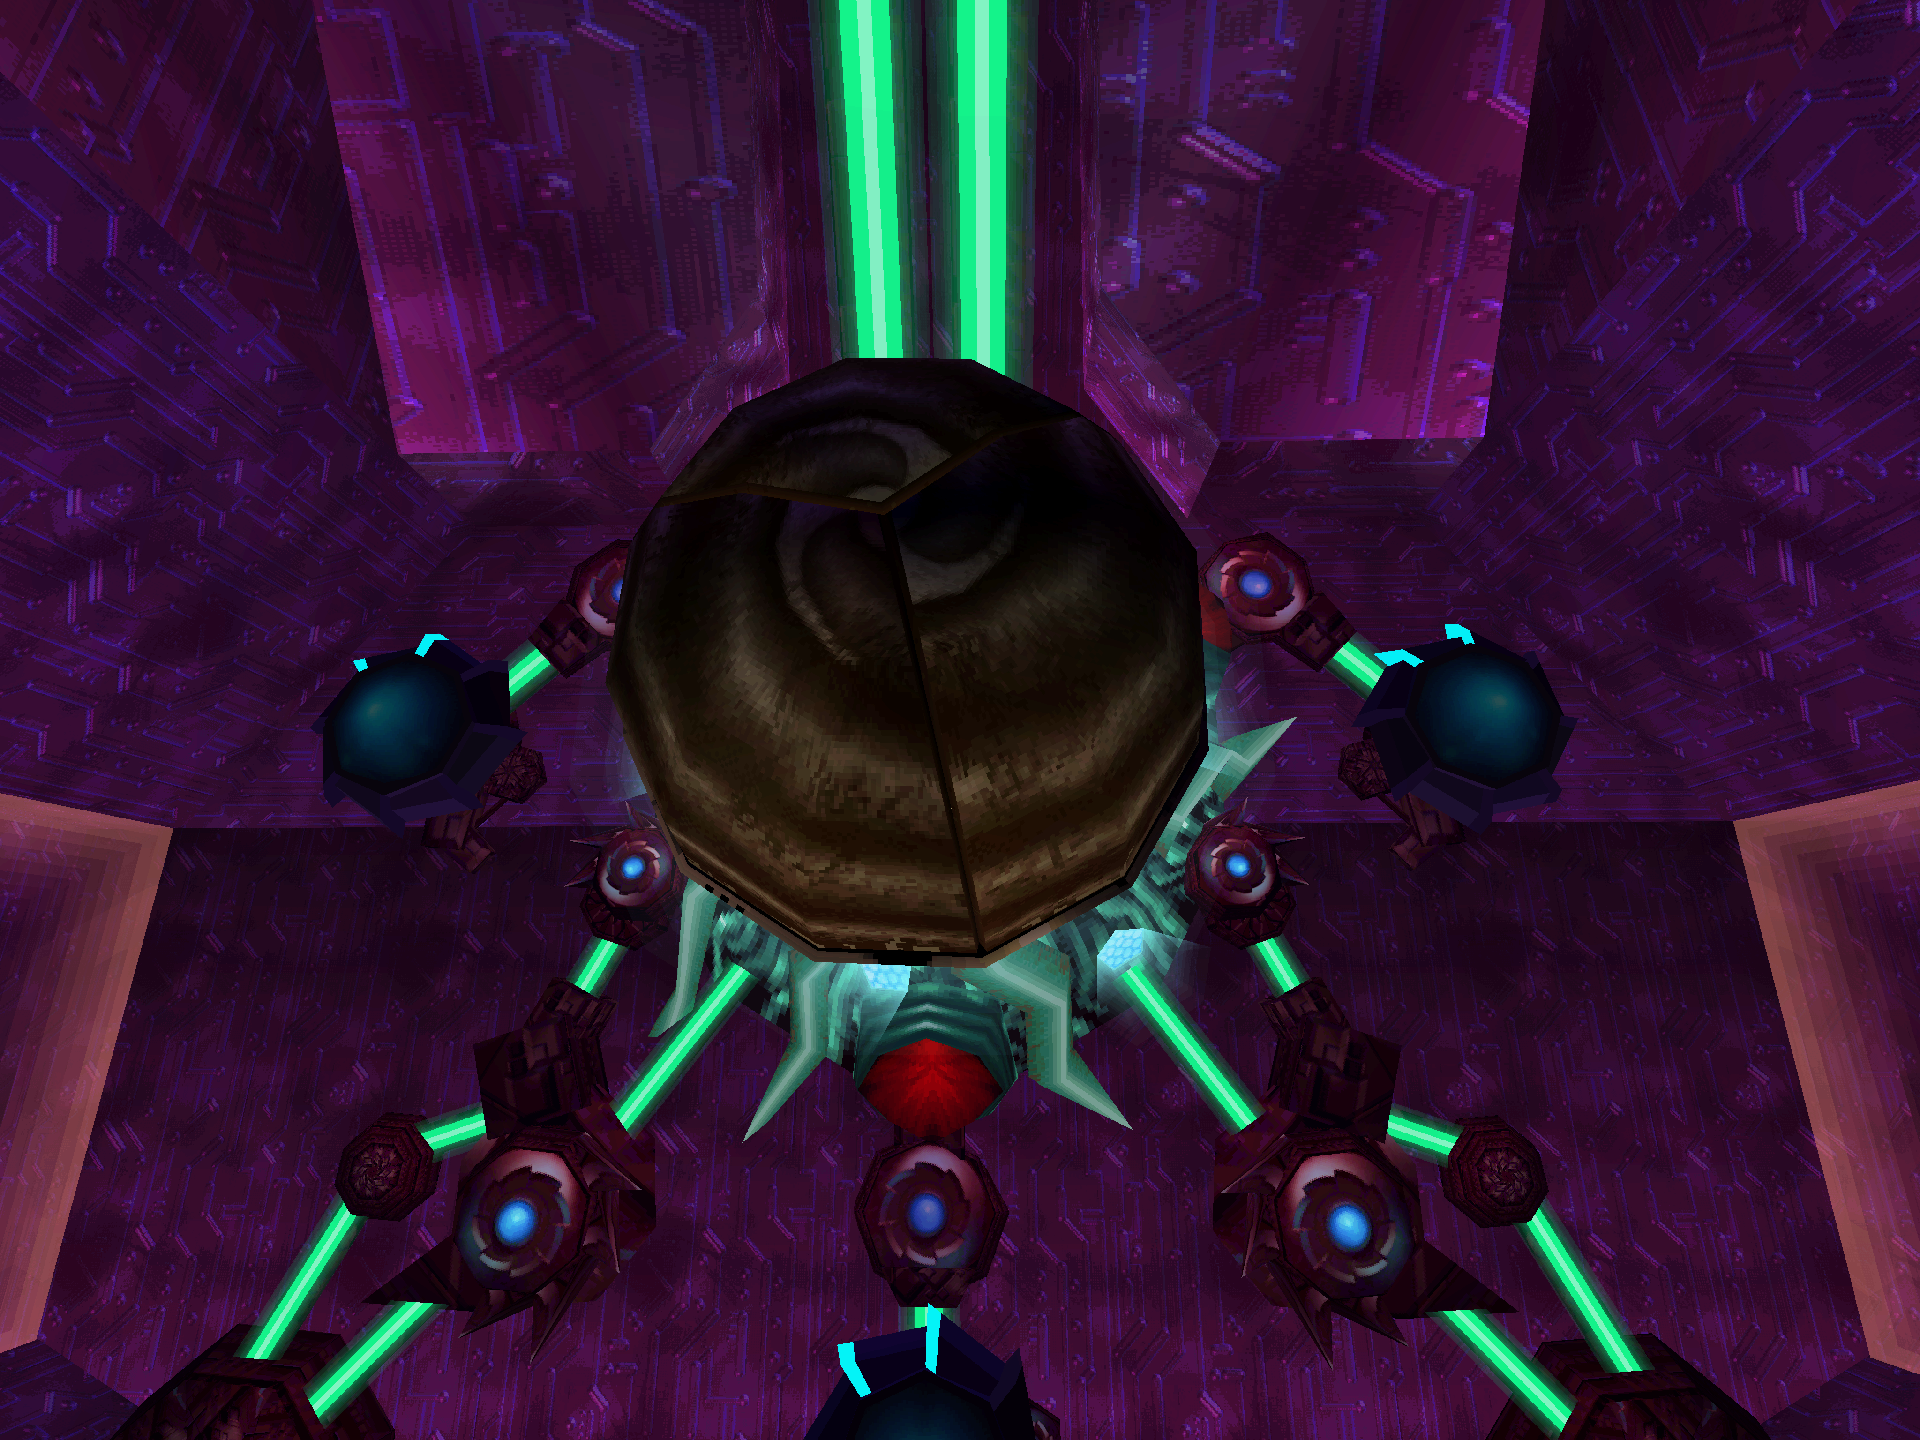
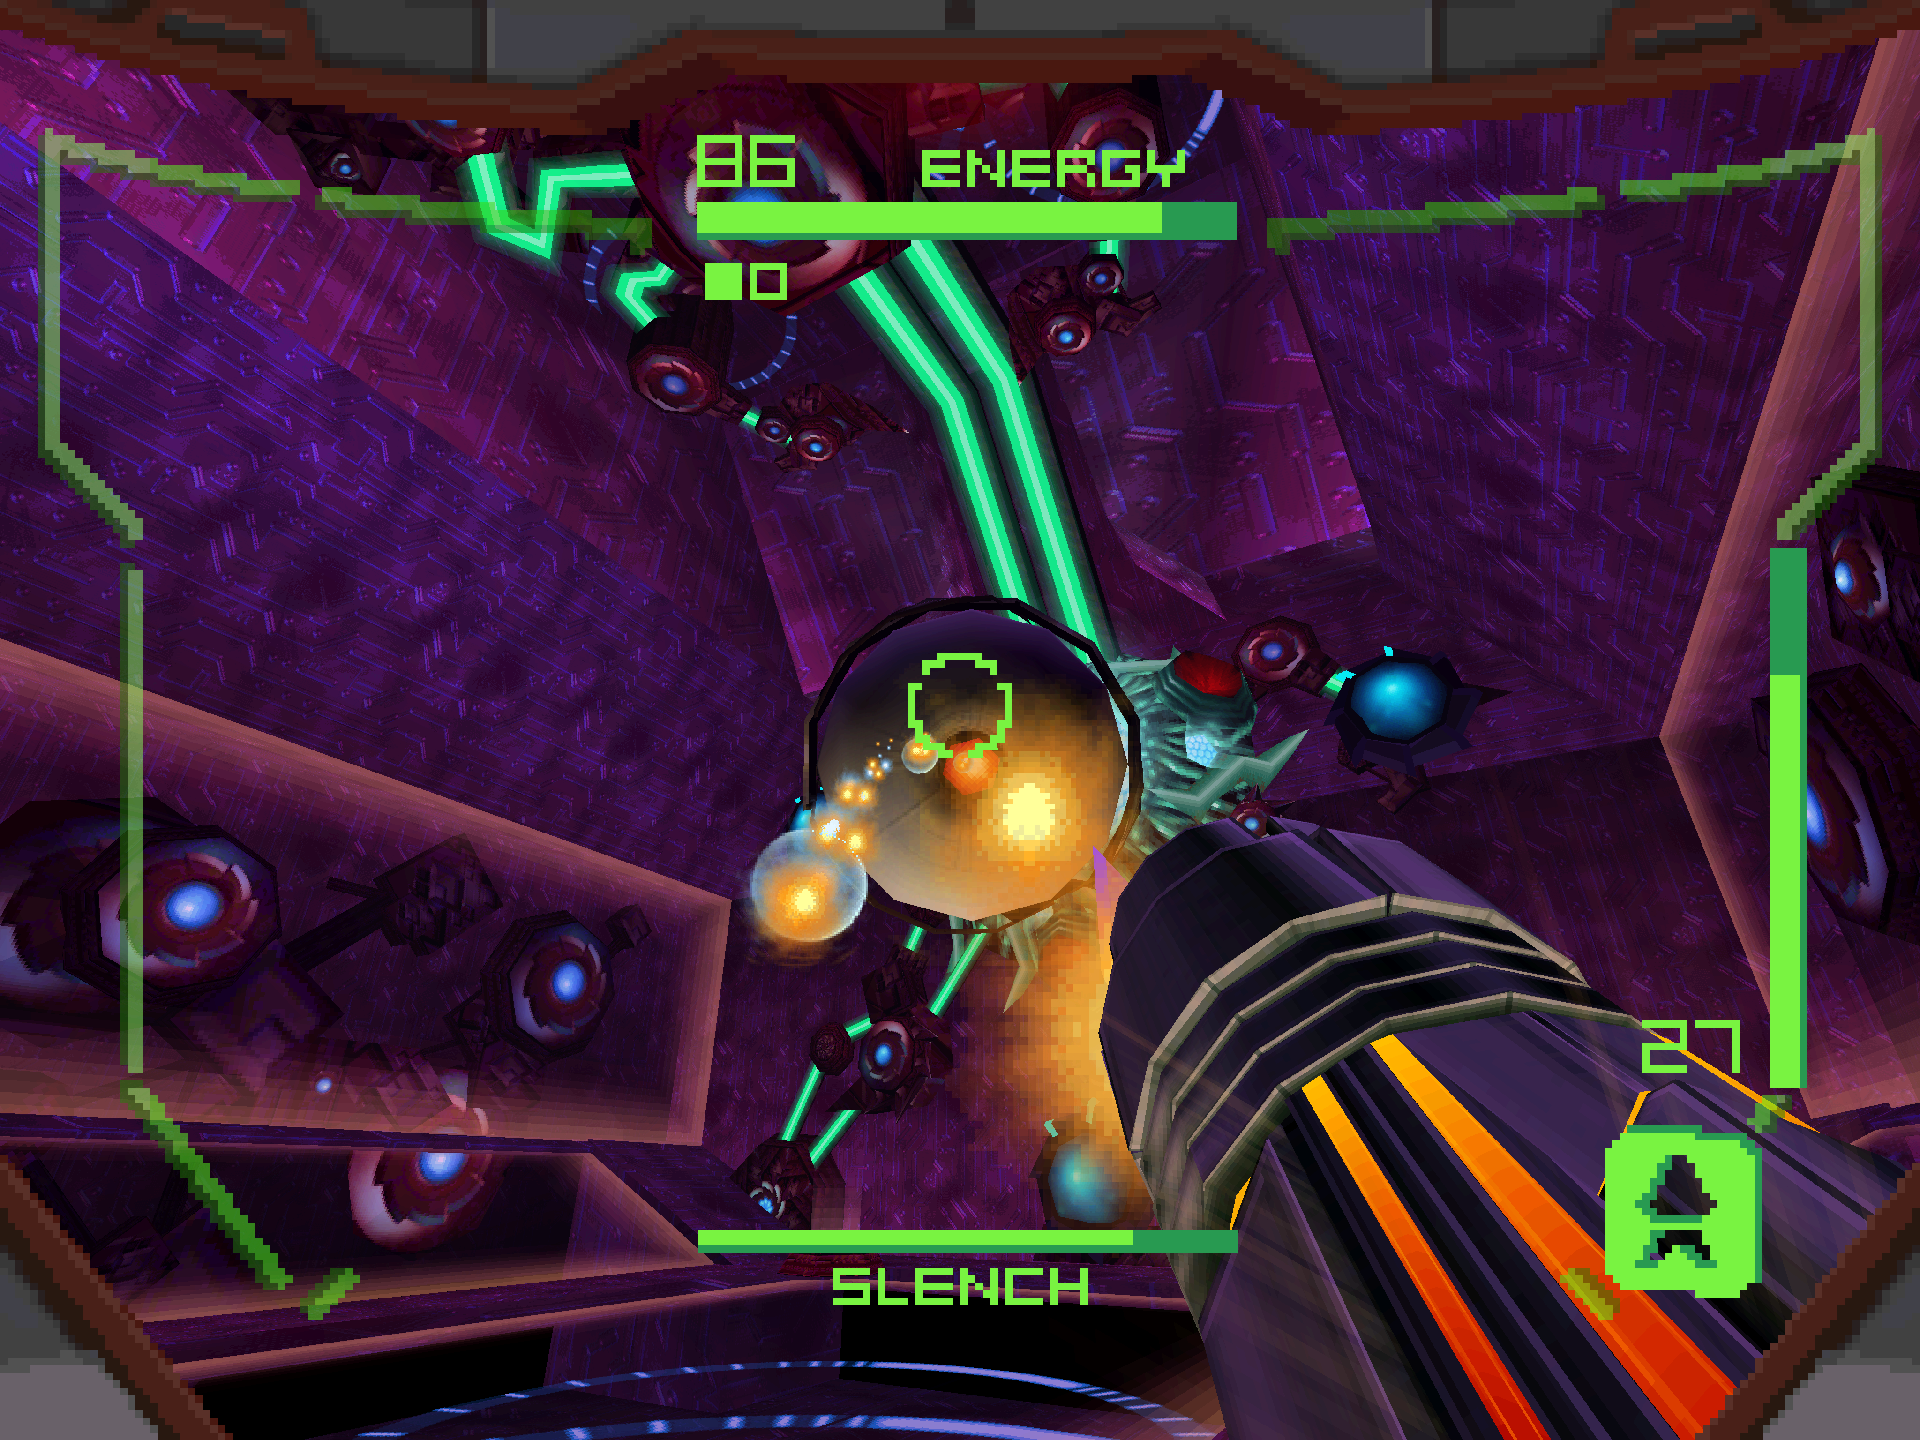
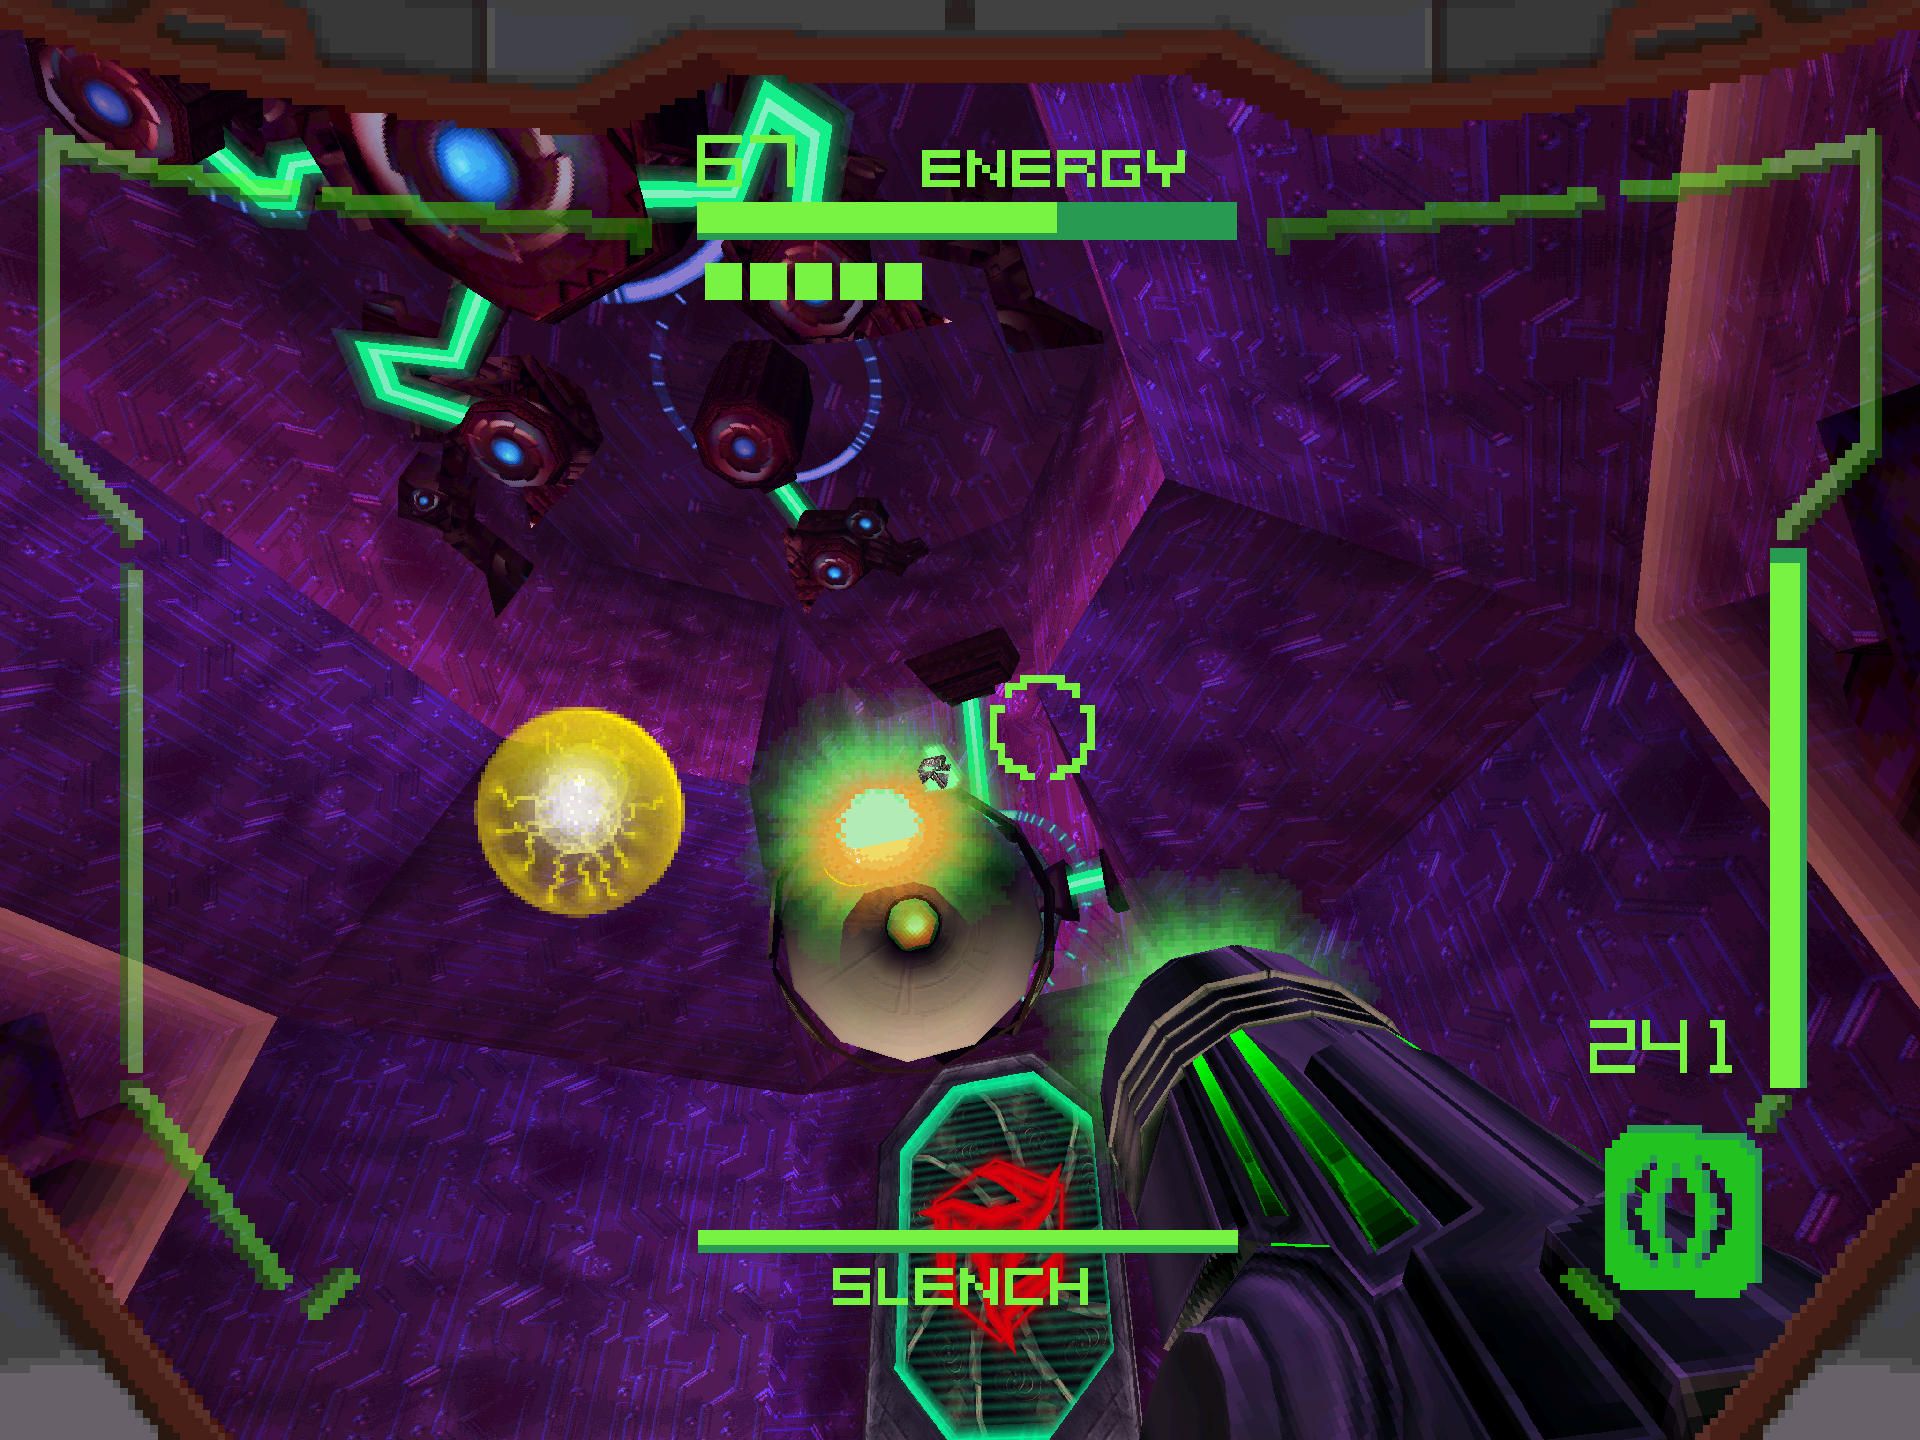
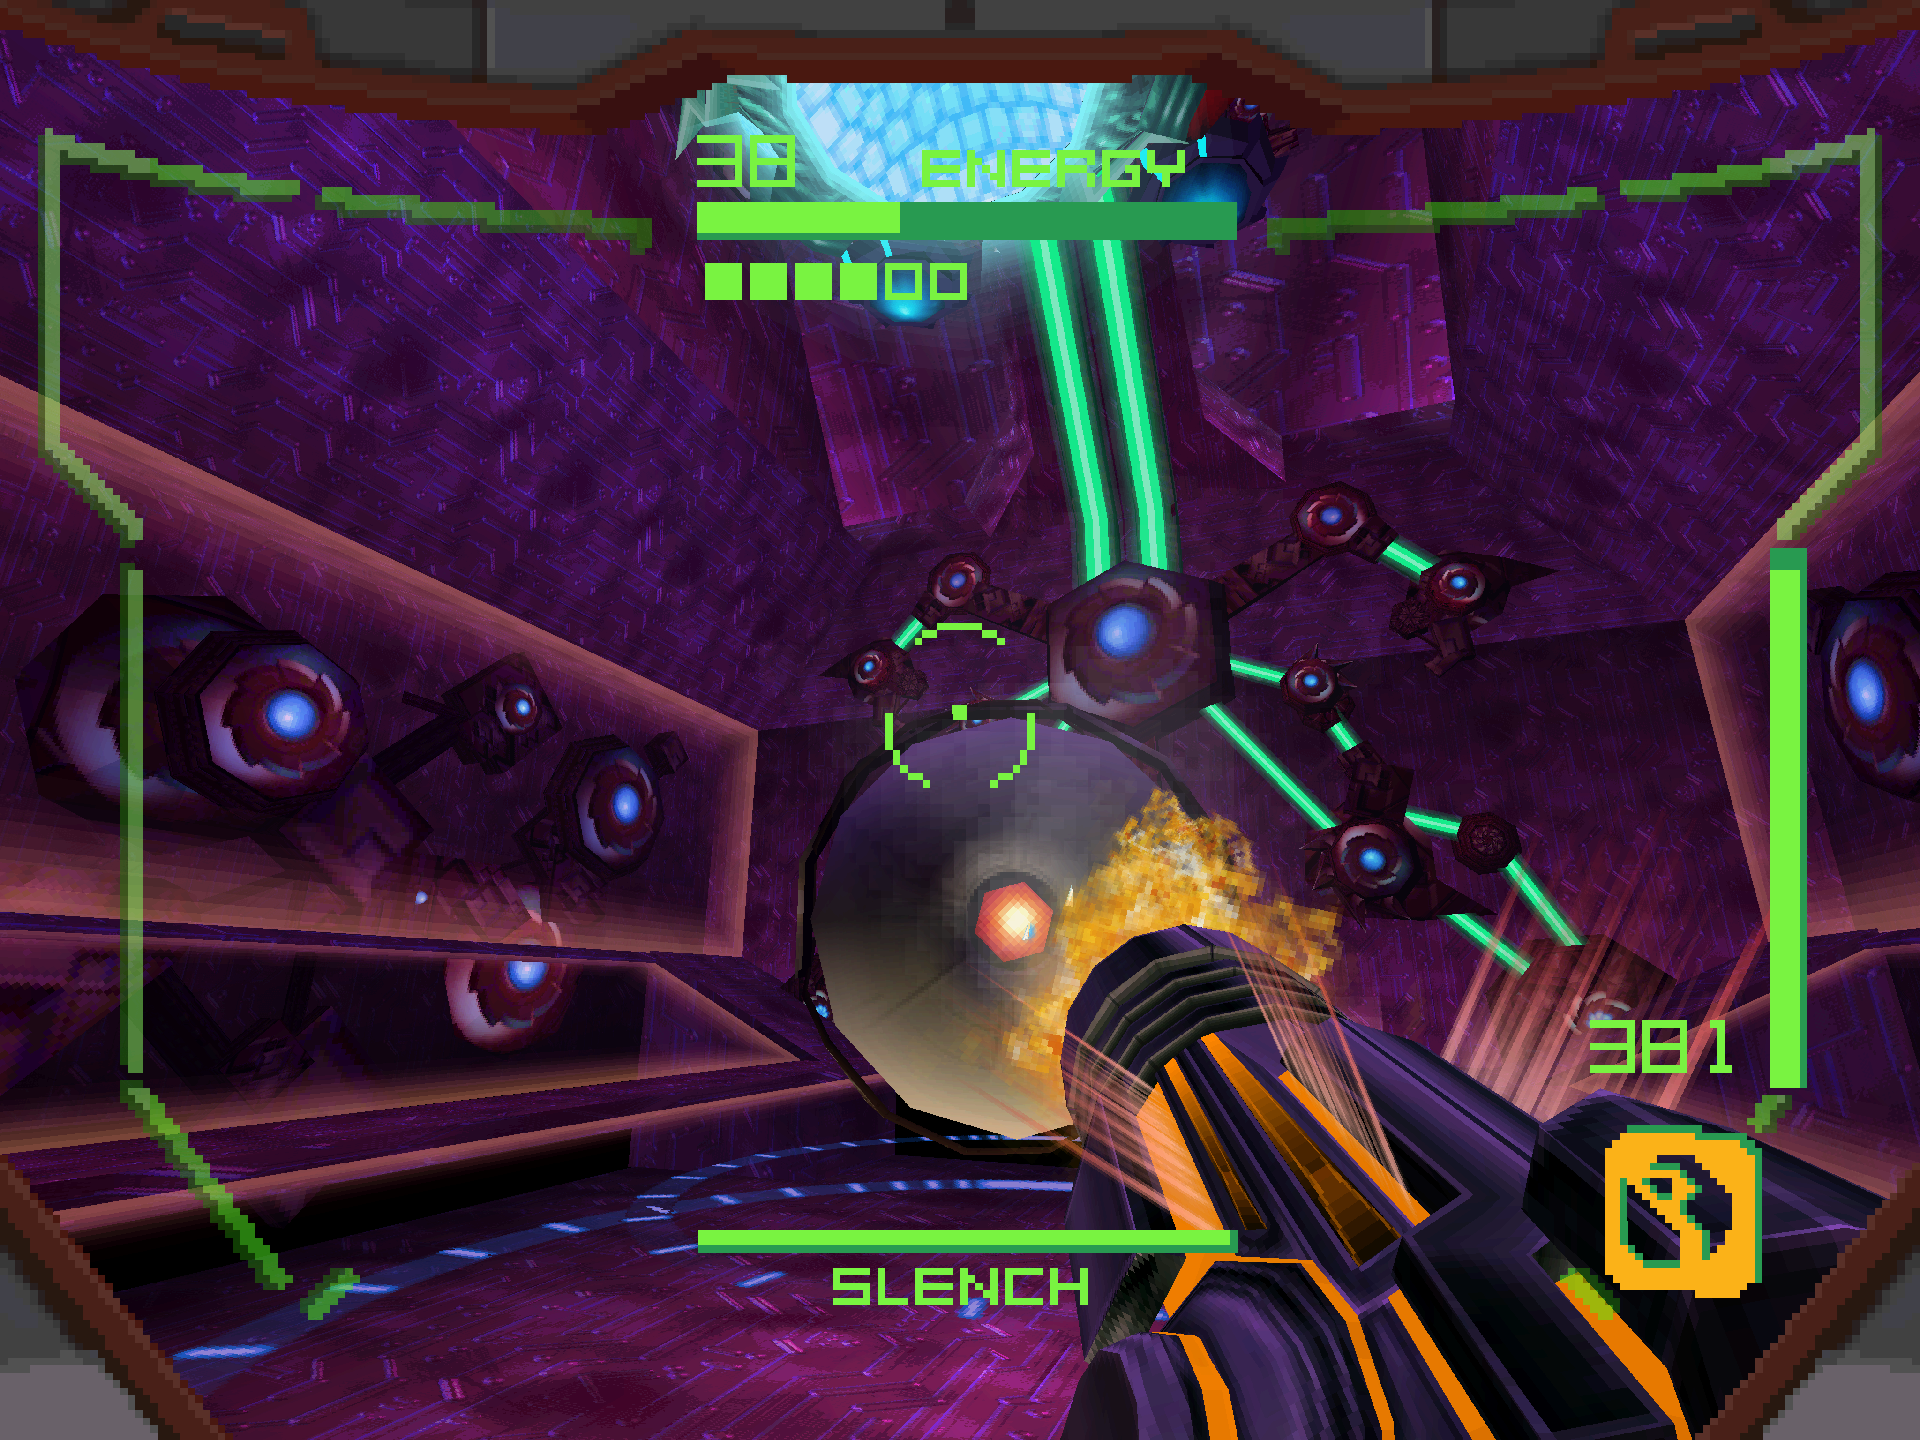
Slench 4
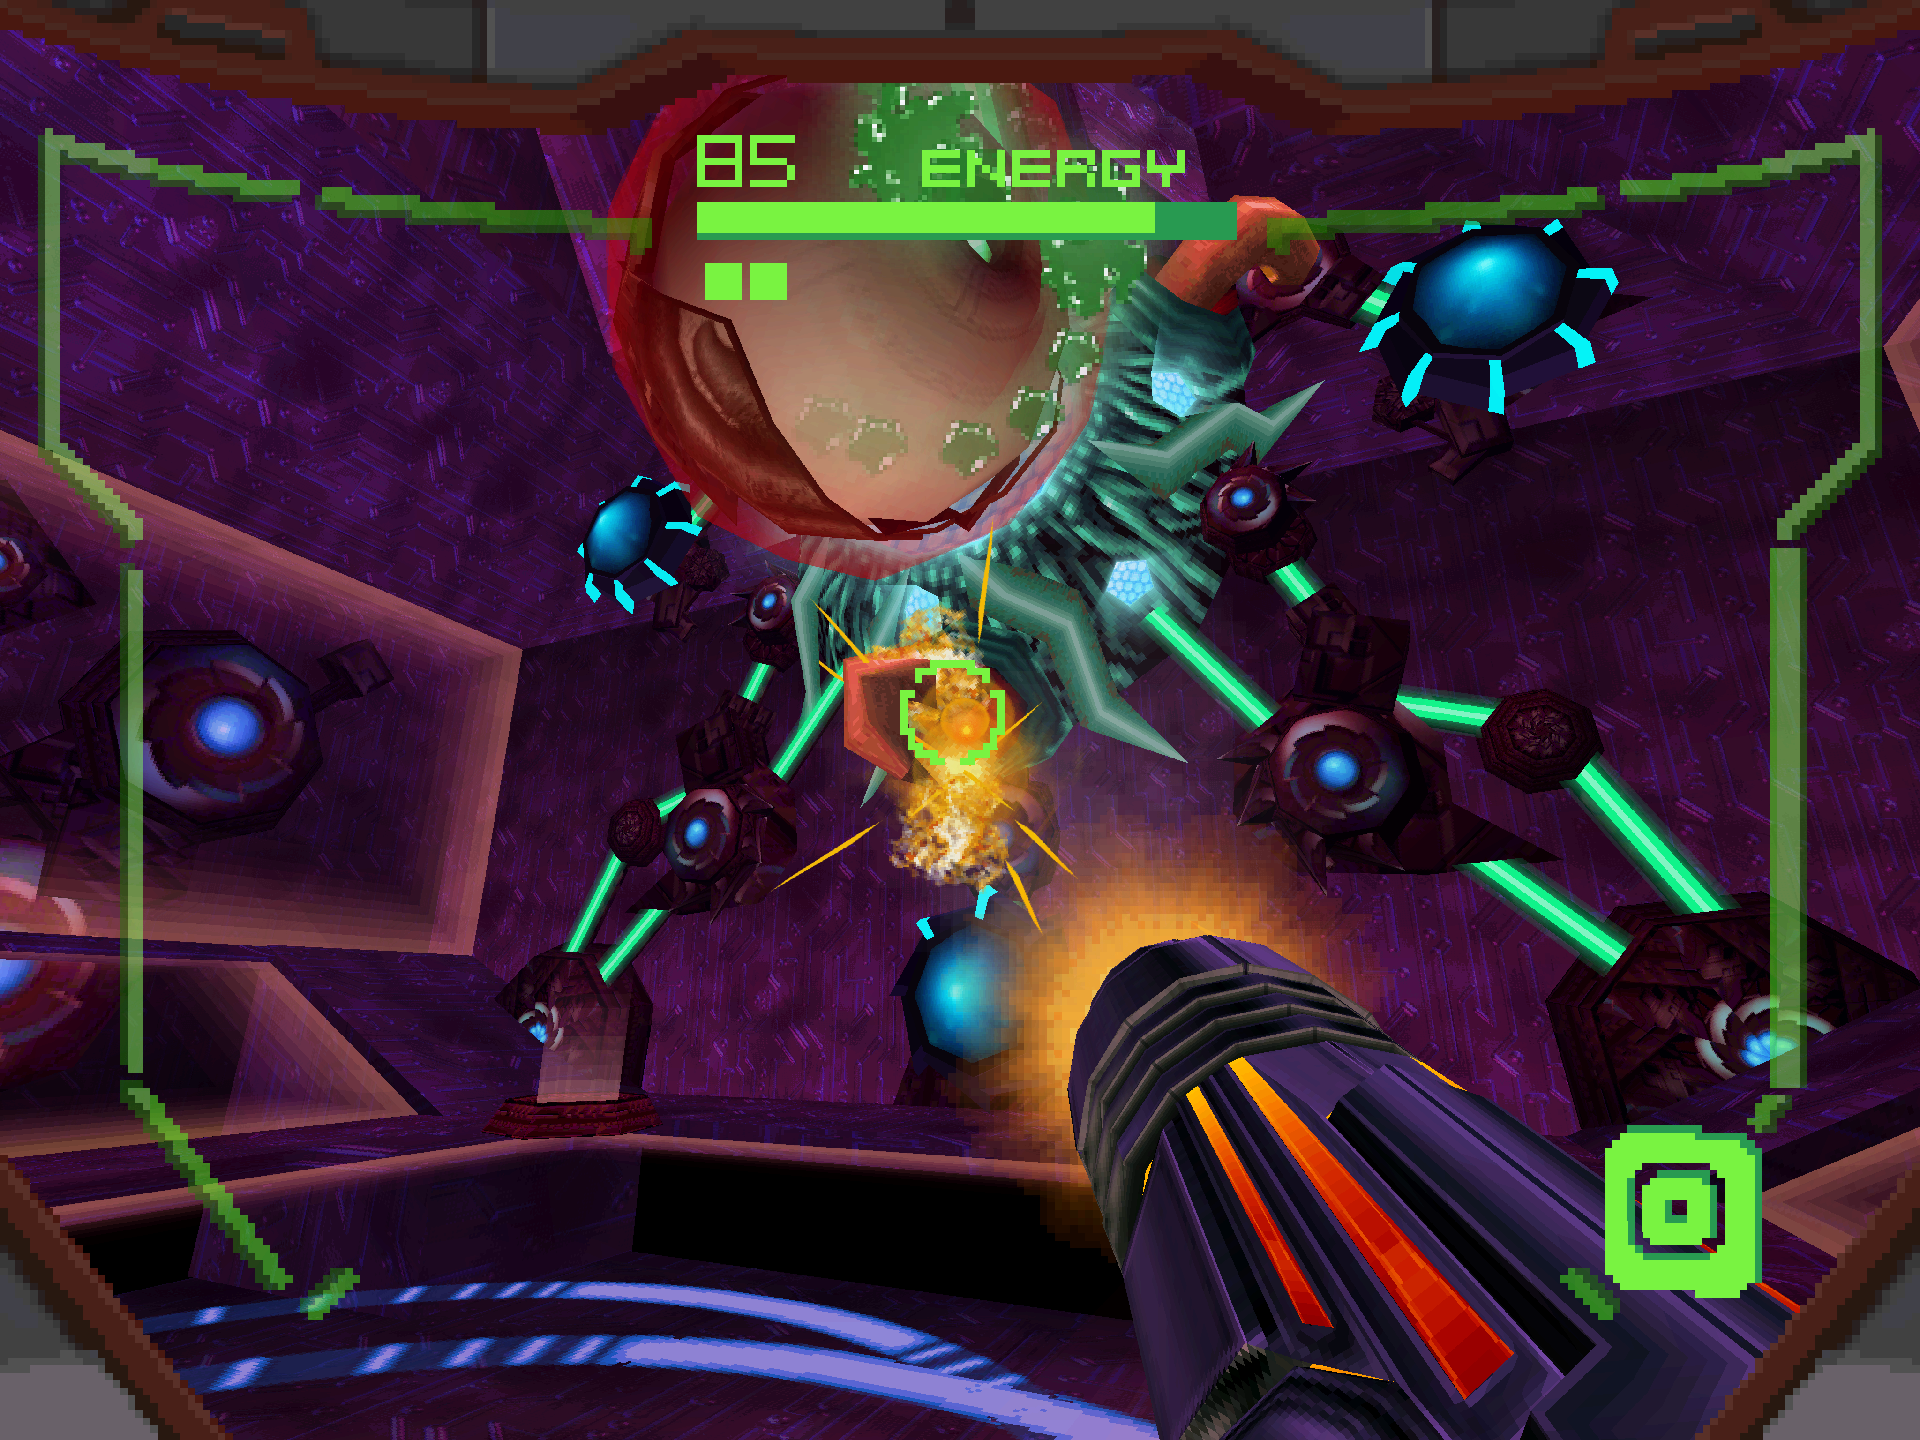
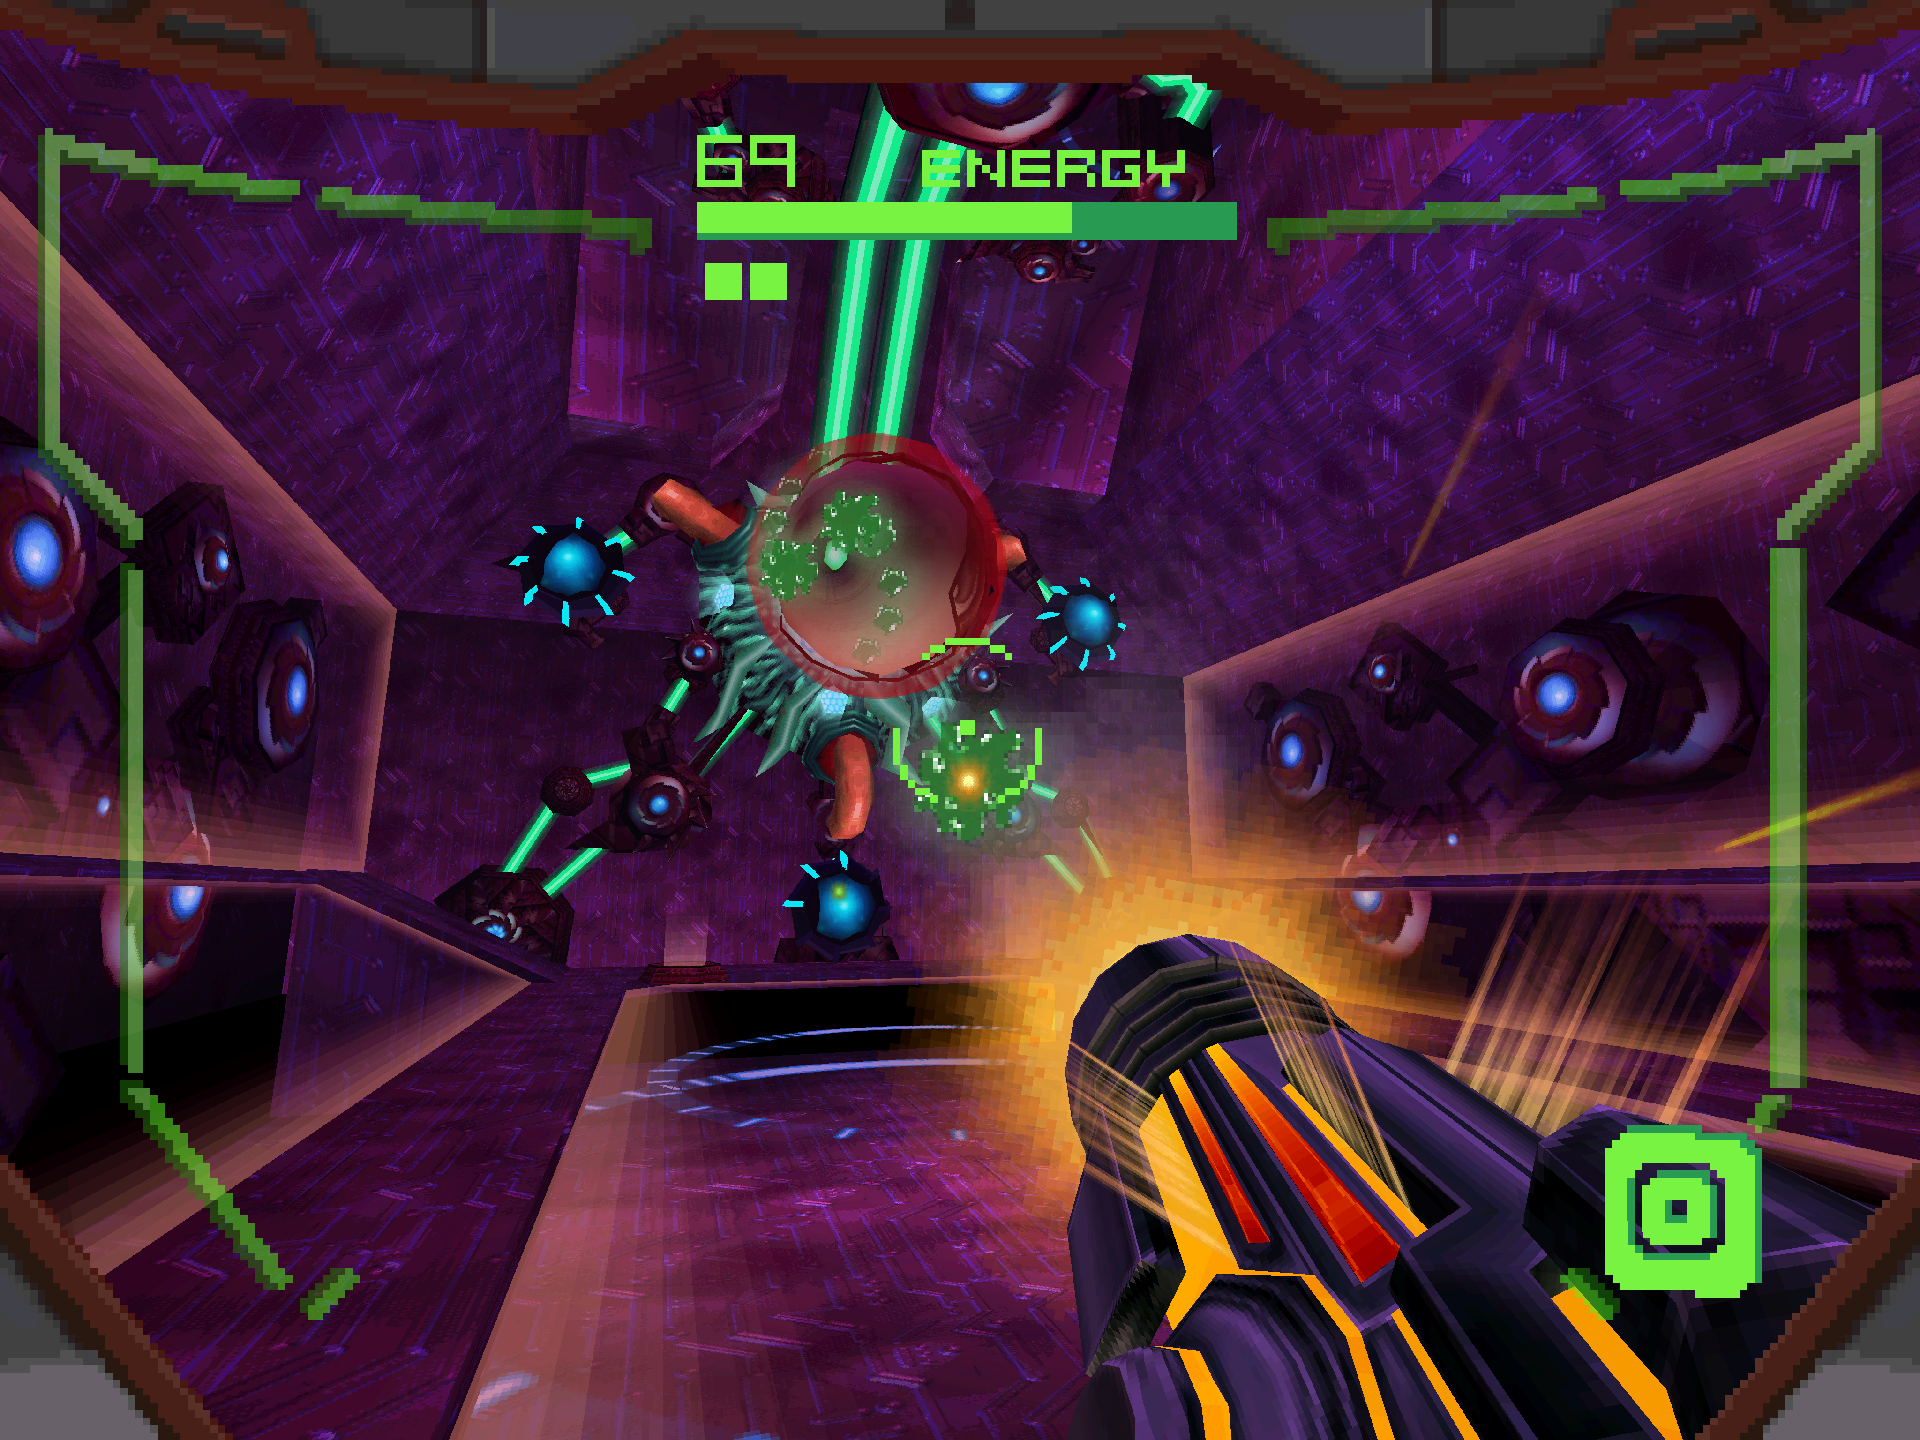
We’ve got one final Slench fight ahead of us before we can wave goodbye to the Octolith guardians. As always, before we start doing anything else, scan SLENCH 4A before it connects its synapses and begins attacking us. As you’ll notice from the introductory cutscene, the Slench is now hanging from the ceiling instead of the wall. This change alone is the biggest difficulty spike in the fight because its synapses now transfer supercooled plasma to the Energy Blasters. Direct contact with these projectiles will momentarily freeze you in place like the Judicator, meaning that the only weapon that can take them out is the Magmaul, another arced projectile weapon. One thing you can do to ease the process is to fire two Magmaul shots before moving on to the next synapse. Then, once you come back to the initial synapse, each one will only need one shot, allowing you to take them out much quicker before they regenerate.
When the Slench enters its hovering phase, scan SLENCH 4B and use the same strategies as the previous encounter. If you’re having trouble hitting the eye with the Magmaul, use something with a faster fire rate to get at least SOME damage on the board. The Slench will also incorporate a new attack when you first put it into the hover phase where it drops down on the ground and rolls around in a figure-8 pattern around the arena. When this happens, just stick to one of the far corners and it literally won’t be able to touch you at all. It’s less of an attack and more of a time waster to be honest. After three phases of this, you can finally claim your eighth Octolith and be done with these goobers for good!
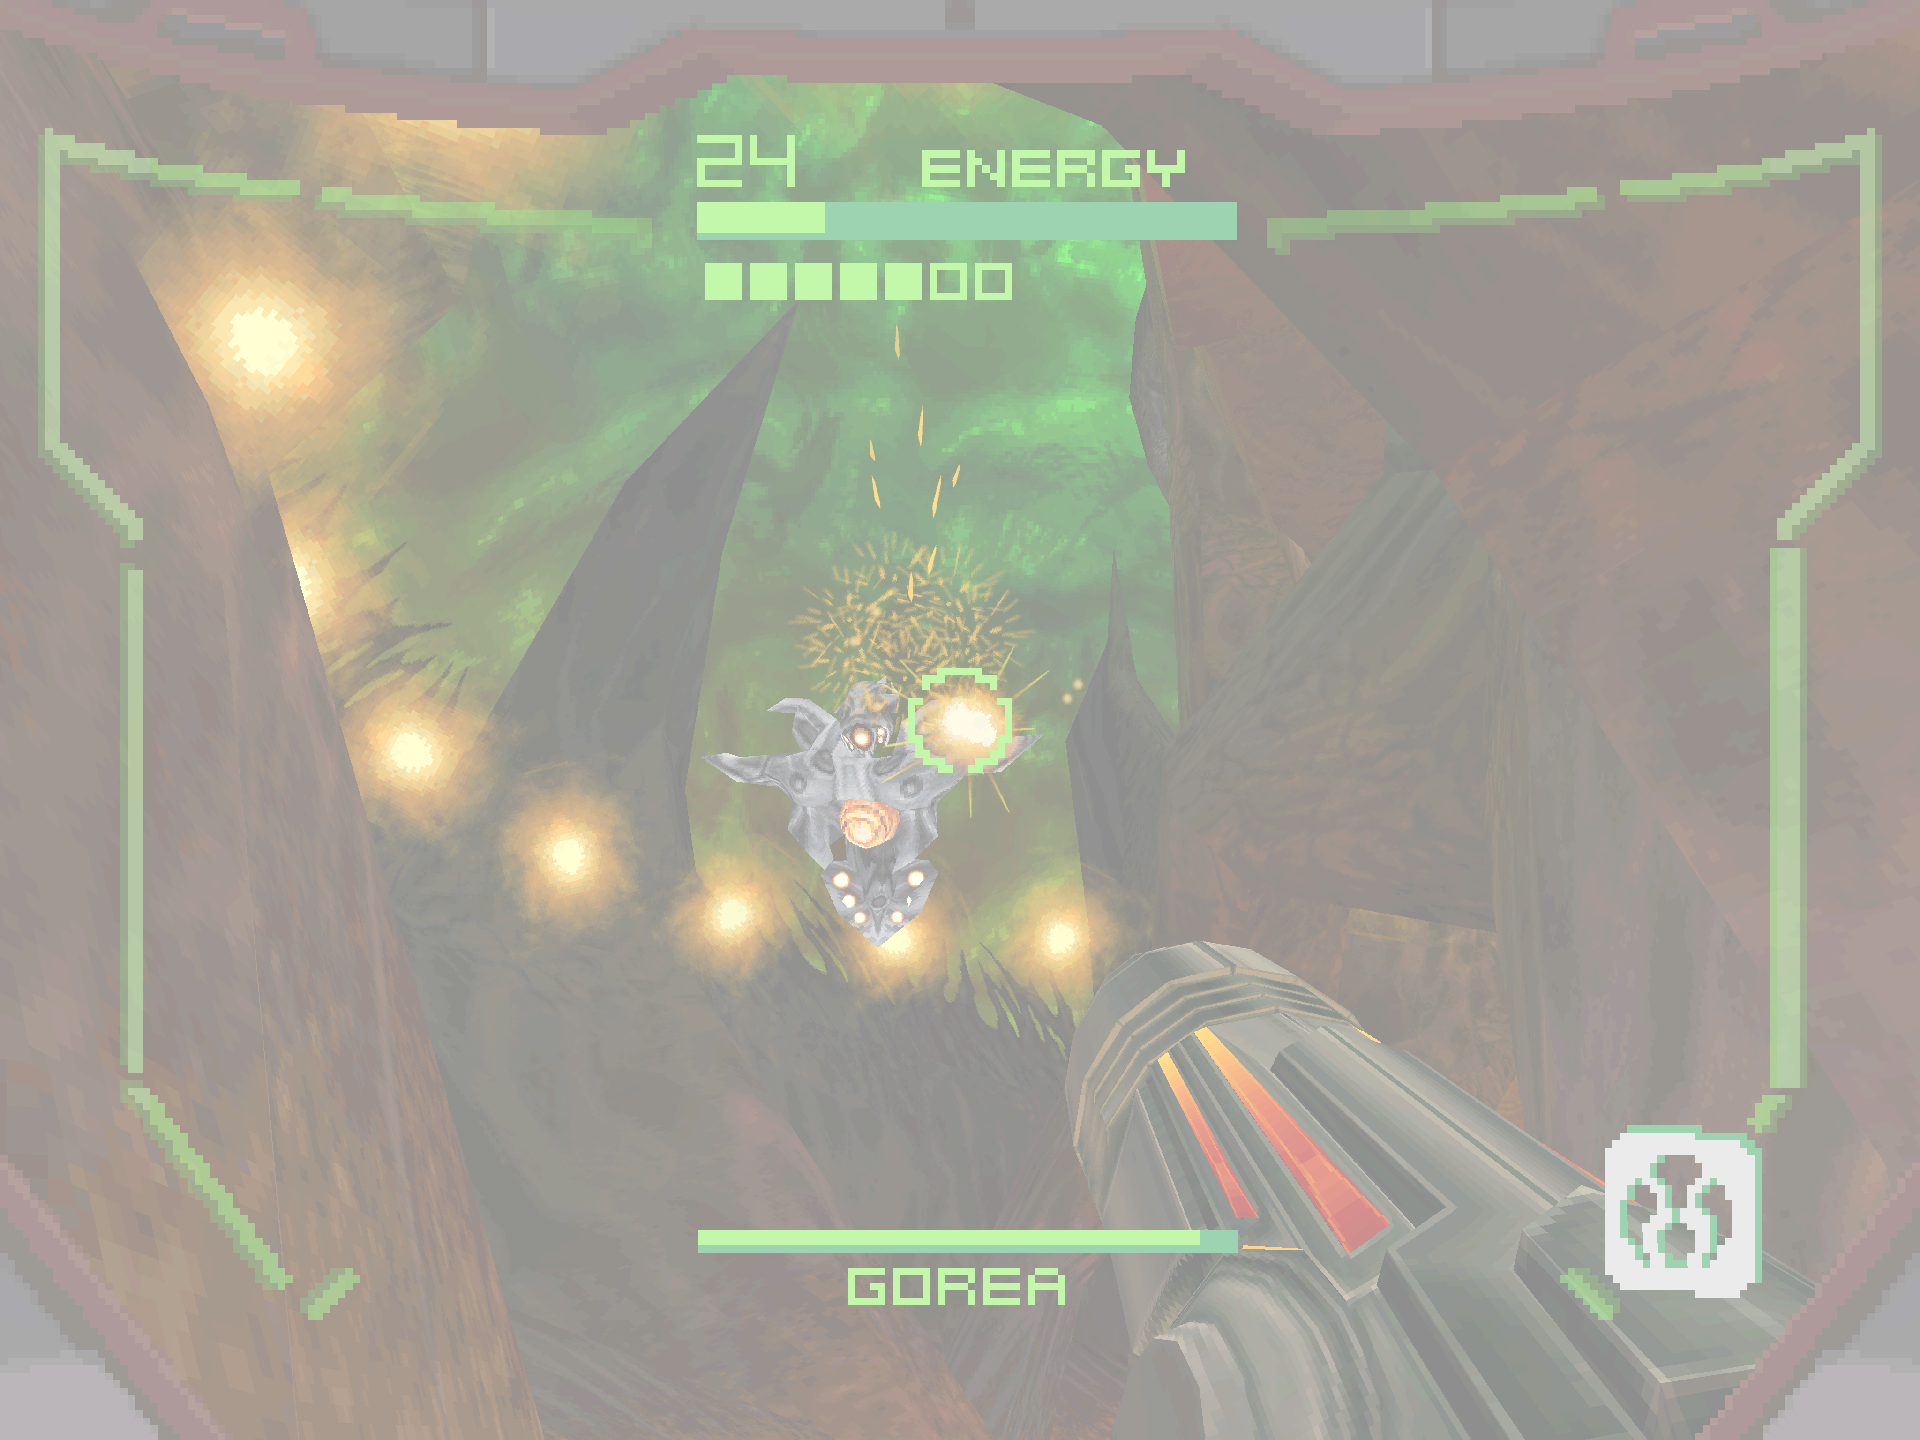
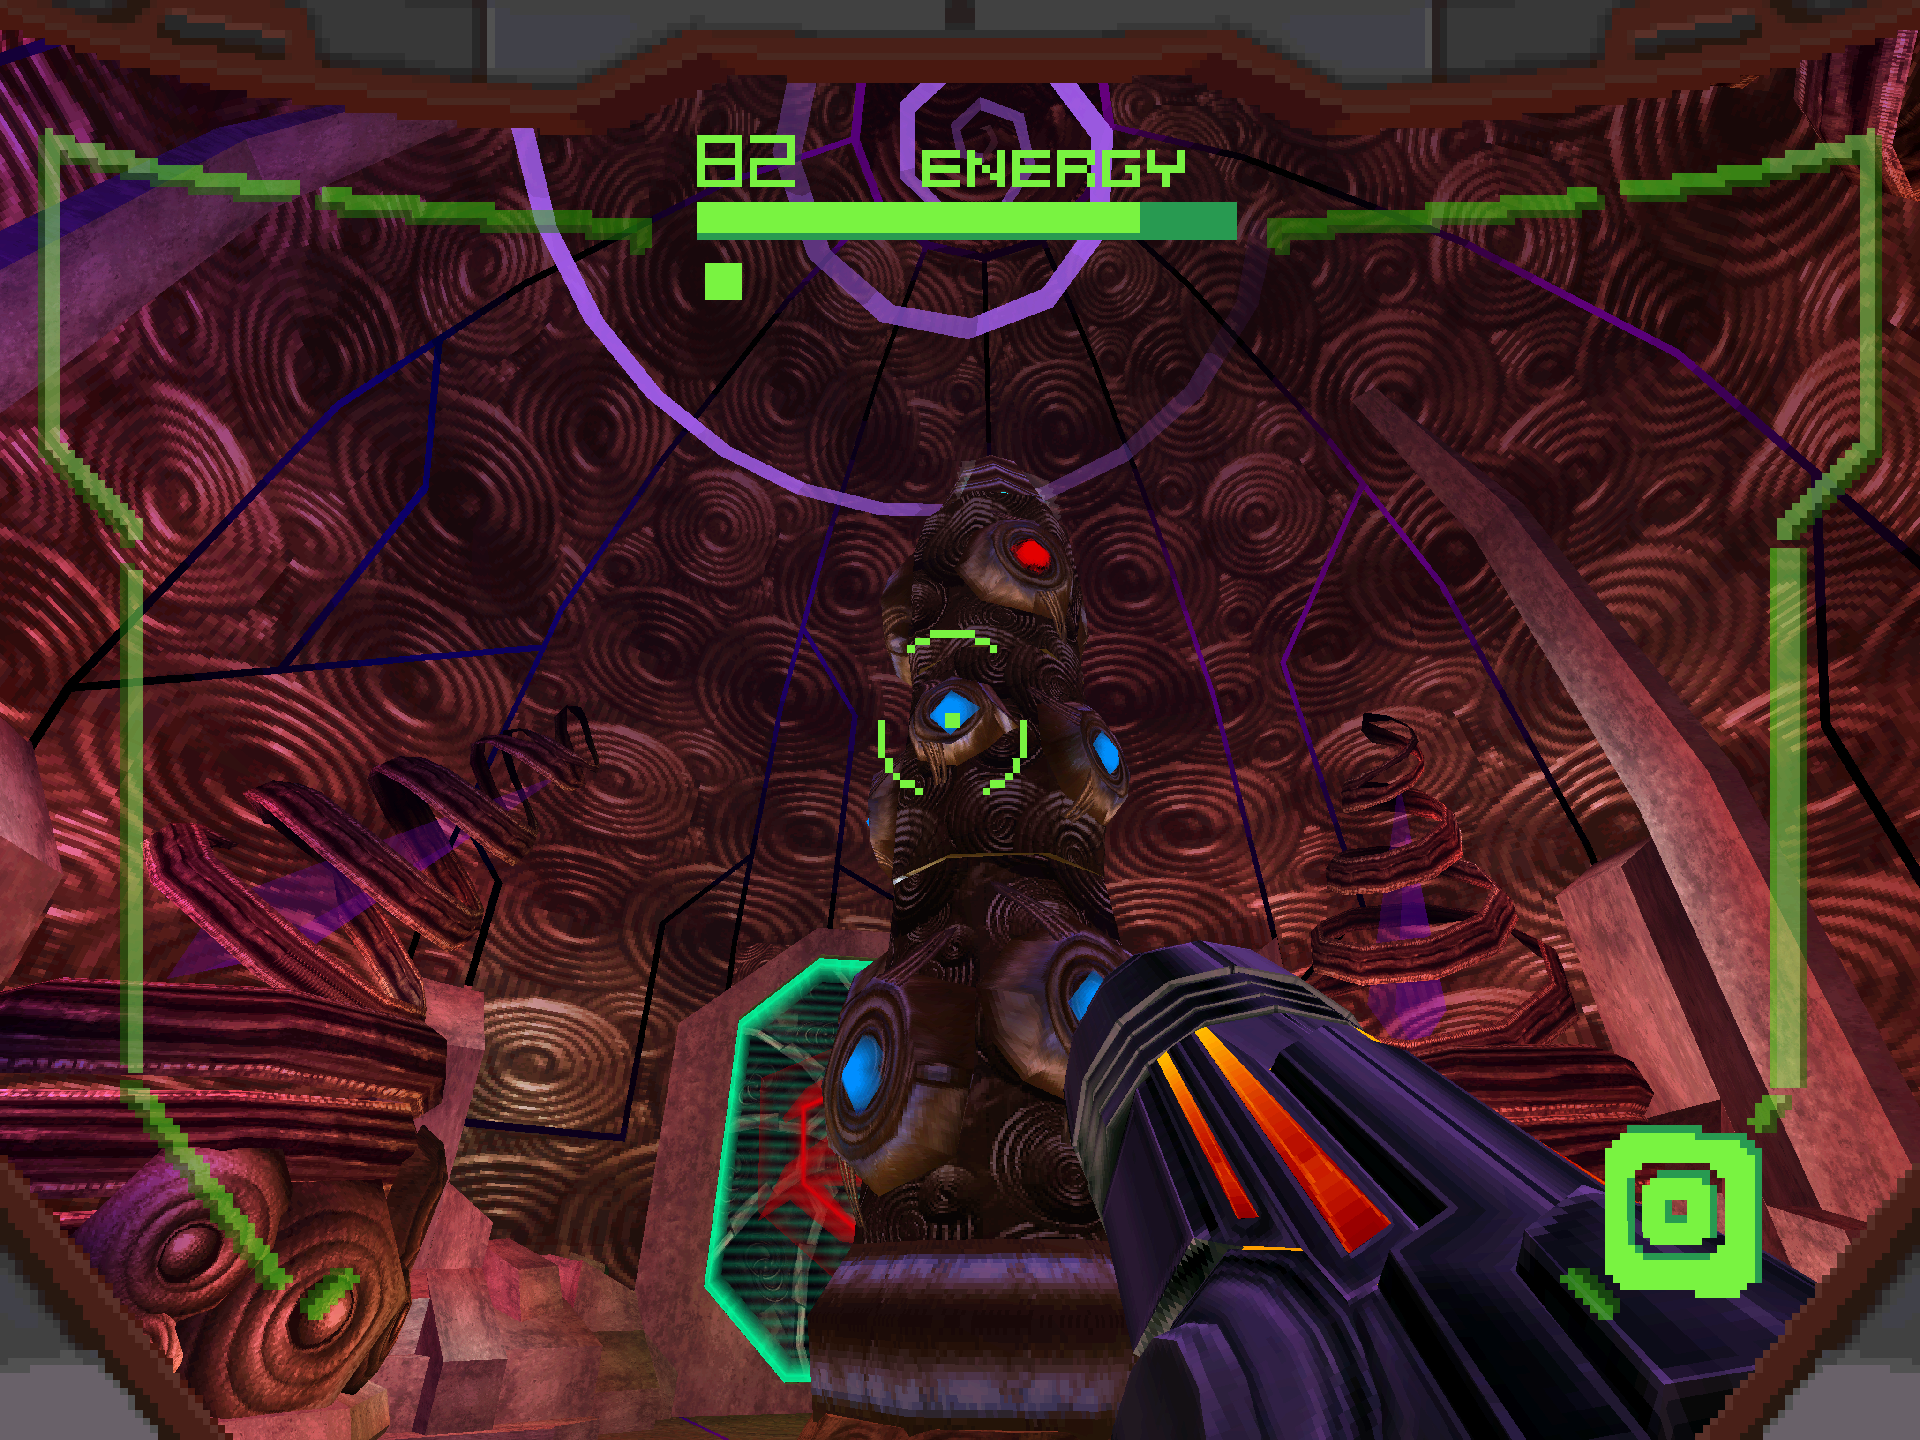
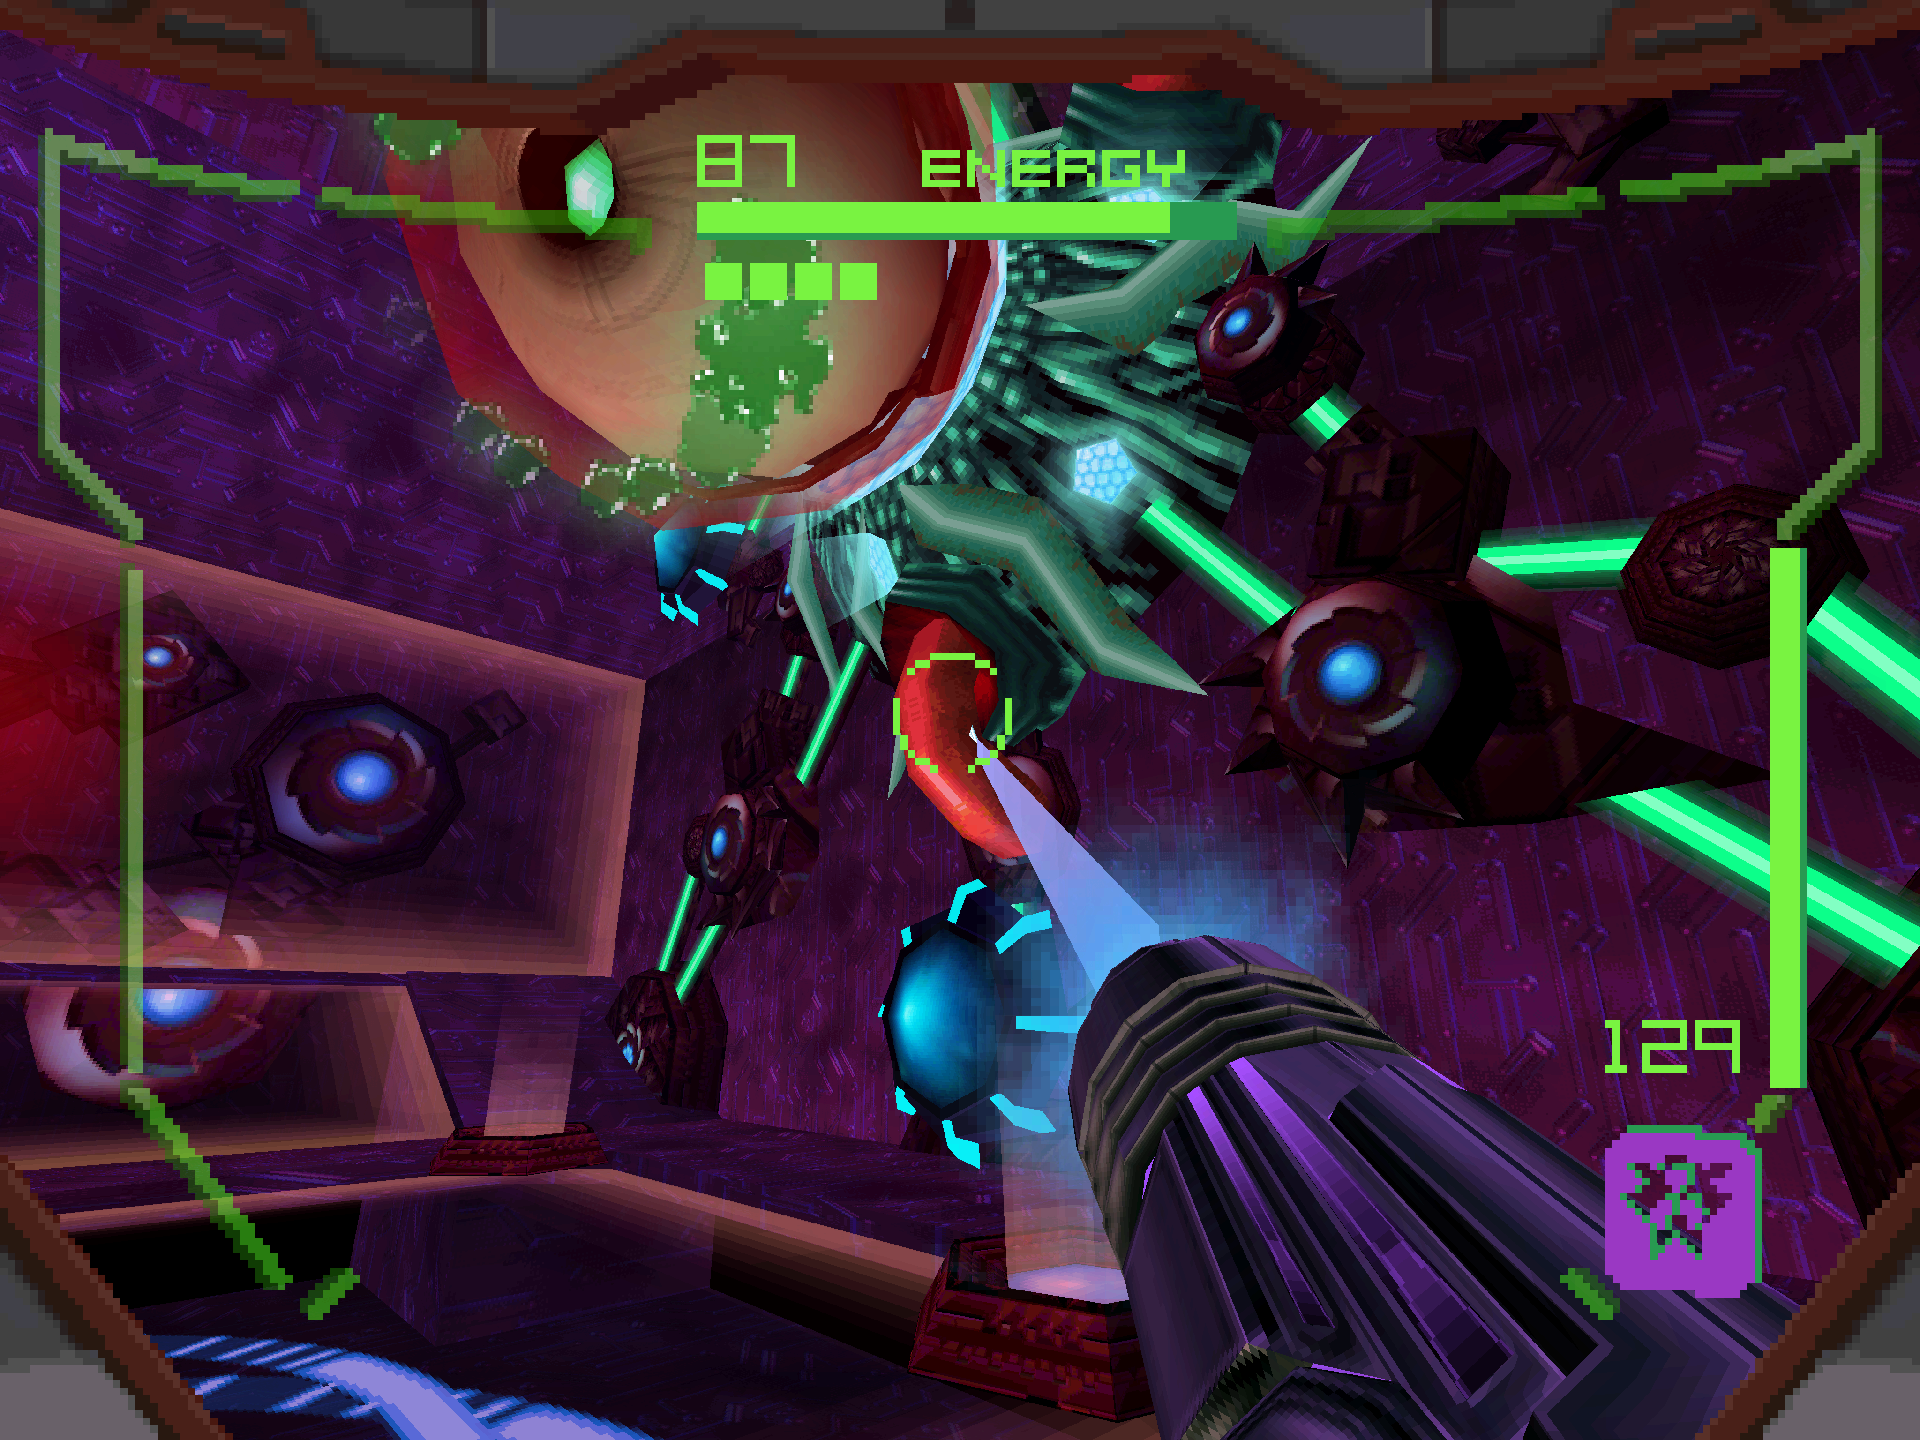
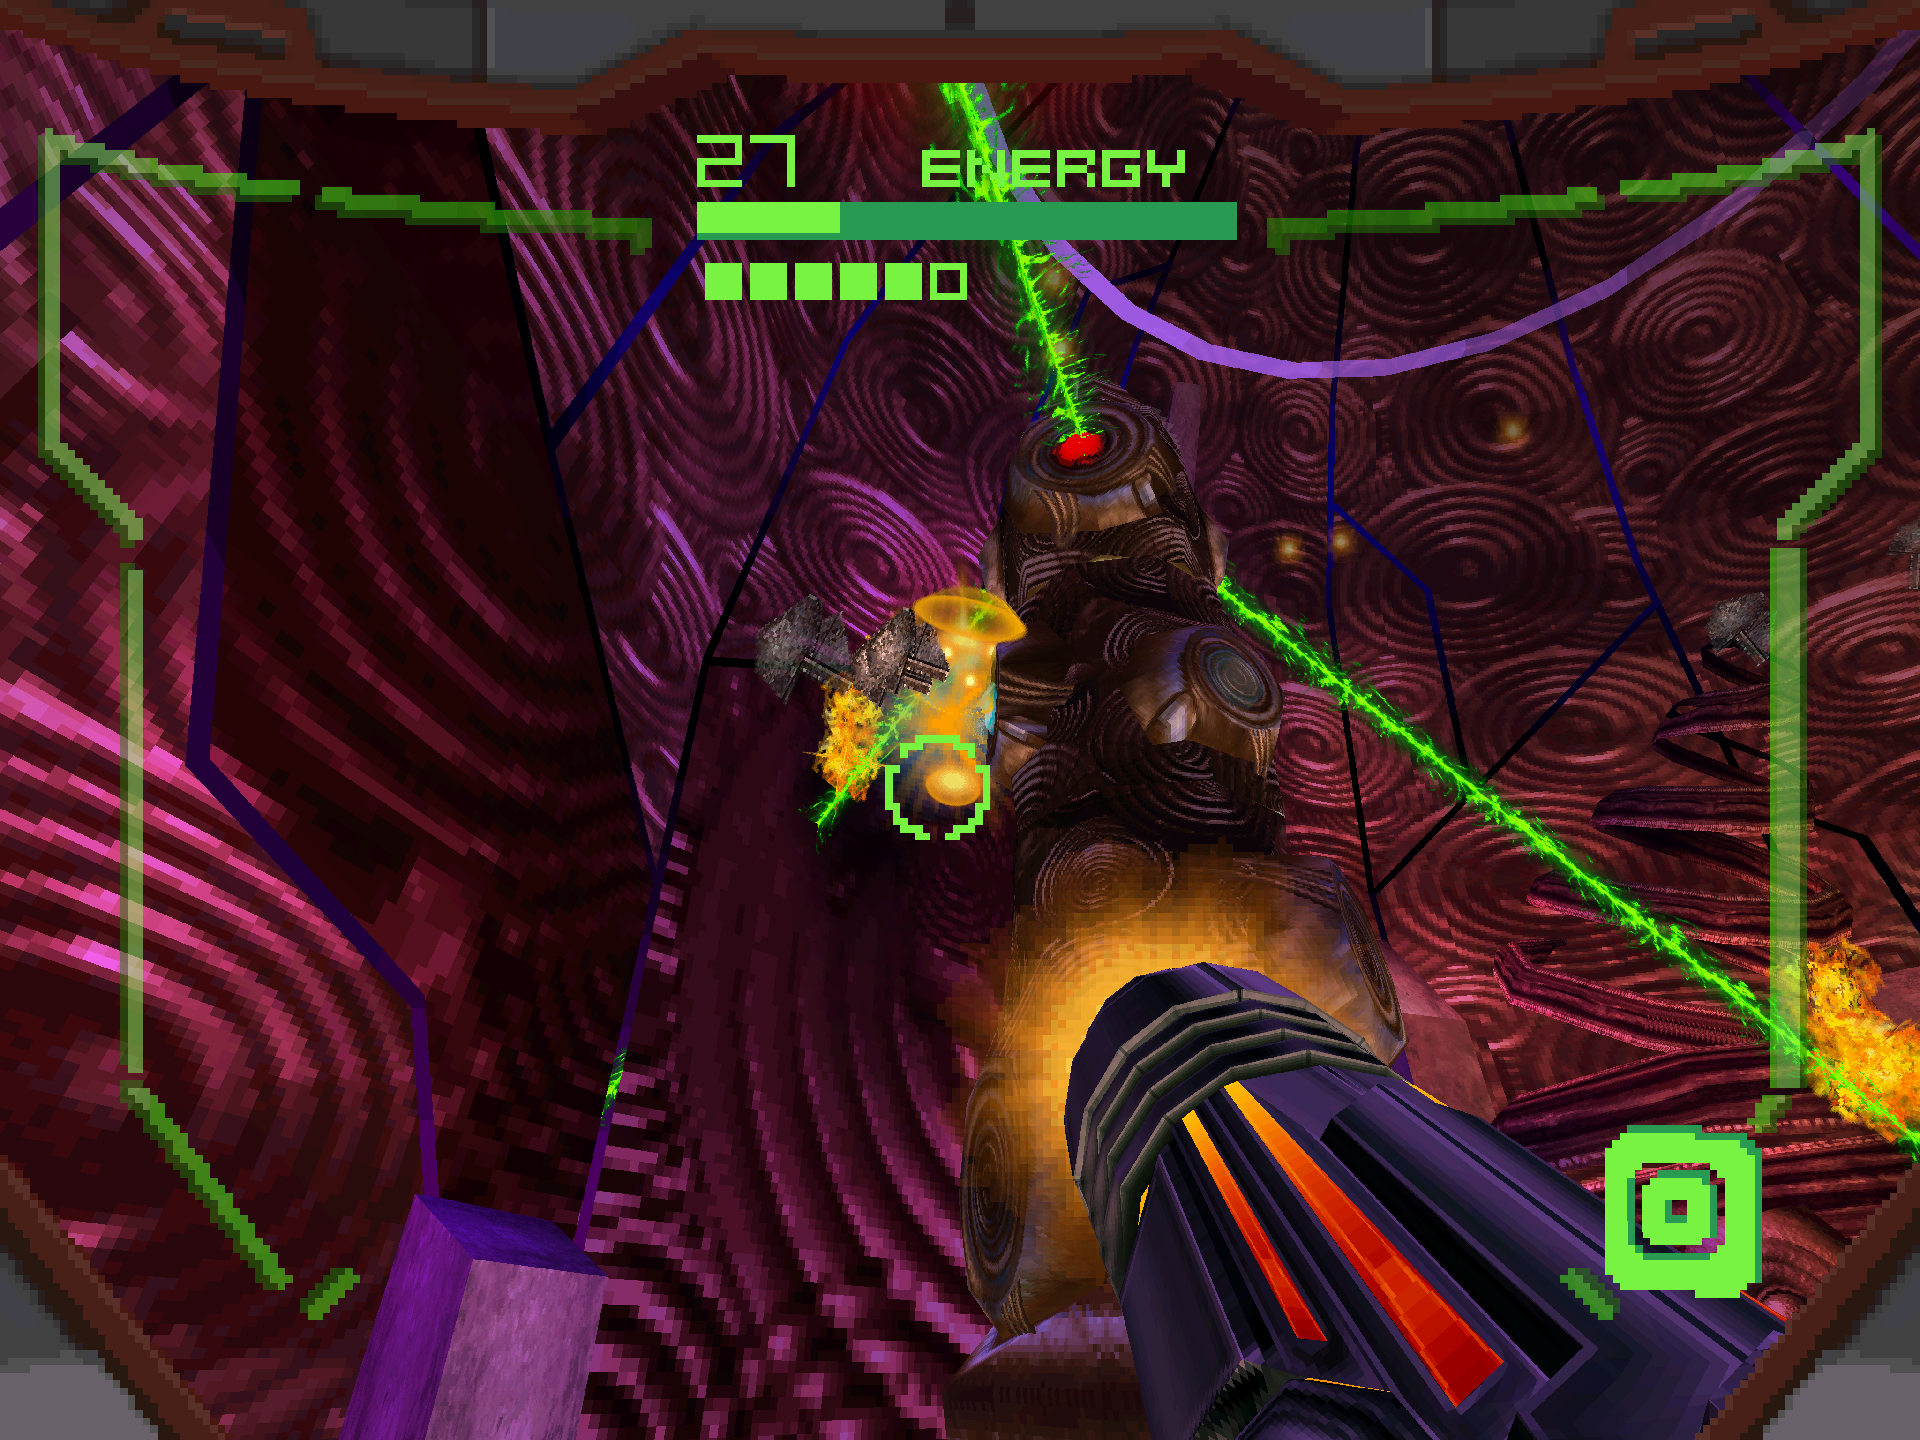
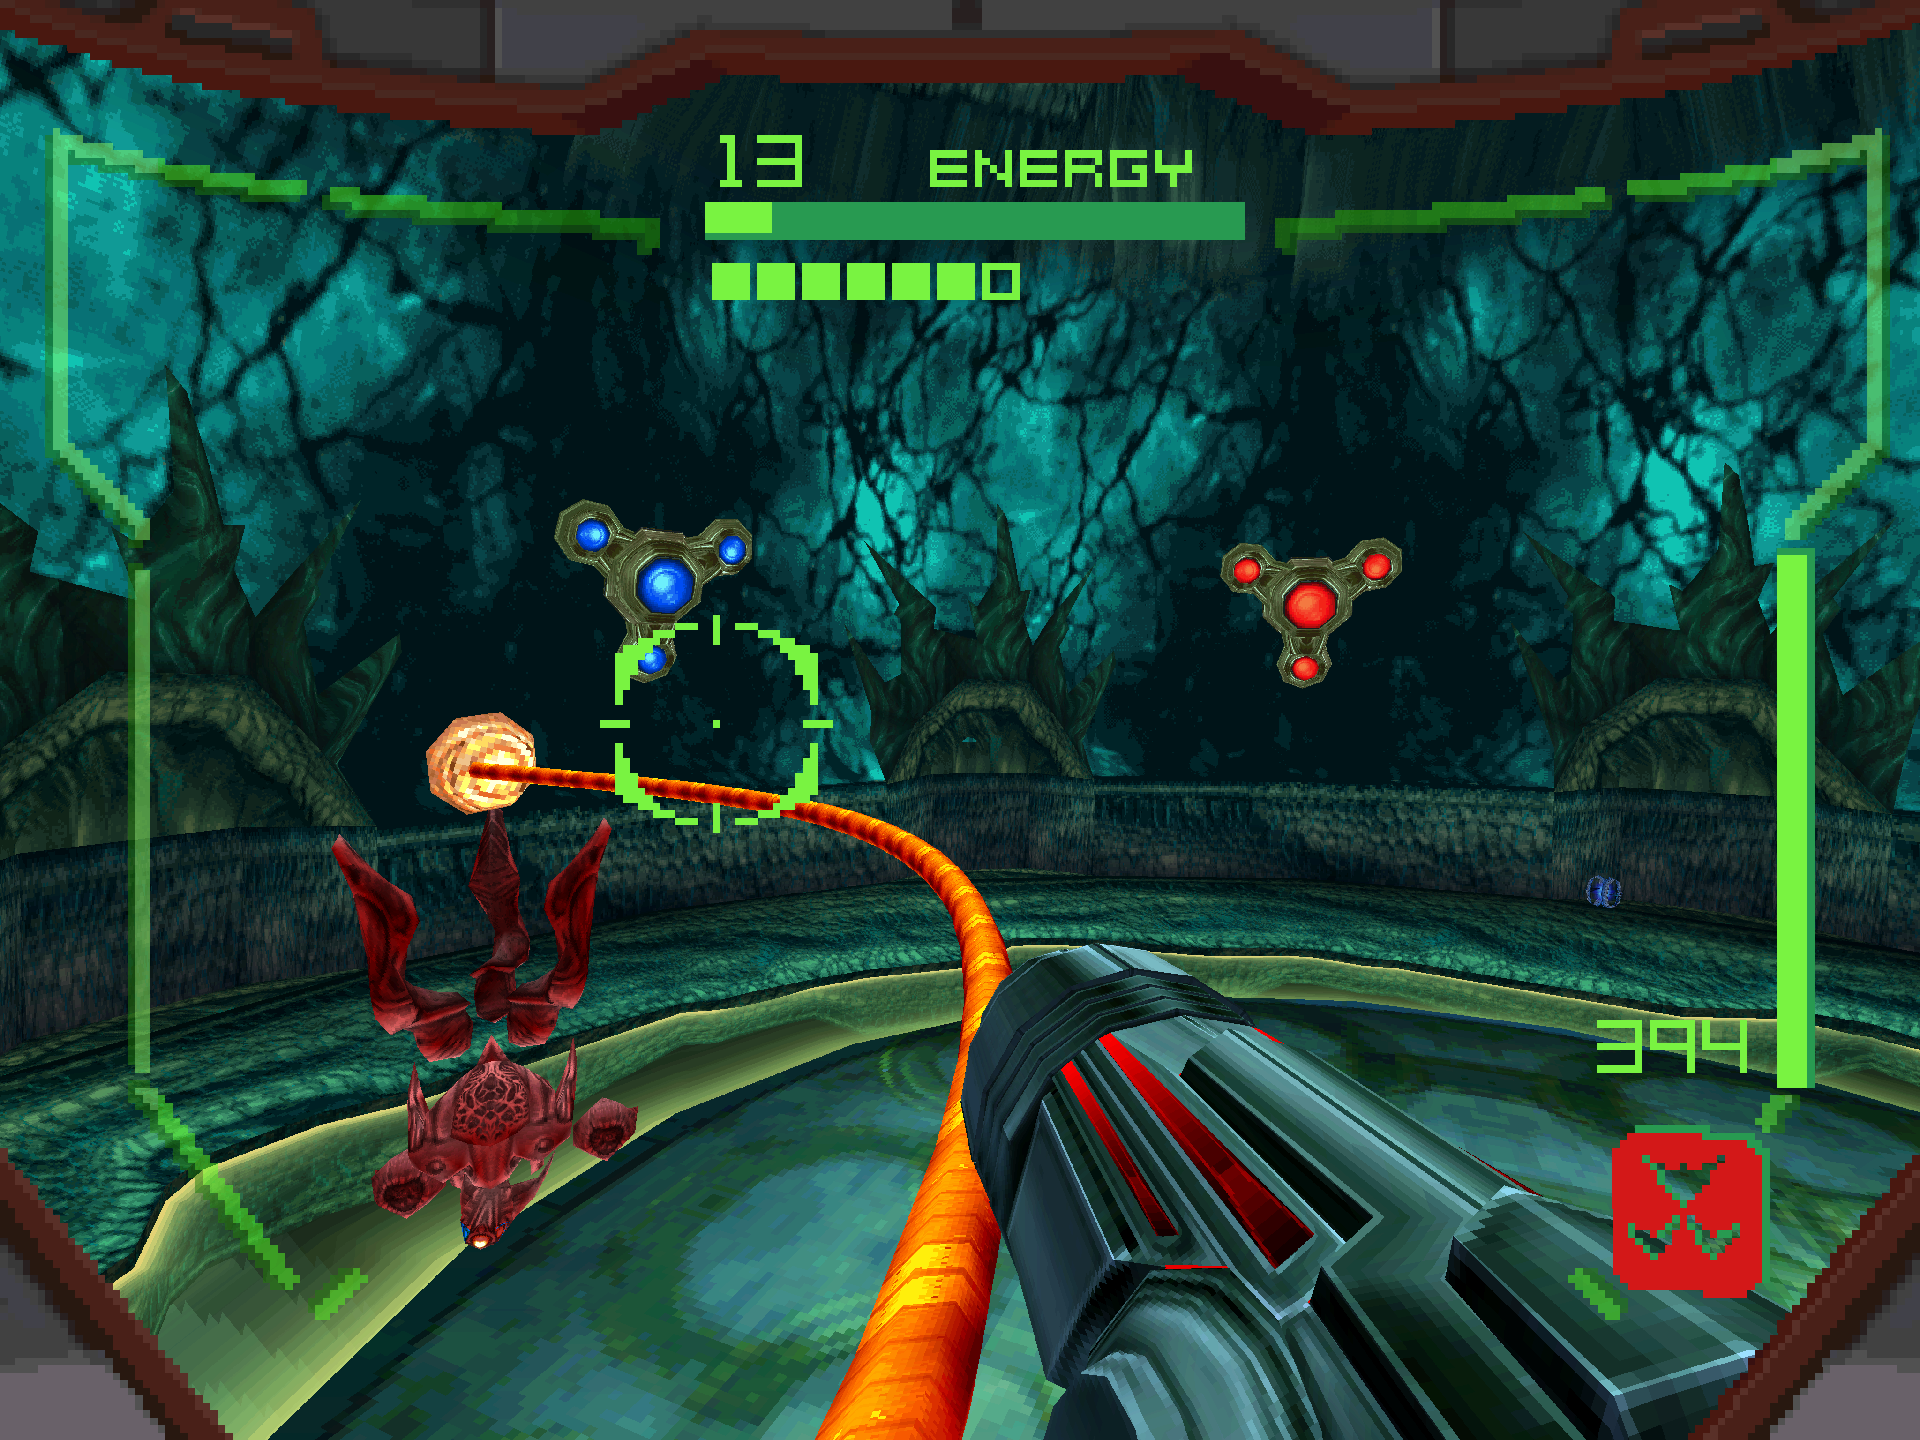
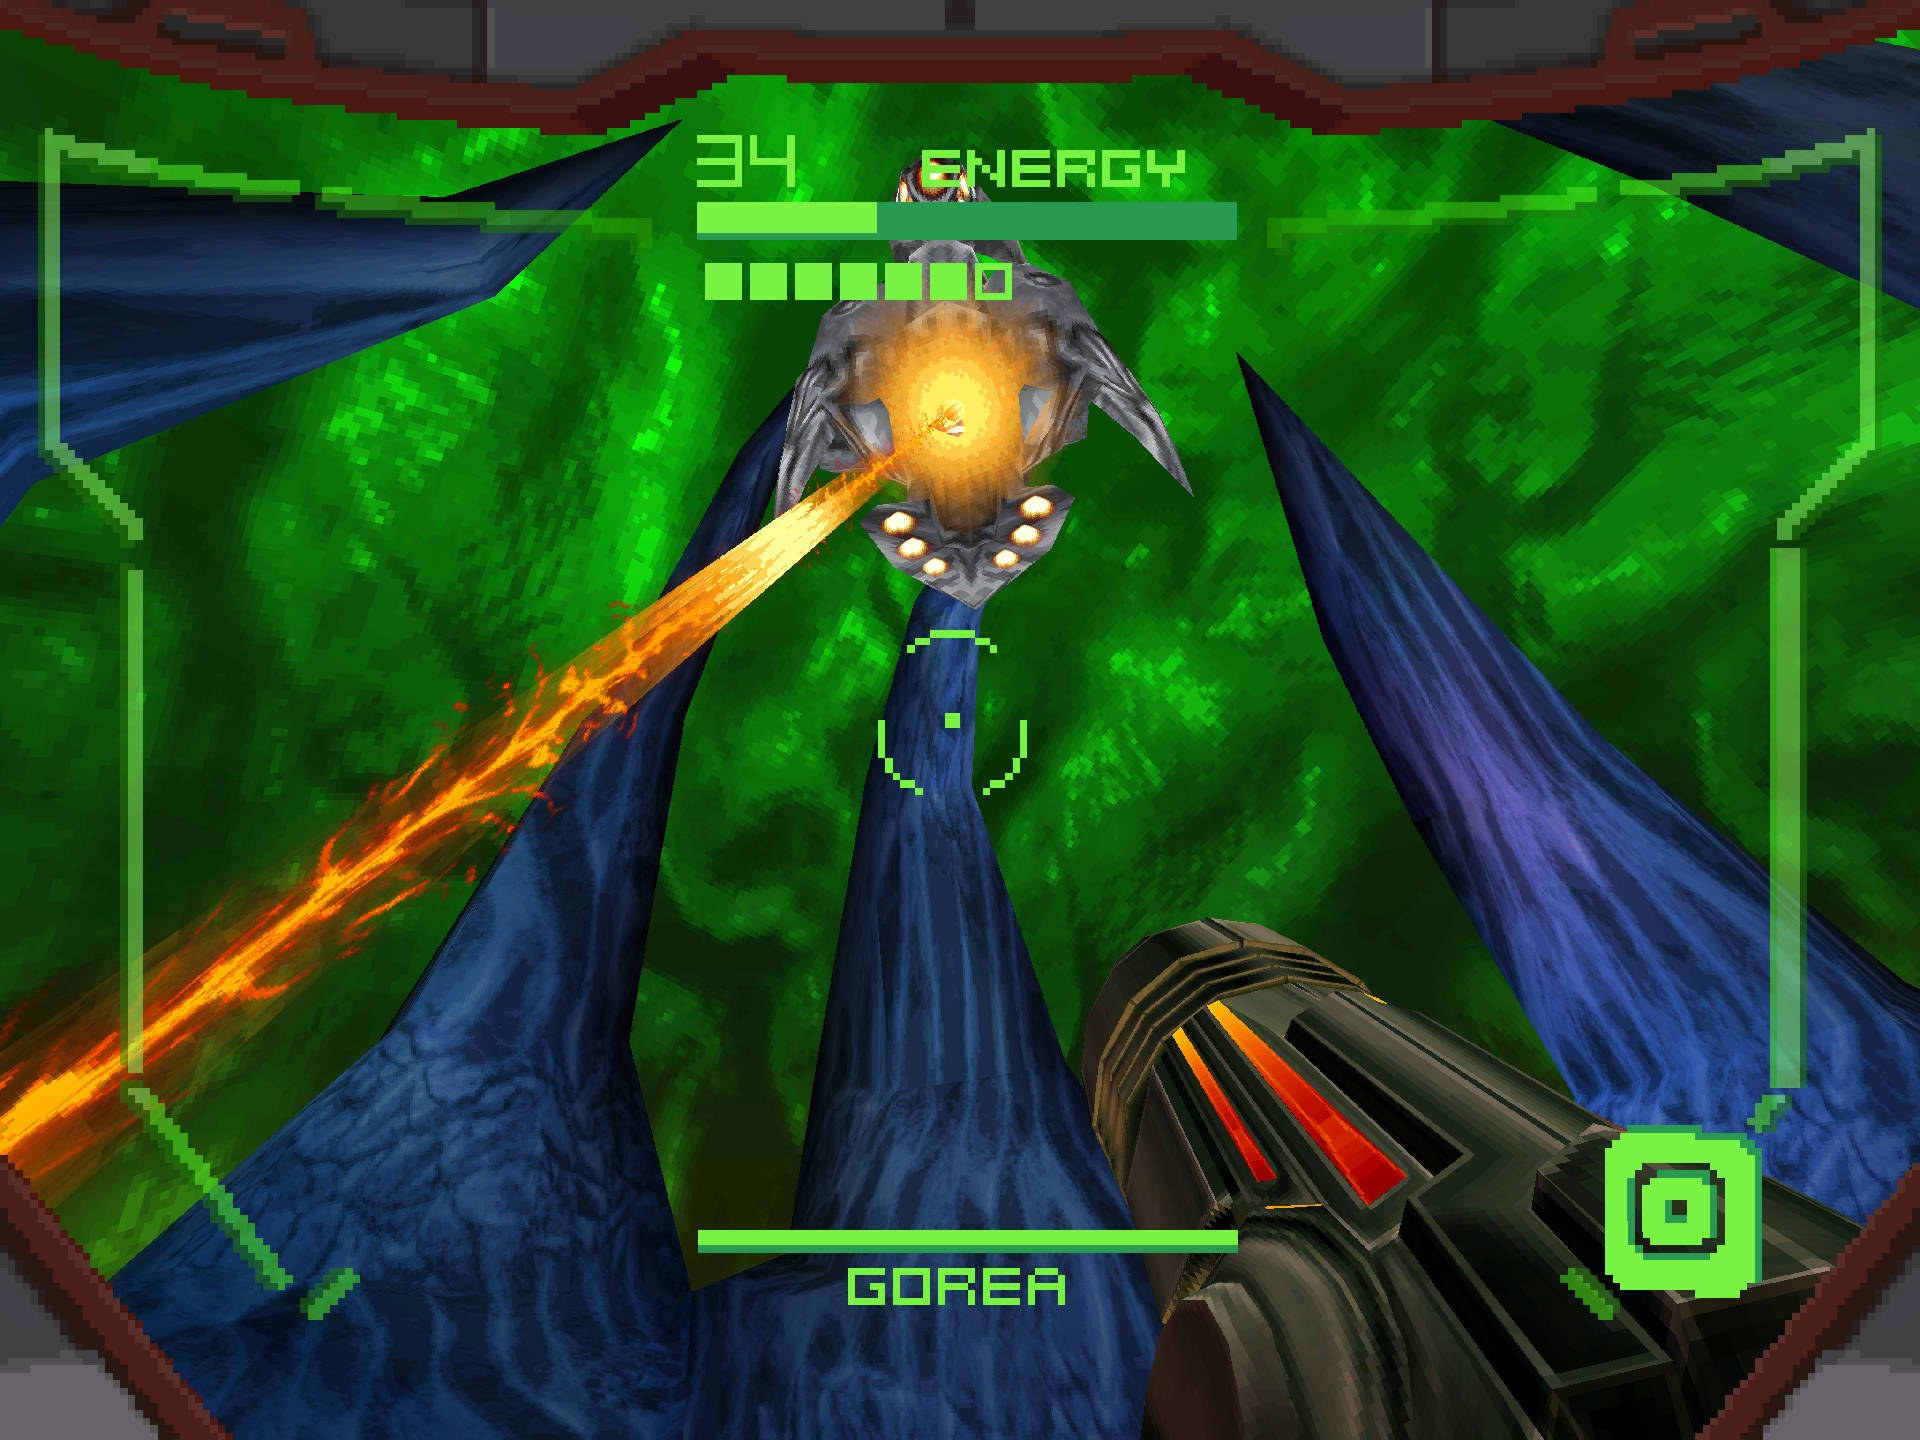
Gorea
As you descend into the chamber, the other Hunters have already discovered the Seal Sphere and begin blasting away at it, unknown what its true intention is. The seal finally breaks open, revealing Gorea. Without hesitation, Gorea attacks all of the Hunters, absorbing their abilities, and knocking them unconscious. It immediately turns its attention to Samus, so it’s up to us to put this thing down!
There’s a lot of things to go over in this fight, so let’s start off simple and get our scannables out of the way. Add GOREA, GOREA ARM and the TROCRA to your logbook. Now this next step is optional but very important. Metroid Prime Hunters has two endings; the good ending and the bad ending. If we don’t do this step, we get the bad ending. The good ending also has some extra gameplay we won’t get to experience with the bad ending and is required to achieve 100% completion. If you’re trying to unlock all of the cutscenes in the gallery, you will have to beat the game with both endings, but luckily you can restart your save file from the beginning of Oubliette being unlocked to redo the sequence if you desire.
This next step is foretold in the Alimbic Prophecy scans we’ve added to our logbook at the area entrances since the start of the game. You see those colored panels on the wall? We have to use the beam with the associated color and fire at them in a specific sequence to trigger a secret event. If you mess up and fire the wrong beam or hit a panel out of order, you will have to start over from the very beginning.
- Fire the Volt Driver at the Yellow Panel.
- Fire the Battlehammer at the Green Panel.
- Fire the Magmaul at the Orange Panel.
- Fire the Shock Coil at the Blue Panel. You’ll have to jump for the beam to reach it!
- Fire the Judicator at the Purple Panel.
- Fire the Imperialist at the Red Panel.
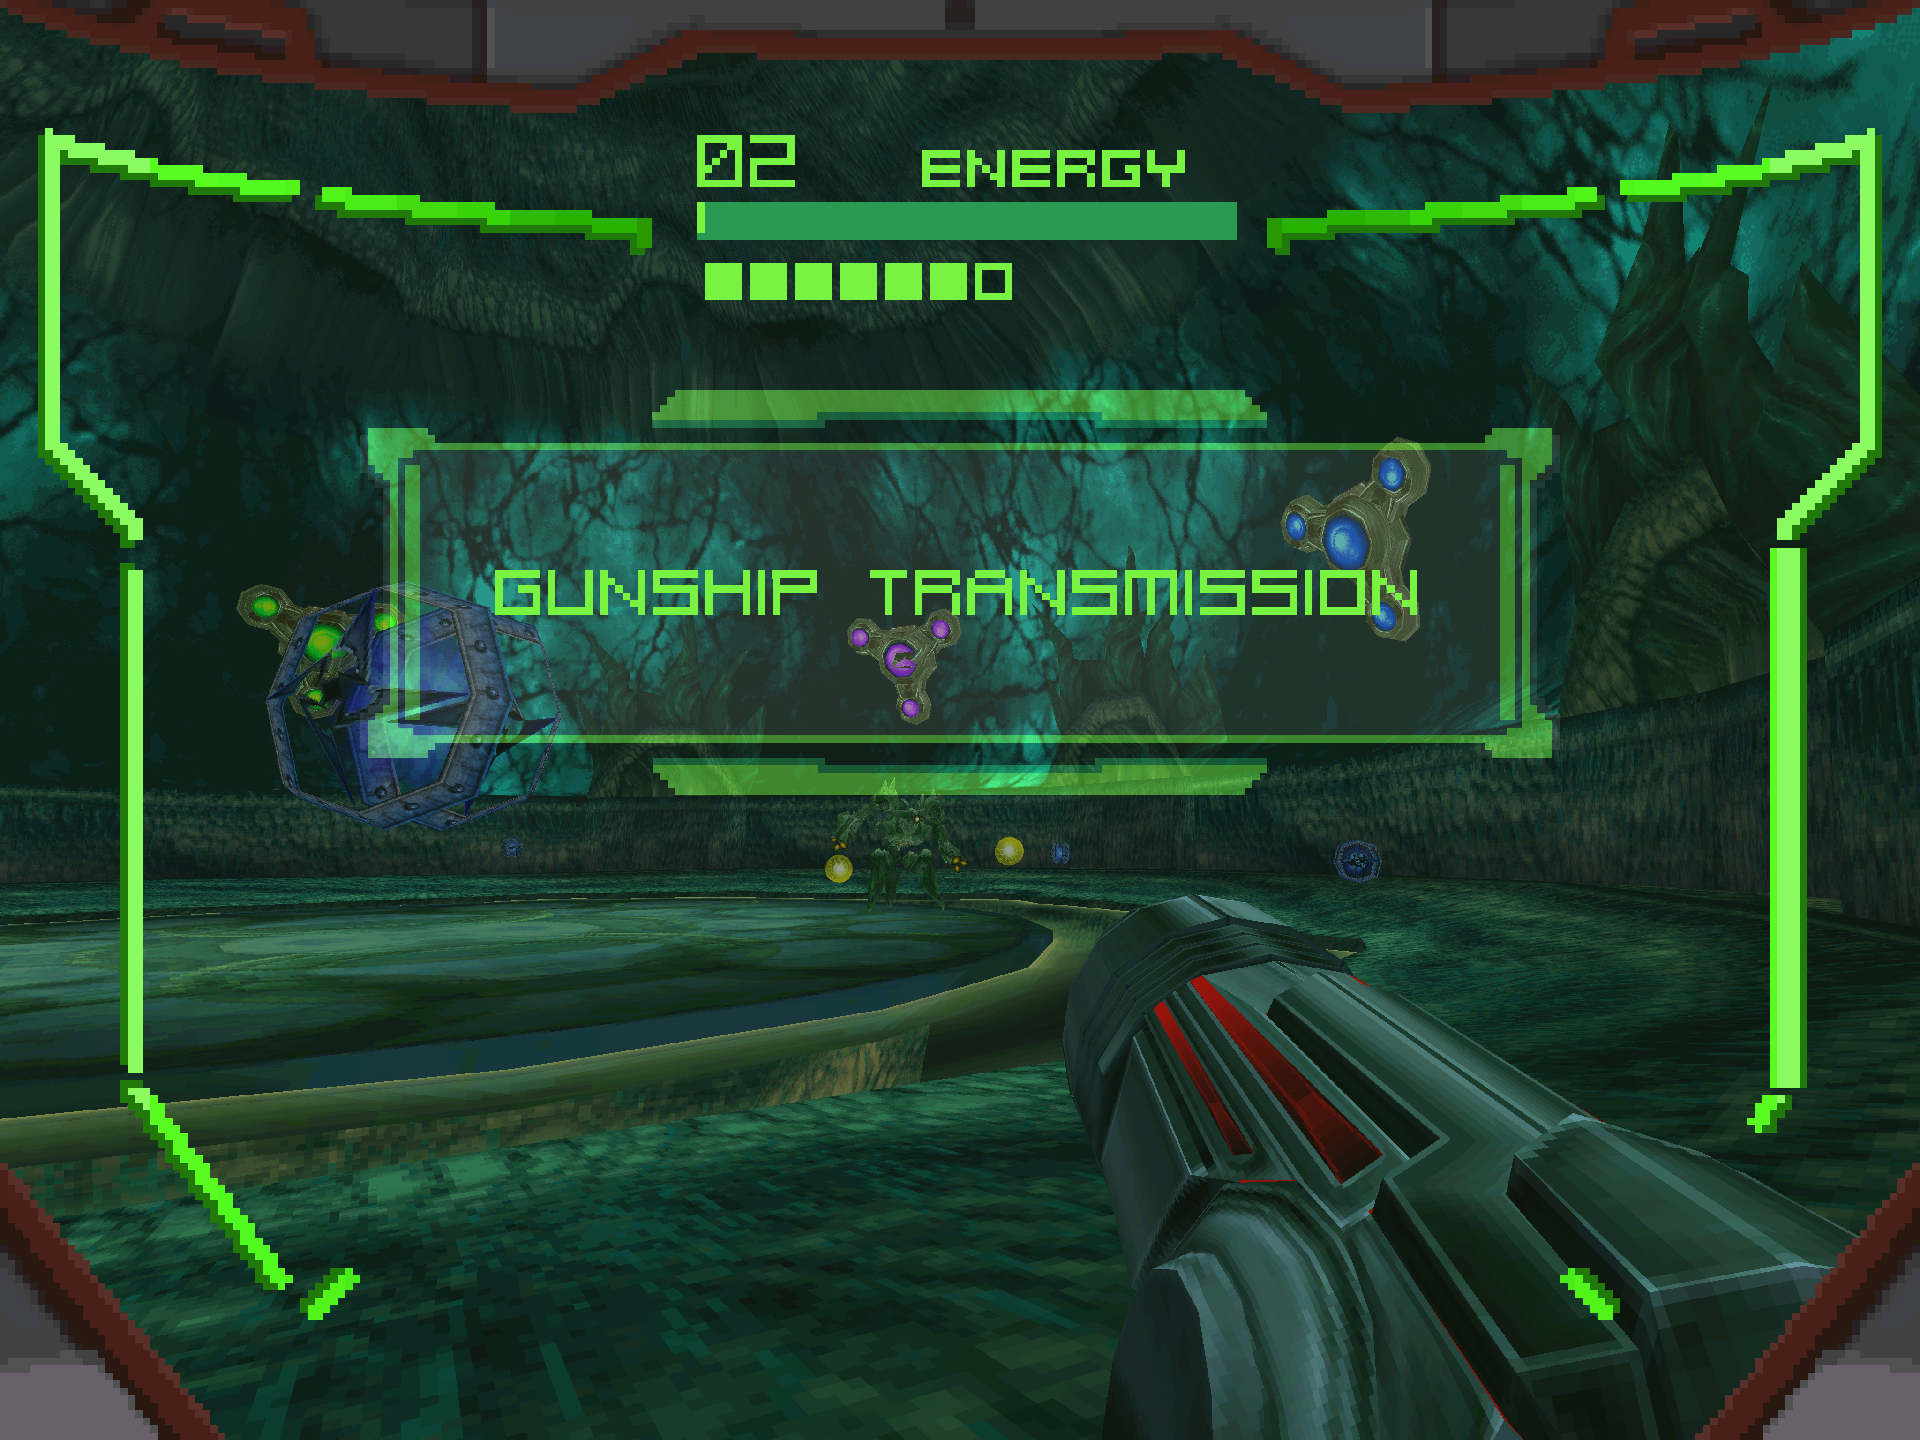
Upon successfully hitting the full combination, you’ll get a confirmation jingle along with a gunship transmission stating “Spectral sequence initiated. Photon avalanche approaching cascade threshold”. We’ll find out what that means later, but first, we still have a boss on the loose!
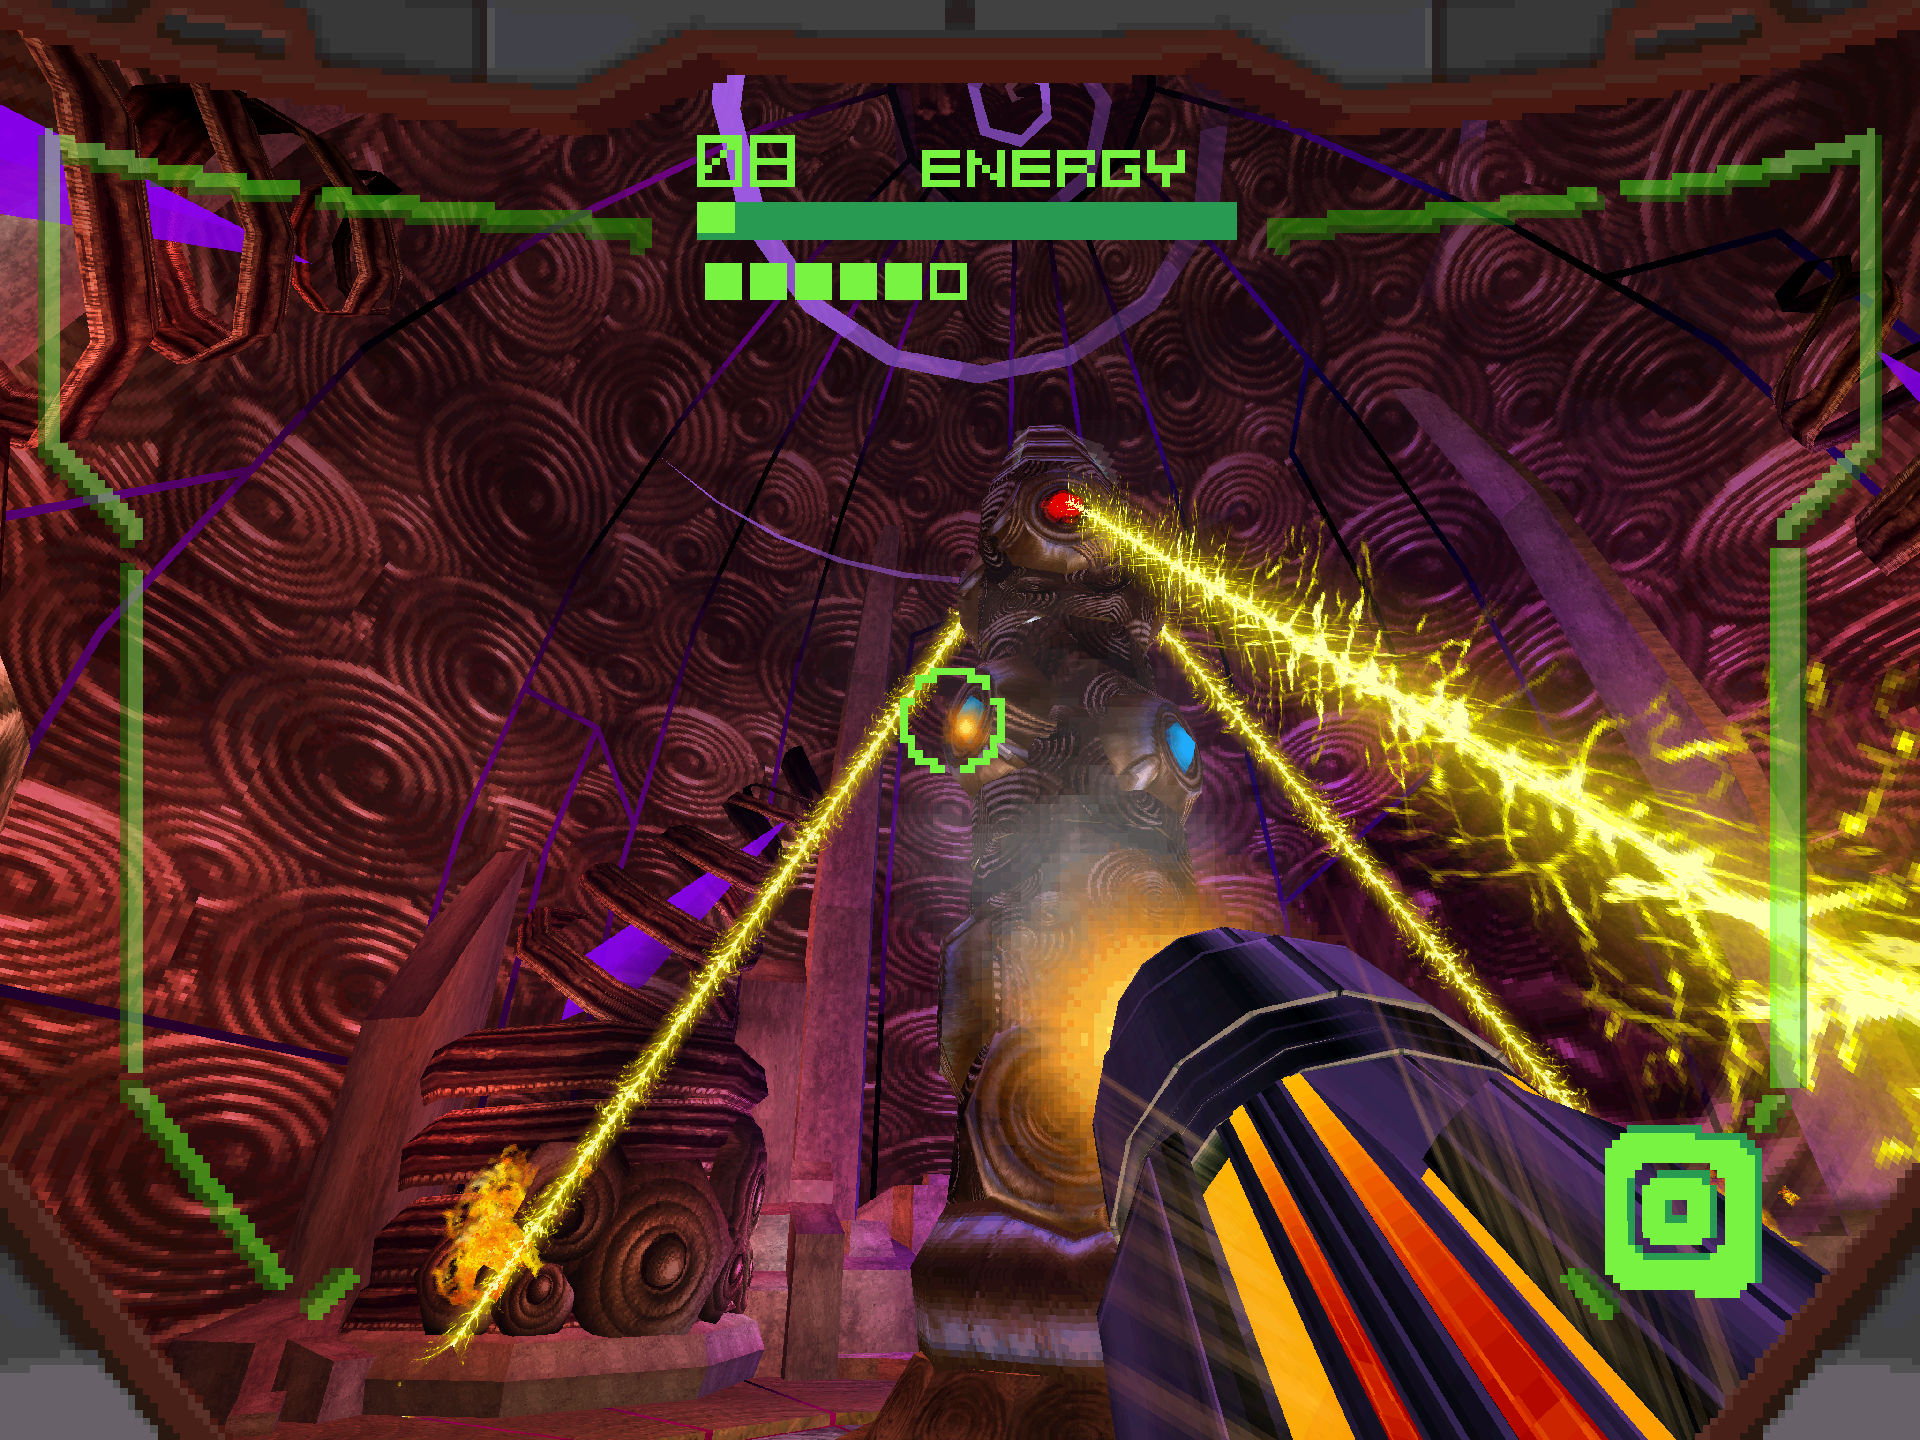
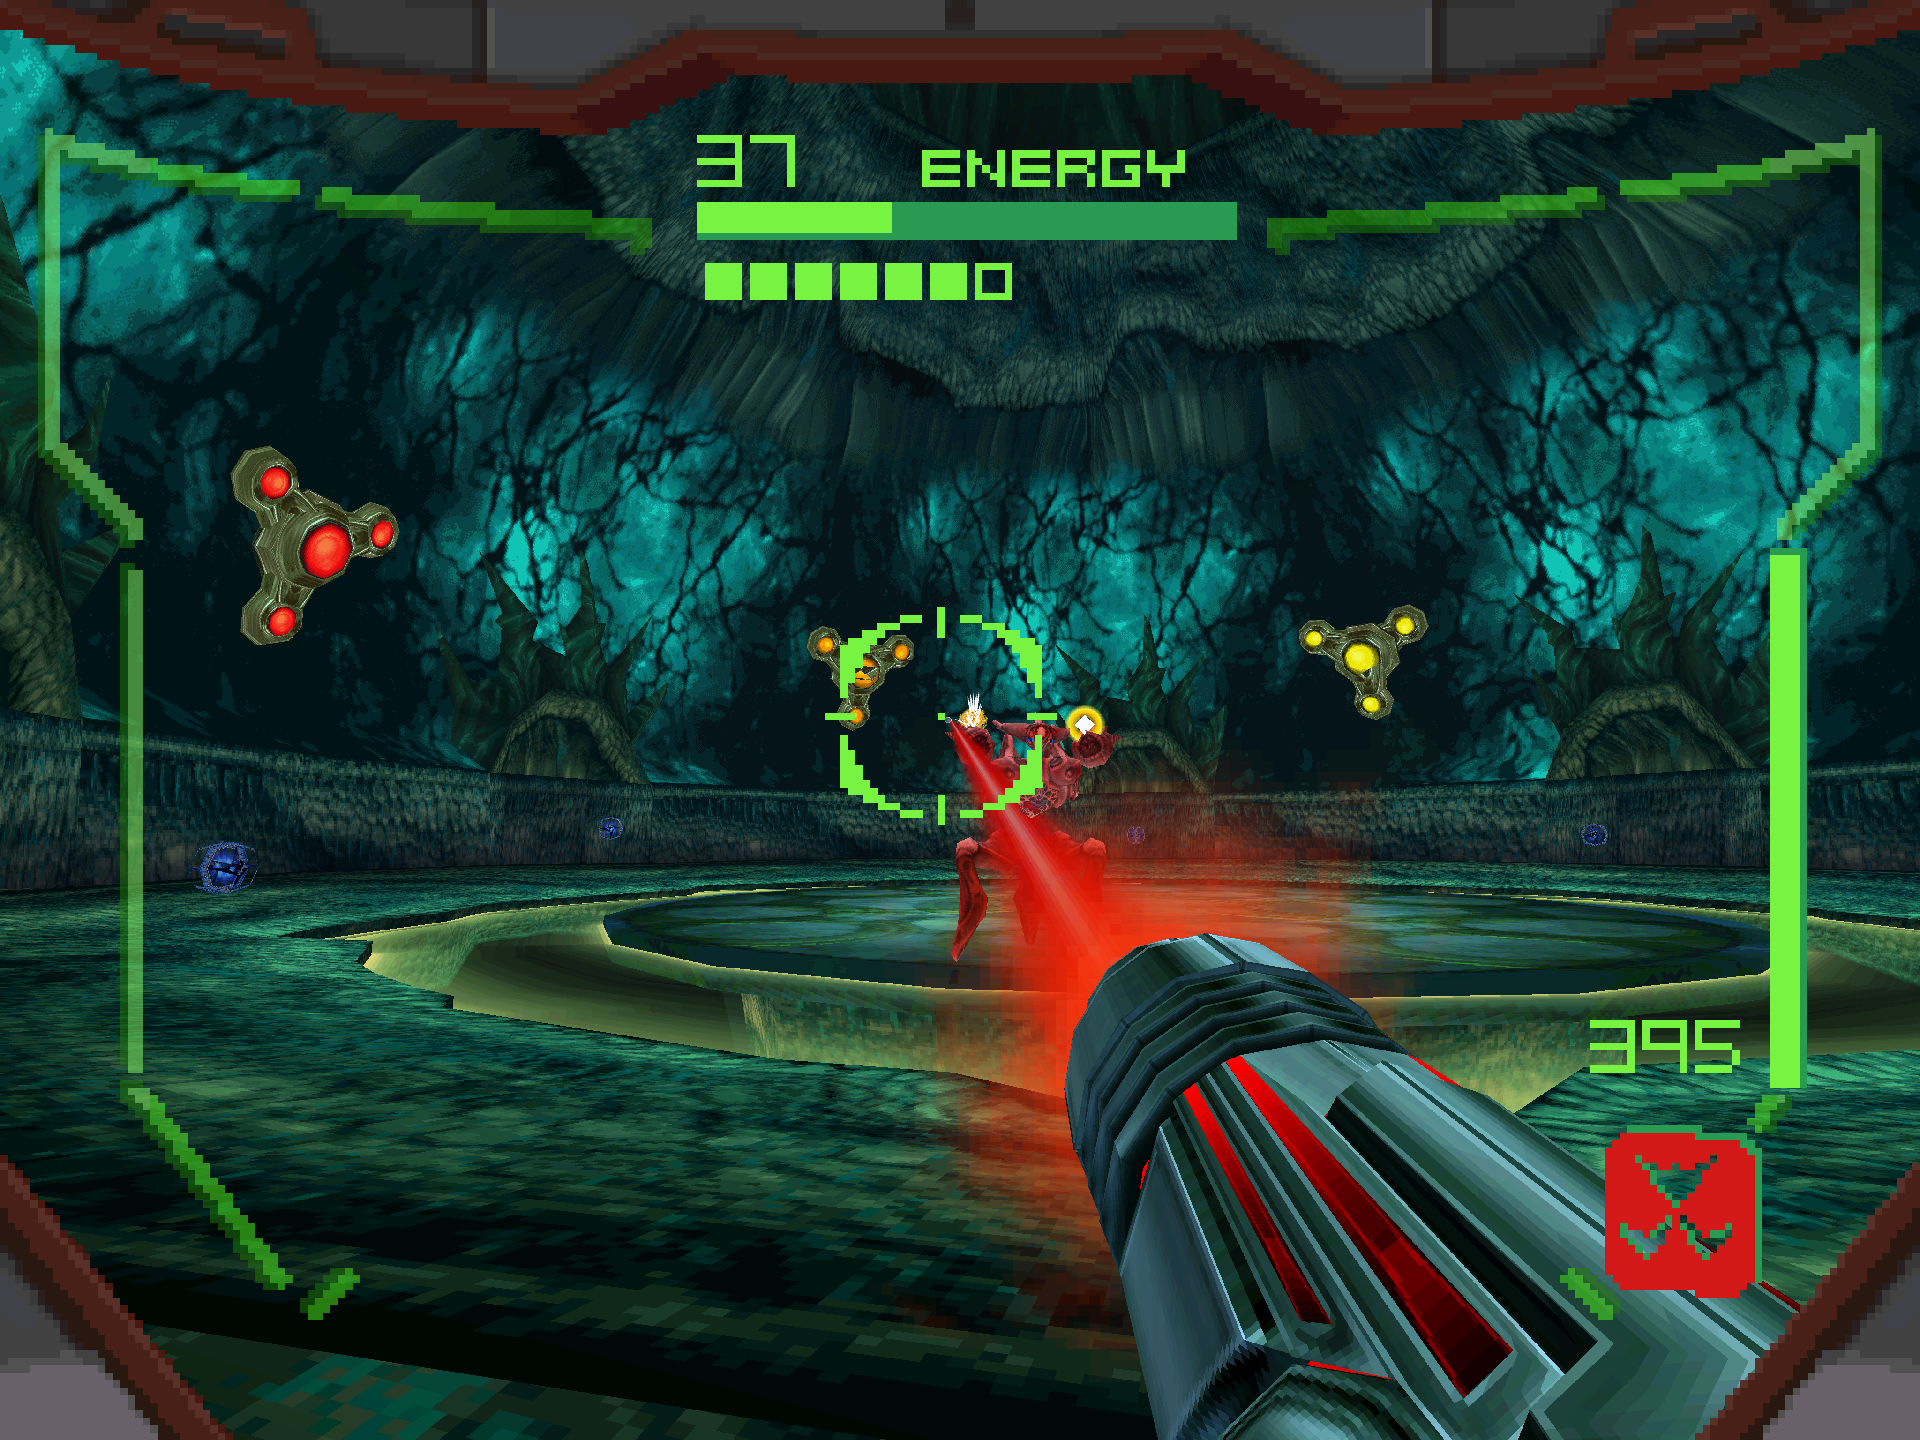
Because Gorea absorbed the rival Hunters in the cutscene, it can use all of their primary abilities against us. As long as you’re not standing still, most of the projectiles won’t pose much of a threat with exception to the Shock Coil which can reach you from the other side of the map (why can’t ours do that? Lame). To get Gorea into a damage state, we first need to destroy its arms by taking out the weakpoints on the shoulders. Each time an arm is destroyed, Gorea will drop a Large Energy orb, so be sure to absorb that with the Charge Beam before it vanishes if you’re low on health! On the flipside however, Gorea will regenerate an arm if you’re not quick enough in destroying the second. Because of this, I recommend using a similar strategy to what we did during the Slench 4A fight; take out the majority of an arm’s health, but don’t fully destroy it until you have the adjacent shoulder similarly low. Then take them both out together in succession.
Gorea will be color coded to the weapon its shoulders are vulnerable to at the time, while the music’s melody will change to the corresponding Hunter theme of the weapon it’s attacking with. The Imperialist will take out each of Gorea’s weakpoints in a single shot, so I personally recommend just waiting for it to cycle to its red color for maximum damage! The Shock Coil is also a good option if your aim isn’t up to snuff, but at this point in the game we’ve faced harder aiming challenges than this so I’d still recommend going for the Imperialist if you can. If you’re running low on health and ammo, blast the Trocras on the outskirts of the arena for a chance at pickups. Be careful about the yellow ring encircling the room as it causes damage upon contact!

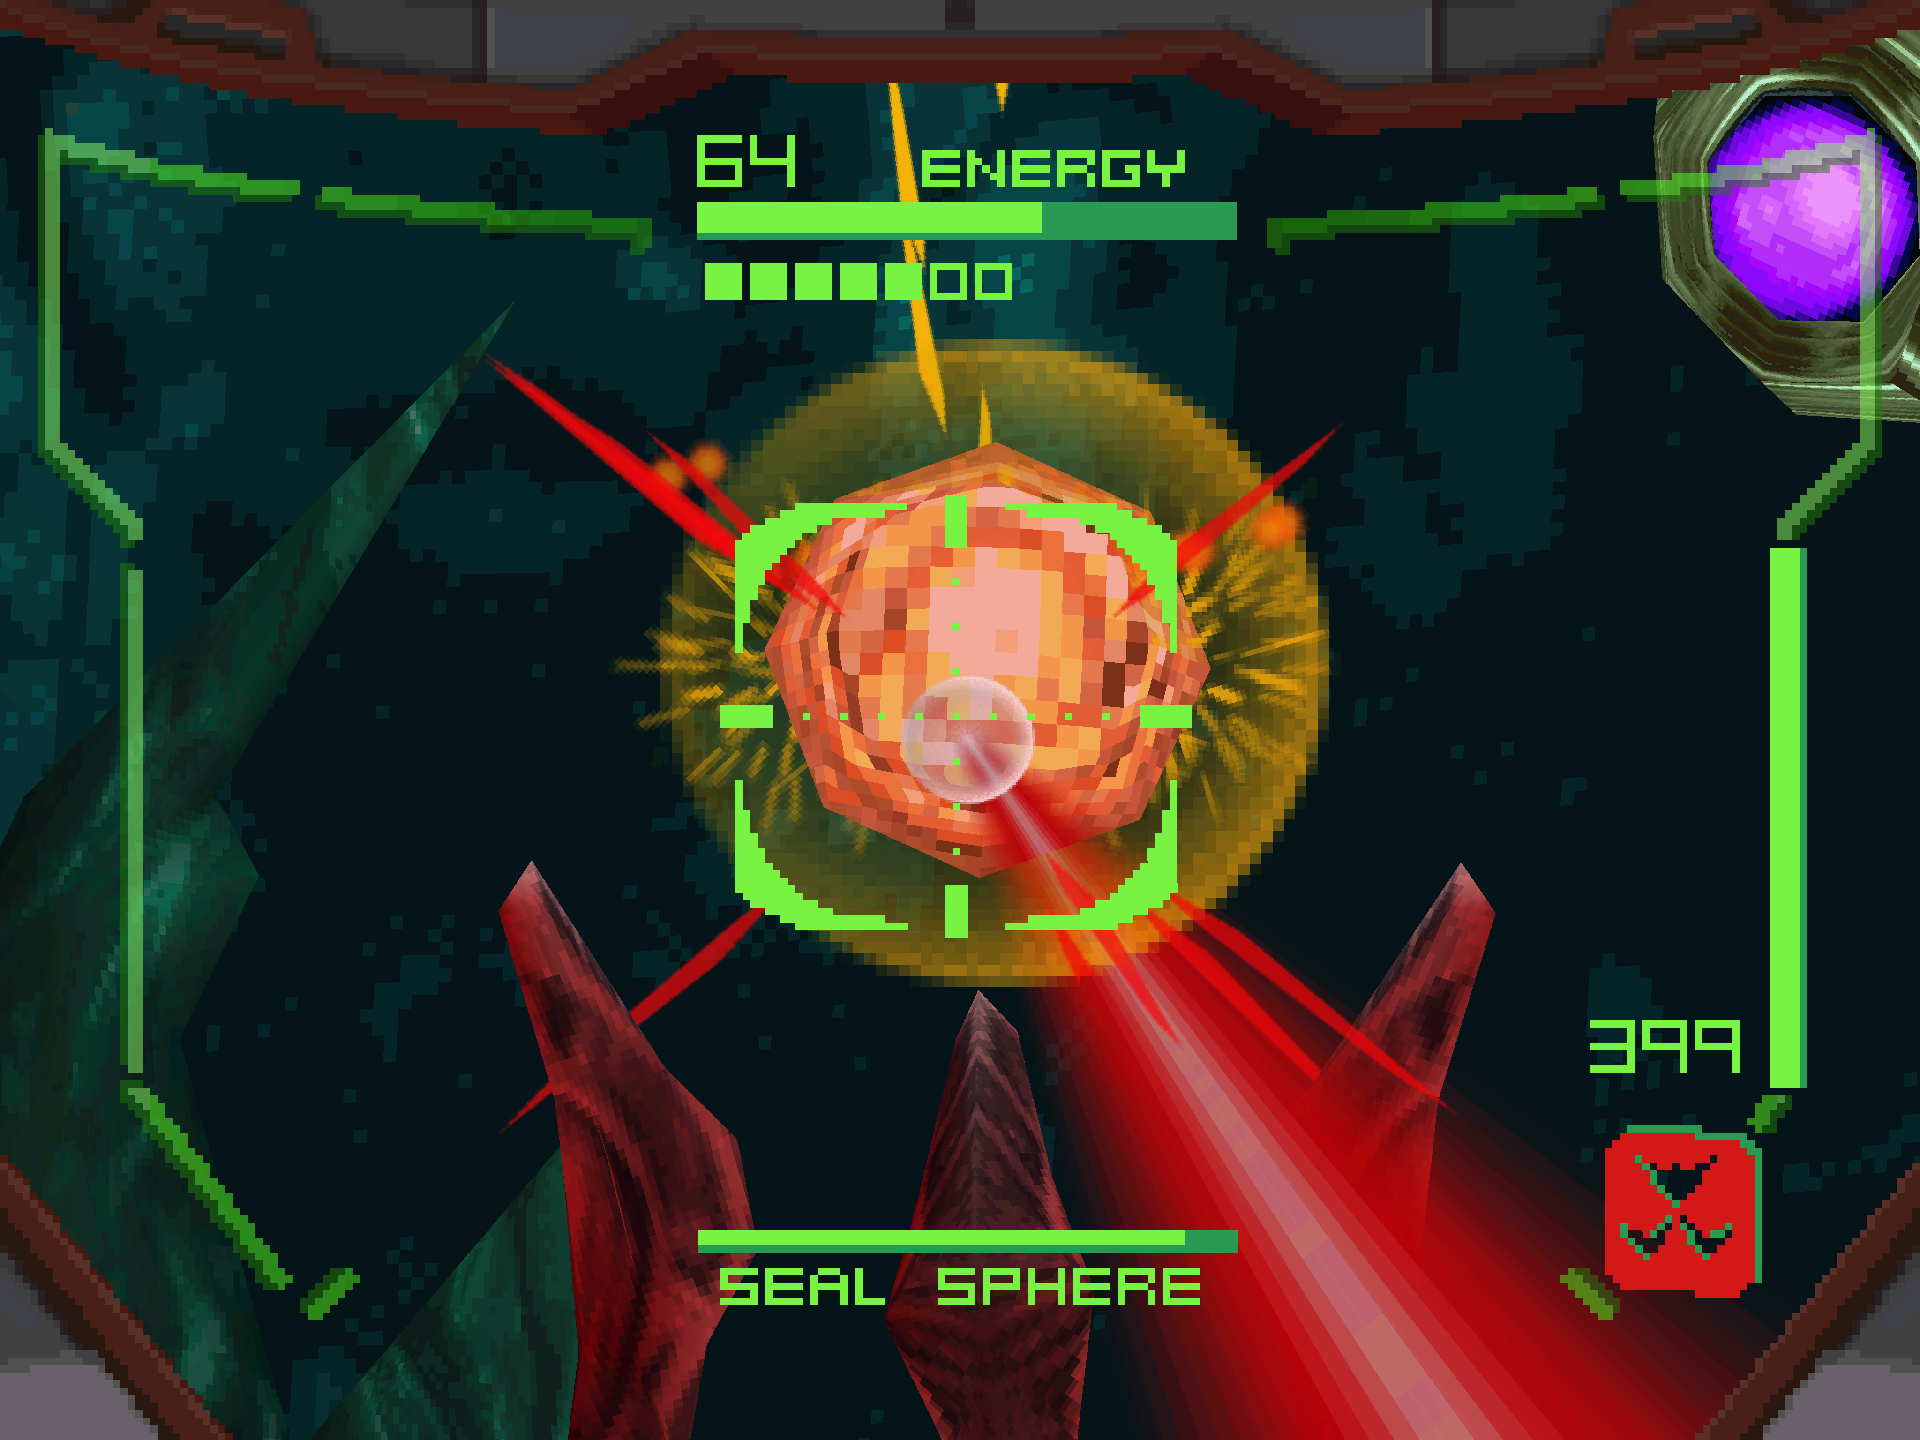
After simultaneously destroying both of Gorea’s arms, it will enter its damage state. Before we begin our counterattack, scan GOREA again in its damage state as well as GOREA’S SEAL SPHERE. If you get too close to Gorea in this state, it will launch the same tendril at you that it used on the other Hunters. It won’t take any of your abilities, but it will do significant damage as it tosses you around the arena. You’ll probably get attacked by this at least once while you’re trying to get those scans. When this happens, retreat to the edge of the arena and use the Boost Ball to outrun the tendril. After that, it will telepathically grab each of the Trocras and throw them at you one at a time. You can still destroy these for health and ammo even when it’s tossing them at you!
After you’ve gotten your scans, get on the opposite side of the arena from Gorea and fire at the Seal Sphere with the Imperialist. As long as you’re far away, it won’t be able to use any of its attacks on you, and Gorea moves EXTREMELY slow during this state. If Gorea does start to creep too close to you, just enter the Morph Ball, go to the next furthest location away from it and continue spamming it with Imperialist shots. After three phases of this, depending on if you did the combination sequence from earlier, you’ll have either beaten the game and earned the bad ending or you’ll be ready for the secret phase containing the good ending.
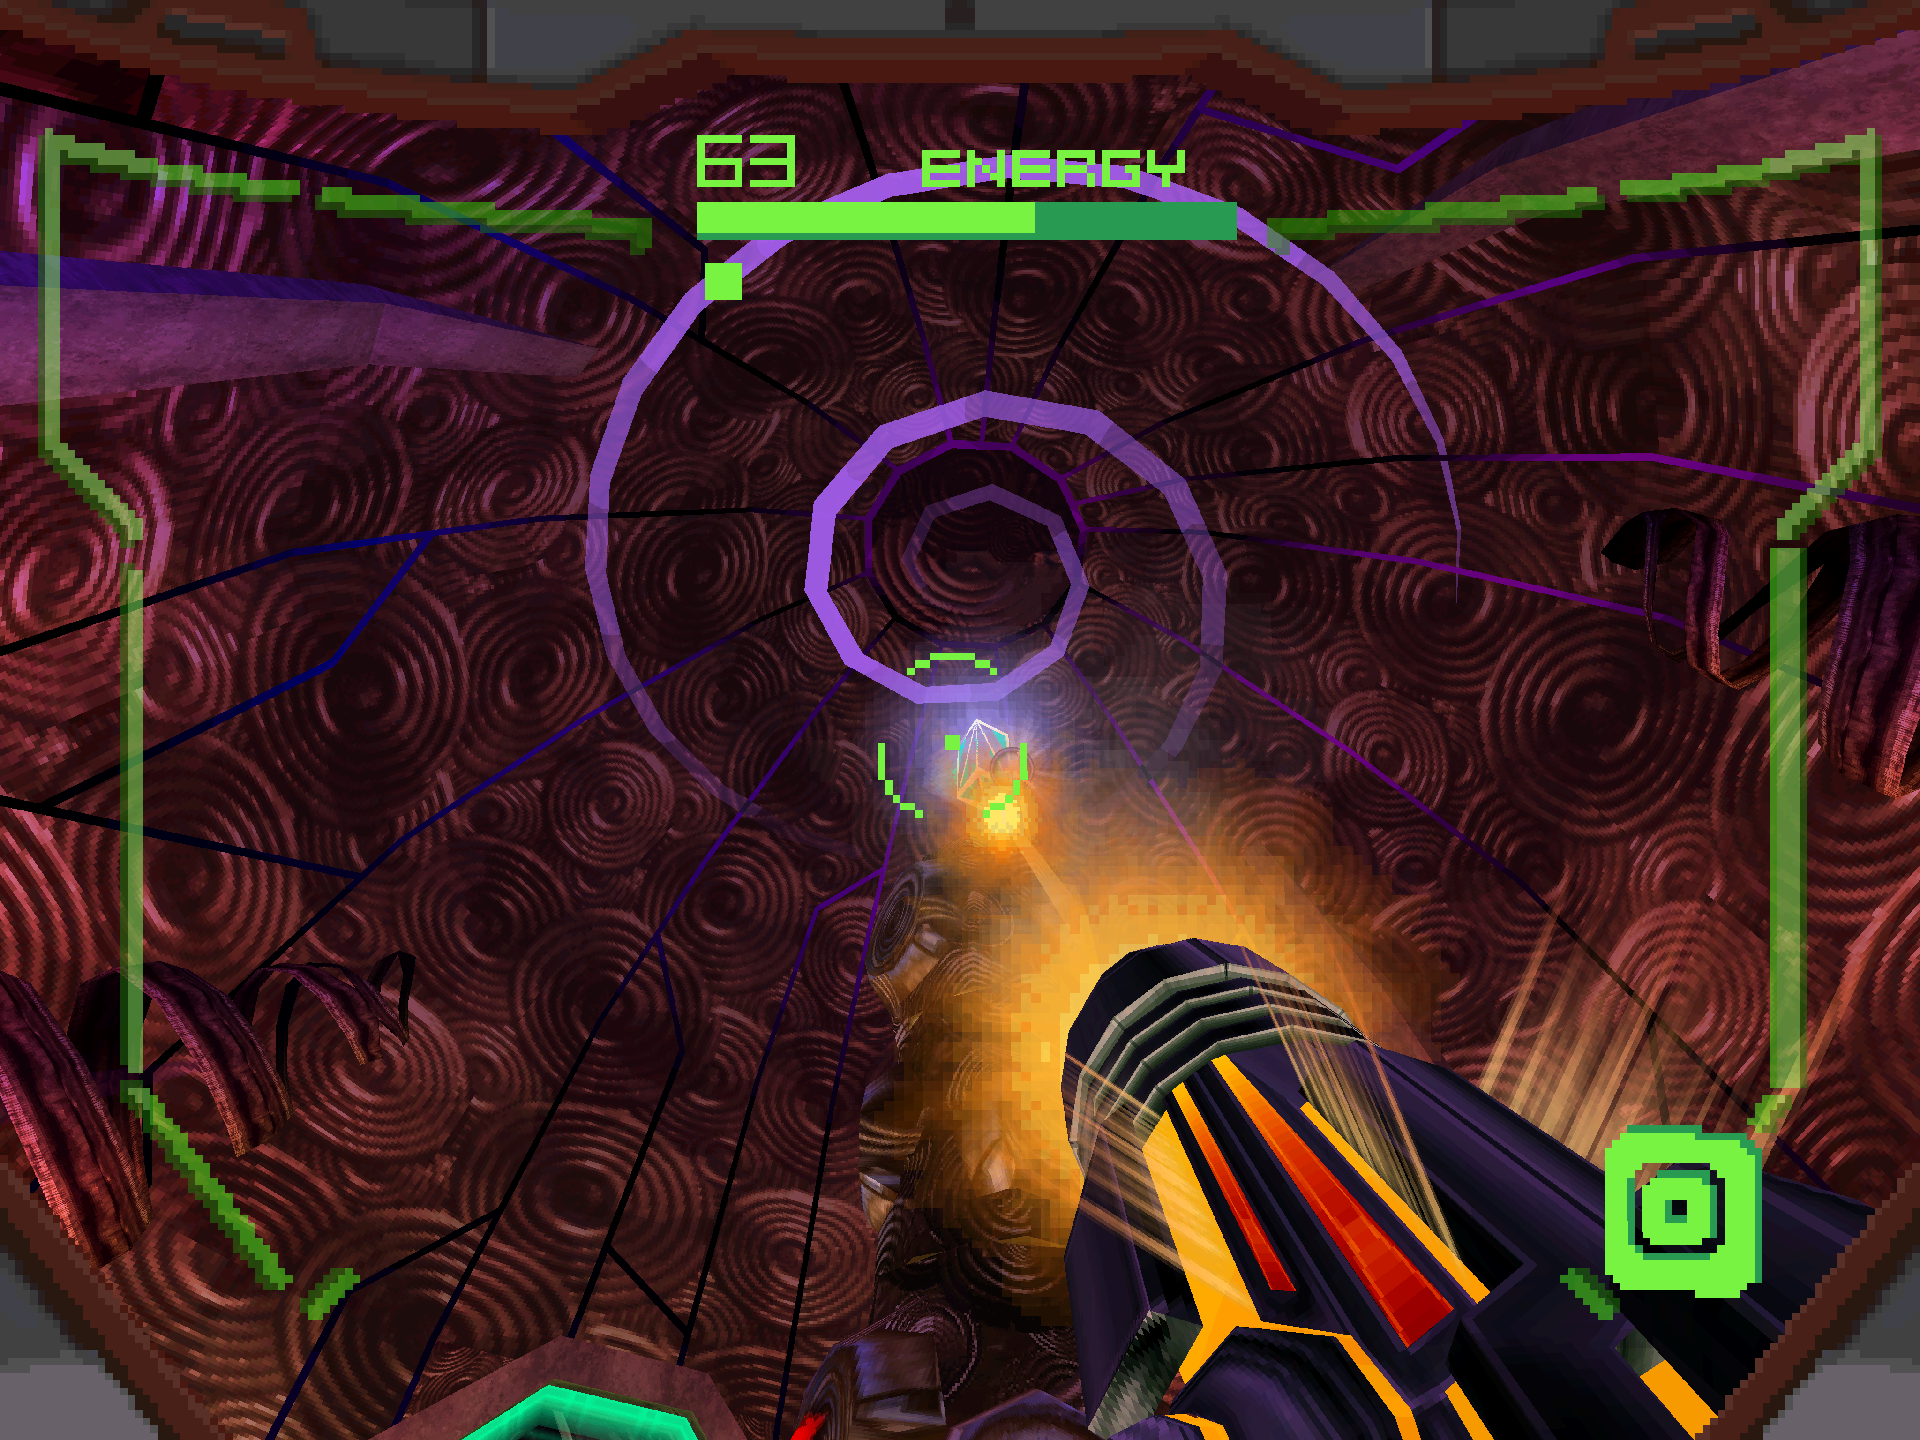
Gorea 2
If we got the bad ending, Gorea’s Seal Sphere is destroyed, Oubliette explodes without anyone escaping and the game ends. But if you’re reading this, then you successfully fulfilled the Alimbic Prophecy and the fight isn’t over! The devices we activated absorb the Alimbic essence contained within Gorea’s Seal Sphere before it’s destroyed and fires the collected energy back at it. We get teleported to the same room we saw from the window after collecting our last Energy Tank, where Gorea awaits in its final form.
Scan GOREA 2 as soon as the battle starts. Congratulations, you have all of the logbook scans! However, we’re still missing one piece of equipment for 100% completion. Gorea’s only attack at this time is to launch a powerful laser from its Seal Sphere. This laser does about half an Energy Tank of damage each time it comes into contact with you, so we want to avoid this at all costs! Gorea is completely impervious to our current loadout, so we’ll need to find an alternate method of destroying it.
Luckily we have just the thing! Go into Morph Ball and drop down to the very bottom of the arena to avoid fall damage. In the center of the arena, contained within an Artifact Shield that will automatically lower upon approach, is the OMEGA CANNON; the ULTIMATE POWER. This slow-moving weapon of mass destruction was deemed an “abomination” by the Alimbic Elders due to the casualties and collateral damage it could inflict on anyone desperate enough to use it. It too was banished to Oubliette along with Gorea.
This weapon however emits enormous amounts of gamma radiation, contains infinite ammo, and has the explosive power to defeat Gorea once and for all! Be careful as the splash damage from certain angles can damage you too as well! For the rest of the fight, you wanna keep spamming the Omega Cannon while dodging Gorea’s laser. If you’re running low on health, use the Jump pads to move around and collect the Energy orbs around the arena.
After enough damage has been dealt, Gorea will teleport to the top of the arena again and fire molten rock projectiles at you that can phase through the landscape. The Omega Cannon will make short work of these and even drop Medium Energy orbs on occasion, so safely dispose of those as you climb back to the top. As you do more damage, Gorea will continue to teleport and hurl more rocks at you, but after enough damage has been dealt… the threat of Gorea will be no more!