


Metroid Fusion Walkthrough – Bosses
Here you’ll find a detailed list of strategies, information, and tips in fighting the many bosses of Metroid Fusion.
- Arachnus-X
- Elephant Bird
- Zazabi-X
- Serris-X
- Security Robot B.O.X.
- Barrier Core-X
- Human Core-X
- Yakuza-X
- Nettori-X
- Nightmare
- Security Robot B.O.X. 2
- Ridley-X
- The SA-X
- Omega Metroid
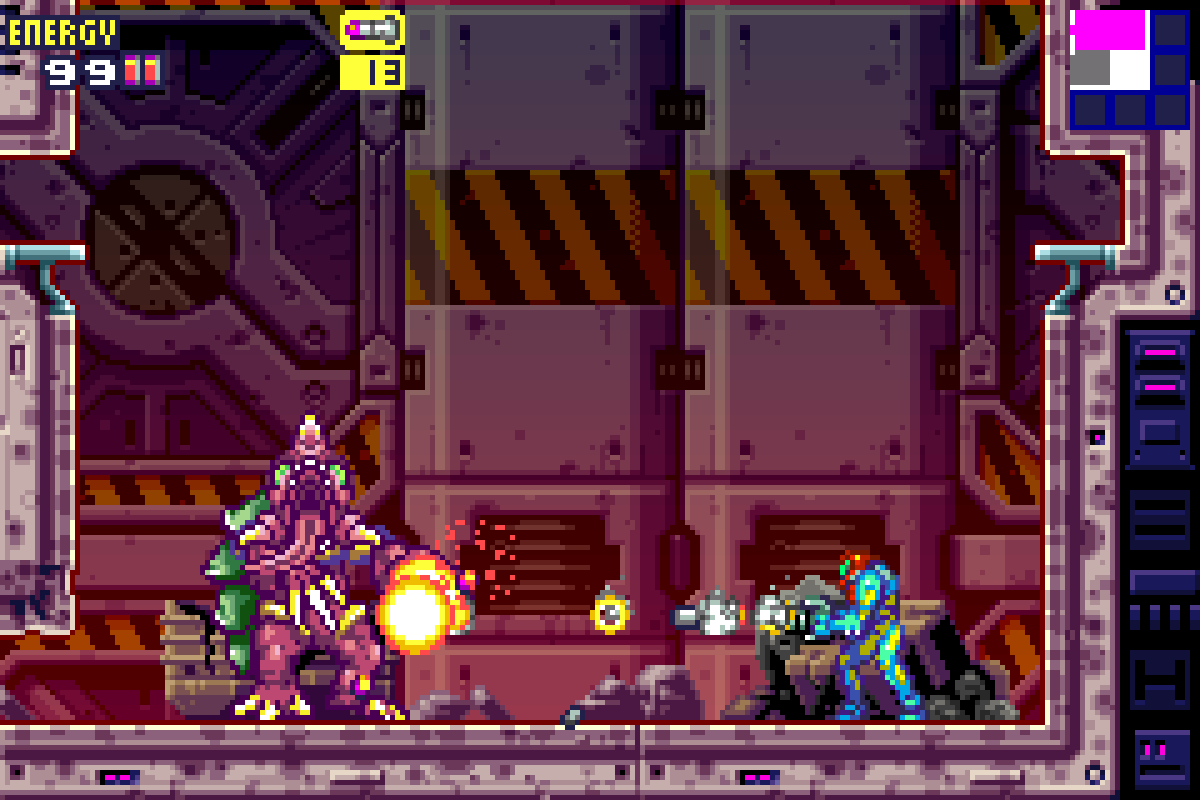
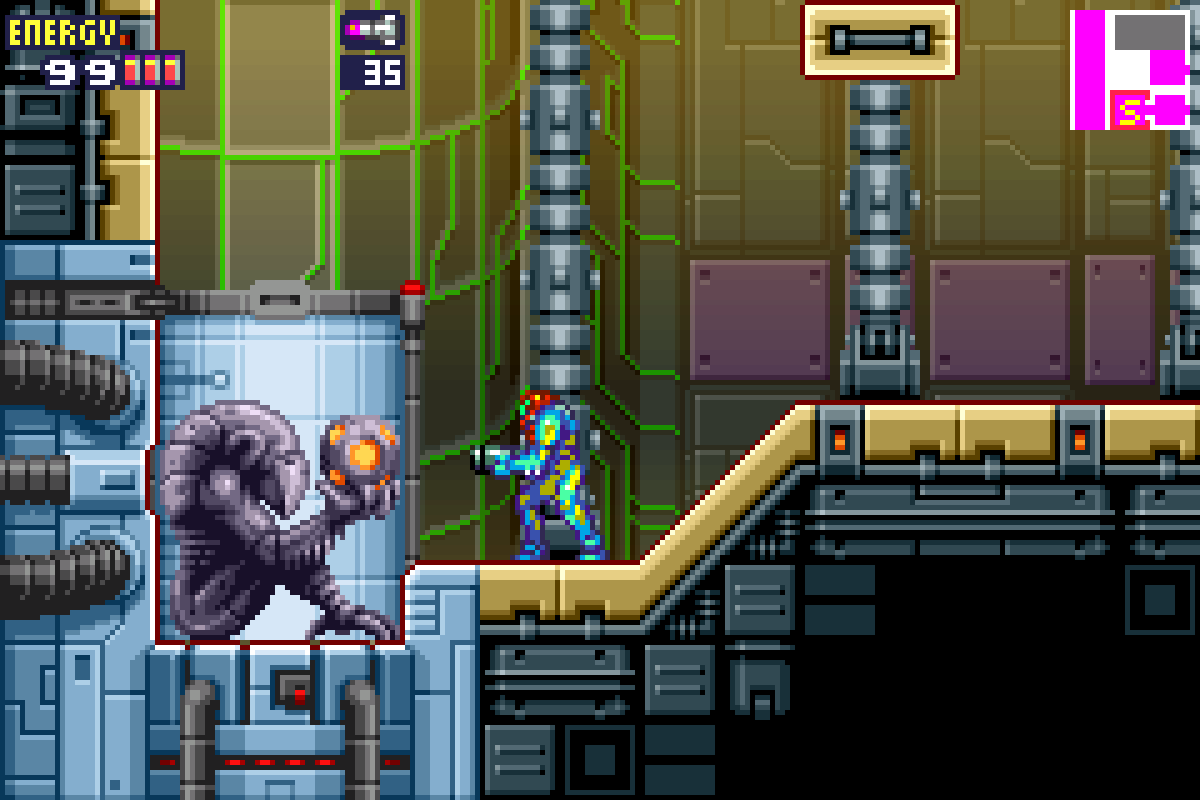
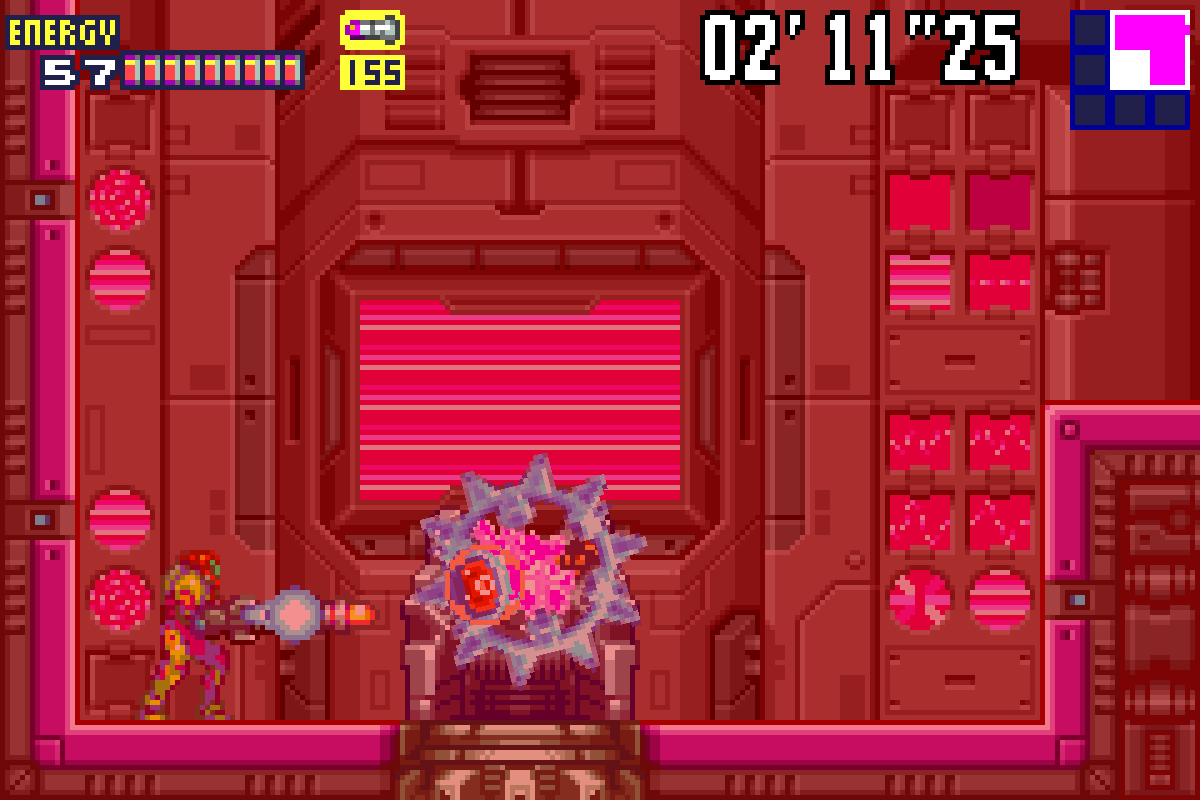
Arachnus-X
You’ll see what we’ll later learn to be an X-Core floating around. Watch the core and eventually it will mutate into Arachnus-X, an armadillo-esq looking monster that we must put down. Right off the hop, try and get a few Missile shots right in Arachnus’s face after he finishes forming; he’ll be nice and vulnerable for a second, so let’s capitalize. Take note that only the front of Arachnus is susceptible to Missiles and Beams – his back shell is impervious, so avoid shooting at him when his back is turned to you or when he is balled up and getting ready to charge.
Arachnus has a few attacks, and luckily for us, most are pretty easy to deal with. His go-to is spitting fire from his mouth. This not only hurts Samus, but leaves a trail of flames in its wake. The best method for avoiding this is to grab onto the ledges on either side of the room. Arachnus will also wave his arms and send a blue shockwave towards you. This has a pretty large hitbox, but a well-timed jump will be able to clear it. Get too close, and Arachus will straight up punch you as well, so keep your distance. His last attack involves turning into a ball and charging up, rolling towards you with bad intentions. This is again pretty easy to jump over; just make sure you’re not wasting precious Missiles on him when he’s balled up, since they won’t do you much good.
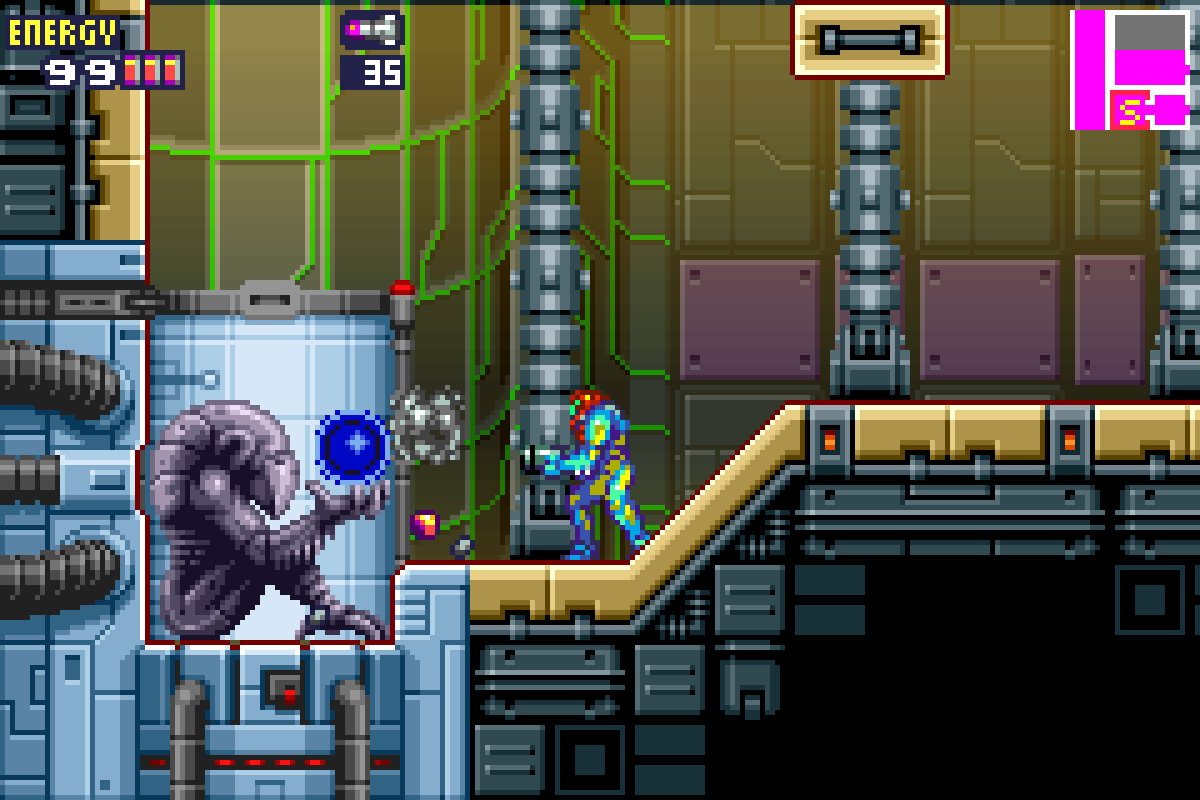
As long as you can avoid his attacks and keep peppering him with Missiles to the face, Arachnus shouldn’t give you much trouble. Pump him with around 15-ish Missiles, and he will fall. The battle isn’t over yet though – remember, the real Arachnus is long dead. This is an X parasite mimicking him. Now we have to put down the X.
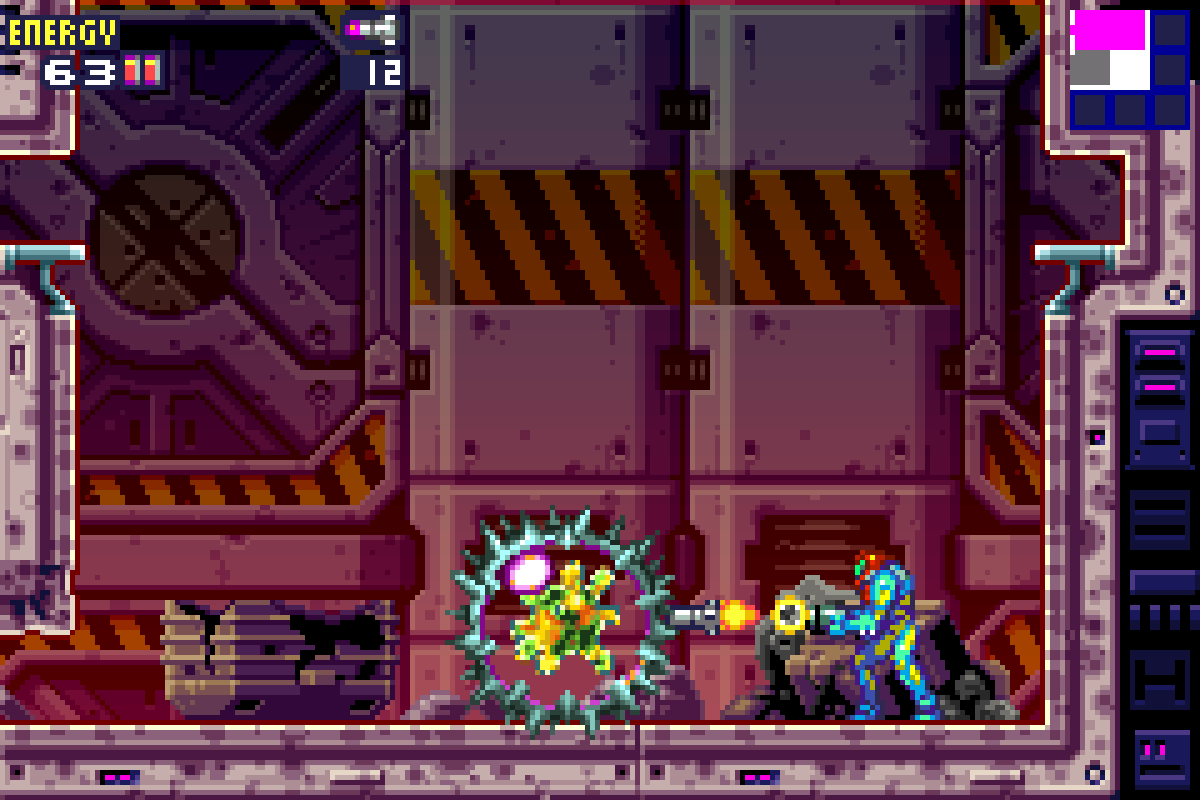
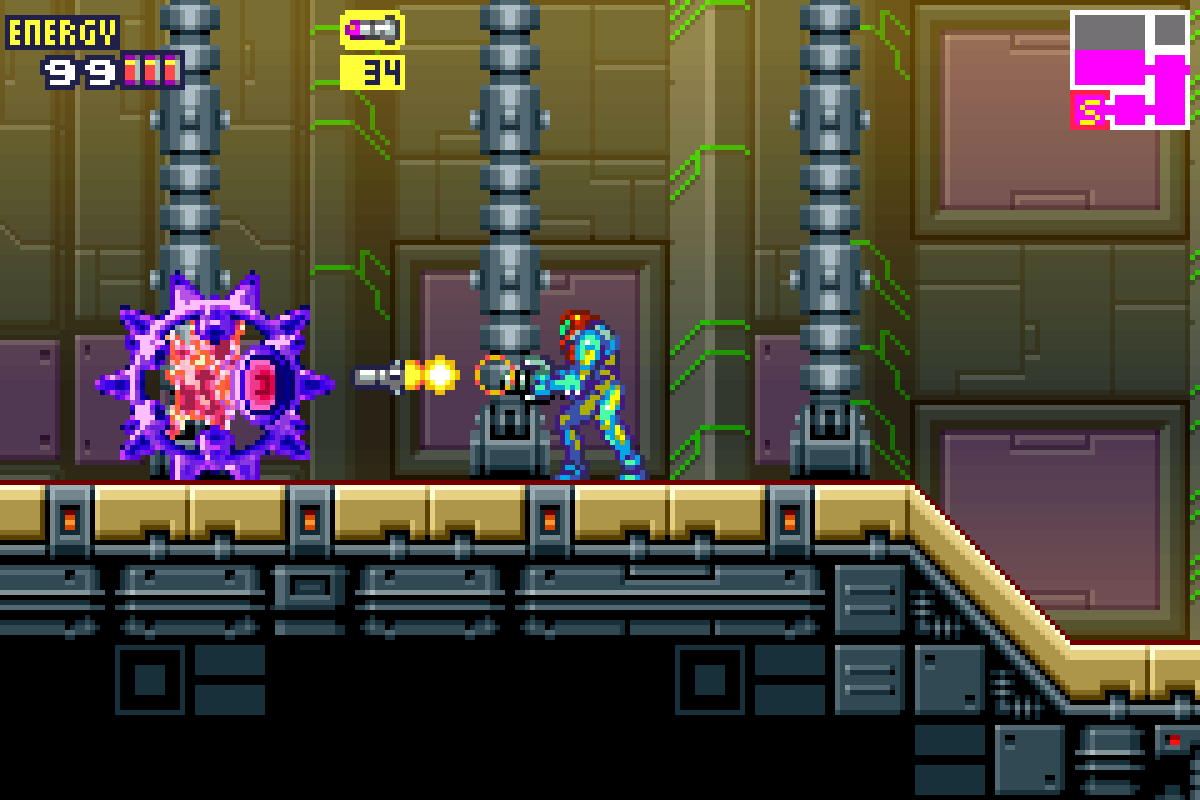
The X will reform a barrier around the core that broke off from Arachnus, and this barrier has spikes and is going to try and ram you. Jump over and dodge the Core-X, blasting it with Missiles to send it flying away from you. There should be some loose X flying around the Core if you’re in need of some Missiles. A couple of shots and this thing will break apart, giving you the MORPH BALL.
Elephant Bird
This starts off a little weird. You’re going to run into this room only to find… a Chozo Statue? What the heck is that doing there? Unfortunately, we don’t have long to stop and find out, as pretty quickly this Chozo statue transforms into Elephant Bird, an enhanced X-Core that will shoot out charged beam shots at us.
This boss fight is pretty simple actually. The Elephant Bird will follow you around, opening its eye to shoot beams at you. The eye is where you want to strike; aim your Missiles at the eye when it opens and let ‘er rip. Make sure that you dodge the charges shot that will come through when you’re firing.
The Elephant Bird will follow you around and has the same spiky barrier on it as the last X-Core. Fortunately, it moves pretty slow and there are lots of ledges around to grab onto to help you avoid it. There’s really not much more to this fight other than that. Blast it with four or five solid shots to the eyes and you’ll have destroyed it, picking up the CHARGE BEAM as a reward.
Zazabi-X
Well, this is certainly an interesting looking fella…
Zazabi is a large, cylinder-esque monster with one heck of a head of hair. He has a giant eyeball, and a mouth that also doubles as feet, which let him jump all over the place.
Zazabi will start off bouncing up and down, trying to land on you. Don’t bother trying to hit him with any Missiles or beams because he is impervious to pain. He moves slow, so you should be able to avoid his pogo attacks. On the third hop, he’ll slow his descent and open his mouth, trying to swallow us whole while he’s coming down in kind of a death-from-above type of idea. And make no mistake, if he catches you in his mouth, it’s going to hurt big time. However, we’re going to use this to our advantage.
When Zazabi slows his descent on the third hop and opens his mouth, get under him and fire Missiles straight up his nose. You should be able to pepper off two or three Missile shots – again, don’t linger too long or he’ll grab you with his mouth and make you pay. This is going to be a hit-and-run-style attack.
As you hit Zazabi with more Missiles, his movement speed will start to increase and he’ll start slowing his descent and opening his mouth more frequently. Just keep at it, firing directly upwards and avoiding his big ugly jaws and he will fall. Destroy the Core-X that pops out of him and claim the HI-JUMP and JUMPBALL. (Side note – is there a more underrated Metroid ability than the Jumpball? This thing totally makes traversing faster, but no one ever talks about it. Shame.)
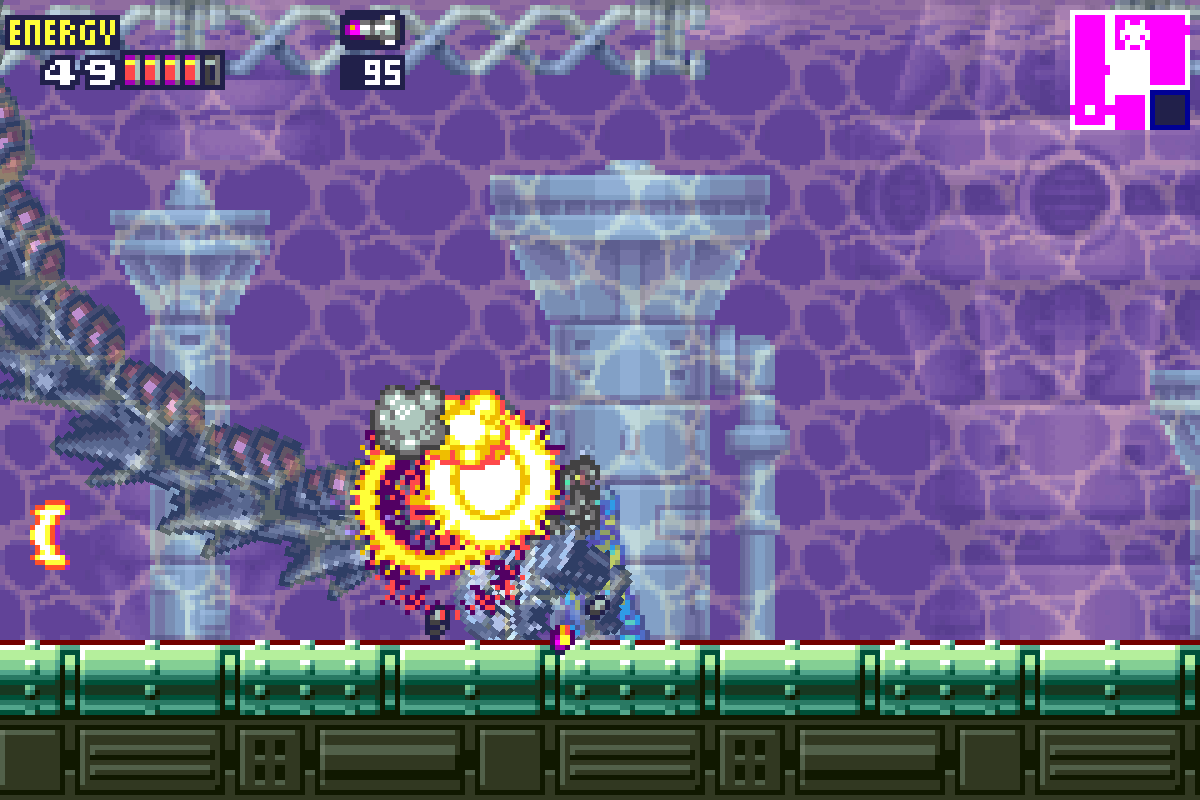
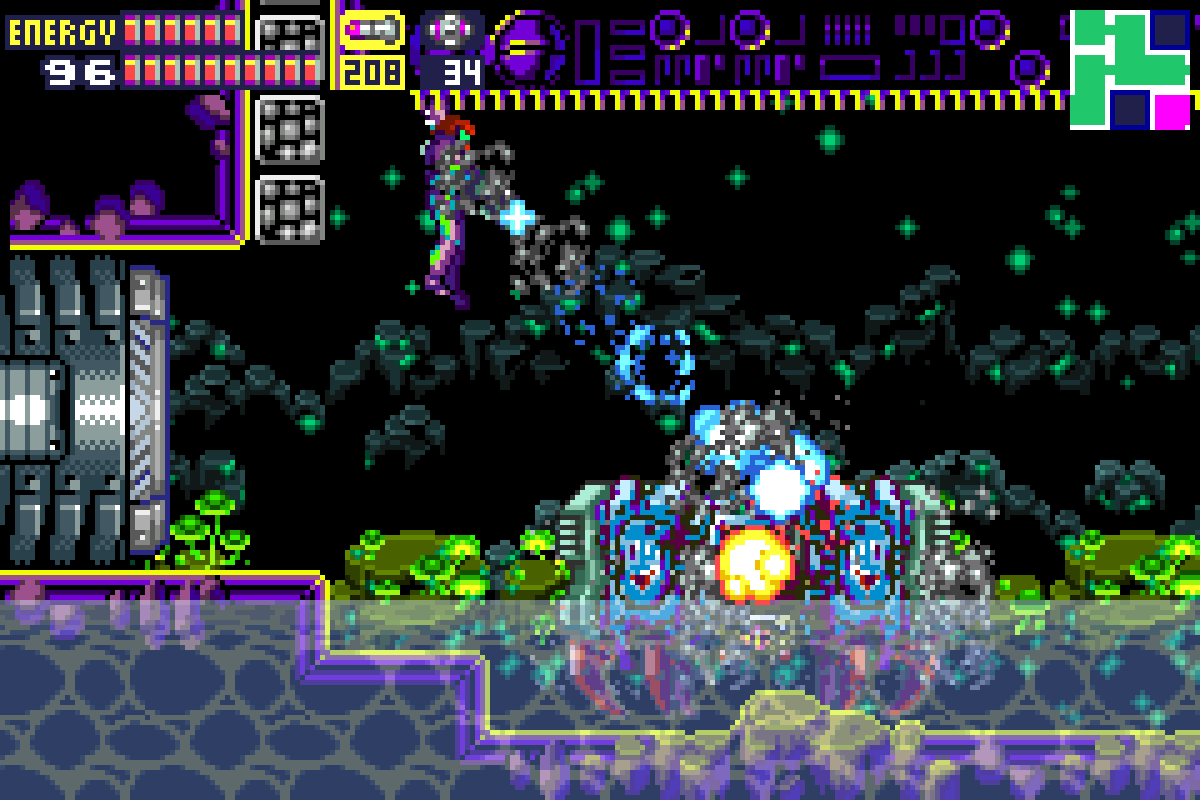
Serris-X
As we suspected, the X got a hold of Serris, and as the name of this chapter implies, this creature is ultra fast.
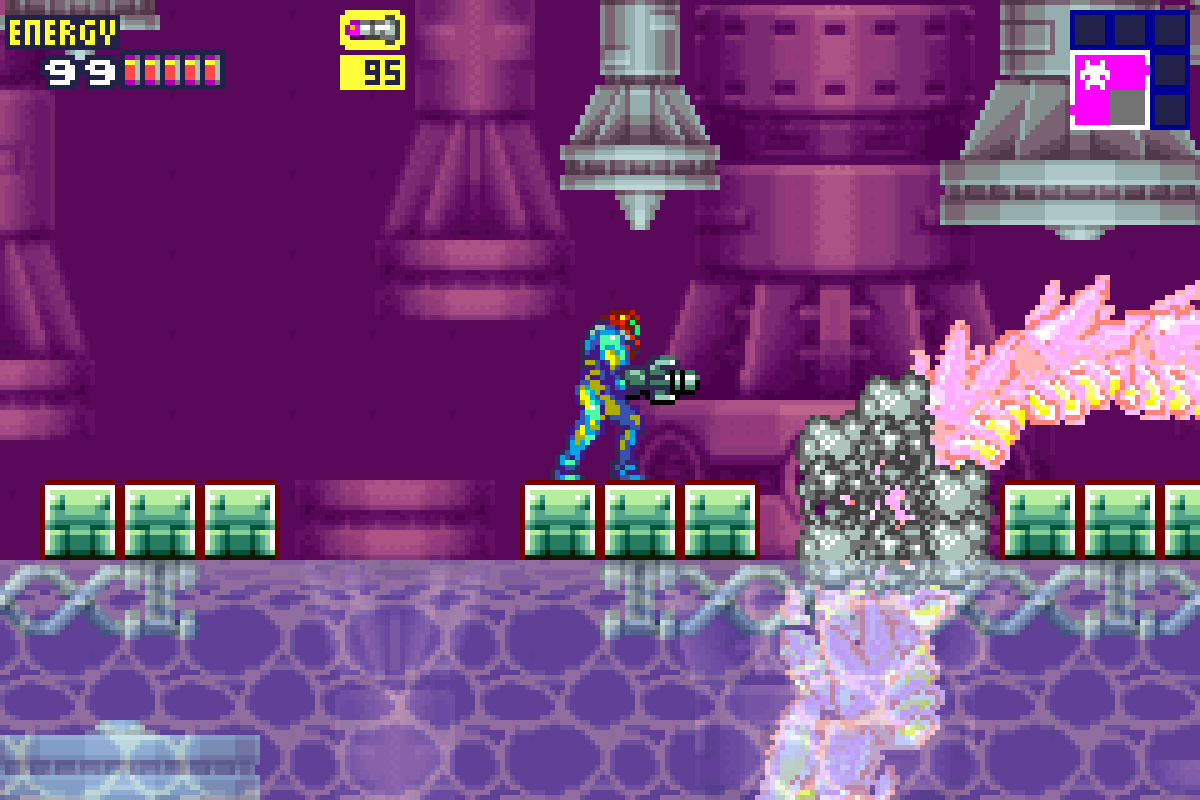
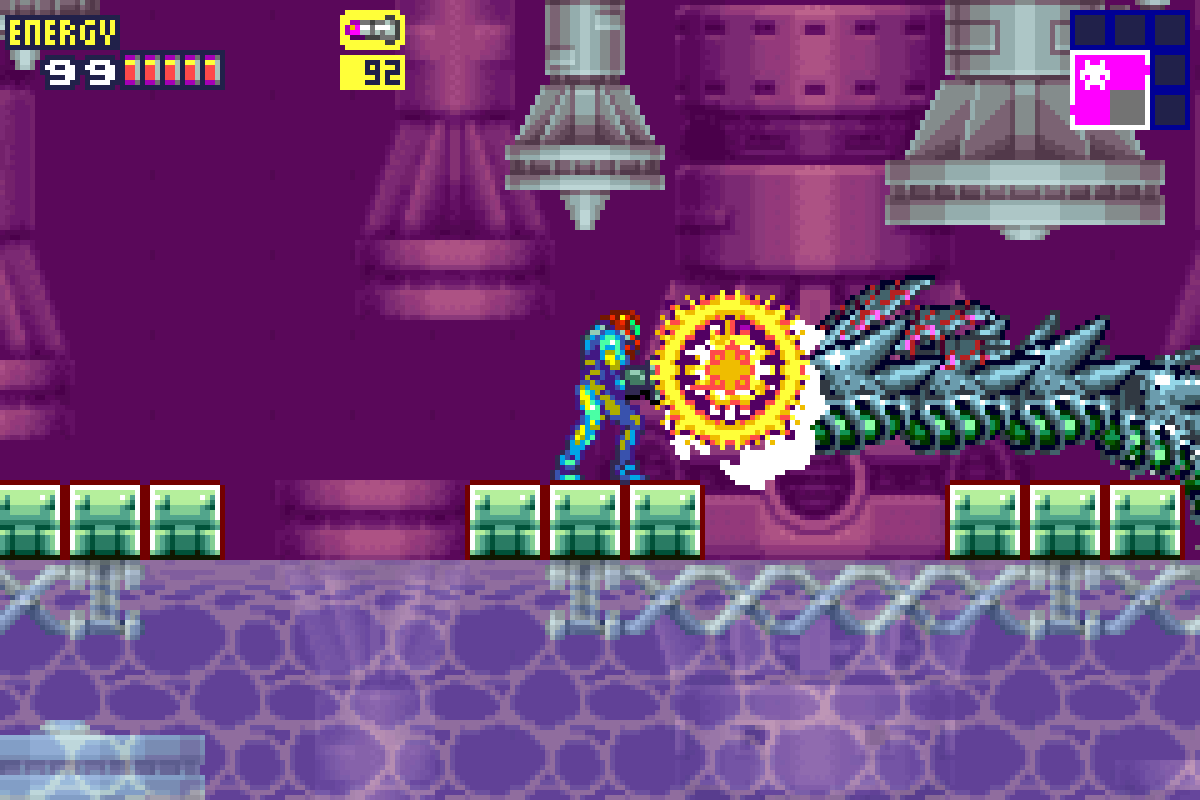
Scale up to the platform above the water and brace yourself; Serris is coming in hot and will destroy the platform, breaking it up into smaller platforms you’ll need to jump between. Fortunately, Serris doesn’t really have any attacks to speak of – he just moves really fast and if he rams into you, that’s a big ouch. Serris will move especially fast after you hit him, so get ready for that. He’ll weave and bob between the platforms, mostly doing half-figure eights, but sometimes ramming straight into you. Worth noting, Serris is invulnerable everywhere save for his head, so the only way that you’re damaging him is with a clean head shot.
There are a couple different methods that you can take to fighting Serris. The more traditional way to do this is to fight on the platforms and blast him in the head when the opportunity arises, but this leaves you far more open to take damage from his crazy movement. Once he gets going, it can be hard to react in time, so you’ll probably just end up taking a bunch of damage.

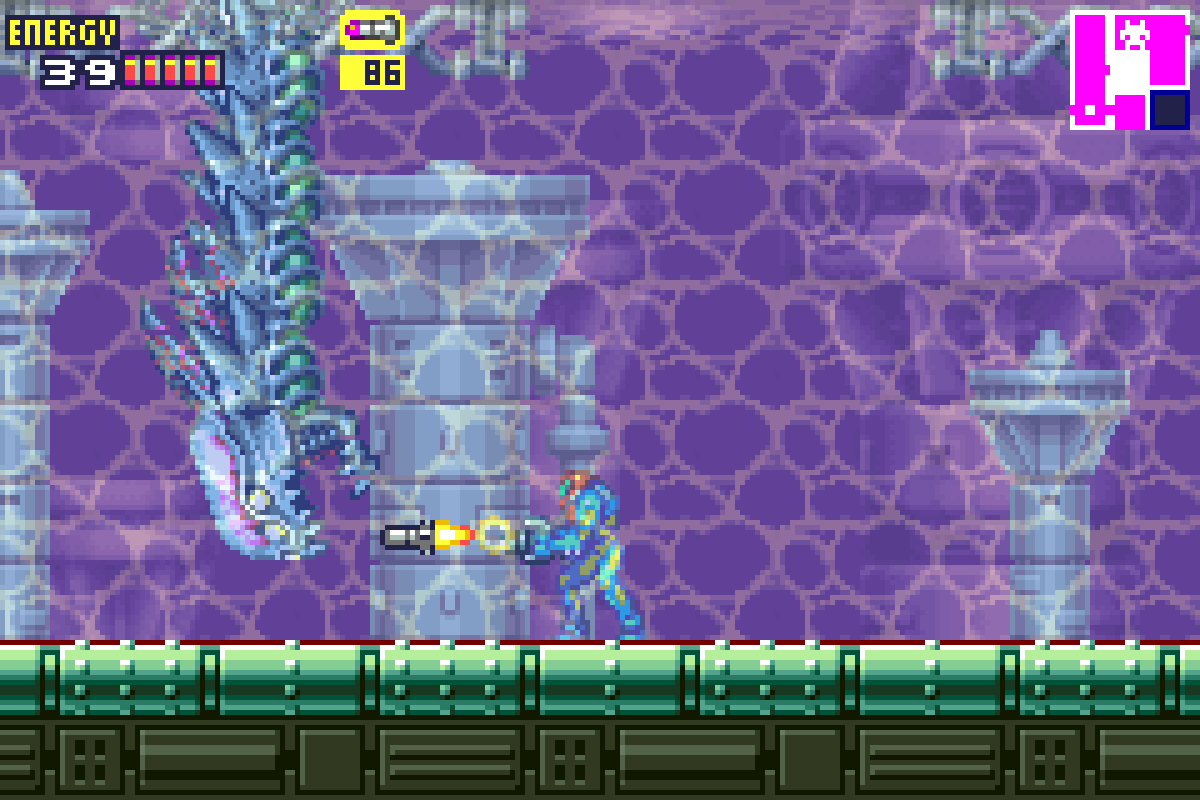
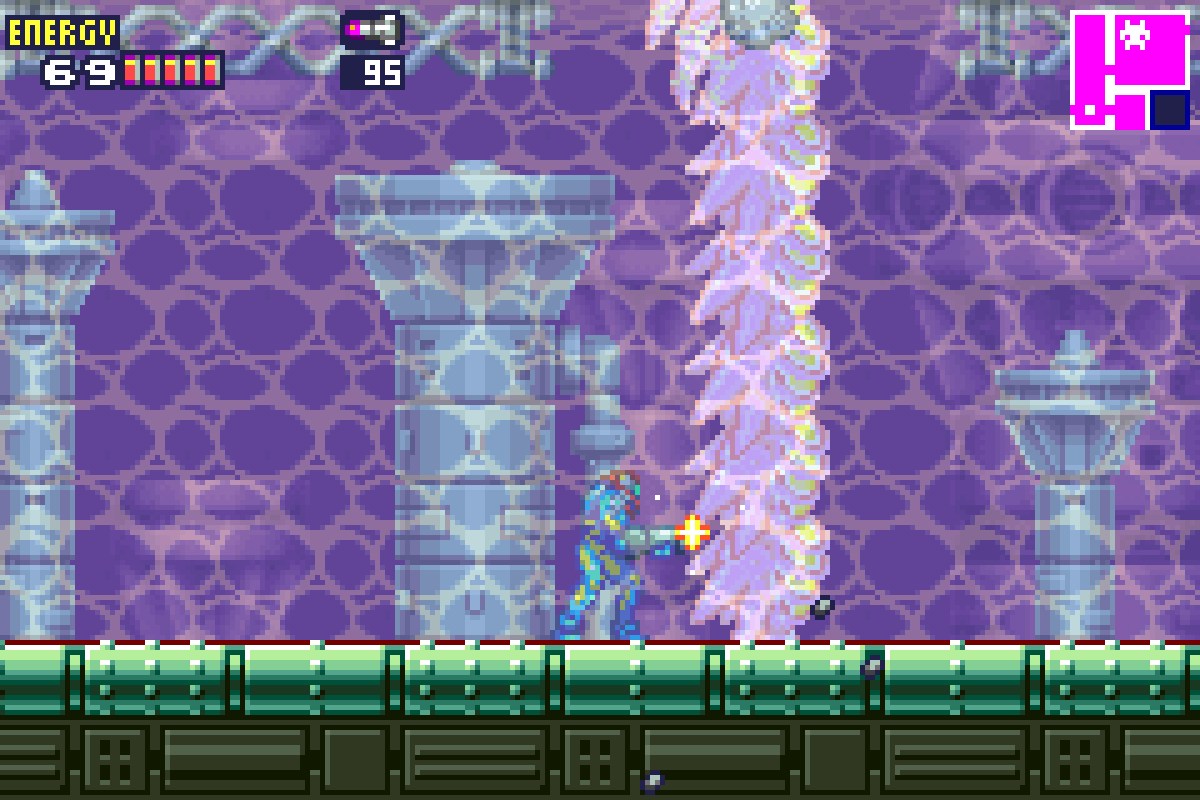
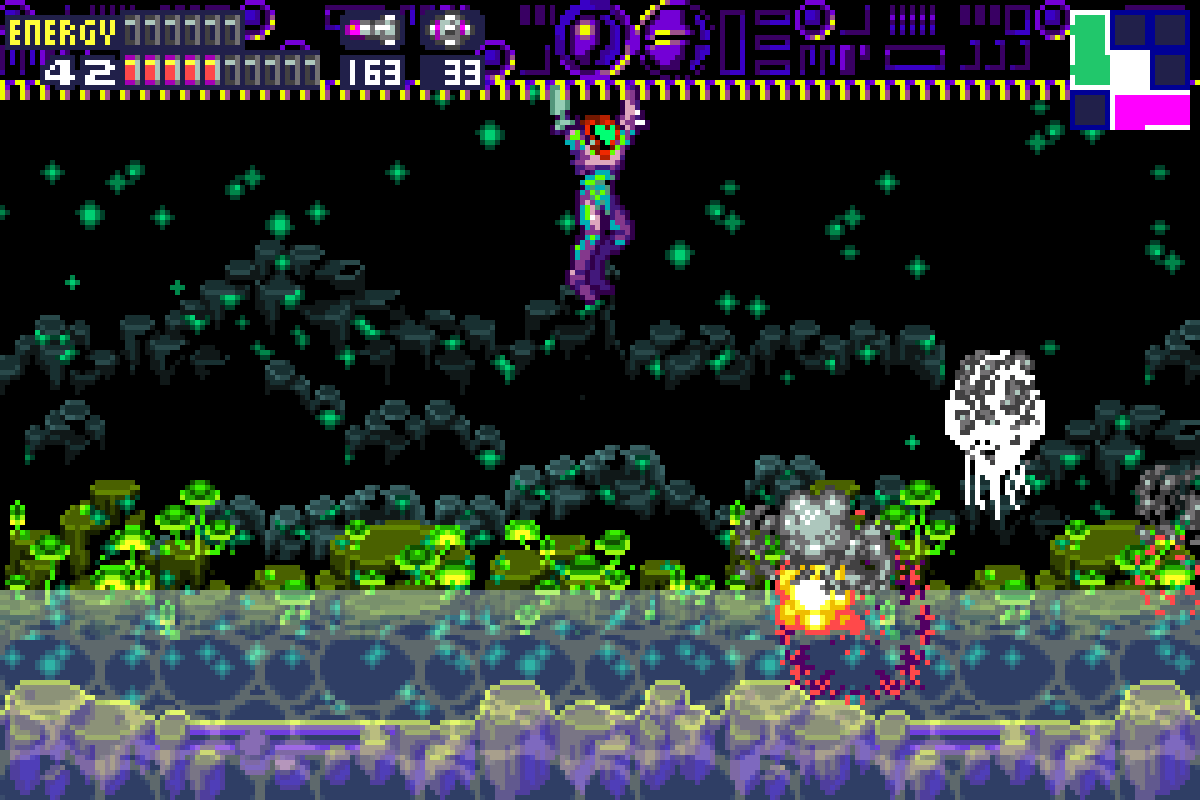
An easier way to deal with him is to actually sink to the bottom of the water. You’ll see a little burst of air bubbles on the ground, which means Serris is about to pop up and start racing around. That’s your queue to unload a bunch of Missiles in that direction. All you need is one hit to get through in order to set him off. You’ll have a far easier time avoiding his hits in the water too, not because you can dodge any faster, but because Serris doesn’t really go down that way. Just be sure to keep moving back and forth immediately after you hit him so he doesn’t rise up from the ground directly under you and hit you.

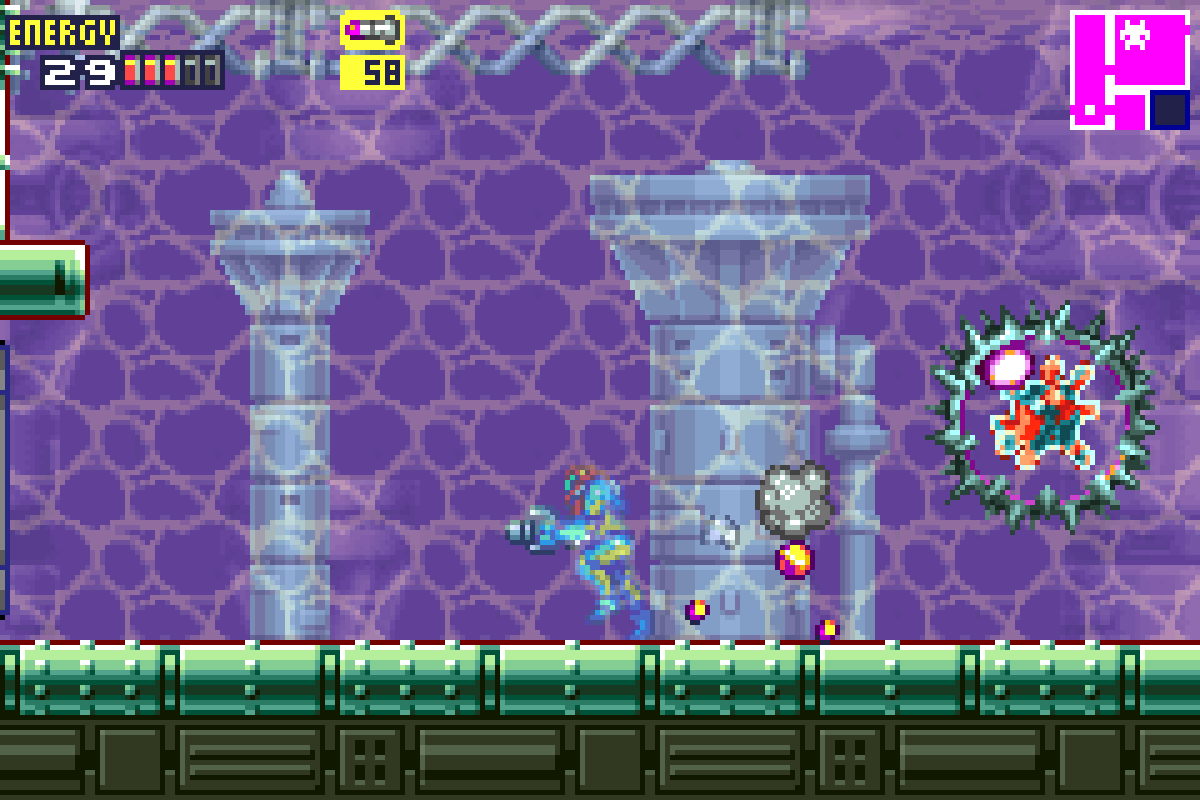
Eventually, Serris might start trying to ram you head on while you’re at the bottom of the water, but you should have a long enough space to be able to fire off a quick Missile to his brains before he hits you. If you get hit, don’t sweat it; by the time he starts smartening up to our strategy, he should be on the brink.
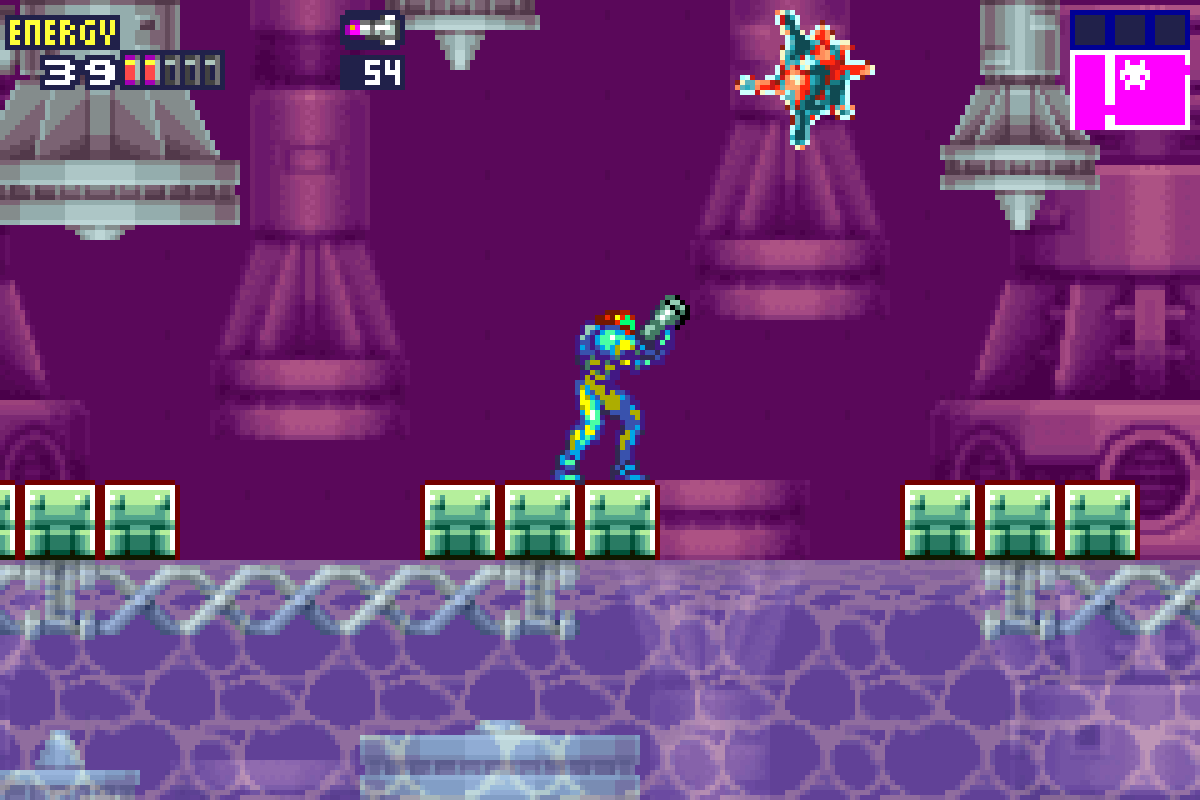
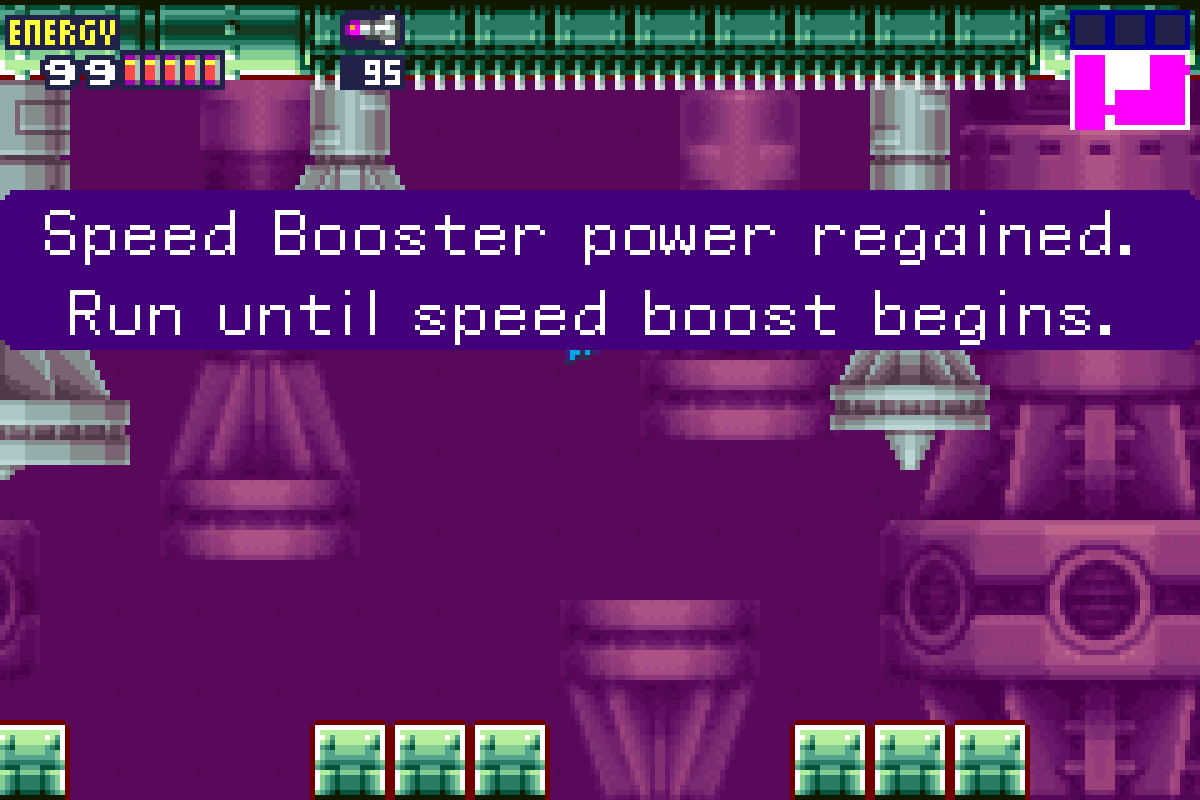
When Serris is defeated, try and get out of the water before the Core-X spawns. You can take out the Core in the water fine enough, but the freer movement above water should make it easier. Once you’ve destroyed him, you’ll be rewarded with the SPEED BOOSTER.
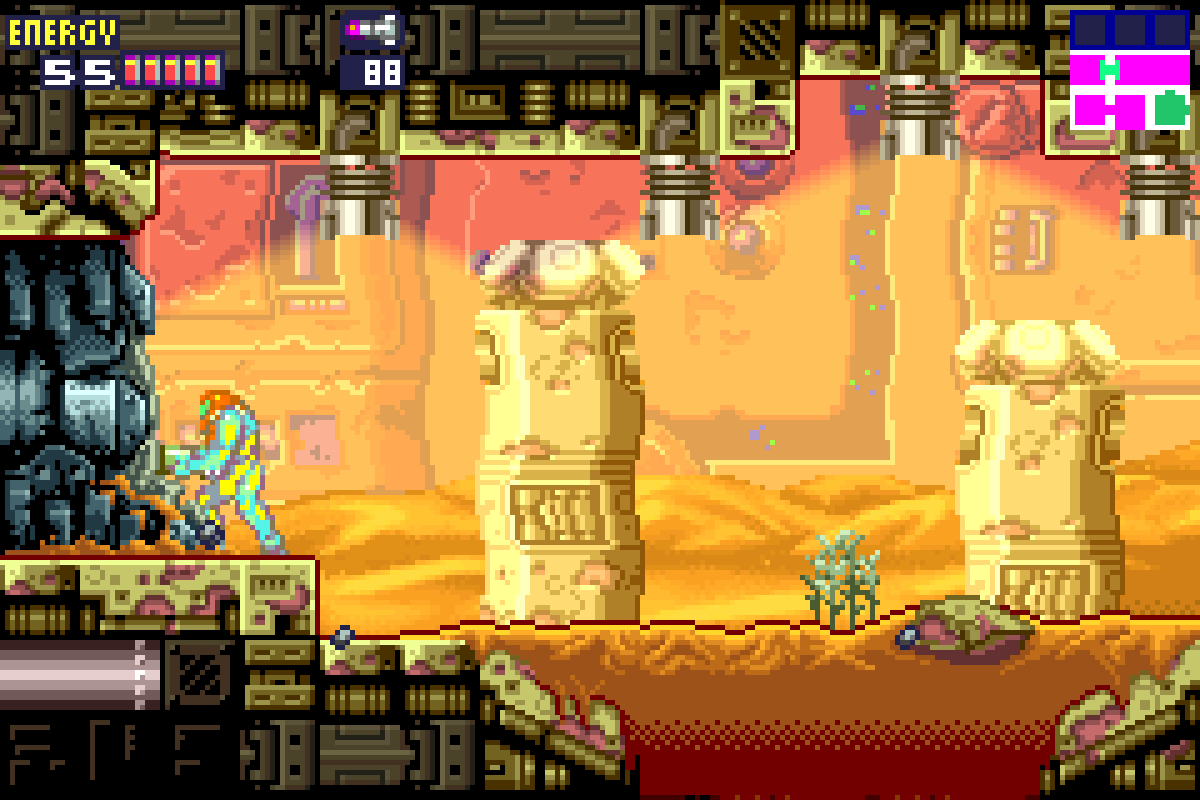
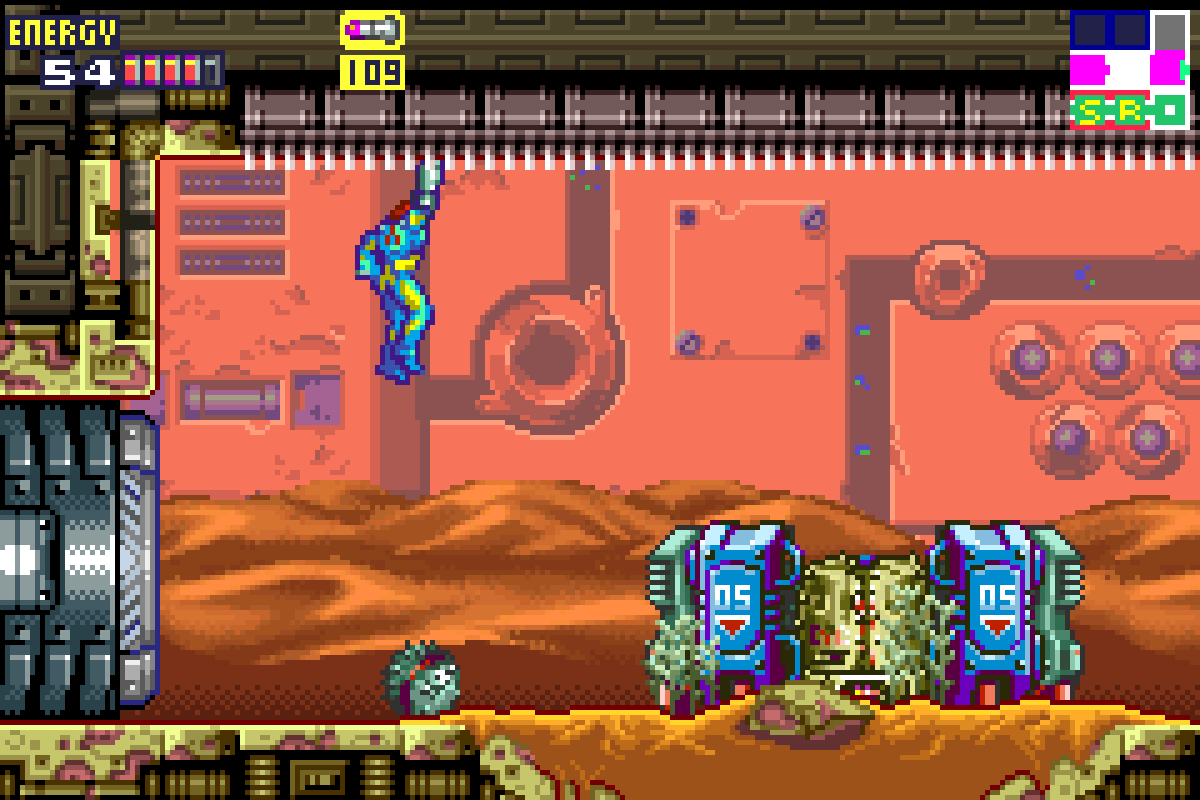
Security Robot B.O.X.
Here comes Security Robot B.O.X. who, in a normal world, would be our pal, but in this X-infested hellhole is a foe we need to put down.
First things first, I’ve seen some people say they have a hard time getting B.O.X. to actually show up, so just FYI, to trigger this fight, you need to go all the way to the left by the destroyed door. You’ll know you’ve triggered it when you hear the rumbling and the debris starts falling from the ceiling.
Back to the actual fight. This fight will be a breeze if you know how to properly handle B.O.X. Infact, I dare say we can beat him without incurring a single hit. Let’s get to analyzing.
First things first, after you’ve triggered the fight and you’re heading back to the Data Room, make sure you don’t get too close to the Data door since B.O.X. will jump out and try to smush you. Keep your distance, let him jump out, and get back over to the monkey bars. Climb up and don’t drop down whatever you do.
The keys to this fight are remaining on the monkey bars and understanding how his singular attack works. If you find yourself on the ground during this fight, you’re going to take punishment. Simple as that. B.O.X. will jump over on you, ram you, and be just a general pain in your butt if you’re ground level. Since we obviously don’t want that, staying on the monkey bars is paramount. Luckily for us, despite the fact B.O.X. will be jumping around like a maniac this whole fight, his jumps are just short enough where he won’t hit you on the monkey bars. So key factor here – DON’T PANIC if you see him jumping towards you and it looks like he’s about to body check you; he won’t because he can’t reach you!
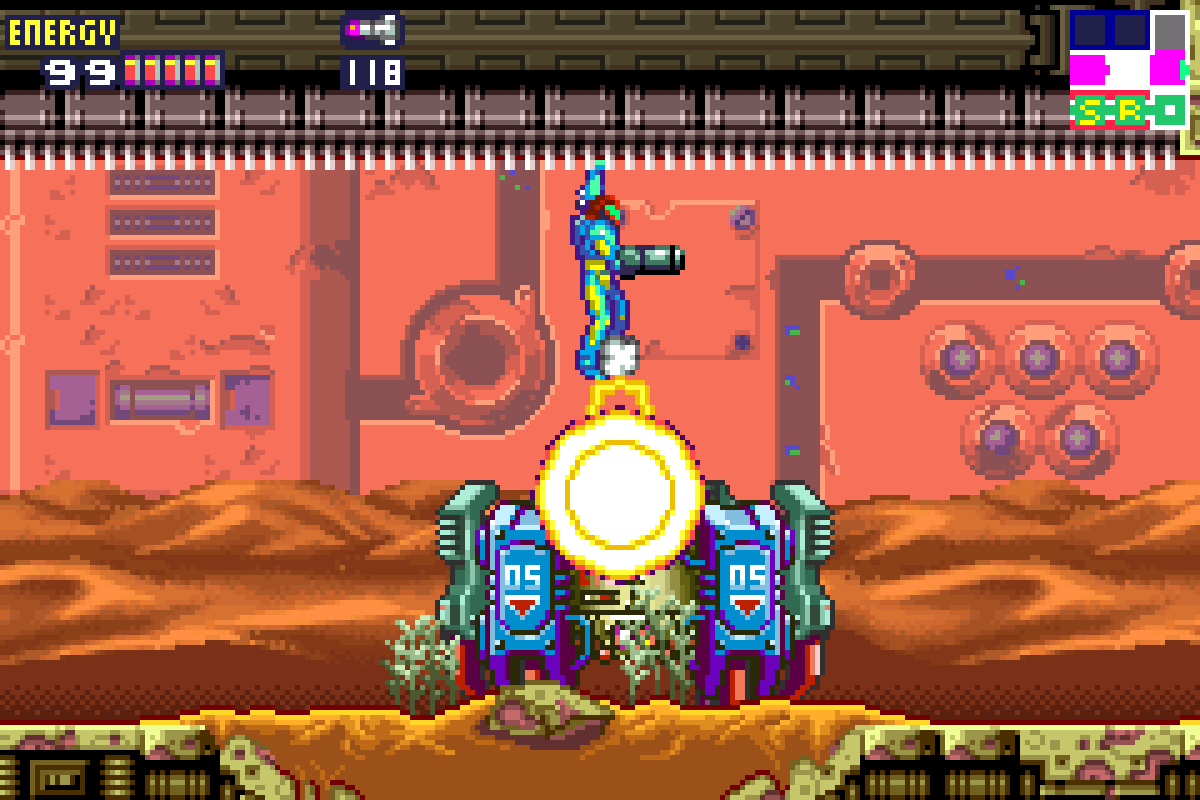
What can reach you however is his fire bomb. Ramming and battering aside, B.O.X.’s only attack involves him stopping in his tracks, growing some sort of mechanism, and shooting out a fire bomb from it. This fire bomb shoots out high enough to hit you, and if it hits you, you’ll be knocked off. Make sure you avoid it.
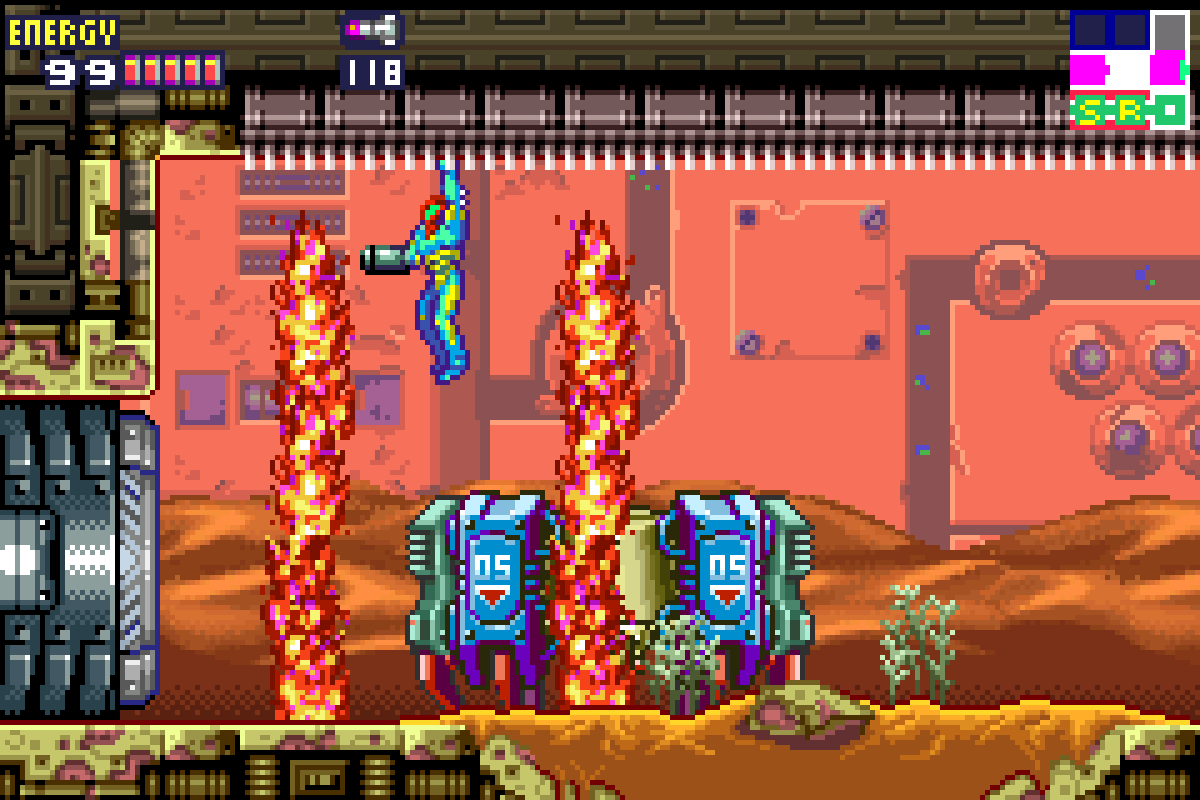
That’s not all though; once the bomb lands, it will explode into two spires of flames that shoot out pillars to the right and left. Once again, if the flames hit you, you’re gonna fall off the monkey bars and leave yourself open to attack from B.O.X. It may seem nuts, but the safest place for you when you’re on the monkey bars and a fire bomb is on the ground is directly above the bomb. The spires will start moving in either direction, but if you’re directly above the bomb when it goes off, neither spire will actually touch you. So to recap, stay on the monkey bars and B.O.X. can’t reach you, keep moving so his fire bombs don’t hit you, and hang directly above the fire bombs when they go off to watch those flames go in either direction without touching you.
So we know how to avoid all his attacks, but how to actually damage him? As you probably put together just by looking at him, B.O.X.’s weak point is his center unit. His legs are impervious, as is the mechanism that covers his middle section when he is throwing a bomb, but when he’s got his guard down and you can’t see his middle, fire away. If you’ve been following this guide, you should have over 100 Missiles, so don’t be shy about using them. You’ll probably have an easier time getting directly above B.O.X. and shooting your Missiles straight downwards, but you can also hit him from an angle. By my count, ten Missiles should be enough to finish him off. Luckily enough, there’s no Core-X, so this battle will end as soon as you deliver the tenth shot.
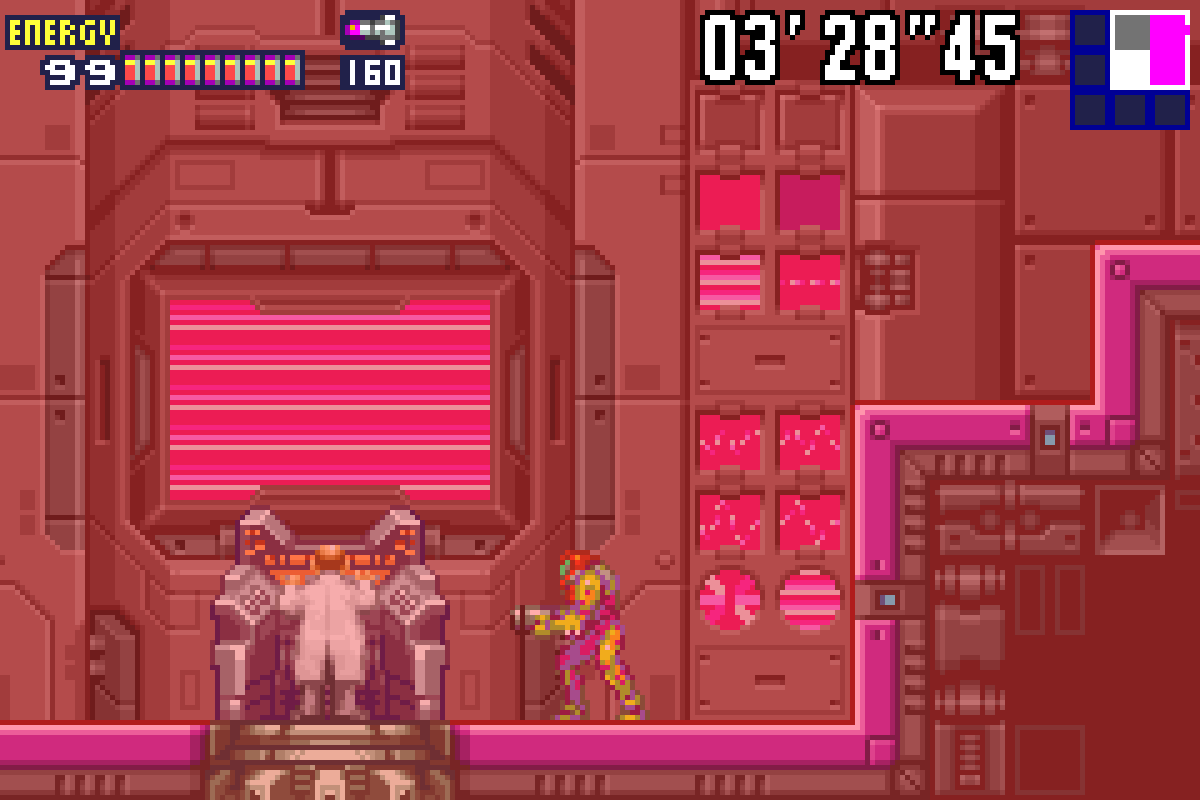
Barrier Core-X
Get ready for a fairly underwhelming boss battle.
You’ll step into the Data Room, but unfortunately, it seems a Core-X has beaten you there. This Core-X then somehow downloads the Varia Suit data and flies off into the next room. Ayyyyy. Follow it and get ready.

You’ll be in a room with water on the bottom and three floating platforms. Staying on these platforms will make this battle easier, but truth be told, there’s not really much to this fight.
Barrier Core-X is basically just a giant version of the same Core-X that you’ve been fighting this whole game. Only major difference is this Core-X has smaller cores around it (barriers, if you will) that in theory give it more protection, but in reality, don’t do very much.
There’s really no strategy here. All Barrier does is float around just like any Core-X. If he hits you, you’ll take damage, but not very much; the frozen X hit harder than Barrier. One thing to note: Missiles are useless here, so don’t bother. Instead, just get some charged shots ready and fire at will. Barrier Core-X is huge, so you should have no problem hitting him.
Just keep firing and eventually, a smaller, regular Core-X will pop out. Now, switch over to Missiles and finish him off. You’ll be rewarded with the VARIA SUIT once you’re finished. (Worth noting – the Fusion Varia Suit may be the ugliest suit in the Metroid series, don’t @ me). Now, those frozen X don’t stand a chance!
Human Core-X
You’re probably expecting a boss battle since we just destroyed a Gadora, but in actuality, there’s just a scientist at the bottom, presumably doing some bad stuff. Unfortunately, we know this isn’t a real human being but rather an X parasite mimicking one, so shoot this guy..
He’ll transform into a standard Core-X, although one with the eye that shoots at you. Just like with Elephant Bird, shoot this Core-X in its eye four times and you will destroy it. Go up and claim the WIDE BEAM for your efforts. Once you’re done, step into the control unit and turn on the cooling unit. Crisis averted!
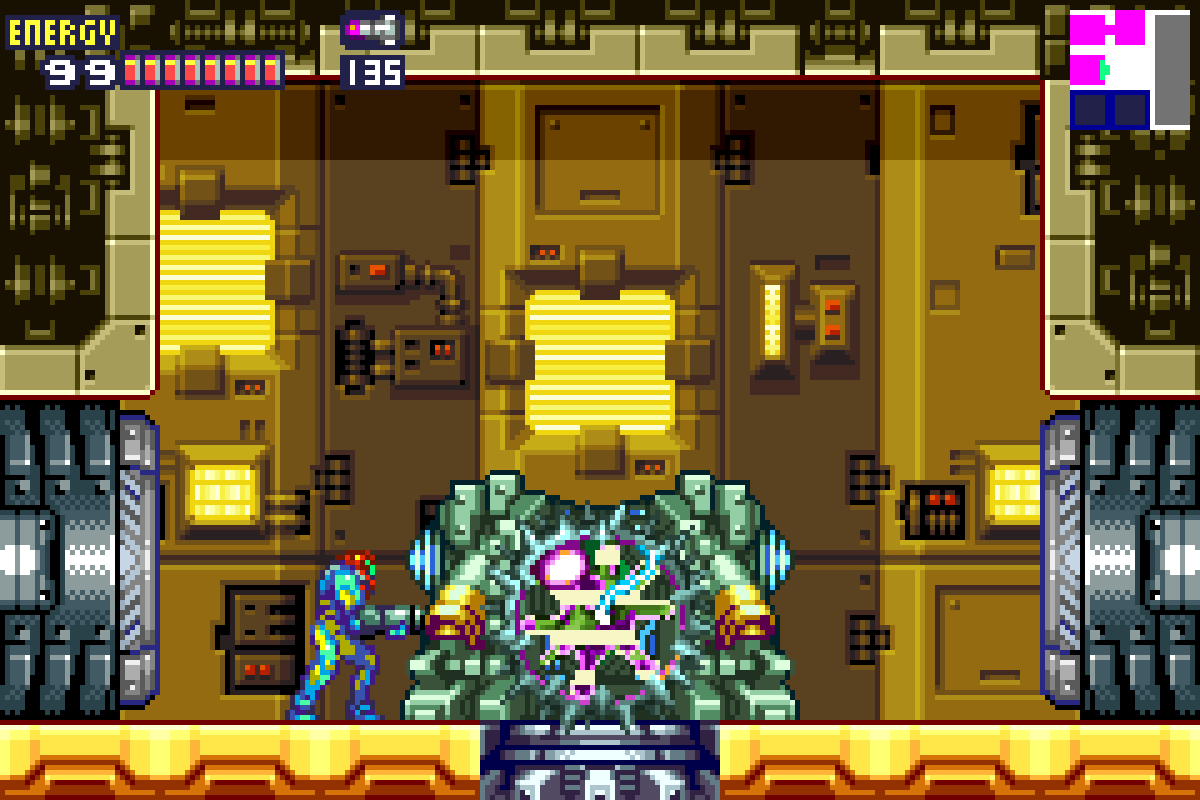
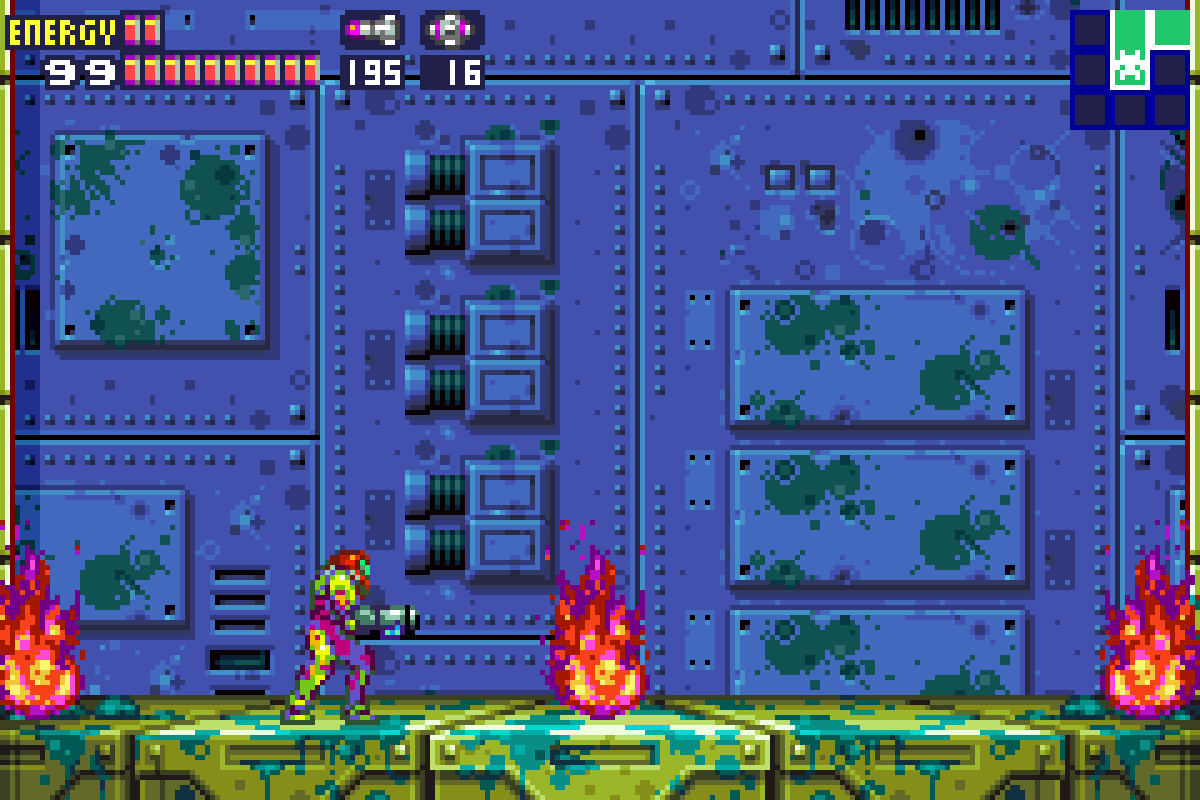
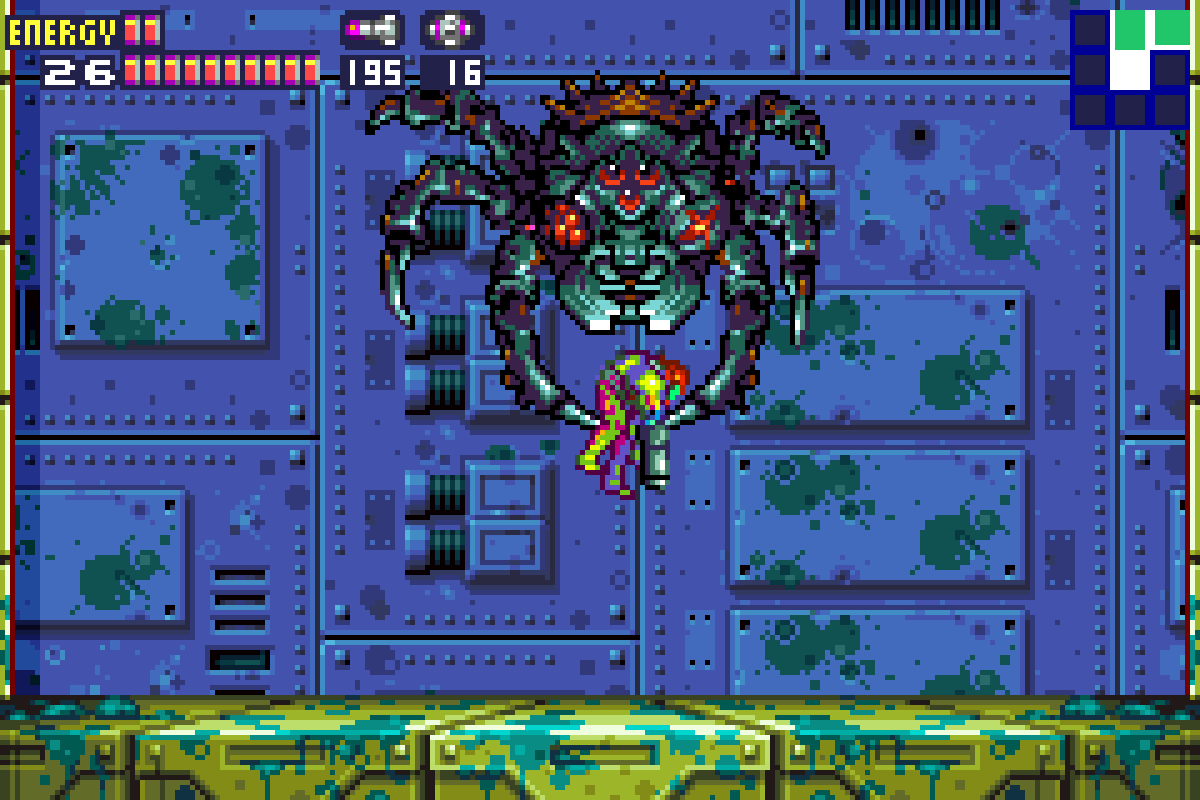
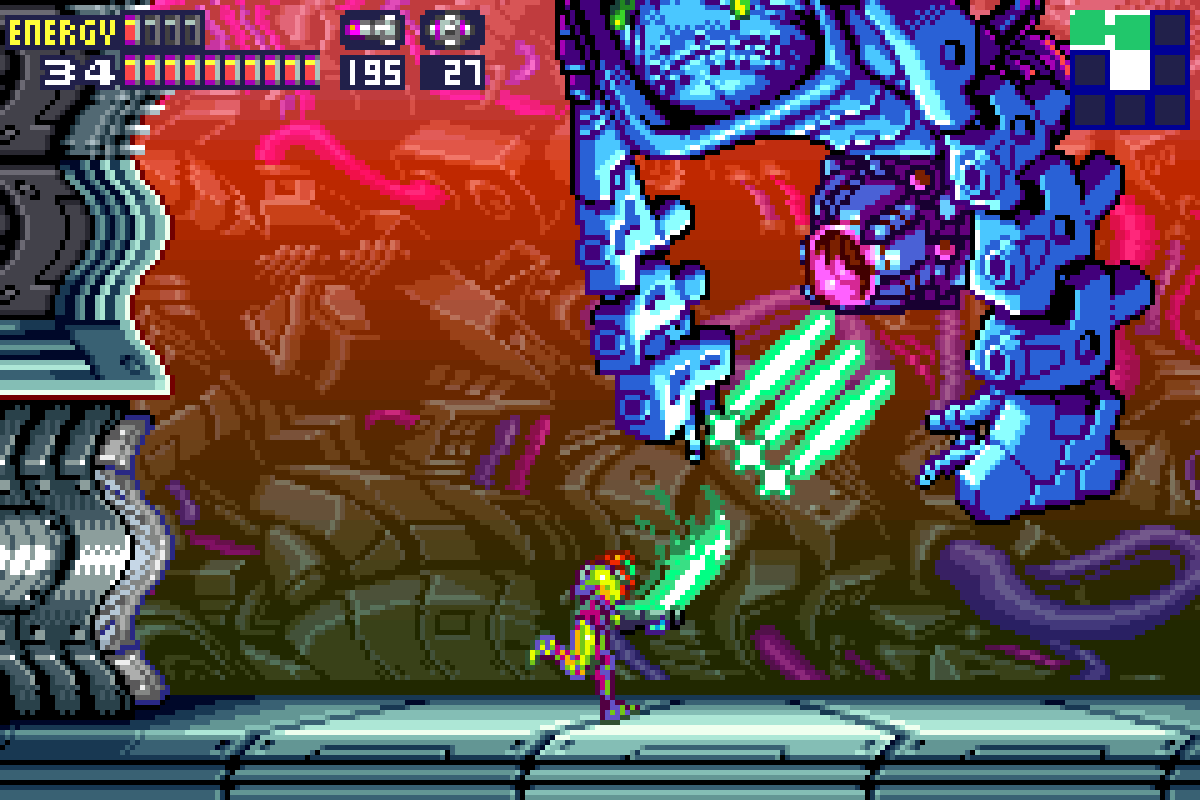
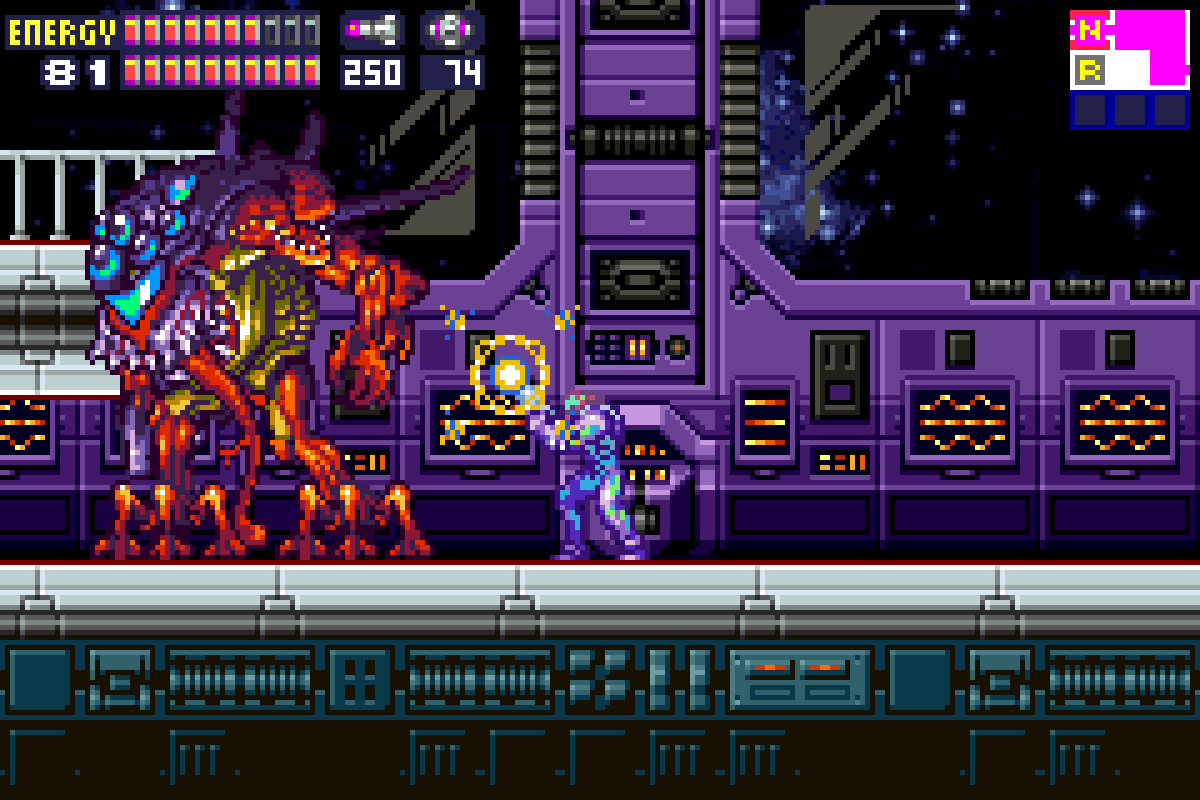
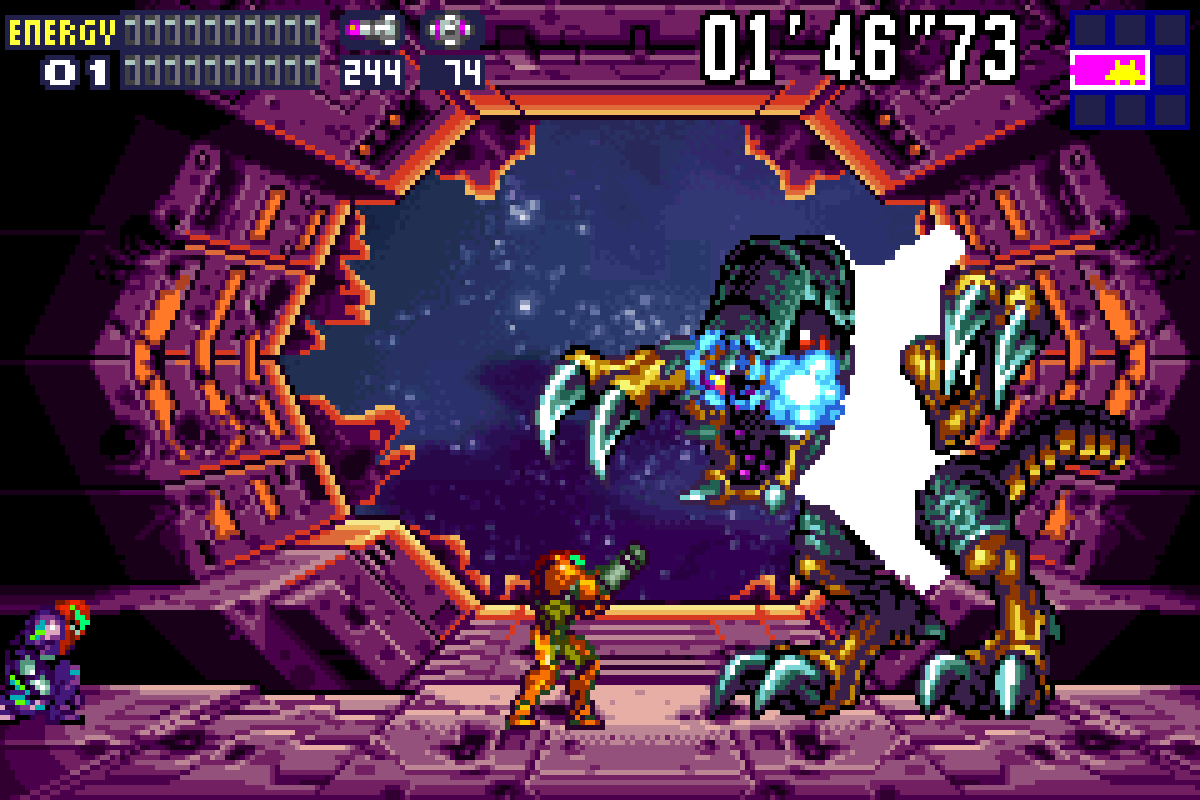
Yakuza-X
This fight starts off hot – literally! Don’t stand in the center or to the far left or right, ’cause there are three fireballs that are falling from the ceiling that will inflict a pretty decent amount of damage if it hits you. That will be nothing compared to what happens if Yakuza grabs you, however.
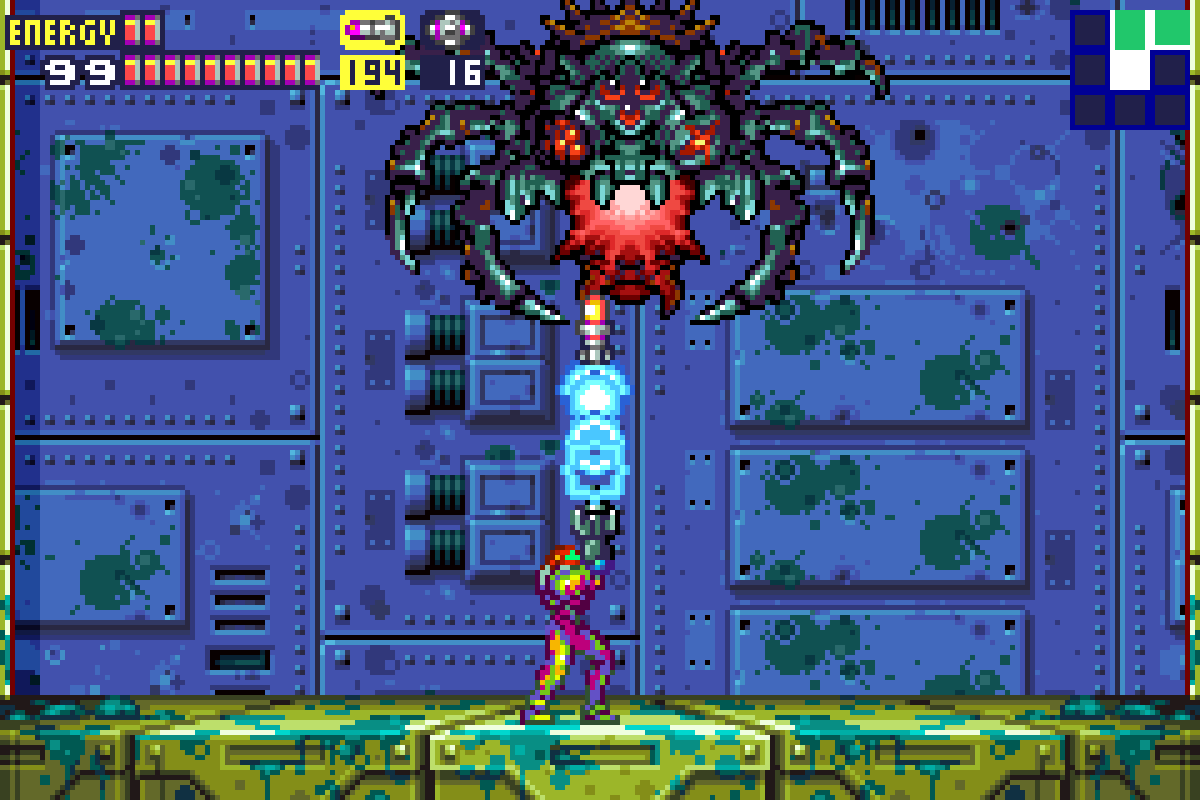
Yakuza will descend into the battlefield, revealing its spider-esq form. He will move in a diamond shaped pattern over the battle area. His main attack involves grabbing you with his claws, slowly dragging you to the top of the arena and giving what can only be described as the Metroid equivalent of a WWE piledriver right to the ground. This hurts. A lot. Whatever you do, don’t get snared by Yakuza, because this piledriver will take out a full two tanks of energy. Yikes. If you do get grabbed, you can mash left and right to escape, and avoid taking too much damage. Occasionally, Yakuza will stop to open up his mouth and drop down three fireballs at you as well, which we already established hurt you pretty good.
Fortunately, these attacks are all pretty easy to avoid. If you get into Morph Ball form and just stay in the corner, you can avoid 95% of Yakuza’s grabs, and the remaining 5% will be so obvious that you’re in a bad spot, you’ll have plenty of time to move.
(Side note here, but: I’m a massive fan of The Office. Does Yakuza’s attack pattern not remind you of the cold open where Jim was explaining the entire office was dying to see the DVD symbol perfectly hit the corner of the TV, or is that just me?)
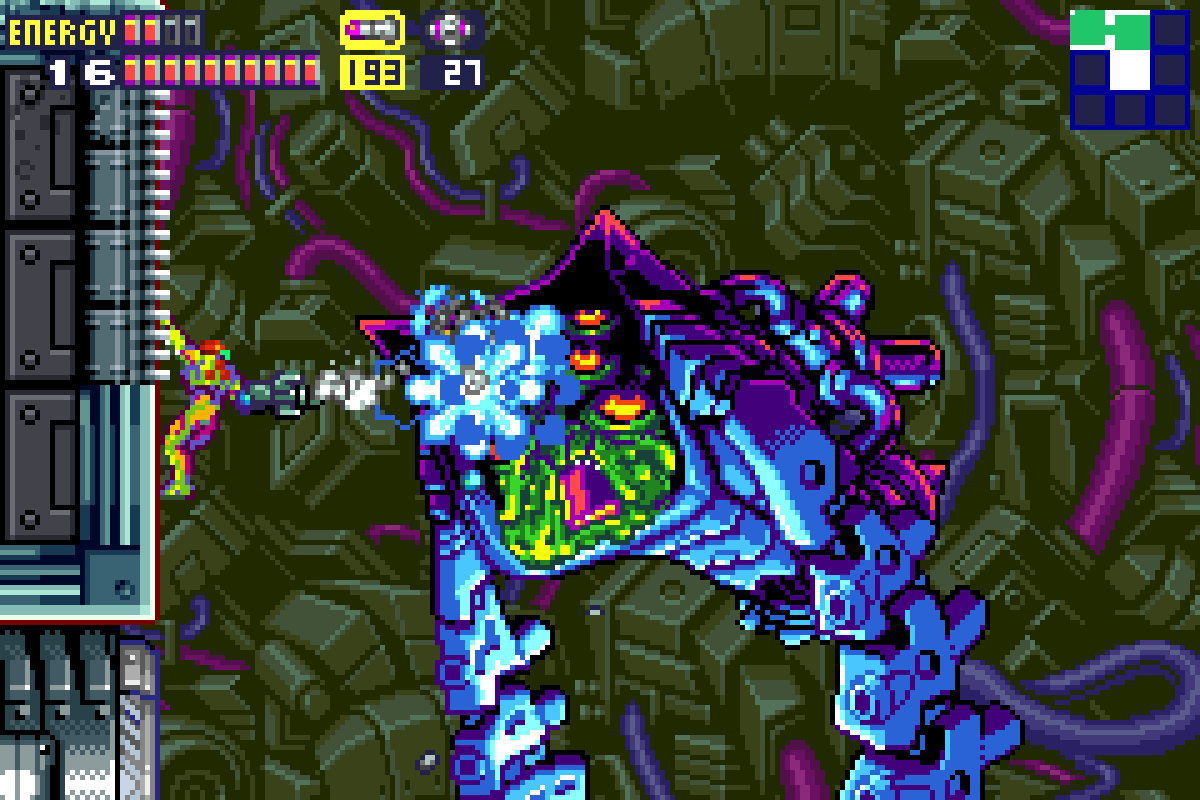
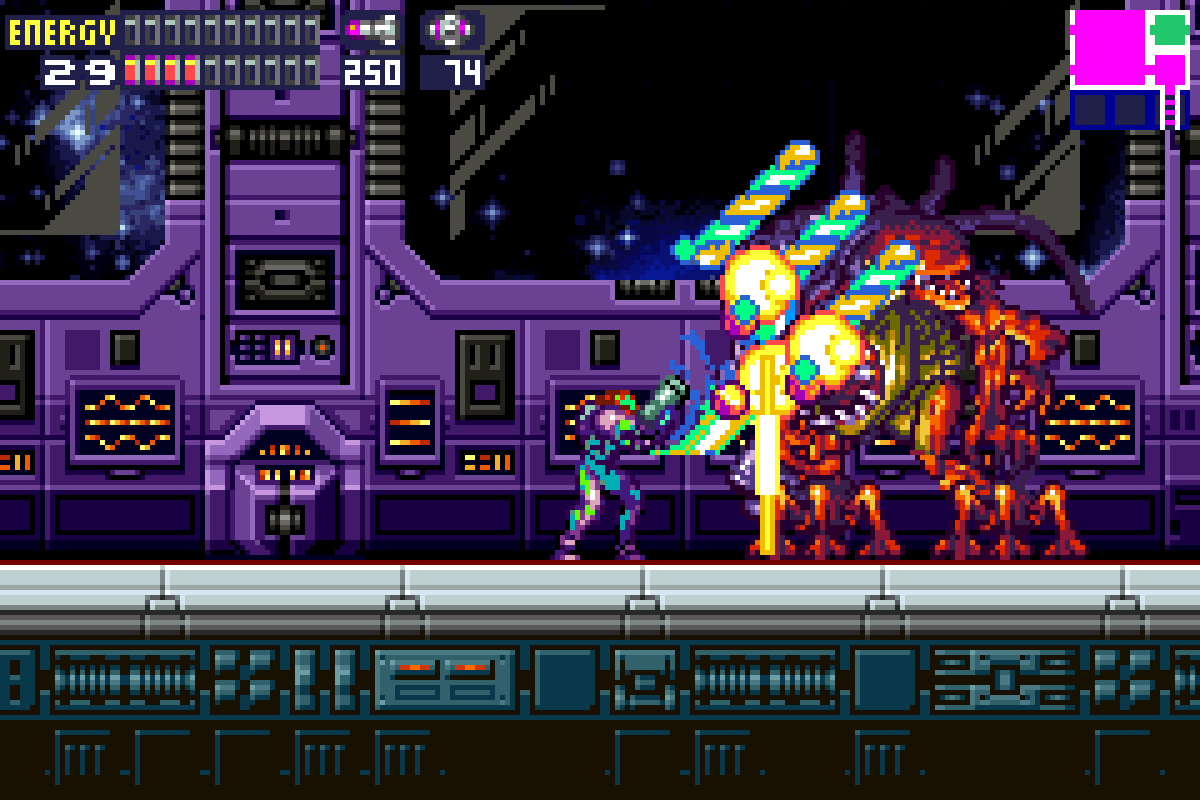
Now that we know his attack patterns and how to avoid them, we can go about damaging him. This fight actually has the same basic principle as the Zazabi-X fight earlier; when Yakuza opens his mouth to spit fireballs on us, that’s when we strike. Stand directly under him and fire off a bunch of Missiles and then move so you don’t get hit by the fireballs.
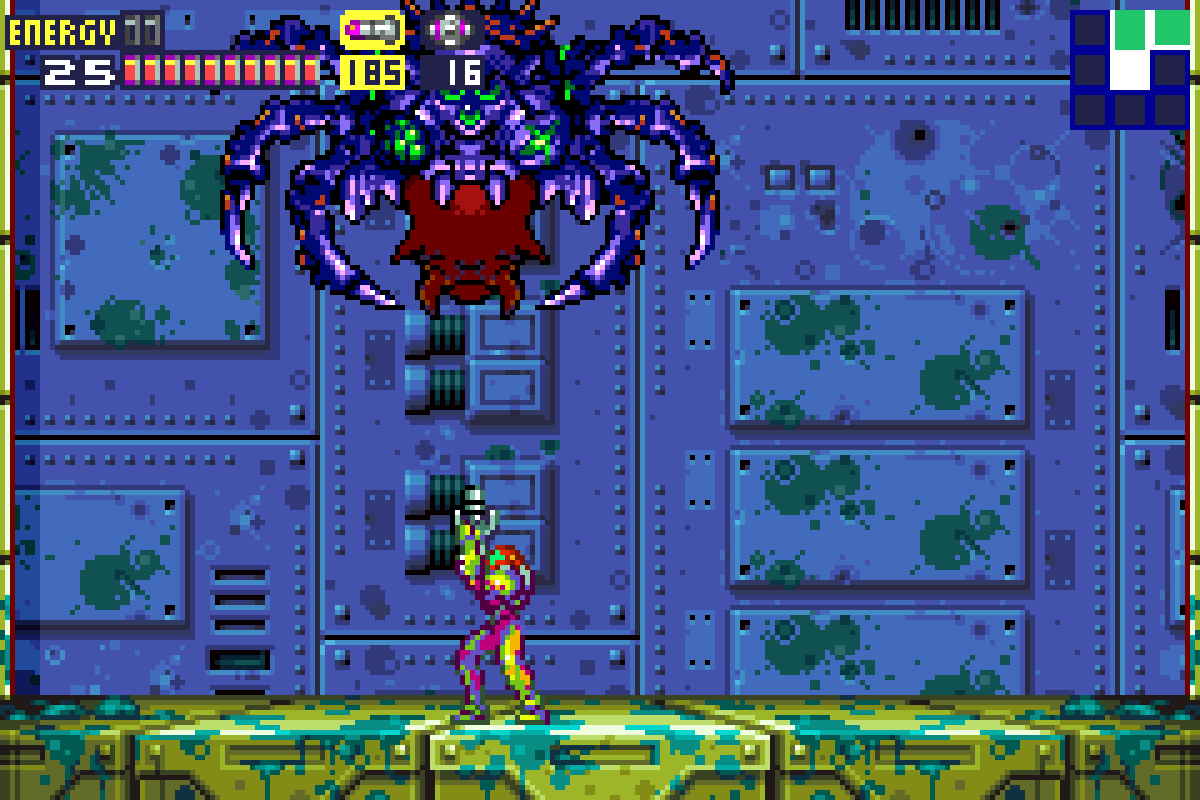
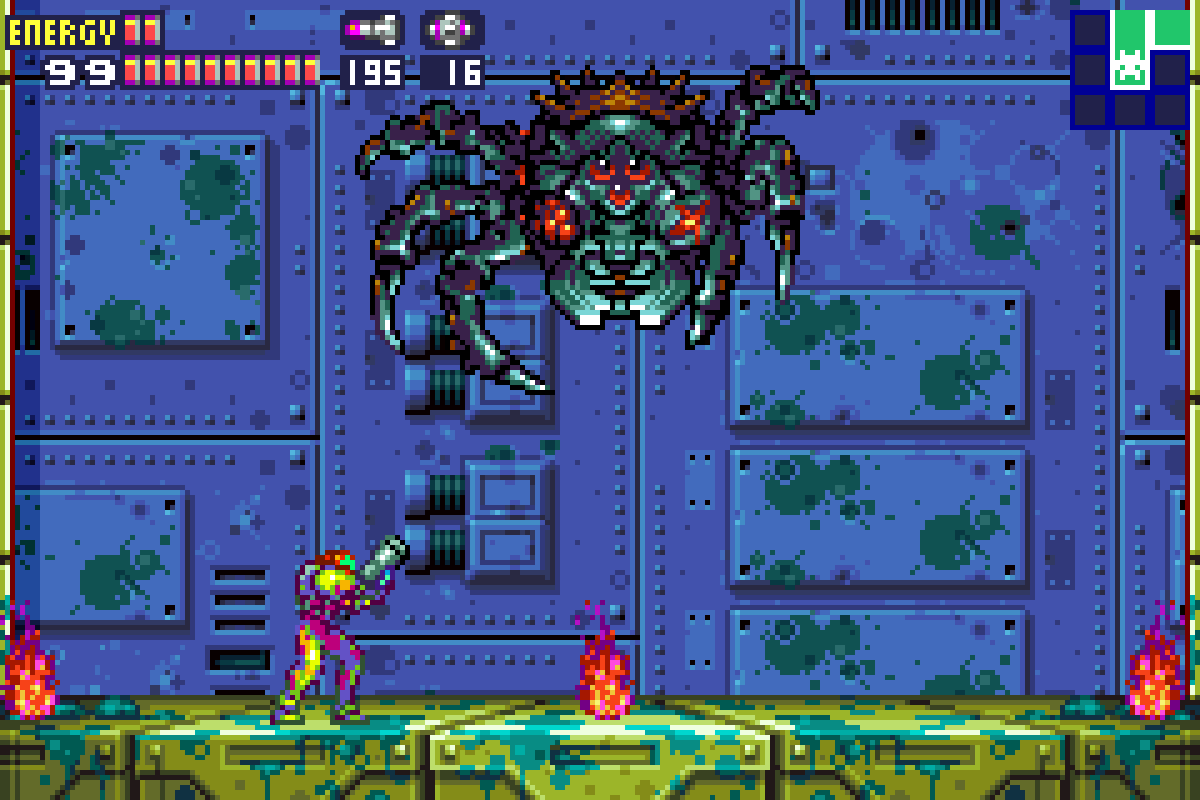
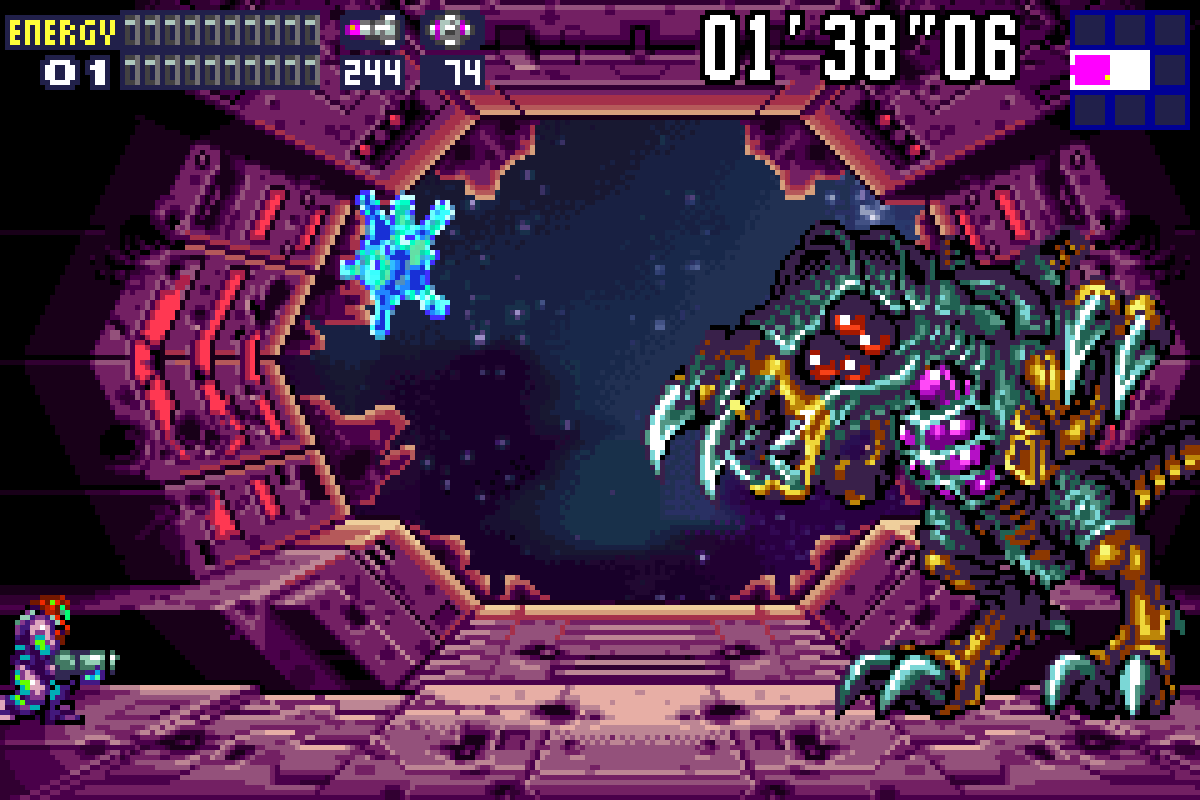
Repeat this process, avoid his grabs, and eventually after enough Missiles, Yakuza’s body will break. We’re not done yet though.
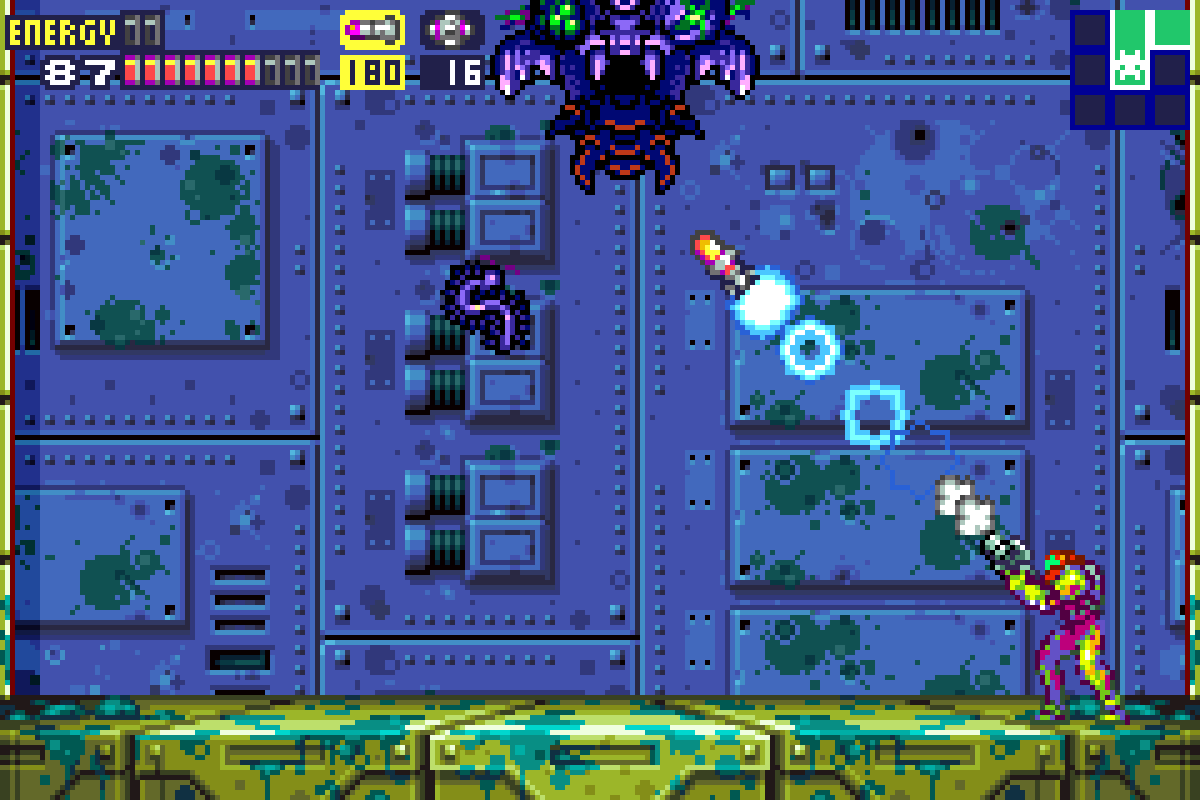
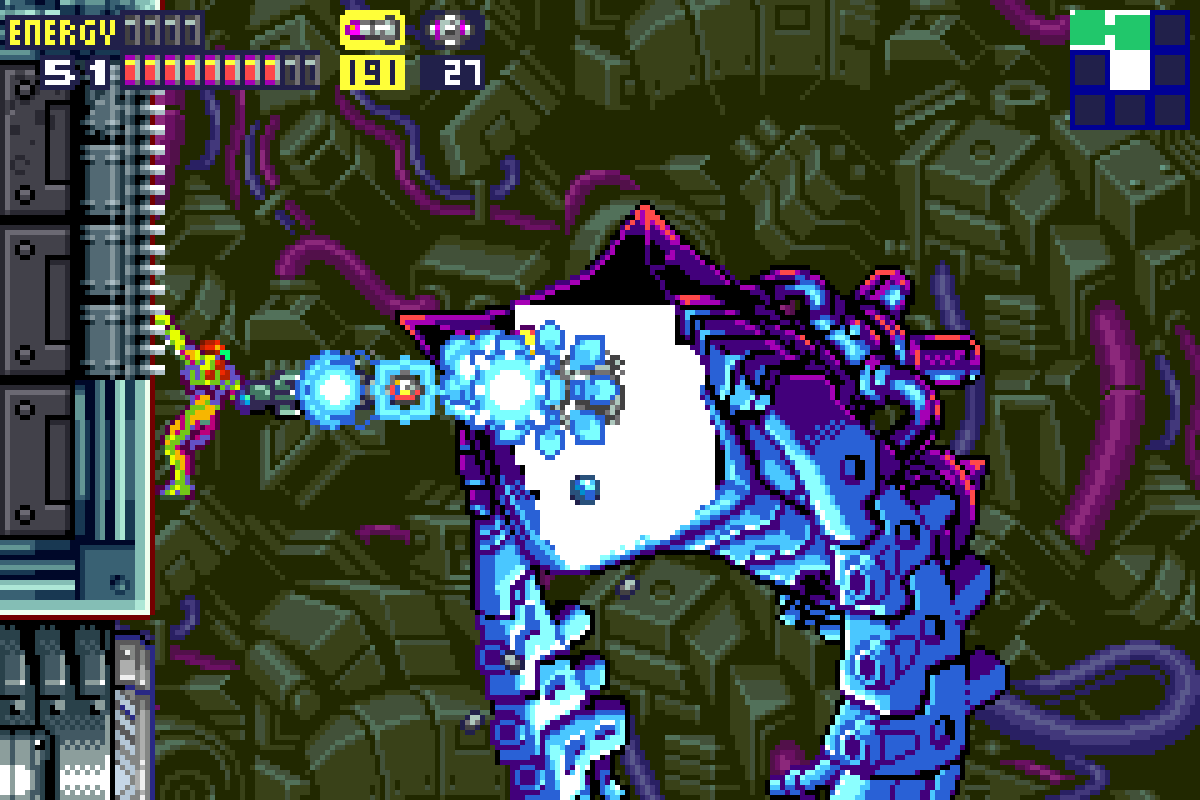
Now that Yakuza’s legs have been destroyed, he will go nuts, bouncing around the room and spitting out debris from its mouth at you. You’ll want to have your Missiles open and aiming upwards here. Yakuza’s mouth (read: his weak spot) will always be open now; it’s just a matter of hitting it. He’ll be moving pretty fast, and the debris he drops straight down might get in the way of your shot, but don’t let up. Keep firing Missiles straight up and moving back and forth.

You can sometimes get Yakuza into a pattern where he’ll be bouncing off the wall straight into a Missile shot, then bounce back to the same spot and wall jump right back to your Missile. The more damage Yakuza takes, the faster he moves and the more he will try and land on you. Be moving and always be shooting Missiles upwards. By my count, 11 Missiles to the mouth should be enough to put Yakuza down for the count.
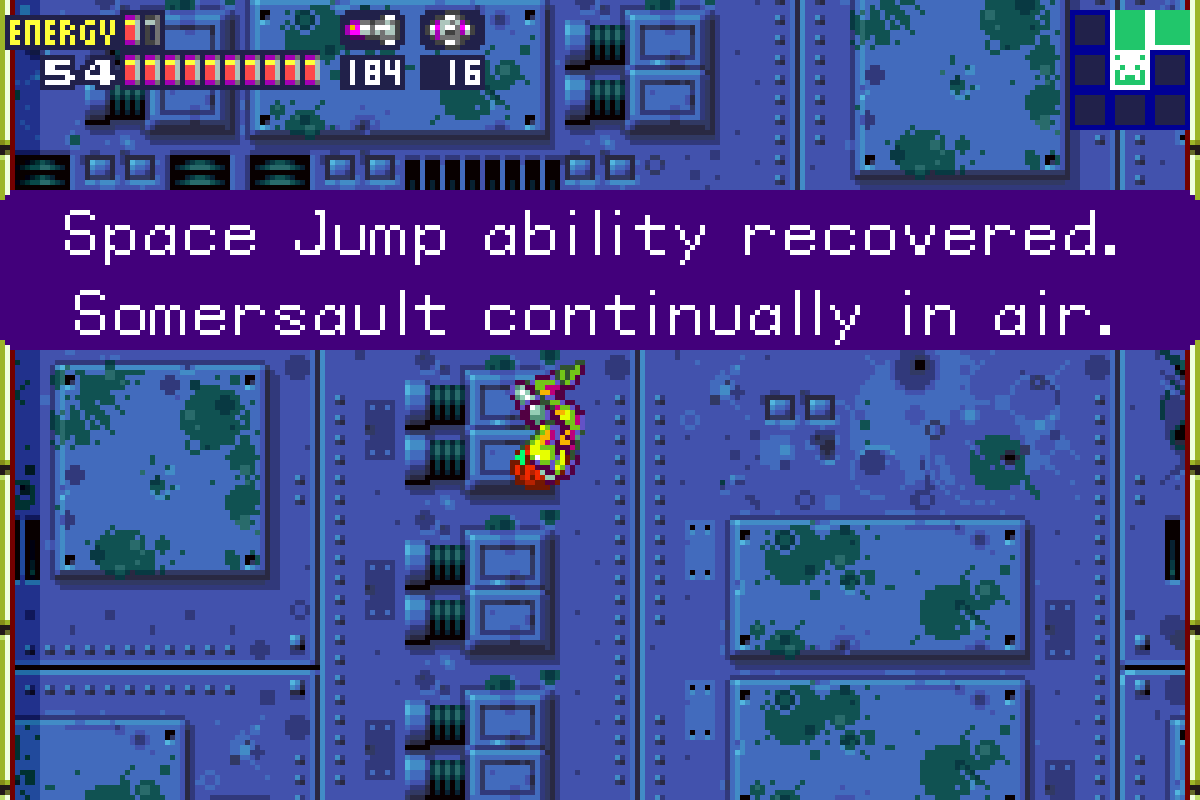
Destroy the Core-X that spawns from Yakuza and acquire the SPACE JUMP. Use the Space Jump to get up to the vent in the ceiling. Restore auxiliary power and step into the Navigation Room to check in with Adam.
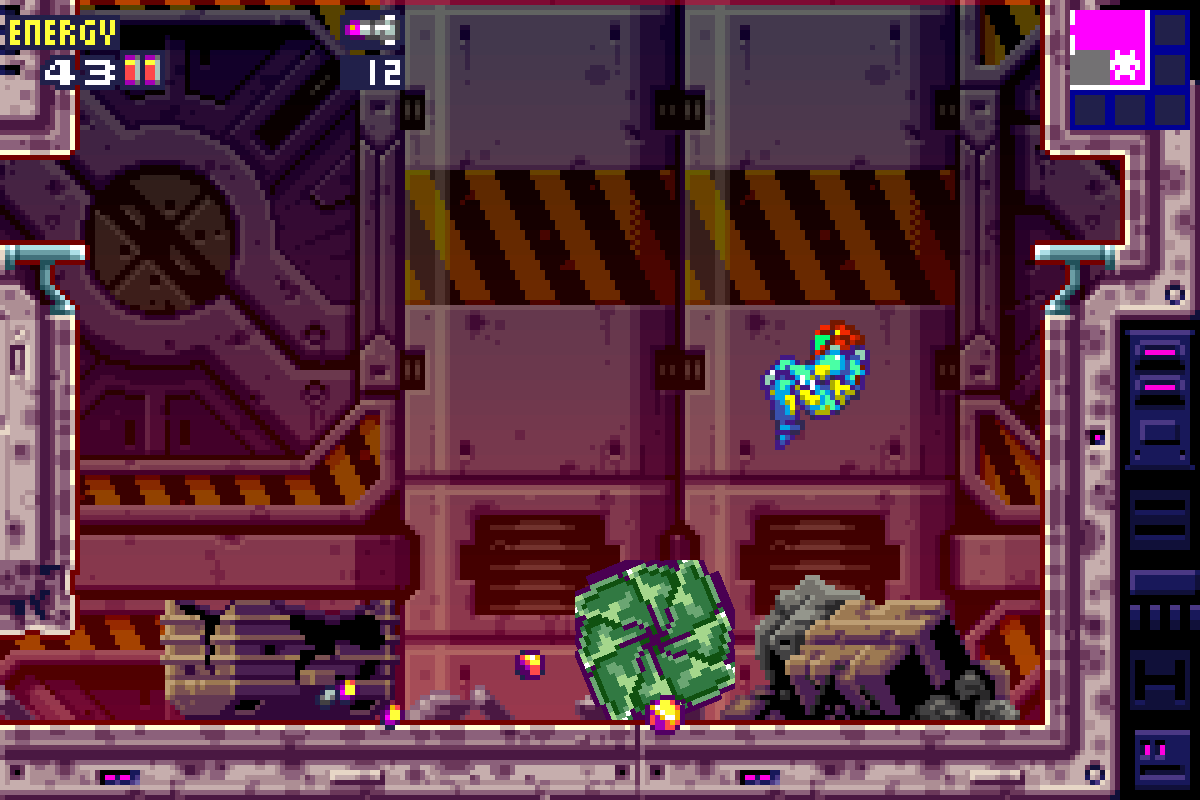
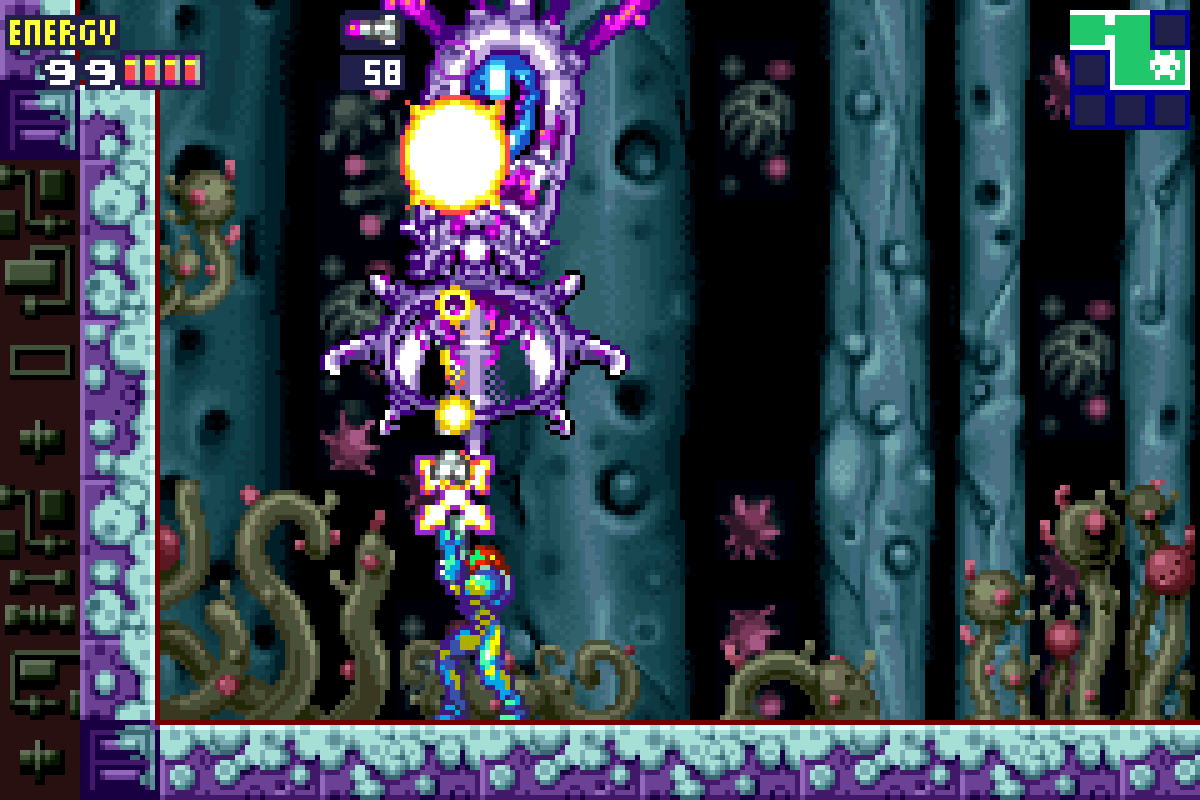
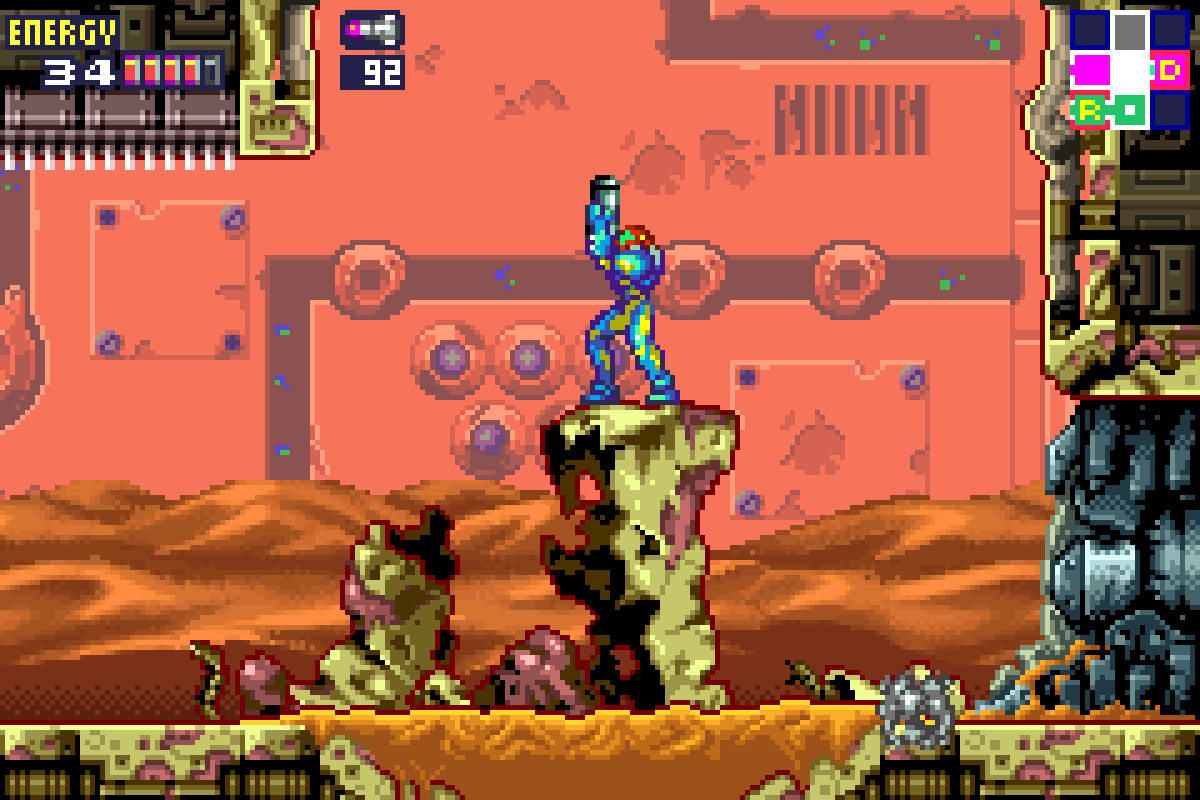
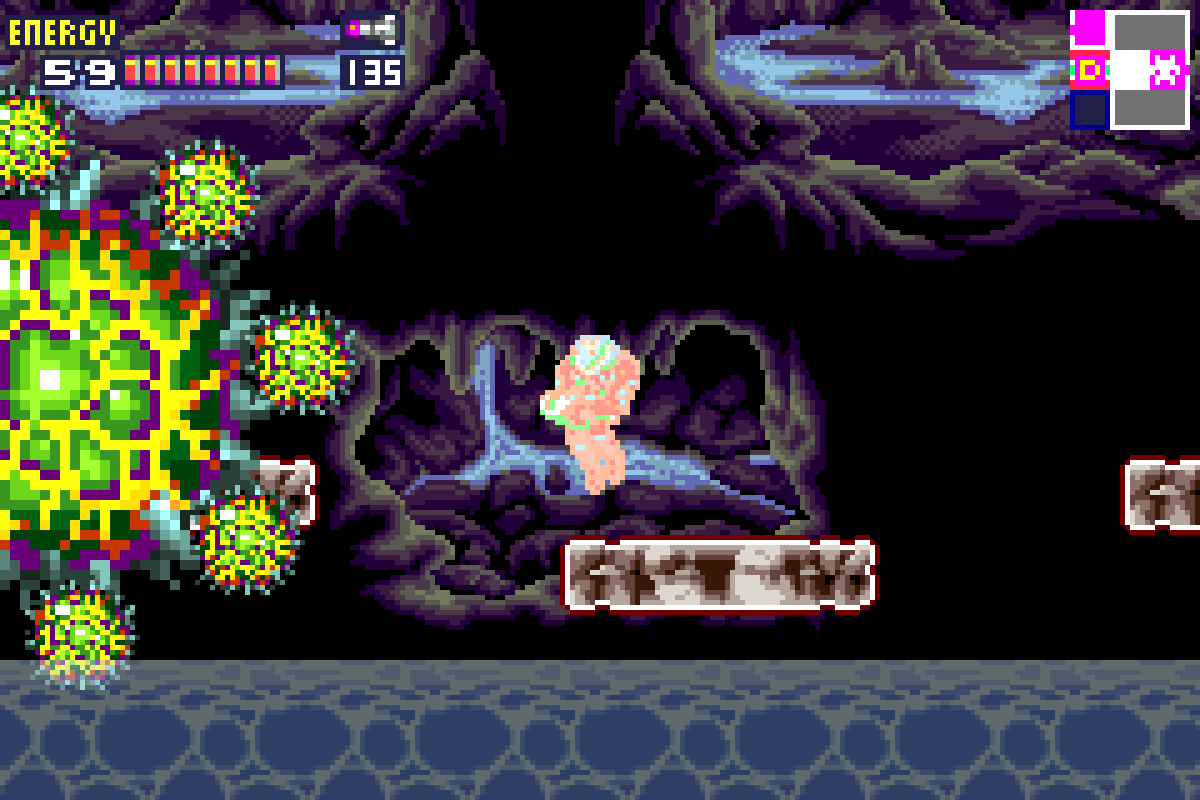
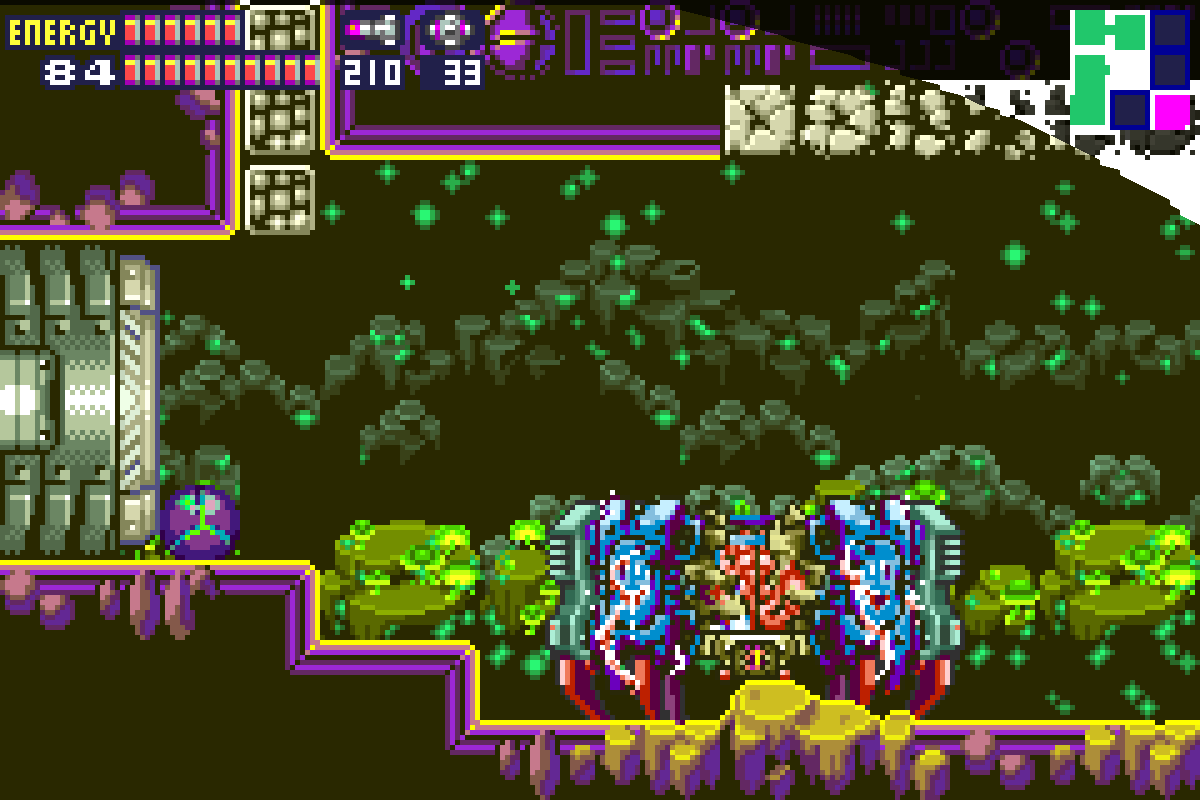
Nettori-X
This will be an odd battle. You’ll land on a platform and be face to face (kind of) with Nettori, a Chozo Statue-esq entity that is wrapped in vegetation and presumably the source of the power loss at B.S.L. Station. Nettori is actually a stationary boss that won’t attack you at all during his first phase, but don’t get overconfident. It is VERY easy to die in this battle if you don’t know what you’re doing.
To set the stage, there are two platforms in this room, and the rest of the ground consists of water and these awful Venus fly trap like flowers that will gobble you up if you fall off either platform. Chances are pretty good that you won’t even land on the platform to start the battle, you’ll just fall into the flowers. DON’T PANIC. Your first instinct will be to mash the jump button and try to get the heck out of the flower’s grasp. This will make you just stay in place! Think of it like quicksand; if you fall in, the more you struggle, the more you sink. Instead, if/when you are knocked off and get caught by the flowers, jump once and hold down the jump button. You can very easily die here if you do not do this! Trust me, I’m speaking from a lot of experience -_-
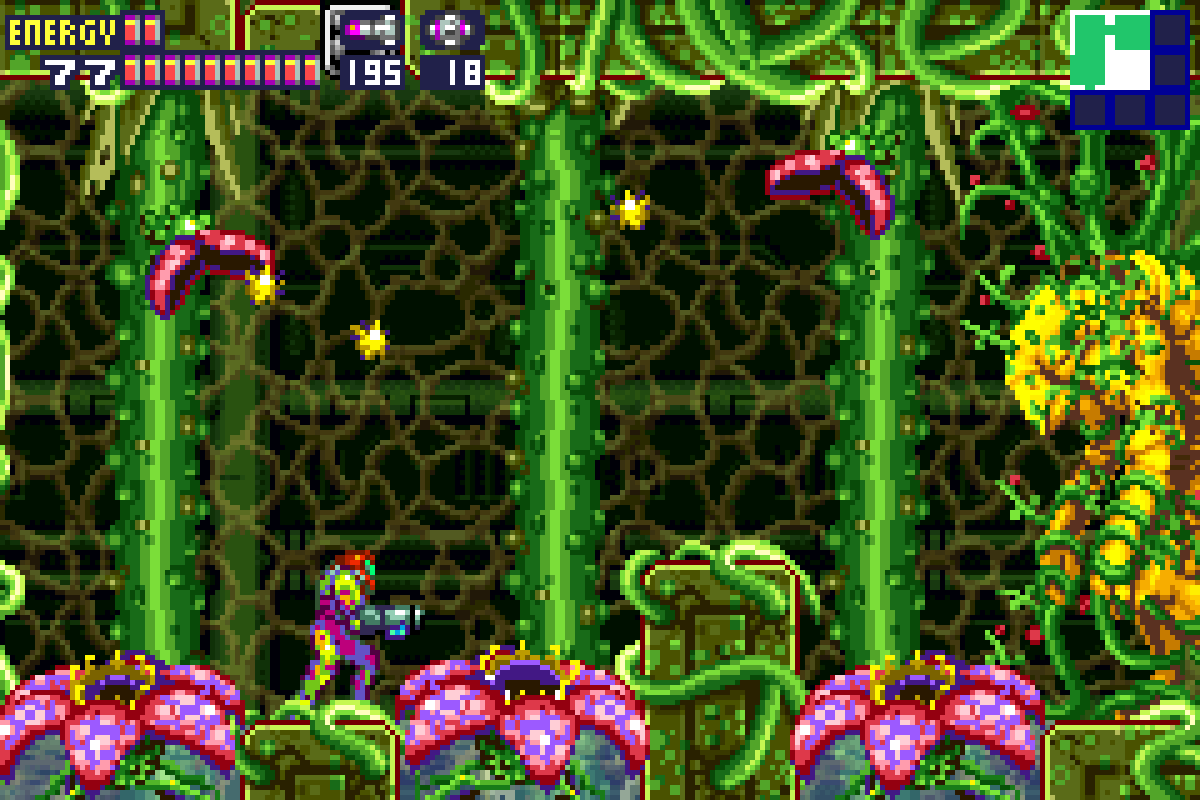
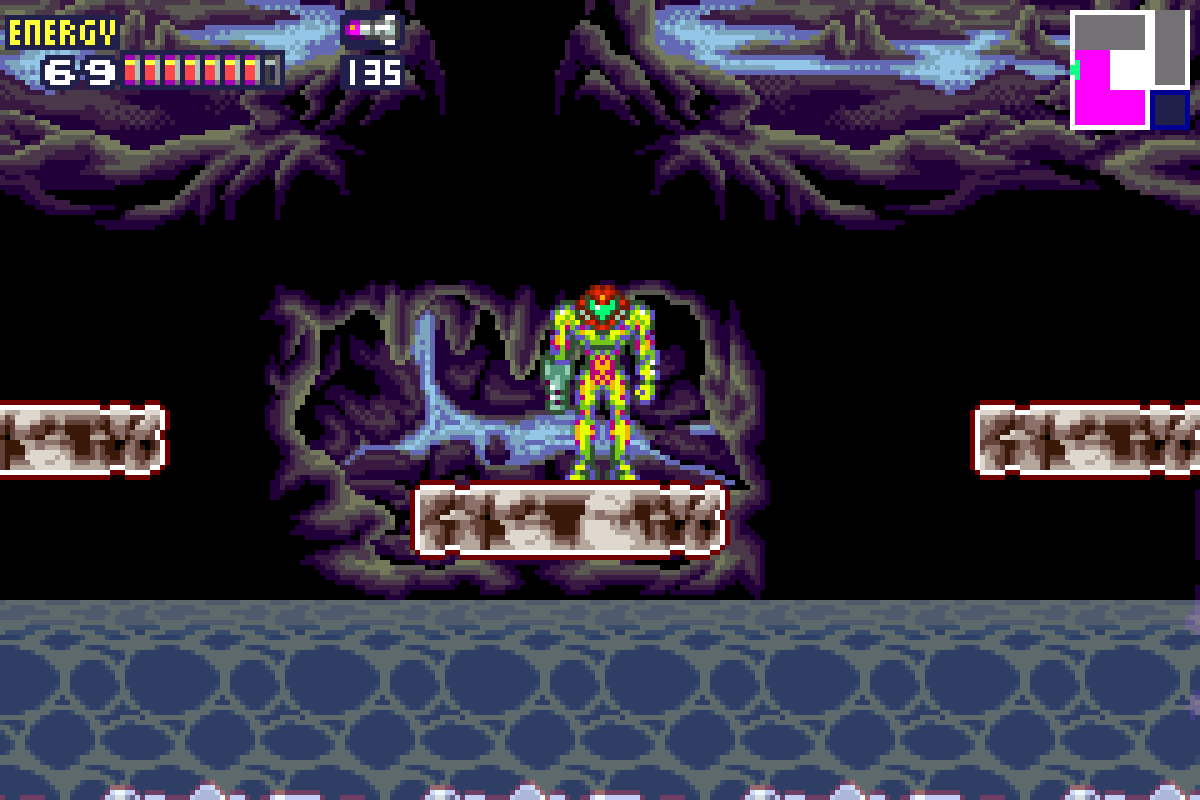
Now, like I said, in Nettori’s first phase, he himself will not damage you, but these flowers sure will. Add on top of that there are some different flowers in the ceiling area that drop spores at you. The spores don’t do very much damage, but they will knock you off balance, making it pretty easy for you to fall off the platform. The flowers spitting the spores can’t be destroyed unfortunately, but the spores themselves can. You can either shoot them with beams or charge up a shot, hold it, and jump into them to destroy them. They don’t drop anything, which is too bad, but not having them in your face will be nice.
That being said, I think my advice here would be to ignore the spores as best as you can. They’ll be falling in such a chaotic pattern and they do so little damage, I would recommend taking whatever damage they give you and trying your best to keep your fitting in exchange for quickly unloading Missiles into Nettori. Like I mentioned, Nettrori doesn’t attack you directly yet, but he is standing there and completely vulnerable to your weapons, so I would stand on the higher platform and unload on him with Missiles as quickly as you can. Give it about 20 Missiles or so and you’ll end the first phase.
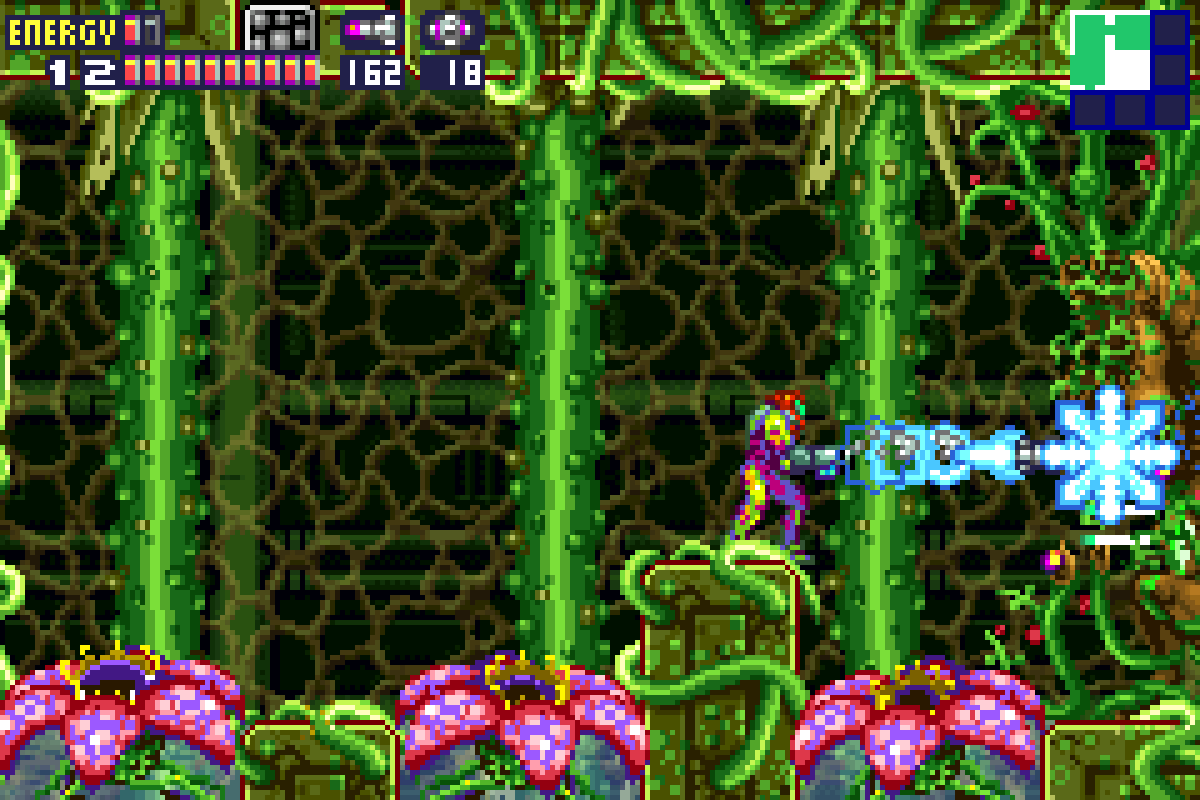
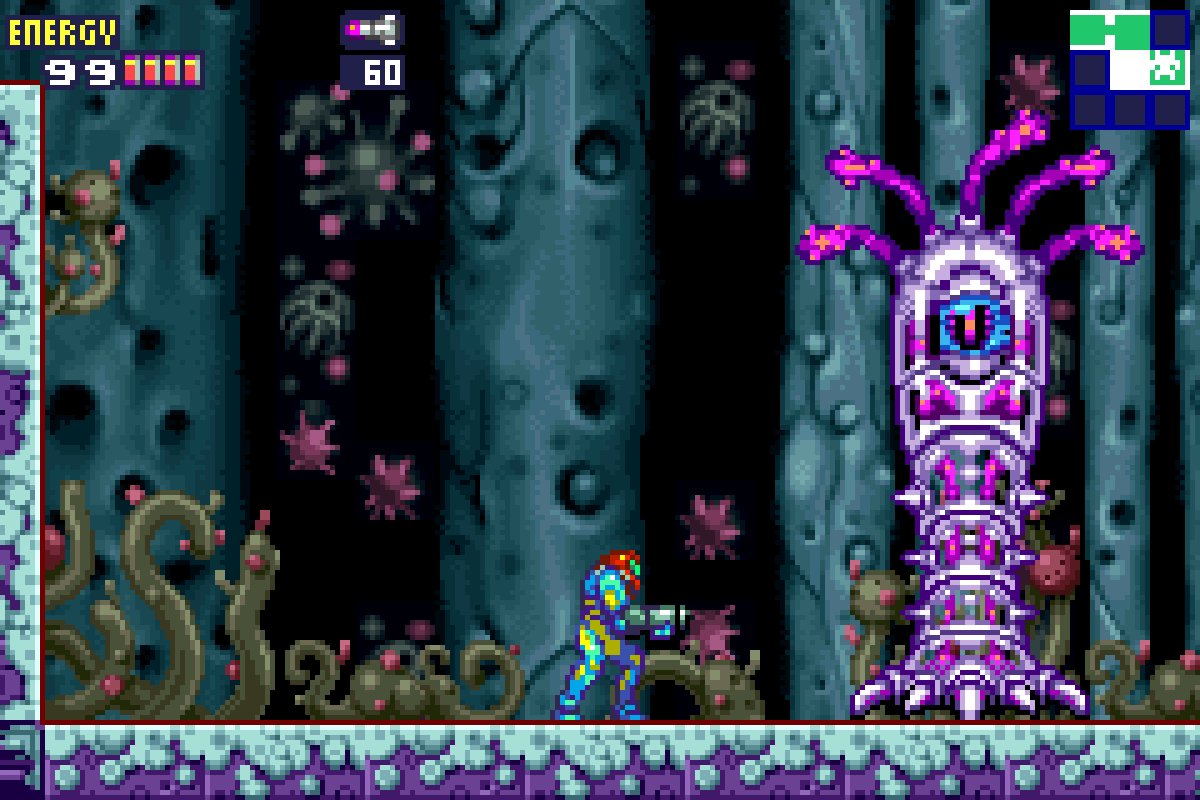
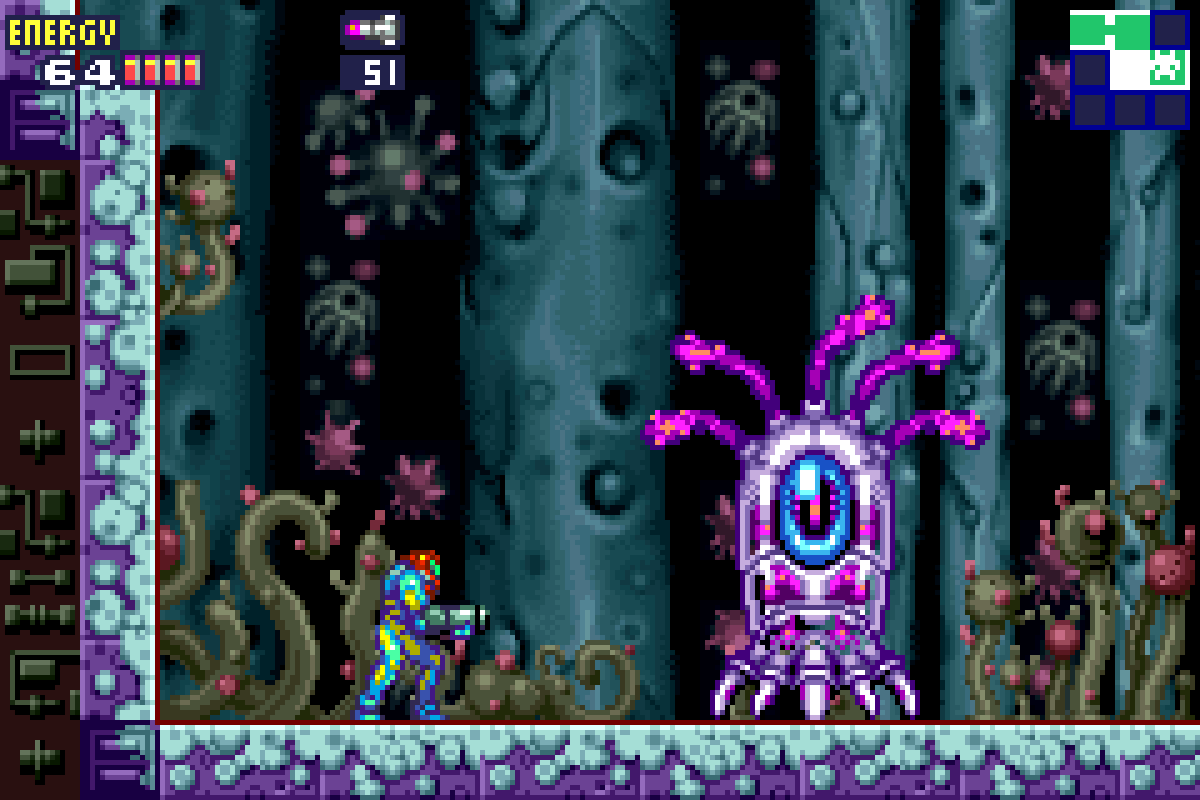
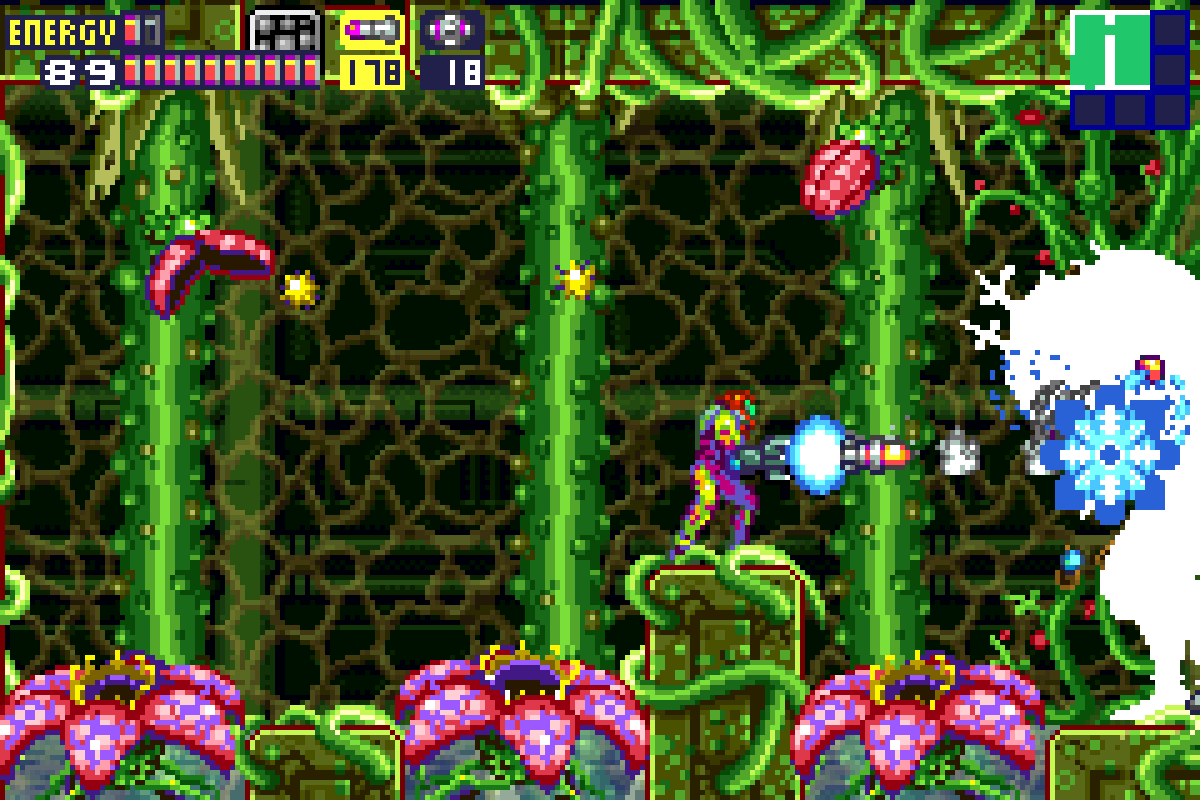
The second phase of this battle has Nettori actually attacking you, but thankfully, his attacks are super easy to avoid. Nettori will start shooting plasma beams at you; he’ll either fire a beam towards your torso, or towards your legs. This is pretty easy; if he fires at your torso, just crouch and fire Missiles at him; if he fires towards your legs, just jump over the beams and keep firing Missiles at him. Note that if you fire a Missile and it hits Nettori’s beam as it’s about to fire, the Missile will bounce away.
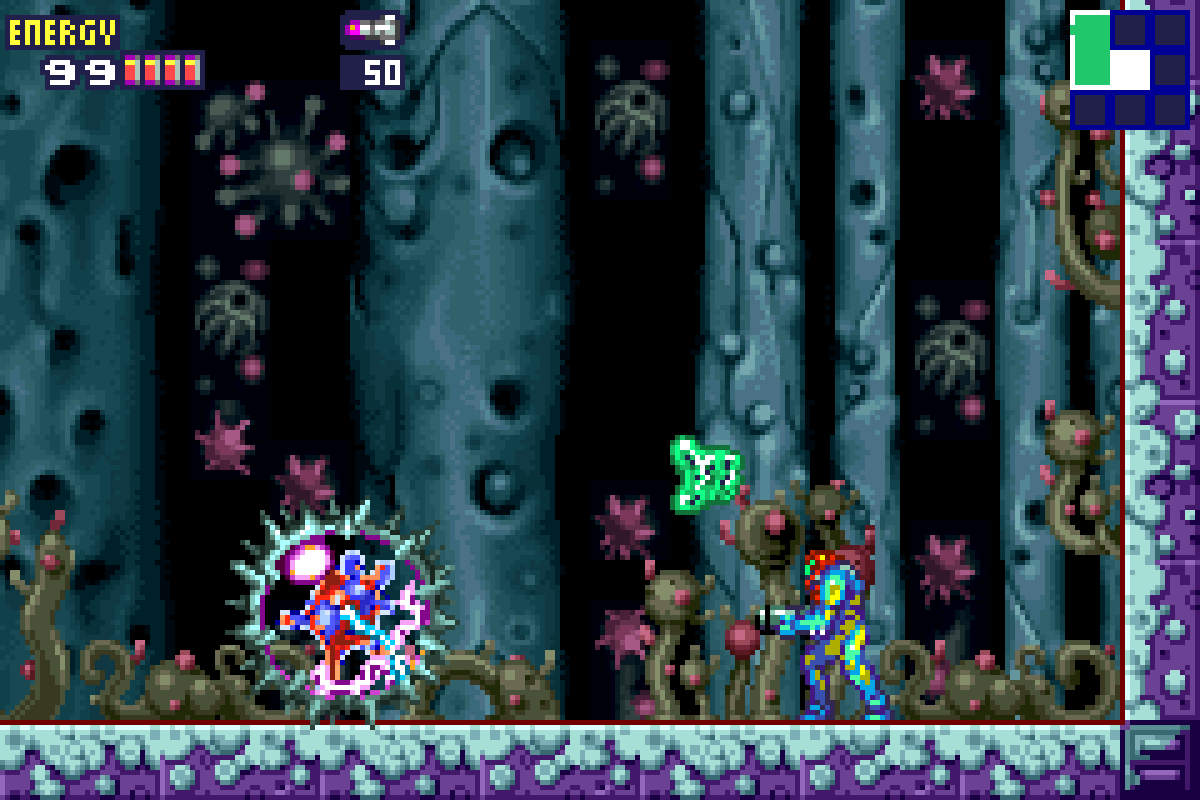
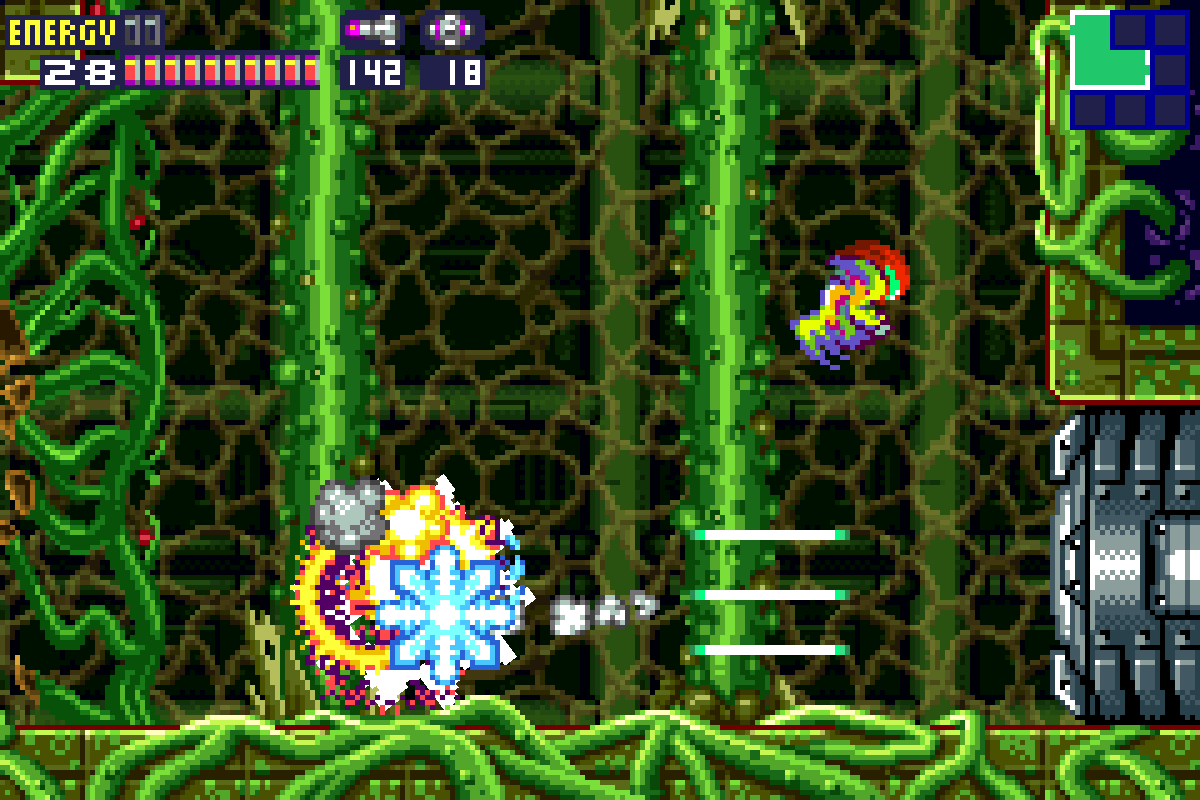
Feed Nettori about 25-ish more Missiles and you’ll see him turn crimson red and eventually explode. Deal with the Core-X (this one shoots the same beams, so be careful) and you’ll have the PLASMA BEAM as your reward!
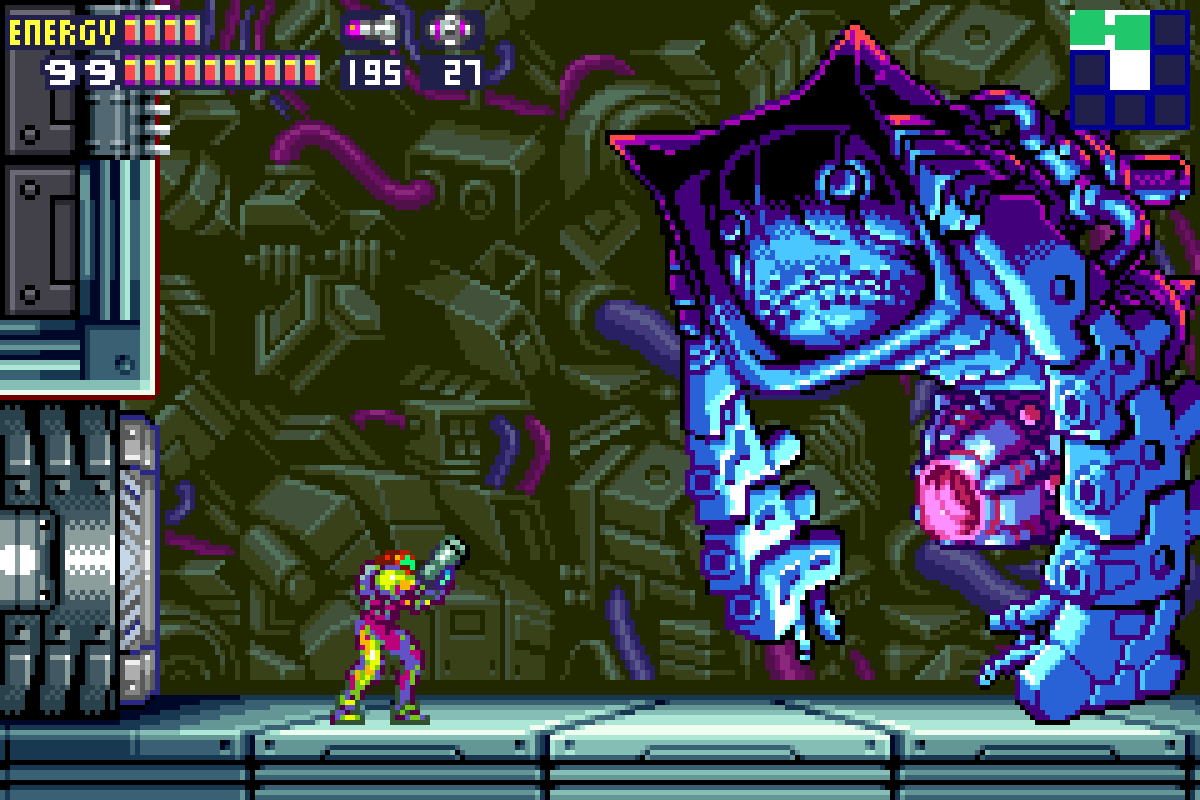
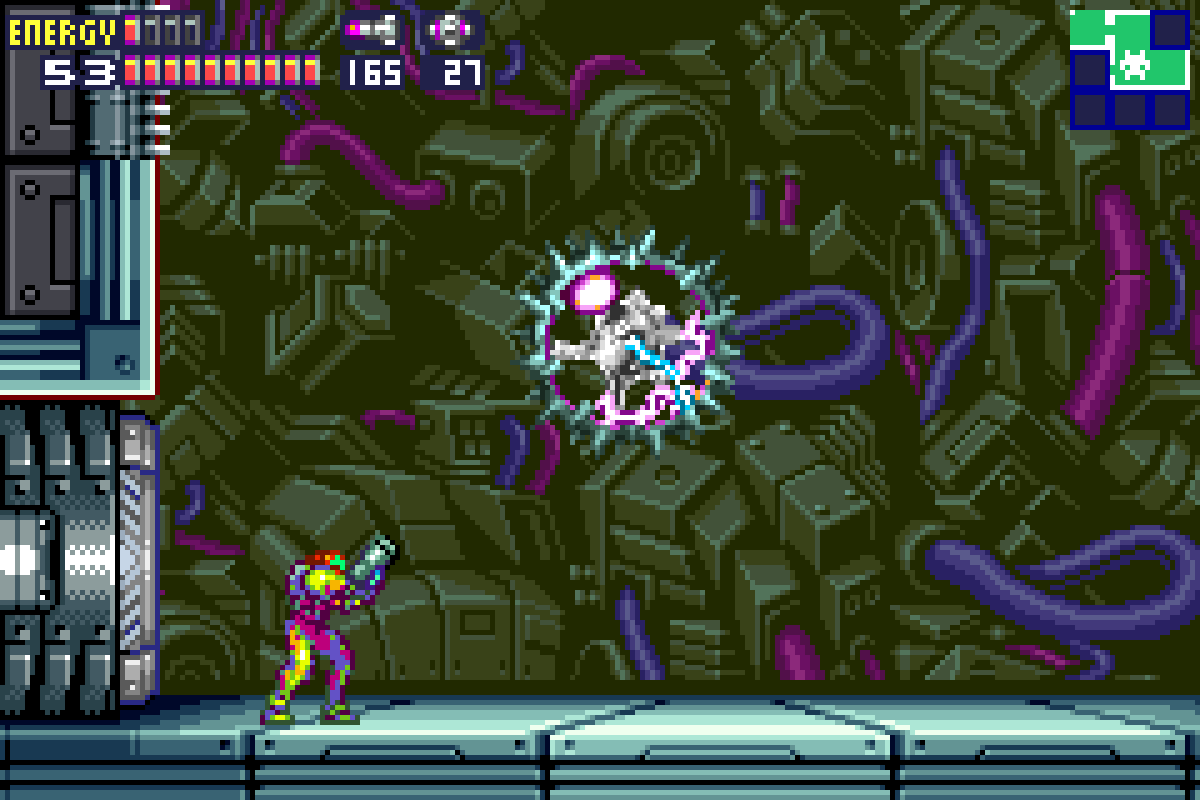
Nightmare
Buckle in. This has the potential to be pretty difficult if things go sideways. There is a bit of RNG at play in this battle, and you’re going to take some damage no matter what you do, but with the right knowledge and strategies, we should be able to minimize how much damage you take.
Nightmare will emerge from the bottom of the room and my God, this thing is ugly. Nightmare has two massive arms, an ugly plate covering its face, and a big gravitational modifier attached to his butt. Attached to his hulking arms are some laser beam shooters, and they will constantly be going off this whole battle, so just heads up. Nightmare is also surprisingly agile for such a big boy too, so we’ll have to constantly be moving and jumping to avoid him.
This battle has three phases, though the first one is so short it will probably be over before you even realize it happened. Phase one will start right after Nightmare rises from the ground; he will shoot six beams at you from his arms about every five or six seconds. Fortunately, the beams are pretty easy to jump over. Once you jump over the beams, Nightmare will float upwards to where you were at the apex of your jump. This is your queue to strike.
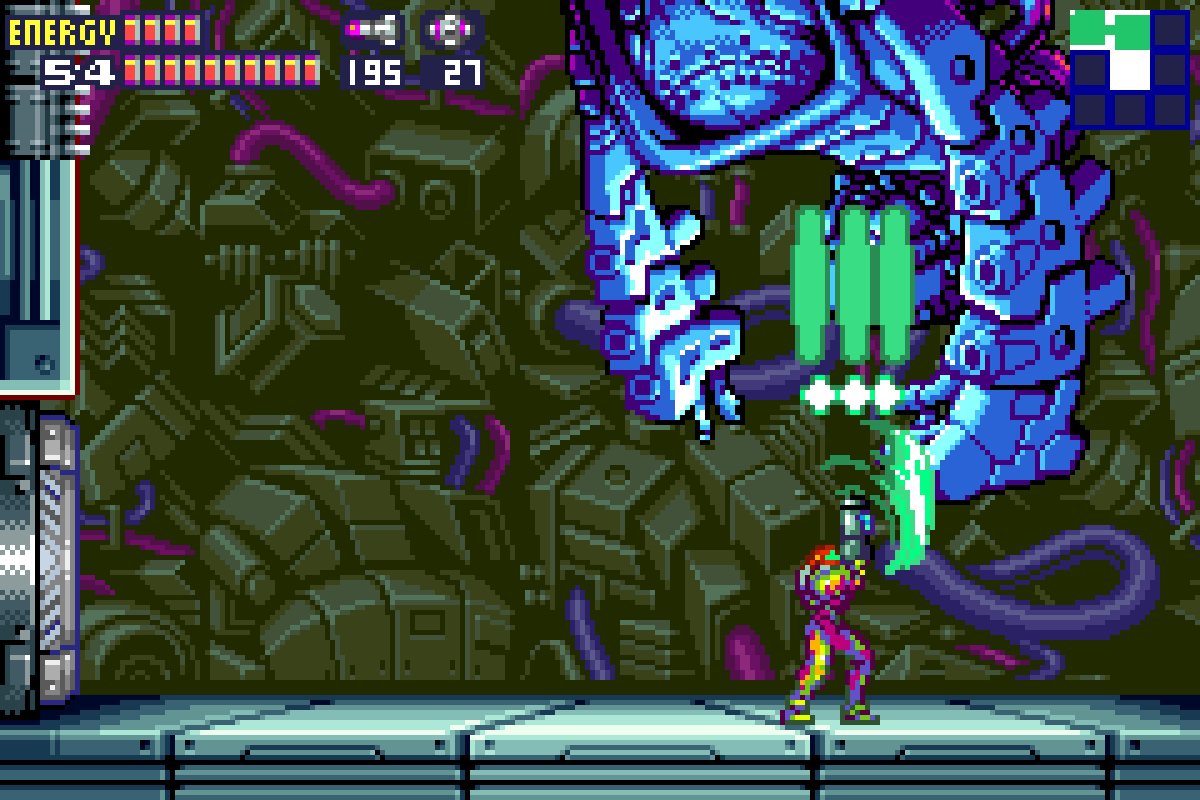
The only part of Nightmare that is vulnerable to our weaponry is his gravitational manipulator; when he rises up, blast it. I would recommend using charged Plasma Beam shots versus Missiles; Missiles are more likely to miss or hit a part of Nightmare that is impervious to pain, whereas beam shots will shoot out three equally devastating shots which have a better chance of hitting and require you to be less precise with your aiming.
Jump up over Nightmares beam attacks, wait for him to float up, run over and shoot up a charged beam shot diagonally upwards towards the manipulator. Do this four times and phase one will end (told you this would be quick). Once Nightmare starts putting that gravitational manipulator to work in phase two is where things get heavy (pun intended).
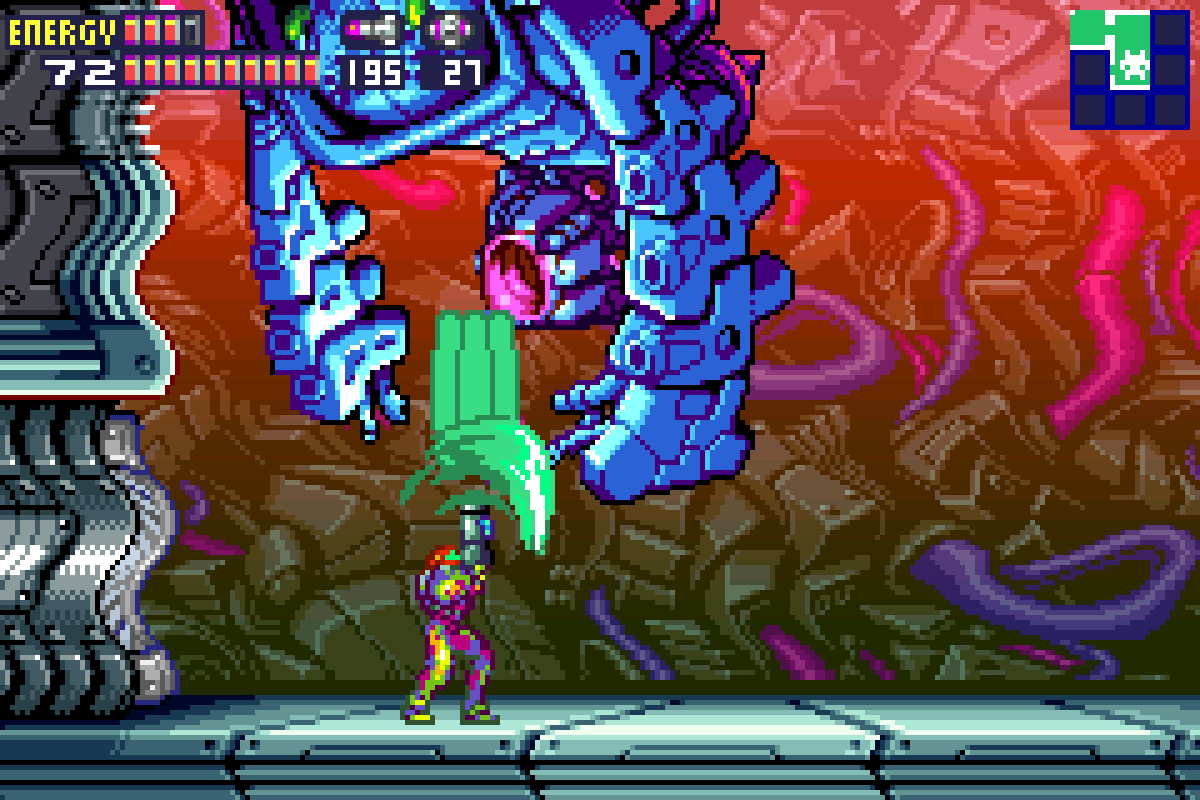
To start off phase two, Nightmare will activate his gravitational manipulator and you will feel the effects immediately. Your movements will be slower and your jumping will be heavier; in short, you’ll be moving as if you are underwater. Don’t even think about using Missiles either, because they’re too heavy and will just fall to the ground – charged shots are the way to go here.
The overall premise of this phase is pretty similar to the last one in that you’ll want to be shooting upwards at the manipulator poking out of his behind. While you would think the gravitational weight might make this pretty challenging, I actually think this part is somewhat straightforward.
First off, a couple notes. Instead of Nightmare’s arms shooting six beams at you, now it will only shoot two, and from the same level; this gives you more opportunity to avoid them. Same basic idea as before: alternate between jumping over the shots and ducking under. In addition to moving up and down, Nightmare will also move left to right. Keep in mind, while he moves very close to the left wall, he will never touch it, meaning that if you’re hugging that wall, no matter how close he is to you, he won’t be close enough to damage you.
Knowing all this, you’ll want to keep blasting his manipulator with charged shots, just like you were doing before. The best way to do this is to constantly be running left to right and firing towards when you get to the right side. You’ll want to keep jumping over his beams, which are actually easier to avoid in this heavy gravity than you might think. Also worth noting, is just like moving underwater, while it might take you a second to get going, once you’re moving, you can build momentum pretty fast, so don’t be too conservative if you’re running towards Nightmare and it feels like you may not get your shot off before he comes and hits you; you’ll move faster than you think.
Jump up and down over his beams, run back and forth to get the best shot, and keep this process up. About a dozen charged shots to the gravitational manipulator will destroy it and begin phase three. NOTE: try and deliver the “killing blow” while Nightmare is a little higher in the air; this can really speed up the potentially dangerous phase three if done correctly.
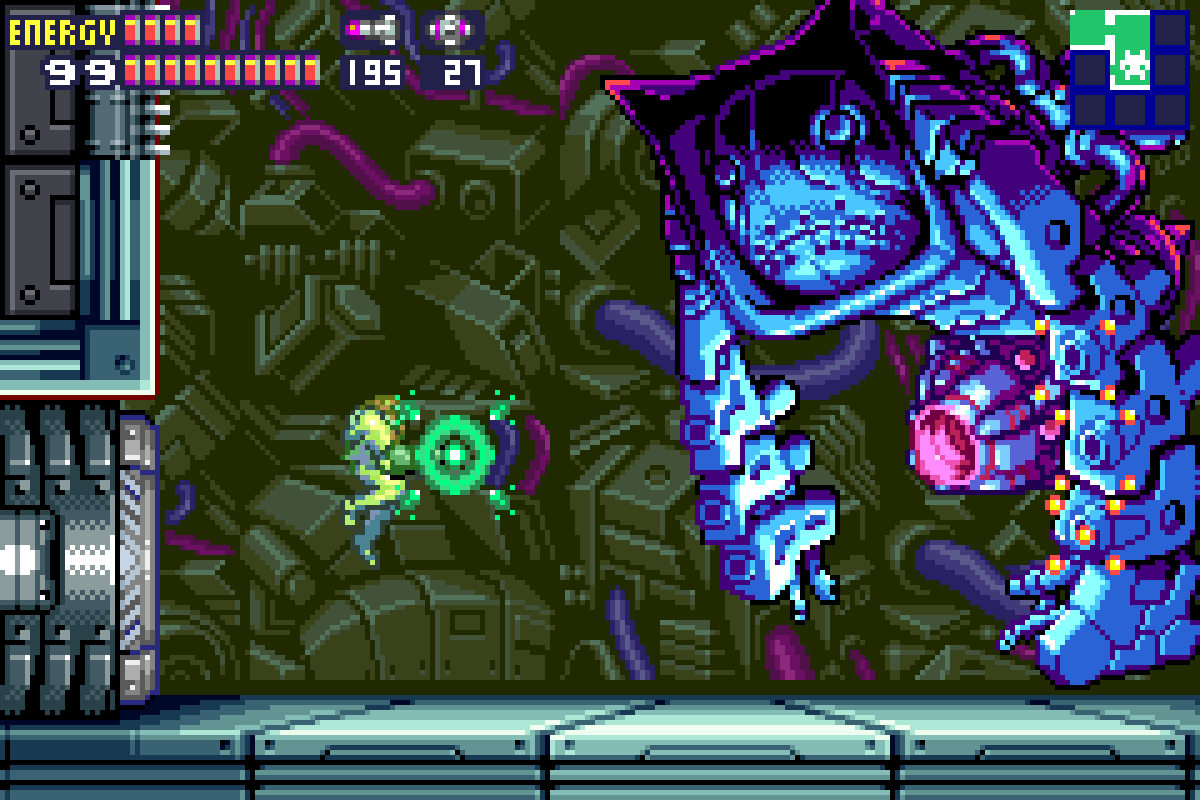
Be ready to act quick, because this is where some luck can really set you up for success. Now that the manipulator is gone, gravity will return to normal and you’ll be able to use Missiles again. The metal plate covering Nightmare’s face will also go flying off, revealing the uuug-lay face of this grotesque science experiment. The face is now the vulnerable part, however, your attacks will basically have to be straight on. If you shoot at an angle, your attacks won’t get through.
Now. Here’s where luck comes into play. If you were able to damage Nightmare in midair, and if he is in line with the monkey bars on the left wall, then quickly get up there and start firing Missiles as fast as you can at Nightmares face. Nightmare will slowly start to float towards you, firing all six beams at you. Position yourself on the monkey bars above his beams but in line with his face and you can probably snap off a dozen Missiles or so before you need to move.

This is basically the scenario that we want to lure Nightmare into for this phase. His attacks this phase are similar in that he’s firing all six beams at you, which are easy enough to avoid, BUT, now that Nightmare doesn’t have the giant gravity weight sticking out of his ass, our man is much more agile now, and will be flying around like crazy.
Nightmare will go flying around the room, chasing after you. You’ll need to Space Jump to avoid him, which is harder than it sounds like. Nightmares main attack here will be simply crashing into you, which, while simple, is very effective, draining away about half a tank of energy every time you touch.
Nightmare will basically follow your movement patterns, so I’m going to drop two scenarios and you can choose whatever you think works for you. The first scenario is much more safe: Space Jump in a wide circle around the room and Nightmare will follow. If you’re making wide laps around the room, Nightmare should never get close enough to you to harm you. You can charge up a beam shot just in case he does crash into you, just so that he takes damage as well. Attacking will be slow in this scenario; you can either charge up shots and try and hit him midair, or just wait for him to stop flying and start slowly creeping across the room again, hoping your shots can line up on the monkey bars or just jumping up from the ground and hitting his face at the apex of your jump.
This scenario is safe, but is going to take you forever. Scenario two is quicker, but riskier.
Scenario two basically involves Space Jumping in short circles at the far right side of the room. You’ll want your circles to be tight so that when Nightmare stops and starts crawling towards the left, his face is in line with the monkey bars. Once he starts crawling, you make your way over to the bars and unload with Missiles. To repeat, you’ll only want to Space Jump as high or as low as the monkey bars on the wall go, and only on the right side to maximize the amount of Missiles we can hit him with once he starts moving. Obviously, this vastly compressed circuit of movement presents far more opportunity for Nightmare to hit us, but that’s the risk.
Now, as far as I can tell, there’s no telltale sign as to when Nightmare will stop flying and start crawling towards the left (if you know one, PLEASE let me know!) so again, a little bit of luck will carry the day here. If you can get those short circles and get Nightmare to stop and float towards you fairly quickly, even if you have to take some hits, you’ll probably be able to finish him off pretty quickly. If Nightmare decides to not cooperate, you could be in for a long battle. You have enough Energy Tanks that I would probably recommend going with scenario two, at least to begin with, and risk a little damage to yourself for a lot of damage to Nightmare.
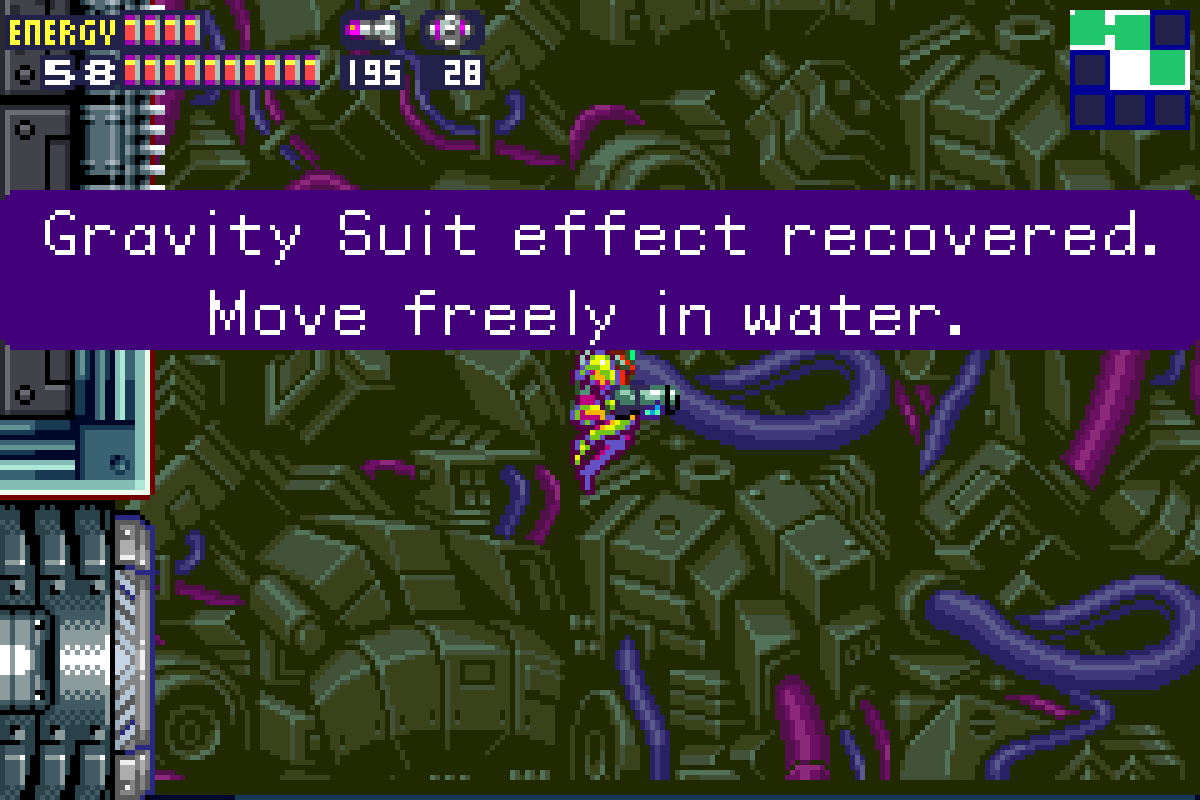
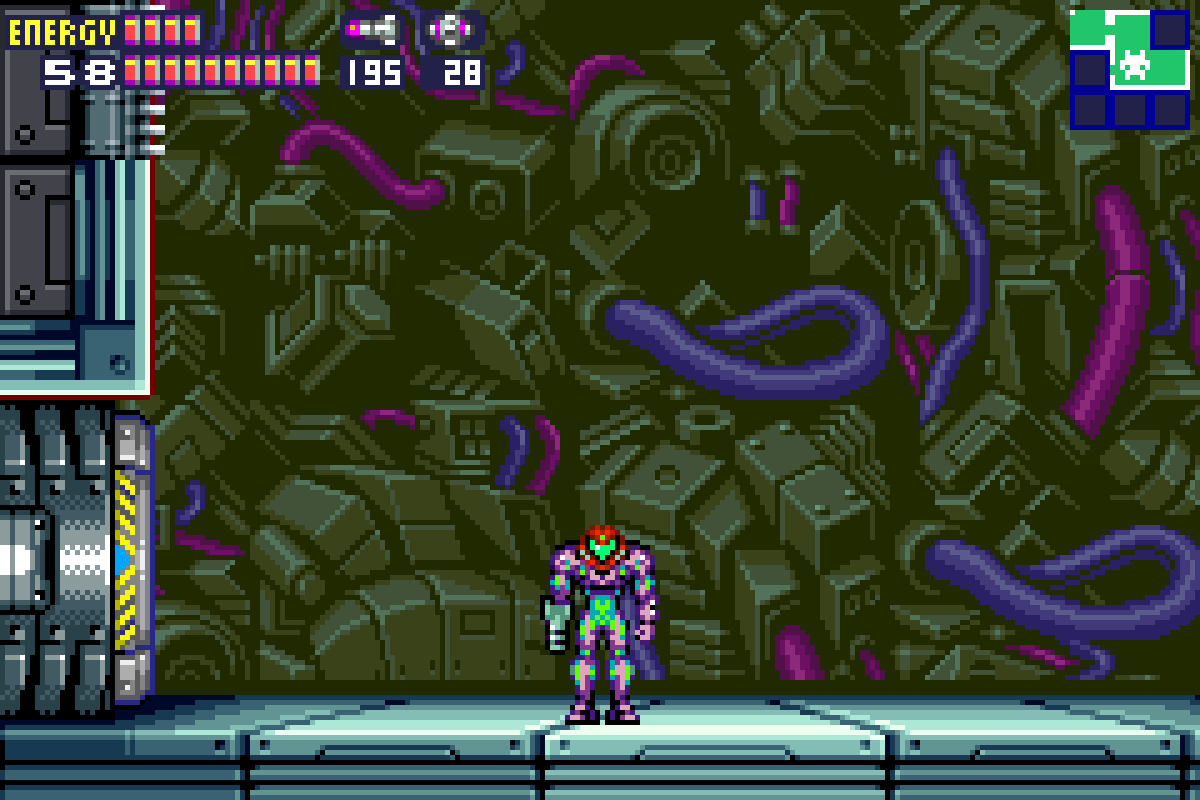
Keep shooting him with Missiles and charged shots, avoid his attacks as best you can, and eventually, Nightmare will fall. Deal with his Core-X and you’ll finally be out of that hideous Varia Suit and into the new GRAVITY SUIT.
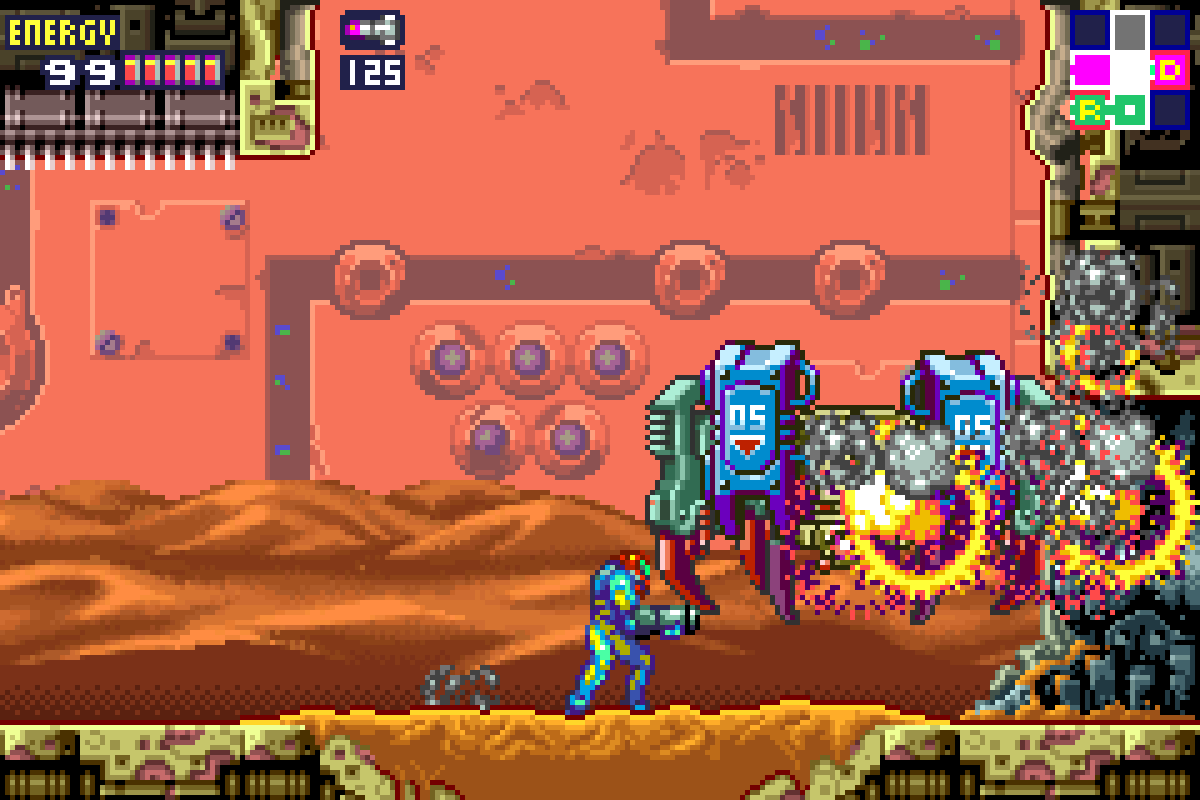
Security Robot B.O.X 2
Our friend B.O.X. is back, and if one could describe a piece of somewhat organic machinery as ‘deranged’, that would certainly be appropriate. B.O.X. looks a little worse for wear after the licking you gave him earlier, but unfortunately, that works more in his favor than it does yours since all his broken conduits and other bits that are hanging out of his body are electrifying the water, making touching it a bad idea for us.
First things first, lay a Power Bomb and, just like last time, a row of monkey bars above the water will reveal itself. This fight is actually pretty much the same idea as last time, and fortunately, it’s just as easy. While there are a few differences that make B.O.X. a little more unpredictable this time around, he’s still basically the same robot we trashed earlier.
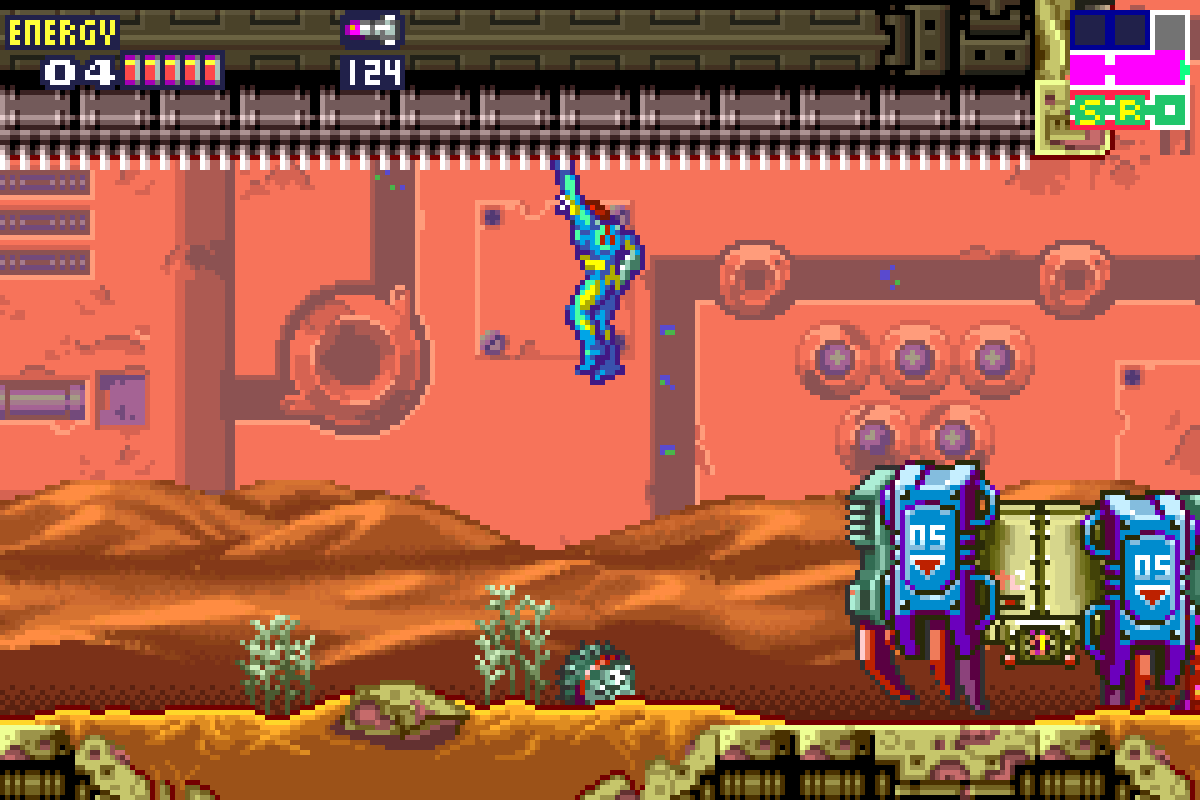
As I mentioned, the same premise of the fight is the same: while you hang on the monkey bars, B.O.X. will jump around and shoot projectiles at you, trying to knock you off. Just like last time, we want to fire Missiles straight downwards right on top of B.O.X.’s head. His arms are impervious, so don’t bother. Knowing this, there are a few key differences to be aware of.
Last time, when B.O.X. jumped up, he didn’t jump high enough to touch you and you didn’t have to worry about him hitting you or knocking you off. This time, we’re in a smaller space, so his jumps can hit you and knock you off into the electric water. Make sure to stay clear. Also last time, B.O.X. shot out a fire bomb that would erupt in two flame spires; this time, he shoots out five flying Missiles at you (they look like small airplanes actually, pretty cool). You can easily shoot them down, although they won’t drop anything.
Knowing his attack patterns now, we can easily neutralize any of his attacks and put him away quickly.
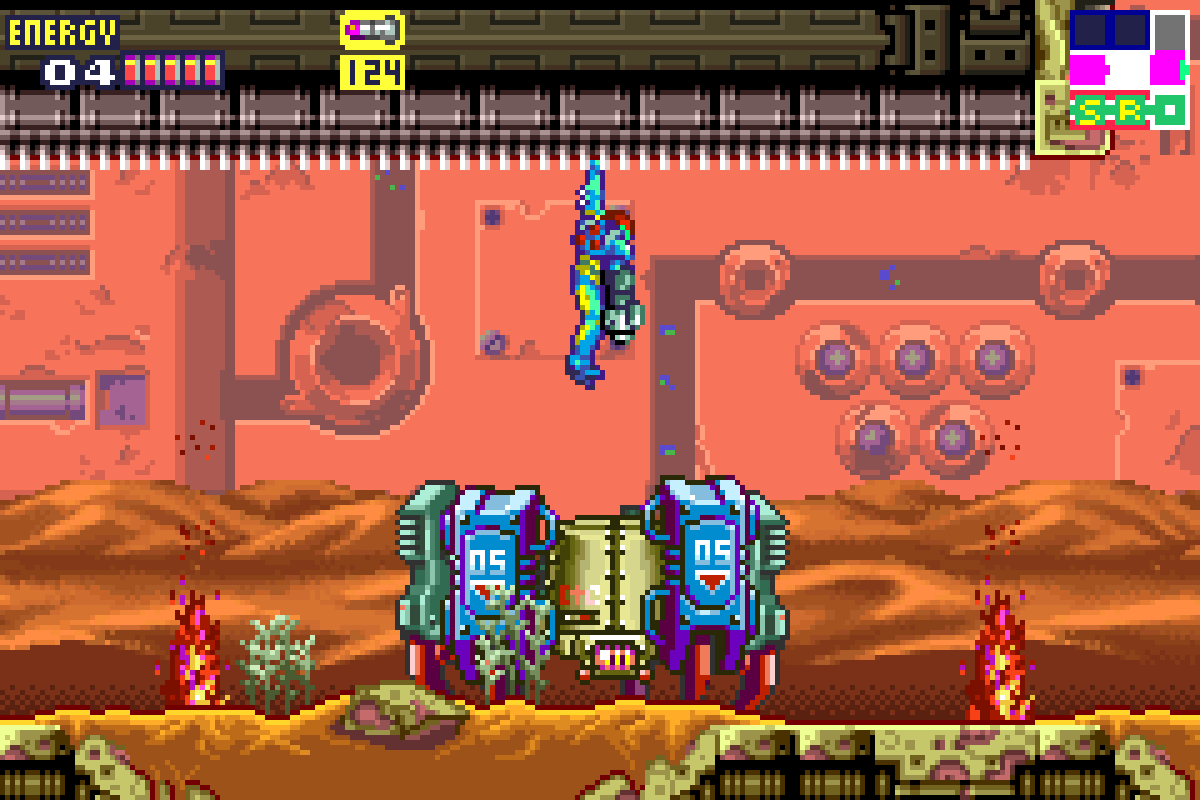
Once B.O.X. shoots off the five airplanes at you, shoot them down and then move away from him. B.O.X. will almost always perform a little hop after firing his airplanes; move far away enough so that you’re not in range, but close enough that you can quickly get overtop of him. When he hops, he’ll stumble a little on his landing and take a second to find his footing. This is your chance to get overtop of him and shoot two Missiles straight down into his brains. Two is probably all you’ll have time for, as you’ll want to move away after the second shot since B.O.X. will be preparing his airplane missiles to shoot at you.
(Alternately, you can try and a great your Missiles diagonally towards B.O.X.’s head without moving over top of him, but the angle is so precise that you’ll probably just end up wasting Missiles and elongating the fight unnecessarily. I would strongly recommend the method I laid out.)
Rinse and repeat this formula until you’ve put twelve Missiles in his skull and you’ll finally destroy B.O.X. for good. Anyone else kinda sad about all this?
Deal with the Core-X (the water will no longer be electrified) that spawns out of B.O.X.’s remains and you’ll nab yourself the WAVE BEAM.
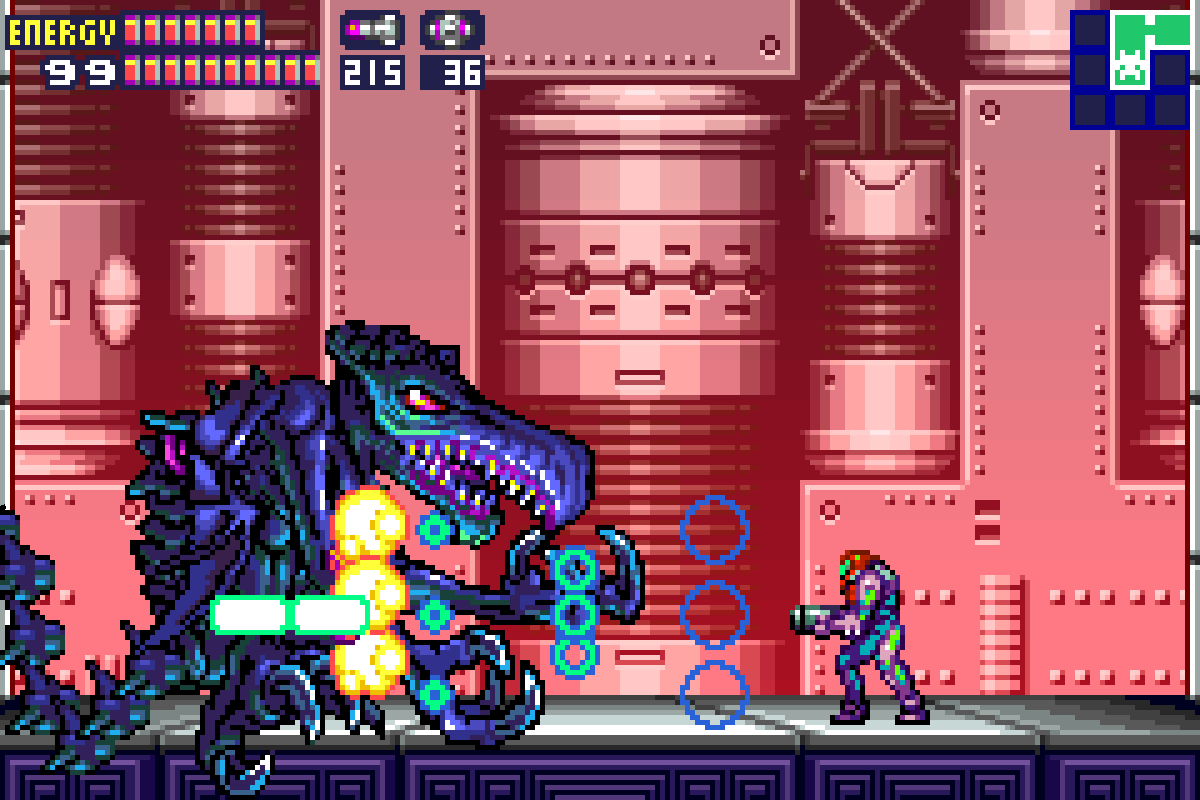
Ridley-X
First of all, let’s address the elephant in the room: what the **** is up with Ridley’s scream in this game? He sounds like a really bad contestant on America’s Next Top Kaiju Monster, the one judges would all laugh at but would become famous for being so bad. Ayy…
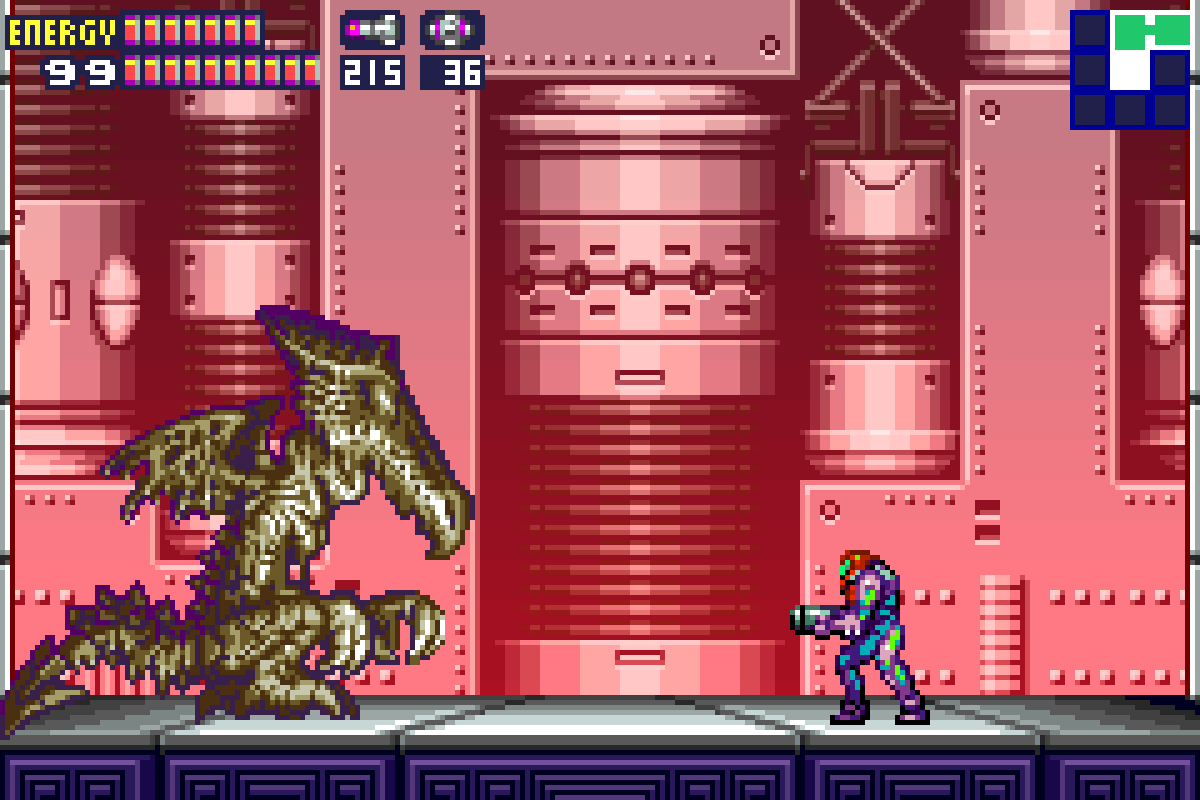
Anyways. During my walkthrough of Super Metroid, I encouraged everybody to try and fight Ridley without using any of my tactics since such a big part of the fun of a Ridley fight is how much of a brawl it feels like. I’ll encourage everyone to try the same here, but this time, more due to the fact that you really don’t need much tactics to beat Ridley at this point in the game. As far as Ridley battles go, this guy is kind of a pushover. That being said, go in cocky and he still has the ability to inflict some pretty massive damage, so let’s see what we’re dealing with here.
This version of Ridley is certainly more grotesque than anything we’ve seen before, and thus, he’s not as agile as in games past, but will rely on brute force more. We’ll use this to our advantage. For this fight, put your Missiles away and stick to beams. Samus’s arm cannon is frankly pretty OP at this point, so we’ll do most of the major fighting in the rest of the game with it.
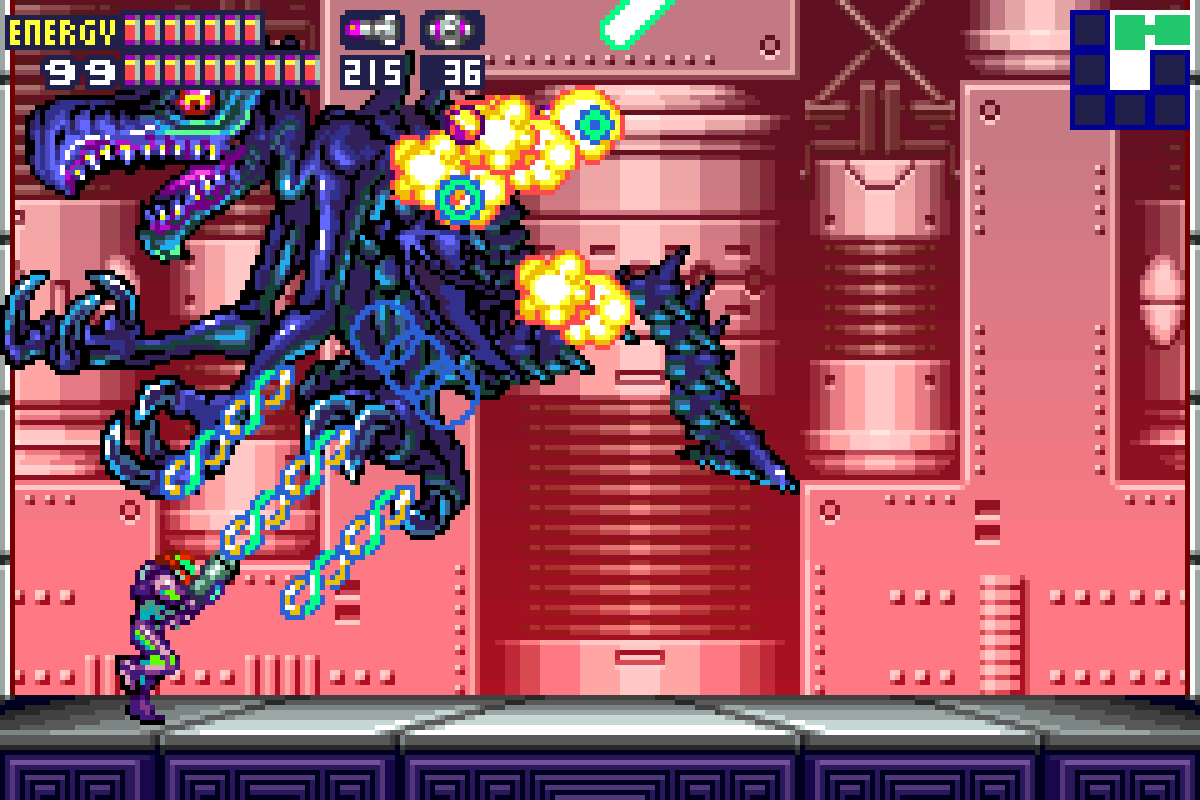
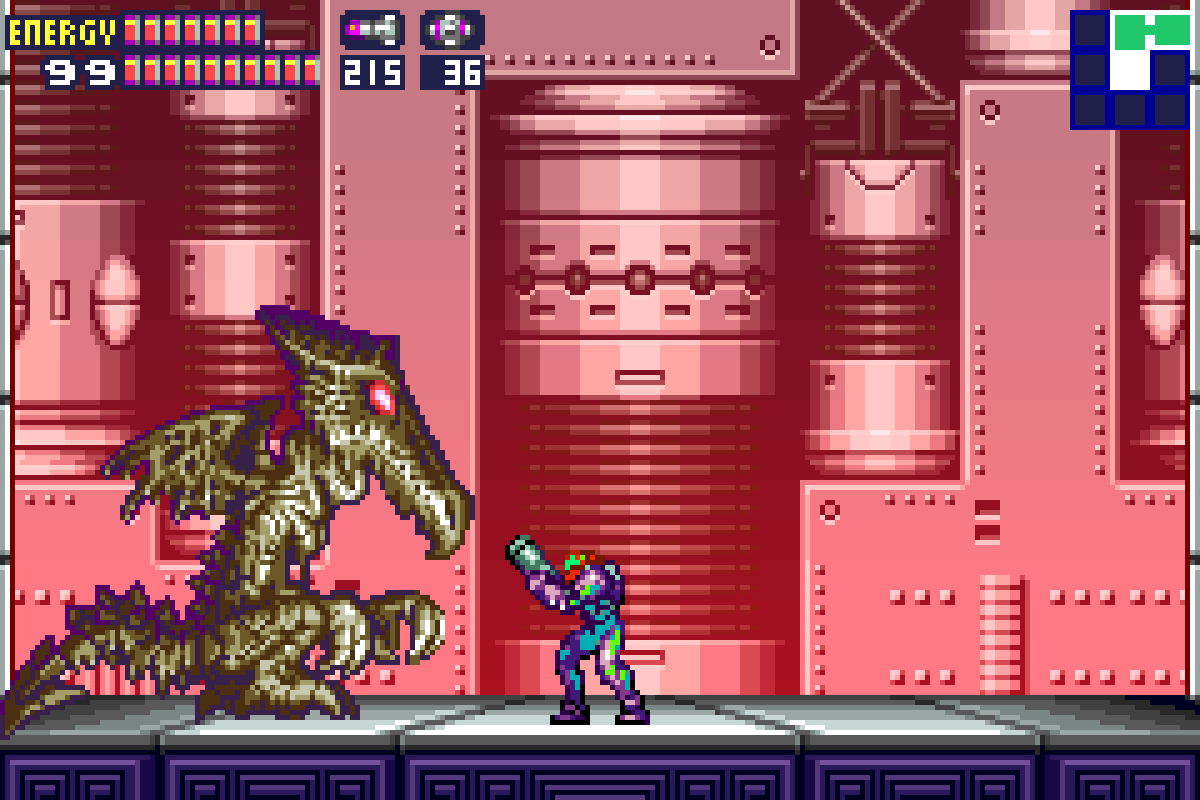
Ridley has a bunch of pretty brutal attacks to be aware of; like in previous encounters, he will spit fireballs at you, only this time the fireballs hone in on your position. You should be able to avoid them by simply running from side to side constantly. Likewise, his classic Pogo attack returns, where Ridley straightens out his tail and bounces around trying to impale you. You’ll want to run under his tail as he’s bouncing towards you: doing so leaves Ridley super vulnerable for a charged shot or two.
Maybe his most devastating attack is when he picks up and basically just punches you in the face over and over. This is rough, and the only way to get him to let go is to fire charged shots right at. As much damage as you’ll take, the bright side is Ridley should be taking as much if not more if you’re firing off charged shots at point blank.

As always, Ridley’s tail will be going crazy, so you want to avoid it as much as you can. Not only will it damage you, but Ridley’s tail is also invincible, so it’s just best to try and always be facing Ridley head on, Pogo aside.
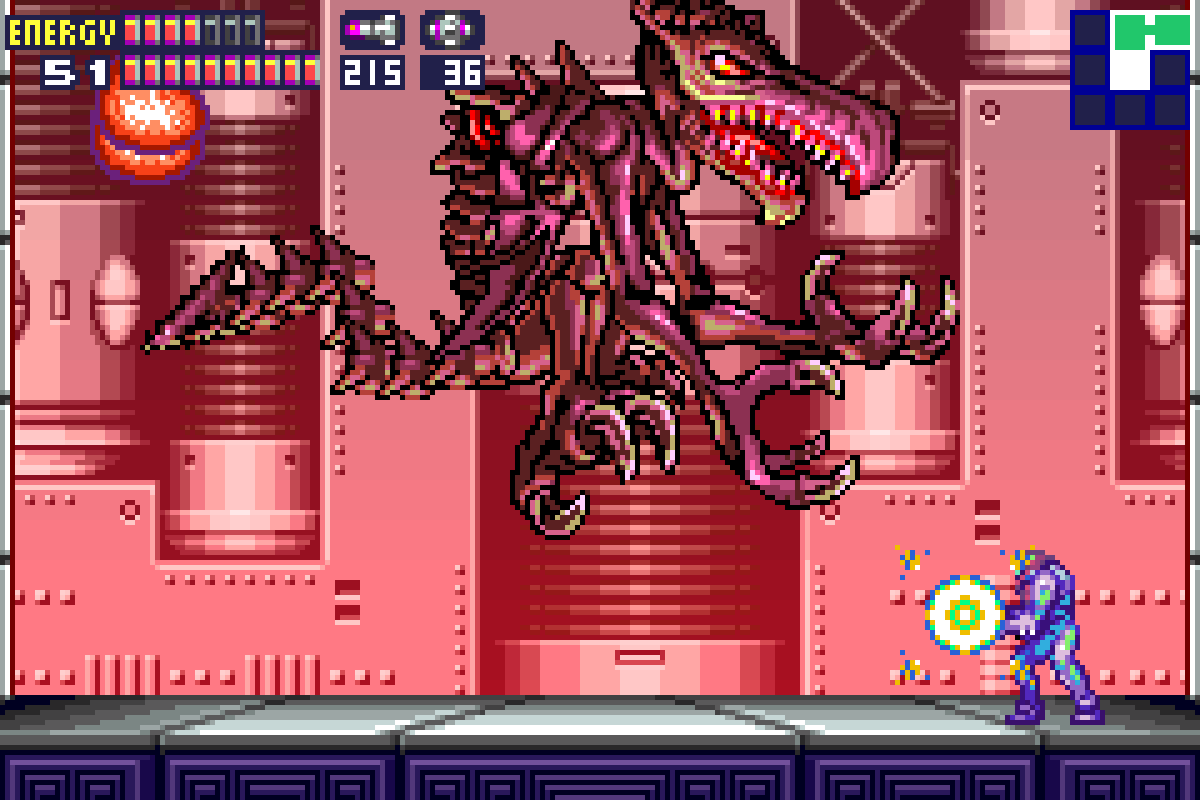
That’s really it. Ridley is vulnerable in every part of his body except the tail. Charge up your shots and fire away. You’ll no doubt take some damage in this fight, but as long as you’re moving side to side constantly and countering his grab and Pogo attacks, you should be more than fine. Honestly, the chances of Ridley injuring your ears with his ridiculous cry are better than the chances he sends you to your death.
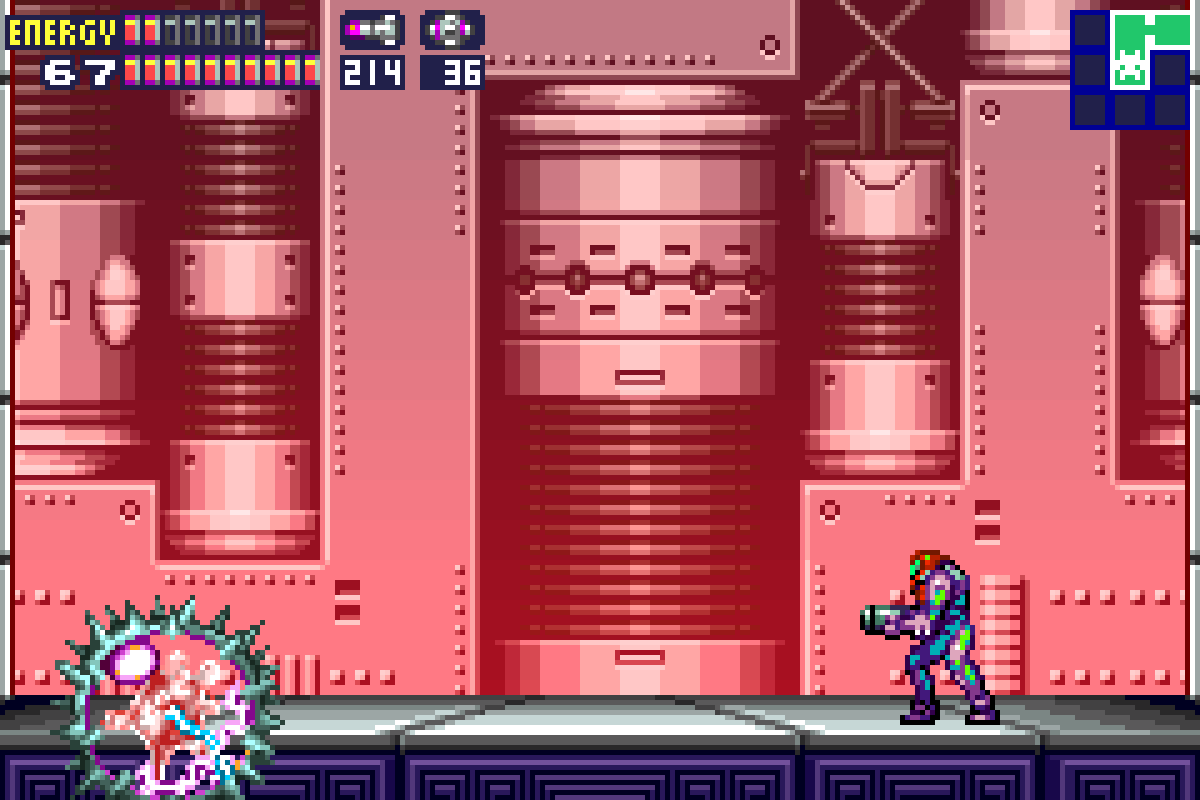
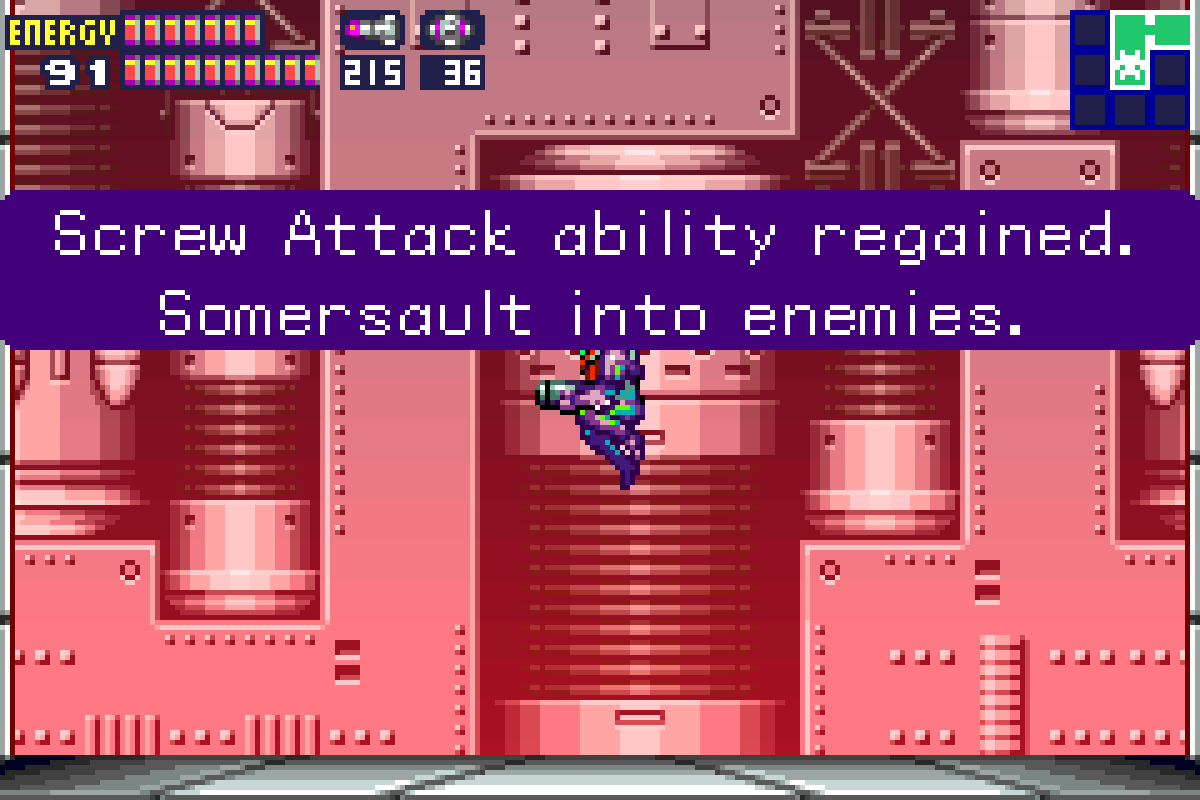
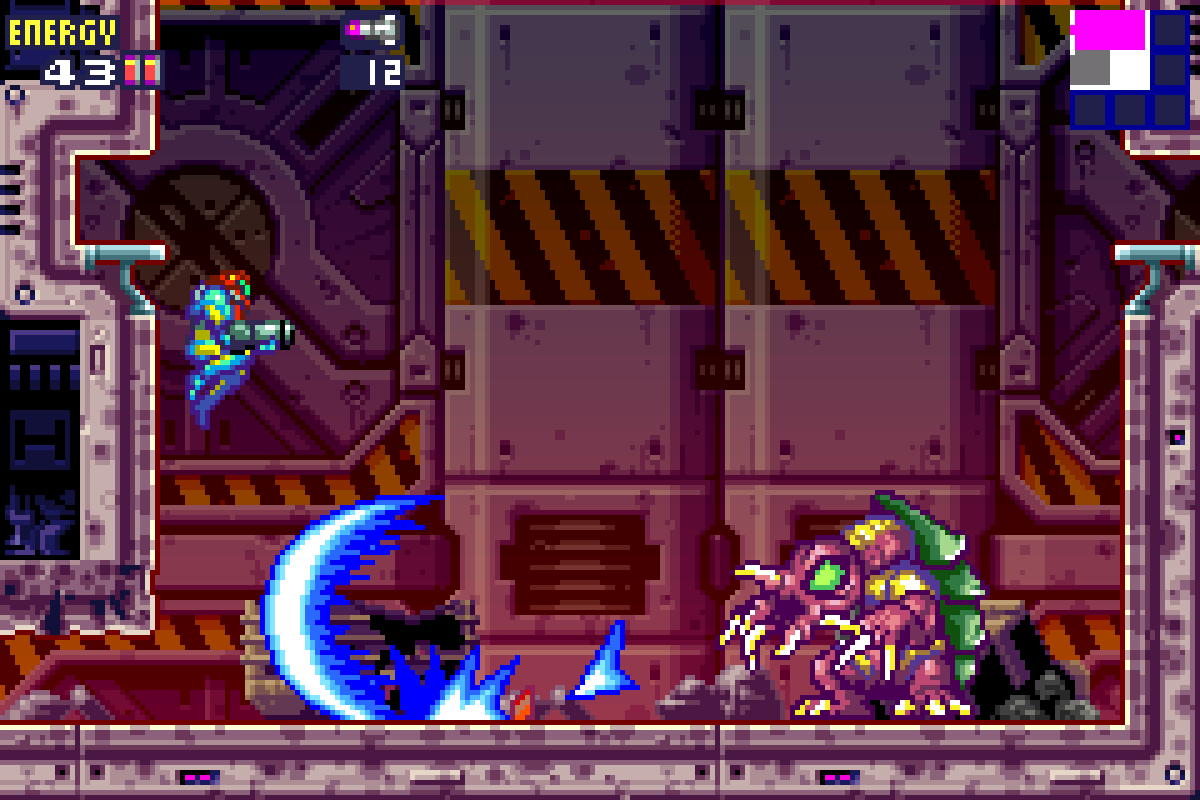
I counted about 24 charged shots before Ridley started self destruction. This battle will be more of a sprint than a marathon, but following these pointers, you should be okay. Deal with the Core-X and we’ll finally have the last powerup of the game, and the ultimate weapon in the Metroid universe: the SCREW ATTACK.
The SA-X
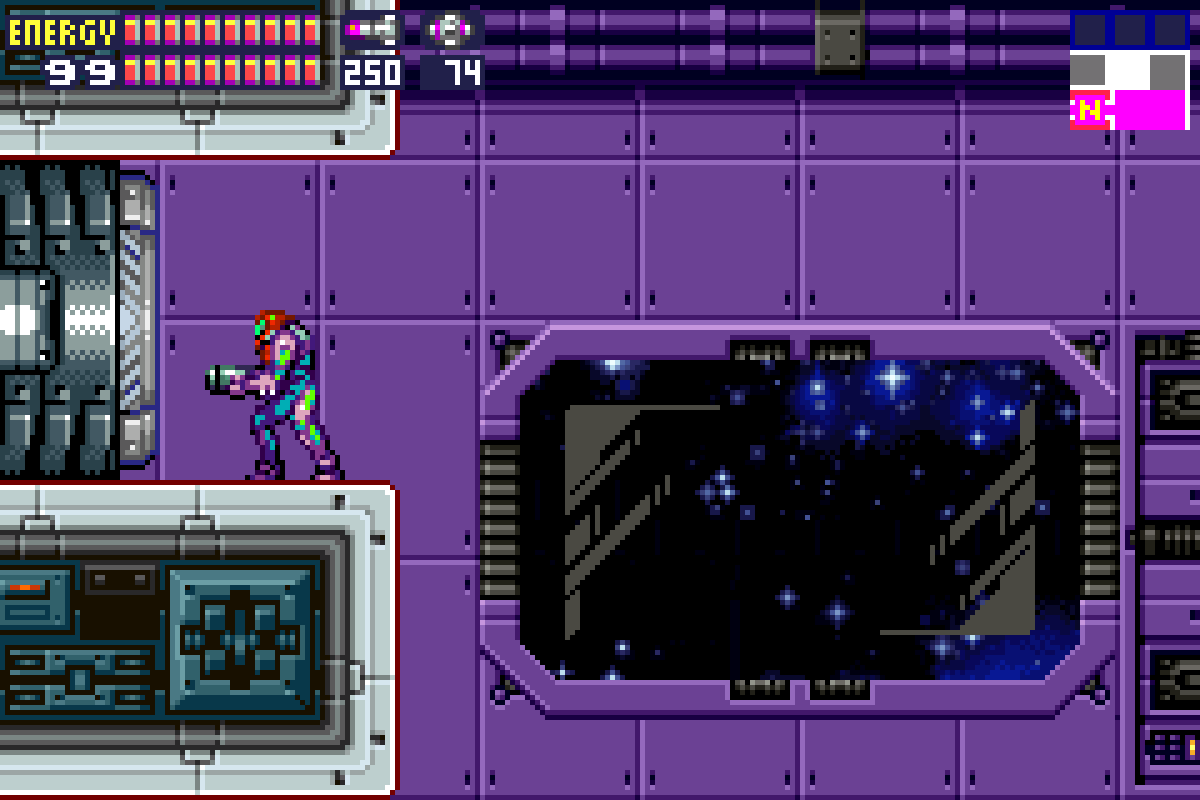
Once you arrive at the Operations Deck, steel yourself, because it’s finally time to confront the menace that has been terrorizing us the entire game.
Get towards the top, and you’ll hear a crash. The SA-X has arrived.
You’ll be fully loaded for this fight, with max Missiles, Power Bombs, and Energy Tanks, and it’s a good thing, because the SA-X is not playing around. The SA-X is you, but with a key difference: it will be shooting the Ice Beam at you, which will inflict massive damage on you due to Samus’s Metroid DNA. If you get hit by the Ice Beam, that’s a full tank of energy gone. Yikes. Speaking of massive damage, you’ll also lose a full tank of energy if the SA-X hits you with a Screw Attack. This is tough because the SA-X will constantly be jumping and shooting, so you don’t have a lot of room for error.
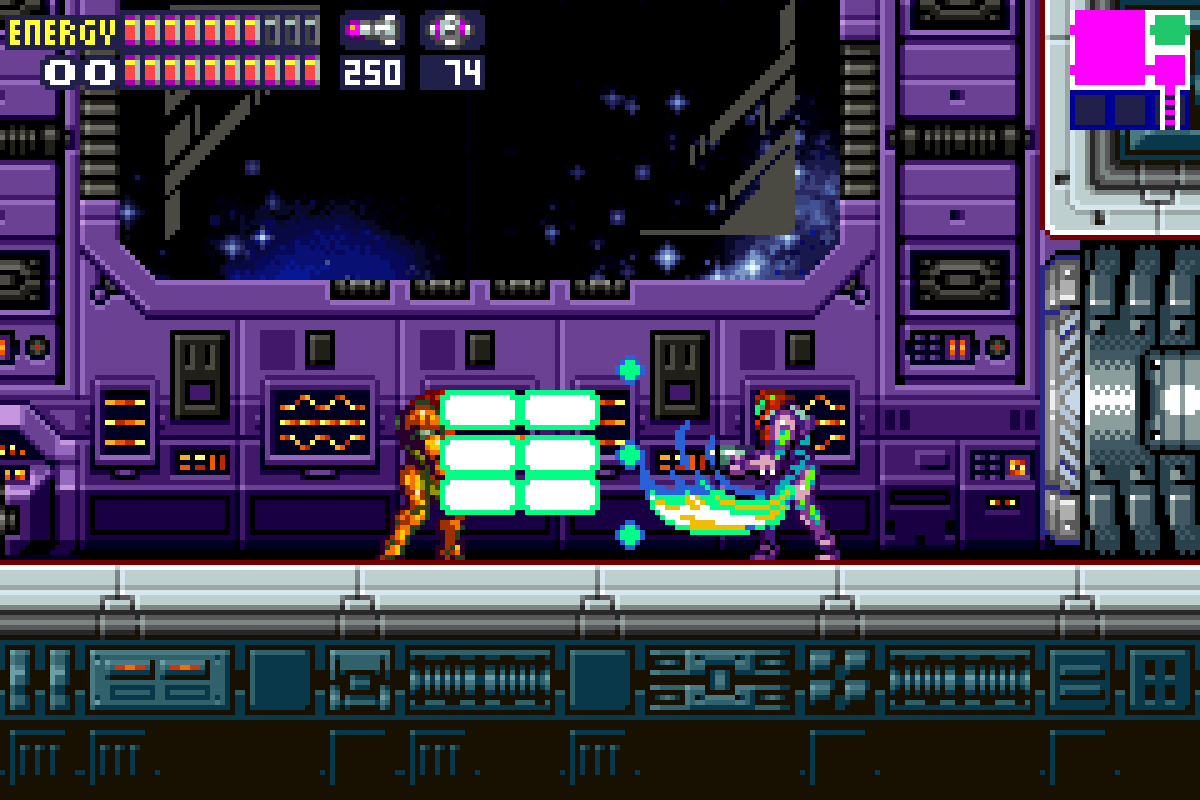
The good news is that aside from the Ice Beam and Screw Attack, the SA-X doesn’t really have any other attacks it utilizes. No Power Bombs, Shinesparks, etc. at least to contend with. The other saving grace is that your Screw Attack will allow you to pass through the SA-X’s Ice Beam shots, so make sure that you’re jumping constantly. You’ll want to use charged shots against the SA-X; Missiles will freeze it, but won’t do any damage.
I’ve experimented a few different ways to fight this fight, and the most effective method I’ve found is one that actually seems a little daunting – fight the SA-X at close range in close quarters. If you choose, you can make use of the two floating platforms above you, get up there and wait for the SA-X to up, blasting it a charged shot and then running back down after only to lead it back after and repeat the cycle, but I find that not only does this take forever, but your chances of a mistime and getting blasted by the Screw Attack jump up exponentially since this strategy involves the SA-X jumping to follow you a lot.
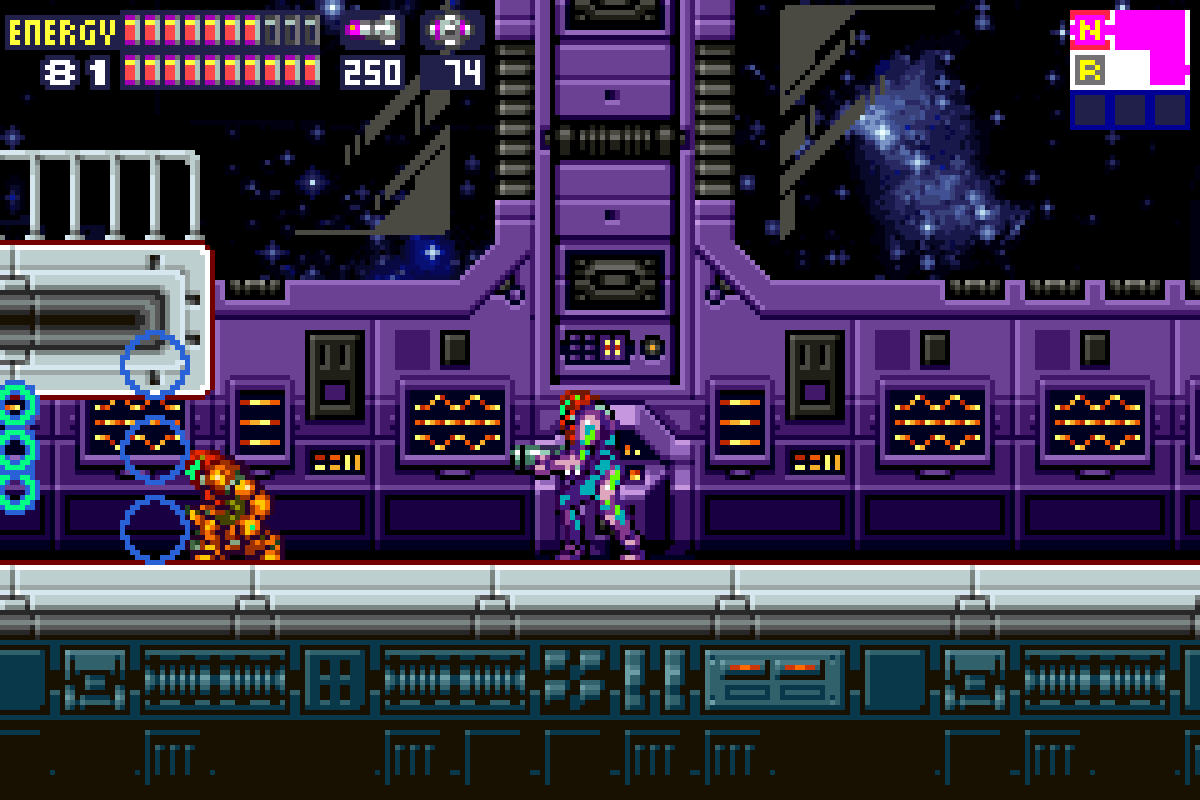
Instead, get on the ground and stay there. We’re going to try and lure the SA-X into a groove that, if we execute successfully, we can finish this battle fast and dirty in. Charge up a shot and hit the SA-X; jump as soon as you’ve fired, because chances are good that the SA-X fired an Ice Beam at the exact same time as you. Jump over the SA-X – it might have already started its own jump at this point, so just make sure you jump high enough over the SA-X to clear it. Land behind the SA-X, and immediately charge up another shot; the SA-X should still be landing from its own jump, so wait until it’s on the ground (the SA-X’s Screw Attack protects it from your beams just as yours does its) and as soon as it looks at you, blast it again.
The key is jumping over it as soon as you’ve fired and getting another charged shot ready to go right away. This can be risky, since sometimes the SA-X will do something unexpected such as Screw Attack in the wrong direction or fire a shot you’re not expecting, but for the most part, the SA-X will follow the same pattern of jumping after its hit, turning around, walking right into another charged shot, and repeating. You might have to take some damage to bait it into this cycle, but once you get it going, you can finish the SA-X off quickly. I counted about 15 charged shots until the SA-X fell.
The fight won’t be over once the SA-X falls, though. Instead, the SA-X will mutate into some kind of weird Samus/X/Metroid looking monster. Although this thing looks pretty scary, he possesses almost no real threat. He’ll jump in the air and try to land on you, but he’s so big and so slow that avoiding him will be so easy, you’d have to really be trying to get hit. You’ll only need a couple more shots right to its skull, and you’ll defeat it.

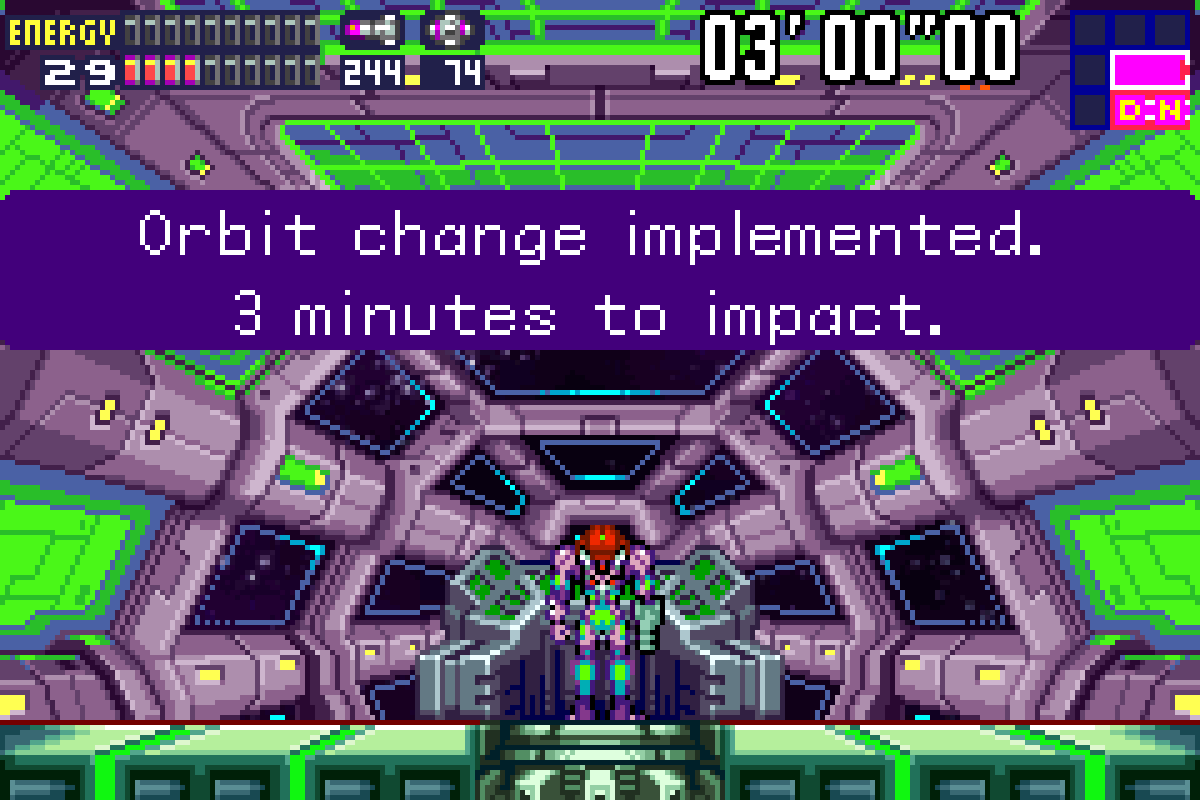
A Core-X will appear, and you’ll deal with this one the same way you’ve dealt with all the rest, but don’t get sloppy – this one shoots Ice Beams at you, which inflict big damage. Destroy it. Before you’re able to absorb the X that spawns out of the Core, it will float away… darn. Nevertheless, finish what you set out to do – hit up the Operations Room and change the course of the B.S.L.
Omega Metroid
Head down towards your ship (there’s a Recharge Station along the way, but don’t bother with it). Once you get to the Docking Bay, you’ll find that not only is your ship gone, but there’s a massive Omega Metroid waiting for you. With Samus still in a weakened state from the X attack at the beginning of the game, there is no way that we stand a chance against this colossal beast. All of your weaponry will be useless against the Omega, so to save yourself time, just walk up and let it slash you. The hit will rock you, bringing you to your knees and leaving you with 1 bit of energy left.
Just when things look worse than ever though, the X-Core of the SA-X will show up and reform. The SA-X will blast the Omega Metroid with its Ice Beam before finally absorbing a slash from the Omega itself. The SA-X will be destroyed, but its core will be right there for the taking. Jump up and grab it and you’ll have what we fans commonly call the Omega Suit, complete with the Ice Beam!
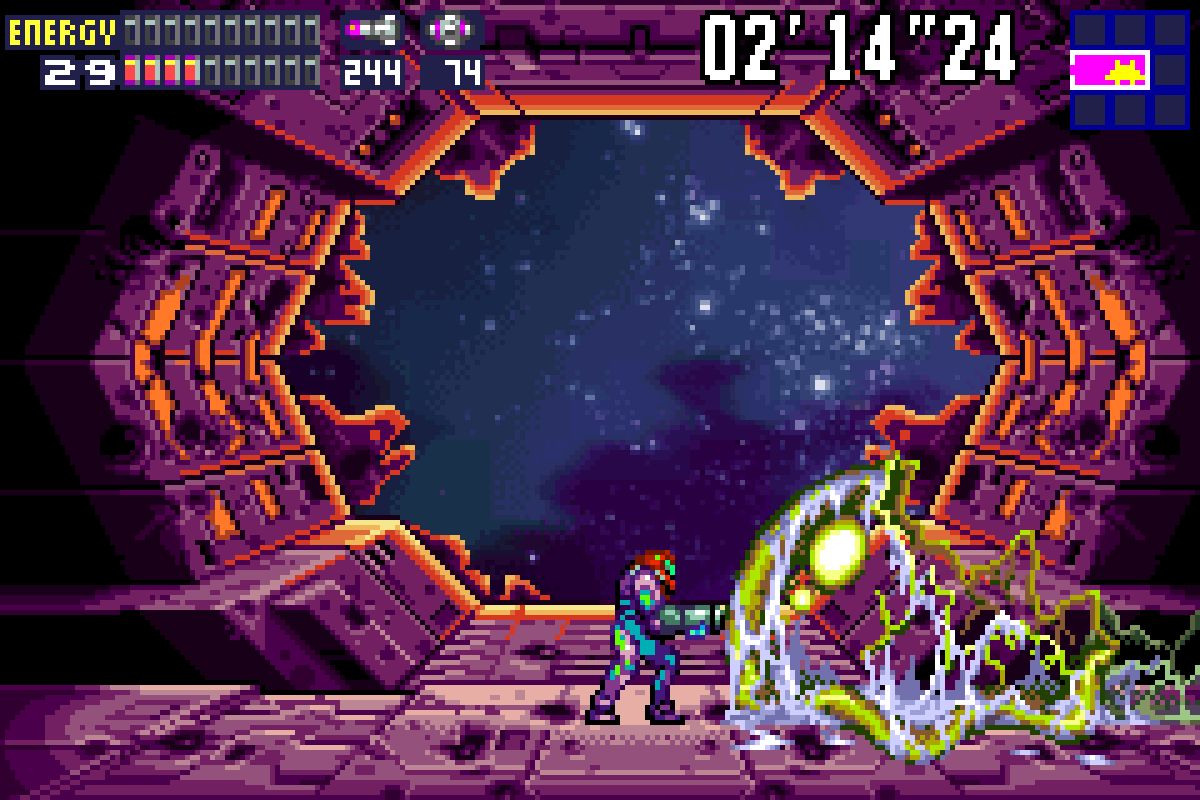
Now that you’re equipped with full health and the Ice Beam, the rest of this battle will be fairly perfunctory. This isn’t to say you’re out of danger yet – the countdown is still on, and if you dilly dally around the Omega Metroid, it will slash you again, sometimes multiple times in very quick succession, which will drain a tank of energy and leave you grounded for about 5 valuable seconds.
What you’ll want to do is employ hit and run tactics. Aim up and shoot the Omega right in its belly with a charged shot; run to the right, fire, and run back. If you see the Metroid raise its arm to strike, turn around and get away from it. Repeat this process until the Omega is destroyed.
Your ship will show up and get you off the B.S.L. station before it crashes into SR388. Adam, with the help of the Etecoons and Dachoras, swooped in for the rescue, ensuring that Samus lived to fight another day. With that, the X have been destroyed and the galaxy is at peace… for now.