


Metroid Prime 3: Corruption Walkthrough – Bosses
Here you’ll find a detailed list of strategies, information, and tips in fighting the many bosses of Metroid Prime 3: Corruption. Navigate to any specific boss below.
- Berserker Lord
- Meta Ridley
- Rundas
- Korakk
- Mogenar
- Defense Drone
- Ghor
- Helios
- Metroid Hatcher
- Gandrayda
- Omega Ridley
- Dark Samus
- Aurora Unit 313
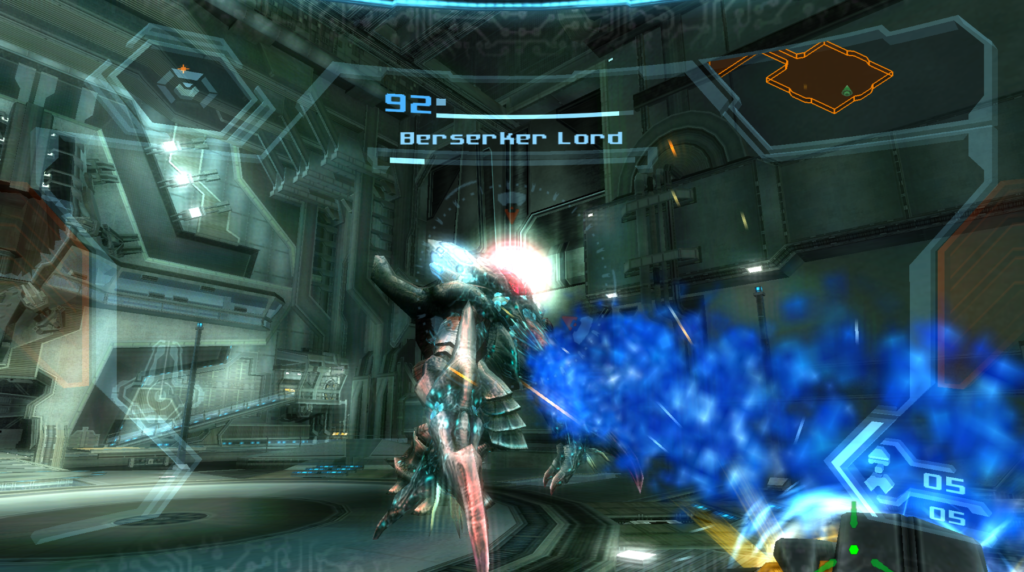
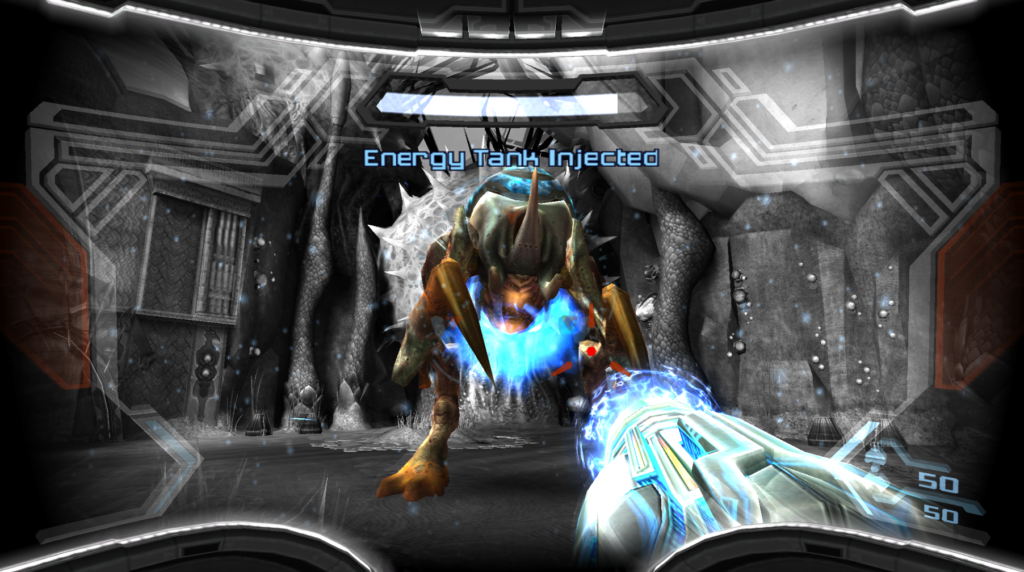
Berserker Lord
Your first boss encounter of Corruption awaits! One thing that you can look forward to is me reminding you before every single boss encounter in the game to scan the big baddies before you get down to business! Almost every single boss is a one-chance-only scan to complete your Logbook, so make sure that you always always scan! Once you’ve scanned the Berserker Lord, let’s get to it.
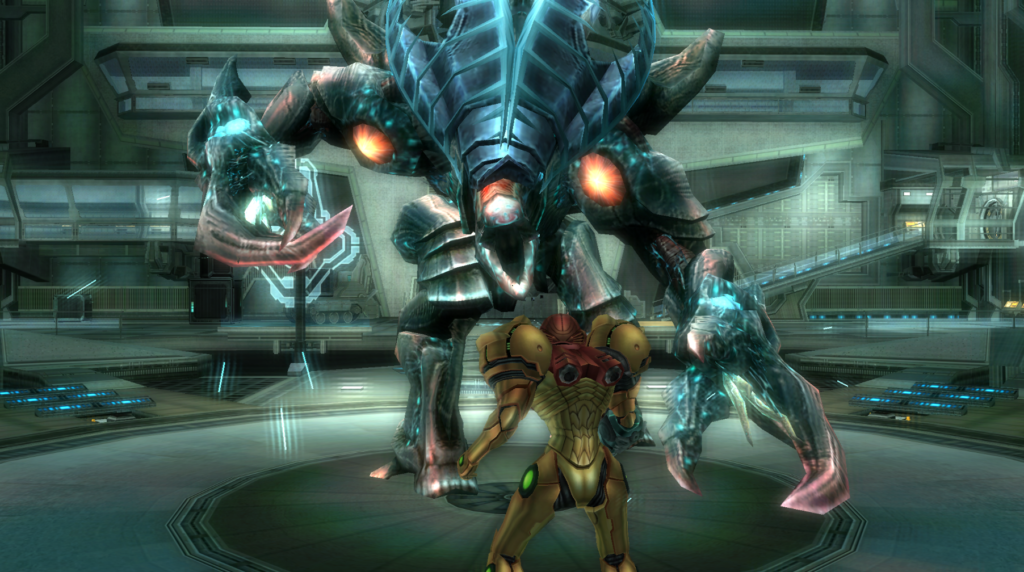
As you might imagine, the first boss isn’t usually too much of a killer, but that doesn’t mean we should get sloppy. Berserker Lord is certainly big and imposing, so best not to get too close, because in a contest of strength and brawling prowess, you will lose.
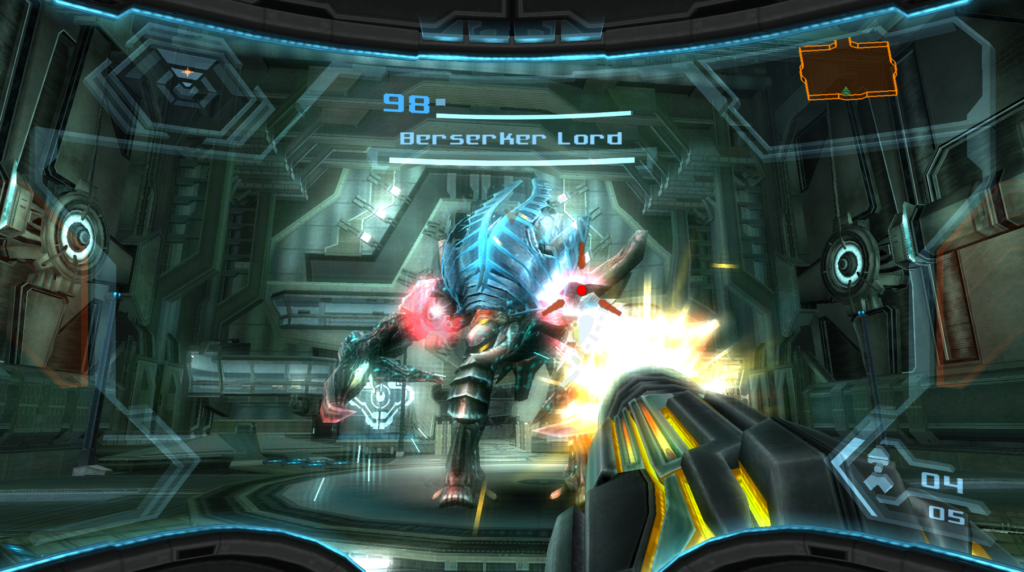
The Berserker Lord has a couple attacks to watch out for; namely, he will spit some blue gunk at you and shoot a thin blue laser at you. I probably don’t need to tell you that the blue stuff is Phazon, and Phazon is bad. Both attacks are easy enough to either strafe or jump right over, so do so.
Veterans of Metroid Prime will probably notice a similarity to the Omega Pirate in that the Berserker Lord’s shoulders are two red glowing orbs that might as well just say “hit me!”. Oblige and fire charged shots at the orbs. When they break, this will be your chance to attack!
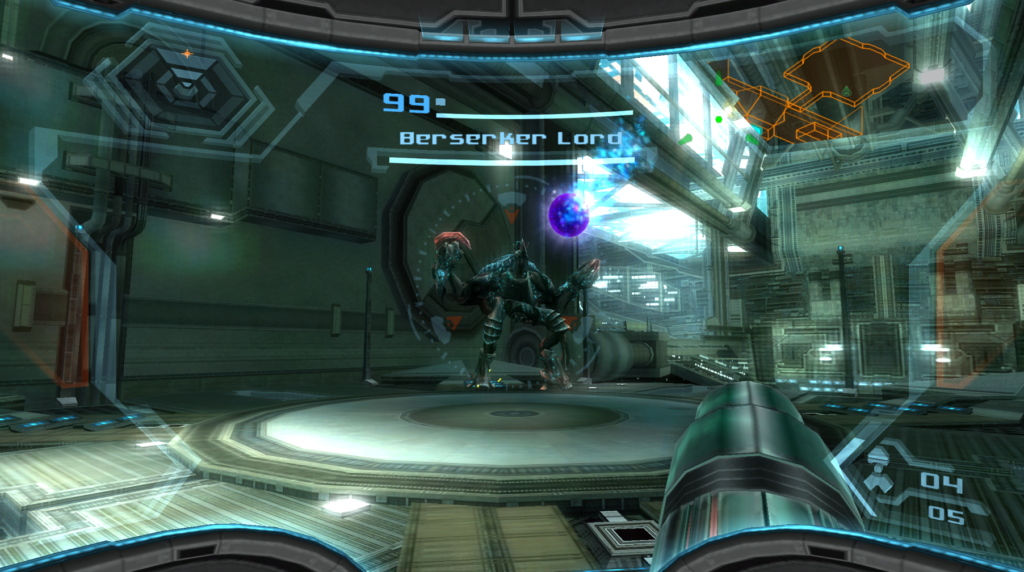
The Berserker Lord will fire some slow moving purple orbs at you; if you hit them, they will change direction and go barreling back towards the big monster, damaging it and breaking its protective shielding covering its brain (or whatever that’s supposed to be). Fire away!

Don’t get too cocky, though, as Berserker Lord won’t just sit there and take it. His attacks will start to ramp up, and he will fire a massive projectile which does huge damage towards you, as well as smash its big first on the ground, sending massive shockwaves through the battlefield.
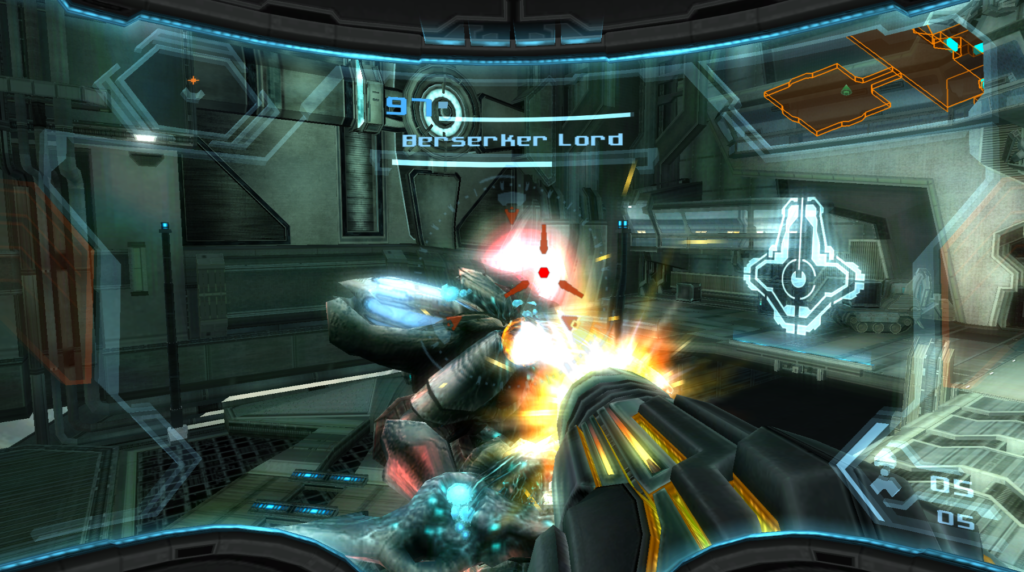
Keep on pelting the exposed brains of the Berserker and he should fall in no time. As a reward, you’ll be treated to an awesome cutscene of the defeated Lord falling into space and getting blown up by an unsuspecting Space Pirate fighter craft. Groovy!
Meta Ridley
Get ready for a boss battle unlike anything else in the Metroid series! Samus’s archrival Ridley is back for a rematch after the events of Metroid Prime, but this face-off will have a different twist to it.
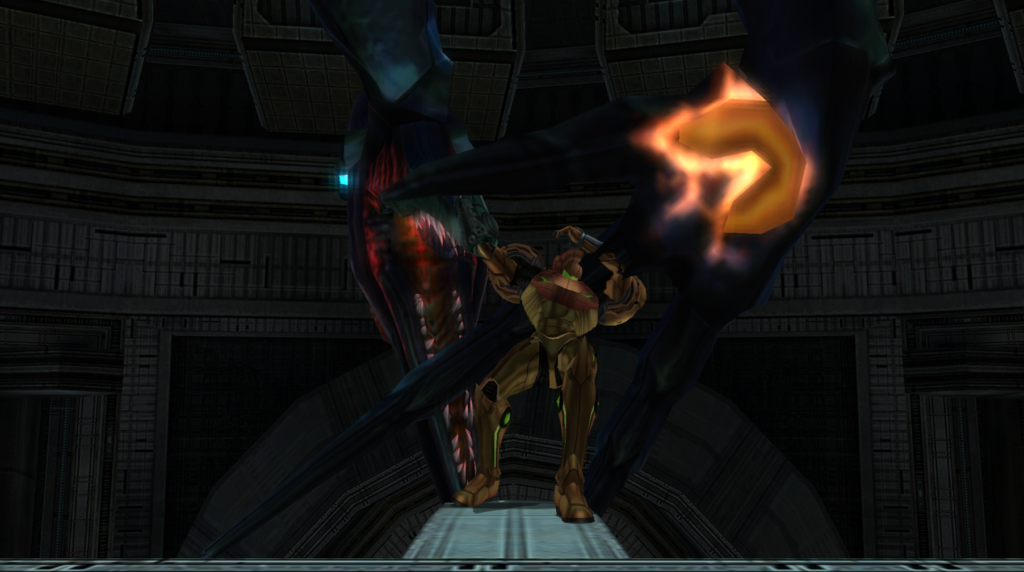
Meta Ridley will attack you just as you’ve activated Generator 3, dive bombing you and triggering a fight that takes place while both of you are free falling down a narrow Generator shaft. You’ll be playing the role of Gandalf the Grey here while Ridley will be our resident Balrog that needs vanquishing, so let’s get to it!
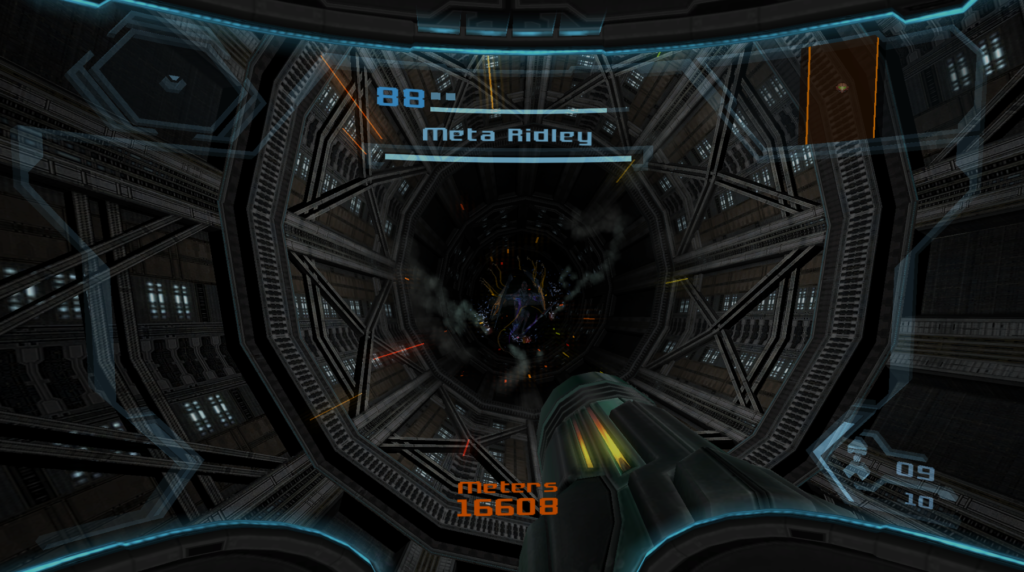
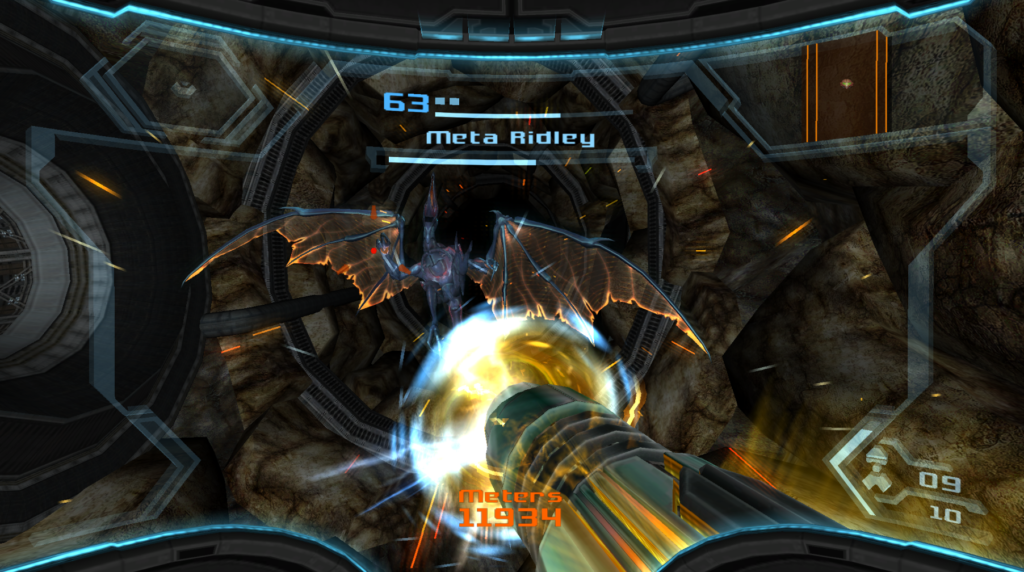
As always, make sure you scan Meta Ridley the second the battle starts! You’ll start quite literally free falling and stay that way the entire duration of the battle. Ridley’s distance from you will fluctuate, and thankfully he doesn’t have too many attacks to deal with, but there are other hazards that you’ll need to be cognizant of.
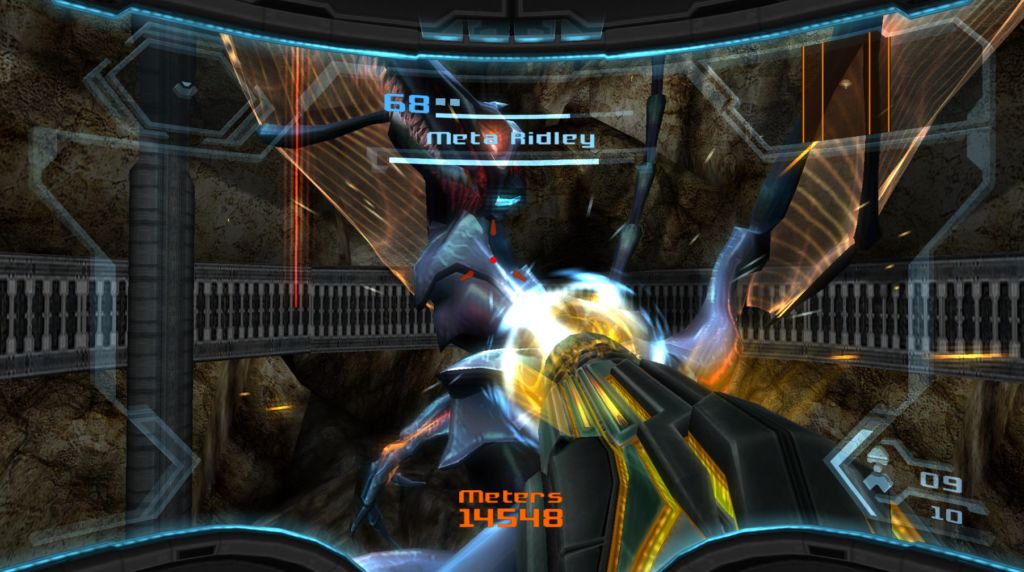
First and foremost, you should be able to see a counter on the bottom of your screen that tells you how far you’ve fallen, and more importantly, how far until you reach the bottom. Needless to say, you’ll want to wrap this battle up quickly before you run out of room to fall. You’ll also have to contend with falling debris. You’ll be falling much faster than it, so try to shoot and move around so it doesn’t hit you. Speaking of, the tunnel itself is a hazard; you’ll mostly be falling down a vertical shaft, but there will be times where you’ll have to move and adjust your course so you don’t go scraping against the walls.
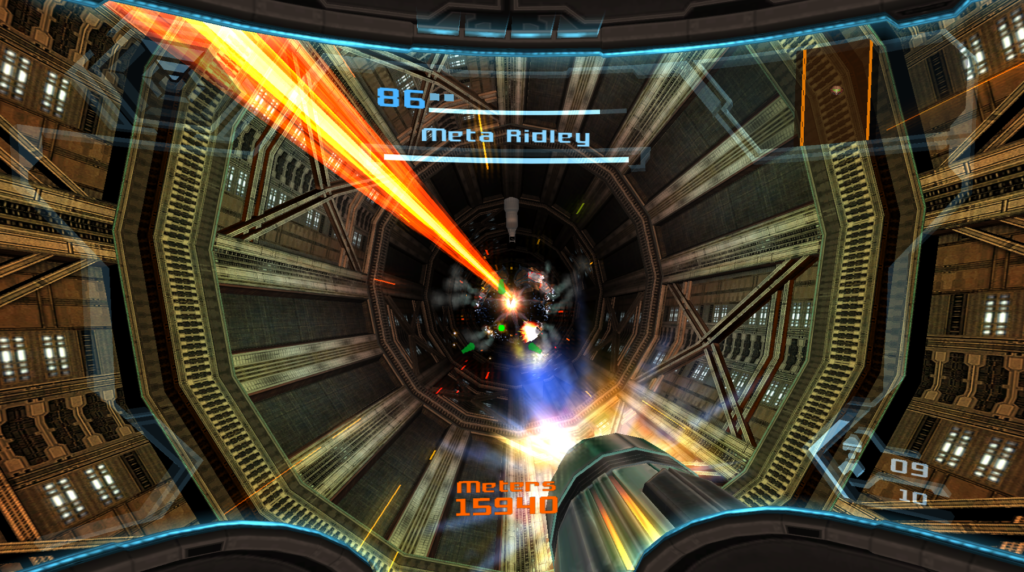
Sound easy? We haven’t even talked about the leader of the Space Pirates yet! Ridley will attack you with some plasma beams, which is pretty standard and easy to avoid. He will also eventually swoop up and get nice and close to you. He’ll go to give you what can only be described as a pimp slap, but his backhand will start glowing for a few seconds before he actually moves to hit you. Shoot the glowing part and Ridley will take damage!
Ridley will then use his other arm, and then his mouth, for similar attacks. Shoot the glowing part and you’ll repel the Space Dragon and do some good damage.
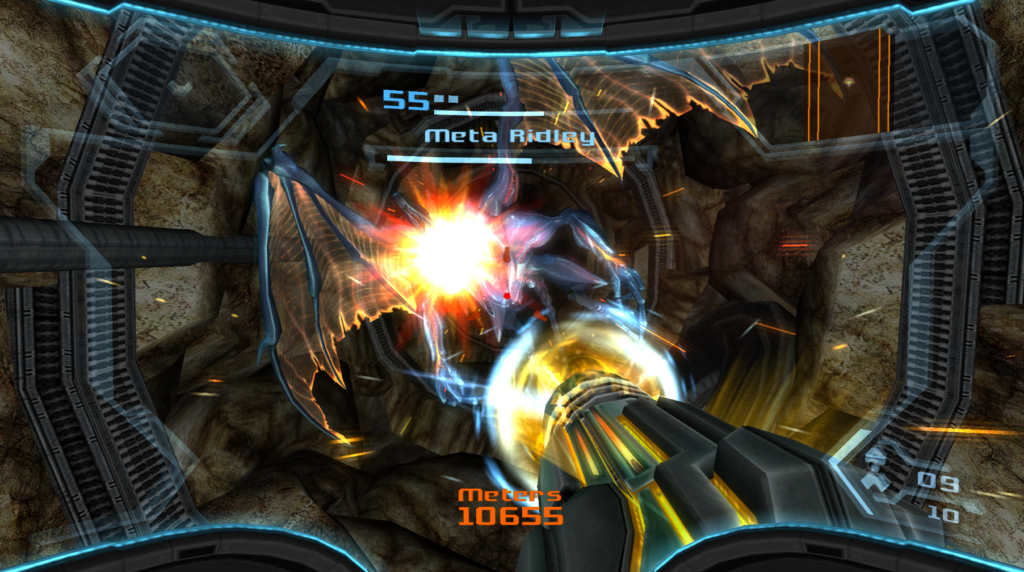
After these attacks, Ridley will detach himself from you and throw you further down, so he will be “on top” of you. His attacks will start to change up, as he’ll shoot a more focused and intense beam of plasma at you, send multiple smaller fireballs hurling your way, and a giant energy shot headed straight for you. You can use your power beam to destroy the projectiles, or otherwise just avoid all the attacks.

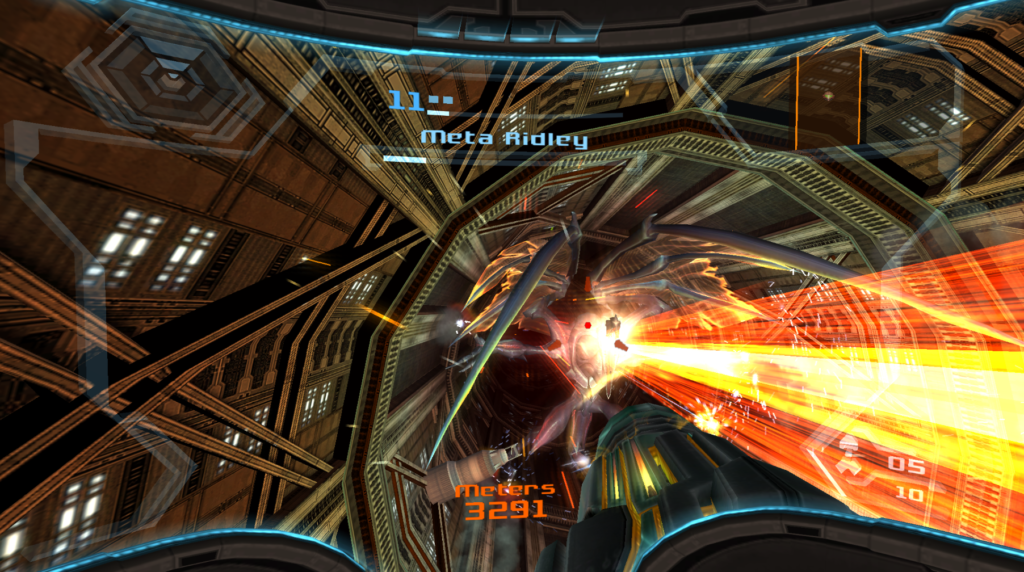
After a bit, Ridley will switch back to fighting from below and start to grasp the sides of the shaft with his claws. You’re probably getting close to the bottom of the shaft, so hurry and shoot Ridley in the mouth with missiles, charged shots, whatever! Just don’t run out of shaft!
Aim true and fire at will, and Meta Ridley should be vanquished… for now. You’ll get a much needed assist from Rundas and live to fight another day.
Rundas
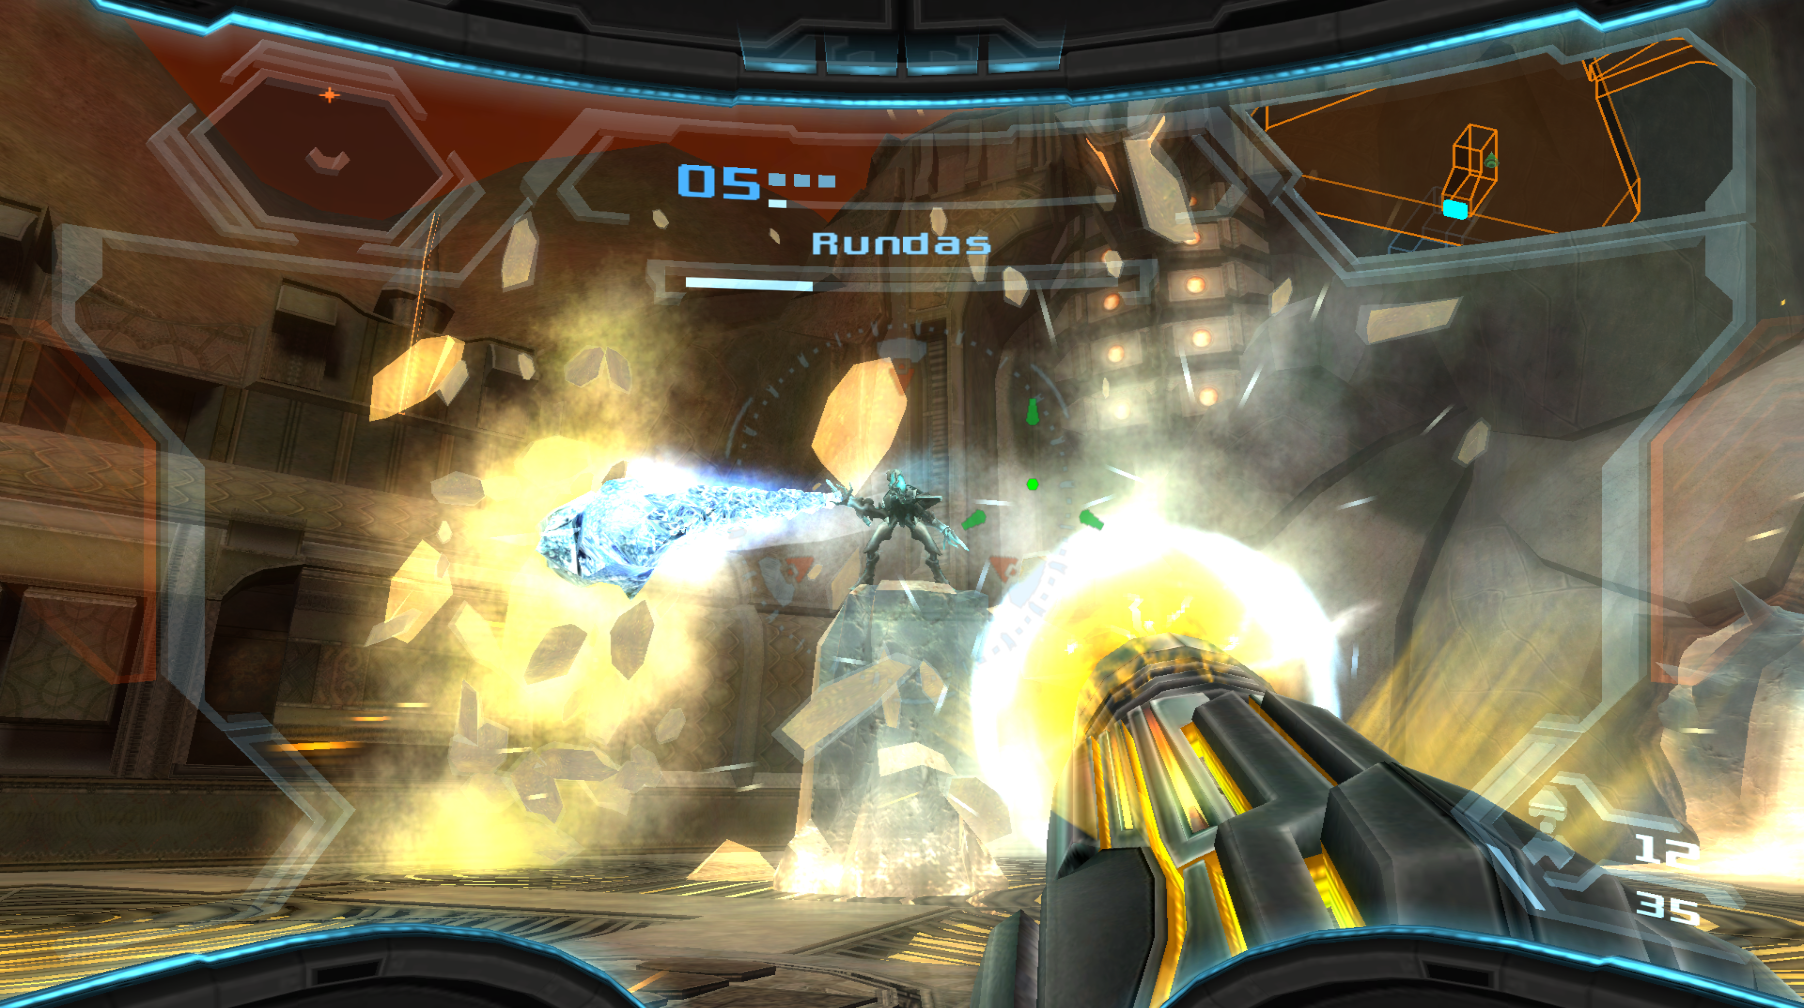
The first of a series of heartbreaking battles. Unfortunately for our bounty hunter colleagues, the Phazon corruption of Rundas has passed the point of no return, and there’s nothing more we can do for our former friend other than to put him down.
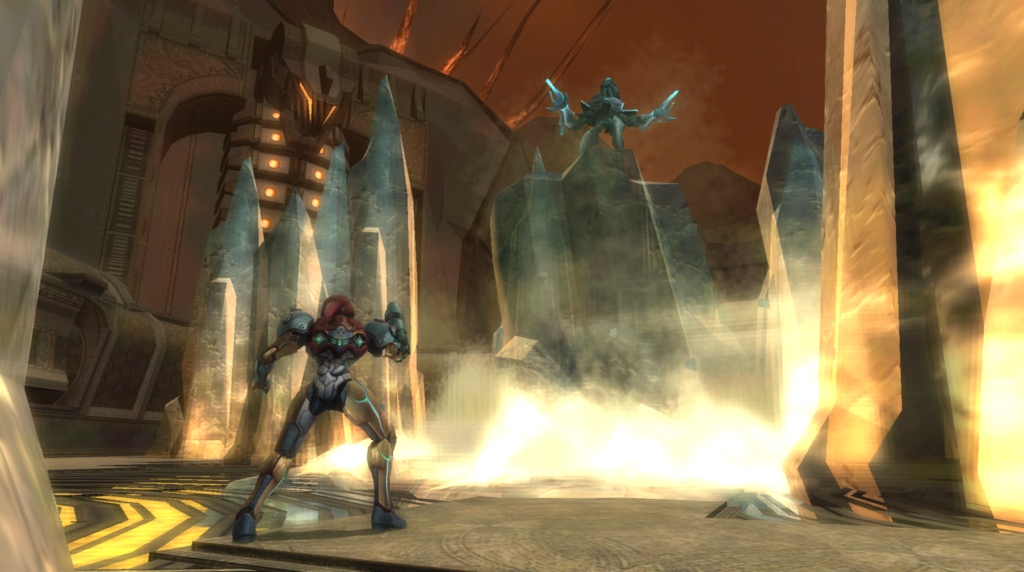
Start the battle off by 1) scanning Rundas, and 2) taking a moment to appreciate the awesome music. Once the battle gets underway, you’ll be able to engage the ice rider.
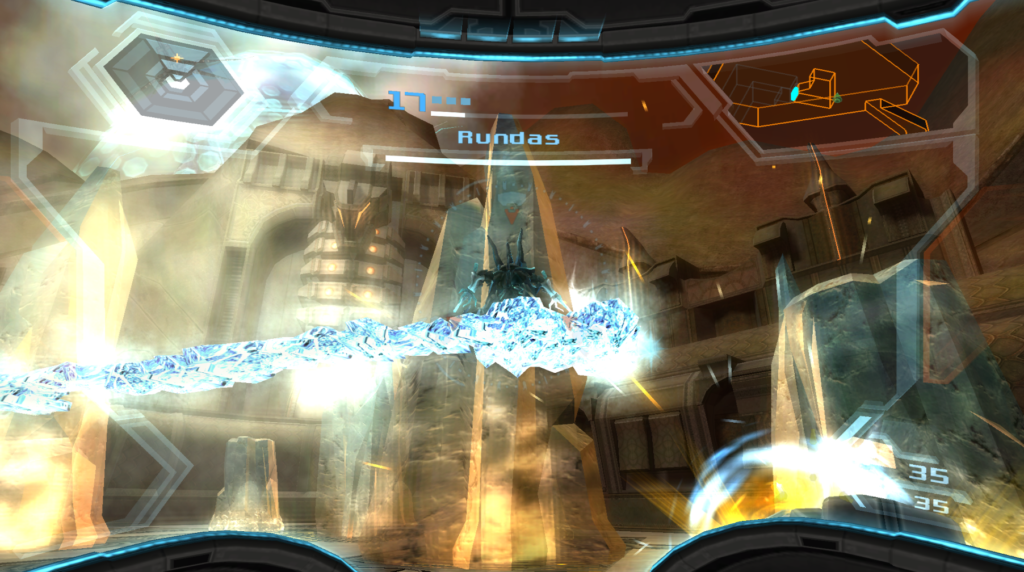
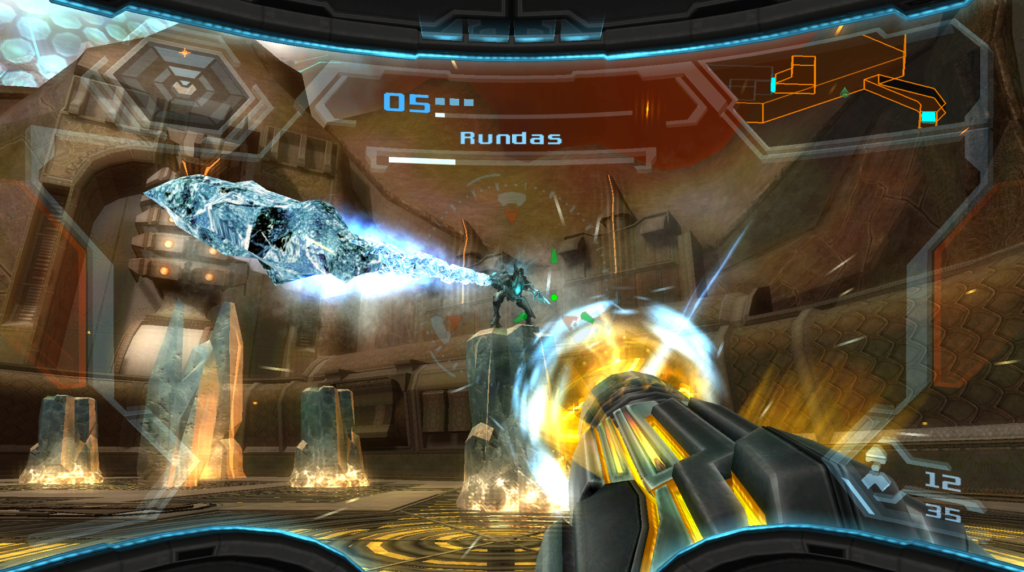
Rundas has a variety of attacks, and almost all are based around his ice abilities. You’ll notice right away that he’ll just shoot ice beams at you constantly, almost always in groups of three. Dodge and strafe to avoid these, and if you do get caught, mash B to get yourself unstuck. Rundas will also create a sheet of ice to go surfing on, very Bobby Drake-esque, and ride around the arena, so hitting him can be difficult.
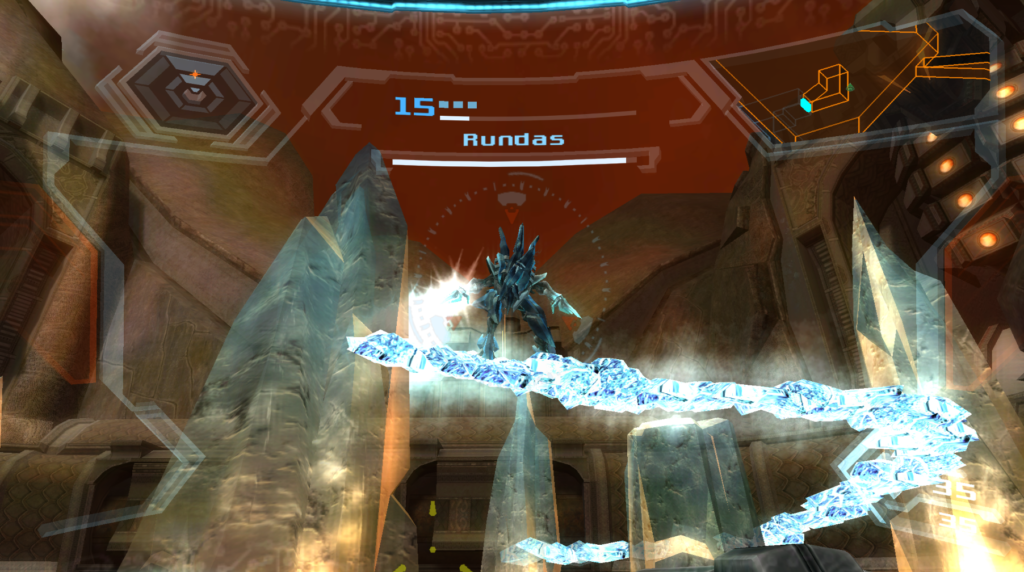

You’ll need to hit him several times with charged shots (save your missiles for now) and, eventually, you’ll stun your former friend. Use this moment to quickly Grapple Lasso his ice armor off and then, once Rundas is vulnerable, unload with your missiles or enter Hypermode. I personally would stick to missiles, as Hypermode costs Energy, and you might need that against this frosty foe.
Rundas’s armor won’t stay off for very long, so keep up this strategy. Worth noting- if you get too close to the ice rider, you’re gonna get an ice sword in the face for your troubles. Rundas will also start to summon three to four ice blocks to hurl at you as he takes damage; these are easy enough to avoid, but just be careful. Actually, a better strategy might be to blast the ice blocks before they hit you, as they’ll drop health and ammo.
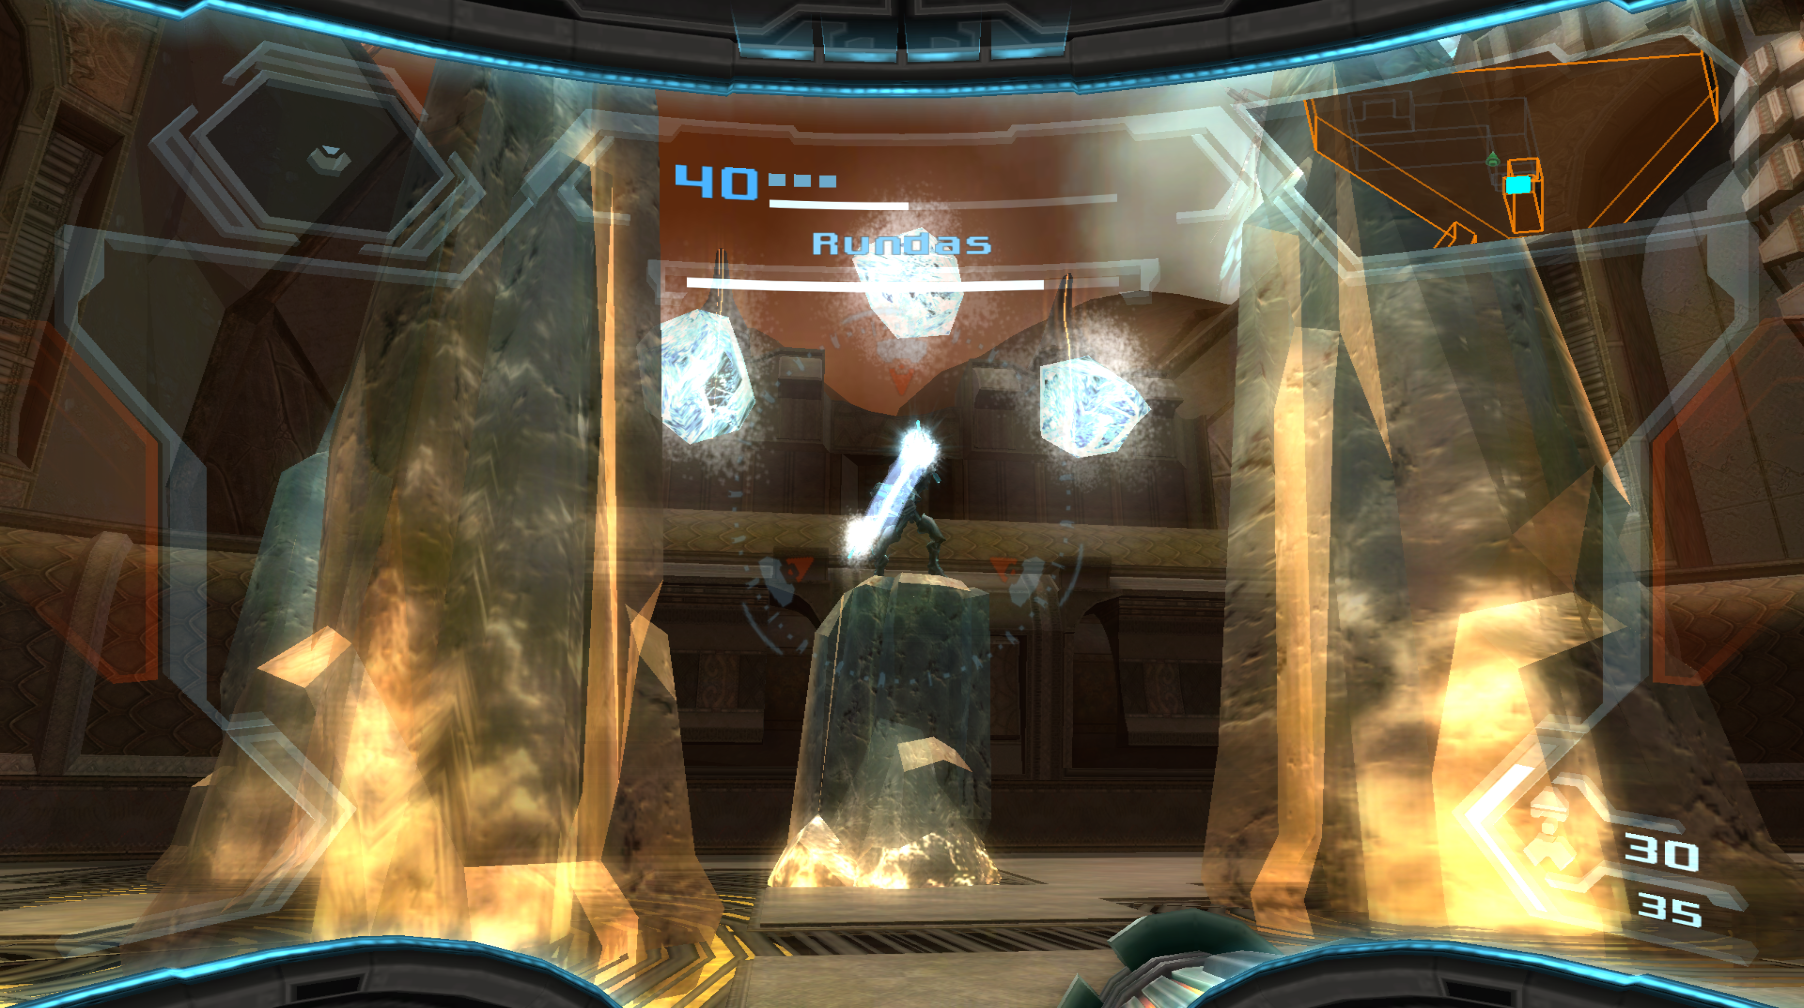
As the battle wears on, Rundas will start to add a few moves to his arsenal. As he is ice surfing around, you’ll notice little ice balls start to drop from the slide, so be careful not to get hit. As long as you’re moving, really, you shouldn’t. Around the halfway point, Rundas will also stand on an ice pillar and start swinging around this awesome-looking ice battle mace (or something). This will damage of course, but it will also destroy all the ice blocks around the battlefield, you won’t have cover for a moment. Rundas will eventually create new blocks, so don’t fret too much.
As Rundas starts to get even lower on health, he will use his spinning mace attack more and hurl the big block of ice at you when he’s finished. You can damage him while he’s doing this, so as long as you’re strafing constantly to one side and target locked, this should be a great opportunity to put the hurt on. After Rundas has thrown the mace, he will almost always jump down and rush you, so get ready to jump back when you see that happen.
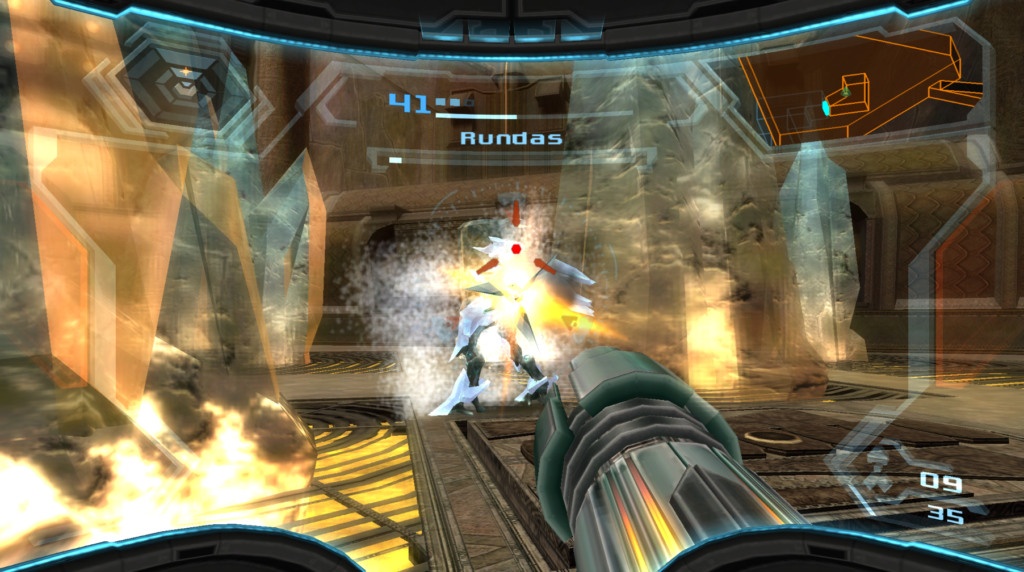
Keep up the pressure and the attacks, and eventually, Rundas will run out of life. A sad cutscene will play, where Rundas impaled himself on a spire of ice. I like to think that, anyways, as Rundas maybe caught a glimpse of his former self and realized what Dark Samus was doing to him. Bounty Hunter Rundas will be laid to rest.
Korakk
Another boss encounter! This time, it’s a 2-for-1 package with the energy lance wielding Pirate Hussar riding on top of a fearsome beast known as Korakk. You’ll need to scan BOTH of these characters, so make sure to do so before engaging.
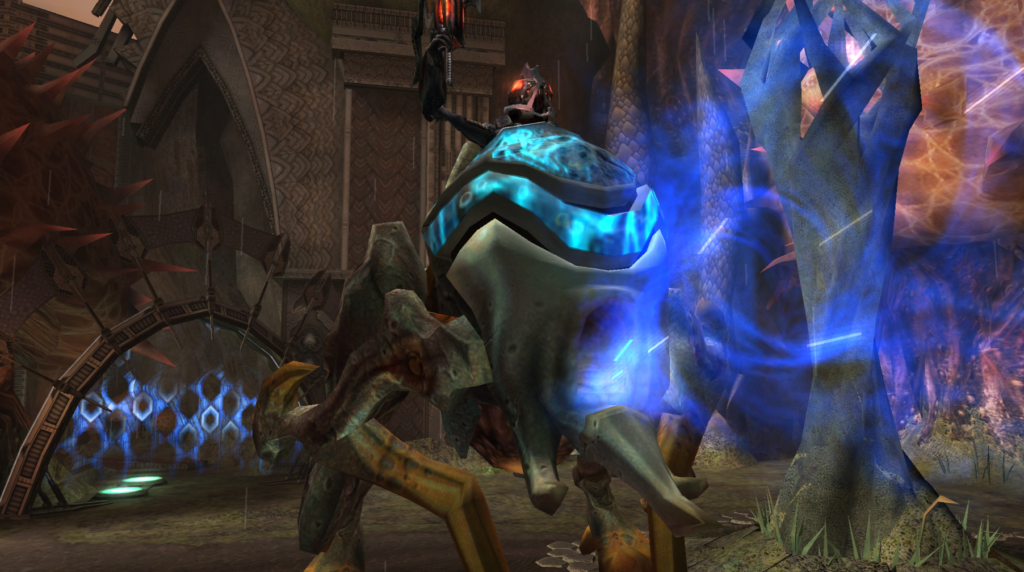
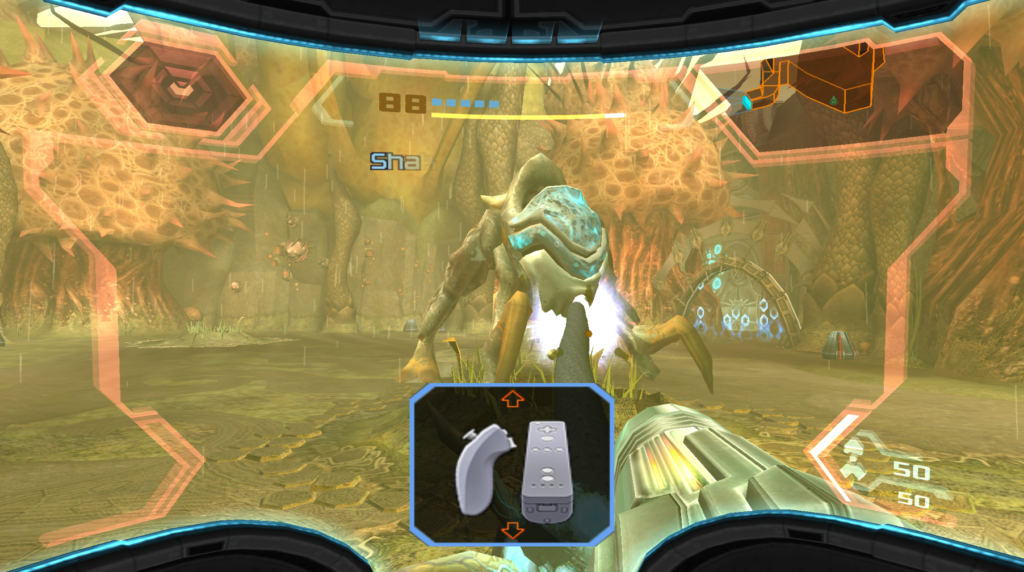
Now there’s good news and bad news. The good news is that the Space Pirate Hussar is a total wimp. One charged shot and this guy is down for the count. The bad news is that Korakk is an absolute tank and will require a bit of precision to damage.
As with any boss, but especially a boss like Korakk who possesses great physical strength, getting too close is probably not going to be good for your health. Korakk will lunge, swipe, snarl, and leap on short bursts towards you, so keep that in mind when going the close quarters Combat route. What you’ll really want to watch out for is its tongue. Korakk will waggle that long tongue out like an anteater to try and suck you towards it, which again, does not feel good. If you get latched by the tongue, waggle your Wiimotes or whatever controller you’re playing on to break free asap.
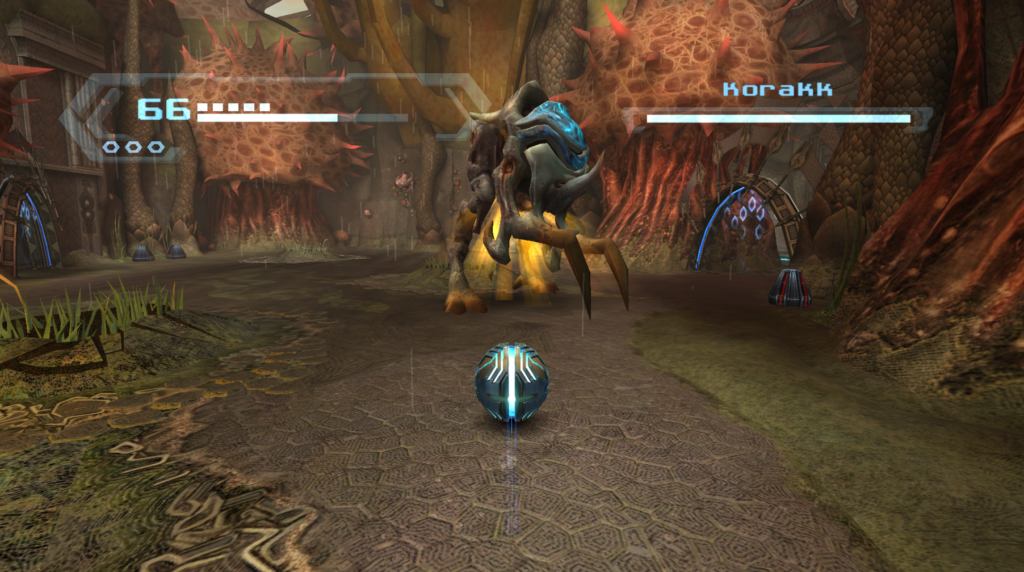
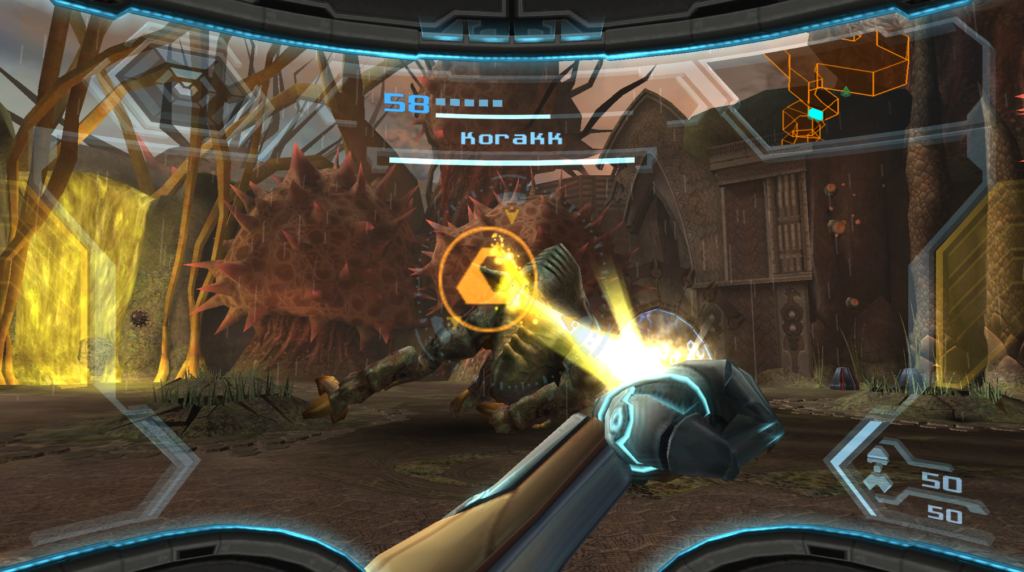
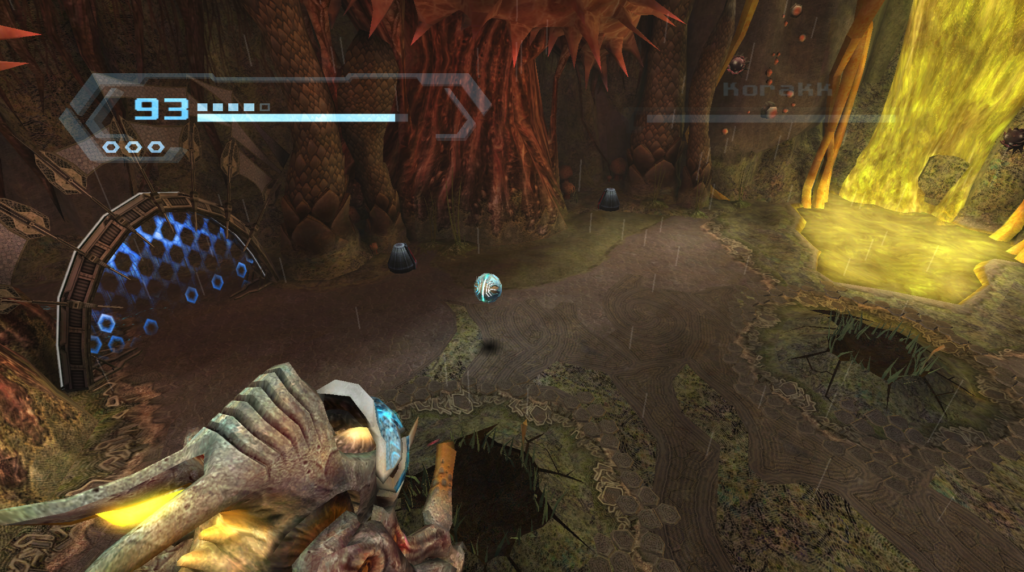
Right. So how do we actually damage this thing? Well, it’s a bit of a risky play, but you’ll want to stand in front of the beast and wait for it to shoot its tongue out at you. Blast the tongue with a charged shot and Korakk will recoil, stunned for a second. You’ll be able to tell because its underbelly will be glowing; this is your queue to roll under it and drop a few bombs. Korakk will then fall over, and its back horn will become a Grapple point. Lasso it off and finally the beast’s weak spot will be exposed. Enter Hypermode and blast away at it; missiles and charged shots will also do nicely, but one solid Hypermode with consistent fire to its chest should take away 80-90% of Korakk’s health.
Repeat the process once more – his attack patterns won’t change at all despite his HP level – and attack its exposed chest once more time and this beast will fall.
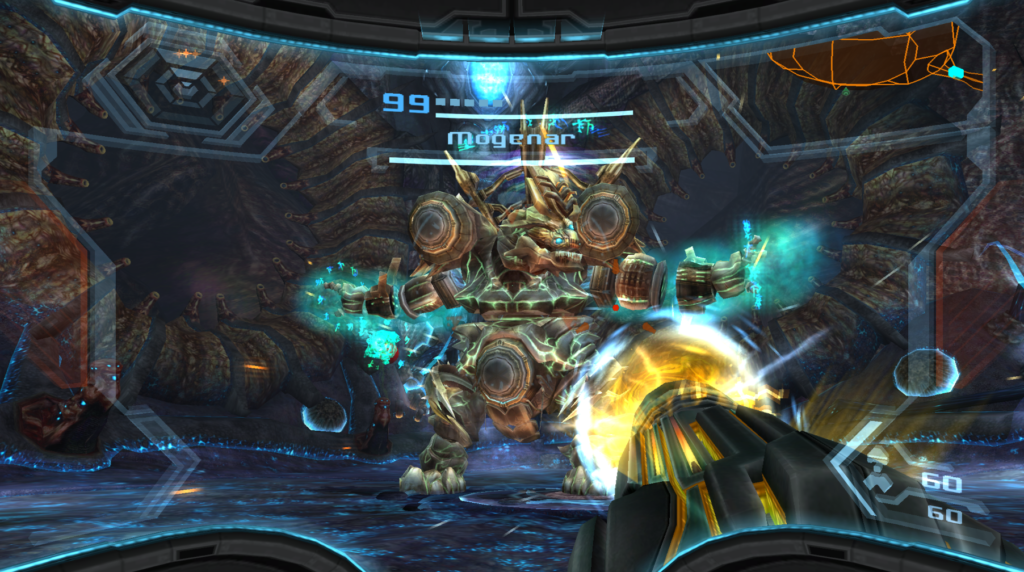
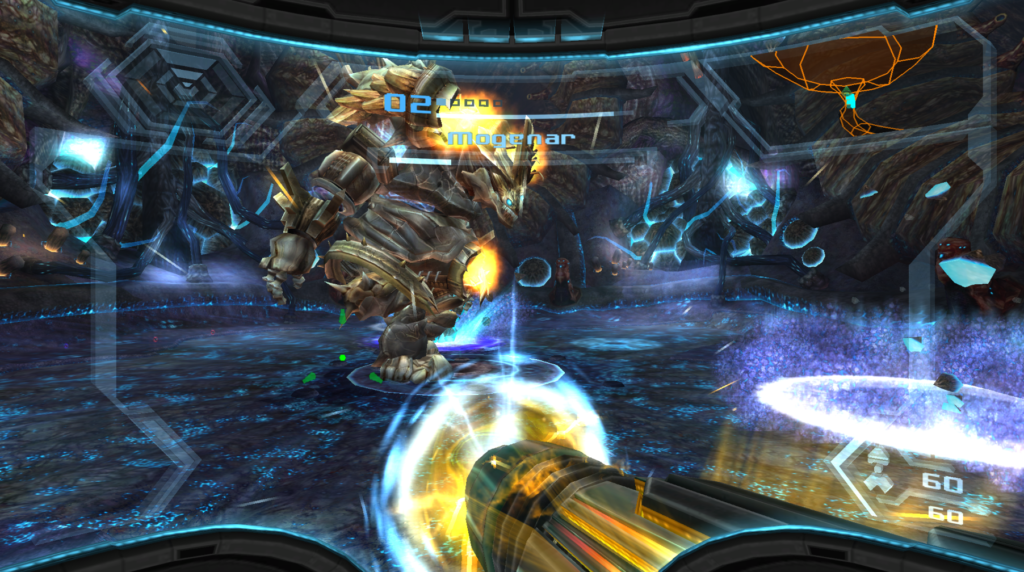
Mogenar
The Guardian of the Bryyo Leviathan will be your toughest enemy yet, as one of the hulking War Golems you’ve seen scattered throughout the planet has been corrupted by Phazon to create Mogenar. As always, scan the creature before starting the battle.
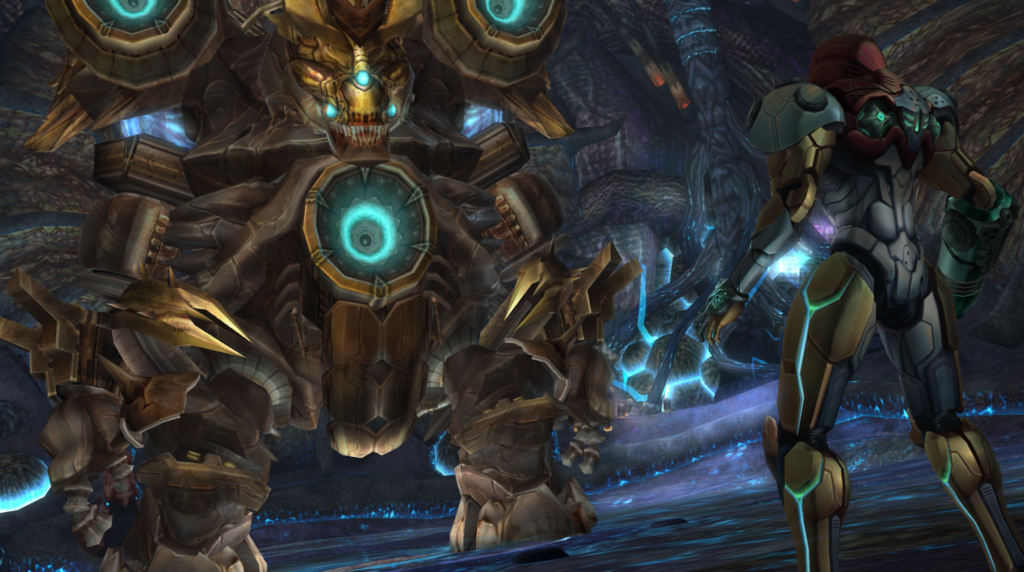
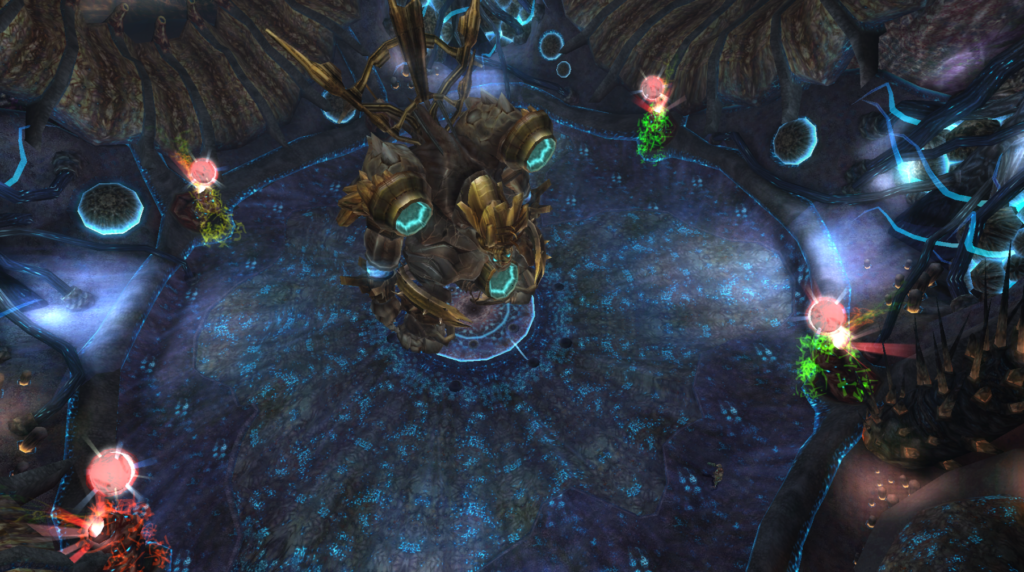
A cutscene where Mogenar absorbed a bunch of energy from four orbs around the battlefield will have played prior to the fight commencing, and these orbs are going to be our focus for this battle. Mogenar has three of those orbs on his chest, which can switch spots with each other (usually in a clockwise rotation, but you’ll be able to see which direction as they turn). This is where you’ll want to concentrate fire. Of course, Mogenar isn’t just going to let you stand around and make precision shots at it.
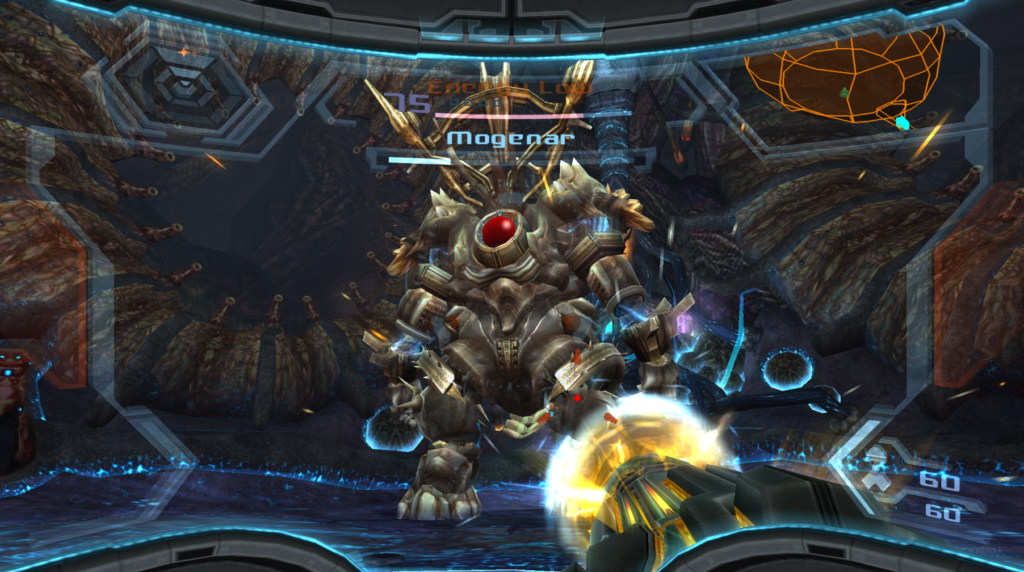
The War Golem has formidable attacks, including the ever-popular jump/shockwave combo, a blast of energy shooting in a direct line from its foot at you, and standard melee attacks. Every now and then, this guy will just stop to laugh at you, which, I don’t know about you, but that gets under my skin! These attacks are all fairly easy to avoid, so just concentrate fire on the three red orbs.
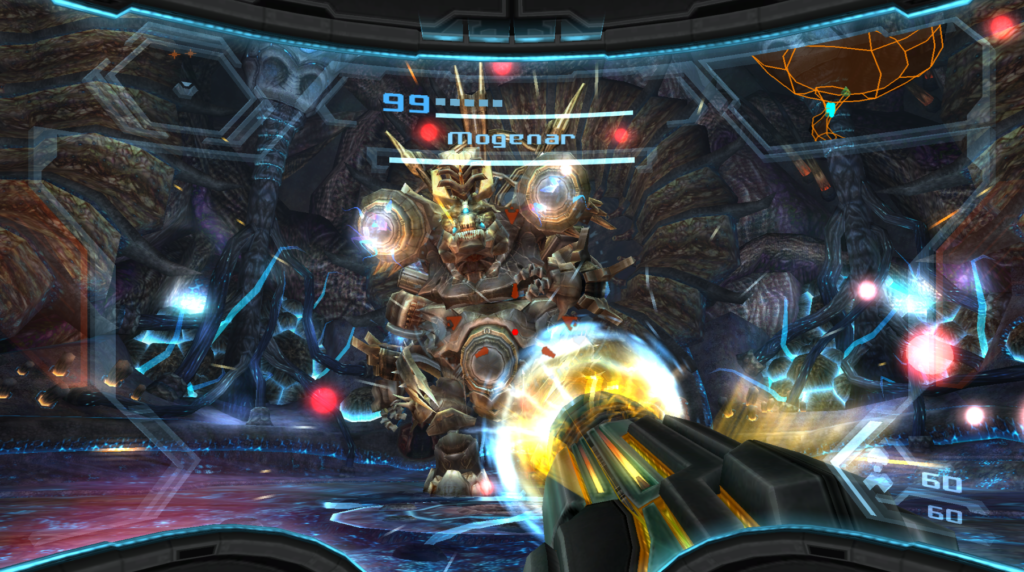
You’ll have to act somewhat fast; each orb will take three charge shots to destroy it, but after a set amount of time, Mogenar will summon two new orbs to replace any broken ones. Worth noting- this takes time for the new orbs to get to the Golem, so you can pick them off before they make it, and they’ll only take two charged hits to destroy.
Once all three orbs are destroyed, activate Hypermode and destroy one of the orb spots! This will cause severe damage to Mogenar and activate phase two.
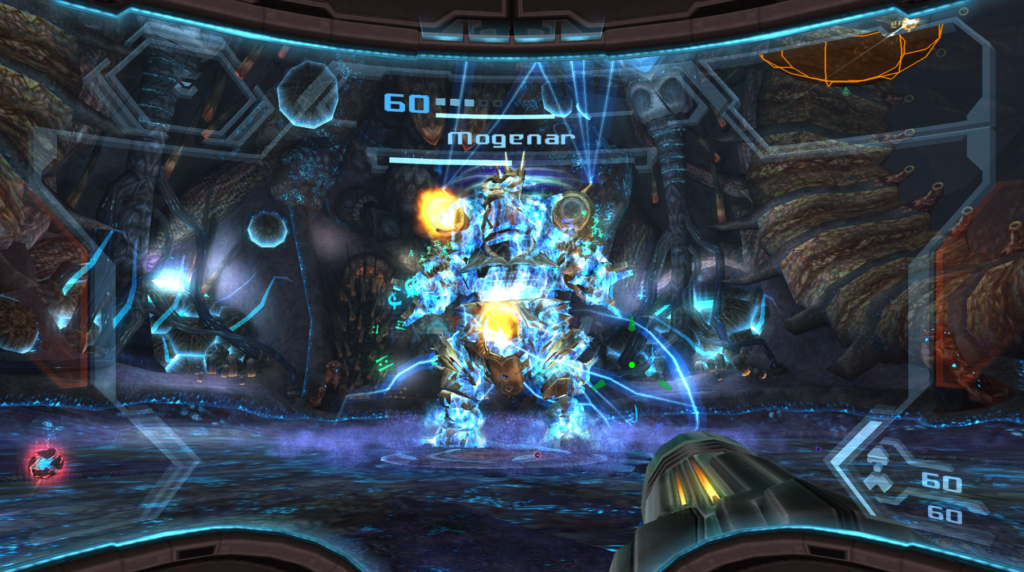
Mogenar will create some funky Phazon boots around its feet and start shoulder charging at you, which is actually harder to avoid than you might think. Get out of its way and drop some Morph Ball bombs by Mogenar’s feet to destroy his foot armor. Be weary, because Mogenar can still summon new orbs to replace the broken ones, and should you pick off the orbs, it’ll send its creepy green hands to attack you instead. Enter Hypermode every chance you get to destroy its orb slots!
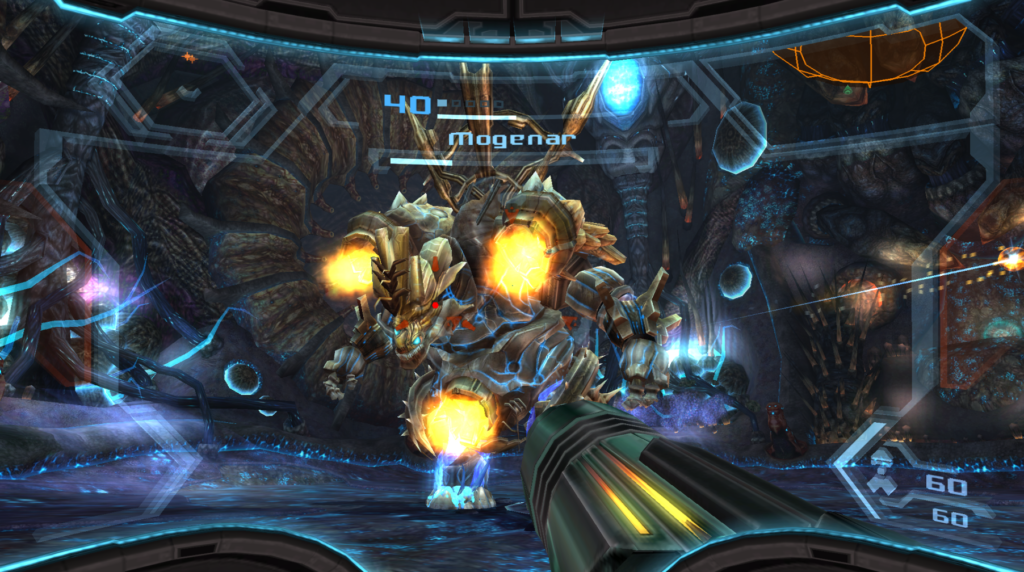
Mogenar will ramp up its attacks as you start picking off its orb slots. It will start shooting more precise lasers, causing debris to tumble down, and start charging with more intensity. Do your best to avoid all of this, pick off any replacement orbs, and destroy the three orb slots on its chest.
Once you’ve done that, you’ll only have one more to destroy, but we’ve saved the hardest for last. The orb on Mogenars back will be our next target, and to hit it, you’ll need to let the War Golem charge at you and side step it so its back orb is exposed. If you’re really lucky, Mogenar will stay with its back to you for a moment, looking side to side.
Hammer its backside with charged shots, destroy any replacement orbs, and use Hypermode to finish off the War Golem once and for all. With all of his orb slots destroyed, Mogenar will fall, corrupting Samus even further.
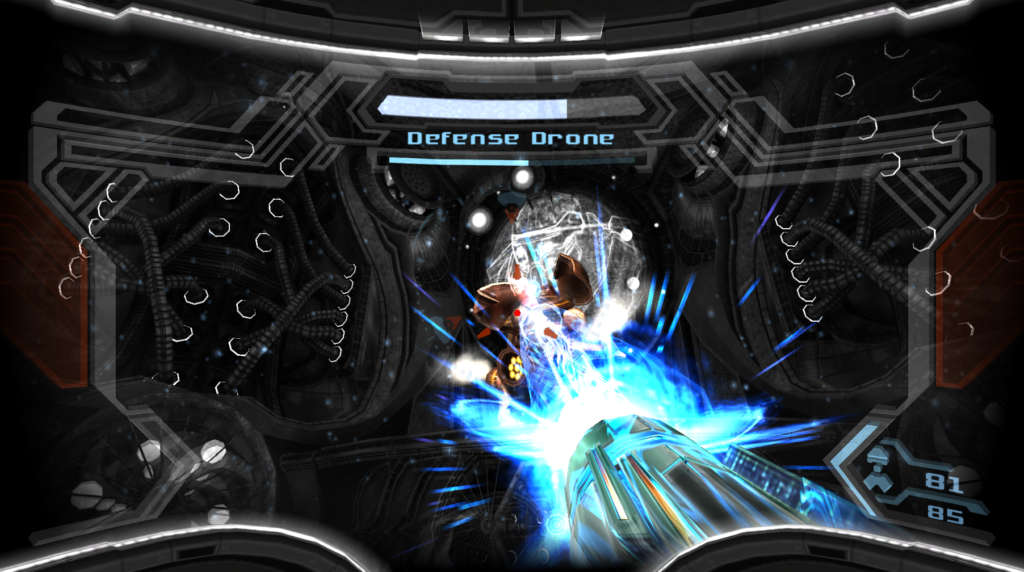
Defense Drone
This mechanical menace is guarding the Boost Ball upgrade, so let’s make short work of this thing. As always, scan the mechanoid before battling.
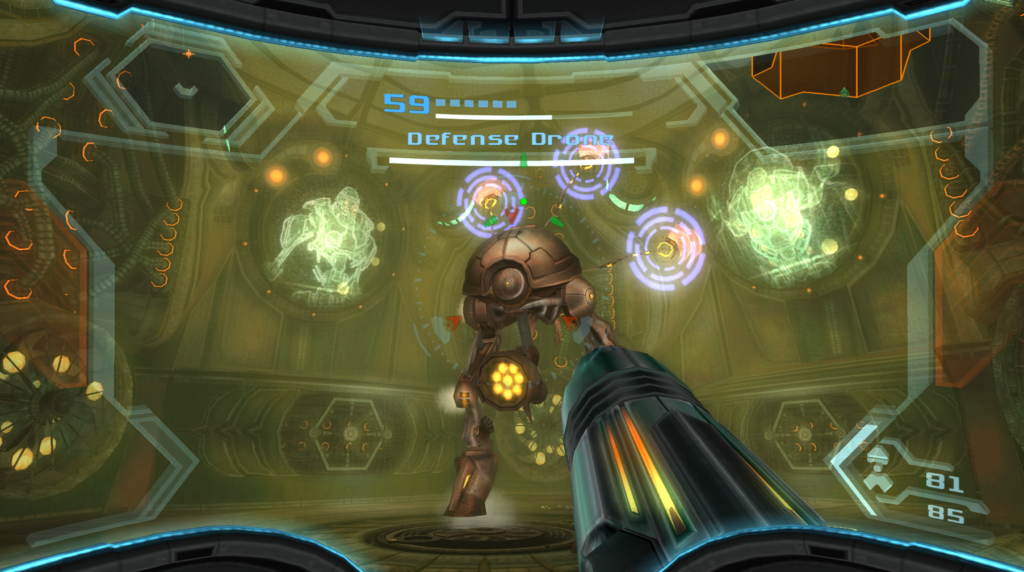
The Defense Drone has three giant antennas on the top of its head that may as well say “hit me here”. This will be your main attack, but don’t let the glaring weak points fool you; the Defense Drone does have some gusto to it.
It has several attacks, including a cannon that comes out of its front and sweeps side to side with missiles. It can also jump up and ground-pound you, sending shockwaves when it lands. The Drone will also shoot big fireballs at you as you take down antennas. All of these attacks are avoided easily enough, but they can catch up to you if you’re trying to hit those antennas, so just be aware.

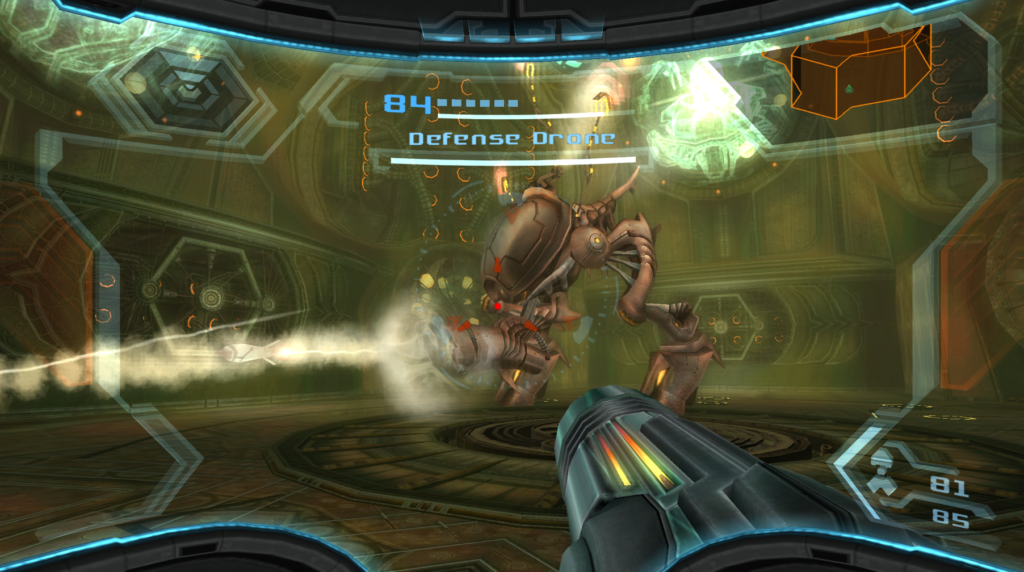
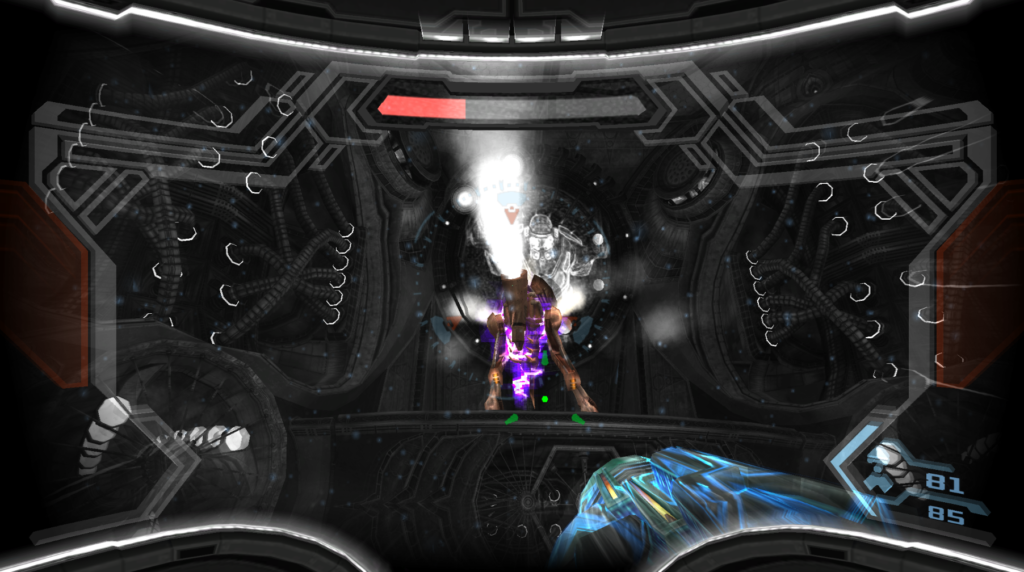
Now, obviously you’ll want to take out the antennas, but just because they’re easy to see doesn’t mean they’re easy to hit. You’ll need to be somewhat quick, as the Defense Drone will start to regenerate its antennas after a while. Once all three are down, you’ll want to Grapple Lasso its main plating off to expose the machine’s control unit.
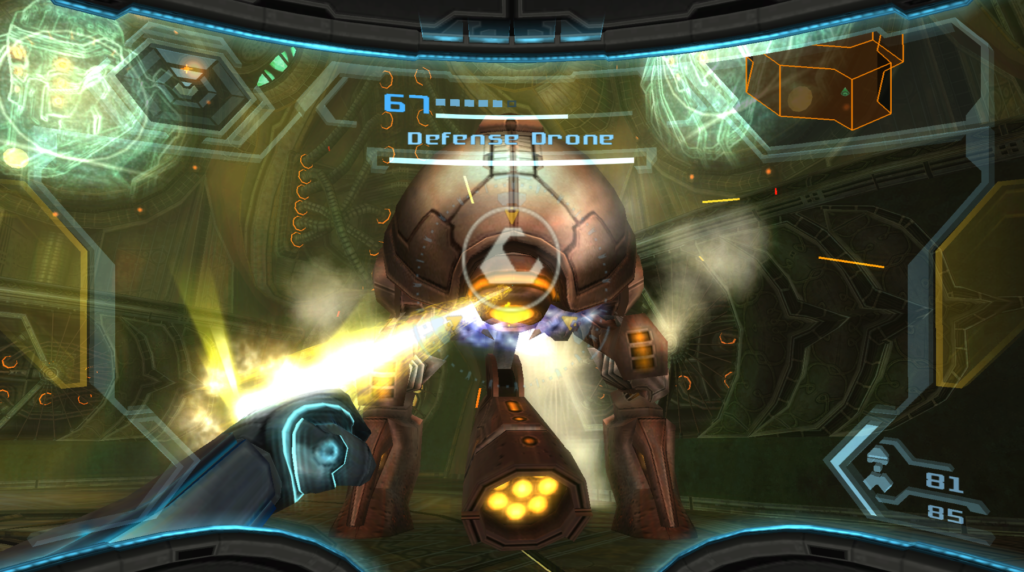
Once the Defense Drone is vulnerable, it will jump on a couple of ledges around the room and start hurling little sticky bombs at you. I would just more-or-less ignore these and enter Hypermode as soon as its control unit is exposed and blast away for as long as you can. You’ll have maybe 20 seconds or so to damage the unit, and if you make good use of that time, you’ll zap away about a third of the Defense Drone’s health.
As it takes more damage, the Defense Drone will start moving much faster, but the strategy will stay the same. Repeat the process as many times as it takes, keep blasting the exposed control unit and this Drone will be defenseless and self-destruct.
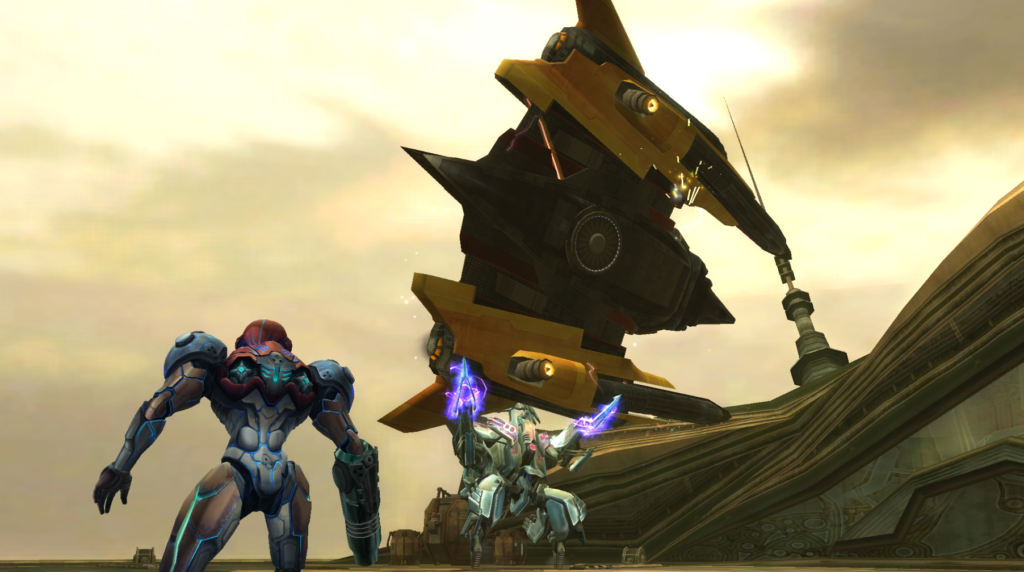
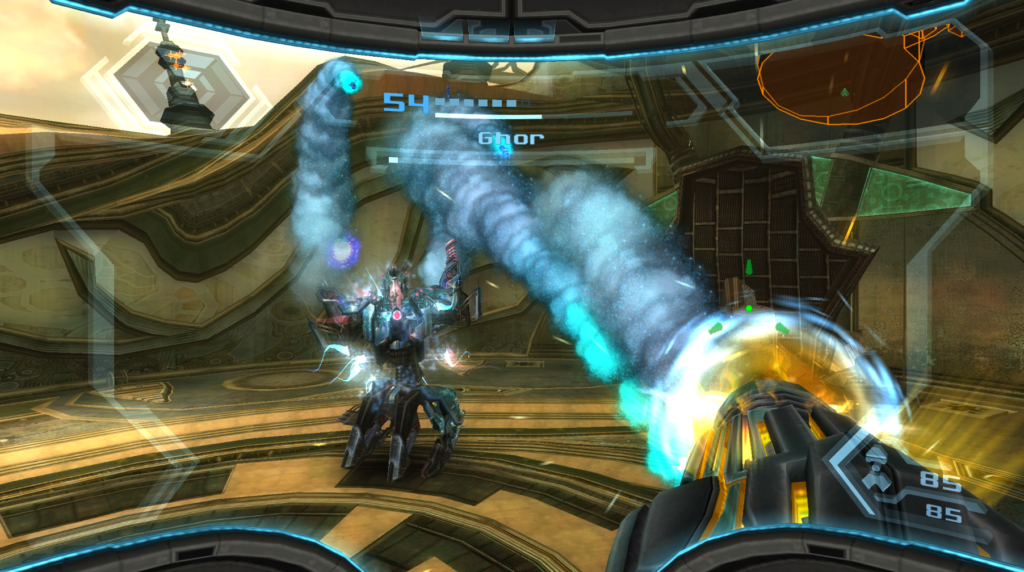
Ghor
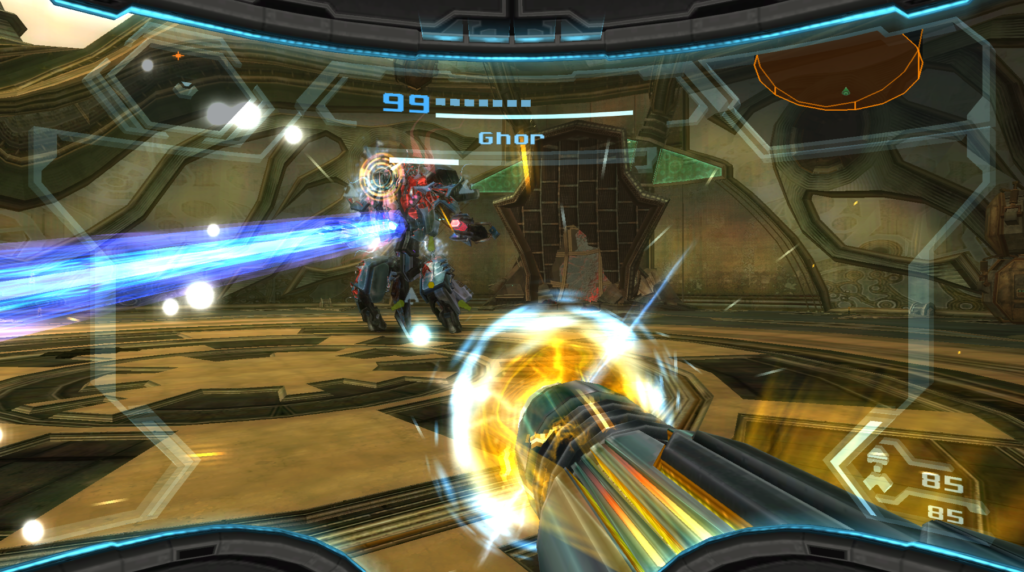
Just like Rundas before him, Ghor has fallen prey to Dark Samus’ Phazon corruption, and heartbreakingly, is also past the point of being saved. The best you can do for your former friend is put him out of his misery. Scan Ghor and then start the fight.
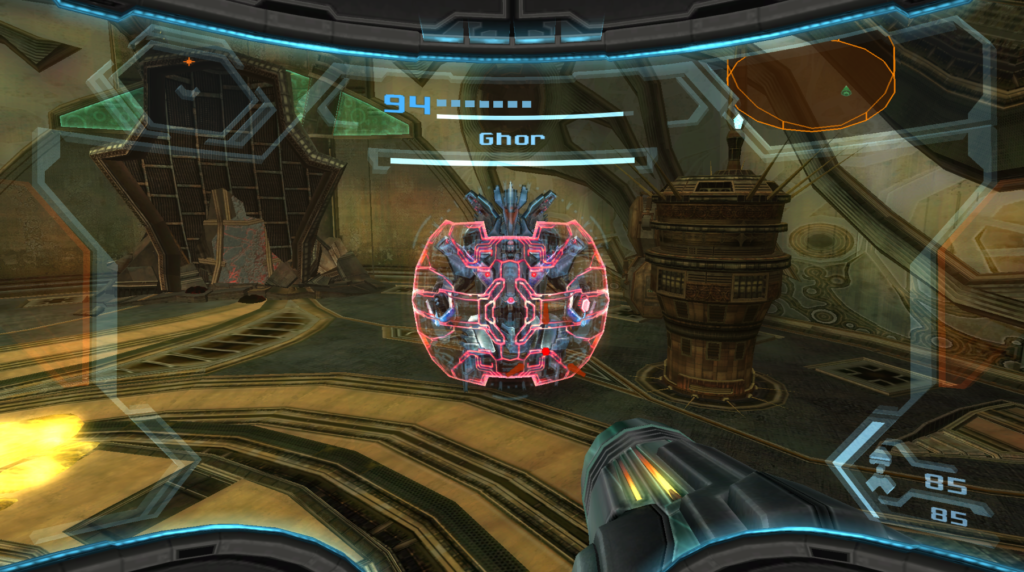
You’ll notice right away that there are big piles of fuel gel in the middle of the arena. This will come in handy in a bit. Ghor is an absolute tank – almost literally, as he’s piloting some kind of energy shield that essentially makes him invulnerable to attack. Not only that, but Ghor packs a hefty punch as well, bringing the tried-and-true ground-pound/shockwave attack back and using it at will.
The attack that Ghor will use the most, however, is a ram attack, where he and his giant Energy shield will come charging straight at you. This is somewhat difficult to avoid, especially at close range, so try and give yourself room. This ram attack is also your biggest opening, though.
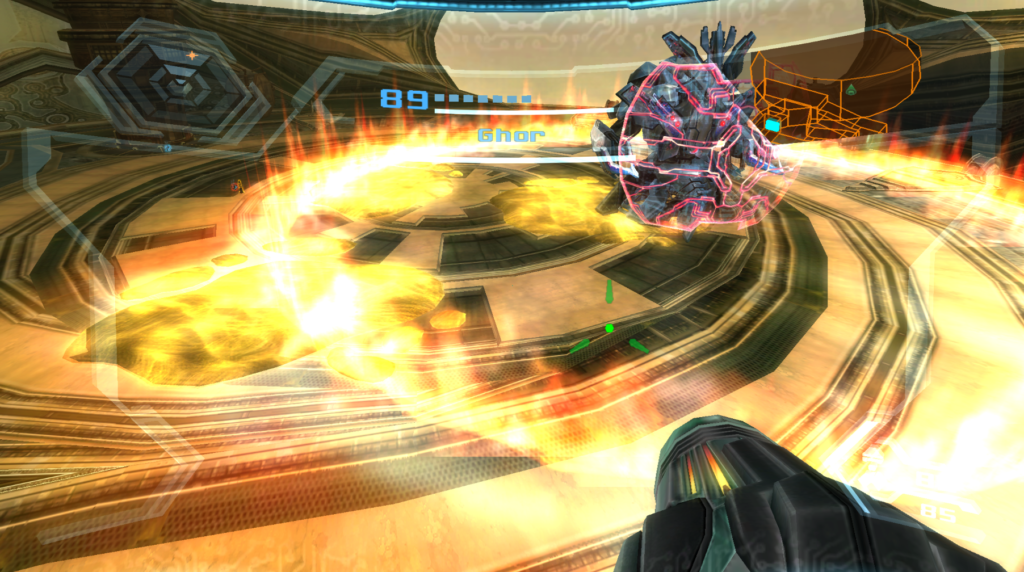
You’ll want to lure Ghor into ramming you and making sure that he charges over the loose fuel gel. This will cause him to skid further than usual and cause him to become disoriented for a moment. This is your chance to fire a charged blast at his back! You’ll see a glowing yellow spot – fire there! If you hit it, you’ll overload Ghor’s shield, and he’ll be forced to drop it for a while, exposing his head.
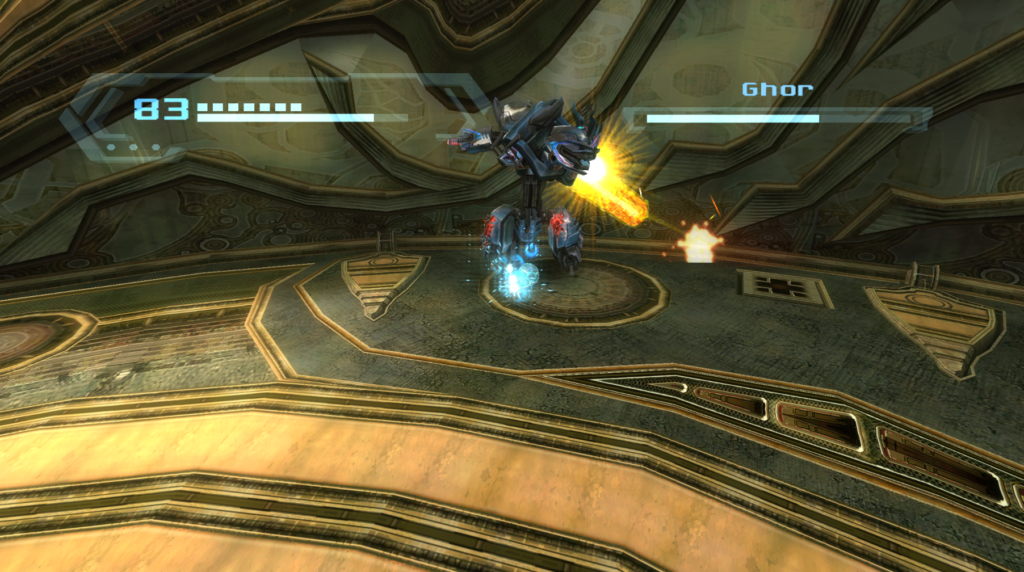
Fire away at Ghor’s noggin’, entering Hypermode if you want or just using charged shots and missiles, but be wary – the mechanoid will start to unleash a barrage of missiles at you and utilize a Plasma Cannon to try and keep you from hitting him. You’ll have only a short amount of time to work with, so make sure you hit his skull with everything you got!
When you get Ghor down to half of his health, he will start to go nuts and destroy the fuel gel in the middle of the battlefield. He’ll also produce an antenna from his lower shield that’s close to the ground. This will be our exploit point.
Ghor will start using some new attacks, including a wild spinning Tasmanian Devil like whirl attack; he’ll also be spamming his Plasma Cannon, so try and stay outta the way of that. When Ghor has the Plasma Cannon out, however, he presents you with your best chance to strike since he’s stationary. Boost Ball throught the antenna to destroy it! Ghor will be stunned, but FYI – if you miss and stay in Morph Ball form too long, the mechanical hunter will pick you up with some kind of Grapple Beam and smash you in the ball, so be careful!
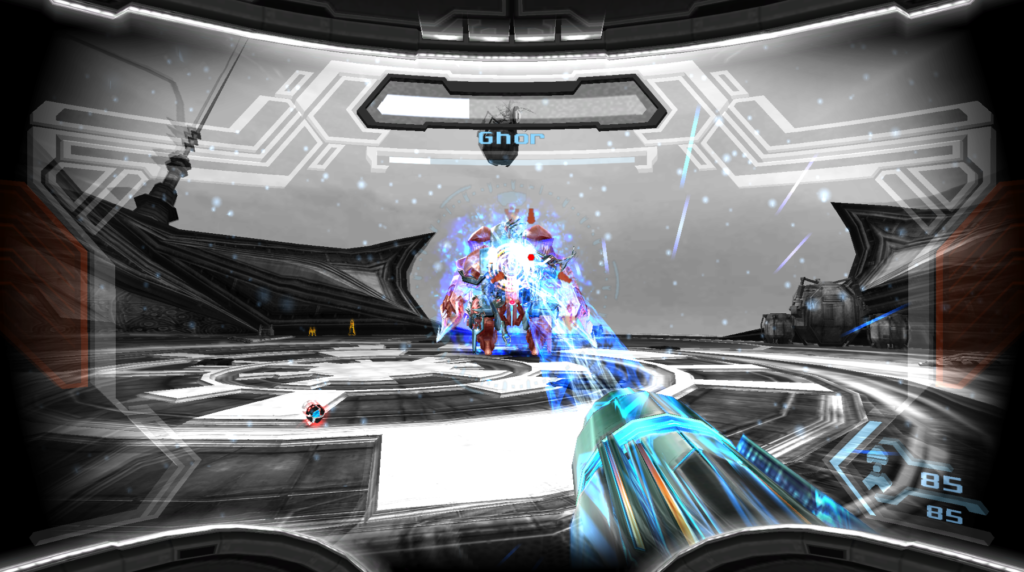
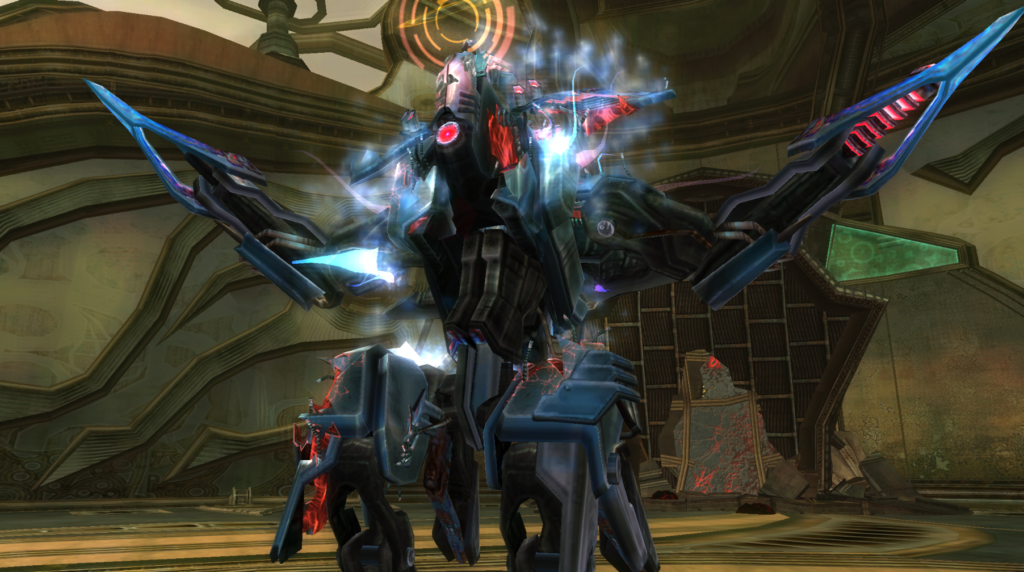
Once the antenna is gone and Ghor is stunned, wale away at his head until his armor breaks. Now, you’ll be in the home stretch of the fight and Ghor will enter Hypermode. His Plasma Cannon will turn into a Phazon Cannon and he’ll start spamming all of his attacks – the missiles, the ground-pound, the ramming, and more – and each of them will do more damage than usual because of his Hyper state.
At this point, the battle will more-or-less dissolve into a shoot out, with Ghor’s head permanently exposed. Enter Hypermode and fight fire with fire, blasting away at what little health the mechanoid has left, until tragically, Bounty Hunter Ghor is no more. I think it’s kind of fitting that Ghor be laid to rest in a place like SkyTown, where machines were given life and excelled. Hopefully our former friend can rest easy.
Helios
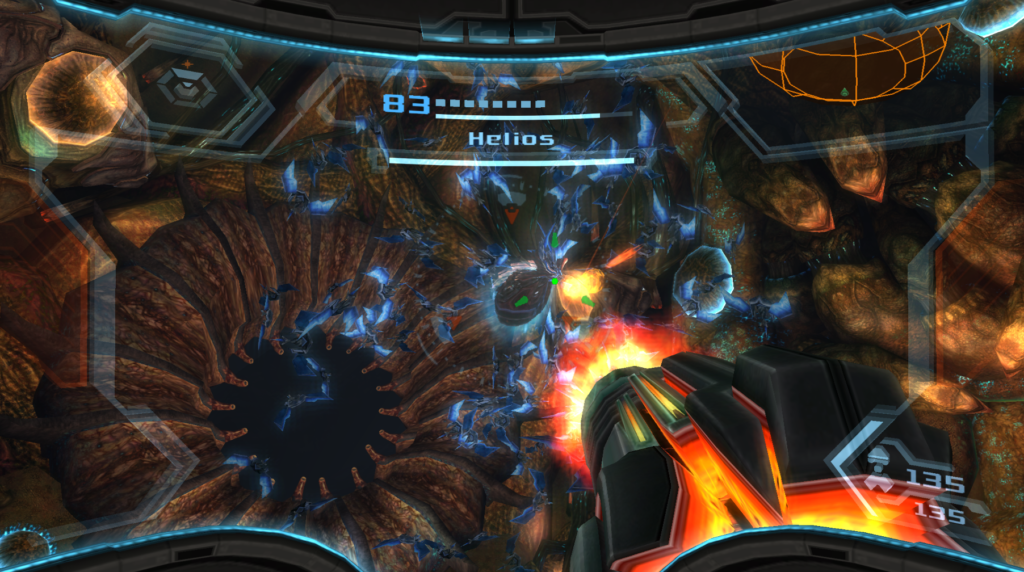
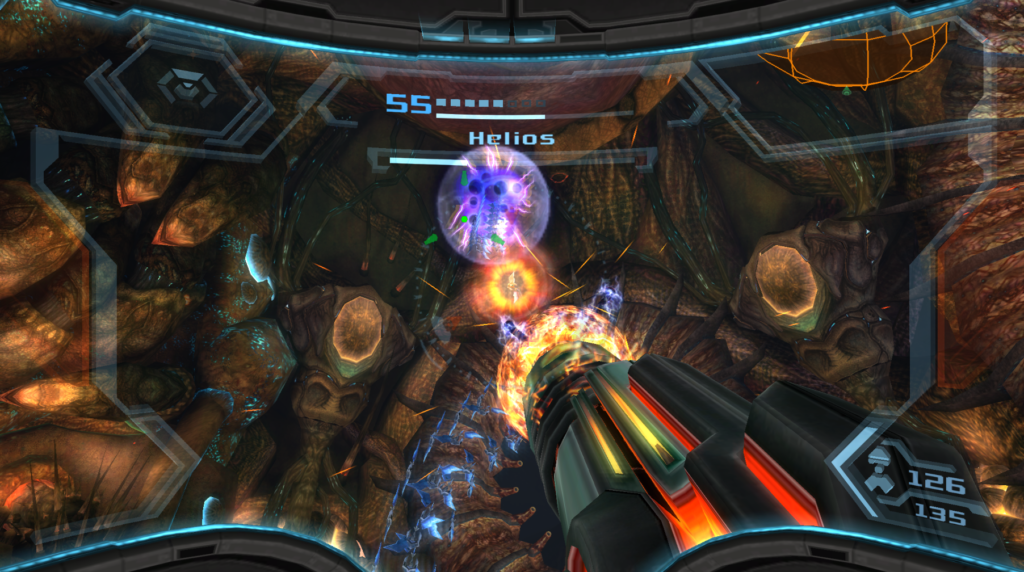
It’s time to face-off with the Guardian of the Elysian Leviathan, the mechanical entity known as Helios. Scan this creature and let’s get to work.
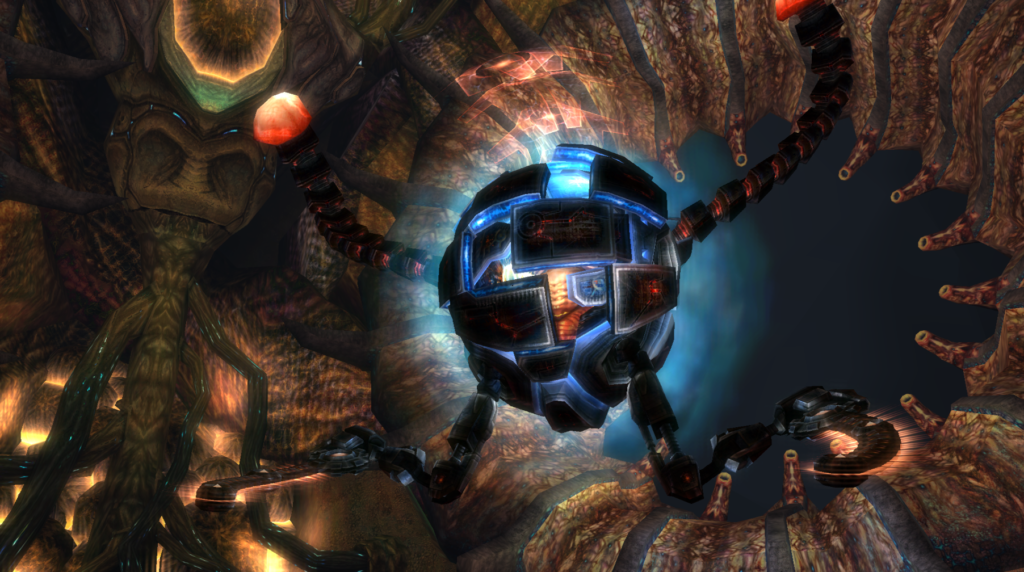
Helios is a comparatively-smaller sized boss, but it makes up for that by surrounding itself with numerous Swarmbots, which it will use for both offensive and defensive purposes. The first example of its attack that you’re likely to see is Helios summoning the Swarmbots around itself to create a giant sphere, which it will roll around the battlefield in, damaging you if you get hit.
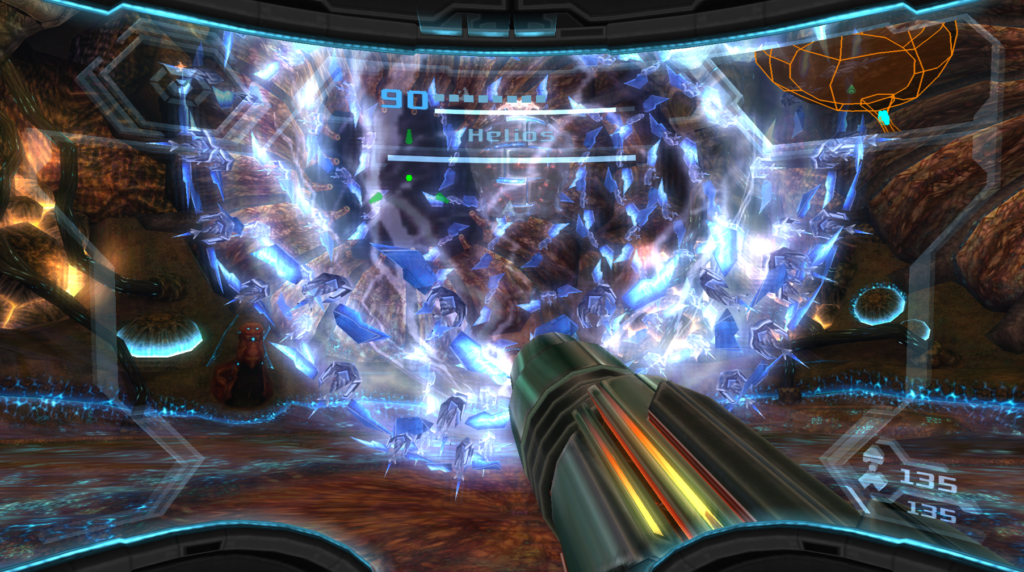
Another trick up its sleeve is when Helios summons all the Swarmbots beside it. It will charge up the bots with Phazon energy, but if you’re quick and accurate, you can pick off the individual Bots before they launch at you. Needless to say, this is much preferable to dodging Phazon charged Swarmbots.
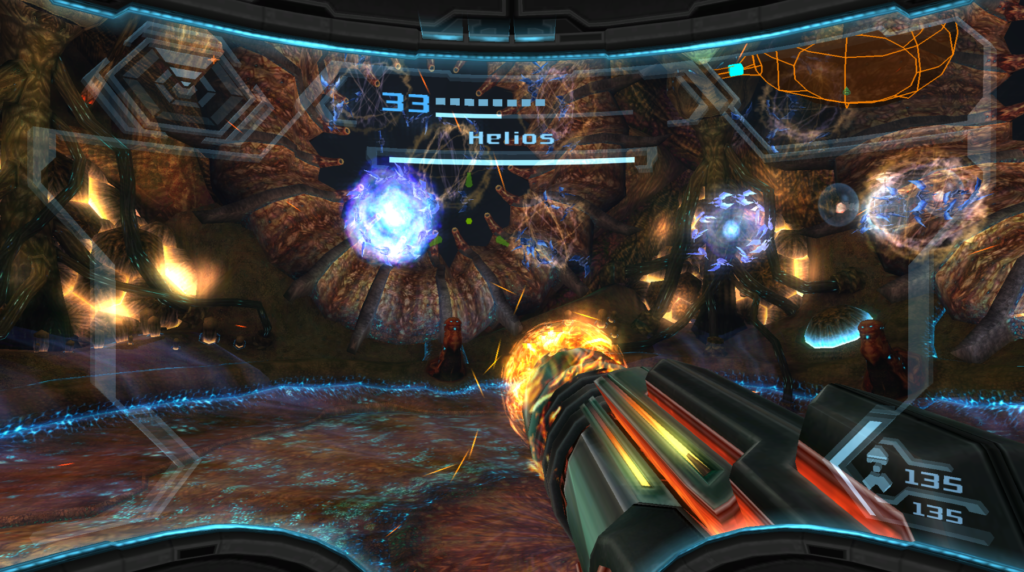
Finally, its next attack you’ll need to contend with is Helios turning into a flat circular like disc. It will start spinning fairly rapidly around the arena, shooting lasers and beams at you, and moving sporadically. This is easy enough to avoid, and will actually present you with an opportunity to counterattack.
When Helios is spinning in disc form, it will have five nuclei spinning around it. When the nuclei appear lighter color, blast away a Seeker Missile shot so that you hit all five nuclei at once! If you hit them right, you’ll stun Helios. Hit it with a couple of charged shots to overexposed the core, finally giving you an opportunity to strike!

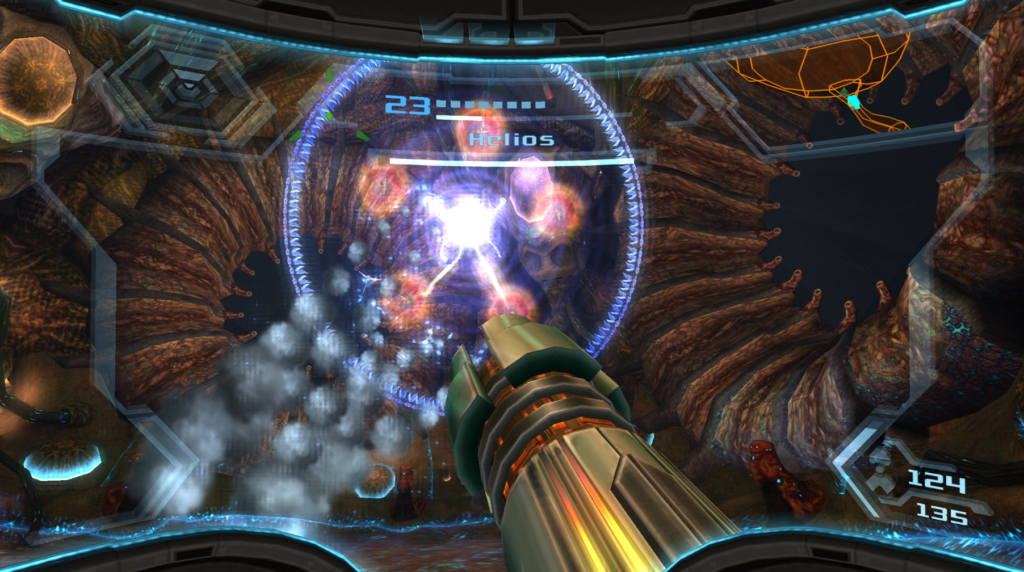
Enter Hypermode and start firing! Helios will start to charge you, and unfortunately, if it hits you it will disrupt your visor, but keep on slamming away with as much force as you can. Eventually, Helios will recover and summon more Swarmbots to its side.
Repeat this process once or twice until Helios is down to about a third of its life. When recovering from overexposure, instead of resuming its regular attack patterns, Helios will use the Swarmbots to form a sort of “body”. The Body will certainly fight back, however, so be on the lookout for it slamming its appendages into the ground, causing shockwaves. It will also throw a giant ball of energy at you, which you can destroy for health and ammo.
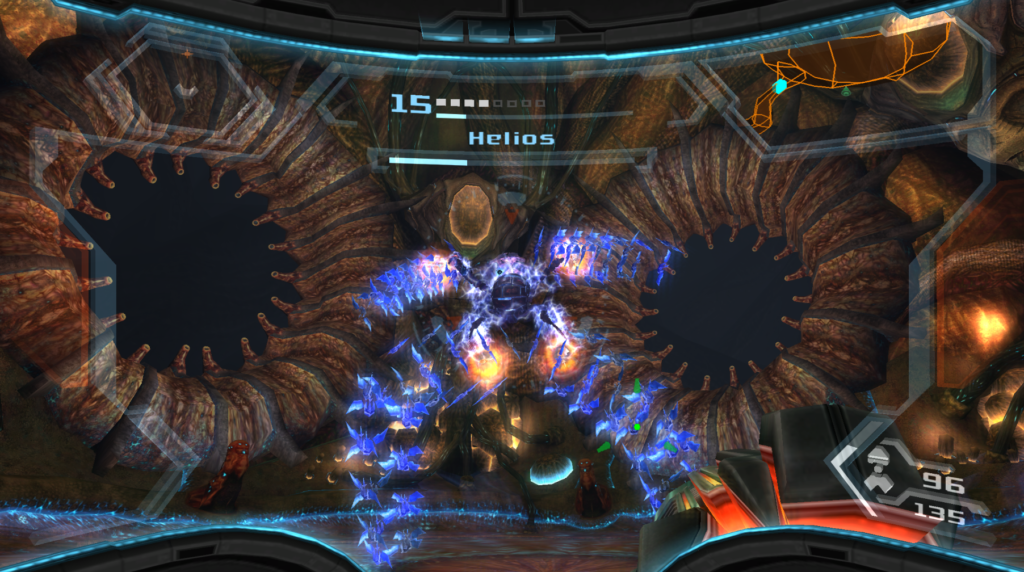
This body will have glowing orbs in its joints that you’ll need to destroy, and unfortunately, the Seeker Missiles won’t work. Pick off the joints using charged shots, and you’ll knock down Helios. Destroy the joints to the point that Helios overloads again. Enter Hypermode and finish off this fiend, once and for all.
Helios will be destroyed, and Samus will once again absorb an unhealthy amount of Phazon as the Elysian Leviathan Seed is finally eliminated!
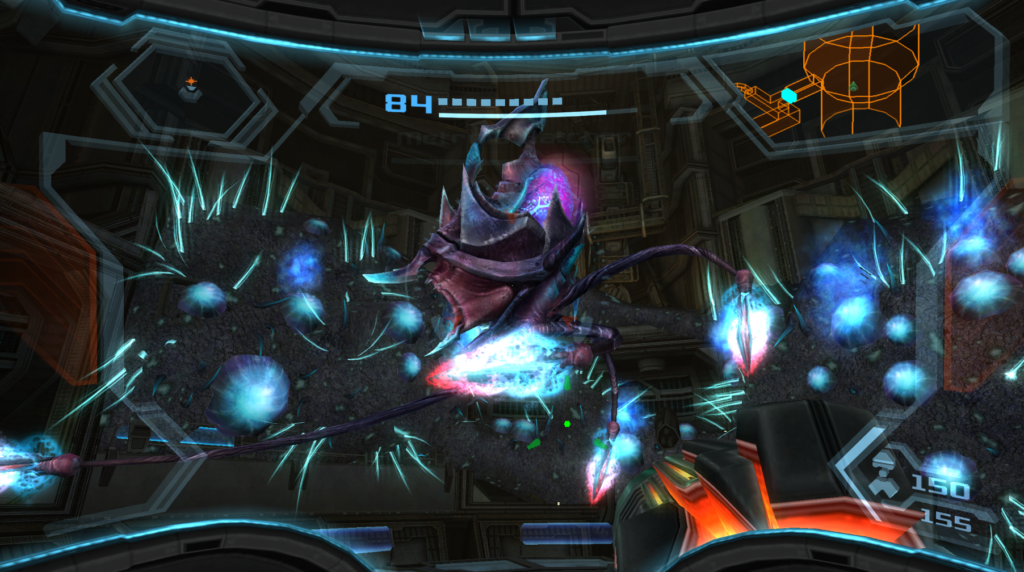
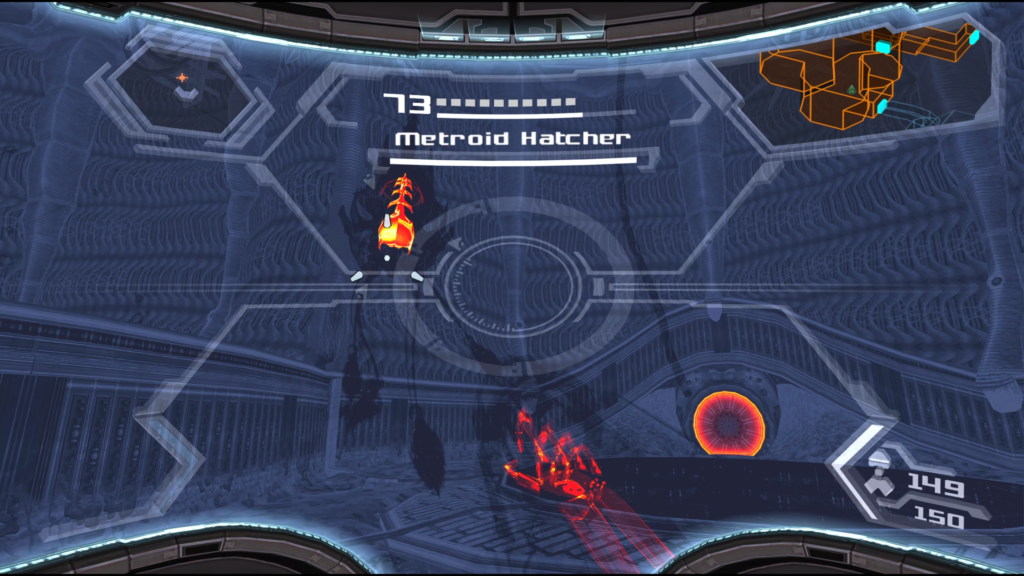
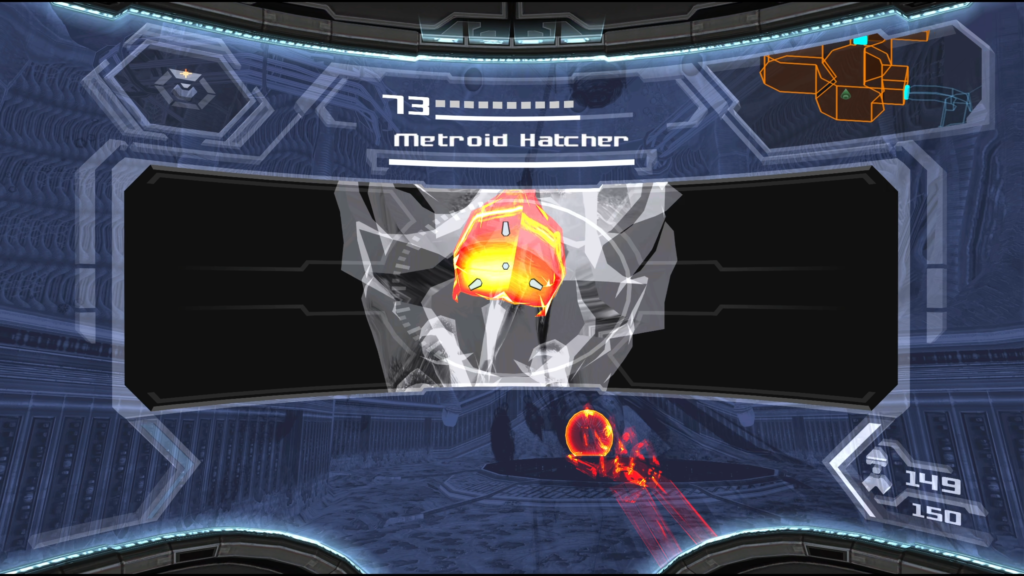
Metroid Hatcher
This mutated miniboss will rear its ugly head in a few different places and puts up quite the fight, so be ready. As always, scan the creature and then engage.
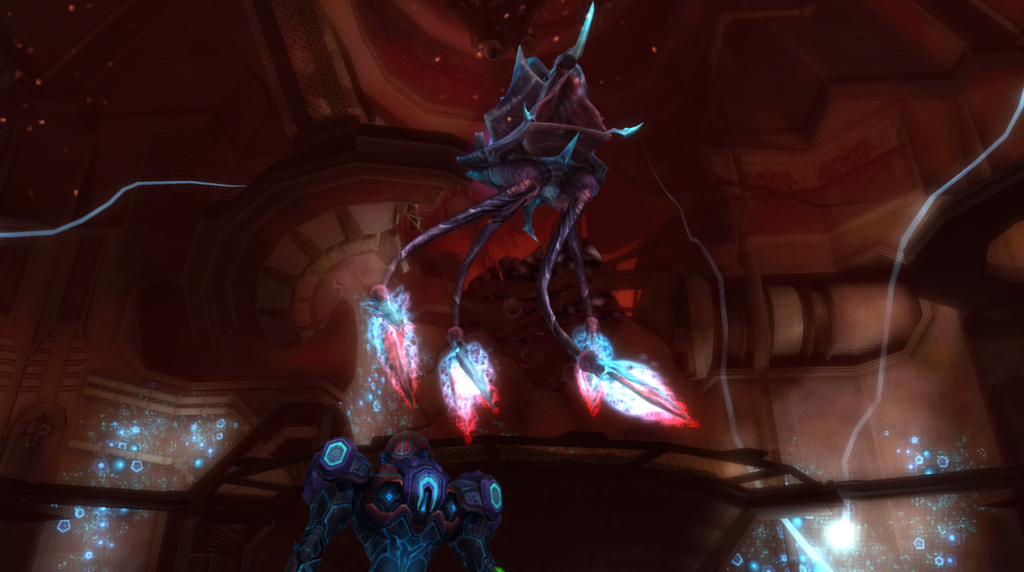
NOTE: The quickest way to defeat the Metroid Hatcher is by first locking on to it with the X-Ray Visor equipped to expose its weak point, then firing a couple shots with the Nova Beam to take it out with ease. During the single mandatory encounter with this miniboss on the G.F.S. Valhalla, you’ll already have these upgrades to cheese your way through. However, if you encounter the others before acquiring the necesary tools, you’ll have to take them out the old fashioned way as described below.
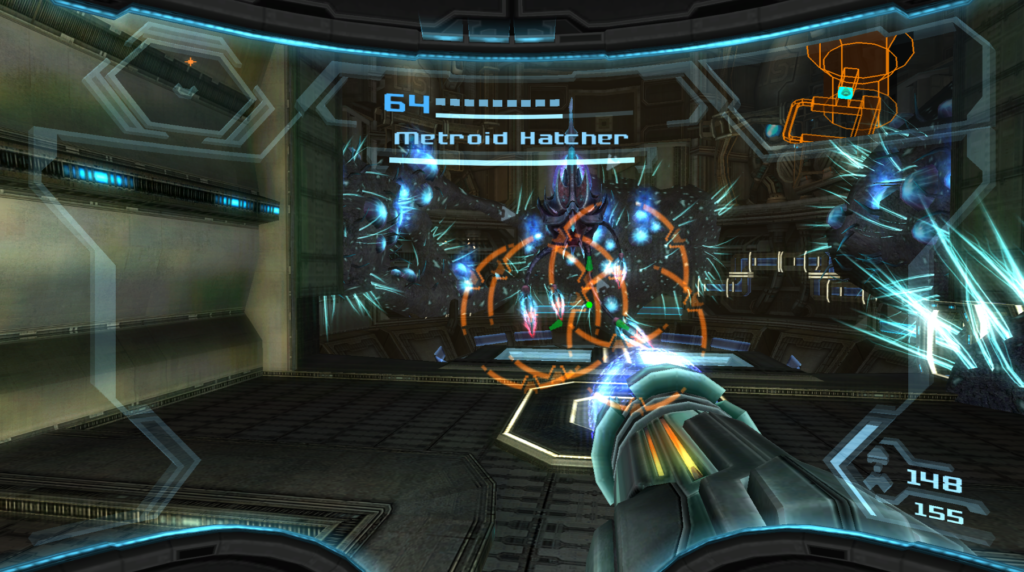
The Hatcher will have four tendrils that will cause havoc during the battle. They’ll slap you, they’ll be used as a spinning blade attack, and in true Metroid fashion, they’ll be used to drain your life. All of these attacks are fairly basic to avoid, but you’ll definitely want to focus on eliminating that threat right away. In this case, the best defense is a good offense.
Use your Seeker Missiles to lock on to the tendrils and try and blast them away all at once. If you miss one, that’s okay; just try and take it out as quickly as you can with missiles or charged shots.
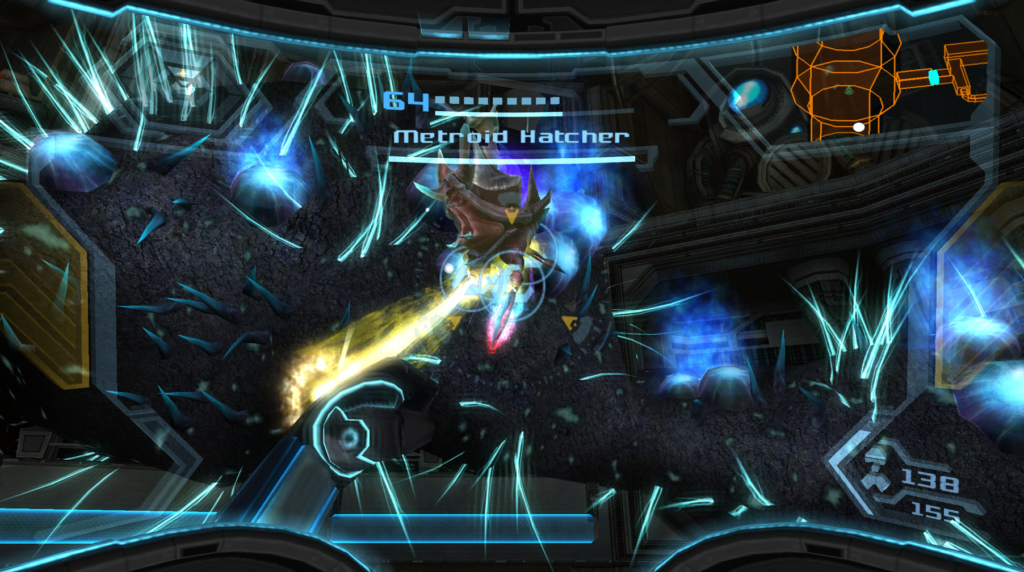
Once the Hatcher Metroid has no more tendrils left, it will fly around, giving you the chance to shoot it in the mouth and stun it. Once stunned, you can Grapple Lasso this abomination and rip one of the tendrils off permanently. You’ll need to do this four times and rip each tendril off.
The Hatcher will summon Phazon Metroids to assist it during battle as it gets lower on health. They spawn fairly fast, so your best bet might be to wait until there are several Phazon Metroids and enter Hypermode to take them out. If you’re having trouble hitting any of the tendrils, you can also utilize Hypermode and just fire at will in their general direction; chances are, you’ll hit them.
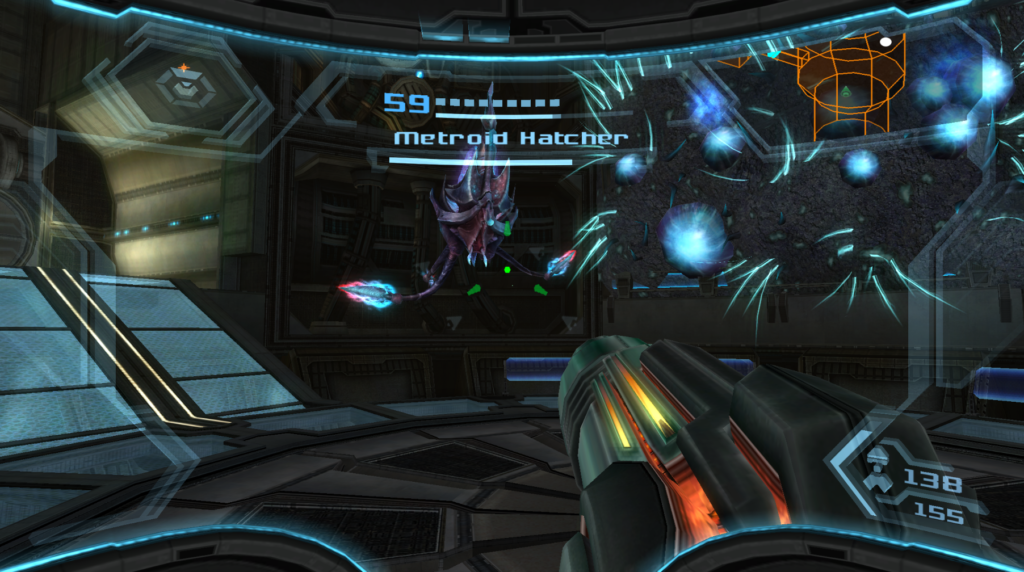
Keep up the attack and ripping appendages off, and this mutated Metroid will fall.
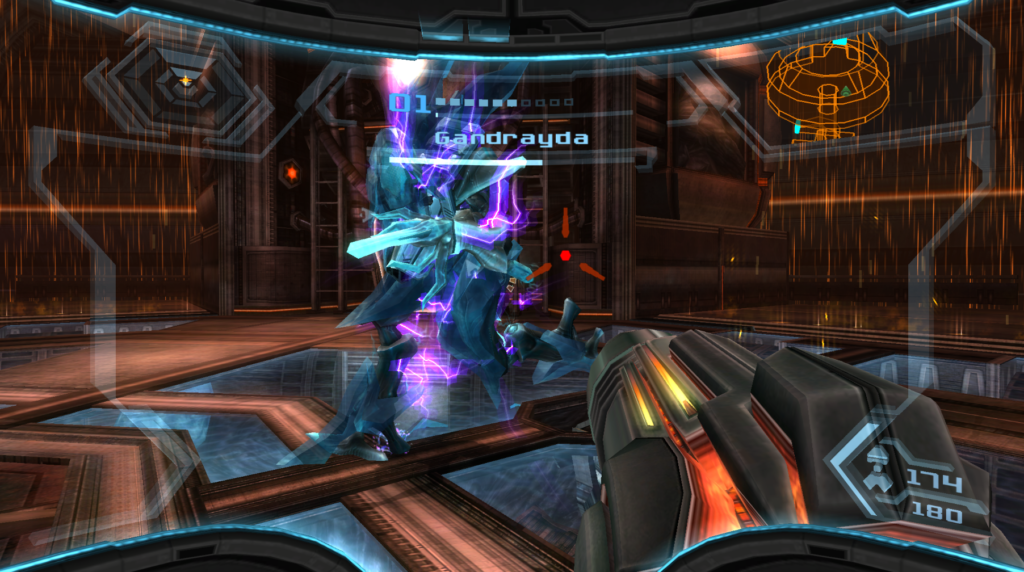
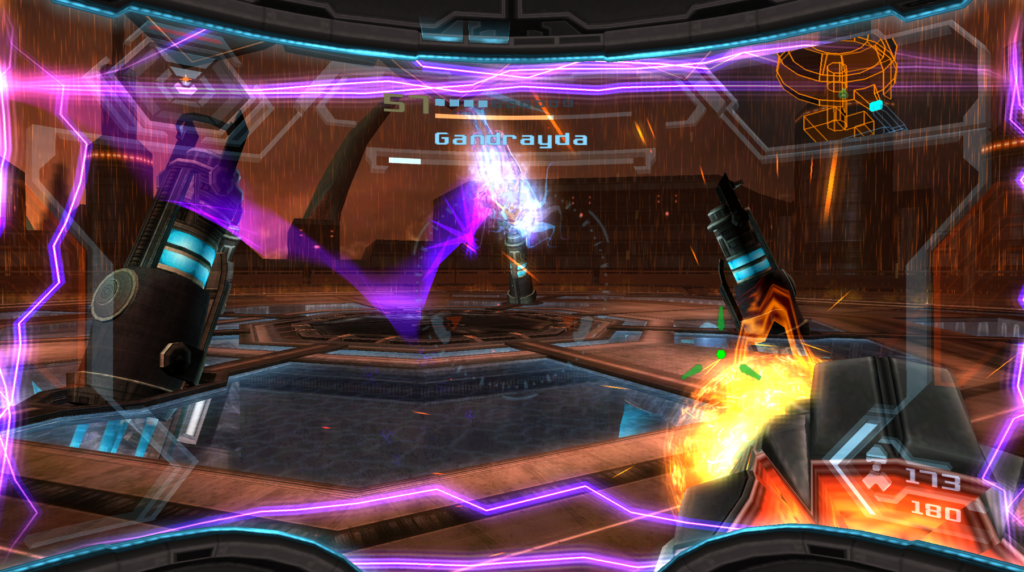
Gandrayda
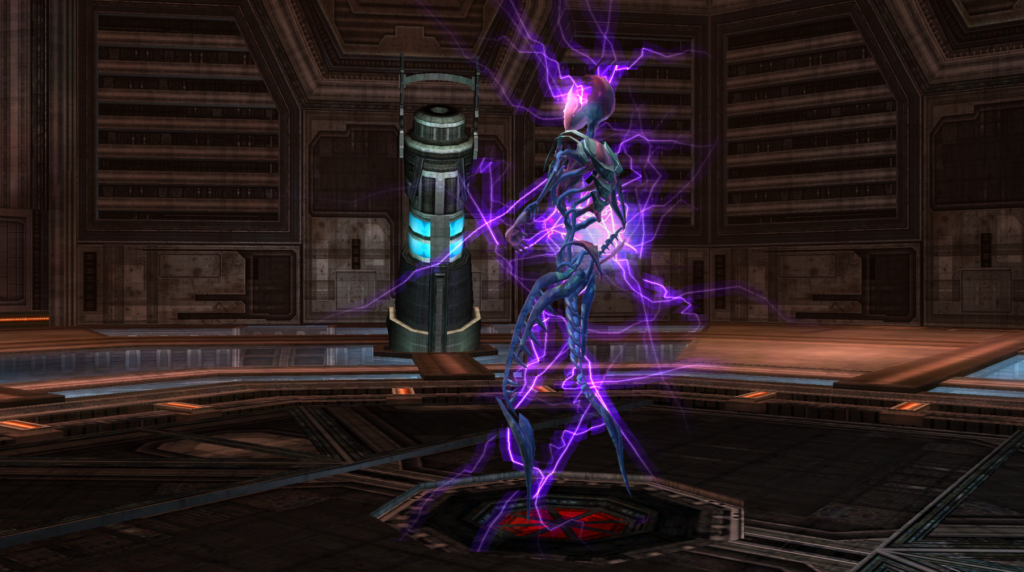
PLOT TWIST. The Marine that was helping you was actually not who they appeared to be. Color me shocked. This means that one final time, you’ll need to square off against a corrupted bounty hunter. This time, it’s Samus’ frenemy, the shape-shifting Gandrayda. Once you scan her, it’s time to get down to it.

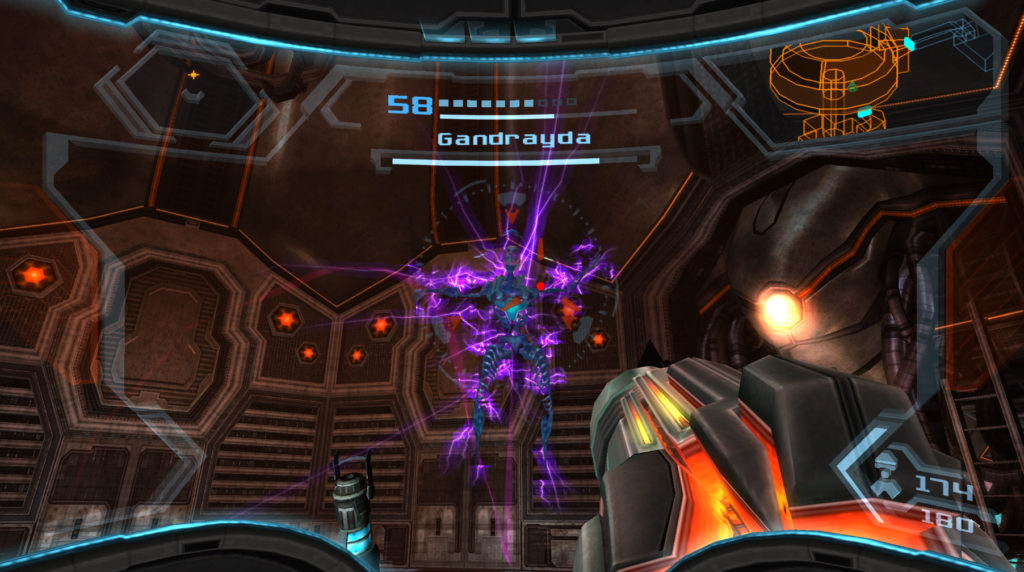
Gandrayda is a small and nimble target, extremely agile, and deceptively fast. She’ll be a hard target to hit and deal out some pretty quick attacks to boot. As she’s cartwheeling around the arena, the shape shifter will kick up bursts of energy to throw at you, throw what look like energy “knives” at you, and dropkick the ground, sending a straight shockline towards you.
Her most infamous attack is a jumping lunge where she’ll actually latch on to you and start leeching your energy away like some kind of Metroid. As the prompts would suggest, shake your controller if this happens! As long as you stay moving, you should be able to avoid most of Gandrayda’s attacks.
Luckily, to make up for her speed, Gandrayda is not super heavily armored, so any hits with charged shots should knock her over and give you an opening. Of course, Gandrayda’s only weaker when she’s in her actual form. As you might expect from the shape shifter, that will soon change.
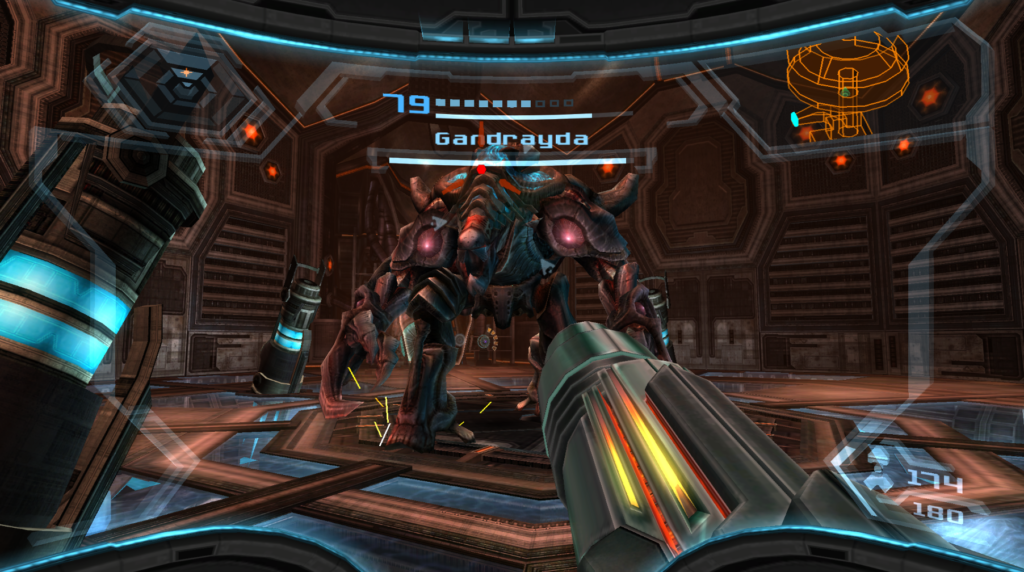
Gandrayda will assume the form of various bosses you’ve squared off against, starting with the Berserker Lord. She’ll also imitate an Aerotrooper, some Swarmbots and more. Utilize the same strategies as you would against those enemies (shoot Berserker Lord’s orbs back at it) to deal damage to Gandrayda.
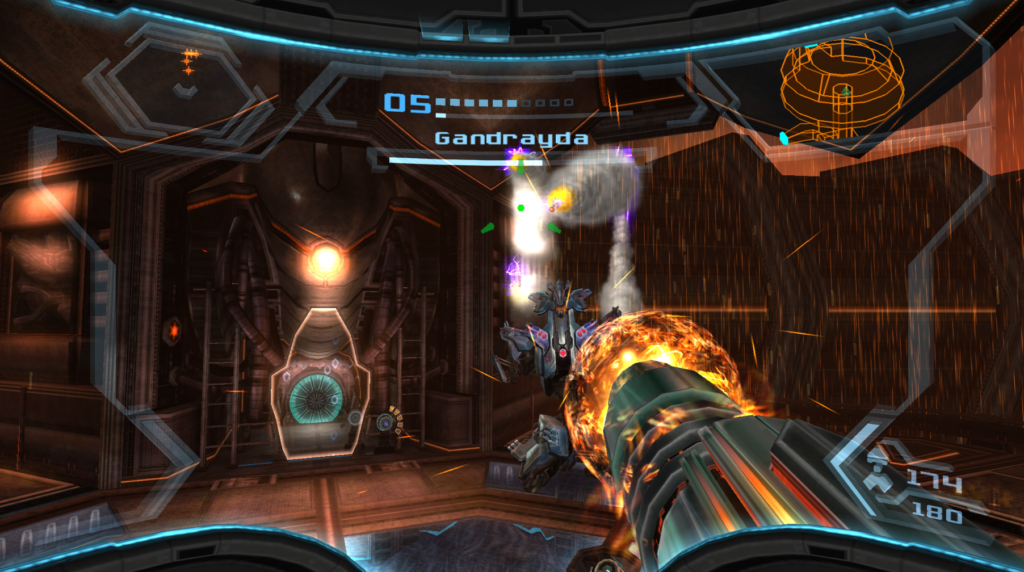
After a bit of fighting, Gandrayda will cause an electrical shock that activates and opens up the roof above, expanding the size of the arena. Gandrayda will take on the form of Rundas and Ghor, utilizing all of their attacks. Similarly, however, she shares all of the same weaknesses, so exploit those to deal damage! If you need a refresher on how to battle Rundas and Ghor, click away. Fortunately, for Rundas in particular, the Plasma Beam is going to make a huge difference, so spam it!
As Gandrayda starts to get lower on health, she’ll reveal her coup de grâce – a transformation into the greatest bounty hunter of all: Samus Aran!
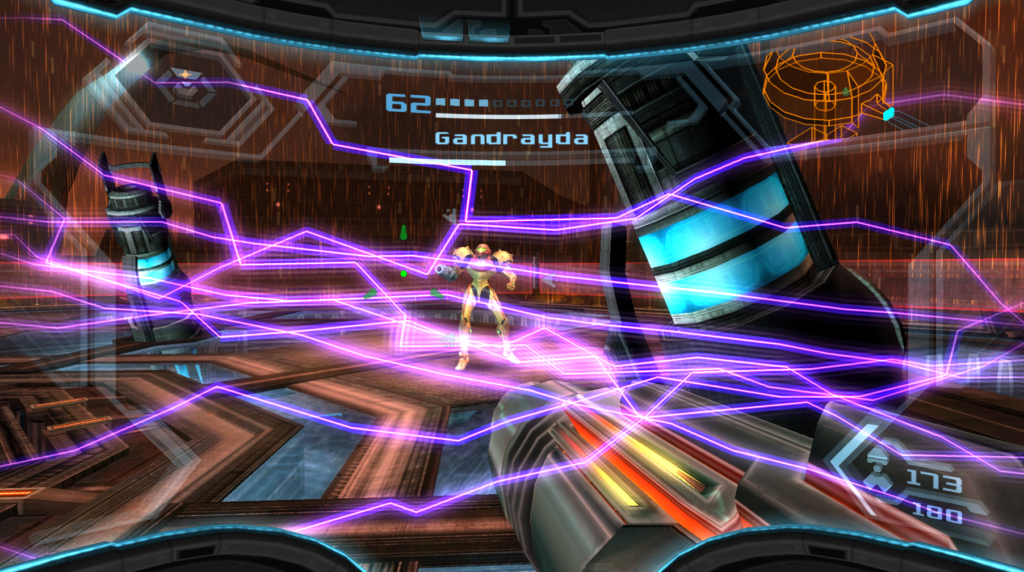
As Samus, Gandrayda will use the Boost Ball to attack, rolling around the arena, as well as her Zero Laser, a massive burst of arm cannon energy that will sweep the field. “Samus” will also release a large burst of Gandrayda’s purple energy, which hits hard.
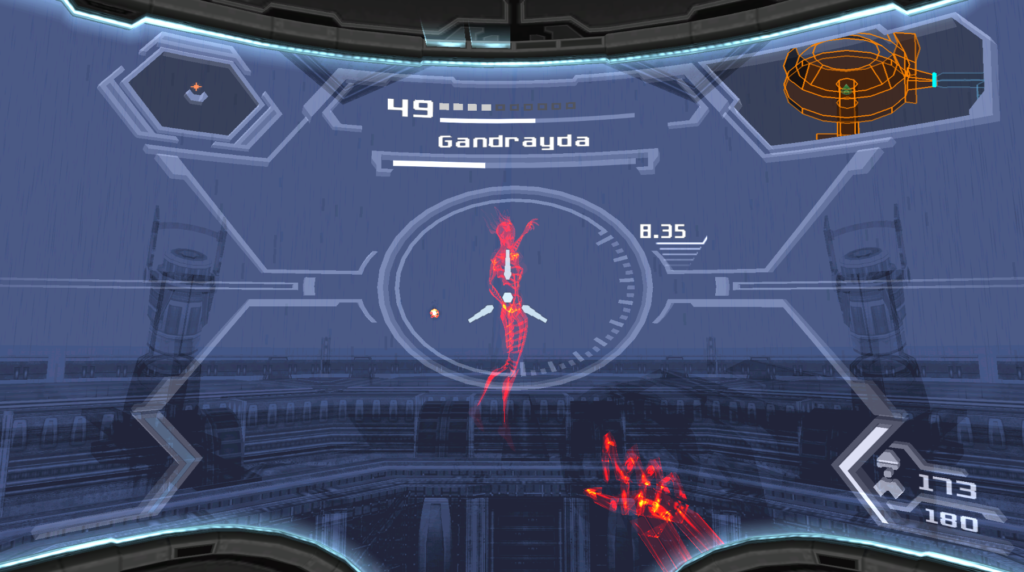
When in her real form, Gandrayda will also start to disappear from view. Quickly throw your X-Ray Visor on and keep attacking, and the second that you don’t see her anymore, take it off before she hits you with a move as Samus.

As her health decreases, Gandrayda will start moving even more erratically, throwing out energy attacks and kicks and flips in an effort to beat you. If you keep on hammering her with charged shots – don’t even bother with Hypermode this fight, she moves too fast – you should wear her down.
As you shoot the final shot, Gandrayda, like our friends before her, will die of the Phazon corruption, but break free of Dark Samus’s evil influence. In a heartbreaking scene, Gandrayda turns into Samus one last time as she dies in an eerie foreshadow of what Samus’s future could hold. With that, Bounty Hunter Gandrayda will be no more.
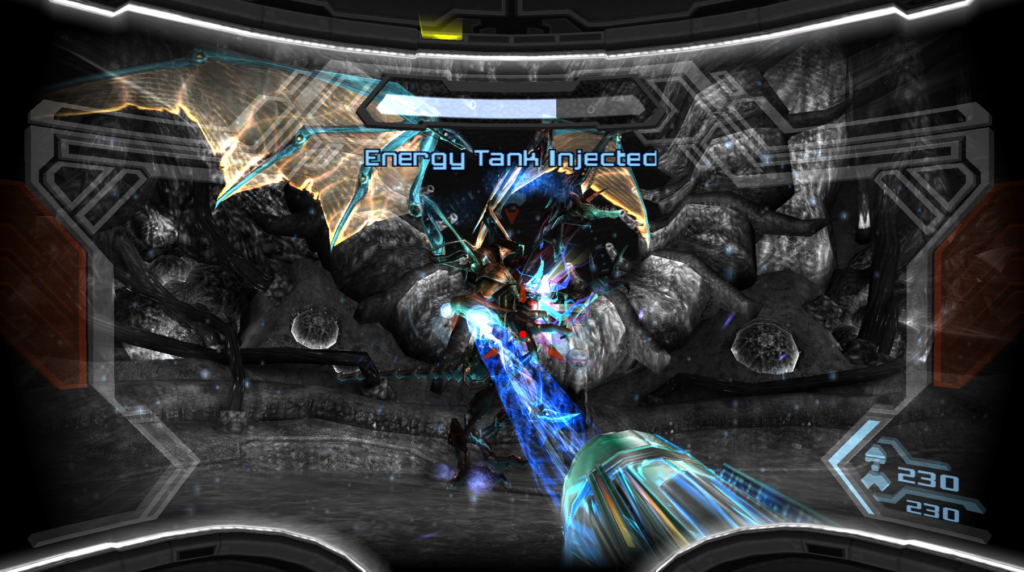
Omega Ridley
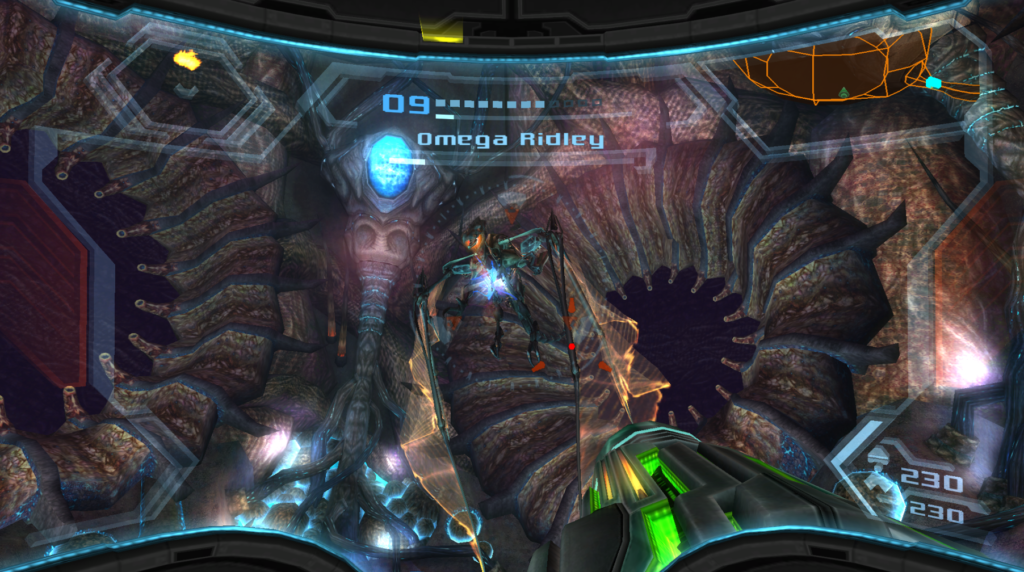
The Guardian of the Pirate Homeworld is fittingly the most gruesome and tough Space Pirate of them all – Ridley! Unlike Meta Ridley, who you defeated earlier, this Ridley is absolutely amped up on Phazon, turning it into the fearsome and ferocious Omega Ridley! Scan your foe and let’s begin!
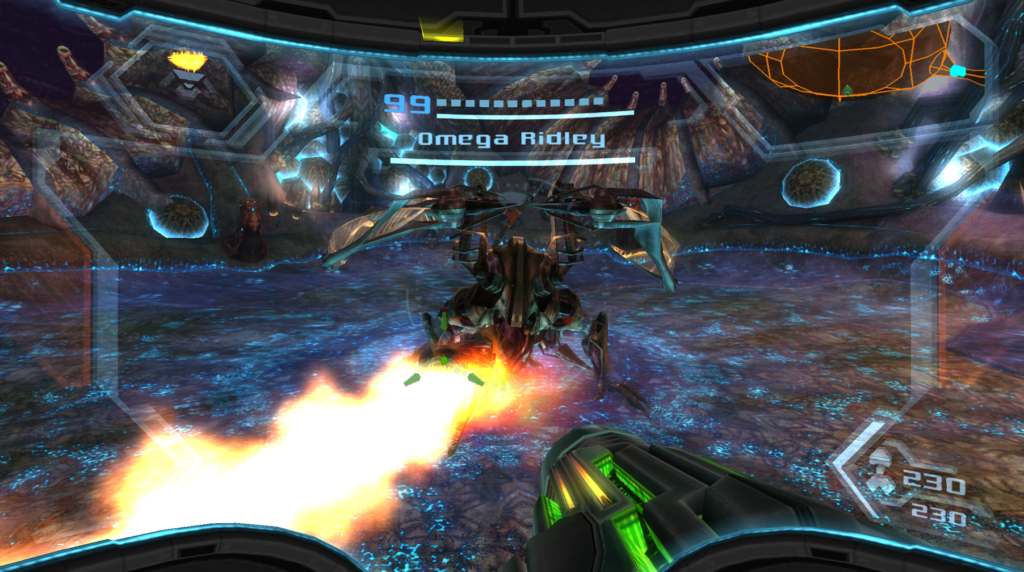
There are a couple things you should notice right away. Firstly, the music is just going absolutely so hard, pounding away and really adding to the big fight feel of this encounter. Secondly is that Omega Ridley seems much heavier than his more aerial Meta incarnation. Lastly is that there’s an area on Ridley’s chest that’s concealed by shielding emphasized in the intro cutscene; this is the weak spot and what we’ll need to target.
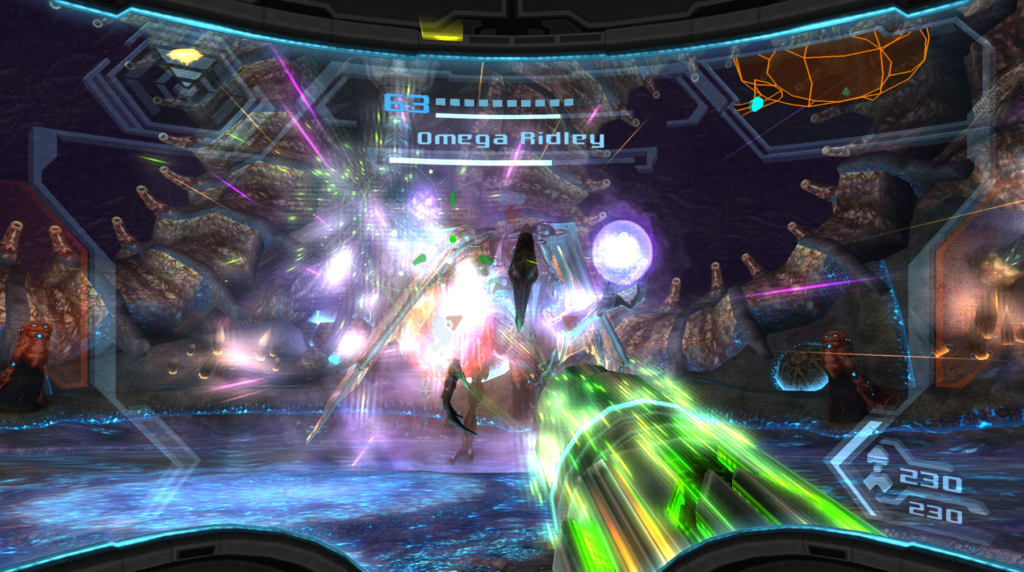
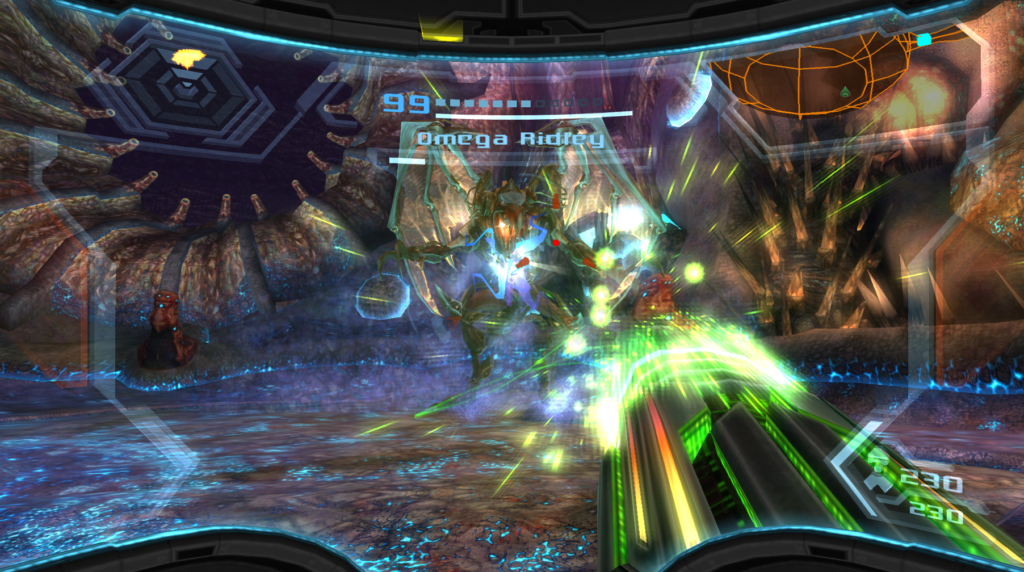
Omega Ridley will start the fight like a bat outta hell. He’ll utilize fire in a big way, firing a beam of flames from his mouth at you that can be jumped over, as well as shooting fireballs at you, which can be shot for health and ammo. Omega Ridley will fly upwards and come down with a huge ground-pound. Get out of the way and jump over the shockwaves, BUT BE CAREFUL because Ridley will also bite when he lands.
Omega Ridley will also constantly be swiping at you, lunging towards you and trying to stab you with his tail. Keep moving and keep your distance! Ridley will also charge at you like a bullet, so stay clear of the warpath and you should be okay. Ridley will raise his wings when he’s about to charge, so use that as a queue to get out of the way!
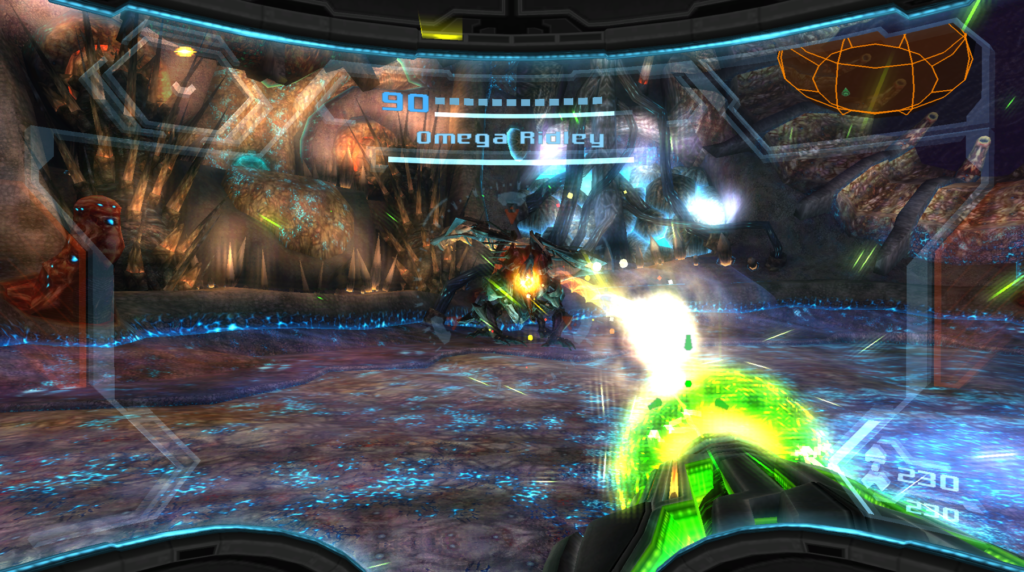
Right. So how do we actually damage this guy? Well, similarly to his Meta iteration, the space dragon’s mouth is what you’ll want to attack in order to stun Ridley. You’ll only have a small window of opportunity, maybe two seconds or so, so fire a charged shot into Ridley’s mouth. Act quickly, aim true and you should stun the beast. Quickly use your Grapple Lasso to yank off the shielding covering Ridley’s chest and go to town. Enter Hypermode and hit him with everything you got!
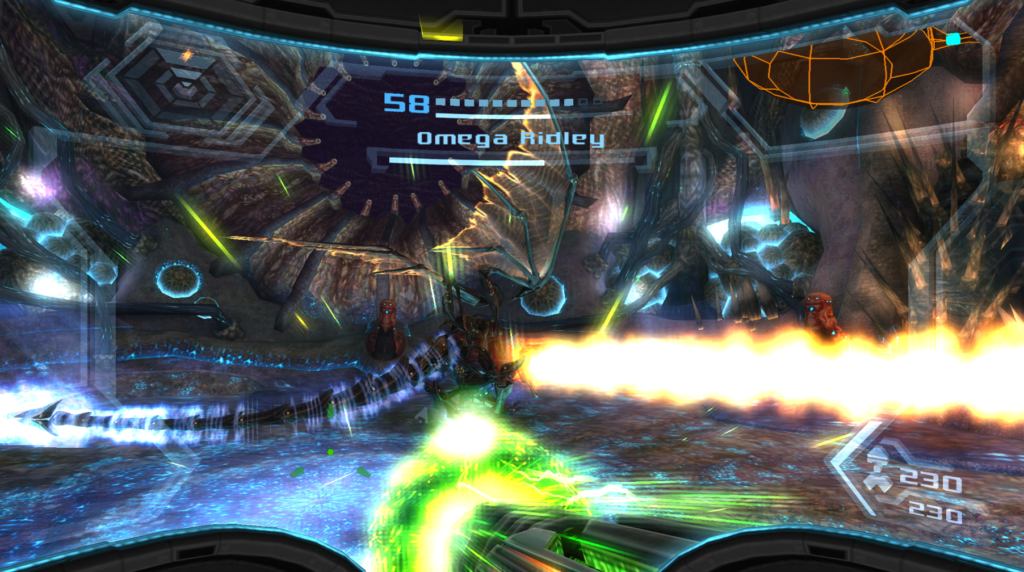
Repeat this process until Ridley loses about a quarter-or-so of his health. The space dragon will decide he’s had enough and summon a (admittedly very cool looking) set of Phazon armor to completely cover his chest.
Ridley will resume attacking, but add in a couple tricks. When Ridley breathes fire from his mouth now, he’ll start spinning around in a circle, with fire coming out of his mouth and his tail acting as a battering ram on the backside. Jump over this as best you can. Speaking of jumping, watch out for Ridley’s tail after he does his charging attack; it will now whip you while he turns around. Lastly, Omega Ridley will also go full-necromancer and start summoning these orbs of energy to hit you with. Needless to say, these hurt if they hit you, but this actually presents an opportunity.
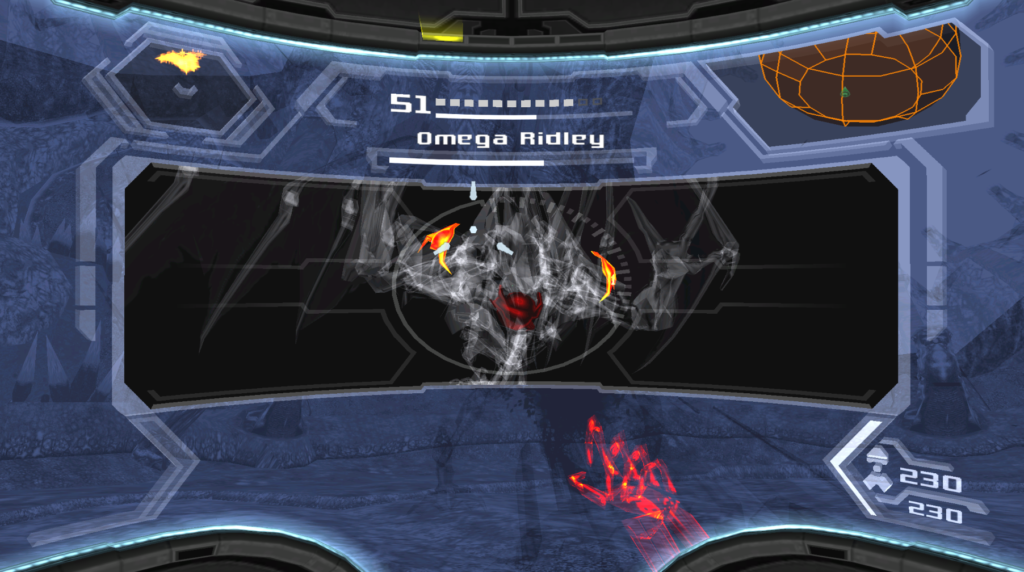
Pick off the two orbs and you’ll stun Ridley (you can also still stun Ridley by firing into his mouth, btw). Once Ridley is stunned, switch to your X-Ray Visor and you’ll see some specific parts that you’ll want to destroy inside of his armor. Keep the offense up, aim carefully when Ridley is stunned, and you should destroy both parts of his armor, which damages him and causes Omega to take to the skies.
Ridley will now be at around 1/3 health, but hitting him will be harder than ever as he’ll start to fly in between the Leviathan openings. Ridley will drop a barrage of missiles on you and ground-pound from the heavens above, so be careful.
Ridley will land from time to time and will be all over you with close quarters attacks. He’ll spam his charge, he’ll swipe, he’ll bite and generally just get right up in your face to cause havoc. Fortunately, his weak spot is permanently exposed now, so any time that he’s even a bit upright, you can concentrate fire on his chest! Hypermode will really be the only truly effective method of attack now, so fire beams, charged shots, or Hyper Missiles as you can.
Whatever your preferred method, just keep pounding away on Ridley’s chest until finally, the guardian of the Space Pirate Homeworld is no more and Omega Ridley is destroyed.
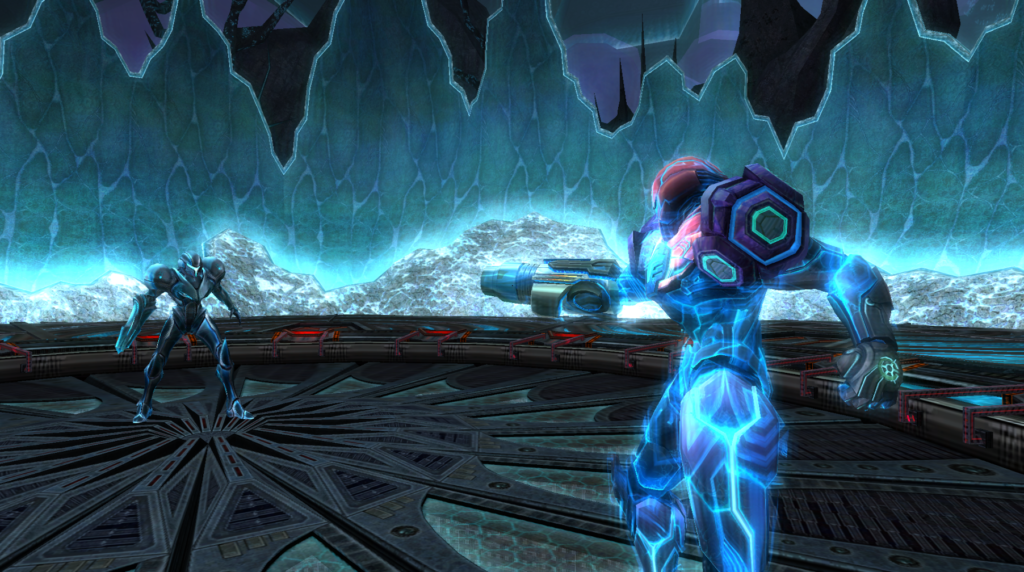
Dark Samus
It’s finally time. One last battle against your dark doppelganger, with everything on the line: the future of the Galactic Federation, the universe, the fate of Phazon and the soul of Samus, who is beyond corrupted at this point. There’s no turning back now. Scan Dark Samus and let’s finish this!
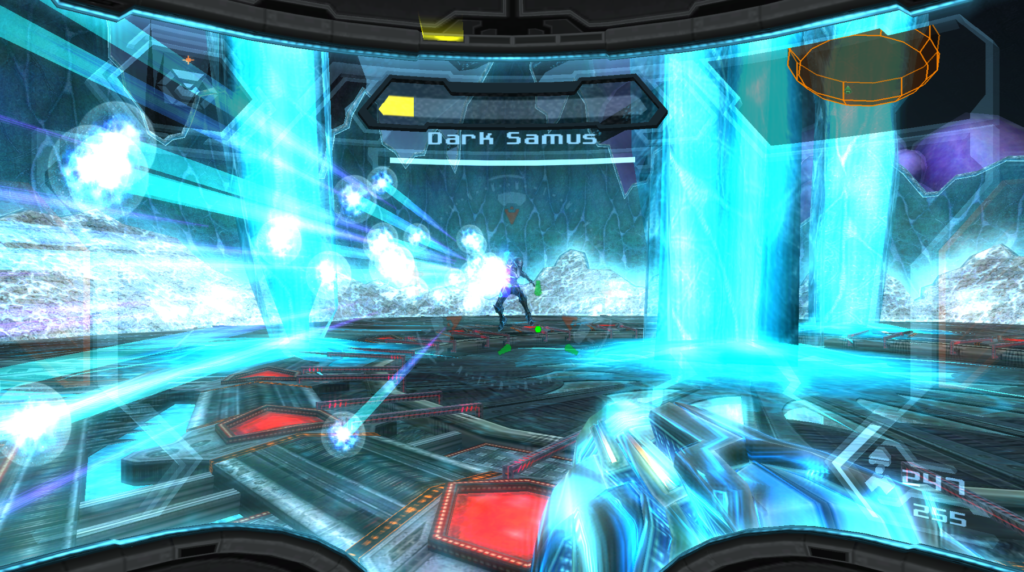
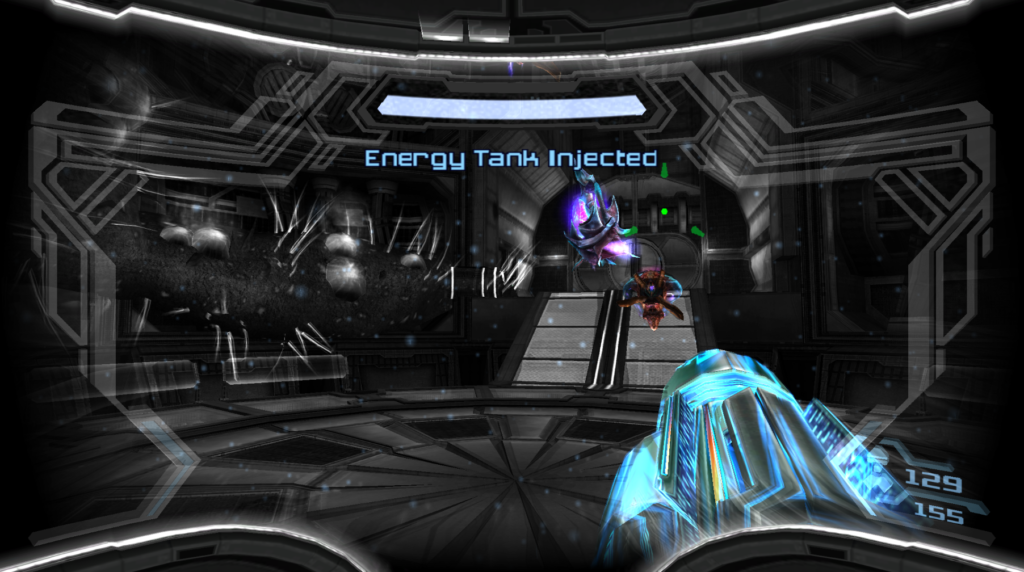
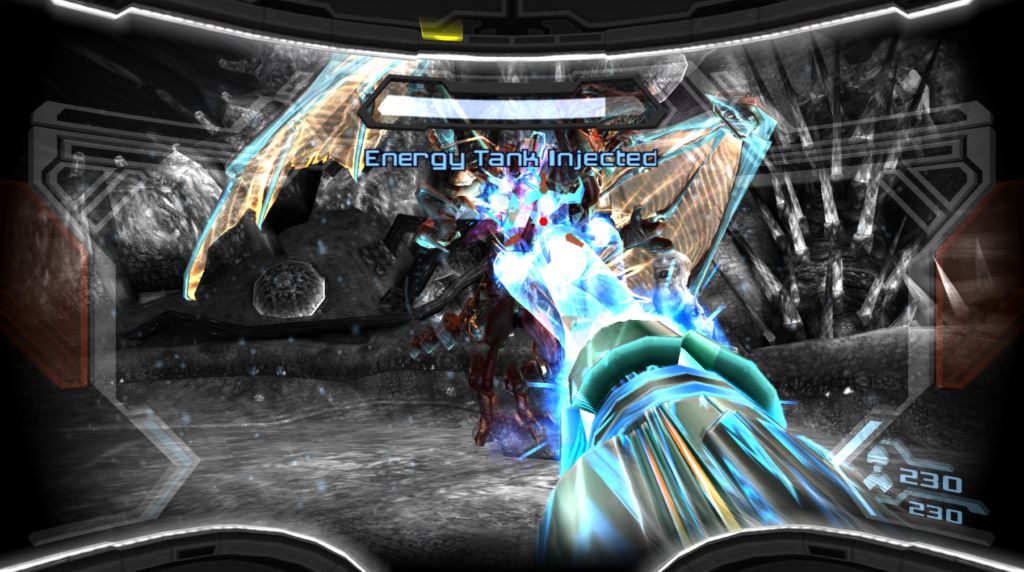
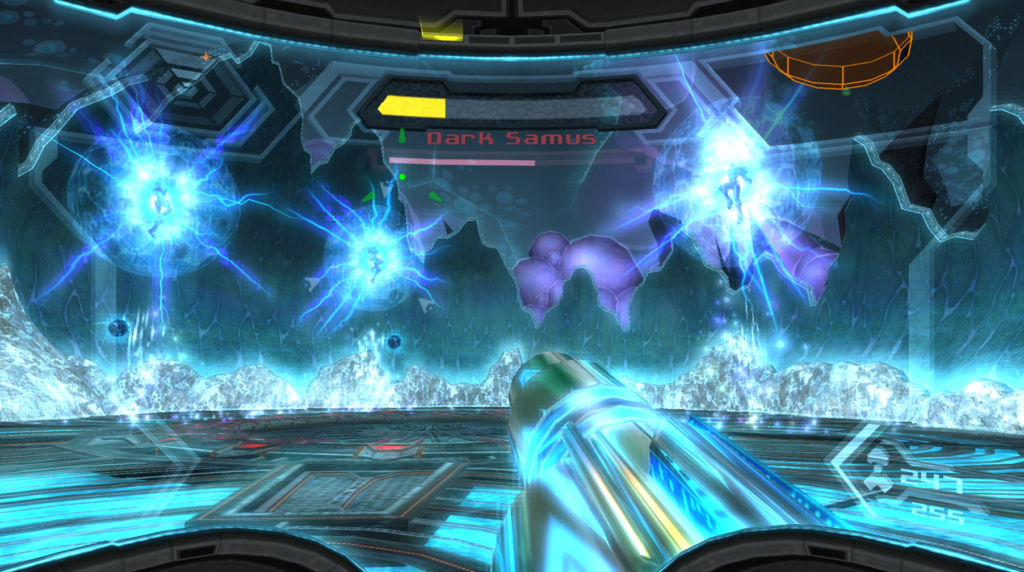
First off, DANG that theme goes hard. Second, is Phaaze ever cool or what? Third, as the game has already explained to you by now, your Energy Tanks have been replaced by a Phazon Hypermode meter. The more it fills up with yellow juice, the worse off you’re going to be. Keep that in mind as this fight progresses.
Dark Samus will start the fight guns ‘ablazing, and any veterans of Metroid Prime 2 will be able to see some similar attacks. The Dark Hunter will start off with some standard fare attacks – shooting charged bursts of Phazon, usually in bursts of three, and firing a sweeping scattershot of Phazon bits. Both of these can be easily avoided by just moving and jumping. Dark Samus isn’t afraid of a little hand-to-hand combat if you get too close, so be wary.
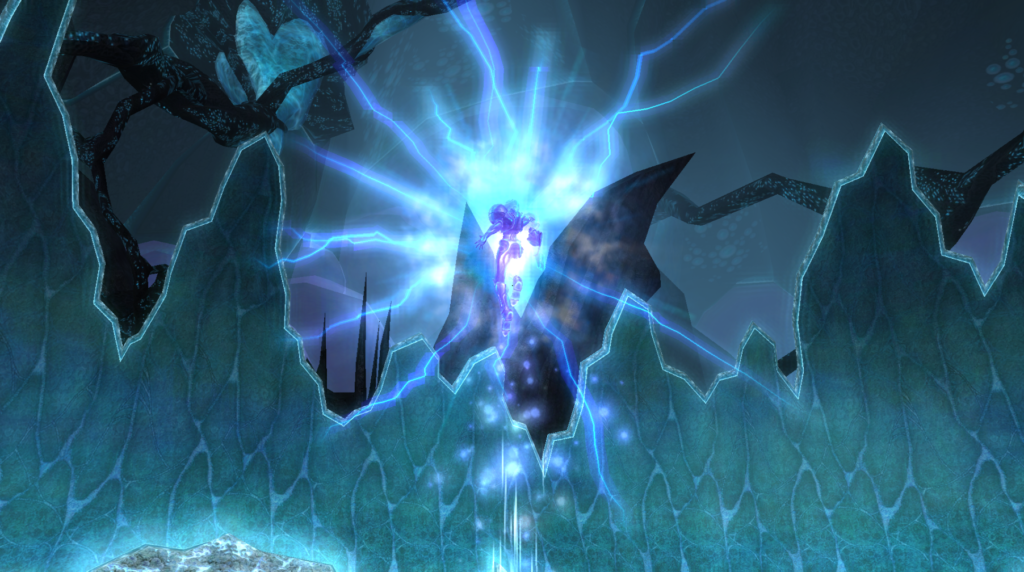
Damaging Dark Samus is simple enough here; use charged Hyper shots and you’ll actually do some decent damage early on. Dark Samus moves fast, but the charged shot really negates that since it’s a continuous blast. As she takes more damage, Dark Samus will eventually summon an orb of Phazon energy around her, which she’ll use to charge up a Shinespark. The dark hunter will fly up and then go crashing down into the ground, sending a massive shockwave around the arena. Attacking her is mostly pointless while she’s charged up, so just concentrate on avoiding her.
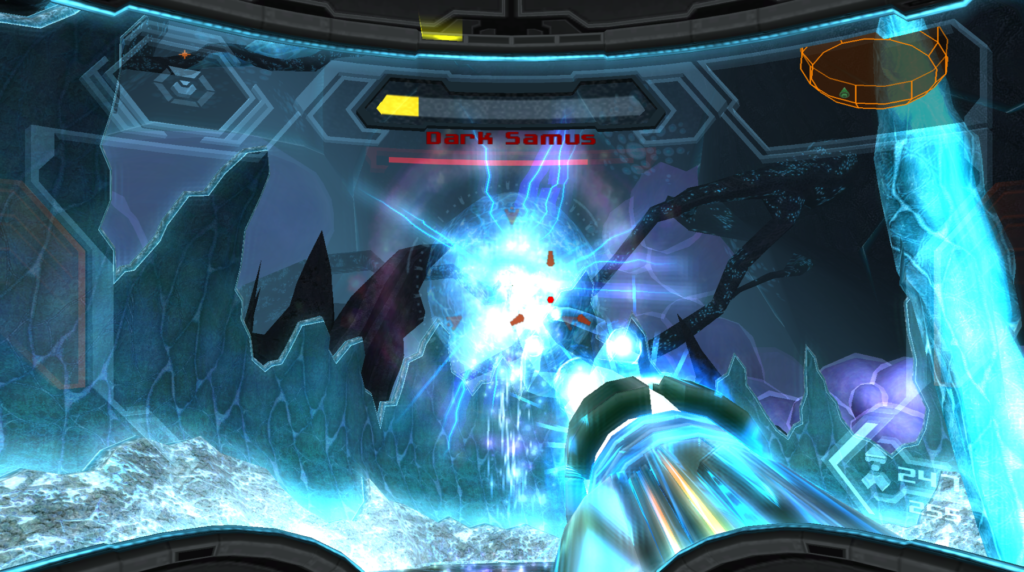
Speaking of, watch out for Dark Samus as she regenerates the pillars of Phazon on the battlefield. This is actually pretty decent cover, but you can also lose track of her! Keep on dodging Dark Samus’s attacks, particularly the Shinespark, hammer her with your Hyper Beam and soon enough you’ll trigger phase (Phaaze?) 2.

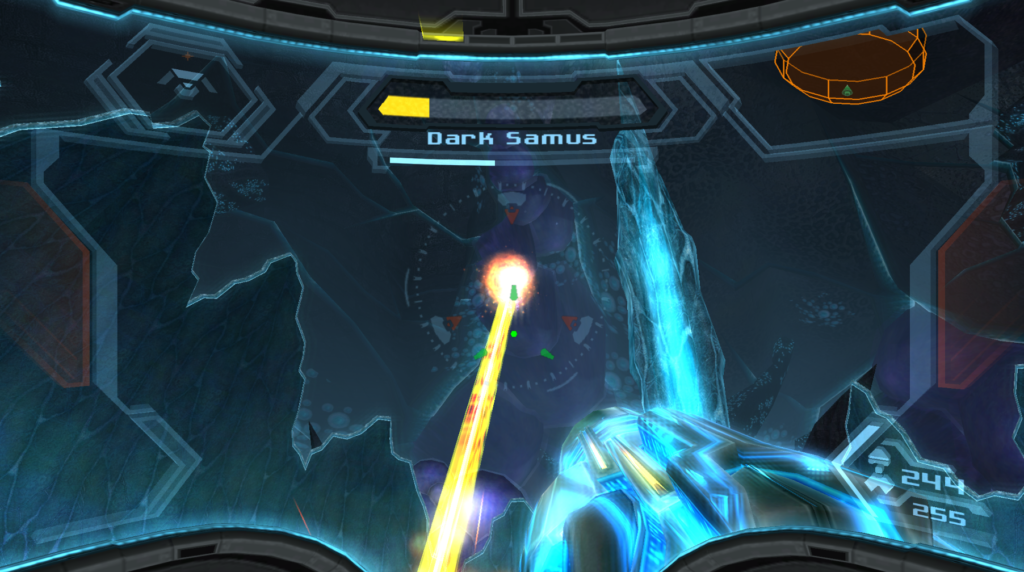
Dark Samus will now split into 2. You read that right, there’s 2 of them. Ugh. Luckily, detecting the real Dark Samus from the Dark Echo is easy enough if you just throw on your Scan Visor. I wouldn’t worry about trying to eliminate the Echo unless you need health or energy, as Dark Samus will combine all of her forms and then split again fairly regularly.
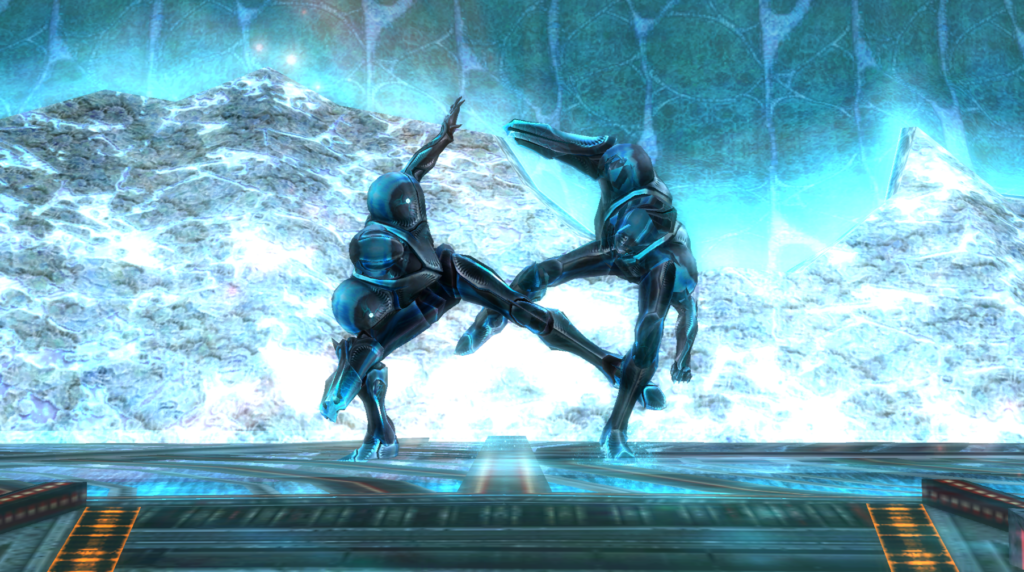
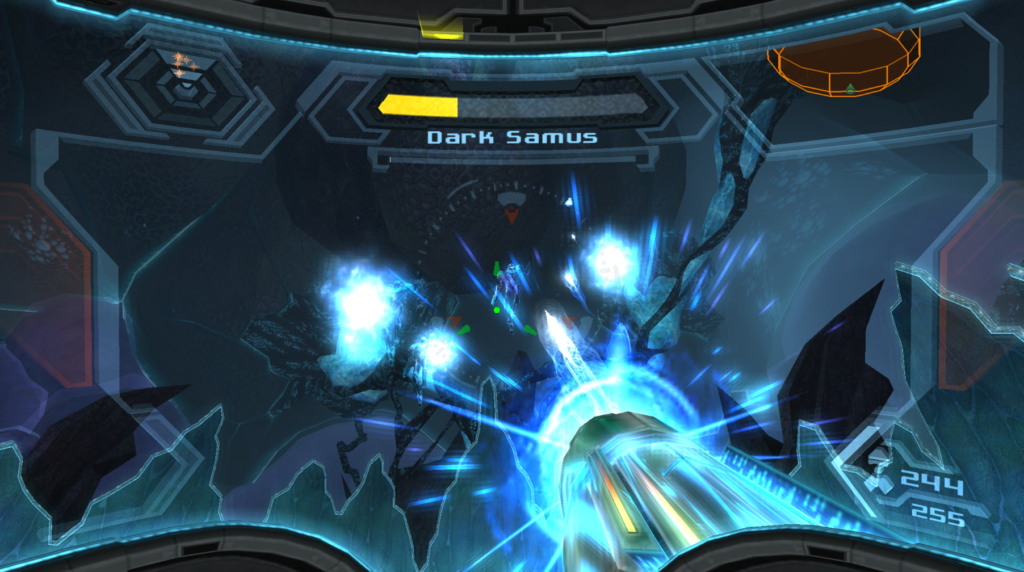
What I would worry about instead is the increased attacks. Dark Samus and her Echo will stand back to back and start firing Plasma beams while starting to rotate in a circle around the room. Jump up and over and keep pelting the real dark hunter with your Hyper Beam shots. Brace yourself, because if you thought two was bad, wait until there’s three.
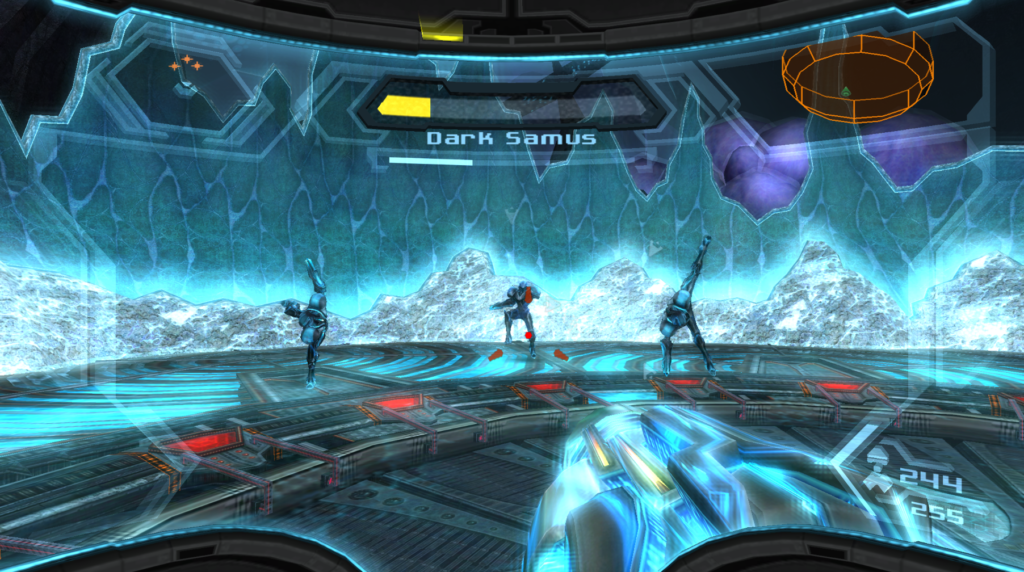
Dark Samus will split into three and each of them will use all the attacks in her arsenal at will. When you see them all start to ascend into the air and create the Phazon orbs around them, blast away at the Echoes! Three Shinesparks to the ground will be a little much to deal with, plus you’ll probably want the health at this point. When she’s fighting solo, Dark Samus will also now incorporate a new jumping slash attack that will send Phazon streaming through the ground at you, as well as a new attack where the dark hunter will jump in the air and fire Plasma beams at you. Keep moving and stay frosty.
Dark Samus will split into three at will, and as she keeps taking damage, she will start to move faster and more sporadically, including a last ditch effort to damage you where she’ll split into three and start “juggling” with her Echoes, so hitting any of them, let along the right one, becomes really difficult. When the end is near for her, Dark Samus will fly in the sky with her Echoes and start raining Phazon shots down on you.
Keep up the attack with your Hyper Beam and dodge all the offense she will be throwing your way and eventually, you’ll take down the dark hunter… or so we thought…
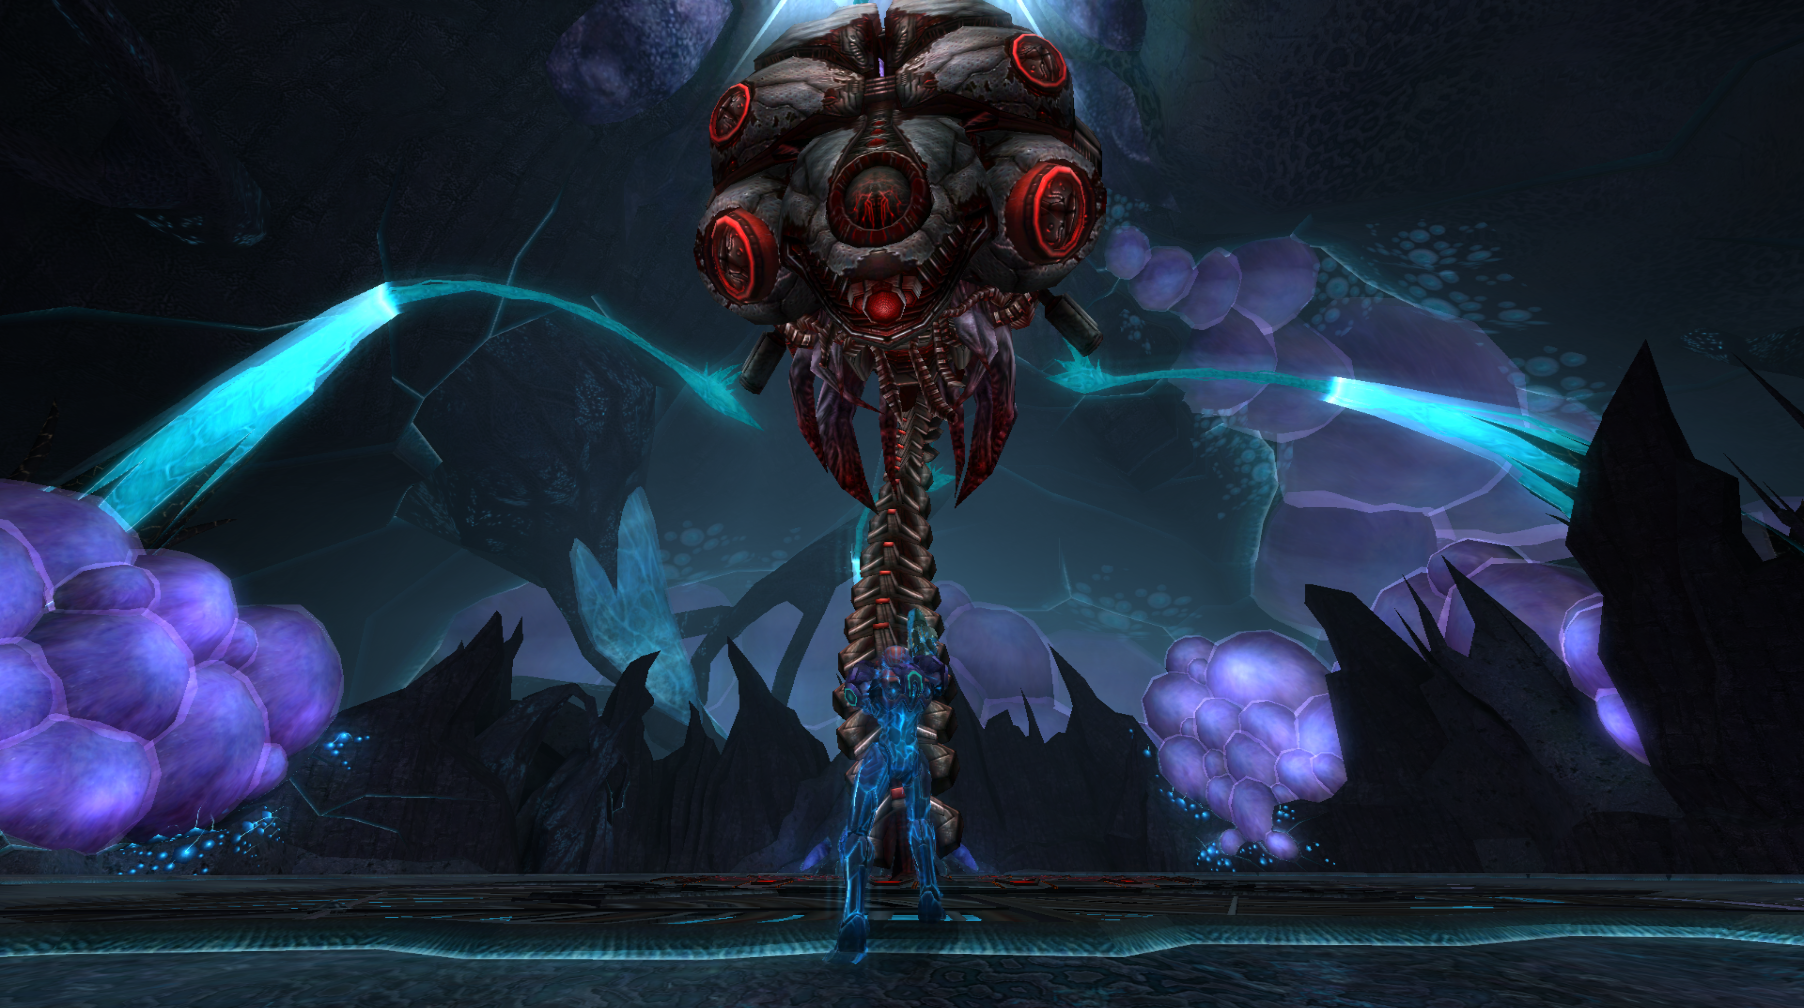
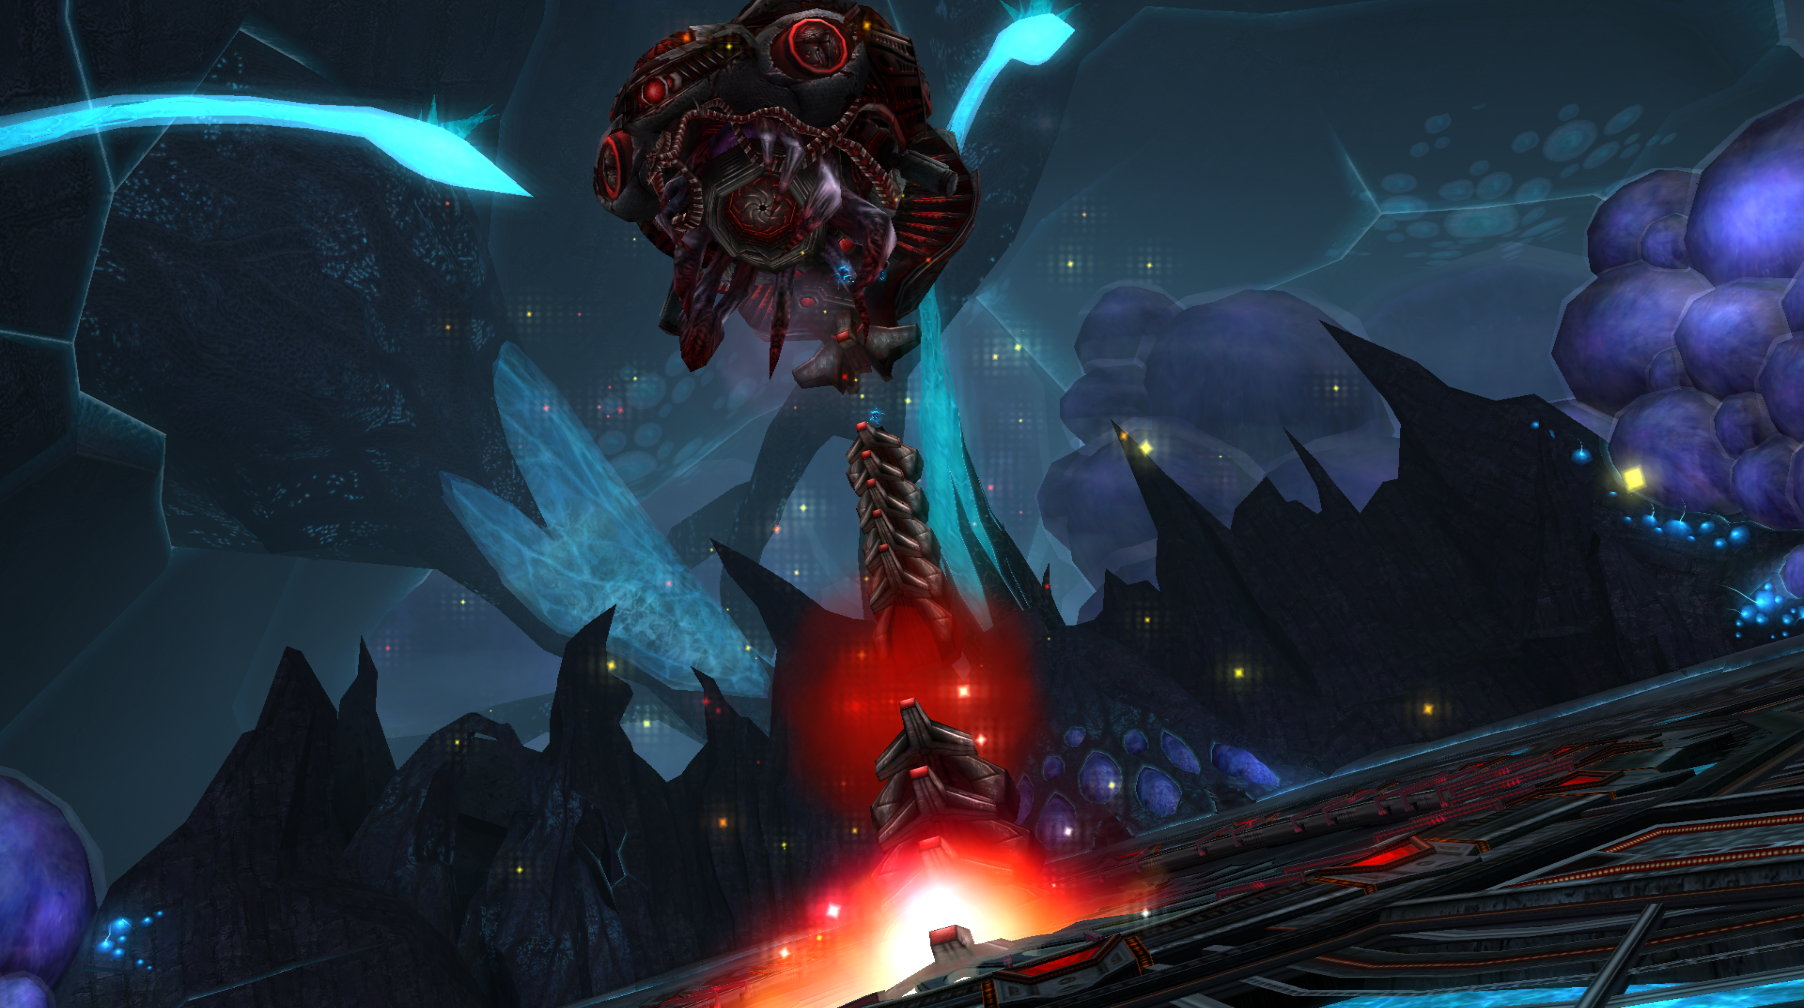
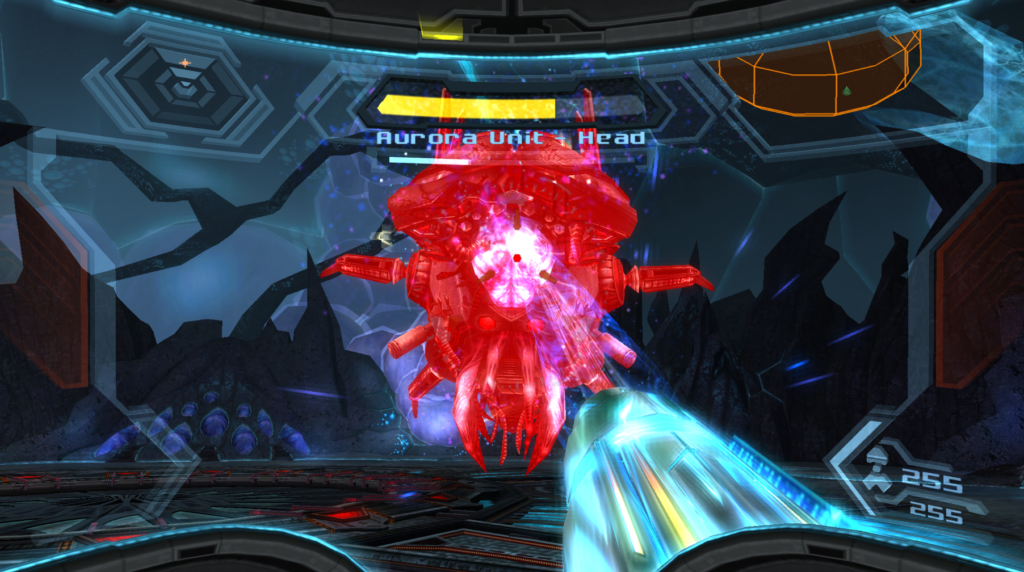
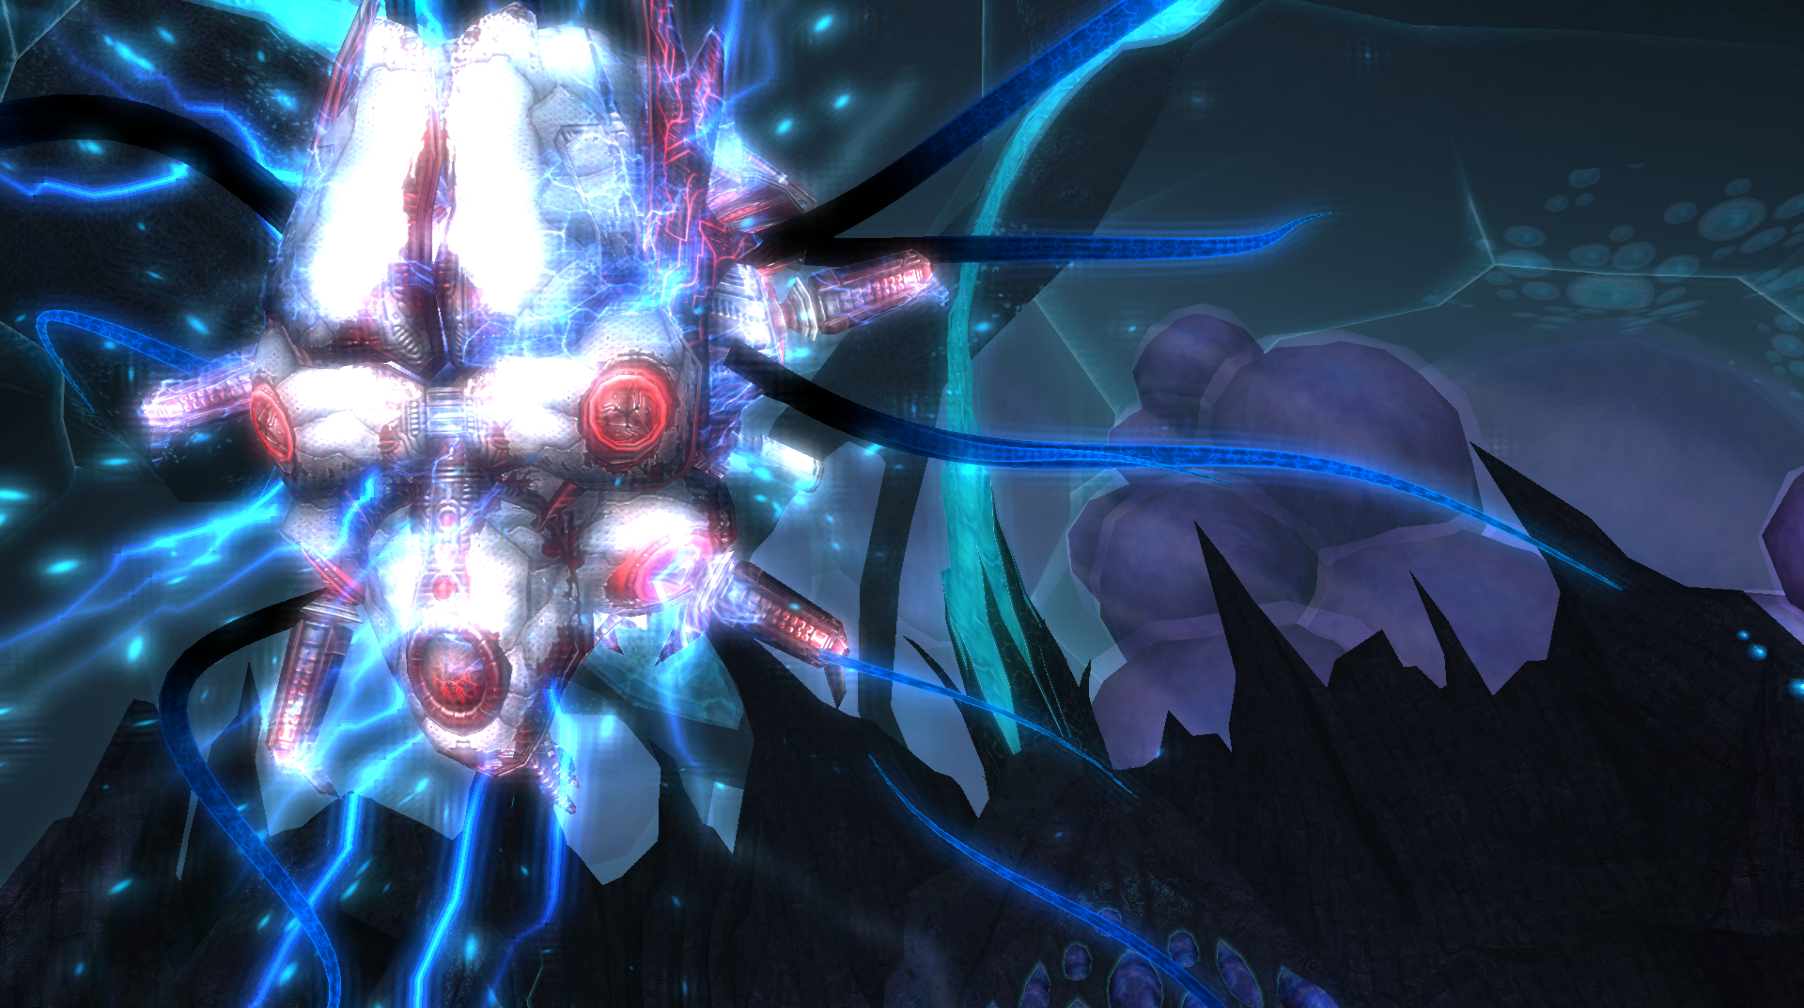
Aurora Unit 313
Dark Samus has now merged with Aurora Unit 313, the ill-fated supercomputer artificial intelligence unit that once lived aboard the G.F.S. Valhalla. 313 has the ability to control Phaaze itself and has been responsible for sending the Leviathans to the other worlds throughout the galaxy we liberated. Scan this corrupted unit and let’s finish the fight!
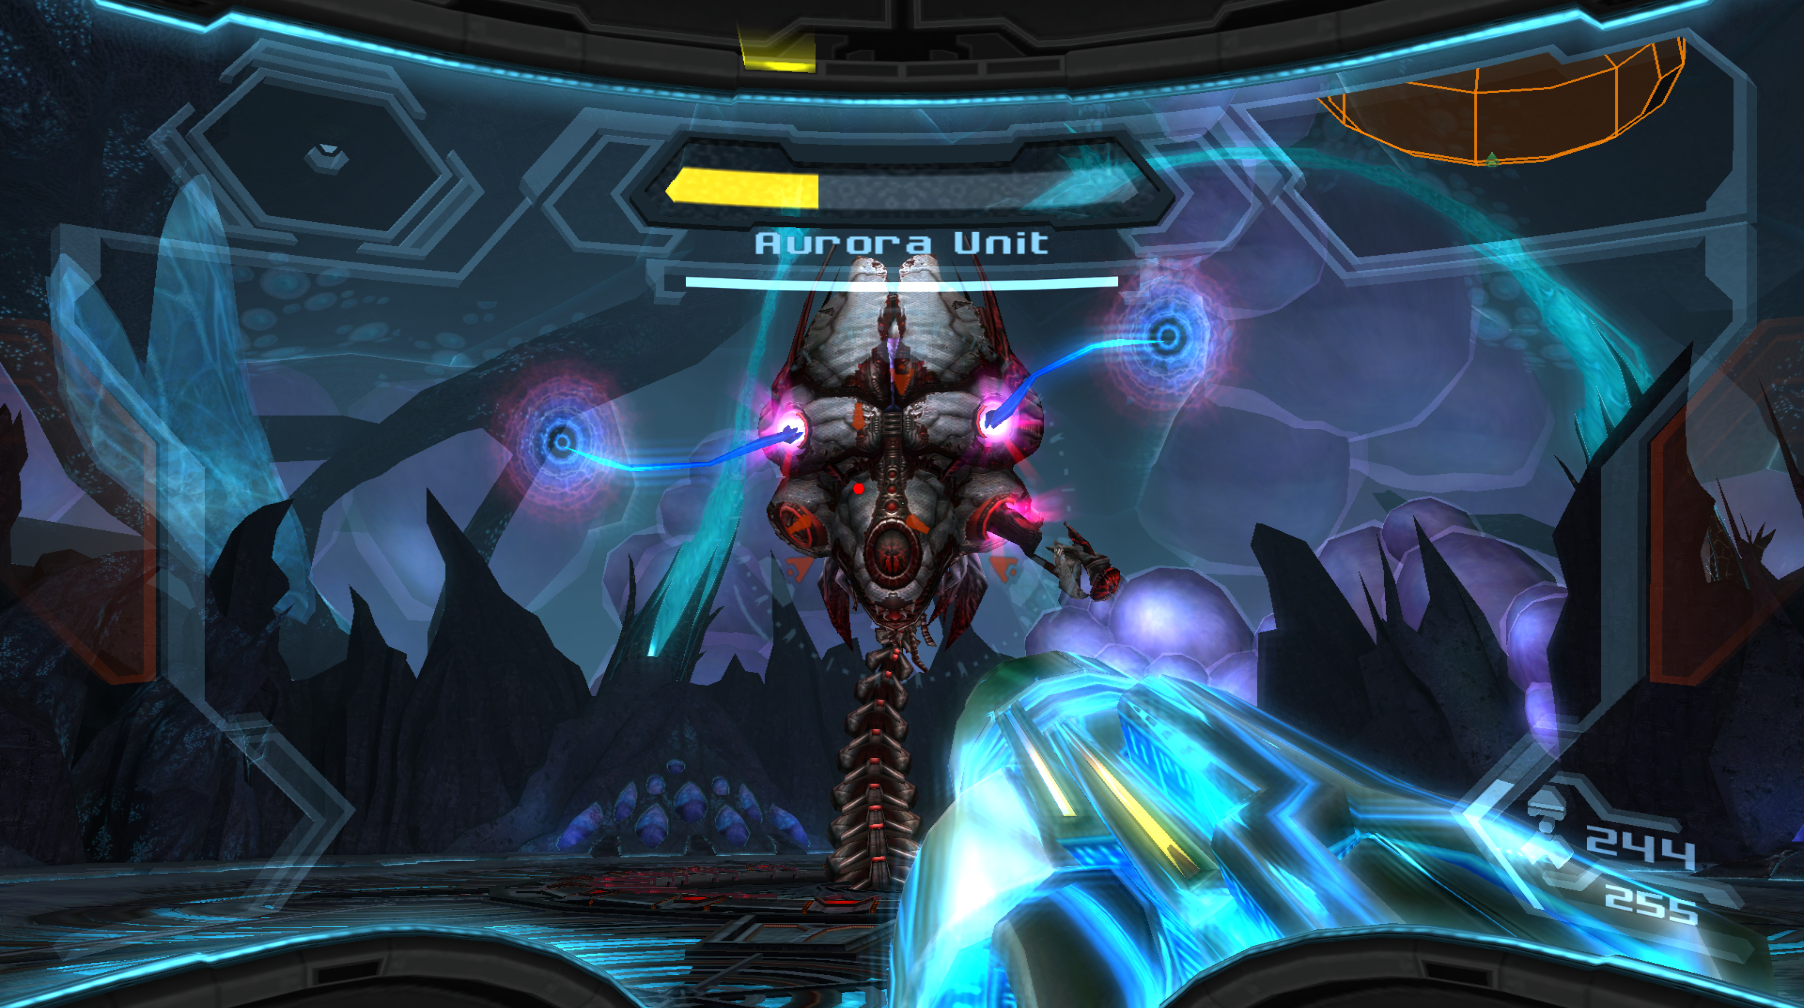
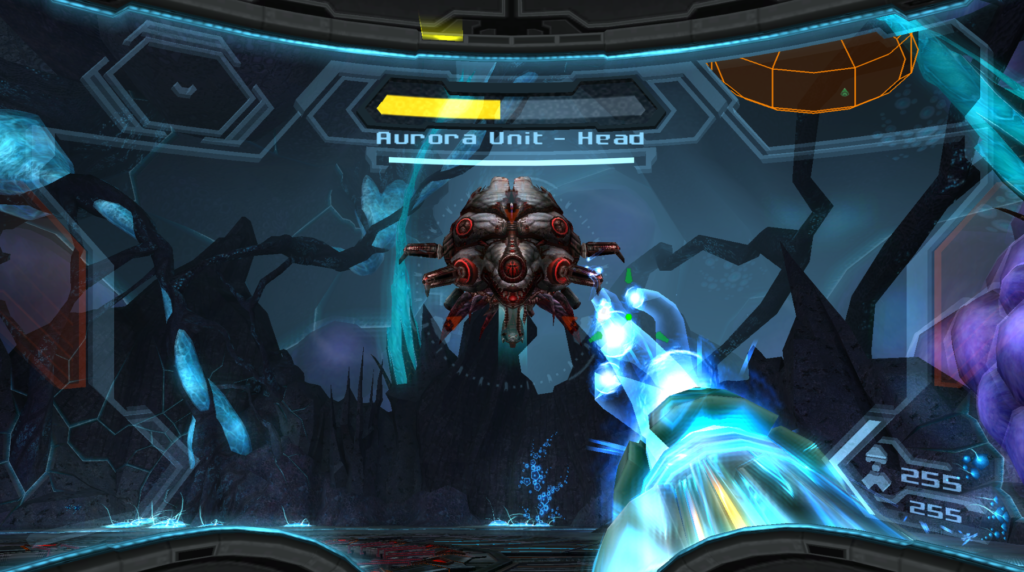
While the Aurora Unit looks suspiciously like another big bad in the Metroid series, this fight will play very differently. 313 has a whole swarm of attacks, including a focused Phazon Beam that it will fire from its “mouth” once you’ve hit its tentacles. It can also summon Dark Samus’ Echoes, usually 3 of them, and they’ll cause havoc and circle around the arena at high speeds, lobbing Phazon bombs at you. Destroy them for health.
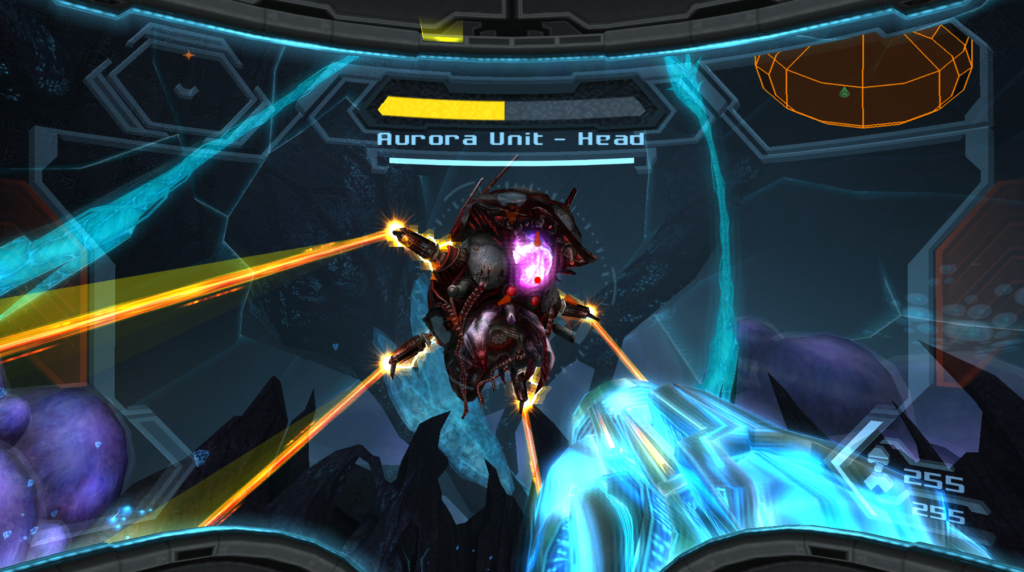
Talking about the tentacles, you’ll see two of them coming out of either side of 313’s head. Shoot both away and quickly fire at the flashing exposing parts to stun the Aurora Unit. Eventually, it’s head will start to overload and if you fire towards the sides, the head will completely fall down. Quickly run up to it and Grapple Lasso the armor around its “brain” off. When the brain is exposed, concentrate fire and make every shot count! You’ll need to do this 3 times to defeat 313.

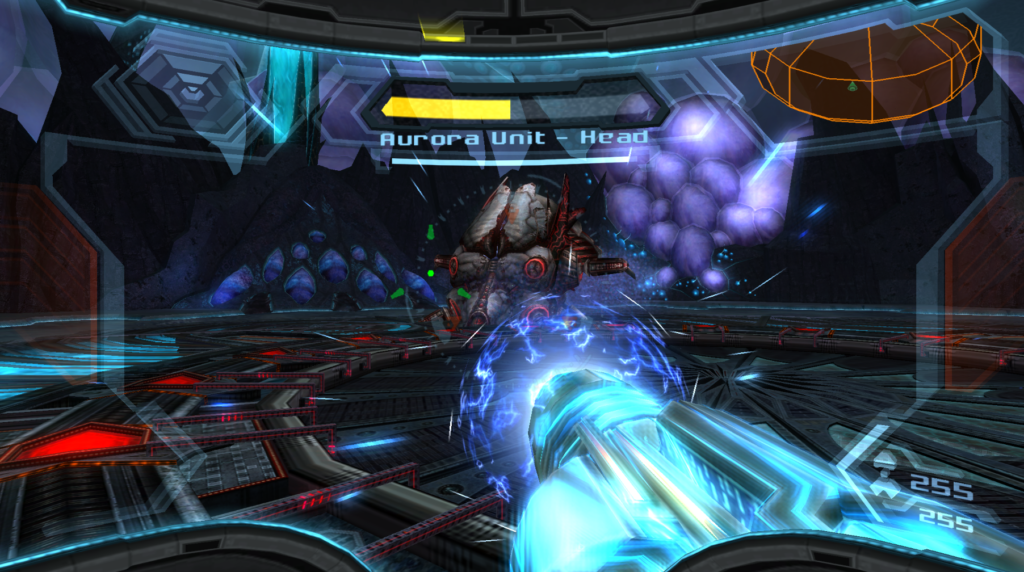
As the Aurora Unit puts itself back together, it will summon more powerful Dark Samus Echoes that utilize the Boost Ball and its tentacles will come out less often. It will also summon some turrets to fire a barrage of energy orbs at you. Use your wherewithal to avoid the attacks and fire on 313 when it presents its tentacles. Overload and stun the creature one more time, rip open its defenses and blast away at its head until the membrane is destroyed.
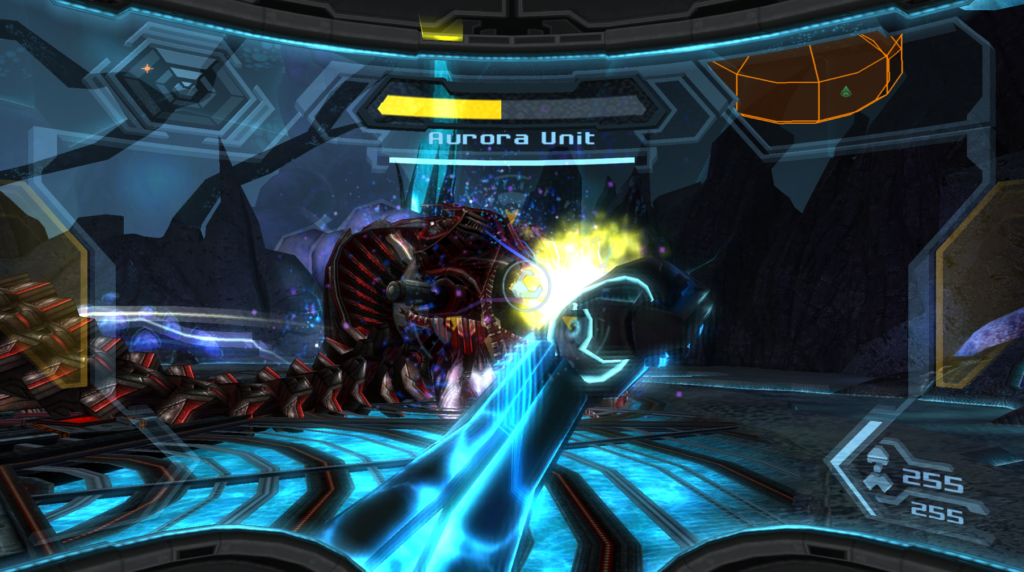
Now the head will be detached and flying around the arena. Watch out, as 313 still packs a powerful punch, as it will spin around and try to ram you, slam its head down onto the ground and fire a Phazon cannon straight downwards, which causes massive shockwaves around the arena.
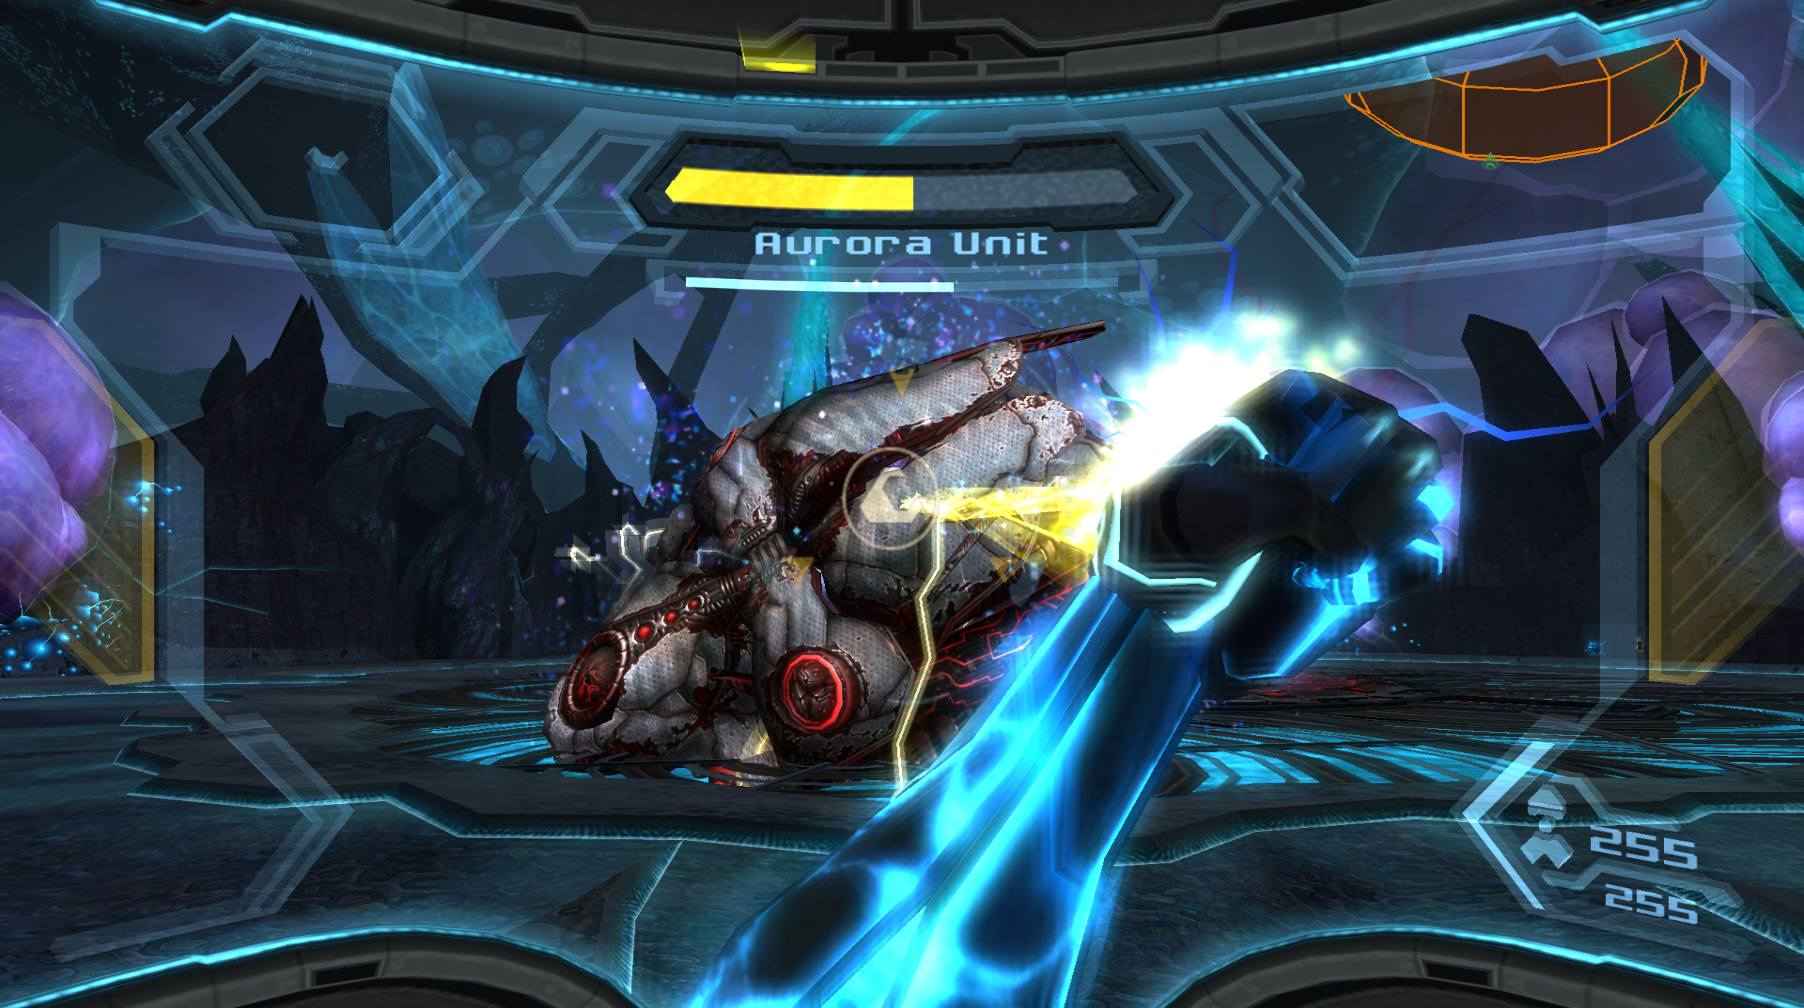
Actually damaging the Aurora is simple enough; either fire at the cannon where its neck used to be, or concentrate fire on the four energy receptors sticking out on each side. Basically, if it glows yellow, shoot it and you’ll stun 313. This will give you an opportunity to blast the Phazon crystal at the back of its head, which causes major damage.
As 313 takes damage, it will start to shoot cannon blasts from its mouth at you; this is a good time to fire directly at the mouth to overload it. It will also start firing four simultaneous beams of energy from its energy receptors; again, use this to your advantage by nailing the crystal behind its head when the Aurora Unit starts to spin.
Honestly, your biggest challenge at this point will be defeating the Aurora Unit before your Phazon bar overflows. Your Hyper attacks will do significant damage, so just keep firing at the crystal and you will defeat the corrupted Aurora Unit, bringing the saga of Dark Samus and Metroid Prime to a close.
Congratulations – you’ve beaten Metroid Prime 3: Corruption!