


Metroid Dread Walkthrough – The Furnace of Cataris
Walkthrough
Getting to the E.M.M.I. Zone
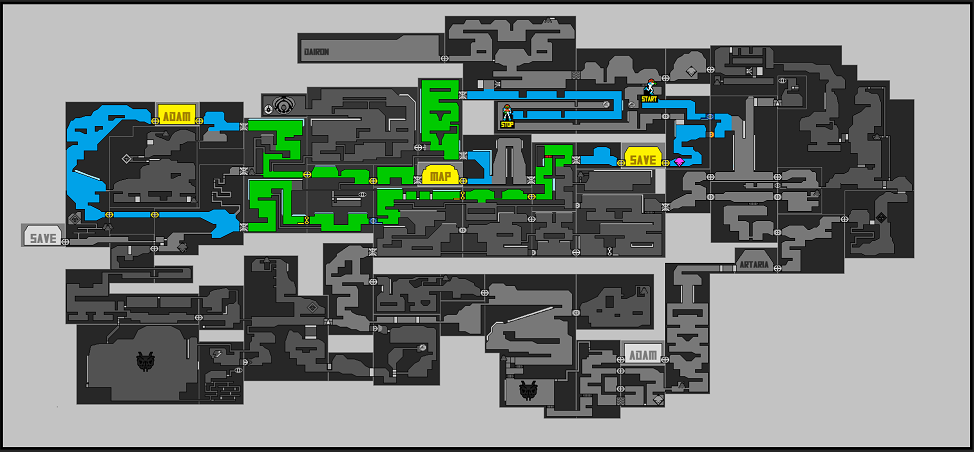
We now find ourselves in the industrial furnace known as Cataris. An area designed to distribute the magma of ZDR to other parts of the planet in order to provide thermal power, this area is chalk full of heated rooms and fiery enemies, as well as the continued presence of the fuel lines. Let’s get going!
As soon as you step off the elevator platform, your natural instincts will tell you to go through the door on your right as it is the only door in sight. Do so if you want, but it’s just a dead end and there’s nothing there for us (yet!). Instead, shoot the wall to the left of the elevator and watch it shatter! Keep firing and pressing towards the left.

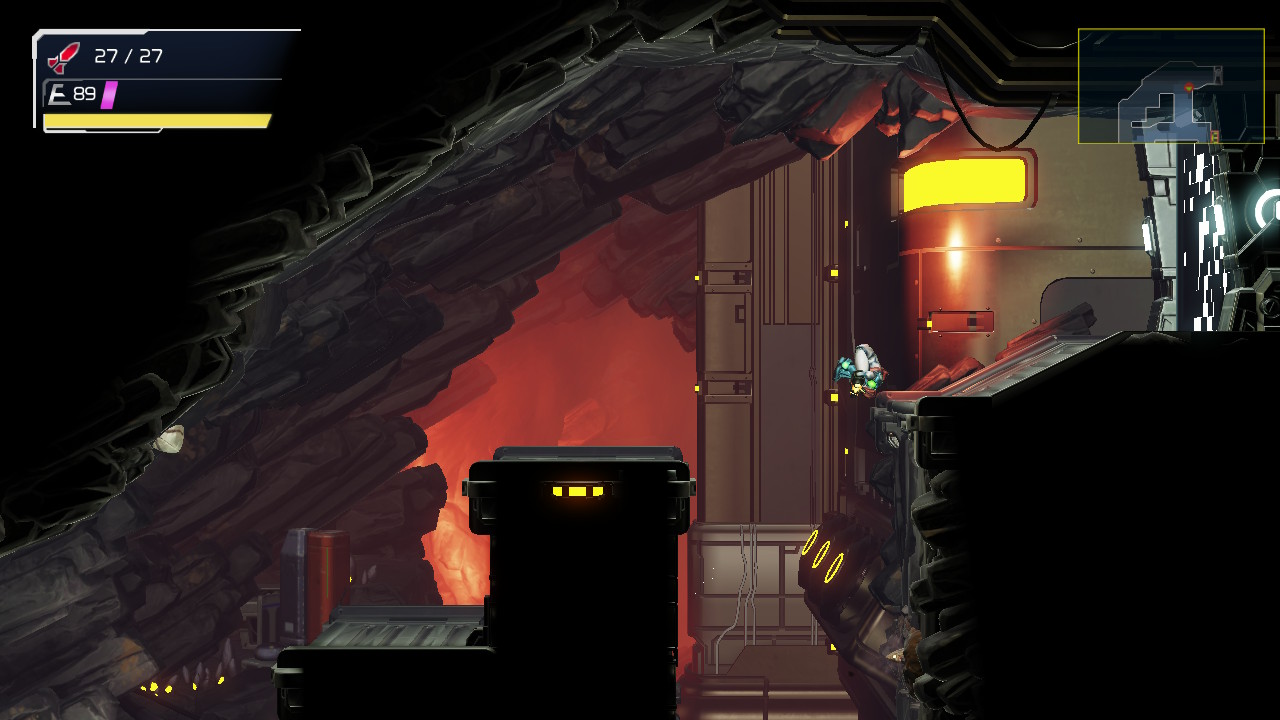
Eventually, you’ll get to a drop down point that is shooting flames out of the walls. Nothing says “welcome to Cataris” like shooting flames, am I right? Drop down, doing your best to avoid the fire, and keep working your way down. There will be some new mechanical enemies that look tough, but actually provide you with a pretty generous melee counter time, so don’t worry! Make your way down until you see a door to your left. Go through and go talk to Adam.
Adam will explain a bit about Cataris and its role in the grand scheme of ZDR. He’ll also go over the Phantom Cloak and its usefulness in avoiding E.M.M.I.’s. After you’re done, save the game and continue.
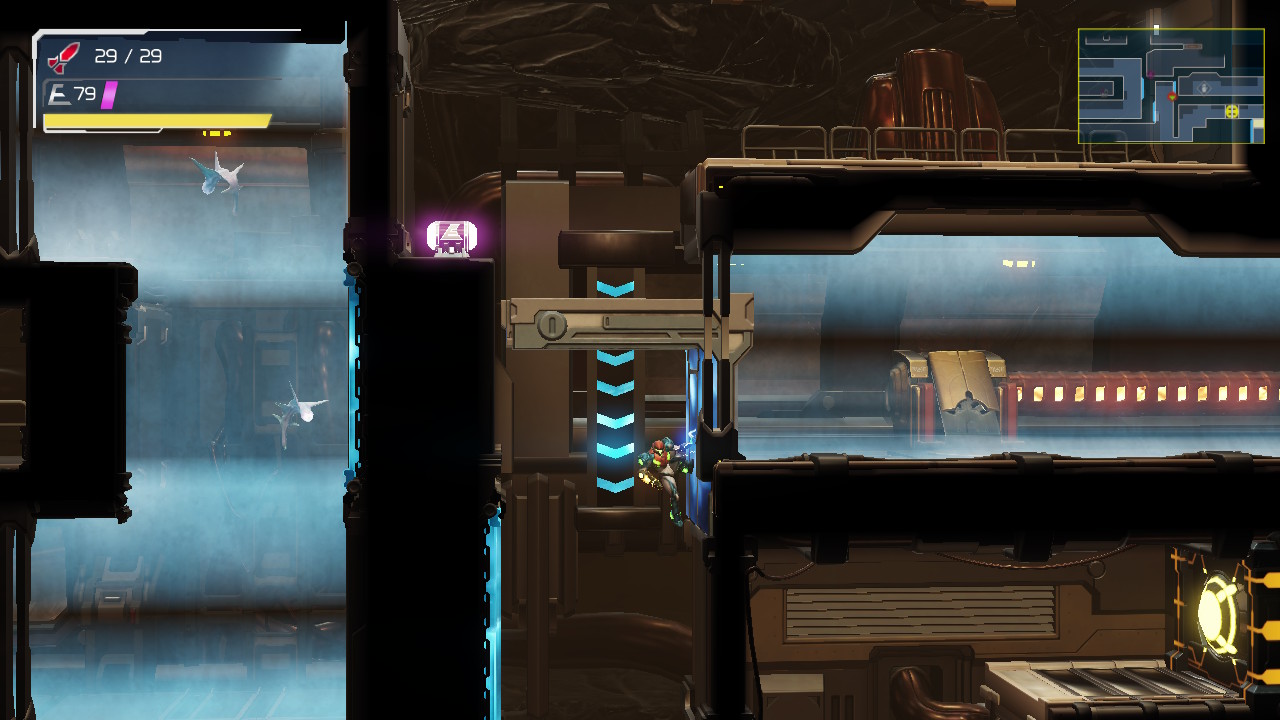
Exit the room and continue down. If you look to the right you’ll see a door with some blue butterflies flying around it. These blue butterflies serve as hints, signifying an area that you need to go and check out. We’re going to ignore this door for right now and instead continue on downwards, taking the thermal door on the bottom right.
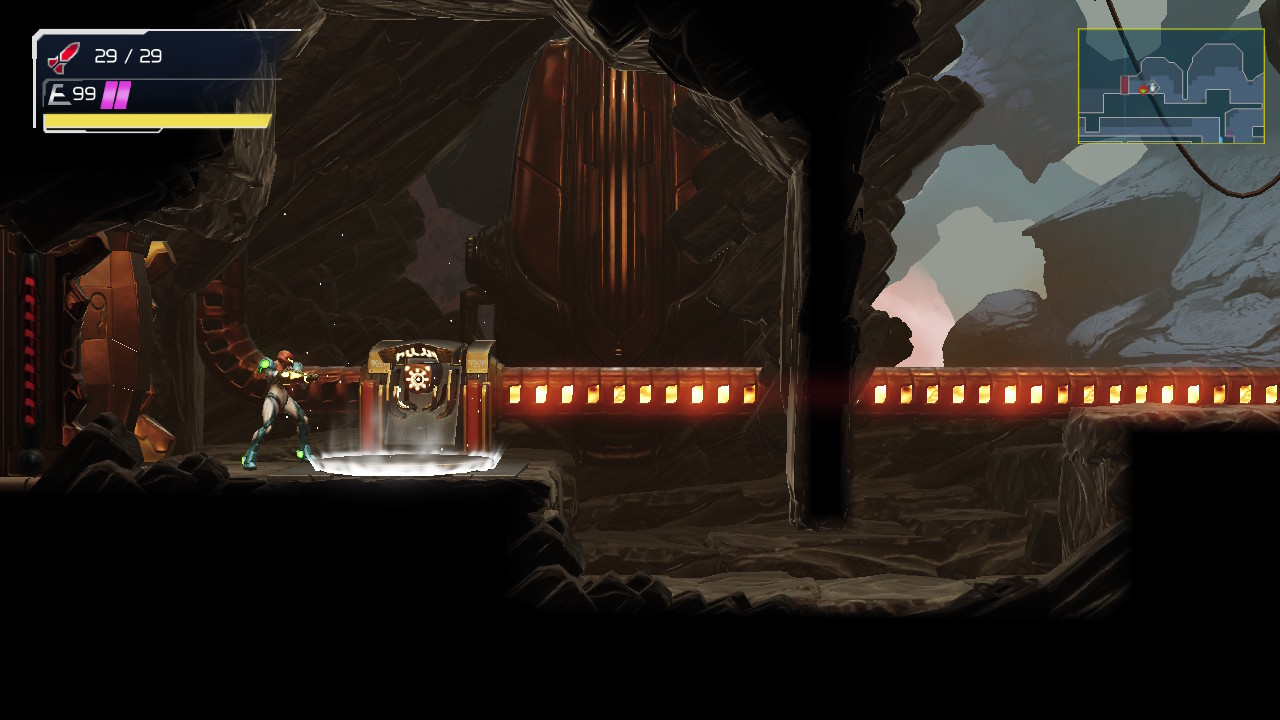
Jump up and into the next room and then activate the thermal fuel pump to change the direction of the magma flow. All those sealed thermal trapdoors will now be open, but the way we came from will now be sealed. No worries, though. Exit back into the last room and shoot the wall at the very bottom. An opening will appear, allowing you to slide through. Jump up, shoot the tumor in the wall, and then head out the door, running right into those hint butterflies from earlier.
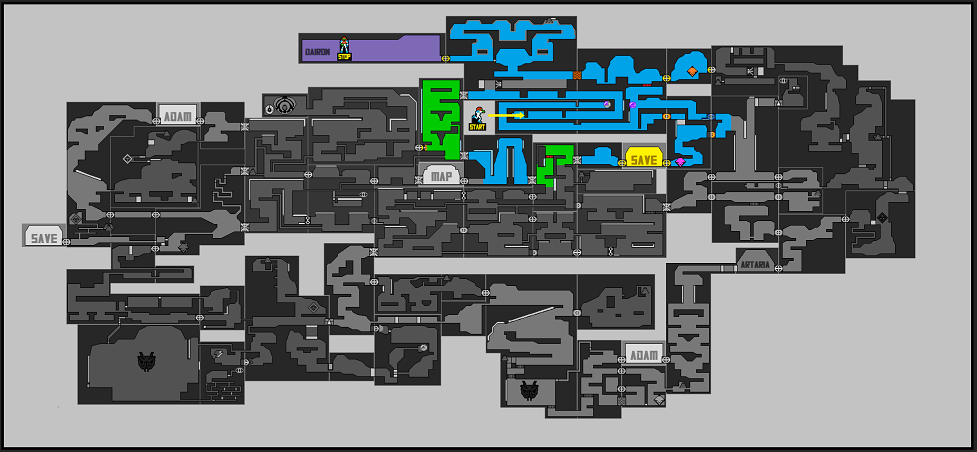
Now that the thermal trapdoors are open, head to the bottom left corner and head through.
You’ll be in a new room, this one a pretty big open space, that will be full of annoying flying critters, moving spider tracks, and our ever guiding fuel line. Work your way to the left, waiting for the thermal trapdoors to open, and ride the spider track up. Keep working your way to the top of the room, riding another spider track, and stopping when you get to the top left door. You’ll see the heat rising from the door, so obviously, don’t go there. Instead, shoot the tumor underneath and proceed that way.
Slide under the ledge into a new room and then keep sliding after that into yet another hallway. Shoot out the blocks in your way and keep pressing left. You’ll get to a cavernous looking room that’s full of creatures burrowing into the ground. Carefully make your way to the top and stop when you see the door to the E.M.M.I. Zone.
Thermal Switch #1
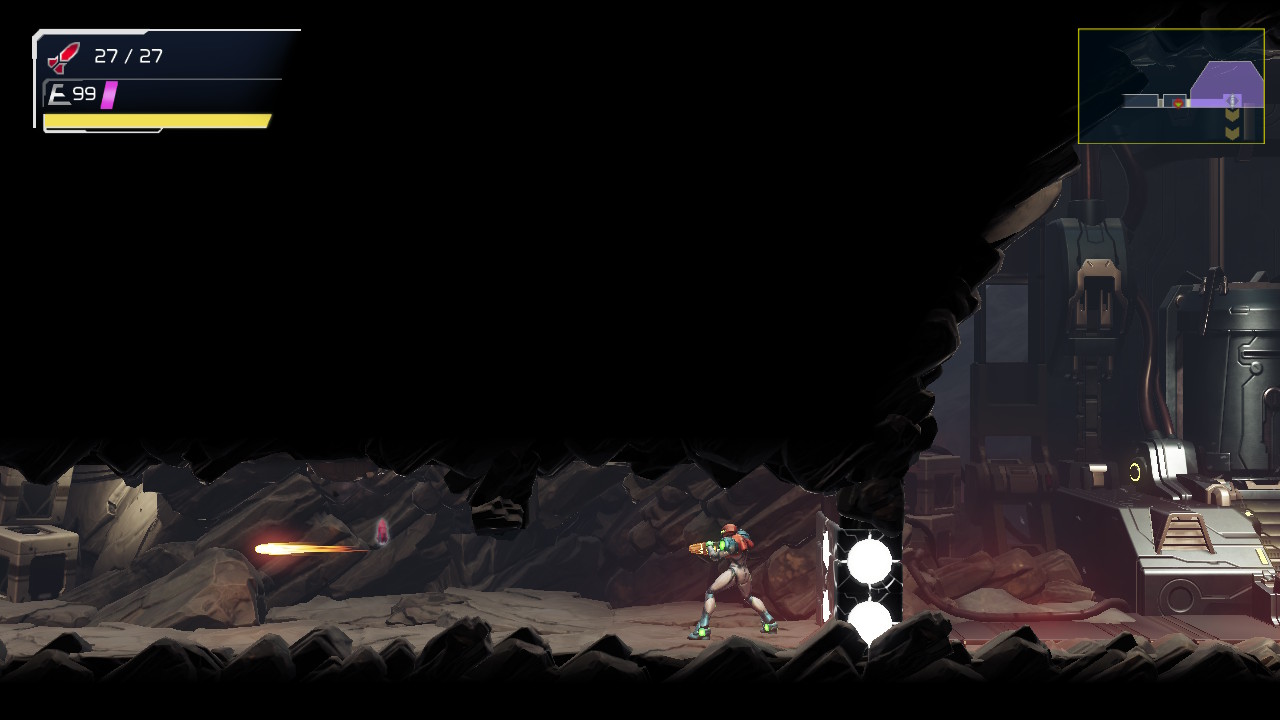
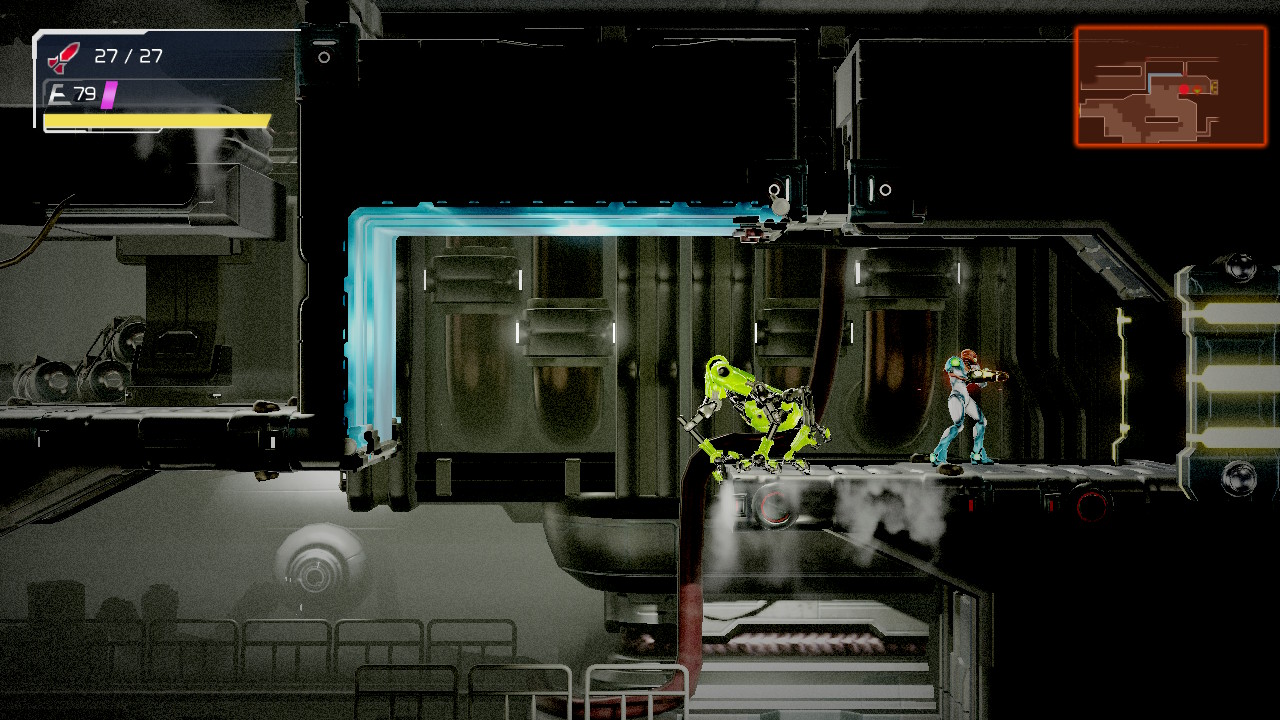
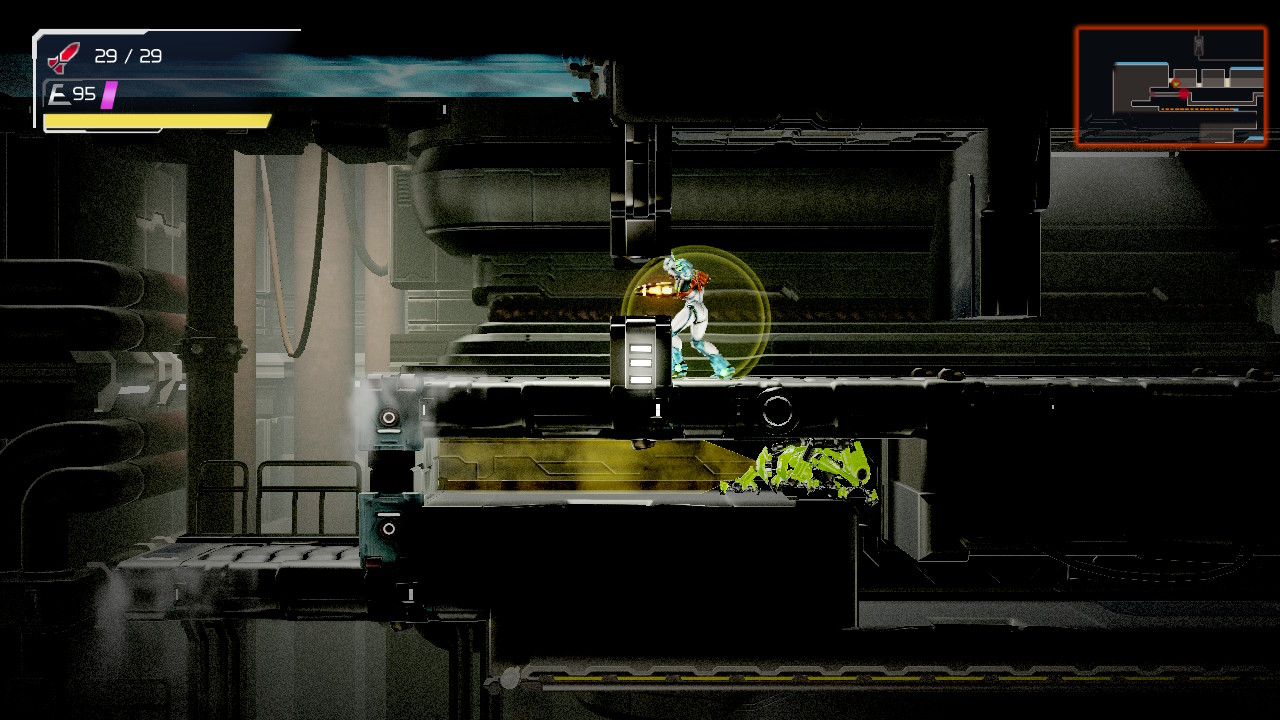
Step inside the E.M.M.I. Zone and you’ll immediately be confronted by a new *green* E.M.M.I.. Unlike our last pursuer, this one can fit through small spaces, so we’ll have to be extra careful. Fortunately, Samus will activate her Phantom Cloak in this cutscene, shielding her from the view of this E.M.M.I.. Once the cutscene ends, head to the door on the top right and blast it open with a charge shot. Continue straight and blast the door opposite you with another shot and go through.
In this next room, work your way downwards, dropping and sliding until you reach the bottom. Fire a charged shot to open the access door on your left, but don’t actually enter. Instead, take the door on your right.
Head straight, going through a motion sensor trapdoor, and work your way to the top right section of the room. Once you get up there, head left and open it with a charged shot (it’s actually a pretty good idea to just always have a charged shot ready to go since you never know when an E.M.M.I. is going to be hunting you down and those few precious seconds can mean the difference between slipping into the next room and seeing yet another Game Over screen). Once in here, head directly up and out of the E.M.M.I. Zone, exiting top right.

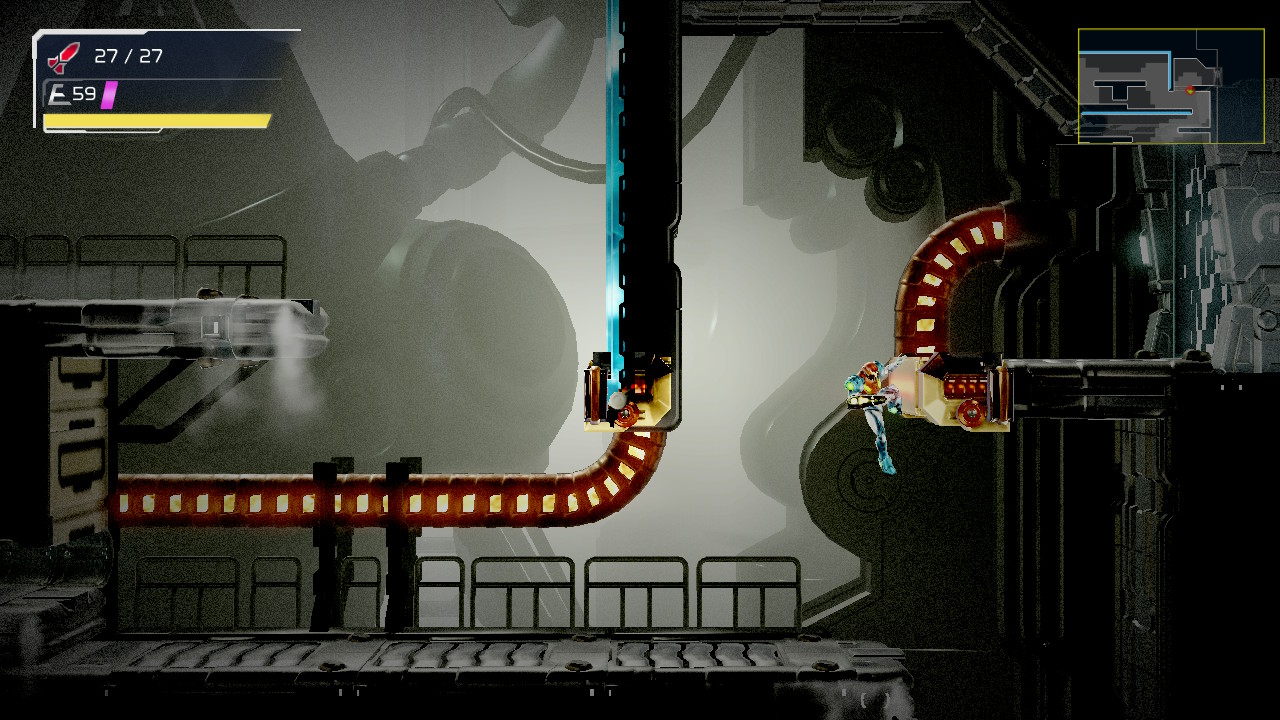
As we’ve seen already, redirecting the thermal fuel is key to getting around Cataris, and we’re at yet another fuel distributor switch, so go on and activate it. After you’re done, head to the right and save your game.
Thermal Switch #2
Once you’ve saved, head back into the E.M.M.I. Zone. Drop down, following the fuel line into the room to your right. Continue following it and it should take you to a thermal trapdoor. Go through it and exit the E.M.M.I. Zone door.
The fuel line will lead into a room that’s too hot for us to enter now, so instead, head up and over to the right. You’ll be in a new room with a bunch of spider tracks on rails, but unfortunately, the rails are offline. We’ll come back soon enough, but for now, just continue straight through.
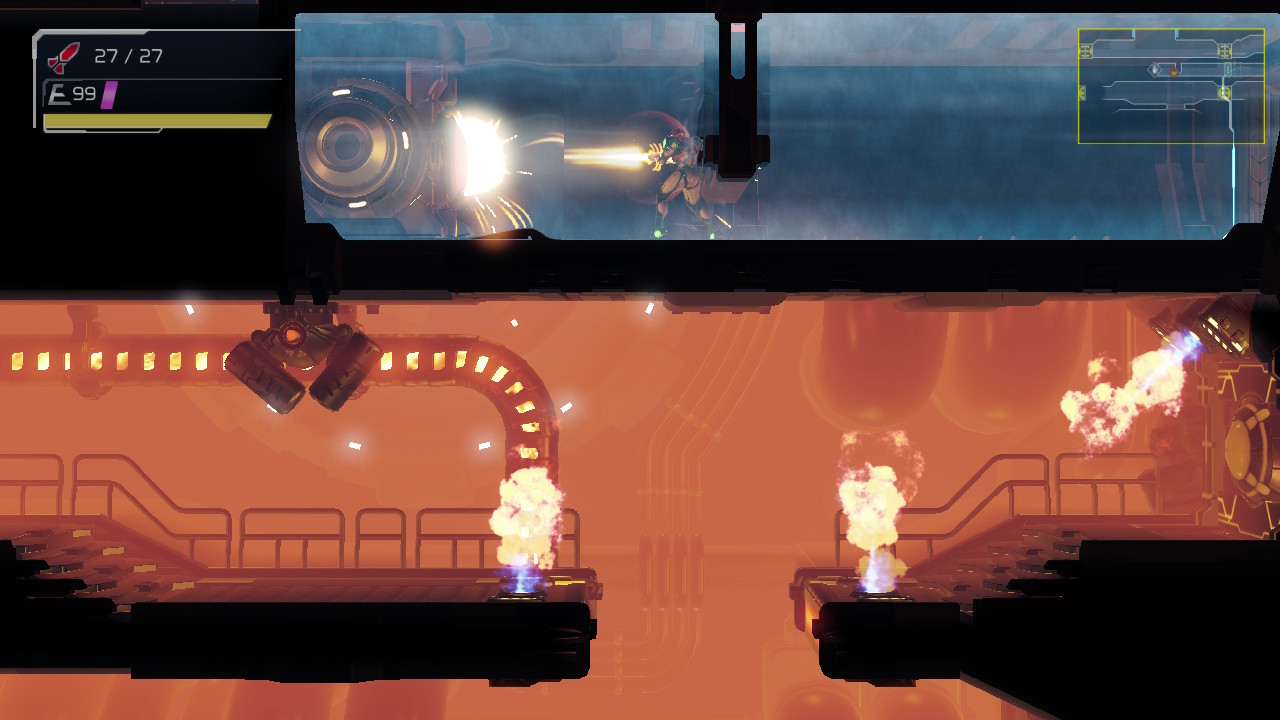
In the next room, drop down and shoot the tumor in the wall (it’s too hot to go in, but may as well blast it since we’re here) and then pass through the sensor lock door. Slide through and blast the big red button with a charged shot. This will activate the spider track rails in the room above you, but before you go there, backtrack a little further.
Make your way back to the room that the fuel line originally went into. You’ll see that the room isn’t too hot to traverse anymore, so head inside. Go directly across and head through the charged door – dropping down will only lead you to a dead end. Once inside the next room, deal with the creepy creature, and then jump up on the ledge. Shoot out the blocks above you and grab MISSILE EXPANSION #7.

Now head back to the big spider track room, eliminating all the enemies and hitching a ride up on the left side. Once you get to the top, charge up a shot and open the door on the bottom, but pass through the sensor lock door on the top. Continue on and activate thermal switch #2.
Thermal Switch #3
Alright, now that the switch is activated, head back out front where you came from. Take the sensor lock door out, head left, and then through the door to follow the fuel line down. Recharge your energy if you need to and save your game. When you’re ready, head towards the right, back inside the E.M.M.I. Zone.
Follow the fuel line again, this time, to the other side of the platform you’ve been climbing up. You’ll see a Zone door on your left, but it’s a dead end, so skip past it for now. Instead, keep dropping down and take the door on your left.
Press forward in this direction, sliding and shooting the walls in front of you for a couple of rooms until you drop down. Go through the sensor door and keep following the path left. Eventually, you’ll come to some spider tracks; climb up and then over the platform, exiting the E.M.M.I. Zone on your bottom left.
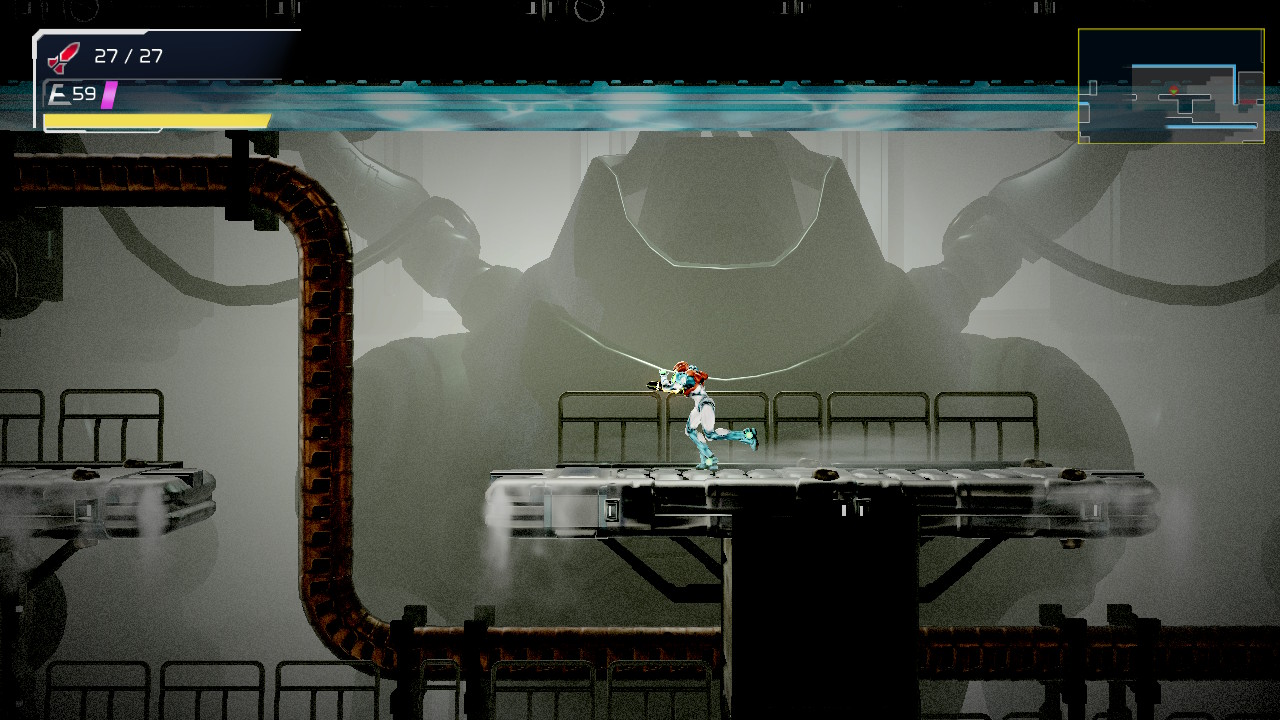
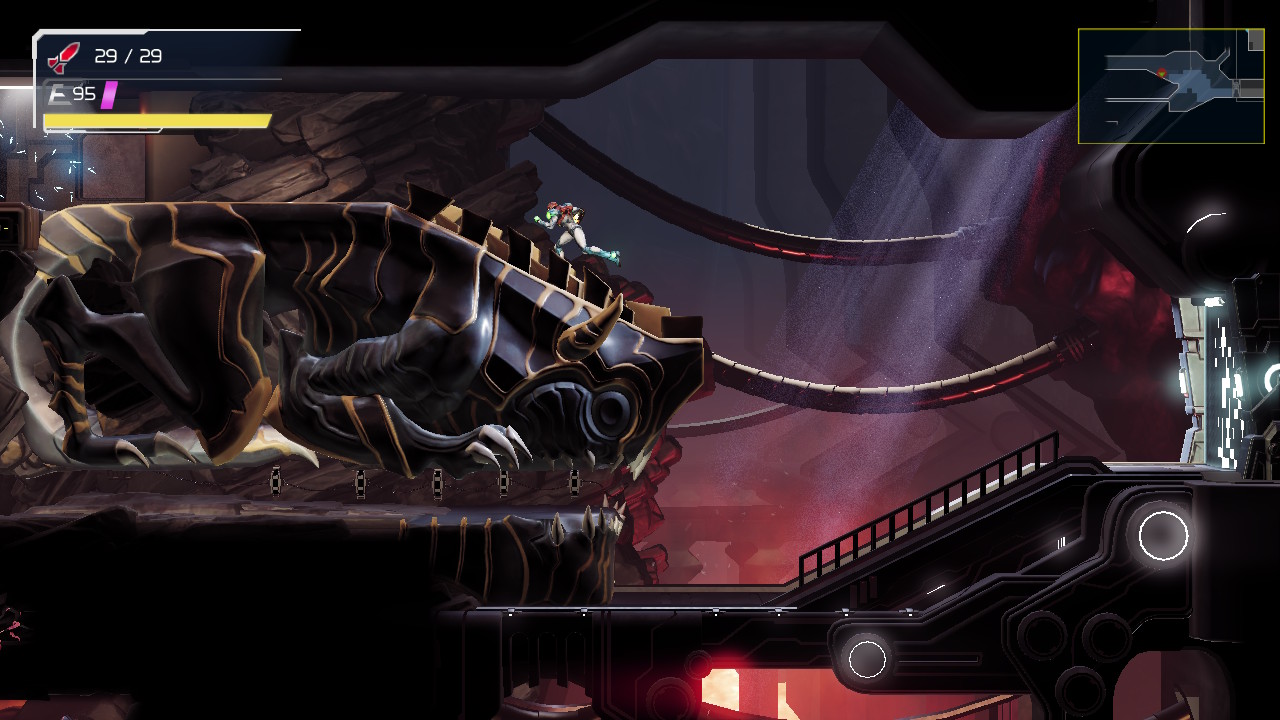
You’ll exit into a room with this strange, creepy looking statue of, well, who knows what. Jump on this bad boy and run on top of its head, heading left through the door.
Oof. This room can be a pain. You’ll have a million enemies flying at you and coming out of the ground around you and just generally being a nuisance, so first things first, shoot and eliminate anything that moves in this room. Make your way upwards, shooting out a tumor in the wall (yet again, we can’t enter the room now, but may as well have it open). Grab the spider rail and ride over to the left side of the wall. Drop down and then grab another spider rail in midair, this one taking you up. Continue your ascent, jumping and blasting and avoiding the many moving creatures. Once you eventually make your way across the platforms, take the door on your right.
Thankfully, the next room you entered will be a Network Station, but unfortunately, we have to listen to Adam drivel on about the E.M.M.I.’s again. This guy actually says “accept your helplessness”. We get it bro, chill out. Once you’re done, save your game and continue.
Exit the Network Room and drop down, shooting the tumor in the ground. Once it’s been blown up, enter the E.M.M.I. Zone.
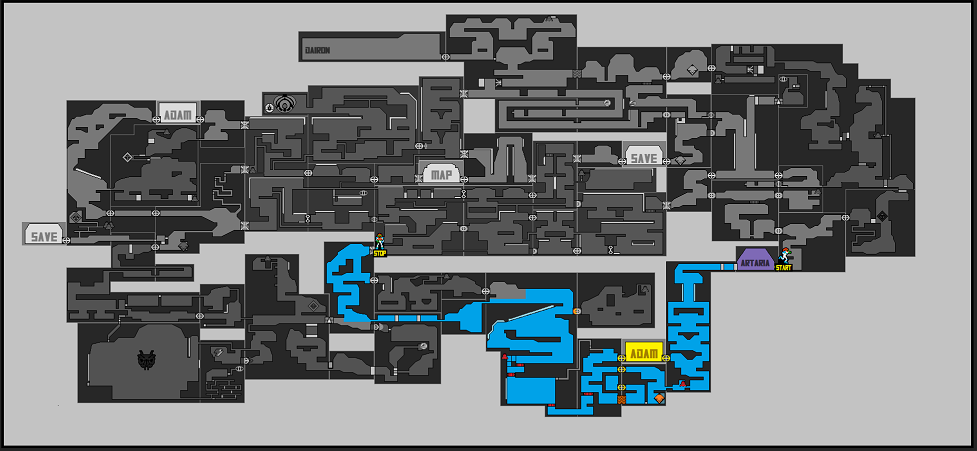
Once inside, drop down, sliding left under the ledge and continuing down until you get to the door on the bottom right. Go through and continue forward until you exit the Zone. You’ll find yourself in a handy dandy Map Station, so download the Cataris data and then continue on.
In the next room, jump up on the spider tracks at the entrance and follow them up to a higher platform. Remember this room, cause we’ll be coming right back here after we activate the spider rails. Right back in the E.M.M.I. Zone we go. Make your way to the left side of the room and ride the spider rail all the way to the top. Jump off and exit the E.M.M.I. Zone.
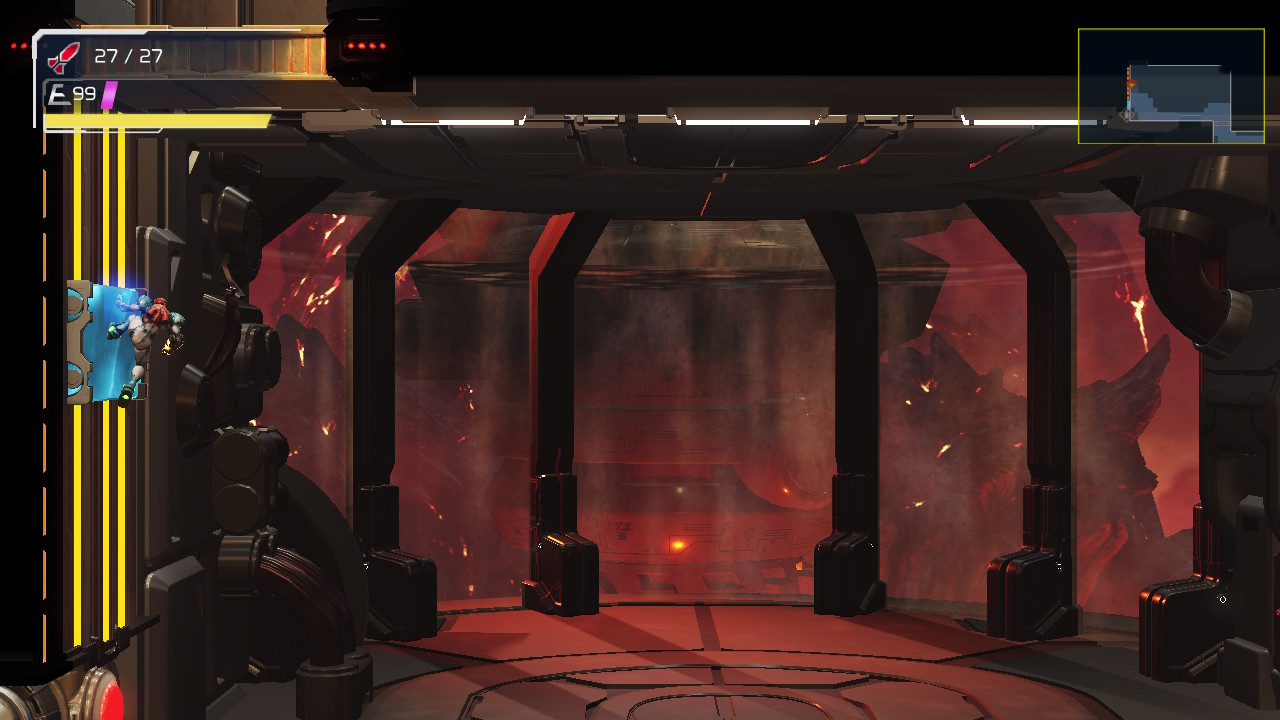
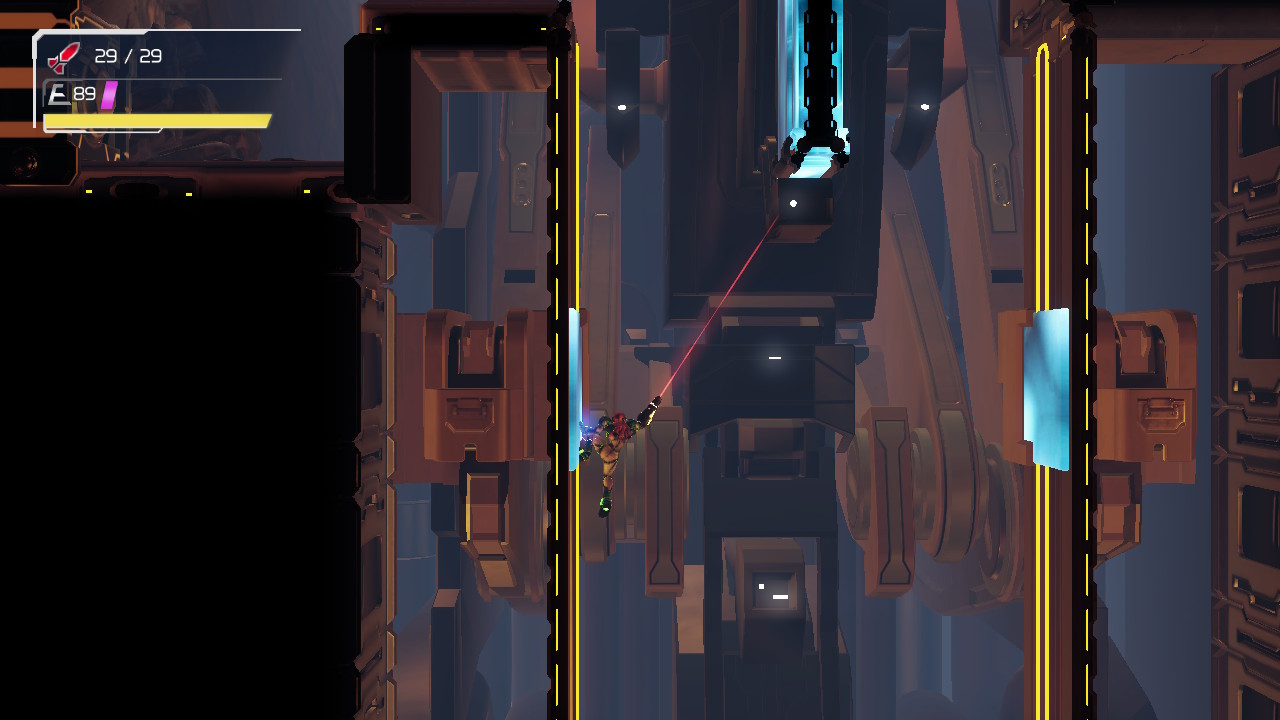
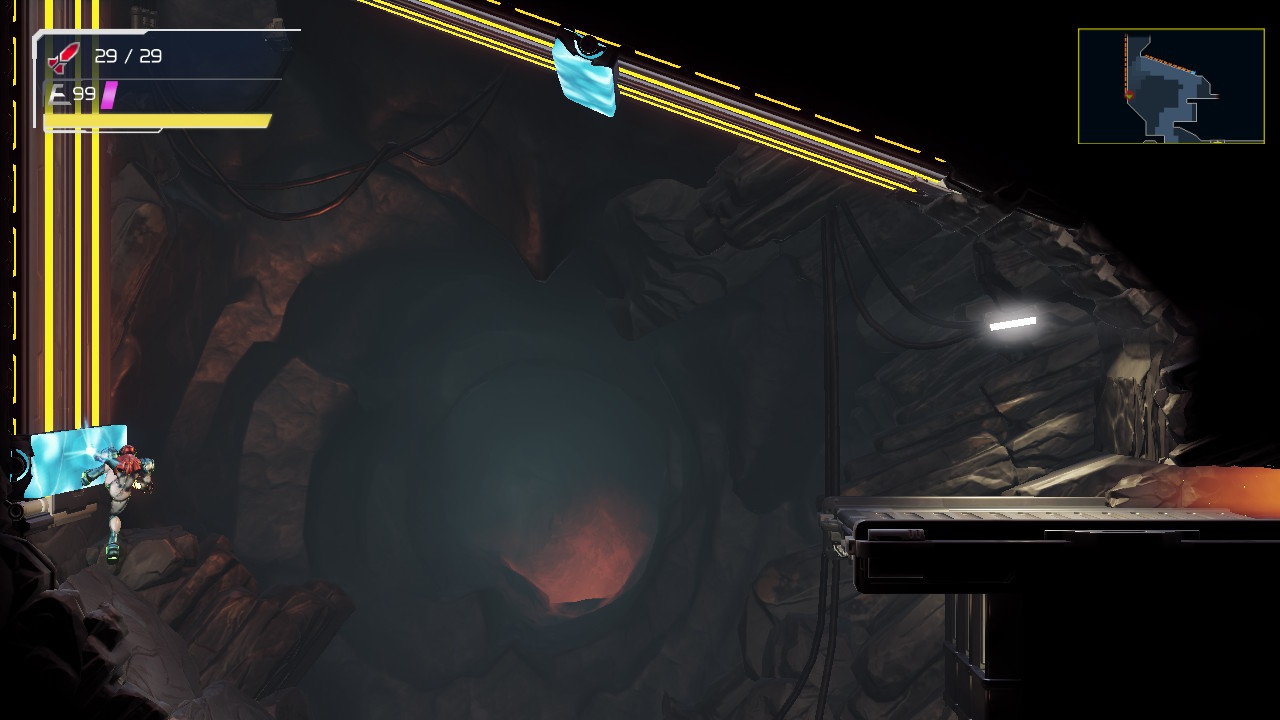
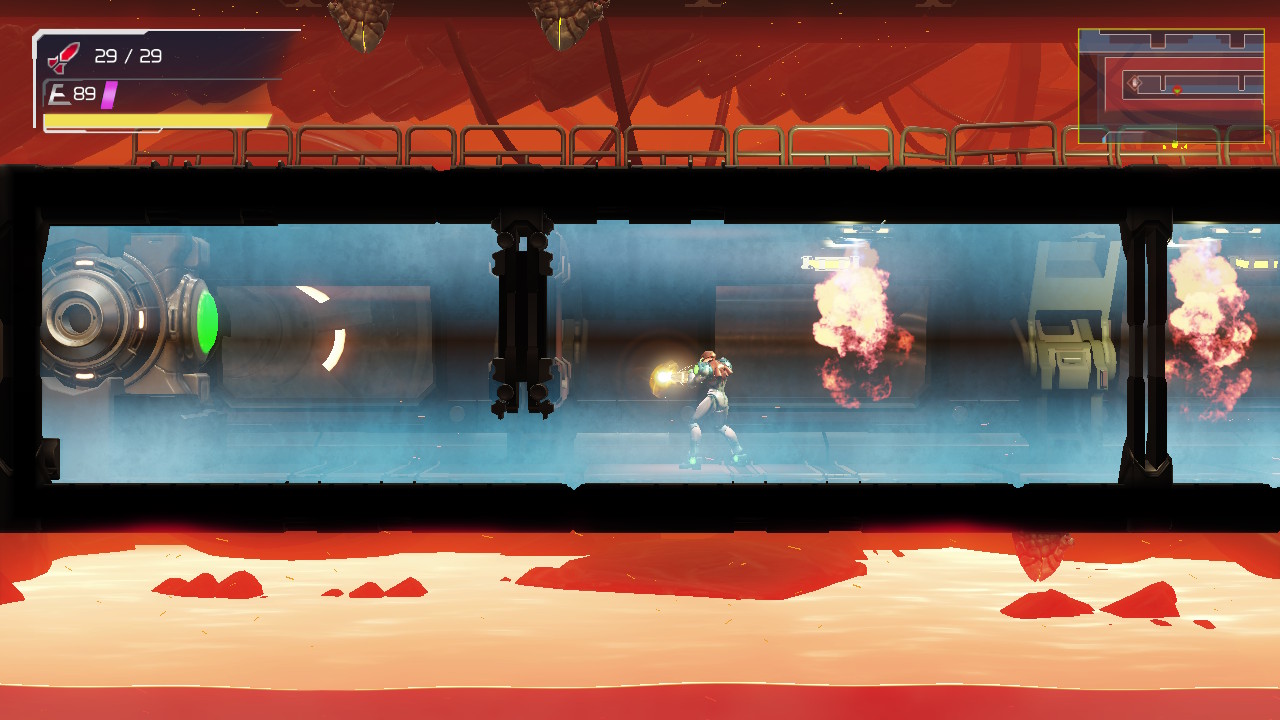
Press forward, sliding and shooting, until you find yourself in a kind of blue tube. Follow it down and around, sliding over the fire and enemies. Keep sliding and get to the big green switch. Blast it and you’ll hear the spider rails start to activate.
Make your way back, through the E.M.M.I. Zone, returning to the room with the offline spider rails. Those bad boys are moving just fine now, so hop on and ride the rails up, jumping over and exiting into the E.M.M.I. Zone. Make your way up and over, exiting the Zone working your way to the Save Station beside thermal switch #1.
Recharge your energy if you need it in the next room and then head up. Shoot the floor underneath that one door that’s been sealed off and you’ll see the blocks disappear. You’ll also notice that the room isn’t emanating heat anymore, so we’re all clear to go inside. You’ll now be directly underneath thermal switch #2. Slide under the pillar, jump up and grab the platform, allowing it to fall and giving you access to continue onwards. Before you head back though, continue forward on the path, heading in a C-shaped direction, blasting away any enemies that stand in your way, until you grab ENERGY PART #1. These things are kind akin to collecting four pieces of heart in Zelda, so don’t get too excited.
Head back and make your way up to the room that housed thermal switch #2. You’ll now see that not only is there a passageway open, but ENERGY TANK #2 is sitting right there for the taking! Continue up; there’s a door on your right that will lead you to a Total Recharge Station, so use it if you want, otherwise follow the path until you finally activate thermal switch #3!
Take the thermal door that’s just opened in front of you. Enter this new room and more or less just follow the path to the top right and over, taking the door on your left and finding the elevator into the dark, menacing Dairon…
Next Chapter: The Hunt for Kraid