


Super Metroid Walkthrough – Welcome to Zebes

Walkthrough
- Ceres Research Station
- Welcome to Zebes
- Overgrown With Vegetation
- Fires of Norfair
- Heavy Artillery
- A Derelict Ship
- Dark Waters
- The Hunt for Ridley
- The Final Battle
Crateria
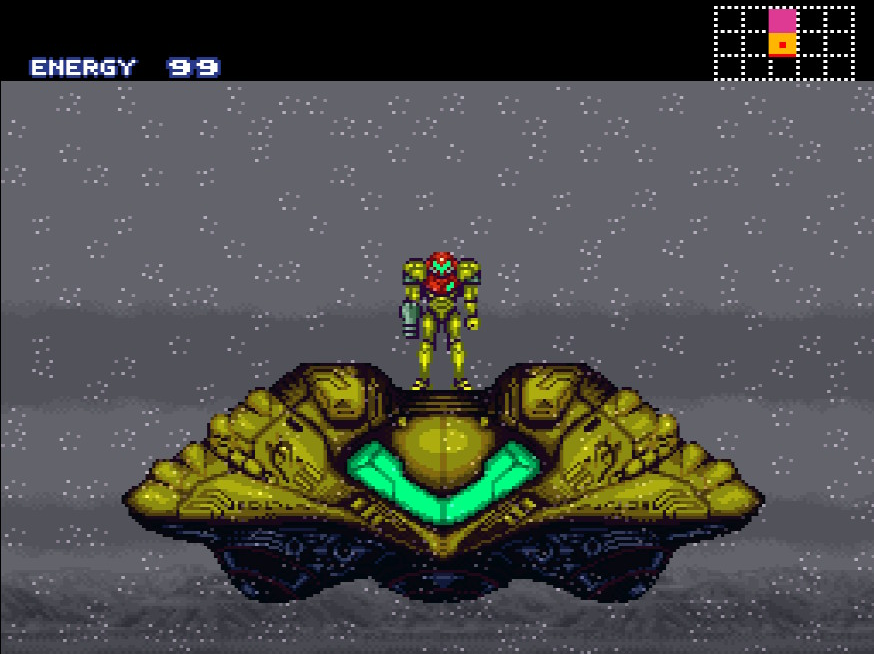
Welcome back to Zebes. You can tell right away from the rainfall and the ominous music that this planet is going to be less than welcoming to us…
Before we begin, it’s good to point out that you can come back to Samus’s ship both to save and recharge energy and Missiles. That being said, let’s explore Zebes!
You’ll start off in the area of Crateria, the surface area of the planet, which looks to be full of rocks, hills, and water. The first thing you’ll want to do is head to your left through the blue door. Blue doors are standard barrier doors that require nothing more than a simple blast from your arm cannon, so give it some love and move on through. You’ll notice that there are no enemies, or signs of life at all actually, anywhere to be found, which makes everything even more creepy. This passage seems sort of familiar, no?
Keep heading left and you’ll see a pit in the ground. Since we don’t have the equipment to open anything else, drop down this pit and keep descending all the way down until you see a blue door on the floor. Shoot it and drop down.
Make your way left, jumping over the platforms. Eventually you’ll get to the end of the room, leading you through another blue door. Open it up and step into the next room. See that blinking platform on the ground? That’s an elevator, and it’s gonna take us deeper into Zebes. Step on it and descend.
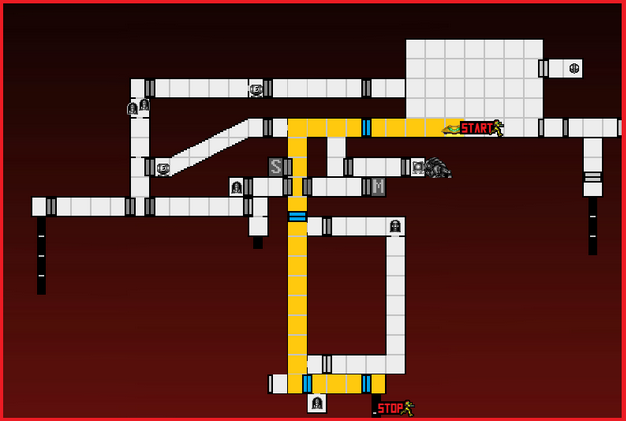
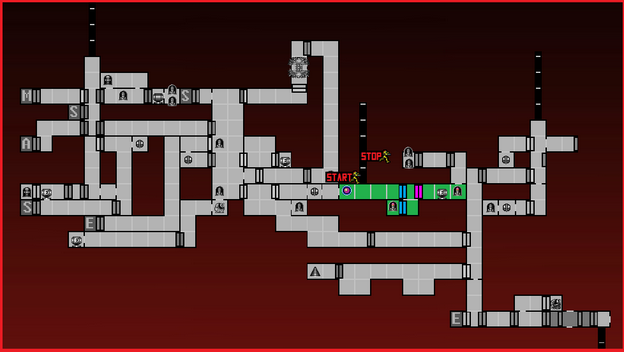
CRATERIA ROUTE:
Brinstar
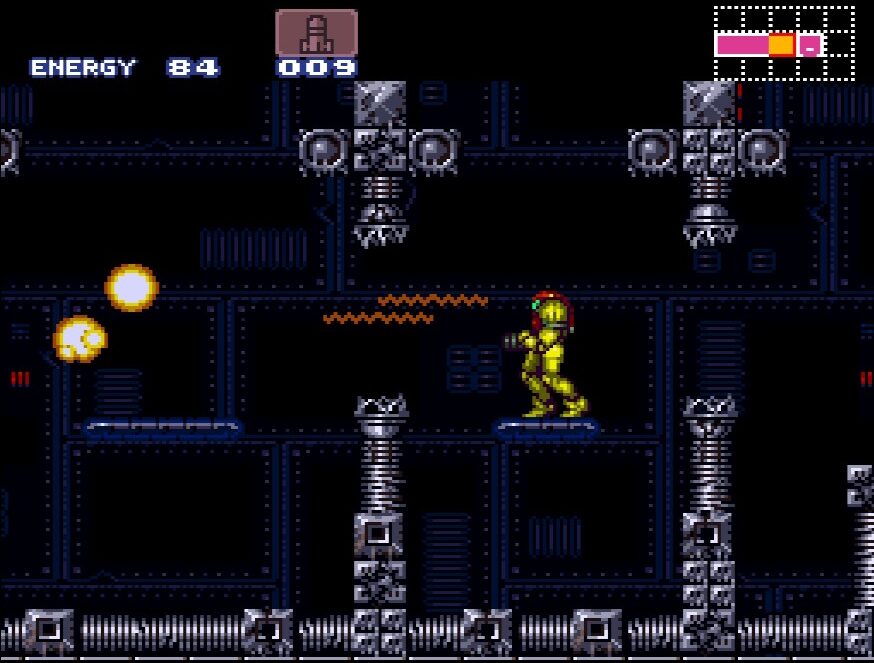
After stepping off the elevator, head left and grab your first powerup of the game: the MORPH BALL (okay – the game actually calls it “the Morphing Ball” but that just sounds ridiculous, right? It’s the Morph Ball!). As soon as you get it, this creepy eye beam thing starts to track your every move. Someone obviously knows we’re here…
Now that we have the Morph Ball, head right until you reach the blue doors. Enter the next room and roll down to the bottom, blast open the blue door on your left and claim MISSILE EXPANSION #1! We’re ready to head back up to Crateria now, but before we do, exit the room you got the Missiles in and head back to the top of the room. Those pink doors are Missile doors – five Missiles in their face are what you need to open the door. Blast the door to your right open and enter.

If you head all the way to the right of this room, roll under the rocks and emerge on the other side to claim MISSILE EXPANSION #2! There’s an extra Energy Tank in this room that’s juuust out of reach, but that’s okay; we’ll come back for it (get used to saying those words!).
We’ve gotten everything that we need in Brinstar for now. Head back towards the elevator and take it back up to Crateria.
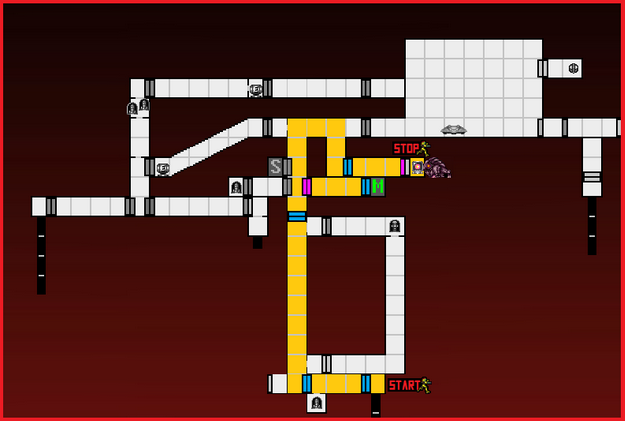
BRINSTAR ROUTE:
Crateria Revisited
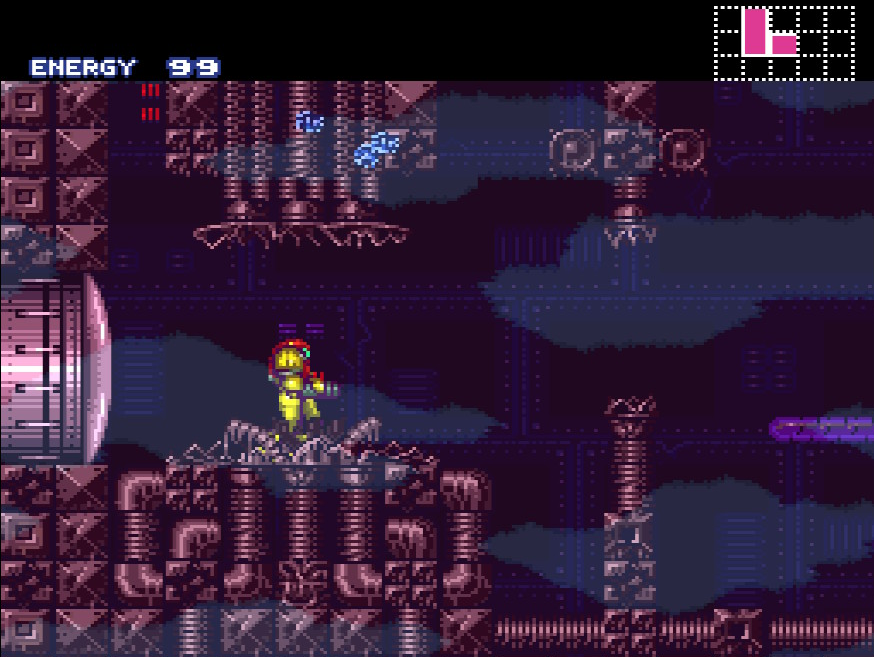
We’re back up in Crateria now, but something is different. You can tell right away that the planet has woken up by the change in music and appearance of enemies. Head left out of the elevator room and into the next hallway, which is now full of Space Pirates. Fortunately for us, these particular Space Pirates couldn’t cut butter with a warm knife, and one shot from your blaster is gonna send them back to the abyss where they came from. Being careful not to get too close, take out the Pirates and move left towards the door.
Once you’re through, we’re back at that long vertical shaft, but this time, it’s full of Pirates on either side. These guys will jump from wall to wall, so don’t get too close or they’ll bonk you, causing you to take damage. Slowly pick off the Pirates on the walls and make your way to the top.
Once you’re through, keep heading up until you get to a two door intersection. Ignore the blue door on the left for now, and instead use 5 Missiles to slam open the pink door. There’s a gross bug enemy called Reo in this room, so watch out. Head to the left and you’ll come across the Map Station. Plug your arm cannon in and upload the full map of Crateria!
Make your way back to the first vertical room that we came from; above and to the left of you is a door that will take you to a Save Station. Pretty good idea for newer players to save as often as they can since this is an old game, and there ain’t no checkpoints. After you’re done, head back up a couple screens to the very top. Take note: there’s a brown fossil looking enemy called the Ripper; no amount of gunfire of beams is gonna be enough to destroy it, so just move past it. Head right, and quickly enough you’ll see a nice, ball shaped passageway for Samus to fit through.
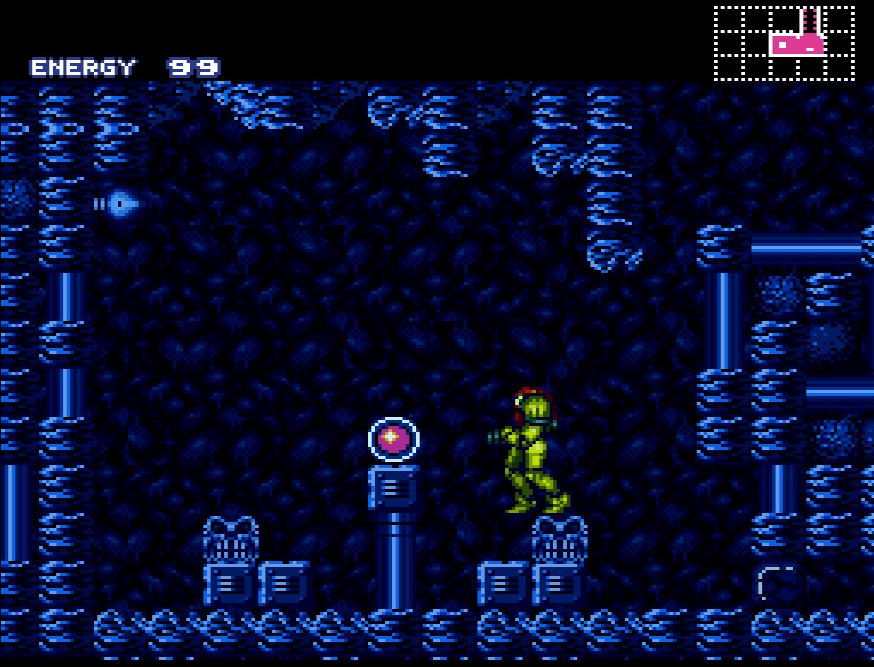
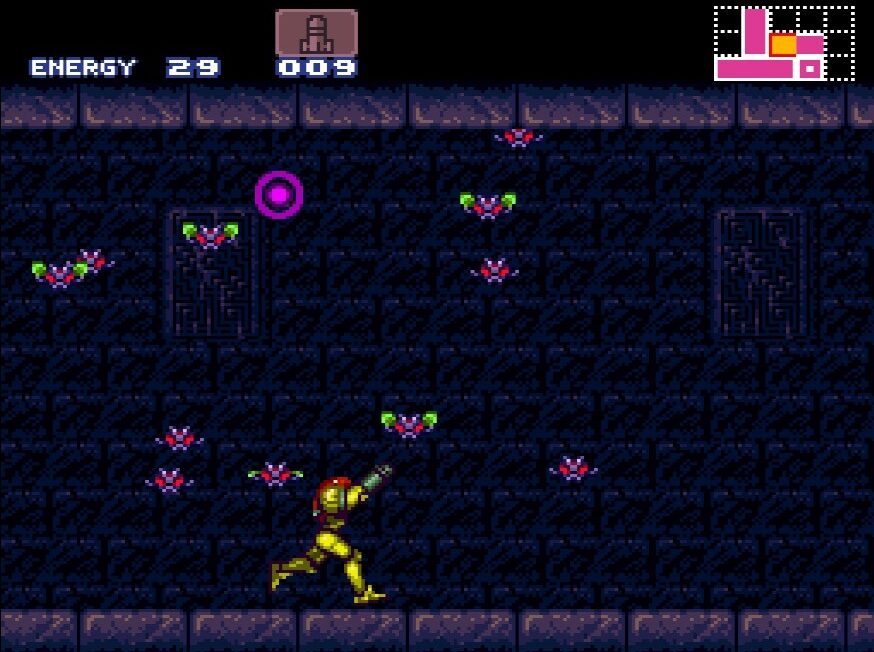
Squeeze through and drop down, heading into the door on your right. This room will have some firefly looking creatures in it. If you’re low on health or Missiles, blast them and fill up. You’ll want to be at full capacity heading into this next room.
Once you’re ready, head to your right, where you’ll see a Chozo Statue offering you a powerup! Blast it open and claim the BOMBS for your own! Awesome! Now, let’s get out of here, right! … right?!
Not so fast. It looks like this Chozo Statue is coming to life, which means that we have a fight on our hands.
CRATERIA #2 ROUTE:
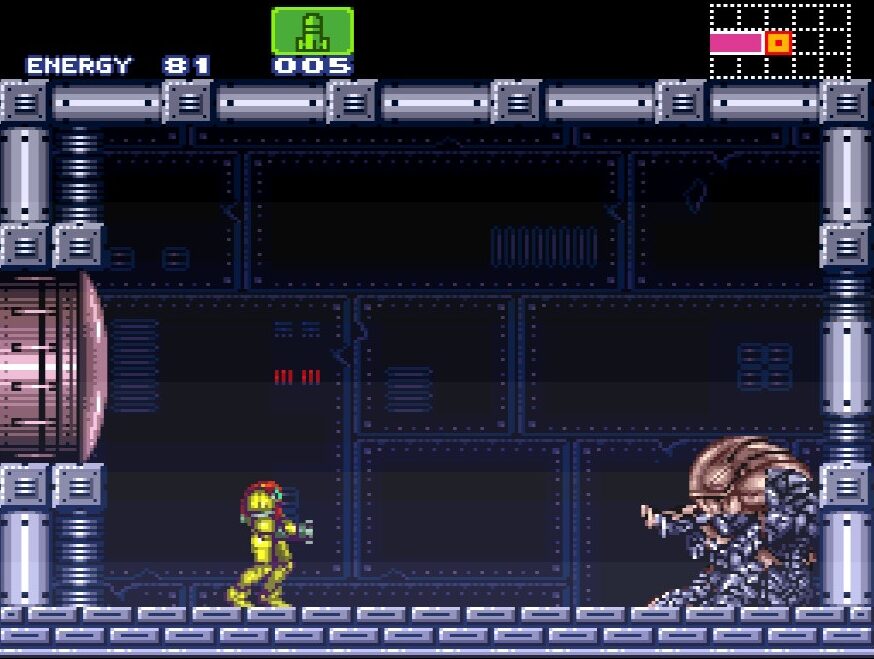
BOSS BATTLE: TORIZO
Nothing quite like the sting of betrayal that a trustworthy Chozo gives you when it turns out to be an evil doppelganger called the Torizo…
You only have 99 health still, so you’ll want to be cautious, as well as aggressive. The Torizo has a few attacks that you’ll want to make sure you’re ready for.
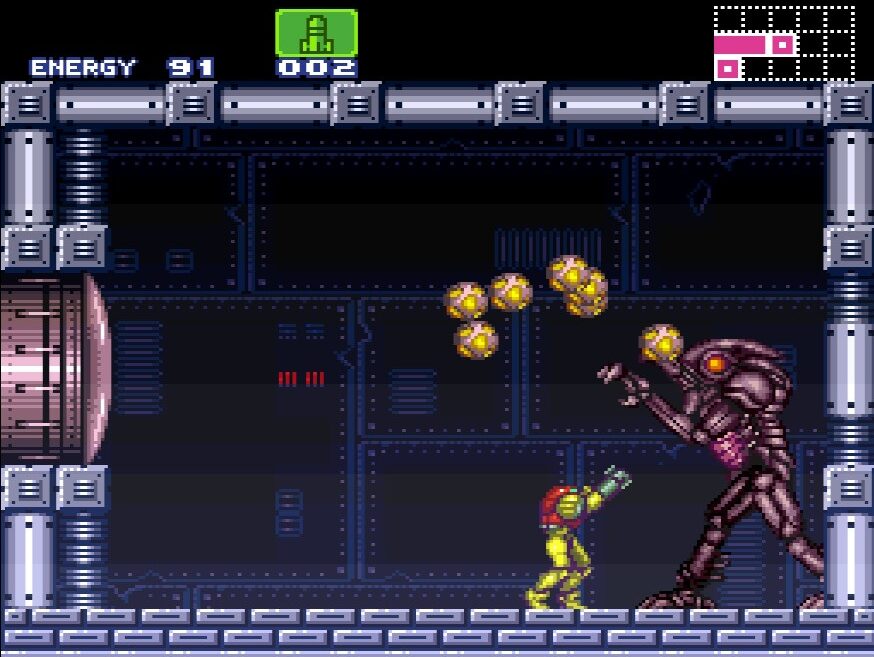
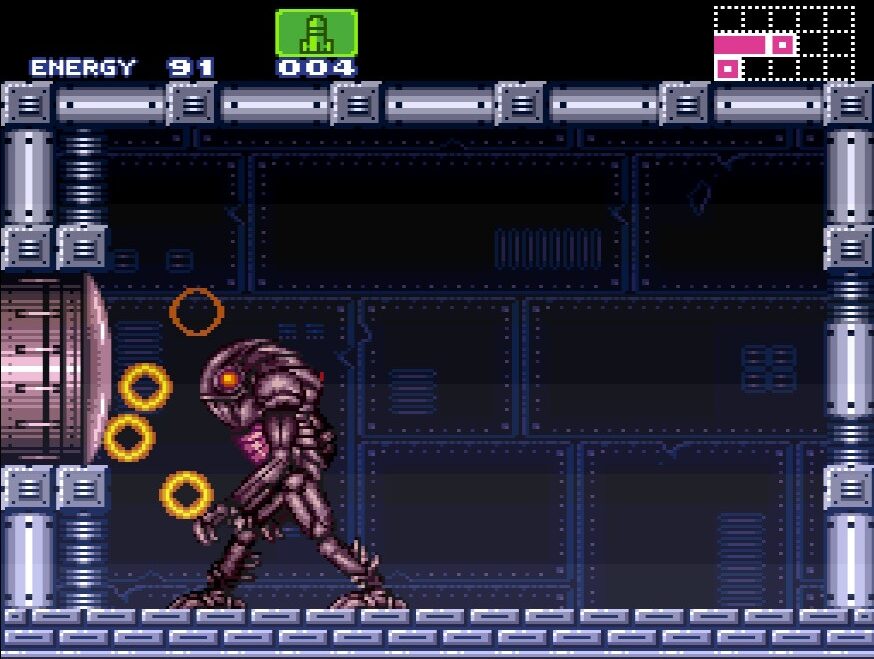
He’ll wave his arms and a shock wave will come flying straight towards you, dealing some damage if it hits. Fortunately, this is pretty easy to jump over, but he does fire in pretty quick succession. The Torizo will also regurgitate these gasball… things(??)… at you, which are both easy to avoid and give you health and Missiles if you blast them while still airborne.
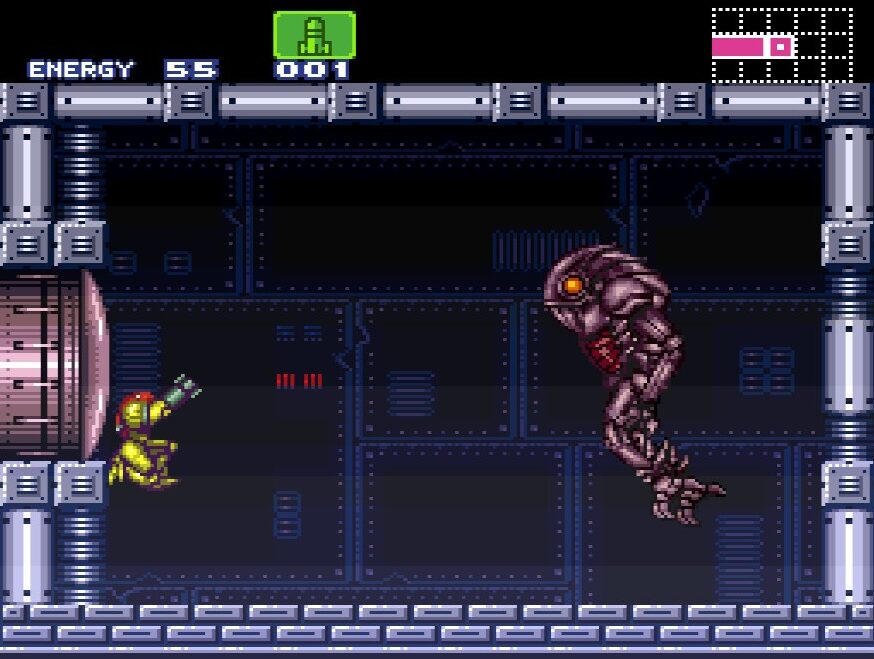
A little trickier is his arm attack, where he will literally just wail his arms at you. This would be fine, except he’s moving back and forth across the room, and the more damage he takes, the faster he moves (at one point, his head will literally fall off, yet he’ll be faster than ever. Go figure).
The best defense in this fight is a good offense. If you filled up, you should have 10 Missiles at your disposal, which will be more than enough to send this imposter packing. You’ll see a plate on his chest that flashes – this is where you want to direct your Missiles to. After 6-ish hits, Torizo will be down for the count and you’ll be free to leave with your new Morph Ball Bombs.
Next Chapter: Overgrown With Vegetation