


Super Metroid Walkthrough – Overgrown With Vegetation

Walkthrough
- Ceres Research Station
- Welcome to Zebes
- Overgrown With Vegetation
- Fires of Norfair
- Heavy Artillery
- A Derelict Ship
- Dark Waters
- The Hunt for Ridley
- The Final Battle
Optional Crateria Pickups
Now that we’ve got our Morph Ball Bombs, we’re free to venture a little deeper into the planet. Before we leave Crateria for a bit though, there are a couple of optional Missile pickups we can get.
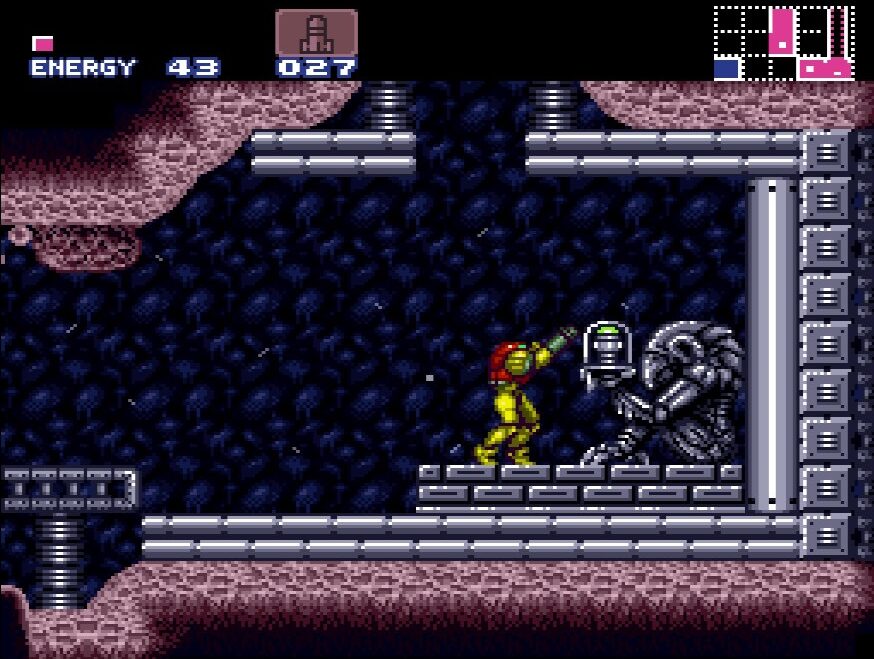
Firstly, make your way out of the Torizo room and blast away the fireflies if you need health or ammo. Continue past that room and go up to the main hallway of Crateria, and then drop all the way down to the blue door on the ground, just like when we went to Brinstar. Follow the long shaft down until you get to the bottom. Blast open the door and head right.
There will be a Pirate as soon as you open the door, but a single shot will get rid of him. Now don’t move too far and make sure to stay in the first square of this room. Go into Morph Ball form and bomb the center of this platform and watch as the ground gives away, leading you to MISSILE EXPANSION #3!
Once you’ve acquired that, go left and head back up the shaft yet again until you’re at the two door intersection where the Map Station was. Instead of going right, this time we’ll take the left door. Shrink down and bomb the blocks in your way, keeping left until you get to a blue door. Open it up and collect MISSILE EXPANSION #4.
Exit this room and make your way back up to the top of this shaft. Head over to the left, and even though it looks like a dead end, our new fancy bombs are gonna make short work of that wall. Bomb it and continue left, watching out for enemies on the ground. Keep following this room and we will stumble across ENERGY TANK #1. Hallelujah!
Enter the blue door on your left and get your Missiles ready. There are green Pirates in this room too, but these guys have thicker skin than the last bunch we saw. Still, one Missile right to the kisser is gonna be enough to remove them from your path. When you get to the bottom of the room, you’ll see two doors. Ignore the pink door for now (unless you feel like exploring) and instead, open the blue door to your left.
Make your way through the room, either avoiding or engaging enemies with Missiles. Keep going left and eventually you’ll find yourself at another elevator. You know what to do.
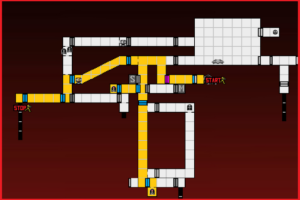
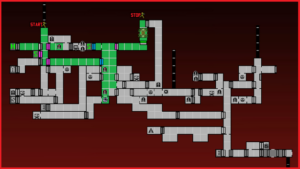
Crateria Route:
Green Brinstar
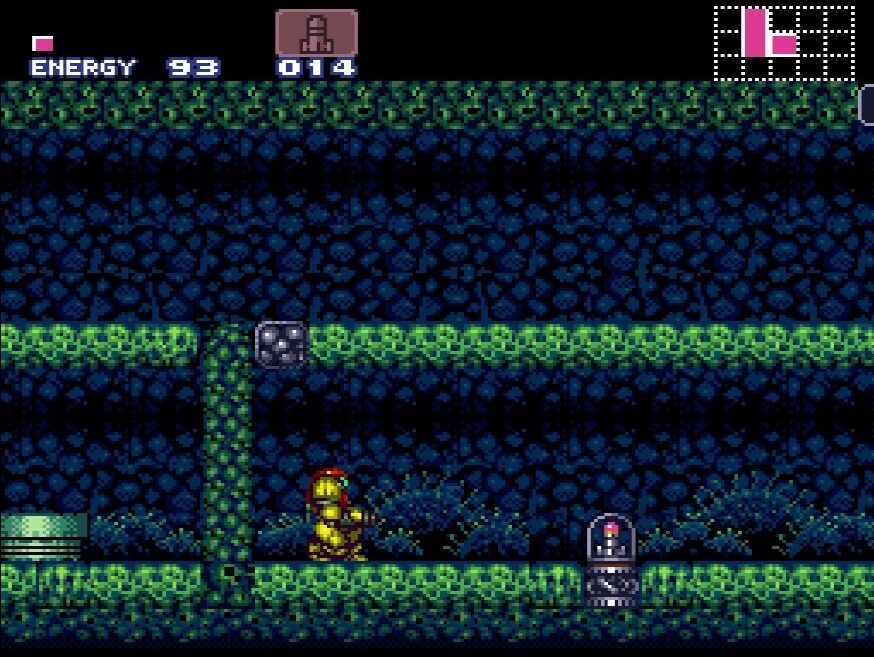
Well, we’re back in Brinstar, except this time, it’s looking a little livelier, no? This area is what I’ll be referring to as “Green Brinstar” (you can tell you’re in Green Brinstar when you hear that music slapping in the background). As one of the biggest areas in the game, Brinstar is going to offer us a lot to do, so let’s get to it.
The first thing you’ll want to do is drop down a couple screens and open the first pink door you see on your left. Enter the room and take out all the enemies. Bomb that suspicious looking wall at the top and roll on over to the next room, which will be a handy dandy Map Station! Make your way back and kill all the enemies again (this room is kind of annoying, the door will be locked until you’ve taken care of all the creatures in here). Once you’ve done that, step back into the main vertical hall.
Directly across from the door we just came out of is another pink blast door. Open it and enter. Inside, there is a platform that will disintegrate as soon as you jump on it. Unfortunately, we’re not fast enough to yet make it to the other side of this room before the steel gates close, but fortunately, it will knock you down straight on top of MISSILE EXPANSION #5! Collect it, bomb the pillar to your left and exit into the main hallway again.
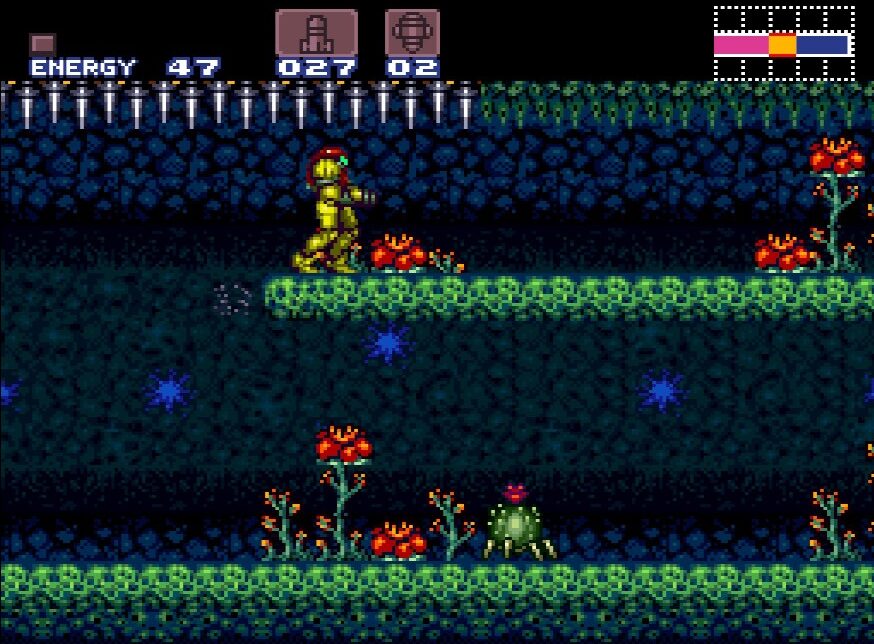
There are two optional rooms you can go into – the first is a Save Station room, which is behind the pink blast doors directly below the Map Station room; and the second is a room directly below the Save Station. If you want to, blast open the pink door on your left and enter. This room is full of spikes and is dimly lit, so be careful. Furthermore, every time you shoot (or step on – whoops!) the firefly enemies in this room, it will get even dimmer! Carefully make your way to the bottom left corner and enter the door on your left. This is a Missile Recharge Station, which will come in handy later but won’t do us a lot of good right now. Make your way back into the main hallway.
Take the pink door on the bottom right and enter a new room full of some pretty annoying enemies that are going to get right in your face. Blast them from a distance and try not to get hit too often by them. Keep on heading right until you reach yet another suspicious looking wall (really, these are the equivalent of the walls in Zelda that are 10 shades darker than every other wall and the game is practically begging you to plant a bomb there). Bombs away! Once you’re through that wall, keep on heading right and enter a large room.
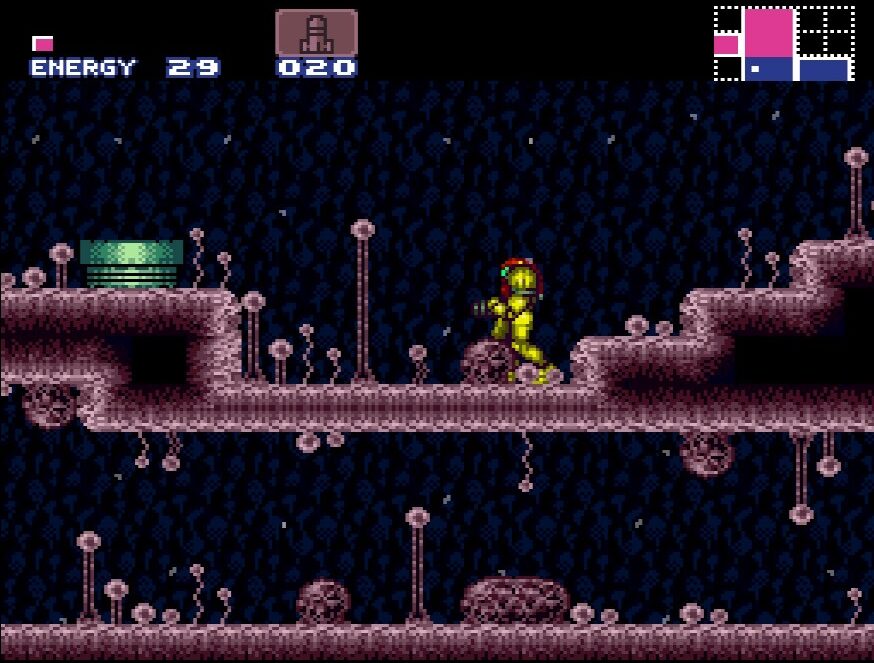
There’s quite a lot of things we can grab in this room, but I’ll first point out that if you jump up onto the first platform, you’ll see this Super Mario looking pipe. Little bugs will fly out of these pipes and only require one blast from your arm cannon, making them a great way to replenish health and ammo.
The first thing we’ll want to do is head down into what almost seems to be a mini pit within this room. You’ll see some blocks on the top that you can attach a grappling hook to, which the game wants you to come back to later to grab the Missile. However, with some careful jumping, we can claim it right now. Towards the bottom of the platform (not directly under it or the ground will give out and you’ll fall) perform a front forward jump so you’re spinning in the air. As soon as you hit the wall, perform a wall jump (see Special Abilities for more info on how to do this) and as you’re jumping away, angle yourself so you’re still spinning towards the bigger block at the top of this platform. Perform a second wall jump off that block and land on top to claim MISSILE EXPANSION #6. If you’re having troubles with this, no sweat, come back later once you have the Grapple Beam and this will be a breeze.
Continue to head down, eventually making your way to the bottom left corner of this room. Sitting right there in plain sight will be MISSILE EXPANSION #7! Kind of a relief to have this easy one since we had to jump around so much for the last one.
Right beside the now empty Missile stand, there are two squares in the wall to your right begging to be bombed. Oblige them and then drop down to collect the CHARGE BEAM! This is going to be super handy. Now, make your way aaaall the way to the top left of this room. Roll over to your left and you’ll find a Save Station, which you’ll want to take advantage of since we have a fight coming up. Once you’ve saved, head back out and towards the pink door in the top right corner of this big room. Open it up, and enter the next room.
Once you defeat all the enemies, the door above you will unlock. Make sure your health and Missiles are relatively full, because there’s something waiting for us up there, and like everything else on Zebes, it ain’t friendly…
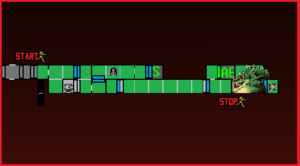
Green Brinstar Route:
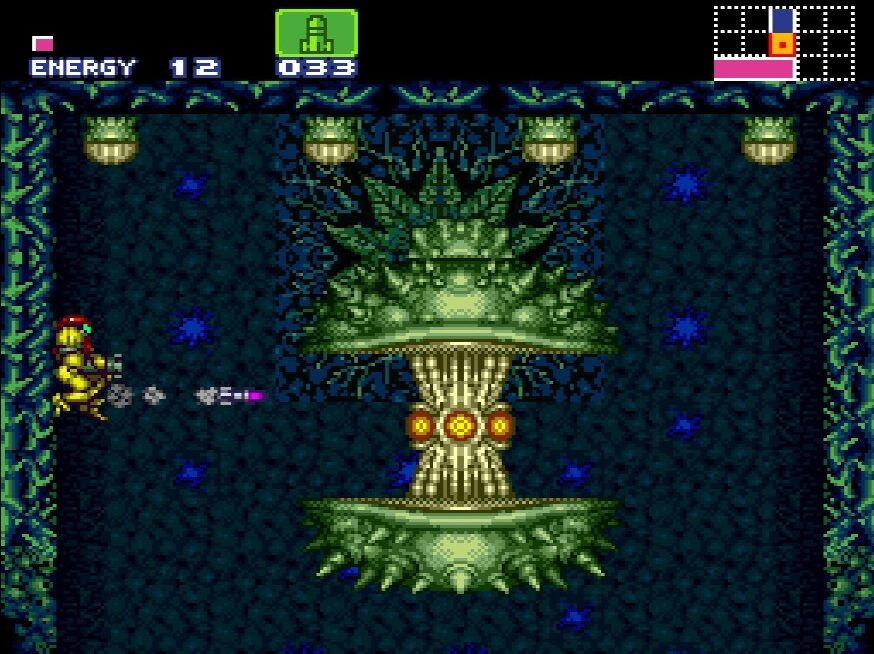
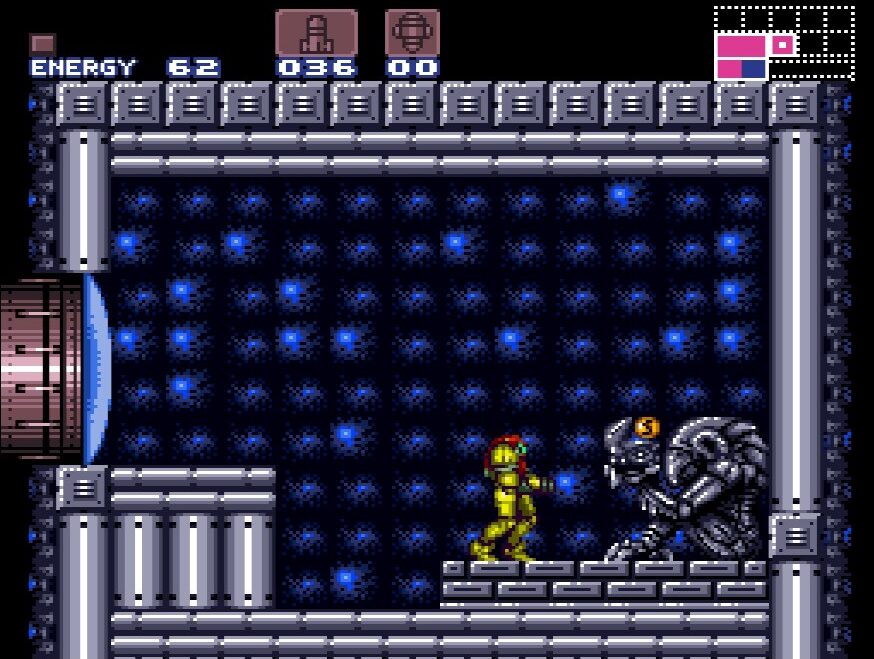
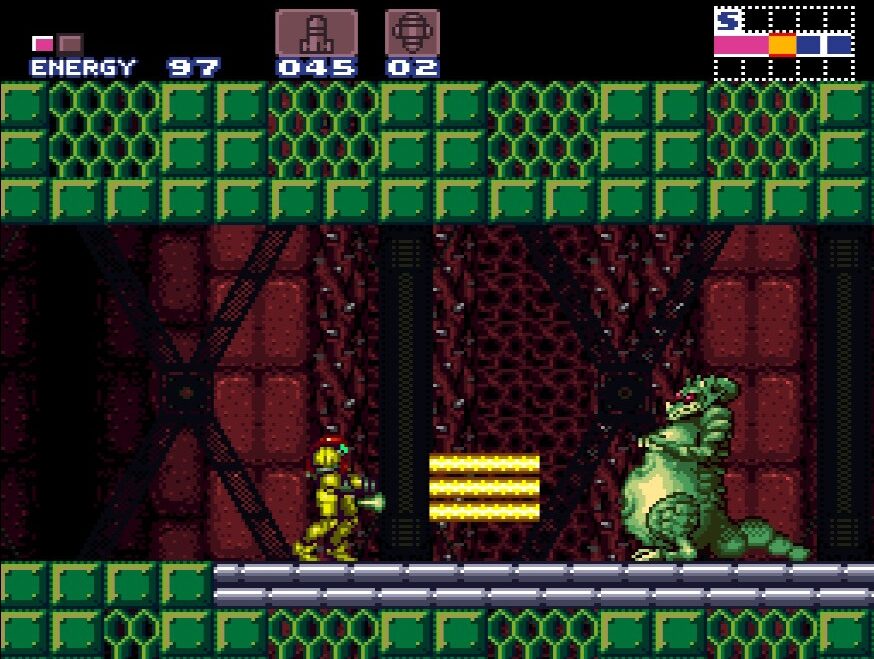
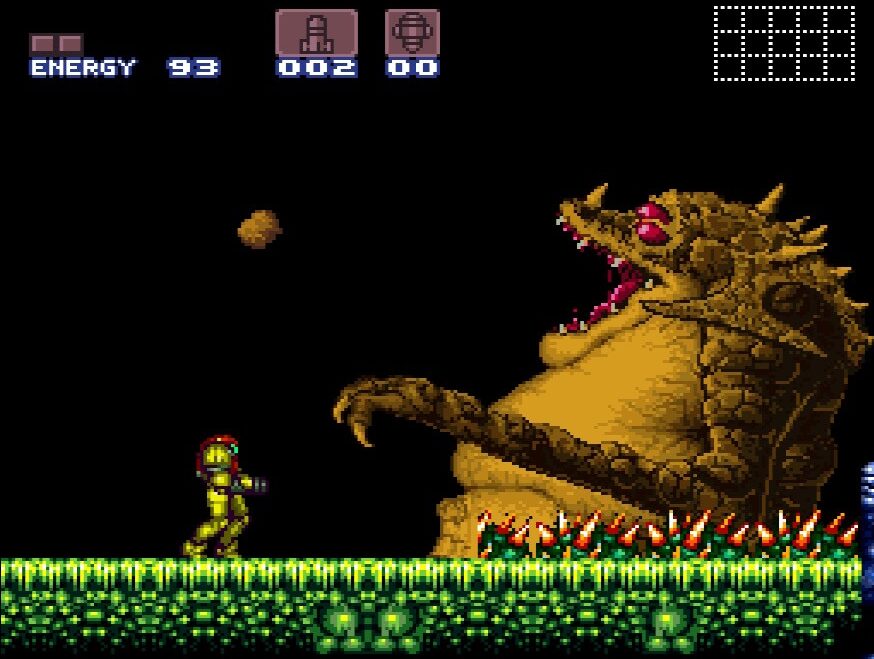
BOSS BATTLE: SPORE SPAWN
What a gruesome looking monster this guy is. Spore Spawn is a giant head/mouth/thing attached to a very flexible tentacle that will constantly bob around the room. Spore Spawn himself will be invulnerable to attack while his mouth is closed, so don’t waste your Missiles trying to get a few shots in while he’s moving. Not only this, but there will be spores that slowly fall from the top of the room. Both the spores and creature himself will damage Samus if they make contact, but fortunately, that’s their only attack. Even better for us is that shooting the spores will give you health and Missiles.

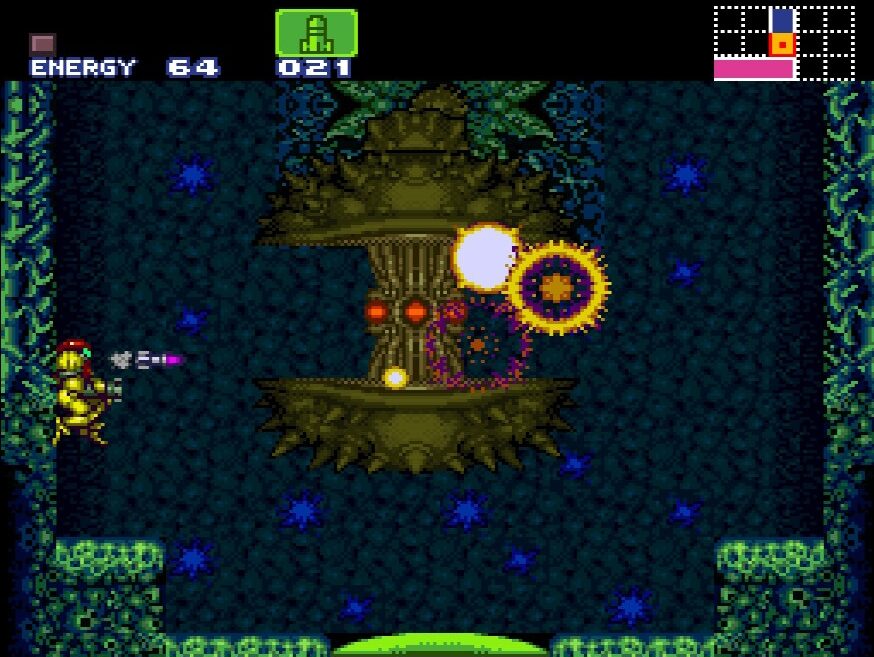
The best strategy is to go to the elevated platform at the side of the room (I chose the left side). If you are in Morph Ball form, Spore Spawn won’t be able to hit you at all no matter how fast he’s going. All you need to worry about is avoiding the spores that fall from the ceiling. Quickly get up and shoot a spore if it’s about to hit you while Spawn is on the other side of the room, and then drop back down into Morph Ball form to avoid getting bonked by his big head.
Spawn will stop periodically, opening his mouth. This is your chance to strike. Jump up and pepper him with as many Missiles as you can before he closes his mouth and starts moving again. He’ll move much faster the more damage he takes, but as long as you’re in Morph Ball form in the very corner, he won’t be able to touch you. Keep blasting away when he stops to open his gross mouth, and he’ll be finished in no time.
After the battle is won, climb to the top of the room and go right, following that hall to the very end. Jump on that pipe and fall seemingly forever until you land right in front of a Chozo Statue. Blast it open and claim SUPER MISSILE EXPANSION #1!
Entering Red Brinstar
Now that we’ve got our ultra powerful Super Missiles, green blast doors don’t stand a chance against us! Head left and use a Super Missile to blast open the door, and then another Super Missile to get rid of that one pesky block in front of the Morph Ball tunnel. Once this stuff is out of the way, head left and keep going until you reach the familiar giant pink rectangular room in Brinstar that we came from earlier.
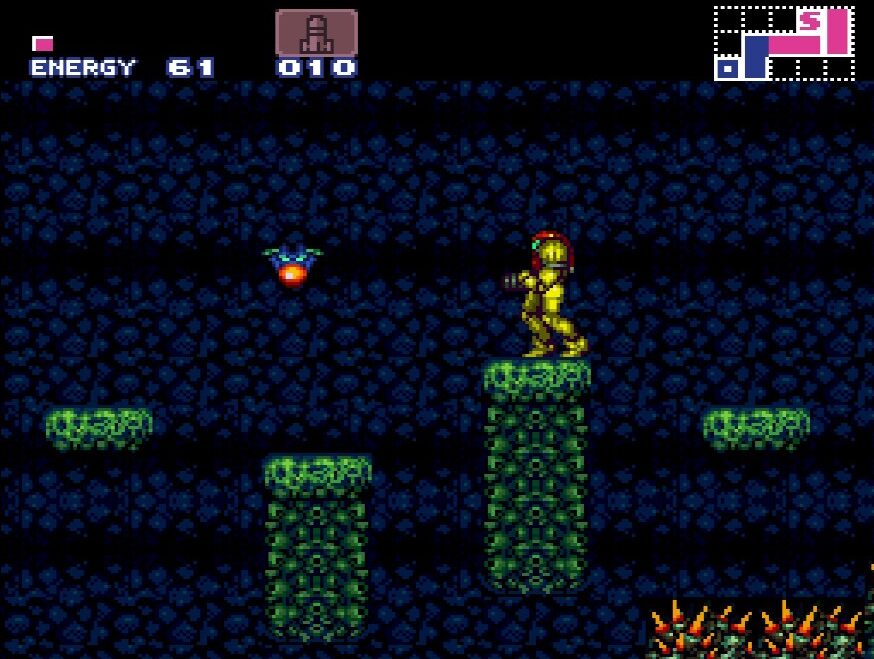
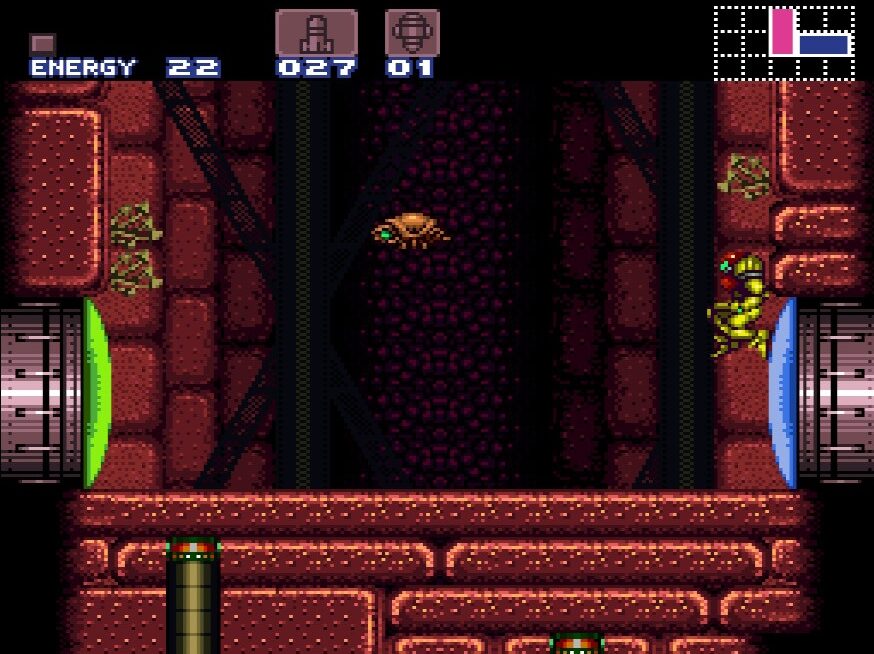
Head down towards the bottom right corner and proceed through the green door. You’ll now be in a room that’s taking downwards diagonally. Don’t let this fool you though! There’s a powerup here that’s easy to miss. There will be some more of those Super Mario pipes on the wall, but this time, they’re sideways and the creatures that are coming out of them are decidedly nastier. However, there’s one pipe at the very top corner in the middle of the room with nothing coming out. Wall jump up up it, shrink down to your Morph Ball, and roll towards your right to claim MISSILE EXPANSION #8.
Head back down and continue on towards the bottom right. You’ll see a gate here. NOTE: this is going to be a point of no return of sorts. You won’t be able to come back this way for a little bit, so if you’ve skipped any power ups, now’s the time to go back and get them. When you’re ready, blast the gate open and continue.
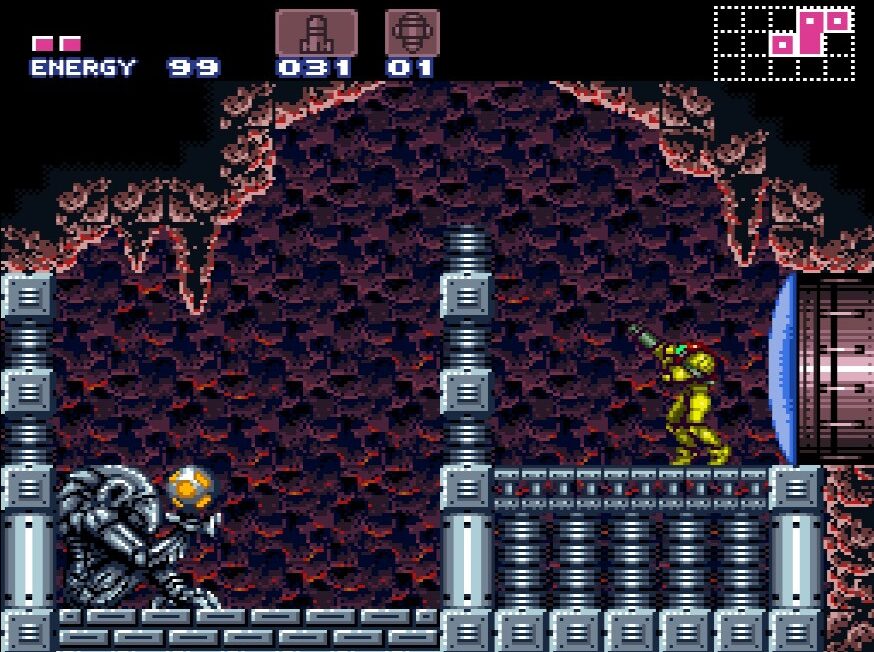
I cannot tell you the amount of times I’ve heard people say that they locked their game when they get to this room. This next room is another that has platforms that will dissolve as soon as you touch them. The good news is that there’s no gates to block you, meaning Samus can make it across BUT ONLY IF YOU ARE HOLDING THE DASH BUTTON! I’ve seen people say they glitched their game because they couldn’t make it across. Now to be fair, Super Metroid does not do a very good job of letting you know that the dash button is even a thing at this point in the game, BUT hold that dash button down and you’ll be fine. Make your way to the other side of this room and enter Red Brinstar.
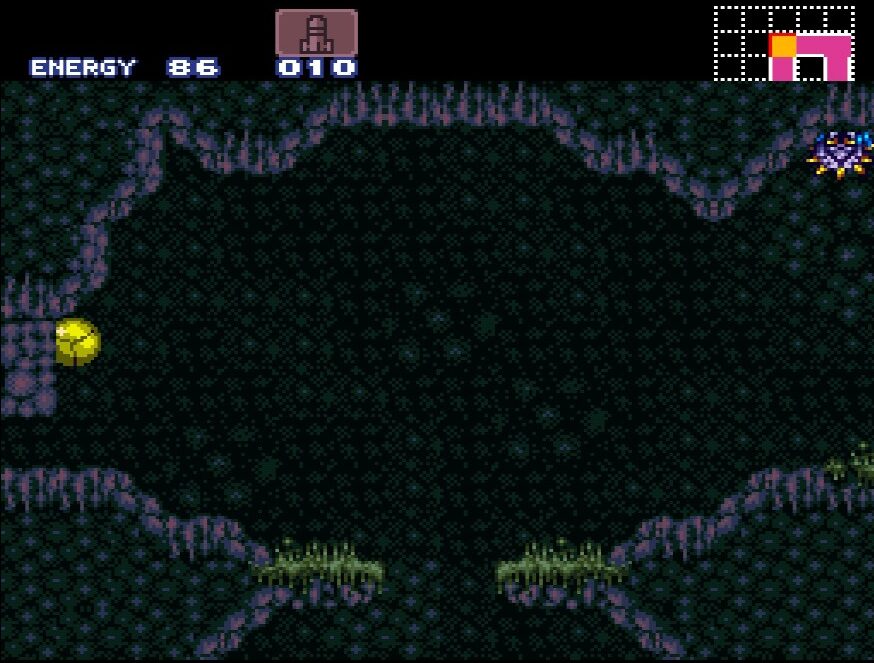
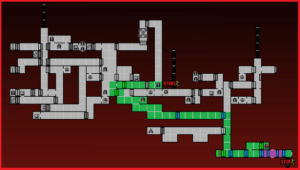
Man, that music. Maybe the best in the Metroid series? Anyone agree? Anyways, we’re now in what I call “Red Brinstar”, as evidenced by the change in music and (you guessed it) red soil everywhere. We’ll be in a long vertical shaft. Since we can’t go up right now, fall downwards.
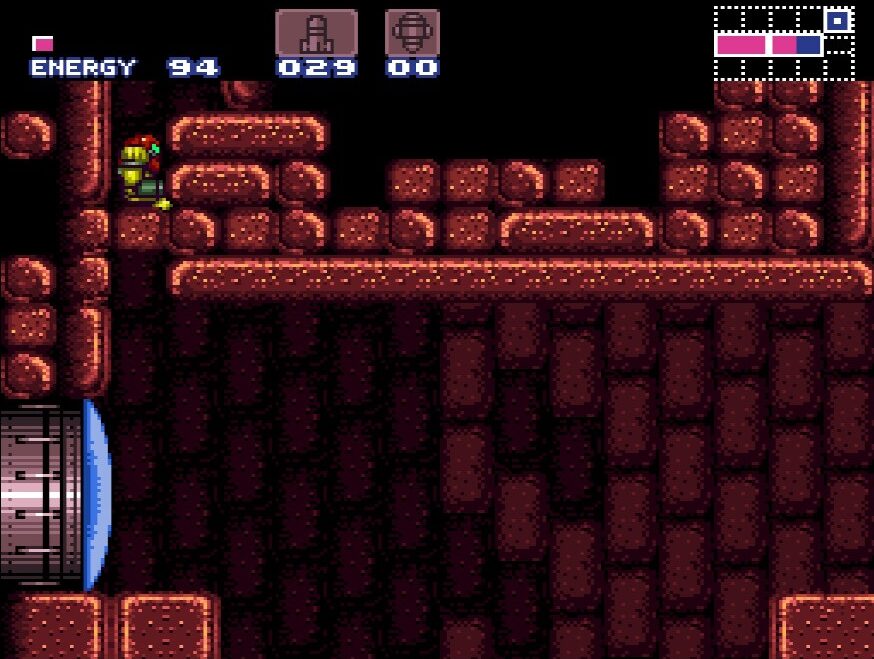
Eventually you’ll hit a platform where you’ll be able to see a yellow door. We can’t open those yet, so drop a bomb over on the right side of the bottom to expose a new pathway for us to fall down. Be careful to avoid the Rippers and fall all the way down to the very button. You’ll see two doors – one blue, one green. If you want, use a Super Missile and open the green blast door to find an Energy Recharge Station. Once you’re topped off, exit the room and go right.
Keep on heading right until you get into the next room. As soon as you get into this room, stop! If you look above you, you’ll see a weird looking brick hugging the wall. This brick may as well be a neon sign that says “shoot me!”, so give it a blast and you will see a narrow opening at the top. We’re gonna need to wall jump again to reach the bigger platform. Do that, and then wall jump again to take yourself to the top portion of this room. Head over and what do you know? Another Chozo Statue! Blast it and you’ll be rewarded with the SPAZER BEAM, a wicked upgrade that’s going to make our standard beam shots wider.
Head back down to the bottom of this room and proceed right for several rooms. You’ll actually leave Brinstar and enter Maridia for a quick second – be sure to commit the room with the glass tube to memory since we’ll be coming back here later. Keep right until you’ve reached an elevator. When you’re ready, descend.
Red Brinstar Route:
Kraid’s Lair
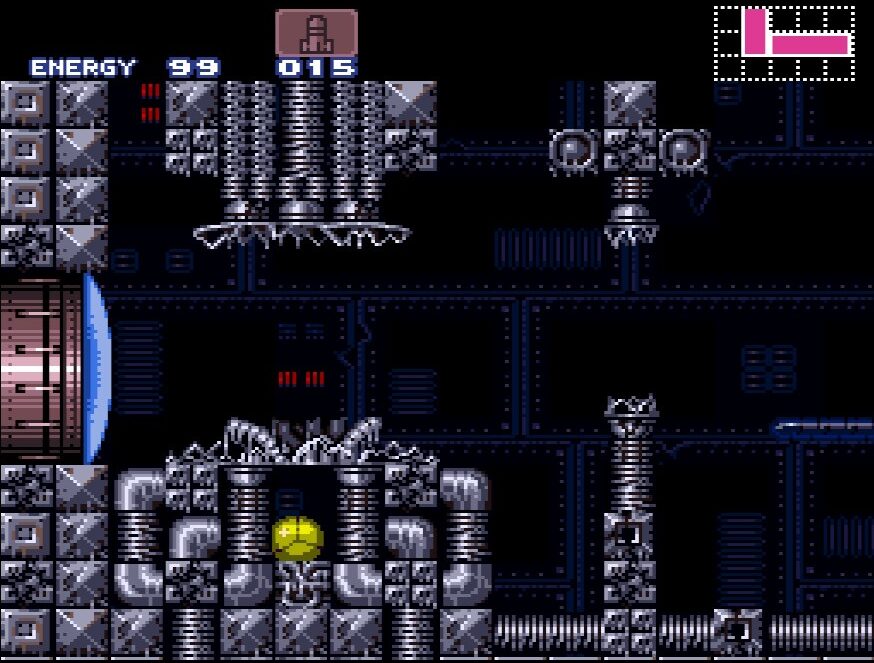
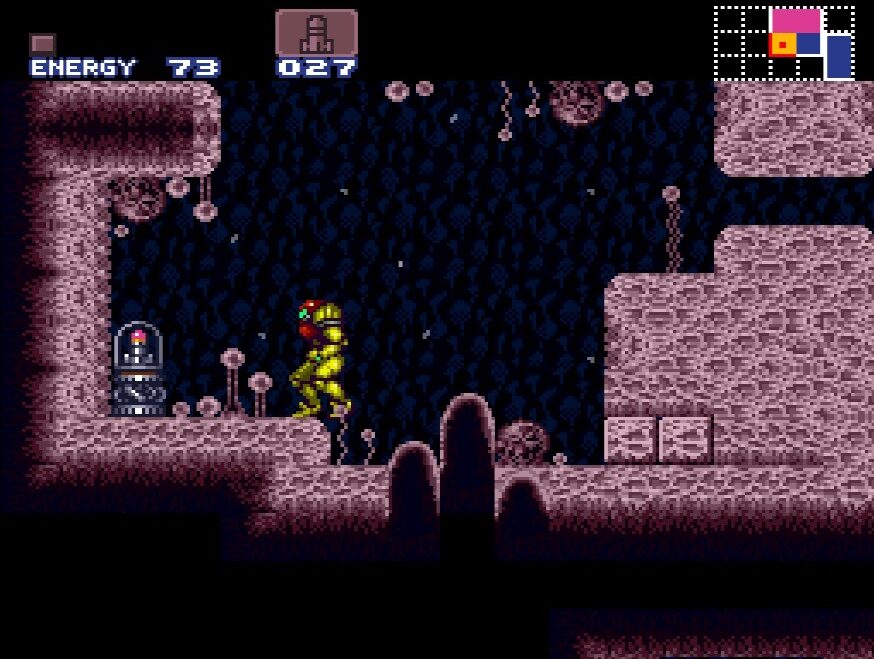
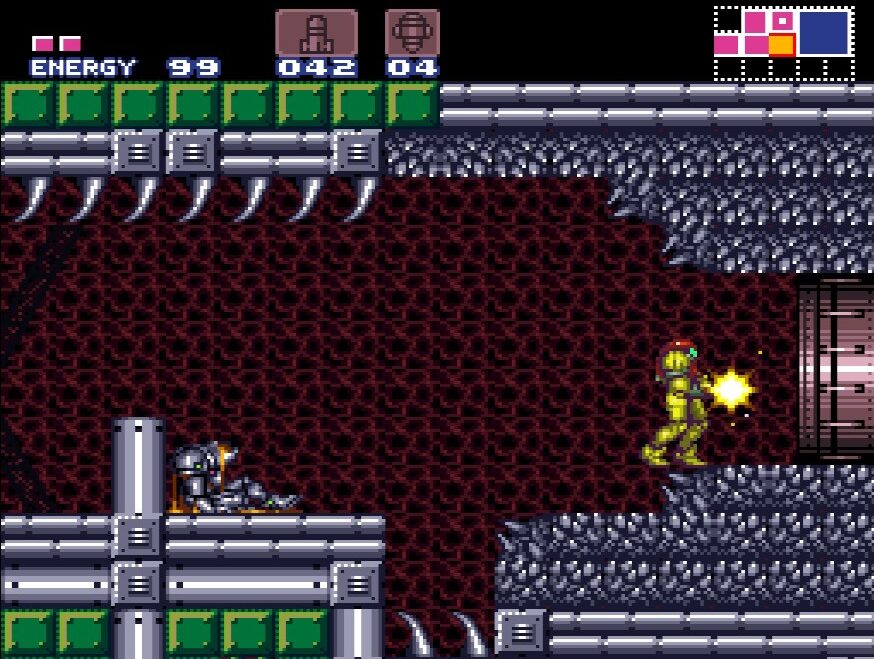
Welcome to the fiery depths of Norfair. Our first visit will be more dipping or toes than fully exploring, but we can pick up some nice stuff on our first foray down here.
First thing you’ll want to do is head straight down and ignore every door that you see. The only room we can really do anything in right now is behind the pink blast doors at the bottom left corner of this shaft. Let some Missiles fly and enter.
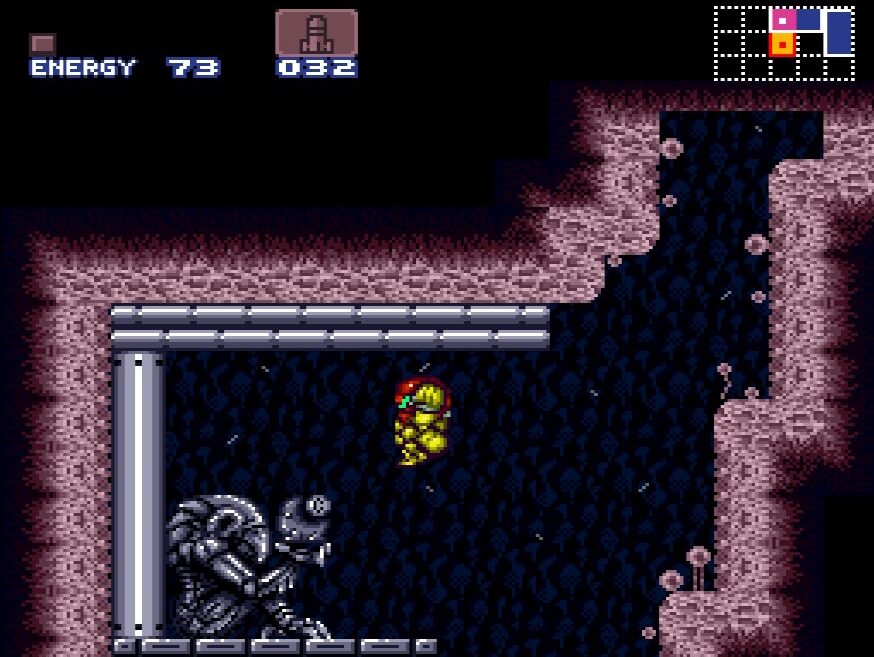
Immediately as you walk in, you’ll be able to grab ENERGY TANK #2. We’re not done yet though! You can see in the bottom left, there’s a small passage for us to fit through. Drop down and then roll left. Drop down the narrow tunnel and you’ll come out to a blue door. Master it open and walk through. Inside, there’s a Chozo Statue. Shoot the top part of the barrier in your way and jump over it to snag yourself the HI-JUMP BOOTS. Jump up to the top of this room and nab MISSILE EXPANSION #9. Exit this room (make sure you kill the crawly enemy or that door won’t open) and head back into Norfair’s main shaft. Go all the way back up and head back into Brinstar.
In the elevator room, head over to the right most corner of the wall and lay a bomb. You’ll see that you’ll need to drop a Super Missile into the corner to proceed. Do so and enter the small passageway, coming out on the other side. Using our schnazzy new boots, we can easily jump in the distance to the top and enter Kraid’s Lair.
Once inside, shoot the enemies in front of you and then bomb the ground immediately after the door. You’ll be able to drop down a bit, at which point, you’ll want to bomb the lower right portion of the wall. There’s a blast door here, but this baby is locked, so let’s move on for now. Roll to the right and enter the blast door above you.
Take out the enemies in this room with the Spazer. Towards the end of the room on the right, there’s a little divot in the ground. Lay a bomb there and roll on over to the far right side of the room. Use the Save Station if you need it. Once you’re done, kill the same enemies again (man, they didn’t waste any time respawning, did they) and go towards the center of the room. You’ll see what looks like a big fissure in the middle of the floor. You guessed it! Bomb it and drop down, and then proceed through the blue blast door.
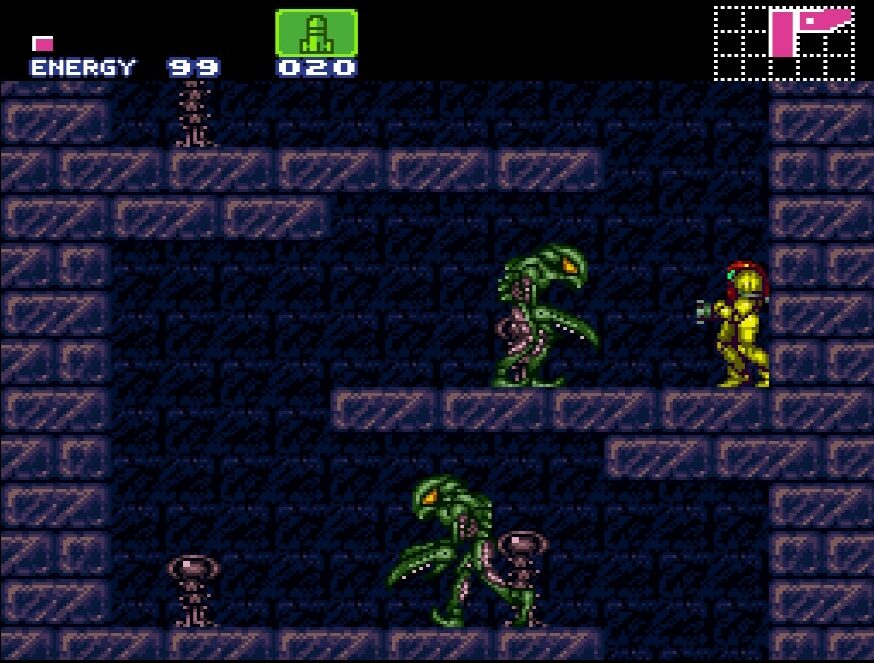
Careful – this next room is crawling with enemies. There are more Green Pirates, but your Spazer Beam should cut through them pretty easily. The most annoying enemy in here is definitely Mini Kraid, who starts pelting you with thorns from halfway across the room. You’ll probably get hit a few times, which is fine. Just make your way towards Mini Kraid as fast as you can and pelt him with either beams or Missiles. MK will drop some health and ammo for you after you shoot him down, so grab it and move on to the next room.
(Side note: what’s the deal with Mini Kraid? Is this supposed to be an egg or something big Kraid laid? If so, shouldn’t there be an egg shell? Or more of them?? Weird).
As soon as you enter this room, shoot upwards to reveal a hidden platform. Jump up and you’ll see a green blast door. Behind it is both a Missile and Energy Recharge Station, so load yourself up if you want. Once you’re done, make your way back down and keep pressing until you see a very odd looking blast door. This is a guard door, and it has a… big eye on it for some reason? You’ll find these guard doors in front of every boss room in the game. Three Missiles to the eye will get rid of it. Your best bet is to hit the door in quick enough succession so it never gets the chance to shoot its eye beams at you.
Once the guard door is down, step into the room and get ready to face the biggest boss in the game…
NORFAIR ROUTE:
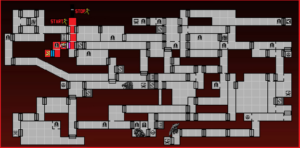
BRINSTAR ROUTE:
BOSS BATTLE: KRAID
There ain’t nothing mini about this Kraid, that’s for sure. The reptilian nemesis from the original Metroid returns, except now, he’s as big as a skyscraper. The good news is that despite his frightening appearance, Kraid is actually kind of a pushover if you can time your jumping right and aim carefully with your Super Missiles.
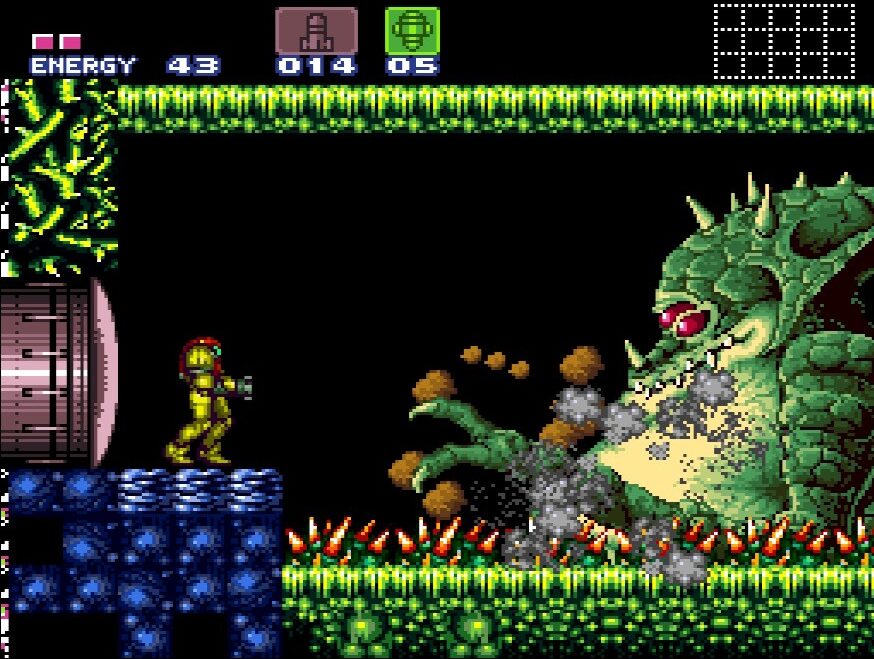
The floor is covered in spikes with the exception of a little platform that you can stand on. This phase of Kraid is super simple. He won’t do anything except charge at you while spitting out rocks. We’re not even going to give him the chance to do that, however. As soon as Kraid’s head has finished coming out the ground, strike fast! Hit him with a regular Missile right in the eye. You’ll see it flash yellow for a second, which will give you enough time to switch over to your Super Missiles. As soon as he opens his mouth, open sesame! If you’re really good, you can stun Kraid instantly with your Missiles and then slam him with 3 quick Super Missiles and kill him instantly. If you miss, no worries though – just be sure to get at least a shot in when Kraid is vulnerable.
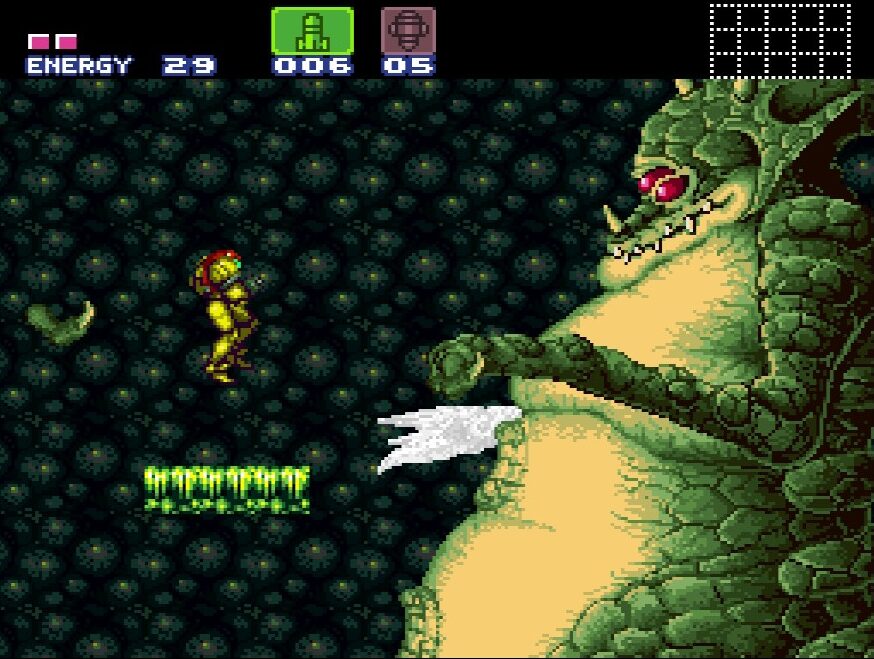
After taking that first hit, Kraid will grow even bigger and move to the screen above you. This is a bit trickier. Now, there are only two smaller platforms for you to stand on, with Kraid and his shirt little T-Rex arm moving back and forth looking to damage you. At the same time, there are now thorns flying in every direction, and the big man is shooting thorny platforms out of his belly straight at you. Shoot the thorns if you can for Missiles and health, and do your best to avoid the platforms (you can stand on them, so use that to your advantage!)
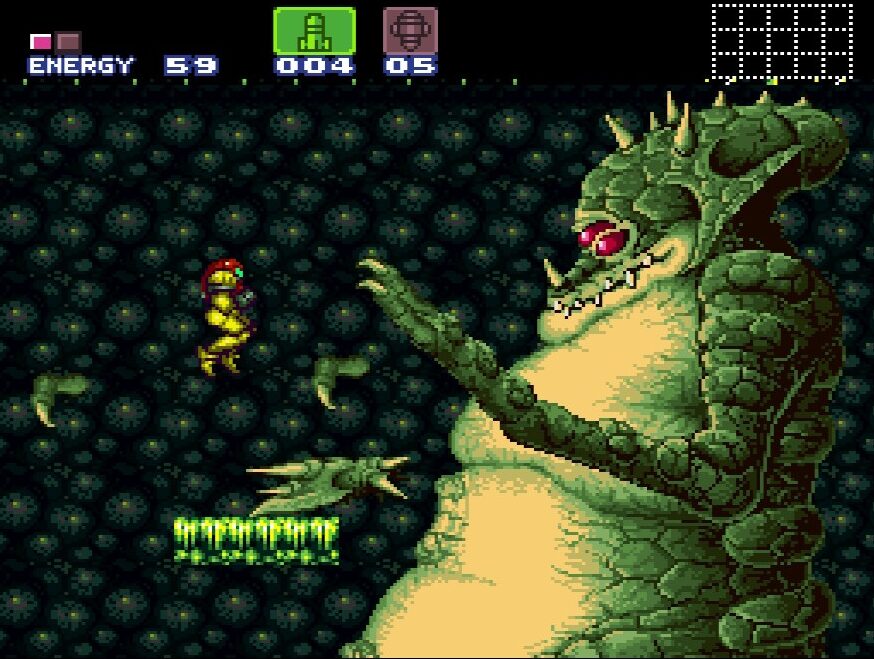
The quicker you can beat Kraid, the easier this is going to be. Obvious advice, I know, but the longer this battle drags out, the more damage you’re going to absorb from everything happening on screen. There’s so much going on, it will be impossible to dodge it all. Again, shoot your regular Missiles at Kraid’s eye, wait for him to open his mouth, and let your Super Missiles (or regular Missiles) fly. Three direct hits to the mouth is all it takes to bring down the giant, so pound away hard and fast before you absorb too much damage and Kraid will fall.
Once you’ve defeated him, move into the next room and claim the VARIA SUIT.
Next Chapter: Fires of Norfair