


Metroid: Samus Returns Walkthrough – Area 1: Ancient Chozo Ruins
Walkthrough
- Return to SR388
- Area 1 – Ancient Chozo Ruins
- Area 2 – Hydroelectric Station
- Area 3 – Aeion Mines
- Area 4 – Crystal Caverns
- Area 5 – Flooded Greenhouse
- Area 6 – Diggernaut’s Domain
- Area 7 – Chozo Laboratory
- Area 8 – The Nest
- The Last Metroid
Bombs and Ice
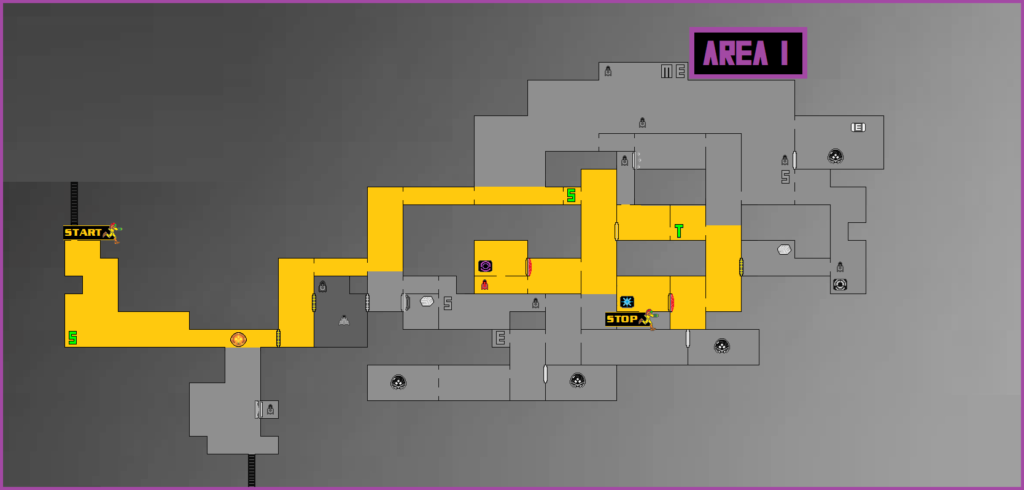
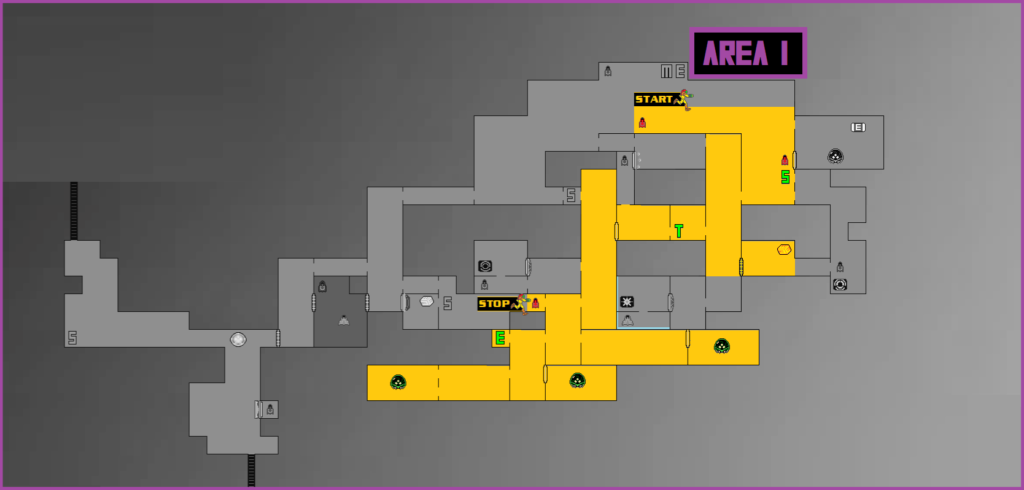
Unfortunately, every area in the game is just called Area XYZ, so you’ll have to settle for my descriptions to give you an idea of what to expect in terms of topography and native inhabitants. The first thing that you’ll want to do in pretty much every new area that you gain access to is track down the Chozo Seal, so let’s get started!
Drop all the way down to the bottom of the room, until you get to the lower lefthand portion of the room where you’ll find a Save Station; use it if you need to, and then press towards the right. The enemies will be coming fast and furious, so keep on fighting them off until you get to the Chozo Seal. As you run across it, it’ll light up, indicating that you need four vials of Metroid DNA to progress. Take the door on the far right of the room and start your search.
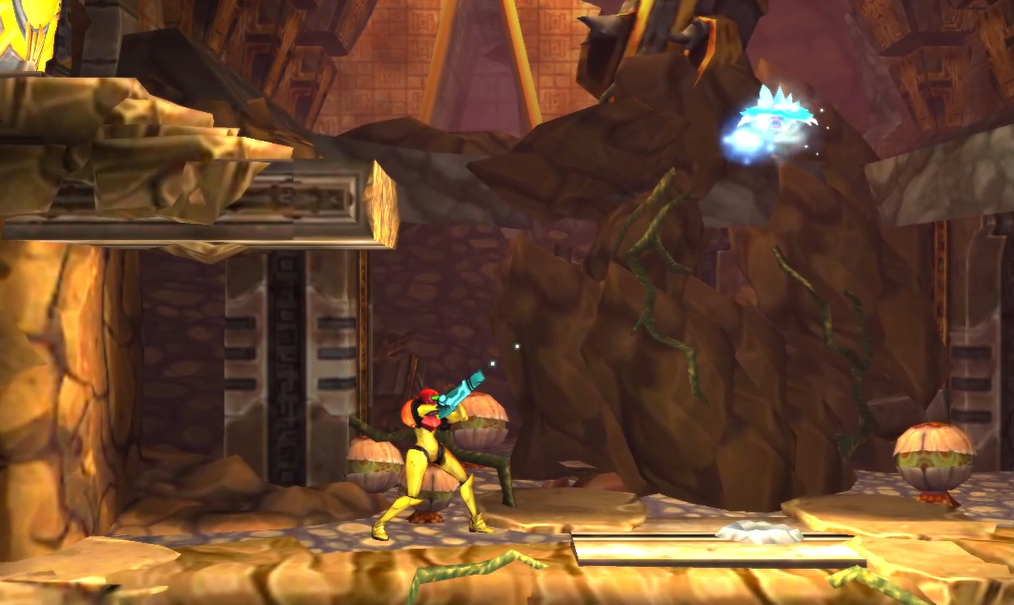
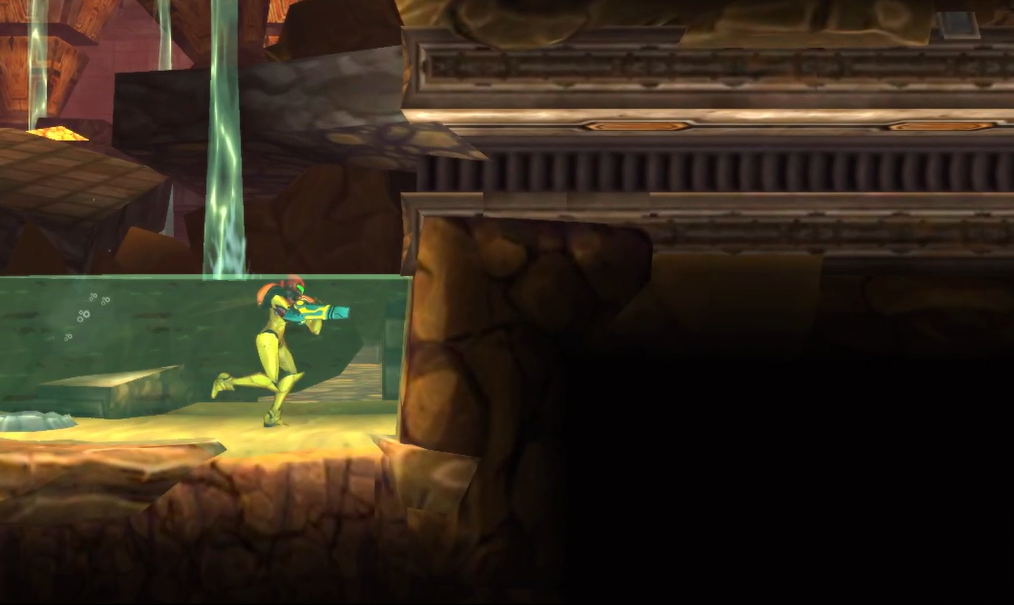
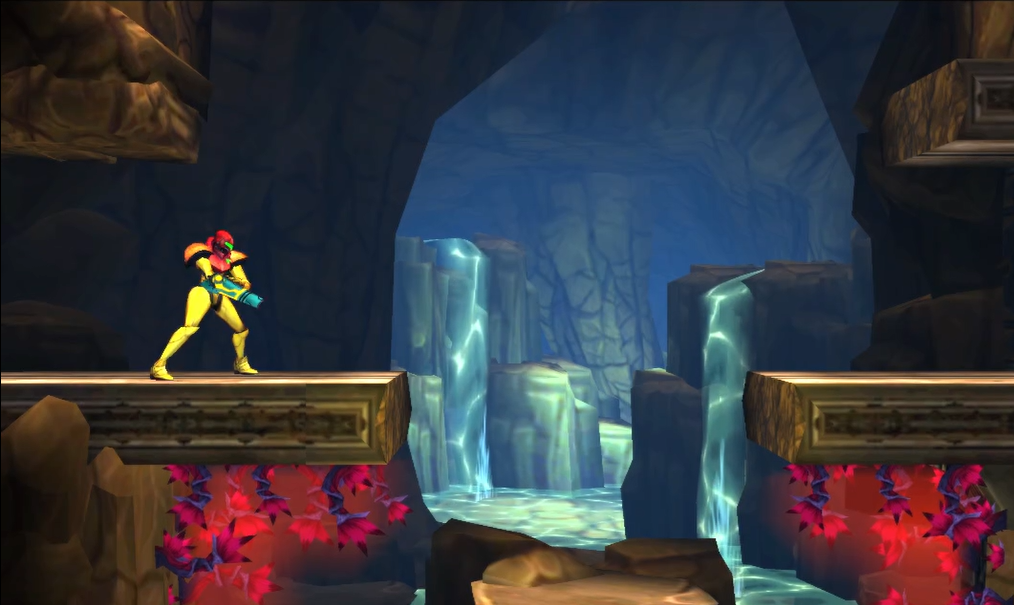
Gone is the rock and purple glow of acid; now, we have a lush cave, full of water, plants, and new creatures to destroy! Scale up the long vertical hallway, and eventually you’ll pass a Blast Door that is glowing red. This means that the temperature inside is hot hot hot, so don’t even try to enter at this particular moment; just keep climbing instead. Once you get to the top, press right and then drop back down at the end of the hall.
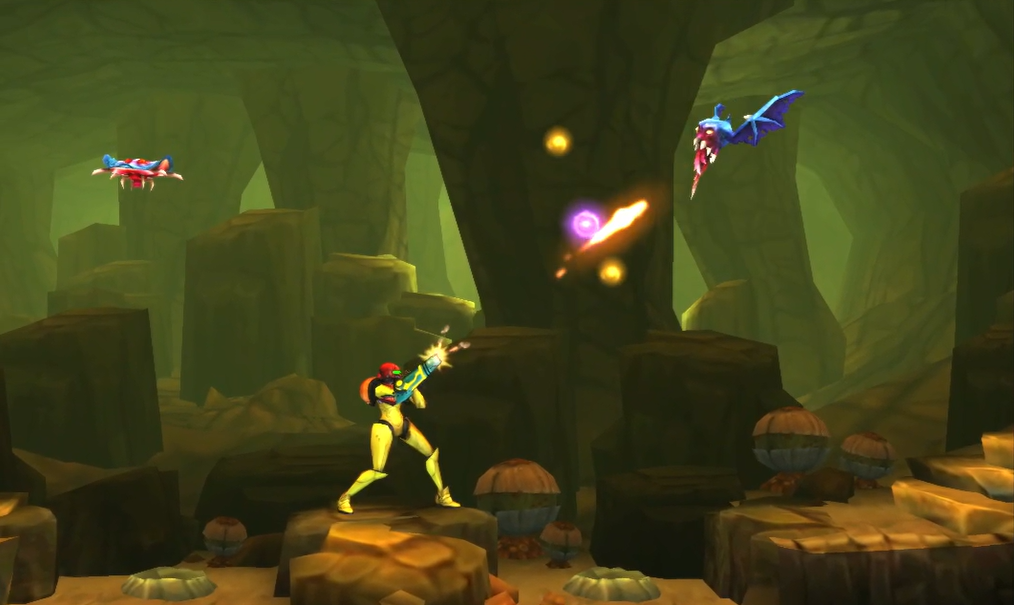
You can take two different paths here, but I’d personally go upwards, using the top-right path and scaling towards still. Along the way, there will be an Aeion Recharge, so make sure you top off! This pathway is full of dangerous, hard-hitting creatures, so be sure to proceed slowly and use your Melee Counters to make combat easier. Once you’re at the top, keep pressing towards the right and eventually you’ll be in a huge room with the pathway leading you into a structure. You can’t really access anything else in the area yet, so just head into the structure – or temple, as it looks like to me, and use the Save Station.
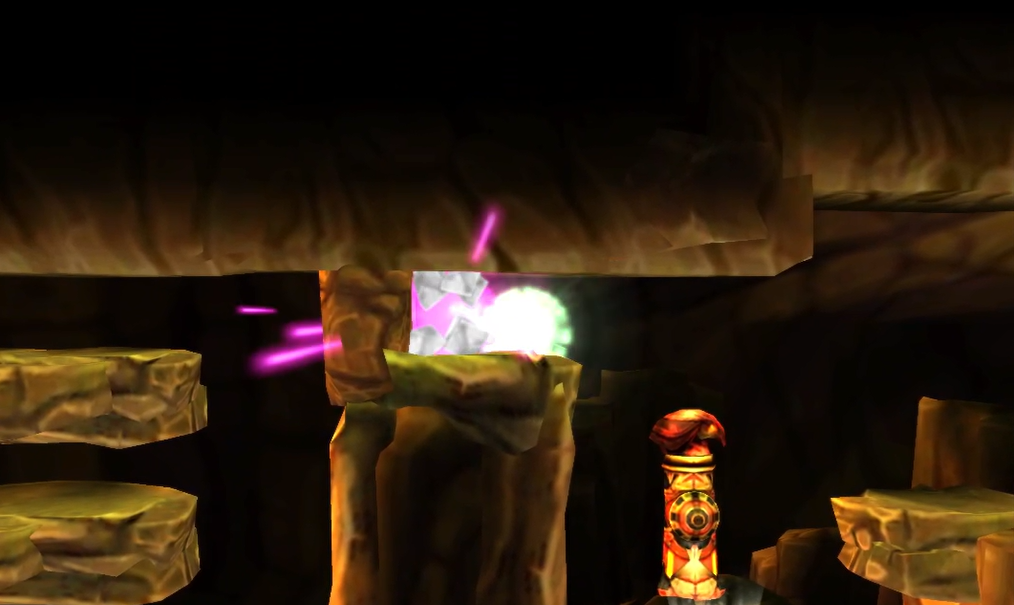
Go into the next room and just let yourself fall down the long vertical shaft. About halfway down, there will be a Blast Door on your right that you can go through, but you should ignore it. Keep falling and instead, press towards the pathway on the left. You’ll encounter a flying enemy called the Drivel, which I find is a particularly annoying enemy as it takes a ton of hits to kill and drops energy bombs on your cranium in the meantime. Deal with it and press forward, using your missiles to destroy the red blast shield in front of you.
Enter the room and there’s another Chozo Statue waiting for you; this time, with BOMBS as your reward! Use your Scan Pulse and you’ll see a couple of blocks that can be destroyed on the floor; use your bombs to get rid of them, drop down, and roll to the left to grab MISSILE EXPANSION #5! Roll your way out of the Bomb room and back into the main shaft.
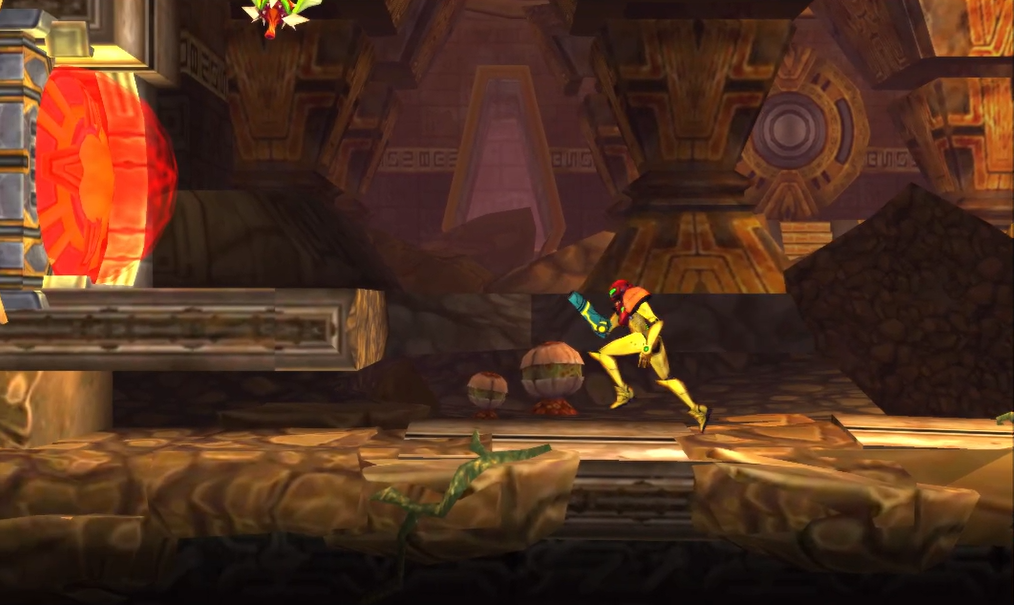
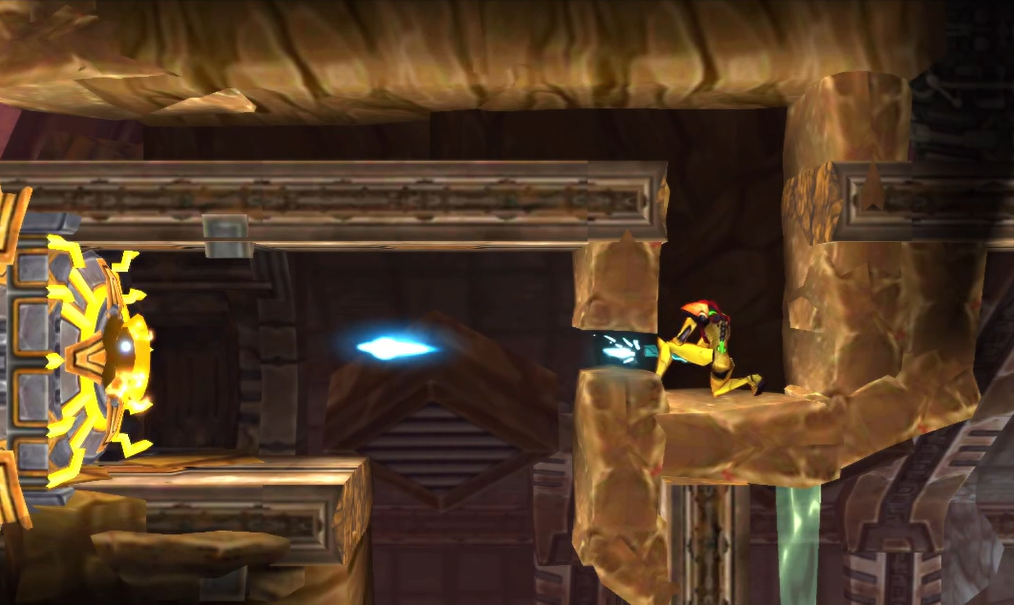
Scale upwards and take the Blast Door on the right, the one we dropped past earlier. Enter the tunnel and bomb the block in front of you; you’ll roll out next to another Teleportal. It will become active right away, which is cool, but no sense in using it yet! Instead, continue forward and you’ll find yourself in another long vertical shaft. Drop down and take the charge beam door on your right; destroy the collection of enemies, jump in the water, and then jump up and into the Morph Ball tunnel. Roll through, bomb one last block, and you’ll grab MISSILE EXPANSION #6.
Exit back where you came from until you’re in the vertical shaft again. Drop down to the bottom and follow the hallway to your left. Press forward, jump up and grab the ledge and destroy the red blast shield. You should know by now what’s awaiting inside, so go on in, and sitting in this Chozo Statue is going to be the ultimate Metroid deterrent – the ICE BEAM! Claim your prize, but note – the Ice Beam in this game works a little bit differently than in others. It doesn’t stack with your current beams, but rather, is a separate beam unto itself, much like the Grapple Beam usually is in 2D Metroid. When you’re ready, exit the room.
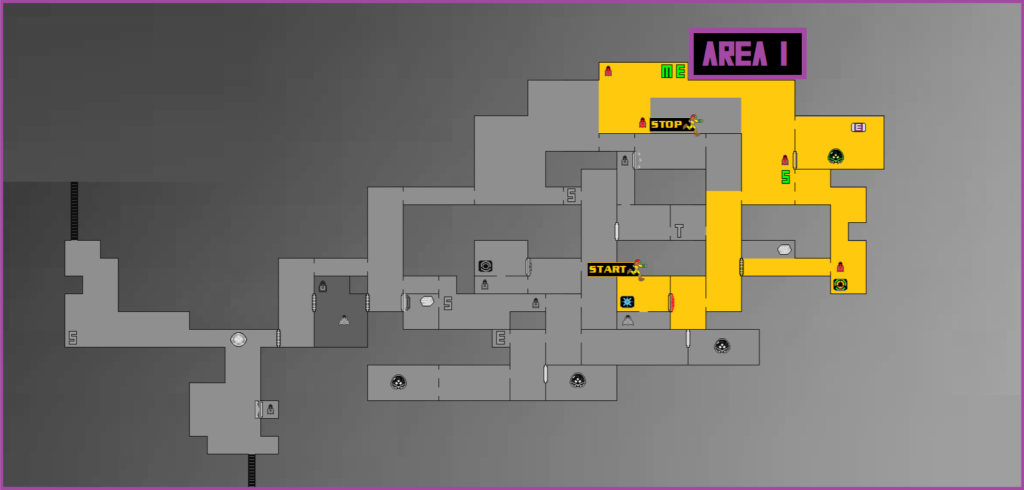
Chapter 2.1 Route:
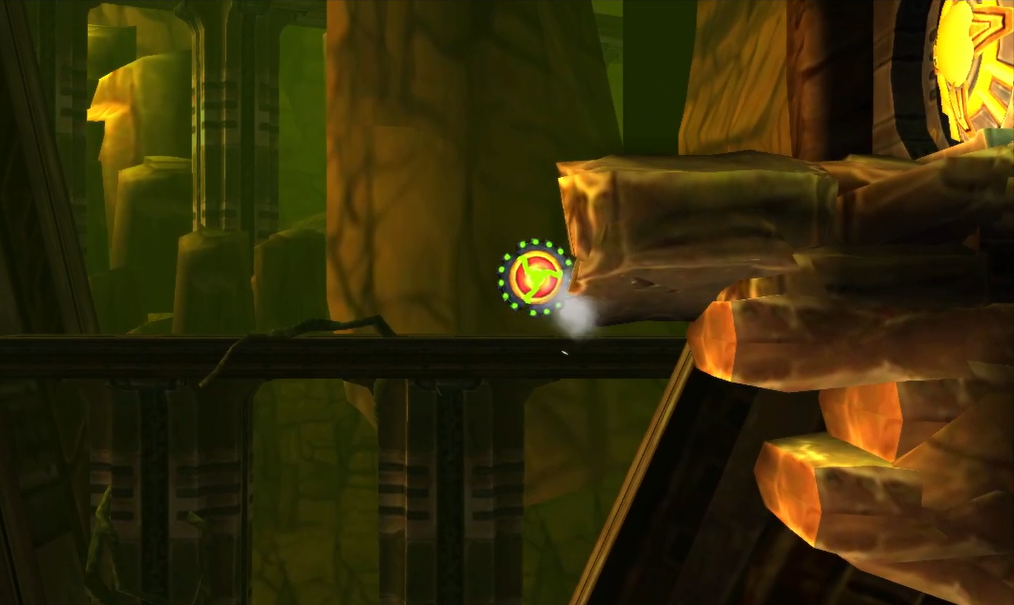
The Spider Ball
Get yourself back into the previous room you were in before entering the Ice Beam room, and immediately put that bad boy to good use. You’ll see an innocuous looking bug called a Chute Leech that just flies up and down; freeze it at the apex of its jump and use it as a stepping stone to get back onto the higher ledge. You’ve probably seen all the yellow sludge hanging around the walls and ceilings: its main purpose is to ensure that Samus can’t grab hold or stick to it, making some of our more tried and true methods non-options. Somewhat ironically, this yellow sludge looks pretty much identical to the honey in Donkey Kong Country 3 that had the total opposite effect – you would use it to climb ledges you normally couldn’t because it was so sticky. Different strokes for different folks, I guess!
Anyways, continue on, and leave your Ice Beam equipped, although just note – this isn’t the ideal beam for actually killing enemies. Once you’ve frozen a creature, it takes about a hundred more ice beam shots to actually destroy it (this is a slight exaggeration, but only slight, I swear!). Continue upwards in the vertical shaft, eventually getting to the top, where you’ll need to freeze another Chute Leech to reach the highest ledge. Once you’ve pulled yourself up, shoot the Blast Door on your right – this will cause it to permanently open, which is great, since it was locked from the other side!
Go through the door and you’ll now see two things – a Save Station, which you should use, and a Metroid husk. Roll through the tunnel beside the Save Station and shoot the Blast Door from its opposite side; like I mentioned a second ago, this will permanently open the door from both sides. This is a trick Samus Returns employs a lot, so it’s always a good idea to shoot doors open, even if you don’t necessarily intend on going through them. Roll back and go through the door, blasting enemies away and pushing right until you can drop down a Morph Ball tunnel. It doesn’t matter which way you take, so just drop to the very bottom.
You’ll see a Chozo Statue, albeit an empty handed one, but worry not – blast away a brick in the lower left of the room and you’ll acquire the SPIDER BALL!

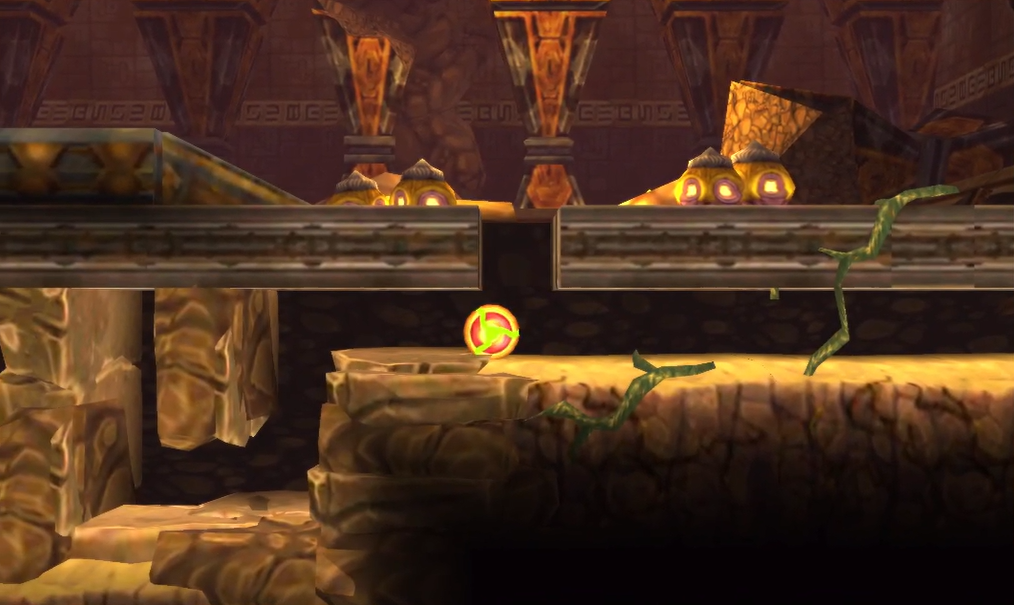
This is a nifty powerup that will let you stick to any wall (except the yellow sludge walls) when you’re in Morph Ball form, so use it right away to get yourself back up the tunnel and back to the Save Station. Morph down, use your Spider Ball and roll up the wall to find MISSILE EXPANSION #7 tucked away in a little alcove above the Save Station! Keep rolling upwards and you’ll see a Blast Door above you. Go through it and you’ll be attacked by an ALPHA METROID! Follow the same attack strategies as earlier, and you’ll destroy it in no time. As an added bonus, the Ice Beam can slow down the Alpha if you blast it with a charged shot, so add that move to your repertoire if you need to! After you’re finished, roll up the righthand wall and bomb in the top corner; a new tunnel will open up, leading you right to ENERGY TANK #2!
Get out of this room and back to the Blast Door; keep using your Spider Ball to roll up and eventually once you hit the ceiling, roll towards the left. You’ll roll right on by both an Energy and a Missile Recharge Station! At the Missile Station specifically, use your Spider Ball to bomb the higher portion on the wall and slip through to a smaller room filled with small tunnels. There’s a fan blowing above, meaning that your bombs are going to be useless in that windy area, but fear not – in the middle tunnel, lay some bombs below the fan, destroying the blocks and letting you jump up to grab MISSILE EXPANSION #8.

Drop directly below the Missile Station and destroy all the enemies that you see. Underneath the middle platform, drop some bombs to reveal MISSILE EXPANSION #9 – use your Pulse Scan if you’re having trouble locating the exact spot you need to bomb.
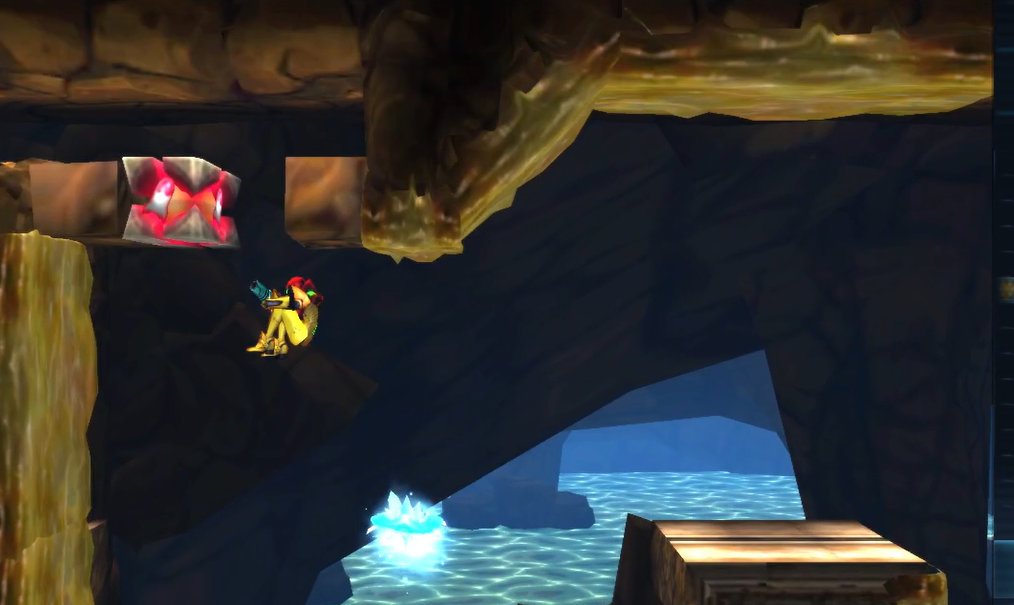
Let’s quickly backtrack to the Save Station in the lower right corner (the one with the Missile Expansion right above it). Go through the door on your left and head back into the vertical shaft; drop down and take the first door on your right. This is the room with the pit of water from earlier; get back into the small Morph Ball tunnel, only this time, use your Spider Ball to crawl towards the ceiling. Drop a bomb and you’ll have full access to grab AEION TANK #1!
Chapter 2.2 Route:
Metroids in Area 1
Ready for some more backtracking? Head back towards the Teleportal and then continue left. You’ll soon find yourself back in the long vertical shaft from earlier; this time, we’re going down, sugar. Once you get to the very bottom, Spider Roll up on the lefthand wall and bomb the very top; a tunnel will open up, allowing you to skeet into the other side of the shaft. There are three different paths you can take here, and it doesn’t really matter which one you choose, but let’s do this together.
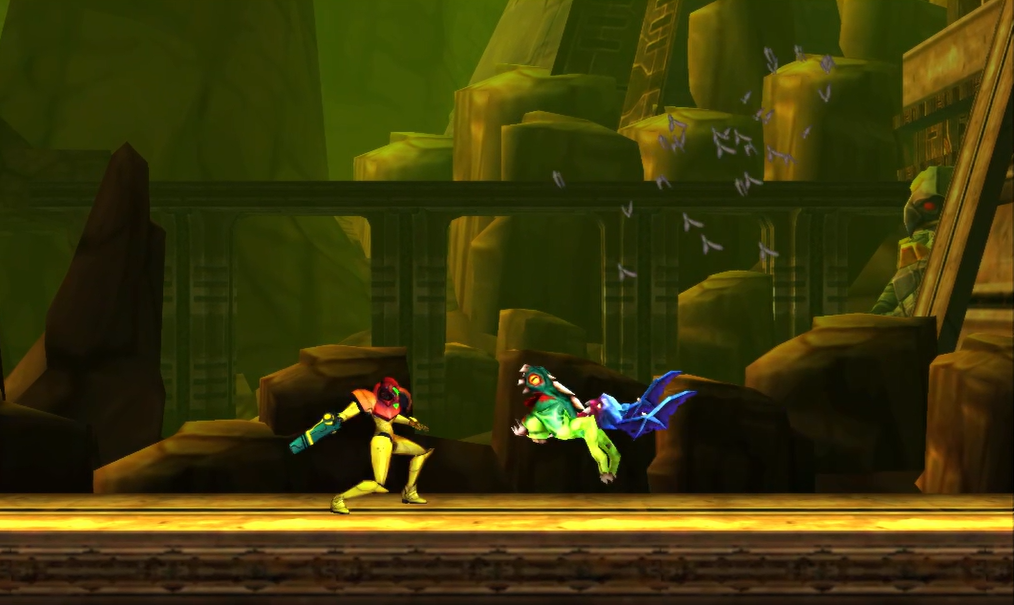
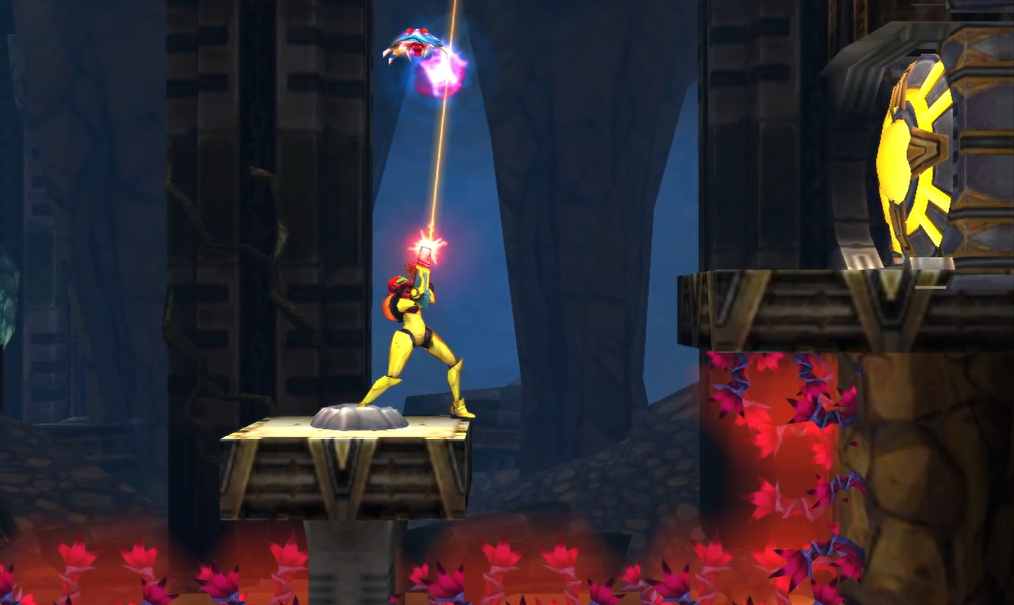
Drop down and take the bottom right door. You’ll be in a new room with some smaller platforms and a bunch of red weeds. These red weeds are poisonous, so don’t fall into them unless you want your health to start depleting! This is a dangerous room, with enemies on literally each platform, so take it slow and steady. Press forward and go through the Blast Door at the end of the room; you’ll now be in a similar room – small platforms, poisonous red weeds – but with a major difference: this room houses an ALPHA METROID! Aside from the poisonous red weeds, this is the same Alpha Metroid fight as always, so do your thing and collect its DNA.
Exit and make your way back into the main shaft and shootout the walls on the left hand side. You’ll see another Metroid husk; use your Spider Ball to get up to the higher tunnel, but before you drop down, get into the small alcove on the upper left and lay a bomb. An Energy Recharge Station is on the other side, so use it if you need to and then drop all the way down to the bottom of the tunnel. You can either go left or right, so what the heck, let’s go right first!
You will immediately be accosted by an ALPHA METROID, so put the hurt to it and exit the room. Take the left door, use your Ice Beam to freeze the Leeches until you get into the Morph Ball tunnel in the ceiling of the room. This is actually much harder than it looks, with the freezing of a leech, a fan, some water, and a bunch of missile blocks making this tricky, so don’t feel bad if this takes you a few tries! Jump up through the tunnel and you’ll encounter a second ALPHA METROID. Use your arsenal to destroy it, which will do it for Metroids available to hunt in Area 1!
Backtrack to the initial room shaft that we started from, the one with the first red weeds just after the bomb blocks, and make your way up. Use your Scan Pulse to magnify a block that you can bomb right underneath the ledge; lay a bomb and roll through the tunnel to grab MISSILE EXPANSION #10! That will pretty much do it for Area 1, so make the long trek back to the Chozo Seal and give it the Metroid DNA you worked so hard to get!
A passageway to the next part of SR388 will open, so use your Spider Ball and your missiles to press forward to the elevator. When you’re ready, descend.
Chapter 2.3 Route:
Next Chapter: Area 2 – Hydroelectric Station