Metroid: Samus Returns Walkthrough: Power Bomb Expansions
Here you’ll find the location for every Power Bomb Expansion in Metroid: Samus Returns, as well as detailed explanations on how to get them and what powerups you’ll need.
Power Bomb Expansion #1
Location: Area 6 (First Visit)
Requirements: Defeat the Diggernaut
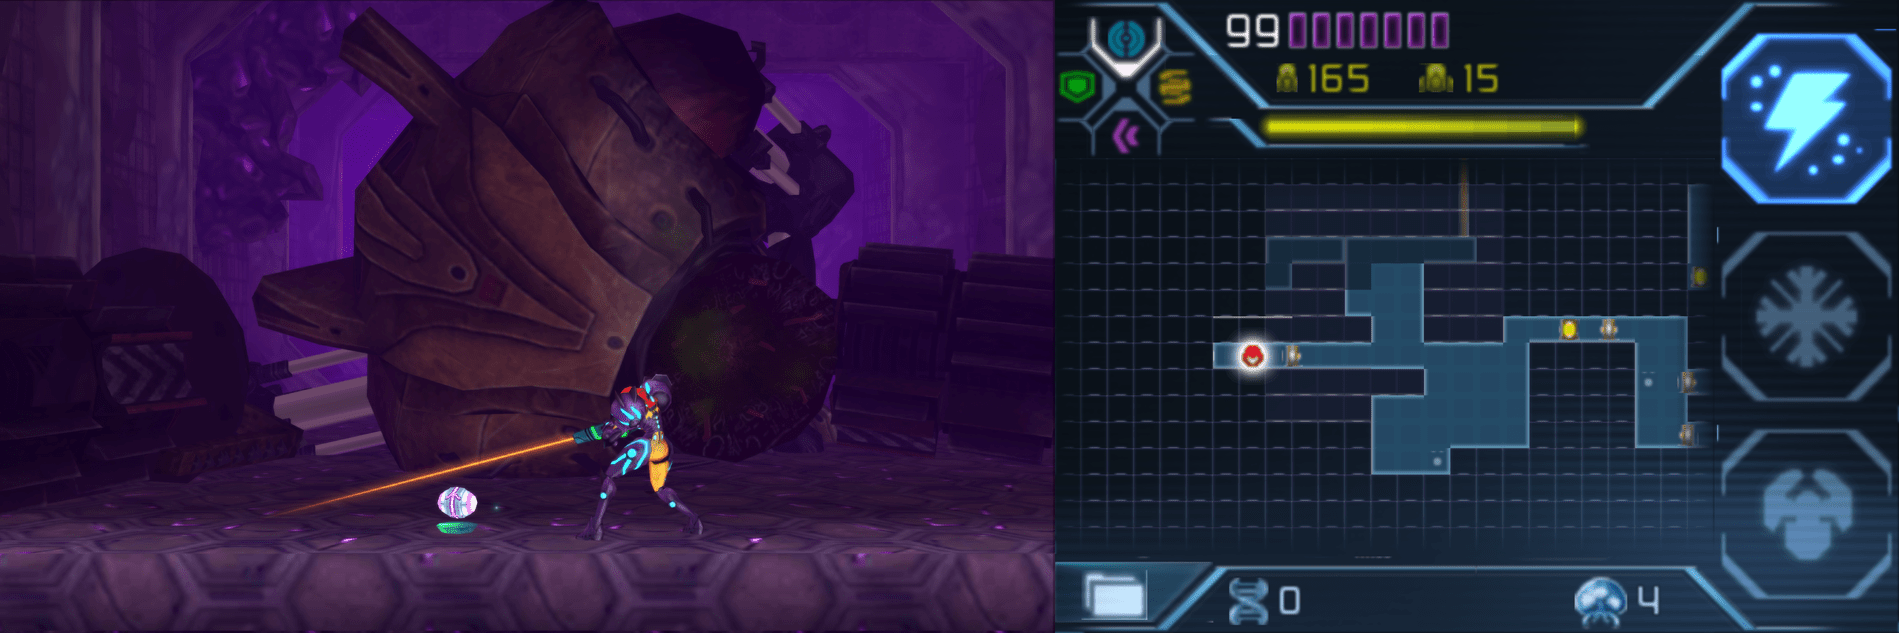
You’ll get this upgrade as part of the main progression of the game. For strategies for defeating the Diggernaut, click here.
Power Bomb Expansion #2
Location: Area 6 (First Visit)
Requirements: Power Bombs, Spider Ball
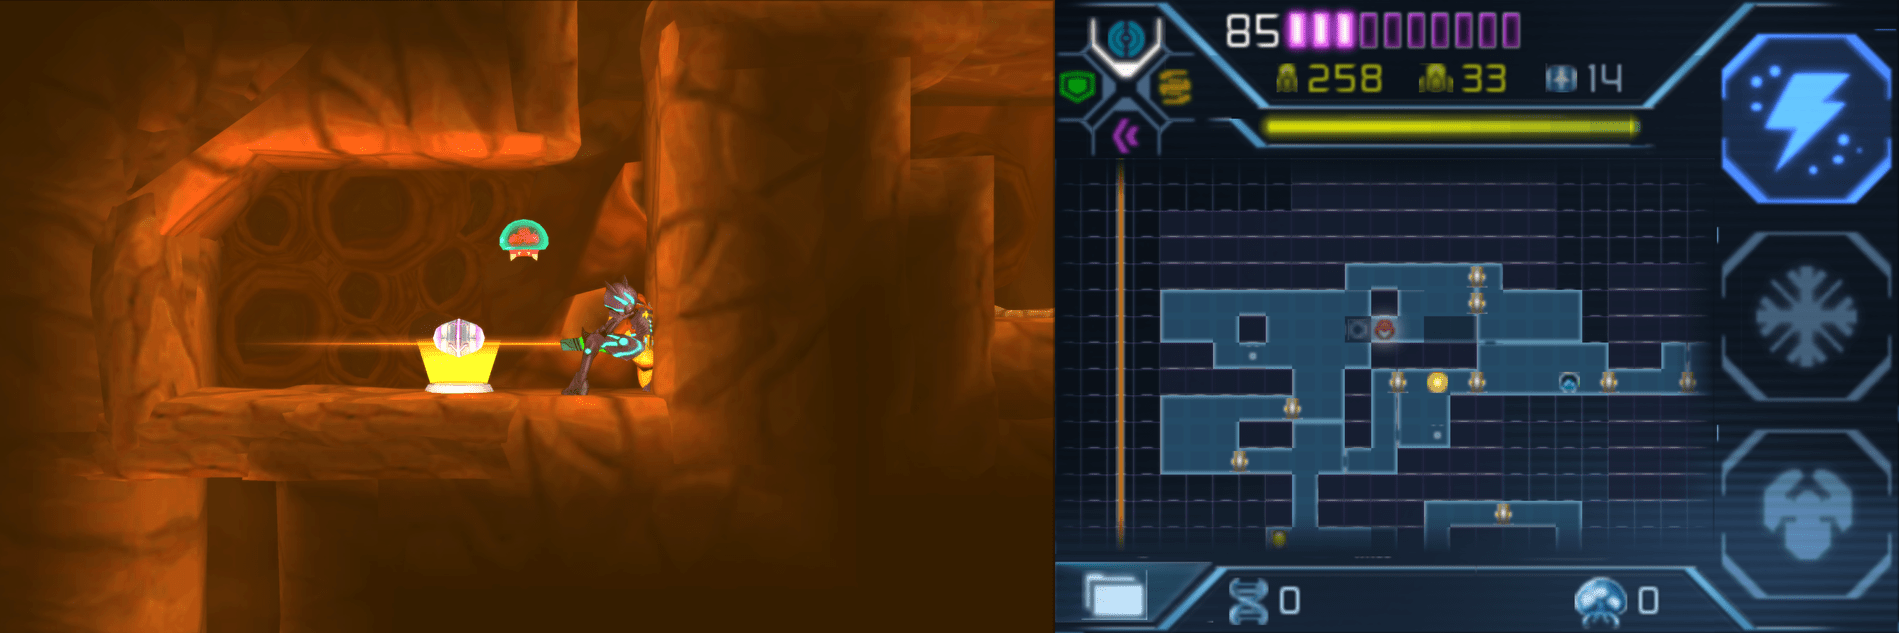
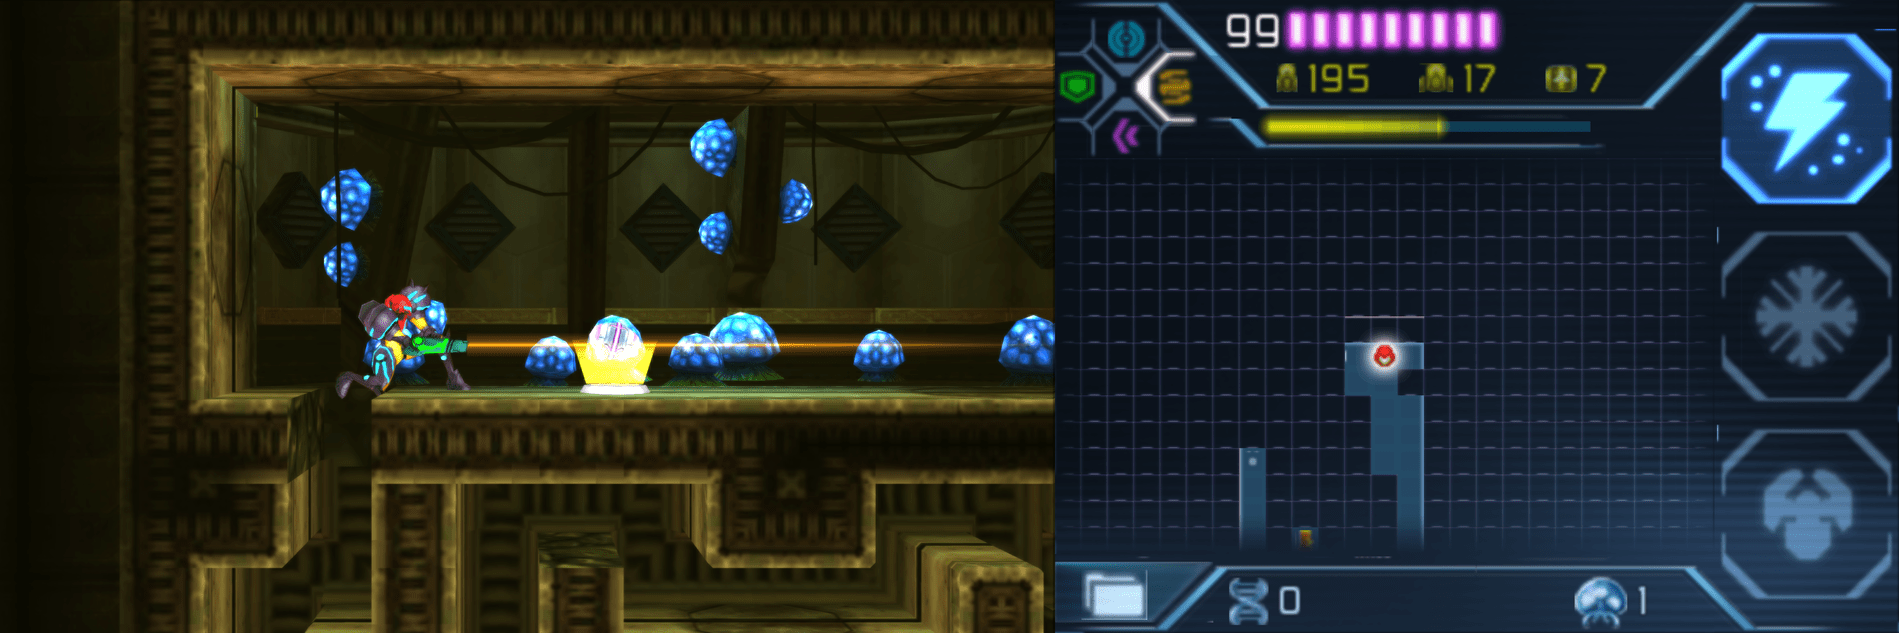
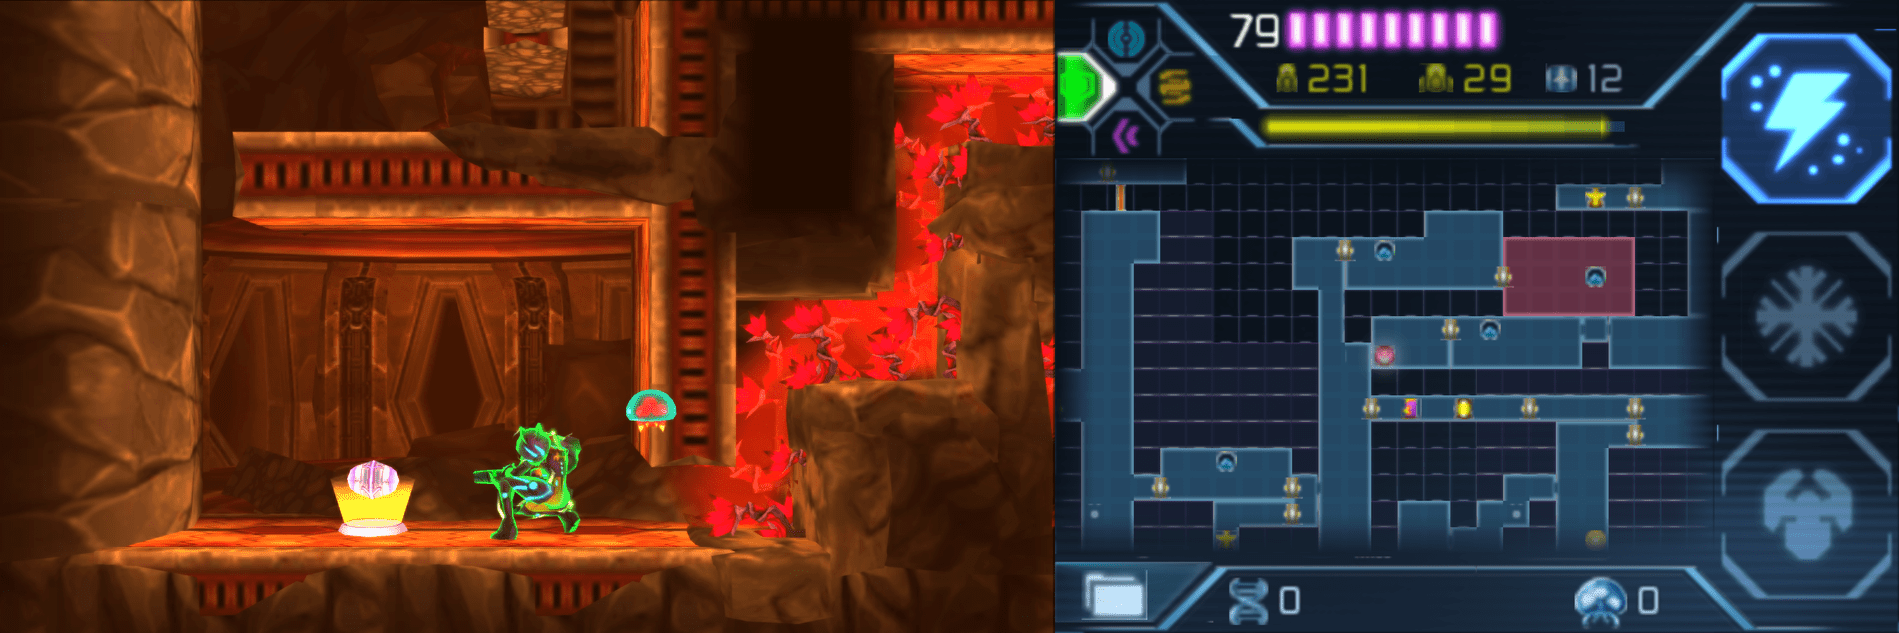
After defeating the Diggernaut, head through the door, recharge your ammo, and then get ready, because we’re going to pull off a cool trick. There’s a special ability that the game doesn’t teach you about that I will!
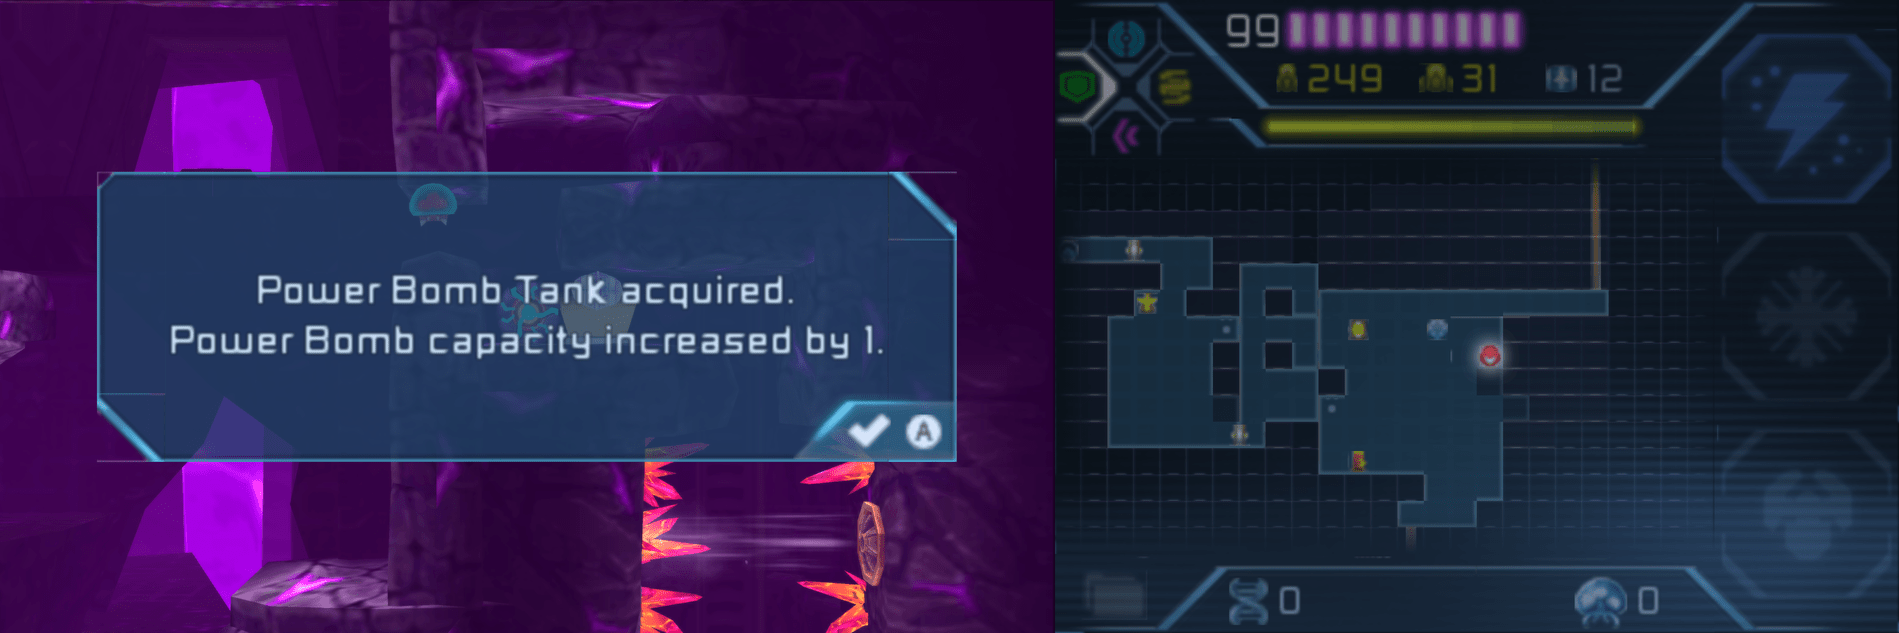
Get into Morph Ball form and activate your Spider Ball on the ground; line yourself up so you’re under the opening in the ceiling above you and then lay a Power Bomb. You’ll go shooting straight up to the very very top of the room, in between the orange spikes, and sticking to the top wall. Congrats – you have just performed a SPIDERSPARK! This isn’t the last time we’ll be using this technique, so see Special Abilities if you want to learn more! As an added bonus, we just shot straight up and landed on the ceiling, right next to POWER BOMB EXPANSION #2! Grab it and drop down
Power Bomb Expansion #3
Location: Area 7 (First Visit)
Requirements: Spider Ball, Power Bombs
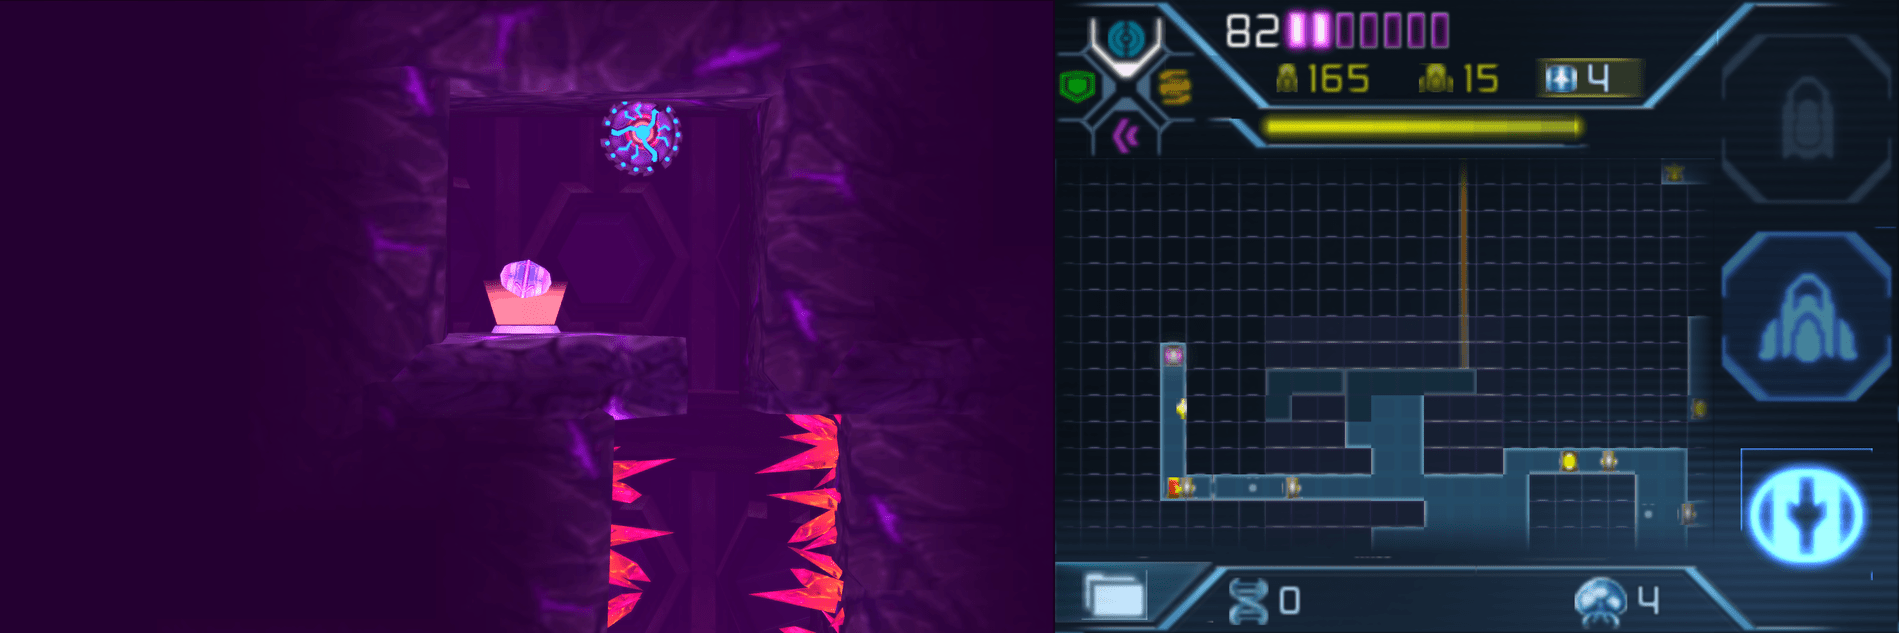
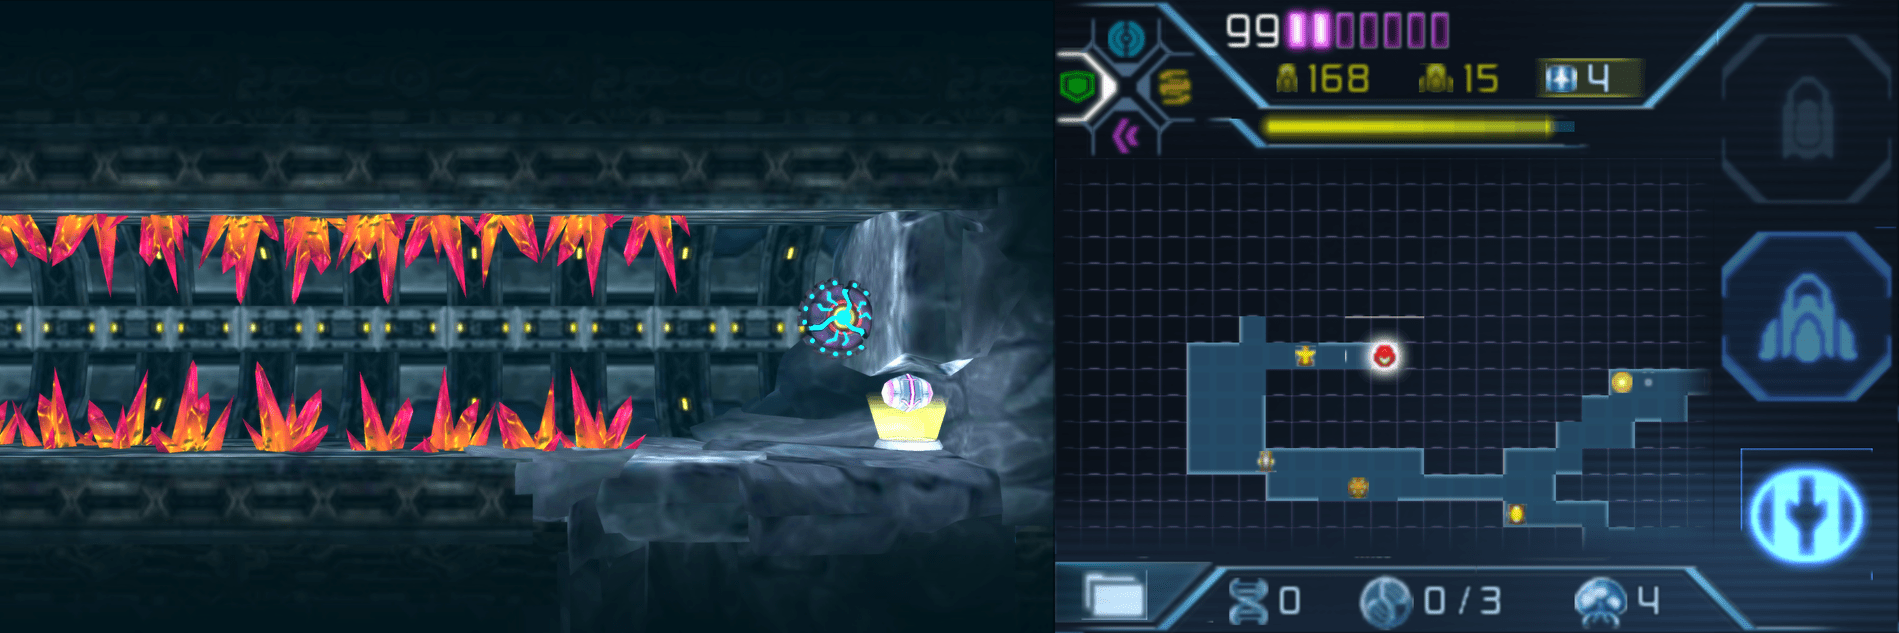
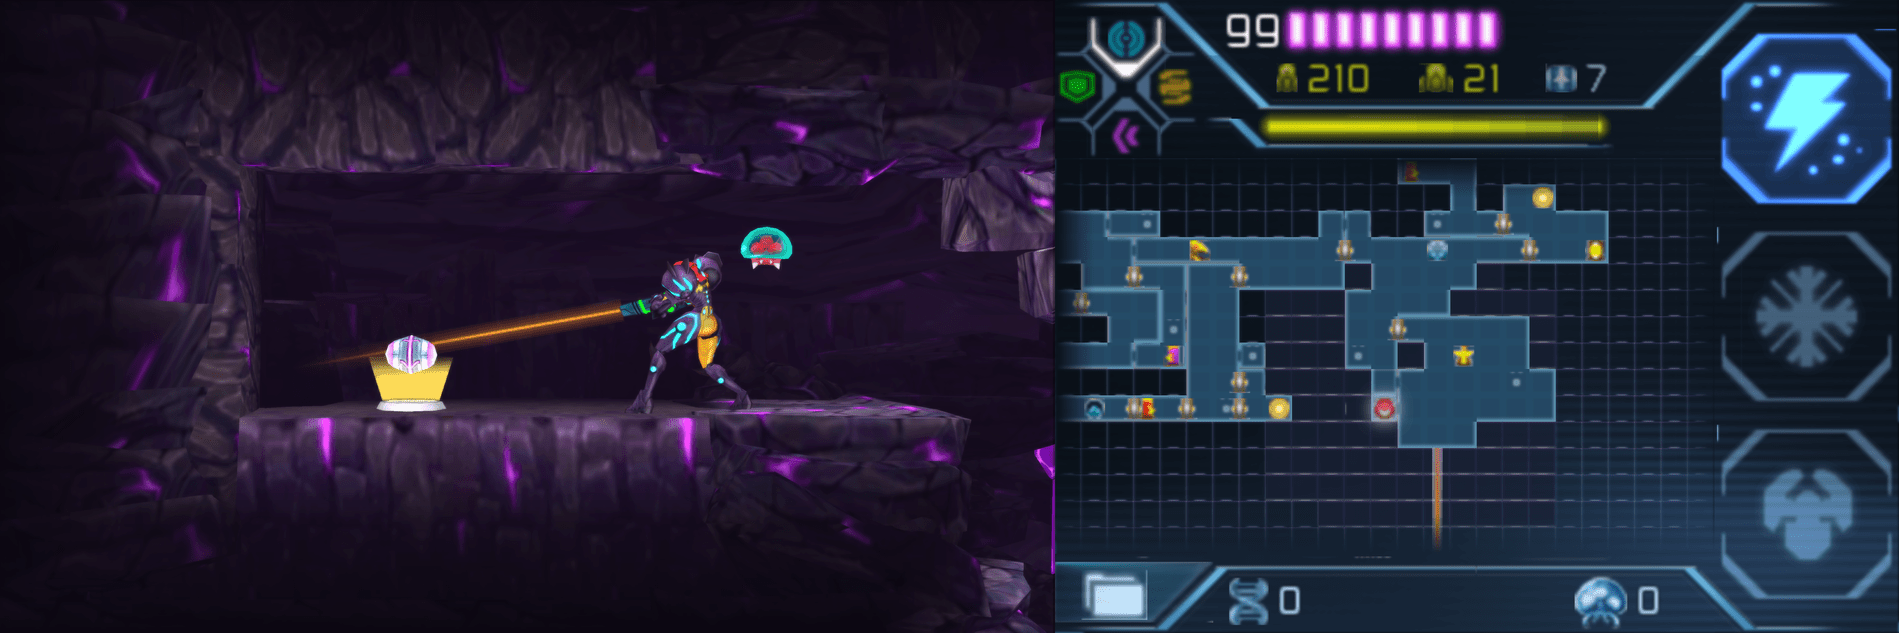
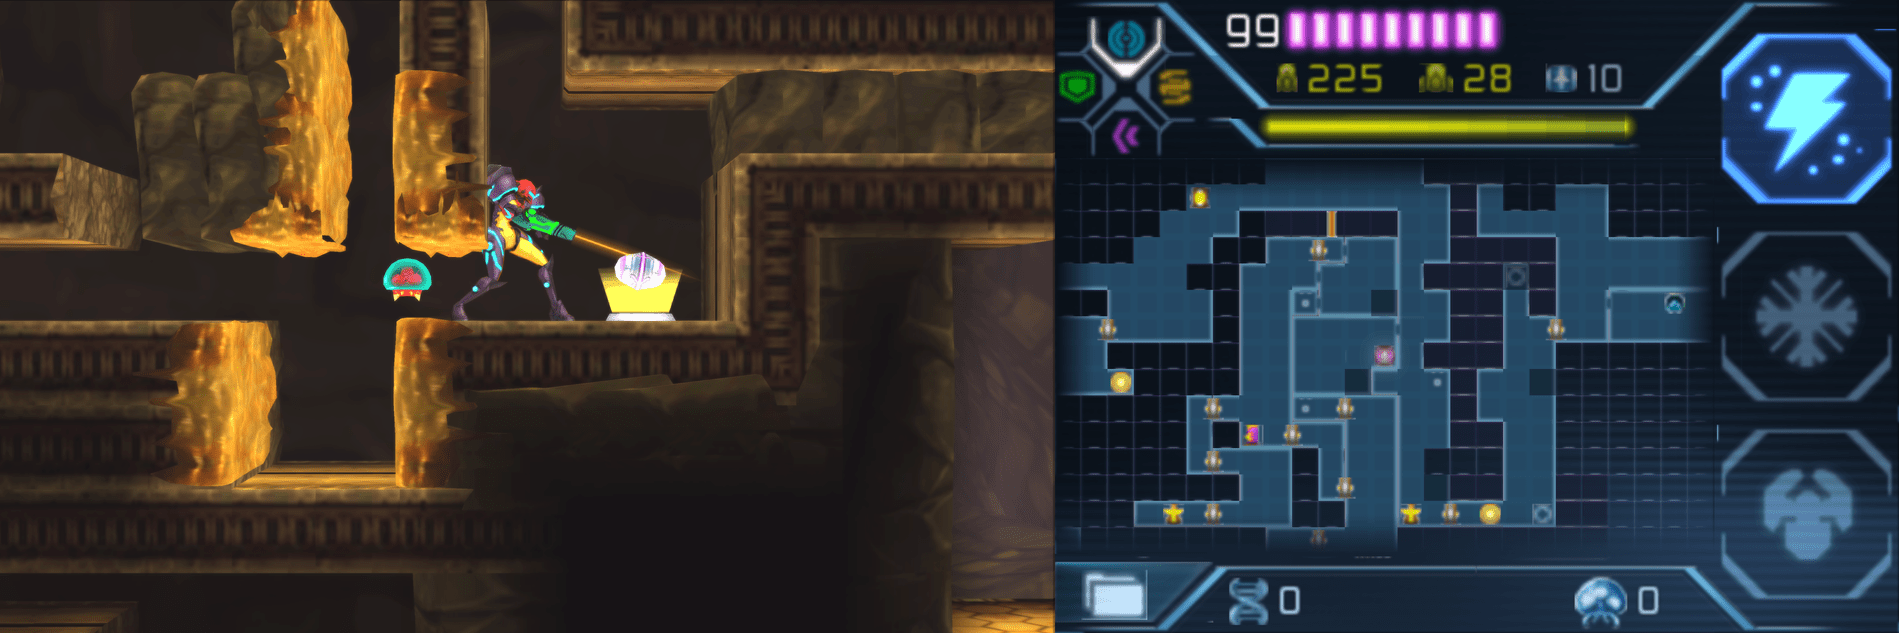
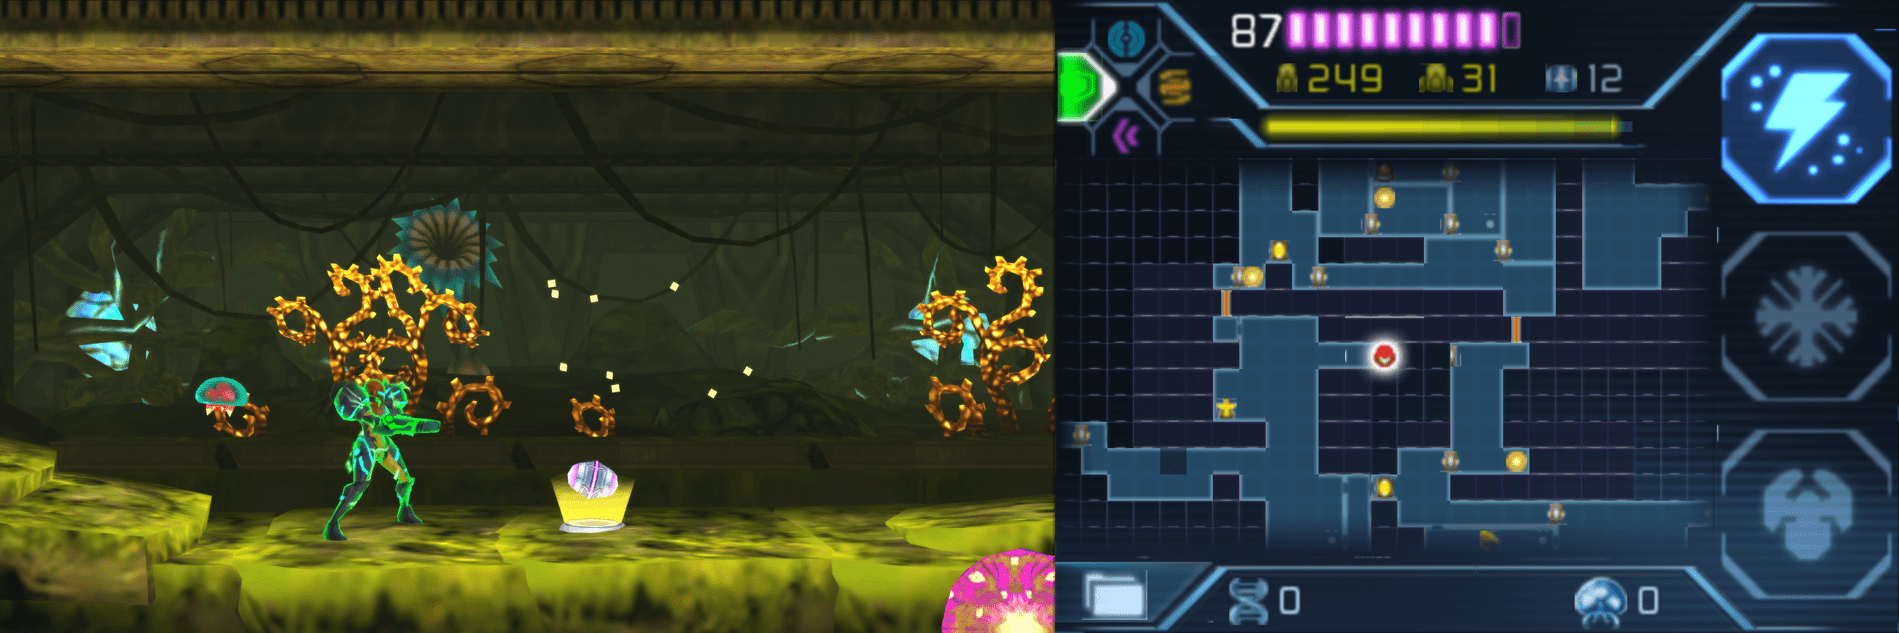
Head left from the lower-left Teleportal to the right, activating your Lightning Armor. Dropping down to the very bottom of this hidden shaft. Once you’re at the bottom, perform a Spiderspark to go shooting to the top of the room; once you hit the top (keep your Spider Ball active!), roll over to the left wall and position yourself so you’re in between the spikes and the weeds. Spiderspark again and you’ll go crashing across the room, landing right beside POWER BOMB EXPANSION #3! Spiderspark one final time to get out of there.
Power Bomb Expansion #4
Location: Area 8 (First Visit)
Requirements: Power Bombs, Lightning Armor
Space Jump to the right-most side of the Nest Chamber. When you jump to the top, you’ll see a little nook that you can fit into; there are some Power Bomb blocks in your way, so destroy them and then slip inside the structure. Jump up and throw your Lightning Armor on, working your way through the red weed covered tunnel until you come up through it. Keep on following the tunnel upwards (mind the pitfall block towards the end!) and you’ll come up right beside POWER BOMB EXPANSION #4!
Power Bomb Expansion #5
Location: Surface Area (Third Visit)
Requirements: Baby Metroid
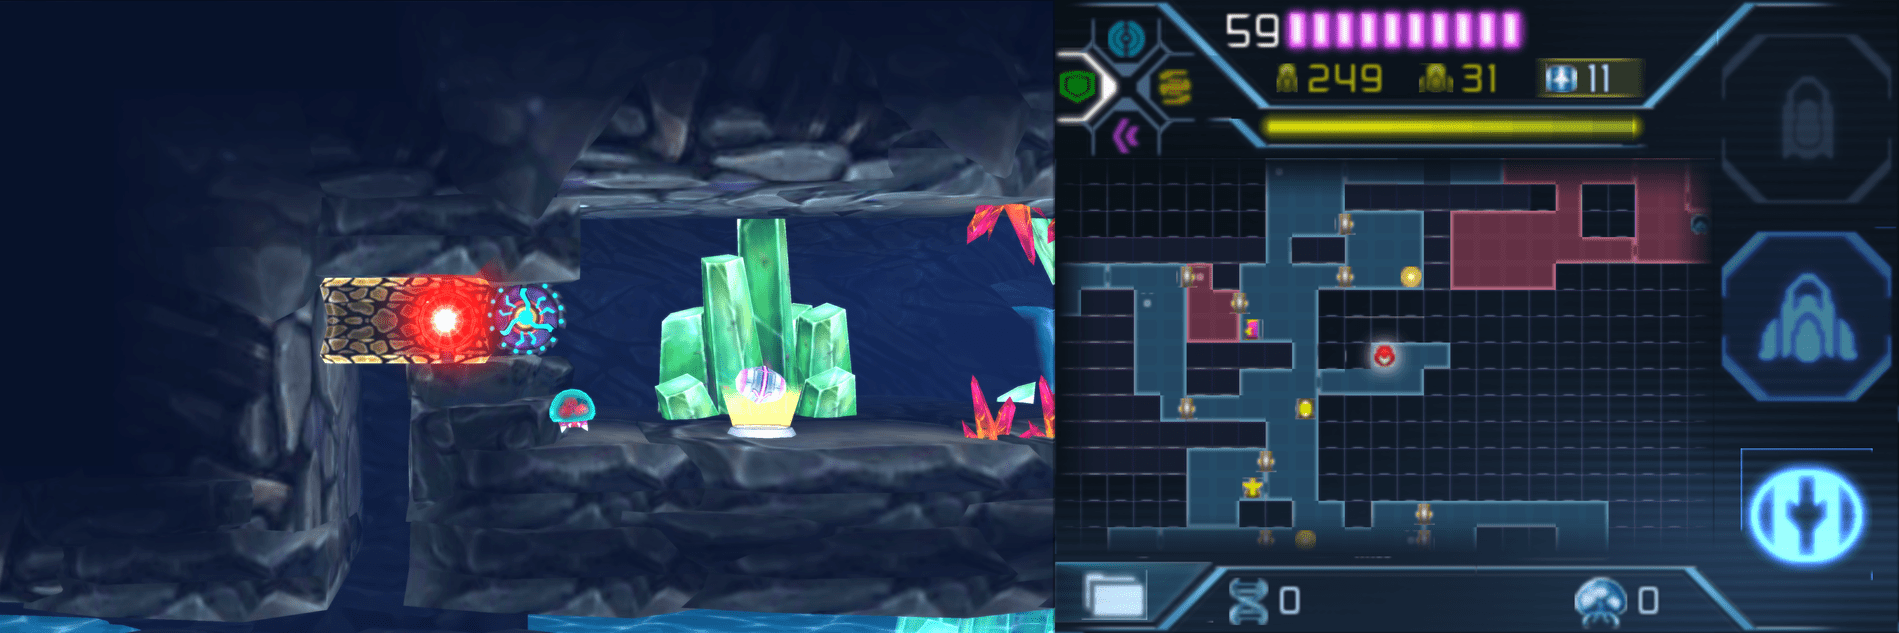
Get to the purple caverns from the games very beginning. All you need to do is go down towards the elevator and you’ll see a bunch of crystals blocking the entrance to a small nook. Let the Hatchling do its thing and eat them up, and you can go into the nook and grab POWER BOMB EXPANSION #5!
Power Bomb Expansion #6
Location: Area 2 (Second Visit)
Requirements: Baby Metroid, Bombs
From the Chozo Seal, drop down and eventually, you’ll see a Morph Ball tunnel on the left that you can roll into. There’s more crystals at the end of the tunnel, so let the Baby Metroid destroy them and then bomb the end of the tunnel. Doing so will reveal POWER BOMB EXPANSION #6.
Power Bomb Expansion #7
Location: Area 2 (Second Visit)
Requirements: Varia Suit, Power Bombs, Screw Attack Phase Drift
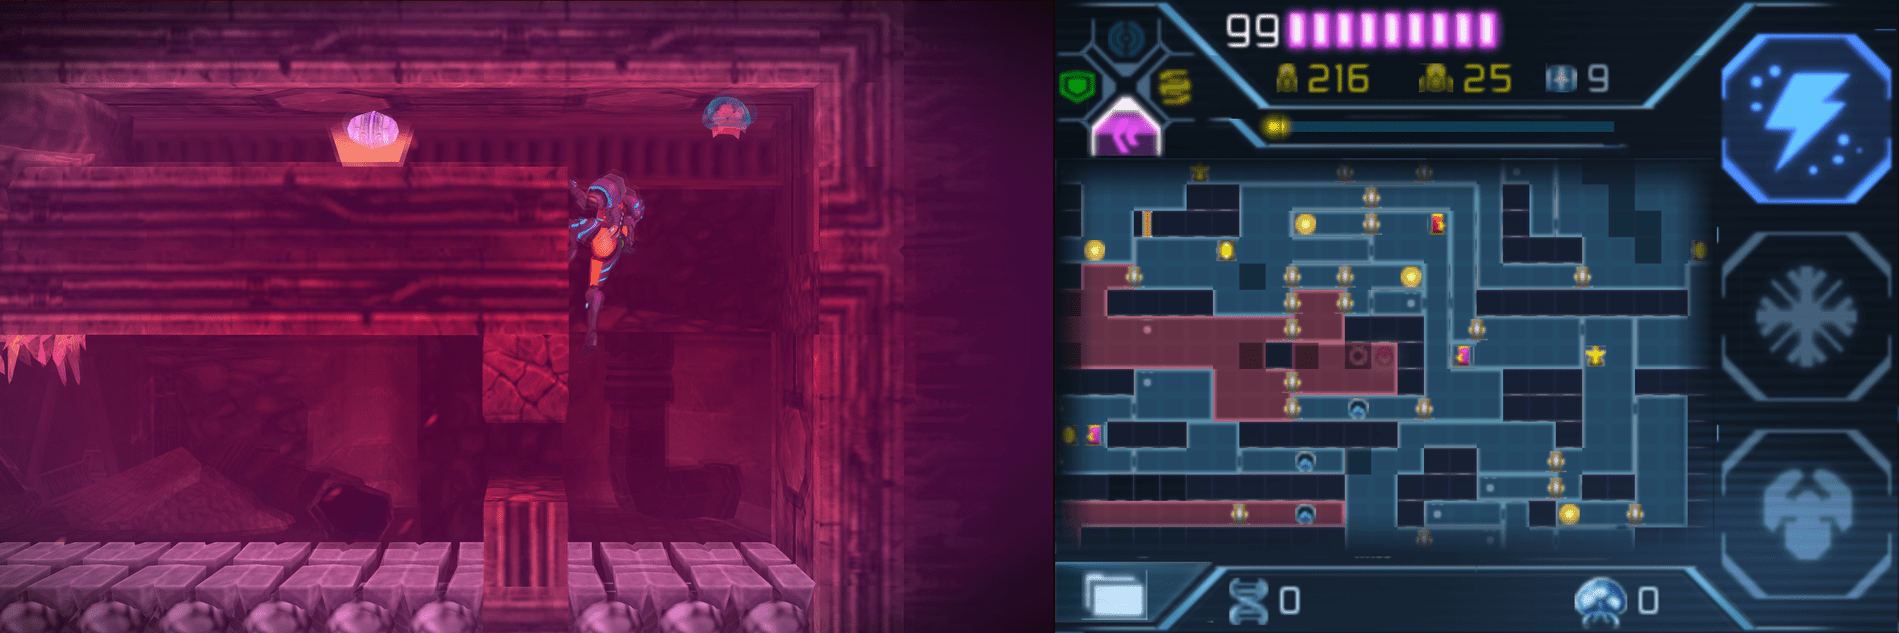
Get into the hot zone that connects to the Varia Suit room (the one that connects to the small room you fought your first Gamma Metroid in, too). Towards the bottom of the hot zone is a yellow blast shield covering a door. Drop a Power Bomb to destroy the shield and then enter the room. Activate your Phase Drift and then run across the pitfall block bridge, Screw Attacking into the first set of blocks in your way. You’ll need to morph down and roll through to pop out on the other side, so quickly, with the Drift still going, un-morph and Screw Attack upwards to grab the ledge above you. Roll over and you can snag POWER BOMB EXPANSION #7.
Power Bomb Expansion #8
Location: Area 3 (Second Visit)
Requirements: Power Bombs, Baby Metroid (recommended)
Get to the room on the rightside of Area 3 with both a Save Station and Missile Recharge Station inside. Once you’re there, go through the door to your left, back to where you fought a Gamma Metroid earlier. Press forward and lay a Power Bomb to destroy the yellow blast shield on the far-left door. Enter the new room and run all the way to the left. There’s a puzzle to be done here, but the Baby Metroid will be your cheat code, so let it destroy the crystals on the left side and then drop down to grab POWER BOMB EXPANSION #8!
Power Bomb Expansion #9
Location: Area 3 (Second Visit)
Requirements: Baby Metroid (recommended), Gravity Suit, Spider Ball, Bombs
Enter the topmost room which we called the Mining Hall earlier. Head towards the right and then drop down all the way towards the Teleportal; about halfway down, you’ll notice a Morph Ball tunnel in the left wall, so slip through. This would have been a lot more intricate without the Baby Metroid, but now that you have the little guy, drop down into the center area of the tunnels and let it munch away at all of the crystals. Take out any enemies blocking your path and continue pressing forward. Let the Baby eat away at the rest of the crystals and then use your Spider Ball to crawl across the roof; you’ll drop down right beside POWER BOMB EXPANSION #9.
Power Bomb Expansion #10
Location: Area 3 (Second Visit)
Requirements: Power Bombs, Lightning Armor
From the rightmost Teleportal, go through the door on the right. Morph down, equip your Lightning Armor, and then roll into the tunnel that’s covered in red weeds. Drop a Power Bomb at the end to destroy the Power Bomb block, and then POWER BOMB EXPANSION #10 will be yours!
Power Bomb Expansion #11
Location: Area 4 (Second Visit)
Requirements:Power Bombs, Spider Ball
Get to the Save Station in between the two eastern hot zones, and almost right above it, you’ll see a Morph Ball tunnel that has a Power Bomb block at the end. Destroy it and enter the new room. Press forward a bit and you’ll see that you’re submerged in water with platforms above you covered in those dastardly orange spikes. Simply jump up (mind the spikes!) and grab the right-side ledge and roll over. Get on the wall and perform a Spiderspark, which will shoot you right into the red Grapple block, and more importantly, POWER BOMB EXPANSION #11!
Power Bomb Expansion #12
Location: Area 5 (Second Visit)
Requirements: Baby Metroid (recommended), Bombs, Spider Ball, Power Bombs, Grapple Beam
Once you’ve gotten yourself to Area 5, head over to the Chozo Seal. On the platform right below it, you’ll see some crystals blocking entry to a tunnel with fans, Grapple blocks, and orange spikes. The idea was to Spiderspark your way up here, but let’s work smarter instead of harder! Let the Baby eat away the crystals and then slip into the tunnel. Lay a bomb and POWER BOMB EXPANSION #12 will reveal itself!
Power Bomb Expansion #13
Location: Area 5 (Second Visit)
Requirements: Baby Metroid, Lightning Armor
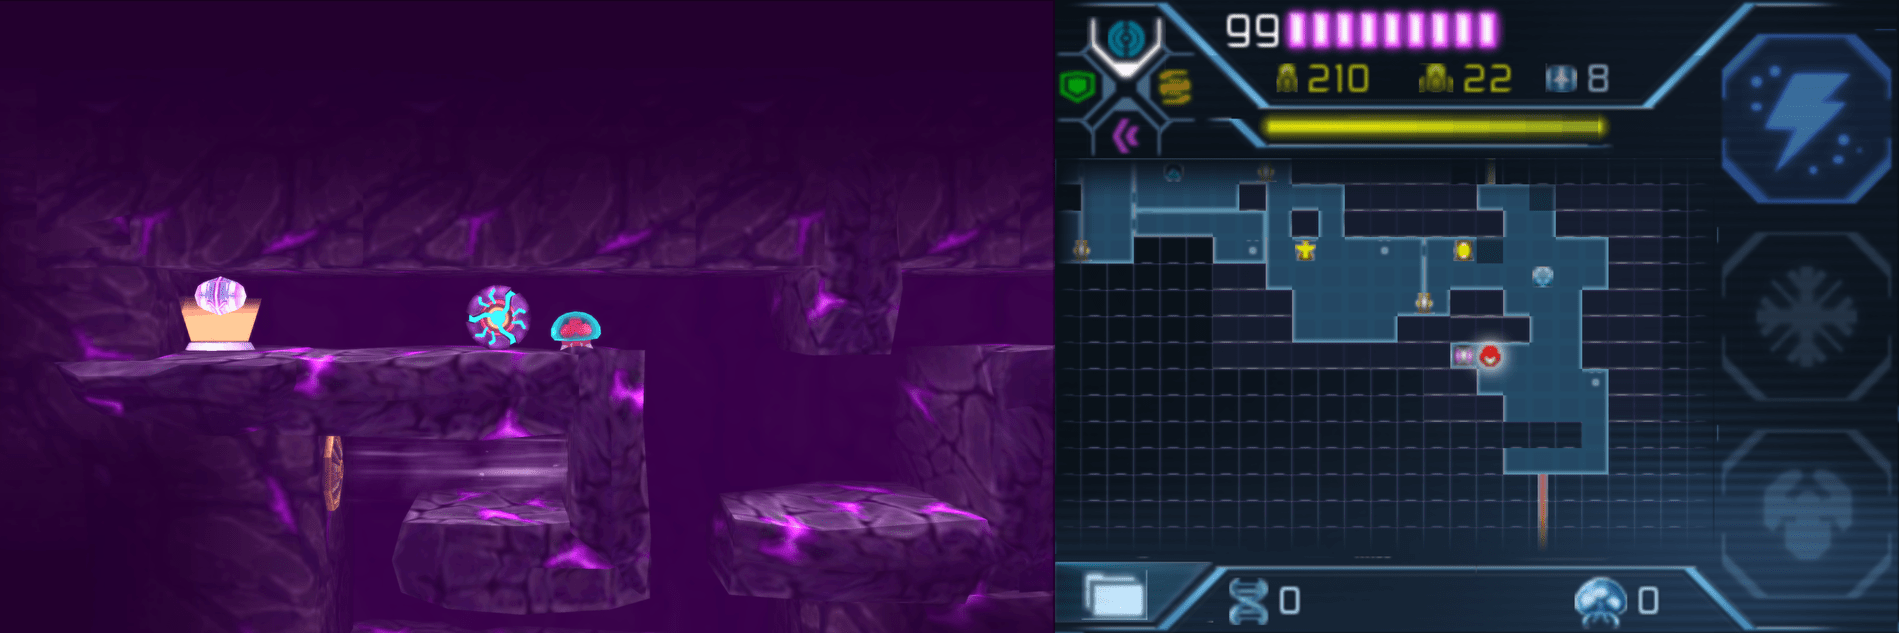
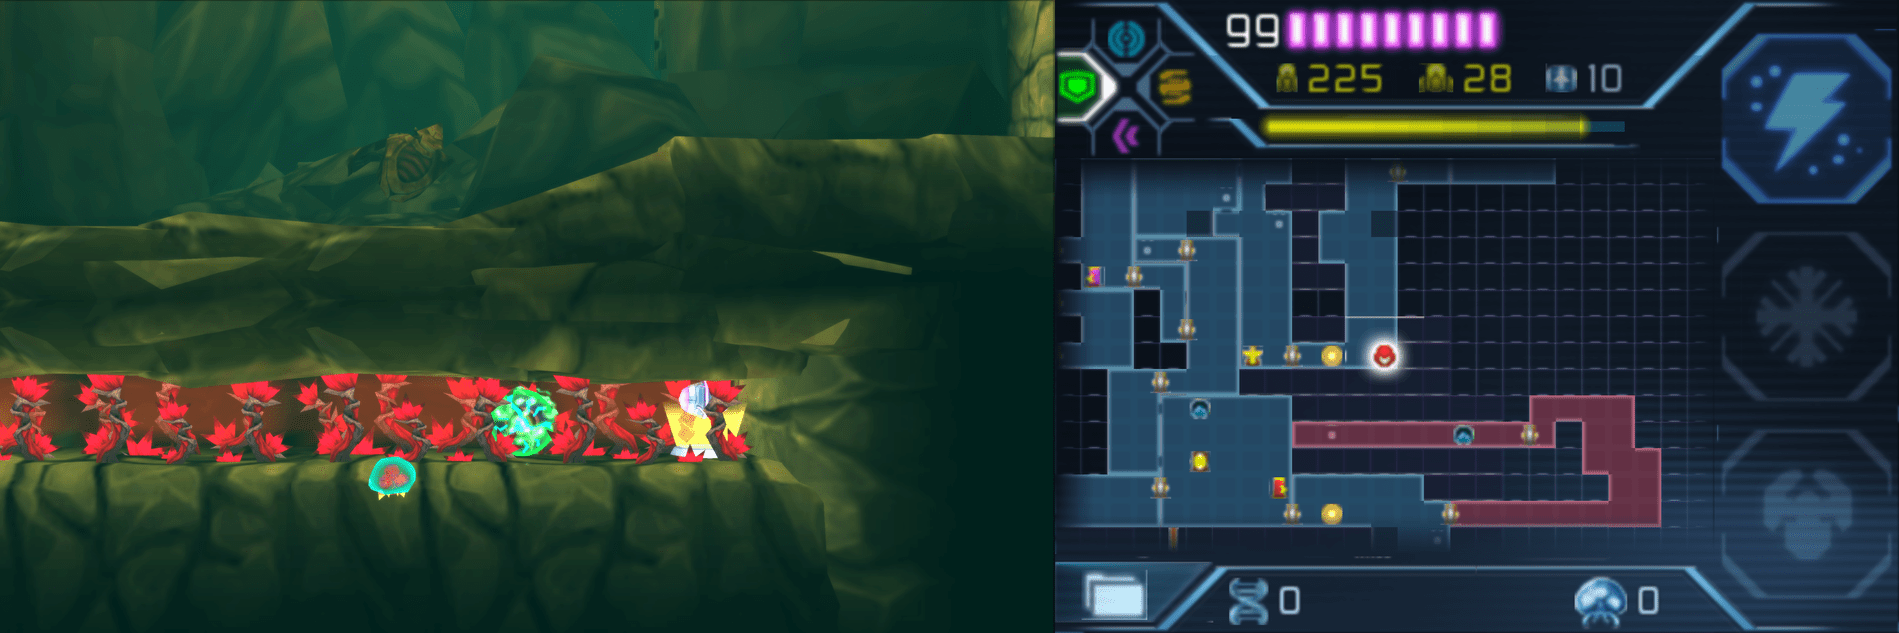
Warp or walk over to the Teleportal on the lower westside of Area 5; jump up and head right a bit and you’ll see some red weeds and crystals blocking a pathway. Slap your Lightning Armor on and let the Baby Metroid break the crystals, and then press through where you’ll see POWER BOMB EXPANSION #13 sitting in a tranquil little meadow.
Power Bomb Expansion #14
Location: Area 5 (Second Visit)
Requirements: Power Bombs
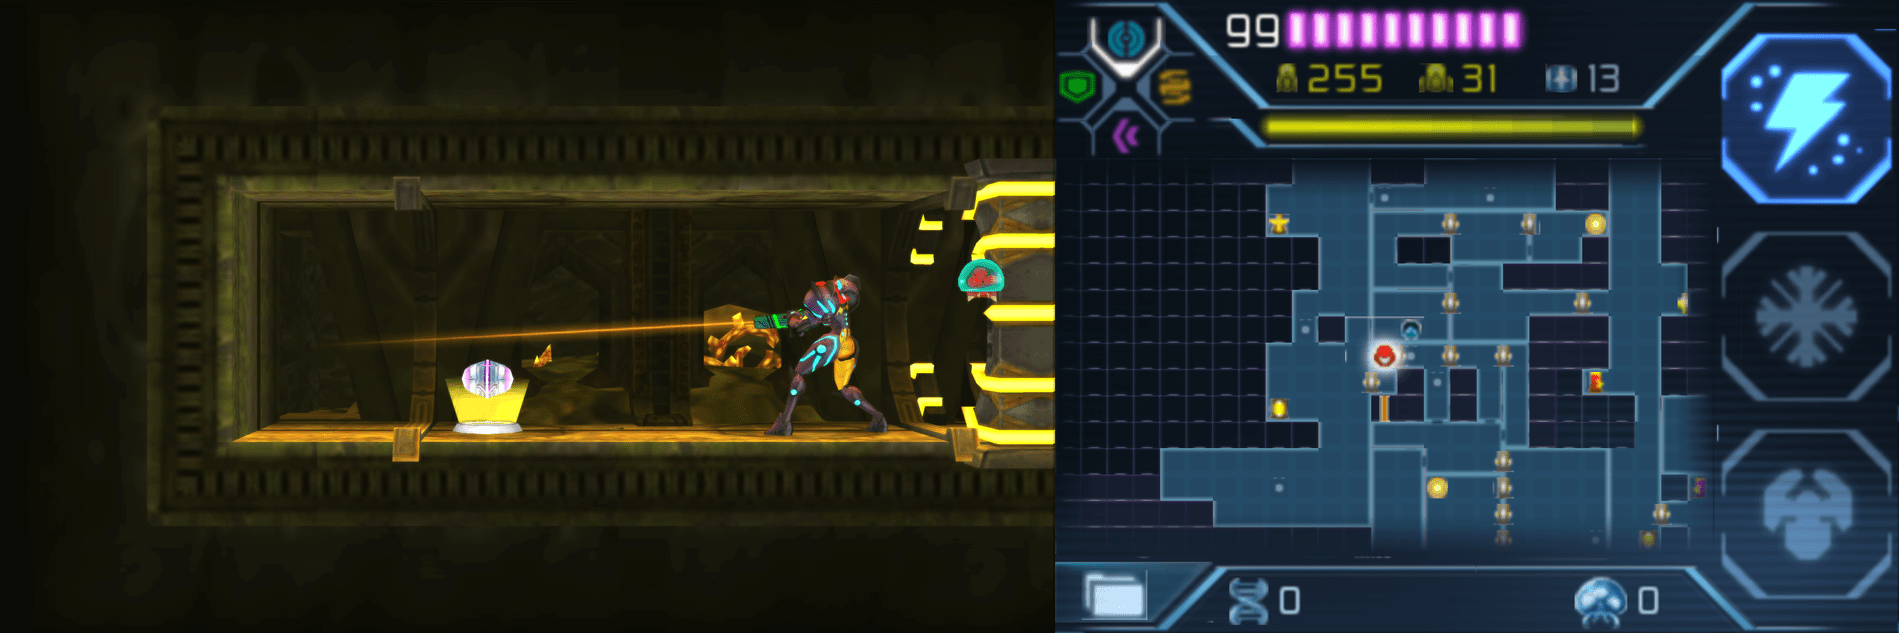
Drop down and exit Area 5’s middlemost Teleportal room, exiting to your left. Work your way to the very top of this next room and exit from the top right door. You’ll be in the small elevator room that you might remember had a tunnel tucked away in the top right that housed a pitfall bridge and a couple of expansions earlier. Work your way to where you grabbed Super Missile Expansion #6 earlier and a Power Bomb to destroy the yellow blast shield. Walk into the new room and you’ll see POWER BOMB EXPANSION #14 sitting there for the taking!
Power Bomb Expansion #15
Location: Area 5 (Second Visit)
Requirements: Spider Ball, Power Bomb
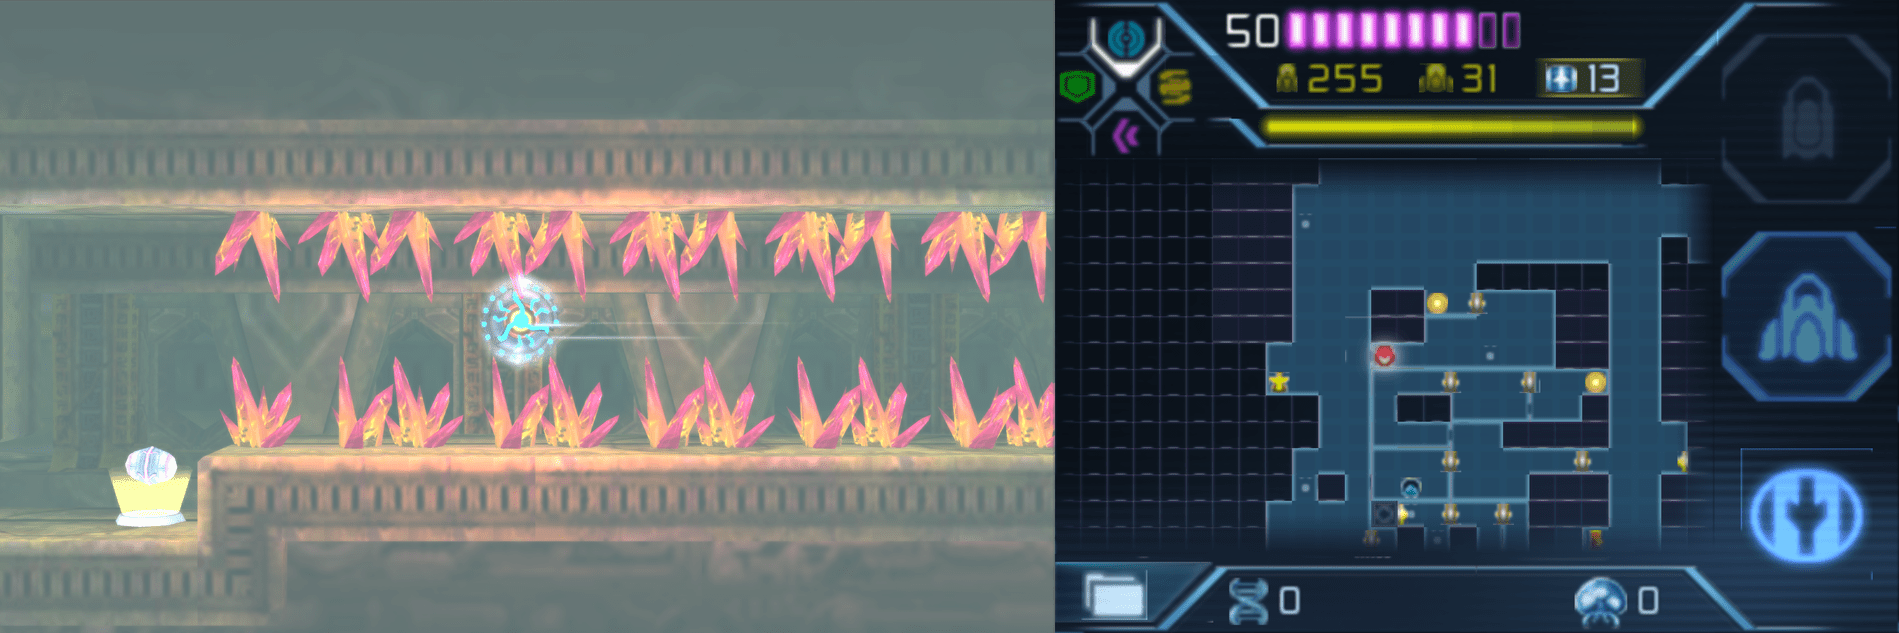
Now make your way into Area 5’s humongous Atrium room we explored earlier. Jump to the top and then drop down into the door in inside the middle structure – this will lead you to the room you grabbed Energy Tank #6 in earlier. Drop down to where the blue Grapple block is and use your Spider Ball to position yourself directly attached to it. Spiderspark and you’ll go flying between the orange spikes and crash land in front of POWER BOMB EXPANSION #15!
Power Bomb Expansion #16
Location: Area 6 (Second Visit)
Requirements: Power Bombs
Go into the room directly above where you fought the first Omega Metroid in the game and you’ll see a yellow shield covering a door, so drop a Power Bomb and go through. This new room has a puzzle with some Glow Flies and a red Grapple block; destroy the block without getting zapped by those accursed bugs, and then you’ll be able to follow the tunnel to POWER BOMB EXPANSION #16. Booyah – that’s every Power Bomb Expansion in the game!