


Metroid Fusion Walkthrough – Sector 3: Rogue Security
Walkthrough
- Biological Space Labs
- Sector 1 – Atmospheric Interference
- Sector 2 – Unknown Saboteur
- Sector 4 – Ultra-High Speed
- Sector 3 – Rogue Security
- Sector 6 – Frozen Parasites
- Sector 5 – Cold Arsenal
- Sector 3 – Meltdown
- Habitation Deck – Signs of Life
- Sector 5 – First Encounter
- Main Deck – Power Failure
- Sector 2 – Overgrown With Vegetation
- Sector 5 – The Nightmare Awakens
- Sector 4 – Diffusion
- Sector 6 – Revelations
- Sector 1 – Neo Ridley’s Cry
- Sweeping the B.S.L.
- The Final Confrontation
Green Locks
Adam has an update for us: Super Missile data is ready to be downloaded, but the only Data Room save enough to go to is in Sector 3 (PYR). First objective is unlocking Level 2 Green Locks, so let’s get to exploring.
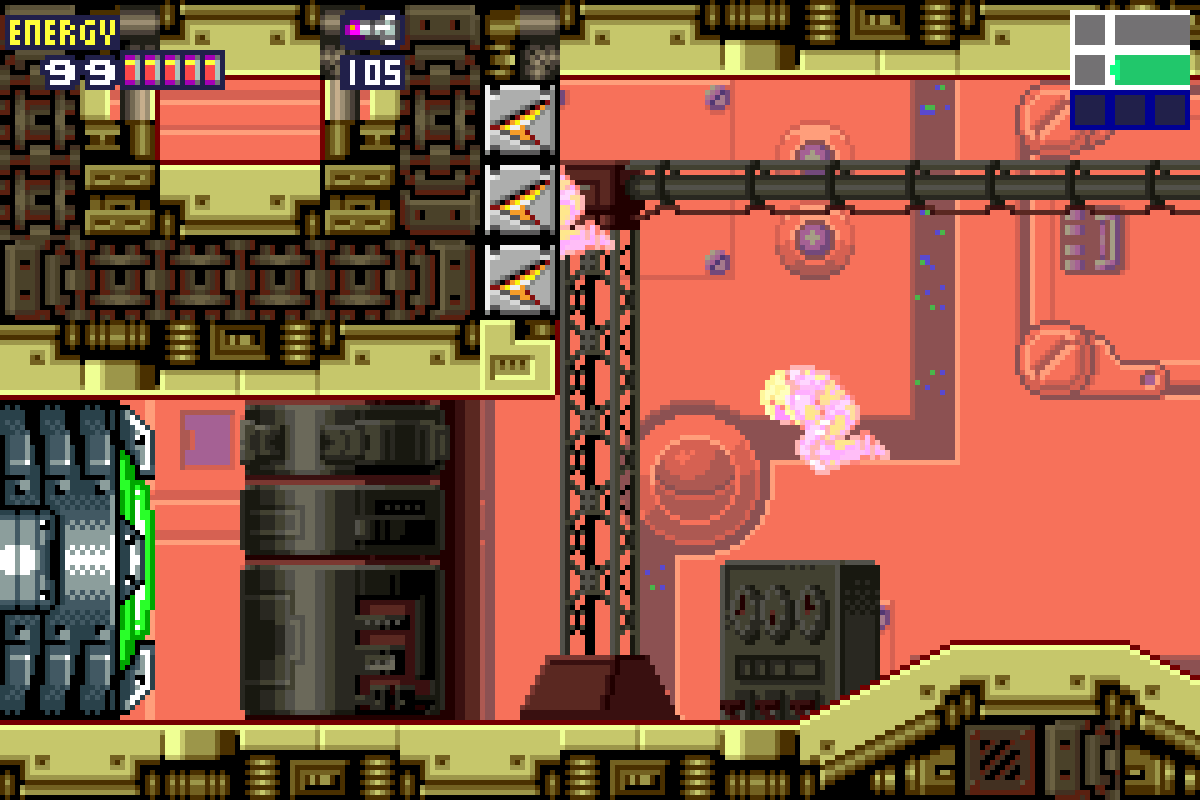
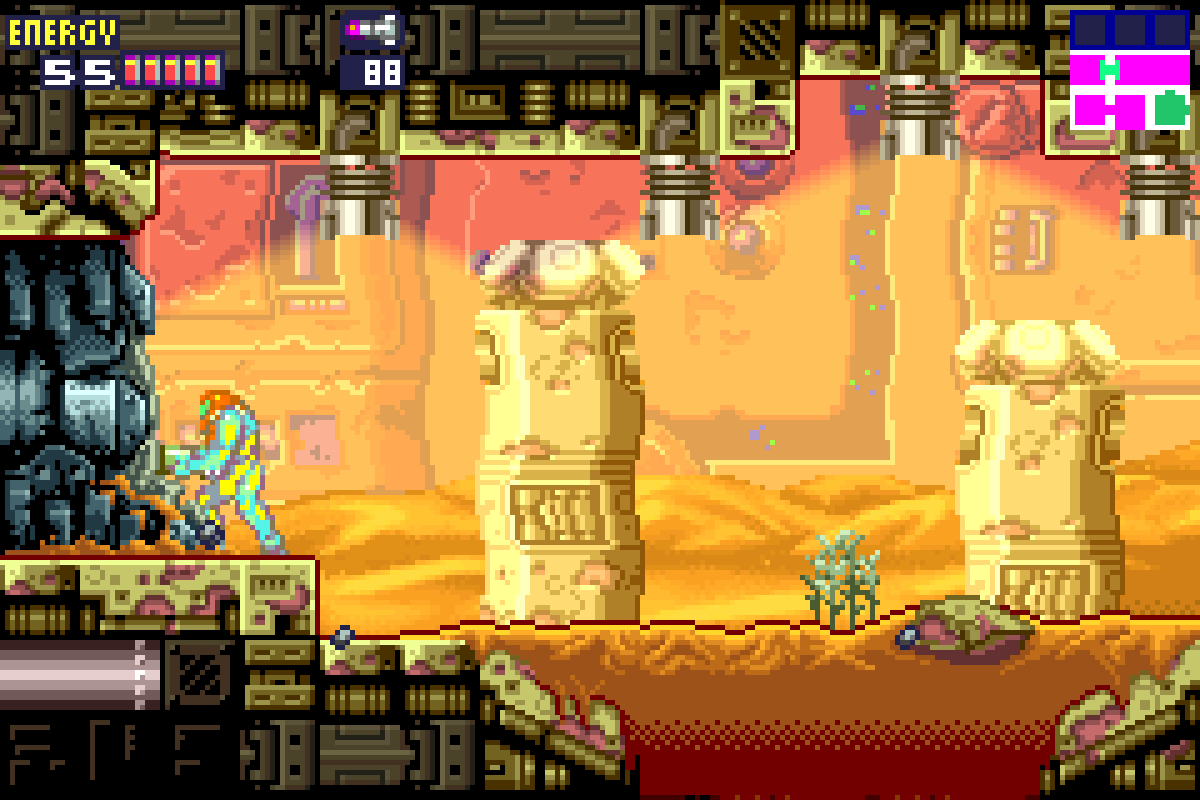
Exit into the large, main room only Sector 3. Even though it’s a pretty big room with many doors for us to explore, there’s really only one option for us to start off with. Being in the fire Sector, you’ll notice immediately that there will be some rooms full of lava that are so hot, simply walking into them drains your health. Avoid these rooms for now (duh). In the main large room, bomb the lower left floor directly in front of the middle door and drop down. It looks like there are a bunch of walls and pillars in the area, but guess what? They can all be bombed away to create one nice, smooth strip of land for us to get our Speed Boost on. Head to the bottom right door and start running towards the door on your lower left. Shoot the door open and CRASH through those Speed Boost blocks at full speed into the next room.

This room is a large hallway too – large and smooth enough for us to get our Speed Boost on in. The door at the end of this room is a Level 2 Green Lock door, which of course we can’t enter right now, so we’ll need to think of something else. To proceed, you’re going to have to pull a somewhat tricky move here.
Get to the furthest right most part of this lower ledge of the room. Start running; you’ll notice two bumps on the ground. These bumps won’t disrupt your Speed Boost, but they do somewhat alter the angle and trajectory of Samus while you’re on them. Once your Speed Boost is activated, jump when you hit the ascent of the second bump in the road. You’ll only have a short time between the Speed Boost activating and the bump, so you’ll need to act fast. Once you get the jump, you’ll go crashing into the bricks above the Green door and wouldn’t you know it, they give away! There’s room for you to lay a bomb on the wall and sneak through to the next room. Roll over, drop down, and release the Green Locks!
Super Missiles
Now that that’s done, run on out of the Lock Room. You’re going to have to use the same trick of Speed Boosting and jumping to get out of this hallway, but before you do, run over the first bump in the road and bomb directly after it slopes. The floor will give away and you can drop down. Shoot the brown tile in the ceiling, the second tile from the wall on the right hand side, and MISSILE EXPANSION #20 will be revealed! Grab it and exit back into Sector 3’s main room.
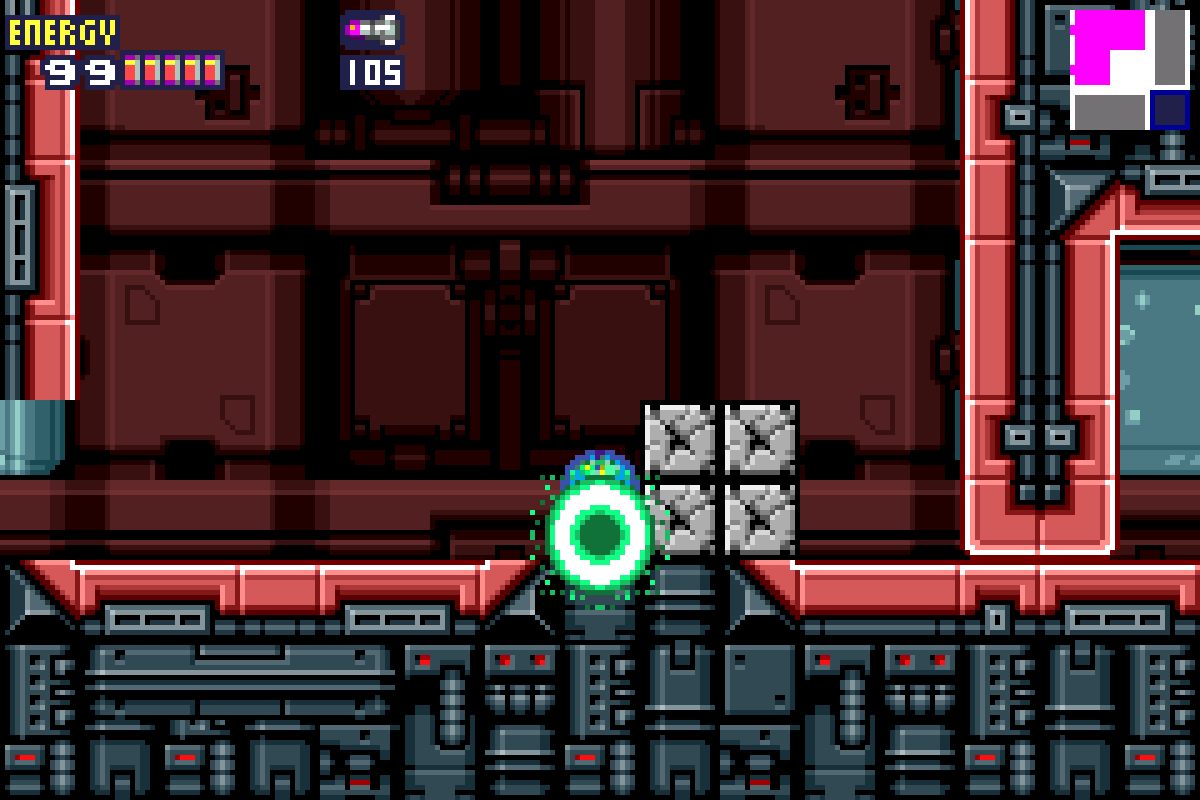
Run straight across and go through the lower right hand door. You’ll be in a vertical room with some of my favorite enemies – the giant headed, wall hugging monsters known as Xeno’s. Actually, their real names are Namihe, but I think they look kind of like Xenomorph heads from Alien (probably no coincidence there) and I’ve been calling them Xeno’s since I was 13, so these guys will be referred to as such in my guide dammit! Anyways, there’s two Xeno’s in this room; give the first one about four Missiles to destroy it, run over, and the ground will give away. Shoot the gate switch and run back to the left as far as you can without leaving the room. You know what’s next – start running towards the right and your Speed Boost will activate in the next room, destroying the floor and letting you drop down.

Exit this room into a giant vertical shaft that we’ll be calling the Xeno Shaft (have I mentioned how badly we need actual room names in 2D Metroid games?!). Drop aaaaaall the way down to grab a pretty easy pickup. Once you’re at the bottom, take the green door to your right. Go and take care of all the enemies and bomb the top of the center block to reveal MISSILE EXPANSION #21. Exit back into the Xeno Shaft and work your way up to the top. One of the doors has been destroyed, so you know what that means…
Exit the Xeno Shaft into the small room on the top. Bomb the wall of this room and roll over to grab MISSILE EXPANSION #22. Keep rolling through the pipes until you make it over to the next room.
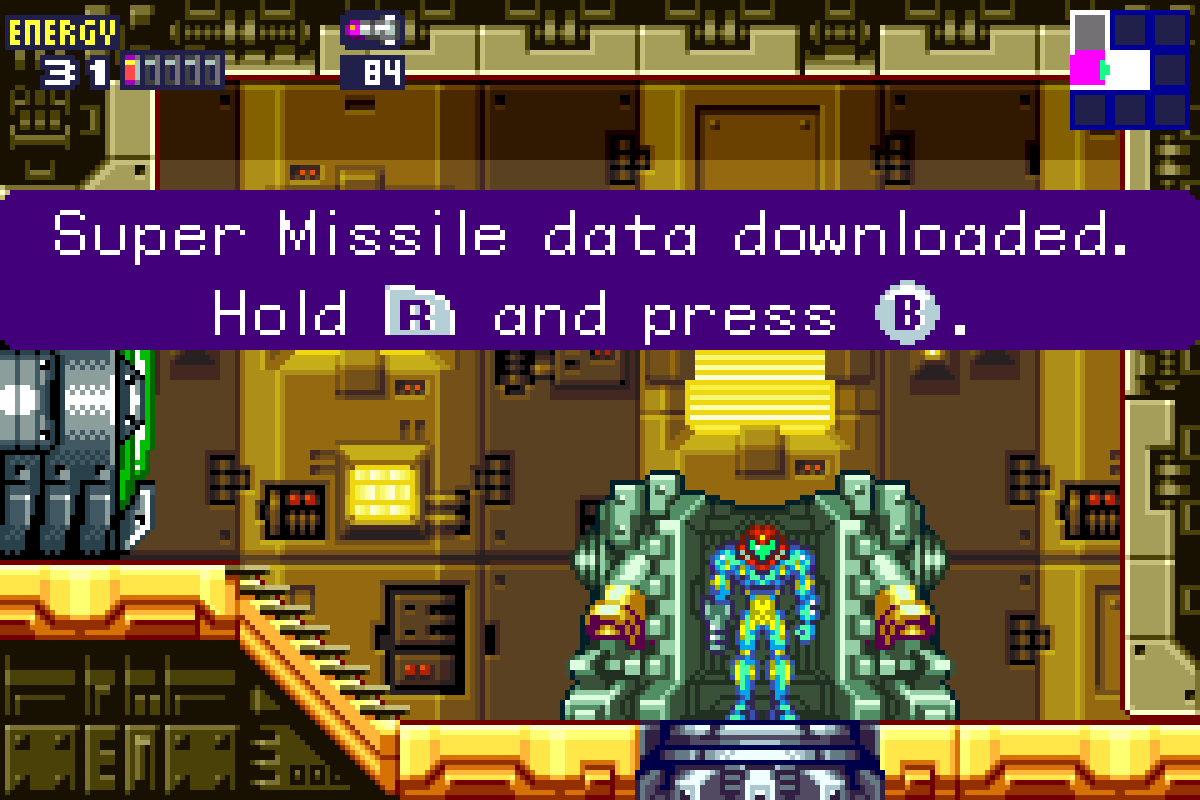
Press forward until you reach the Data Room. Congrats, you’ve now downloaded the SUPER MISSILE UPGRADE! Nicely enough, this will just replace our regular Missiles, so no need to try and switch between the two on the fly anymore. For simplicity’s sake in this guide, I’ll keep referring to any further Missile Expansions as just that – Missile Expansions rather than Super Missile Expansions.
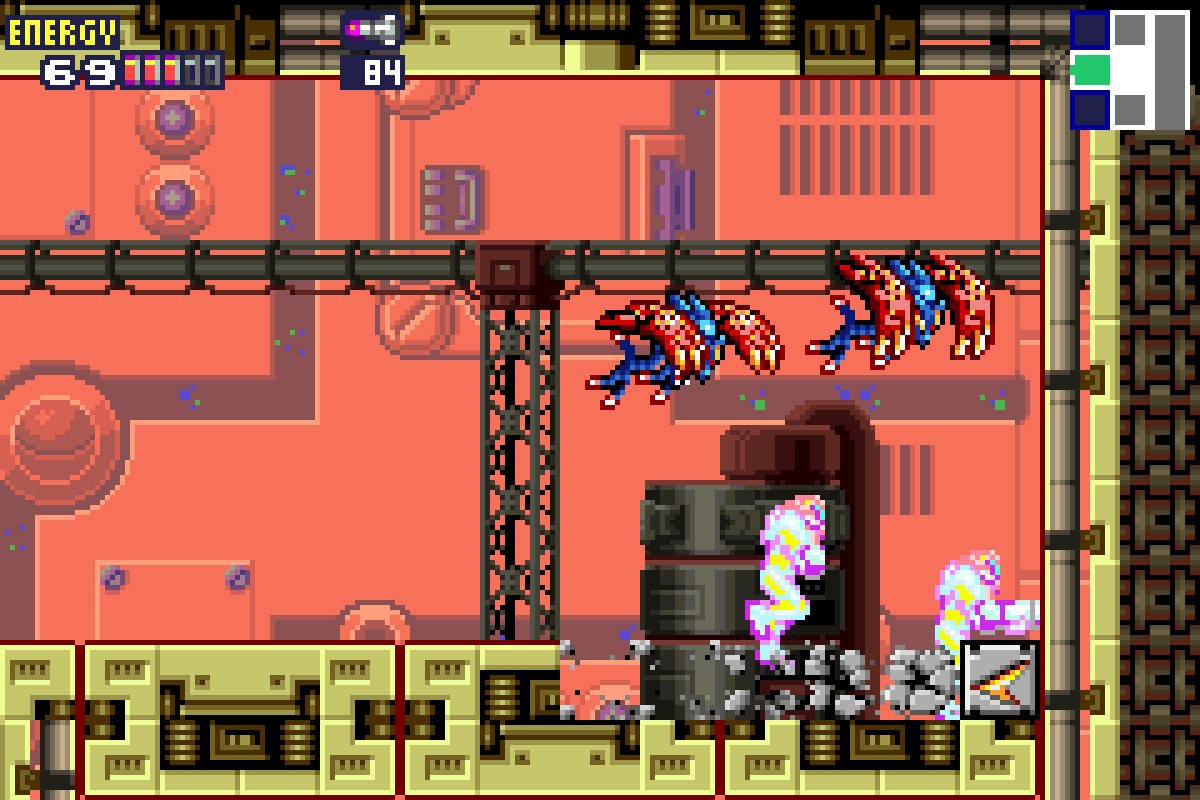
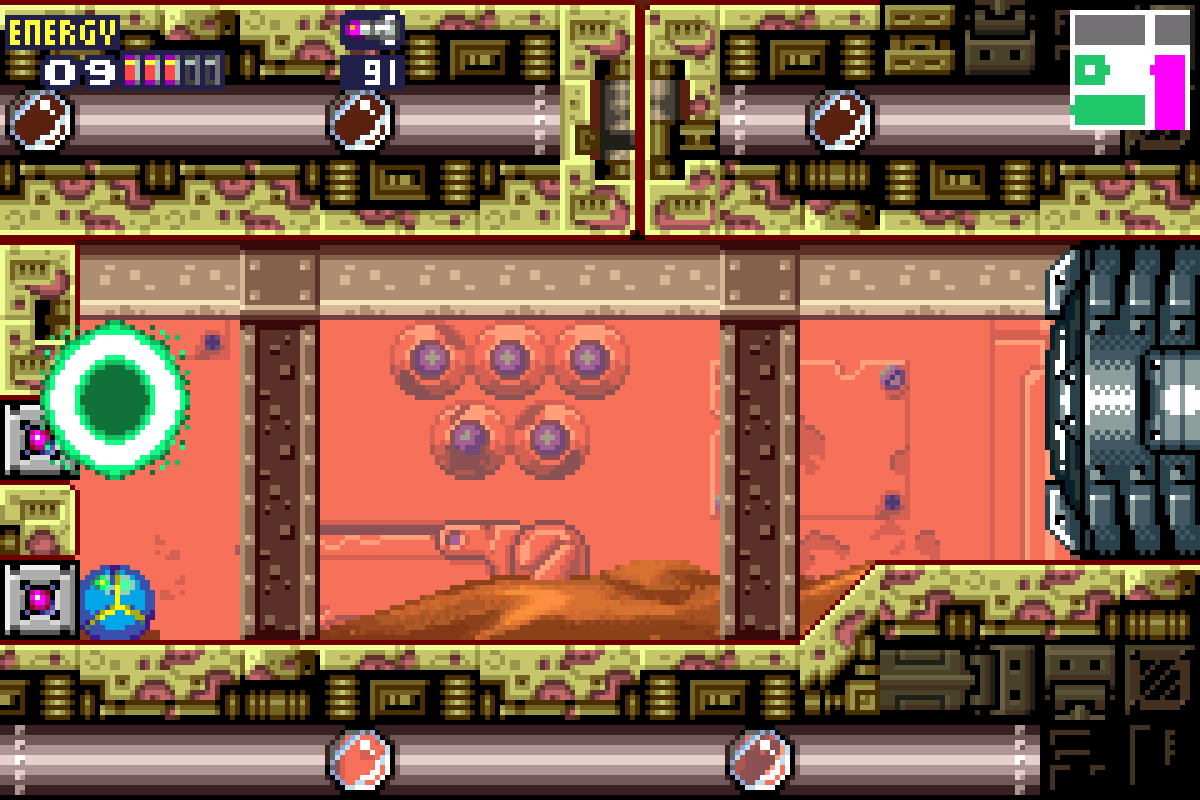
Exit the Data Room and you’ll find that something pretty bad has seemingly happened while we were upgrading our Missiles. Every door is destroyed and there’s a big hole in the ground where there wasn’t before. Drop down this hole, save and recharge, and head into a room with two Sidehoppers and one of those gross eyeball things, though the eyeball has been upgraded to purple instead of the regular green. Destroy the enemies and use your new upgraded Missiles to blow up the eye, grabbing MISSILE EXPANSION #23.
Head back up and towards the door and you’ll be able to hear something coming. The only way for us to go is back towards the Data Room, but get ready, because you’re not alone.
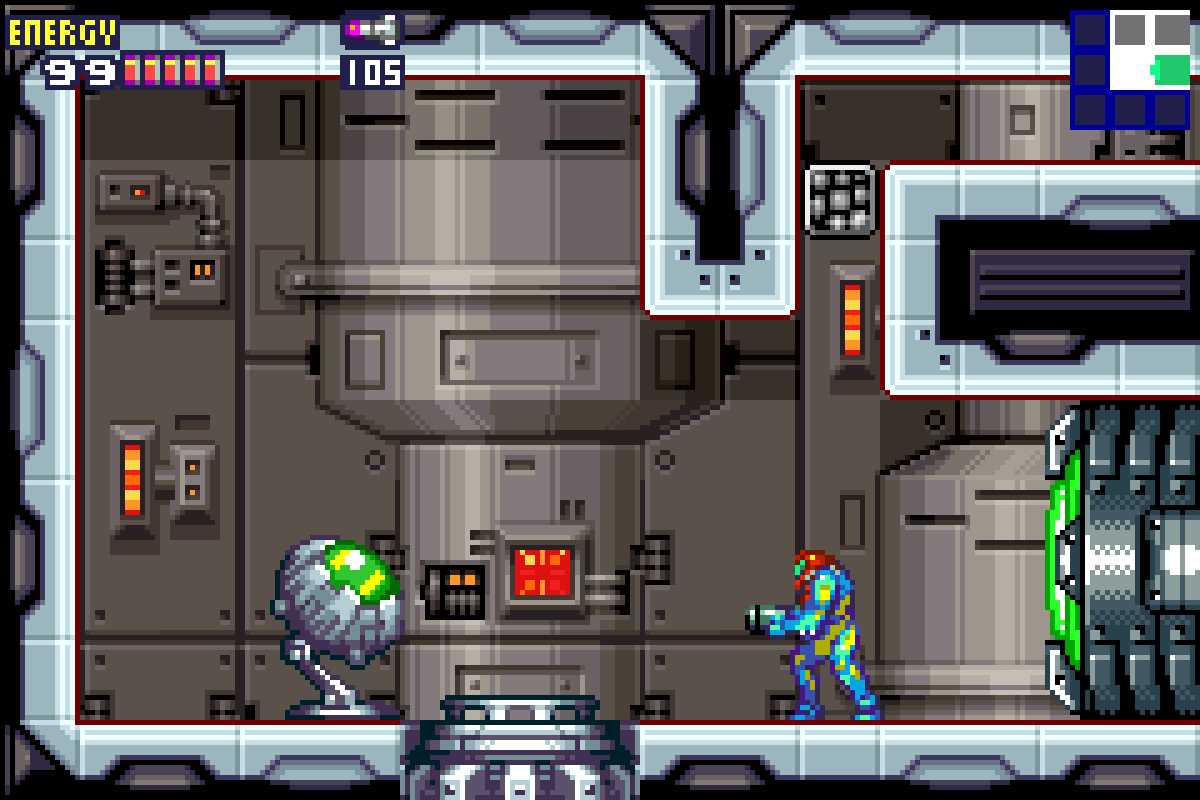
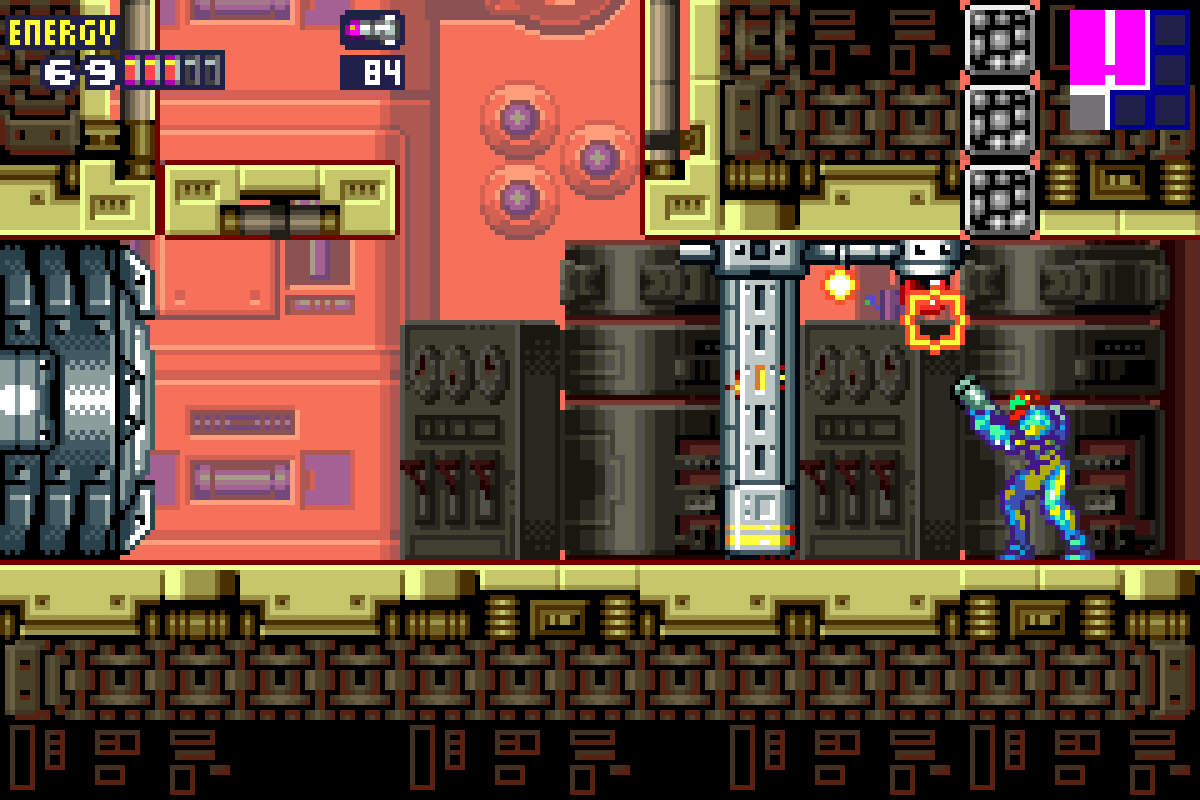
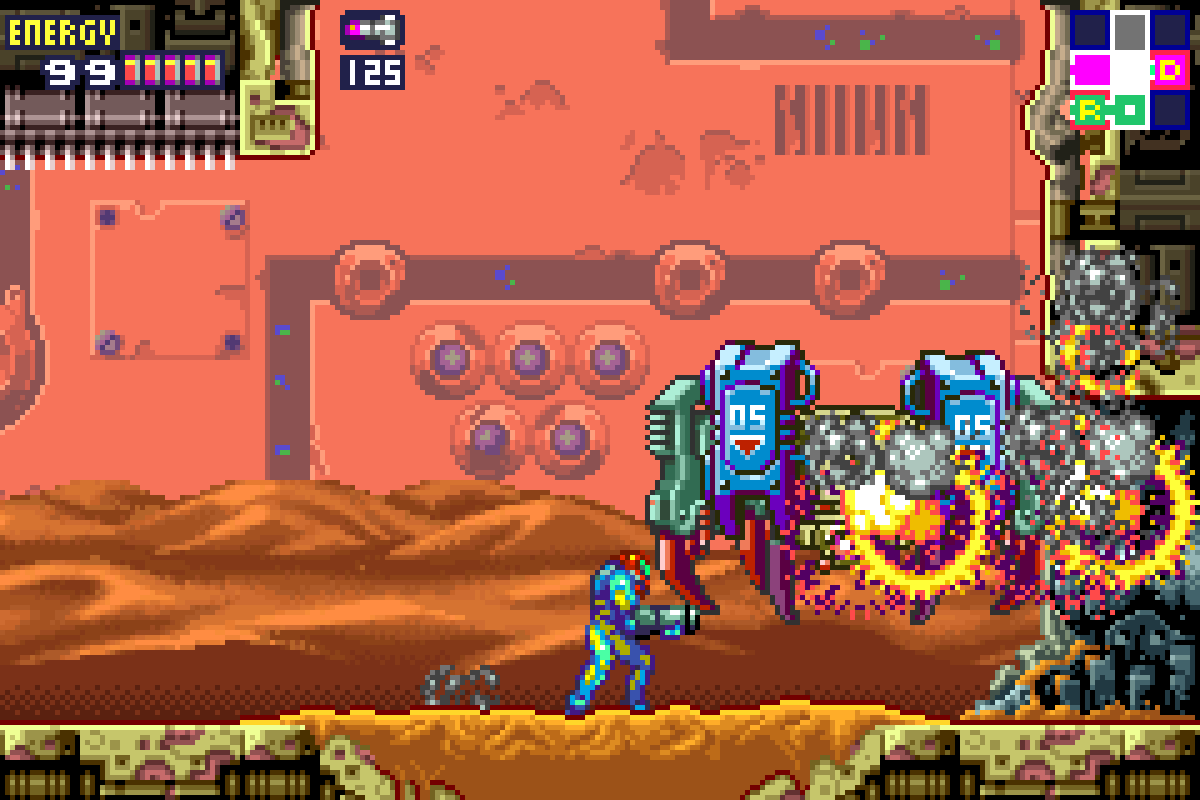
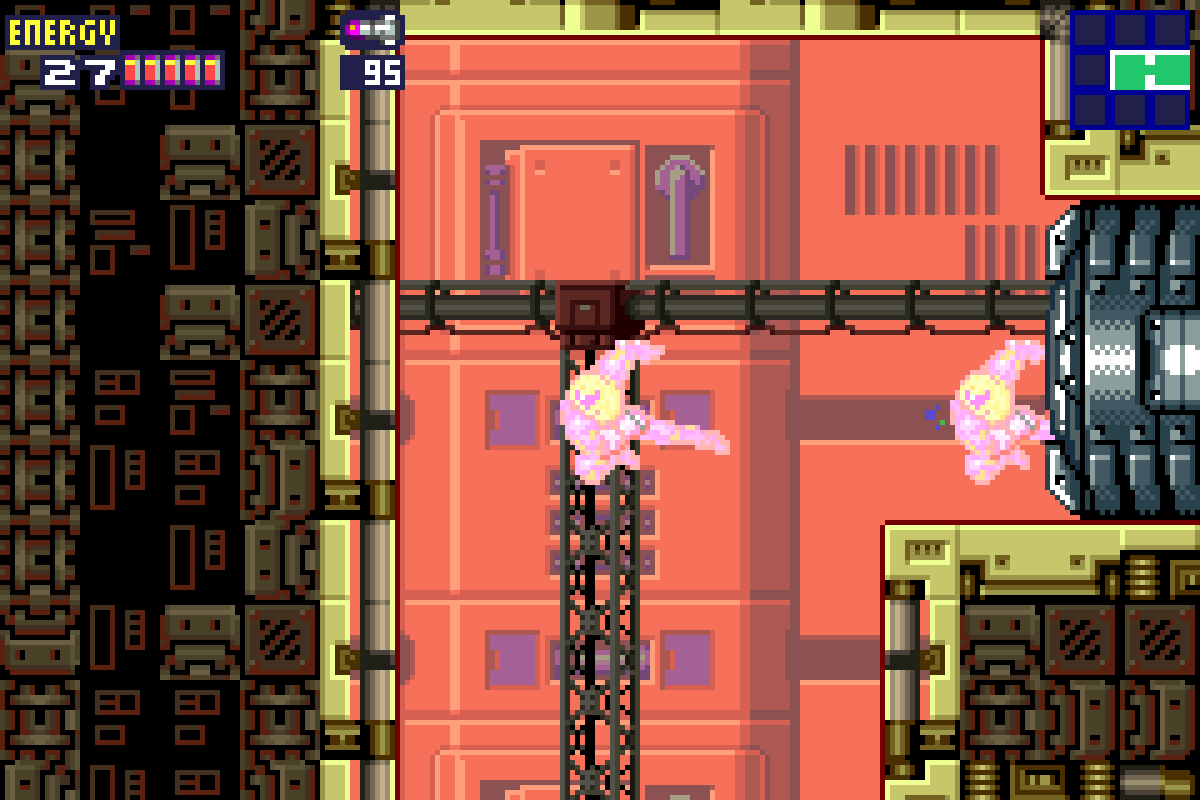
Security Robot B.O.X.
Here comes Security Robot B.O.X. who, in a normal world, would be our pal, but in this X-infested hellhole is a foe we need to put down.
First things first, I’ve seen some people say they have a hard time getting B.O.X. to actually show up, so just FYI, to trigger this fight, you need to go all the way to the left by the destroyed door. You’ll know you’ve triggered it when you hear the rumbling and the debris starts falling from the ceiling.
Back to the actual fight. This fight will be a breeze if you know how to properly handle B.O.X. Infact, I dare say we can beat him without incurring a single hit. Let’s get to analyzing.
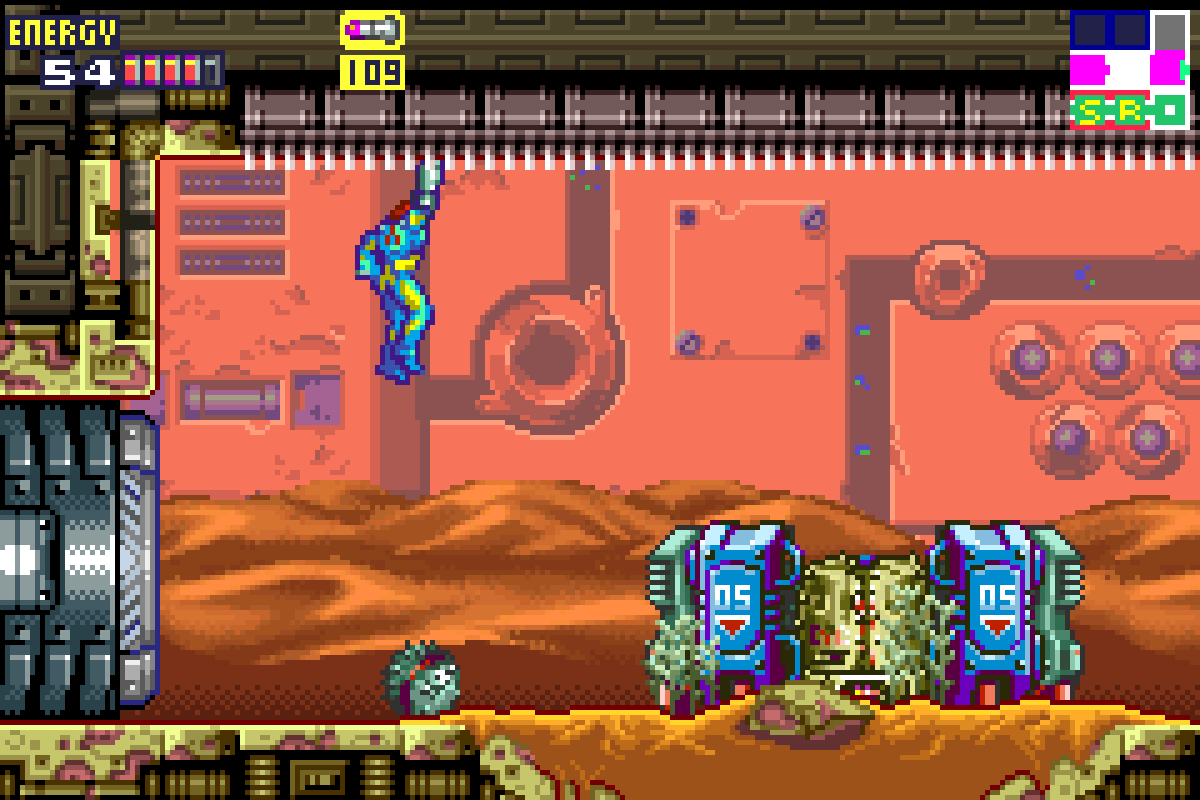
First things first, after you’ve triggered the fight and you’re heading back to the Data Room, make sure you don’t get too close to the Data door since B.O.X. will jump out and try to smush you. Keep your distance, let him jump out, and get back over to the monkey bars. Climb up and don’t drop down whatever you do.
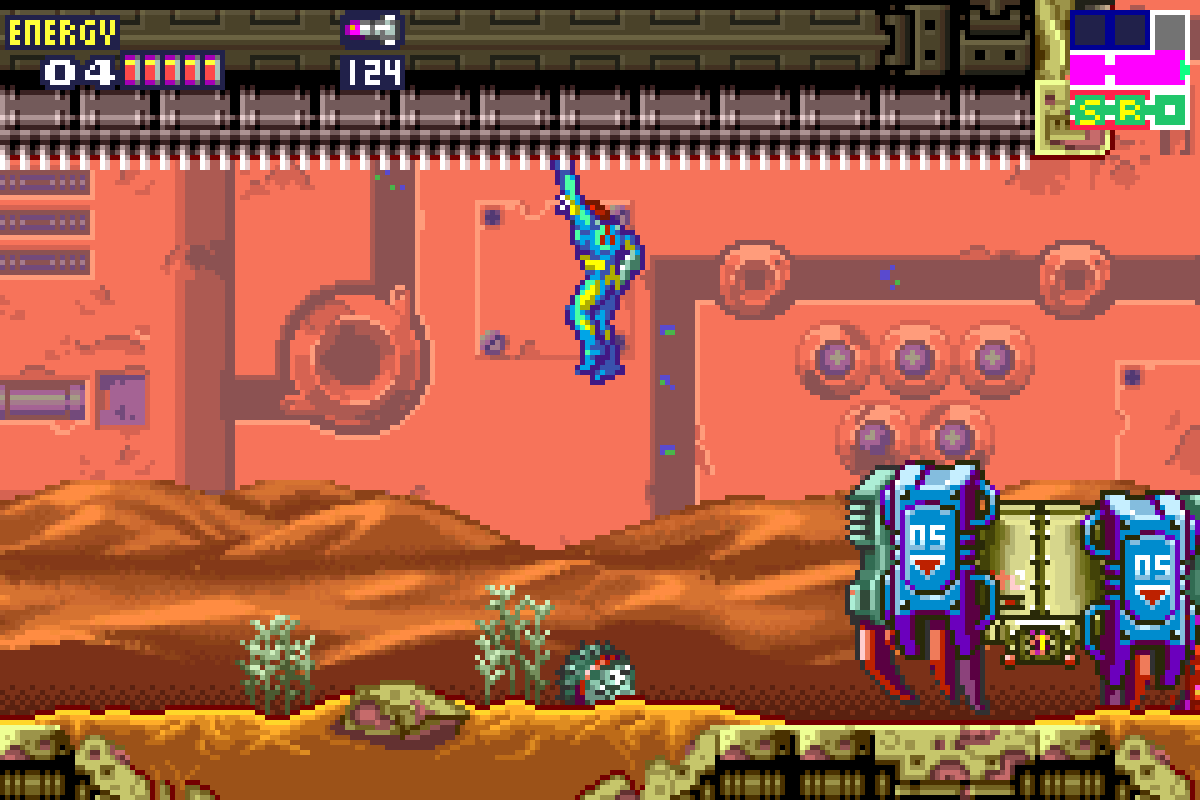
The keys to this fight are remaining on the monkey bars and understanding how his singular attack works. If you find yourself on the ground during this fight, you’re going to take punishment. Simple as that. B.O.X. will jump over on you, ram you, and be just a general pain in your butt if you’re ground level. Since we obviously don’t want that, staying on the monkey bars is paramount. Luckily for us, despite the fact B.O.X. will be jumping around like a maniac this whole fight, his jumps are just short enough where he won’t hit you on the monkey bars. So key factor here – DON’T PANIC if you see him jumping towards you and it looks like he’s about to body check you; he won’t because he can’t reach you!
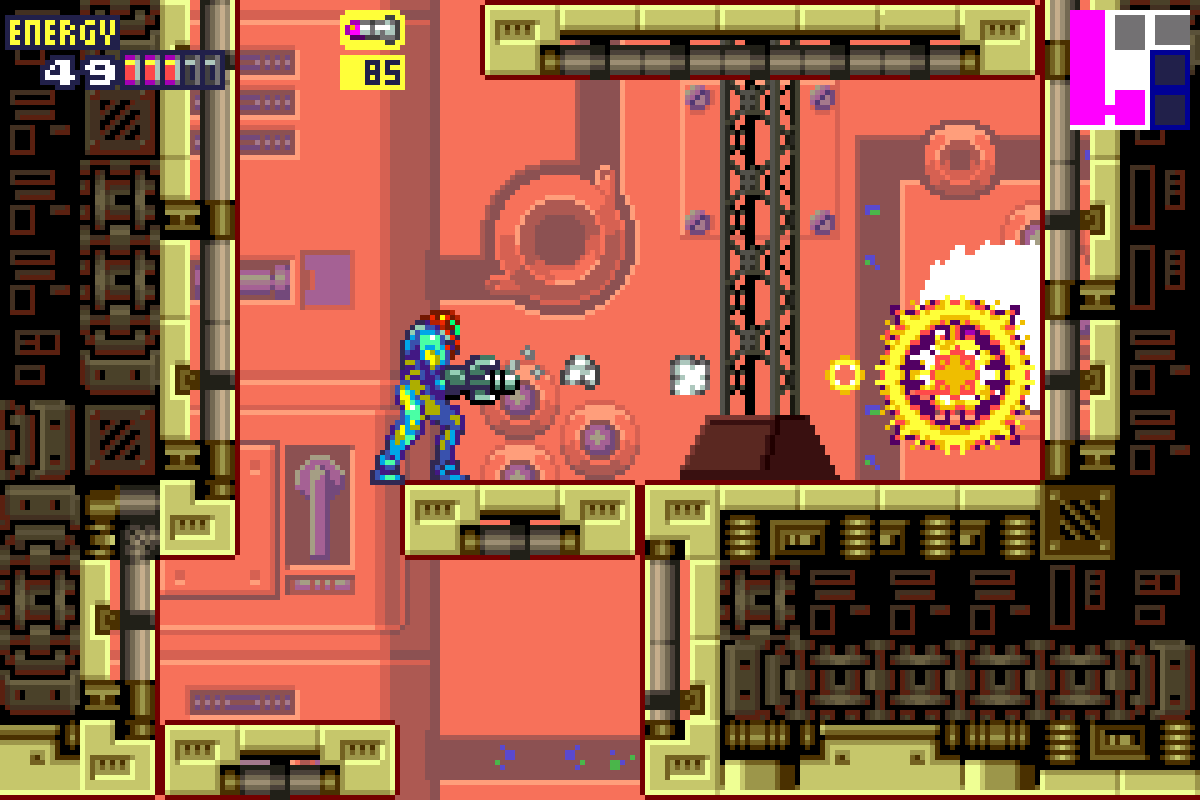
What can reach you however is his fire bomb. Ramming and battering aside, B.O.X.’s only attack involves him stopping in his tracks, growing some sort of mechanism, and shooting out a fire bomb from it. This fire bomb shoots out high enough to hit you, and if it hits you, you’ll be knocked off. Make sure you avoid it.
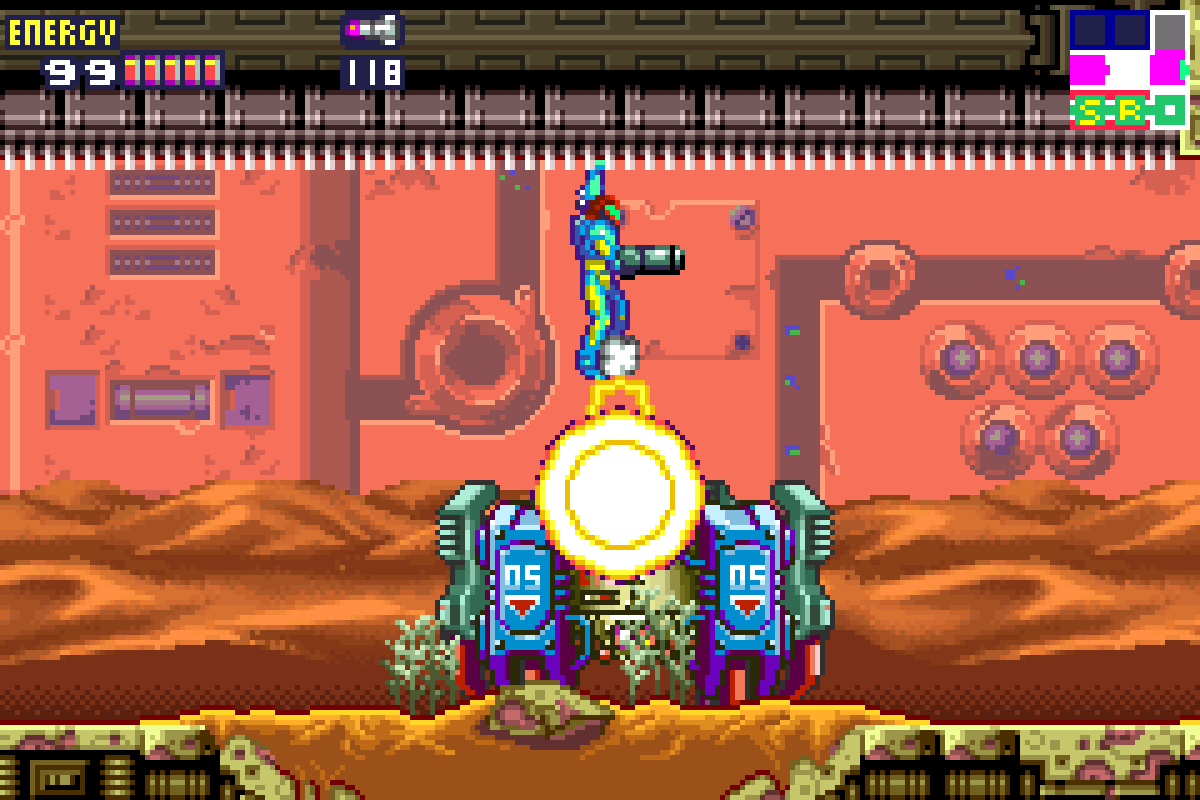
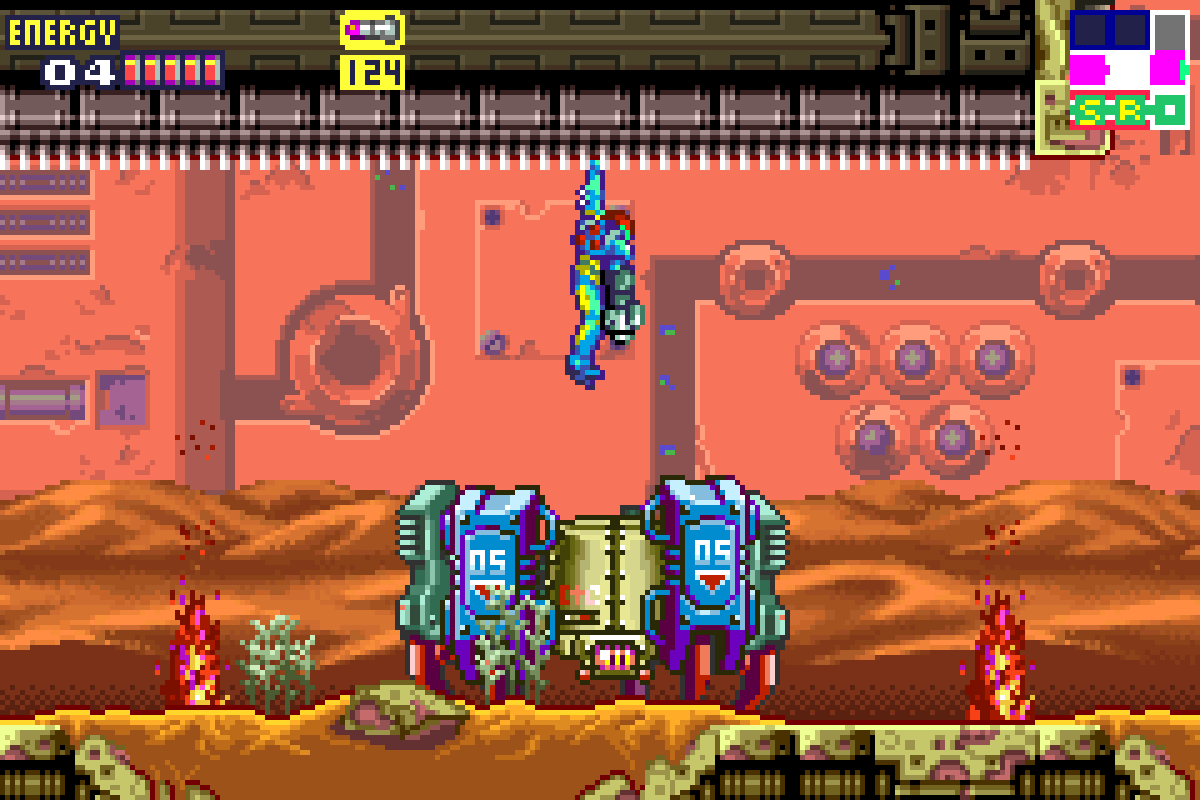
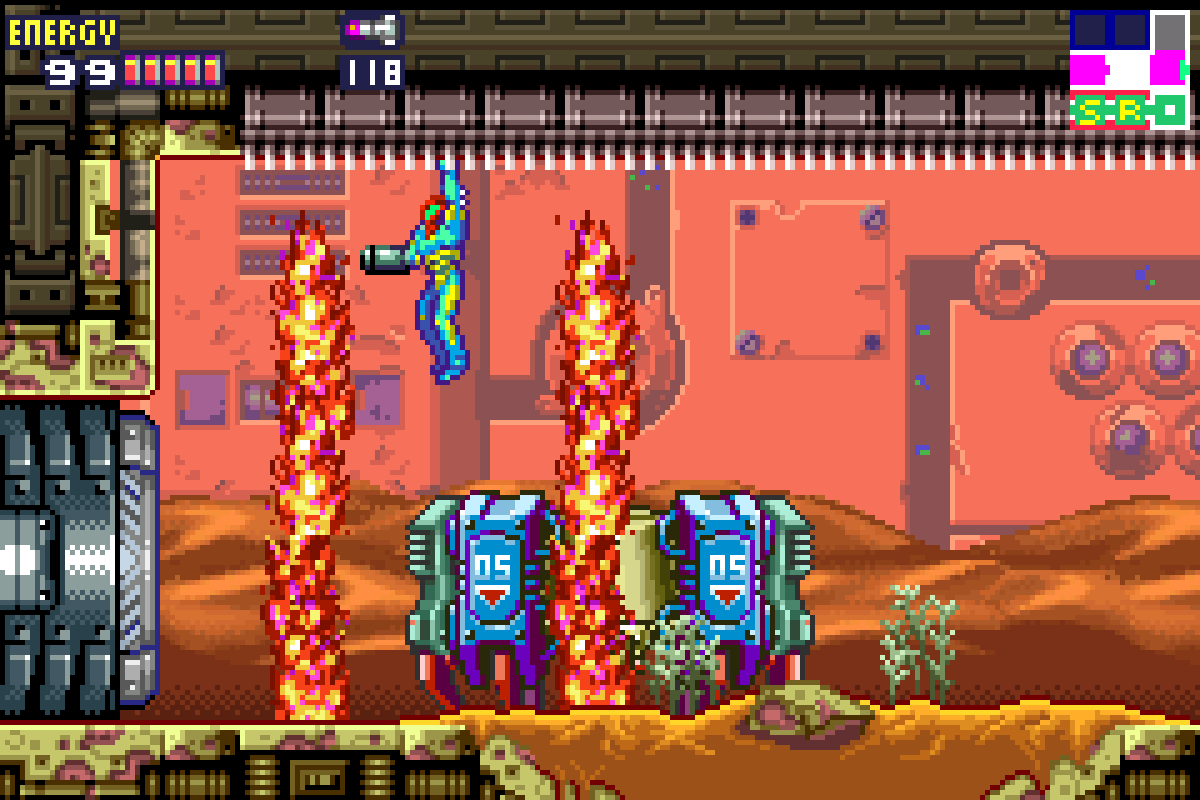
That’s not all though; once the bomb lands, it will explode into two spires of flames that shoot out pillars to the right and left. Once again, if the flames hit you, you’re gonna fall off the monkey bars and leave yourself open to attack from B.O.X. It may seem nuts, but the safest place for you when you’re on the monkey bars and a fire bomb is on the ground is directly above the bomb. The spires will start moving in either direction, but if you’re directly above the bomb when it goes off, neither spire will actually touch you. So to recap, stay on the monkey bars and B.O.X. can’t reach you, keep moving so his fire bombs don’t hit you, and hang directly above the fire bombs when they go off to watch those flames go in either direction without touching you.
So we know how to avoid all his attacks, but how to actually damage him? As you probably put together just by looking at him, B.O.X.’s weak point is his center unit. His legs are impervious, as is the mechanism that covers his middle section when he is throwing a bomb, but when he’s got his guard down and you can’t see his middle, fire away. If you’ve been following this guide, you should have over 100 Missiles, so don’t be shy about using them. You’ll probably have an easier time getting directly above B.O.X. and shooting your Missiles straight downwards, but you can also hit him from an angle. By my count, ten Missiles should be enough to finish him off. Luckily enough, there’s no Core-X, so this battle will end as soon as you deliver the tenth shot.
Leaving Sector 3
Now that you’ve defeated B.O.X. (for now anyways, dun dun dun), let’s get the heck out of this sector. Save and recharge if you need; once you’re ready, climb aboard the wreckage that B.O.X. was nice enough to leave behind and scale your way up to a hidden part of the map. You’ll see thin walls here just begging to be bombed, but unfortunately, none of our current loadout is able to break the walls here, so you basically want to just run straight towards the door on your left.
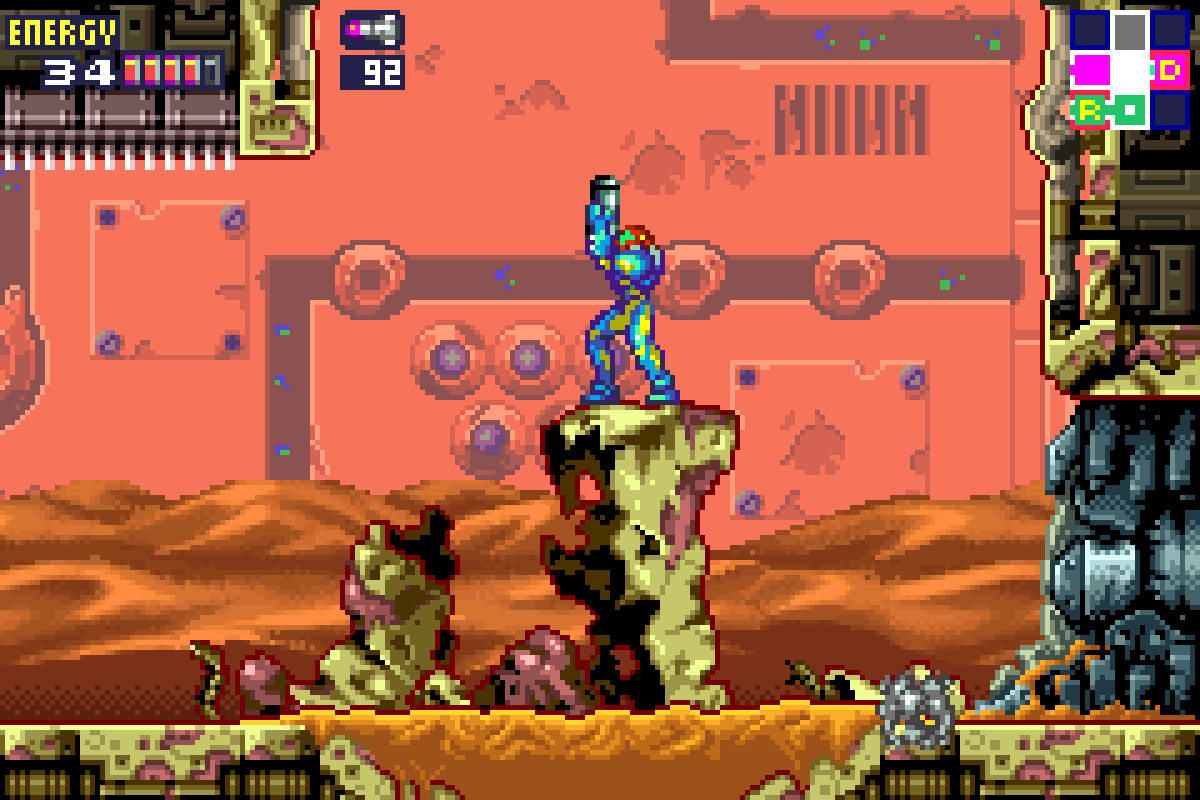
Now, here is our first Shinespark puzzle. Anyone unfamiliar with a Shinespark, please refer to the Special Abilities section, but essentially what it involves is crouching while Speed Boosting, giving Samus a few seconds of movement while she’s fully charged, and then pressing jump and a direction to unleash a super Speed Boosted jump. Where we last left off, I had said start running towards the door on your left. Once you go through the door, crouch BEFORE you go off the ledge. You’ll be glowing and full of energy now. Shinespark directly in front of you into the wall on the left; you’ll crash into a hidden room. This room has a small alcove in the bottom corner that you can bomb. Do so and grab ENERGY TANK #6.
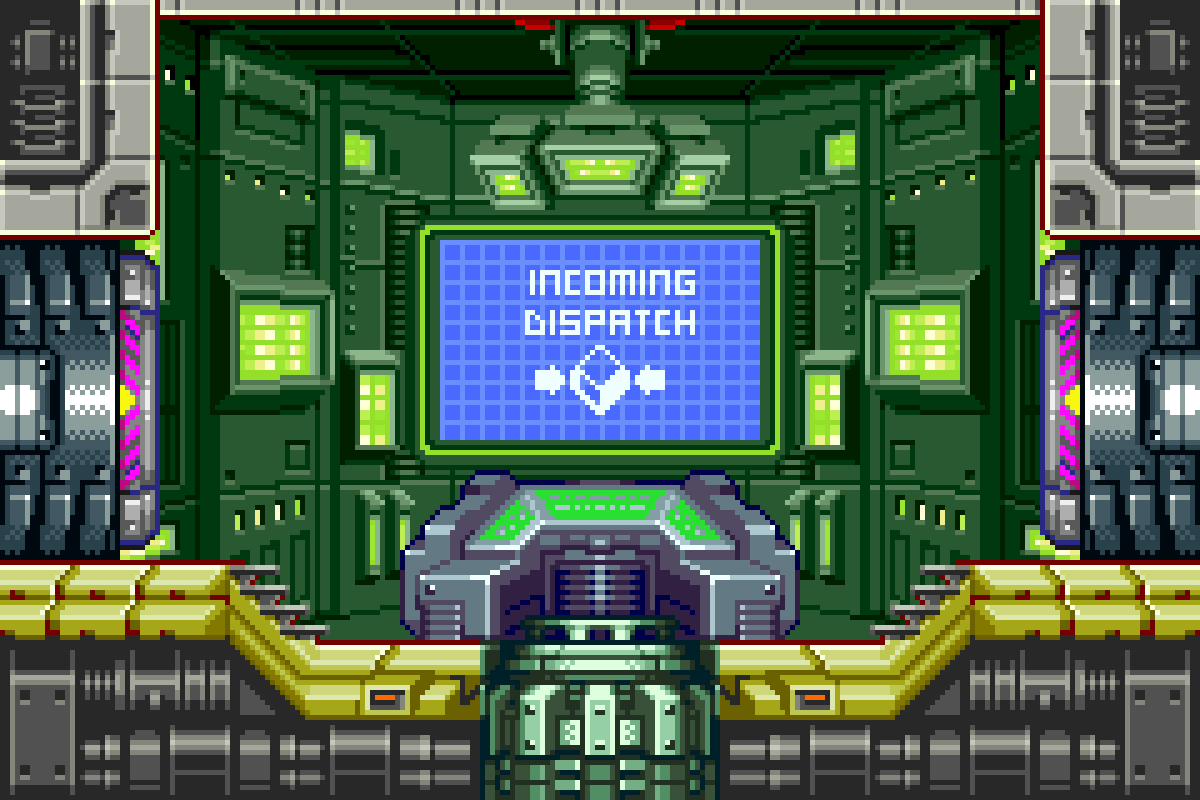
Drop down, and get rid of the Sidehoppers in this room. Exit this room to the left and you’ll find yourself back in the main Sector 3 room. There’s nothing left for us here right now, so head to the Navigation Room to report in with Adam. He’s going to send us to Sector 6, but…
… who’s he talking to?
Next Chapter: Sector 6 – Frozen Parasites