


Metroid: Samus Returns Walkthrough – Area 4: Crystal Caverns
Walkthrough
- Return to SR388
- Area 1 – Ancient Chozo Ruins
- Area 2 – Hydroelectric Station
- Area 3 – Aeion Mines
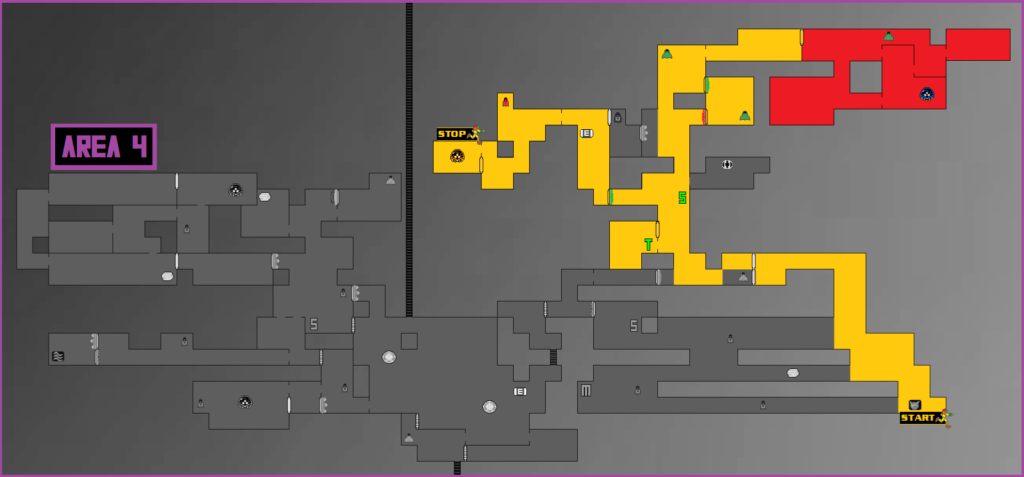
- Area 4 – Crystal Caverns
- Area 5 – Flooded Greenhouse
- Area 6 – Diggernaut’s Domain
- Area 7 – Chozo Laboratory
- Area 8 – The Nest
- The Last Metroid
The Spazer Beam
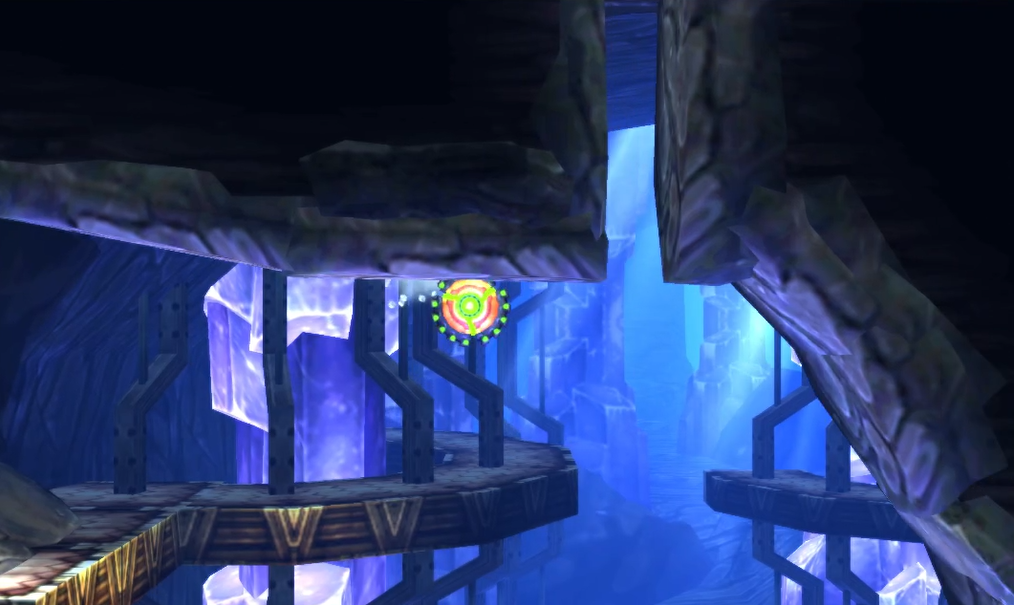
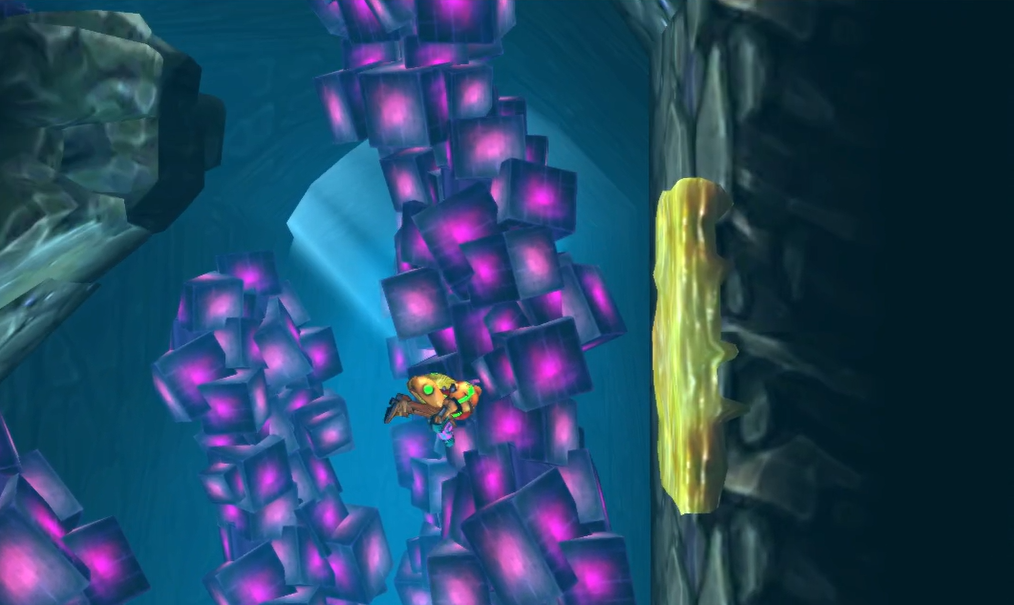
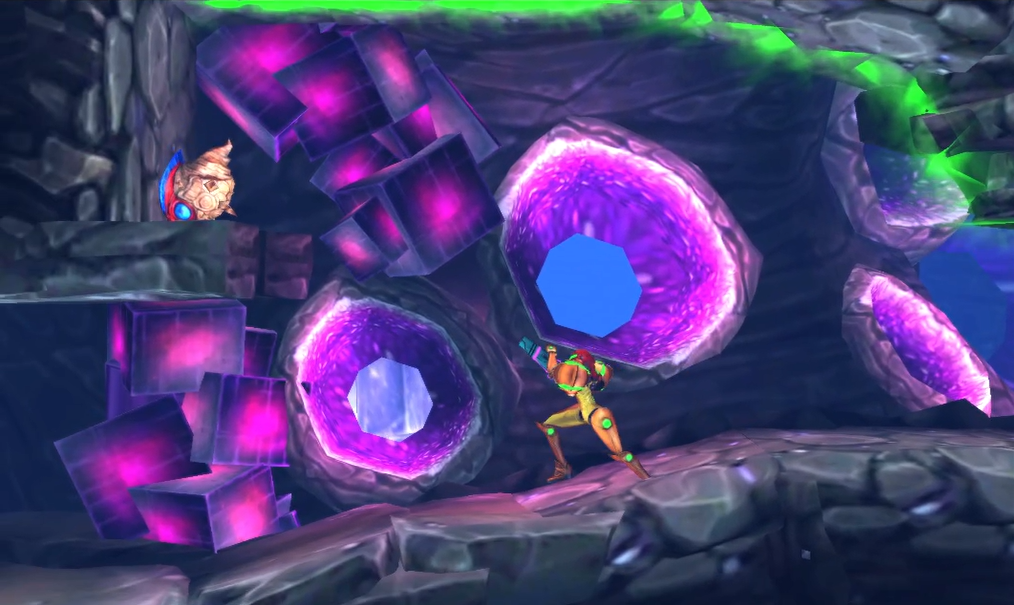
You’ll now enter the fourth area of the planet, and as usual, you’ll start off in the acidy purple caverns. As always, work your way towards the Chozo Seal, which will tell you there’s only… a single Metroid in the area? Seems sus, but okay. Work your way up towards the Blast Door in the top left corner and exit out of the purple caverns.
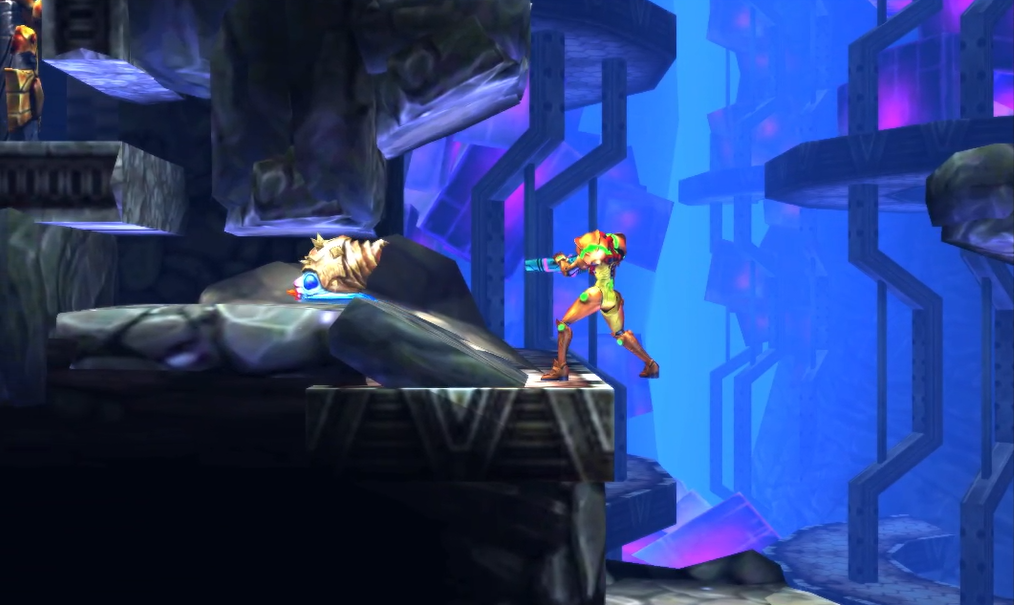
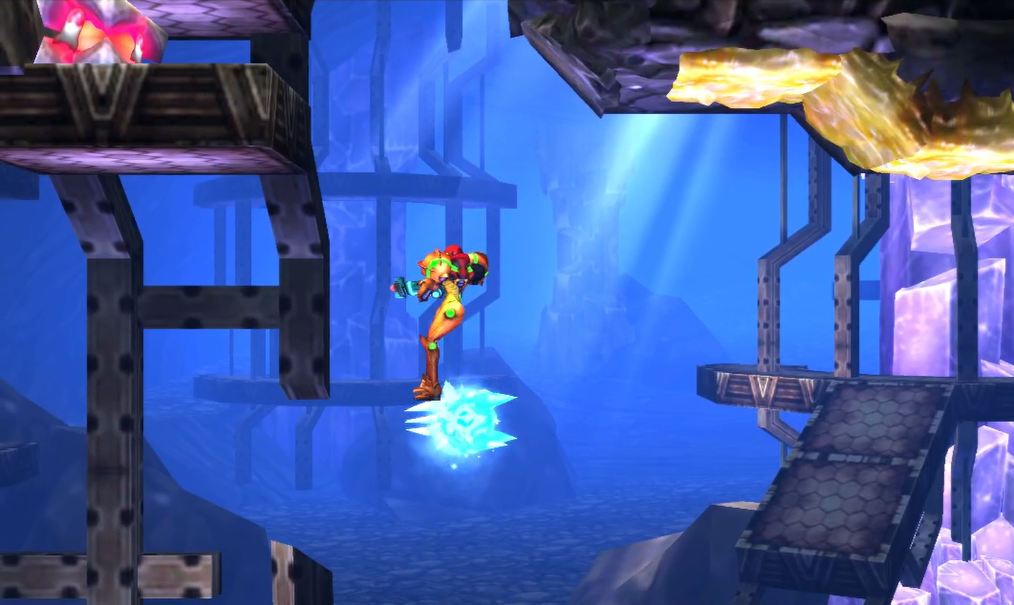
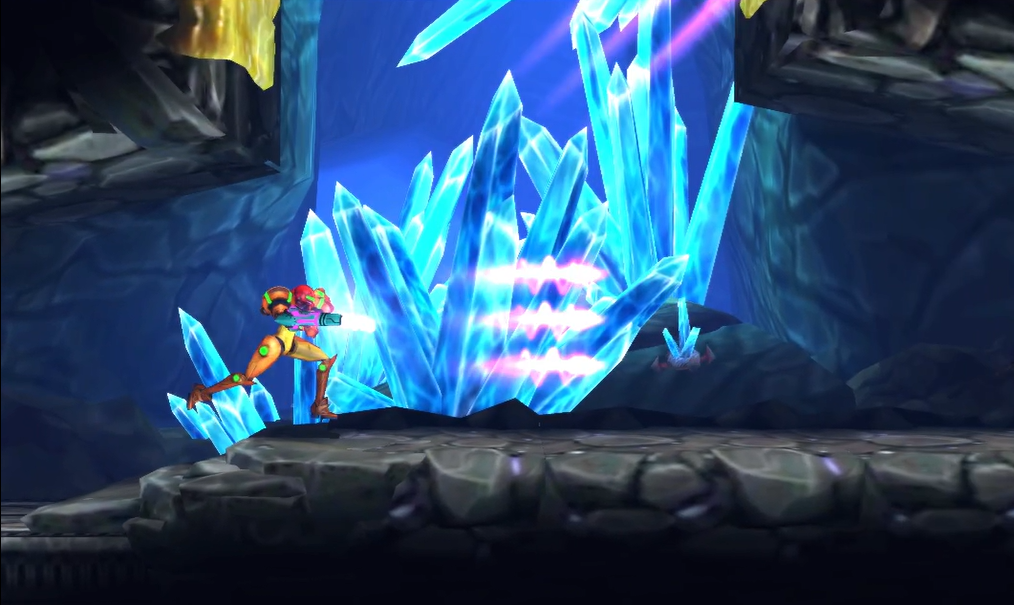
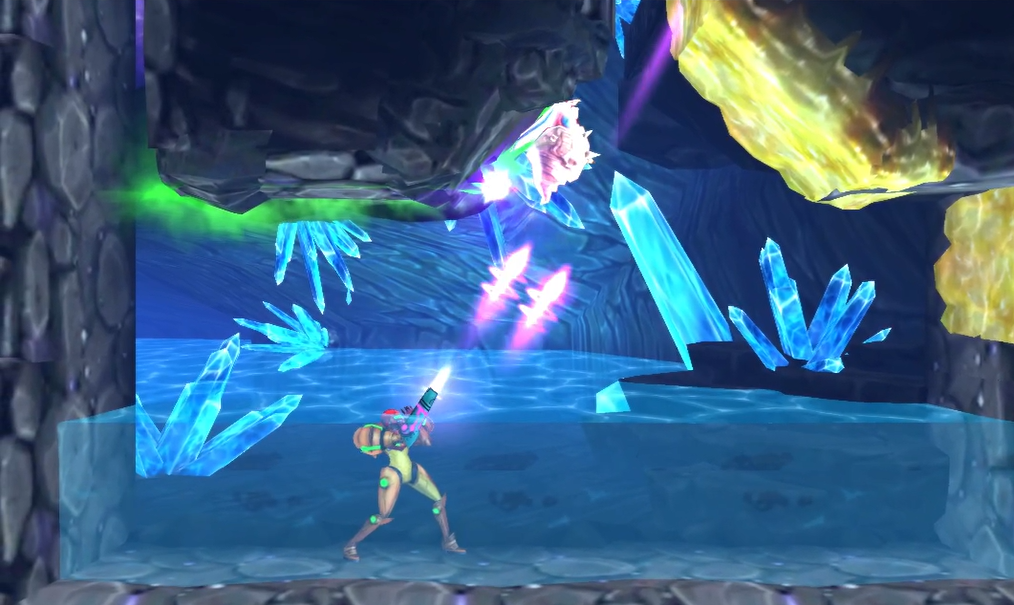
You’ll now be in Area 4 proper, which is one of the most beautiful parts of SR388 due to the crystals in the background and foreground giving off a crystalline glow to everything. Proceed ahead to the Save Station and do your thing, and then quickly start working your way upwards.
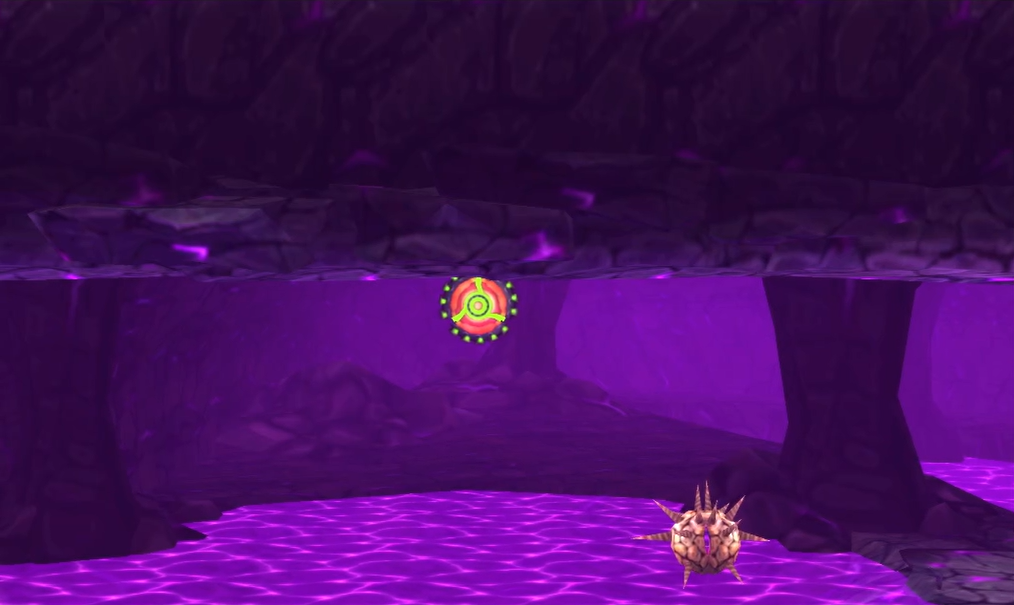
Go past the Energy Recharge Station and keep on climbing; you’ll encounter one of the most annoying enemies in the game: the mechanical spider-like robot called the Autoad. Similarly to the Glow Fly, this will detonate if you get too close to it, but fortunately, unlike the Glow Fly, the blast doesn’t damage you. It does, however, drain your Aeion Gauge, which sucks and takes a bit of work to recharge it, so avoid it or destroy it with your Beam Burst when you see one.
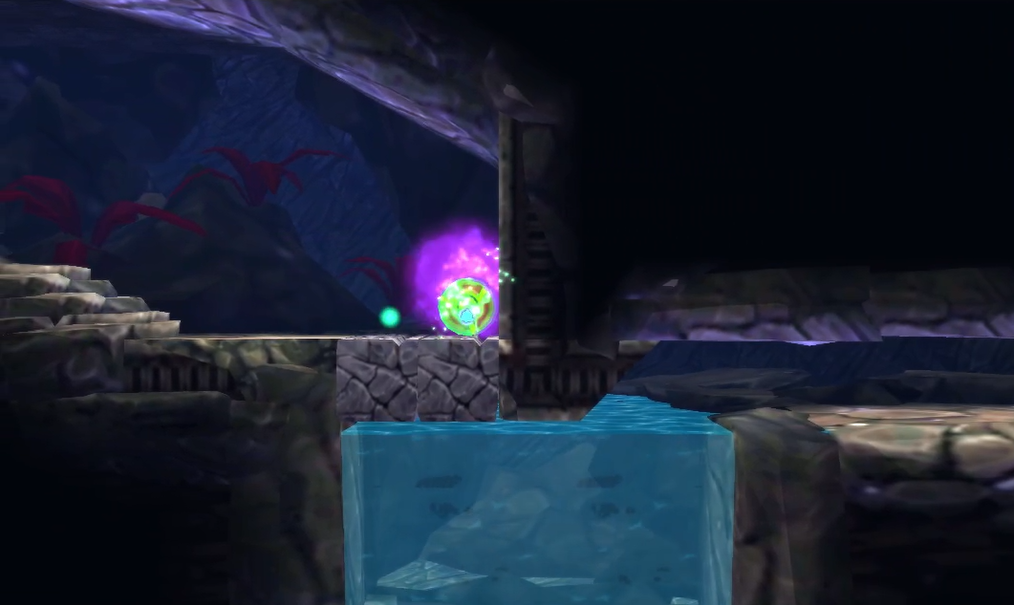
When you see a ledge with a red Grapple block, stop and drop to the previous ledge. Use your Scan Pulse and you should see a block start glowing in the bottom left wall; bomb it and you’ll roll into a pool of water. Shoot the ceiling above the water and jump up in the new pathway. Keep blasting the bricks in your way – use your Scan Pulse to see them easily! – and stop when you see the evil purple beehive. Activate your Lightning Armor and run past the beehive, jump up, and grab AEION TANK #3. Hightail it as fast as you can back to the water as those dastardly purple insects will be all over you.
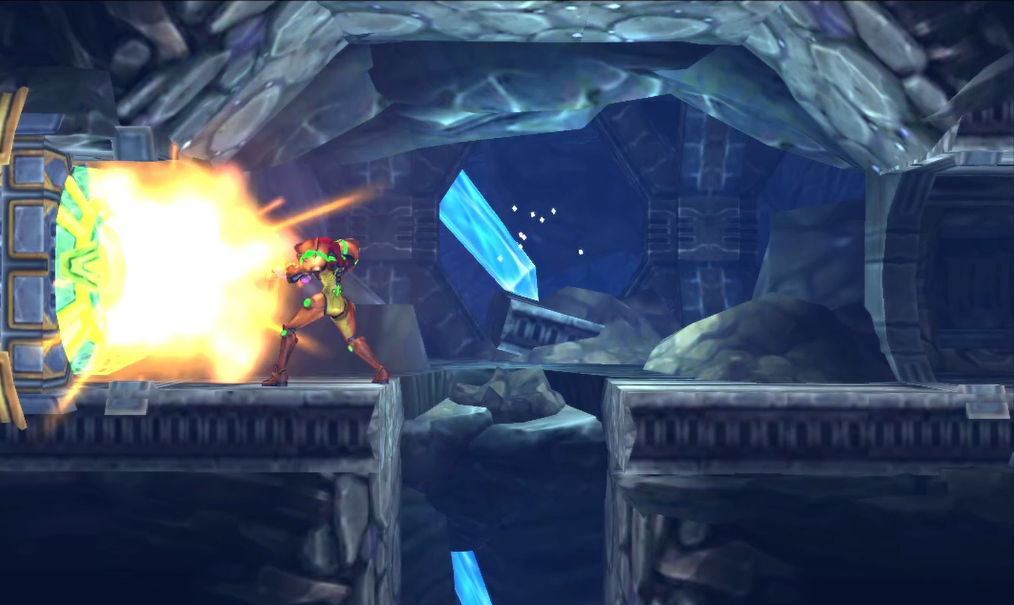
Once you’ve safely exited the Aeion Tank room, head back down to the Save Station; use your Scan Pulse and you should see some blocks on the bridge to the upper-left of the Station start to glow. Destroy them and slip in the new opening, activating the Teleportal on your left. Drop down and you’ll see a charge beam door to your right; you can go through it if you want, but there’s little you can do in the room for now. Instead, head left and start following the pathway straight ahead.
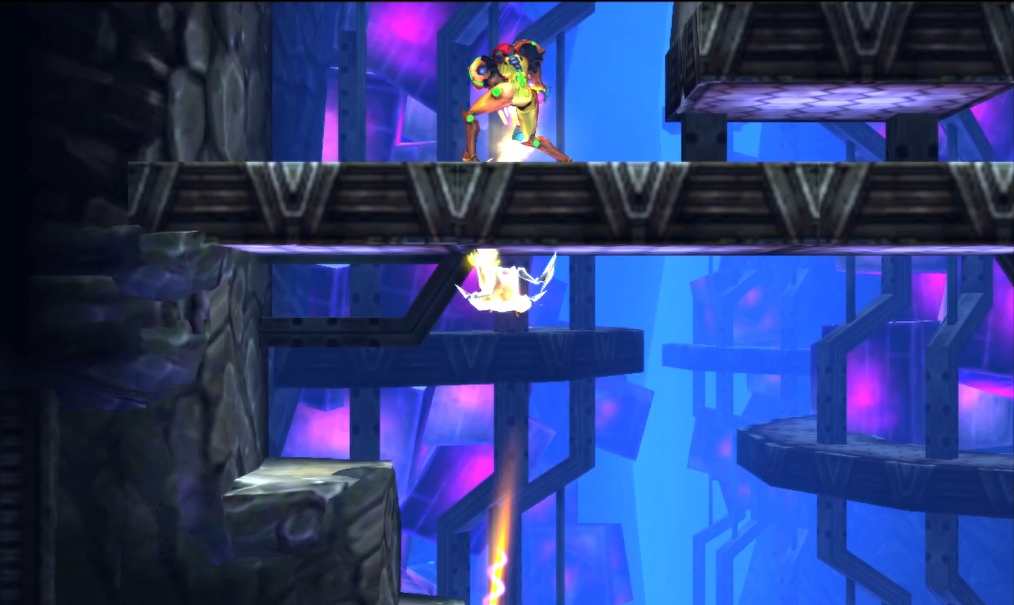
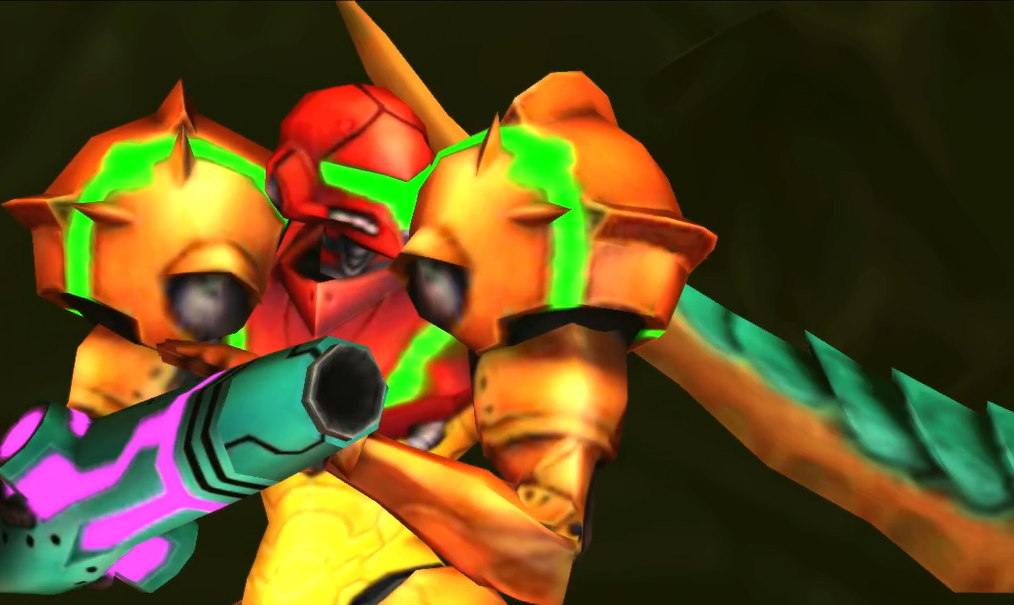
About halfway down this hallway, a green bug called a Gawron will pop up out of a hole in the ground; usually, we’d blast these away and continue on with our day, but this time, freeze the Gawron and use it as a platform to jump up to the box-like structure just floating in the air. In fact, before you even jump on the platform, use the frozen Gawron to fire a missile into the center opening of this platform; doing so will expose MISSILE EXPANSION #25. Grab it and continue on towards the left. You’ll hit a red Blast Door shield, so destroy it, enter the room, and claim the SPAZER BEAM from the Chozo Statue!
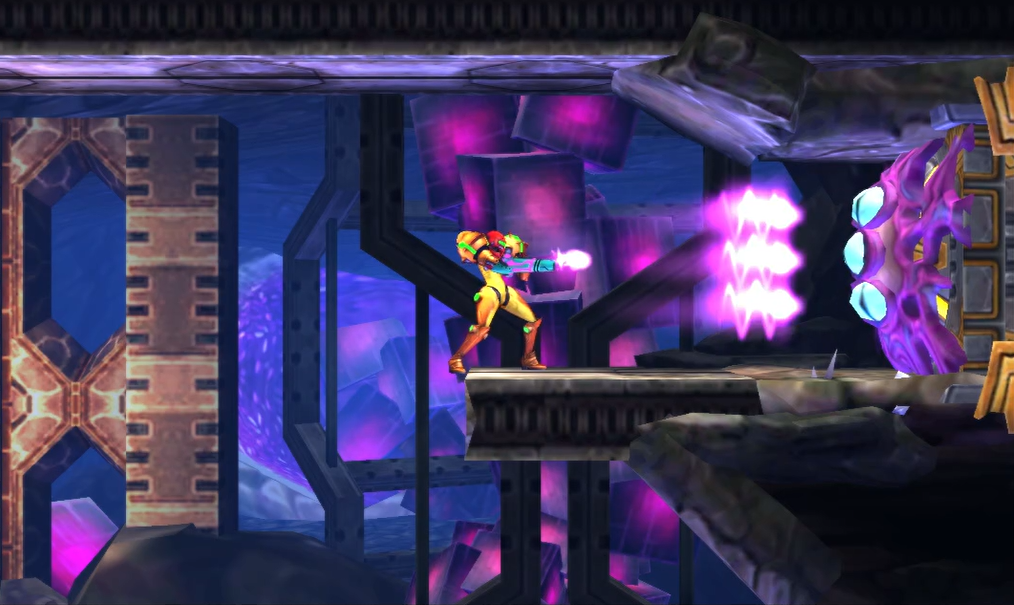
The Spazer Beam is an unbelievably awesome upgrade in Samus Returns in particular, as it makes combating the vast amount of enemies you’re constantly fighting much more manageable, and also makes quick work of lower-tier enemies! Thank goodness! As always, put it to use right away on the creature in the upper right corner of the room blocking the Blast Door – just like the Wave Beam, the Spazer Beam doors have a creature guarding them in place of a particular colored door, and this three-eyed beauty is named the Gigadoor (Megadesk vibes anybody??). Fire it open and head back to the Save Station.
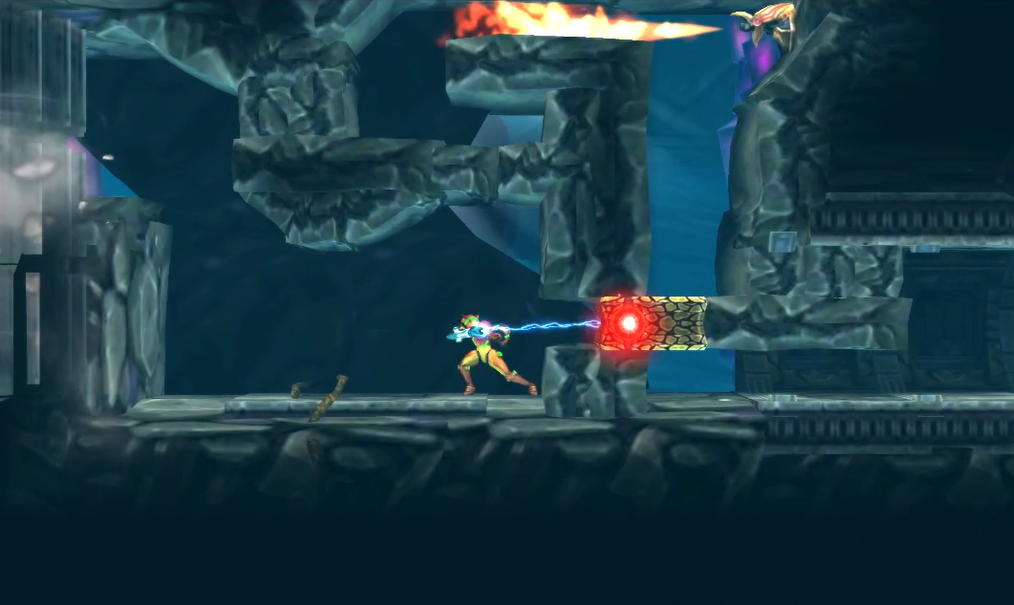
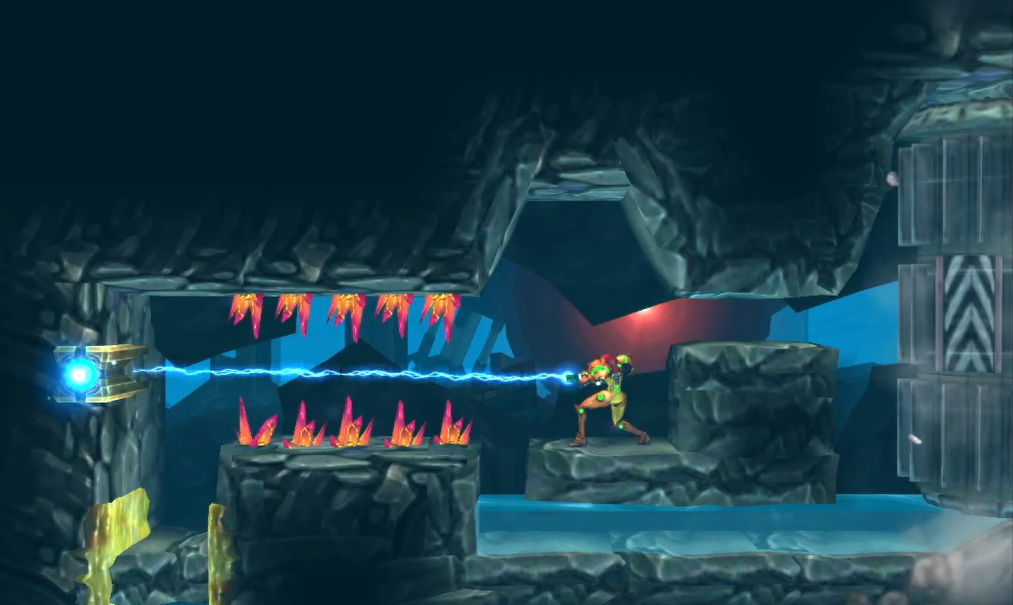
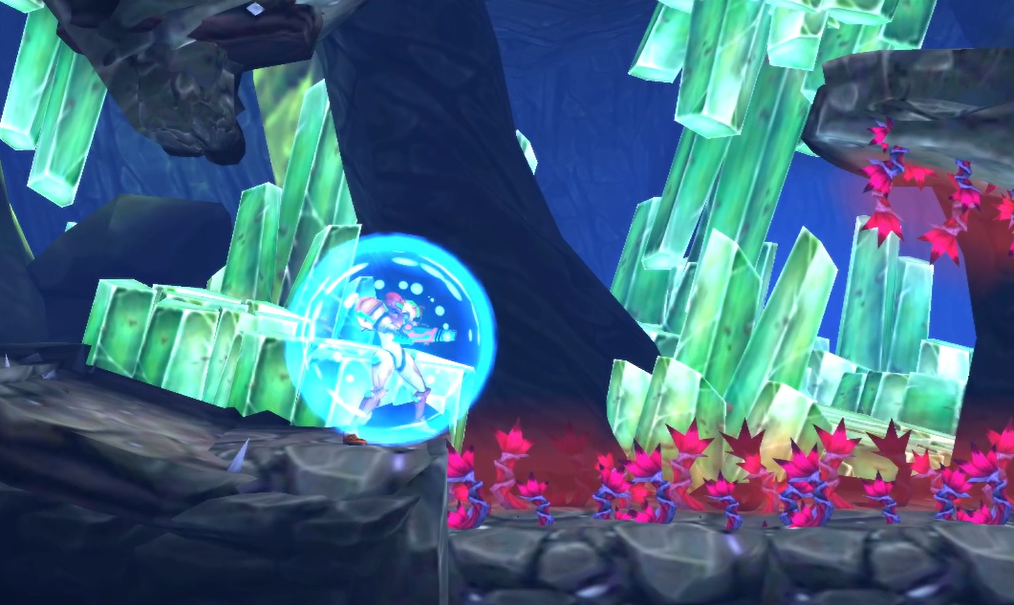
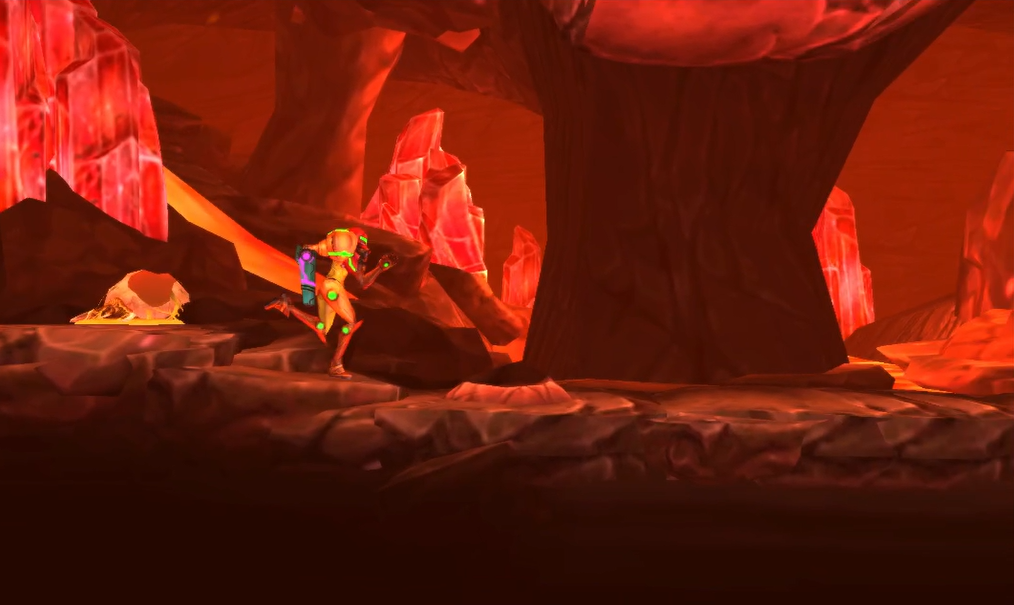
Head back up and jump up into the small tunnel opposite the Energy Recharge Station and lead left, taking the door into the hot zone. Grapple your way across the room and continue on. You’ll be in a new room with a bunch of red weeds, so activate your Lightning Armor, quickly tuck under the platform you’re standing on and grab AEION TANK #4! Roll back out and keep pressing your way forward, grappling, blasting, and fighting your way through this beautiful crystalline room.
Once you get up and over, you’ll approach a Blast Door on the righthand wall. Enter it, and here we go! We found the one GAMMA METROID we need to defeat! Same stats as always, and just be aware – this punk is gonna run away, so break the Grapple block and follow the Morph Ball tunnel into the second open room; fight the Gamma there, and then it will run away one last time to the hot zone from earlier. Head there and finish it off once and for all.
Chapter 5.1 Route:
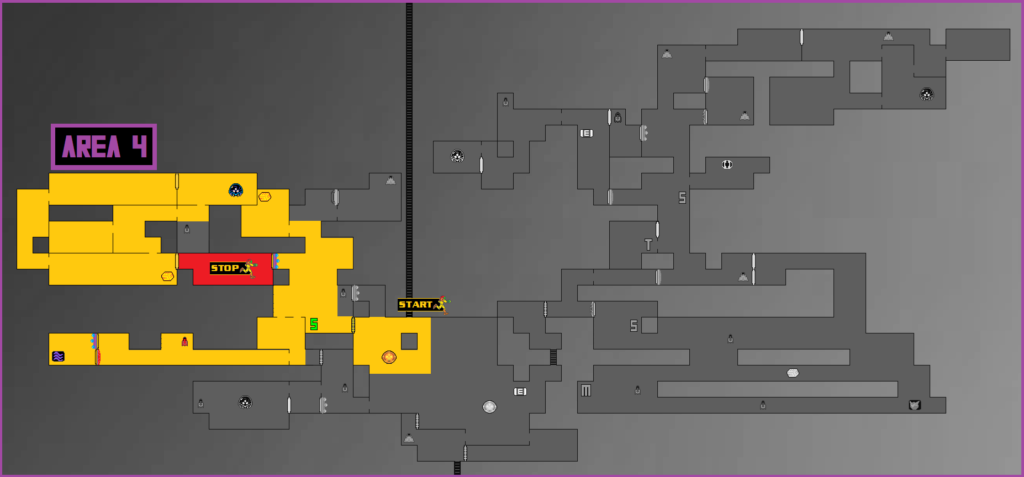
Escape the Diggernaut!
Once that Gamma has been eliminated, head back to the Chozo Seal and upload the Metroid DNA in it. Unfortunately, this won’t open up a passage to a new section of SR388, but it will lower the acid in other parts of Area 4, allowing you to explore further. That’s kind of a plus I guess…
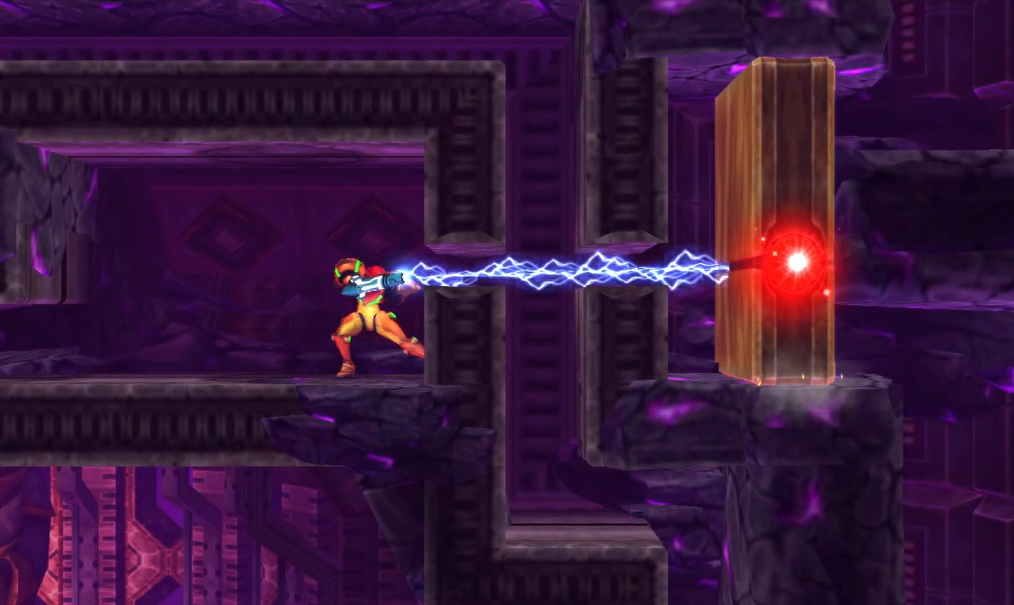
Venture further down the purple tunnels and you’ll see a red Grapple block. This can be moved, so grab it and yank it to the left; Continue down the path, grapple across some acid, and you’ll come across a second Chozo Seal that will inform you that there are three more Metroids in the area. Wondrous.
Continue ahead and destroy the single block blocking the vertical Morph Ball tunnel and jump up (use your Scan Pulse if you need to!). You’ll see a Grapple block that you’ll want to destroy in the tunnel, so do so and keep moving up and over, rolling back into a tunnel on the left, right past the Grapple block that you moved earlier, over a pit of acid, and right into ENERGY TANK #5! Grab it, and then yank the Grapple block directly across from you to the left, and retreat back to the lower righthand entrance to the tunnel. Head upwards in the new path and you’ll see an elevator. Step on and ride it up.

You’ll be in the upper portion of Area 4 now, which is littered with even more beautiful crystals everywhere. Follow the pathway up and you’ll see a red blast shield; yesss, item time! Blast it away and step inside… wait a second… a cutscene will start to play and you’ll see the Chozo Statue is broken and empty handed (well, technically, it’s NO-handed heh heh). With no other options right now, slip down the tunnel and use the Save Station. Head into the tunnel on your left and brace yourself.
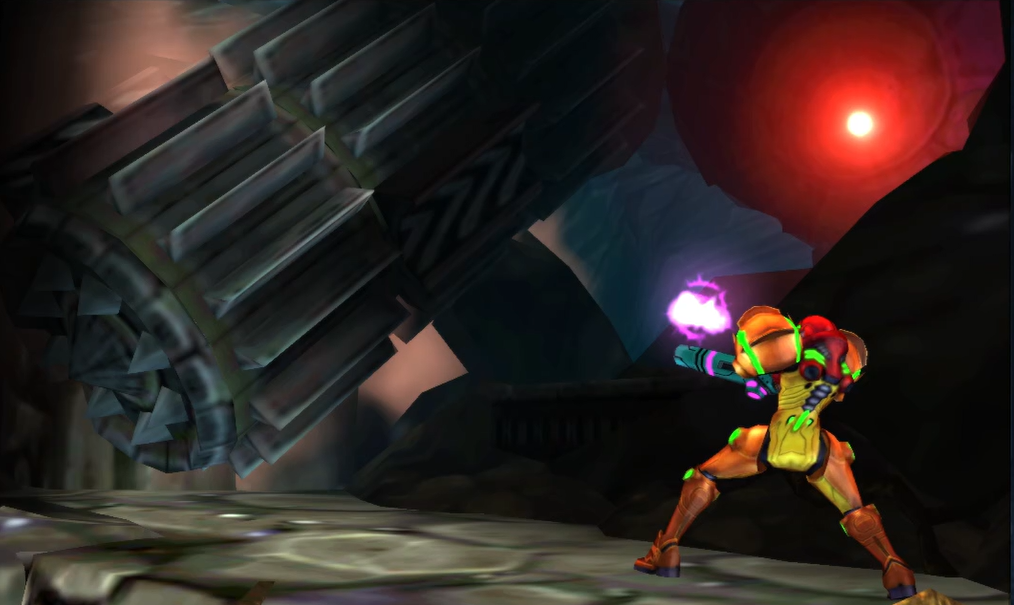
What comes next is unlike anything you’ve seen in the Metroid series. The giant robot that we unwittingly activated earlier – codenamed the Diggernaut – has come back and it has one thing on its mind: destroy all intruders! The Diggernaut’s hulking drilling arm has been fired up and the derelict mining robot is going to try and destroy you with it, and the bad news keeps coming: if you get hit by the Diggernaut’s arm even once, game over. Your only option to survive will be to outrun the Diggernaut, and the path ahead isn’t straightforward.
I’m actually going to do something completely antithetical to this guide, and that’s to suggest that you try this at least once on your own! This is a heart-pounding escape sequence full of drama that my words aren’t going to be able to capture; anyone who’s played Ori and the Blind Forest is going to be familiar with the type of precision movement that’s going to be required. Try it, and if you fail and need a hand, no problem; let’s do this!
Start by morphing down and rolling towards the left; use bombs and your Spider Ball to get you ahead of the Diggernaut; needless to say, ignore every expansion that you see, as this is clearly not the time! Un-morph when you get to the Grapple block and destroy it; roll through and drop down the Morph Ball tunnel at the end of the road. Easy enough, right? That’s phase one down; continue on until you drop down to another pathway and then get ready – phase two begins now!
The Diggernaut will be right behind you, so hightail it to the left. Try and avoid the shallow water pools as they will slow you down; have your Grapple Beam activated and use it to swing above the water. You’ll get to a point where there are two tunnels in the wall for you to go through; pick your poison, as the higher tunnel has a Wallflame and the lower tunnel has red weeds. Fight your way through, bomb your way out of the tunnel and run head. There will be a platform in a pool of water; get on it and use your Grapple Beam to pull you to safety. You’ll fall down and land on top of a Missile Recharge Station. Use it if you need, destroy the missile blocks and drop down again – it’s time for phase three, the longest and by far the hardest of the three.
The Diggernaut is back on you as soon as your feet touch the ground, so waste no time and head to the right! Constantly be shooting ahead to destroy any blocks you can and then morph down and follow the pathway. There will be a bombable block underneath the Wallfire, so regardless if there’s fire in your way or not, destroy it and jump up!

Swing across, or frankly just take the damage from the red weeds in the water and get into the Morph Ball tunnel – if you have time, activate your Lightning Armor, but don’t stop to do so. BE CAREFUL since the middle portion is full of pitfall blocks; be ready to bomb as soon as you hit them. Conversely, you could use the Spider Ball to get across the top end of the tunnel. Either way, roll through and eventually you’ll come to a grapple point; quickly grab it and then IMMEDIATELY grapple again; you’ll want to immediately shoot upwards with your Spazer Beam and jump up the ledge!
Run like hell and when you see a little alcove, jump up and roll inside for dear life! The Diggernaut’s arm is going to be a chain-hairs length away, but stay there and you’ll be safe! The Diggernaut will think it destroyed you and then leave a parting gift – the item originally in the Chozo Statue: the SPACE JUMP!
For anyone needing it, here’s the entire sequence in video form:
This whole sequence is incredibly fun, intense, and stressful, but you made it! As an aside, all of those expansions that we passed by earlier are unobtainable at this point, so don’t bother going back. Instead, time to hunt down the rest of the Metroids in the crystal caverns.
Chapter 5.2 Route:
Super Missiles
Now that your heart has settled down a bit (probably), we can put our Space Jump to use! For any newcomers, the Space Jump is a great powerup that allows Samus to jump an infinite number of times in the air, which is awesome for both exploration and combat! Start jumping, and don’t stop until you’re as high in the Diggernaut chase room as you can possibly be! Take the door on your left and then drop down; you’ll see a Morph Ball tunnel and a Blast Door behind a wall to your right, but this is fools gold – we can’t get to the door, so ignore it for now and head left.
Taking the left path will reveal a Blast Door with a green shield on it, which is indestructible, so since left is out, right is out, there’s only one more way to go – up! Space Jump upwards (you can enter the Blast Door on the left about halfway up – it will take you to and activate a Teleportal, which is always good. Destroy the Grapple block for easier access.) and don’t stop until you hit the very top of the room. There will be an Energy Recharge and a Save Station along the way, so use them if you want, but when you reach as high up as you can go, head right and you’ll see a red blast shield. Destroy it, enter the new room, and you’ll be gifted with a mighty weapon: SUPER MISSILE EXPANSION #1! This bad boy is going to be able to destroy the green blast shields, so use it on the upper left door and exit back into the main room.
Continue forging upwards and when you see the giant green crystals, take the righthand path. Fight your way through the enemies and obstacles until you reach a Blast Door on the far right wall leading you into a hot zone. Press forward, and you’ll walk past another Metroid husk; continue on, and if you’re sharp eyed, you’ll see a little alcove in the wall where a Morph Ball could fit. If you were to jump in with your Morph Ball and lay a bomb, a Super Missile block would be revealed. Jump up and grab the ledge that’s directly opposite the alcove and use a Super Missile to destroy the block, and you can roll in to grab SUPER MISSILE EXPANSION #2!
Press ahead and drop down. Follow the Morph Ball tunnels, destroy the Super Missile block and then drop down into a room that looks like its only purpose on this planet is for fighting Metroids. Given that there are no Metroids in this room, you can probably guess what’s soon to come, but keep pressing forward; bomb the left wall (use your Scan Pulse to see where) and enter a second Metroid battle room that is low on Metroids, and jump up to the top of the room. Tuck into the alcove, bomb, and follow the tunnel back to where you basically started from. That probably seemed like a waste of time, but my thought is that it’s better to know where those rooms are now than in the middle of a scrap.
Head up and back down to the Morph Ball tunnels, but don’t go in them; instead, use your Scan Pulse to reveal some blocks on the wall that can be destroyed. Enter this new room, and hey – it’s a GAMMA METROID! As you probably guessed, this particular Gamma is going to run away like a coward to those other rooms, but as a silver lining, your Super Missiles should make this encounter quicker! My suggestion is to only use the Super’s when the Gamma is headed straight towards you with its mouth open – that’s a guaranteed shot, and your Super’s are a precious commodity right now and it would be a shame to waste them. Do your thing, chase this Metroid down, and eliminate it. Once the deed is done, get out of the hot zone.
Head to the left and drop down a bit; you should see a small pool of water, so get on it and head to the left wall. Fire a Super Missile straight upwards between the orange spikes on the walls and then use your Grapple Beam to pull yourself up to the small ledge where SUPER MISSILE EXPANSION #3 will be sitting! Drop down to the Save Station, save your game, and then head left, firing through the green blast shield and into the next room.
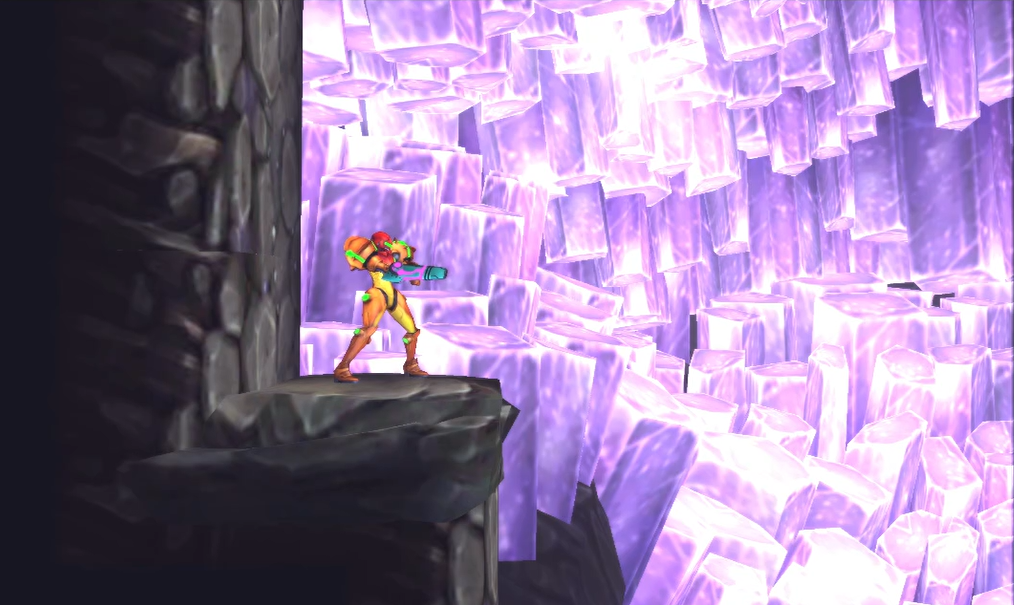
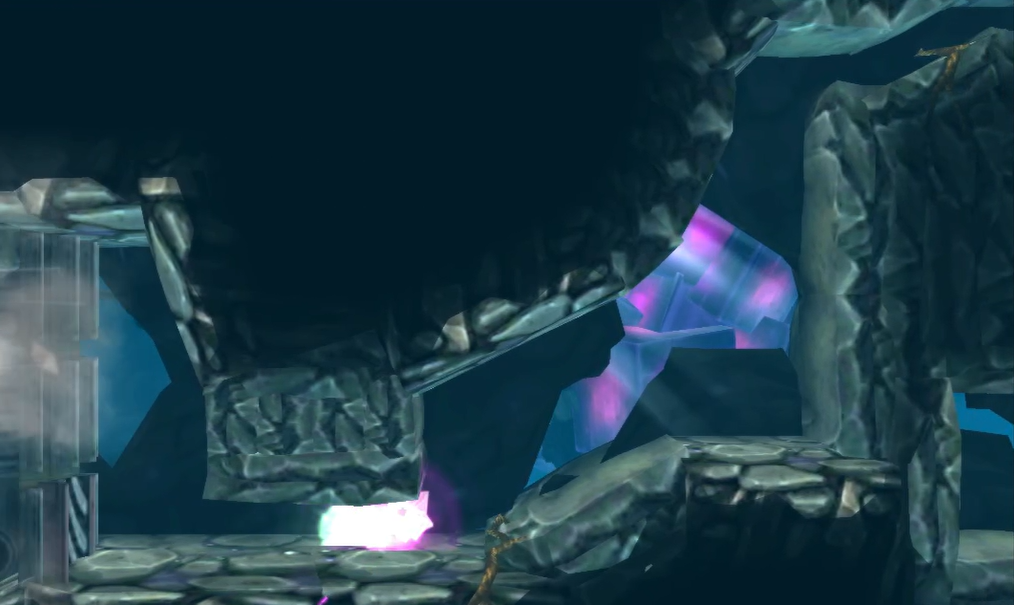
Another Metroid husk is on the ground, so work your way up and head left when you get to the top; stop for a second when the room opens up and just breathe in the incredible view. You’ll be in the most spectacular looking room in the game, with hundreds of beautiful purple crystals in the background, which looks absolutely awesome. Beautiful, serene, but still full of danger. Eliminate the enemies in the room and Space Jump up to the top-left corner, where you’ll find MISSILE EXPANSION #26. Grab it and drop all the way to the bottom of this crystal cave and take the door in the lower-left.
Get ready, because business is about to pick up…
Chapter 5.3 Route:
Zeta Metroid
A cutscene will play as you enter the room. The next evolution in the Metroid family has revealed itself, and it is far more deadly than any previous versions we’ve faced off with. We’ll now be going head to head with a ZETA METROID.
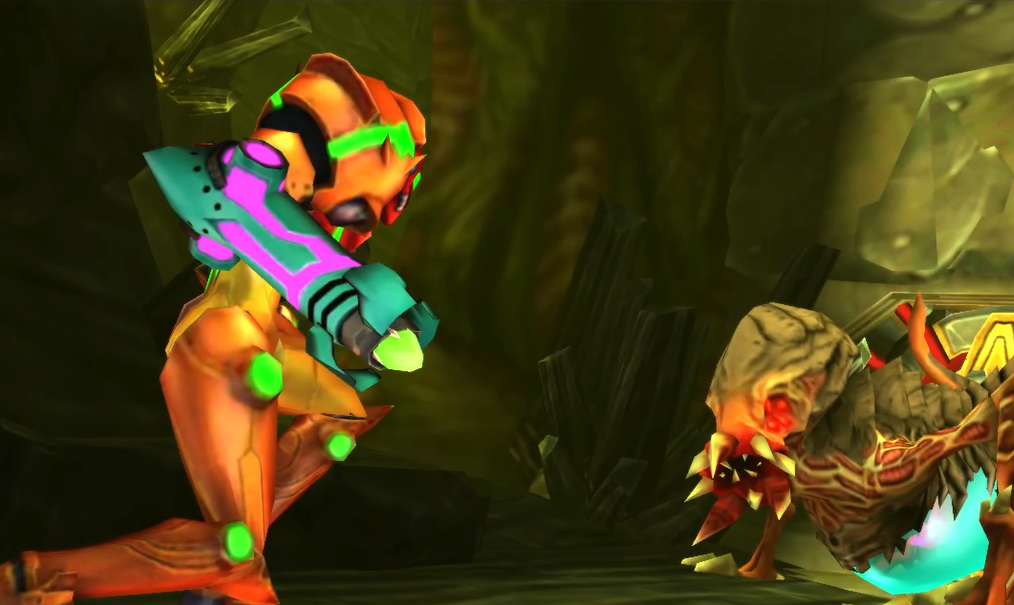
The Zeta’s are much more agile than their previous counterparts, and while they don’t fly around, their underbelly is far more difficult to hit. Zeta’s look almost like you might imagine a very angry salamander would, and they’re fast, so be ready. On the plus side, Zeta’s will never run away, so the room you do battle in will stay the same. The room itself will have its ceiling covered in yellow gunk, meaning no Spider Ball for you.
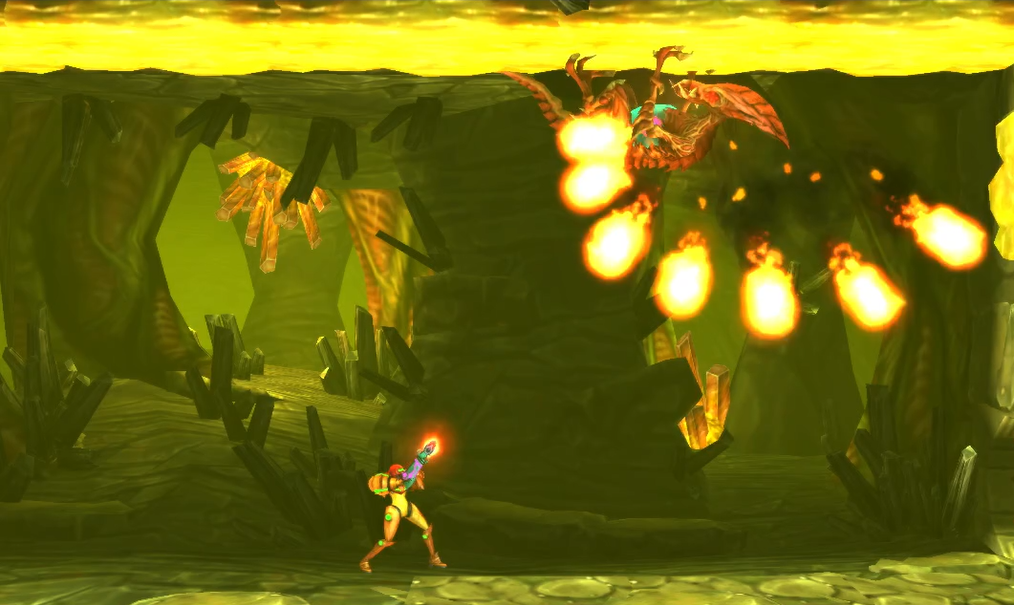
The Zeta Metroid is also much more adept at combat and will have several attacks that you’ll want to avoid. It will breathe fire at you, always shooting it in a straight line, so make sure you’re not getting burnt by that; it will also shoot acid at you, typically in three bursts, which cannot be countered, only avoided. The Zeta can and will fire its acid shots on the ground, walls, or the ceiling, so be careful when that happens.
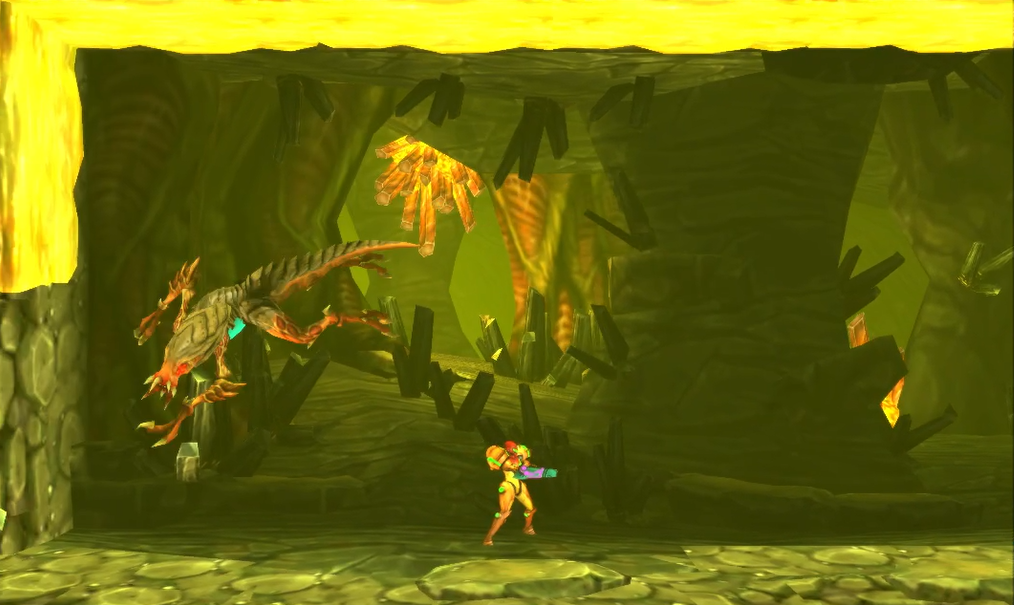
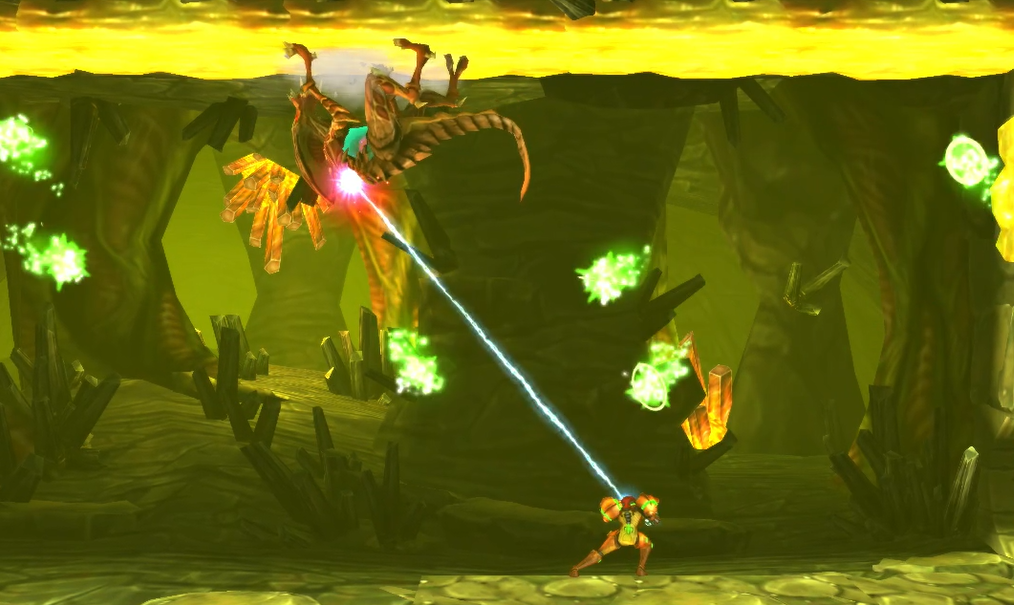
Once the Zeta has taken enough damage, it will get on the ceiling and either fire a series of fireballs that shoot out in a circular pattern, or it will release several acid shots that will flutter around the room. These are incredibly difficult to avoid, but luckily, these are countable (to a degree): when the Zeta is on the ceiling, a familiar red point will start to glow on its back. This is your cue to Grapple it down, which will cause the Zeta to smash to the ground, stunning it and leaving its belly vulnerable. Blast away as quickly as you can, but be sure not to be standing directly under the Zeta when you yank it down, cause, yeah, that’ll hurt; don’t ask me how I know.
Your best bets in terms of inflicting damage are the aforementioned Grapple tug, and then regular ol’ melee counters. You’ll have to be patient, but if you can nail a melee counter and activate your Super Missiles, you’ll not only activate a wicked cutscene, but you’ll inflict massive damage. You can try and use the Beam Burst while the Zeta is shooting its three acid blobs, but I’d honestly just play it patiently and wait for your chance to attack.

It may take a few tries, but if you keep countering and unloading Super Missiles, the Zeta Metroid will be destroyed.
Metroids in Area 4
Phew! With our first Zeta defeated, make the loooong backtrack back the Chozo Seal. Once you’re there, press towards the left and only stop when you see a red Grapple block. Fire a Super Missile to destroy the block in front of the Grapple block and then slip inside the Morph Ball tunnel. Yank the second Grapple block to the right and then follow the Morph Ball tunnel upwards until you start rolling beside some red weeds. Tuck into the little alcove, lay a bomb, and MISSILE EXPANSION #27 will be revealed!

Roll back down into the tunnels, use your Scan Pulse to see what bricks you need to bomb, and drop out , heading through the Spazer Beam door on your left. In the new room, jump up and roll into the Morph Ball tunnel. Fire the door open on your right when you get to the top and then carefully jump across the platforms in Morph Ball form; the ground is all pitfall blocks, so if you really want to play it safe, you can Spider Ball across the ceiling. One you’re at the other side, drop down and grab MISSILE EXPANSION #28.
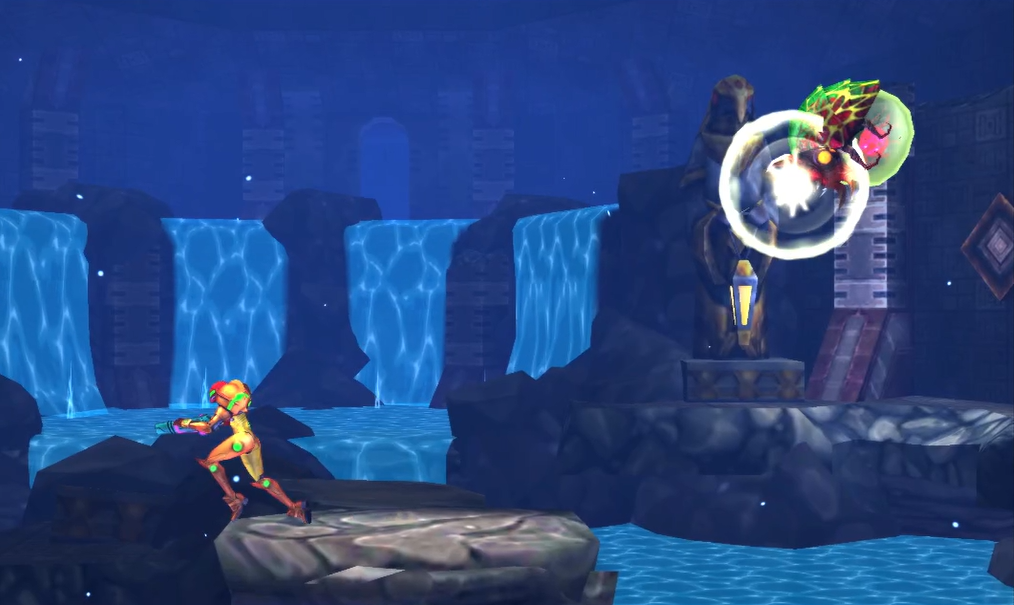
Roll towards the end and drop down into a watery room with a few platforms in it. You’ll be attacked by an ALPHA METROID, which I have to say, is a welcome sight. Compared to the Zeta fight, taking down an Alpha Metroid should feel like a day at the spa, so use all your new offensive weapons and make quick work of this little Metroid.
Once that’s done, head back to the Chozo Seal and feed it the Metroid DNA you’ve collected. Once the acid drops down, descend downwards and use your Scan Pulse. You’ll see three blocks that you can destroy, so bomb them and follow the pathway, crawling above the acid, until you see a Grapple block. Destroy it and then fire a Super Missile directly behind where the block was to reveal SUPER MISSILE EXPANSION #4. Scale up and open the Blast Door, and then head back from where you came, rolling across the pool of acid. When you reach the end, lay a bomb and a new tunnel will open up. Follow it and you’ll hit that oh-so-familiar elevator that will take you deeper into the planet.
When you’re ready, step onto it and descend.
Chapter 5.4 Route:
Next Chapter: Area 5 – Flooded Greenhouse