Metroid II: Return of Samus Walkthrough: Energy Tanks
Here you’ll find the location for every Energy Tank in Metroid II: Return of Samus, as well as detailed explanations on how to get them and what powerups you’ll need. Expansions have been listed in order of when you can pick them up during the game.
**Note – even though there are six Energy Tanks to be found, you can only carry five of them, so one will essentially just act as a health refill. Choose whatever five you want to grab, or just collect them all if you’re a completionist!
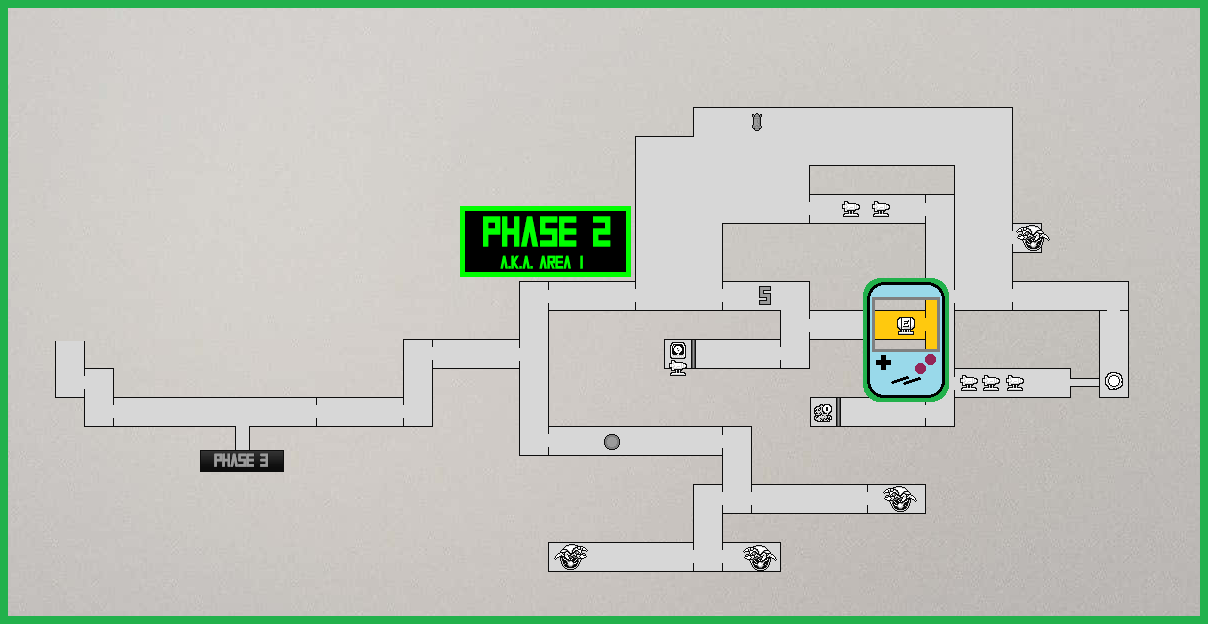
Energy Tank #1
Requirements: None (Bombs if you enter the room from the left)
Location: Phase 2 (The Ruins)
From the room you acquired the Bombs in, head back out to the long shaft you dropped down. Earlier, you should have seen there was a passageway about halfway up on the righthand side; go through it now. Straight ahead of you on the wall will be an enemy called a Wallfire – it looks like a Chozo head and fires, well, fire out of its mouth. Shoot the Wallfire and then stand on the wreckage still attached to the wall. Morph down and roll into the wall through a secret connecting tunnel (you’ll need to lay a bomb halfway through) and you’ll pop out right beside a floating ledge that will have ENERGY TANK #1 on it! Score!
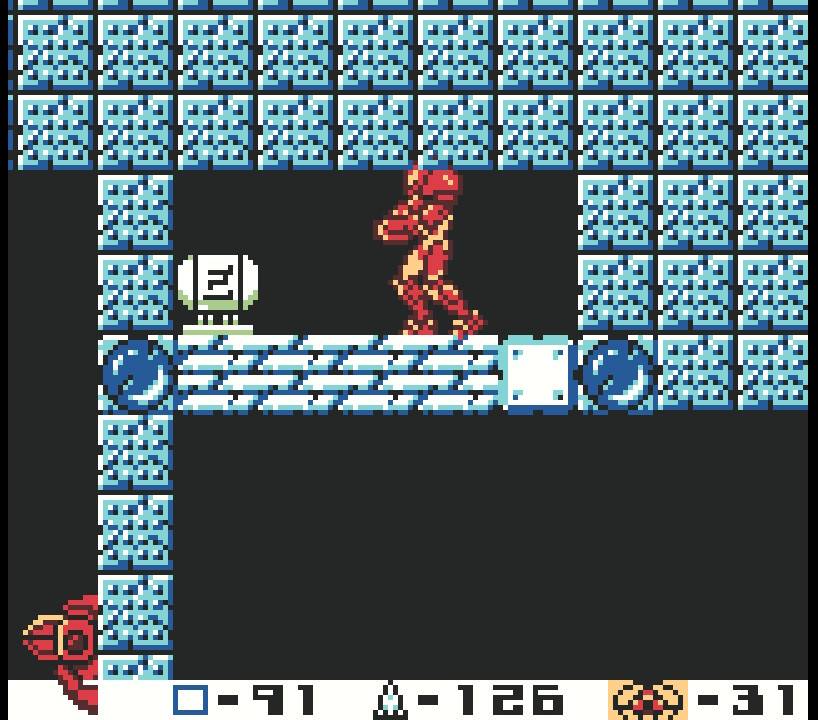
Energy Tank #2
Requirements: Bombs, High Jump Boots
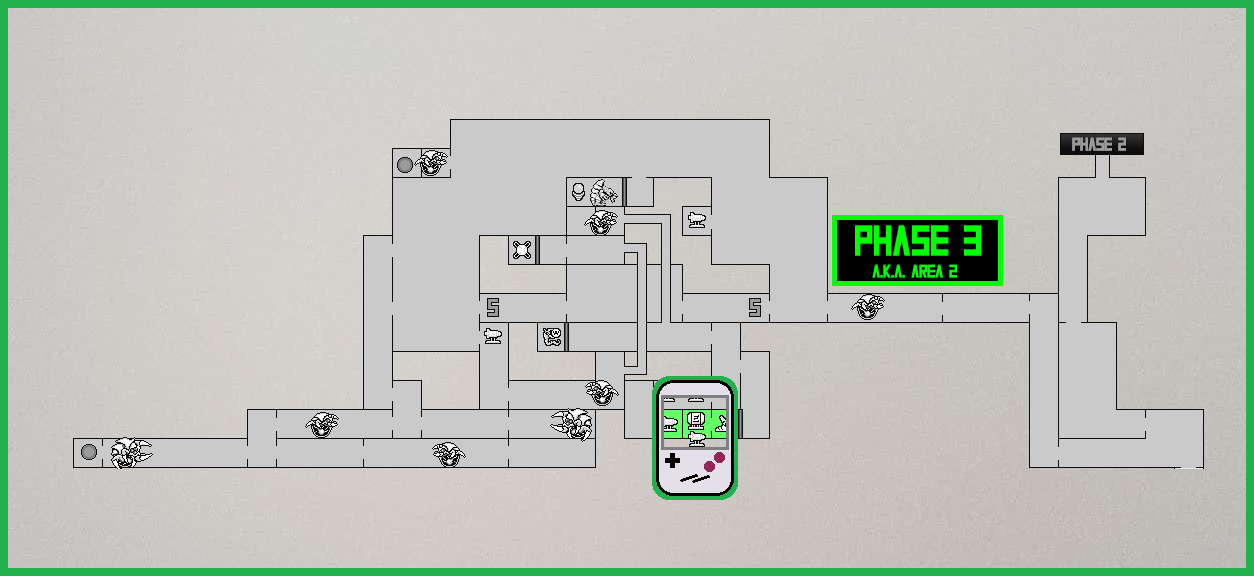
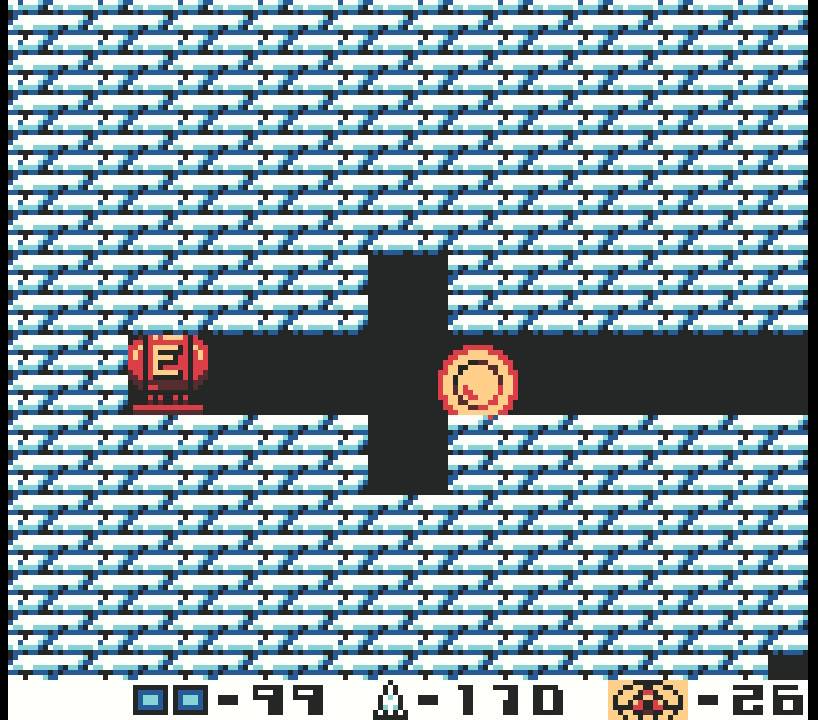
Location: Phase 3 (The Waterworks)
Immediately after grabbing the High Jump Boots, lay a bomb on the floor to get yourself under the Statue. Spring Ball jump towards the wall and you’ll find yourself in another little tunnel. Lay some bombs, roll through, and what do you know – it’s the expansions from earlier! Jump up to the ledge and shoot the blocks below you to grab MISSILE EXPANSION #13, and then shoot the blocks above you, use your new High Jump Boots to fly high and grab ENERGY TANK #2!
Energy Tank #3
Requirements: Space Jump, Spider Ball, Bombs, Spring Ball (recommended)
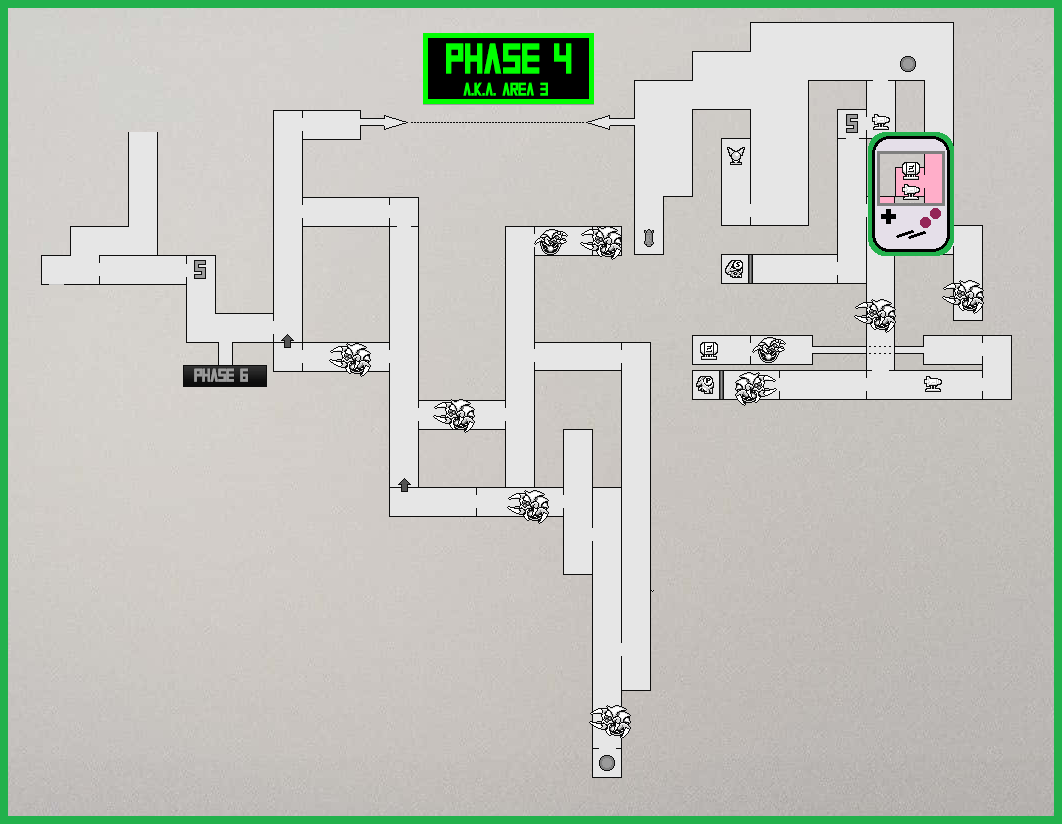
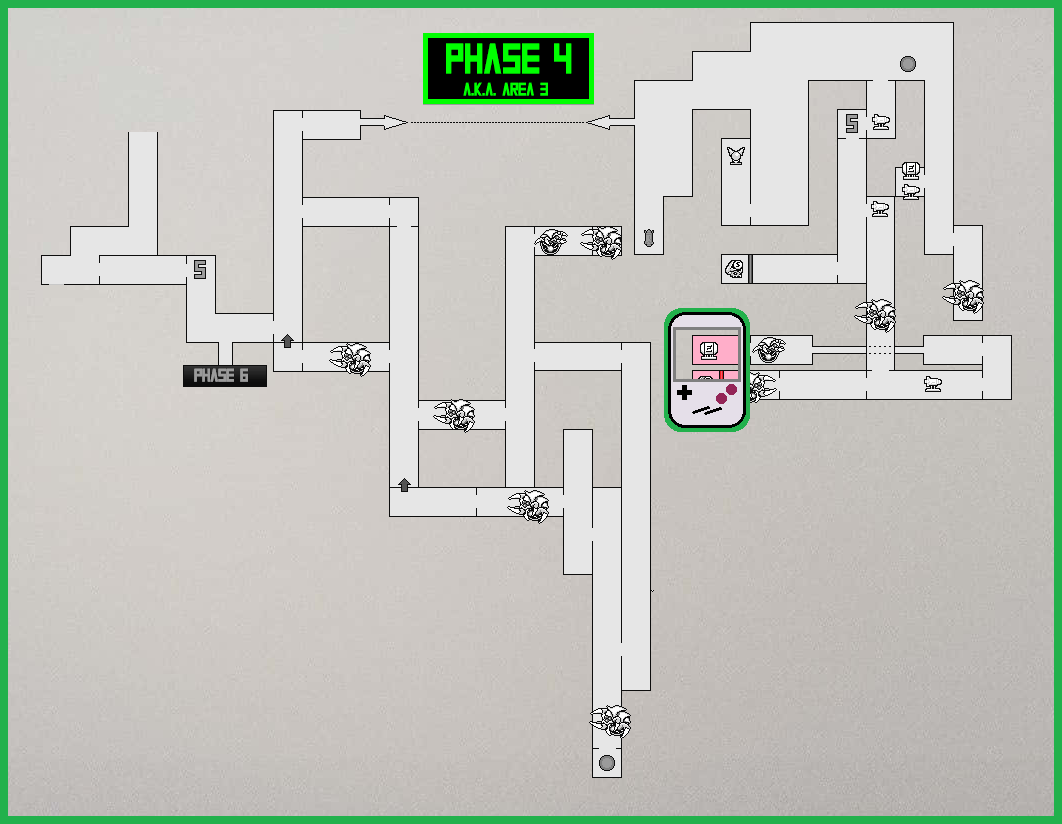
Location: Phase 4 (The Complex)
Space Jump to the right side of the Complex, drop down and stick to the right side. There will be a bunch of robotic enemies called Proboscum’s alongside the wall and you’ll be able to stand on them for a moment before they give away. Drop down to the fourth Protoscrum and enter Morph Ball form; you’ll have about three seconds, so JUMP to the other side and use your Spider Ball to stick to the wall!
If you did that right, you’ll be sticking to the outside of the Complex and you should see a missile expansion. Roll up a bit and bomb the block covering up a tunnel that will lead you inside. Roll forwards a bit, bomb the block in your way, and jump across to grab ENERGY TANK #3!
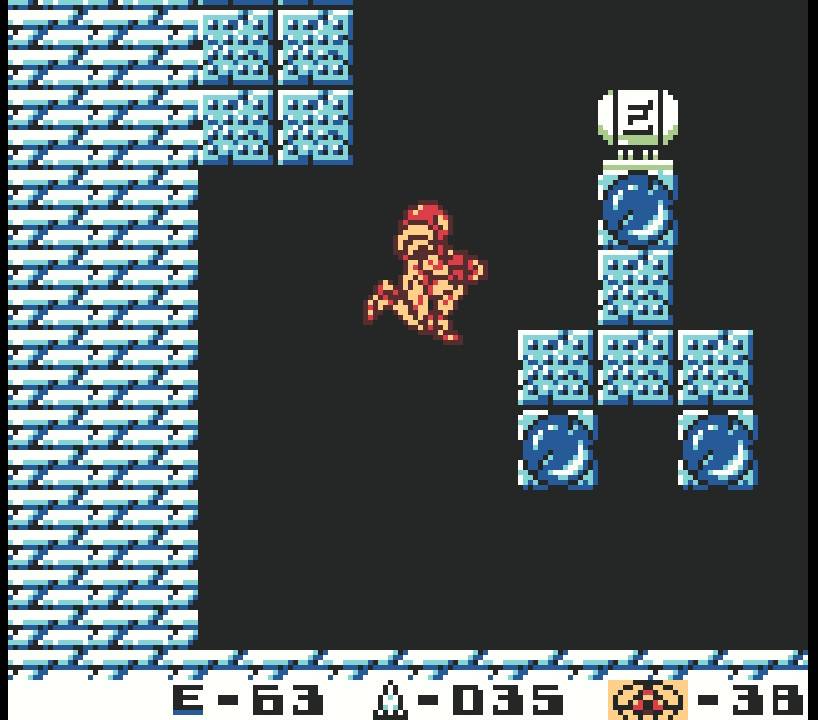
Energy Tank #4
Requirements: Space Jump, Bombs, Spider Ball, Spring Ball (recommended)
Location: Phase 4 (The Complex)
From the Metroid husk just outside the Plasma Beam room,continue forwards, eventually going through the righthand passageway. This next room can be tricky – you’ll need to Space Jump your way upwards, and there are spikes on each side of the wall, so your jumps will need to be short and concise. Once you get to the top, you’ll need to avoid the flame-spitting Autom and eliminate the mechanical Gunzoo. Press forward until you reach the far wall.
Morph down and jump up and you’ll sneak into a hidden tunnel on the upper left side. Lay a few bombs and you should open up a tunnel that will take you rolling towards the left. Keep on rolling through until you pop out on the other side, where you will be confronted by an ALPHA METROID. Derezz it and keep pressing forward. You’ll be in a new room with a couple of openings that you can sneak through. Your reward at the top will be ENERGY TANK #4!
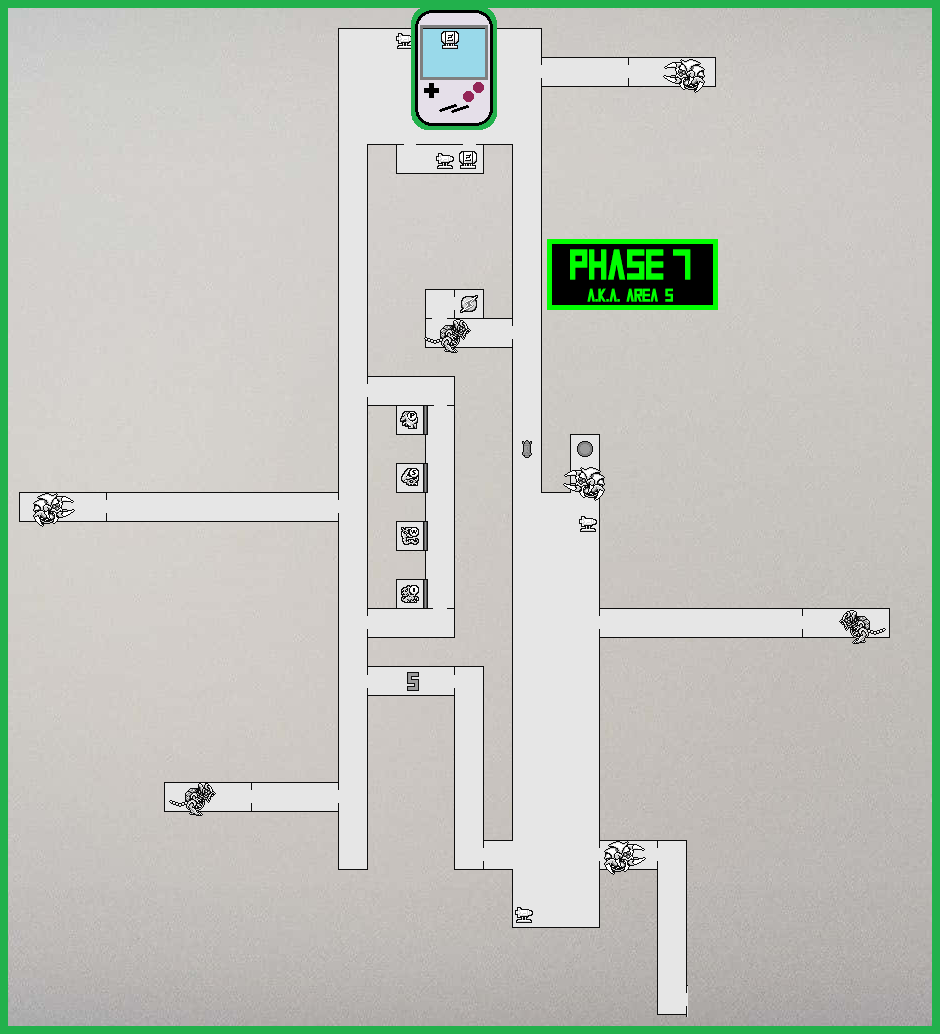
Energy Tank #5
Requirements: Bombs
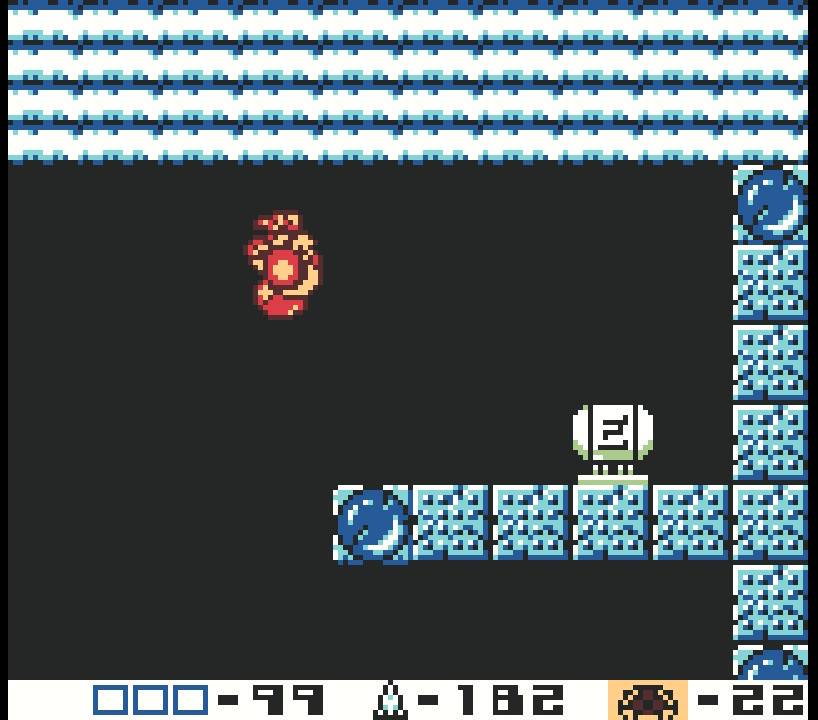
Location: Phase 7 (The Tower)
Get to the roof of the Tower and you should see an opening. Drop down and the screen will be completely black, which will make navigation here a bit tricky to say the least. A good way to keep track of if you are moving or not is to lay bombs when you’re rolling – they’ll tell you if you’re actually moving forwards or not! To get what we need, you’ll want to 1) land! 2) roll to the right as far as you can – you’ll be able to see an expansion under you when you reach the end. 3) jump up and activate your Spider Ball. You’ll pop out outside beneath a Metroid husk and ENERGY TANK #5! 4) Drop back down and roll back to the beginning. Lay a bomb and you should see yourself drop down. Roll to the right to grab MISSILE EXPANSION #21! 6) Get the heck out of the tunnel!

Energy Tank #6
Requirements: Spider Ball, Bombs
Location: Phase 7 (The Tower)
Space Jump to the top left corner of the Tower room and get on the top most ledge. Activate your Spider Ball and start crawling towards the roof. Lay a bomb at the first little flat portion of the wall and you’ll see the beginnings of a tunnel. Just like we did earlier, what you’ll probably find easier is just laying a bomb, letting it explode to take out the next block above you and just quickly reactivating your Spider Ball as you go up. Do this enough times and you’ll reach a tunnel at the very top that will house the last two expansions of the game – MISSILE TANK #22 and ENERGY TANK #6.