


Metroid Prime Walkthrough – Planet Tallon IV
WALKTHROUGH
- Frigate Orpheon
- Planet Tallon IV
- The Ruins Come Alive
- Fire & Ice
- Phazon Laboratory
- Ghosts & Gravity
- Space Pirate Assault
- The Entrusted One
- Artifacts in the Wild
- The Great Poison
Landfall
Scans in This Section
Chozo Lore: Beginnings, Harmonization
Creatures: Tangle Weed, Beetle, Sap Sac, Blastcap, Zoomer, Geemer, Scarab, Eyon, War Wasp, War Wasp Hive, Plazmite
Research: Gunship, Blast Shield, Large Energy
“Tracking on enemy target has been lost. Ground-based recon required. Begin landing sequence.”
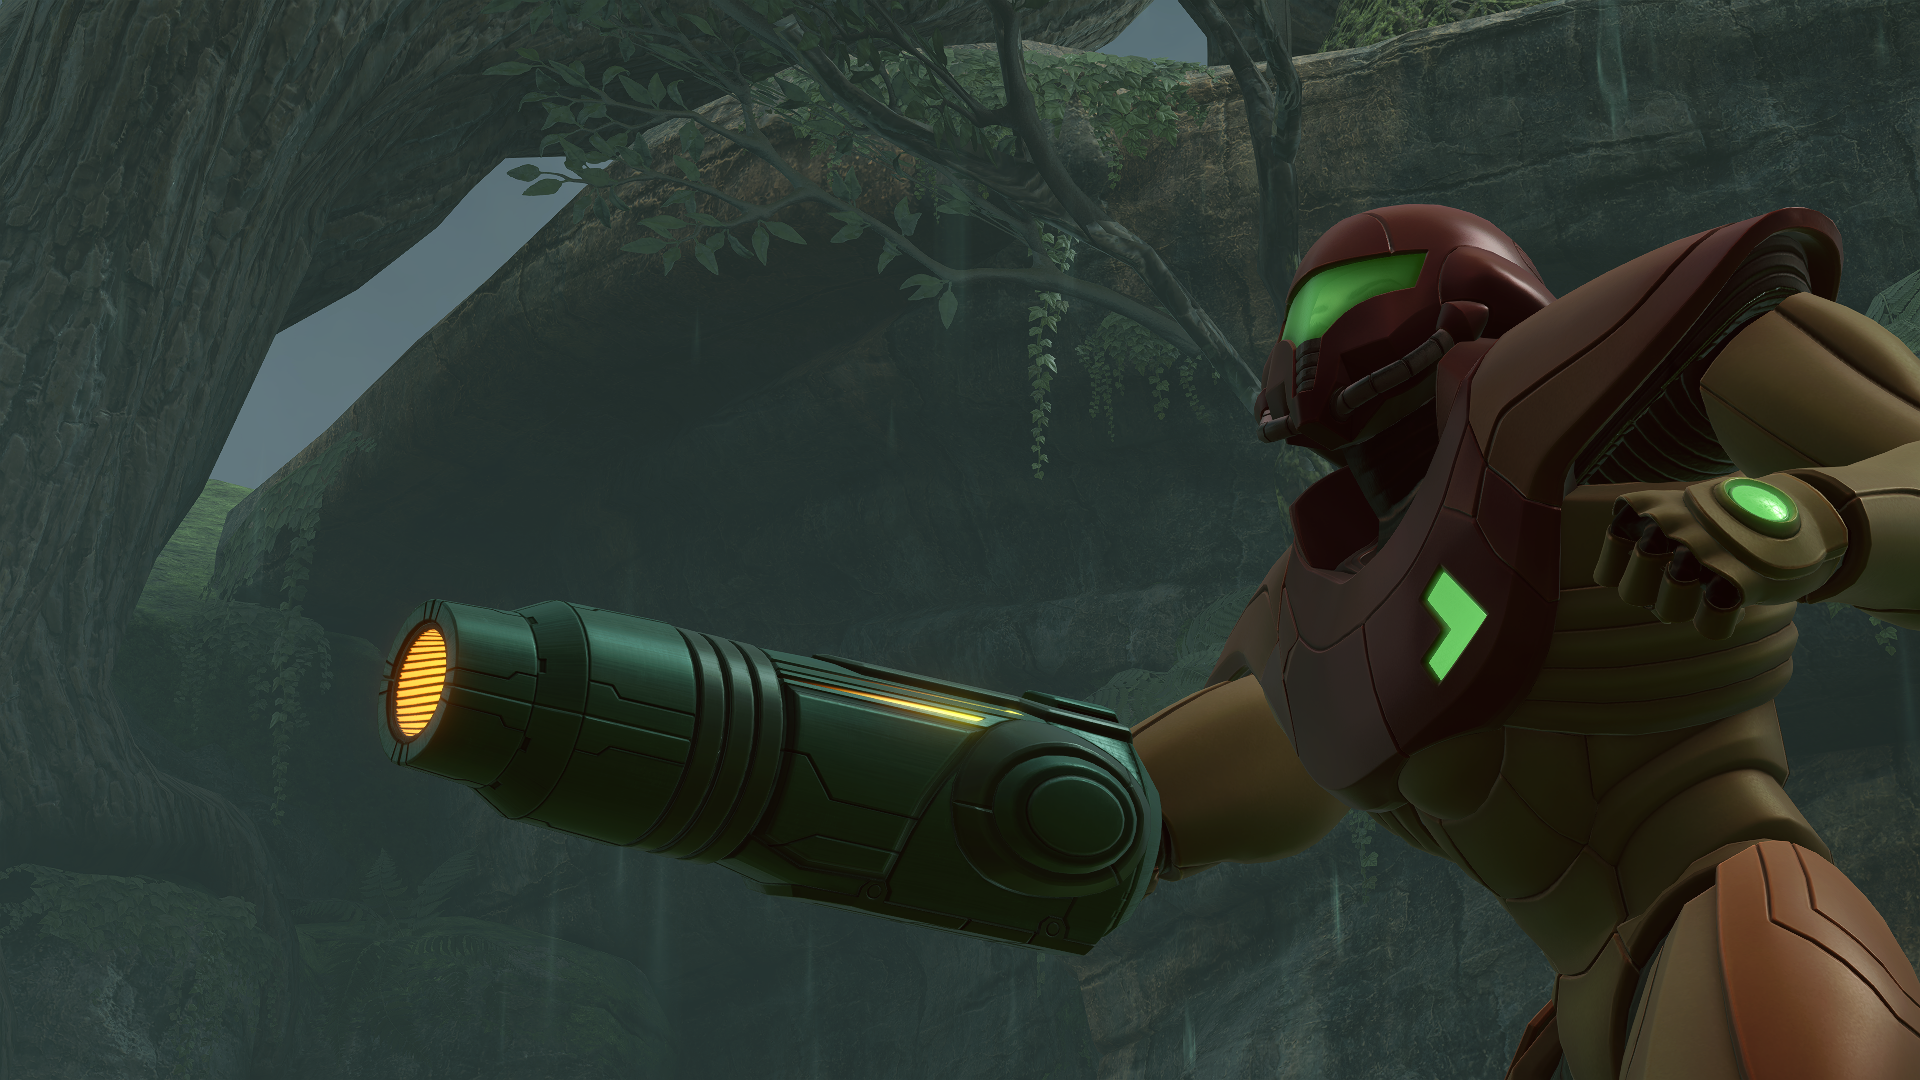
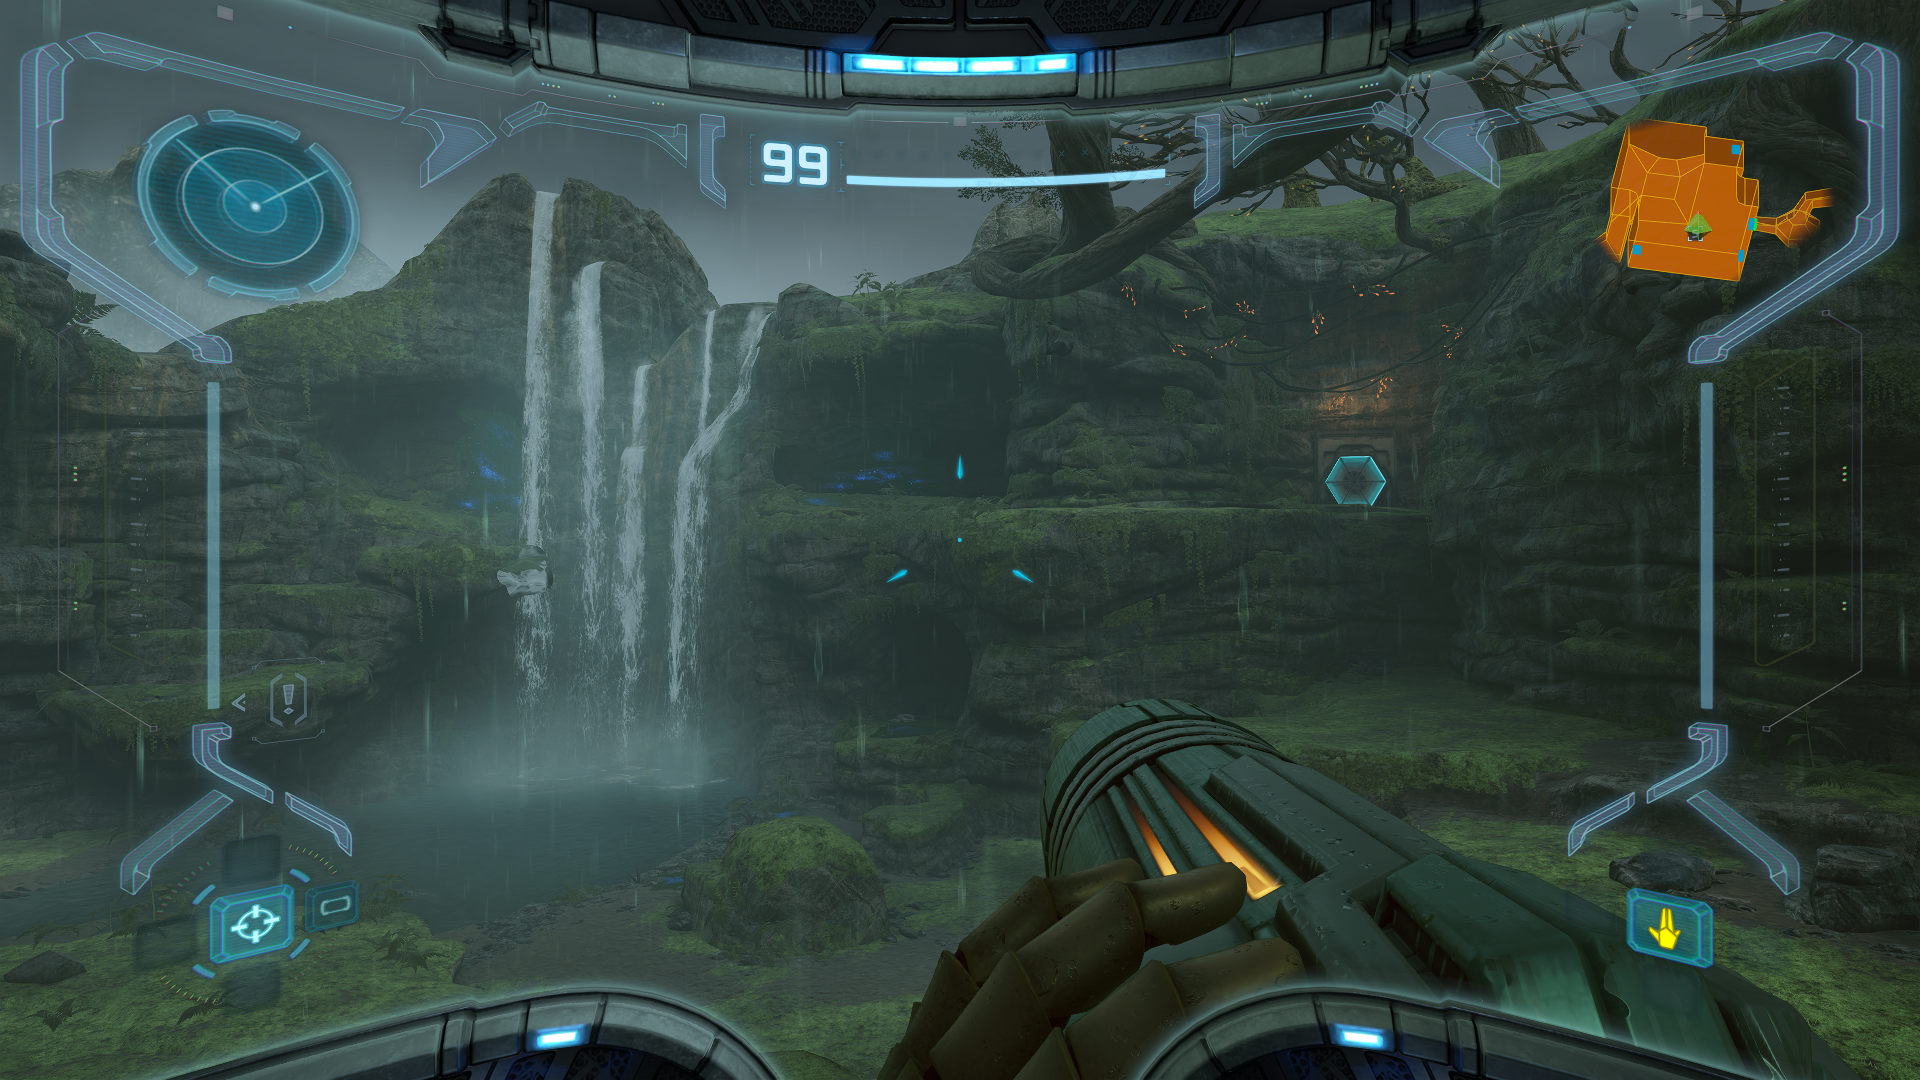
Bad news – we lost Ridley while we were trying to track him down; good news – there’s no use in wasting gas, he’s not going anywhere. Time to land the ship and engage in some ground-based recon. Before we continue with this walkthrough, can we just take a moment to appreciate this incredible soundtrack brought to us by Kenji Yamamoto and Kouichi Kyuma? Alright, now that that’s done, scan your GUNSHIP as soon as you exit as well as some TANGLE WEEDS occupying a Morph Ball tunnel in the back to add them to your logbook. We have a few options to take in terms of paths, but we’re gonna take the closest door to the right of the ship as that’s the only way we can get through with our current abilities. In the very next room, you’ll encounter some BEETLES that try to ambush you. Scan and make short work of them. When you enter Tallon Canyon, there’s a few things to scan: The SAP SAC (directly to your left), BLASTCAPS (in the pond), ZOOMERS and a GEEMER (both on the upper path). Once all that is done, continue towards the Transport to Chozo Ruins West, activate the elevator and head to the Chozo Ruins.
At the Ruins Entrance right after the elevator, scan the Chozo Lore, “BEGINNINGS”, located just above the door leading to the Main Plaza. In the Main Plaza, after defeating the Beetle pack, scan the BLAST SHIELD blocking the door immediately to your left. Then go to the back of the room and take the door on the left. In Nursery Access, scan the SCARAB swarm. In the Eyon Tunnel, make sure to scan an EYON before proceeding through. In the Ruined Nursery, scan the Chozo Lore, “HARMONIZATION” on the ground level to the right of the tree. Get to the upper level and then scan both the WAR WASPS and WAR WASP HIVE. Go to the door on the upper level across from where you initially entered to save your game, then keep moving forward.
When you reach Totem Access, scan the PLAZMITE and head to the center of the room. A lone crate will be sitting on the center platform surrounded by some Tangle Weeds. Destroy the crate and a LARGE ENERGY drop (replenishes 20 energy units) will spawn every time even if you’re at full health. Be sure to scan that before picking it up! Make your way to Hive Totem and you’ll notice a Missile Launcher just sitting right out in the open. You’ve probably figured out by now that it’s bait, so let’s see what kind of fun activities are in store for us!
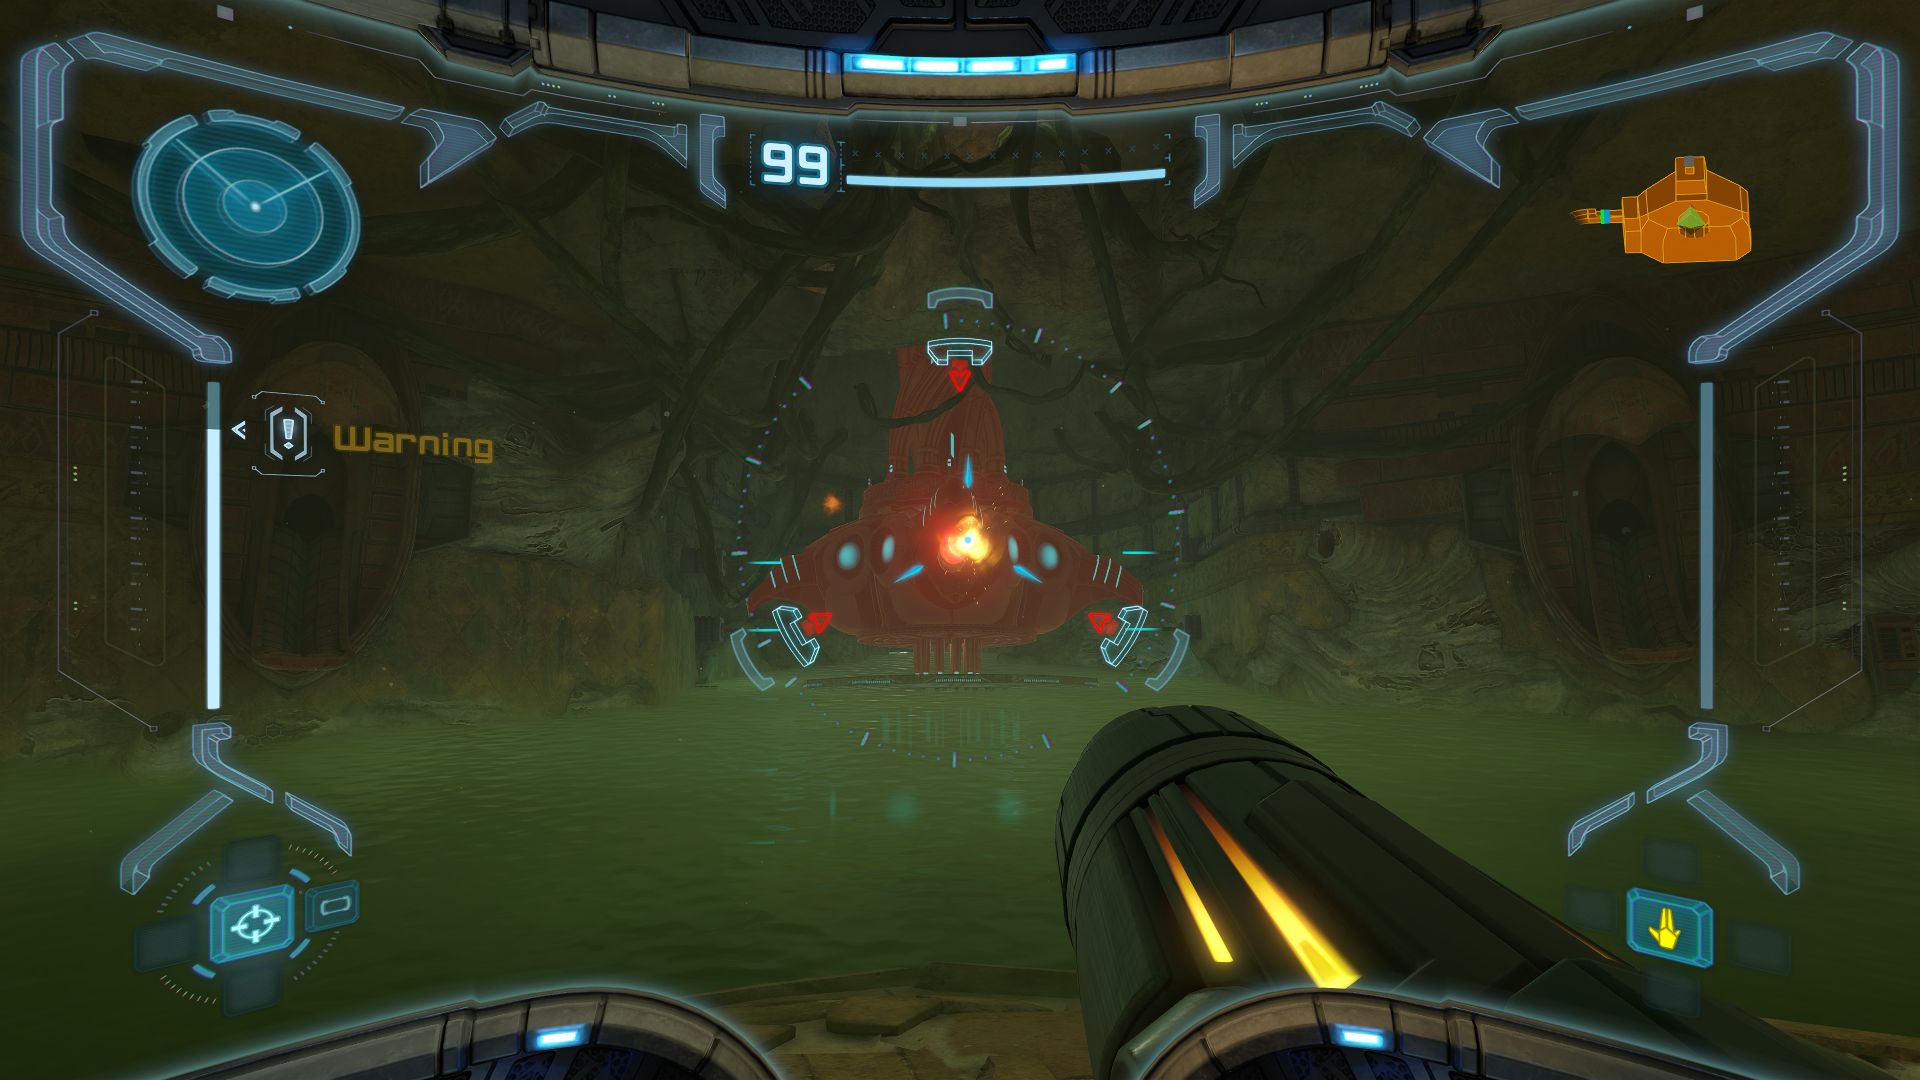
Hive Mecha
Scans in This Section
Creatures: Hive Mecha *missable*, Ram War Wasp *missable*
The Chozo of Tallon IV abandoned most of their technology in the time before they vanished, but pockets of it can still be found in their ruins, such as the HIVE MECHA. Be sure to scan it, along with the RAM WAR WASPS, that it deploys. Luckily, this fight is pretty simple; just shoot all the wasps in the arena and the Hive Mecha will expose a weak point for you to shoot. Do this 3 times and get a free MISSILE LAUNCHER for your trouble. To keep track of all the wasps in the later phases, use your radar so you know exactly where to shoot when they do their attack wind-up.
Ball of Steel
Scans in This Section
Research: Medium Missile Ammo
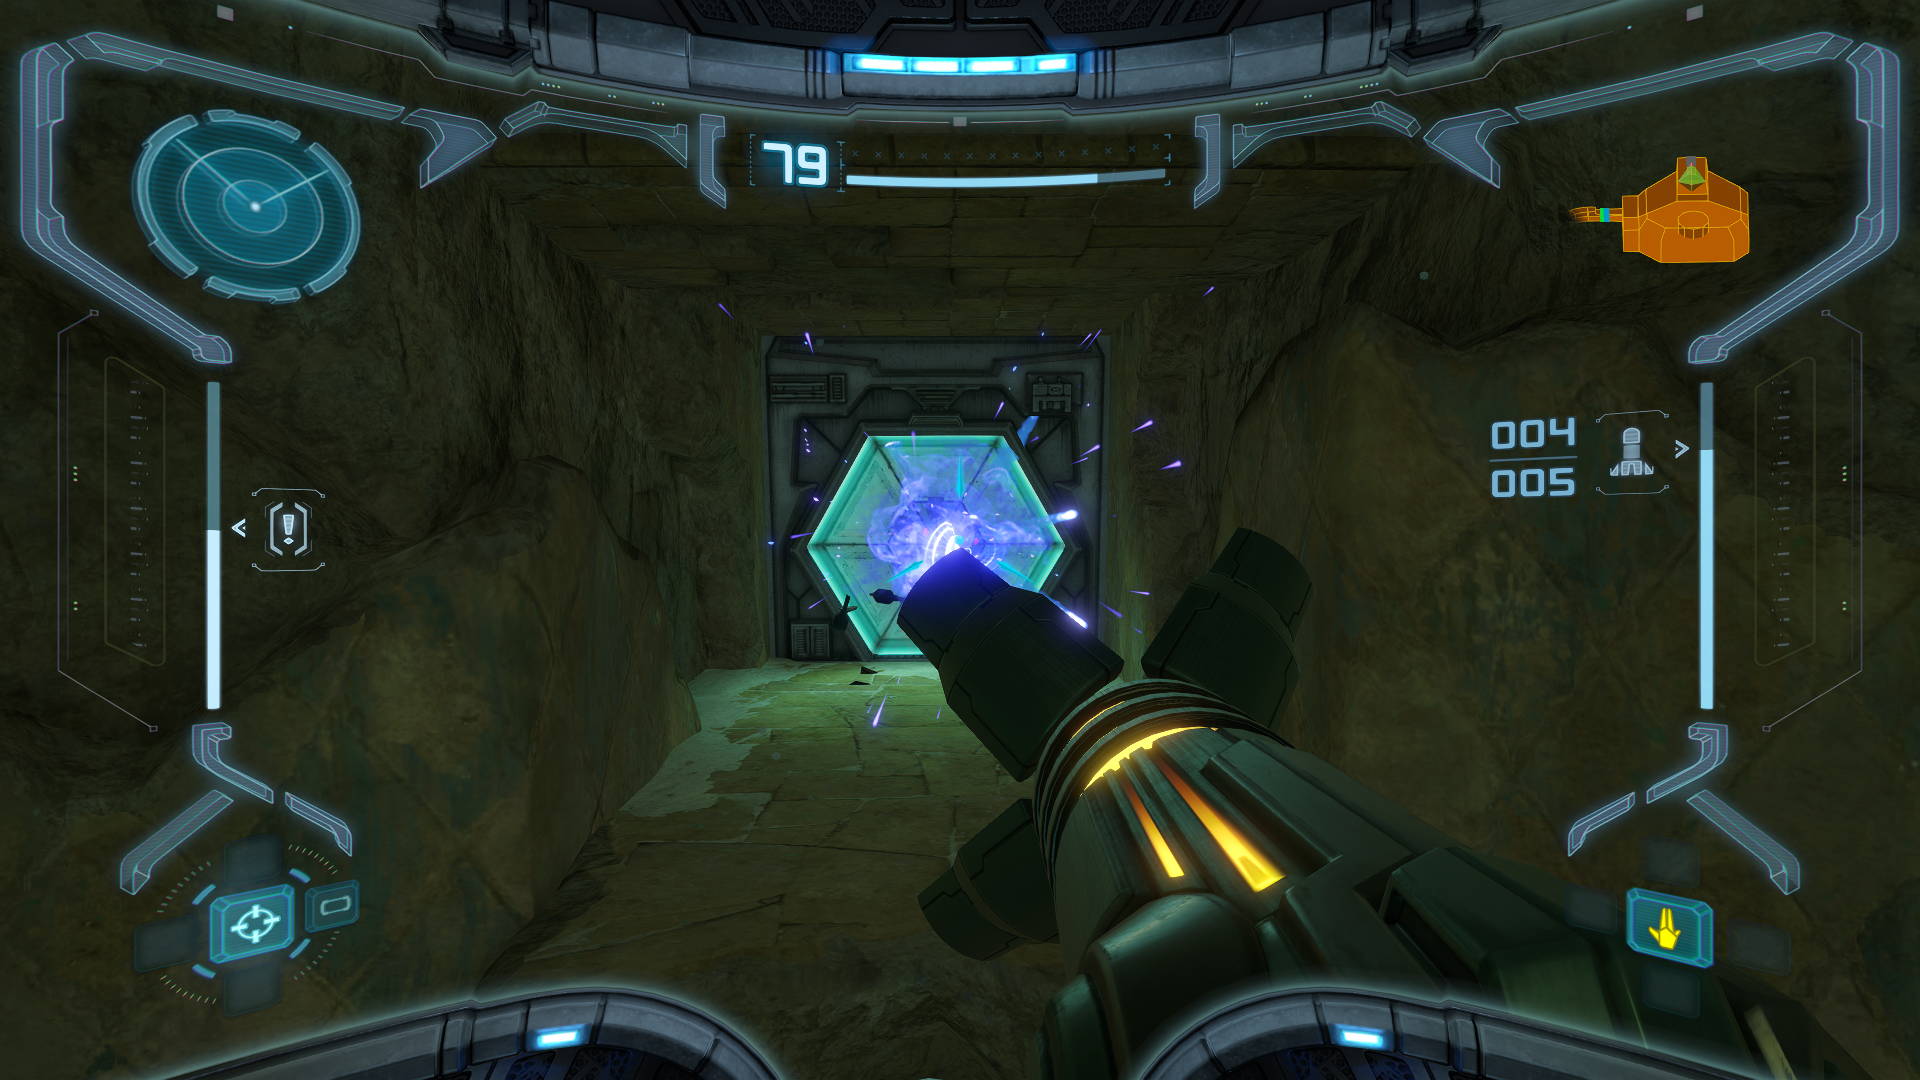
After grabbing the Missile Launcher, use it on the Blast Shield to enter Transport Access North. Right in front of you is ENERGY TANK #1, no strings attached this time! What’s more, at least one of the crates is guaranteed to spawn a MEDIUM MISSILE AMMO drop (replenishes 5 missiles), giving yourself another easy scan! We can’t move forward as we need the Morph Ball, so instead we need to go back and find some new targets for our Missile Launcher! First, let’s head back to the Ruined Gallery (pro tip: missiles can blow up War Wasp Hives, preventing them from infinitely spawning its angry colony). Once you’ve dealt with the hive, blow up the Blast Shield to find yourself face-to-face with a beautiful Map Station. Scan it if you forgot to do so on the frigate, otherwise download the data and move along.
Once you’re back at the Main Plaza, go back to the Blast Shield you initially scanned and do what you do best to it. After a long and twisty hallway, you’ll arrive at the Ruined Shrine. Upon jumping on the platform you’ll spot the Morph Ball just tantalizing you on the other side of a totally not conspicuous pit.
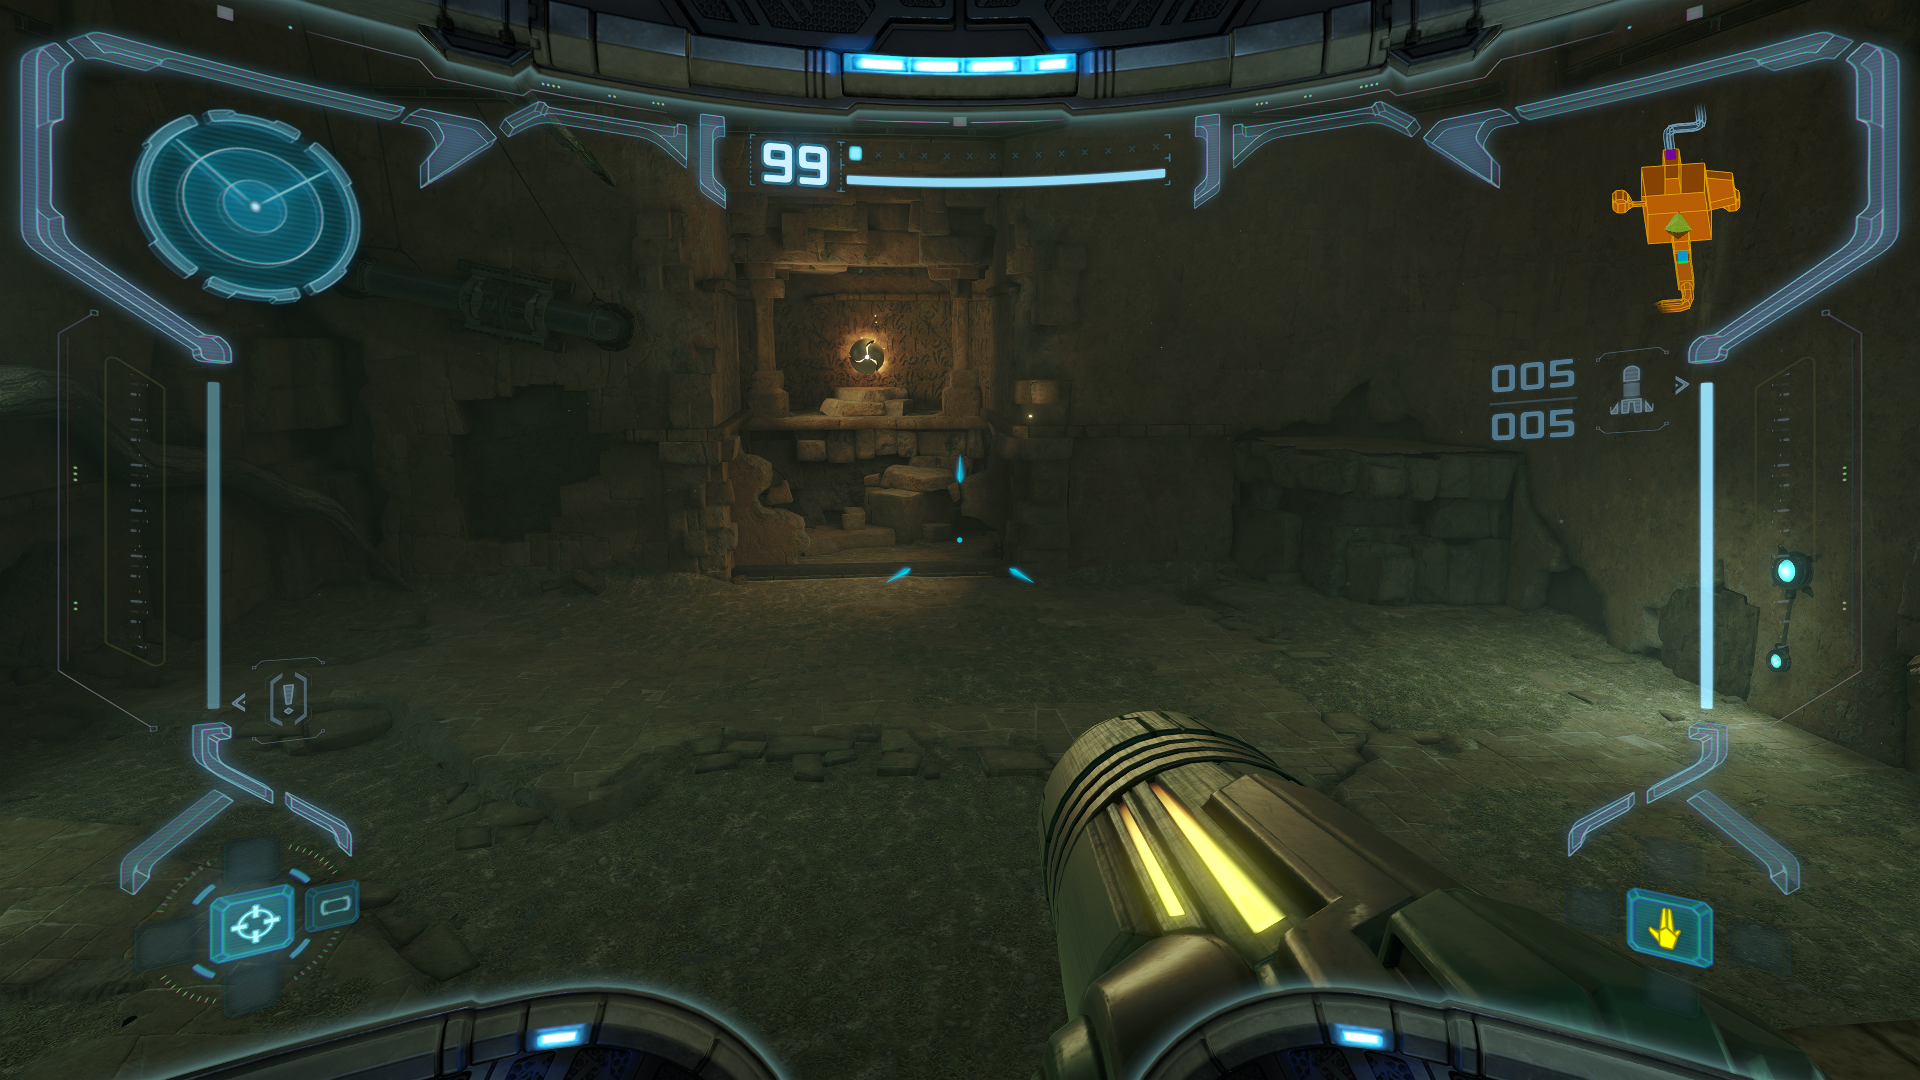
It’s too far to reach without getting in, so in the words of David Lee Roth… “Might as well jump”.
Beetle Colony
Scans in This Section
Creatures: Plated Beetle
We’ve disturbed a nest of Beetles, and they don’t take kindly to us trespassing on their territory, so the only way to move forward is to squash the bugs! It might feel overwhelming at first to have so many enemies swarming you in such a small location, but much like the Parasite Queen fight, it’s just a basic lesson in circle strafing. Target lock one Beetle at a time and keep moving to the left or right, avoiding any attacks as best as you can. Keep firing and make sure to change your lock after each confirmed kill.
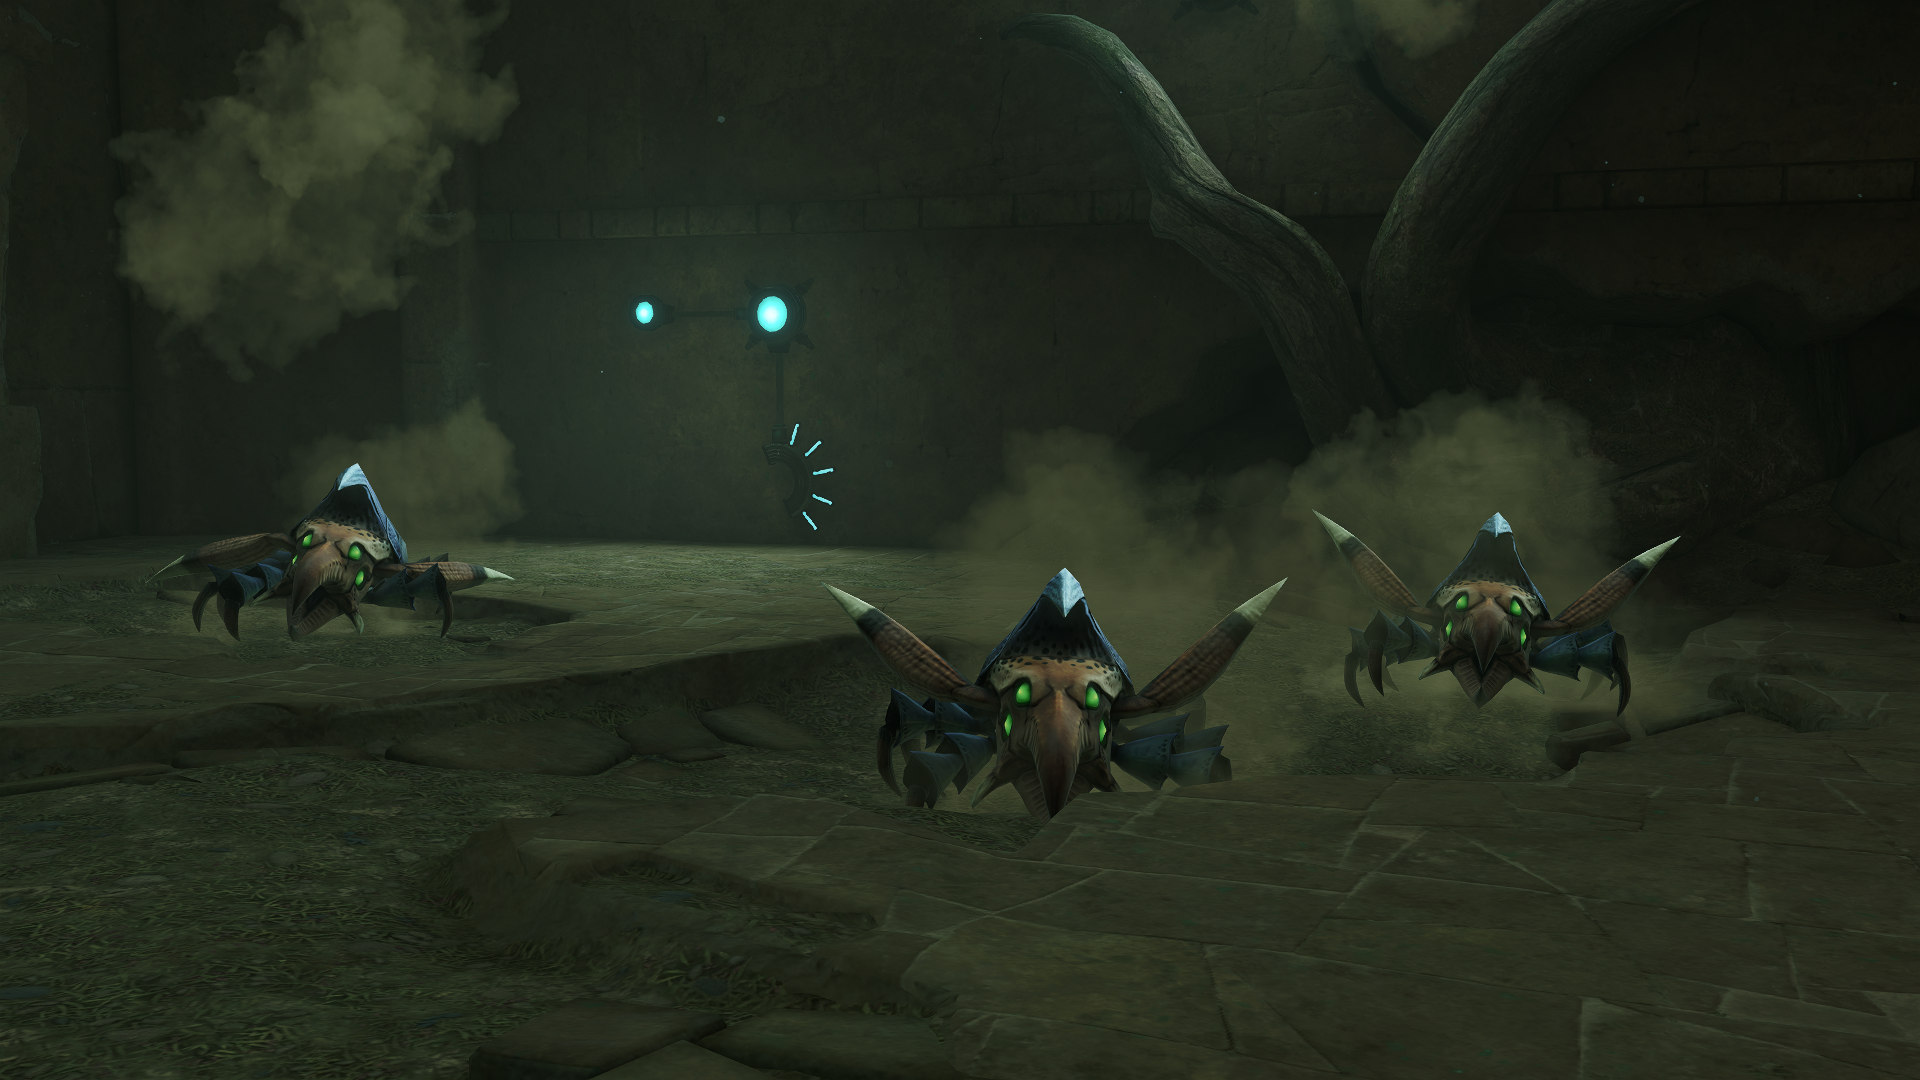
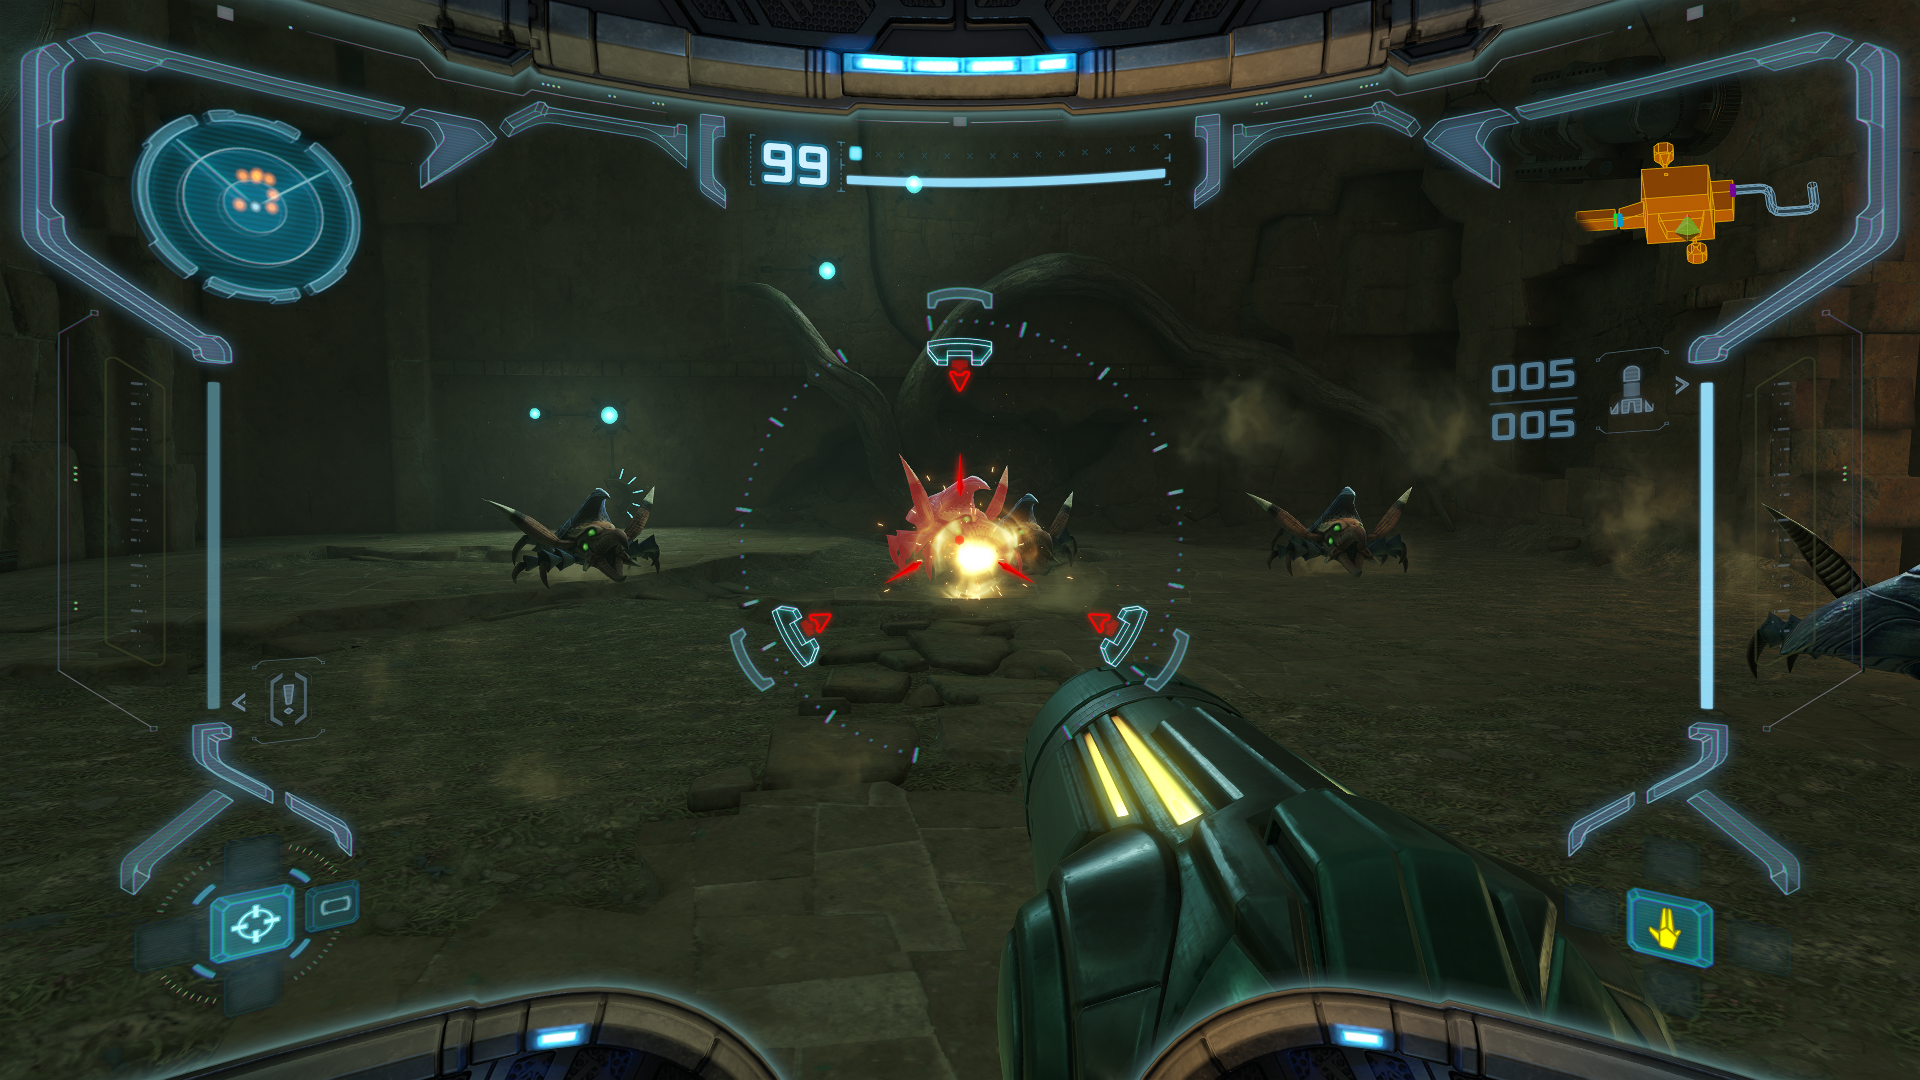
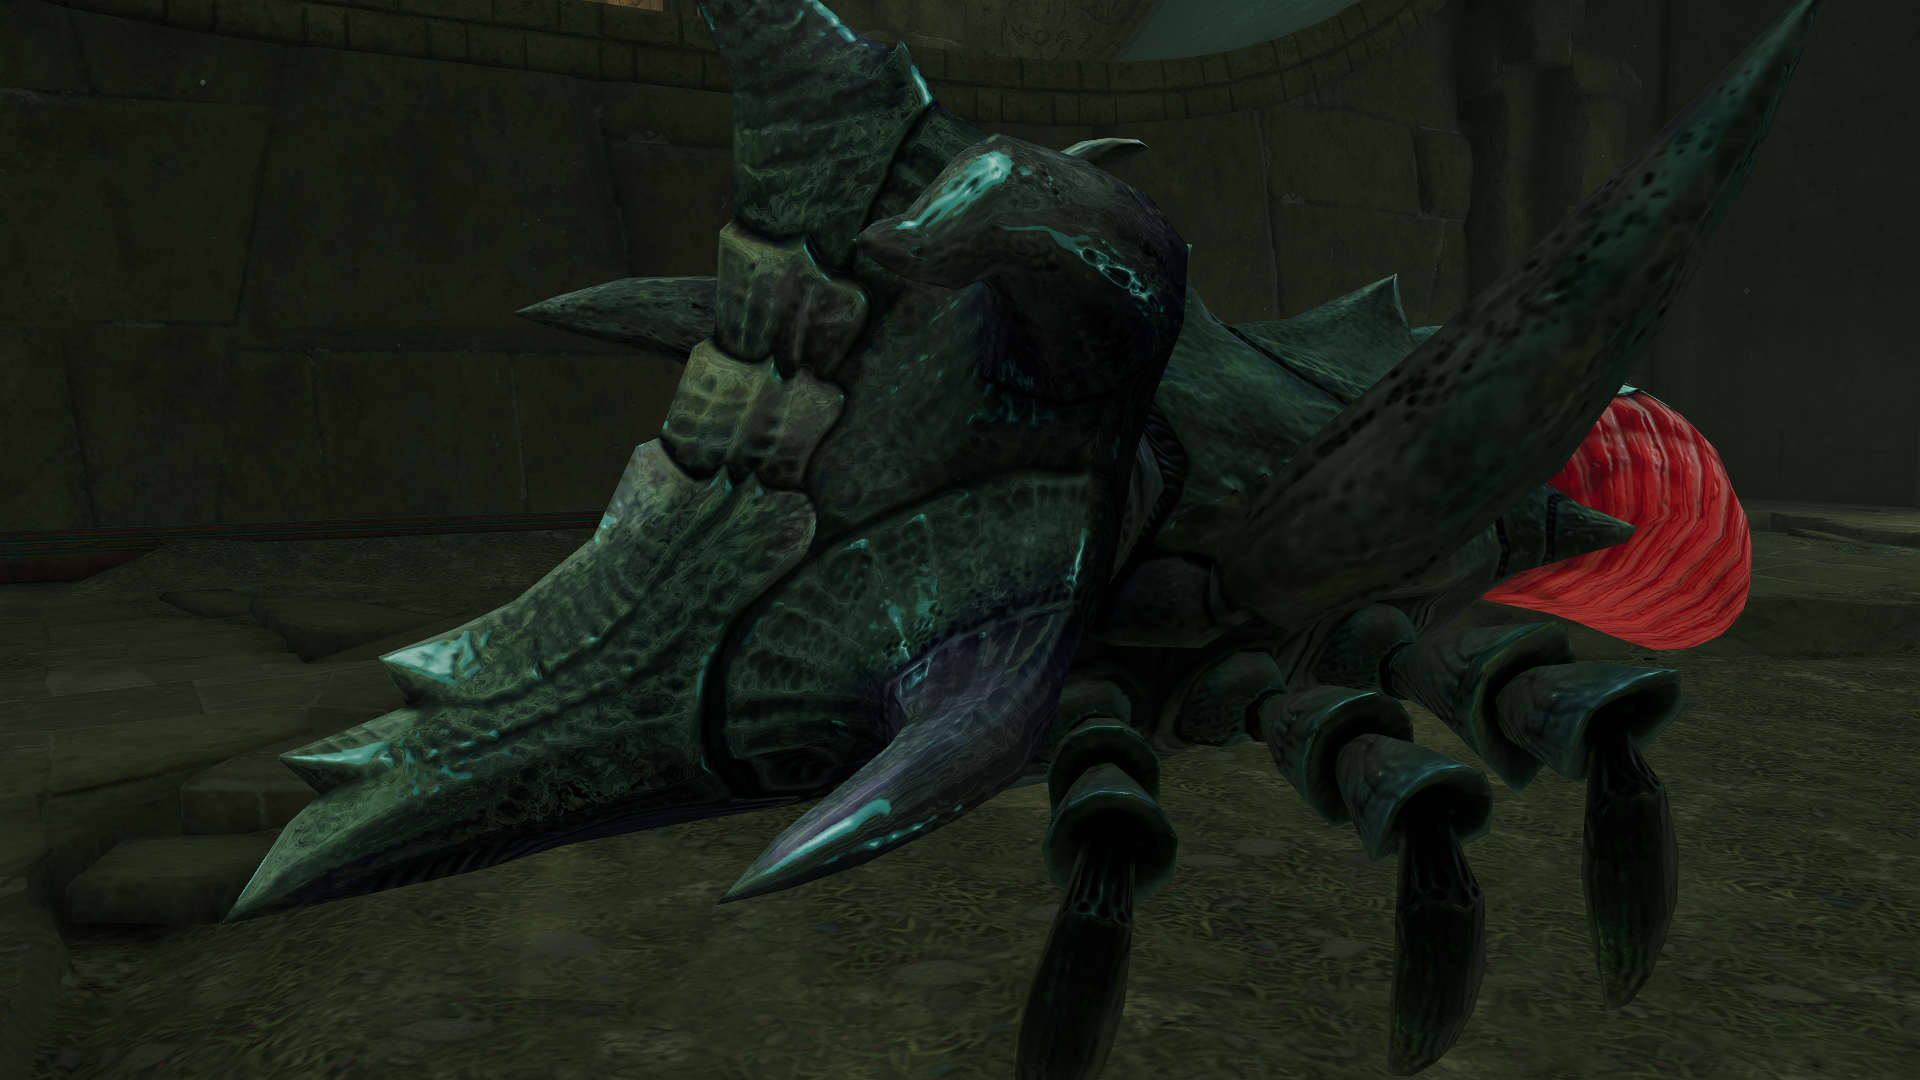
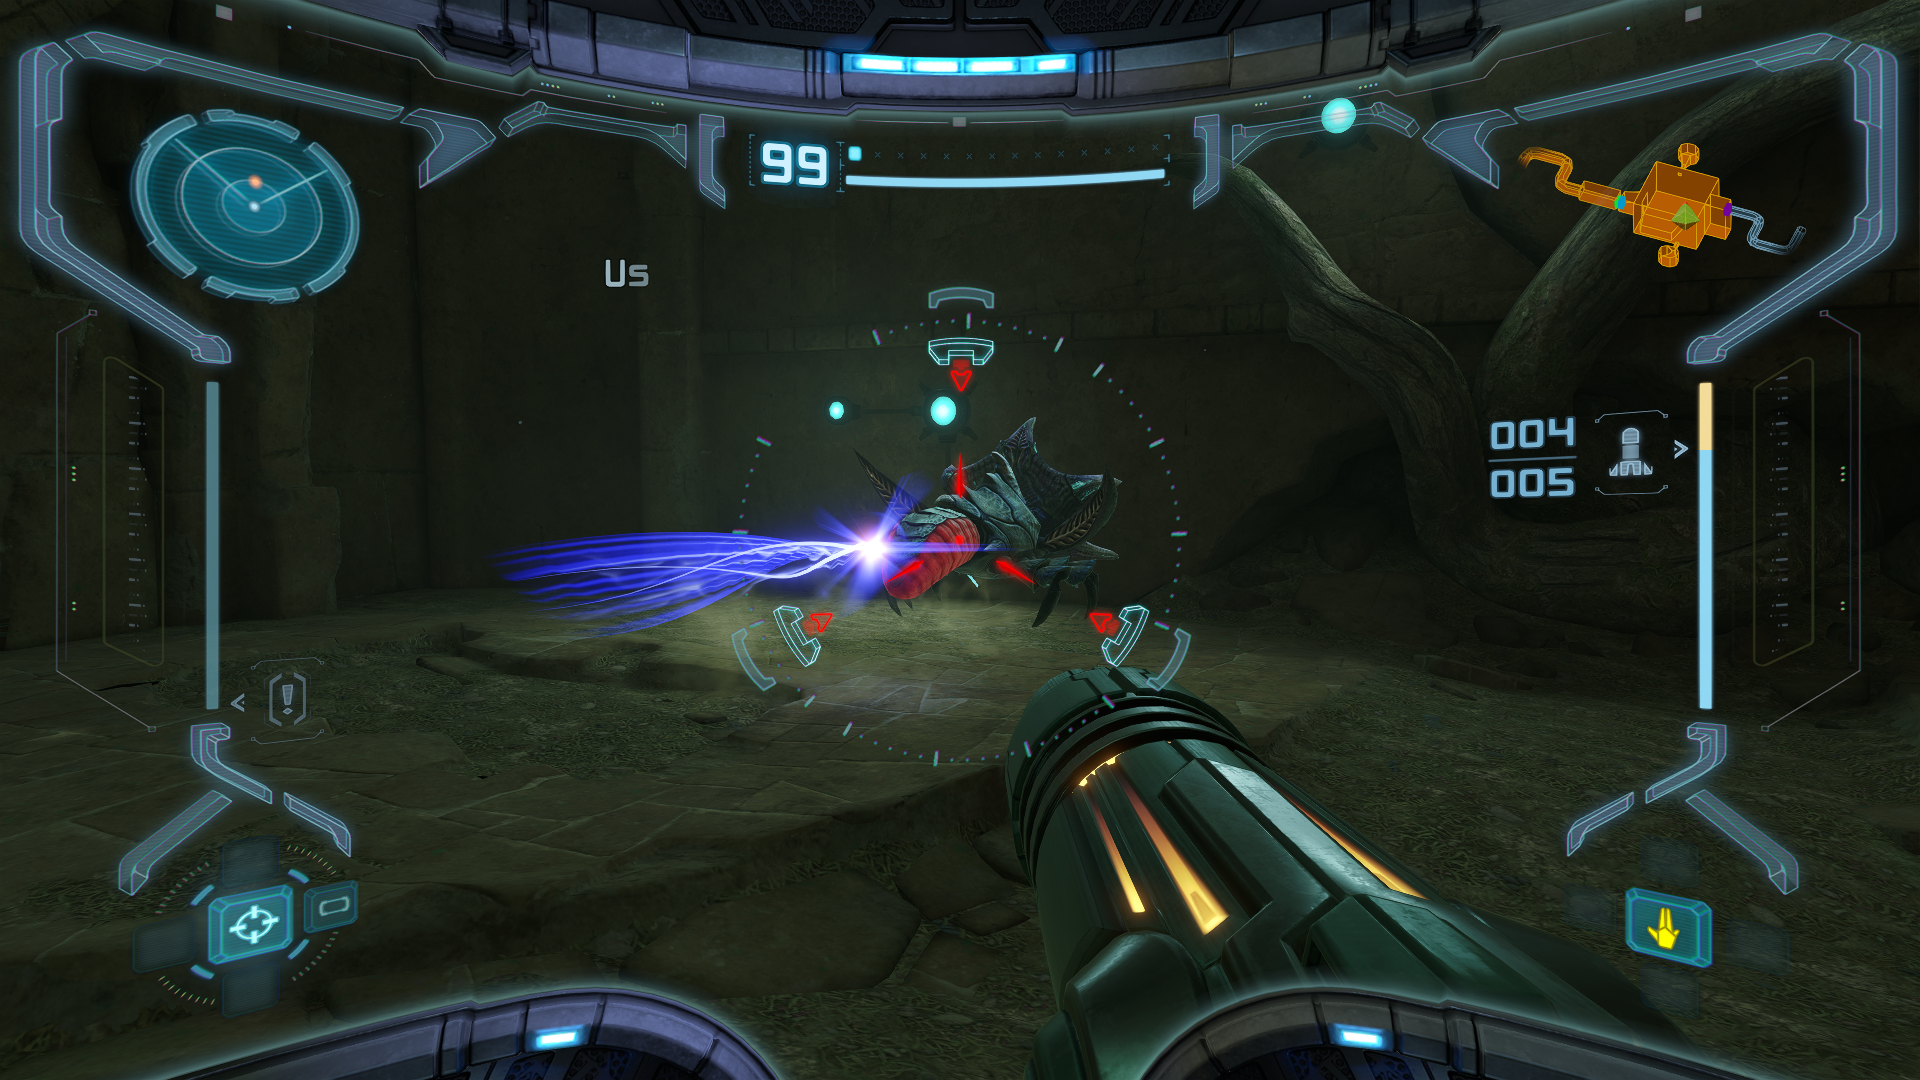
After you take out all the Beetles, a PLATED BEETLE will emerge from the ground. This thing looks MEAN with its hard plated head and red aposematic abdomen, but its aggression is about to be its own worst enemy. Once you’ve scanned it, wait for it to lunge after it does its two side steps, then quickly dash to the side and fire a missile. Do this two times and the Beetle will be no more.
A Tallon Detour
Scans in This Section
Pirate Data: Artifact Site
Chozo Lore: Contain, Prophecy of Light
Creatures: Seedling
Artifacts: Truth
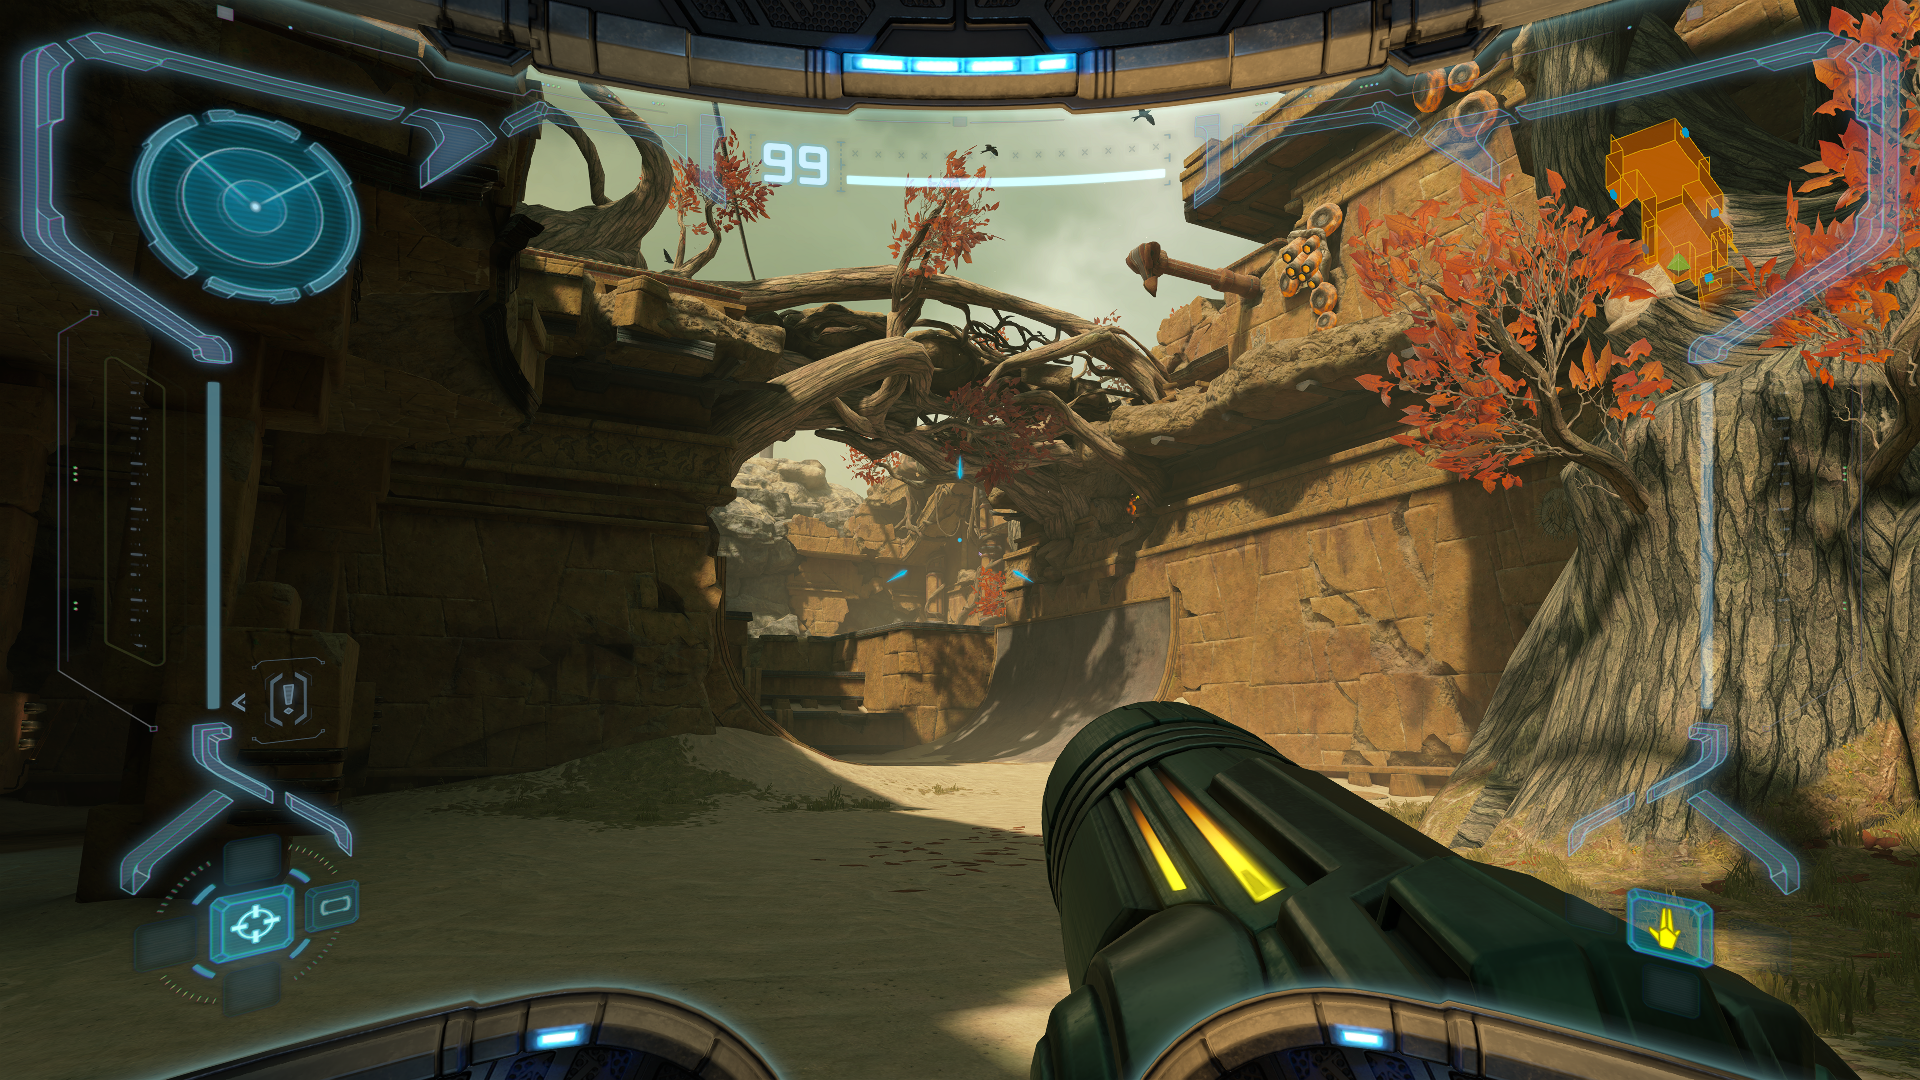
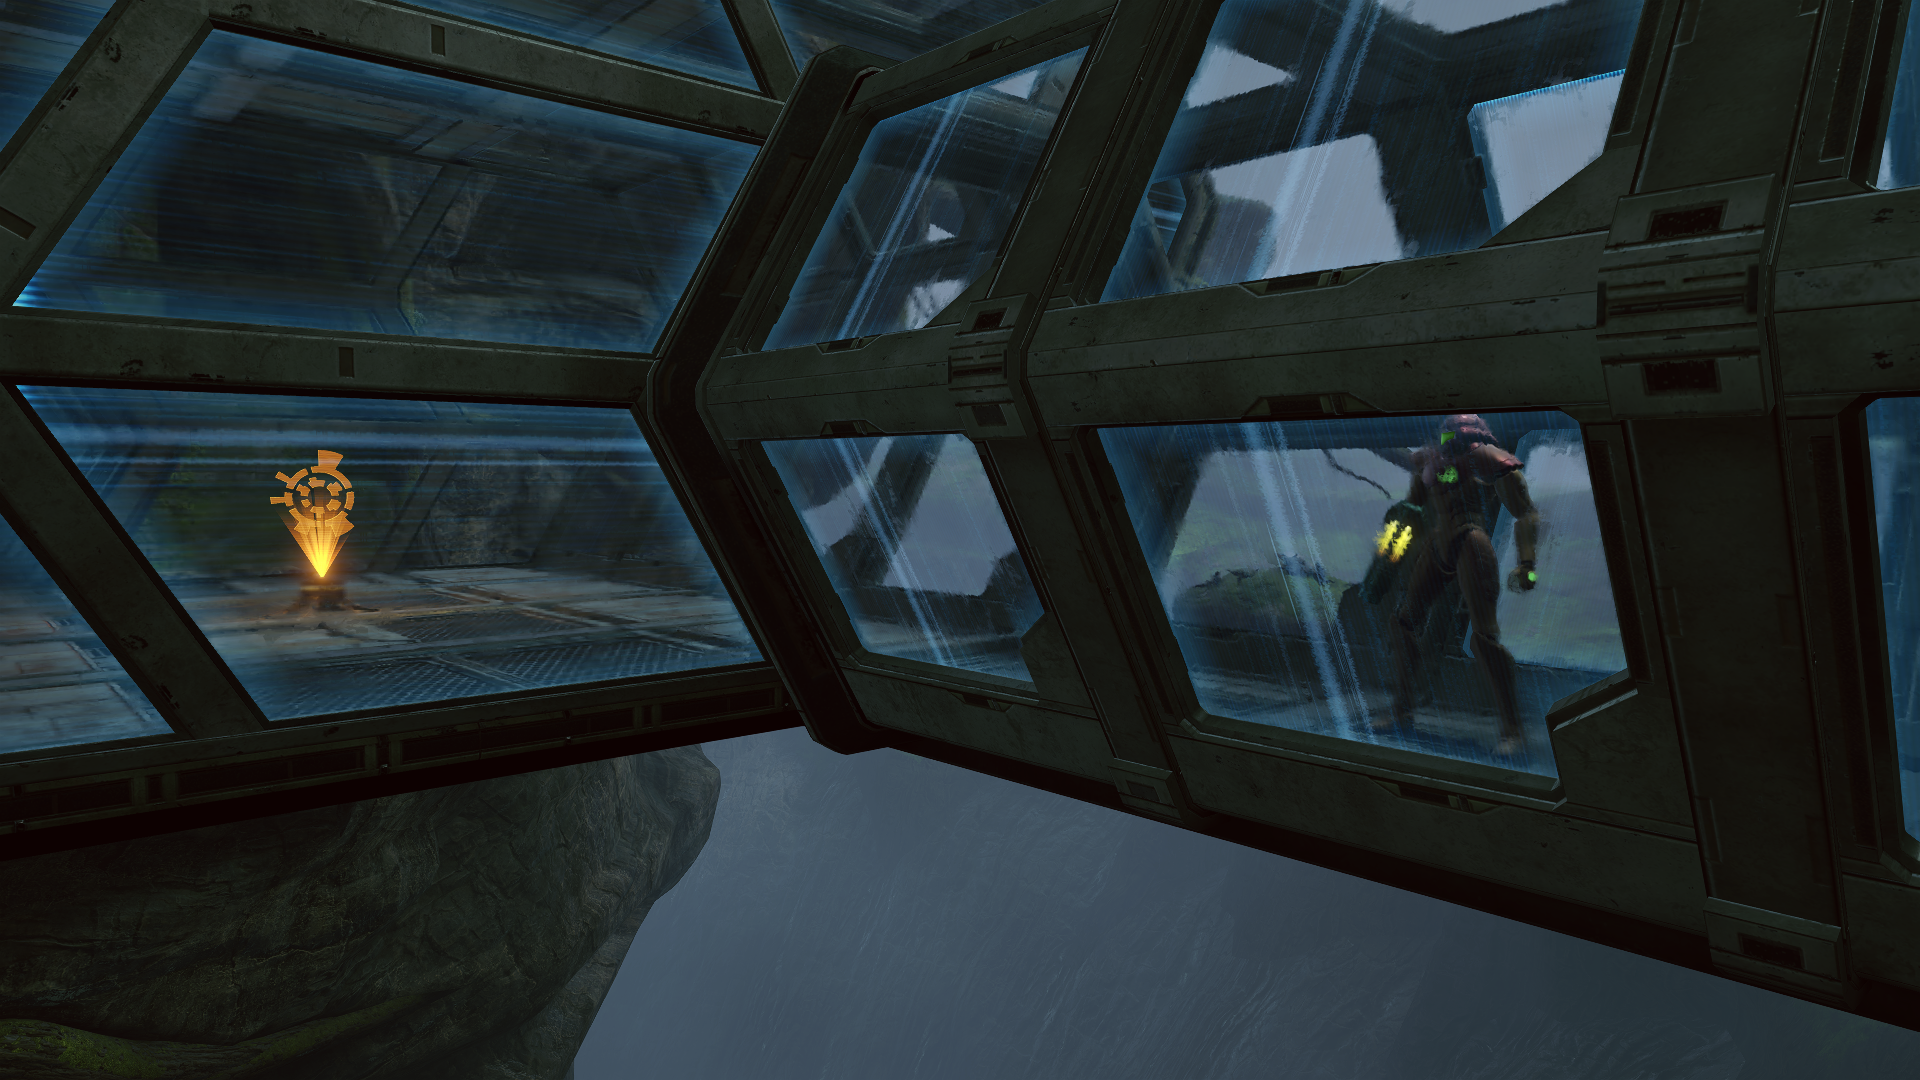
After defeating the Plated Beetle, there’s a slight chance of an Ultra Energy drop (replenishes 100 energy units) being left in its place denoted by its bright gold appearance. Scan it if it appears, but don’t worry if it doesn’t. There’s some guaranteed spawn points from crates that we’ll lay out once we get there. For now grab your Morph Ball, leave the room and get yourself back to the Main Plaza. From there, make your way back to the Transport to Tallon Overworld North and take the elevator down. Once you arrive, go back to the Landing Site and save your progress at the ship. Go back to the alcove where you first scanned the Tangle Weeds and roll through to grab MISSILE EXPANSION #2. After that, go to the upper door located directly in front of your ship by taking a path to the left that goes underneath the waterfall. In the next room, scan one of the SEEDLINGS on the ceiling before proceeding. At the Temple Security Station, you’ll see a bright orange hologram in the center of the room that frankly you cannot miss. Scan it to reveal a new entry of Pirate Data, “ARTIFACT SITE”. Destroy the Blast Shield afterwards and keep going.
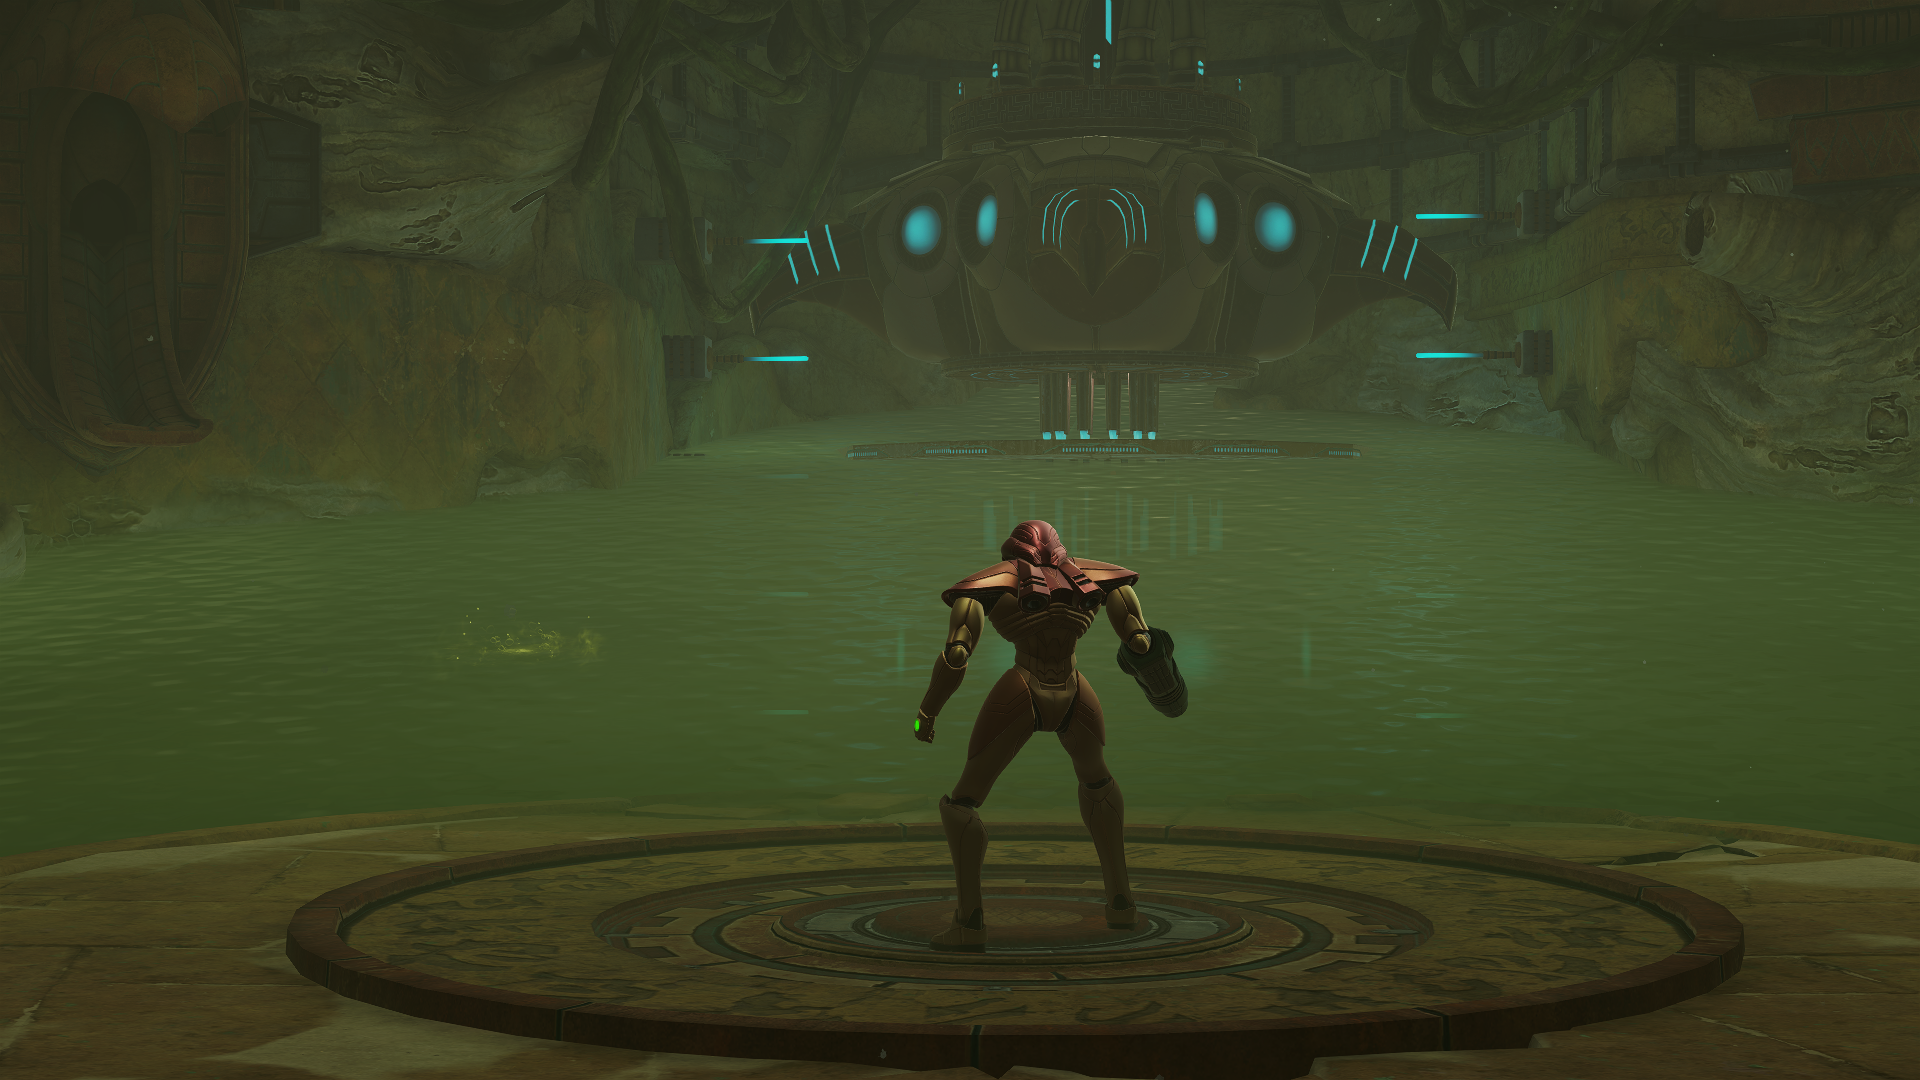
At the Artifact Temple’s upper level, you’ll have two Chozo Lore entries to scan at each side, “CONTAIN” and “PROPHECY OF LIGHT”. Add these to your logbook, then make your way downwards to collect your first Chozo Artifact, the ARTIFACT OF TRUTH. Twelve artifacts are needed to gain access to the Impact Crater, our endgame which will be revealed in time. You can scan the totems for clues on where to find a selection of the remaining artifacts, with more clues being unlocked as you gather them at the site. None of the clues count towards your scan completion (despite the suit AI saying “recorded to logbook” which otherwise denotes scans of that nature) so don’t worry too much about them.
When you finish up, save again at your ship if you want and then head back to the Transport to Chozo Ruins West. Our little detour is over and it’s time to get back to exploring!
Next Chapter: The Ruins Come Alive