Metroid Dread Walkthrough – Raven Beak
Walkthrough
Revelations
Once on Itorash, continue forward, stopping to recharge your health and save your game, then lay a Power Bomb in the final room. Jump up and ride the elevator up to the Network Station to speak with Adam one final time.
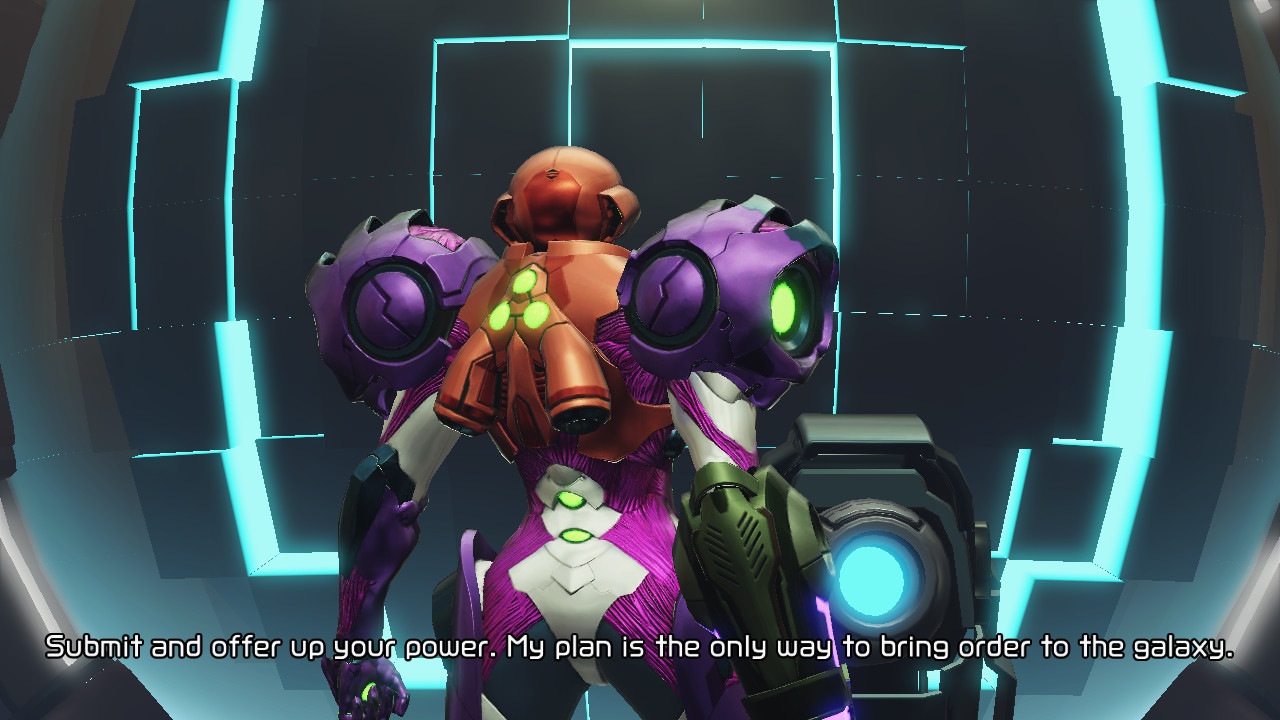
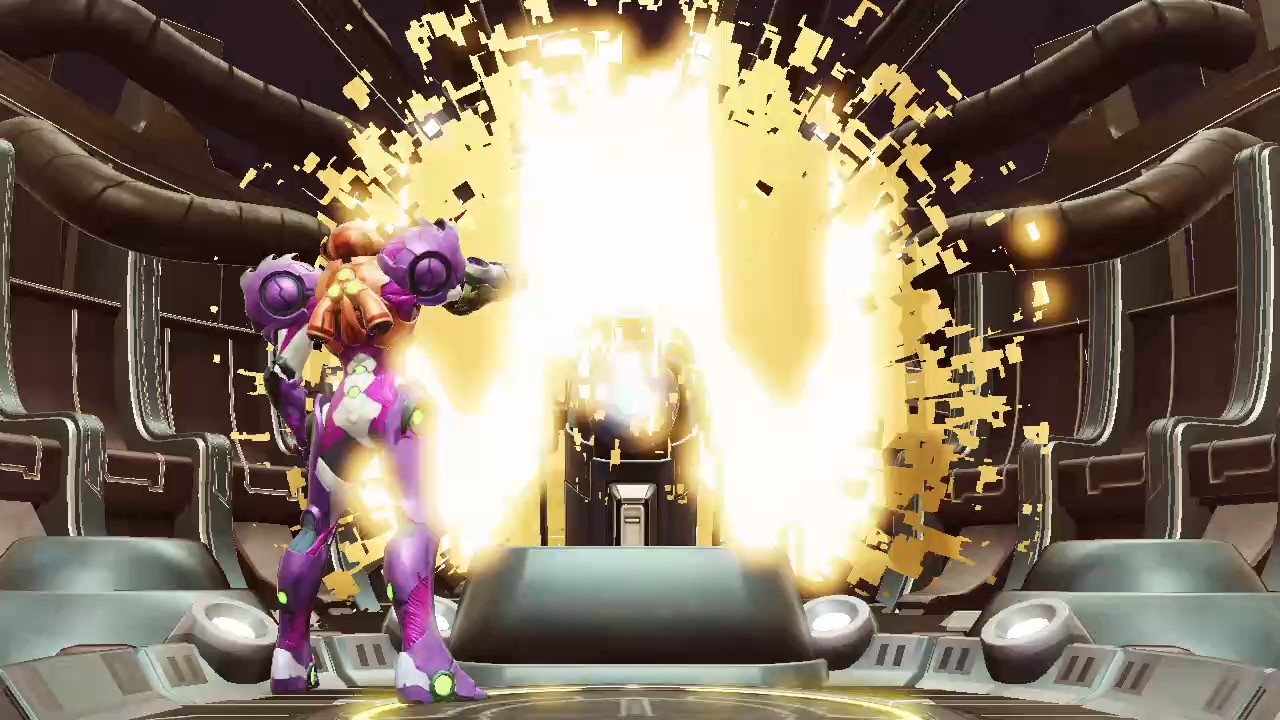
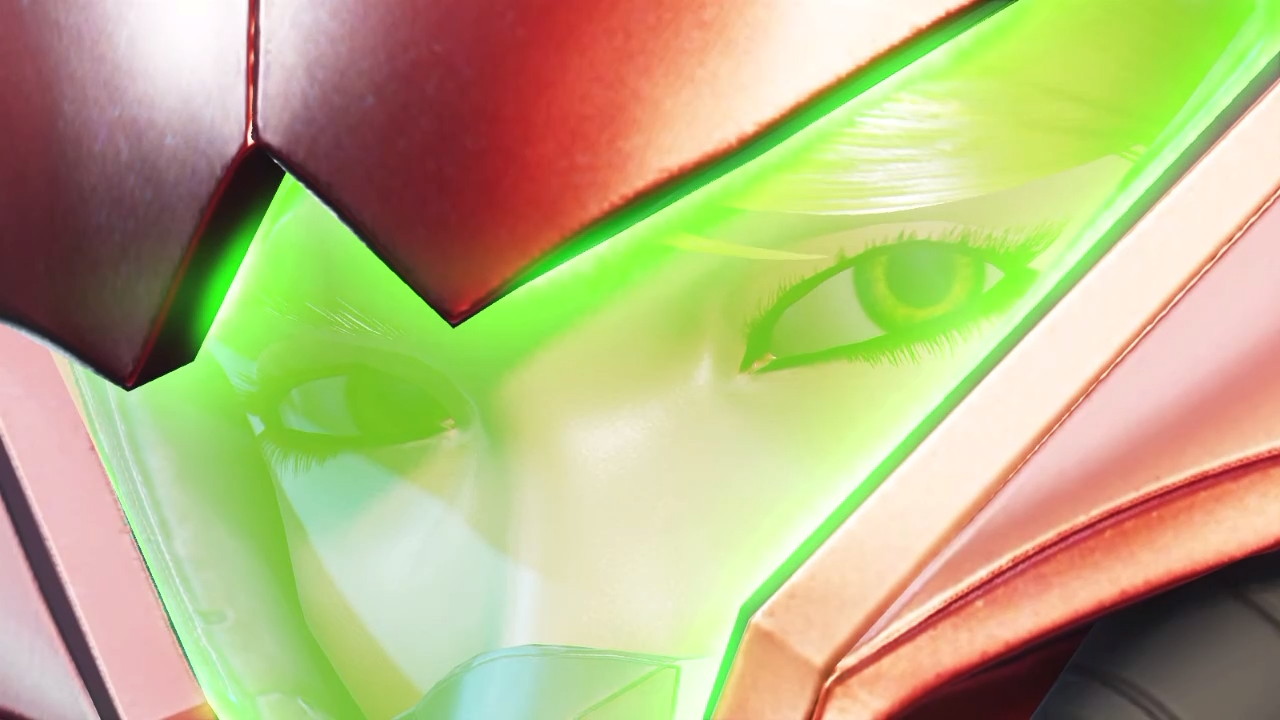
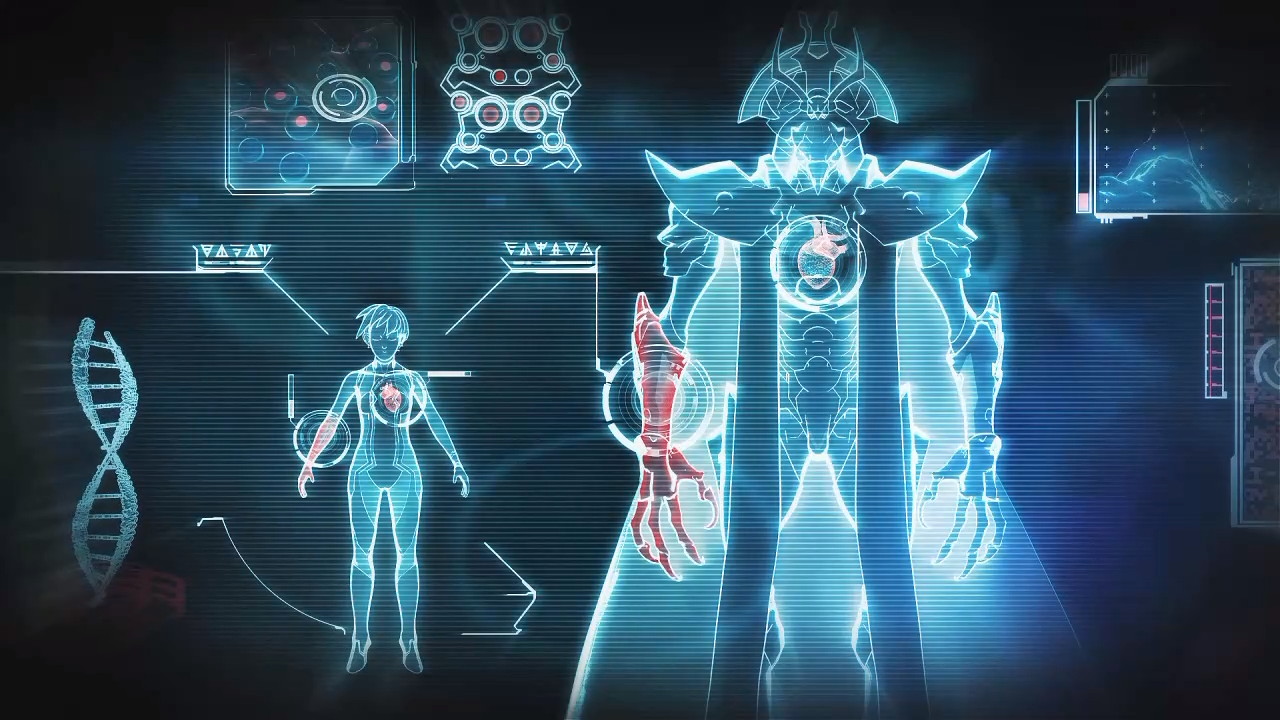
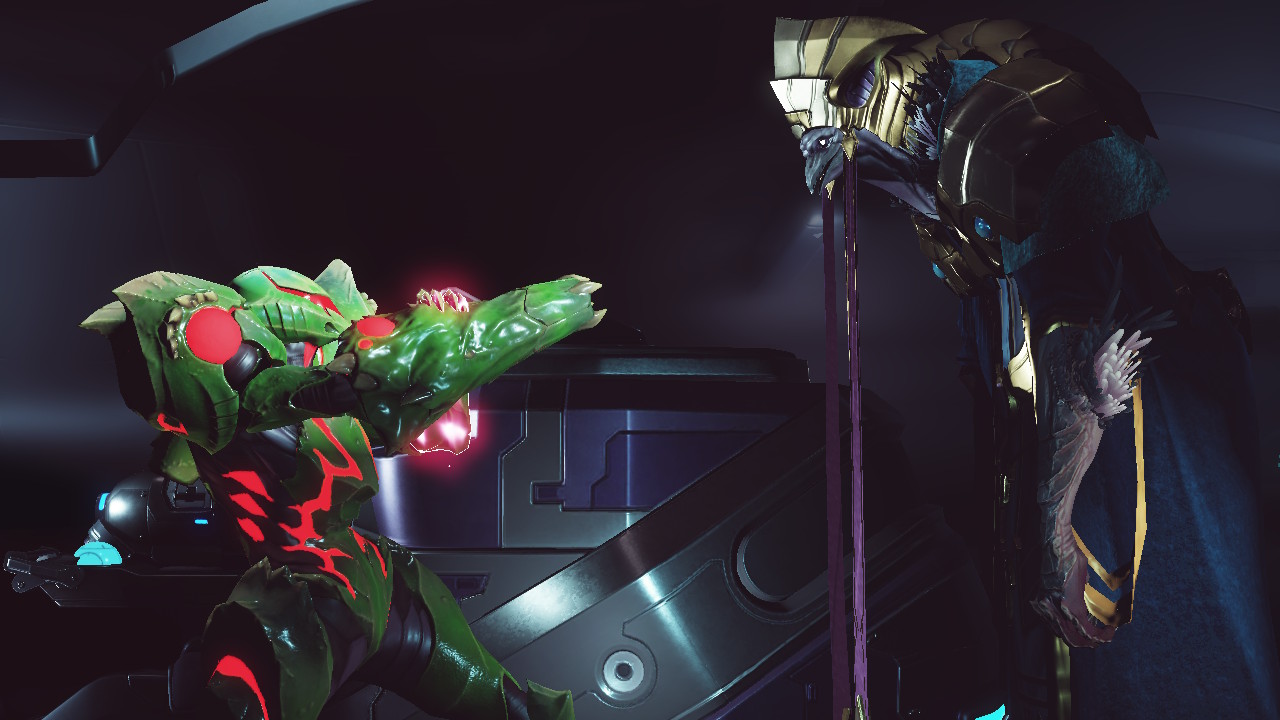
Adam will inform Samus that she is now a Metroid, a process that should have occurred immediately after the Metroid DNA vaccine, but was delayed due to her Thoha DNA. Adam then also says that she possesses Mawkin DNA as well, and that the encounter with Raven Beak must have awoken the Metroid in her and accelerated the transformation process from human to Metroid. In the midst of all this, Adam starts to act and speak rather… un-Adam-like. Samus is clearly suspicious, and so should you be. When “Adam” starts talking about ruling the galaxy and telling Samus to submit, Samus decides that instead of doing that, she would rather blow up the Network Station, revealing that “Adam” has actually been Raven Beak this whole time.
Raven Beak says that he let Samus live during their encounter at the beginning of the game in order to wake up the Metroid DNA in her, while also revealing that the Mawkin DNA inside of Samus came directly from him, making him the “father” of Samus in some kind of sick and twisted way. Raven Beak’s plan is now to use Samus’s DNA – the DNA of a Metroid, a Thoha, a Mawkin, and a human – to create clones of Samus that will obey him and allow Raven Beak to conquer the galaxy.
Samus isn’t having any of that, and neither are we, so let’s get ready to square off against the deadliest threat we’ve ever encountered.
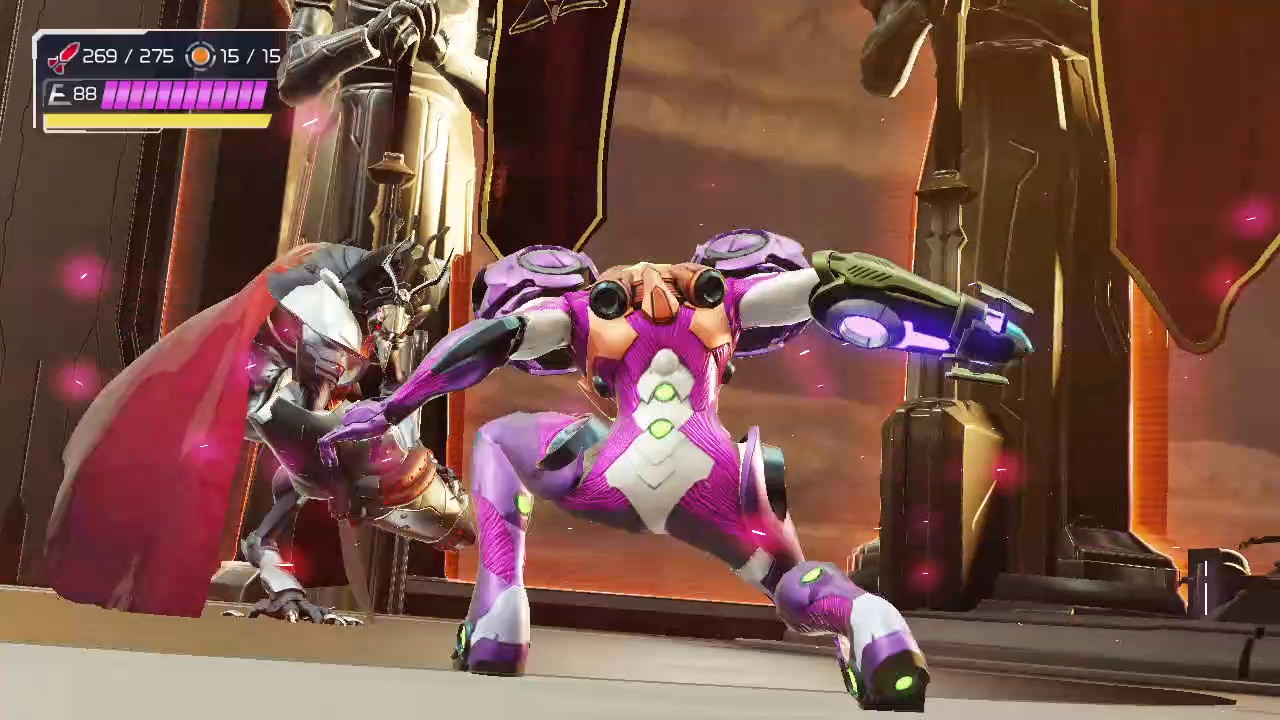
Raven Beak: Phase 1
Samus! Raven Beak! The fight of the century is on!
Let’s just get this out of the way right now: if this is your first time fighting Raven Beak, you’re going to die. You’ll probably die a few times. Even if you followed this guide and got 100% of the items, you’re still probably going to fall at least once. And to be honest, a lot of this fight is you needing to react fast enough to Raven Beak’s attacks, so I’m not going to be able to provide you with as much of a detailed strategy as you may like, but I can tell you what attacks Raven Beak will use and how to avoid them, as well as some key advice.
Let’s start with the single most important thing you need to do in this fight: hold down the Storm Missile button basically all the time. You want to be constantly charging up your Storm Missiles so that when you get an opportunity to lock on Raven Beak, you’re ready to fire. As important: once your Storm Missiles are charged, you do not need to stop moving and wait to lock onto Raven Beak. This is so important, and the key difference between winning and losing this fight. To reiterate: charge up your Storm Missiles constantly and then quickly aim at Raven Beak so that just one – not all five – Storm Missile locks lock on. You don’t even have to stop and use 360° aiming for this if you do this right. Just get that singular lock on and fire away your Storm Missiles
I can’t overstate how important the Storm Missiles and locking on are in this fight. This is how you’ll deal damage to Raven Beak the entirety of this fight. There’s no set opening or opportunity to do this, so you’ll need to just make this a constant.
Now onto Raven Beak’s attacks. Raven Beak has an assortment of offensive moves that he will bust out in a randomly selected way, so knowing how to avoid them, and in some cases, counter them, is key. It’s worth noting that Raven Beak also uses a Flash Shift, so he can move around the battlefield fairly quickly.
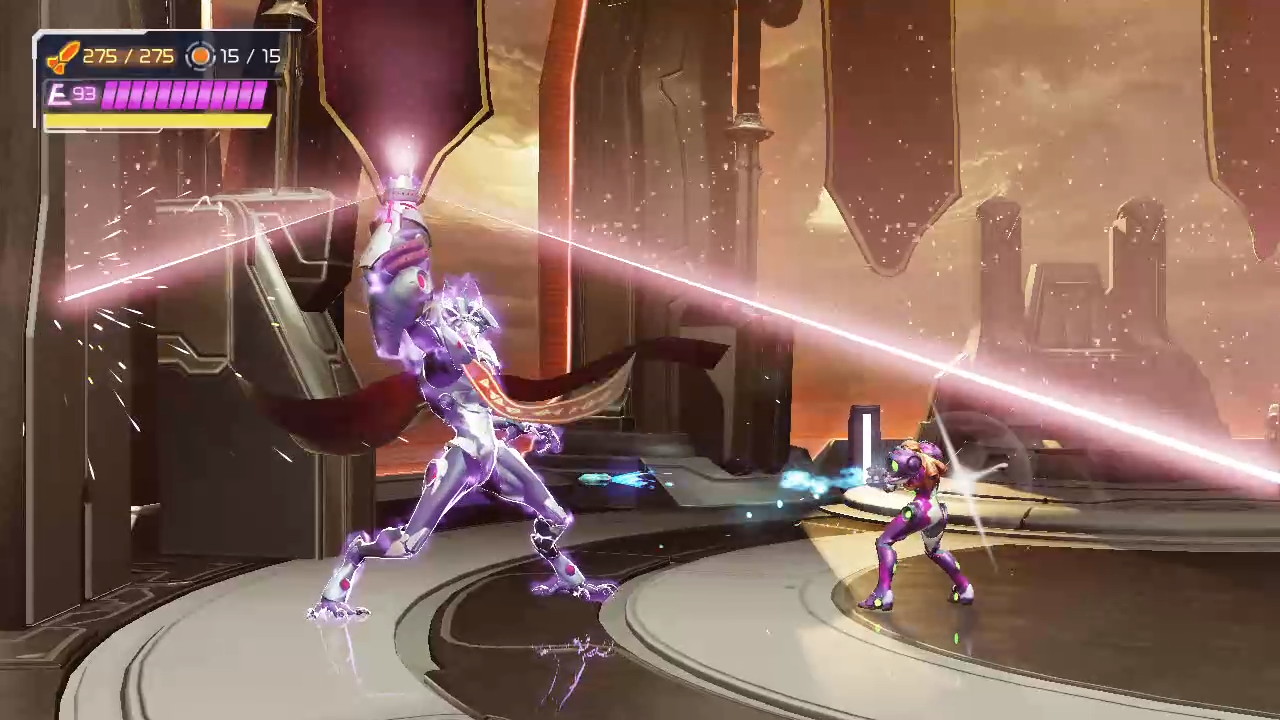
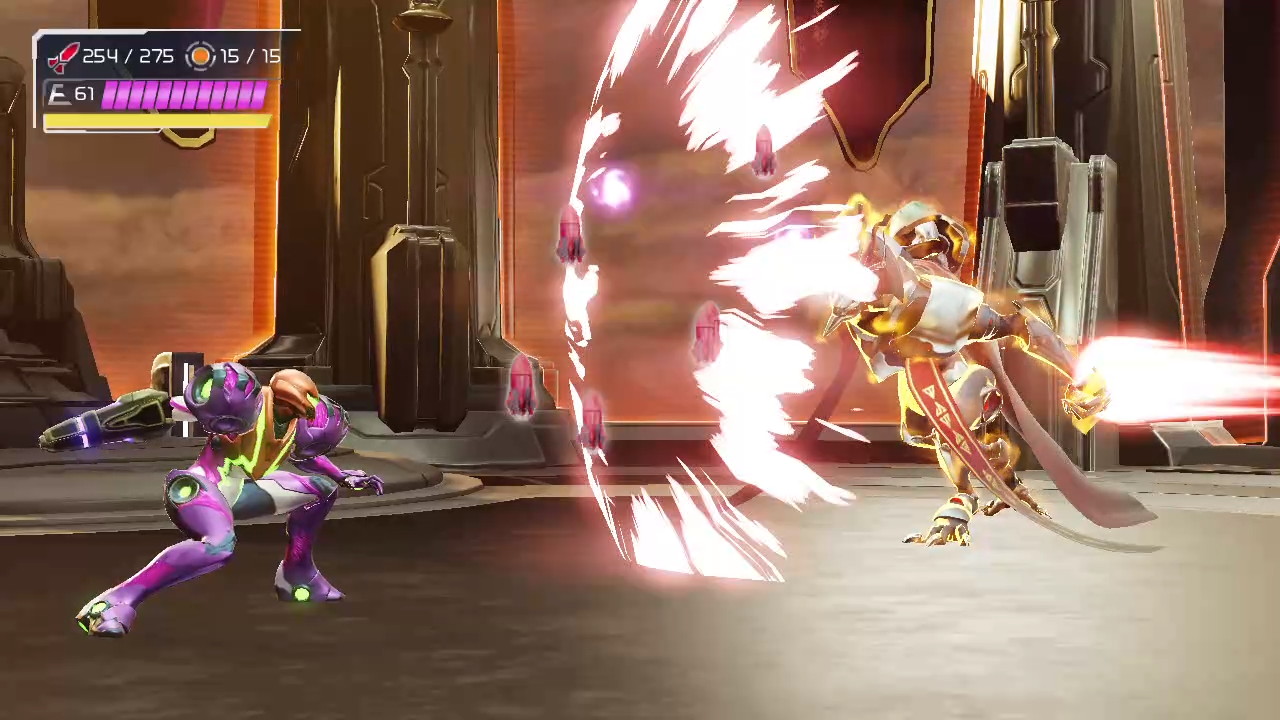
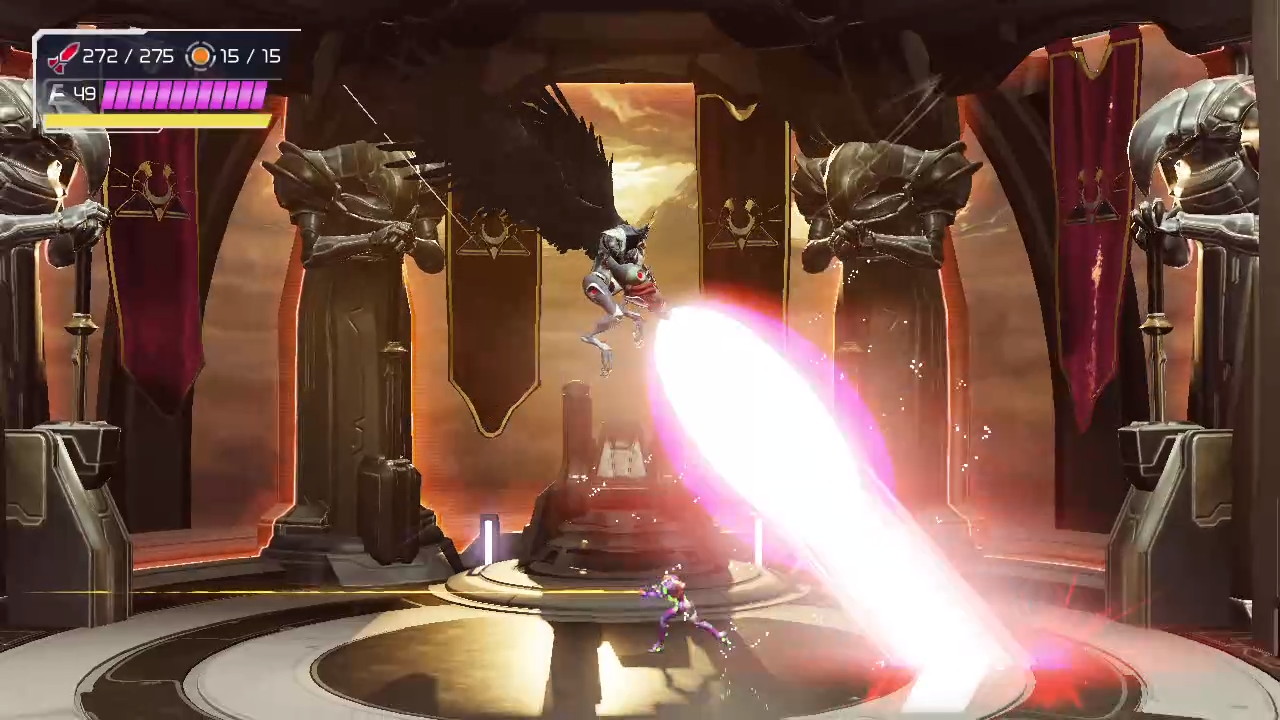
The attack you’ll probably see the most is Raven Beak raising his arm cannon directly up and shooting an Energy field that will move both clockwise and counterclockwise in either direction. Being in this field drains your energy away, you’ll need to run to the safest place on the field to avoid being hit – right beside Raven Beak. Stand right next to him and blast him with Storm Missiles as he finishes up his attack. Be careful though – Raven Beak almost always counters with a haymaker punch after he finishes shooting his energy field. He’ll lunge at you once, sometimes twice, sometimes three times, and these punches hurt, so best practice is to jump up and over the Dark Chozo, getting behind him so he doesn’t hit you. This punching attack isn’t just limited to after the energy field attack either, you’ll see this throughout the fight, so be ready.
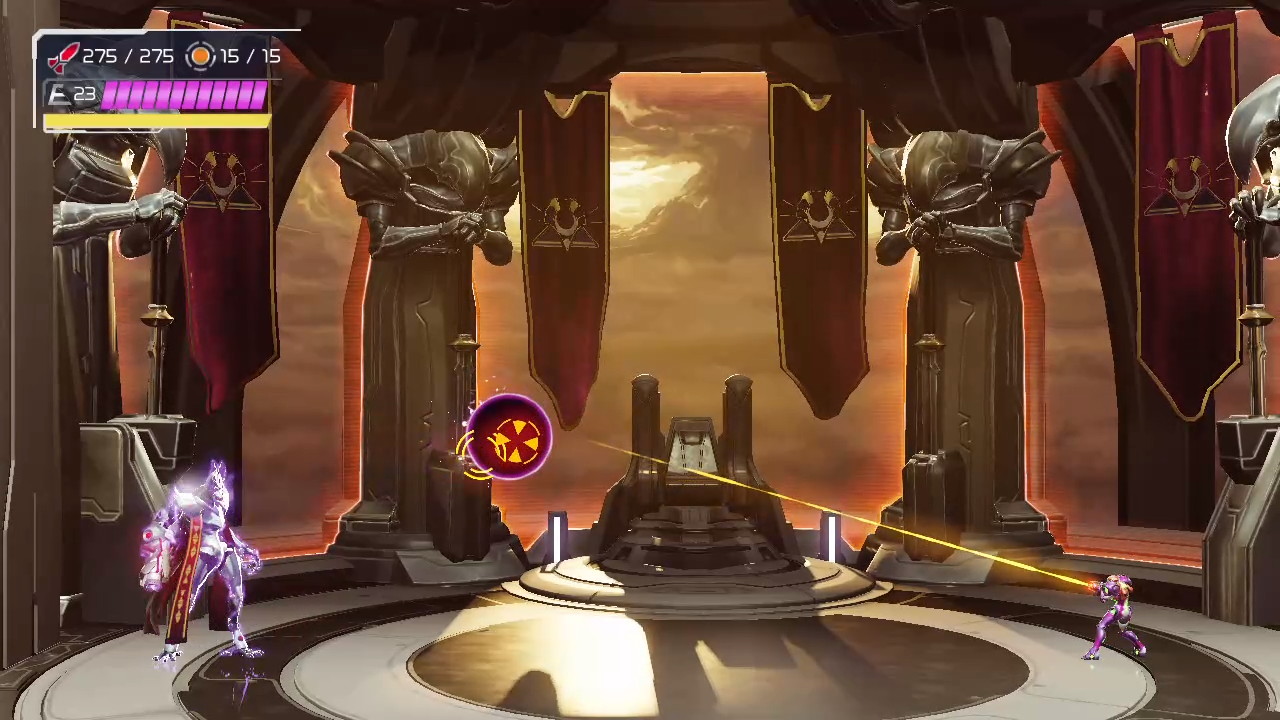
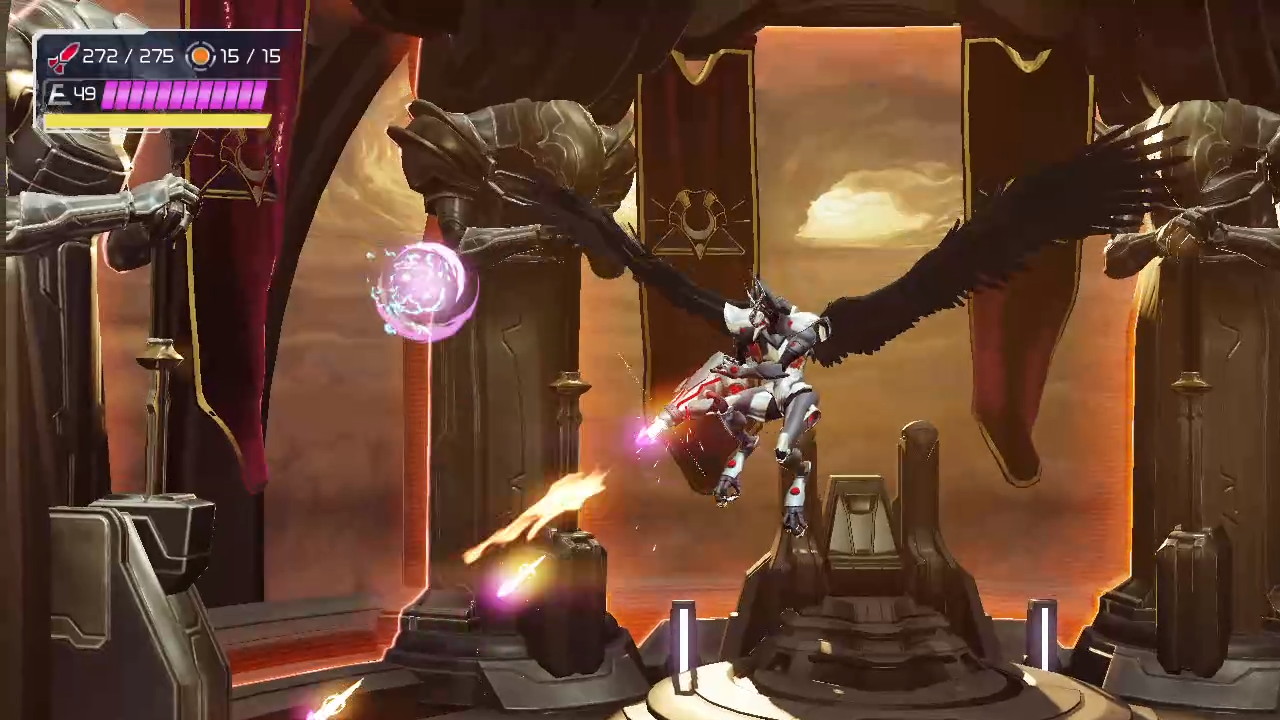
Another favorite of Raven Beak is summoning a giant black orb that will slowly move across the battlefield and hit you. Your first instinct might be to avoid the orb since it moves so slowly, but the damn thing just never really goes away until it hits you, so you’re better off just blasting it with Storm Missiles and destroying it. The orb will drop missiles and health once it’s gone too, making its destruction extra valuable.
These attacks are ones you want to avoid, but the real meat is in the attacks that are able to be countered, and Raven Beak gives us three opportunities to do so in phase one.
There will be times when you’ll see Raven Beak stop and just kind of taunt you, doing the whole Neo “come get some” hand motion. When this happens, oblige him! Run up and dash melee counter right into Raven Beak. A quick time event will happen where the Mawkin Warrior will go to punch you; melee counter this and you’ll trigger an awesome cutscene where Samus is doing all kinds of crazy acrobatic moves to avoid Raven Beak, while also blasting him up close with missiles.
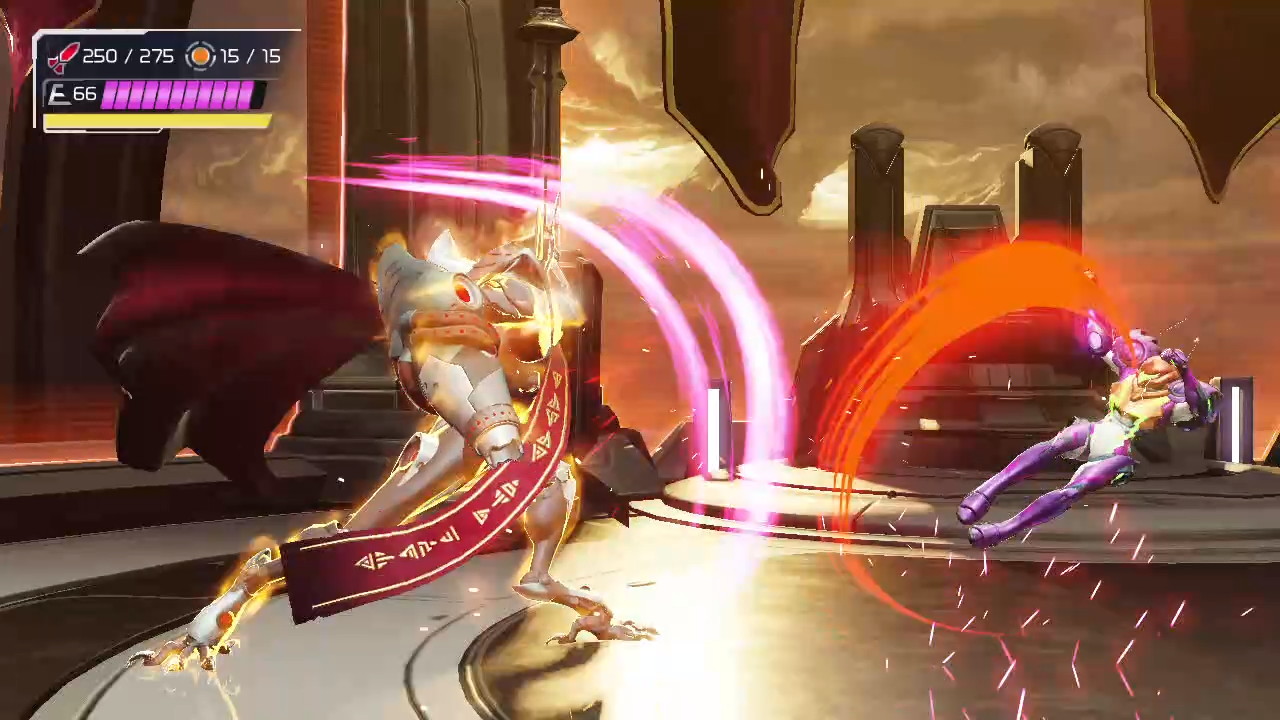
Another counterable attack is when Raven Beak goes to lunge at you; You’ll see his fist start to glow red as a visual cue to get ready. While your first instinct will be just to jump over him (and if you want to play it safe, just do this since this can be difficult to counter), if you stand your ground and melee counter right before Raven Beak hits you, you’ll be treated to another awesome cutscene of Samus just laying the hurt down on ol’ RB.
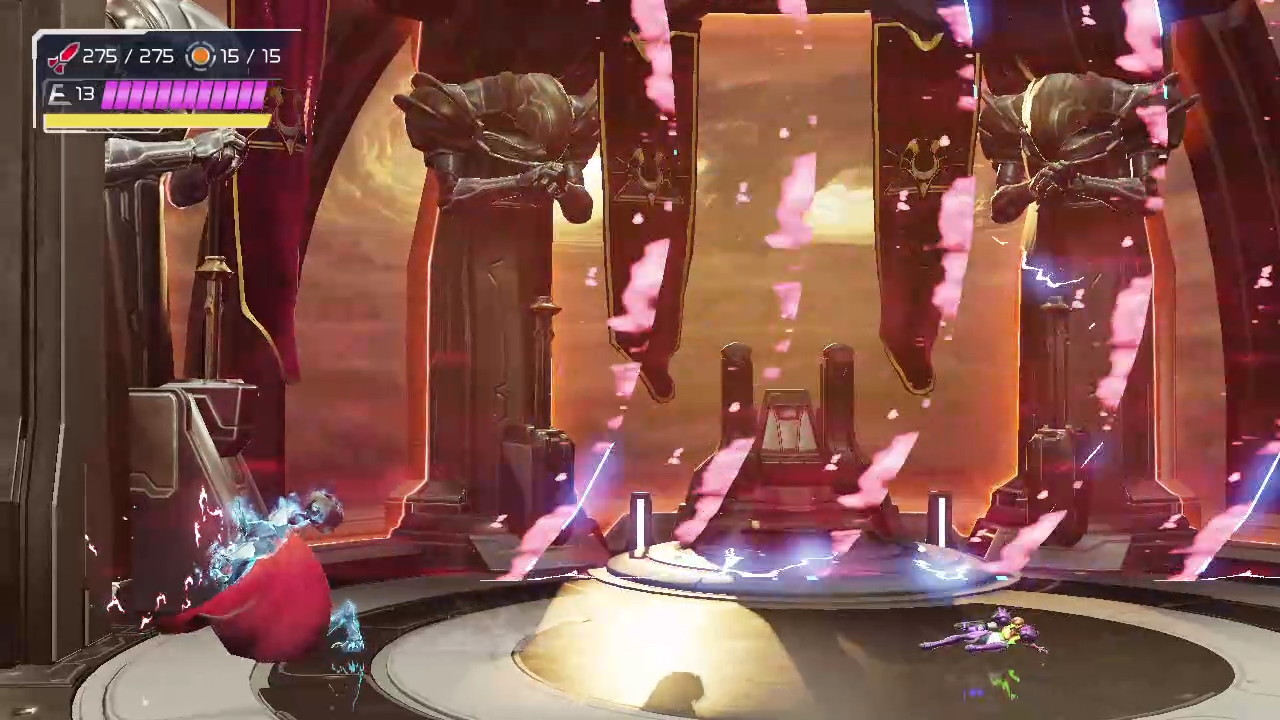
His last attack involves Raven Beak creating another kind of energy field. This time, you’ll see the sky turn red and start to charge up. Simply either slide when the red energy is about to explode or just get in Morph Ball form and wait, and as soon as the red energy explodes, a QuickTime event will trigger in which you’ll need to melee counter again, pretty much right away. Doing so will once again allow Samus to do her thing and fill the Dark Chozo up with missiles.
Keep those Storm Missiles charging and locked on and take advantage of the opportunities Raven Beak gives you to counter him, and eventually, he will rip off his cloak and trigger phase two.
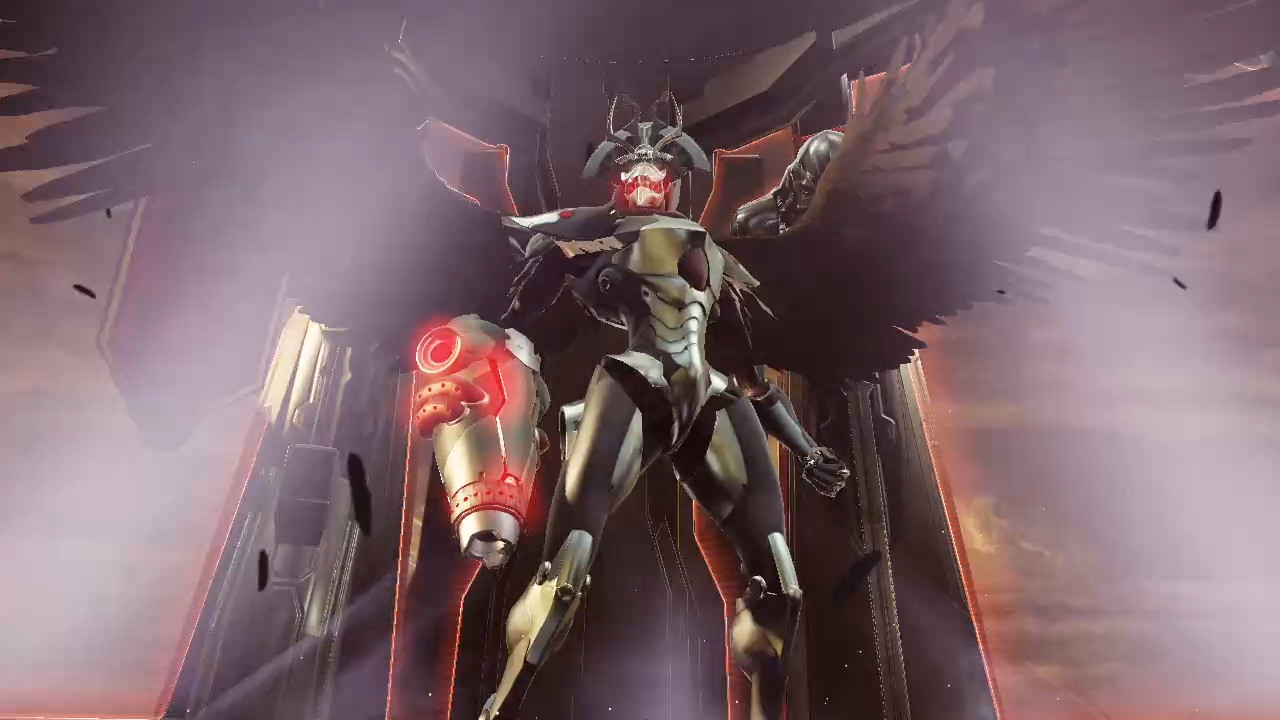
Raven Beak: Phase 2
Oh boy. Now he can fly. The air above Raven Beak was a relatively safe zone in the last phase, but not anymore. Sporting a very badass, very Sephiroth-esq pair of black wings, Raven Beak now has the ability of flight and a whole schwak of new moves.
Though Raven Beak hits hard, most of his attacks are manageable in that they are easier to avoid. There’s also no counter opportunities in this phase, so you’ll need to really be using the charged Storm Missiles and quickly locking on strategy. For an example of how quick you need to lock on, there are times in this phase when you can be dropping down from a jump and lock onto Raven Beak for a split second and fire. You must be quick and must always have that Storm Missile button charged!
Now, for the attacks, Raven Beak seems to prefer brute force this round, so really try your best not to get hit, because these attacks will hurt. Expect to see a lot of lunges this round; Raven Beak will lunge at you like a bullet going side to side in the arena, and it doesn’t matter what position you’re in. Get out of the way when this happens by either jumping over or sliding under; whatever you do, just don’t get hit. Raven Beak will also dive bomb at you and shoot straight downwards; similarly, either Flash Shift or jump or slide or whatever, just don’t get hit.
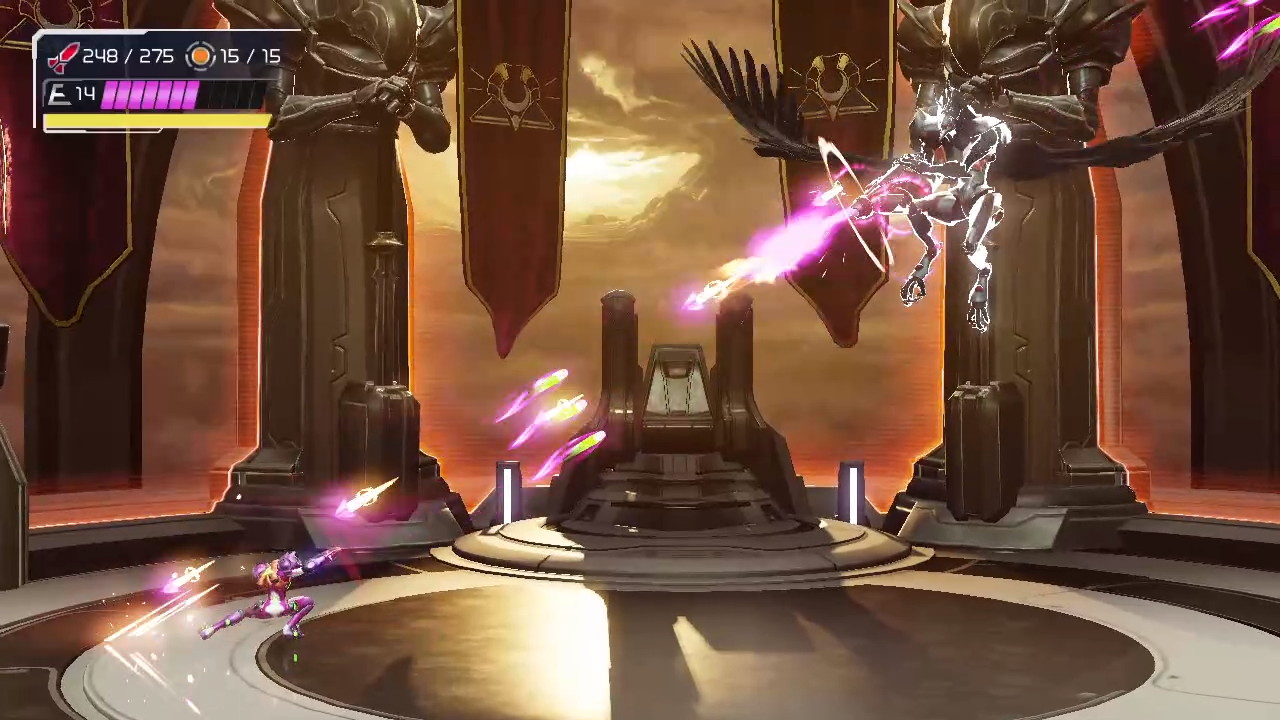
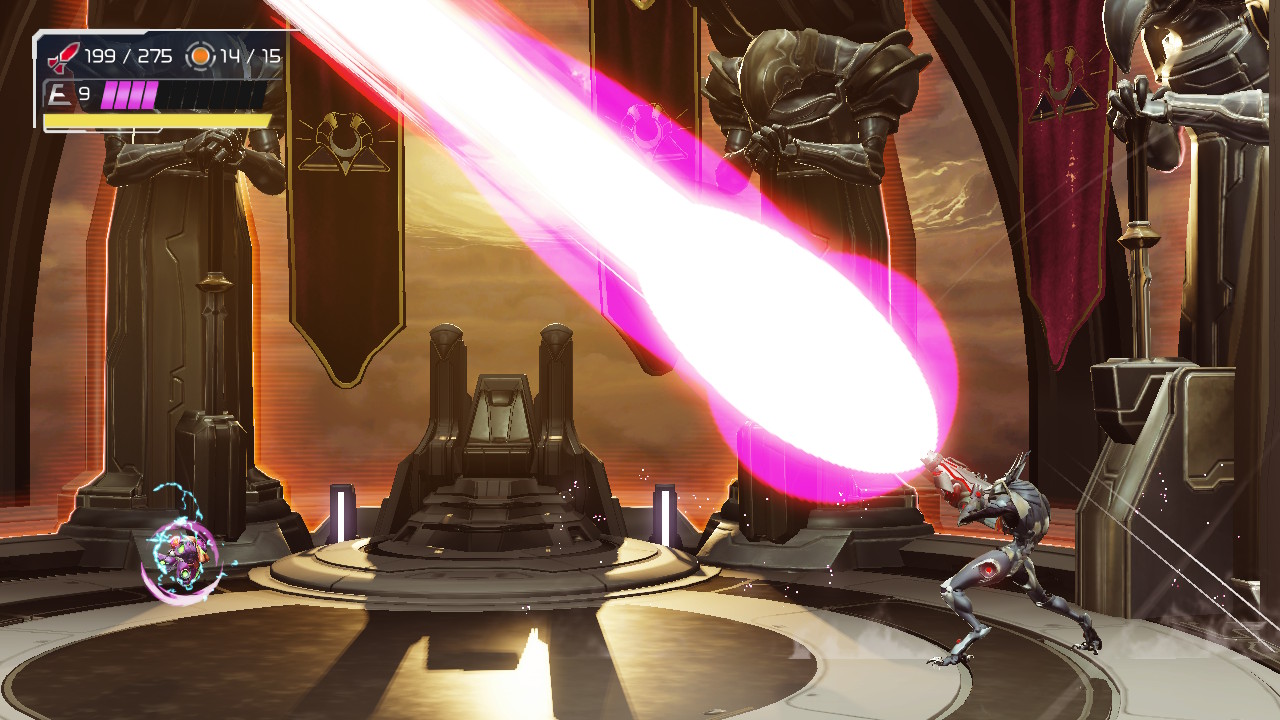
Next, Raven Beak will finally put that big arm cannon to use and line up a charged shot that looks a lot like Samus’s Final Smash in Smash Bros. This shot will always be diagonally pointed downwards, so either pointing to the southwest or southeast. You’ll have a second or two to get out of the way before the big blast hits you, so make sure you’re moving.
Raven Beak’s big attack in this round relies on your ability to Space Jump, so this can be a trouble spot for some people. Basically, Raven Beak will aim his cannon at you and a laser sight will pop up. This is your queue to start Space Jumping. You’ll need to jump in circles around Raven Beak, since he will be firing off a stream of bullets and moving his arm in a circular motion around you. The amount of time that Raven Beak spends shooting depends, I’ve seen him go for four or five spins before, and also seen him end his attack after one spin. Either way, you’ll need to Space Jump over and around him to avoid taking damage.
This attack is also a great opportunity to blast the Dark Chozo with Storm Missiles or even charged Plasma shots if you’re running low on ammo. Like I said, you can jump over him and start to fall and then quickly lock on. You’ll have one target on Raven Beak, which is all you need to send those Storm Missiles flying. If you’re shooting with charged shots, you can just angle your arm cannon as you’re falling and release a blast in RB’s direction.
ADVANCED STRATEGY: When Raven Beak begins to get his chain gun out and you see the red laser indicating the attack is about to start, melee dash away from Raven Beak and then immediately hold down L to trigger your 360° aim. If done correctly, Samus will be standing still but in somewhat of a crouched position, allowing you to stand still and aim directly at Raven Beak, while more importantly, most if not all of the machine gun fire will go over Samus’s head.
Keep avoiding Raven Beak’s attacks and peppering him with missiles, and eventually, you’ll destroy one of his wings and trigger phase three.
Raven Beak: Phase 3
Raven Beak will go full One Winged Angel here, until he decides to rip off his remaining wing and finish the brawl against Samus.
The good news is this: if you’ve made it to phase three, you probably have learned enough about Raven Beak and his attacks that you’ll probably win this fight. Bad news is that the Dark Chozo won’t go down easily.
Many of the attacks from phase one will return here, including the giant orb that moves slowly across the field, Raven Beak’s energy field that he’ll shoot straight up, the various punches and haymakers, and the running lunge that can be countered. You know how to deal with those already, so react accordingly.
The Mawkin Warrior will also use his arm cannon to fire off big shots, but unlike in phase two, Raven Beak’s cannon is capable of shooting in any direction and will follow you around the battlefield. The cannon will almost always fire in bursts of three, and the shots last a second or two longer than they did in phase two, so prepare for that.
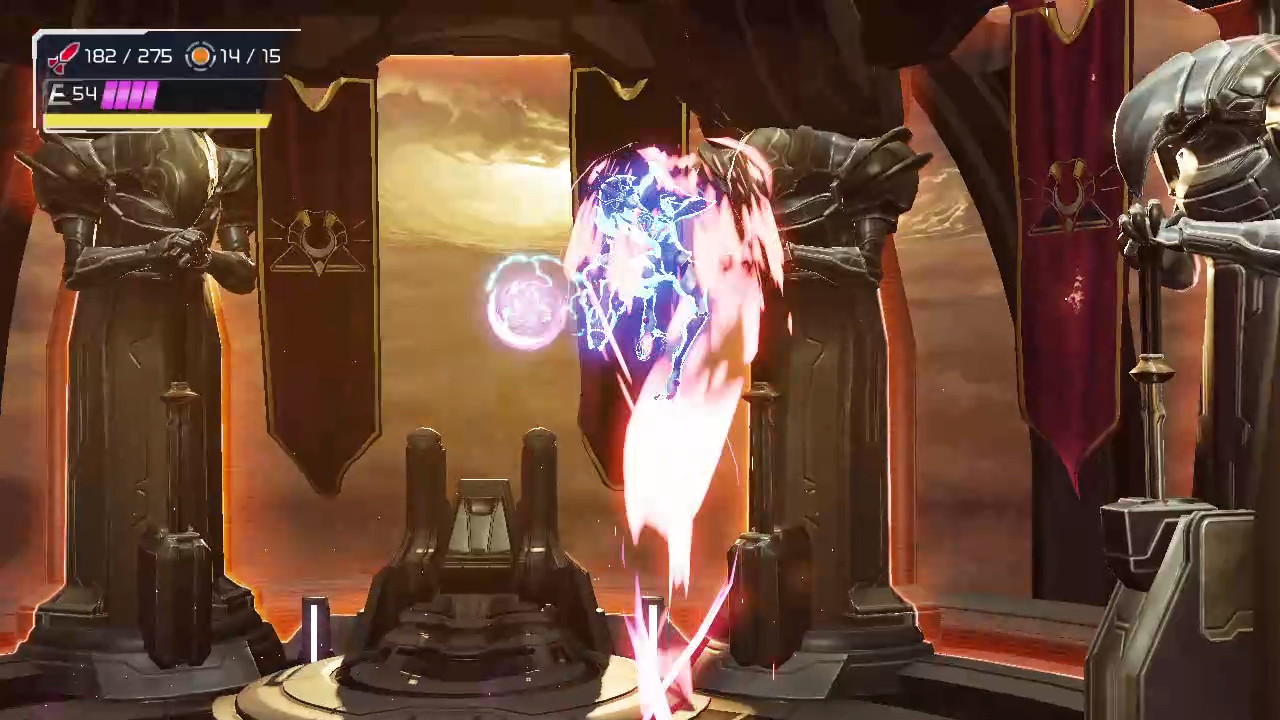
Another scary attack Raven Beak will use is his version of a Shinespark. After charging for a split second, the Dark Chozo will turn blue and shoot straight at you, and then Shinespark upwards or in another direction after. This attack can’t be countered, so get outta dodge when you see this start to happen.
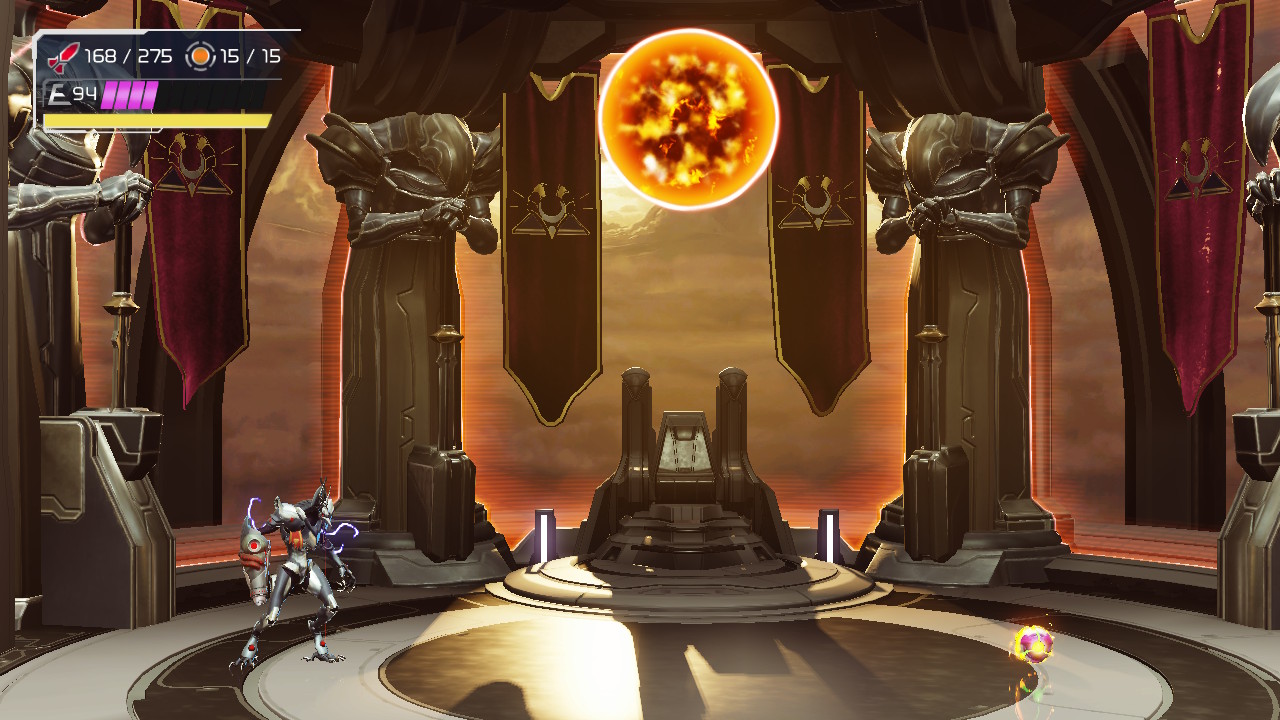
Raven Beak’s last attack looks scary, but is actually a great omen for us. The Mawkin Warrior will summon a sun out of his arm cannon, and this sun will float to the top of the field and start shooting out bursts of energy at us. You can avoid this attack, but the sun will stay up there for absolutely forever, making an already difficult fight nigh impossible. Luckily though, we never have to let it get this far. As soon as you see Raven Beak create that sun, get into Morph Ball form and lay a Power Bomb. The bomb will destroy the sun, granting you missiles and health, and damage Raven Beak at the same time. Effectively, we’re turning the Dark Chozo’s greatest weapon against him.
Keep avoiding his attacks and hammering him with Storm Missiles, and eventually the battle will conclude. A quicktime event will trigger and Raven Beak will go to backhand slap Samus, which you’ll need to melee counter, and then punch Samus, which you also need to melee counter; this will be similar to how you finish off the Chozo Spear Soldiers in the game. Once you complete that, the fight will be officially over!
Escape!
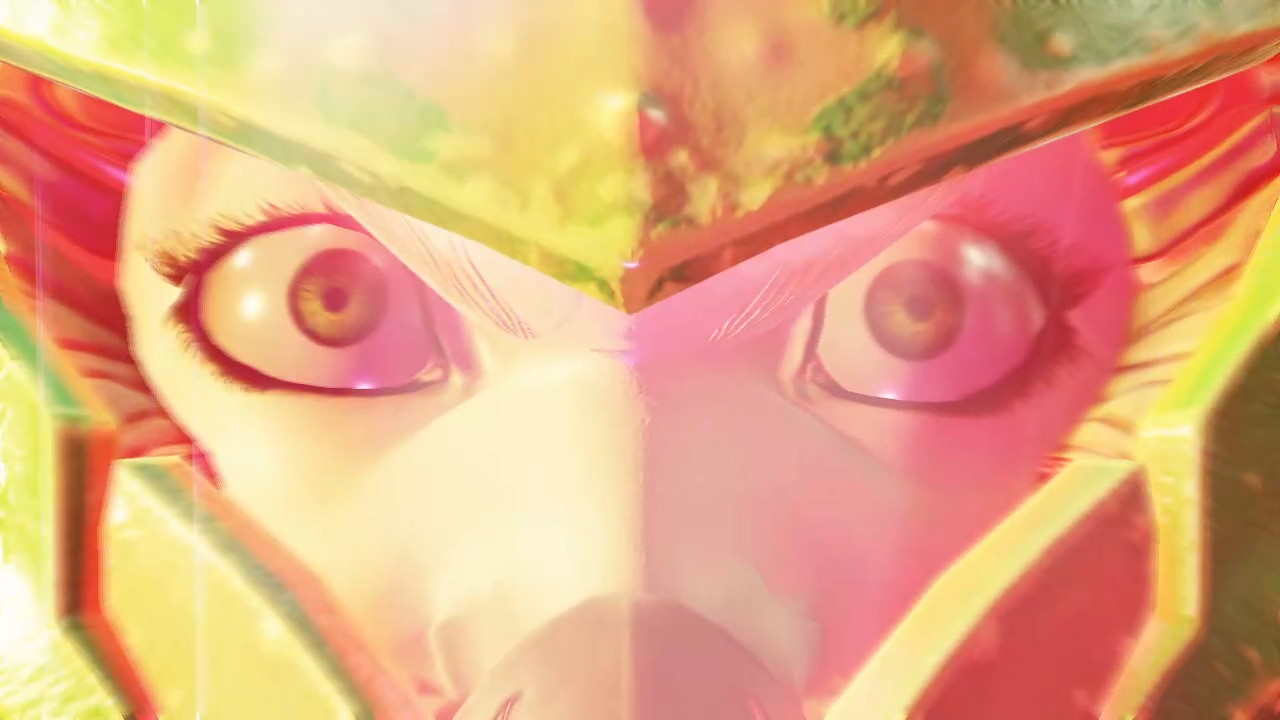
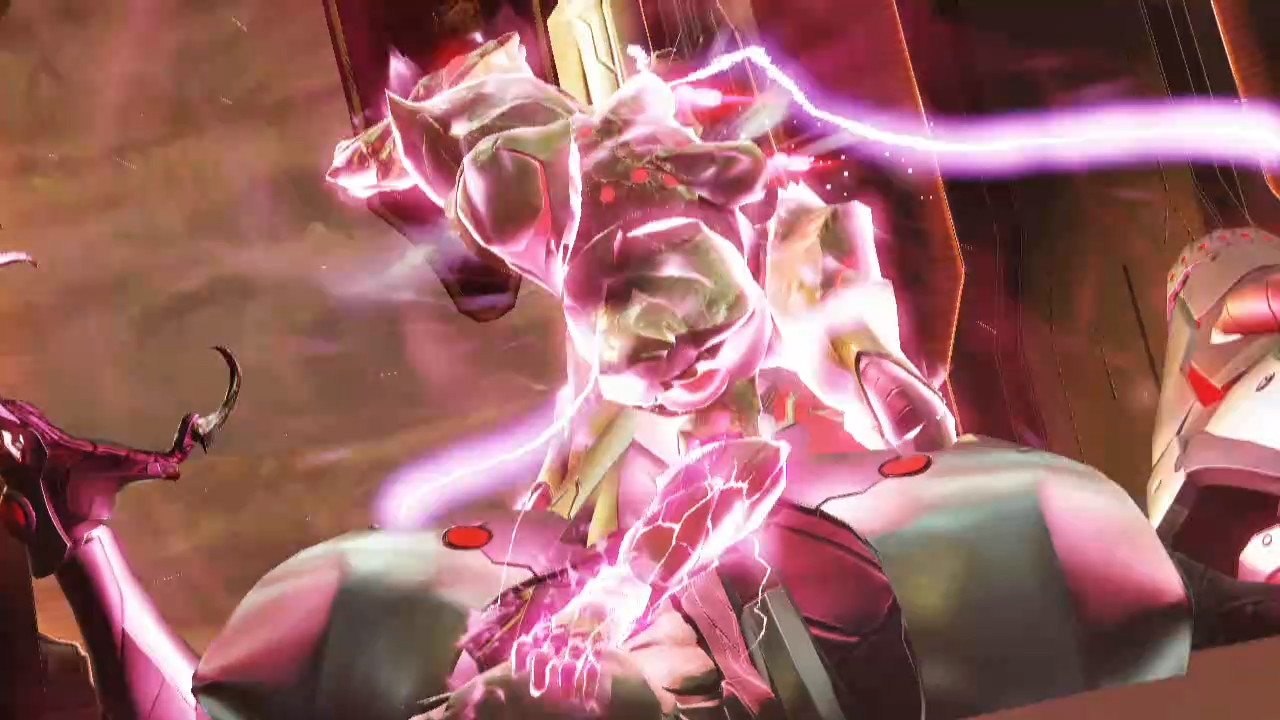
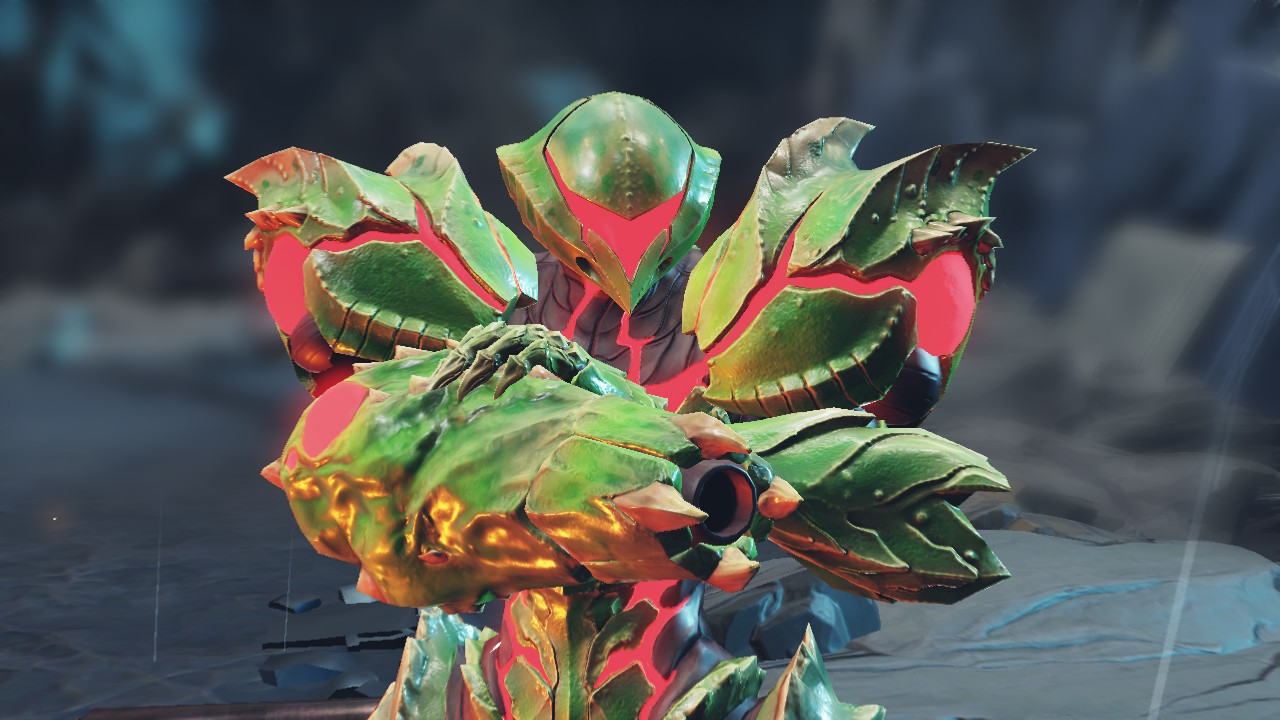
Once you’ve defeated Raven Beak and hit the last two melee counters, a cutscene will trigger where the Dark Chozo will grab Samus by the throat and choke her out. When all looks lost for our heroine, the Metroid genes inside of her really kick in and allow her to go absolutely nuts, grabbing Raven Beak by the head and sucking his life out, just like a Metroid. Her Power Suit has also transformed into the incredibly badass METROID SUIT, which just looks so, so awesome.
With Samus now full-bore Metroid, Itorash will go crashing towards the surface of ZDR.
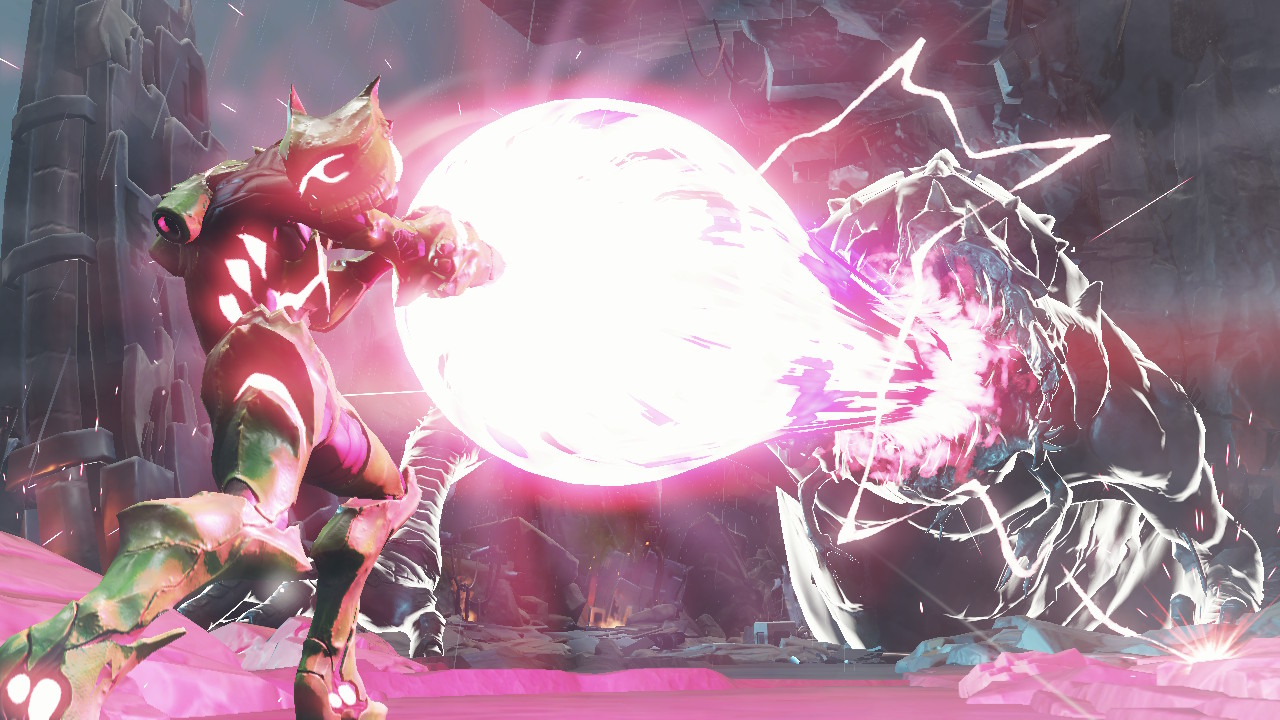
Once Metroid-Samus recovers, you’ll see an X parasite infect Raven Beak, fusing him with the body of Kraid to create Raven Beak-X. Once you resume control of Samus, lock onto this monstrosity and blast it with your newly acquired HYPER BEAM. This will destroy the monster, destroy the X, and finally end the threat of Raven Beak once and for all. This will also trigger a self destruct sequence, so now the only thing left to do is escape.
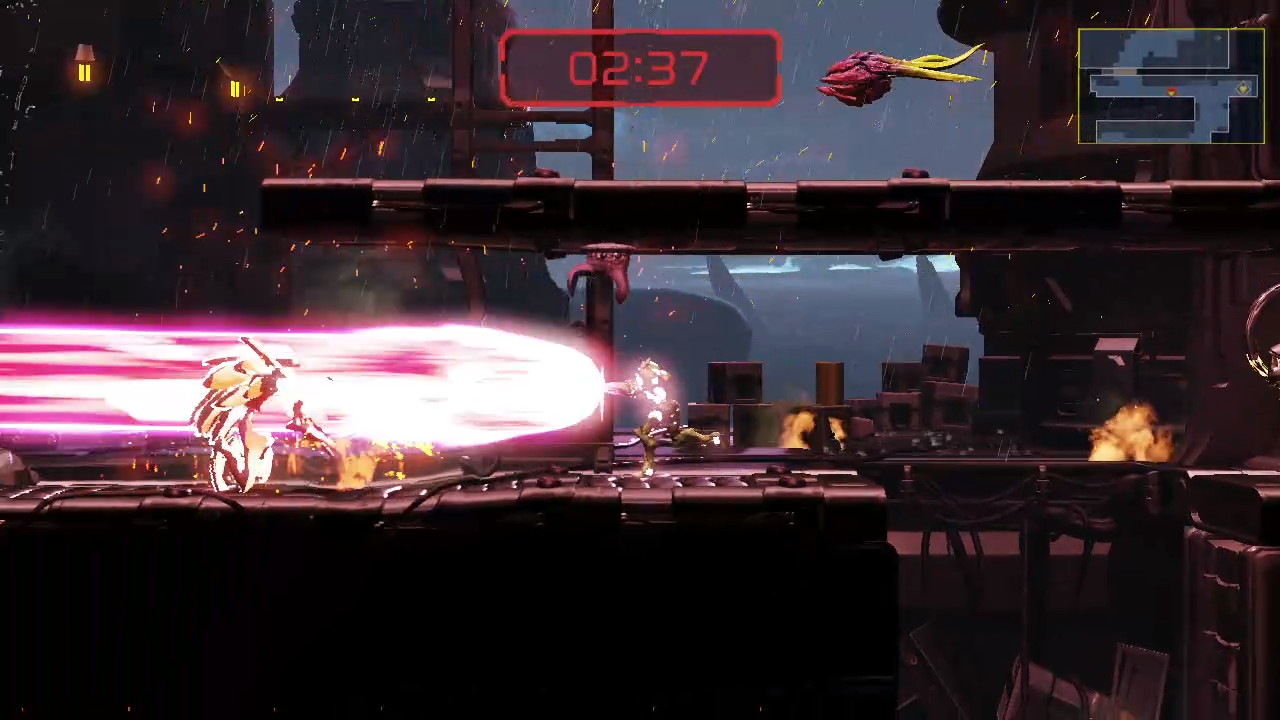
The Escape route is a fairly straightforward path that will take you through Hanubia and into the E.M.M.I. Zone. Have your Hyper Beam firing constantly so it destroys any obstacles in your way and continue pressing forward until you get to the top chamber of Hanubia. Melt the door to your left and follow the path to your ship. As you board, you’ll meet Quiet Robe-X, who seems to have some semblance of himself despite being an X host. Quiet Robe-X will let you absorb him, which returns Samus’s suit back to its original Power Suit form.

With that done, Samus will get into her ship and fly away, while the Planet ZDR explodes, ending the threat of the X and Raven Beak once and for all.
With that, the credits will now start to roll. Congratulations! You’ve beaten Metroid Dread with 100% items! I hope you enjoyed this guide and found it useful. Feel free to check out Endings and Chozo Archives, and maybe try and challenge yourself to try hard mode!
Acknowledgments
I want to thank everyone that read this guide and played Metroid Dread! Whether it was your first Metroid or your latest adventure with Samus, I’m glad I could be a small part of it.
Additional thanks goes to Corey Richmond, who helped with the final map, and to my Omega Metroid colleagues for their input and fixes. The biggest thank you has to go to my wife Samantha for helping crop the images, proof read, and most of all, show extreme patience as I wrote this mammoth guide. I love you!
It’s time to say goodbye for now, Metroid fans! As always…
SEE YOU NEXT MISSION!