


Metroid Dread Walkthrough – The Mystery of Elun
Walkthrough
Dearly Departed
Once you’ve watched that Robot Chozo explode away into bits and pieces, make your way out of Ferenia. Exit into the next room and Grapple all the way up to the top corner. This is pretty high up there, so it’s easy to miss. Roll through and you’ll be in a small room with a fan blowing at you. Start Speed Boosting and your Shinespark will charge up just running in place. Shoot straight up and onto the top ledge.
Once here, you’ll see a door with frost coming out of it, which is obviously a big no-no, so drop down instead. Instead of rolling towards the right and off the ledge however, roll left instead and lay a bomb. You’ll see the floor give away and a Missile Tank. We can get this, it’s just tricky. I’ve found success in doing the following:
Go into the elevator room and start Boosting towards the right and through the door. Crouch and charge your Shinespark, and then quickly jump up, shoot the bricks, slide down, and activate your Shinespark midair to the right to grab MISSILE TANK #5! As always, be sure to check out Shinespark Puzzles and Special Abilities for info on how to perform midair Shinesparks. Once you’re ready, take the elevator back into Dairon.
The Lock Room
Once you get into Dairon, you’ll have to talk to Adam right away. I almost forgot about this guy, but here he is, recapping the events that just unfolded in Ferenia. Thanks. He’ll instruct you to head towards the Lock Room in Burenia, and actually, I’m going to echo that. There’s no pickups or detours that you need to make, so I’ll just leave it up to you to follow the path back to Burenia and we’ll pick it back up in the next paragraph once you get there.
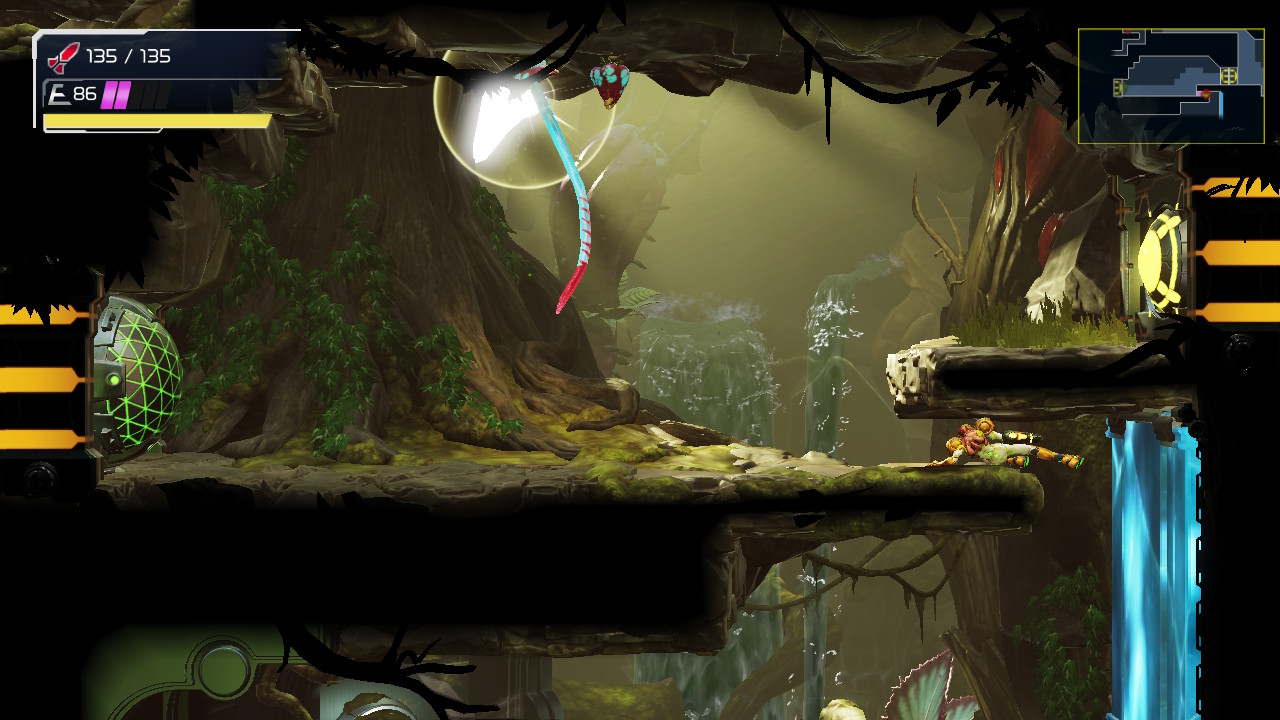
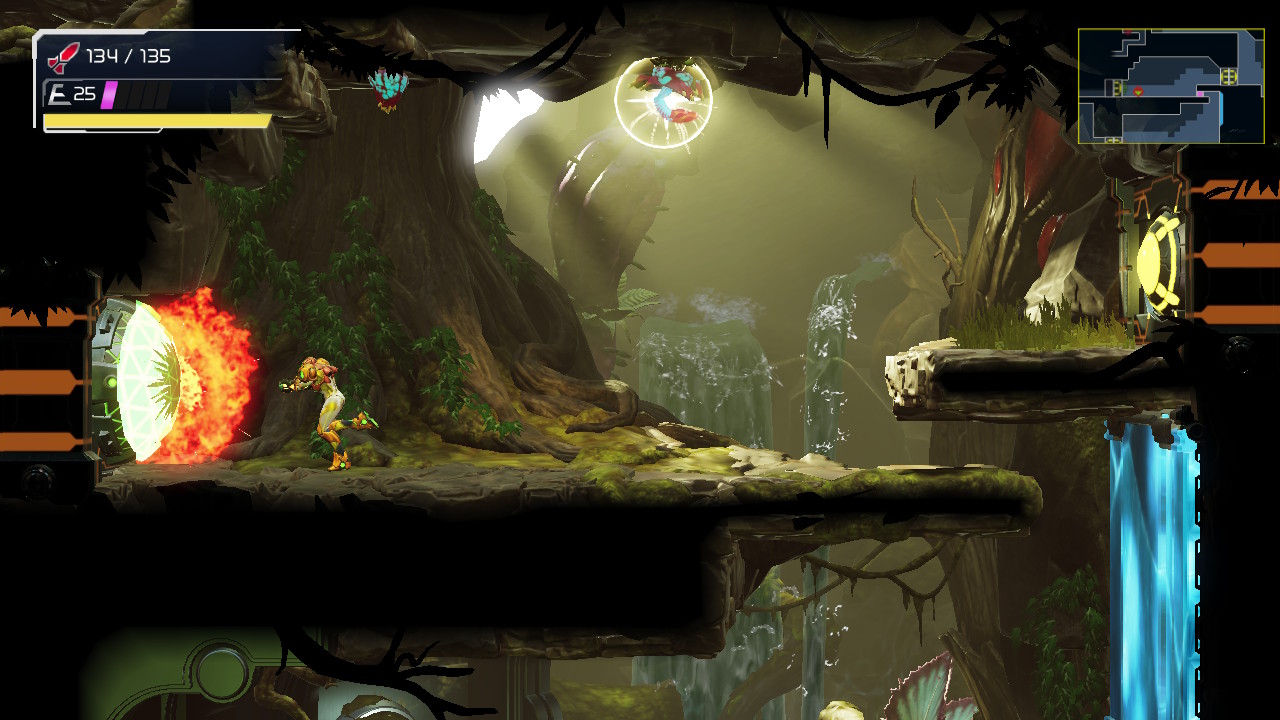
Once you arrive, head out from the elevator to the Lock Room. You might remember that big fan from before that was preventing us from grabbing that Energy Part. Obviously we can run a little faster now, so charge up your Speed Booster and grab ENERGY PART #7. Go crashing through the door and into the Lock Room.
Now that we’re back and able to climb up either side of this big room, go ahead and take the right side first. Jump up to the top left platform and shoot the wall with a missile and you’ll see MISSILE EXPANSION #28. Grab it and then drop back down, this time going up the left side of the Lock Room and into the Map Station at the top left.
Do your thing and exit left. Drop down and destroy the Grapple block before ascending upwards, destroying those gross enemies that puke out bugs at you. When you reach the top of this room, you’ll see some spider tracks above the wall. Jump up and shoot a missile at the far left wall and you’ll see a tunnel become visible. Quickly Flash Shift twice to the ledge over the shutter so you’re grabbing the edge of the tunnel (the ground after the shutter is actually made of pitfall blocks, so avoid those). Roll through and grab MISSILE TANK #6. Drop down and then take the Grapple door to the right.
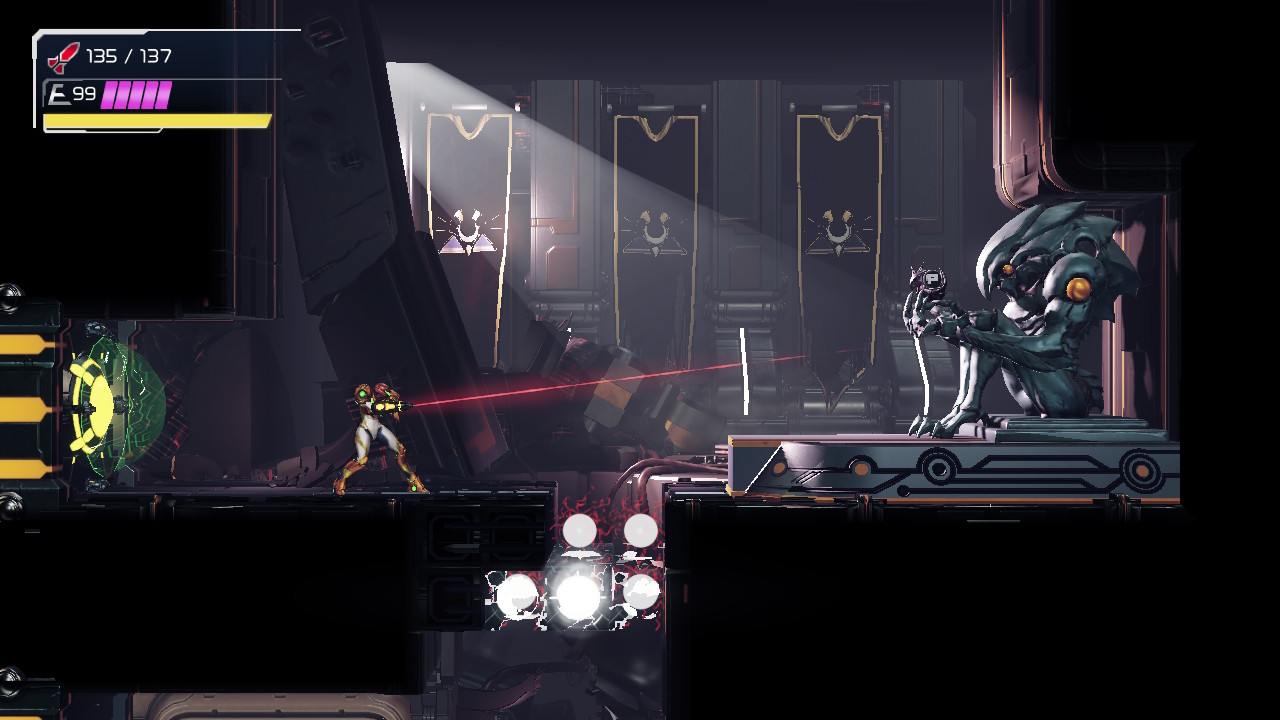
From here, it’s mostly a straight path forward, so keep pressing ahead. Along the way, you’ll see a Grapple block that you can destroy that will create a tunnel back to the Lock Room; you’ll also run into an Energy Recharge Station, so use it if you need. Keep pressing forward until you get to the room with spider tracks all over the walls. Use your Grapple Beam to Grapple up like Peter Parker until you reach the top, at which point, you’ll see a Gadora. Destroy it and get ready to step inside.
Drogyga
So good news and bad news. The bad news: you’re trapped in a big fish tank with a monstrous Kraken-esq monster called Drogyga. This is especially bad since we still have no Gravity Suit to our name.
The good news? You should be able to use brute force to obtain victory without too much trouble, particularly if you’ve been following this guide and collecting all the missiles. Also, the moving-in-water-with-no-suit doesn’t suck as much as you might think.
Before we start fighting Drogyga, let’s set the stage: this is definitely one of those bosses that feel more like a puzzle than a fight, and the key to the puzzle of Drogyga is the switches on either side of the room. When you inflict enough damage on ‘gyg’s, you’ll be able to hit the big glowing switch on whatever side you happen to be on with a charge shot. This will activate a spider rail on the top and drain half the water out of the tank. Riding the spider rail after hitting one switch will take you to the other side, allowing you to hit the other switch, which in turn drains the rest of the water from the tank. This will expose Drogyga, allowing you to attack.
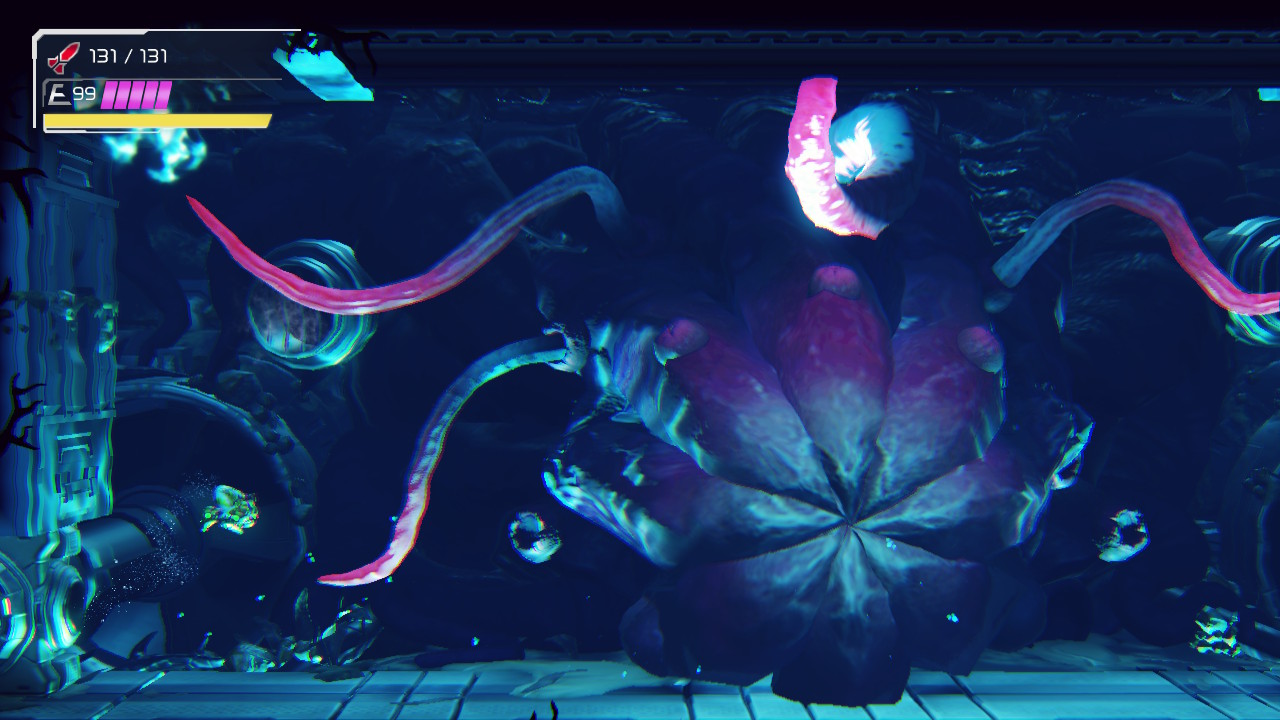
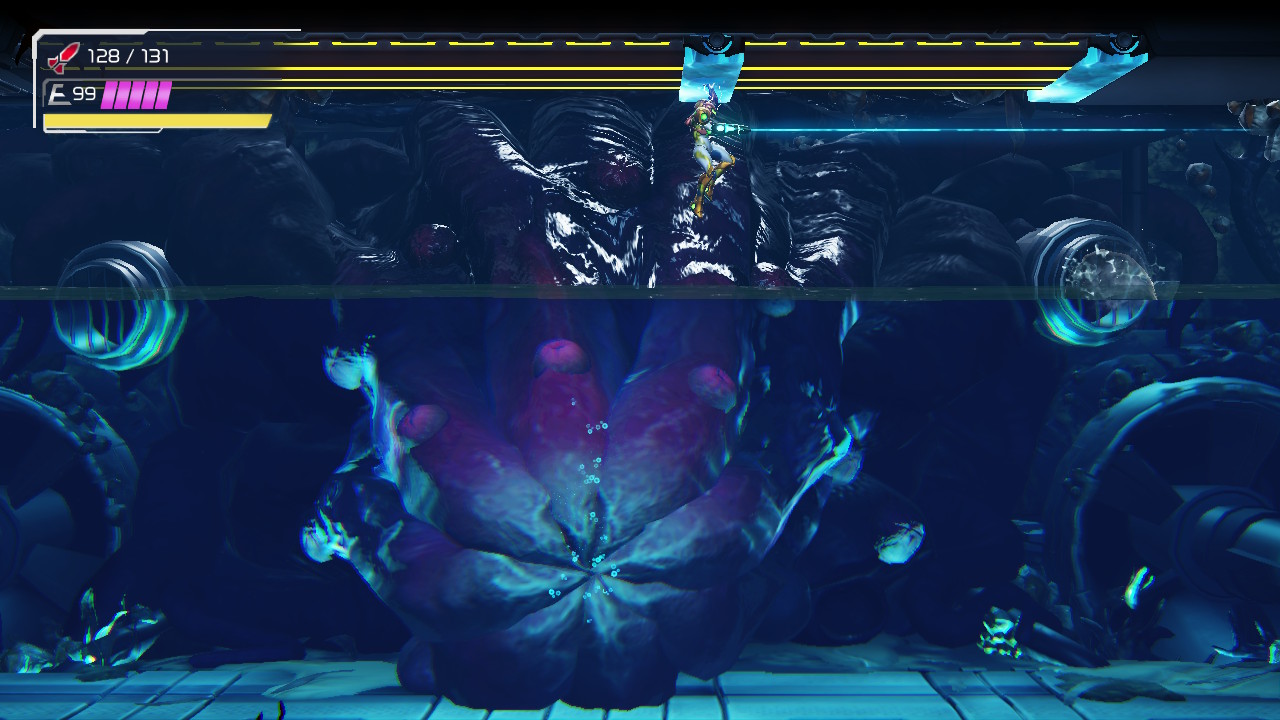
Let’s get there first though. You’ll start the battle off looking at Drogyga’s big ugly shell, which has some tentacles sticking out of the top and hanging from the roof. That is the weak spot that you’ll want to aim for with your missiles. ‘Gyga has pretty basic attacks, and all are easy to avoid.
The first attack you’ll probably see is him spitting out three “fireballs” at you (maybe these are like acid balls? I’m sure they’re not fire since we’re underwater, but I can’t stop calling them that, so let’s go with fireballs). There will be two blue fireballs and one red one; the blue ones can be destroyed with missiles or charged shots for health and ammo; the red ones cannot. Just destroy the two fireballs and avoid the red and you’ll be just fine. These fall quite lazily, so you have lots of time. As Drogyga takes more damage, he’ll shoot two reds and one blue instead – no worries, just avoid the reds.
His other attack will be unleashing even more tentacles and using them to slap you across the face. He’ll do this twice in quick succession, but luckily, you can just jump over this. I know you’re probably thinking about the water making you heavy, but you need barely any clearance to make it over them, just just tap jump twice and you’ll be in the clear.


His last attack involves three tentacles swirling up and shooting straight at you like a battering ram. It took longer than I’d like to admit to realize how to dodge this, so don’t be like me: when you see the tentacles start to coil up, simply Grapple onto the spider rail above you and pull yourself up above the attack.
These are really his only offensive moves, so just keep dodging his attacks and pumping that top tentacle with missiles, and you’ll stun him soon enough. When that happens, shoot the switch on the one side, grapple up and over, and shoot the other side. The water will empty and you’ll see the inner tentacle (the head??) pop out. Line it up and light it up when you see it. Once you’ve hit the head with enough missiles, this tentacle will stiffen up and prepare to strike. COUNTER!! Melee counter this attack and you’ll be able to pump even more missiles into Drogyga.
You shouldn’t need more than two, maybe three tops, cycles of this in order to destroy the sea monster. Just keep unleashing those missiles into Drogyga’s tentacles and head, and he will fall. Sometimes, the best defence is a good offence.
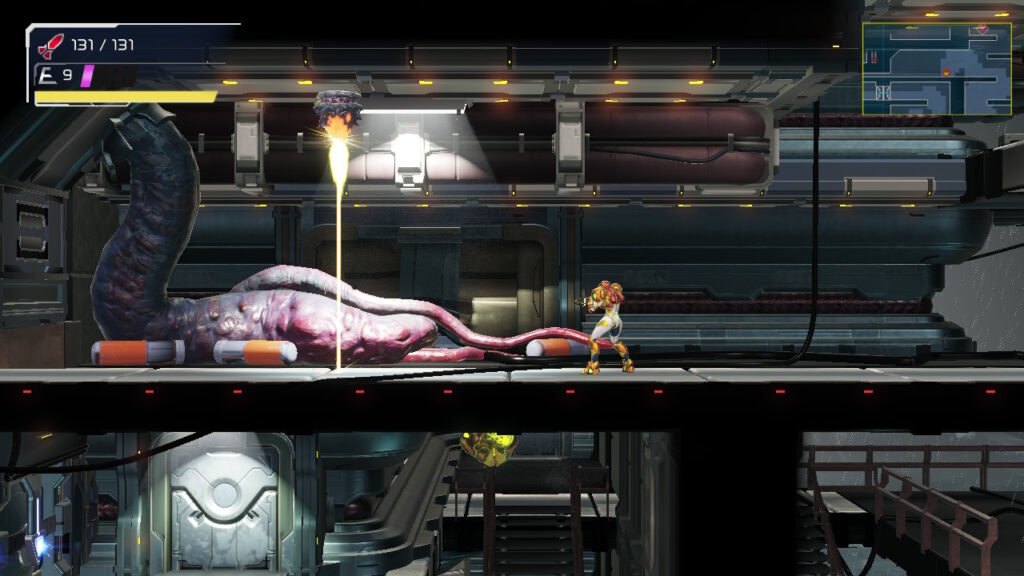
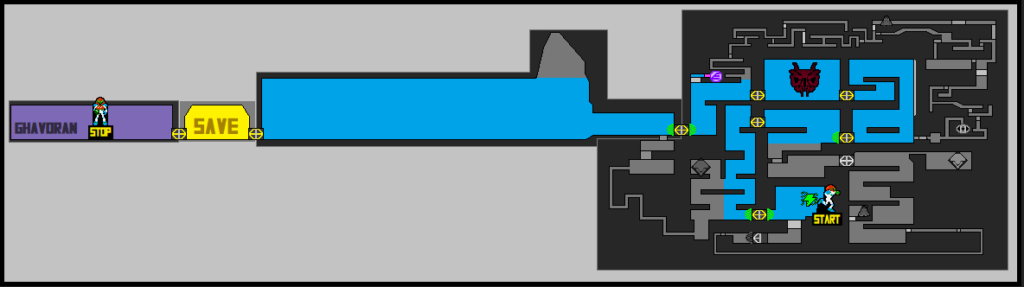
Once you’re done, exit the boss room and blow up the tumor in front of you, giving you access to that same Energy Recharge Station from before. Scale upwards and save your game to the right, and then blow up the tumor above you and head into the underground forest of Ghavoran.
Super Missiles
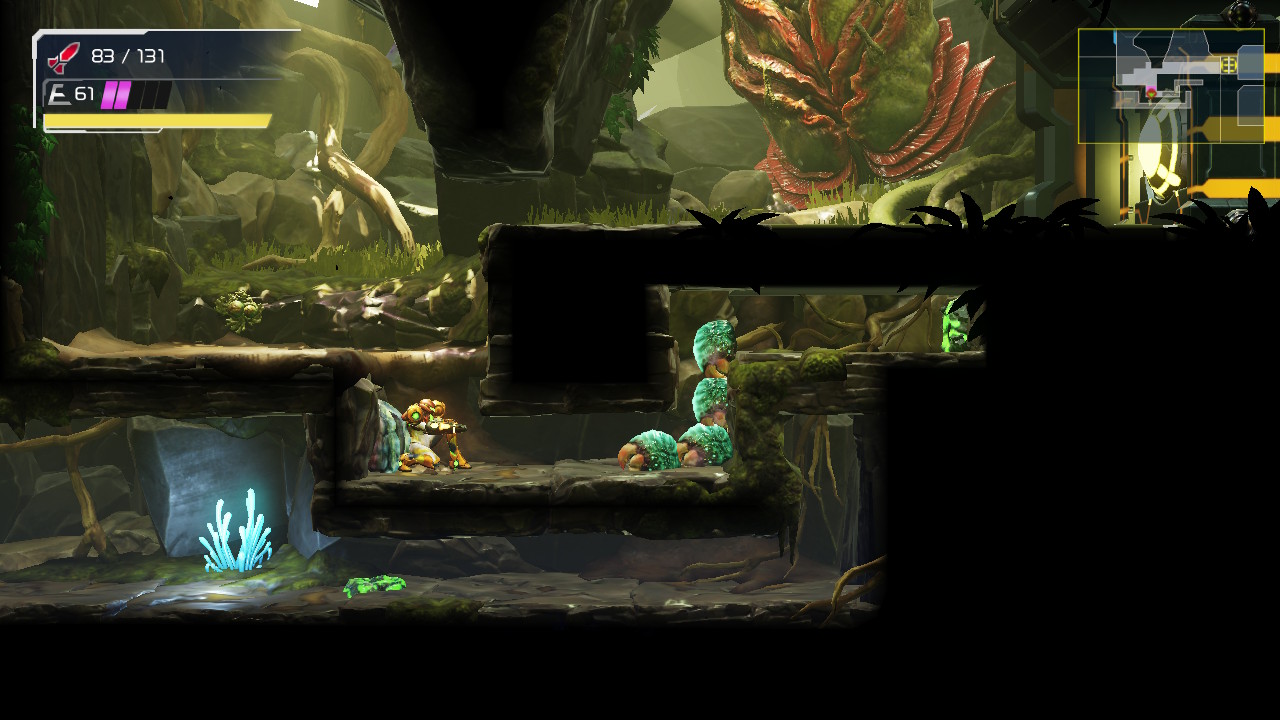
Welcome to Ghavoran, an underground forest brimming with life and flora. This is a particularly beautiful area of ZDR that is close to the surface of the planet. Much of Ghavoran isn’t available to be explored with the current equipment we have now, so let’s just move on here and proceed quickly to our real destination.
Take the Grapple door on the right side of the elevator room and exit. Follow the spider tracks up and pull the Grapple Box out of your way, exiting through the door on your left.
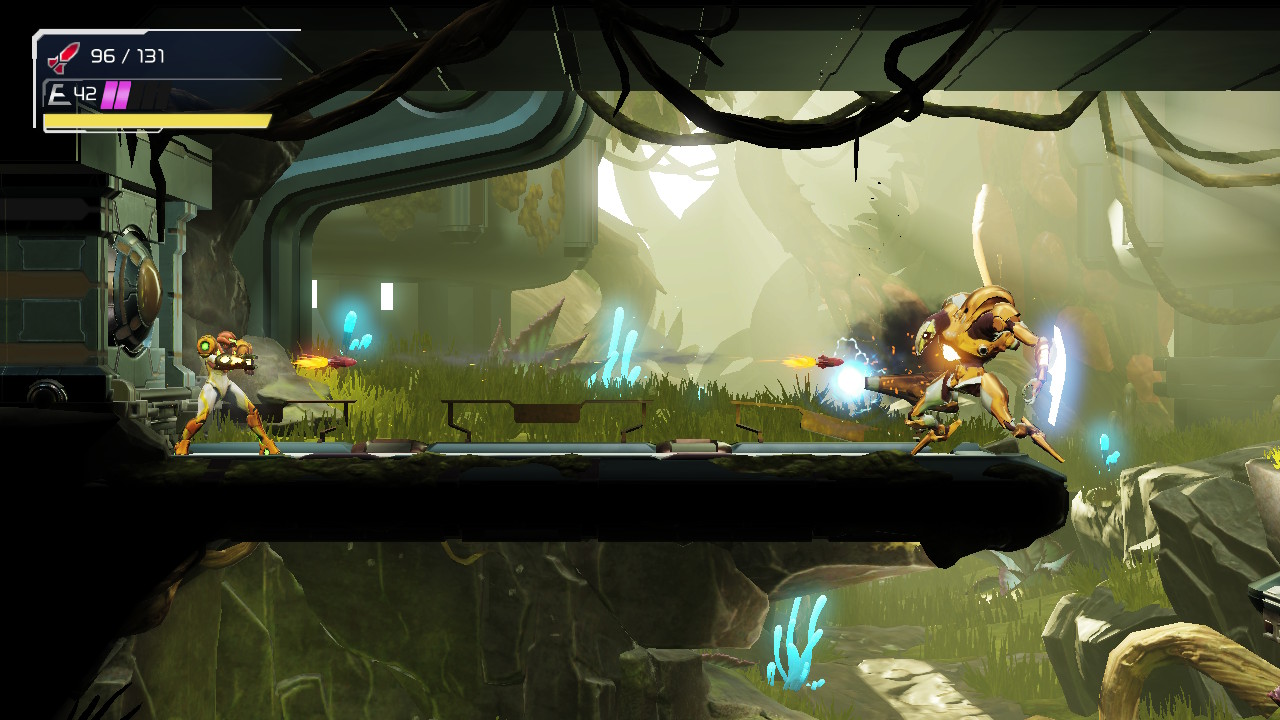
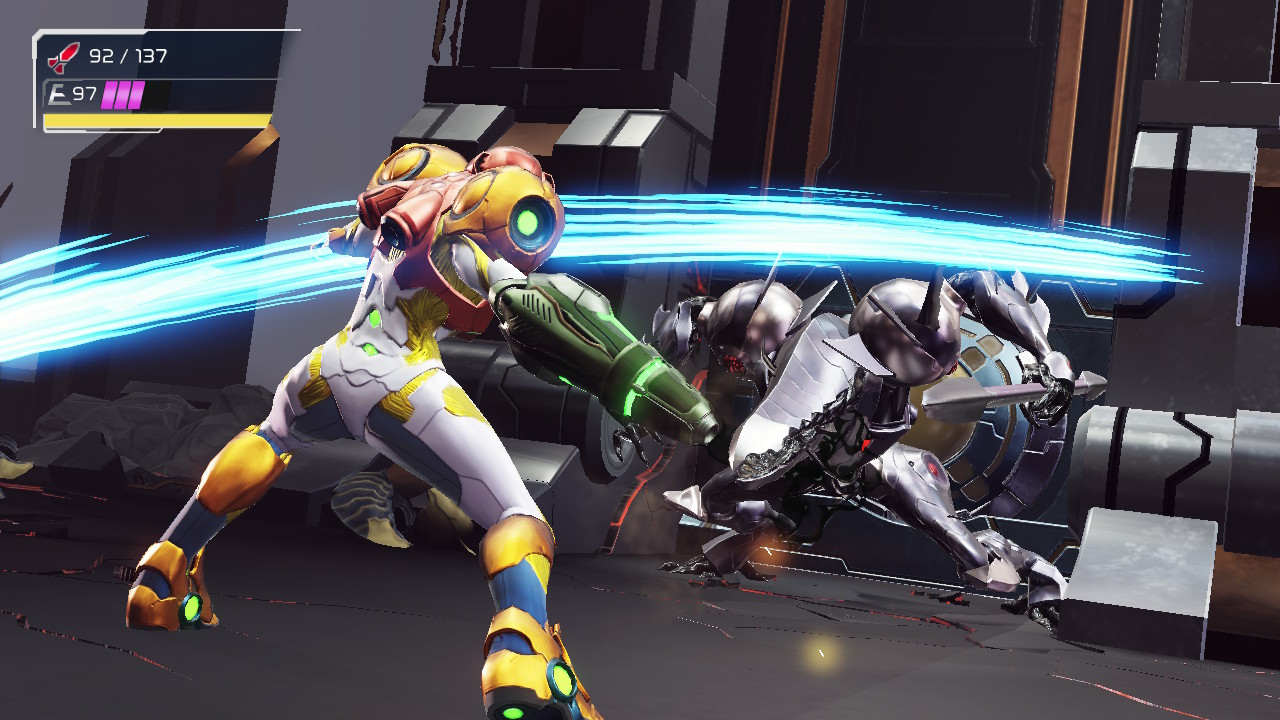
Get ready, because here comes another Robotic Chozo Soldier. This is the same strategy and same basic fight as last time, so check out that boss fight for strategies on how to deal with this fellow. Pro tip for this particular fight – stay on the top side. It’s easier to jump over and get to safety up here than down below.
Go through the door and roll under the ledge. Drop a bomb at the edge of the tunnel and roll through, heading downwards – careful, you’ll have those stupid centipede things coming at you, so either bomb or avoid those. Roll through the tunnel and head towards the left. It will look like you’ve hit a dead end, but by now, we know what to do in these scenarios. Lay a bomb and drop below, bombing the tunnel once more before finally falling down into a fairly large open area.
Grapple up to the spider tracks and then carefully Grapple across the hooks along the ceiling of this room (pro tip: you can hold your 360° aim in one direction and move Samus herself as an easier way to grapple versus nailing that perfect shot into the hook). Swing across and you’ll grab MISSILE EXPANSION #29. Make your way back up, stopping when you emerge from the tunnels.
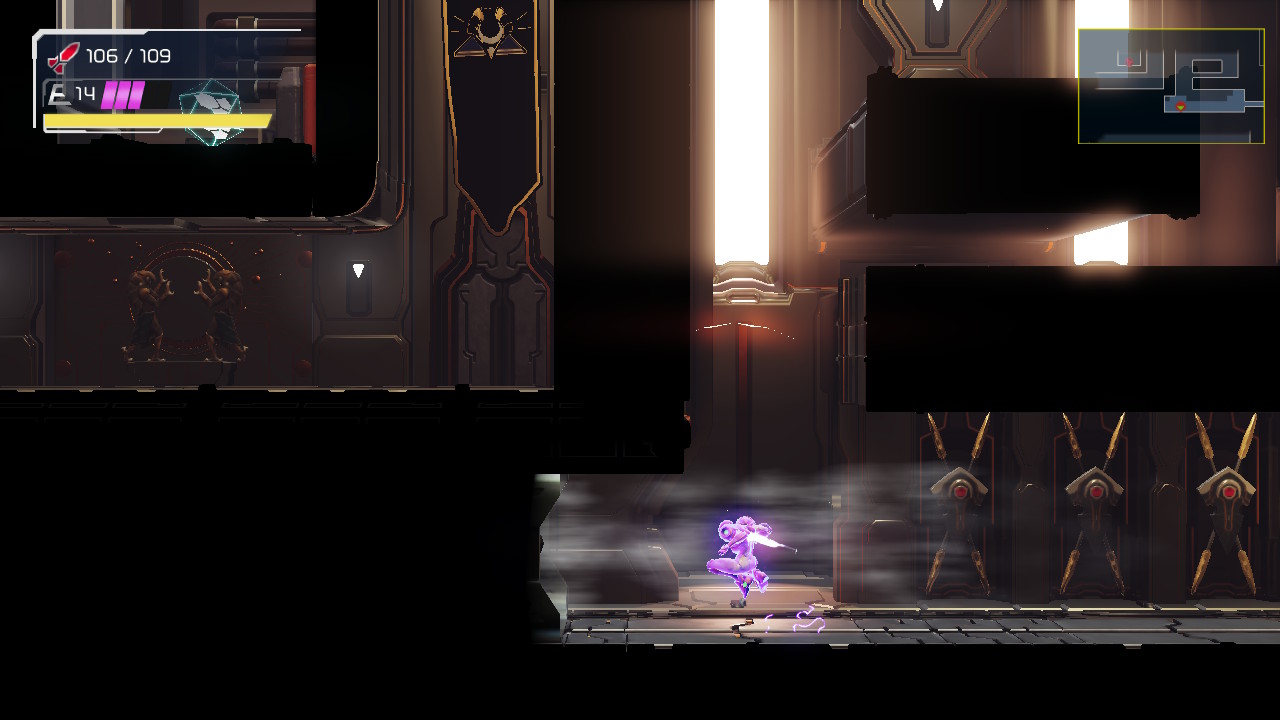
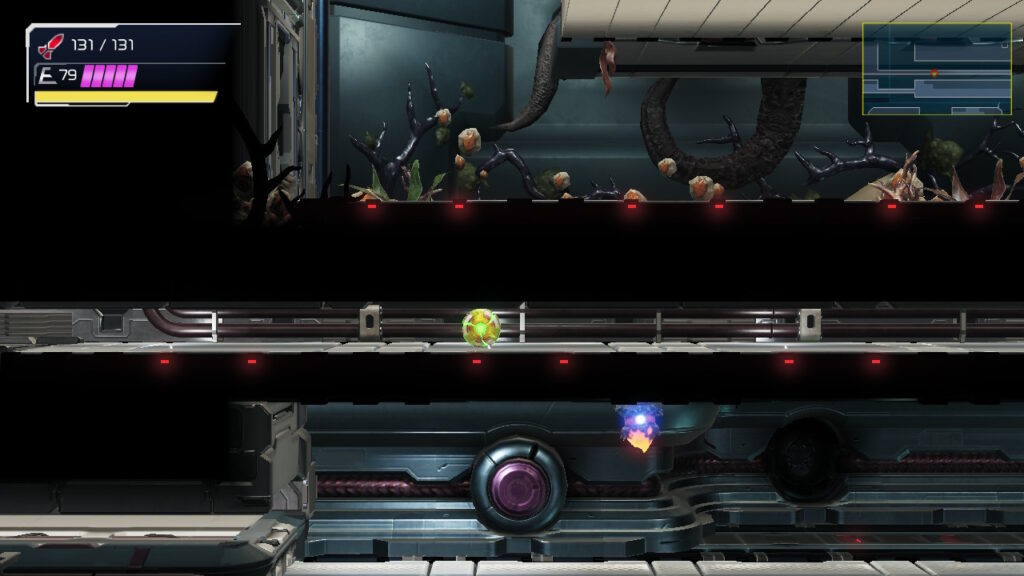
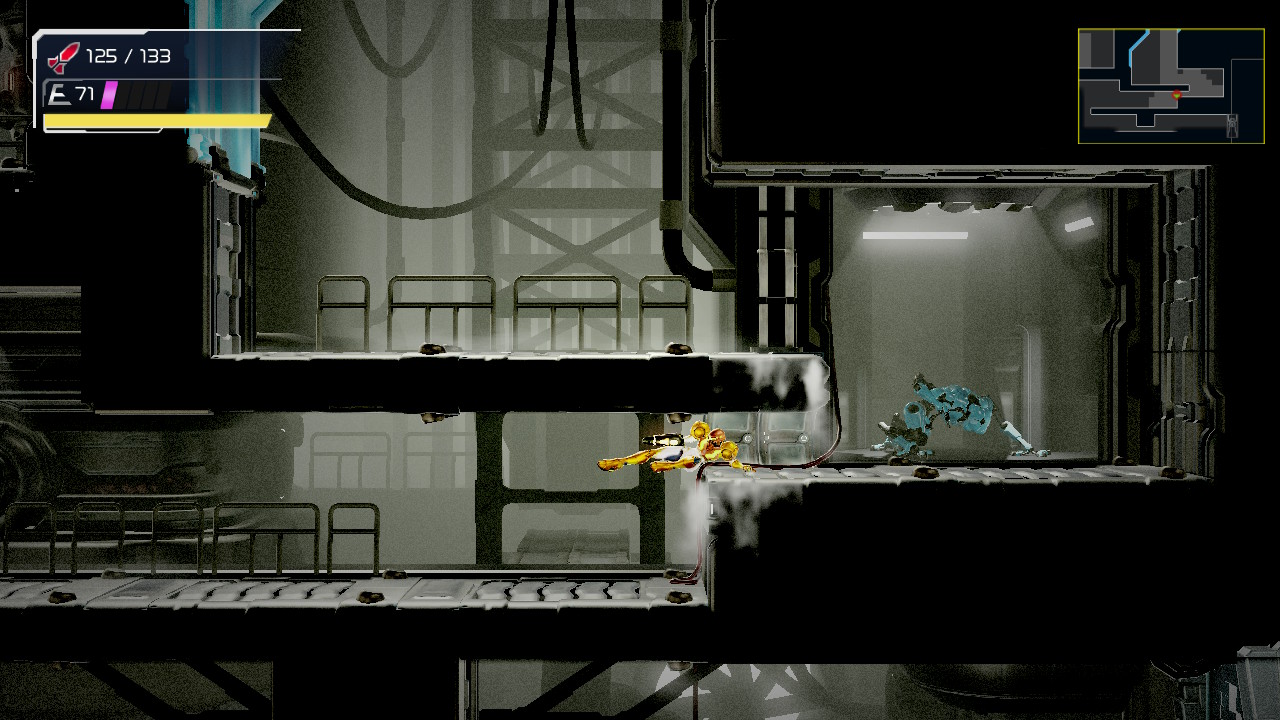
You’ll see some spider tracks above you going up a wall; climb on and follow them up. When you get to the top, enter the E.M.M.I. Zone. You might remember that our dearly departed Quiet Robe disabled all the E.M.M.I.’s, so there won’t be anything or anyone in this Zone pursuing you, creating a quiet kind of stillness which is pretty creepy in and of itself. You’ll actually be able to see the blue E.M.M.I. – E.M.M.I.-05IM – offline in the background. Eek. Once you enter the E.M.M.I. Zone, take the spider rail up and just follow the path; it should be a straight shot through. Exit the E.M.M.I. Zone on the lower right. Proceed through the next room and enter the Network Station.
Adam will go off on another tangent about how you are no match for Raven Beak, yada yada yada. But then, Adam raises a pretty good point: why didn’t Raven Beak just kill us at the beginning of the game when he had us dead to rights? A good question indeed. Save your game and continue towards the right.
Drop down in this next room and walk on the seesaw platform. It will teeter, dropping you towards the left of the room. Roll into the next room, grab the spider tracks to drop the platform down, and proceed forward.
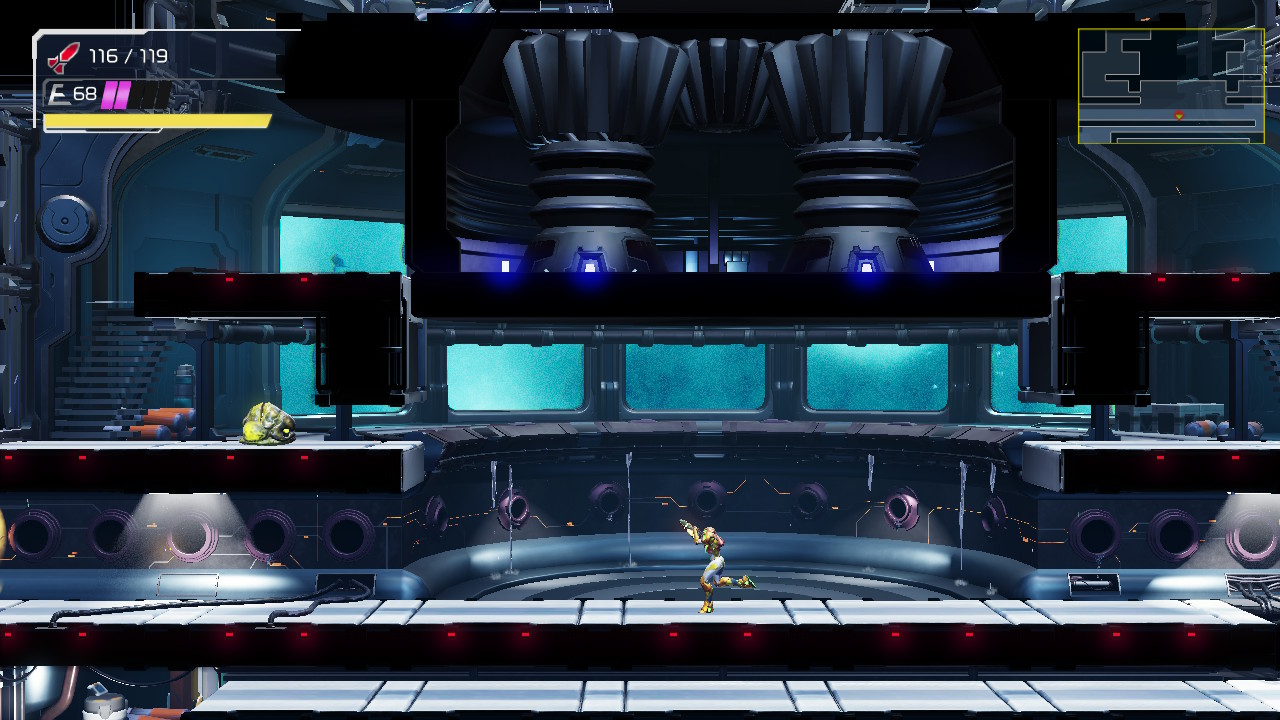
Now you’ll be in a big room with a crazy floating whale in it. Something kind of majestic about that creature if you ask me. Anyways, you actually need to take the door straight out of here on your left, but before you leave, walk forwards a couple steps and drop down into the lower part of the room. Destroy the Grapple block and grab MISSILE EXPANSION #30. Exit through the door on your left.
You’ll see a door with a green missile cover on it, which, as you no doubt guessed, is impervious to our current missiles. No worries though, because we’re close to upgrading! Bomb the ground on the far right side and a tunnel will appear. You’ll drop down and see a red missile cover. Blast it open, get inside, and claim the SUPER MISSILES!
To Elun
Can we just take a minute to appreciate how, like Metroid Fusion, the Super Missiles are just an upgrade to your regular Missiles and not a separate item? Makes things so much easier. Now that you’re equipped with more firepower, head back up and get back to that green missile cover. Your super missiles will make short work out of them, so blast it open and head through.
I’m going to encourage you to pull off a trickier move in this next room. Destroy the two enemies on the ceiling in here and then look towards the top right corner. You’ll see a small tunnel that’s just out of reach. The game intends for us to come back later with the Spin Boost or Space Jump in order to access the prize up there, but we can actually grab it now without too much hassle. Get underneath the tunnel, just over enough so you’re not directly under, but close enough that you can easily slide over once we’re in the air. As a ball, jump up and lay a bomb. When you fall, immediately jump up and lay another bomb, while at the same time, your first bomb should explode, shooting you higher. You’ll need to bomb jump only about three times in succession in order to reach the top! Once you’re there, roll over. If you’re having trouble doing this, don’t sweat it! Come back later. If you were able to do this though, congrats, you’ve got MISSILE TANK #7!
Keep running straight through until you end up at the total recharge station. This is basically the room we started in when we first got into Ghavoran, so everything should look familiar.
Head up on the spider tracks, roll through and destroy the super missile cover on the right hand door. Go through and pull yourself up; you’ll be standing on the platform you just dragged down a minute ago. Take the Morph Ball Launcher in the top corner and you’ll be shot to that same room from earlier. Blast the super Missile cover and head through the door.
Make your way through this room and travel to the mysterious Elun…
The Plasma Beam
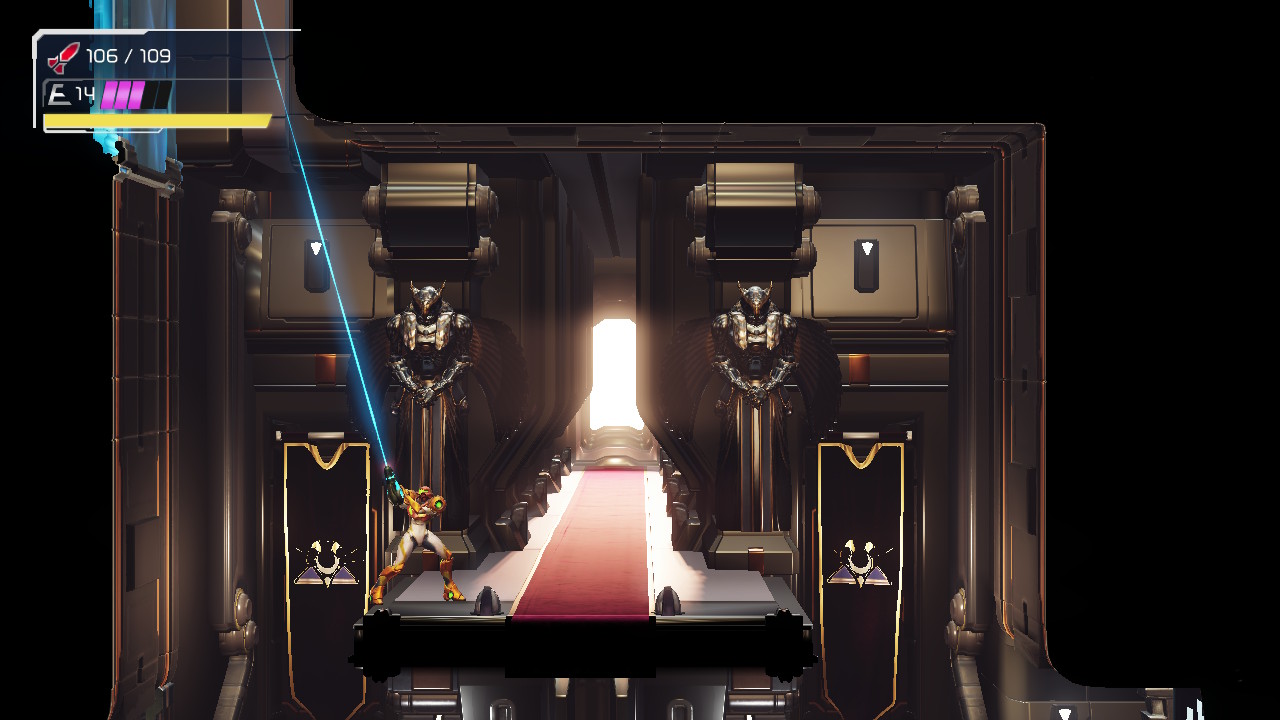
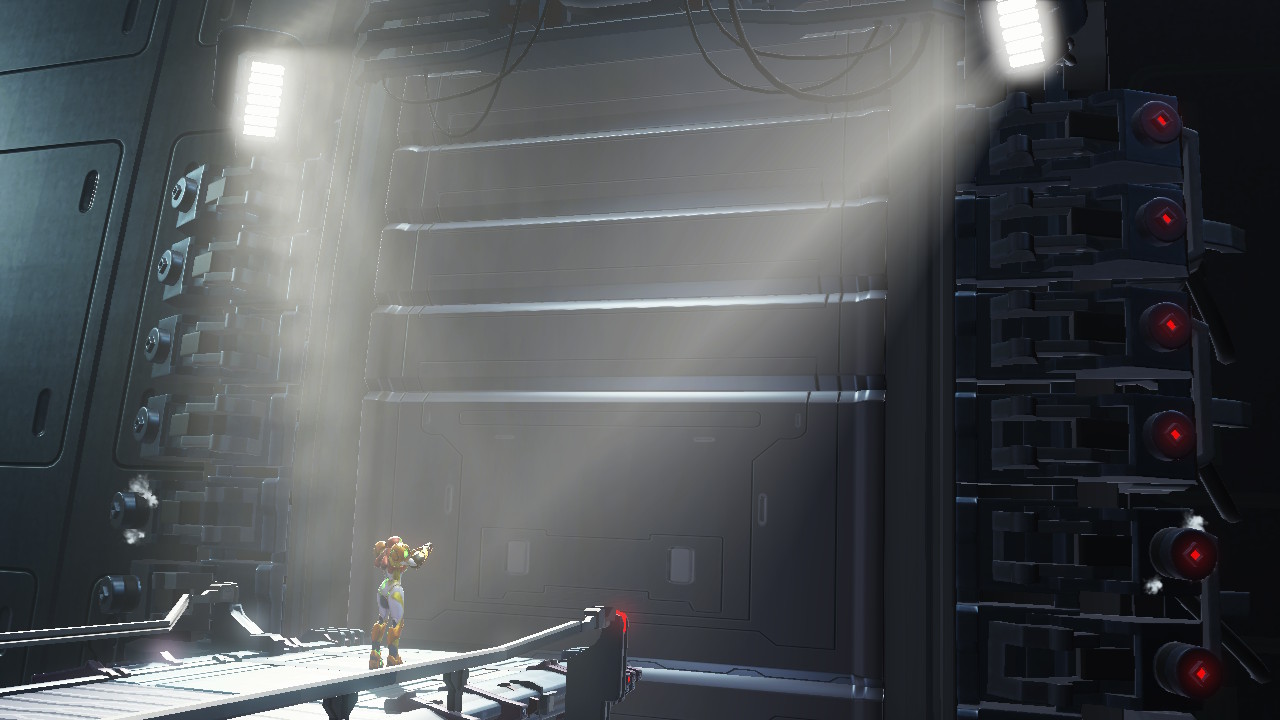
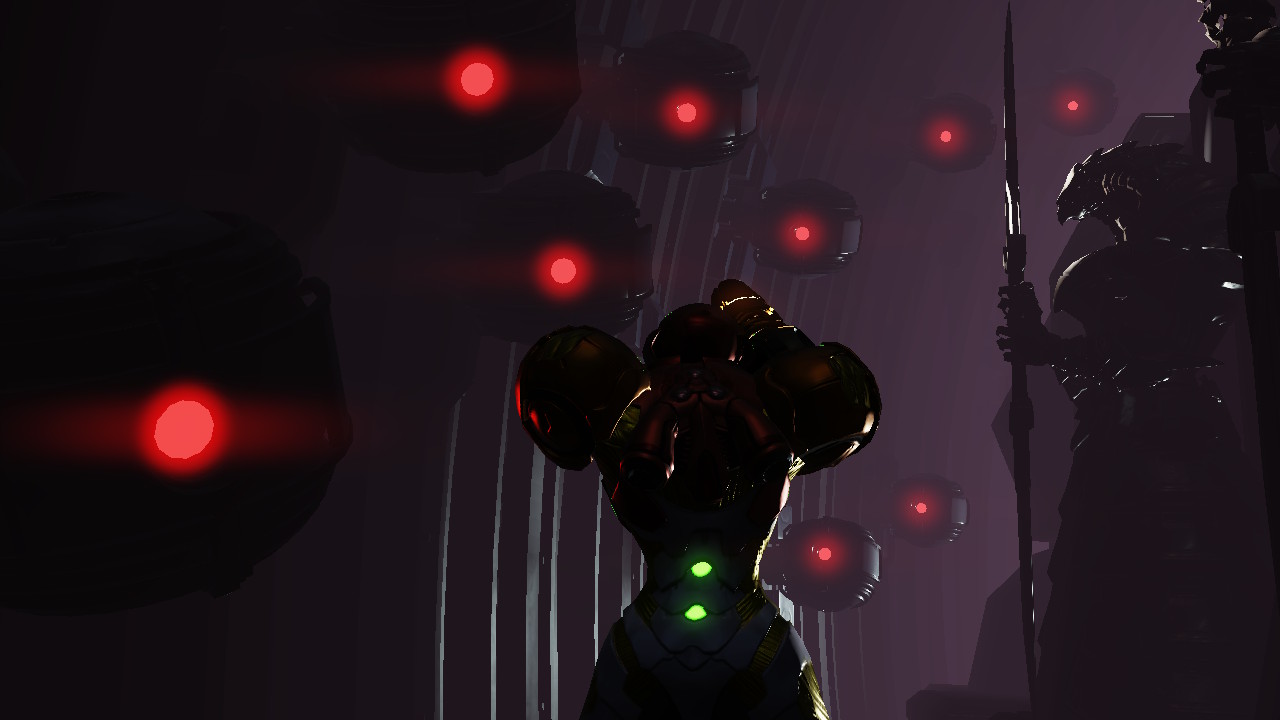
When you land in Elun, head right, saving your game as you go. Keep going and you’ll be treated to some very unsettling imagery. Elun itself looks like a sealed fortress, or perhaps a former place of importance given all the Chozo artifacts. Samus will arrive at the doors of Elun, and after some spotlights shine down on her, the doorway opens. Then something really creepy starts happening – several objects float up and start looking at Samus. These look a lot like the “eyes” of an E.M.M.I., and they look like they can do some real damage. They’ll scan Samus and grant her access to Elun. What were they scanning Samus for? I bet you have a pretty good idea by now what we’re going to find in Elun.
Proceed further and bomb the floor a couple times until you find yourself beside a Morph Ball Launcher. Get inside and blast off. Once you get out, shoot the tumor below you and start climbing up the right hand side of the room. Enter the door at the top.
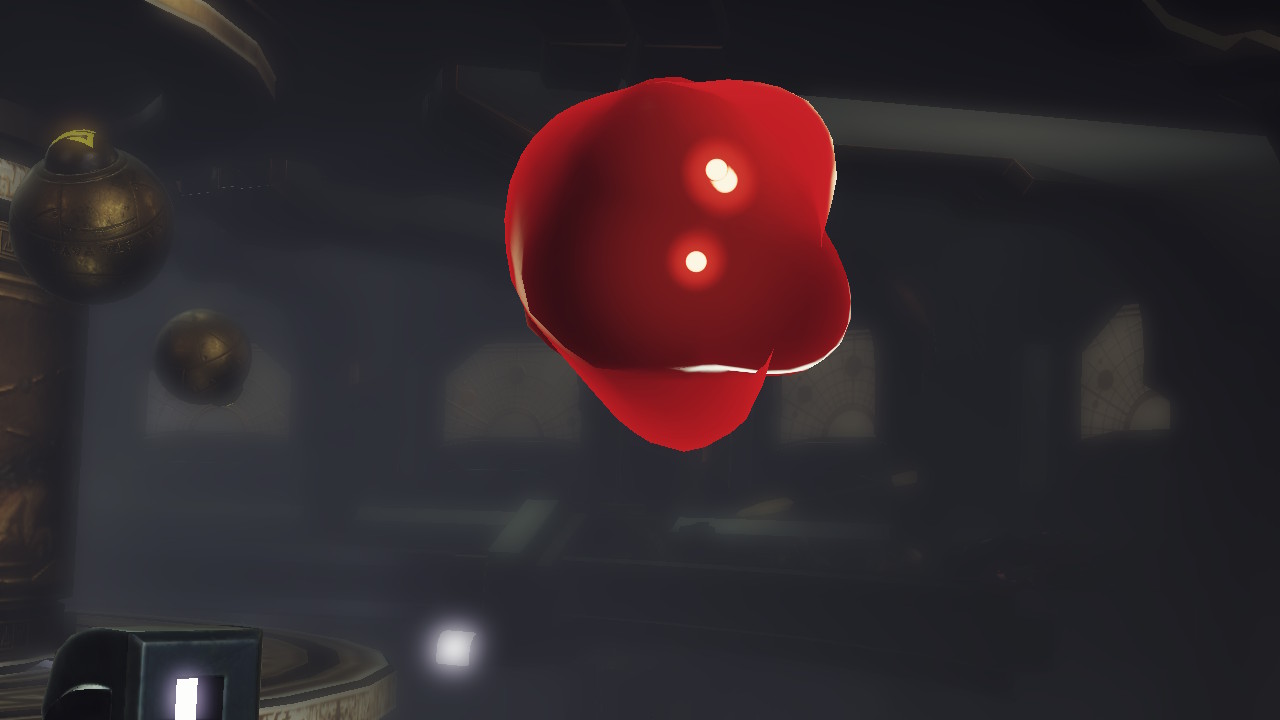
And here they are. The X.
This was the secret that Elun was hiding. This is where Raven Beak sealed the X that ravaged ZDR. And now, the deadly parasites are directly in our way again.
Before we proceed, let’s just talk about the X for a second. Enemies that are possessed by X will be significantly stronger, so watch out. When defeated, they won’t drop health and ammo anymore, but instead will revert back to the base X form, which Samus can absorb due to her Metroid DNA. Absorbing the X is essentially the same thing as absorbing health and ammo. Don’t wait too long to grab an X, though, because after a while, they’ll reform into another monster. You’ll see a couple different colors of X; yellow refills health, green refills missiles, red refills everything.
Now that we know what we’re dealing with, let’s proceed. Work your way to the bottom of the room, carefully eliminating the enemies in front of you. As a piece of advice, don’t bother shooting the sludgy zombie looking guys – it’s ineffective and will take forever. Instead, just wait to melee counter them. Once you get to the bottom, go through the door.
You’ll see a fan blowing air in this room. We’ll come back to that in a second, but for now, just eliminate every enemy in the room so you have a clear path ahead. Once you’ve done that, head back up to the fan and start Speed Boosting. Charge your Shinespark and quickly run towards the bottom left corner of this room, sliding twice to get there. Shoot straight up and if you were fast enough, the blocks should break and you’ll be able to grab MISSILE EXPANSION #31. As always, see Shinespark Puzzles for a video on how to do this.
Once you’ve grabbed it, crawl up in the tunnel and shoot yourself using the Morph Ball Launcher. You’ll pop out in front of a red missile cover. Enter the room, shoot the ceiling above you, jump up and grab the PLASMA BEAM. With this, you’ll be able to blast open green locks and punish machines a lot easier. Let’s get going!
Leave the Chozo Statue room and head left, back into the hall from earlier. Head up and go through the door on the right, but this time when you enter the new room, take the door with the Plasma cover. Climb the spider tracks here and eliminate the Gadora. Step inside and get ready for a battle.
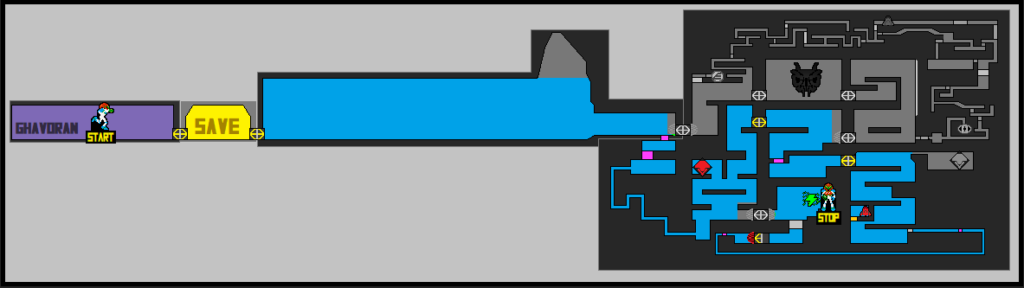
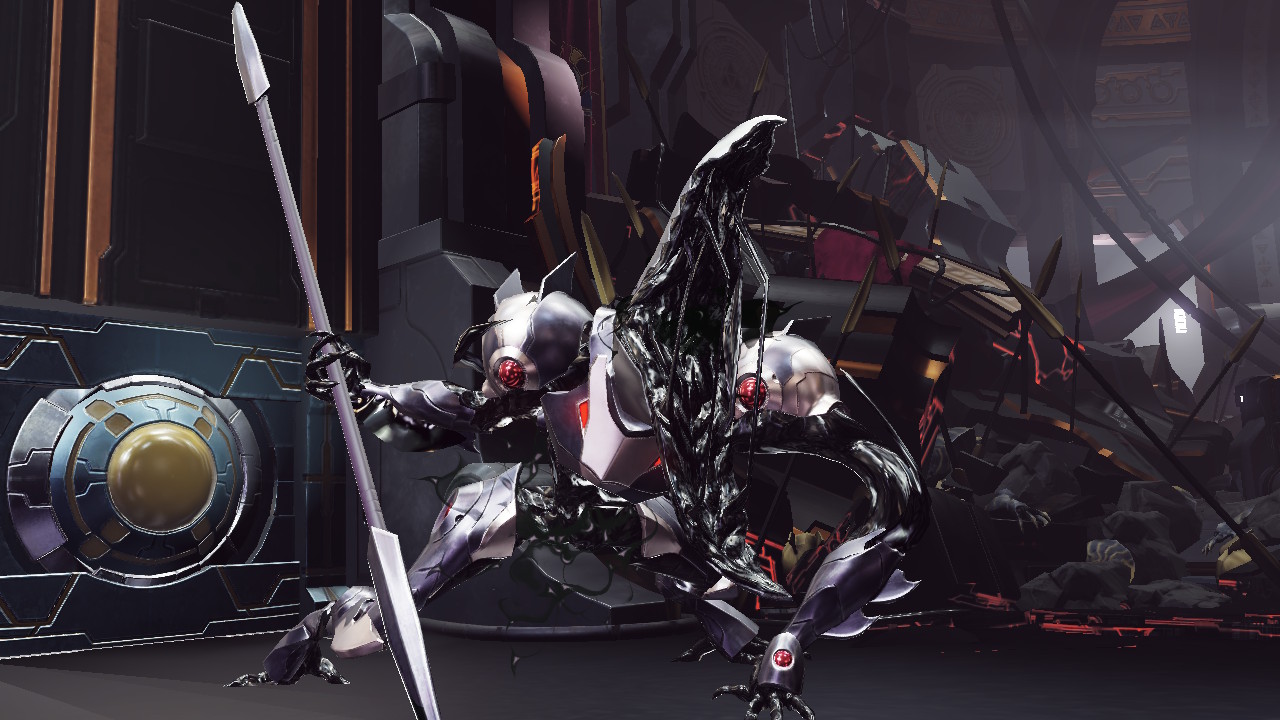
Chozo Spear Soldier
You’ll see a Chozo Soldier come to life, no doubt thanks to the X. Get used to this guy, because this is the first of many times that we’ll have to duke it out with him. This Chozo Soldier is equipped with a big spear that he likes to wave around; the spear does pretty big damage, so you’ll want to keep a close eye on it.
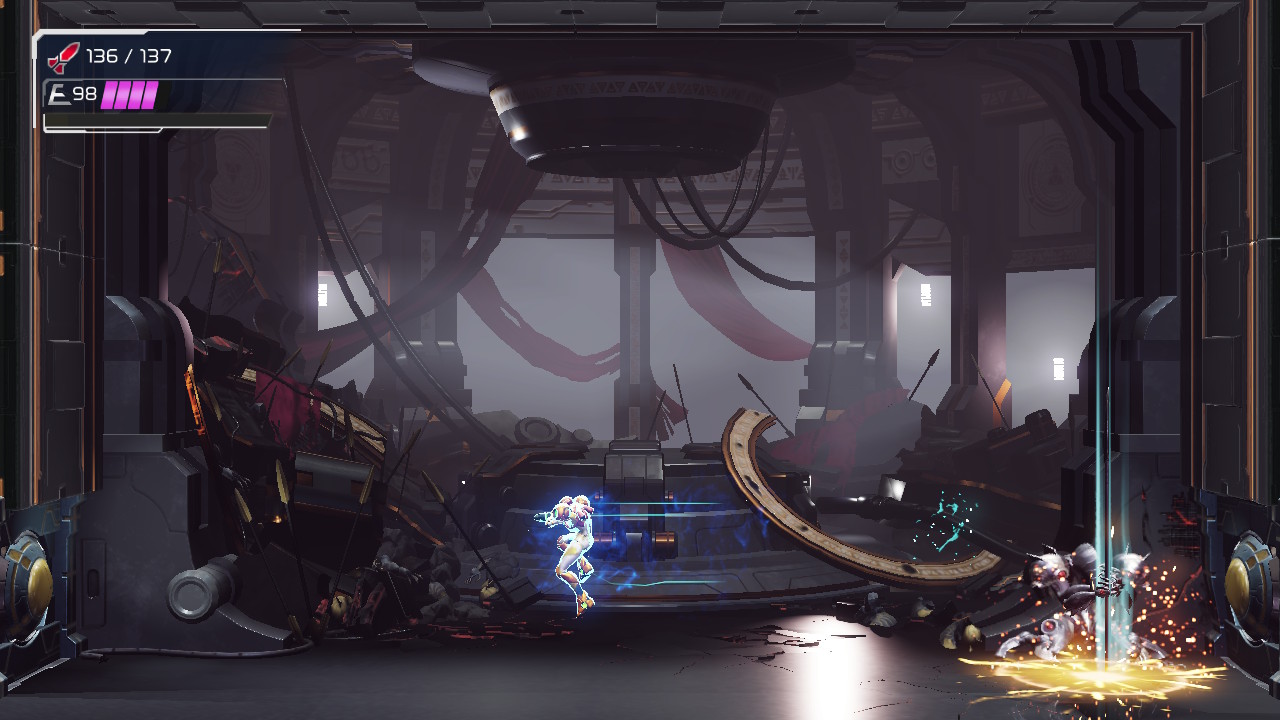
Fortunately, the first phase of this boss fight is very manageable. He really only has two attacks: the first, he’ll start to swirl his spear in a circular motion, signifying that he’s about to lunge in your direction; this is pretty easy to just jump up and Flash Shift over. The second is he will jump on the wall and then jump off, striking downwards with his spear as if he’s impaling you. This is likewise easily dodged by just Flash Shifting out of the way as he starts to fall downwards.
Blast him with missiles repeatedly while dodging his attacks and you should have no trouble triggering phase 2 of the fight.
The Chozo Soldier will mutate a bit, it’s head transforming into a bird-like beak that looks suspiciously like one of Samus’s greatest rivals. Not much will change for his actual attacks, however. His twirling attack to either side remains the same, but an extra feature on the wall attack will be two blobs of black goo that will shoot out on either side when the Soldier lands after his downwards strike. Again, easy enough to avoid, but stay frosty as too many mistakes can add up.
Keep blasting him with missiles and the battle will come to its ending point, HOWEVER, it won’t be as simple as just watching this Chozo Soldier blow up. When you’ve hit him enough times, a quick time event will trigger in which you’ll have to melee counter him twice to truly finish him off. If you miss the queues, you’ll go back to battling; pump a few more missiles into him and you’ll have another opportunity to finish the Chozo Soldier off. When you successfully hit both melee counters, Samus will stick her arm cannon inside the mouth of the soldier and blast away, finishing it. Absorb the X and move on.
As soon as you exit the boss room, you’ll be in a hallway where you can see an Energy Tank just chilling in the ceiling. Shoot the far left portion of the ceiling and wall jump up. Roll over to grab ENERGY TANK #5.
There is another expansion that you can go and get if you want to, but seeing as it’s a power bomb expansion that we’re unable to use right now coupled with the fact we need to come back to Elun later anyways, I’m choosing to skip it for now. Instead, drop down and make your way back into Ghavoran.
In a terrifying moment, you’ll see that the doors to the fortress of Elun are open and the X are freely flying out, and will no doubt infect every creature living or dead on ZDR… including Quiet Robe, who, now that the X have infected his corpse, reactivates the E.M.M.I.’s.
Next Chapter: The Forest of Ghavoran