Metroid Prime 3: Corruption Walkthrough – Missile Expansions
Here you’ll find the location for every Missile Expansion in Metroid Prime 3: Corruption, as well as detailed explanations on how to get them and what powerups you’ll need. Expansions have been listed in order of when you can pick them up during the game. For a list of expansion by area, click here.
It’s worth noting that in Metroid Prime 3, there’s a room in Eastern SkyTown called the Chozo Observatory that, when you activate the numerous bomb slots in the room, will send satellites into the sky, giving you the item locations for every expansion in the same! The Expansions will appear as white dots on the map, giving you nothing more than that to go off of. As a caution: any items on the G.F.S. Valhalla will NOT show up on your map!
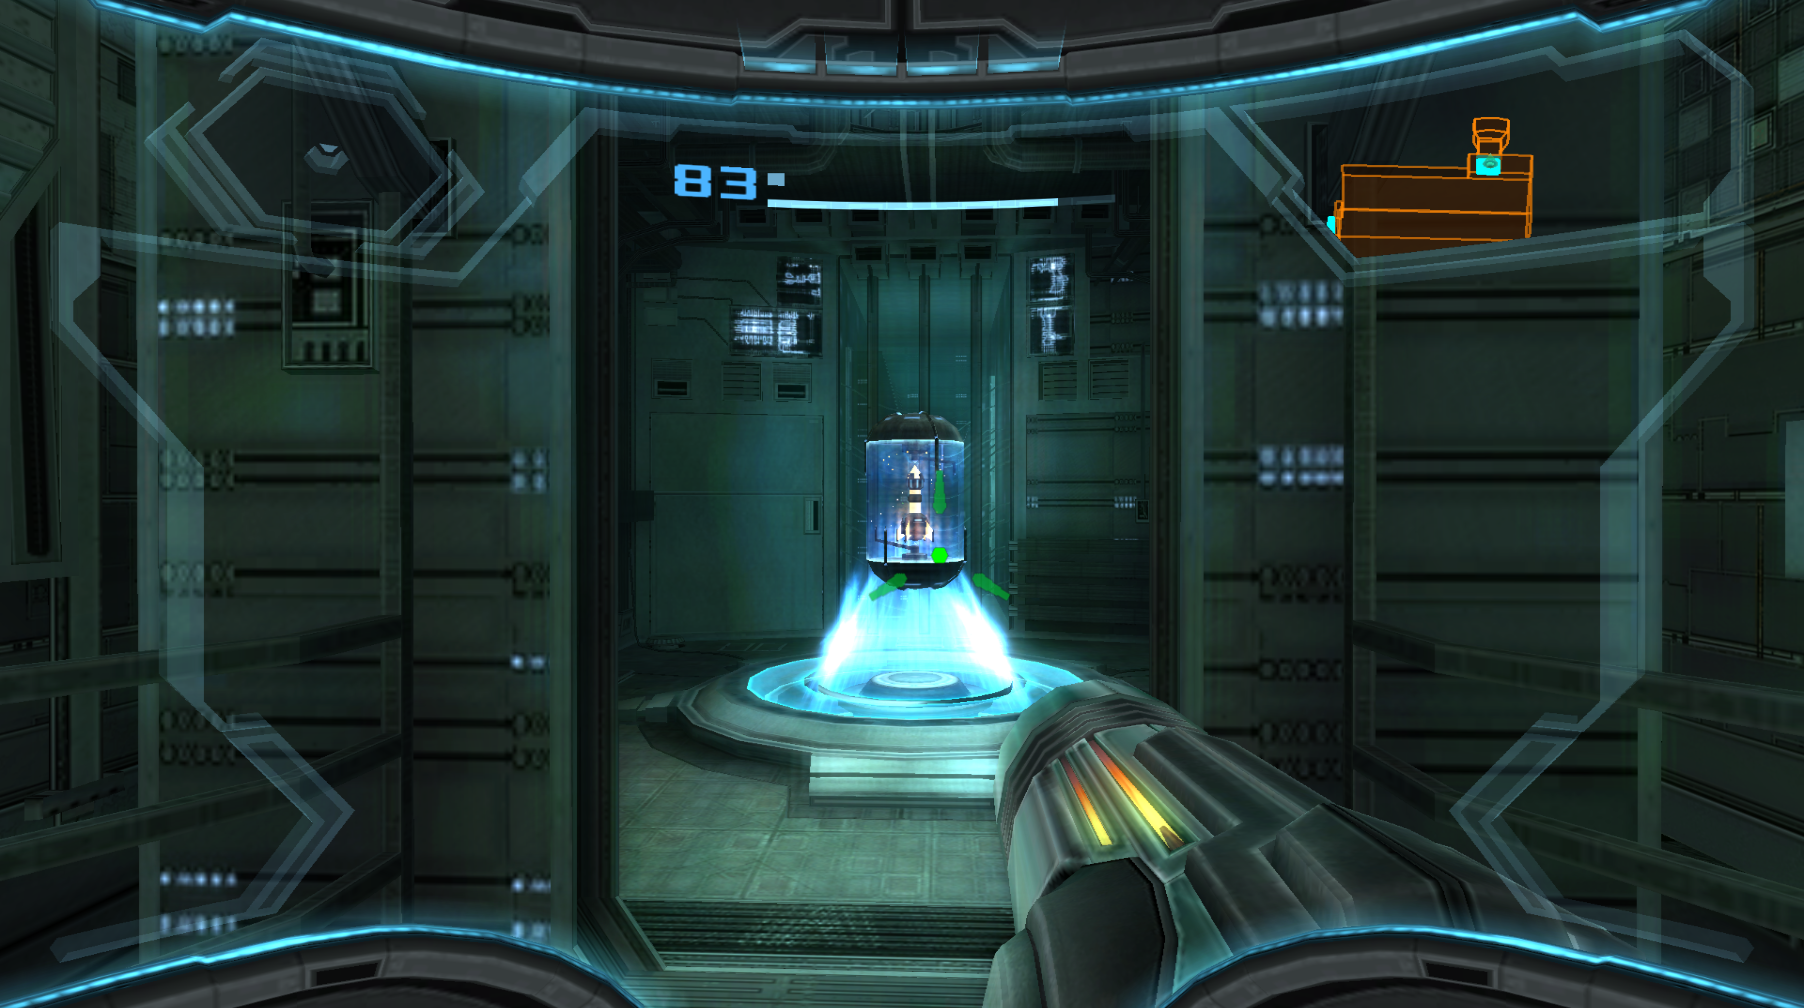
Missile Expansion #1
Location: Munitions Storage, G.F.S. Olympus
Requirements: None
You’ll pick up this first Expansion as part of the progression of the game. Simply walk into the room and grab it.
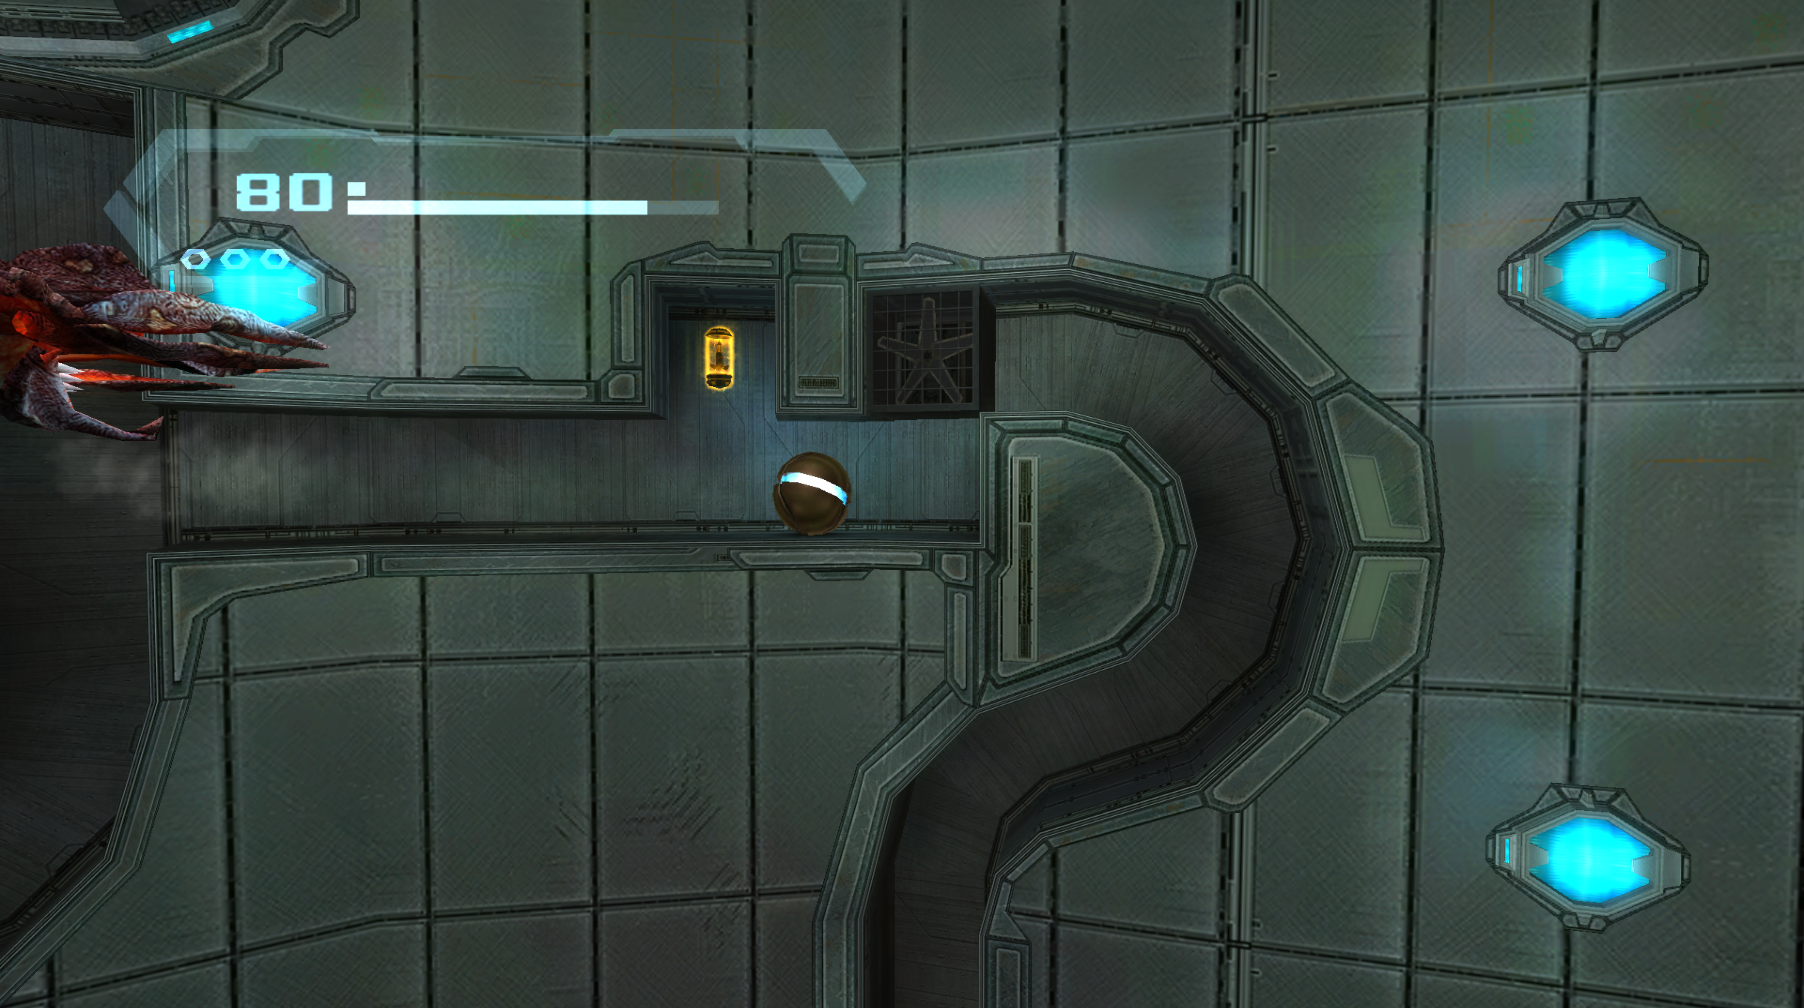
Missile Expansion #2
Location: Cargo Hub, Norion
Requirements: Morph Ball, Bombs
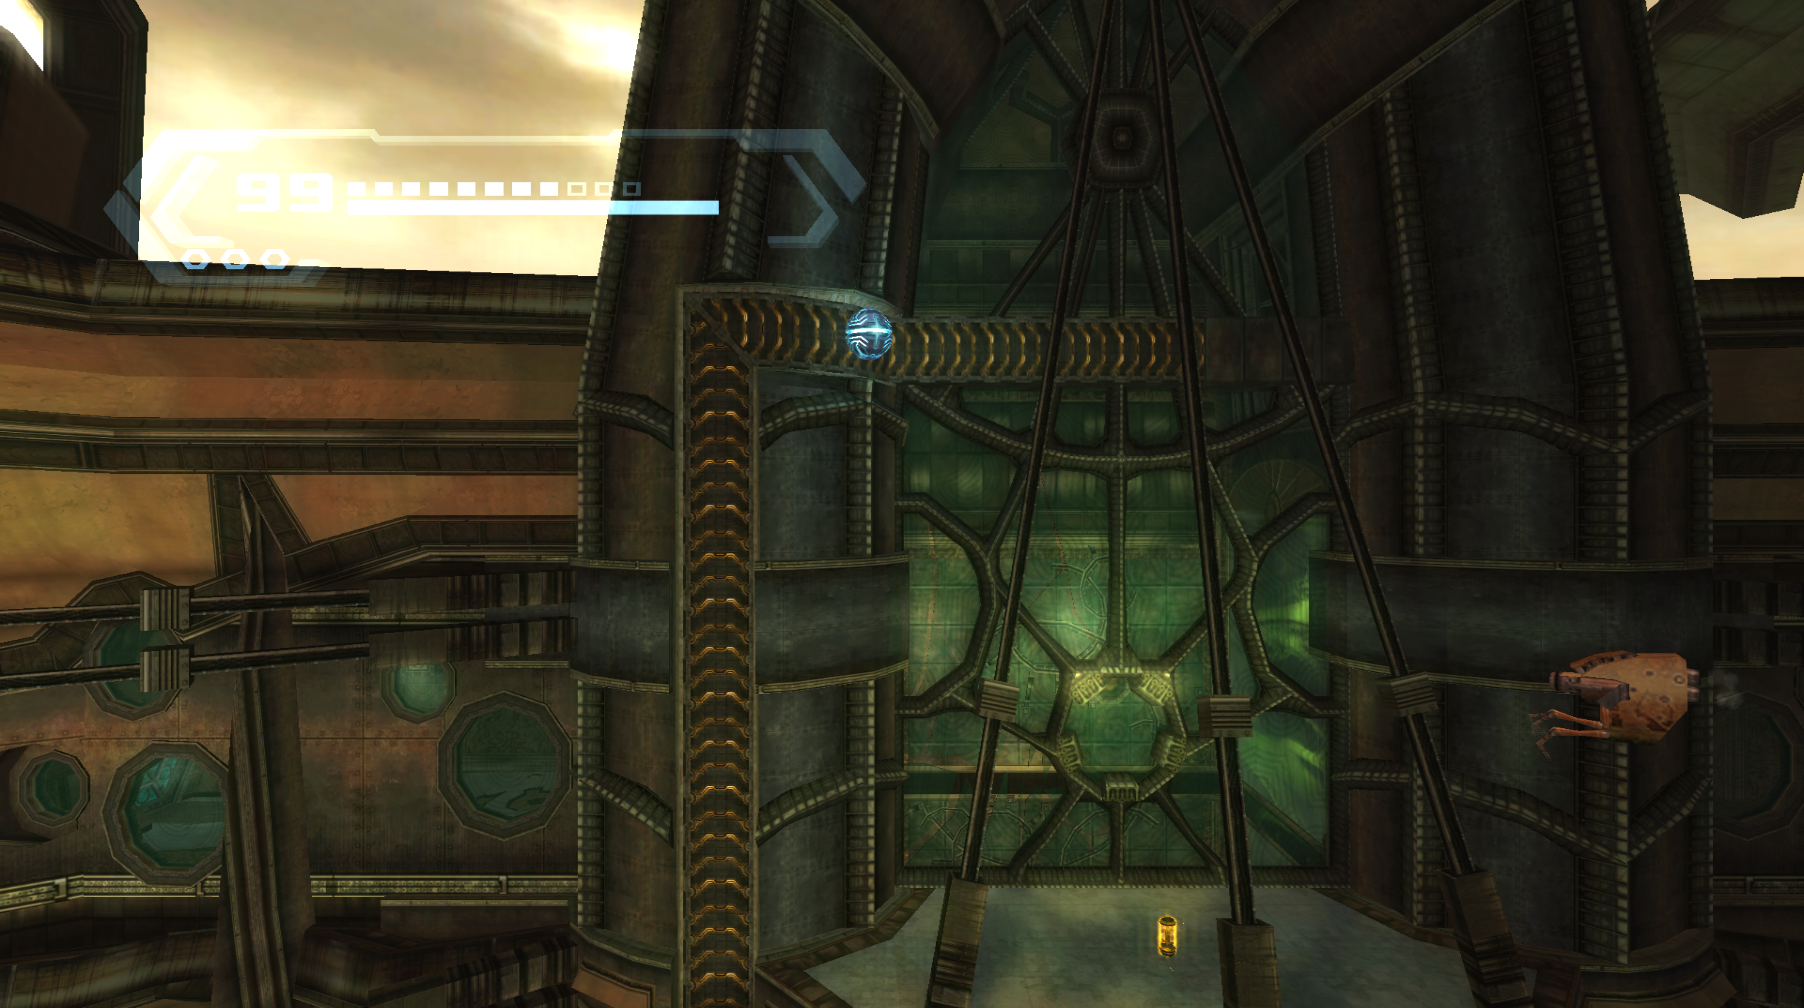
Once you’ve cleared the room of all enemies, interact with the panel close to the Hub Access door and a Morph Ball tunnel will open up. Traverse down it and avoid the Jolly Roger Drone. Once you reach the end of the tunnel, the Expansion will be there for you.
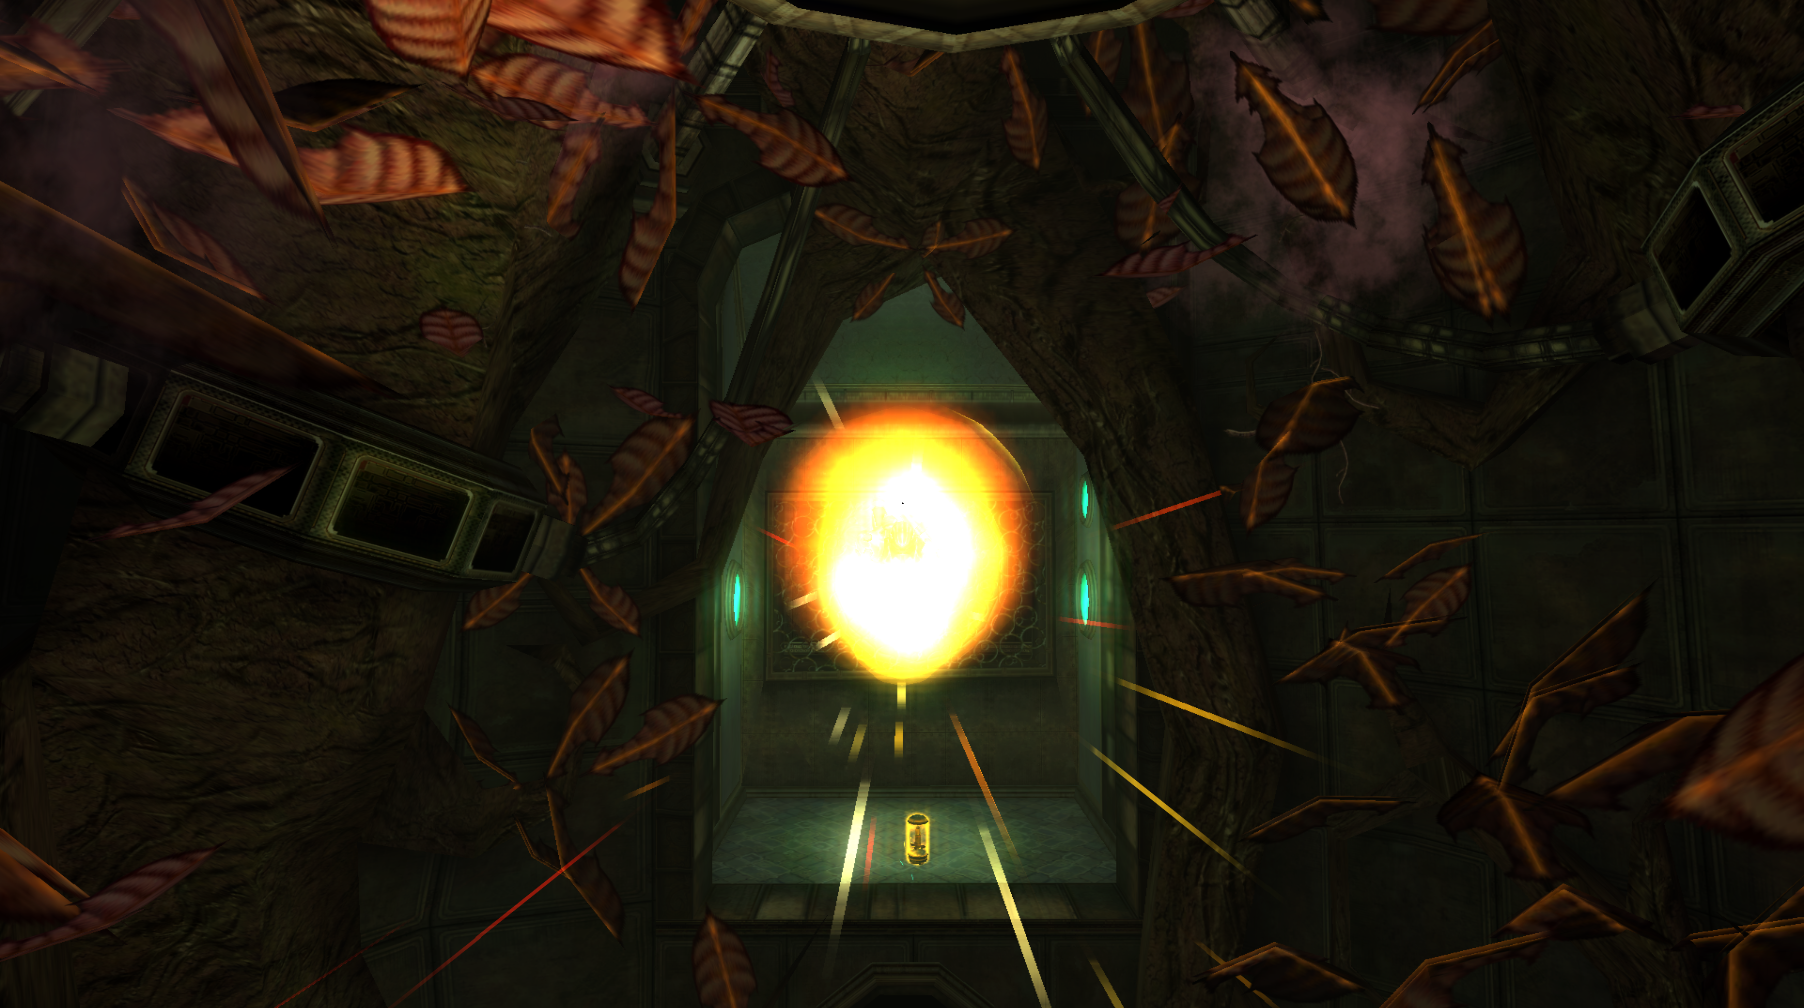
Missile Expansion #3
Location: Grand Court Path, Bryyo Cliffside
Requirements: None
Once you near the end of the path, turn around and you’ll see a statue that contains Gel Fuel sitting on a ledge about halfway up the wall behind you. Shoot it, and after it explores, jump up to the ledge and follow the path to grab this Expansion.
Missile Expansion #4
Location: Hillside Vista, Bryyo Cliffside
Requirements: None
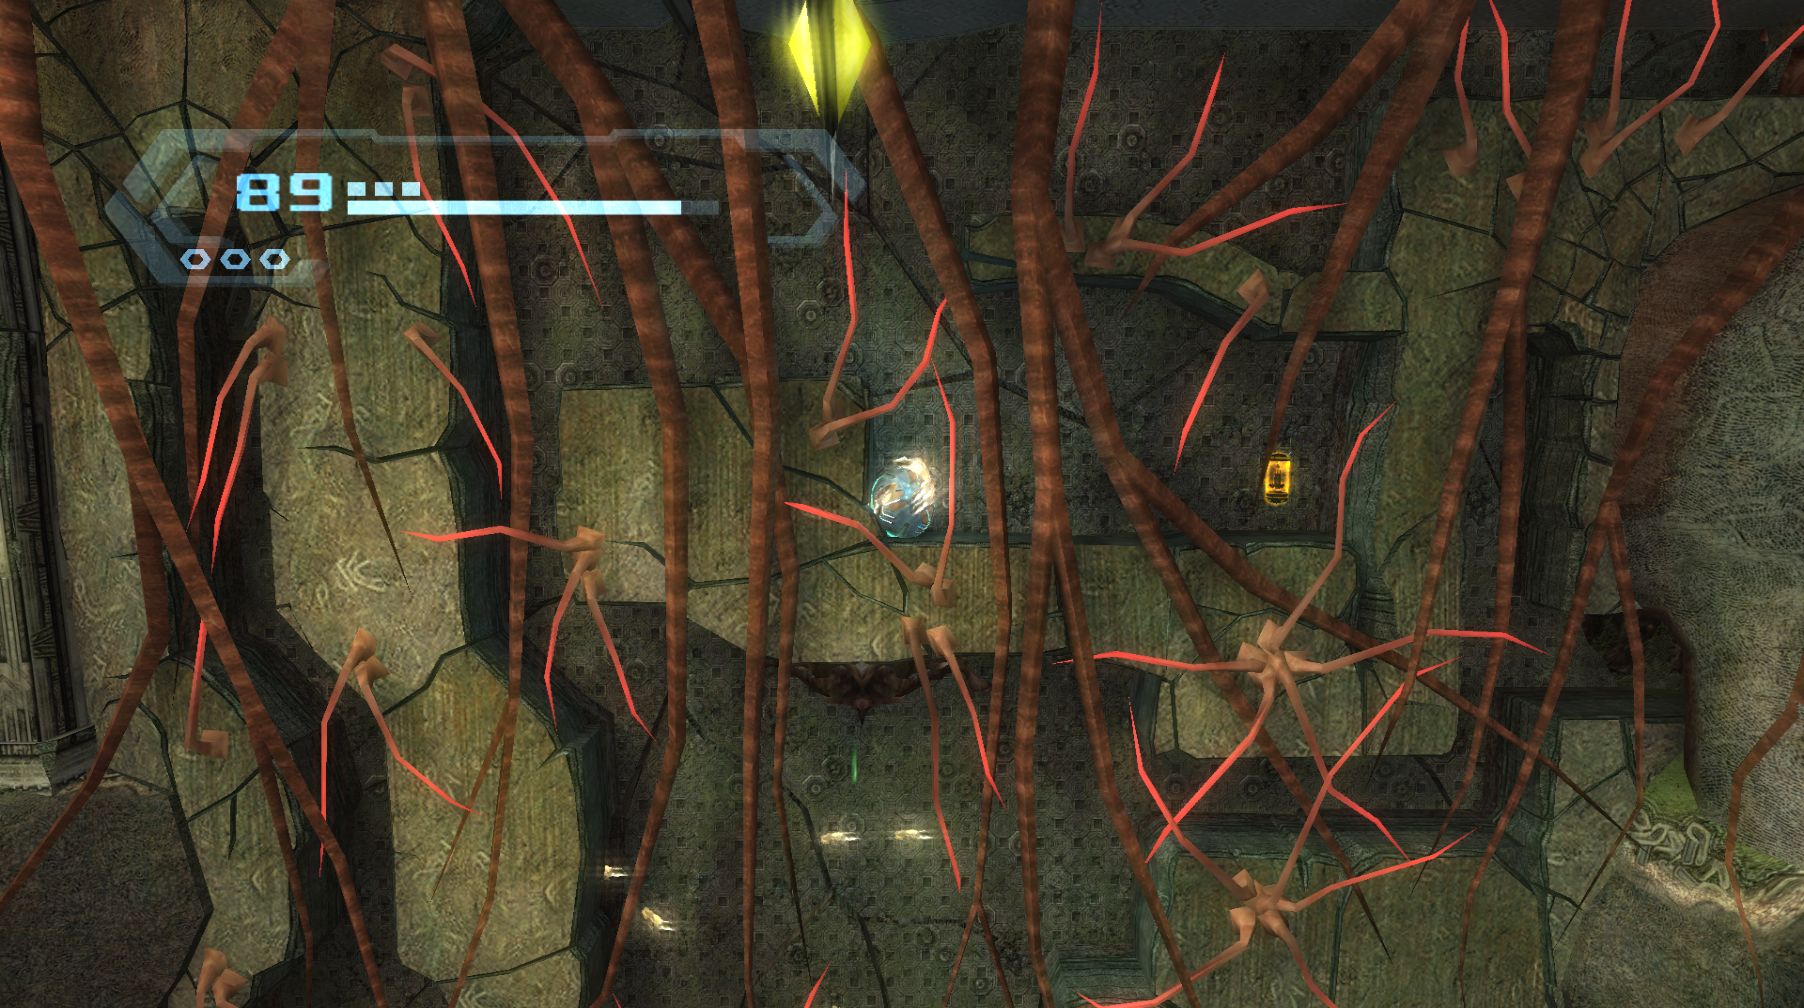
Once you enter the Morph Ball tunnel, let the little bugs, called Snatchers, swarm you and they will actually start carrying you upwards. Direct them to the left and they’ll take you to the ledge and drop you off right beside this Expansion.
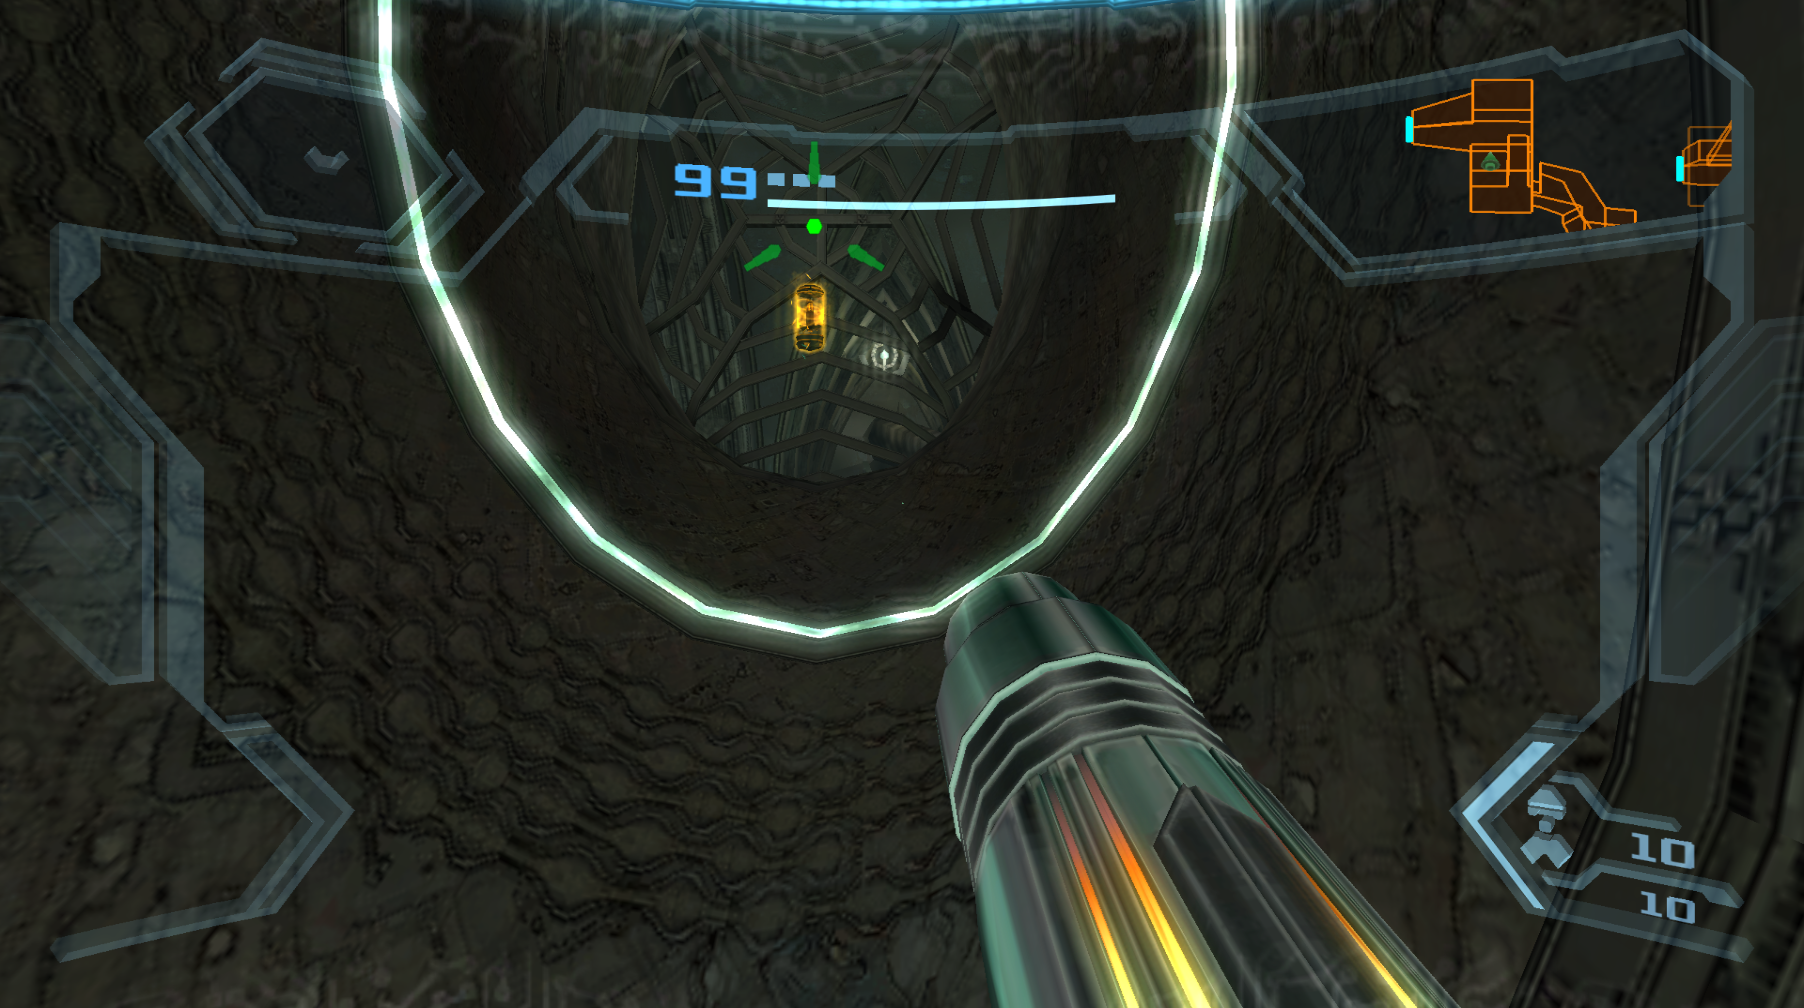
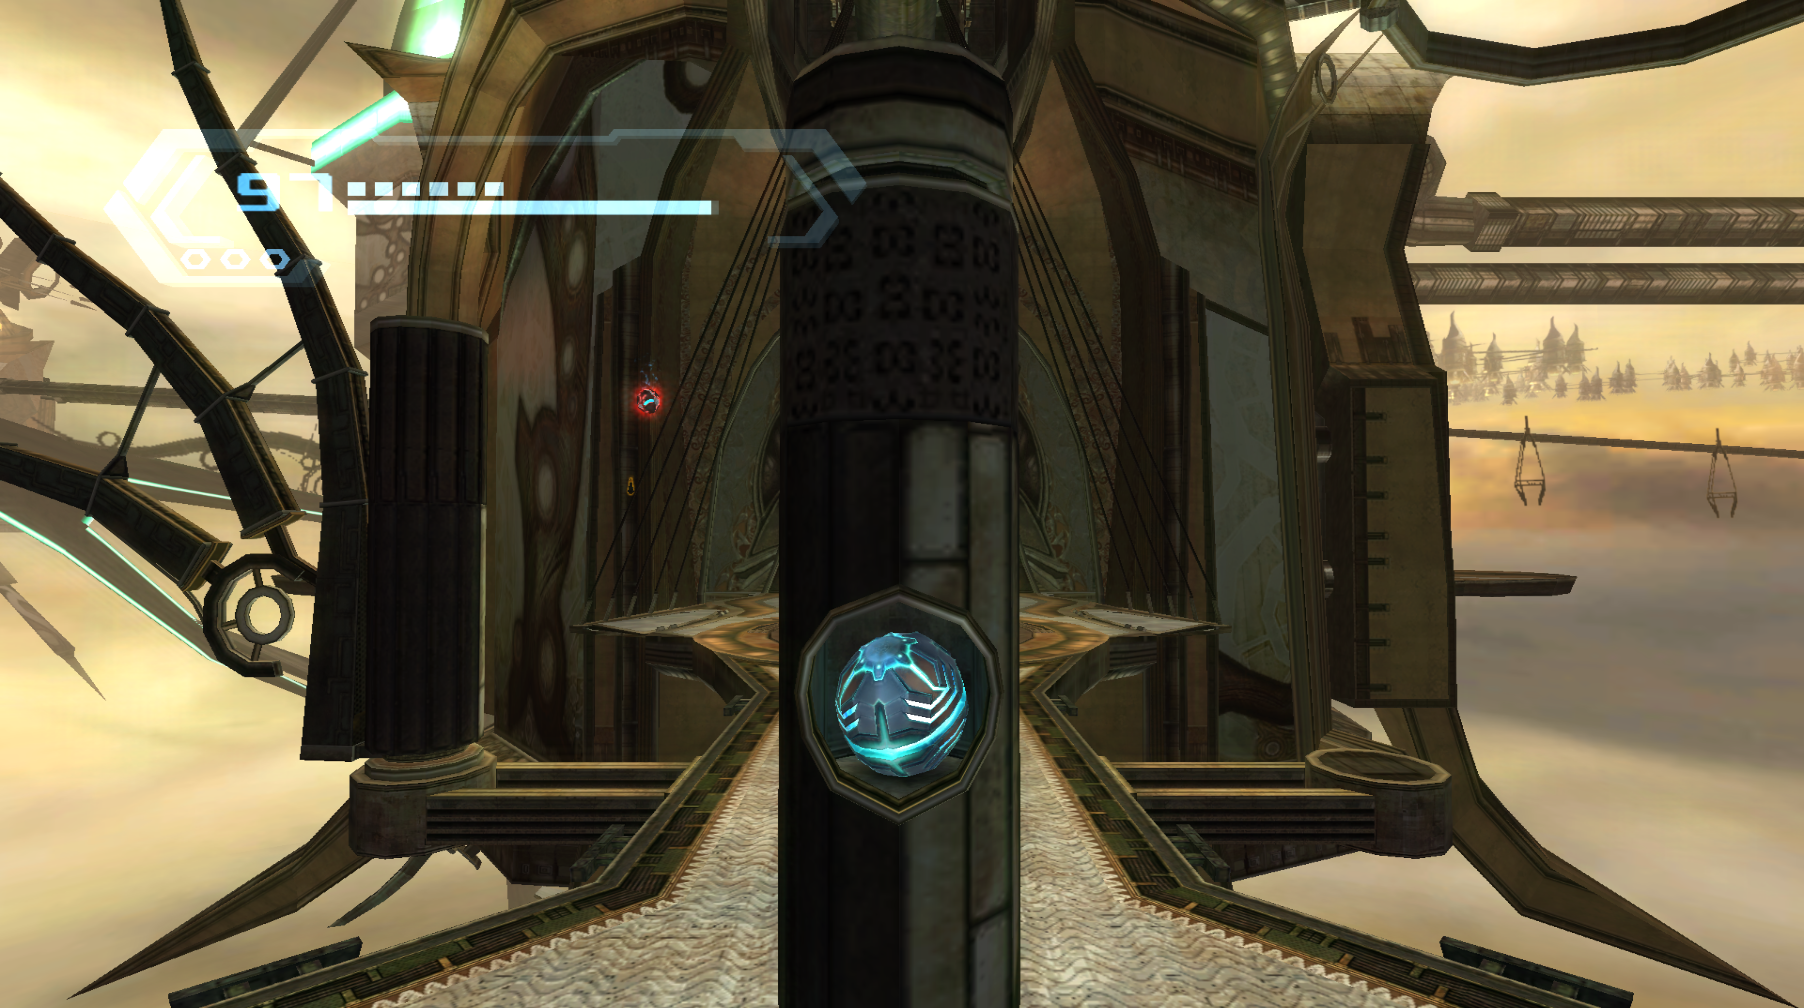
Missile Expansion #5
Location: Crash Site, Bryyo Cliffside
Requirements: None
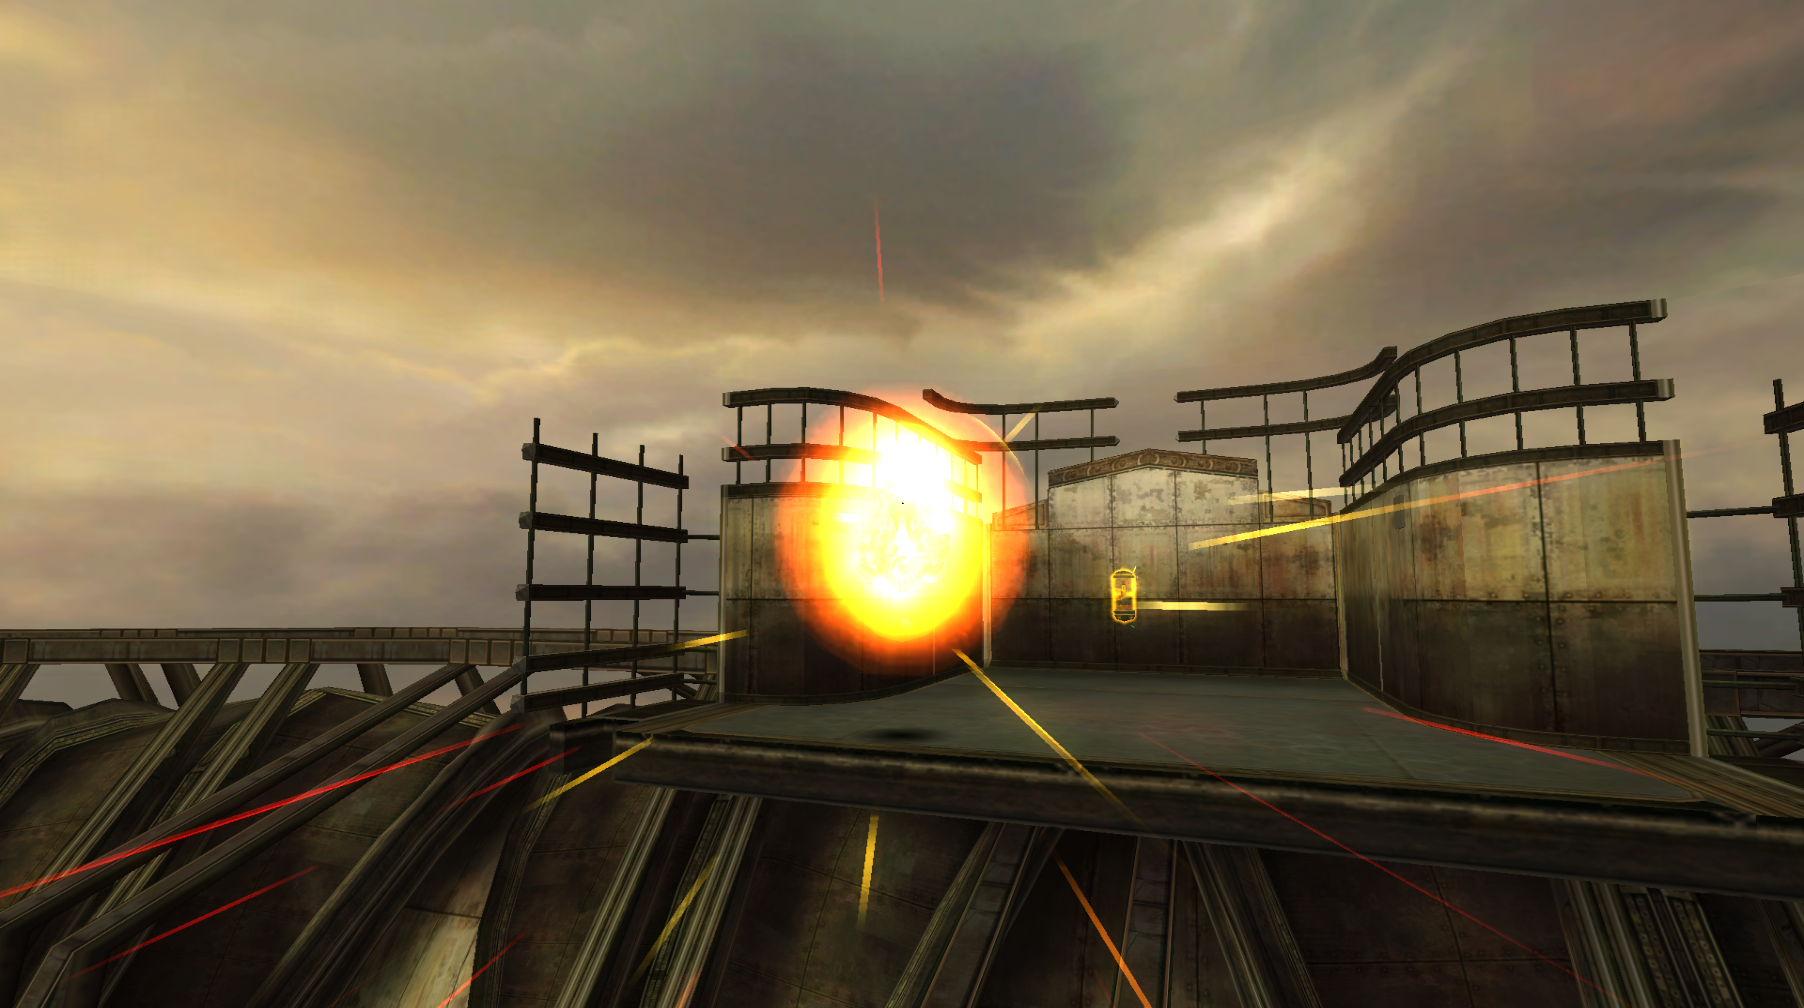
After restoring power to the ship in the Crash Site, head back outside and roll into the Morph Ball tunnel. Navigate your way upwards, avoiding the lasers and pulling a double bomb jump (this is easier than ever thanks to the Spring Ball ability, where you can flick your controller upwards and Samus will Jump in Morph Ball form) to get to the top of the ship. Once there, the Expansion will be waiting for you in plain sight.
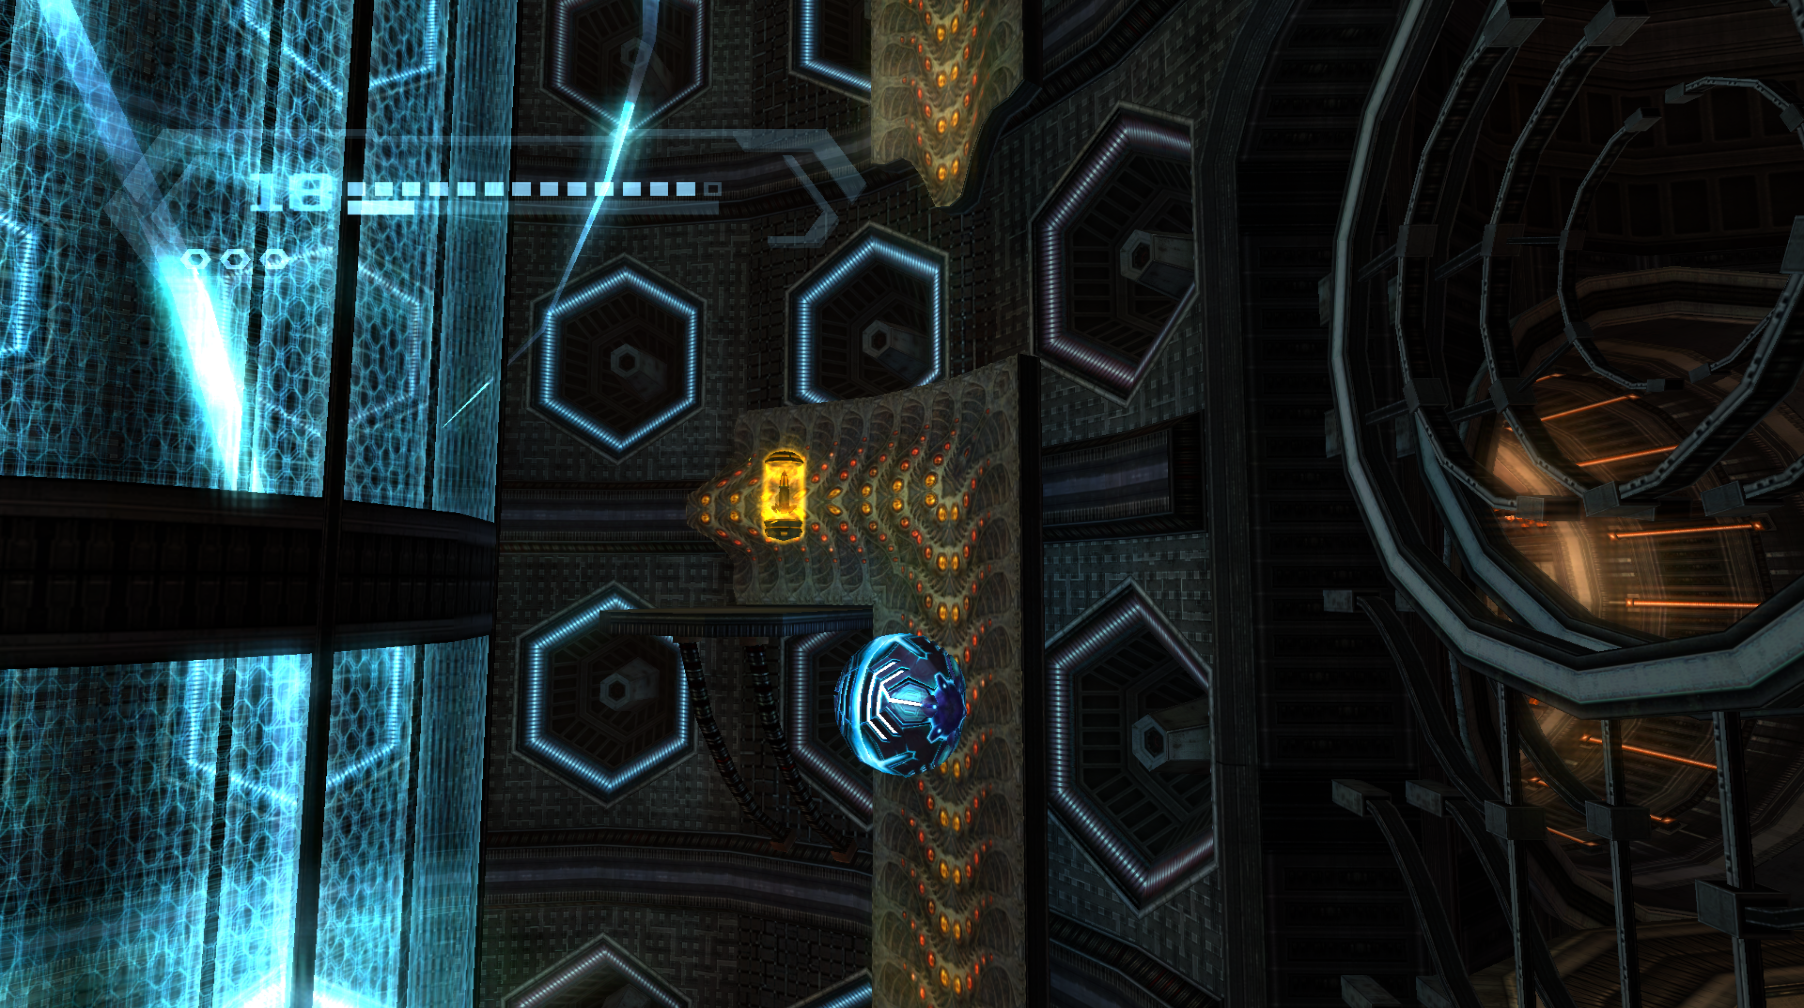
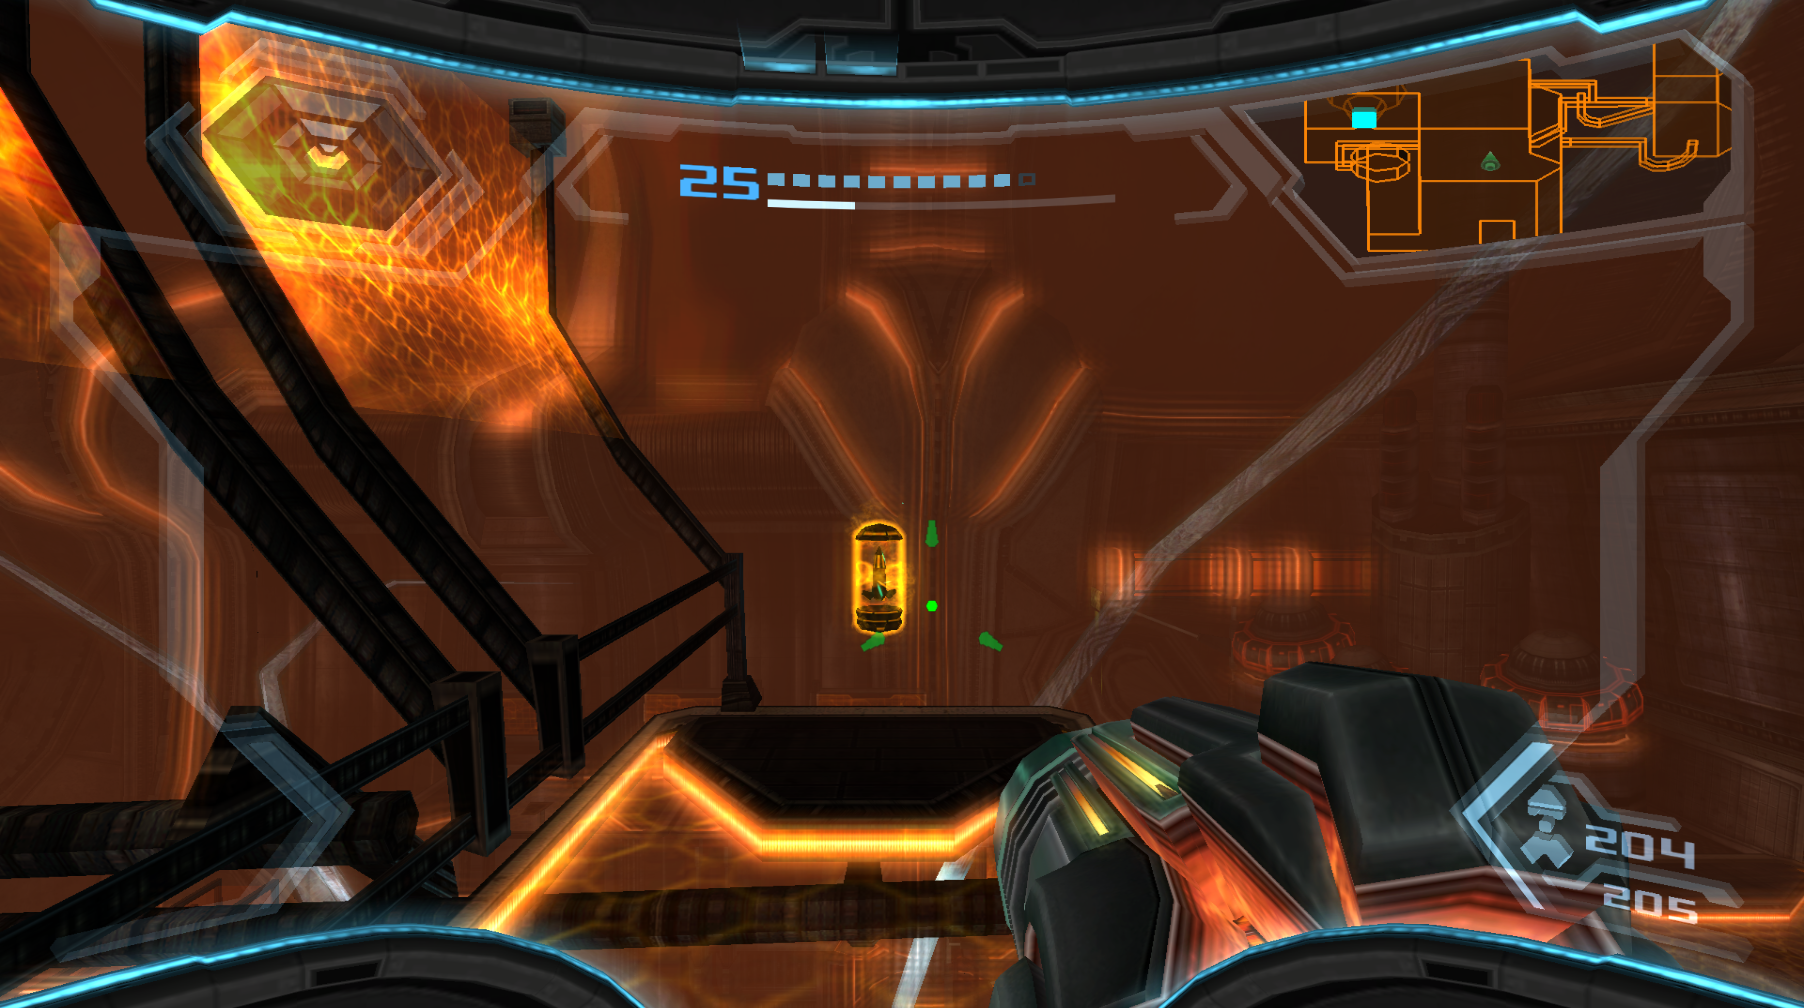
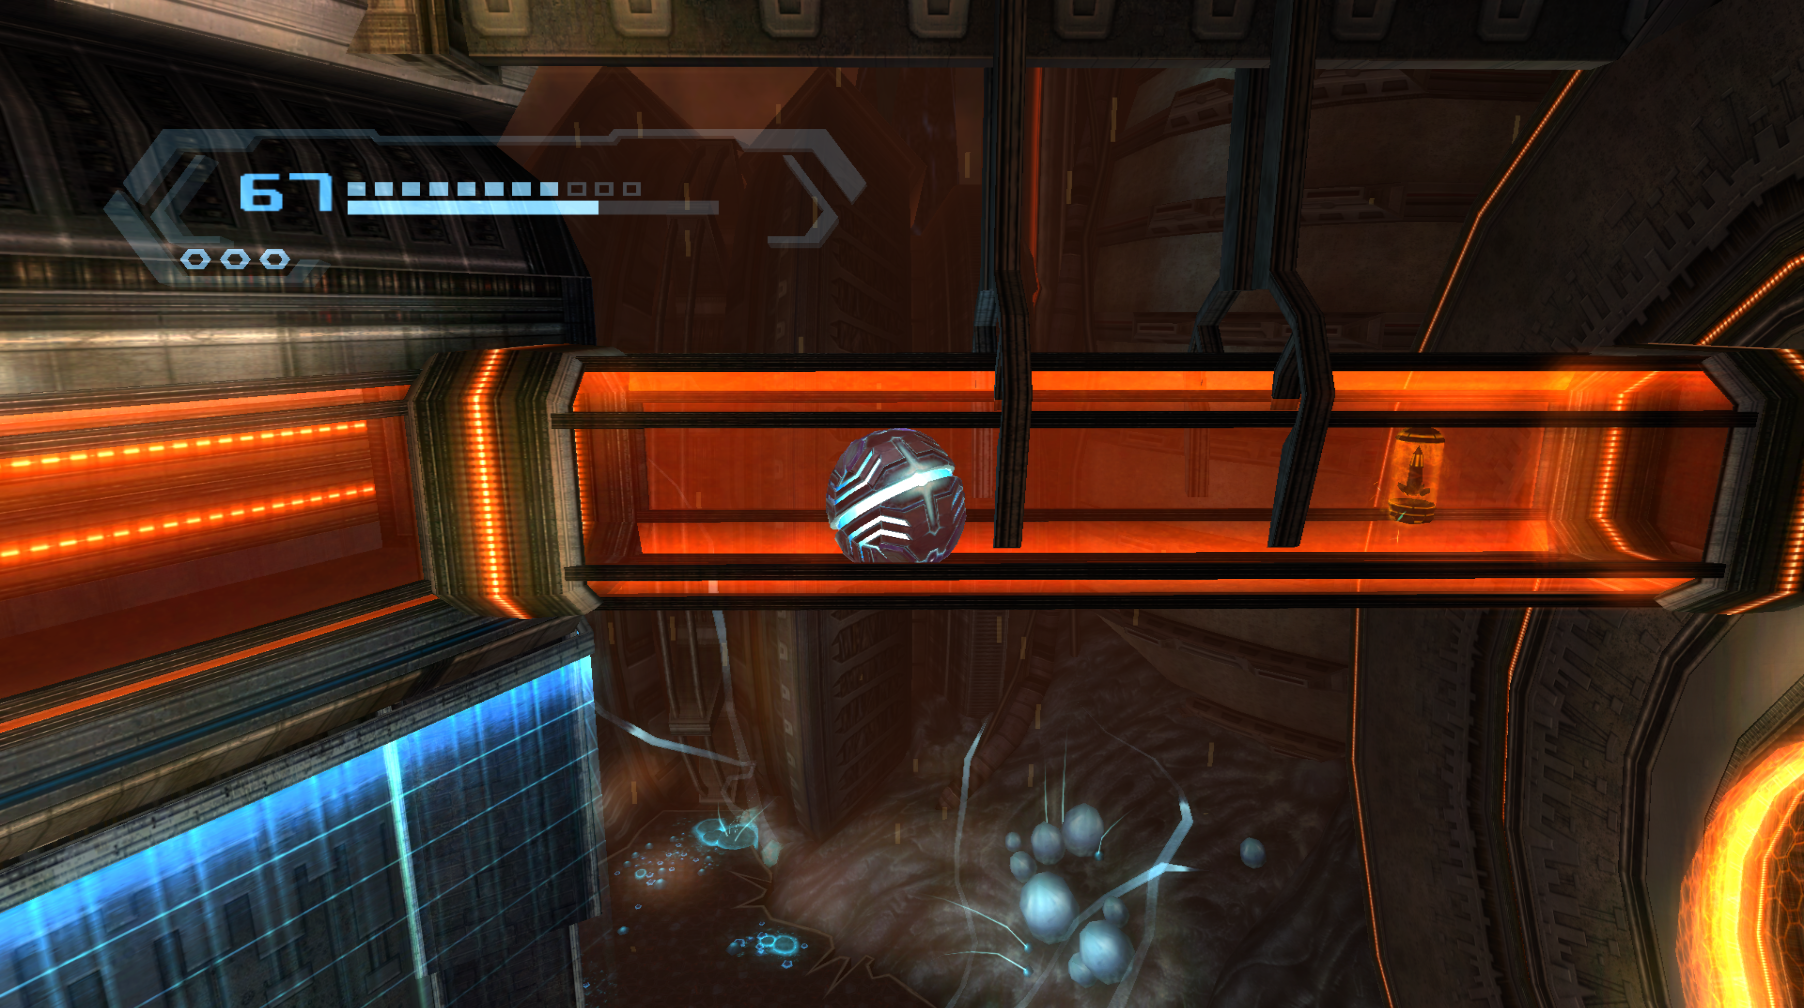
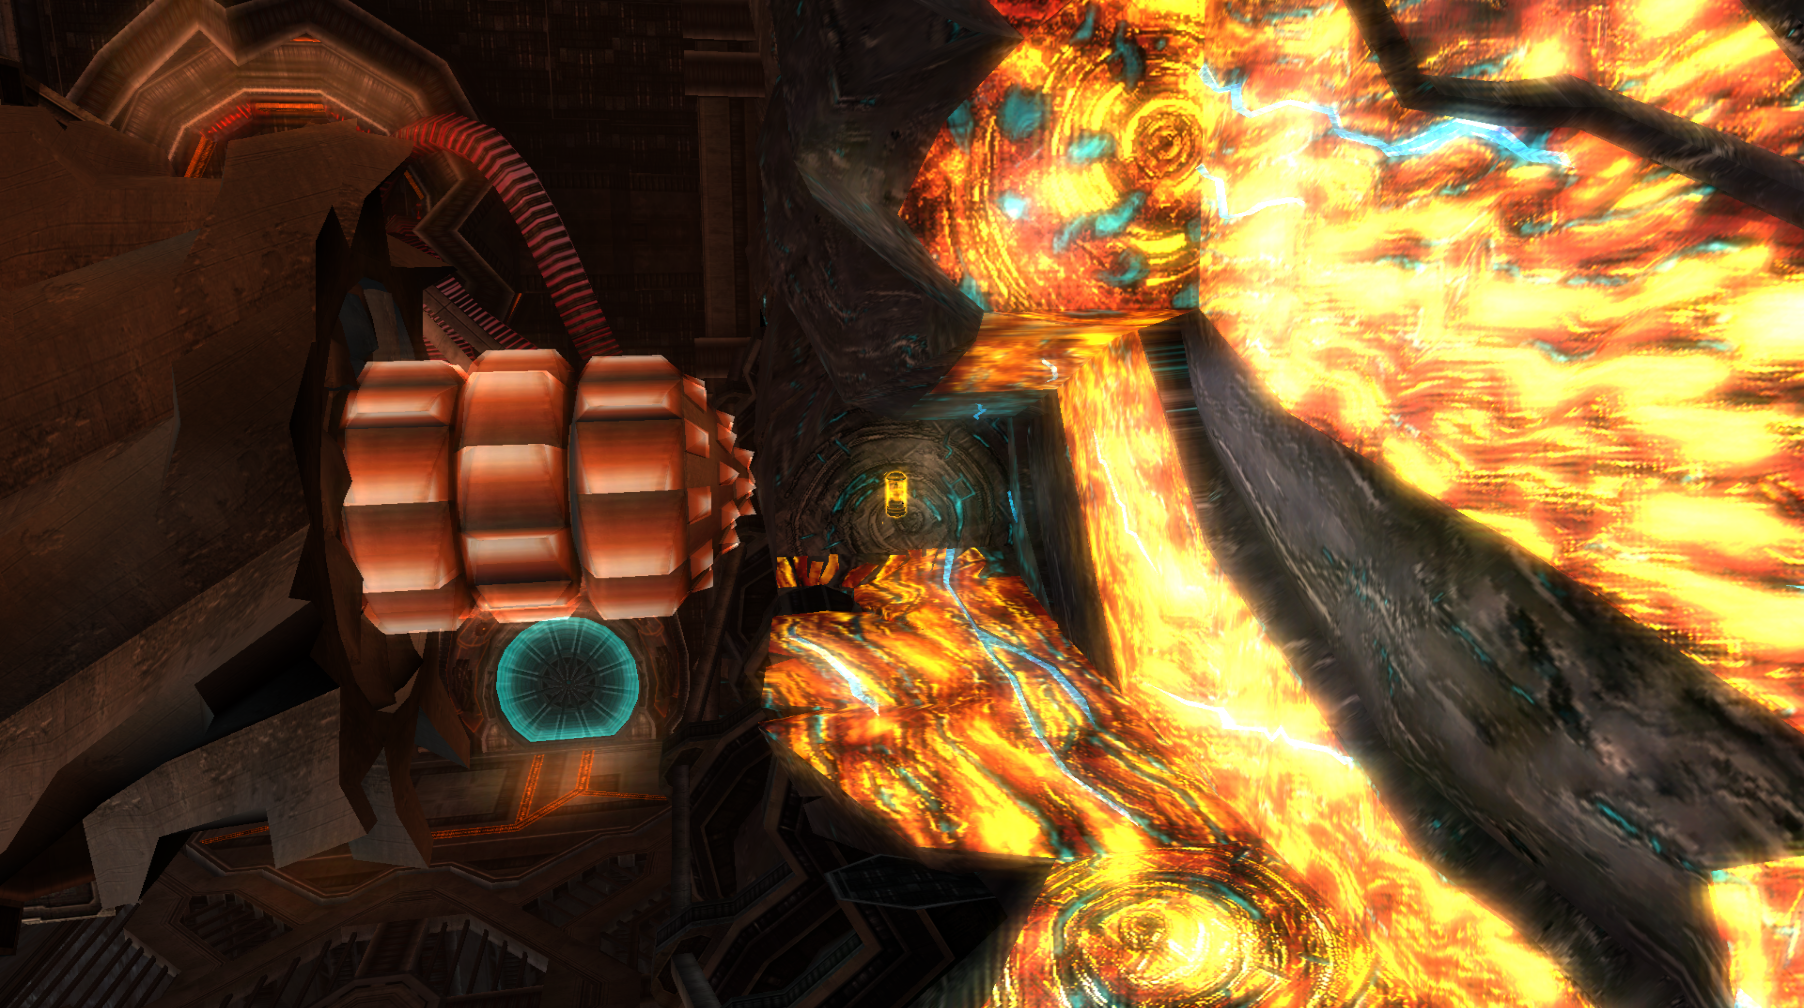
Missile Expansion #6
Location: Main Lift, Bryyo Fire
Requirements: None
Use the Snatchers in the Morph Ball tunnel to once again carry you upwards. There will be two tunnels on the left wall; take the higher one closer to the ceiling. Roll through the tunnel and this Expansion will be waiting for you.
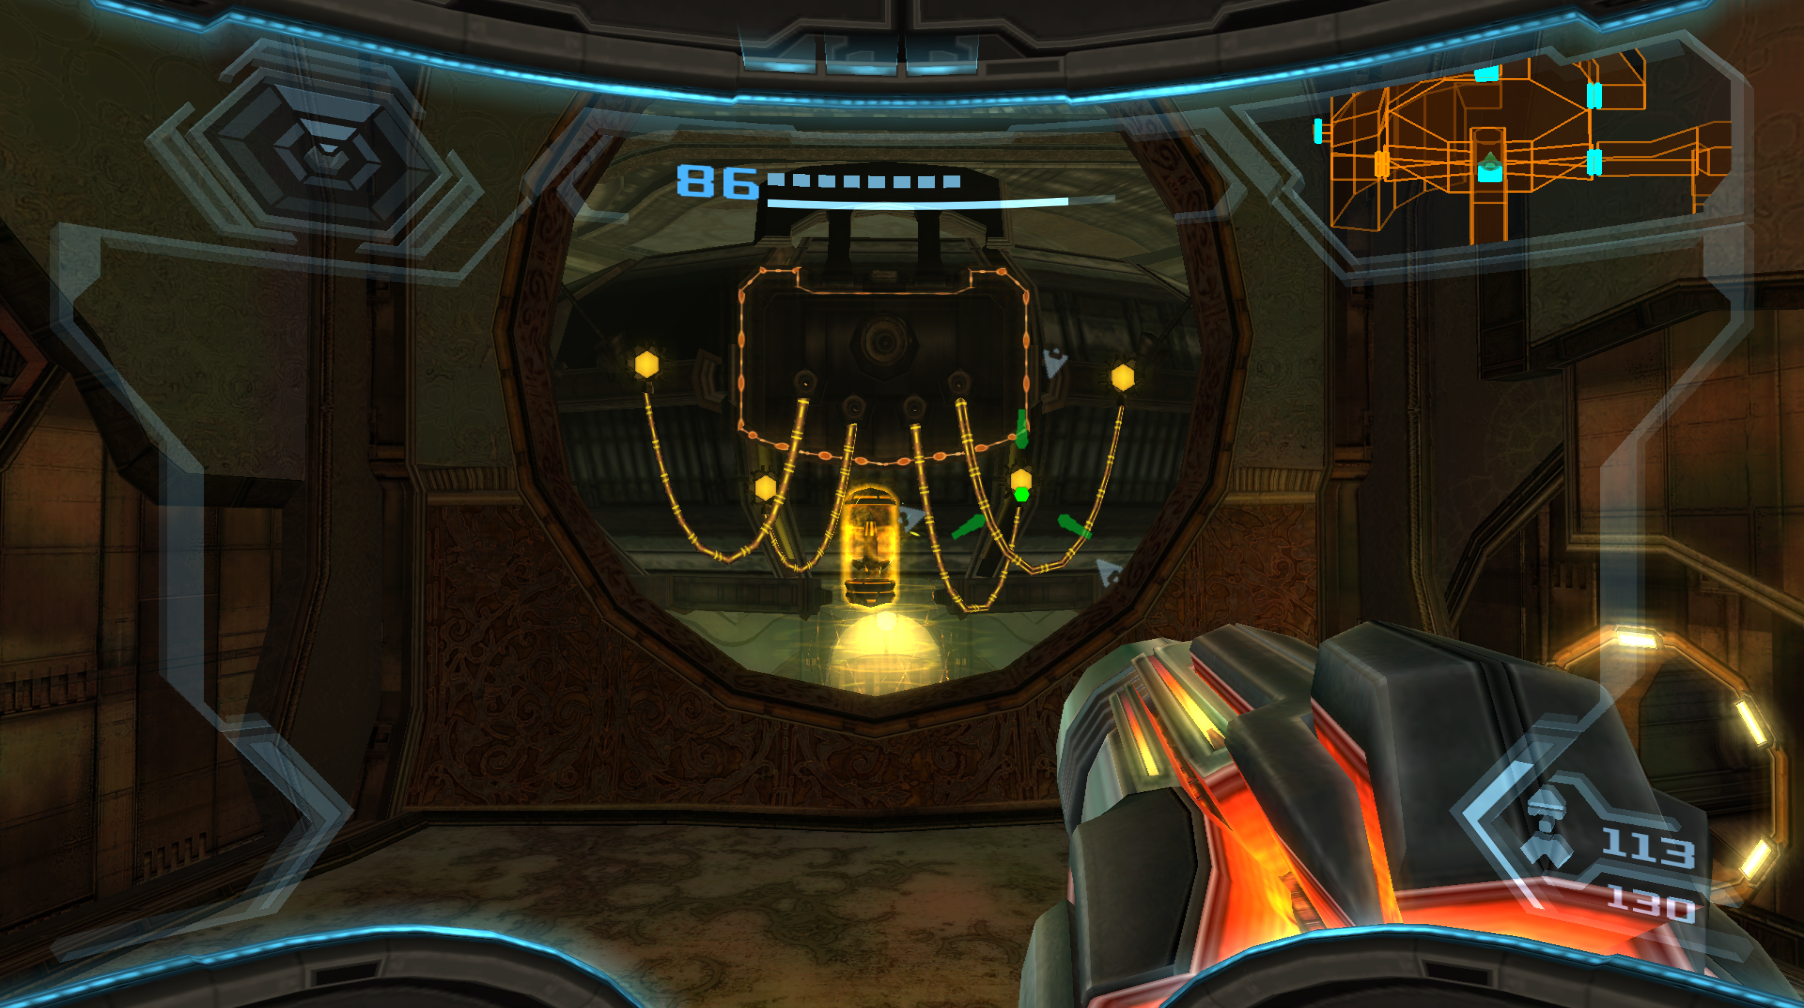
Missile Expansion #7
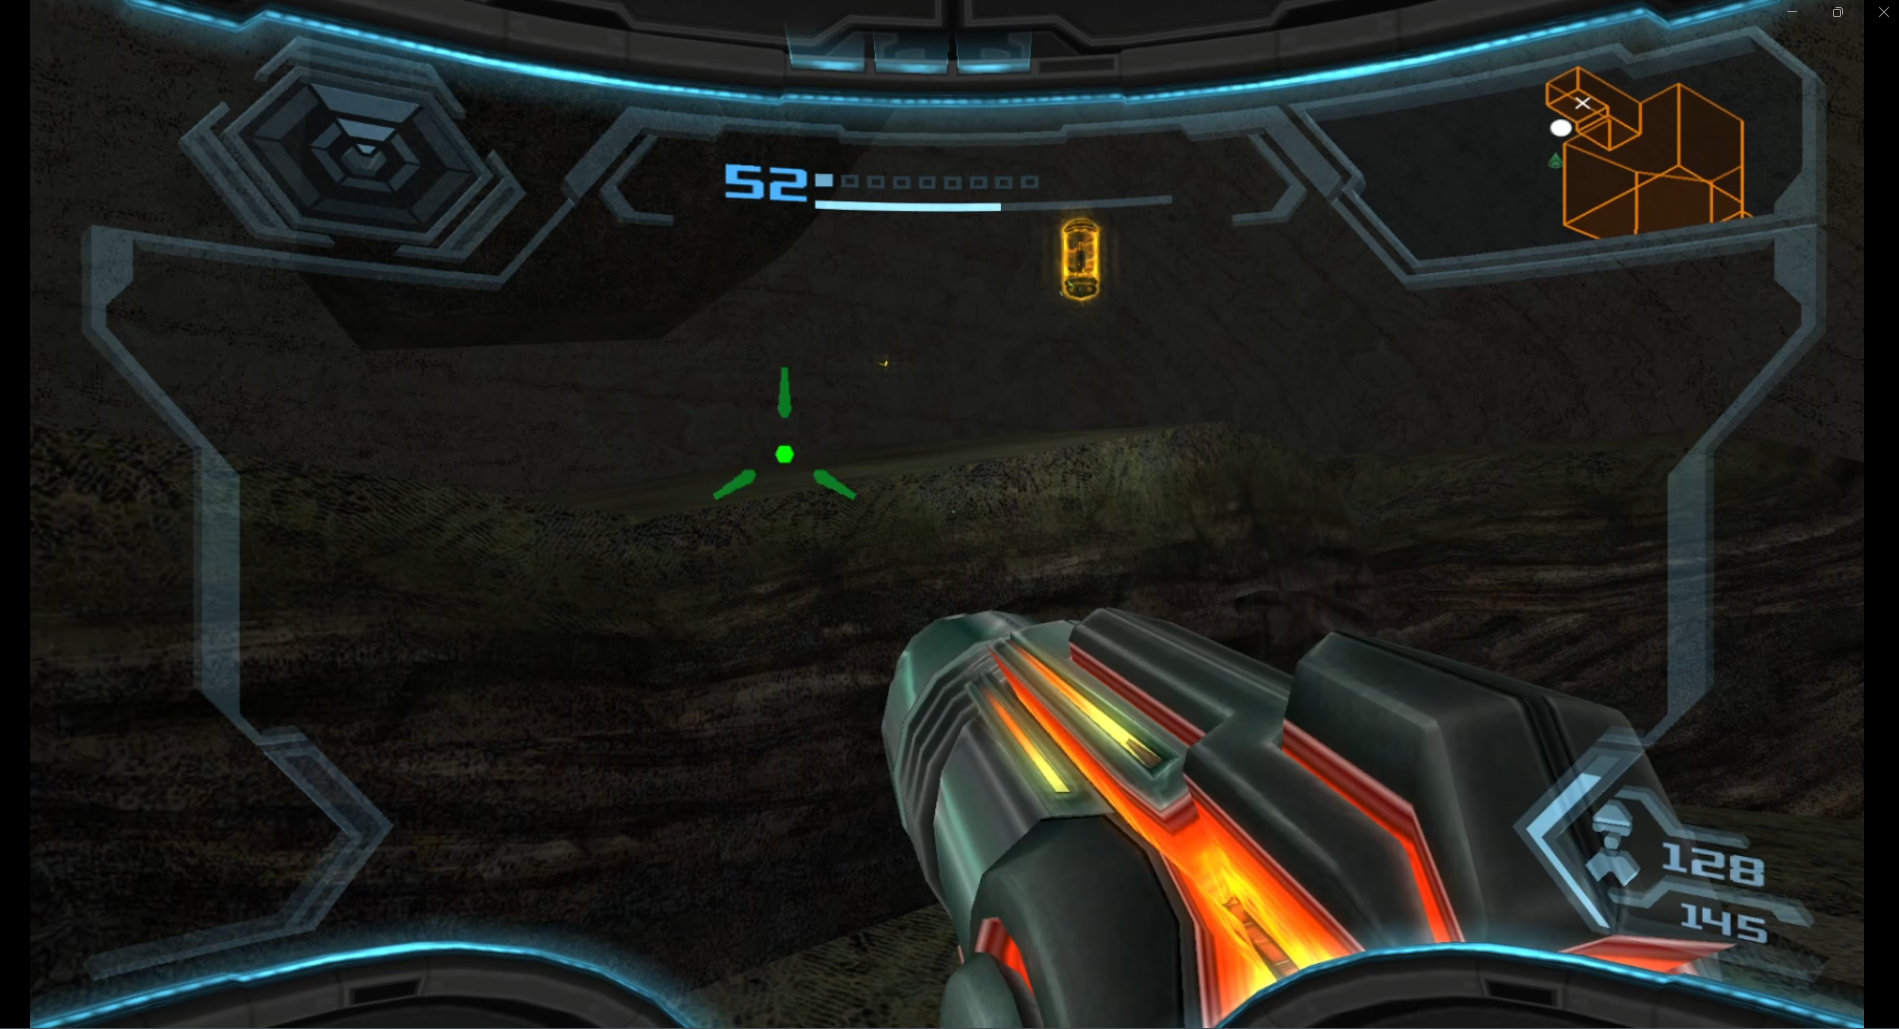
Location: Gel Hall, Bryyo Fire
Requirements: None
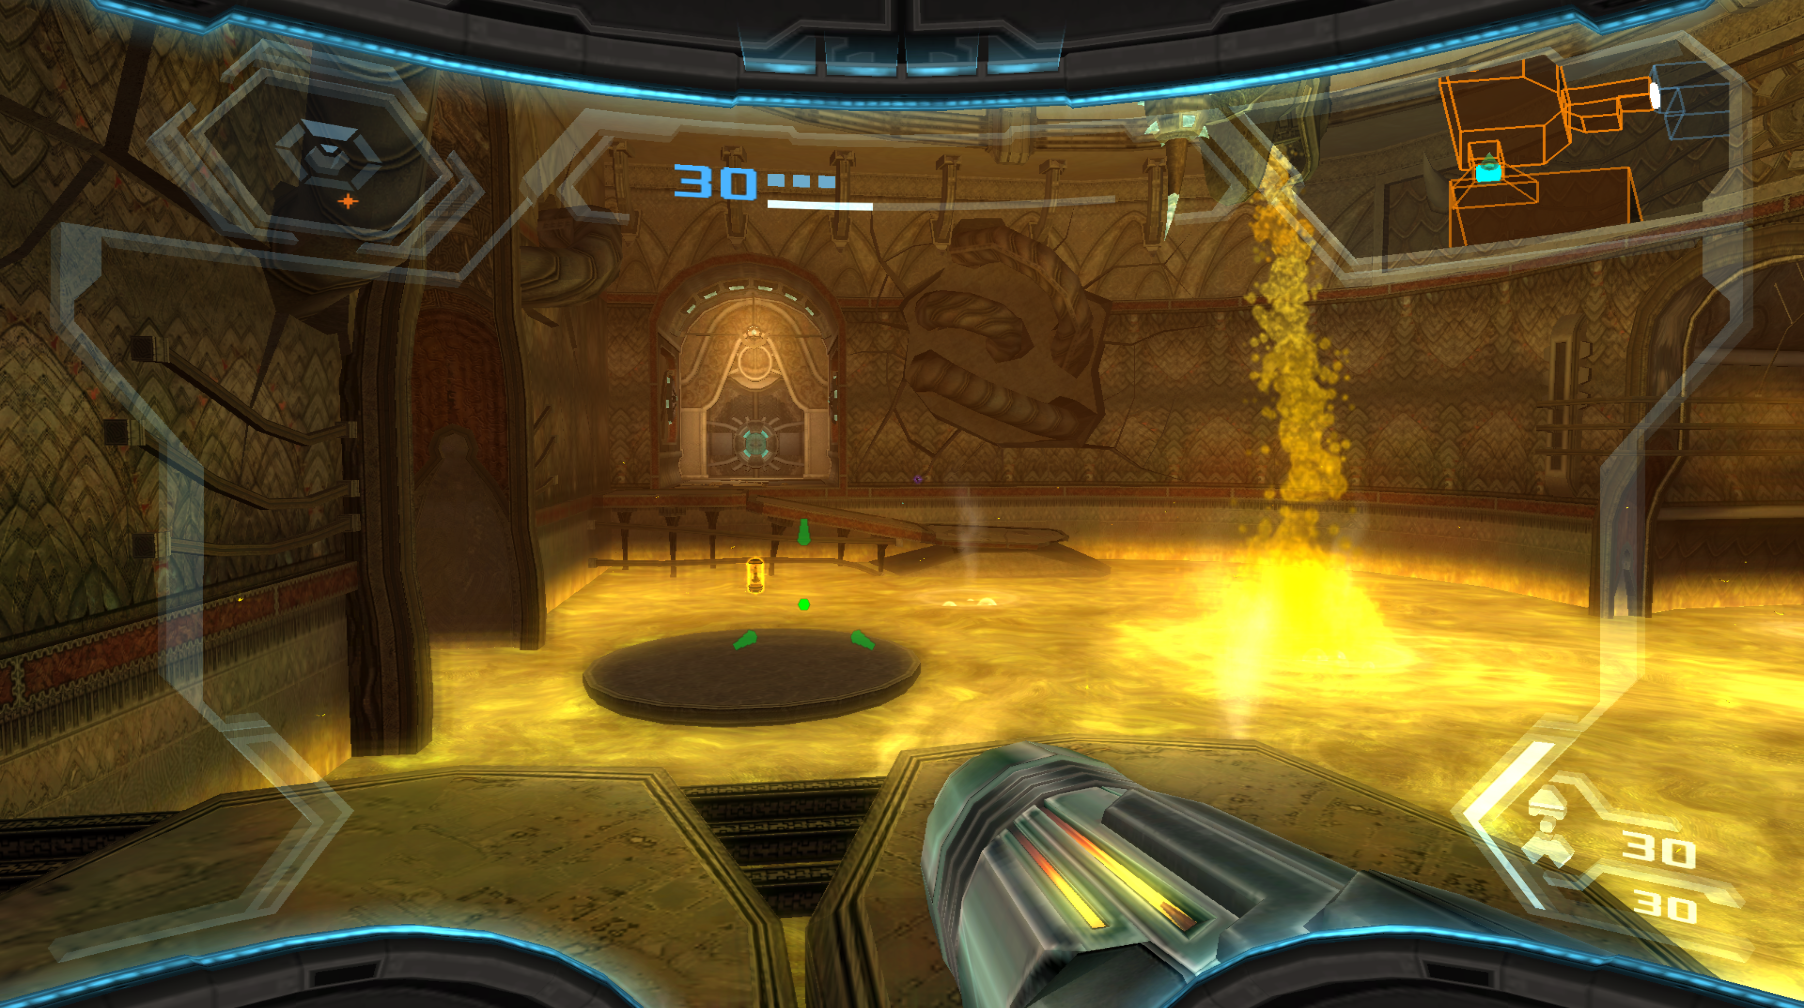
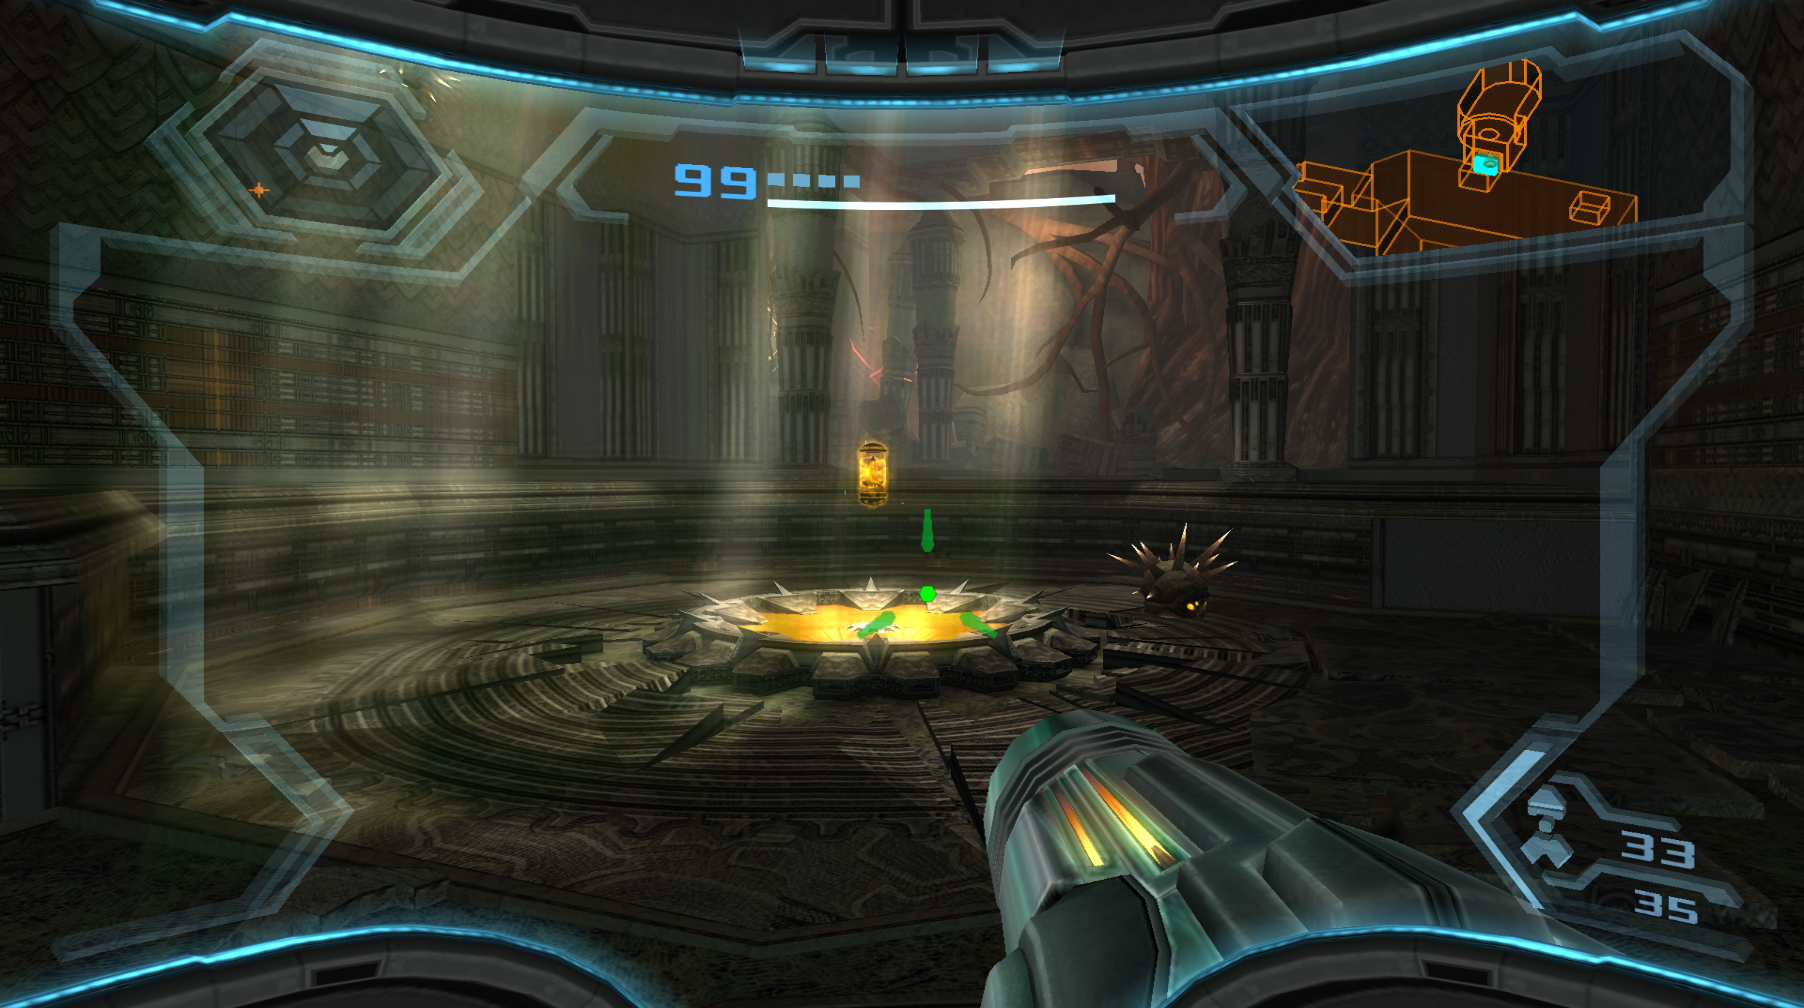
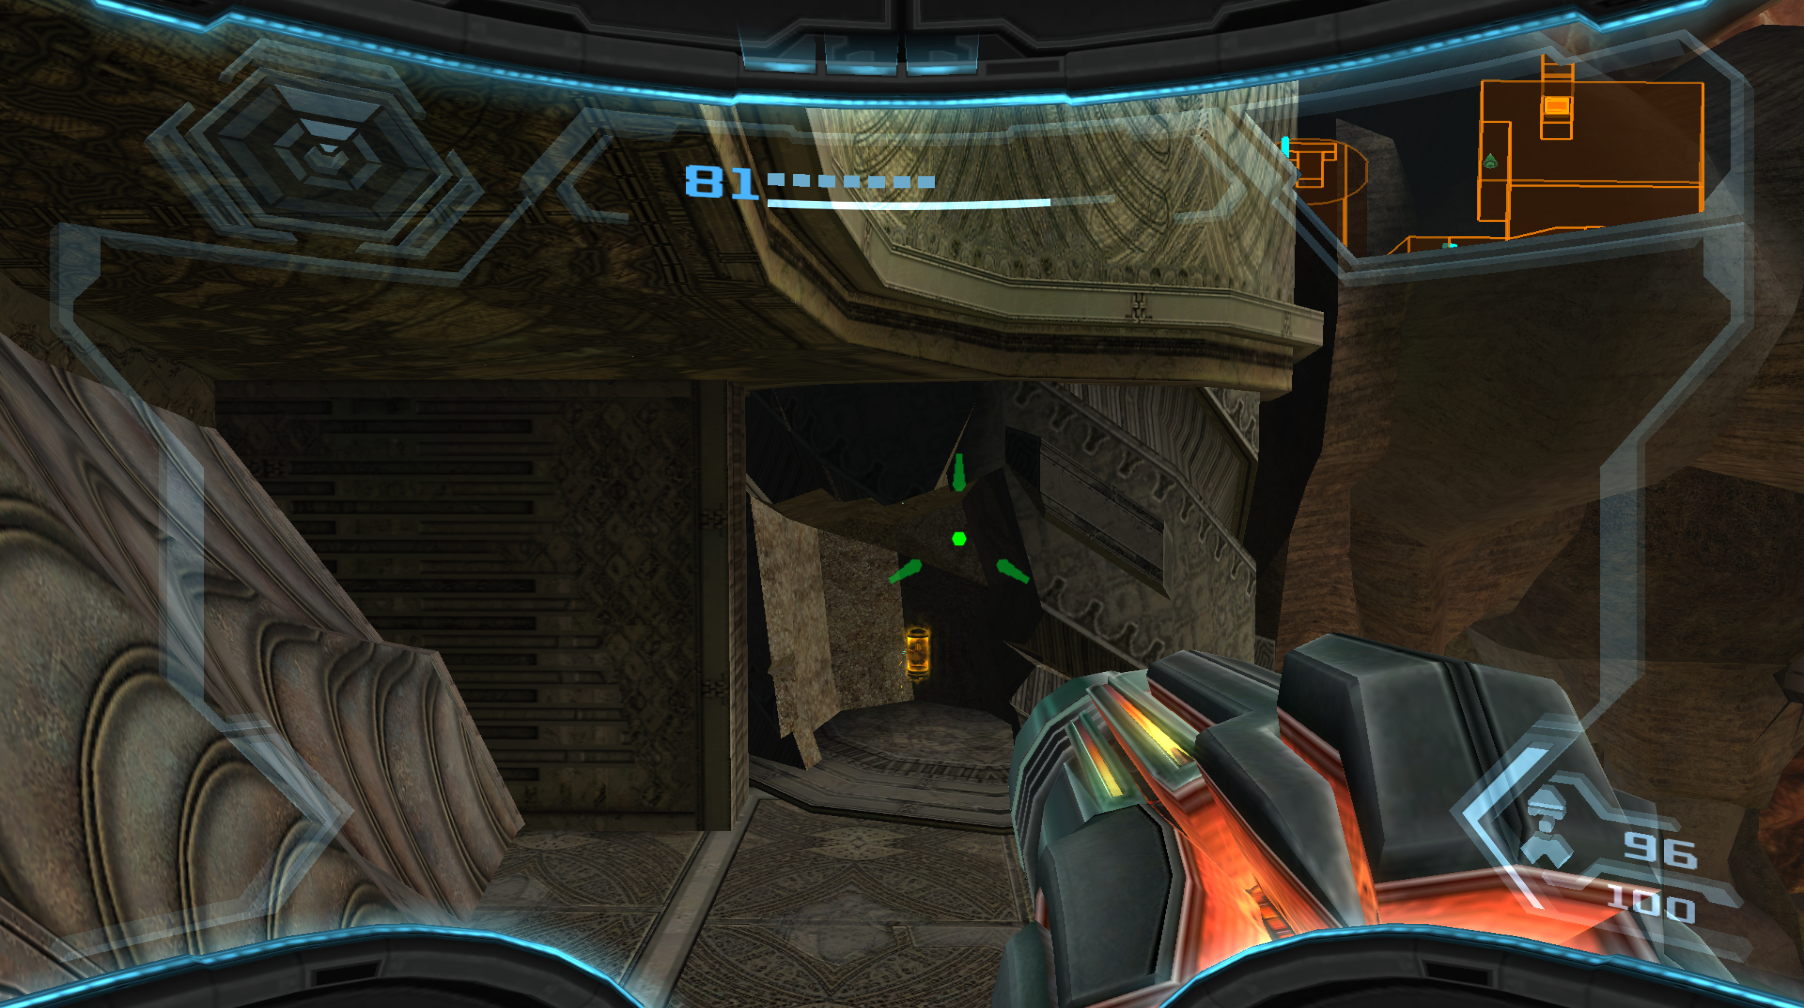
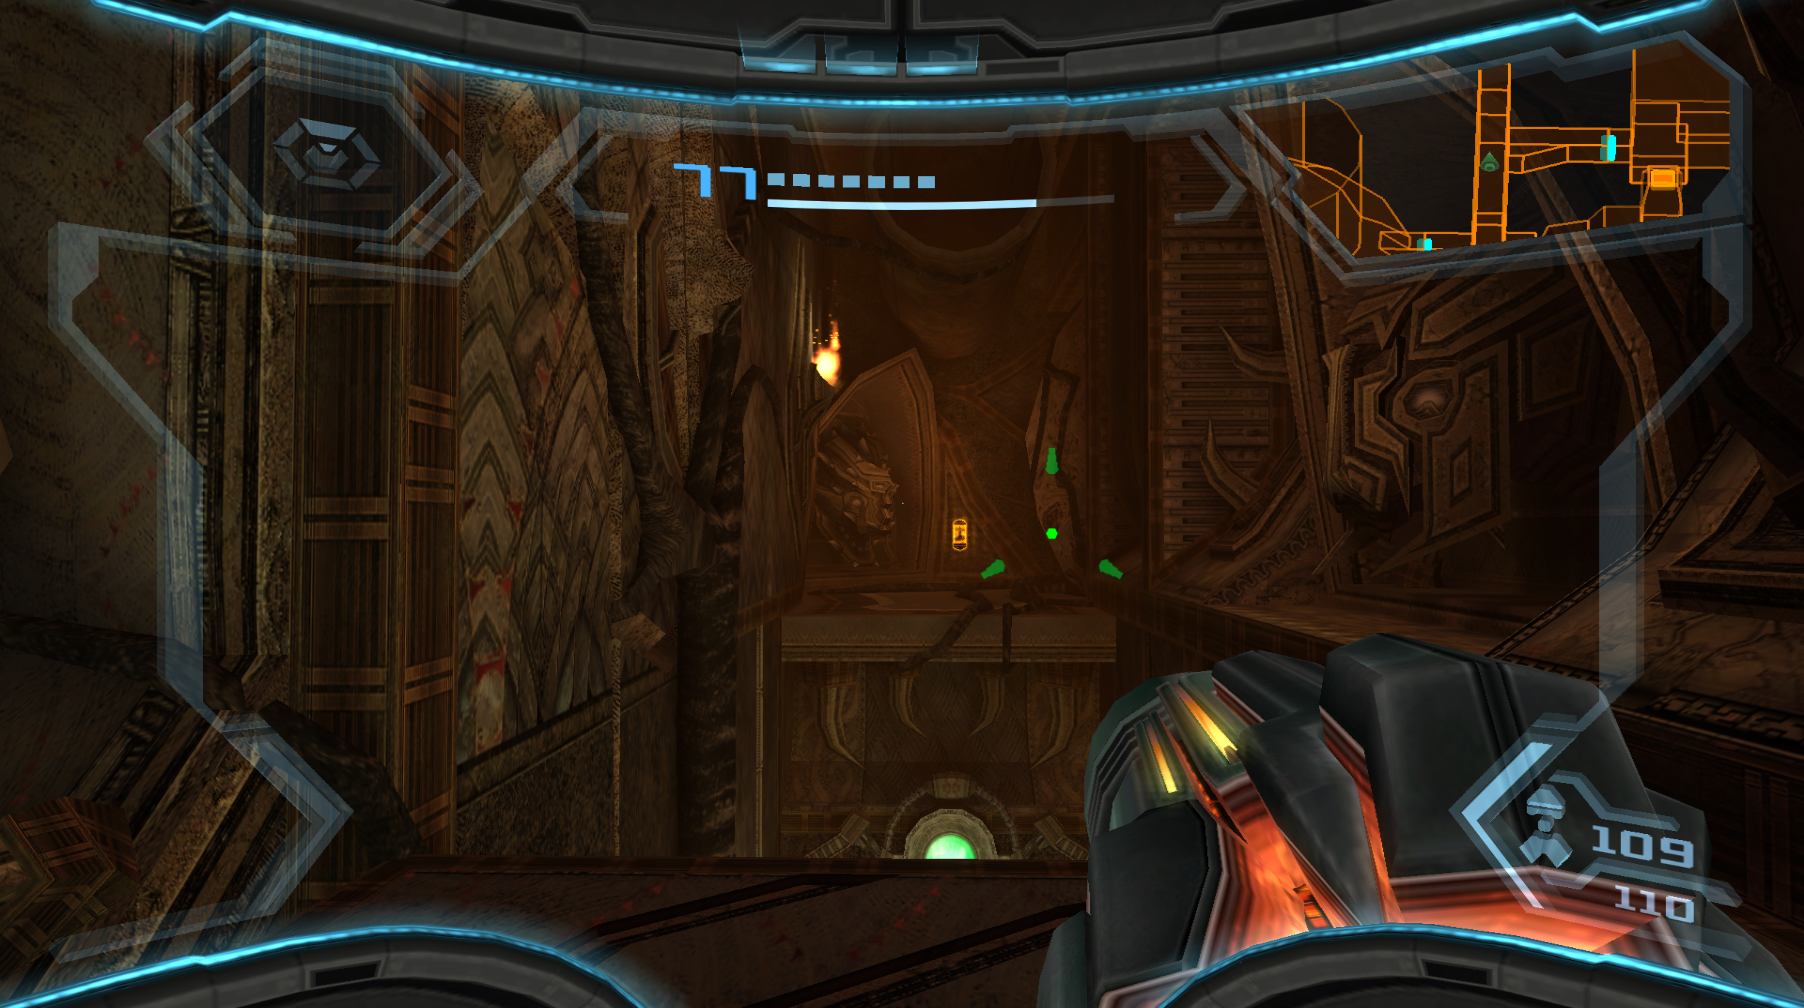
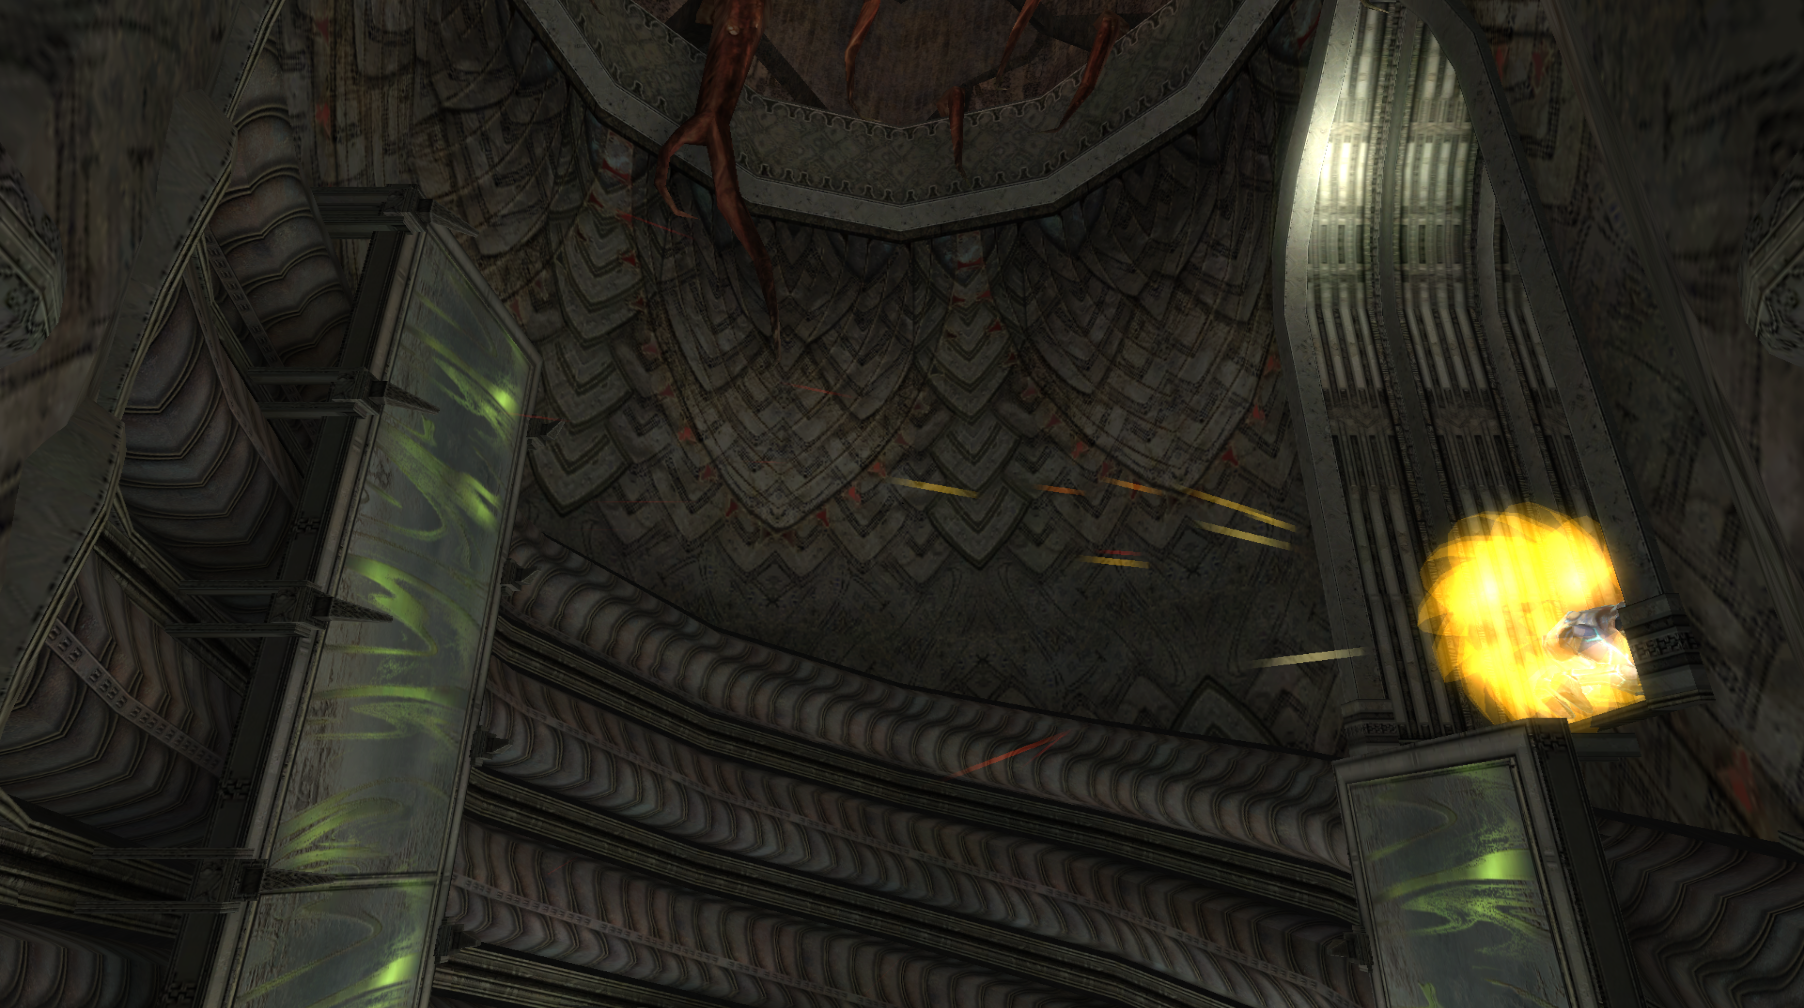
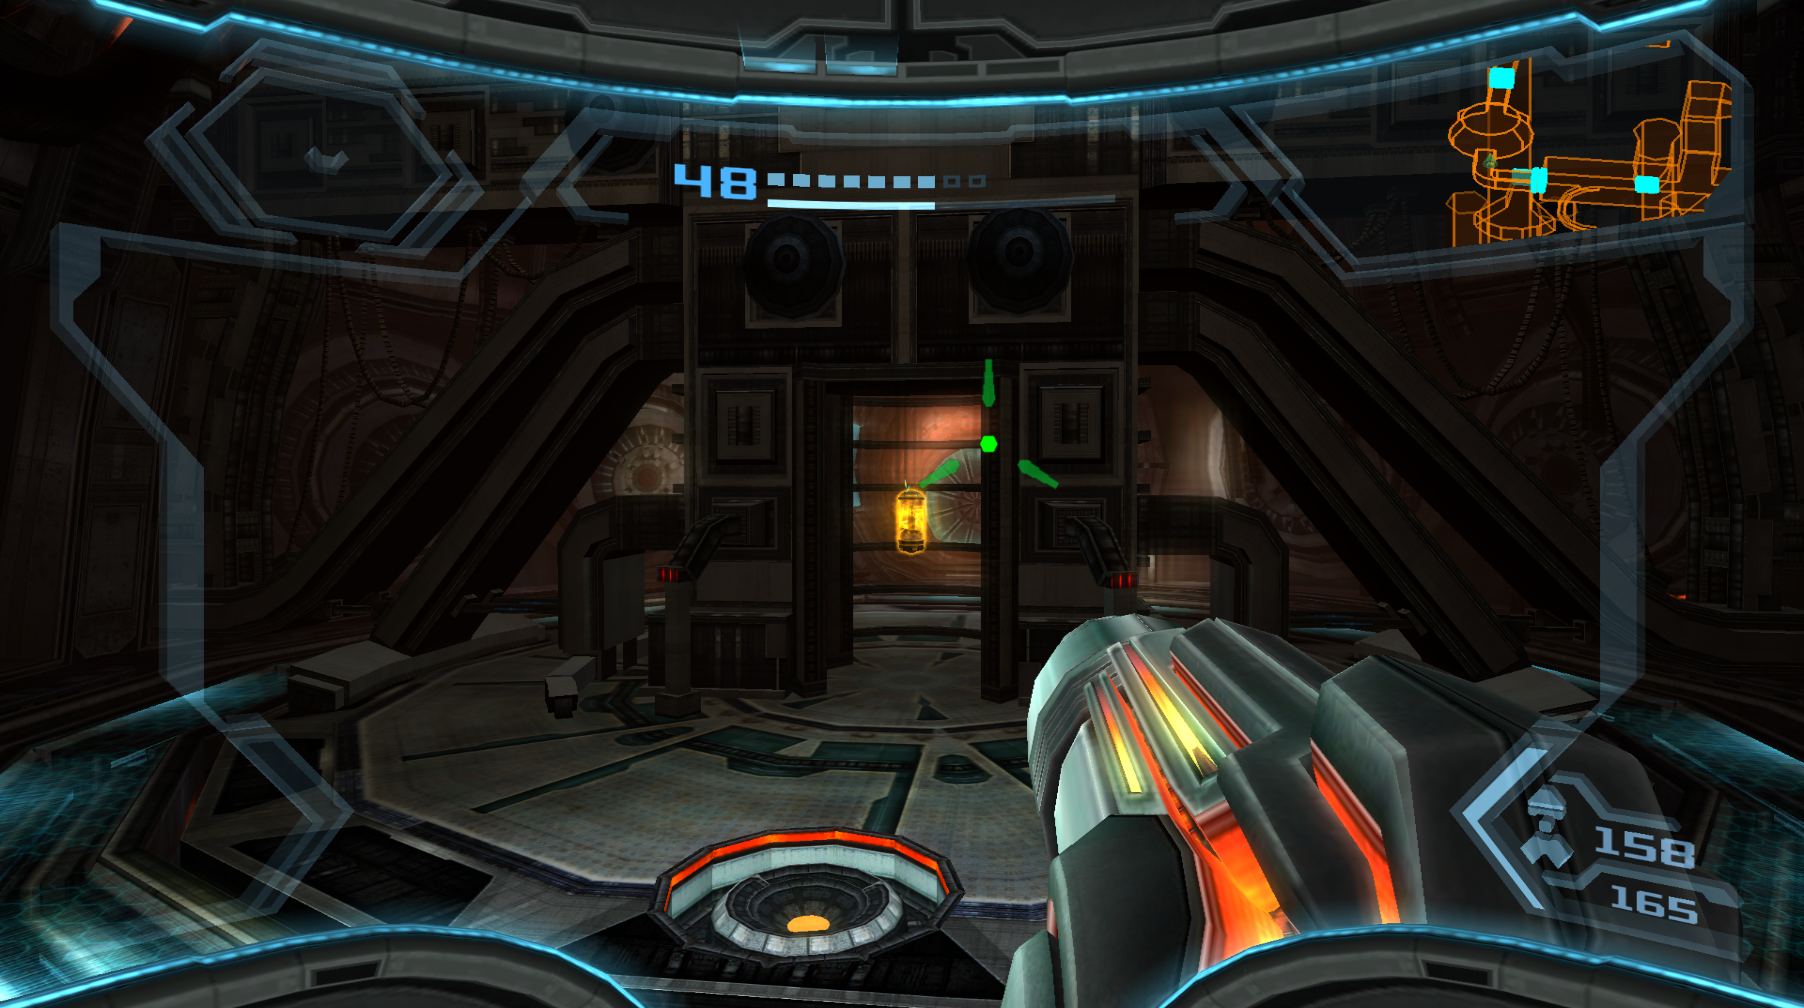
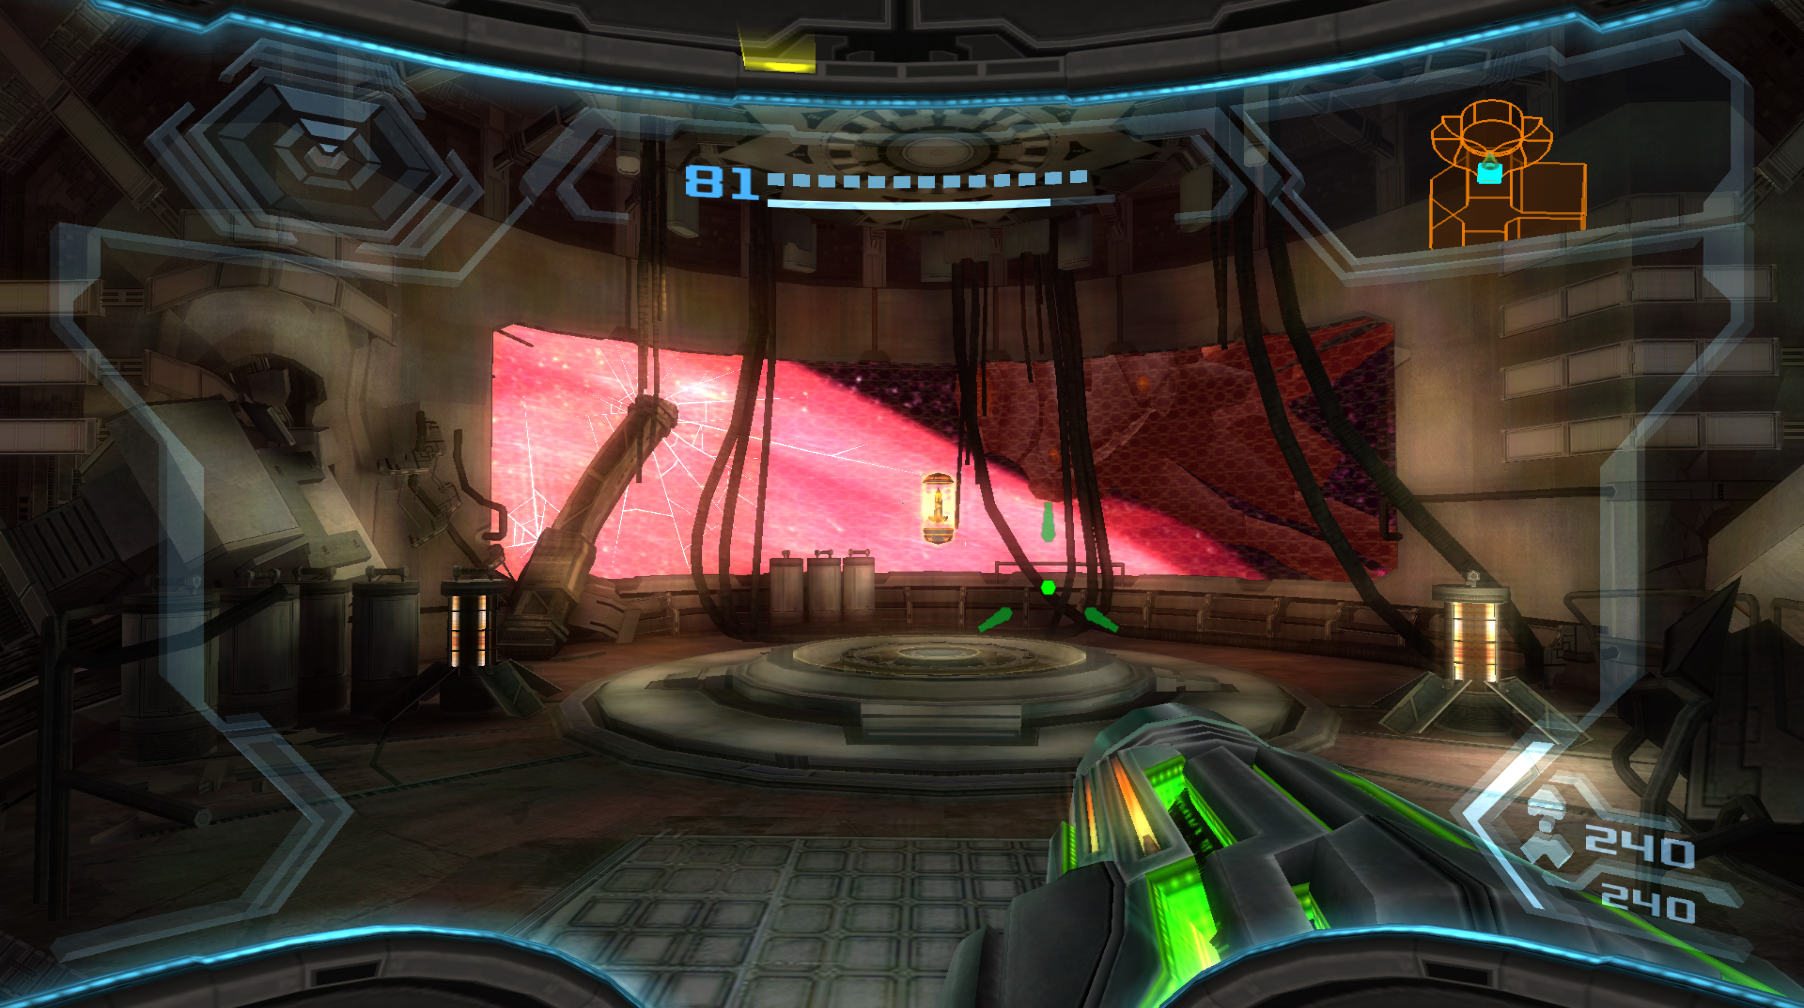
When you enter the room you’ll see a spinning Golem statue head spitting out Fuel Gel from its mouth. Shoot the gel with your charged shot and it will cause bursts of fire to come out. Time this so that the gel hits the left side wall and it will cause a couple of tubes to break, dropping a platform with this Expansion sitting right on top of it.
Missile Expansion #8
Location: Reliquary III, Bryyo Cliffside
Requirements: Ice Missiles, Grapple Swing
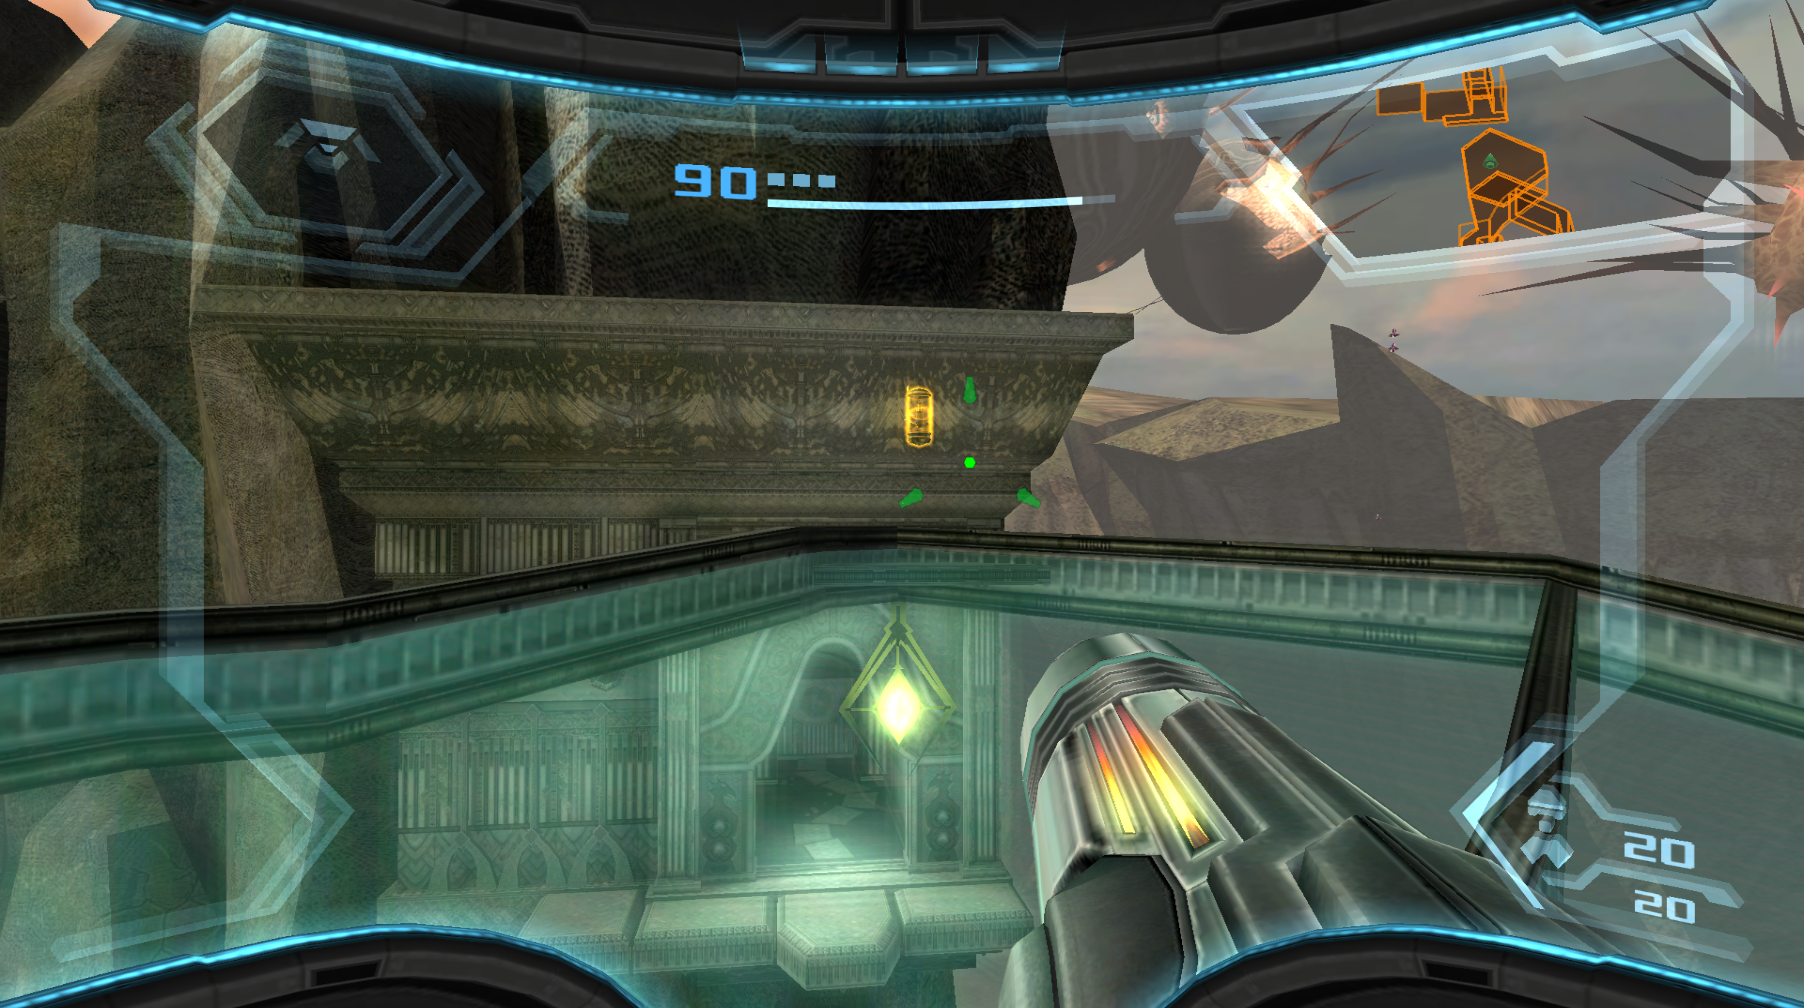
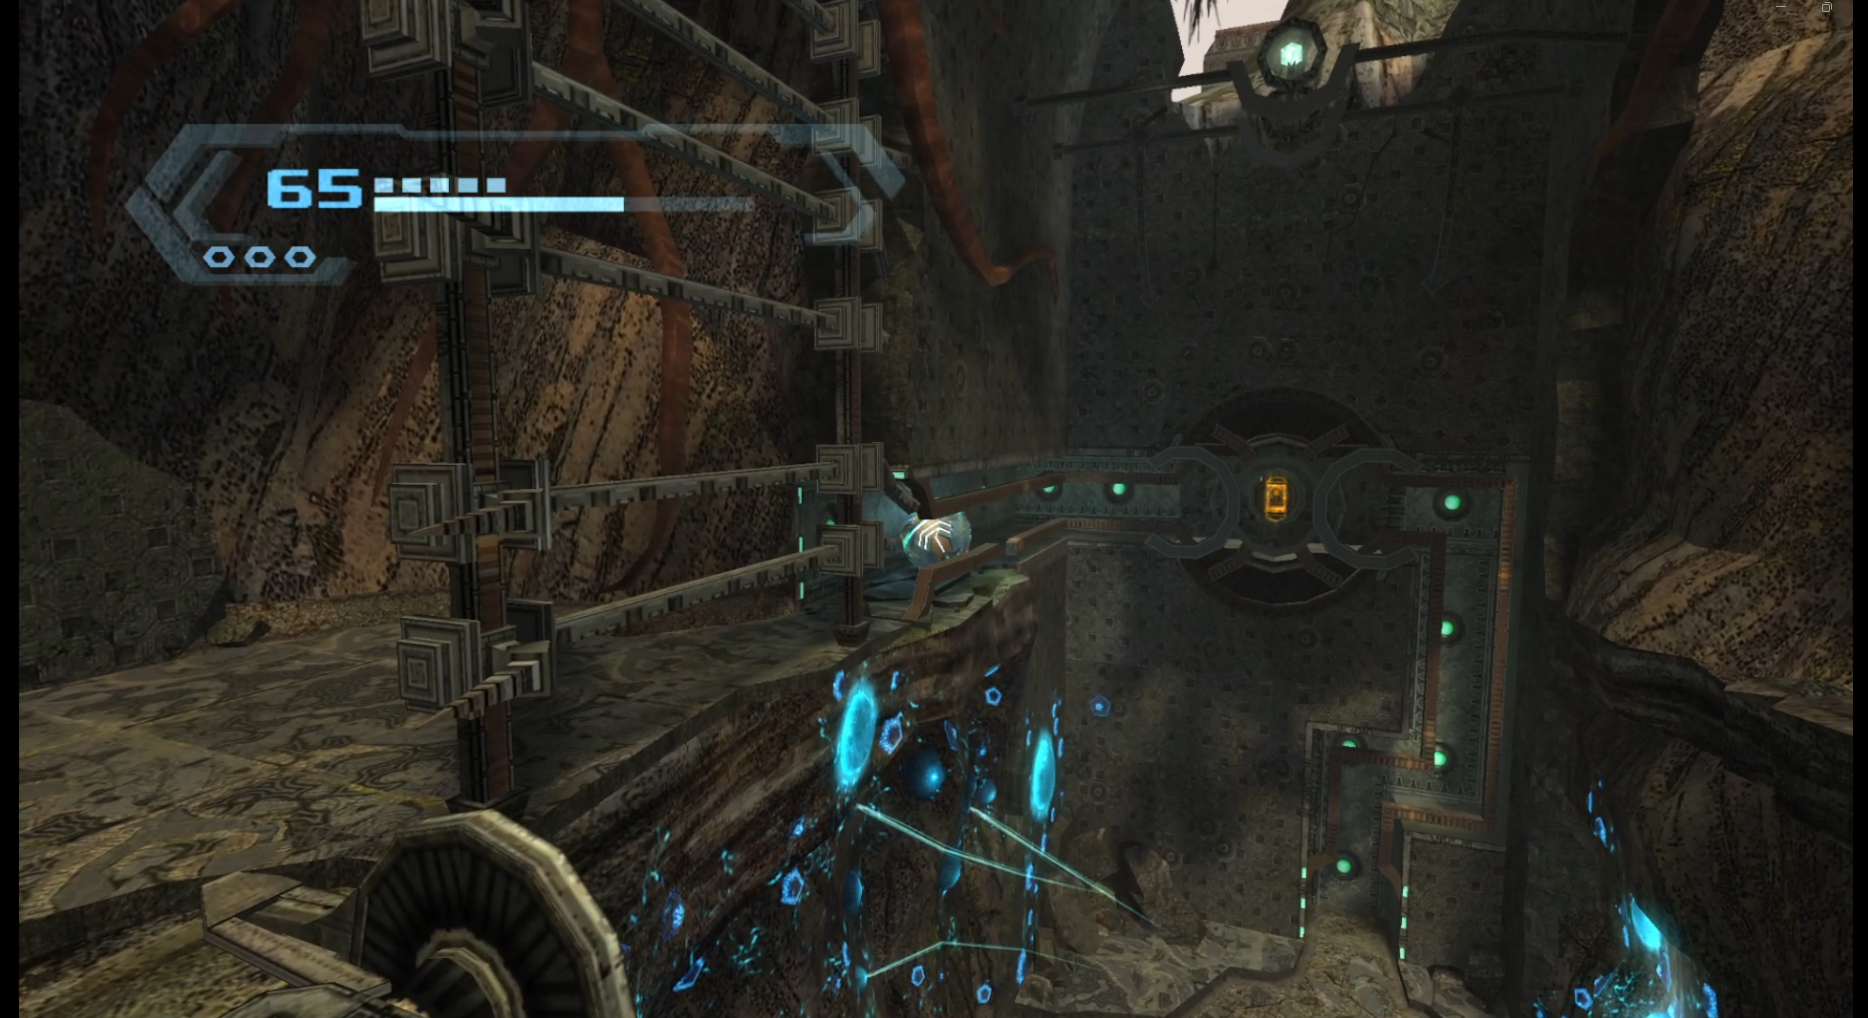
In the Grand Court room, use your Grapple Beam to swing up to the ledge with a white blast door. Use your Ice Missiles to open the door and the Expansion will be waiting for you inside.
Missile Expansion #9
Location: Gel Refinery Site, Bryyo Fire
Requirements: Ice Missiles, Grapple Swing, Grapple Lasso
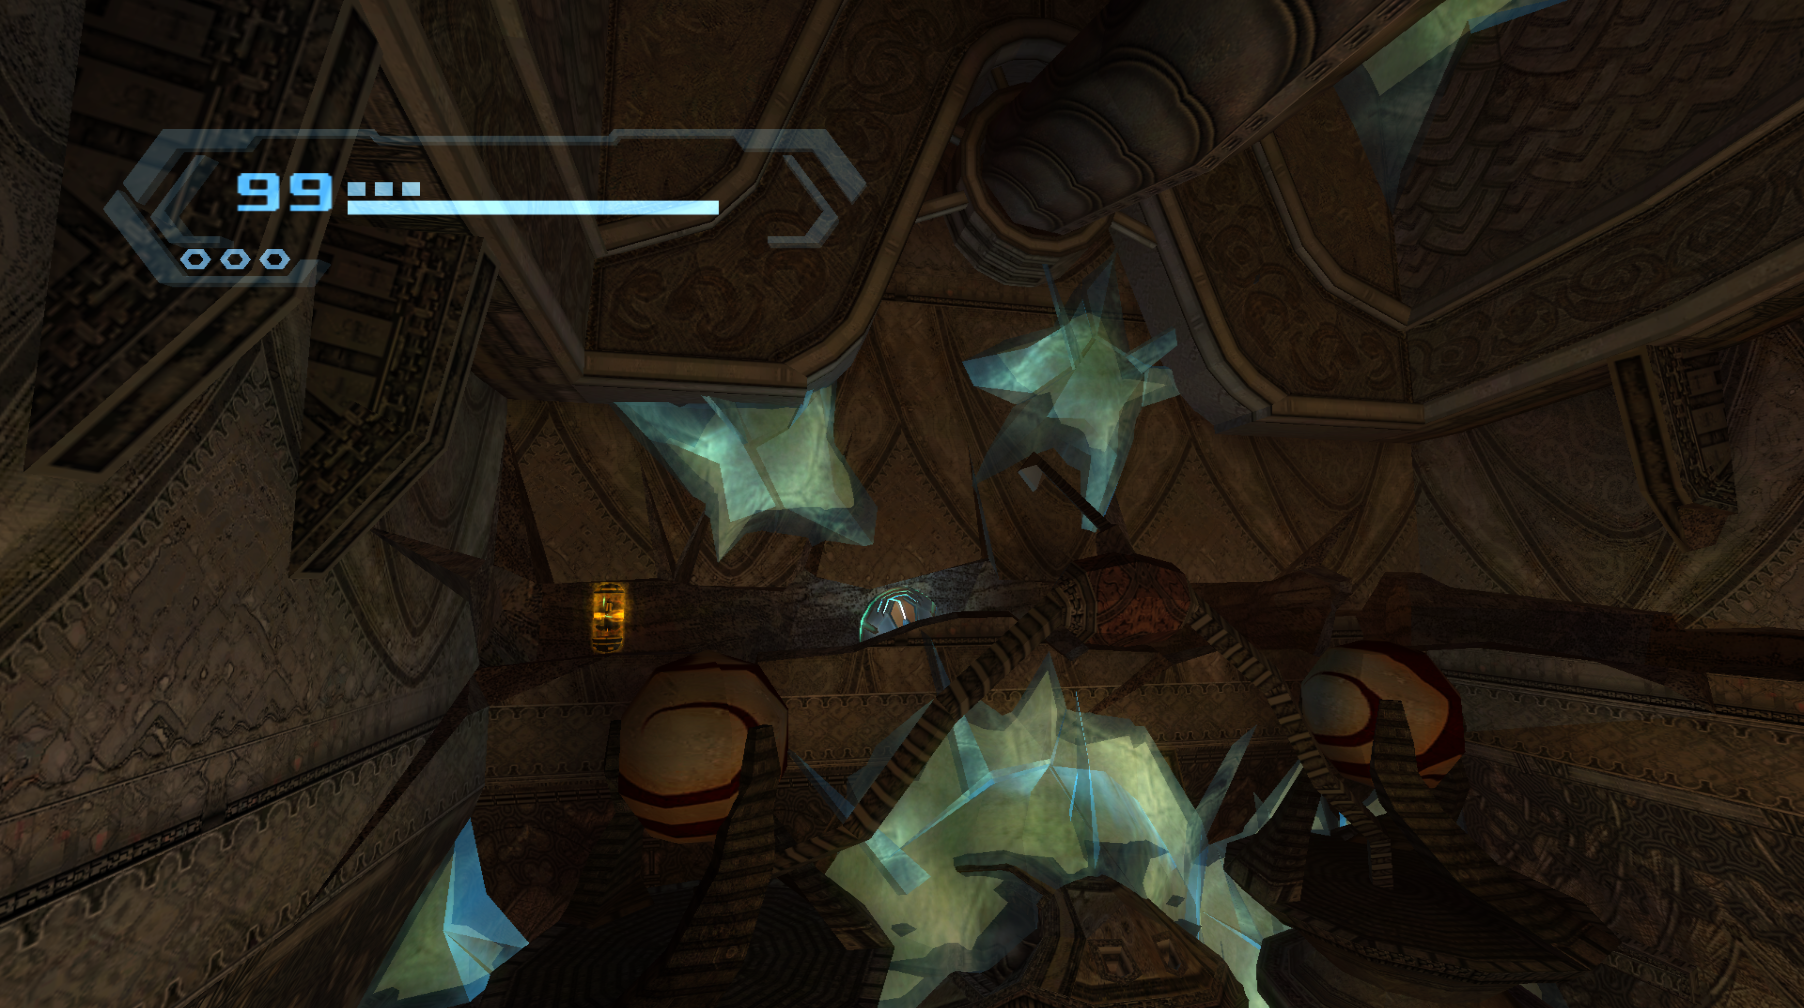
Starting from the Gel Hall room, use your Ice Missiles to create platforms allowing you access to the white blast door and the Gel Purification Site room. Grapple Swing across the room and you’ll enter a previously unreachable section of the Gel Refinery Site. Beside you will be a gate. Grapple Lasso it and pull it away to reveal the Expansion behind it.
Missile Expansion #10
Location: Gel Hall, Bryyo Fire
Requirements: Ice Missiles
Use your Ice Missiles to create platforms for you to jump on and follow the path directly opposite the Gel Purification Site door; this area will not be on your map. Continue following the path and you’ll see this Expansion sitting there.

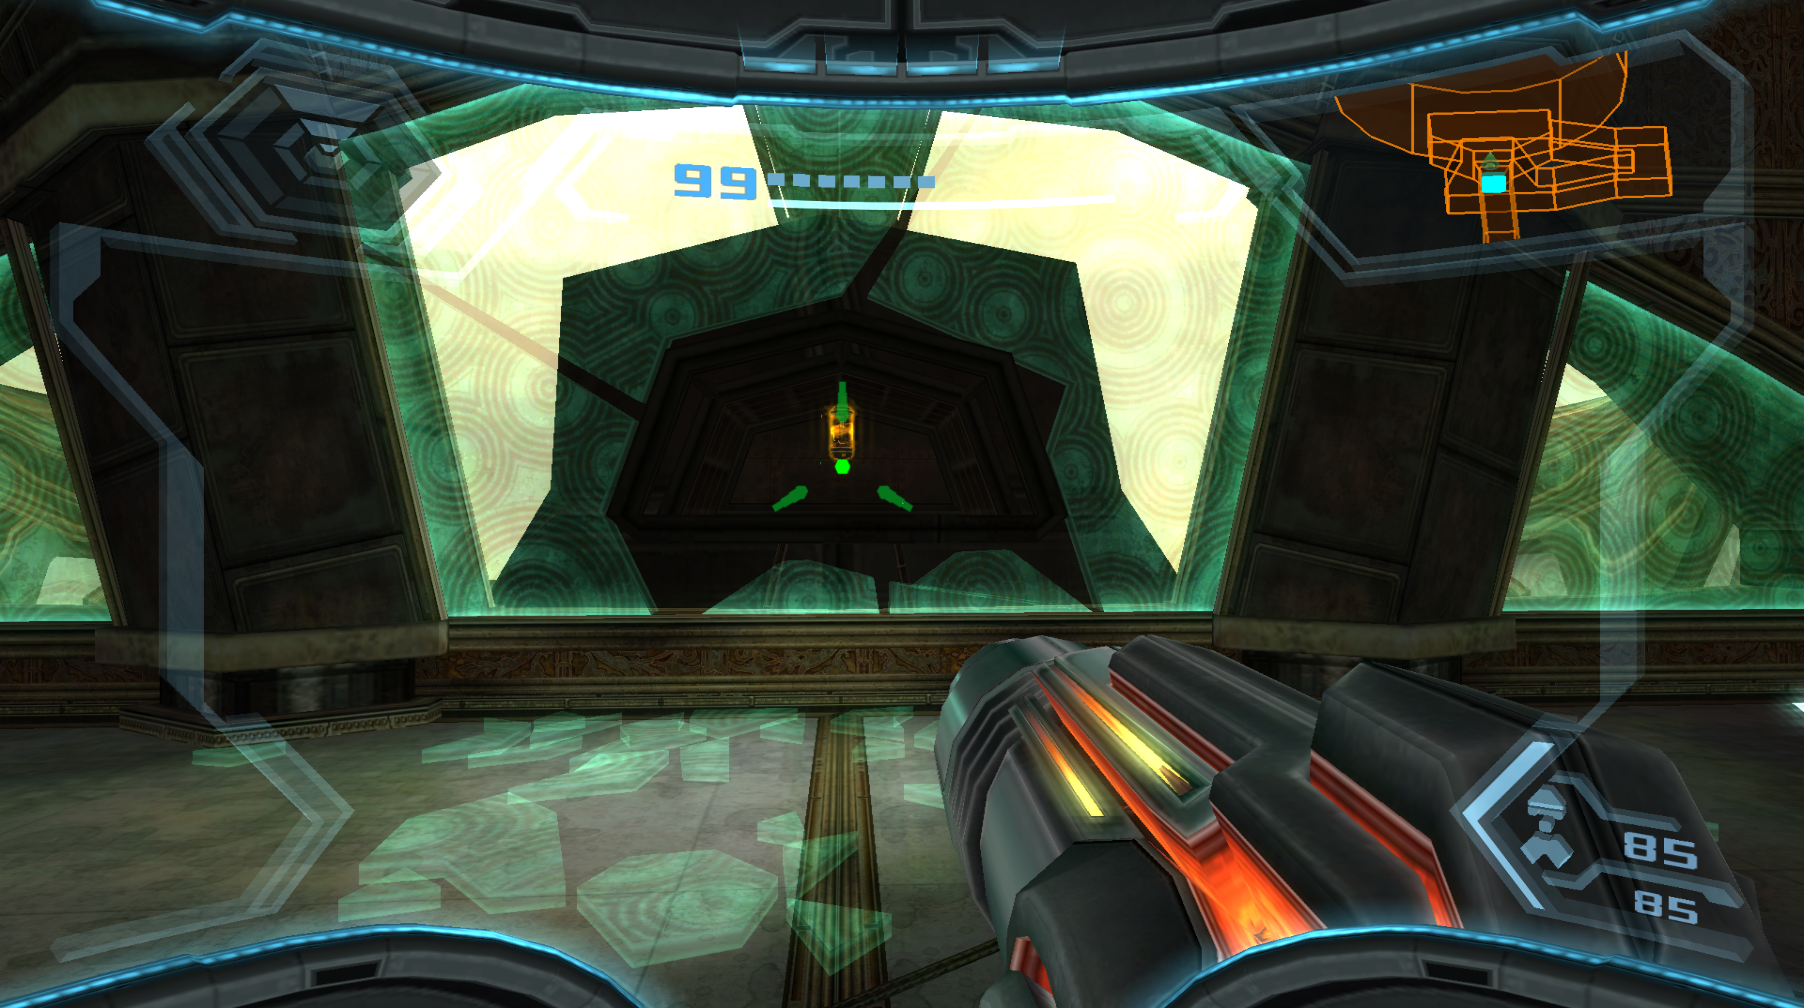
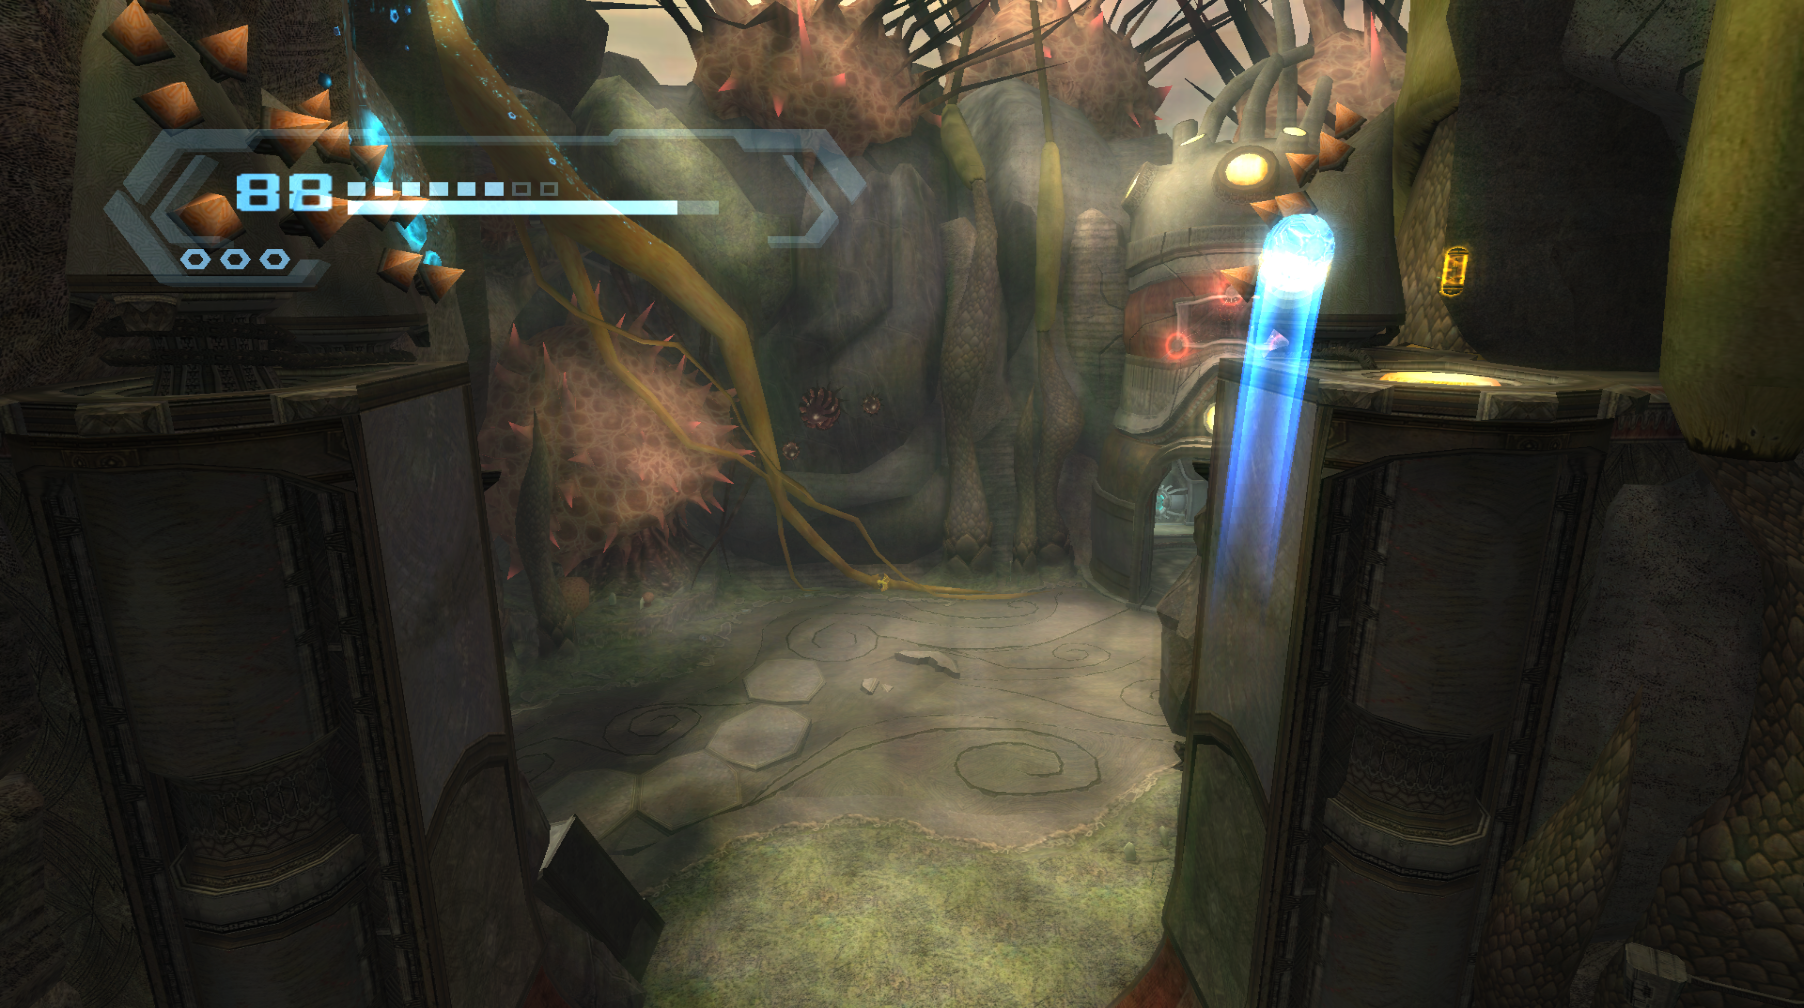
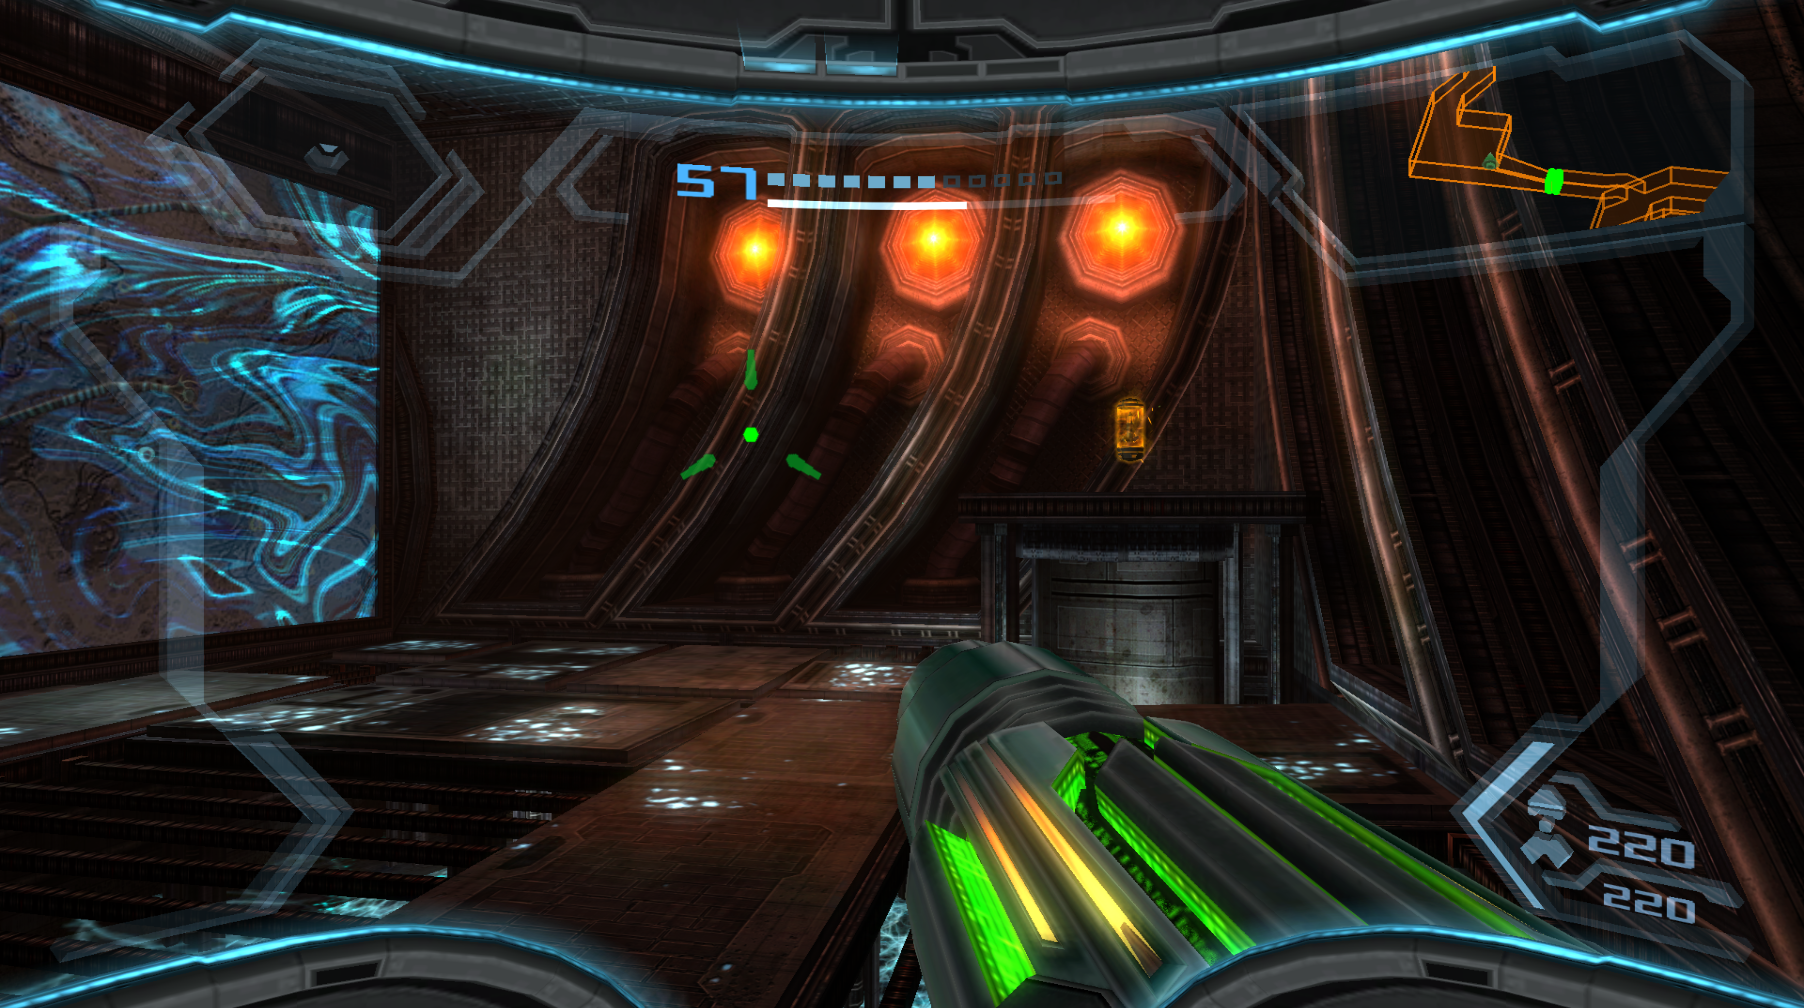
Missile Expansion #11
Location: Jungle Generator, Bryyo Thorn Jungle
Requirements: None
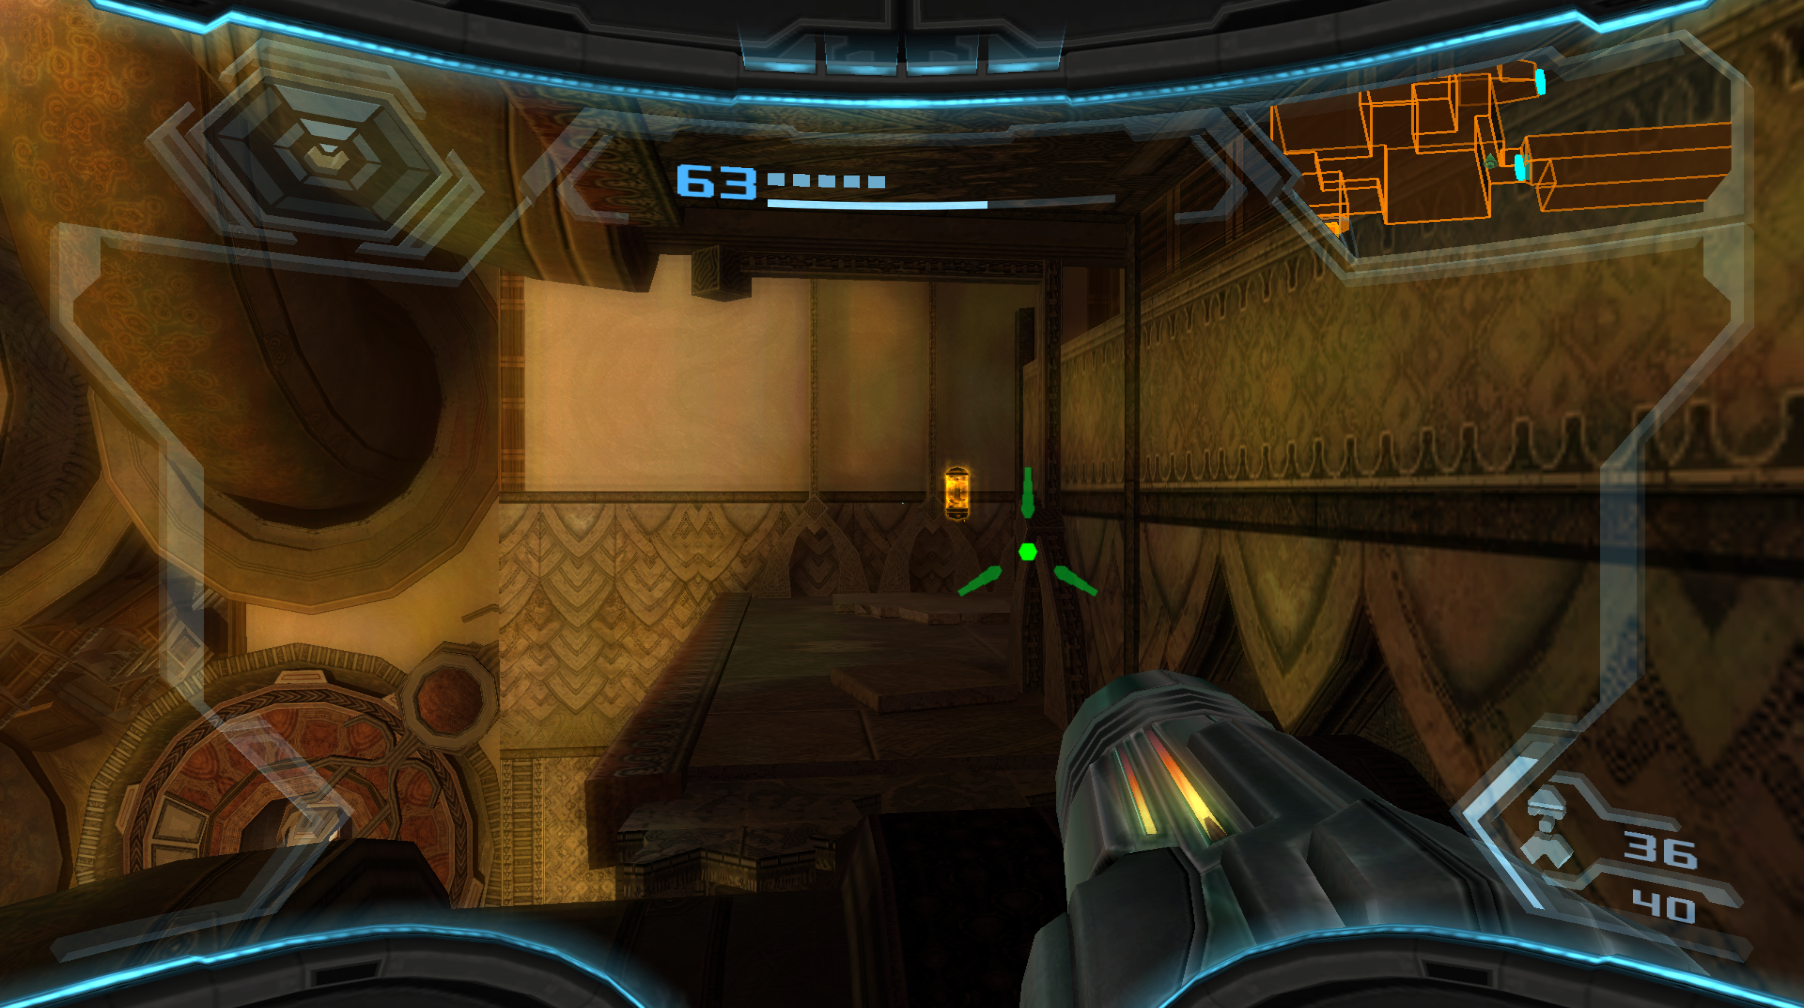
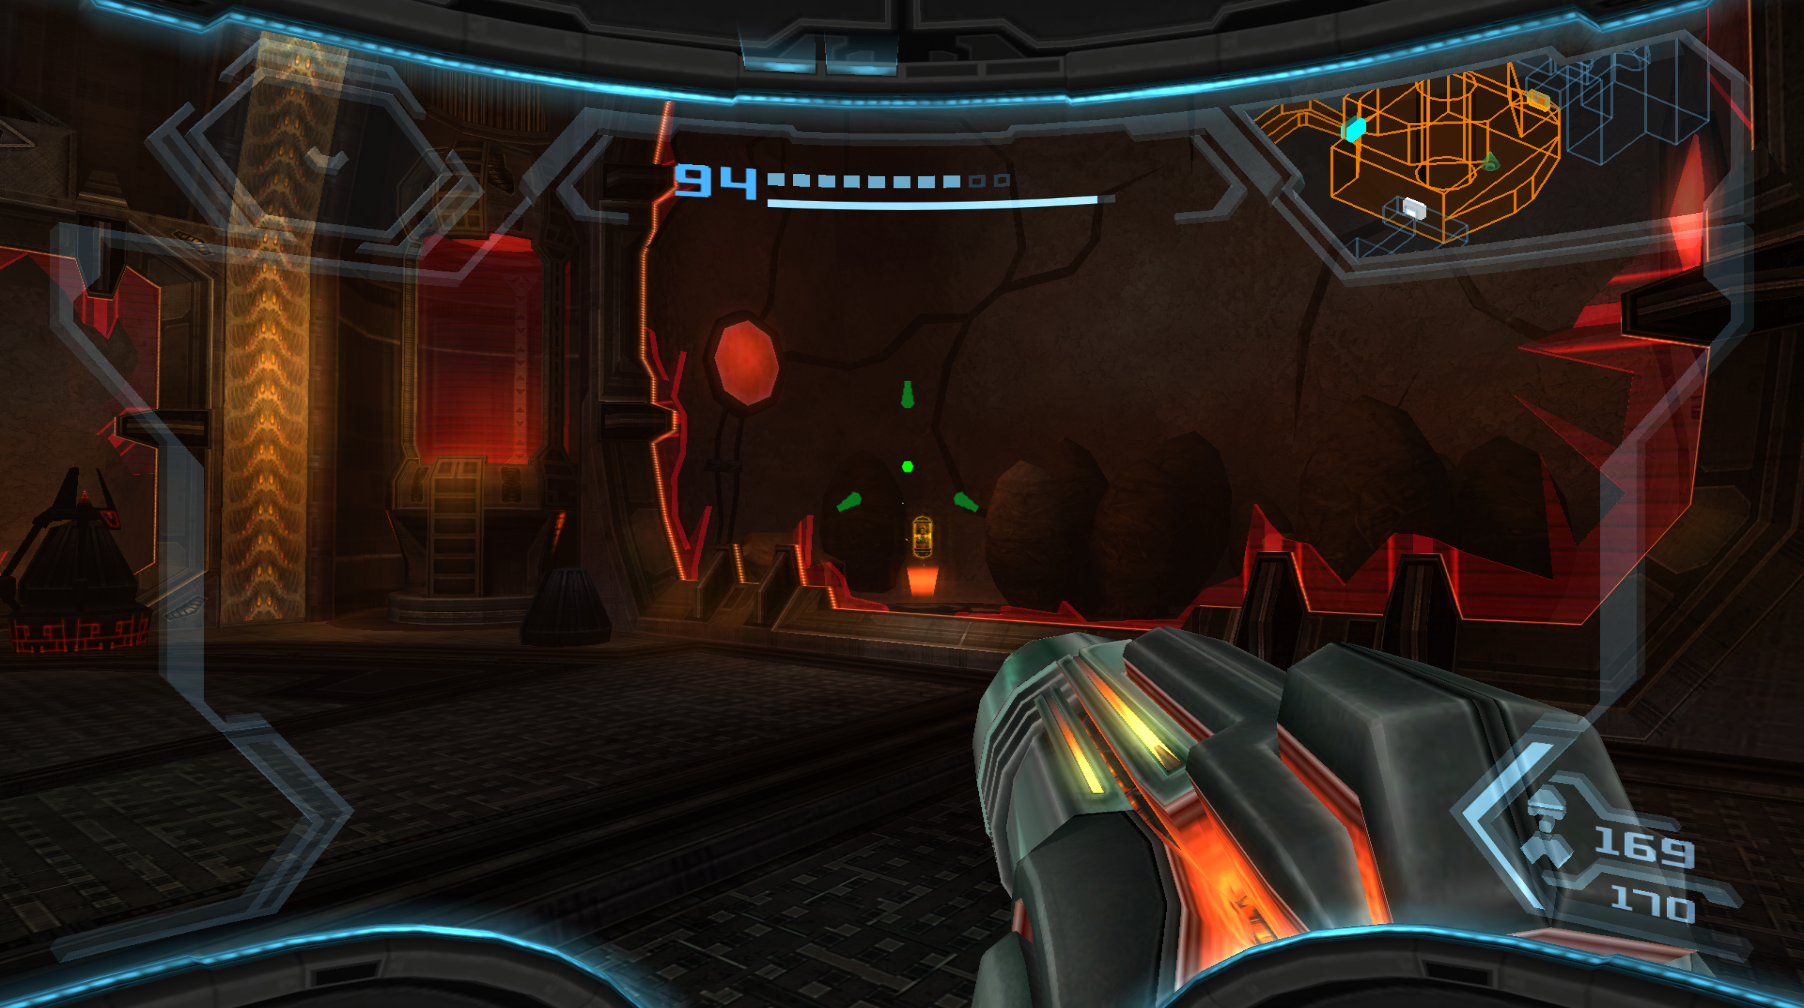
Open the gate blocking the Lore scan by shooting at the three different targets and the Expansion will be sitting directly in front of you.
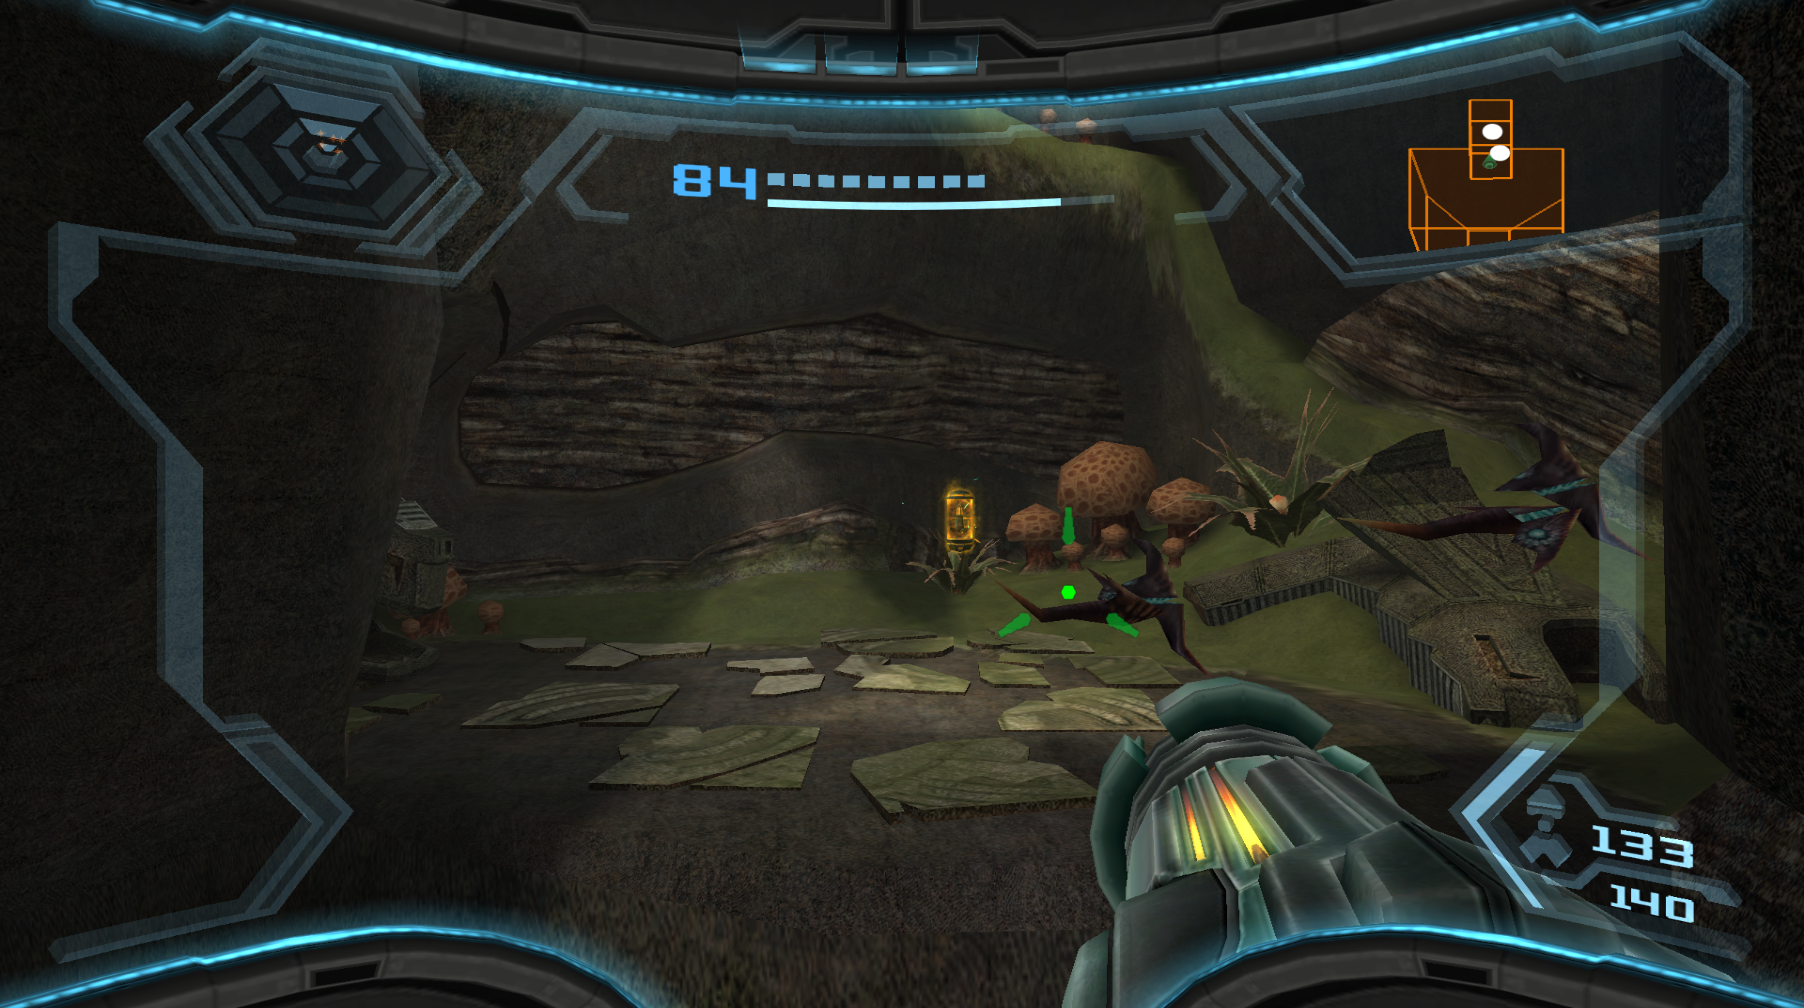
Missile Expansion #12
Location: Generator Hall North, Bryyo Thorn Jungle
Requirements: None
Coming from the top entrance to this room, lower the drawbridge and engage the fuel pump to rotate the stone disc blocking the Morph Ball tunnel. Once the disc is moved, roll through to grab this Expansion.
Missile Expansion #13
Location: Docking Hub Alpha, Norion
Requirements: Grapple Swing
Behind your ship’s landing spot is a Grapple point. Swing over to grab this Expansion.
Missile Expansion #14
Location: Maintenance Station, Norion
Requirements: Ice Missiles
Simply use your Ice Missiles to open the white blast door and walk in to grab the Expansion.
Missile Expansion #15
Location: Transit Hub, SkyTown
Requirements: None
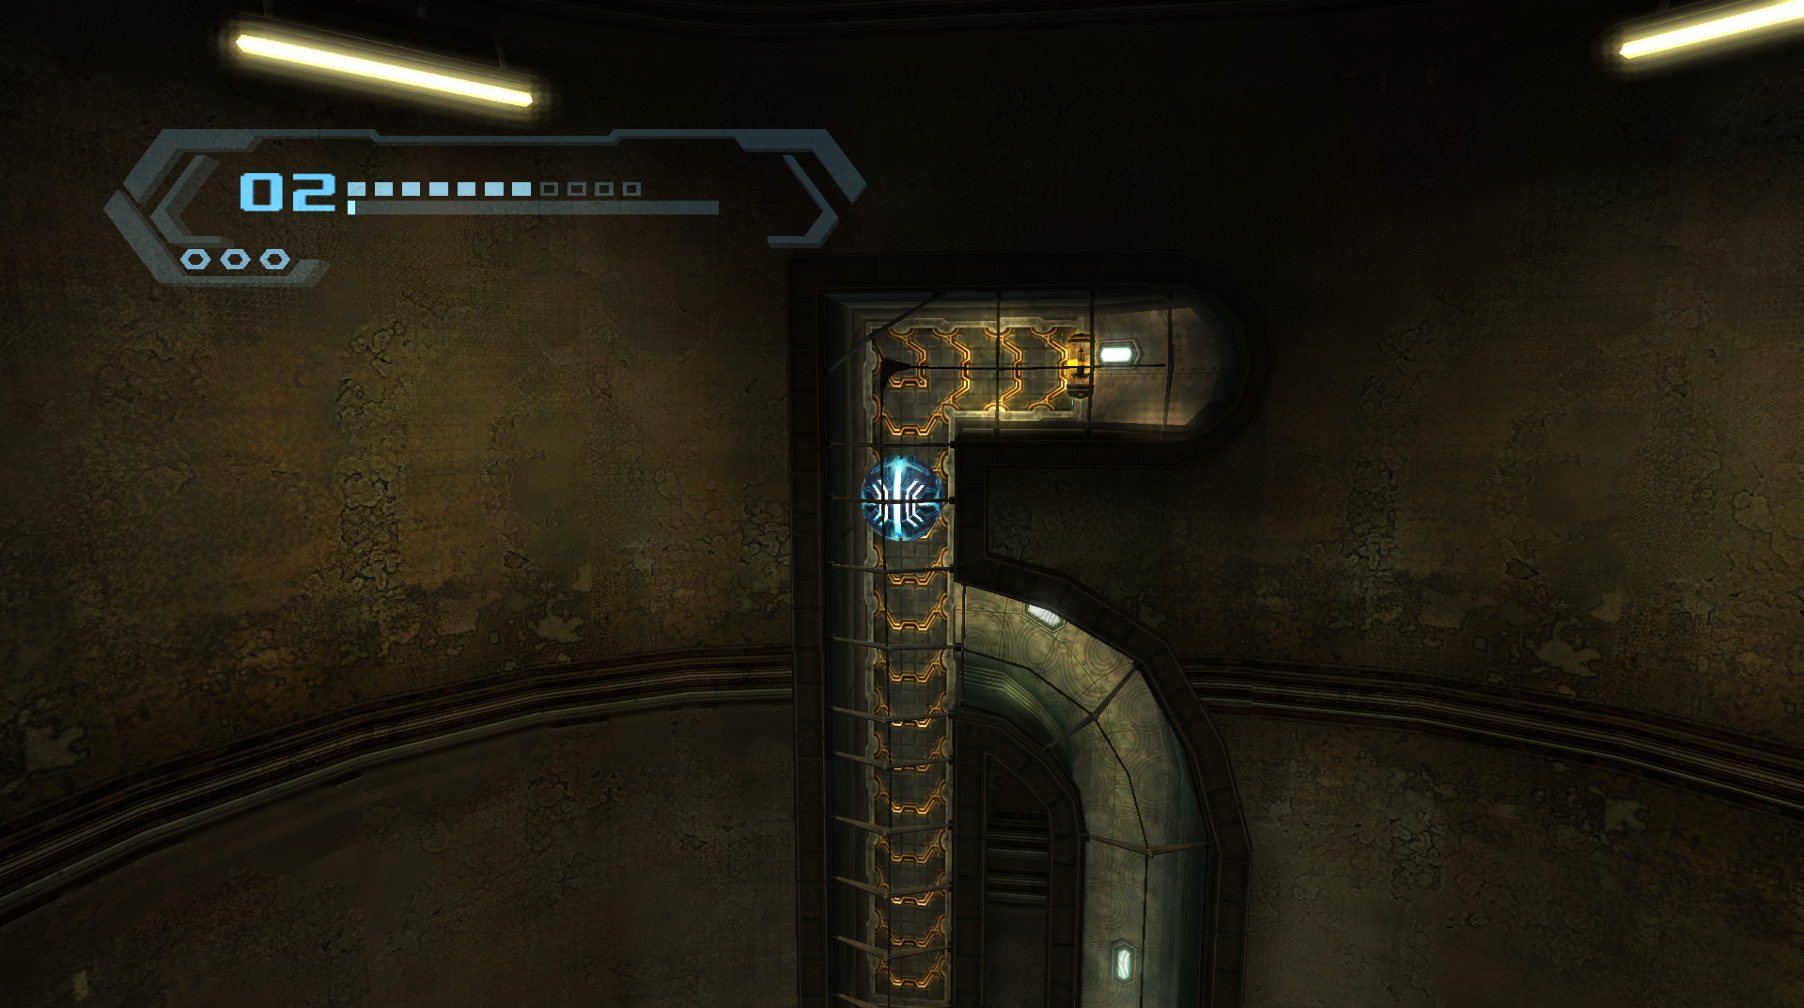
Enter the Morph Ball tunnel and perform a double bomb jump to grab this Expansion.
Missile Expansion #16
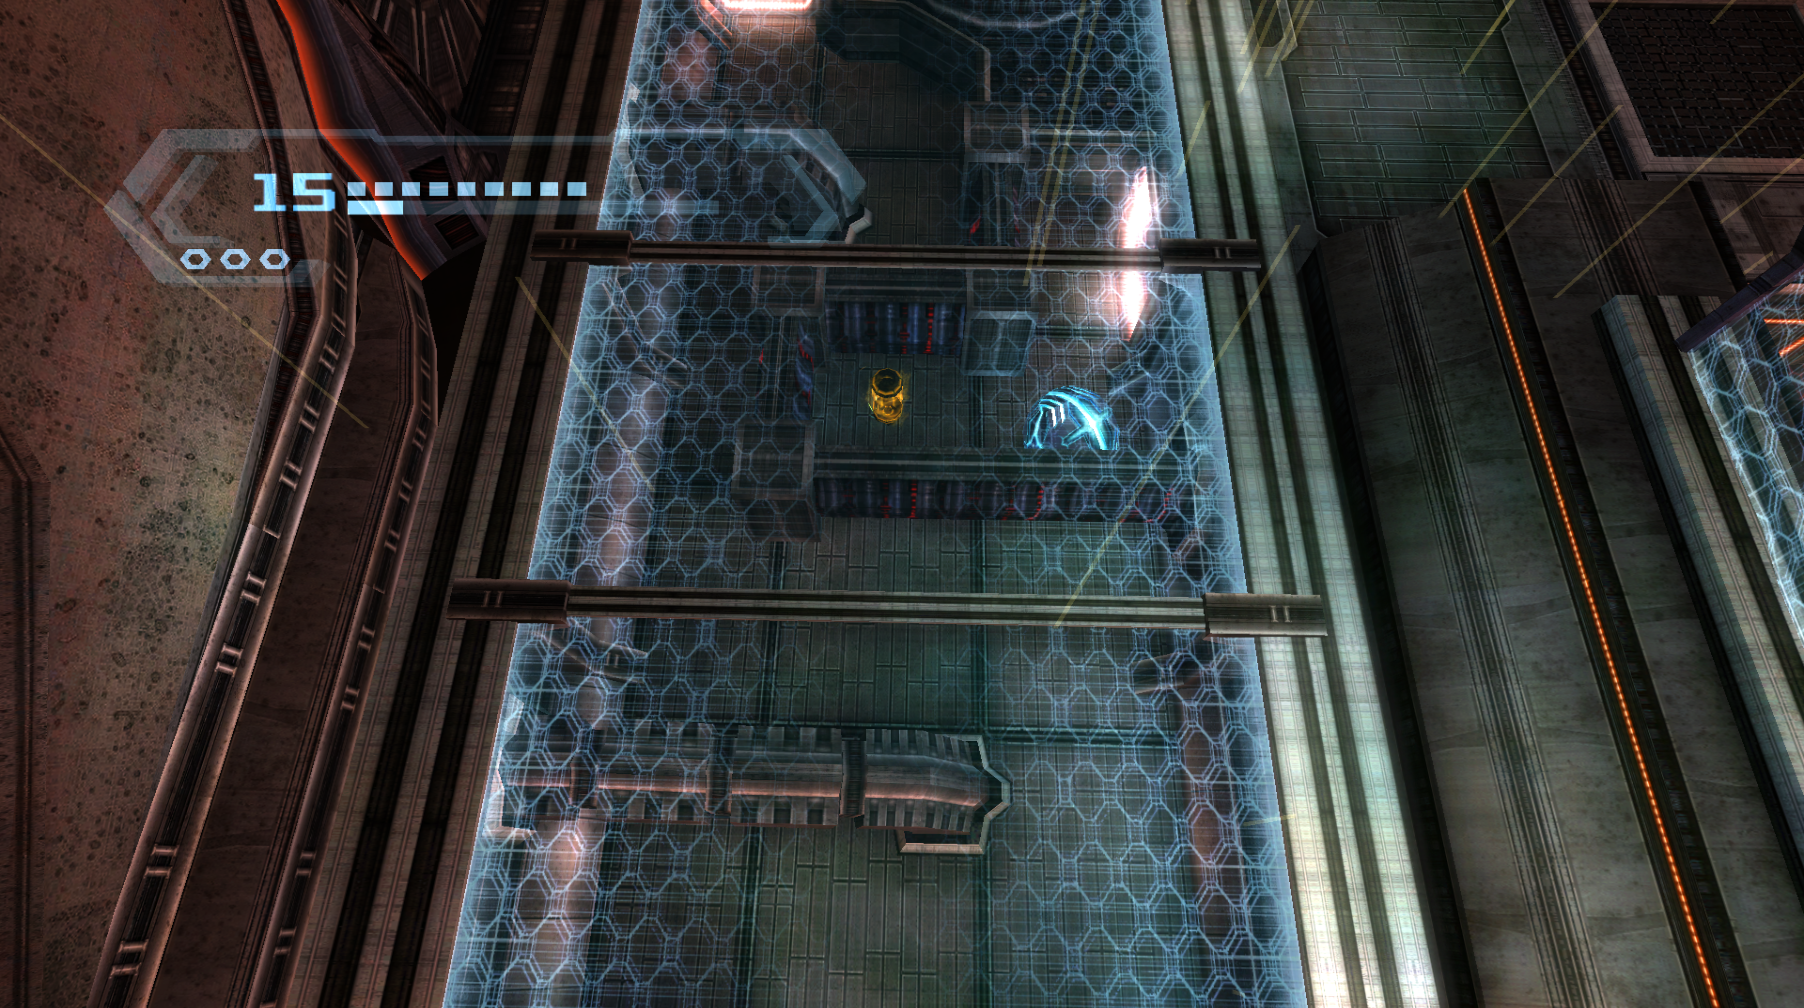
Location: Barracks Access, SkyTown
Requirements: None
When arriving in this room, you’ll see five sets of lasers moving back and forth. Morph Ball down and you’ll see the Expansion tucked away in a little nook under the entrance platform.
Missile Expansion #17
Location: Skybridge Hera, SkyTown
Requirements: None
After ripping the first bridge barrier away, you’ll see a pillar with a hollow hole in it. Enter Morph Ball and jump into the hollow. Bomb jump up and you’ll grab this hidden Expansion.
Missile Expansion #18
Location: Main Docking Bay, SkyTown
Requirements: Plasma Beam
After your fight with Ghor, go to the top portion of the room and opposite of the door, you’ll see some alloy that can be melted away. Shoot at it and the Expansion will be on a small alcove behind it.
Missile Expansion #19
Location: Substation West, Norion
Requirements: Plasma Beam
Use your Plasma Beam to solder the control panel that allows you access to this room, enter Morph Ball and go through the tunnel. Carefully navigate your way through the tunnel, making sure the pistons don’t push you out and at the end will be this Expansion.
Missile Expansion #20
Location: Gateway, Bryyo Cliffside
Requirements: Plasma Beam
Beside the door to the Reliquary II room is a Morph Ball tunnel blocked by ice. Use your Plasma Beam to melt the ice and enter the tunnel. At the end will be the Expansion.
Missile Expansion #21
Location: Burrows, Bryyo Cliffside
Requirements: None
Traverse the Morph Ball tunnel and blow up the crystallized fuel gel to open up new paths. You’ll need to perform a double bomb jump to grab this Expansion.

Missile Expansion #22
Location: Hidden Court, Bryyo Cliffside
Requirements: Boost Ball, Plasma Beam, Grapple Swing
When you enter the Hidden Court from the Burrows entrance, you’ll be able to shoot down a metallic gate and swing across a large distance to reach the half pipe in the center of the court. Boost up, get off on the upper right side and you’ll see this Expansion.
Missile Expansion #23
Location: Imperial Hall, Bryyo Fire
Requirements: Plasma Beam, Grapple Lasso
In the Gel Refinery Site, use your Plasma Beam to melt the ice blocking a Morph Ball tunnel in three different spots and once clear, enter the tunnel. Follow it upwards, using the fuel gel to boost you up and eventually you’ll land in front of a door leading you to the Refinery Access room. Go through and enter the Imperial Hall. Lasso down a couple of platforms and then jump across to get the Expansion.
Missile Expansion #24
Location: Medlab Alpha, G.F.S. Valhalla
Requirements: Missiles, Grapple Lasso
After defeating the three Phazon Hoppers, destroy debris blocking a Morph Ball tunnel with missiles and the Grapple Lasso. Enter the tunnel and roll inside to grab this Expansion.
Missile Expansion #25
Location: Gearworks, Eastern SkyTown
Requirements: Screw Attack
On your return visit to this room after obtaining the Ship Grapple, a Space Pirate ATC will destroy the gears that were blocking this Expansion. Destroy the ATC and then Screw Attack across the void to pick up this Expansion.
Missile Expansion #26
Location: Botanica, Eastern SkyTown
Requirements: Screw Attack
From the ledge that the white blast door is on, Screw Attack across the room to a small ledge in the corner. From here, Screw Attack straight and you’ll jump right into this Expansion.
Missile Expansion #27
Location: Concourse, Eastern SkyTown
Requirements: Seeker Missiles
After acquiring the Seeker Missiles and leaving the Xenoresearch Labs, work your way back to the Concourse. Once you get there, roll through the Morph Ball tunnel and the Expansion will be right in front of you.
Missile Expansion #28
Location: Ancient Courtyard, Bryyo Thorn Jungle
Requirements: Boost Ball
Enter the halfpipe in this room and boost upwards to collect this Expansion.
Missile Expansion #29
Location: Fuel Gel Pool, Bryyo Cliffside
Requirements: Ship Grapple, Ice Missiles
Use your Ship Grapple to pick up the giant Golem Head in the middle of the Pool. Freeze the gel fuel spots and use them as platforms to navigate your way up to this Expansion.
Missile Expansion #30
Location: Fuel Gel Pool, Bryyo Cliffside
Requirements: Ship Grapple, Ice Missiles, Hazard Shield (optional)
Once the Golem Head has been removed, use your Ice Missiles to create a platform in the fuel gel through a small tunnel where the Expansion will be sitting on a ledge. The game intends for you to have the Hazard Shield so you don’t lose health trudging through the fuel gel, but if you don’t mind taking some damage and act quickly, you can grab this Expansion now.
Missile Expansion #31
Location: Falls of Fire, Bryyo Cliffside
Requirements: Screw Attack
By the transportation Golem, there is a Wall Jumping surface. Use the Screw Attack to climb up, grabbing the Expansion on the upper ledge.
Missile Expansion #32
Location: Command Courtyard, Pirate Command
Requirements: None
Use the Grab Ledge to pull yourself into the Morph Ball and follow it until you get to an intersection where the tunnel splits. Take the left entrance and follow the tunnel until you pop out right beside this Expansion.
Missile Expansion #33
Location: Command Station, Pirate Command
Requirements: None
Follow the Morph Ball tunnel up from the bottom of this room and once you reach the surface just below the platform (you’ll see Space Pirates walking around), roll to the right and follow the path. Eventually, you’ll see this Expansion at the end of the road. Bomb jump to grab it.
Missile Expansion #34
Location: Security Air Lock, Pirate Command
Requirements: None
Enter this room from the Defense Access room and the Expansion will be right in front of you.
Missile Expansion #35
Location: Metroid Processing, Pirate Research
Requirements: Acquire Energy Cell #6
After pulling out the Energy Cell from the lower half of this room, several Phazon Metroids will break free of their Containment fields. After eliminating the Metroids, go to one of these broken containers and you’ll see this Expansion for the taking.
Missile Expansion #36
Location: Creche Transit, Pirate Research
Requirements: Boost Ball
Enter the Morph Ball tunnel and use your Boost Ball to rotate the disc. Enter the other side of the tunnel and bomb jump upwards to grab the Expansion.
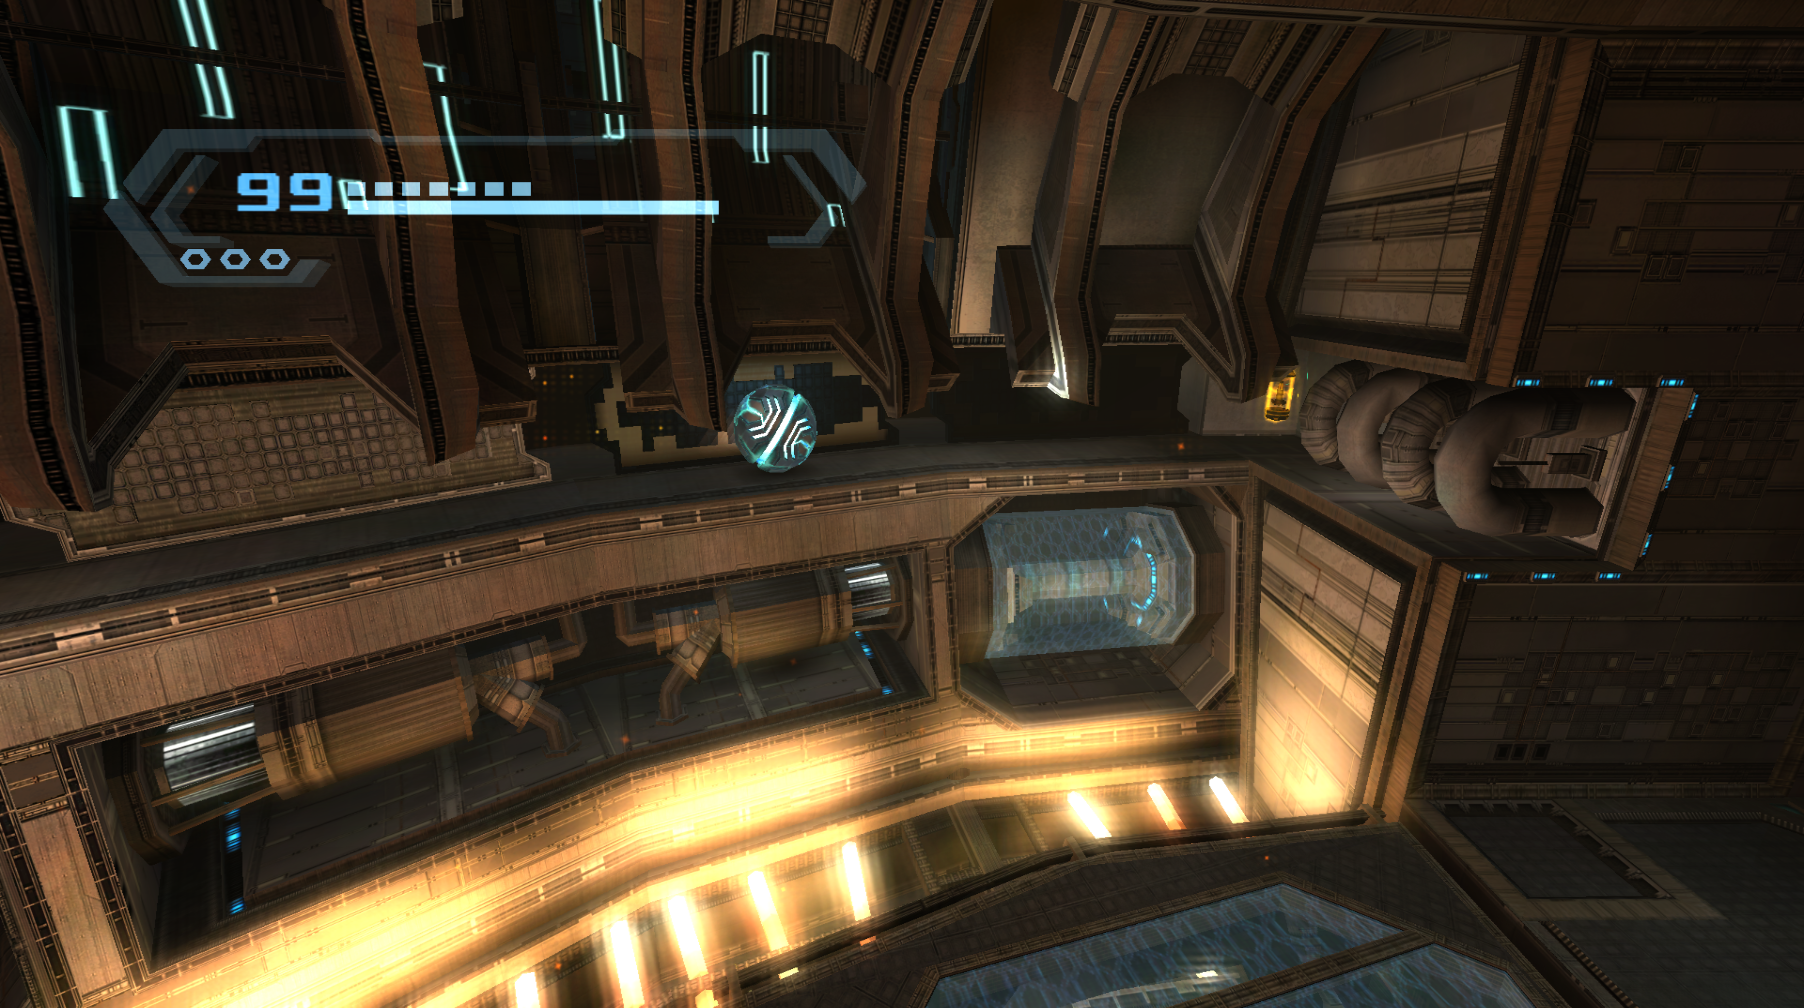
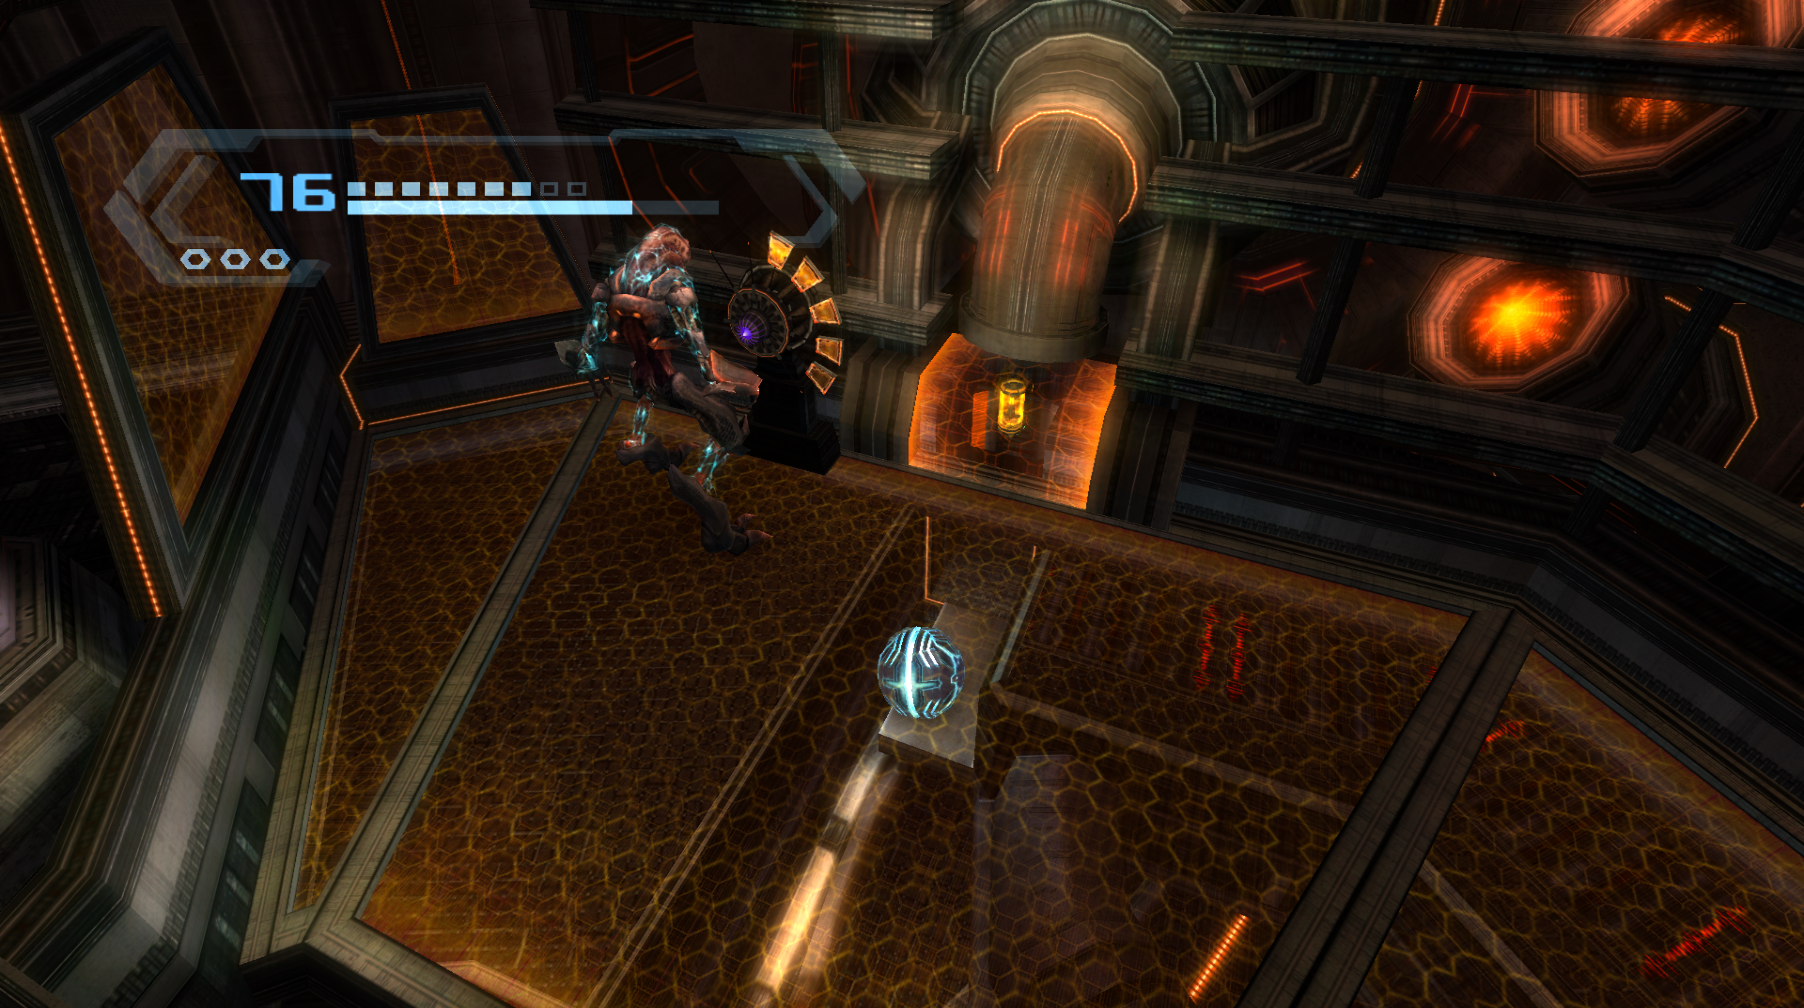
Missile Expansion #37
Location: Powerworks, SkyTown
Requirements: Spider Ball, Boost Ball
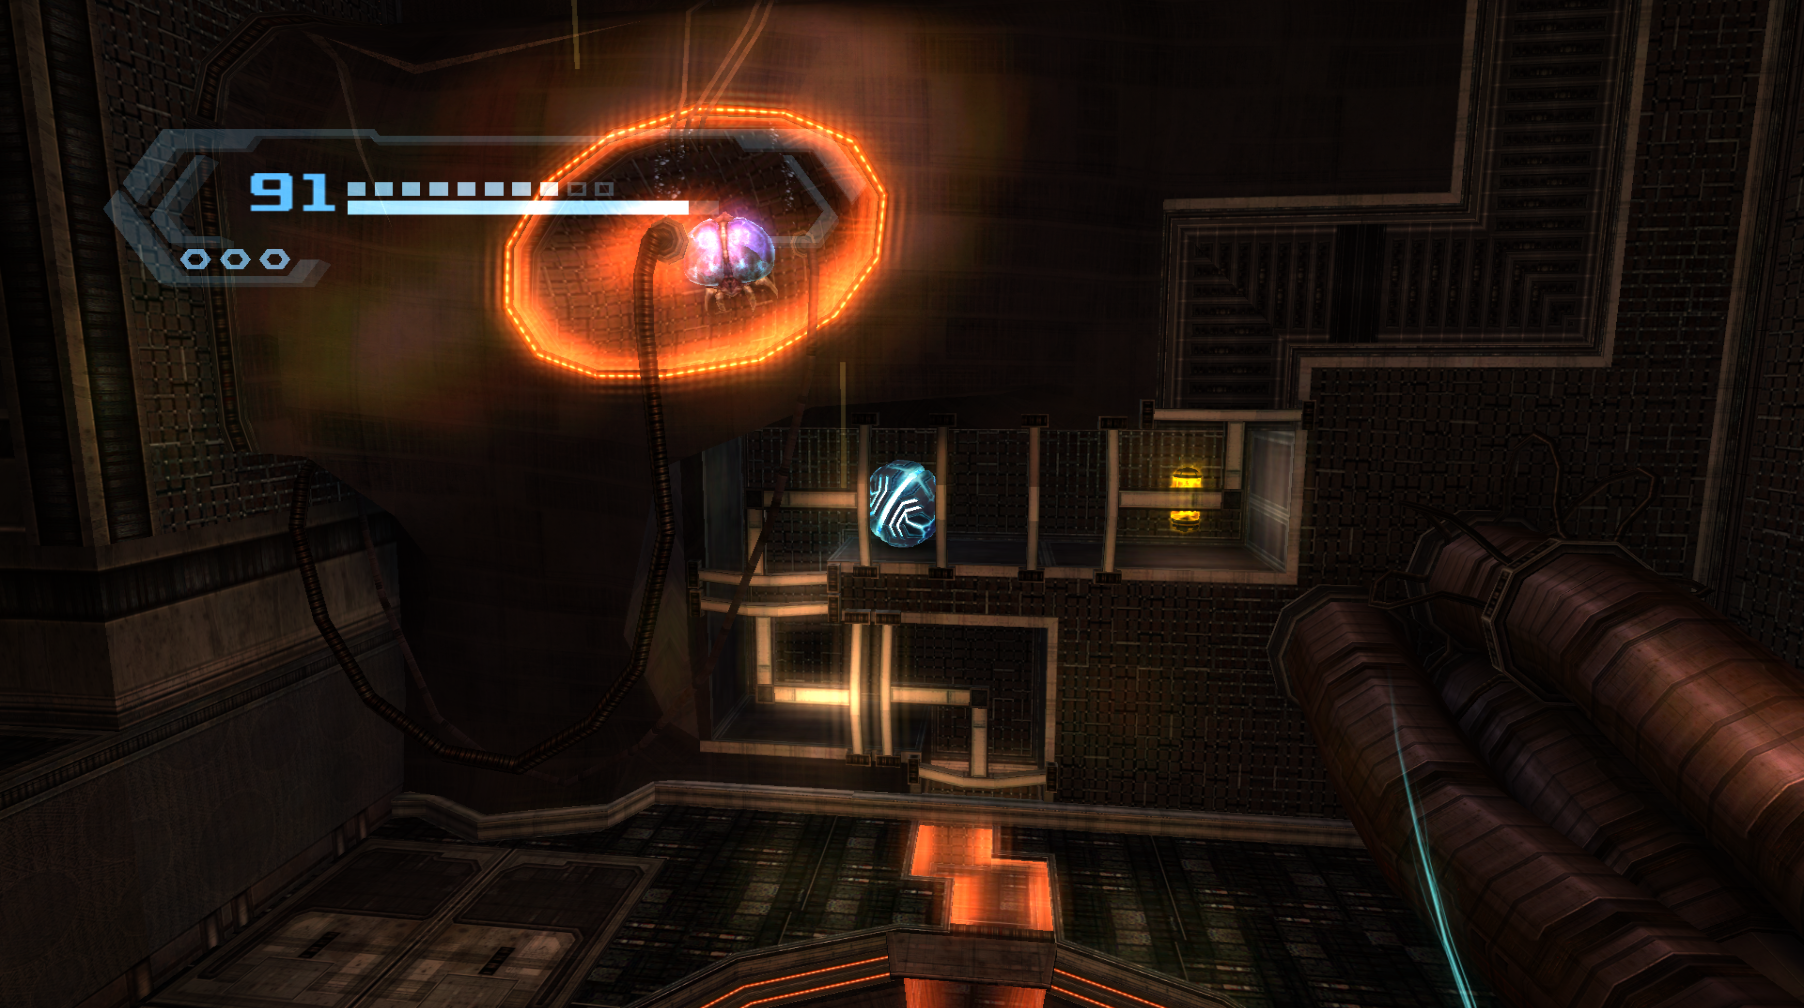
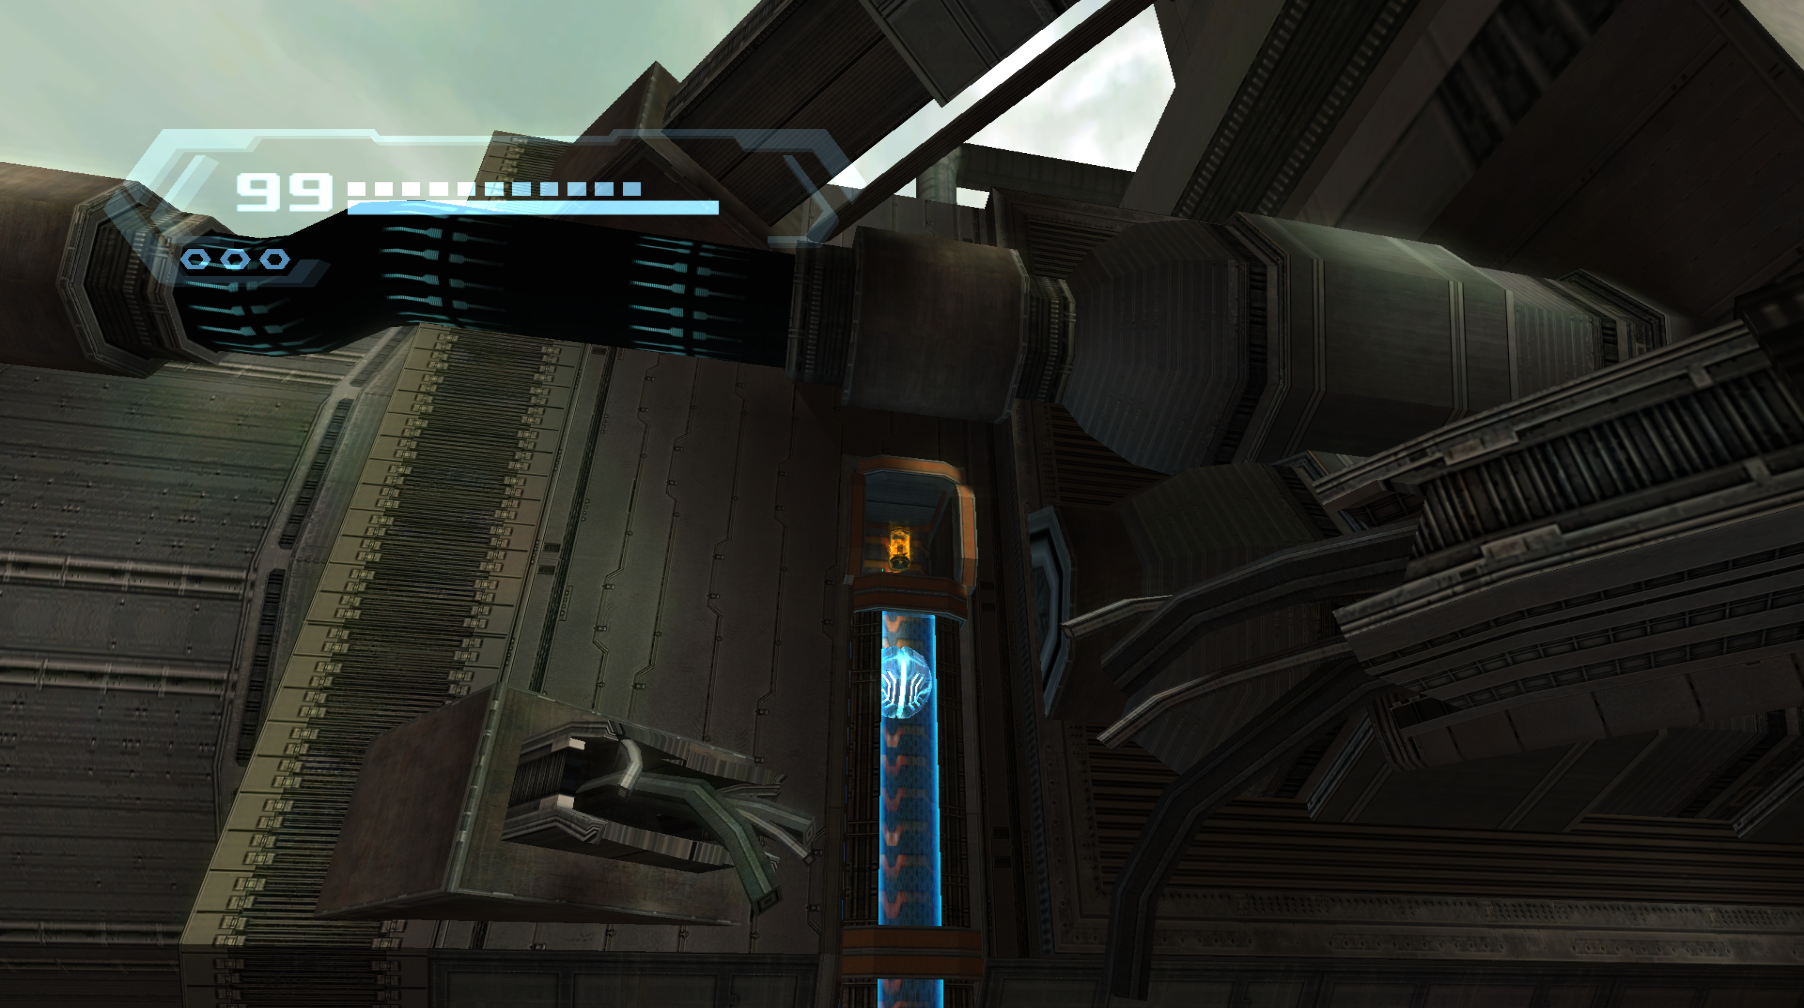
Immediately after acquiring the Spider Ball, you’ll follow a set of Spider Tracks across the bottom of the island, dodging fire along the way. When you reach the first bit of ground, instead of proceeding forward, turn around and follow the Spider Tracks on the opposite wall of where you came from. When it looks like you’ve hit a dead end on the track, charge your Boost to jettison across to a Spider Track on the opposite side. Do this once more and keep following the path until you get to this Expansion.
Missile Expansion #38
Location: Construction Bay, SkyTown
Requirements: Screw Attack
From the top platform, Screw Attack across the vista to a ledge where this Expansion will be waiting for you.
Missile Expansion #39
Location: Concourse Ventilation, Eastern SkyTown
Requirements: Spider Ball
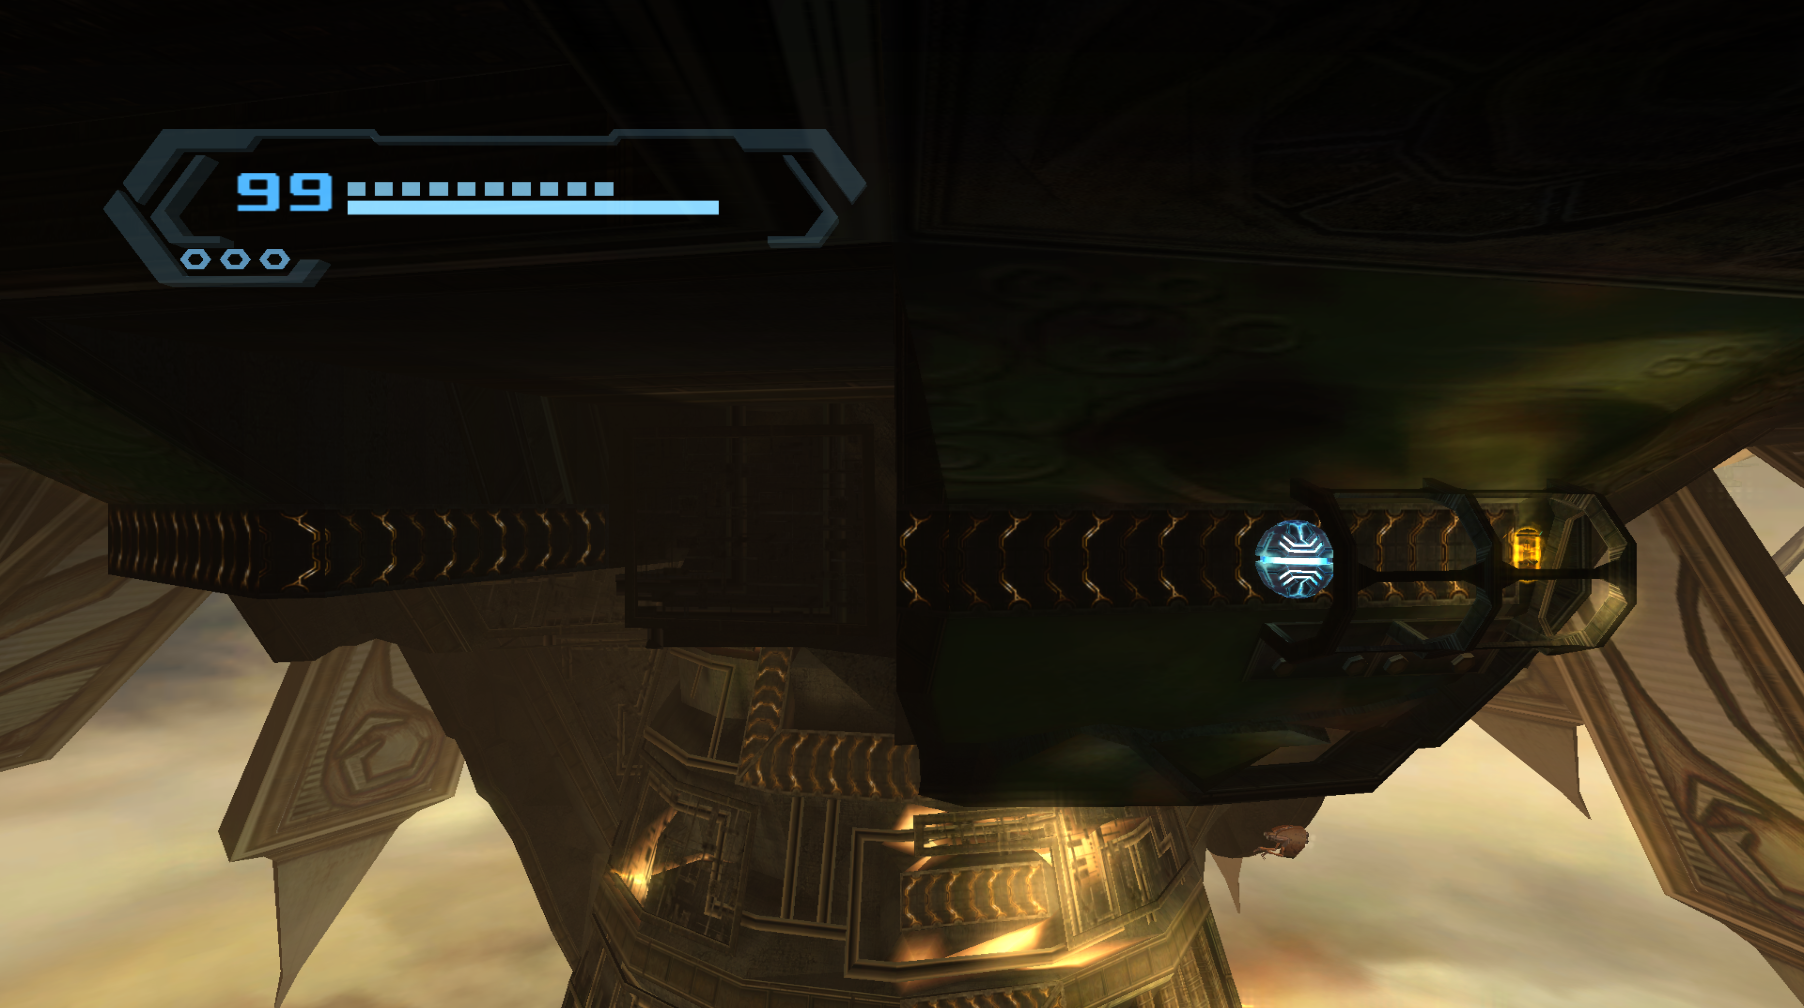
From the bottom of this room, find and follow the Spider Tracks upwards. They’ll lead you straight to this Expansion.
Missile Expansion #40
Location: Steambot Barracks, SkyTown
Requirements: Spider Ball
Enter the Morph Ball tunnel beside the elevator on the upperpart of this room. Follow the tunnel until you get to a set of Spider Tracks. Ride them up to grab this Expansion.
Missile Expansion #41
Location: Cargo Dock A, Norion
Requirements: Spider Ball
On the side of the entrance way leading into Conduit A is a Spider Track. Climb it up and follow it to enter a Morph Ball tunnel. Press onwards and you’ll run right into this Expansion.
Missile Expansion #42
Location: Scrapworks, Pirate Research
Requirements: Screw Attack
Work your way up to the platform where you would usually jump and use the Grab Ledge to get you in a Morph Ball tunnel. Instead of grabbing it, however, instead Screw Attack over to a platform directly opposite the unknown bioforms head. From here, you can jump up and grab another Grab Ledge, which will put you right beside the Expansion.
Missile Expansion #43
Location: Craneyard, Pirate Research
Requirements: Boost Ball
As you’re making your way to acquiring the Hazard Shield, you’ll enter a Morph Ball tunnel with two Spinners that you’ll need to turn in order to open up a pathway. Instead of turning them so that the Spider Tracks align, spin until they make a passageway to the right. Use the air to help you work your way upwards and at the top will be a small tunnel. Roll through it to grab this Expansion.
Missile Expansion #44
Location: Phazon Quarry, Pirate Mines
Requirements: None
Use the control panel to operate the mechanical drill in this room and have it excavate the rock to the right of the screen. The drill will create an opening for you to simply walk up and grab the Expansion after.
Missile Expansion #45
Location: Phazon Mine Entry, Pirate Mines
Requirements: Nova Beam, X-Ray Visor
Complete the puzzle using your Nova Beam and X-Ray Visor to get through the Phazite wall and you’ll see the Expansion just sitting there. Be careful though – as soon as the wall drops, a Phazon Metroid will rush you! Deal with it and claim the Expansion.
Missile Expansion #46
Location: Lift Hub, Pirate Command
Requirements: None
Shoot the cable holding the elevator shaft and it will snap, letting you jump over to grab the Expansion.

Missile Expansion #47
Location: Temple of Bryyo, Bryyo Fire
Requirements: Nova Beam, X-Ray Visor, Hazard Shield
Use your Nova Beam in conjunction with your X-Ray Visor to shoot the switches behind the Phazite wall. Once activated, an opening will appear. Morph down and roll into the fuel gel. Go all the way around to claim this Expansion.

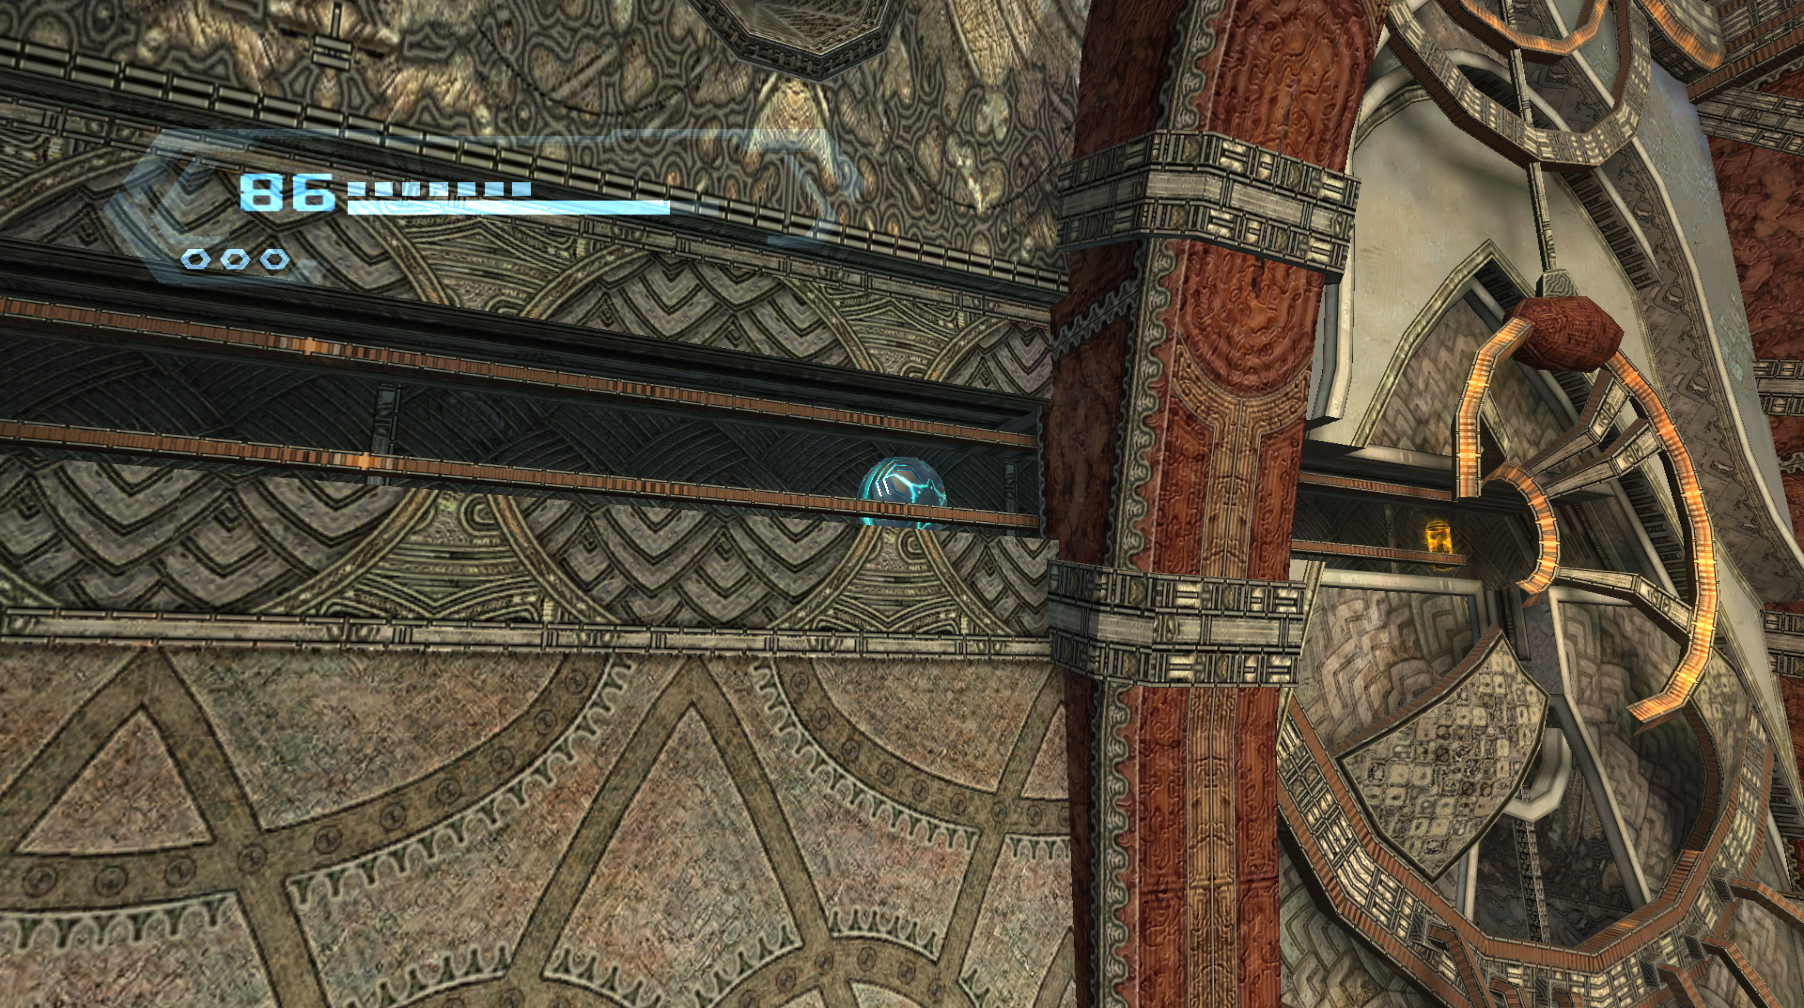
Missile Expansion #48
Location: Hall of the Golems, Bryyo Cliffside
Requirements: Spider Ball, Boost Ball, Grapple Voltage
Use your Grapple Voltage to activate the third Golem statue and it will activate a set of Spider Tracks for you to follow up. Navigate the tracks, watching out for electrical currents and work your way towards the end. You’ll need to perform a double bomb jump while on the track to reach the higher Spider Track. Do so and you’ll find the Expansion at the end.
Missile Expansion #49
Location: Weapons Cache, G.F.S. Valhalla
Requirements: None
In the Stairwell room, insert two Energy Cells into the walk to restore power to the bridge. Follow the path upwards and once you walk into the Weapons Cache, this Expansion will be right in front of you.
Missile Expansion #50
Location: Auxiliary Lift, G.F.S. Valhalla
Requirements: None
Insert an Energy Cell at the bottom of this room to restore power to the elevator. Ride the elevator up and you’ll see a Morph Ball tunnel. Enter it, drop down and roll over to claim this Expansion.
Missile Expansion #51
Location: Flux Control, Pirate Command
Requirements: Spider Ball, Grapple Lasso
Towards the bottom of this room, there is a cover guarding two sets of Morph Ball tunnels. The one on the left is needed to advance in the main story, but the one on the right will lead you directly to the flux generator pit. Circle around it and you’ll find some Spider Tracks on the wall. Follow them up to grab this Expansion.