Metroid Dread Walkthrough – Frozen Planet
Walkthrough
The Gravity Suit
You’ll land back in Ghavoran, but don’t get too comfy since our stay here will be quick. Head through the elevator room to the next room, then take the upper left door. Back into this long tunnel and into the water we go. This time though, our Space Jump will allow us to jump the distance across and finally grab the top ledge (you can actually see little floating orbs in the water that serve as a visual cue of where you’re supposed to Space Jump). Press right and roll into the tunnel. You’ll drop down right in front of the Green Teleportal Station, so take it and head towards Burenia.
Once you’ve finished teleporting, bomb the lower right corner of the room and drop down. Blast away the three Enky’s in your way and go through the door to grab ENERGY PART #10. This is where things get tricky.

Jump up and open the door. Get as far back as you can and start Speed Boosting. Run back into the first room and the floor under you will give out. Charge your Shinespark and drop down and QUICKLY run into the next room! Immediately slide and then as you’re falling, shoot downwards! This will break some blocks under you. As you’re falling and before you get too low, but AFTER you’ve fallen through the beam blocks, line up your Shinespark and release it in midair (do this by pressing Y+B at the same time) and shoot over to the slope on the left. You’ll start running; AS SOON as you get into the new screen, SLIDE, and you’ll go under a pillar. IMMEDIATELY crouch and charge your Shinespark after! Drop down and once again line up a midair Shinespark, releasing to the right. Charge your Shinespark as soon as you get to the top of the hill and drop down. Shinespark one last time and you’ll go crashing into MISSILE TANK #9. Whooooof. Congrats – that might be the hardest expansion in the game. As always, check Shinespark Puzzles for video.
Now, you have an option here. Option A is to shoot the wall beside the Missile Tank and crawl through, falling down and ending up in the room that’s basically beside the Gravity Suit. This significantly cuts down on the amount of trudging around in the suppressing water we need to do, but it also skips a couple expansions. I’ll be writing the guide assuming that you’re going to follow option B, which is to take the long way through Burenia and get the Gravity Suit in the way the game intends. I’m itching to get the Gravity Suit too, but the extra Energy Tank will probably be worth it.
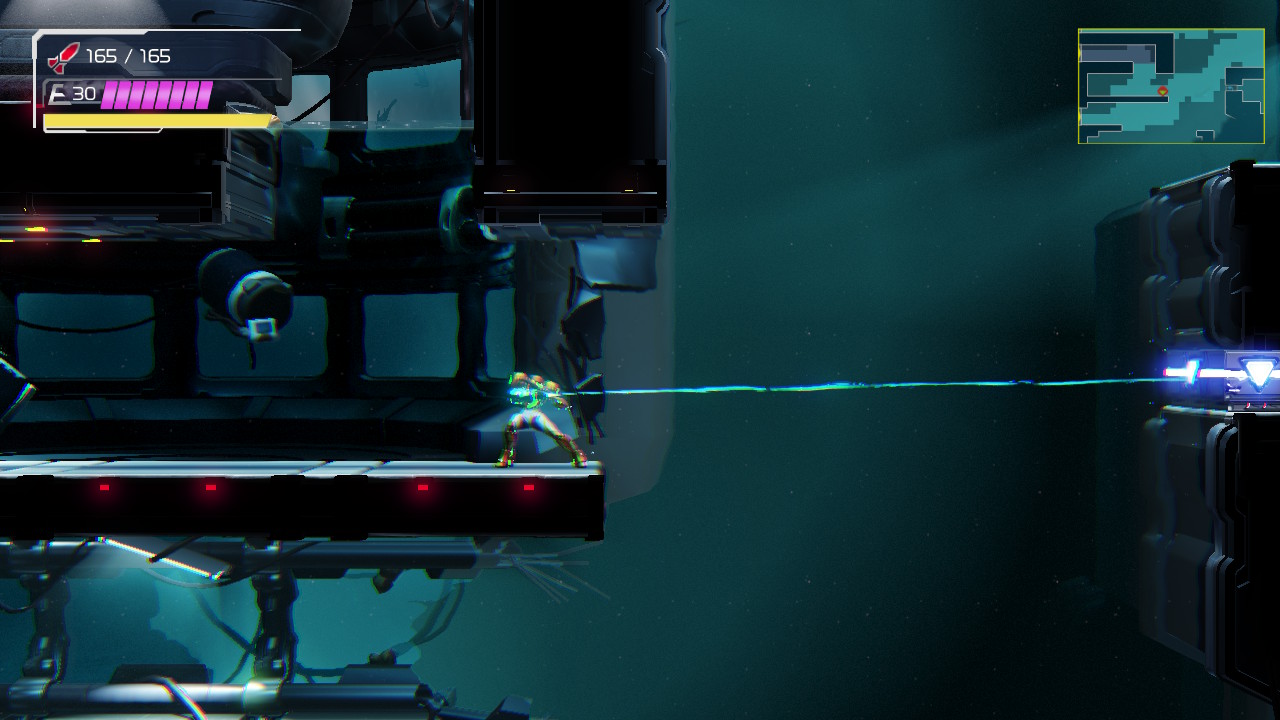
Head back all the way to the Green Teleportal and head left through the Plasma door. Drop down into the water and make your way towards the left side of this giant tank. It’s worth noting that your Space Jump will let you jump continually; you won’t get any height, but it’s kind of useful if you wanna drop down and jump for a bit, drop down a bit more, and then resume jumping. We’re gonna do that right now actually, as you can let yourself fall into the big tank and then when you see the floating orbs, start jumping towards the left. You should land on the underside of a platform that’s covered in spider tracks. Grab onto the tracks and the platform will lower in position.
Jump to the right side of the room and slip in through the tunnel (you should remember this room from earlier). Head up and take the first door back into the big tank room. Now that the platform is lowered, you should be able to jump all the way across, entering the Plasma door.
When you enter this room, immediately bomb the floor. A tunnel will appear that will lead you down and directly to MISSILE EXPANSION #35. Continue your way down and exit through the bottom door.
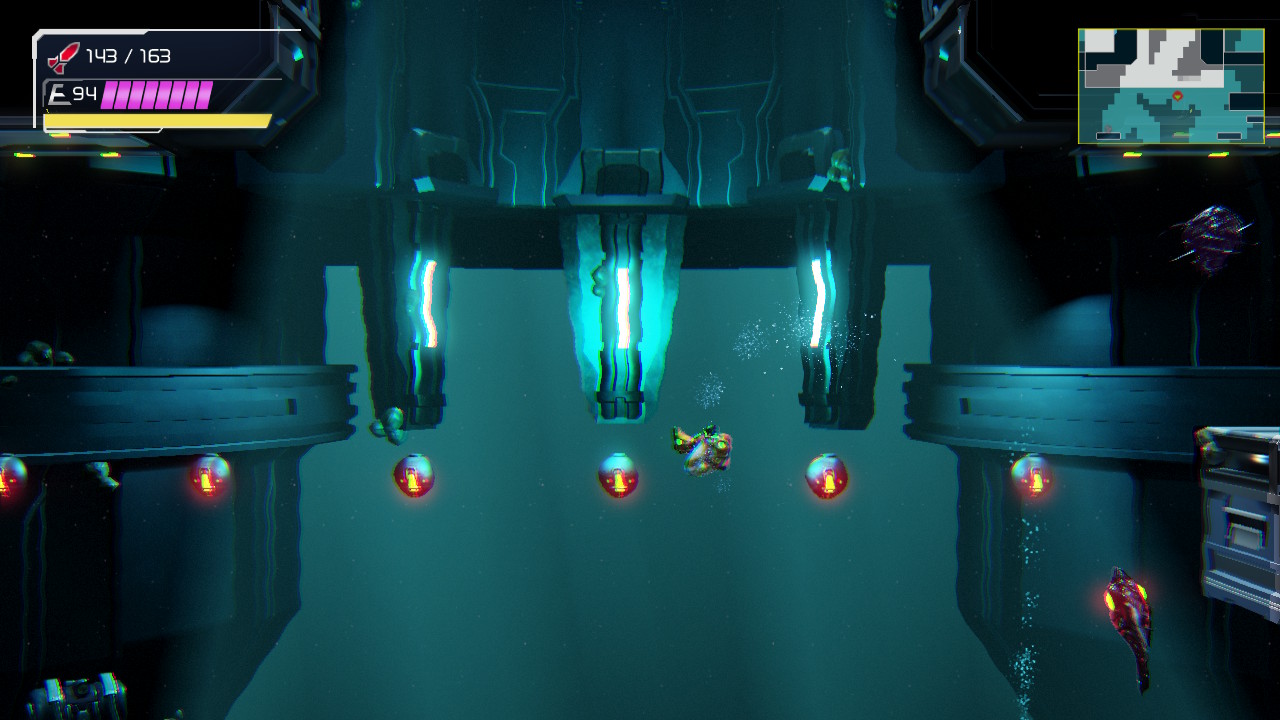
You’ll be in another giant room submerged in water now. There’s only one doorway that’s available to you right now and it’s in the middle left of the room, so drop down and jump your way over (if you can avoid falling to the bottom of the room, bonus points!). Go through the door and head up. There are two doors at the top: to the left, a Save Station, and to the right, your way back into the submerged room.
Drop down and before you do anything, deal with this aquatic enemy right in front of you. Be careful: this is one of those enemies where you can’t absorb the X and it just reforms into another monster right away. Beat It twice just so you don’t have that thing crawling up your Power Suit and then shoot the tumor. You’ll see a Grapple block across from you. Destroy it, but then WAIT! A bunch of water bugs will swarm out and they will bonk you mid-jump and send you crashing down to the bottom. Wait and shoot the bugs and then jump across. Squeeze through the tunnel and then drop down, taking the door on the bottom.
This is the whole reason why we’ve taken this long, accursed route. In this room, eliminate the enemies in here and then get up to the spider tracks on the wall. Crawl up until you’re out of the water and then use your Storm Missiles to release the lock on the Storm Missile box. Once the box is gone, head over and grab ENERGY TANK #7. It will all be worth it in the end, it will all be worth it in the end, it will all… drop down and then roll through the tunnel, all the way to the end.
Drop down into the depths of Burenia. You’ll see a singular whale floating around, which looks quite majestic. In the spirit of that, just run by it and go through the door to your right. Keep going straight until you get to the last room. Use your Diffusion Beam and shoot upwards, destroying the tumor. Part of the wall will explode, allowing you to go back and then crawl through a tunnel into the upper part of the room. You’ll exit into a room that we’ll call the Big Tank; directly above you, you’ll see a missile cover door, but getting to it won’t be that easy.
Start off by jumping across the Big Tank, working your way up towards the top and then jumping to the left and onto the platform. Pull yourself up and make your way through the door on the right. This is really just a connector room to get to the higher ledge of the Big Tank, but there’s a Missile Recharge Station in the bottom corner, so use that if you want! Head through the sensor lock door and the top.

You’ll now be on a ledge overlooking the Big Tank. Clear all (and I mean all, because for God’s sake, we don’t wanna get bonked and fall down) the floating water bugs in your way and jump all the way across the room. You’ll eventually land on a platform, which incidentally, is where you would have ended up if you went with Option A earlier. Jump up and pull yourself up through the tunnel until you eventually pop out into a little nook that has a tumor in the wall. Shoot the tumor, then shoot the second one, then the third, and finally, pull the Grapple block down. You’ll see a huge piece of equipment fall in the background. This has actually crushed some of the platforms in the lower part of the Big Tank, meaning that new areas are now open.
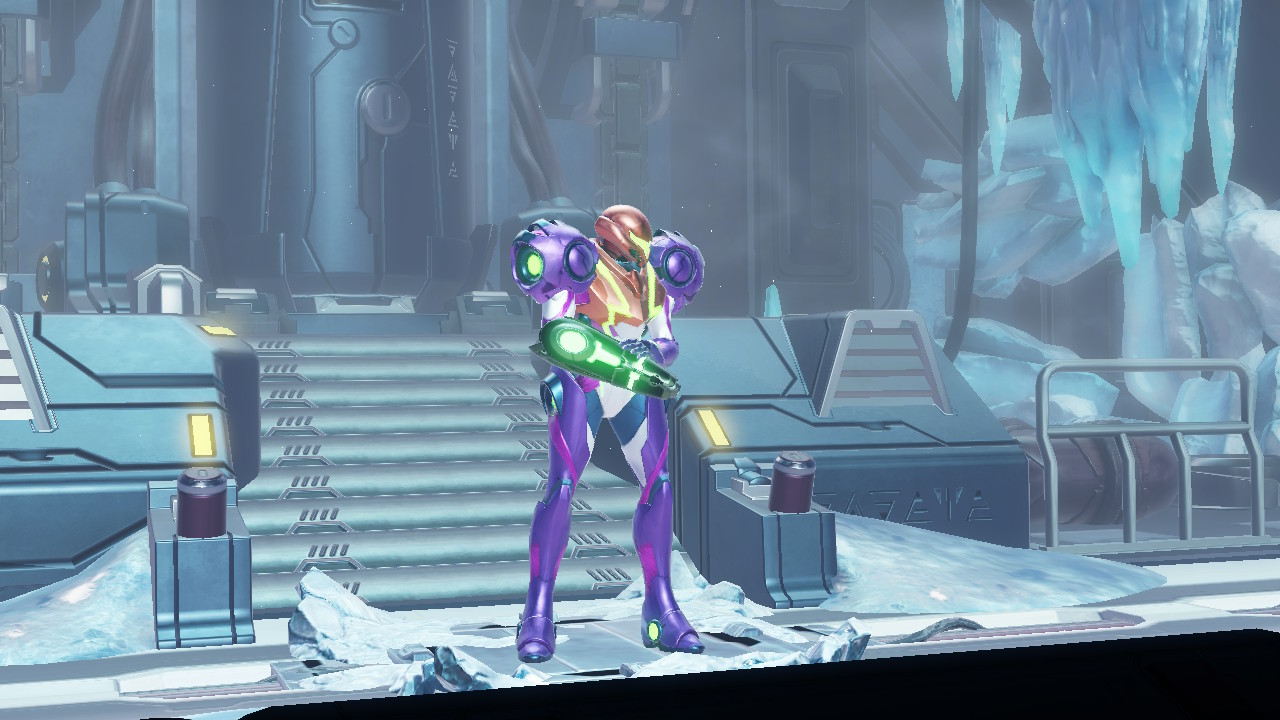
Crawl through the opening and drop all the way down; you’ll see that red missile cover door on your left hand side, and wouldn’t you know, that piece of equipment has opened the way for you to go up to the door. Open it and at long last claim the GRAVITY SUIT.
With this crucial upgrade FINALLY in our possession, exit the room and Space Jump up to the top right portion of the Big Tank. Ignore the missile tank for now, and instead, head towards the right and into the Network Station.
Frozen ZDR
Adam has bad news for us: the temperature of ZDR is rapidly dropping, probably due to the X. We’ll need to drop what we’re doing and get to the bottom of it before the entire planet is coated in ice, so let’s get to it. Head out of the Network Station and to the right, taking the elevator to Artaria.
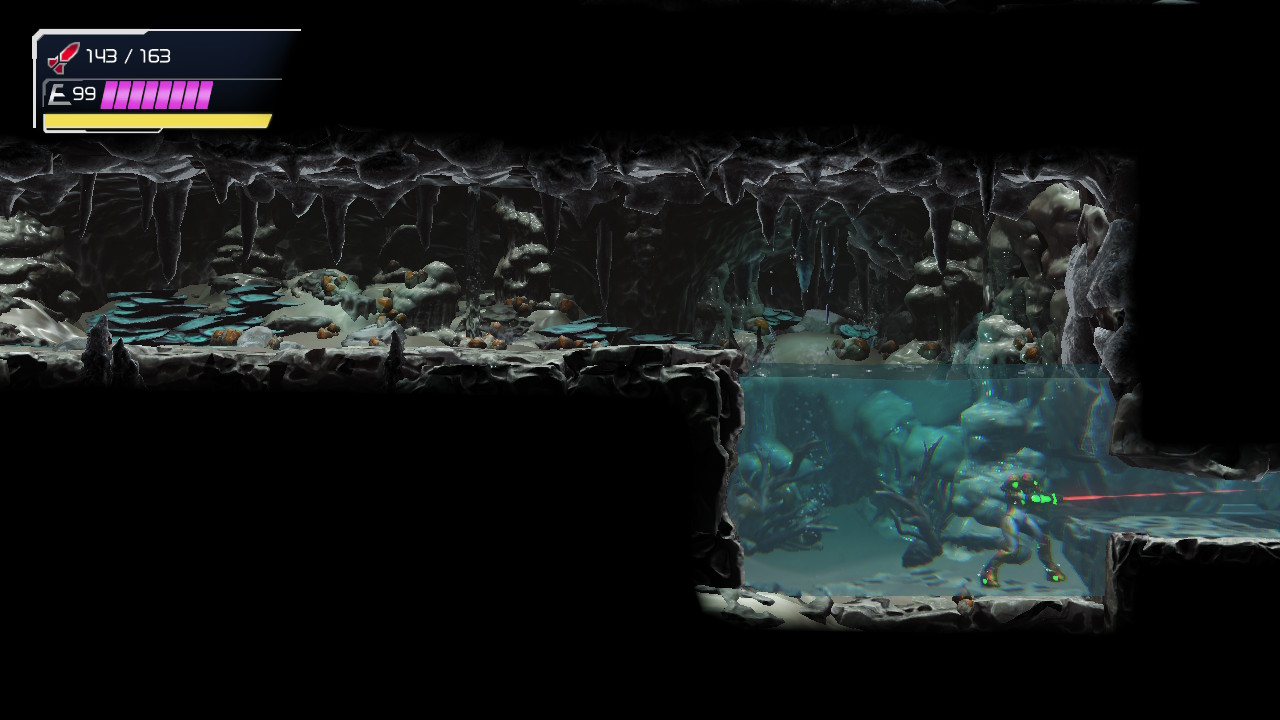
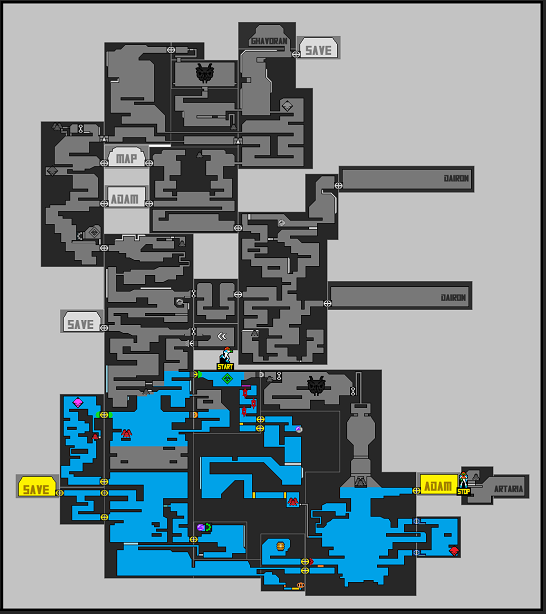
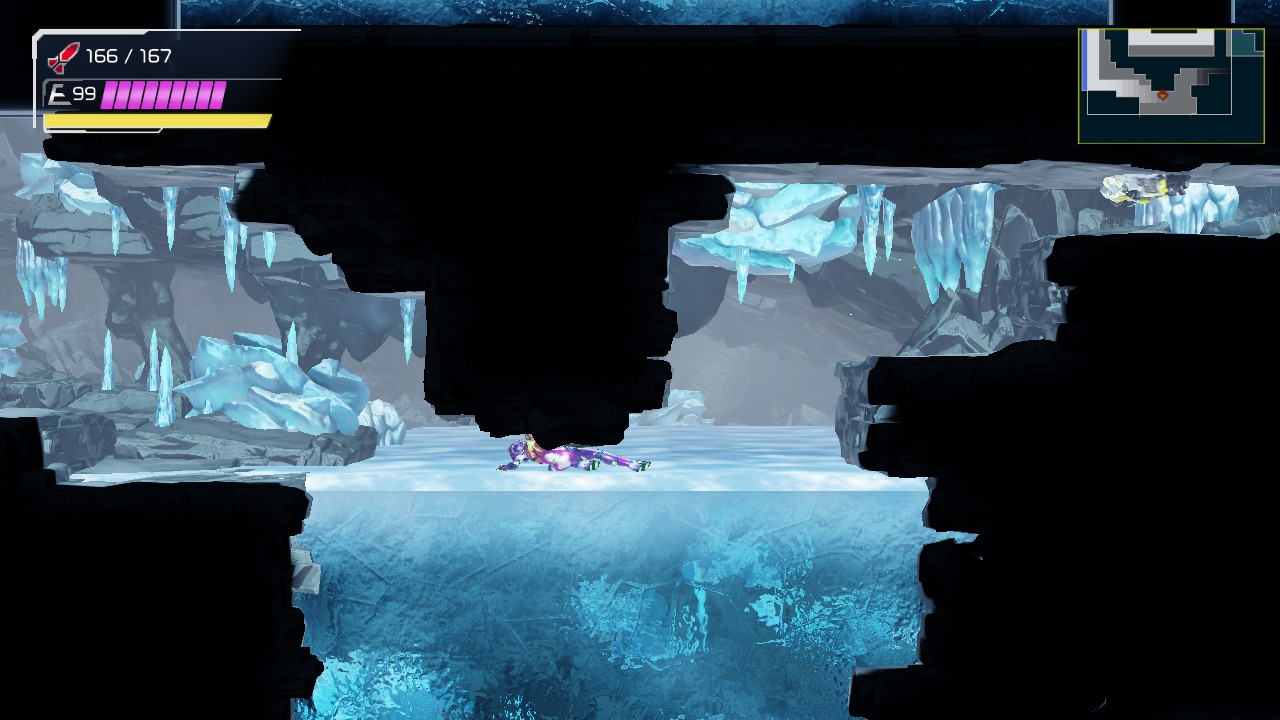
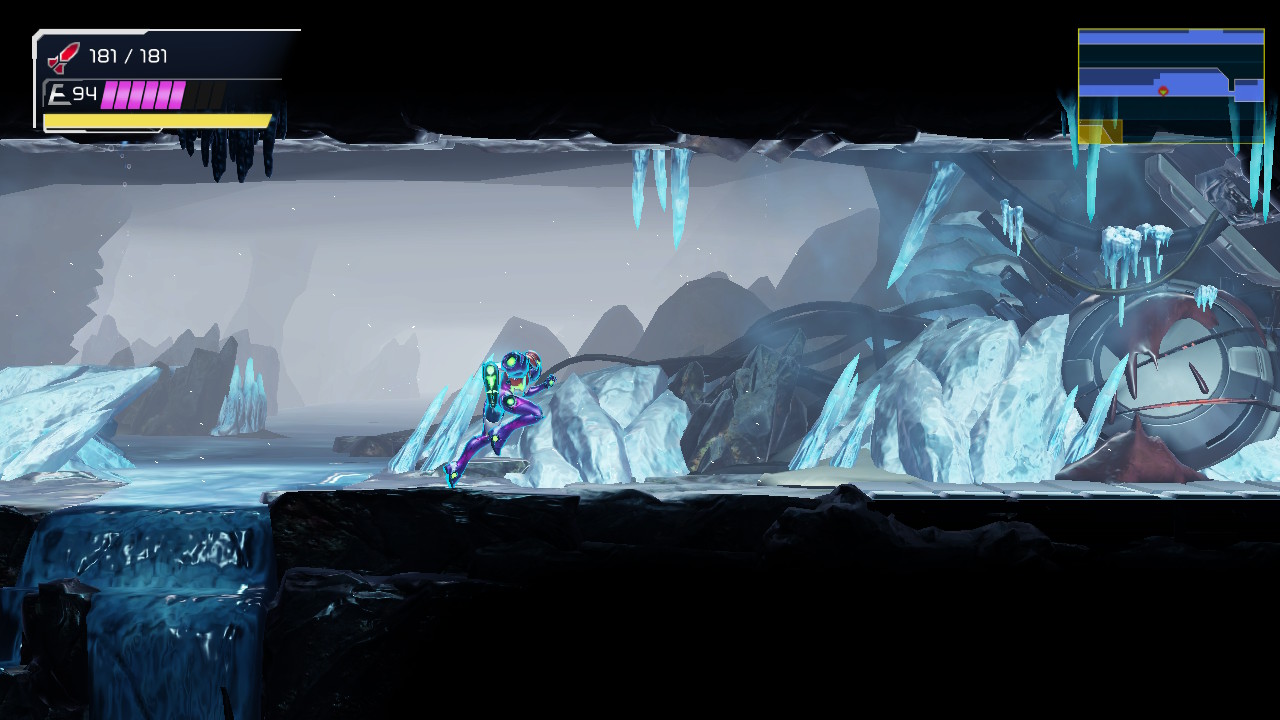
You’ll see right away that this is not the Artaria that we last visited. Now, the entire area is basked in ice, so much so that most of the doors don’t even open anymore. This will actually make for an easy section of the walkthrough since there’s really only one way forward, but don’t worry – there are still a bunch of tasty expansions along the way I’ll be more than happy to guide you towards.
Start off by blasting open the missile cover and heading through the door. Walk straight, minding the teeter-totter, and you’ll walk right into MISSILE EXPANSION #36. Fall down and slide on the ice, following the path forward until you arrive at the middle right door. Continue straight through the Plasma door and then use your Diffusion Beam to blast the tumor in the wall. Roll into the tunnel and after falling forever, you’ll be face to face with an old friend.
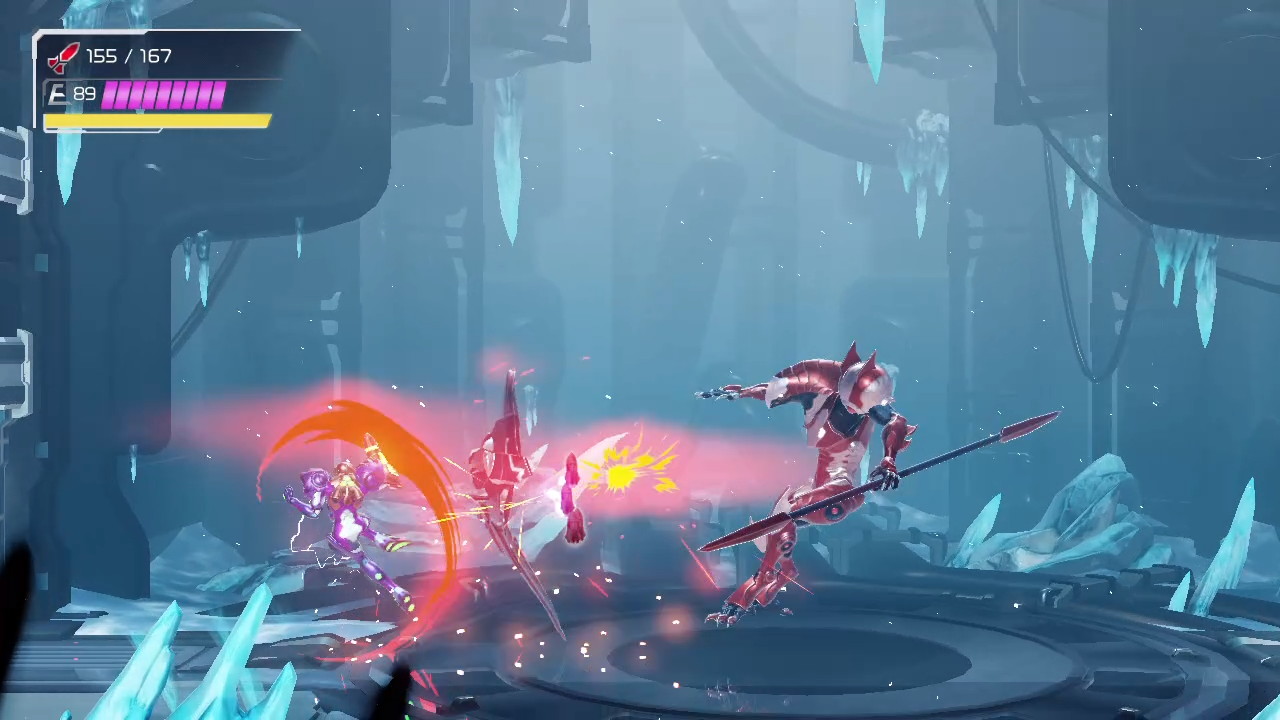
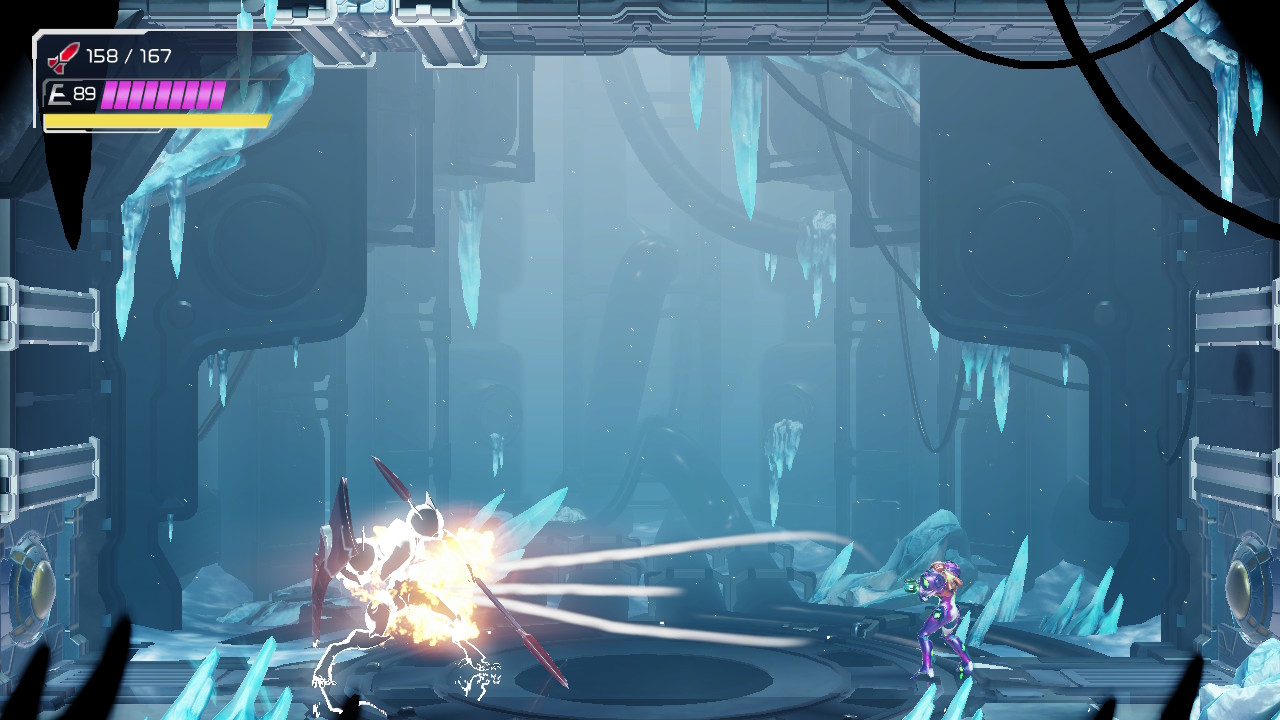
Yes, the Chozo Spear Soldier is back for another showdown, but this time, he’s got a big shield. This doesn’t really change the dynamic of the battle other than the obvious addition of the shield blocking any missiles that you fire. You can either pick your spots and jump over him, unleashing a slew of Storm Missiles into the Soldiers back, OR you could go with my preferred method of brute force. After absorbing enough missile shots, the shield will explode, giving you health and ammo. For the extra couple bursts of offense it will cost you, I think there’s something satisfying about destroying that shield.
The Chozo Soldier will attack exactly the same way, but has two extra attacks. The first is a charging attack where he puts his shield up and runs at you. This can be countered and you’ll destroy his shield. (Later versions of this battle will actually have the shield be counterable too, but not the usual way; instead, when you see the flash and hear the click, whip out your Grapple Beam and destroy his shield. You get no health/ammo for this, but it’s kind of cool if you don’t wanna brute force it). His second attack comes in his second phase; the Chozo Soldier will climb to the wall and shoot out 3 separate shots of black gunk from its mouth at you. This is actually a pretty strong attack, as I guess someone vomiting on you would be, but it’s easy enough to dodge using the Space Jump.
Other than these additions, this fight is the exact same as before, so unleash your fury and finish the Chozo Soldier off.
As soon as the battle is over, head through the door on your left and jump all the way up to the top of the room to grab MISSILE EXPANSION #37. Get back to the Chozo Soldier room and shoot the door open on your right. Start Speed Boosting and charge your Shinespark right before going through the door. Quickly head into the next room and drop down to a ledge on the opposite wall where you’ll grab ENERGY PART #11. Unleash your Shinespark and you’ll go crashing forward, revealing MISSILE TANK #10. If you find that you didn’t smash the Speed Boost blocks under the ledge by the Tank, no worries. Just head to the other side and Speed Boost again, but get into Morph Ball form before you release your Shinespark.
We’re not done in this room yet though. Drop down to the ground and start Speed Boosting. As you run, you’ll smash through a pillar hanging down, but there is a second pillar made up of not Speed Boost blocks, but Missile blocks. Shoot straight ahead at them as you’re running and then get ready – when you’re about to hit the edge before the door, SLIDE! You’ll go ripping through some Speed Boost blocks and roll, eventually hitting MISSILE EXPANSION #38!
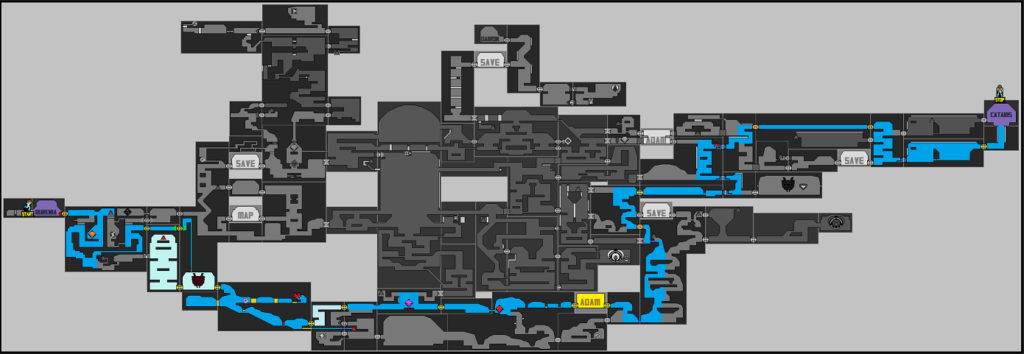
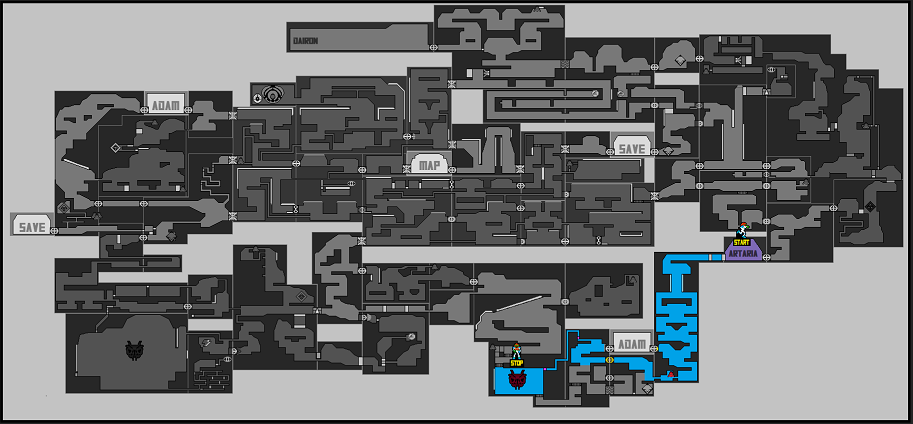
Those are all the expansions for now, so head straight towards the Network Station on the lower side of Artaria. Like I mentioned earlier, all the doors are frozen, so you won’t have much opportunity to deviate. Adam will instruct you that the reason for the cooldown is all that thermal energy we worked so hard to redirect earlier is not getting to its desired location. We’ll need to head to the central control system in Cataris to investigate. Again, there’s not much direction I can give you here, and it’s basically a straight shot, so make the trek and get on the elevator to Cataris.
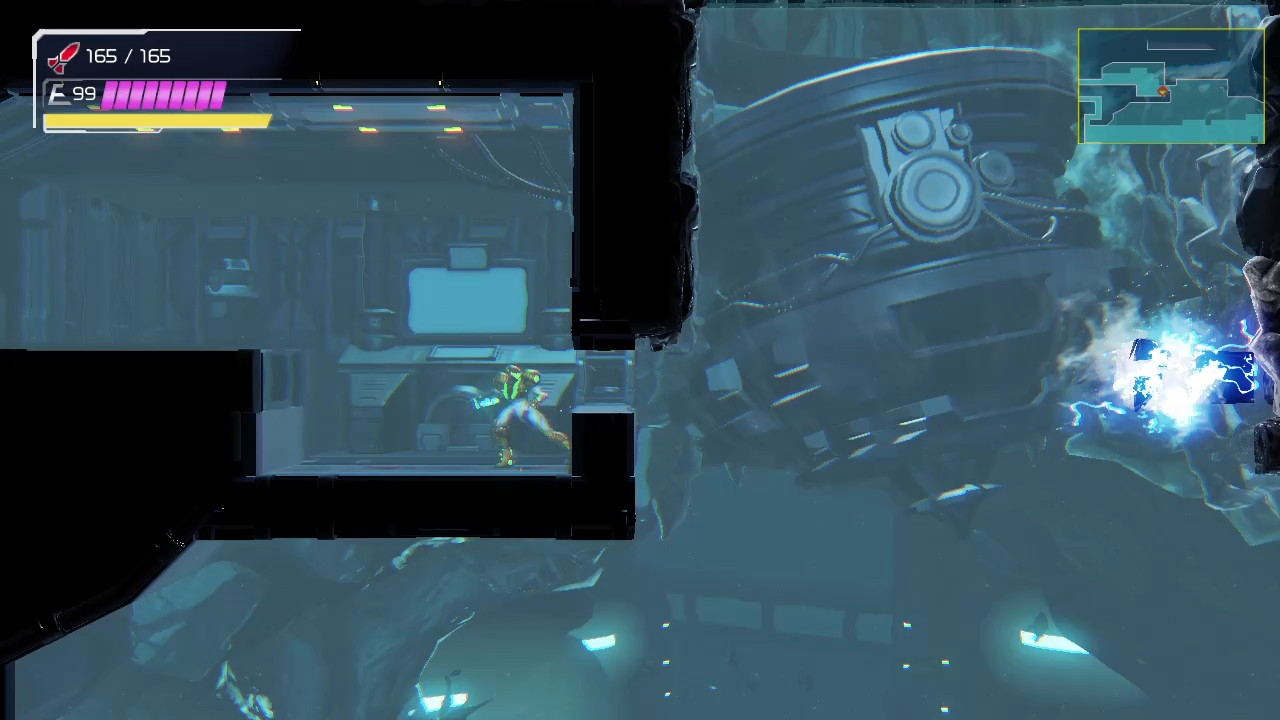
Once you’ve entered Cataris, head towards the left and drop down. Keep dropping all the way down until you get to the very bottom. Somehow, we missed this expansion earlier, but better late than never as my father always told me. Use your Diffusion Beam and shoot the tumor in the wall, roll over and grab MISSILE EXPANSION #39. Roll into the next room and head towards the top left corner. There’s a Gadora and you know what that means. Eliminate it, head inside, and take the Morph Ball Launcher to your craziest boss fight yet…
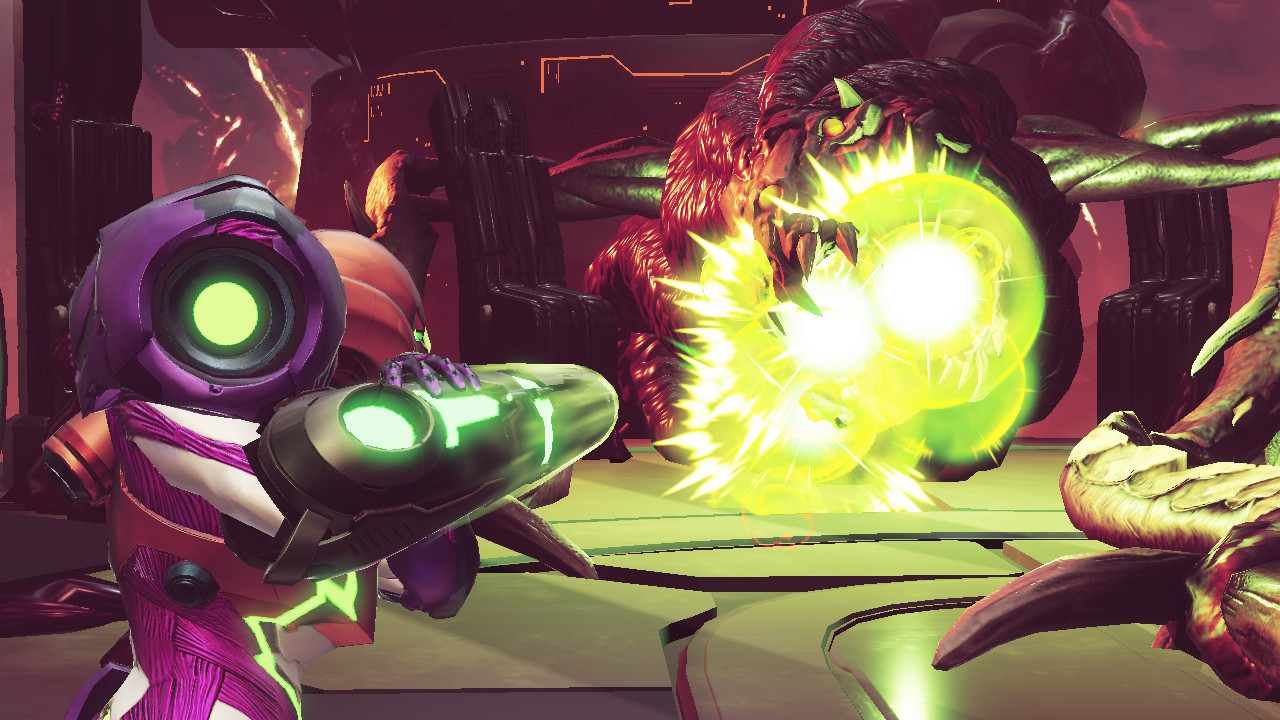
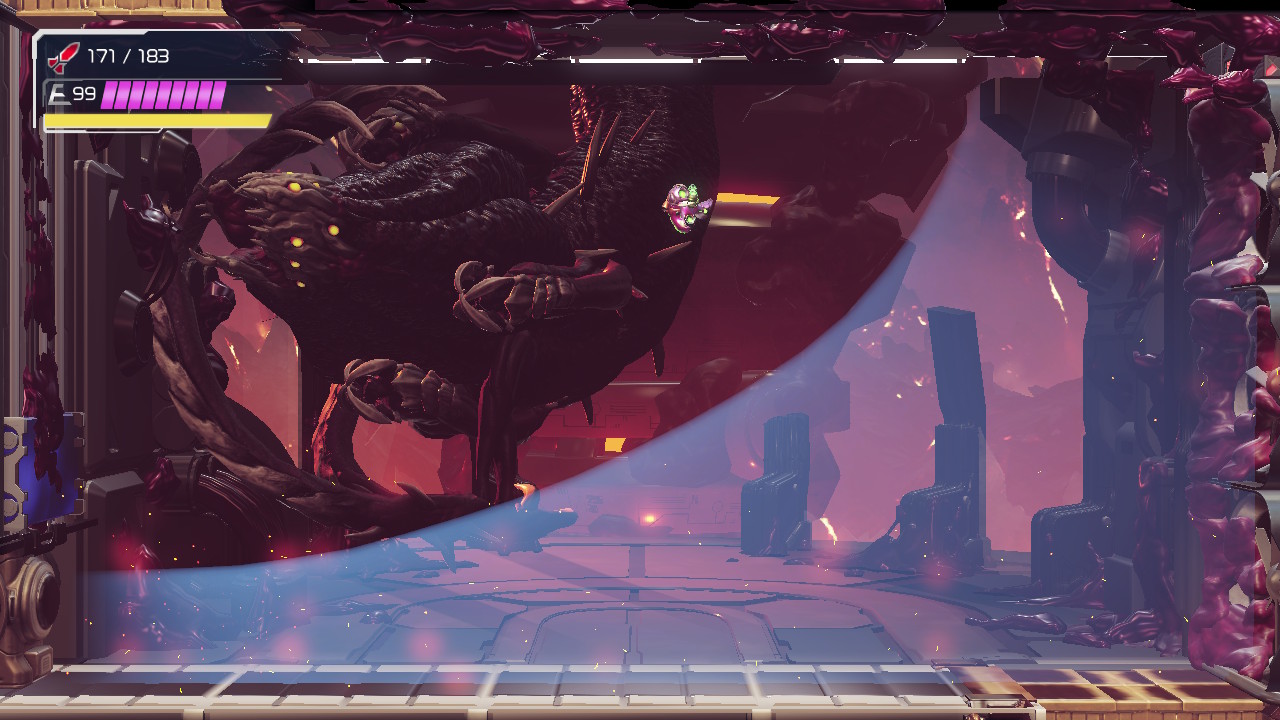
Experiment Z-57
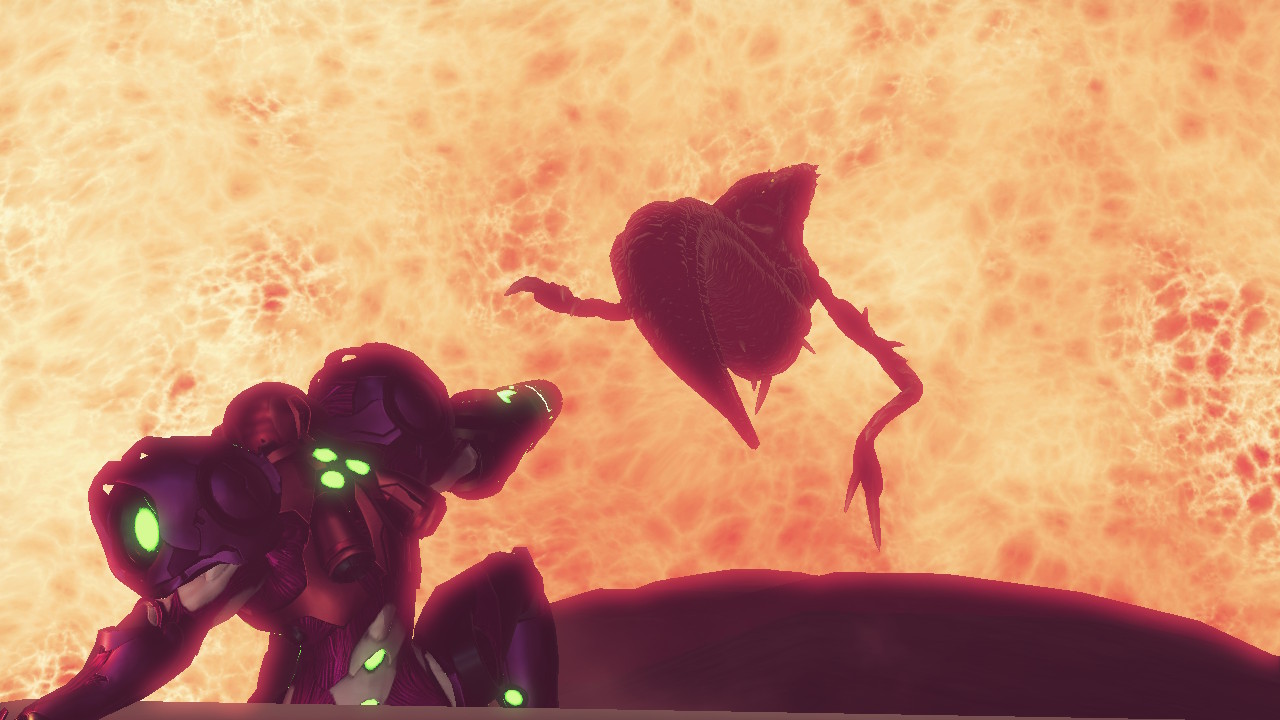
Oooh boy. Remember that creature we walked by earlier in Dairon that was being poked and prodded? The one you almost felt sorry for? Well, it’s escaped and it’s wreaking havoc on ZDR, and specifically, the central control system that’s responsible for heating up the planet. Needless to say, this is a threat that needs to be eliminated.
Z-57 will be a tough challenge, a definite step up from the last couple bosses were squared off against, so let’s run through his attacks so we can know what to look out for.
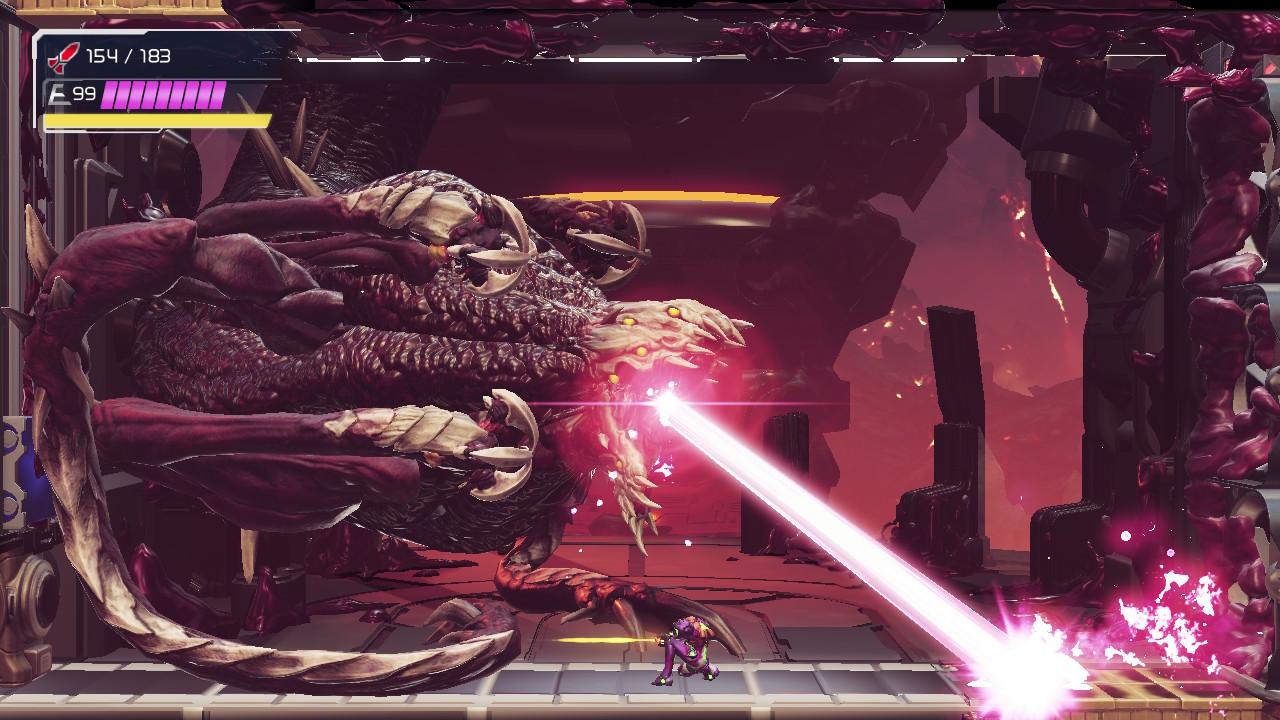
Experiment will attack with brute force a lot of the time. It’s go-to move is sweeping the room from side to side with its arms and trying to hit you. Z-57 will slash you in a scythe-like direction, once from the left and then immediately following up from the right. This is easy enough to jump over, but don’t get cocky and wait too long to jump, OR land too soon. Space Jump around if you have to; I don’t need to tell you that these attacks hurt.
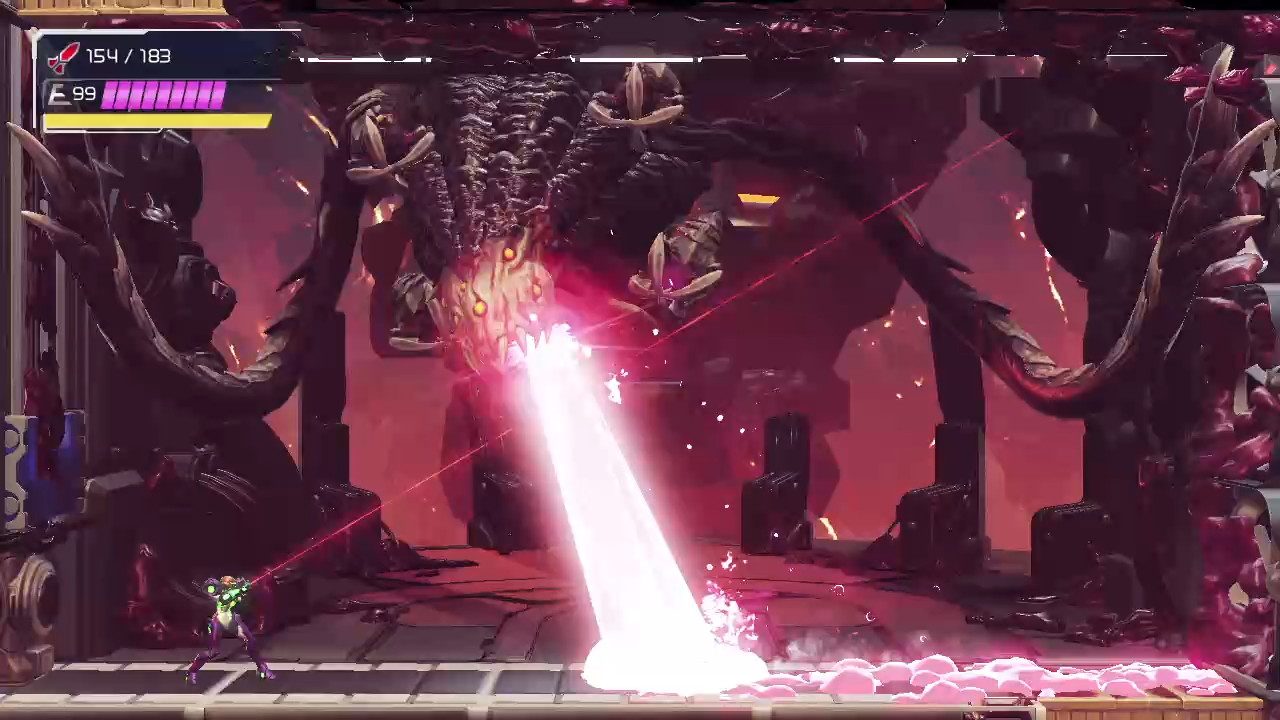
It’s other favorite attack involves shooting what looks like a laser beam out of its mouth; the “laser” leaves a residue on the ground, so it’s probably more accurate to call it stomach acid. When Experiment is spitting out its acid, though, it’s important to know how it comes out and how you can avoid being hit. When Z-57 starts spewing out the acid, he will start at one side of the room and work his way slowly to the other side. He’ll stop to get his breath once, and this is your chance to jump across without getting blasted by acid. I mentioned that the acid leaves a residue on the floor, which deals damage, but there will always be a small spot where no residue sticks, and that is where you want to land after jumping across. You can Space Jump over Z’s head too if you’d rather but be careful if you do it this way, since bonking its head will damage you.
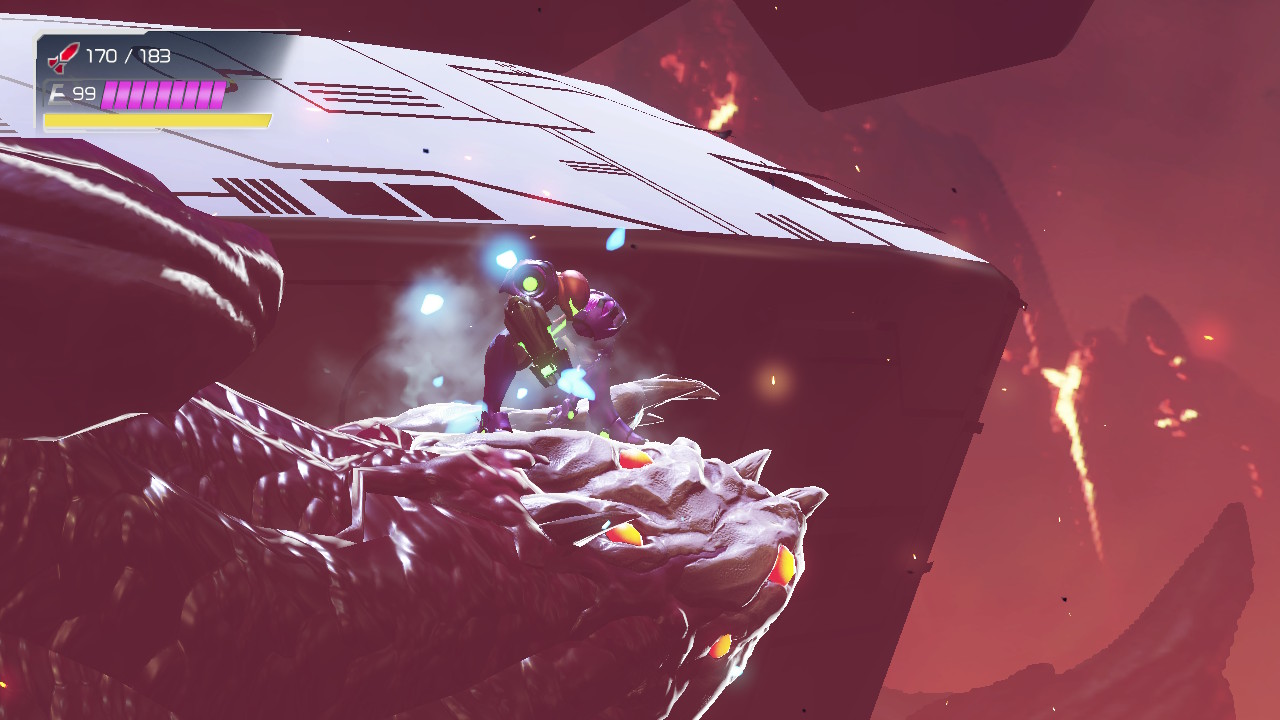
Its last attack in this phase is another acid attack, except this time, Experiment will get right in front of you and aim at the ceiling. He will shoot out a continuous beam of acid that moves in a clockwise (or counter-clockwork depending on which side of it you’re on) direction. The key to avoiding this is to actually stand pretty close to Z-57’s head. Once it hits the 5:00 position, the acid will stop, but get ready – it will snap at you with its jaws. This is where you counter! Wait for the queue and then hit that counter and you’ll be treated to an awesome cutscene where Z and Samus are brawling over the central reactor. This also gives you health and ammo, so make sure you’re taking advantage of this.
Keep blasting Experiment Z-57 with missiles (remember, Storm Missiles are what you always want to be using), and after enough damage, phase two will begin.
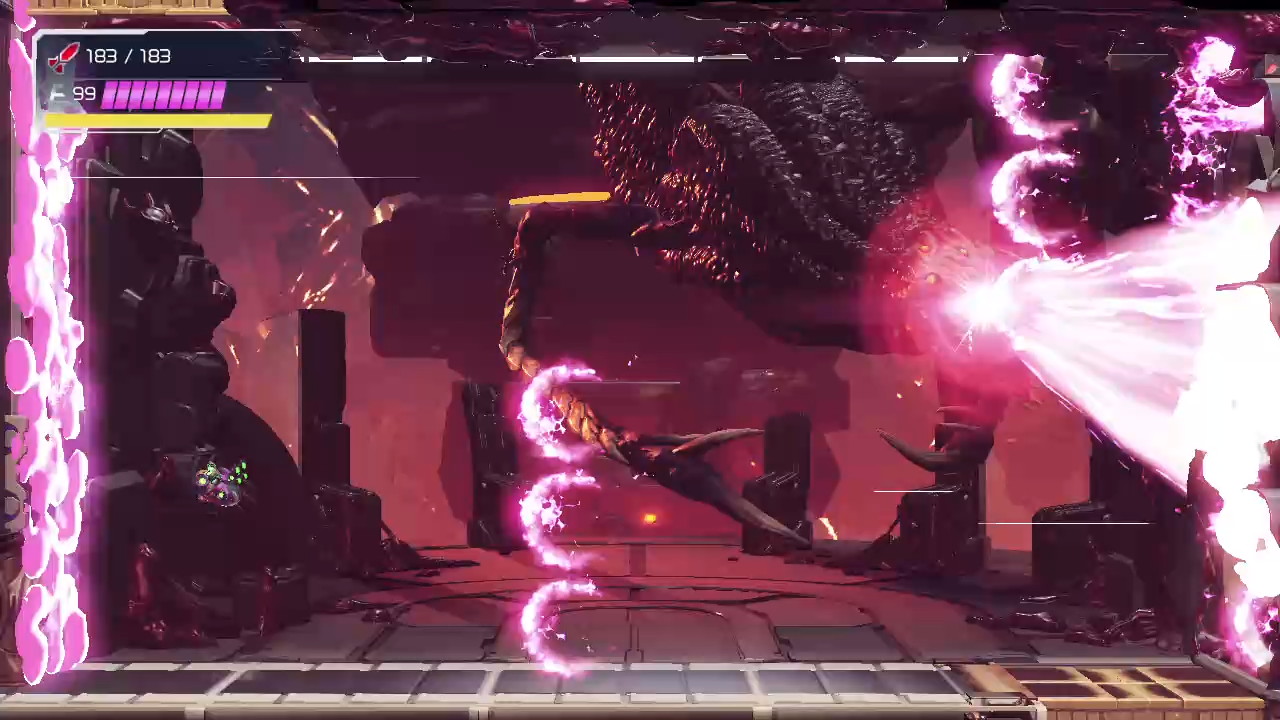
You’ll be able to tell that the battle is shifting when Z-57 puts all four of its appendages on the walls. This isn’t always the attack that kicks off phase two, but I’d say most of the time, expect this. When all it’s arms/legs/tentacles grab the wall, this is your time to blast them away with Storm Missiles. Be careful though, because if you stand still for too long, you’ll get blasted by some energy balls Z-57 conjures up. Just aim, move, aim, get that Storm Missile locked on, and fire away. Blasting its limbs will earn you some health and ammo.
Experiment’s two acid shooting attacks from phase one will move over to phase two, so you know how to counter those, but be careful of its sweeping scythe attack. There is now a third strike, and it comes from both sides at the same time, so you’ll need to jump up above it’s head to avoid getting sliced. Don’t jump too early, however, or else you’ll get clubbed.

Z-57’s big new attack for phase two involves it getting over to the right side of the room and blowing air at you. This will push you all the way to the left, and you’ll basically be running in place. Not only is Z-57 blowing air at you, it’s also spitting projectiles that you’ll need to jump over and dodge. Some of the projectiles are easy to jump over, but some of them can be quite tricky, especially if the gap is small. Be careful.
Avoiding taking damage and keep letting those Storm Missiles fly. With enough damage, Z-57 will fall. Once the creature is destroyed, and its Core-X obliterated, the gunk around the central reactor will fall off and the planet will start to thaw back out.
ADVANCED STRATEGY: If you’re really rocking, during the attack where Z-57 is blowing air at you in phase two, towards the end of the attack, after you’ve jumped over most if not all the projectiles, start Speed Boosting. Quickly charge your Shinespark as soon as you get it, and you’ll have about a 2 or 3 second window after the last projectile while Z-57 is finishing his attack where you can jump up and perform a midair Shinespark. You’ll go crashing right into Z, and that will be enough force to finish him off for good, quickly.