


Metroid Fusion Walkthrough – Sector 4: Diffusion
Walkthrough
- Biological Space Labs
- Sector 1 – Atmospheric Interference
- Sector 2 – Unknown Saboteur
- Sector 4 – Ultra-High Speed
- Sector 3 – Rogue Security
- Sector 6 – Frozen Parasites
- Sector 5 – Cold Arsenal
- Sector 3 – Meltdown
- Habitation Deck – Signs of Life
- Sector 5 – First Encounter
- Main Deck – Power Failure
- Sector 2 – Overgrown With Vegetation
- Sector 5 – The Nightmare Awakens
- Sector 4 – Diffusion
- Sector 6 – Revelations
- Sector 1 – Neo Ridley’s Cry
- Sweeping the B.S.L.
- The Final Confrontation
Red Locks
Once you’re ready, exit the Save Room and start making your way down the long vertical hallway you now find yourself in. You won’t make it very far down until you see a door directly below the Save Room. Straight across from that door hidden in the wall is a ledge you can jump over and grab; do so and roll over into another room to grab POWER BOMB EXPANSION #11.
Roll out of this room and then enter the door across from you. This room is packed with annoying enemies called Yards. These guys have a super thick shell so they’re hard to damage, and they are constantly shooting out projectiles at you in a diagonal trajectory. The most efficient way to deal with them is to hit them with two Missiles. Clear the room and work your way to the right to grab MISSILE EXPANSION #38.
Exit back into the vertical hallway and keep dropping down. When you get to the bottom, you’ll see doors to your right and left. Don’t worry about the door to the right for now; head left instead.

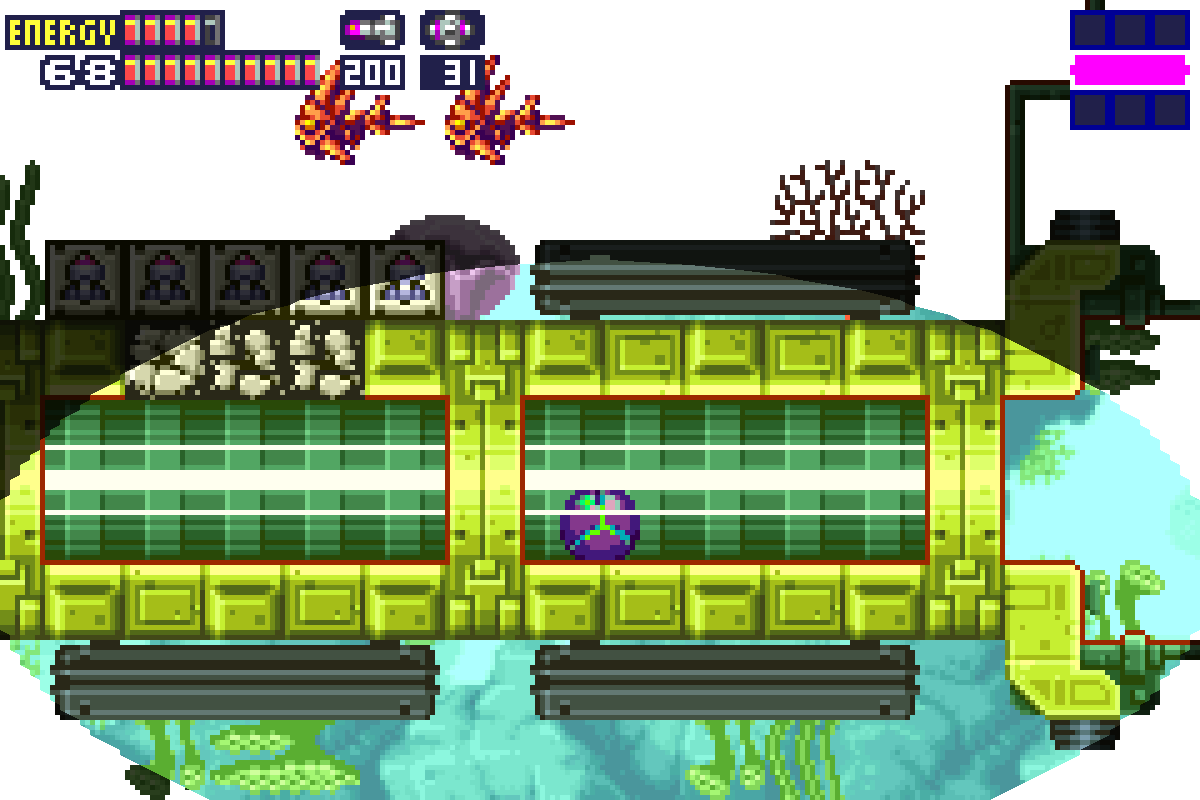
Here we’ll find that the map is leading us astray a little bit. What look like doors are actually dead ends because Level 4 locks are still activated. No worries though – we’ll make our own routes. In this room, you’ll see a glass tube in the middle. Any longtime Metroid fan will know what you do whenever you see a glass tube, but just in case this is your first Metroid game, I’m happy to introduce you to one of the longest and most proud traditions in the series: laying a Power Bomb in a glass tube! Once you lay the bomb, a portion of the ceiling of the tube will give away, and you’ll see blocks that require Missiles to be destroyed. Oblige them and jump up.
In this upper part, we’ll see a new enemy: Evir, aka Baby Draygons from Super Metroid. These guys are really tough, so if possible, just avoid them. If not, a couple charged shots should destroy them. Lay a Power Bomb and you’ll see a tunnel open up in the top right corner. Jump up and grab POWER BOMB EXPANSION # 12. Roll back out, get past the Evirs and shoot out the block in the upper left portion of the room. Roll over to the left side of the room and press forward. Once you pass the two Evirs, you’ll see two blocks on the ground; bomb them and drop down.
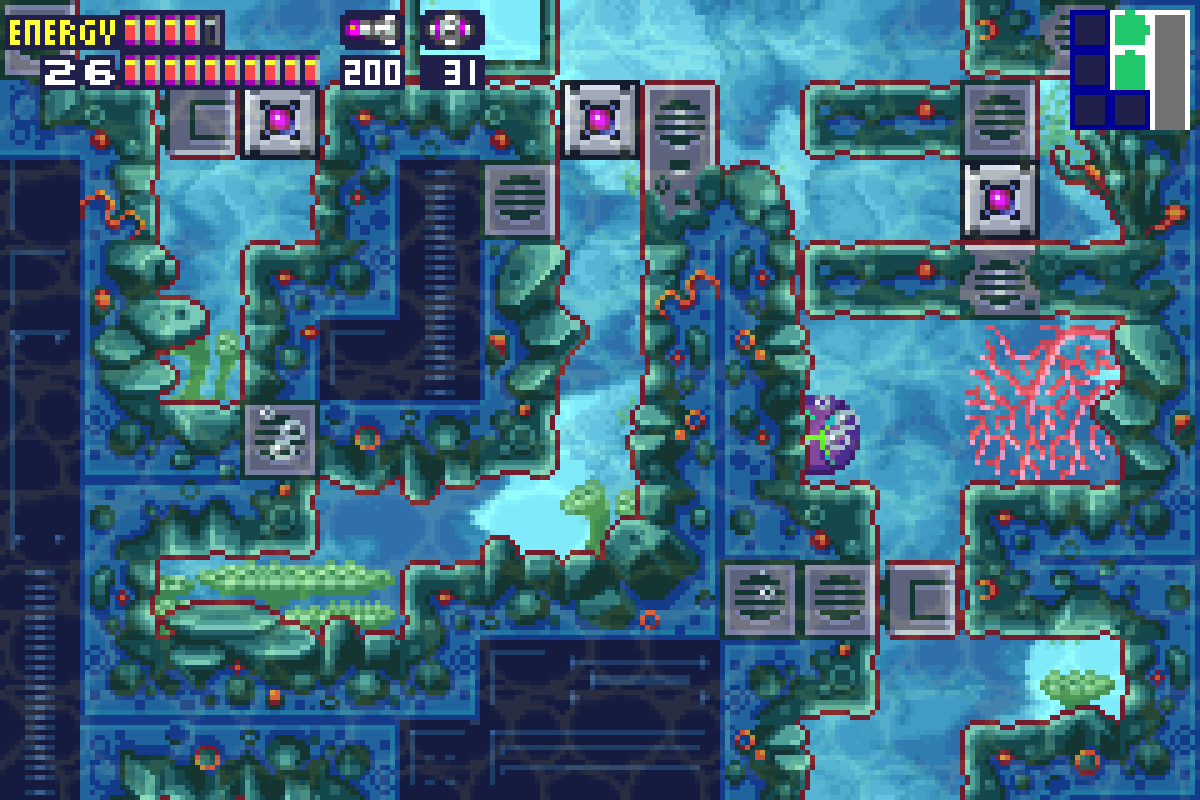
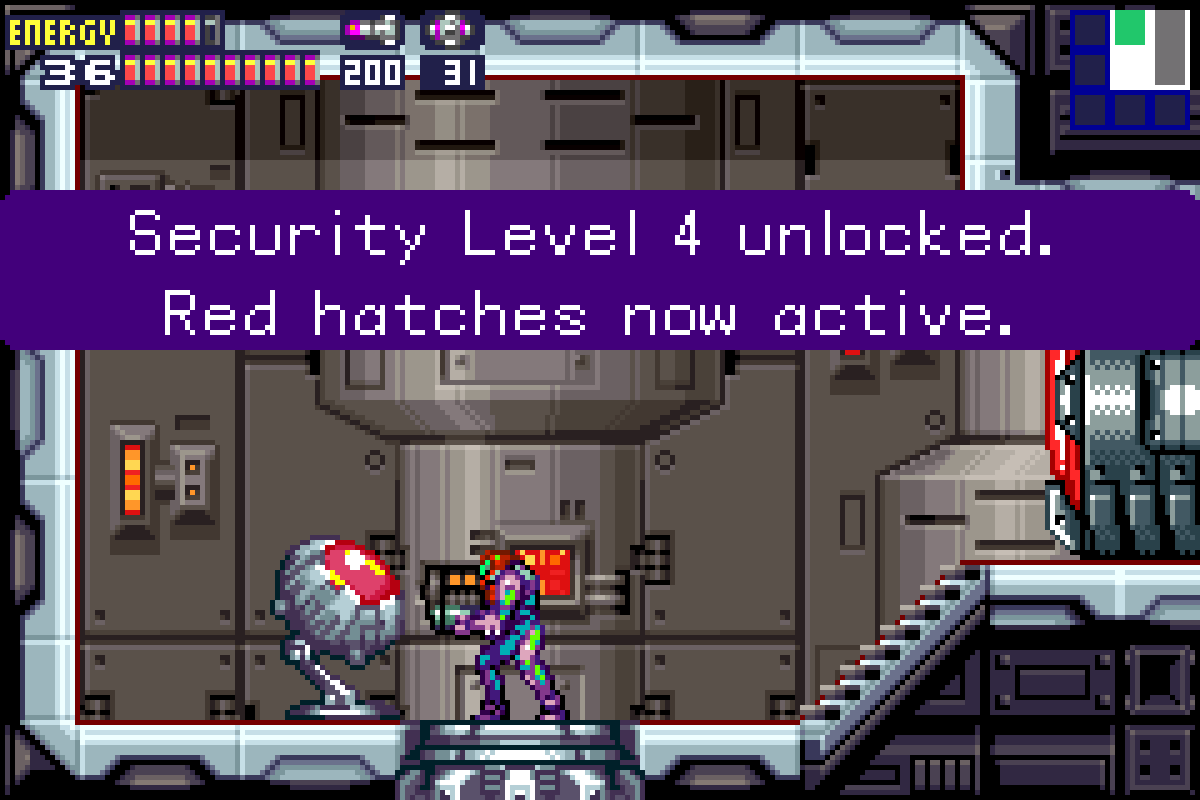
This section can be a little confusing since there’s lots of false walls, but I’ll try to make it as easy as possible. You’ll be in a room with four blocks spaced out on the ground and a pathway to your right. Ignore the pathway and instead bomb the third block from the left. Drop straight down and bomb the block directly under the one you fell from. You should see a fish to your right – shoot it and then roll over towards it. The wall here is covering the pathway, but trust me, springball jump and you’ll roll through. From here, bomb the bottom brick and drop down. You should now see a fish moving to your left. Bomb the block directly to your left, eliminate the fish, and then roll over. Finally, bomb the block in the center of this little alcove you’ve found yourself in and you’ll drop into the Lock Room. Deactivate the Red locks and exit. Whew!
Optional Easter Egg
You now have the option to try and get a bonus Easter Egg scene with Adam. This can only be done right now in the game, so if you’re going to do it, do it now. To get this scene involves a series of incredibly difficult Shinesparks. You get nothing for doing it other than satisfaction, so just know that. If you want to challenge this scene, then check out the Hidden Scene part of the guide. I’m going to assume that most of you will skip this, and even if you don’t, I’ll assume you come right back to the Lock Room for continuity’s sake for this walkthrough.
Diffusion Missiles
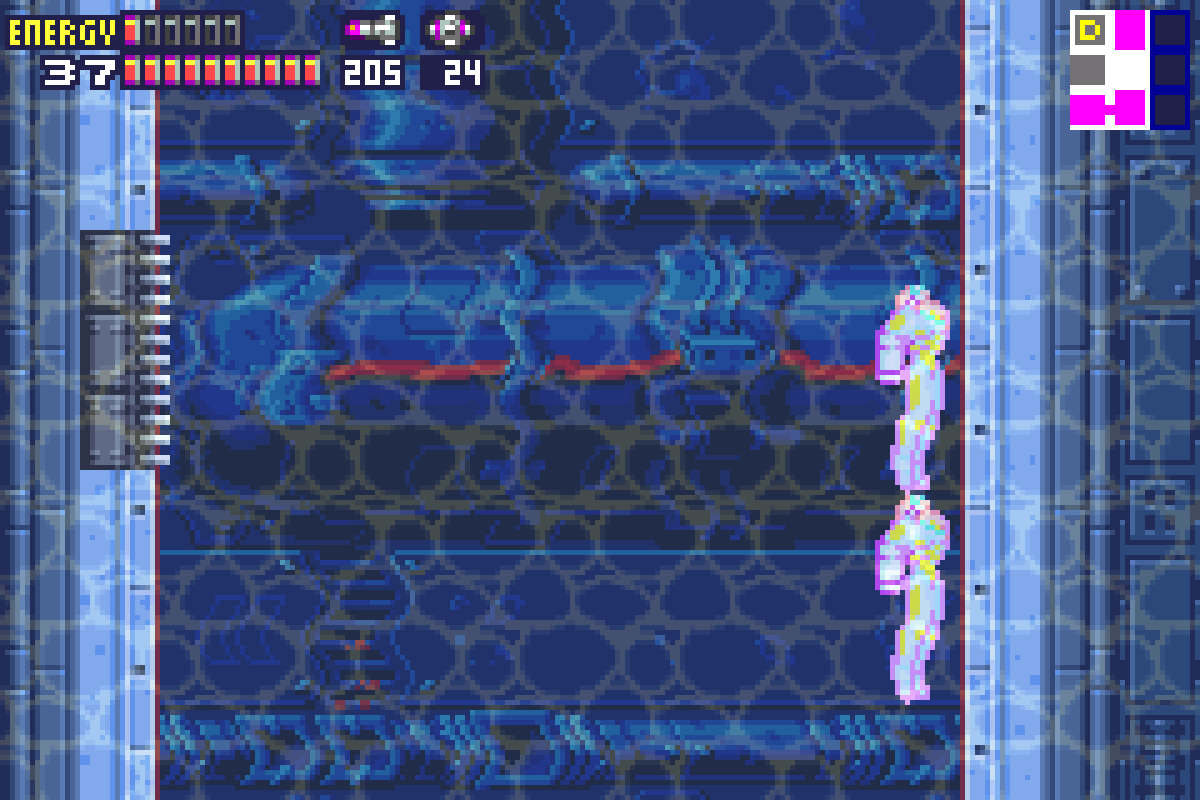
Once you’ve unlocked the Level 4 locks, exit the room and Space Jump up. You’ll see a little ledge opposite a bunch of Scisers; get into Morph Ball form, jump and roll through the center of this alcove into a hidden room. You’ll find yourself in a room with a weird larva thing on the right side, a whole lot of Scisers on your left, and a locked door on the bottom. Get yourself in front of the door and lay a Power Bomb. Do not absorb any of the X that spawn from all the Scisers! Instead, let the X fly over to that larva thing and infect it. Two golden Scisers will spawn. Once you’ve destroyed both with Missiles, the door on the bottom will unlock. Go through, lay a Power Bomb, and follow the upper tunnel to get ENERGY TANK #16. Exit the room and return to the vertical hallway outside the Lock Room.
Make your way up the hallway to the top and follow the path right. Press forward past the first glass tube, into the first vertical hallway, and through the door to your right. It won’t be long until you see ANOTHER glass tube! You know what to do! Lay a Power Bomb and the ground will give away. You’ll fall into a pit with MISSILE EXPANSION #39 sitting right there for the taking! Careful, because this pit is crawling with bad guys. Take care of them and get yourself out and continue pressing right.
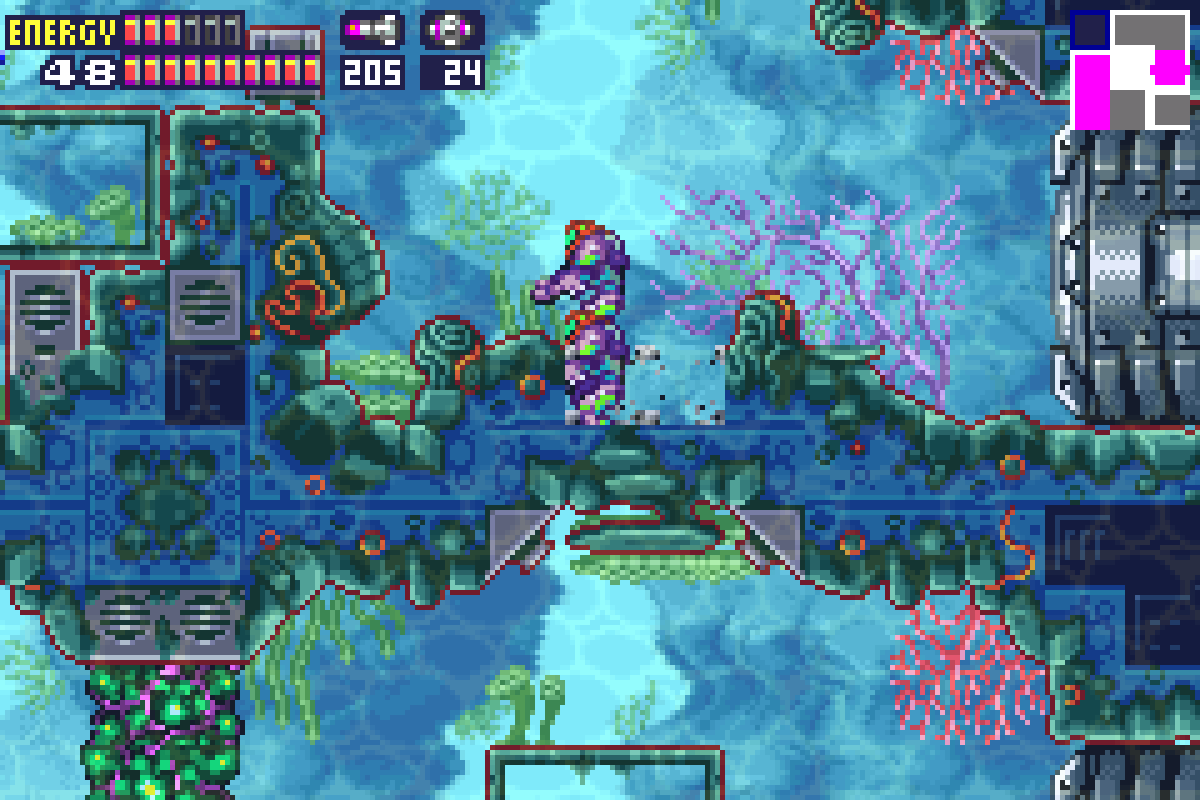
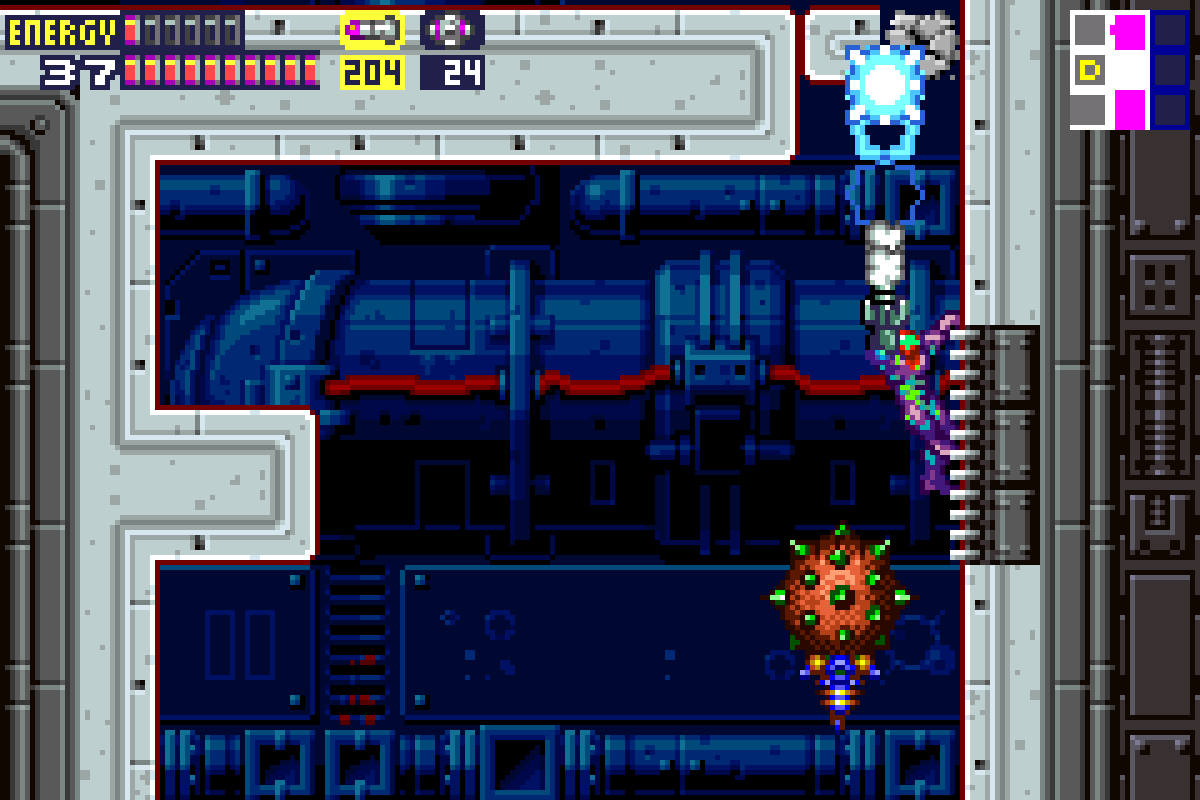
Keep following the path up and over until you get to a large rectangular room with Yards and these weird blowfish looking things that blow up as soon as we get too close, inconveniently blocking our way. Go to the right (may as well hit up the Save Station) and then make your way up to the upper left corner of the room. You’ll have a clear shot at the blowfish things, so hit it with an Ice Missile to freeze it, allowing you to pass by before it blows up. Go through the door on the upper right into the next room.
Keep going through and head into the next room. Get rid of the two Yards in your path; there’s one of those gross worm walls blocking our path, so turn around and start running. Keep running back towards the coral reef room and your Speed Booster will kick in, destroying two blocks in the ground and allowing you to drop down and enter the door on your right.
Keep running and let your Speed Booster activate and take out all the Yards in the way. Shoot the door open at the end of the hall and go through; you’ll be in a long vertical hallway. Crouch and Shinespark to the top, sticking as much to the right side as you can. At the very top of this room, there are some monkey bars on the right side. Grab a hold and shoot some Missiles straight up. Jump up and roll through, taking the door to your left.
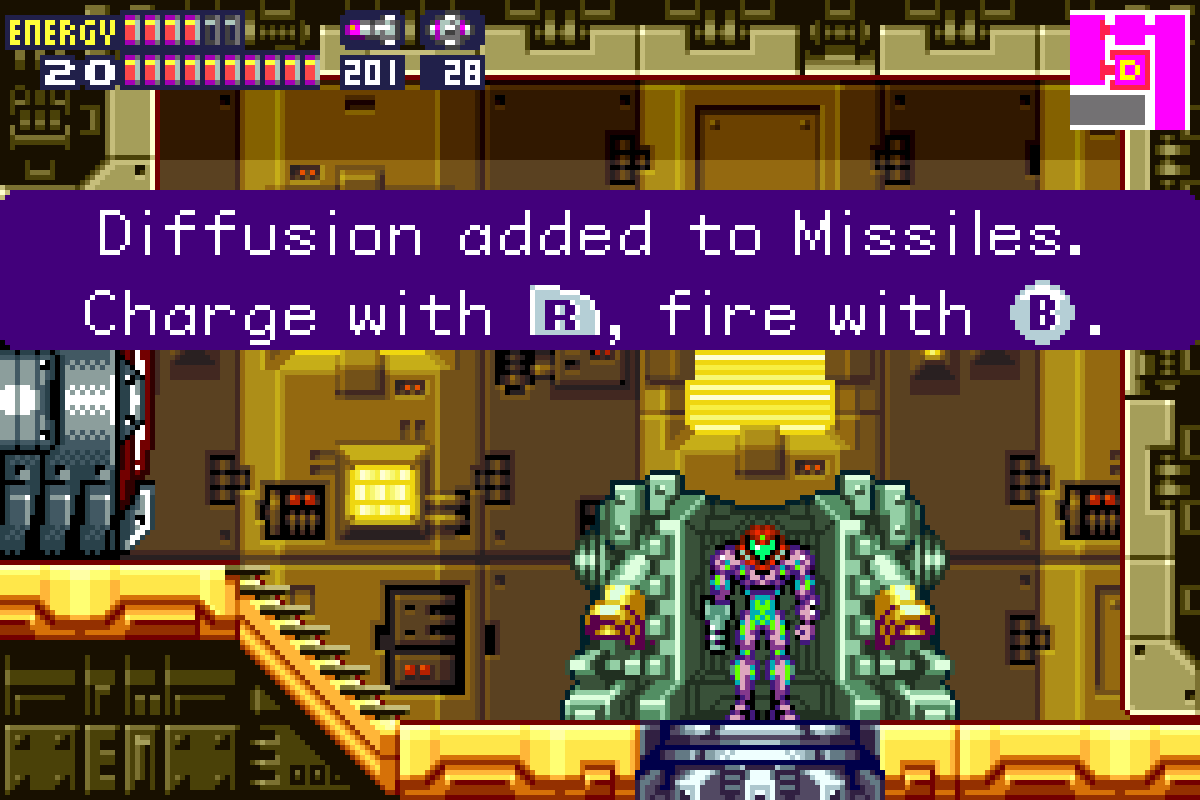
You’ll have a straight shot to the Data Room now, so head over and upgrade to get the DIFFUSION MISSILES. These are pretty cool, so let’s test them out right away!
Leaving Sector 4
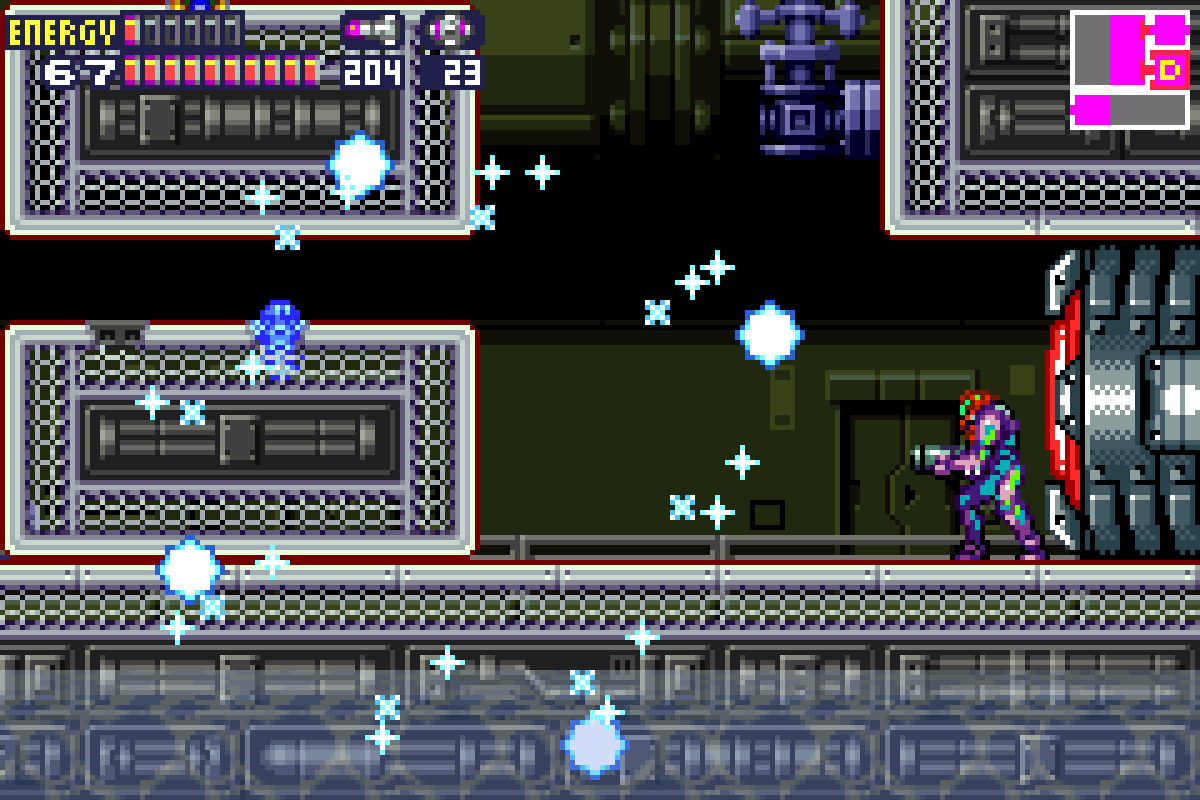
Exit the Data Room and charge up your Diffusion Missiles. Fire them at the blowfish things blocking your passage to the left side of the room. Your Missile should explode and send bursts of ice everywhere, allowing you to roll over! Run through the mesh at the bottom left of this room into a hidden room with broken electrical wires. Destroy the eyeball blocking your path with some Missiles and then bomb the wall under the second broken electrical wire to reveal MISSILE EXPANSION #40.
Exit back into the room outside the Data Room and take the door on the upper left. You’ll be in the “main” room of Sector 4, the first room outside the Navigation Room, but before we check in with Adam, head over two rooms to your left.
You should remember this room from earlier. Once you get inside, bomb the wall of the walkway and roll inside the tunnel. Drop down in between the two electrical wires and lay a Power Bomb. You’ll see a tunnel to your left. Roll over and grab POWER BOMB EXPANSION #13.
This is all we’re going to get from Sector 4 right now, so make your way back towards the Navigation Room.
Next Chapter: Sector 6 – Revelations