Metroid Prime 2: Echoes Walkthrough – Missable Scans
Missable Scans
Here you’ll find a list of every missable scan in Metroid Prime 2: Echoes. We’ve broken the missable scans down into different categories which you can easily navigate to below, as well as added analysis on when the scans become unavailable.
Creatures
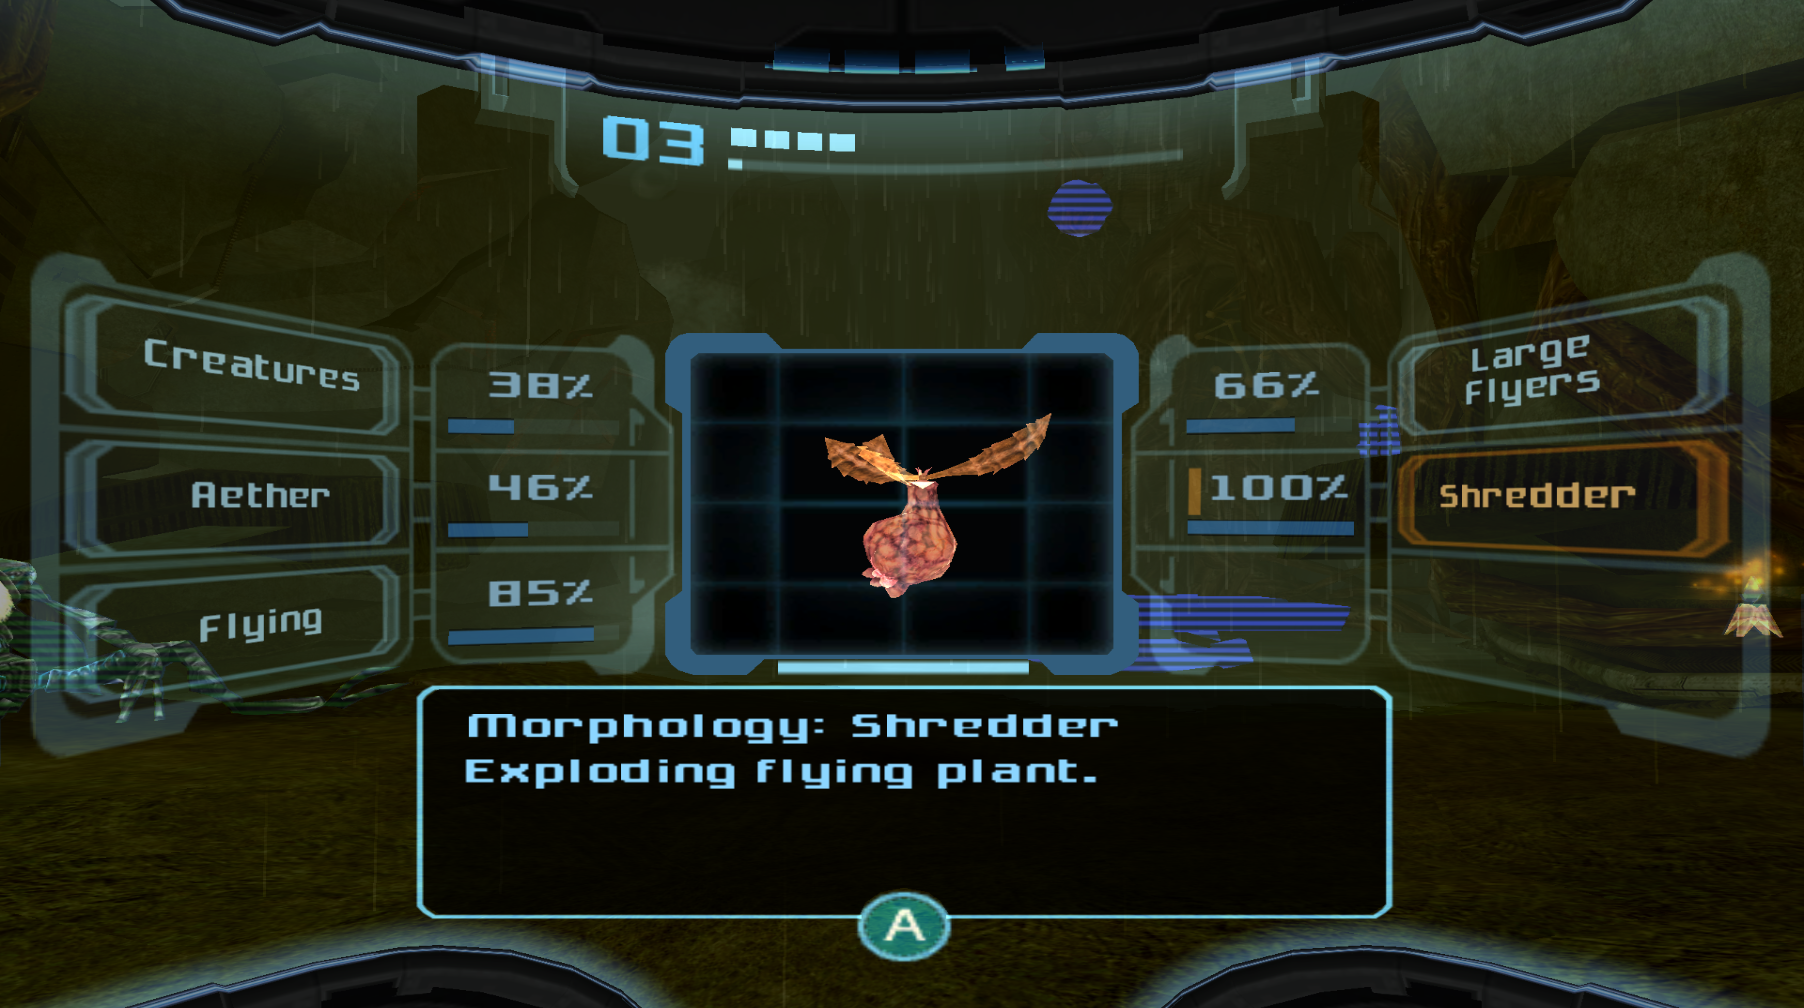
Shredder
Location: Torvus Lagoon; Ruined Alcove, Torvus Bog
Omega Analysis: These enemies disappear once you defeat the Boost Guardian, so scan them before then!
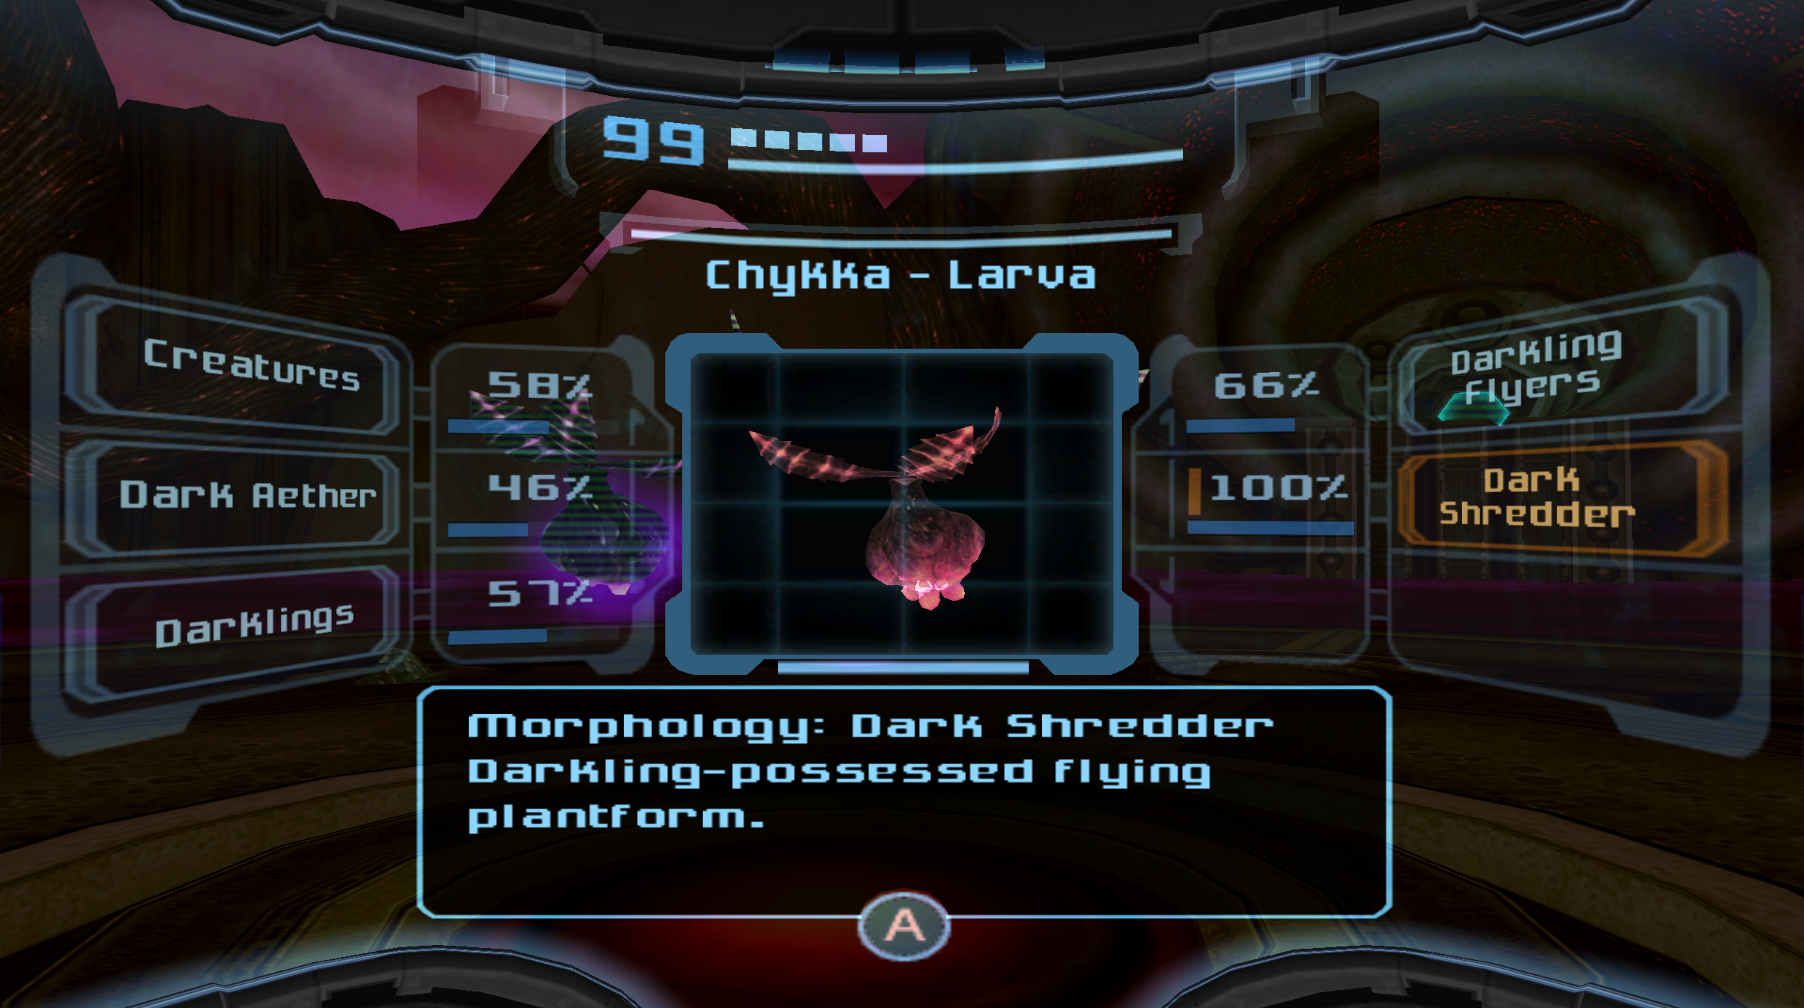
Dark Shredder
Location: Dark Torvus Temple, Dark Torvus Bog
Omega Analysis: These enemies only appear during the first phase of the Chykka battle (the Larva phase). Scan them before they disappear!
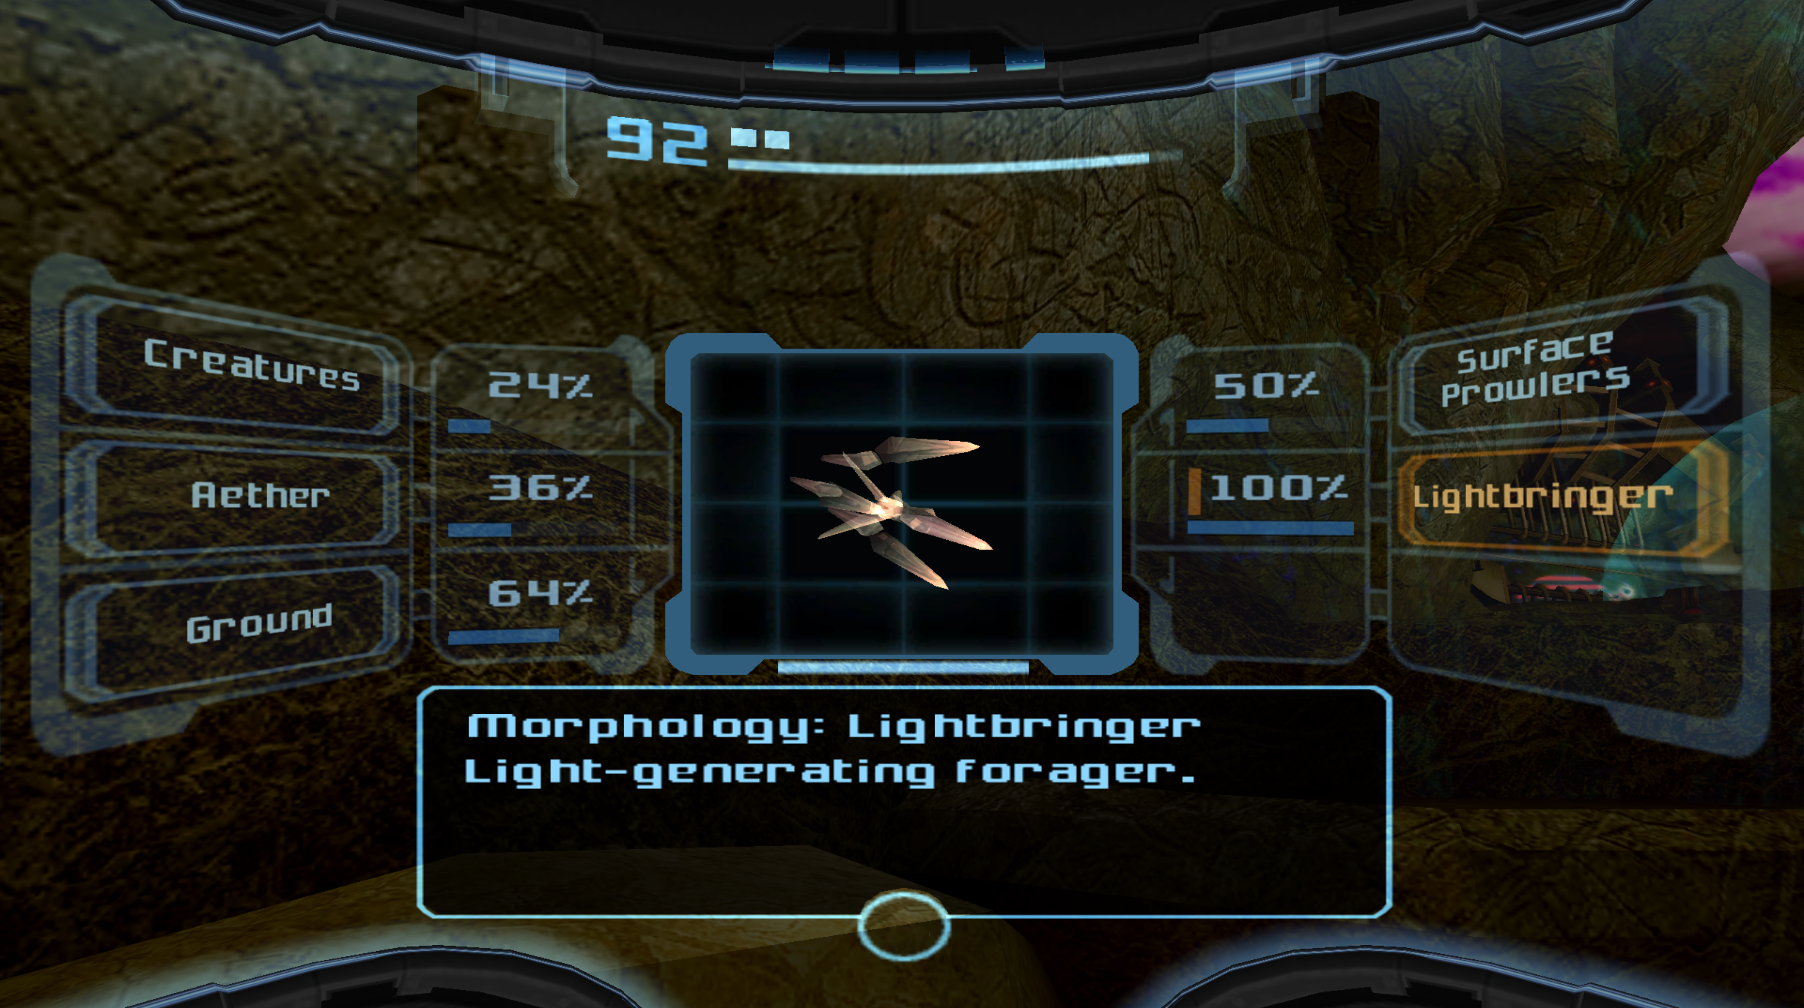
Lightbringer
Location: Dark Agon Wastes
Omega Analysis: Scan this the first time you see it! As far as I know, this is your opportunity to grab this strange creature.
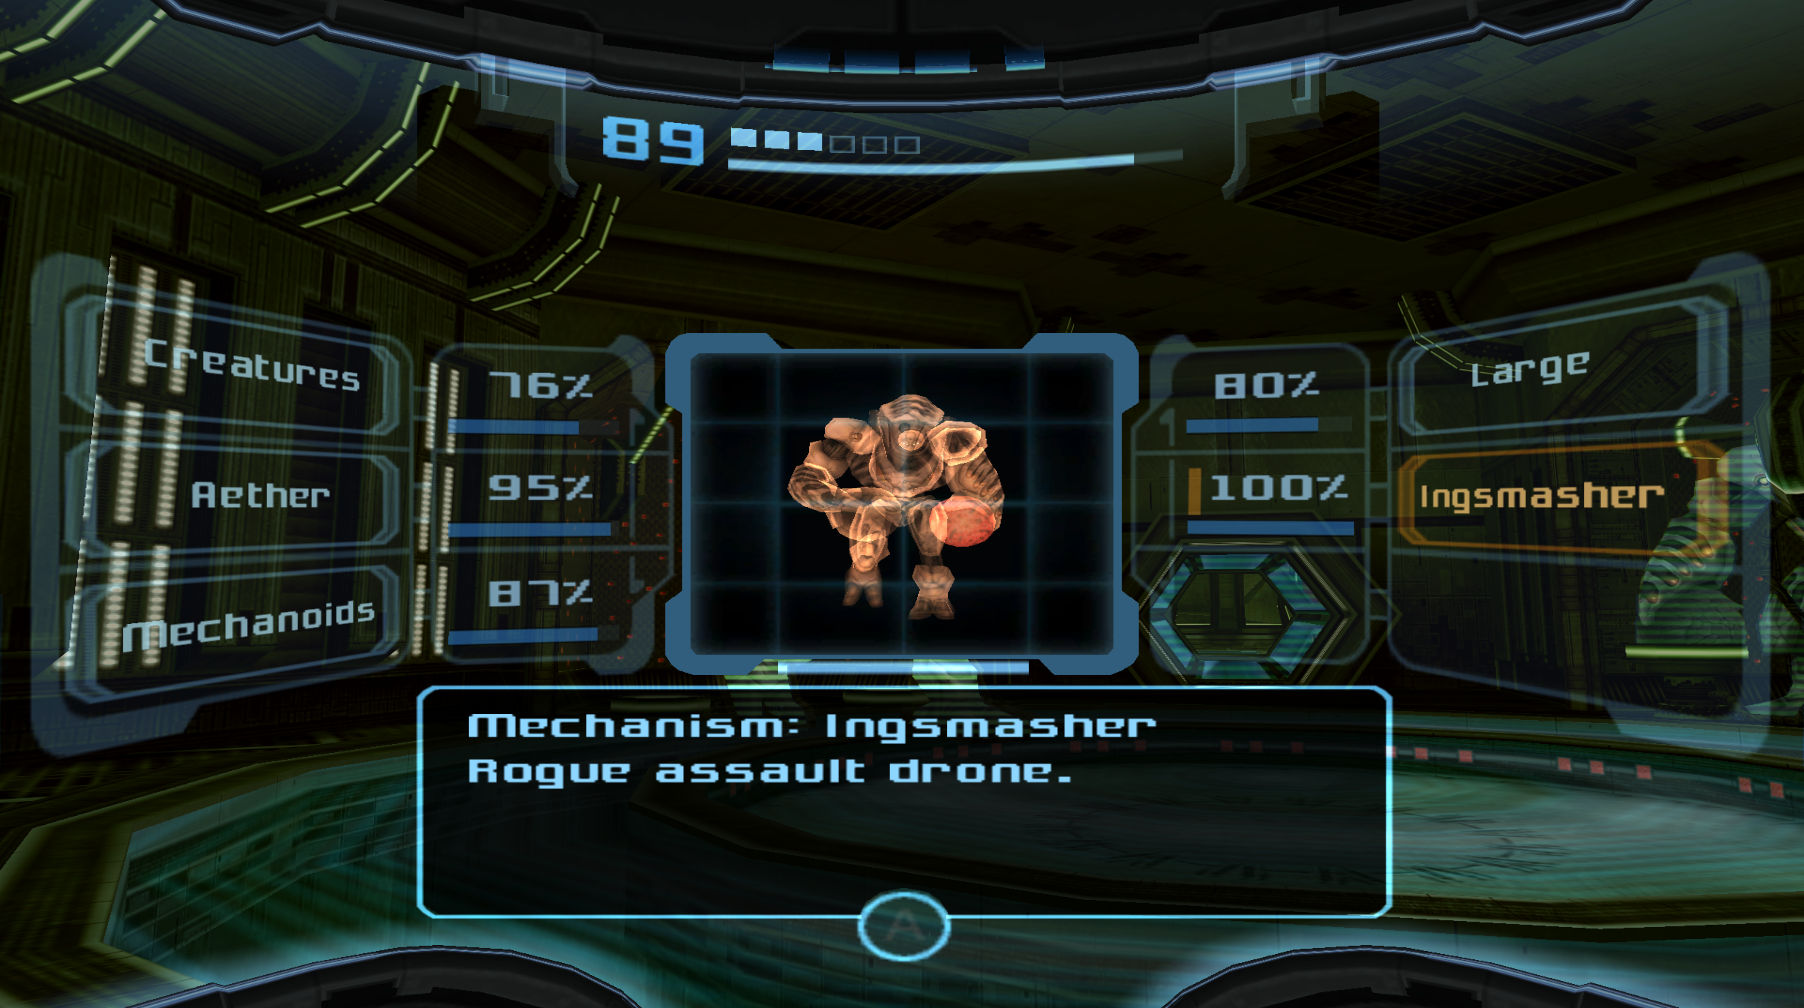
Ingsmasher
Location: Sanctuary Fortress
Omega Analysis: There are only a finite number of these enemies, so make sure to scan one before you eliminate them all.
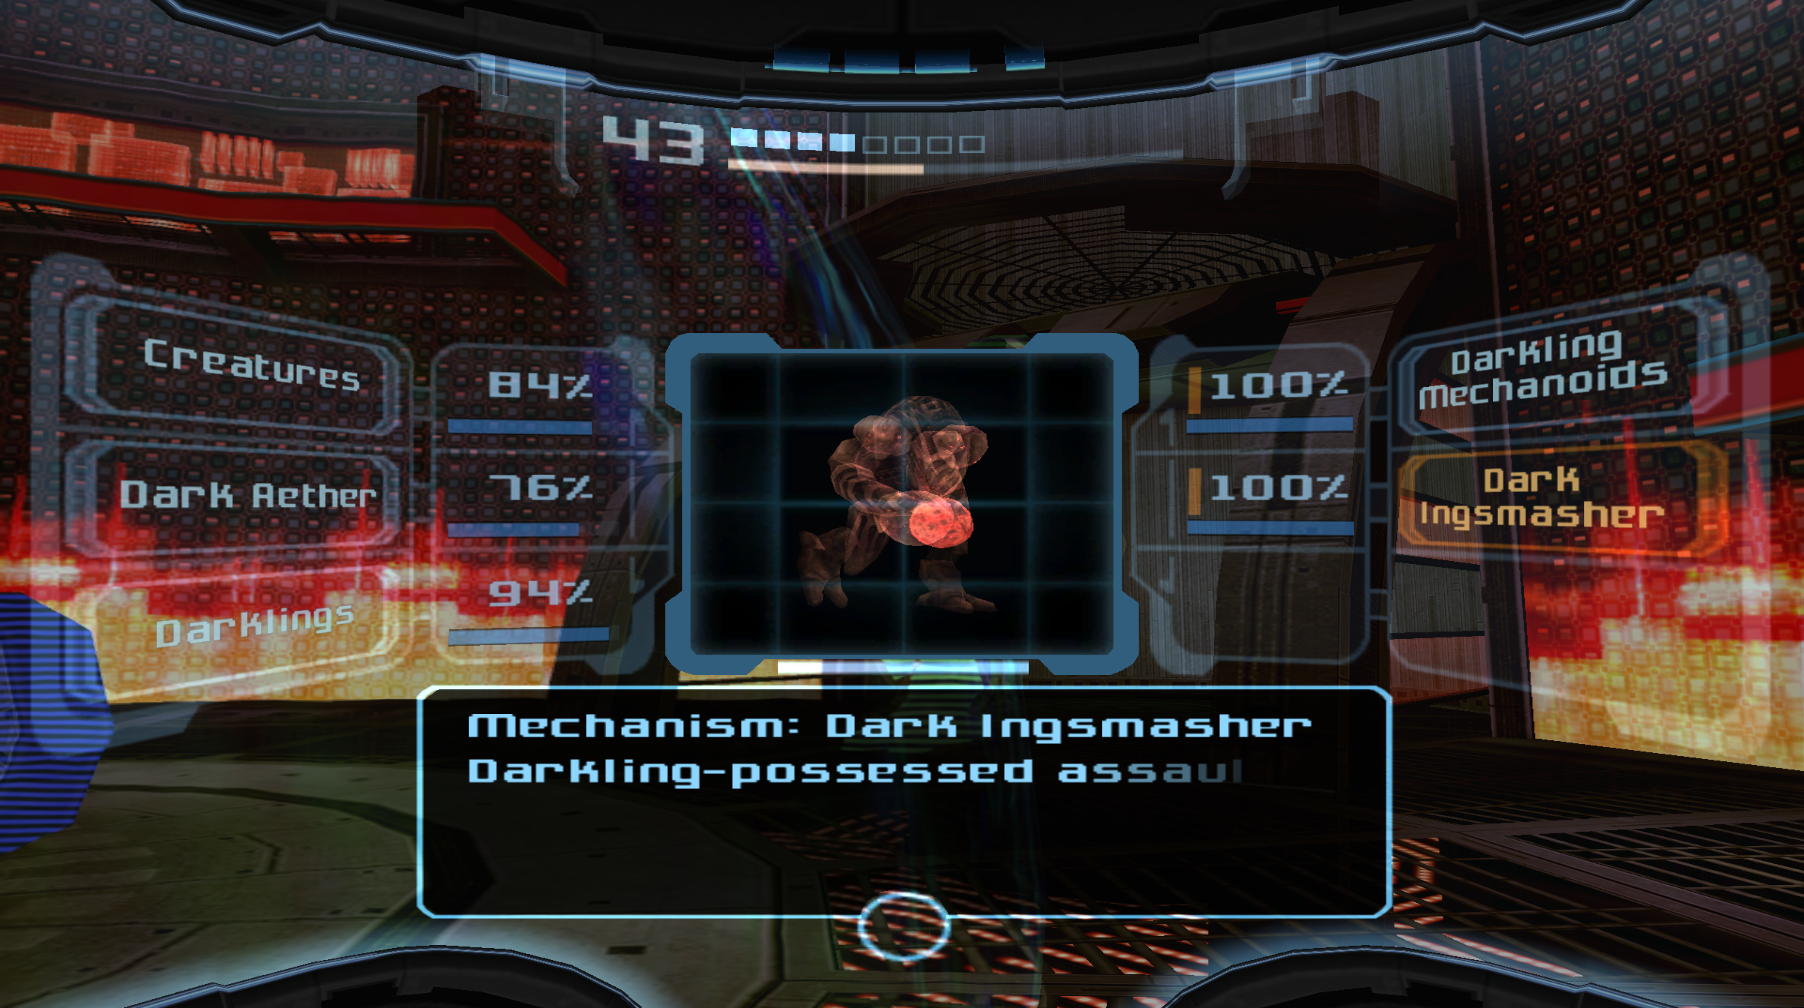
Dark Ingsmasher
Location: Hive Reactor, Ing Hive
Omega Analysis: There are only two of these enemies in the entire game. They don’t disappear, but once you’ve destroyed them, you’ll lose your chance to get this scan.
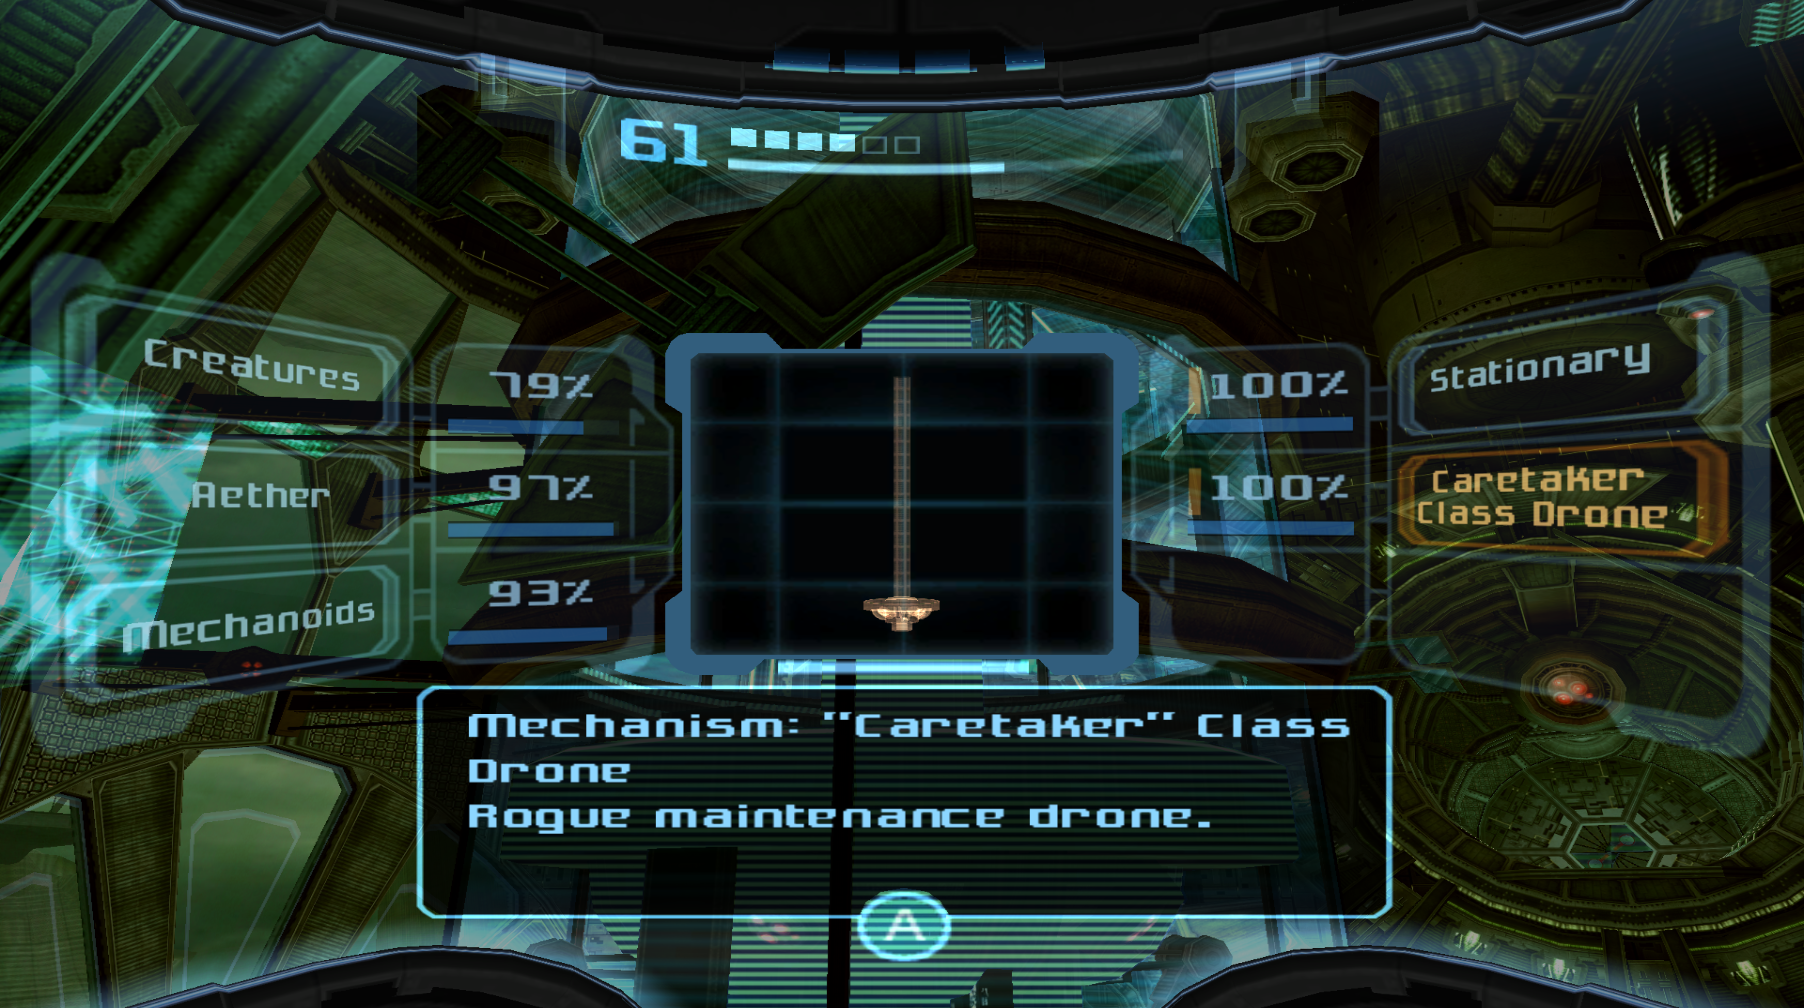
“Caretaker” Class Drone
Location: Main Research, Sanctuary Fortress
Omega Analysis: This is an easy one to miss. This is a mini-boss, so once you destroy it, your opportunity to get the scan disappears. Scan it before engaging with it in battle!
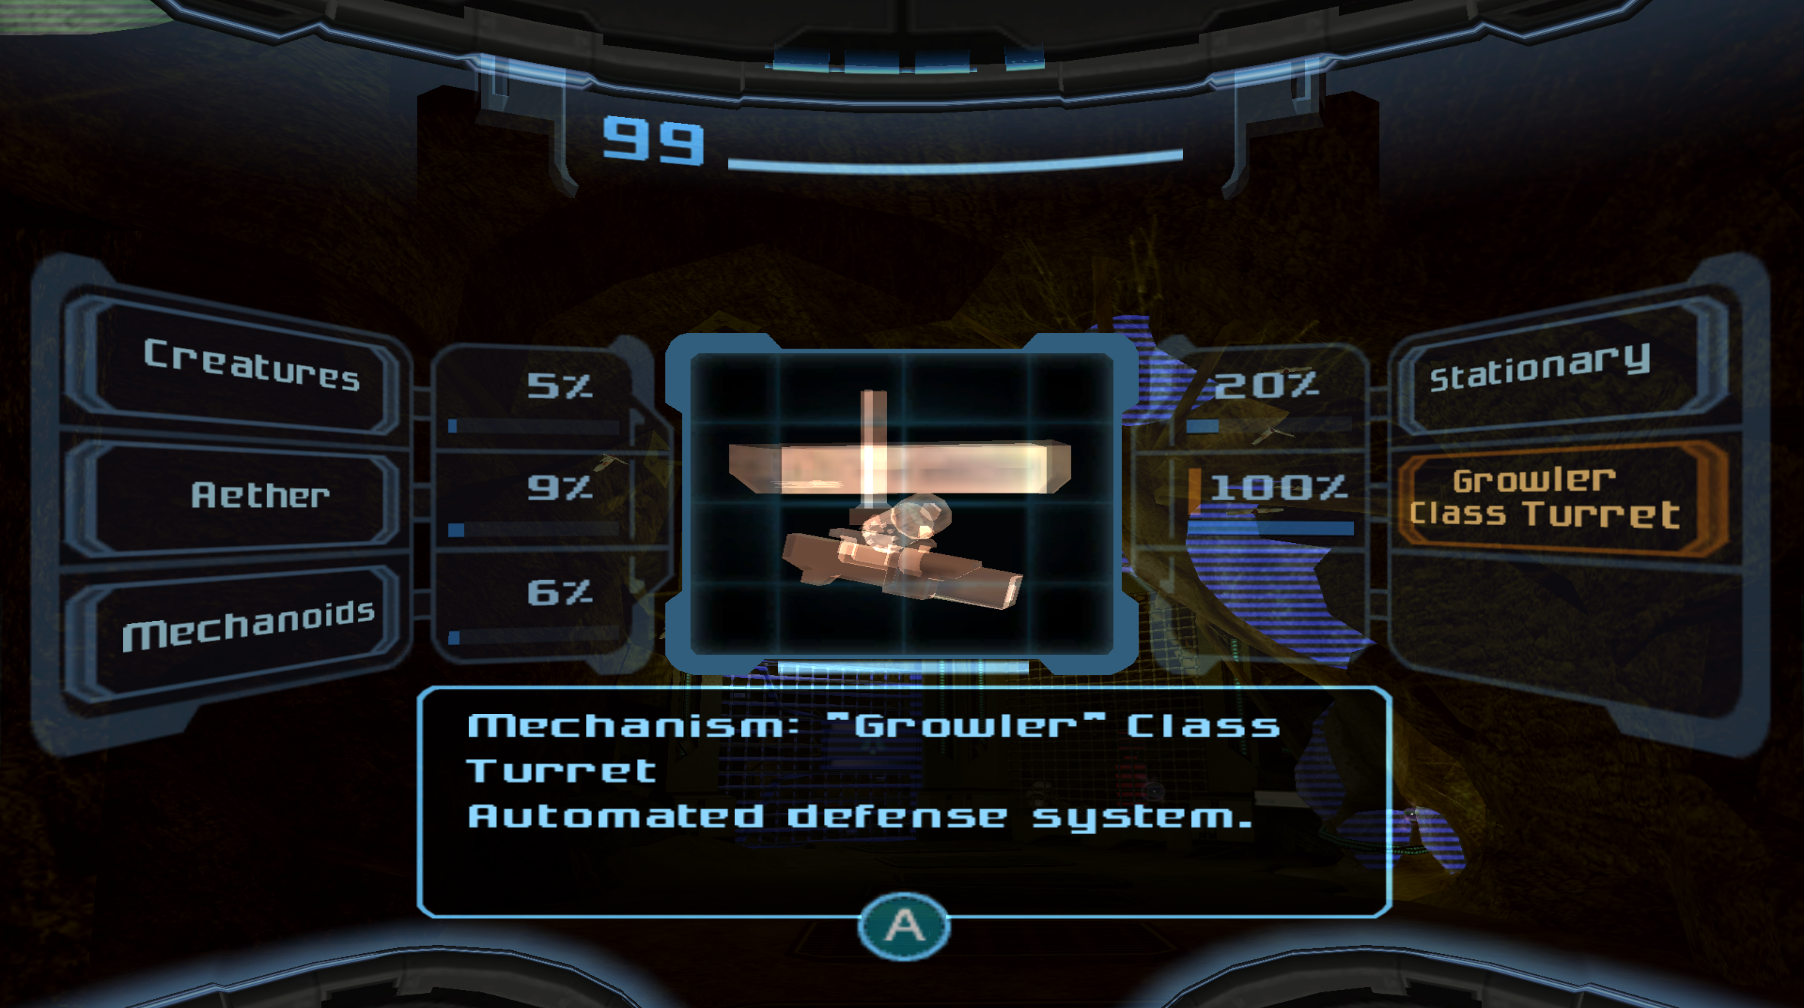
“Growler” Class Turret
Location: Temple Grounds
Omega Analysis: There are a finite number of these older turrets, so scan it before you destroy them all.
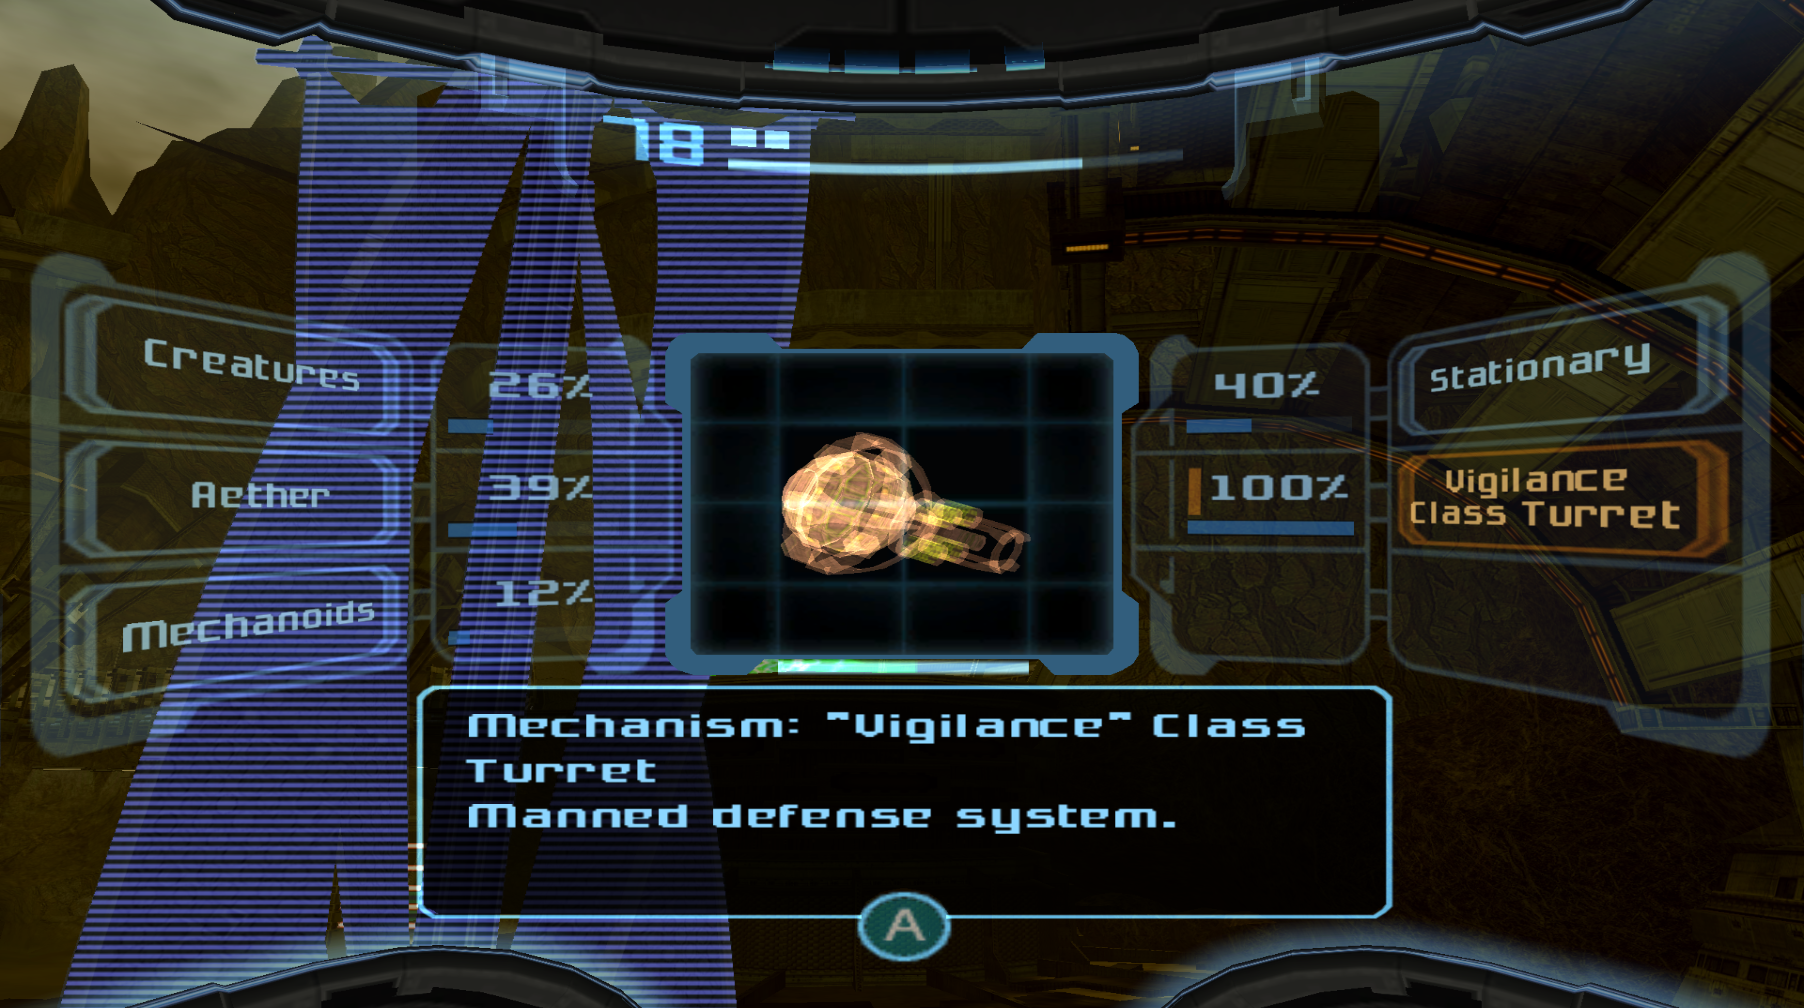
“Vigilance” Class Turret
Location: Central Mining Station, Agon Wastes
Omega Analysis: You’ll need to scan this turret while a Space Pirate is actively shooting at you, which kind of stinks. Make sure to get this scan the first time that you see a Pirate behind it.
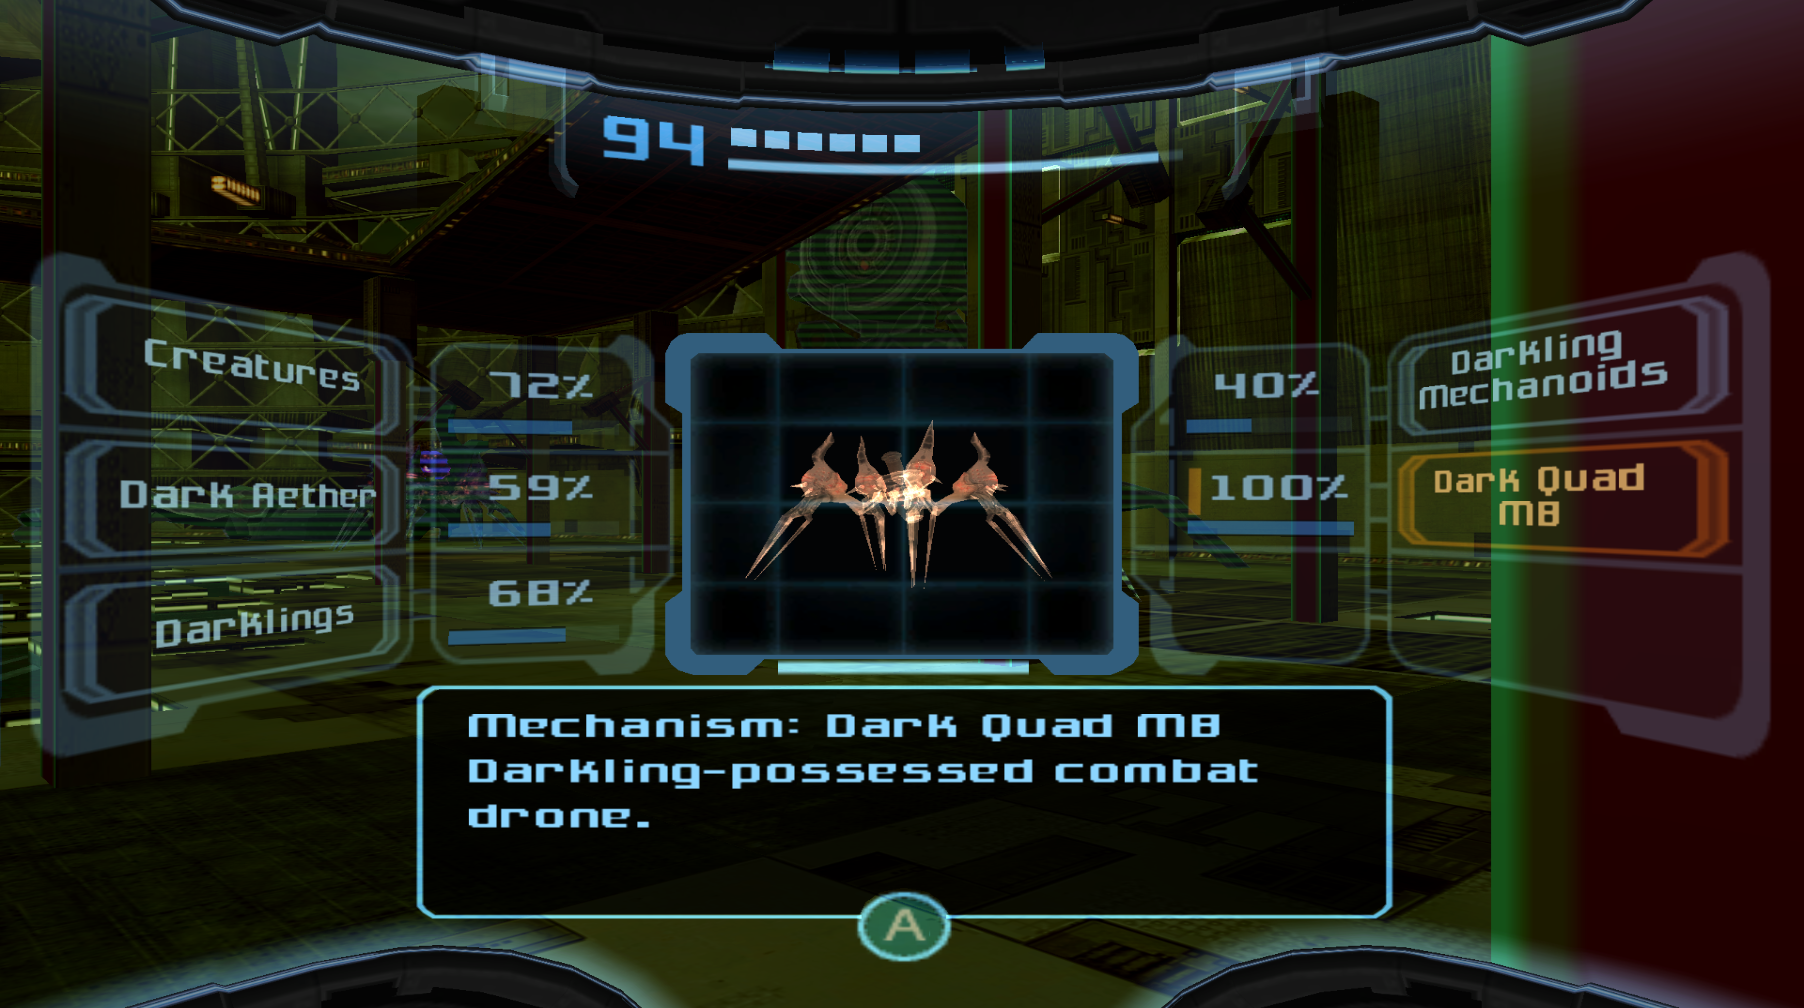
Dark Quad CM / Dark Quad MB
Location: Sanctuary Temple, Sanctuary Fortress; Hive Temple, Ing Hive
Omega Analysis: These enemies will appear in the Sanctuary Temple for a short time before being replaced by other enemies, before making a final appearance during the Quadraxis fight. Make sure to scan both body and head.

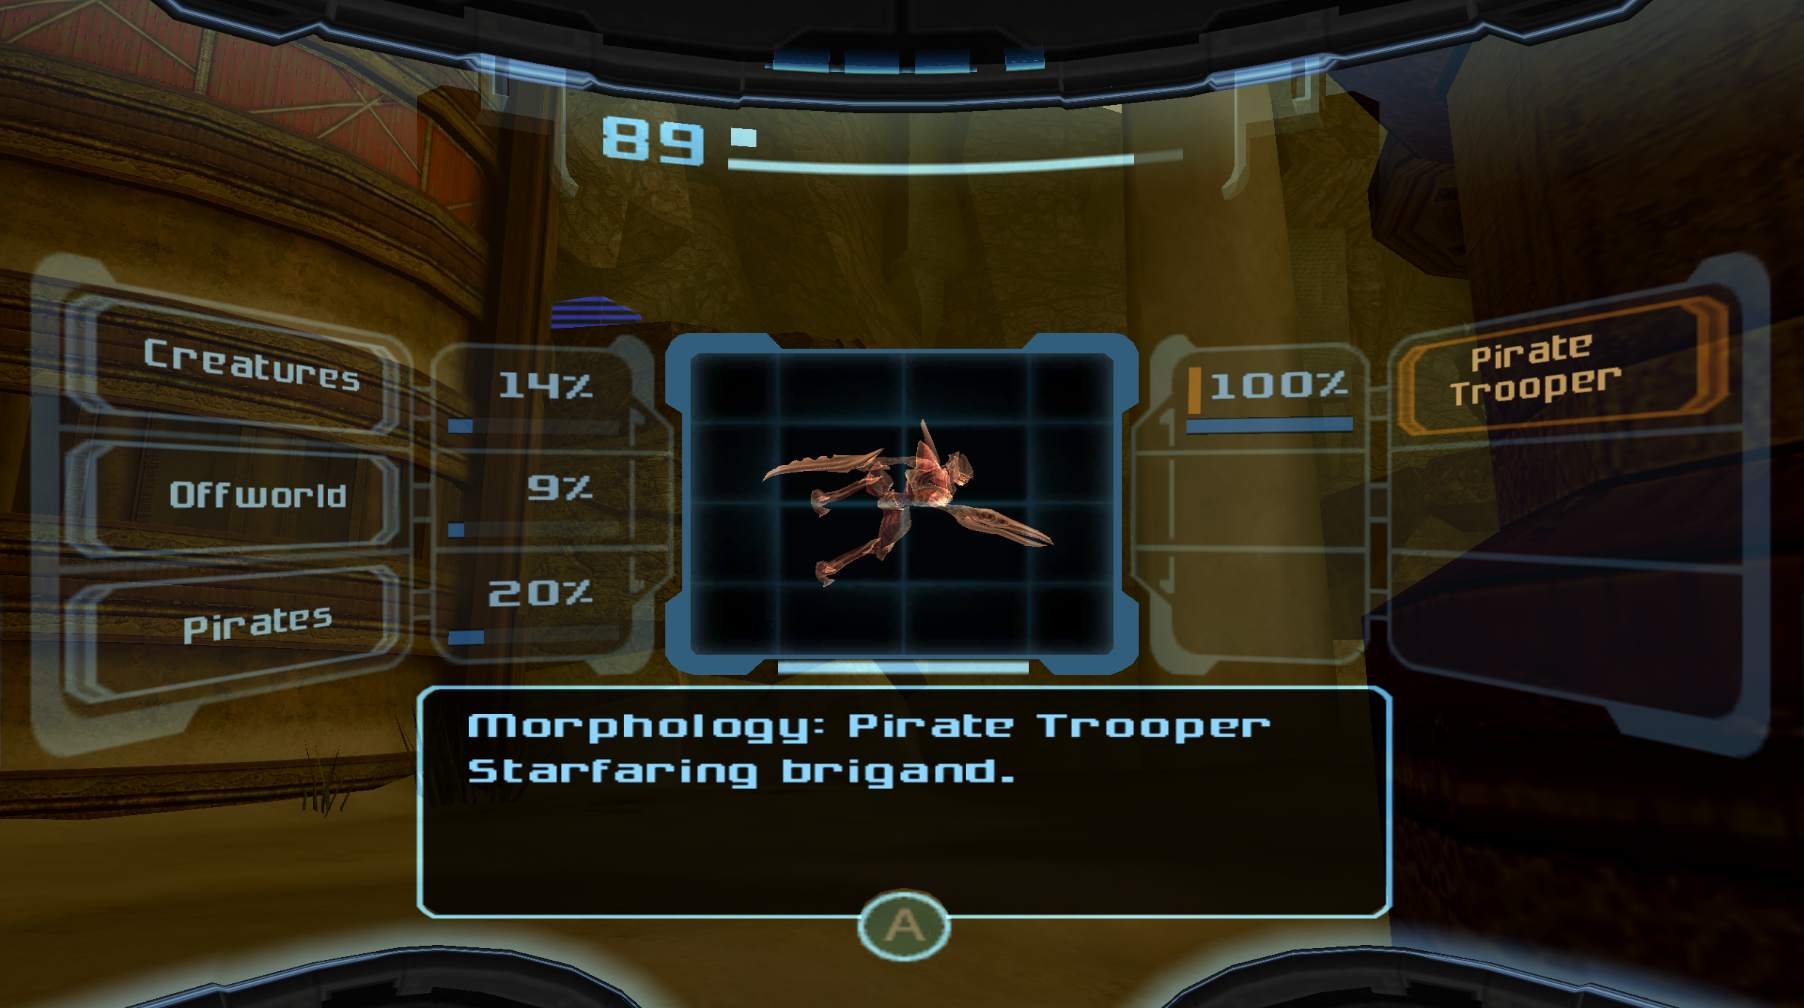
Pirate Trooper
Location: Agon Wastes, Torvus Bog
Omega Analysis: These regular Pirates seem to disappear after you grab the Super Missiles, so get this scan before then.
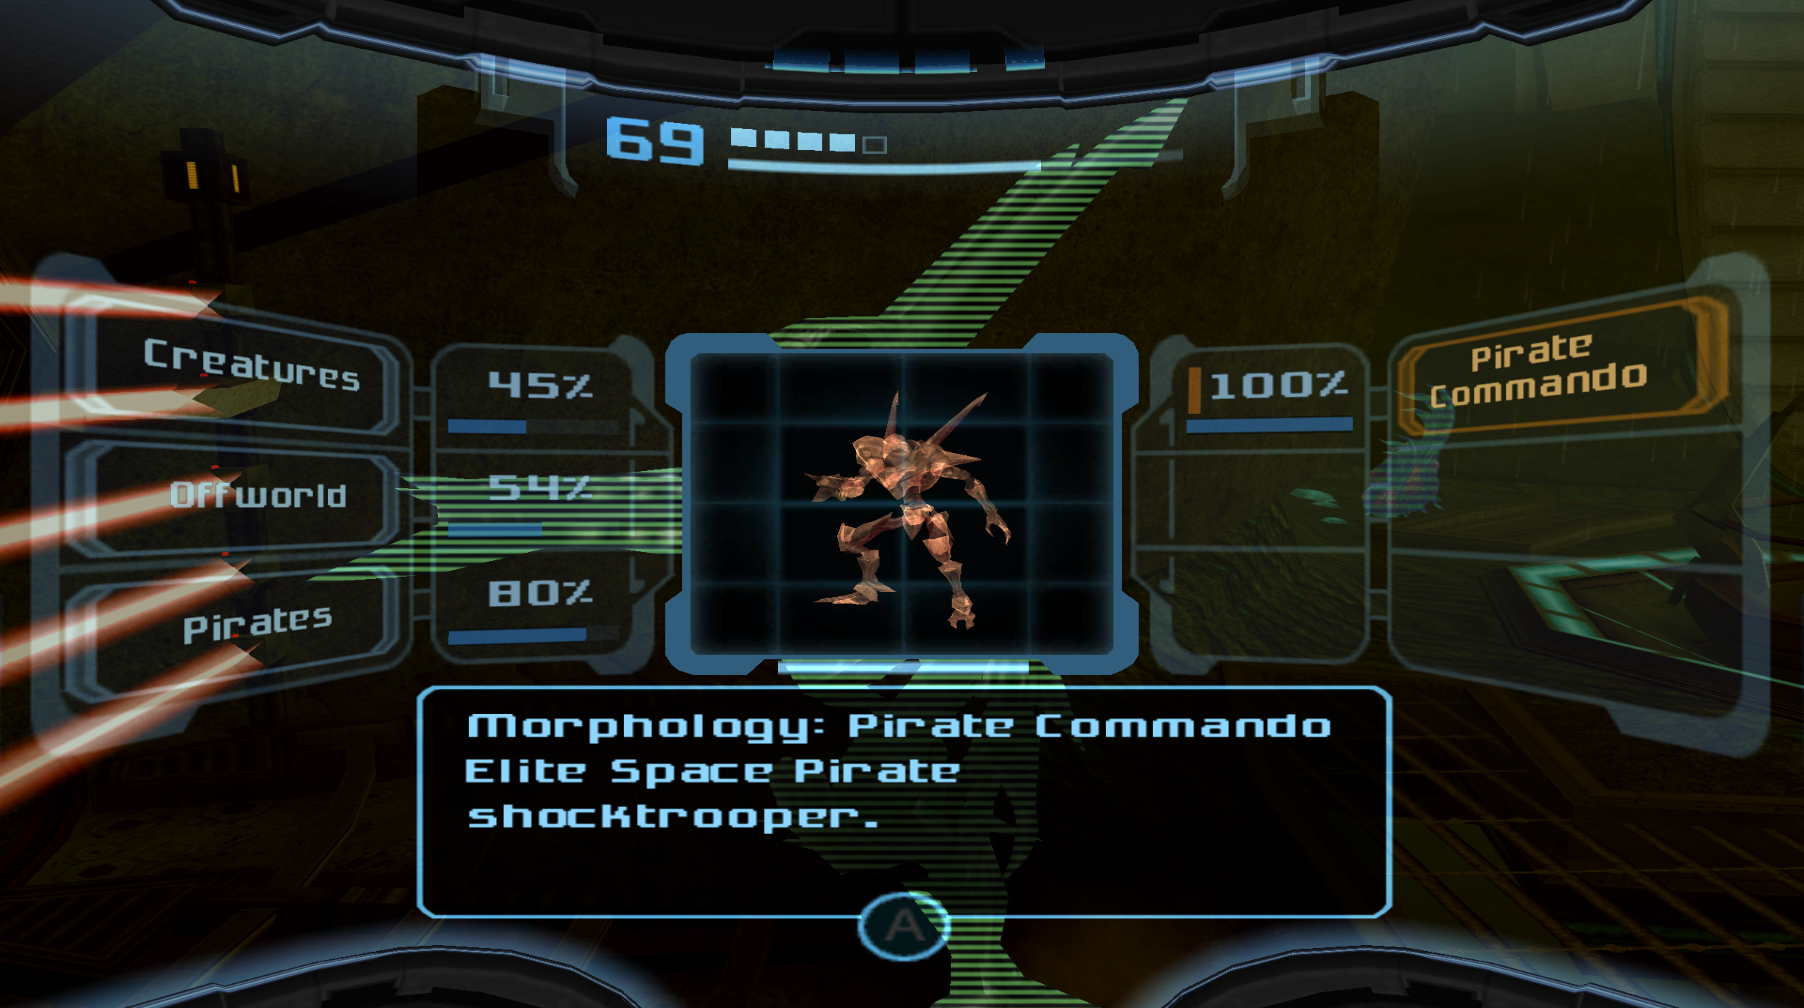
Pirate Commando
Location: Torvus Bog, Sanctuary Fortress
Omega Analysis: These enemies will eventually be replaced by their Dark counterparts, so scan them before then. Your last chance to grab this scan is your encounter with the Pirates in Sanctuary Entrance in Sanctuary Fortress.
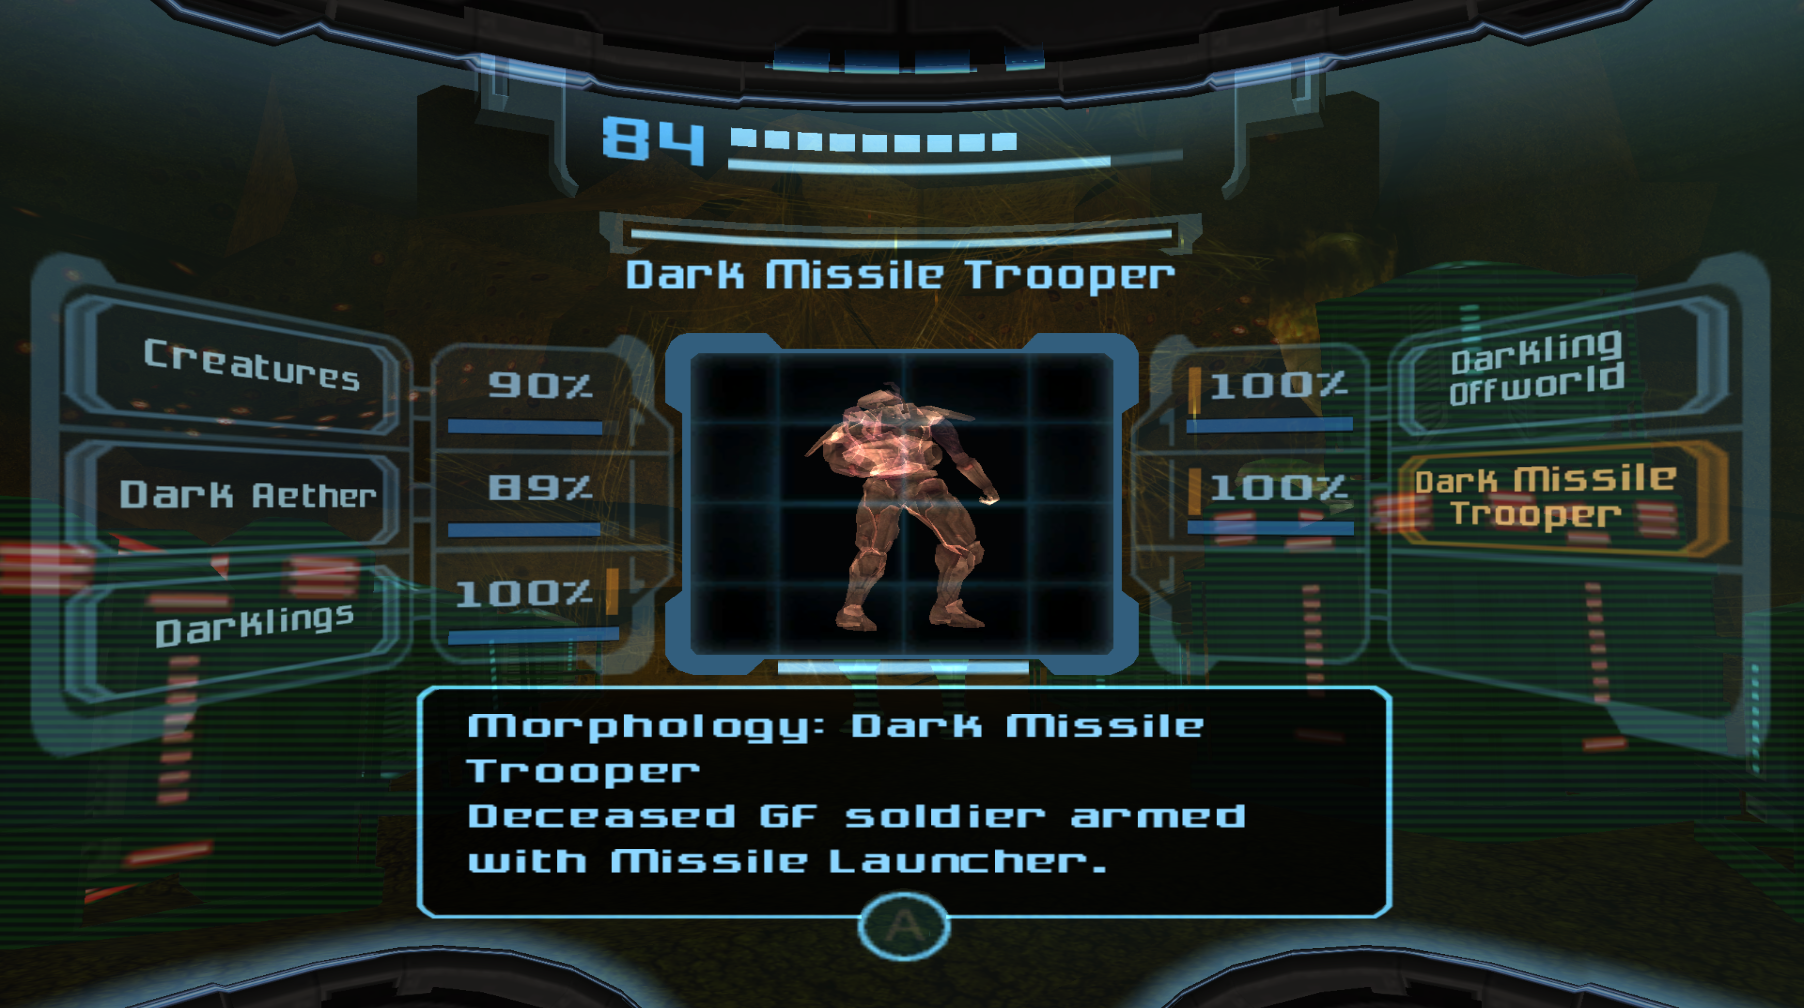
Dark Missile Trooper
Location: Hive Chamber A, Temple Grounds
Omega Analysis: This optional mini-boss is one of a kind, so scan it before you terminate it.
Bosses
Omega Analysis: Being a boss, you are guaranteed to run into these creatures during the course of your adventure, and as you would probably assume, once you defeat these bosses, they’re gone for good. I won’t detail too many of the bosses, but you’ll want to pay special attention to the Spider Guardian, as it’s incredibly easy to miss, as well as the Temple Guardians (Amorbis, Chykka, and Quadraxis), all of whom have several forms. Any bosses with more than one name in the header means there are multiple forms for you to scan.
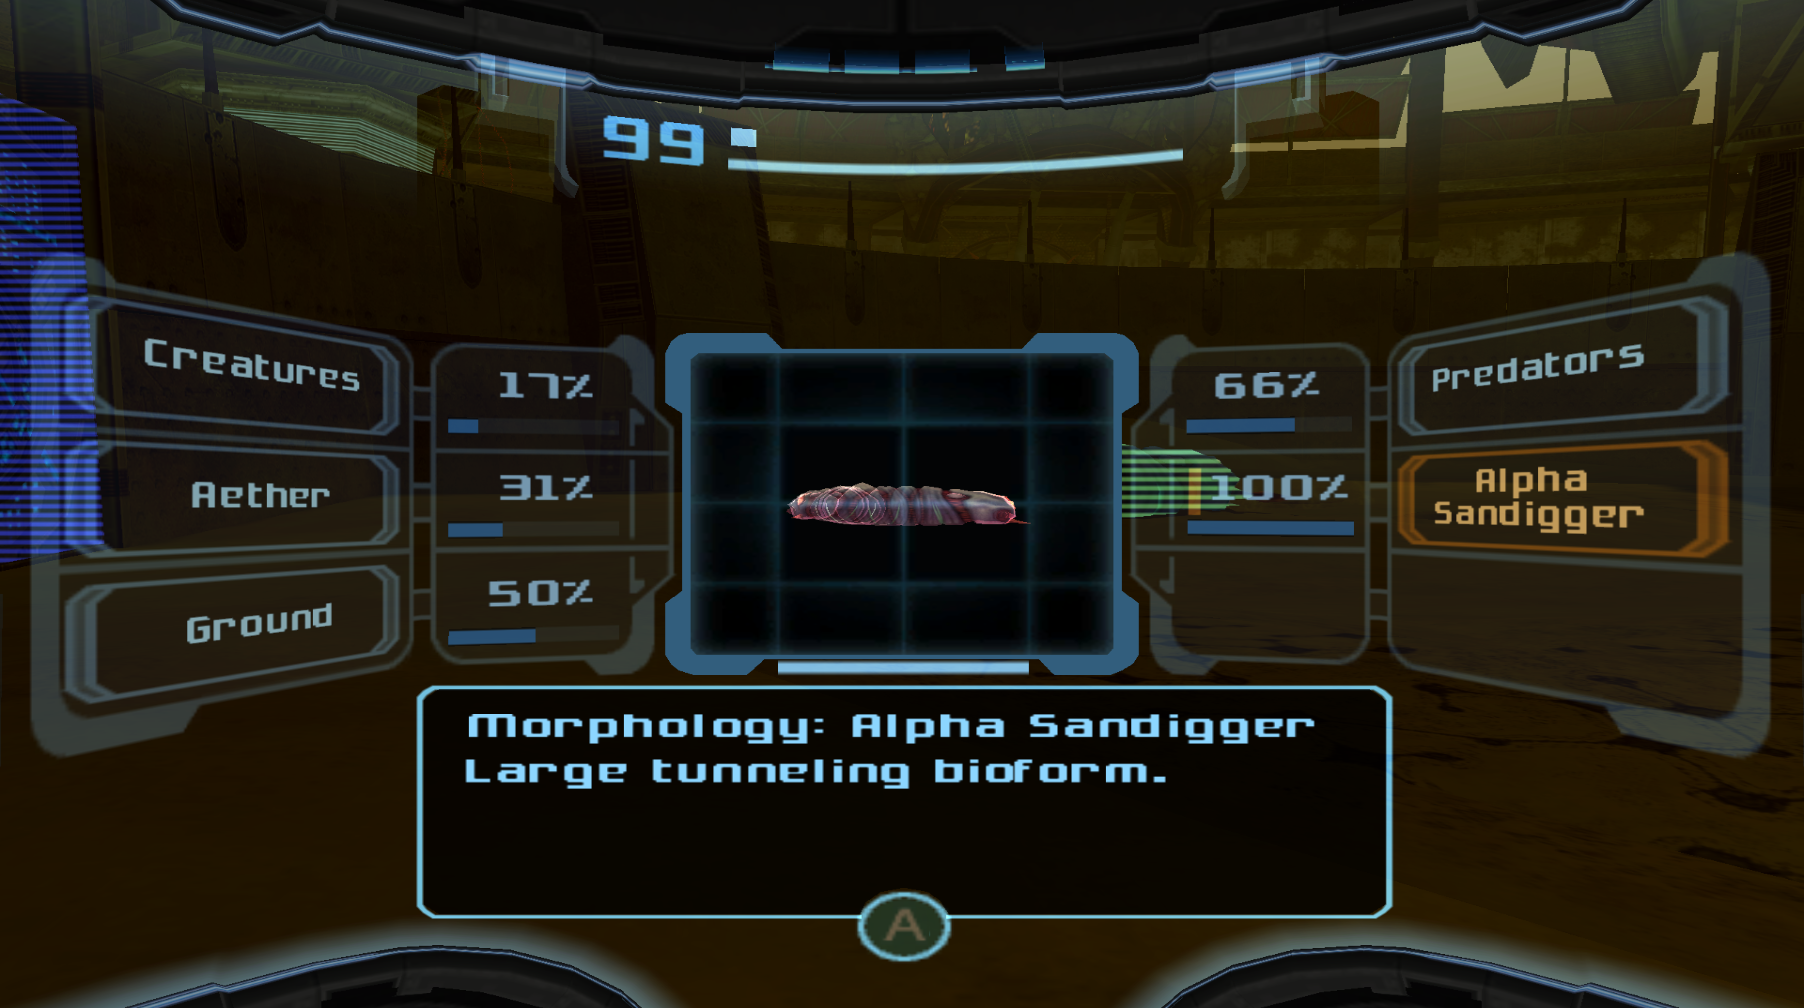
Alpha Sandigger
Location: Agon Wastes
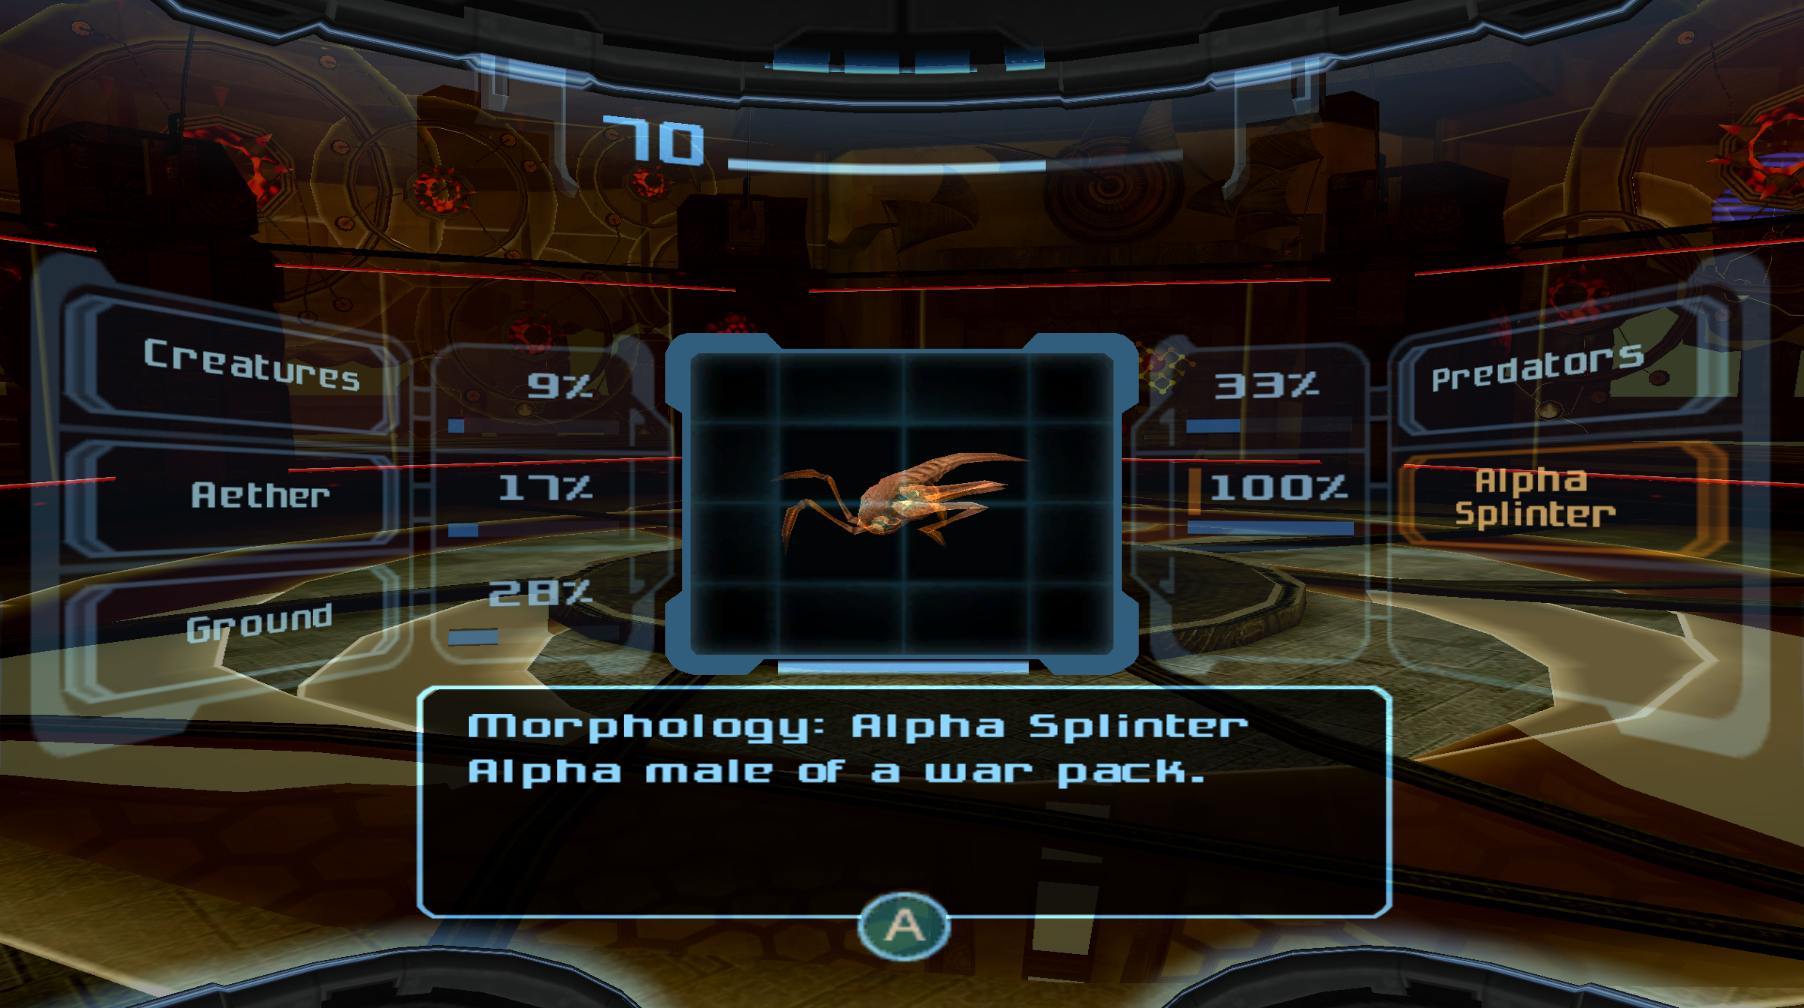
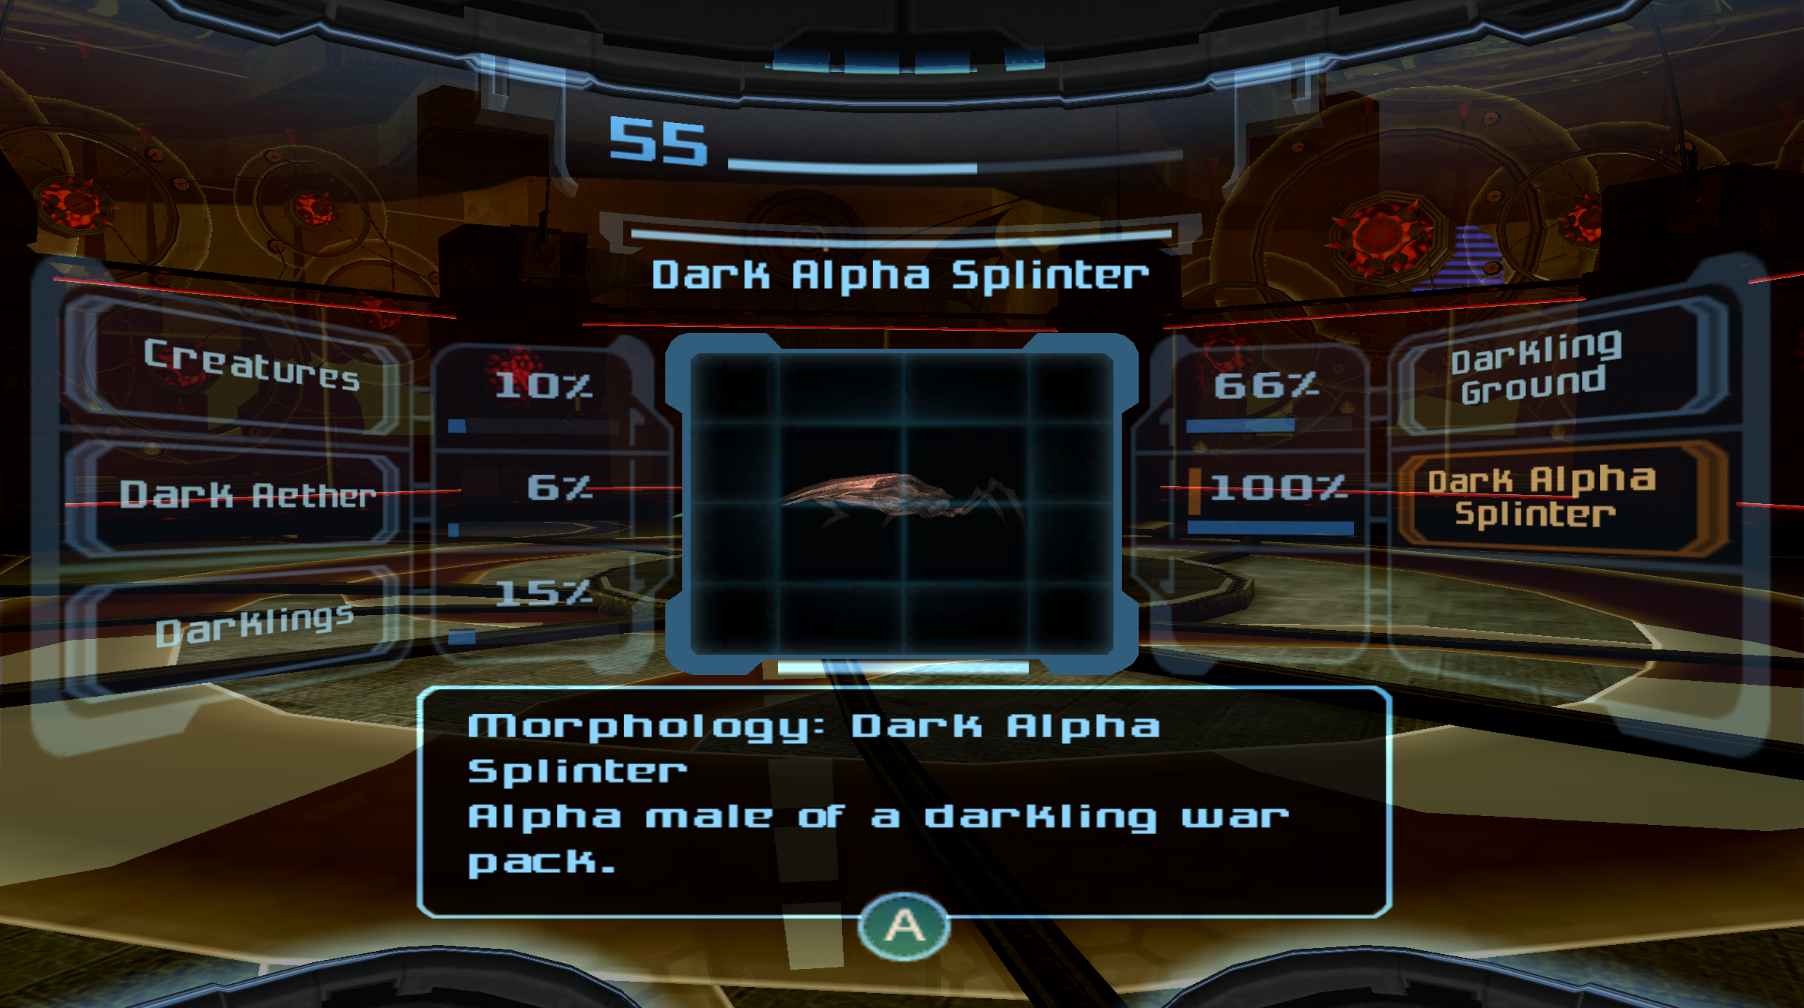
Alpha Splinter / Dark Alpha Splinter
Location: Great Temple
Alpha Blogg
Location: Torvus Bog
Bomb Guardian
Location: Agon Wastes
Jump Guardian
Location: Dark Agon Wastes
Boost Guardian
Location: Dark Agon Wastes

Grapple Guardian
Location: Dark Agon Wastes
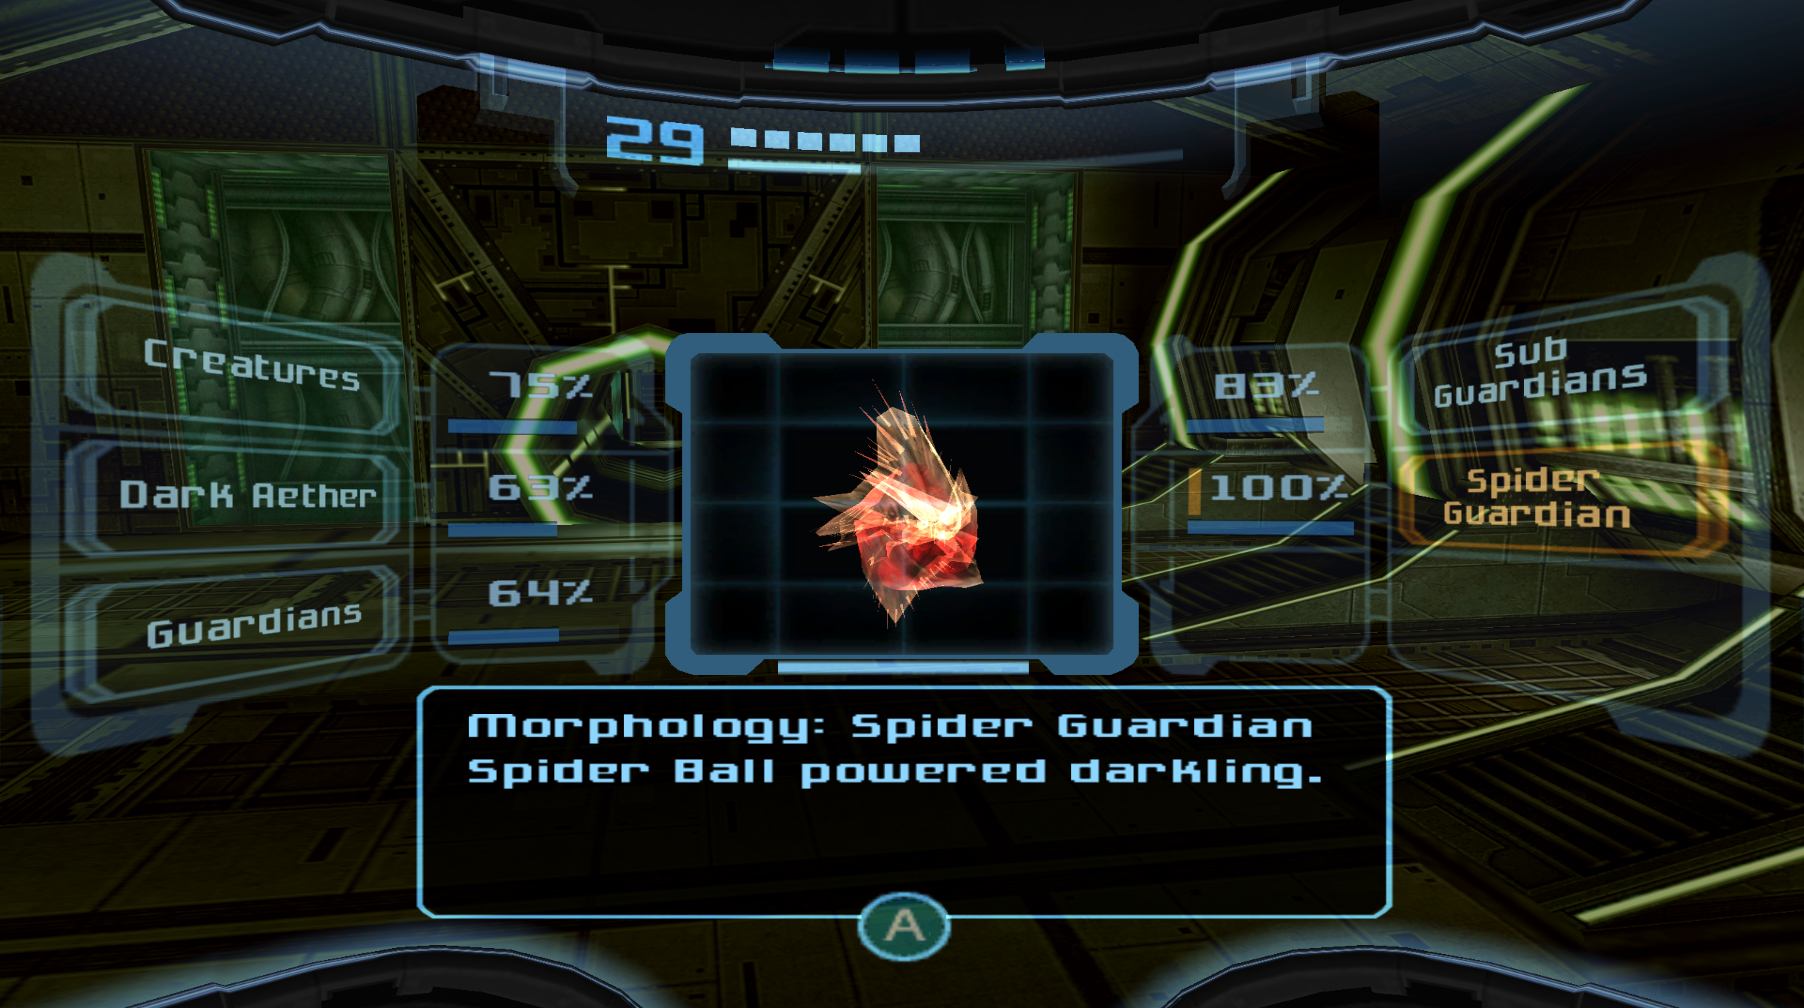
Spider Guardian
Location: Sanctuary Fortress
Omega Analysis: For the love of god, don’t forget to scan this dastardly pillbug BEFORE you fight it! You’ll see it scurrying about in a Morph Ball tunnel right before you enter said tunnel to fight it. This is incredibly easy to miss, so be cautious going in!
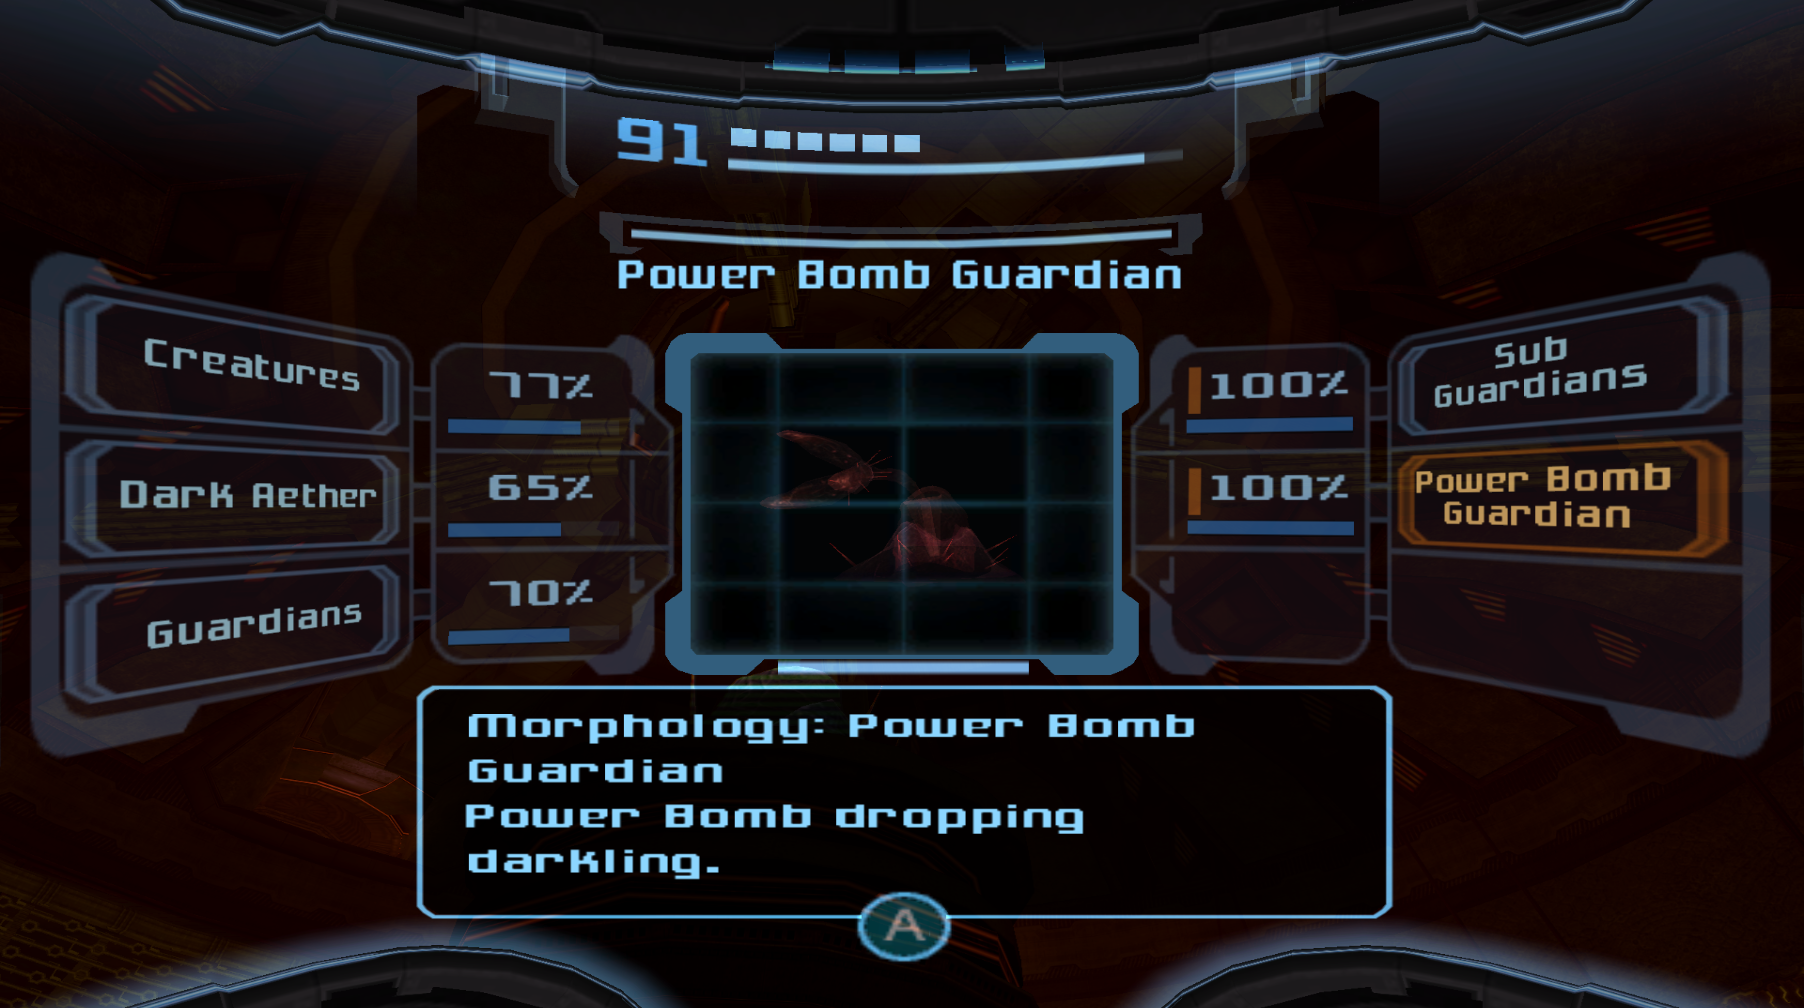
Power Bomb Guardian
Location: Dark Agon Wastes
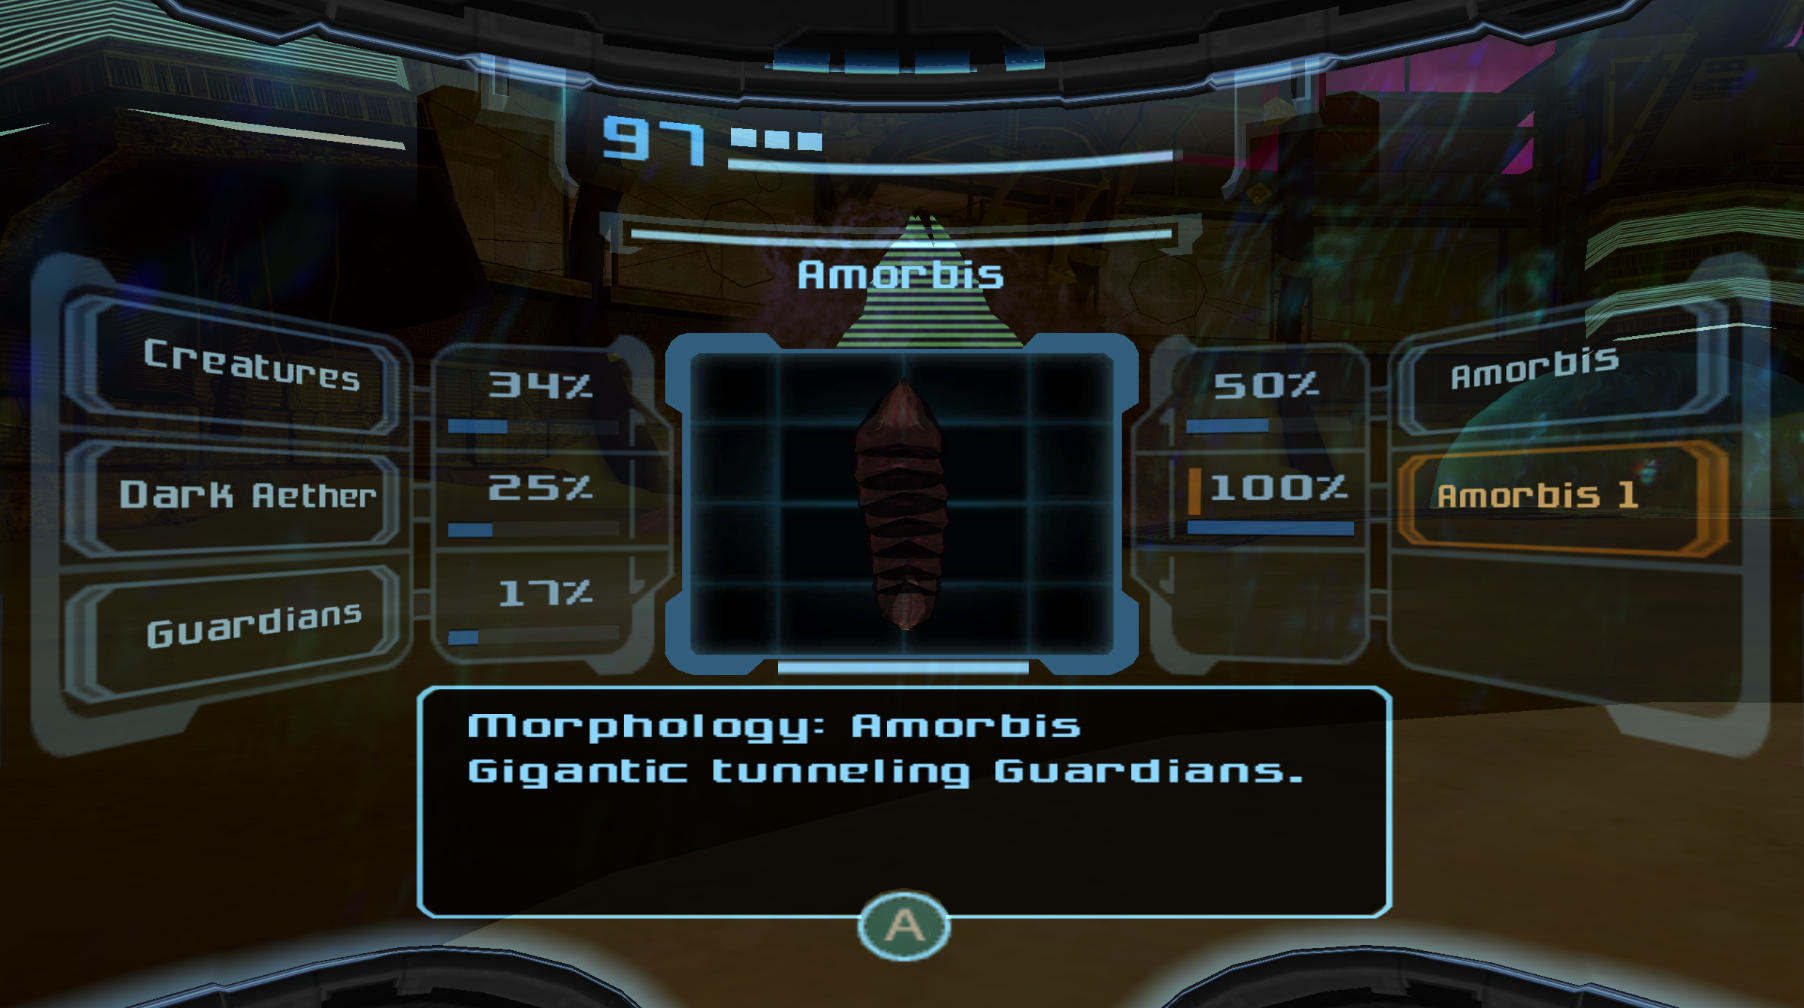
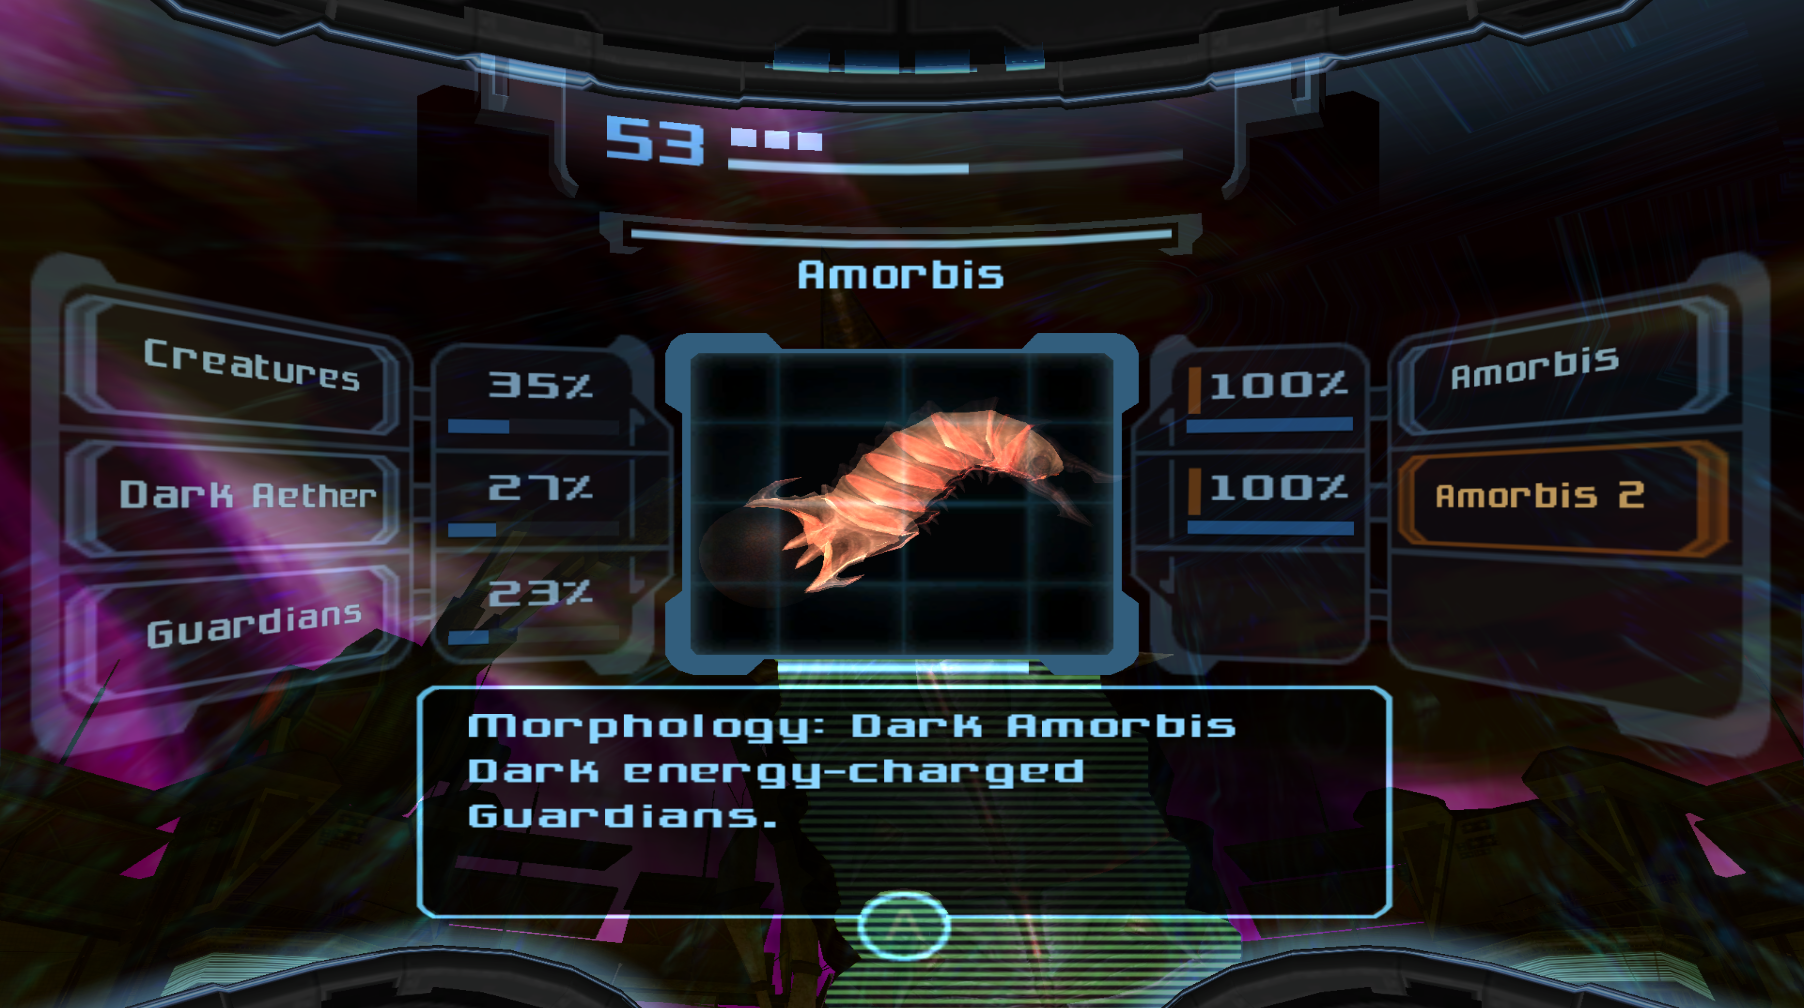
Amorbis / Dark Amorbis
Location: Dark Agon Wastes
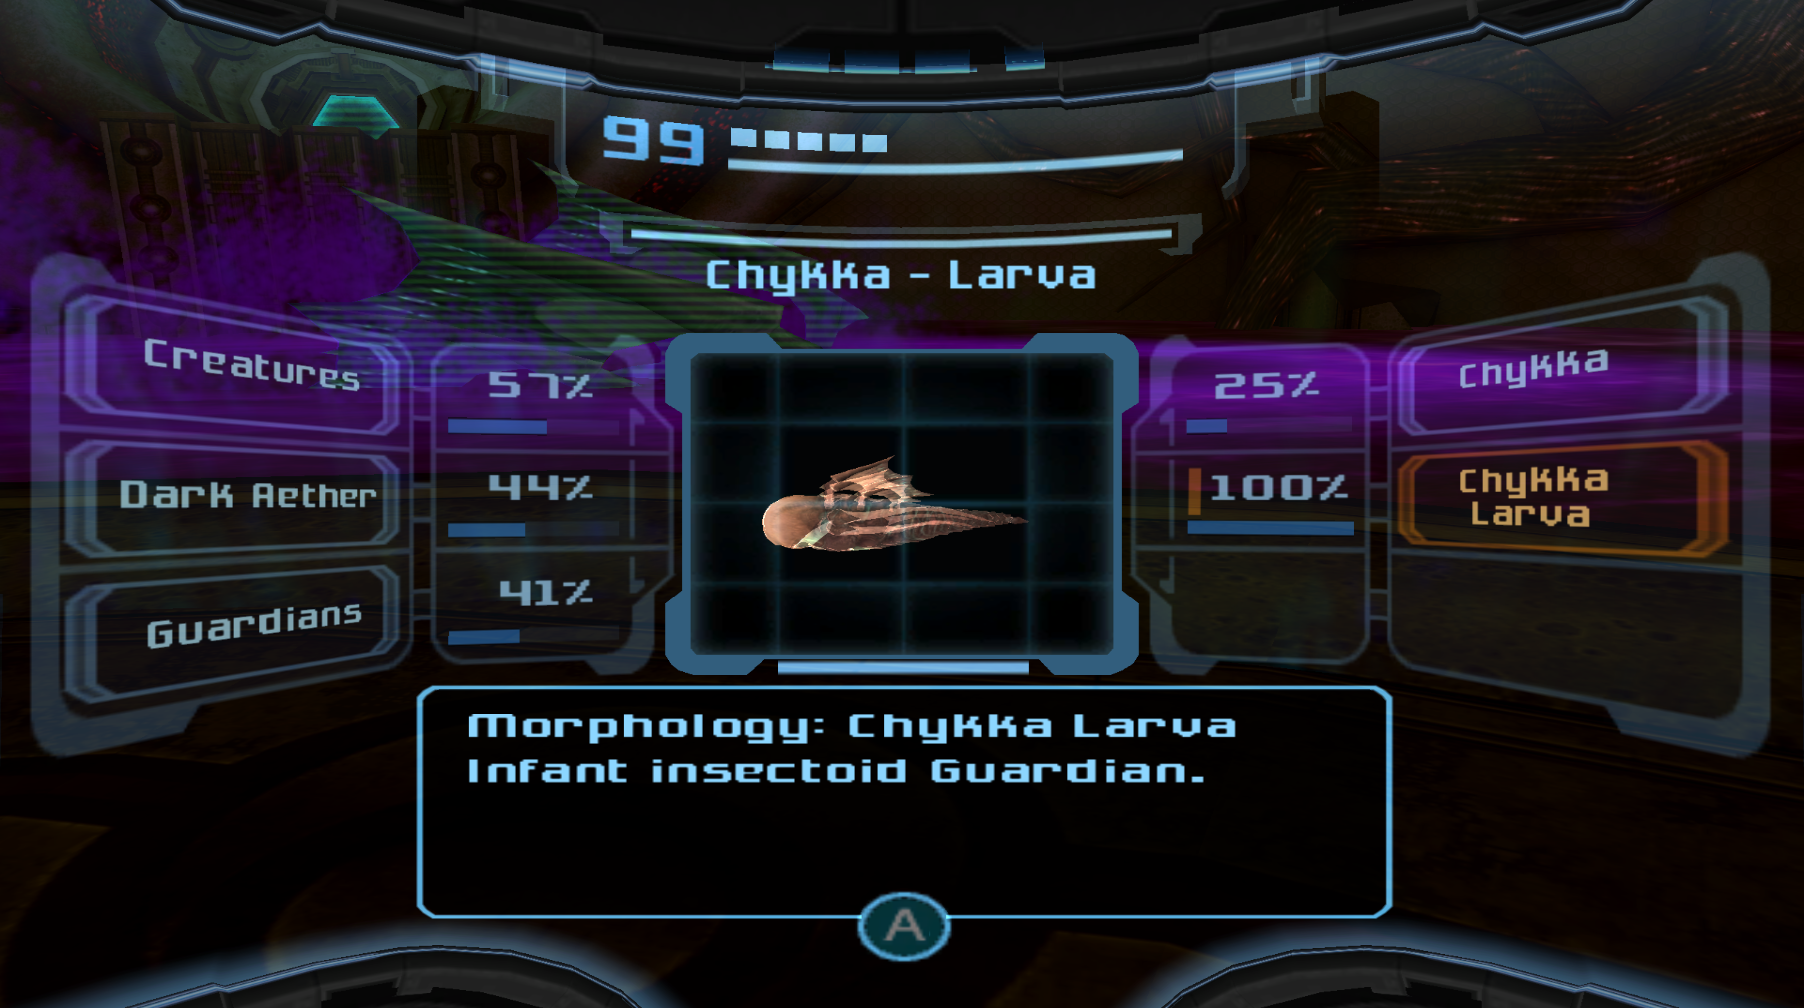
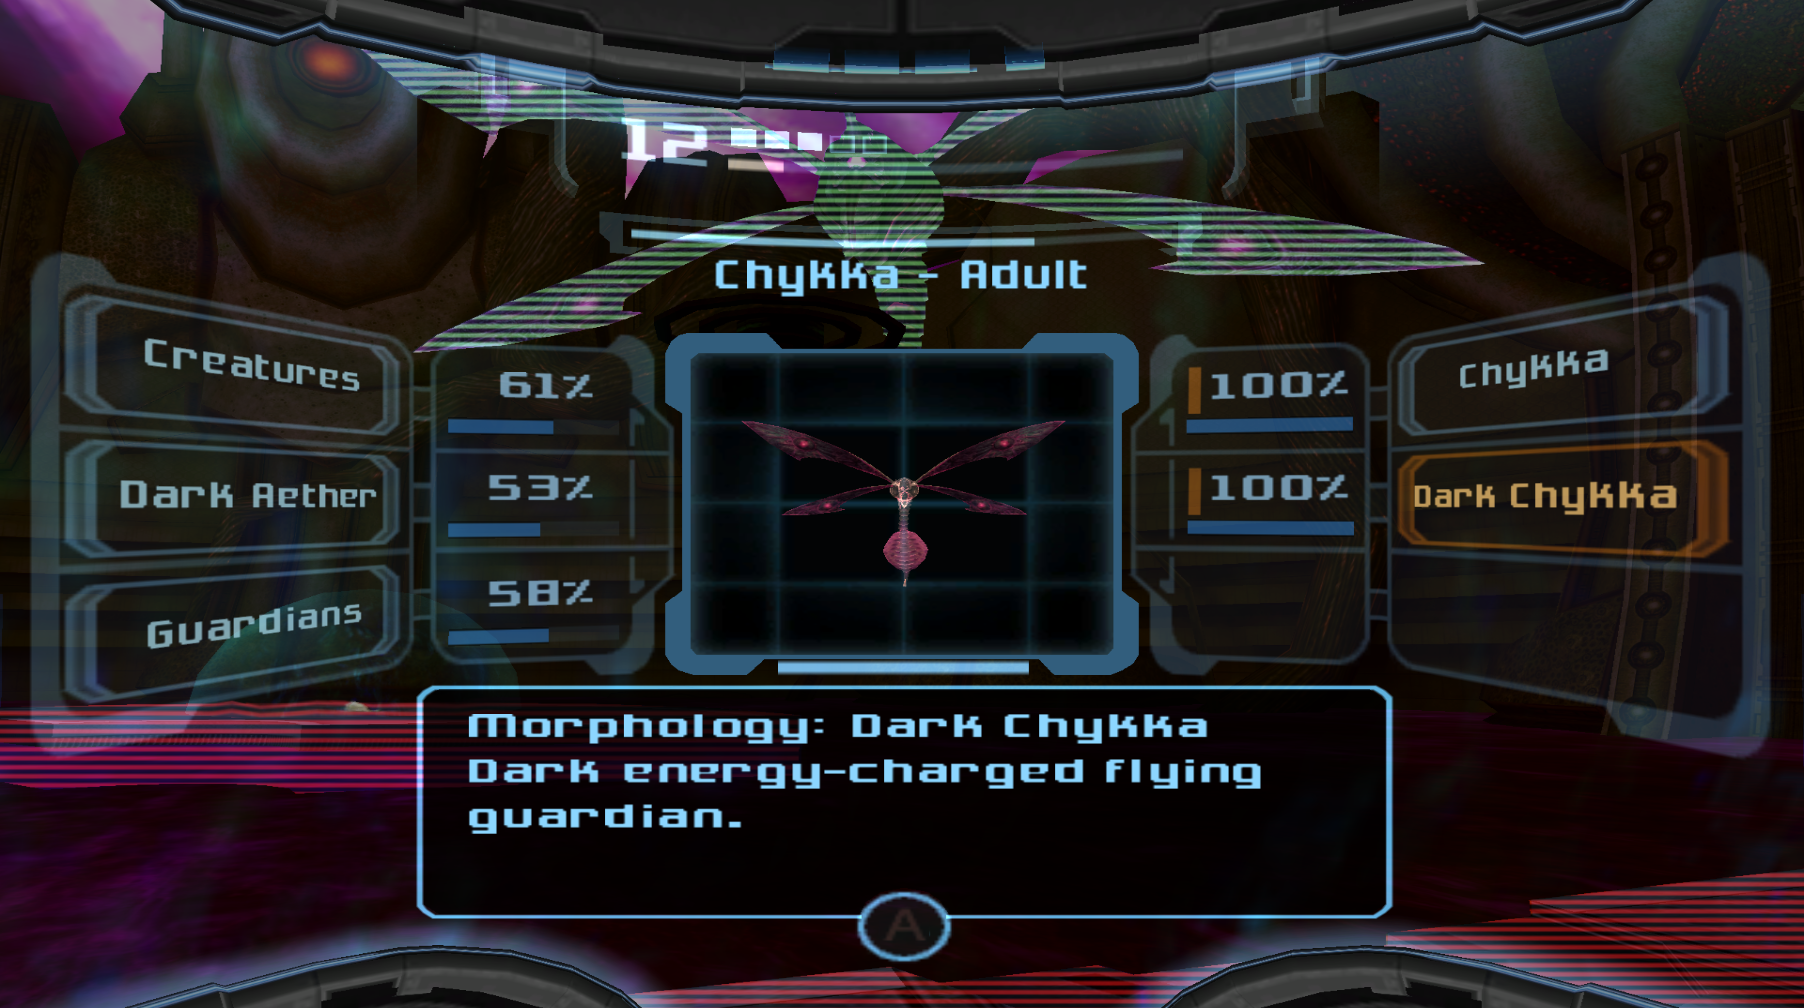
Chykka Larva / Chykka / Dark Chykka
Location: Dark Torvus Bog

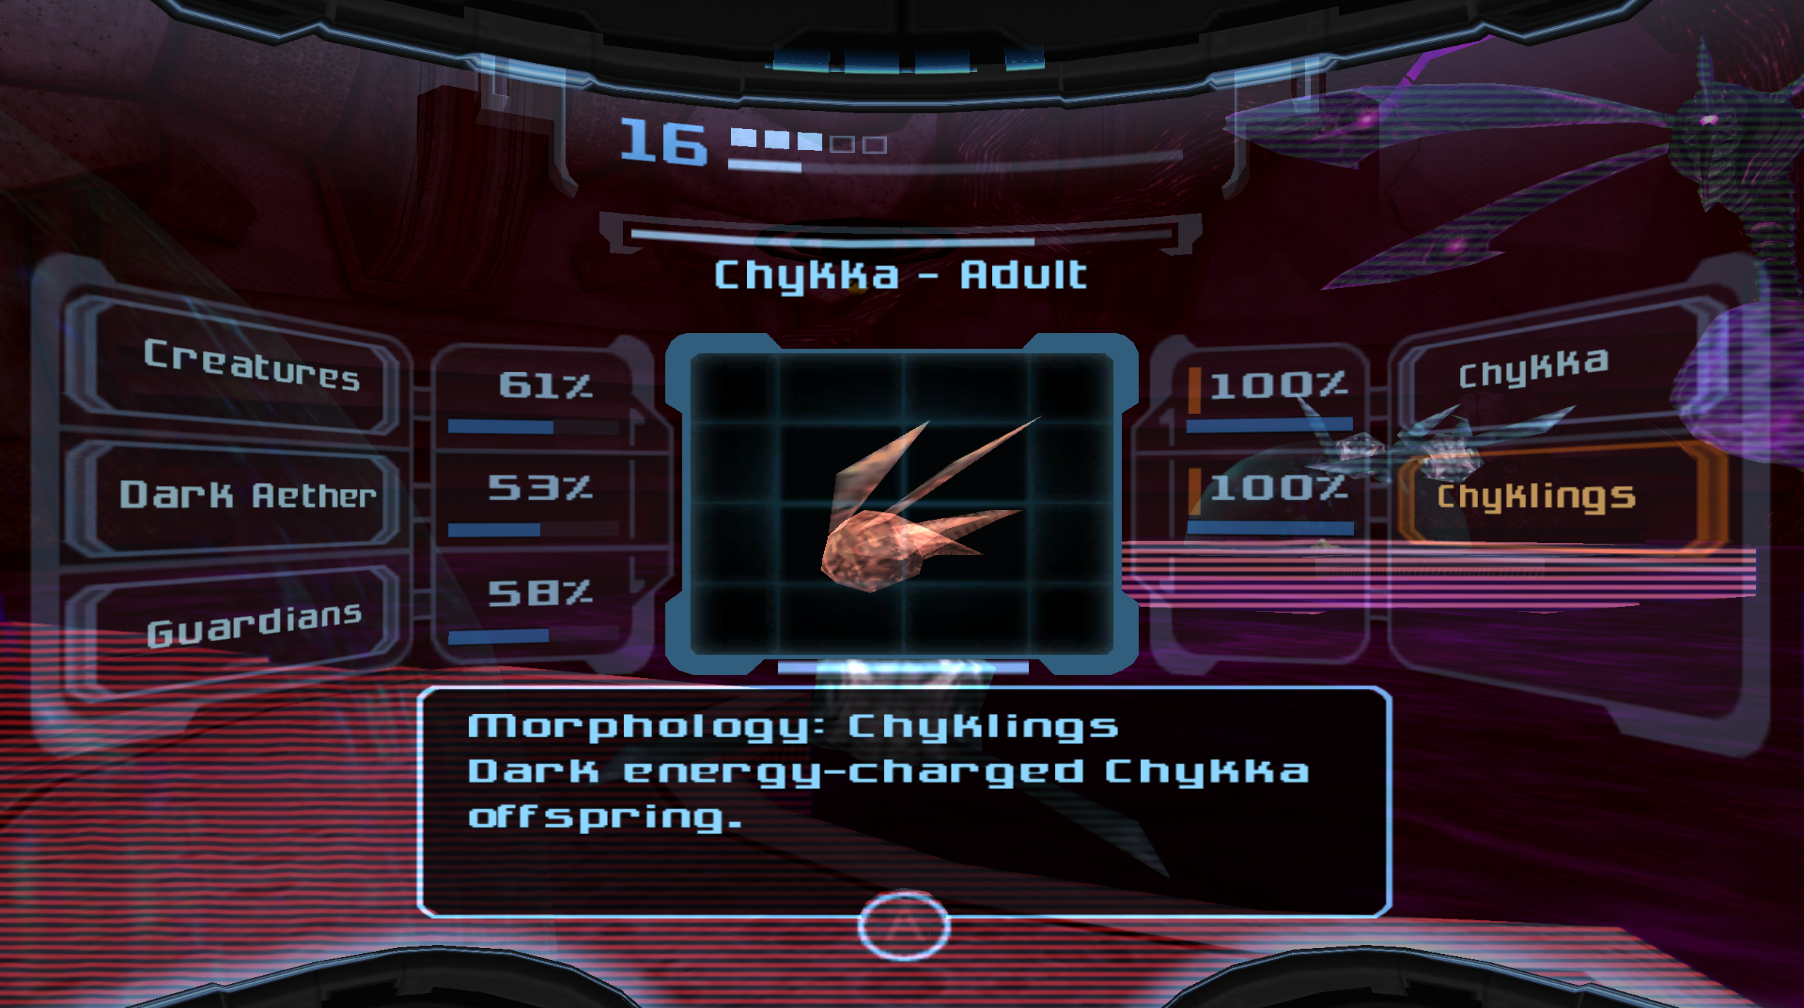
Chyklings
Location: Dark Torvus Bog
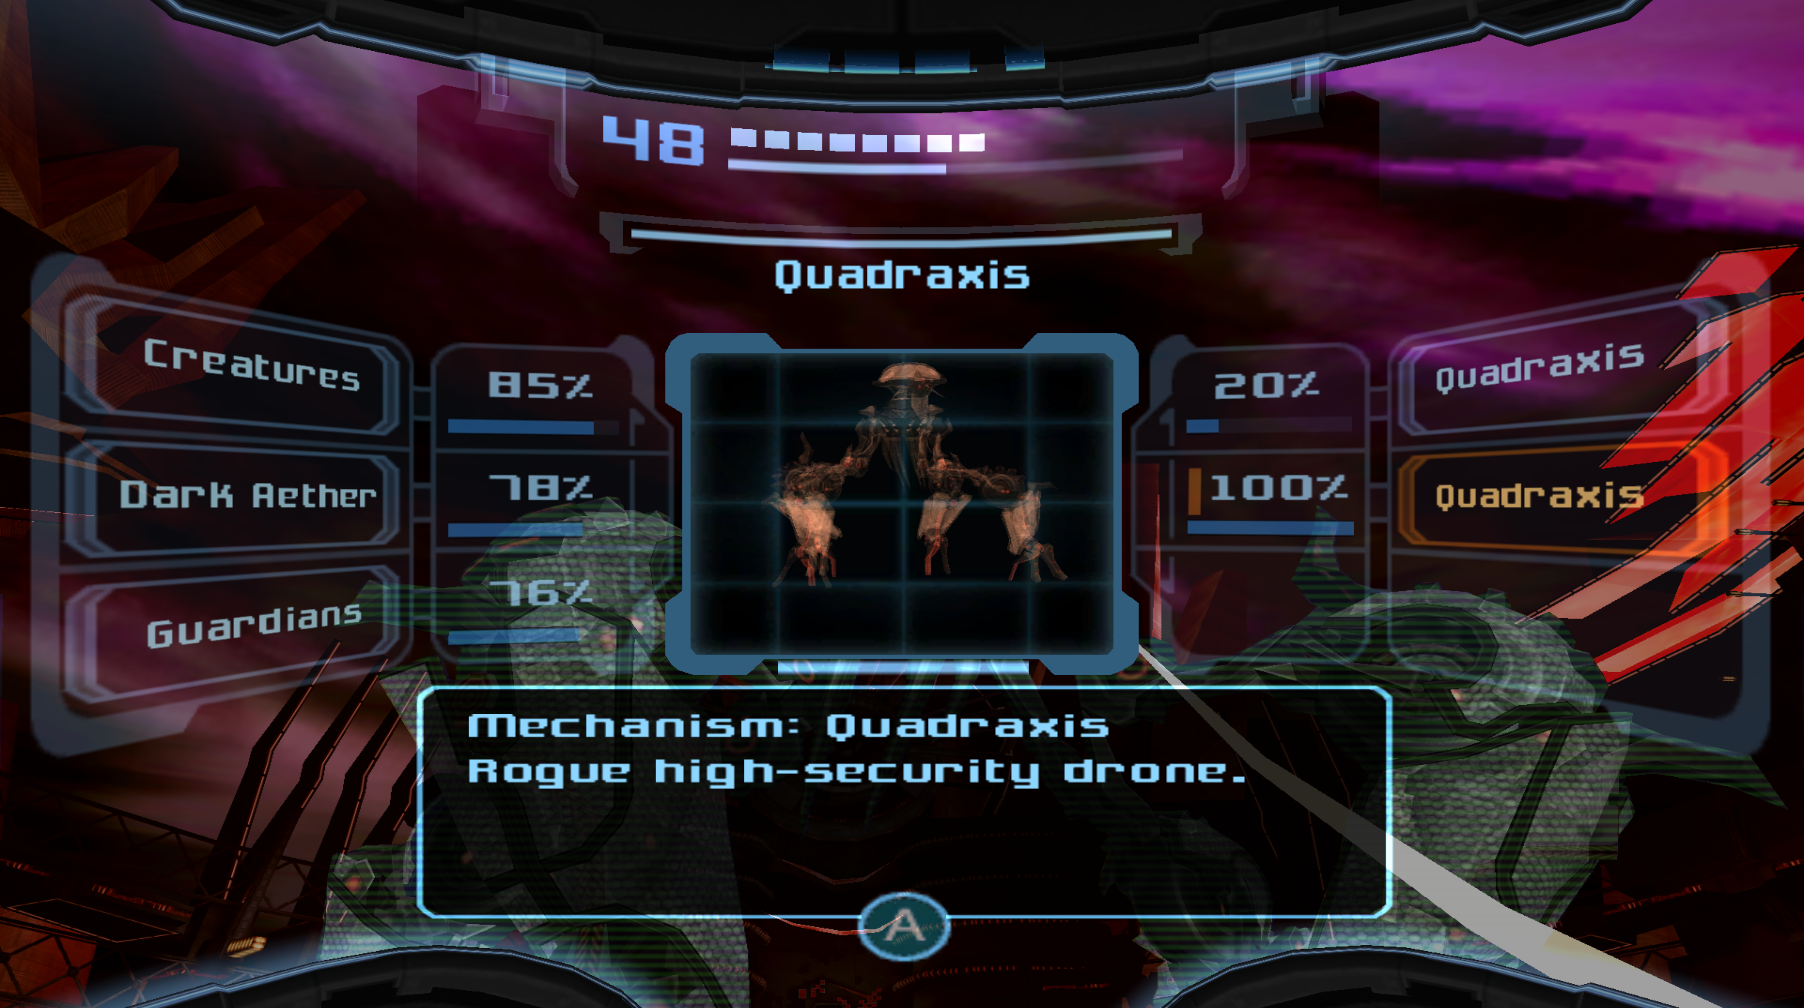
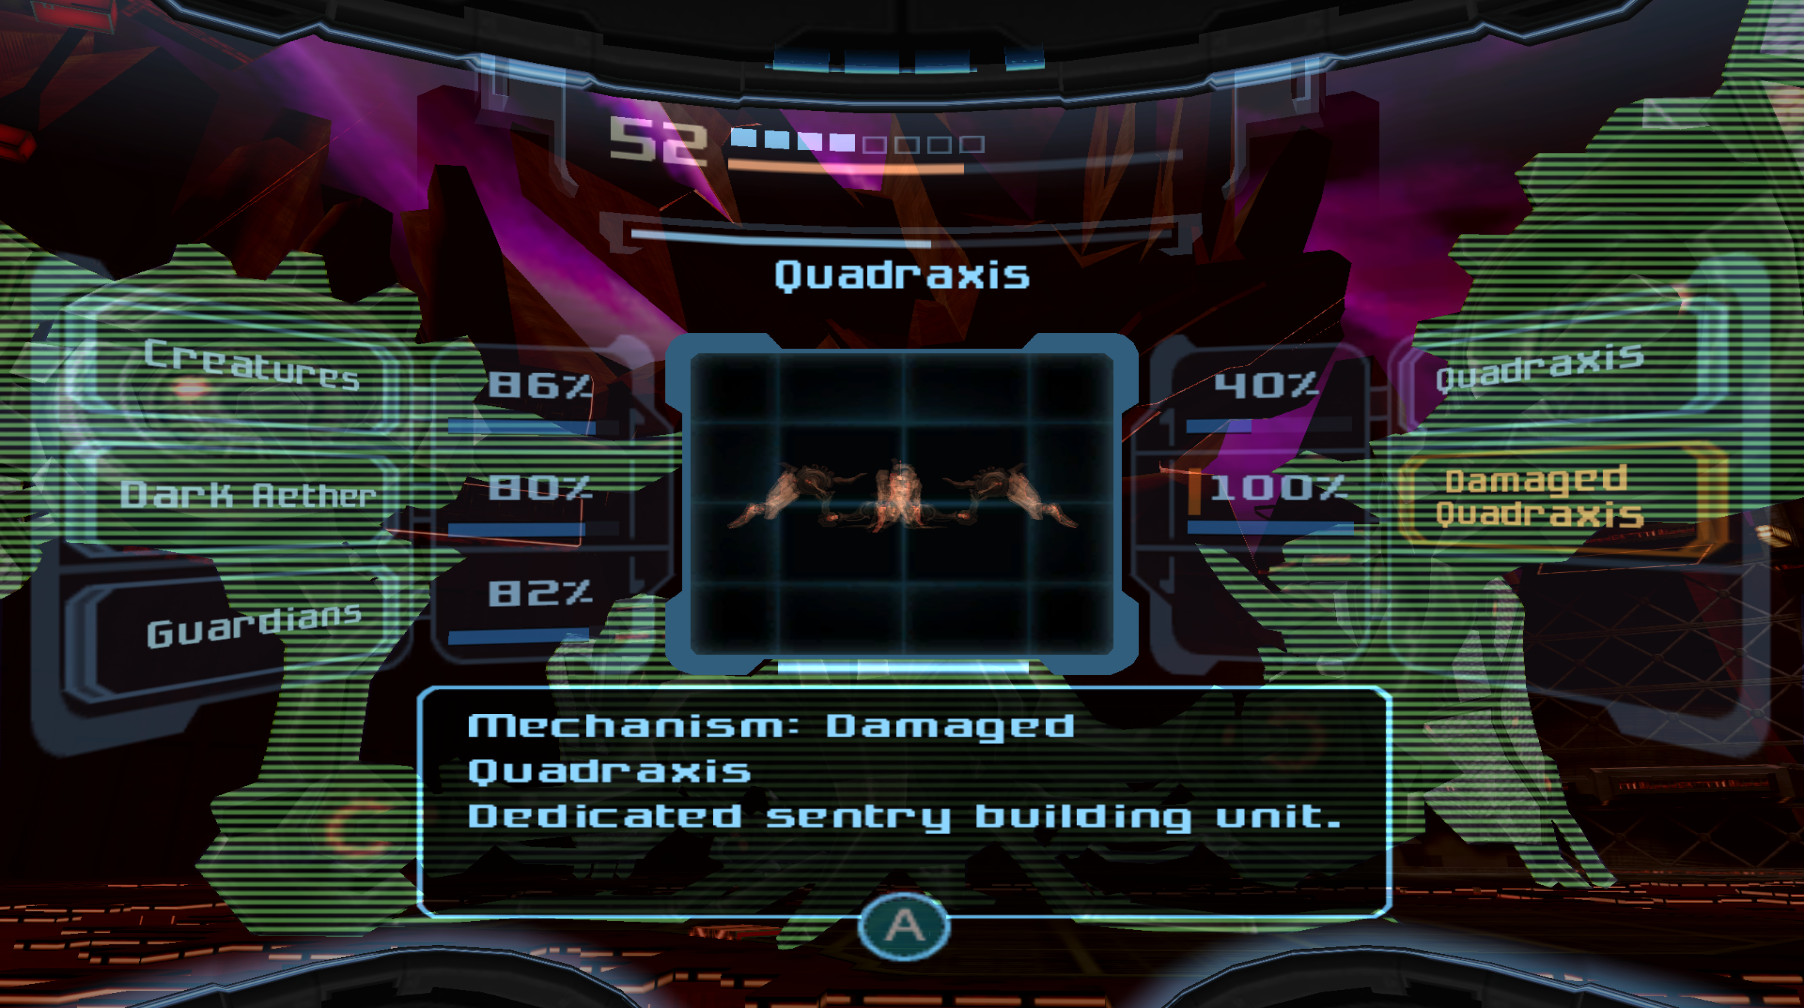
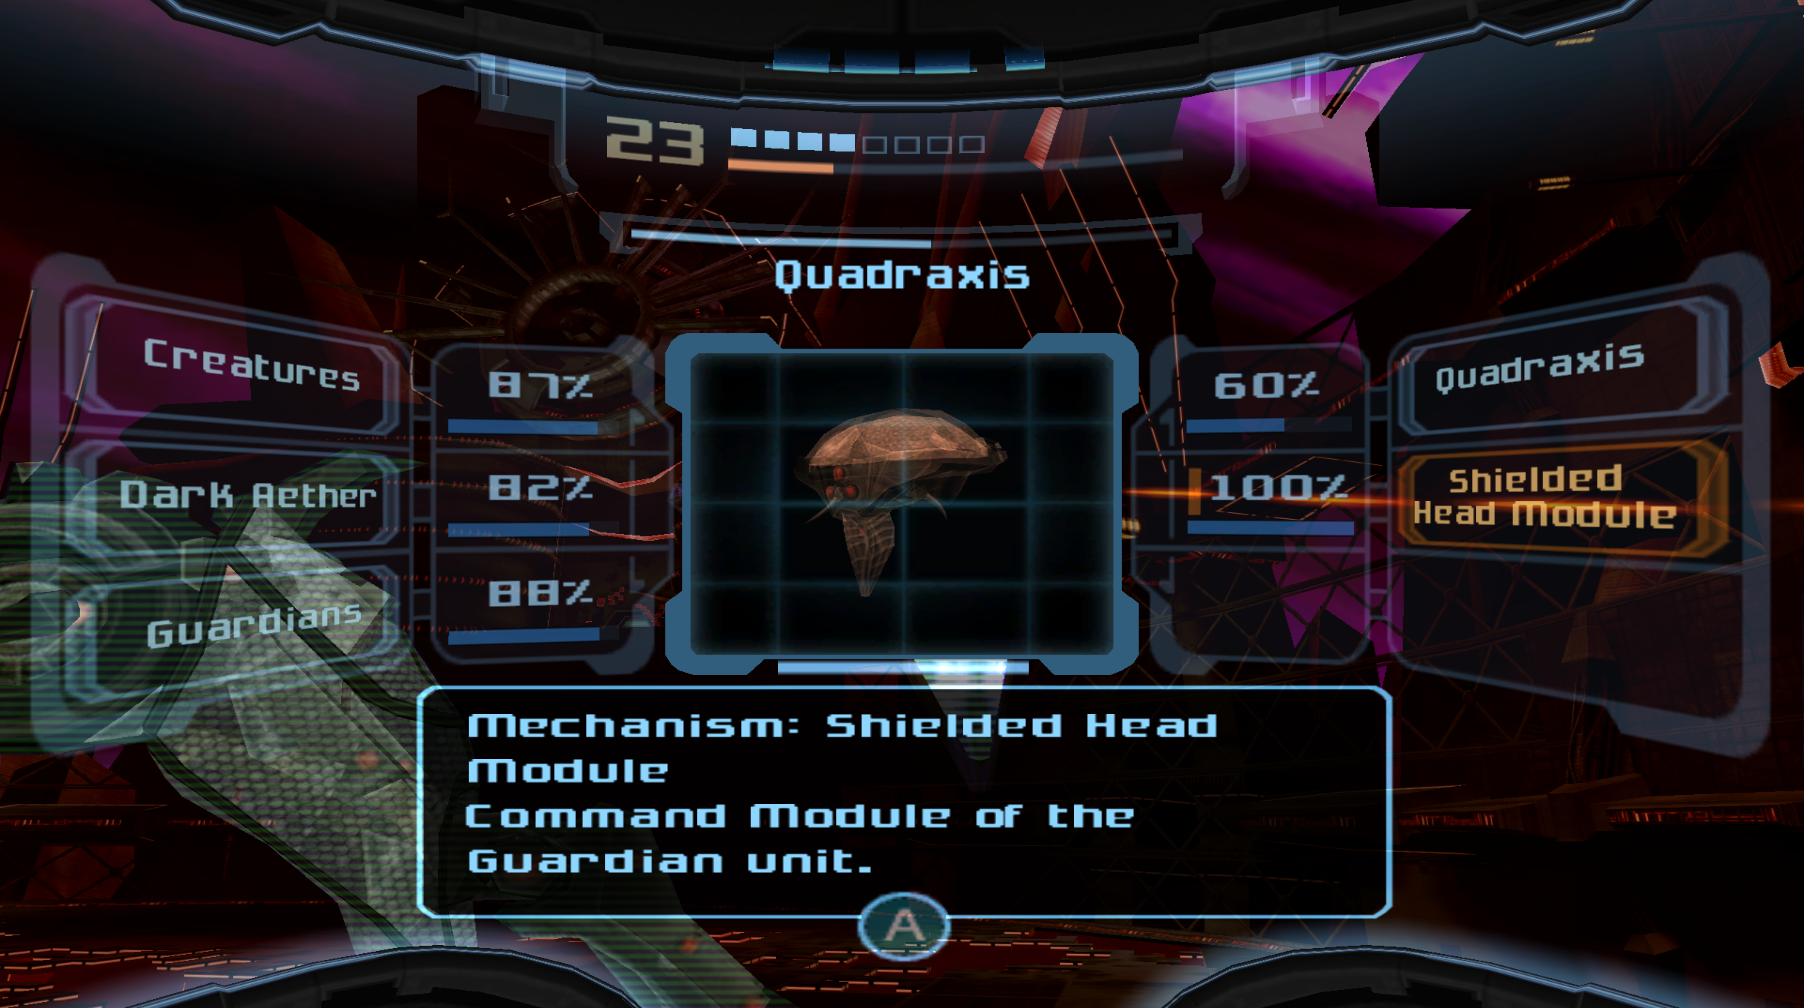
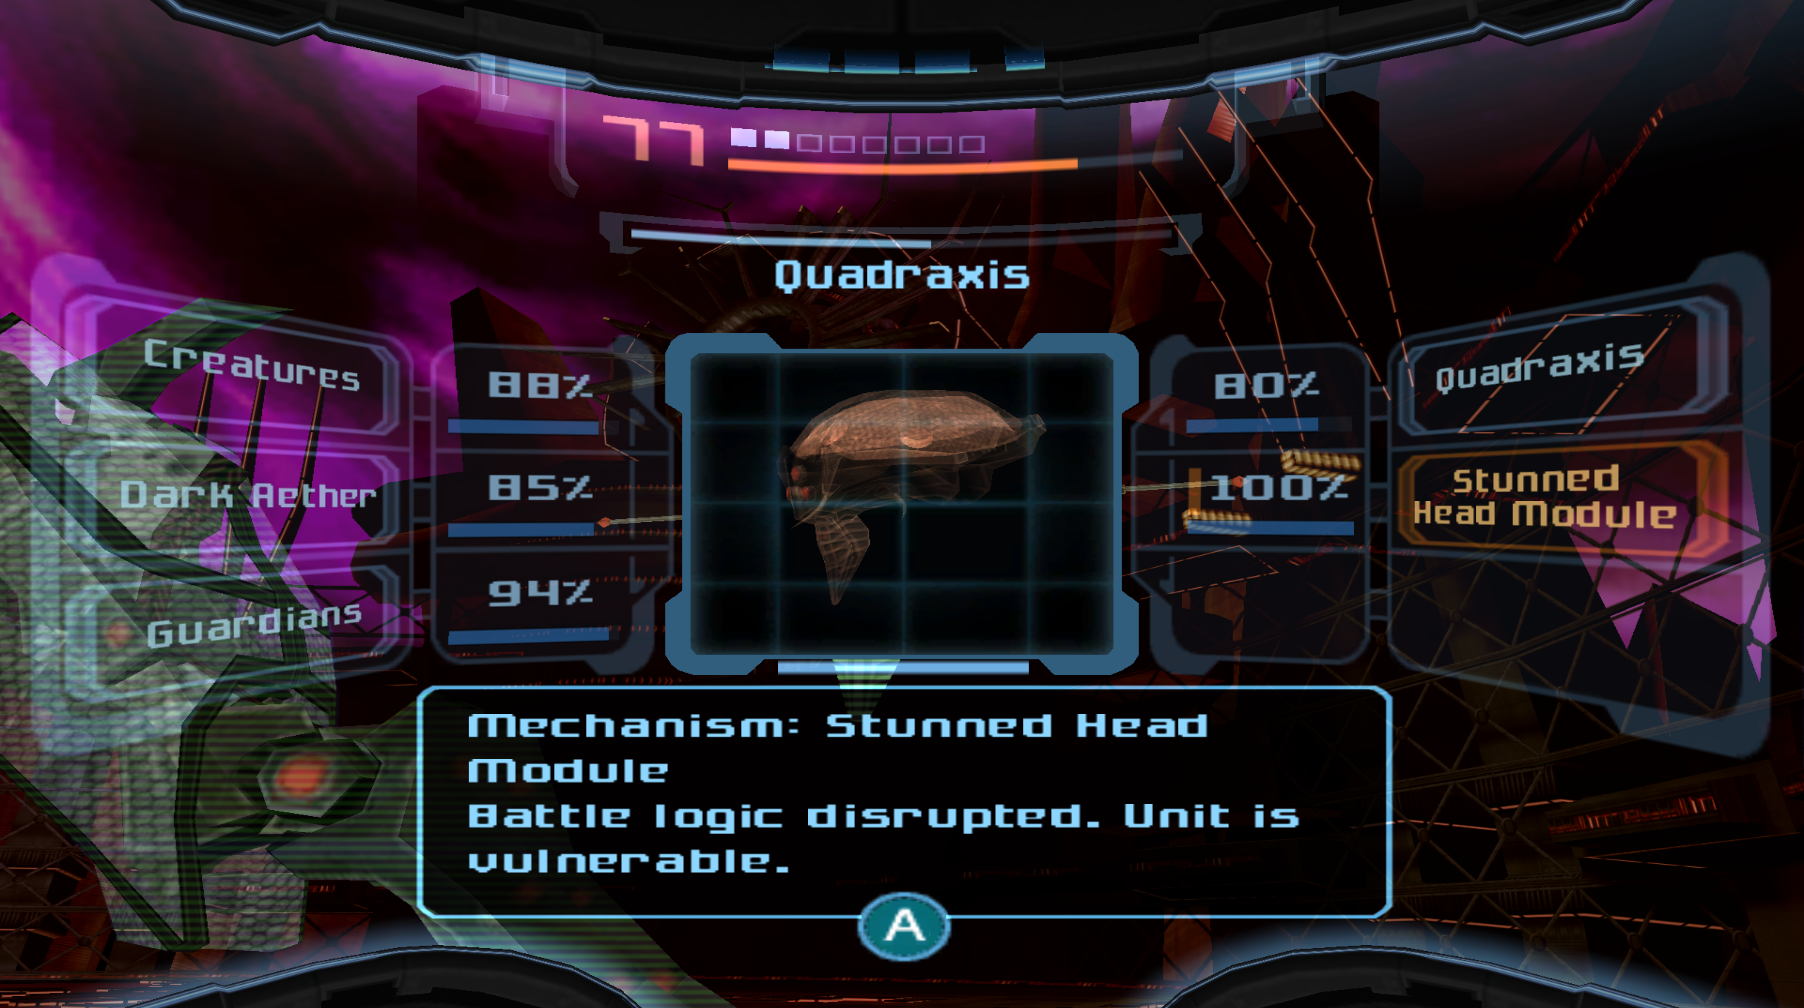
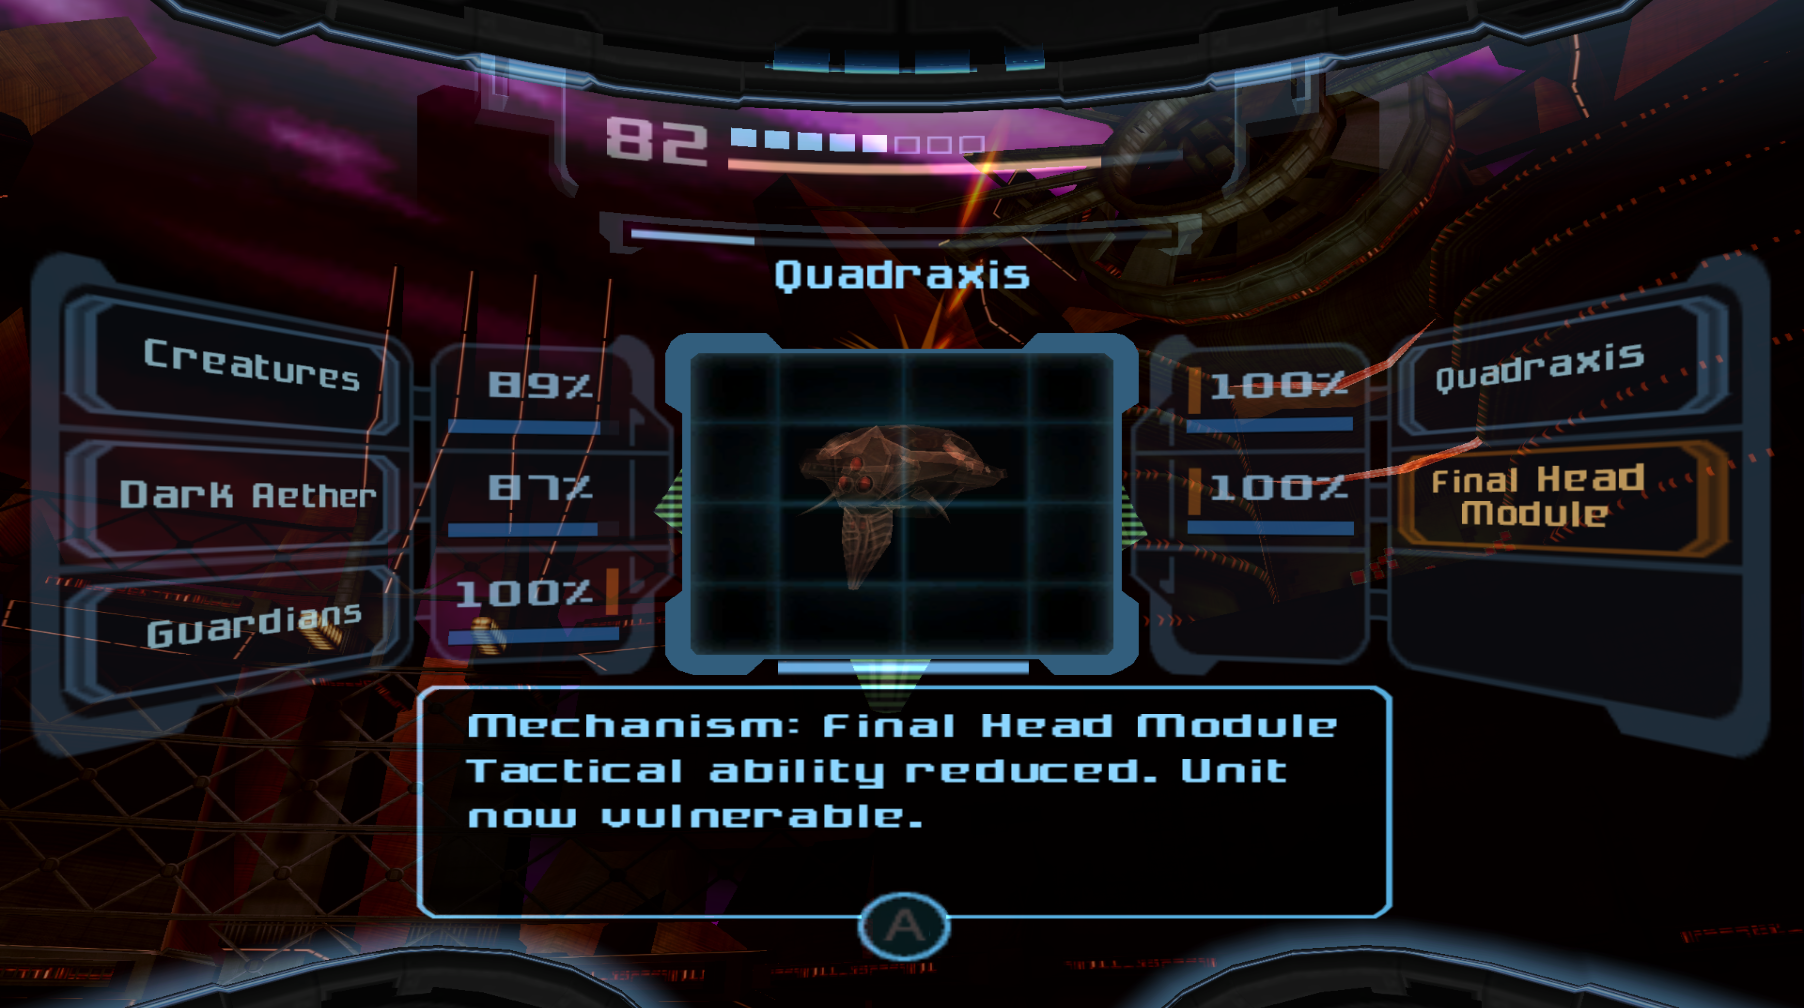
Quadraxis / Damaged Quadraxis / Shielded Head Module / Stunned Head Module / Final Head Module
Location: Ing Hive
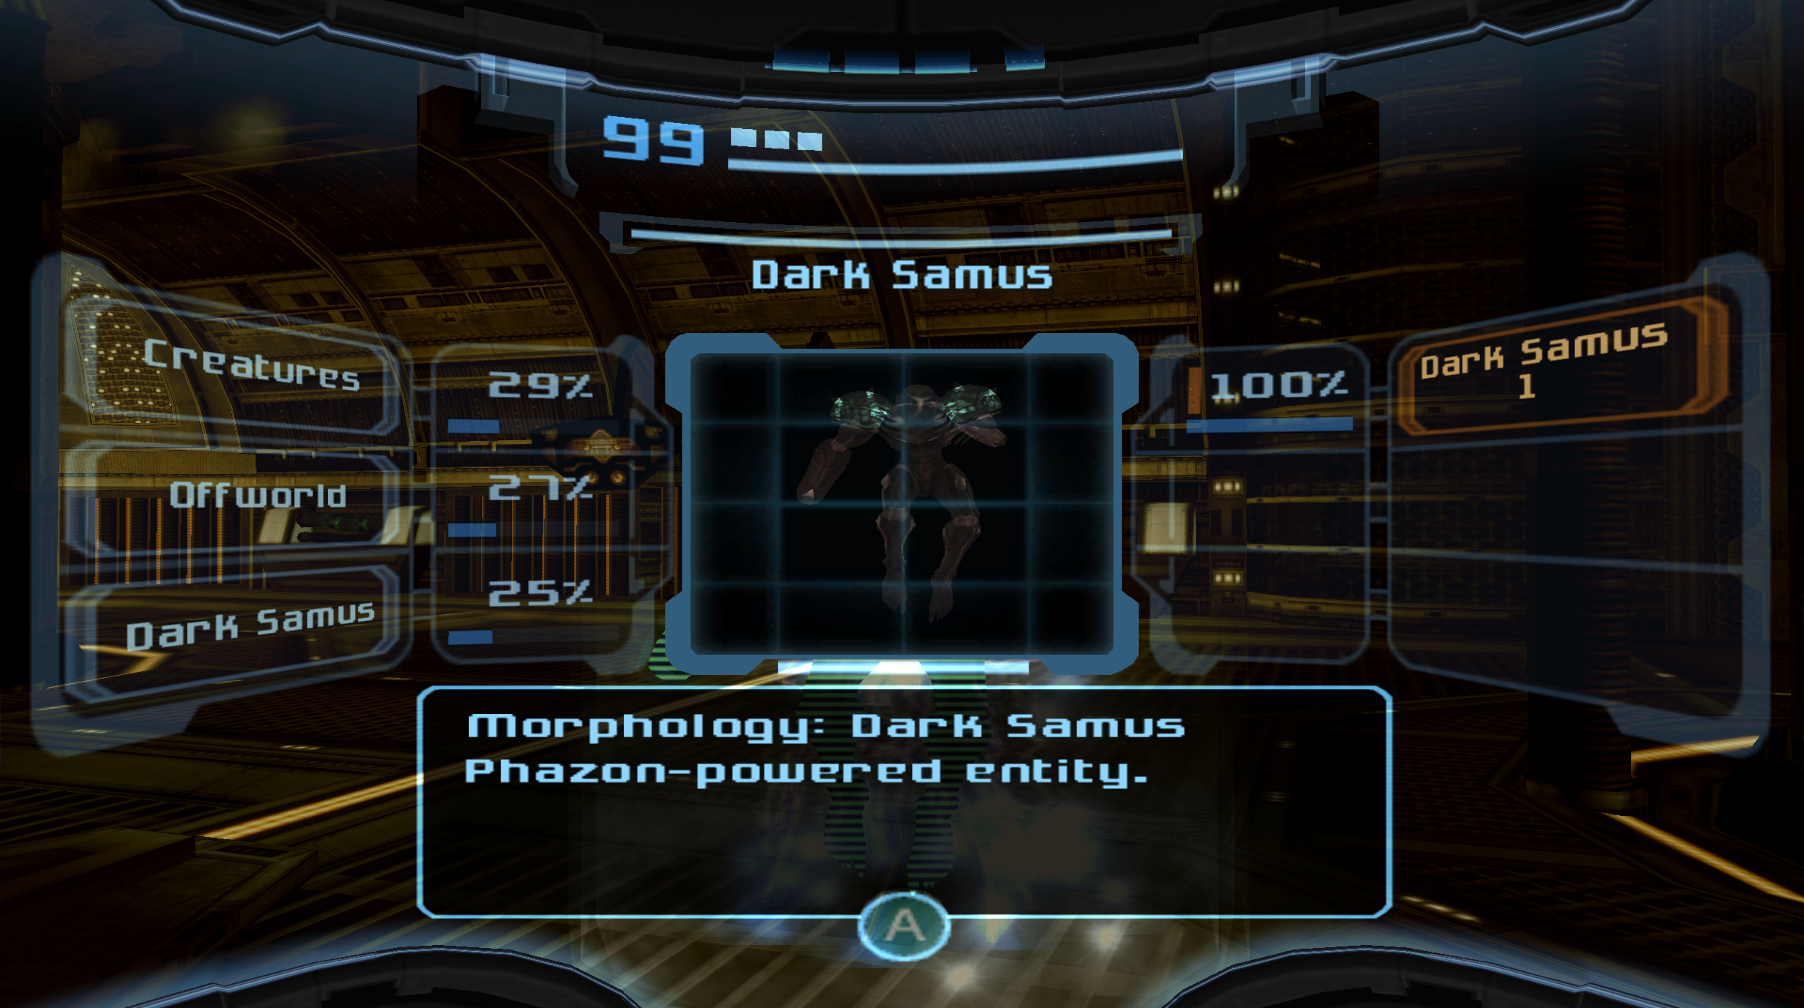
Dark Samus 1
Location: Agon Wastes
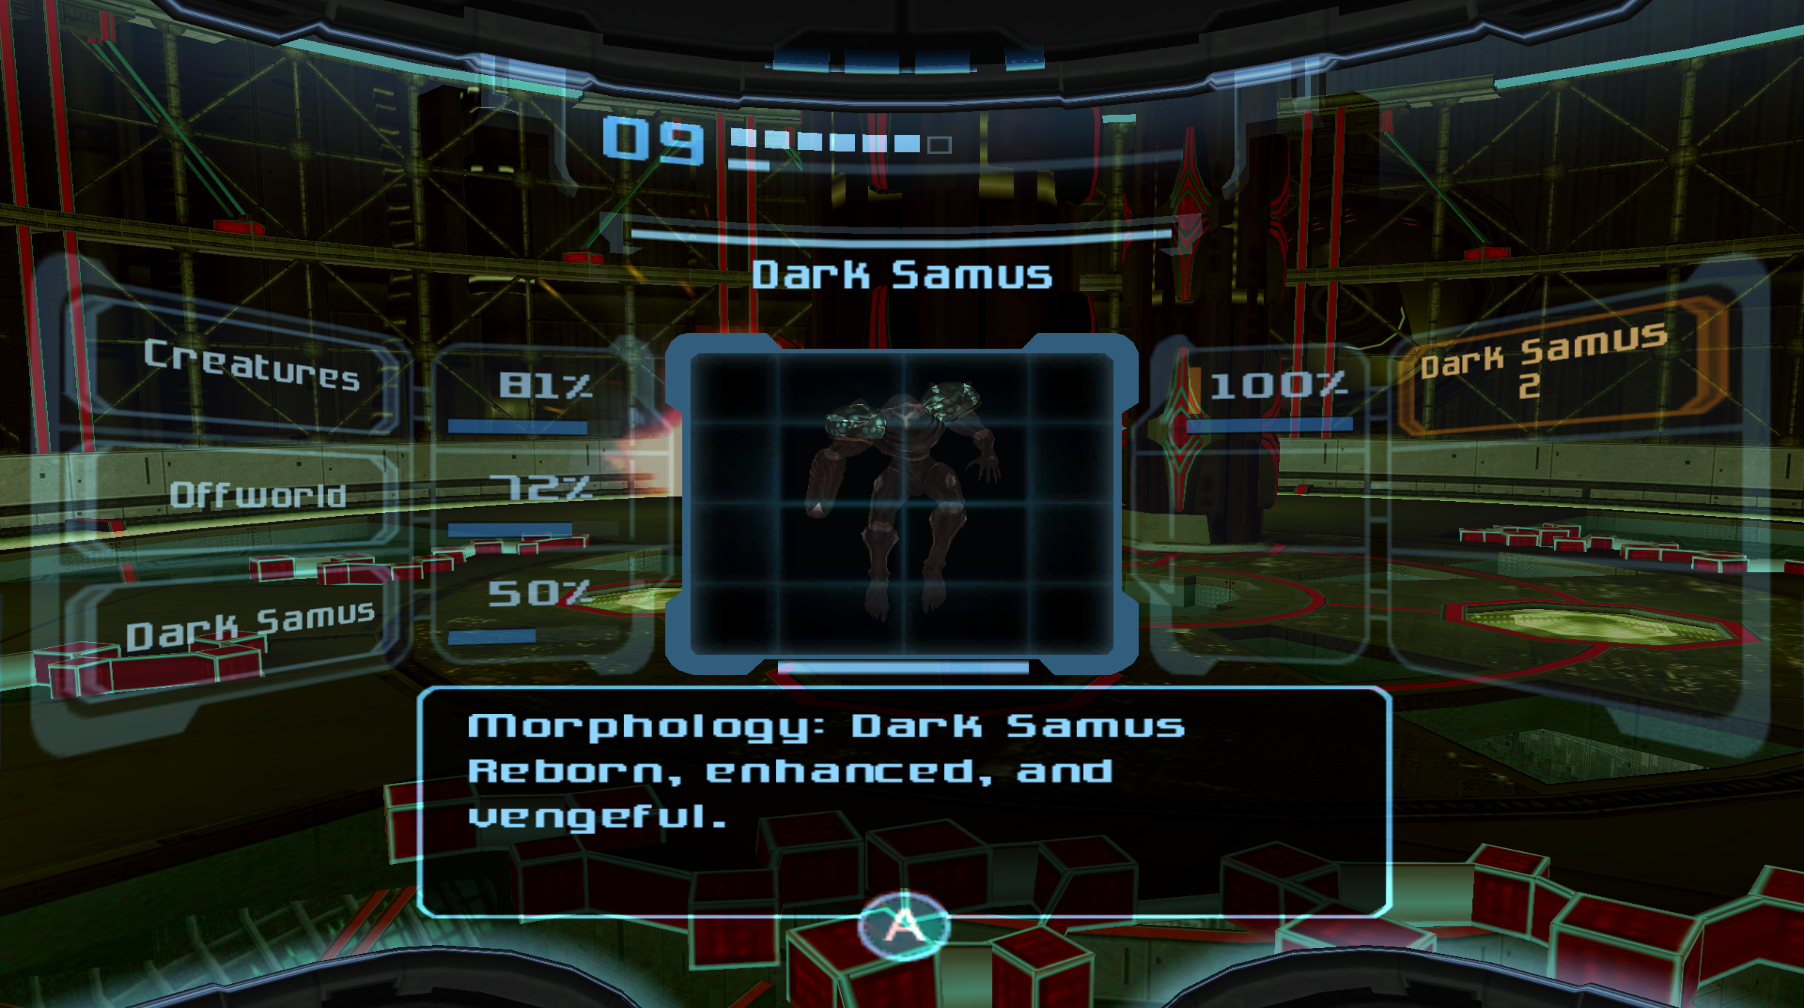
Dark Samus 2
Location: Sanctuary Fortress
Research
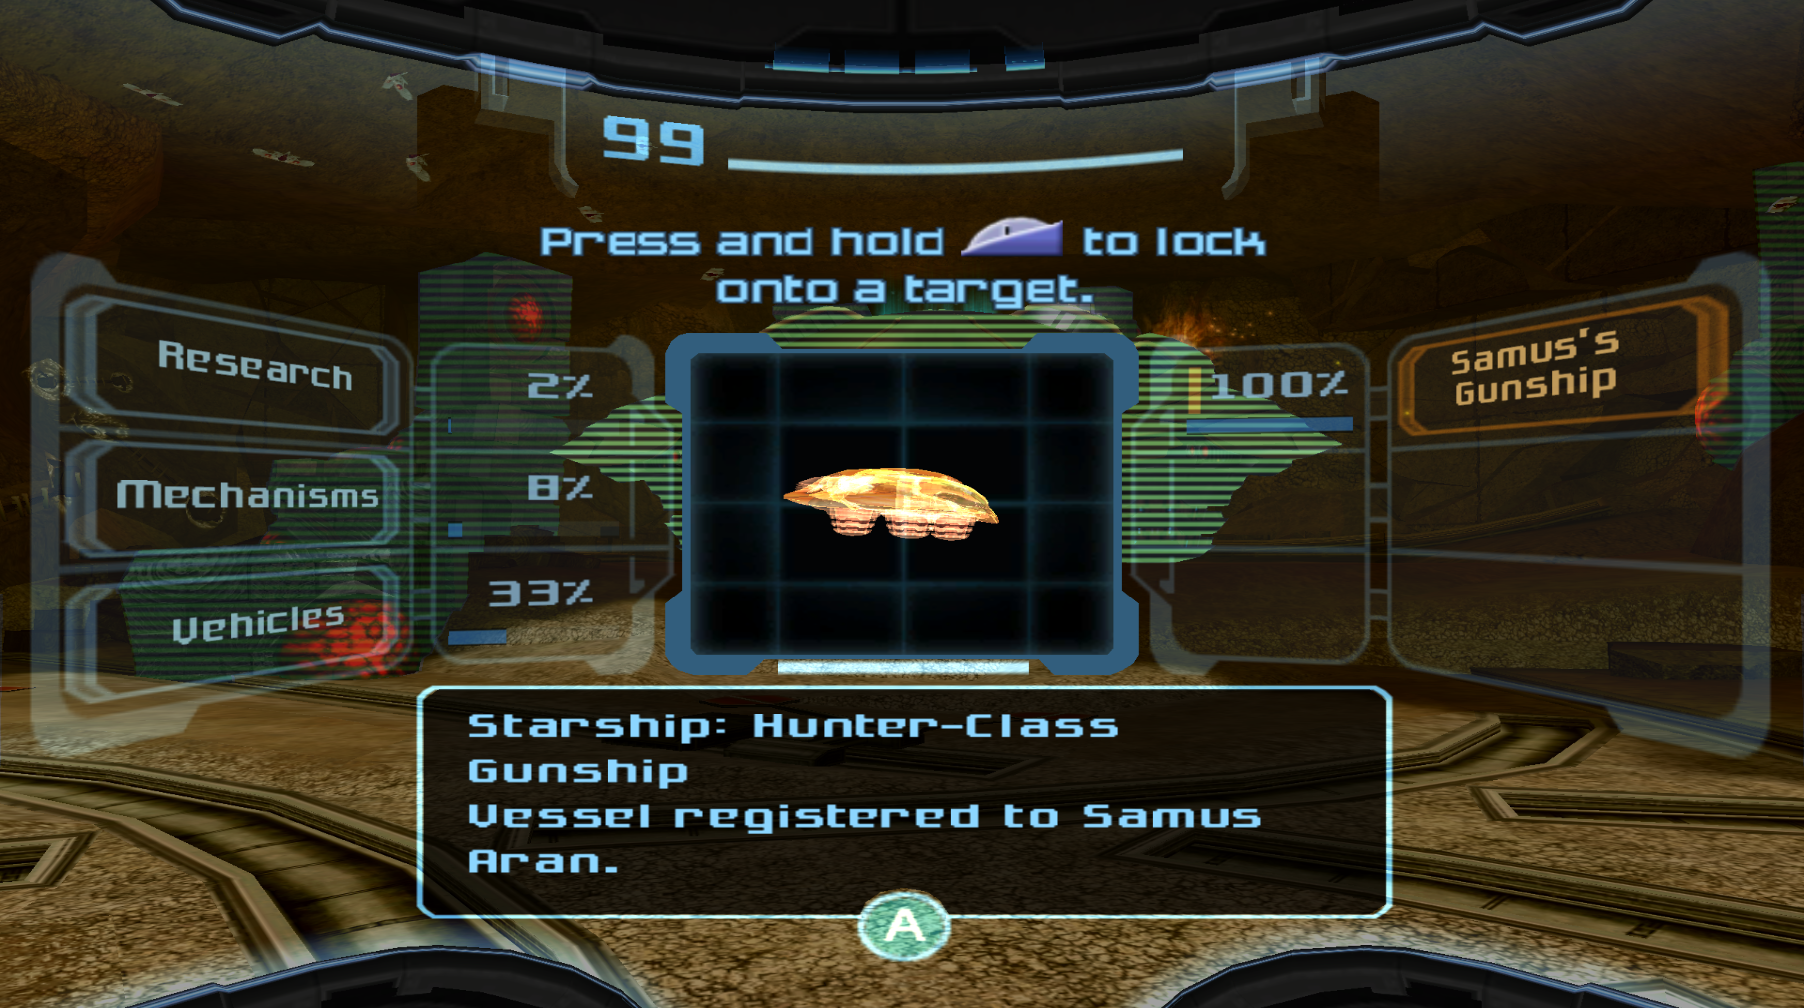
Samus’s Gunship
Location: Landing Site, Temple Grounds
Omega Analysis: After returning the energy to Agon Wastes’ Energy Controller, when you try to scan Samus’s ship, instead of being red, it will be blue and say something along the lines of “repairs are at 80%”. Your best bet is to scan your ship literally as soon as you start the game.
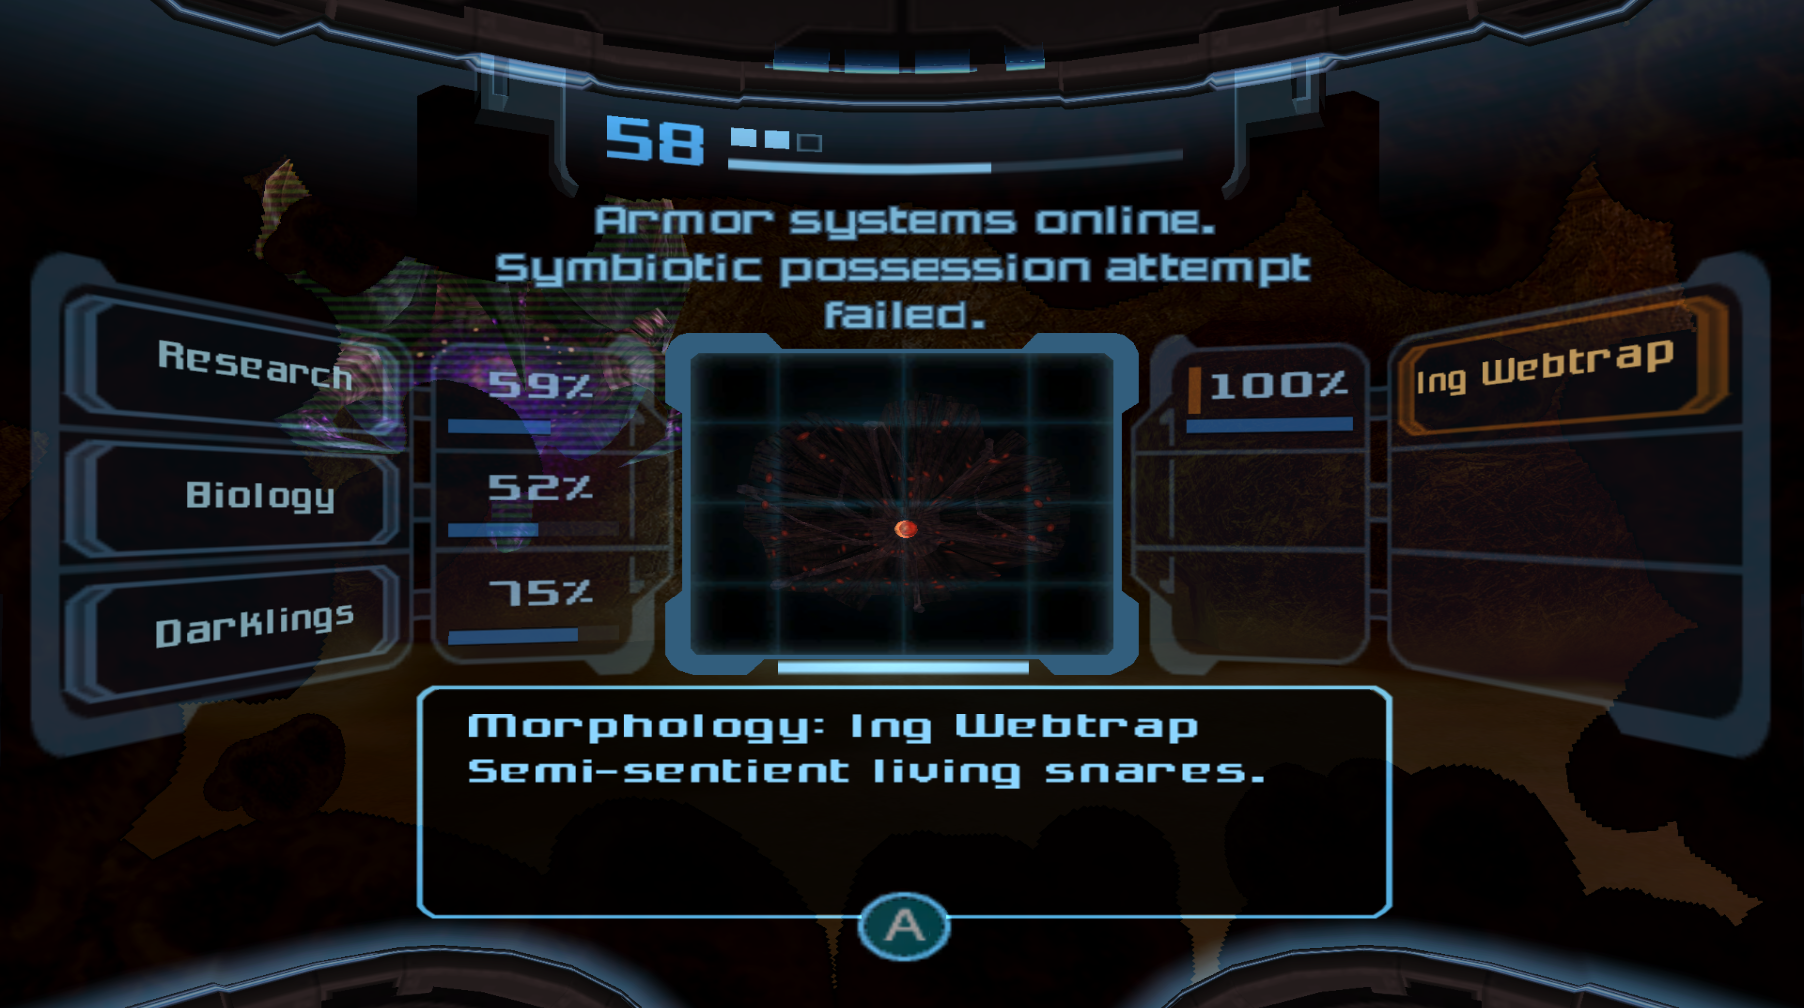
Ing Webtrap
Location: Batleground, Dark Agon Wastes
Omega Analysis: This is a pile of dark webbing that will cover all doors during your encounter with the number of Warrior Ing. This battle is your only opportunity to scan this, so make sure you do so.
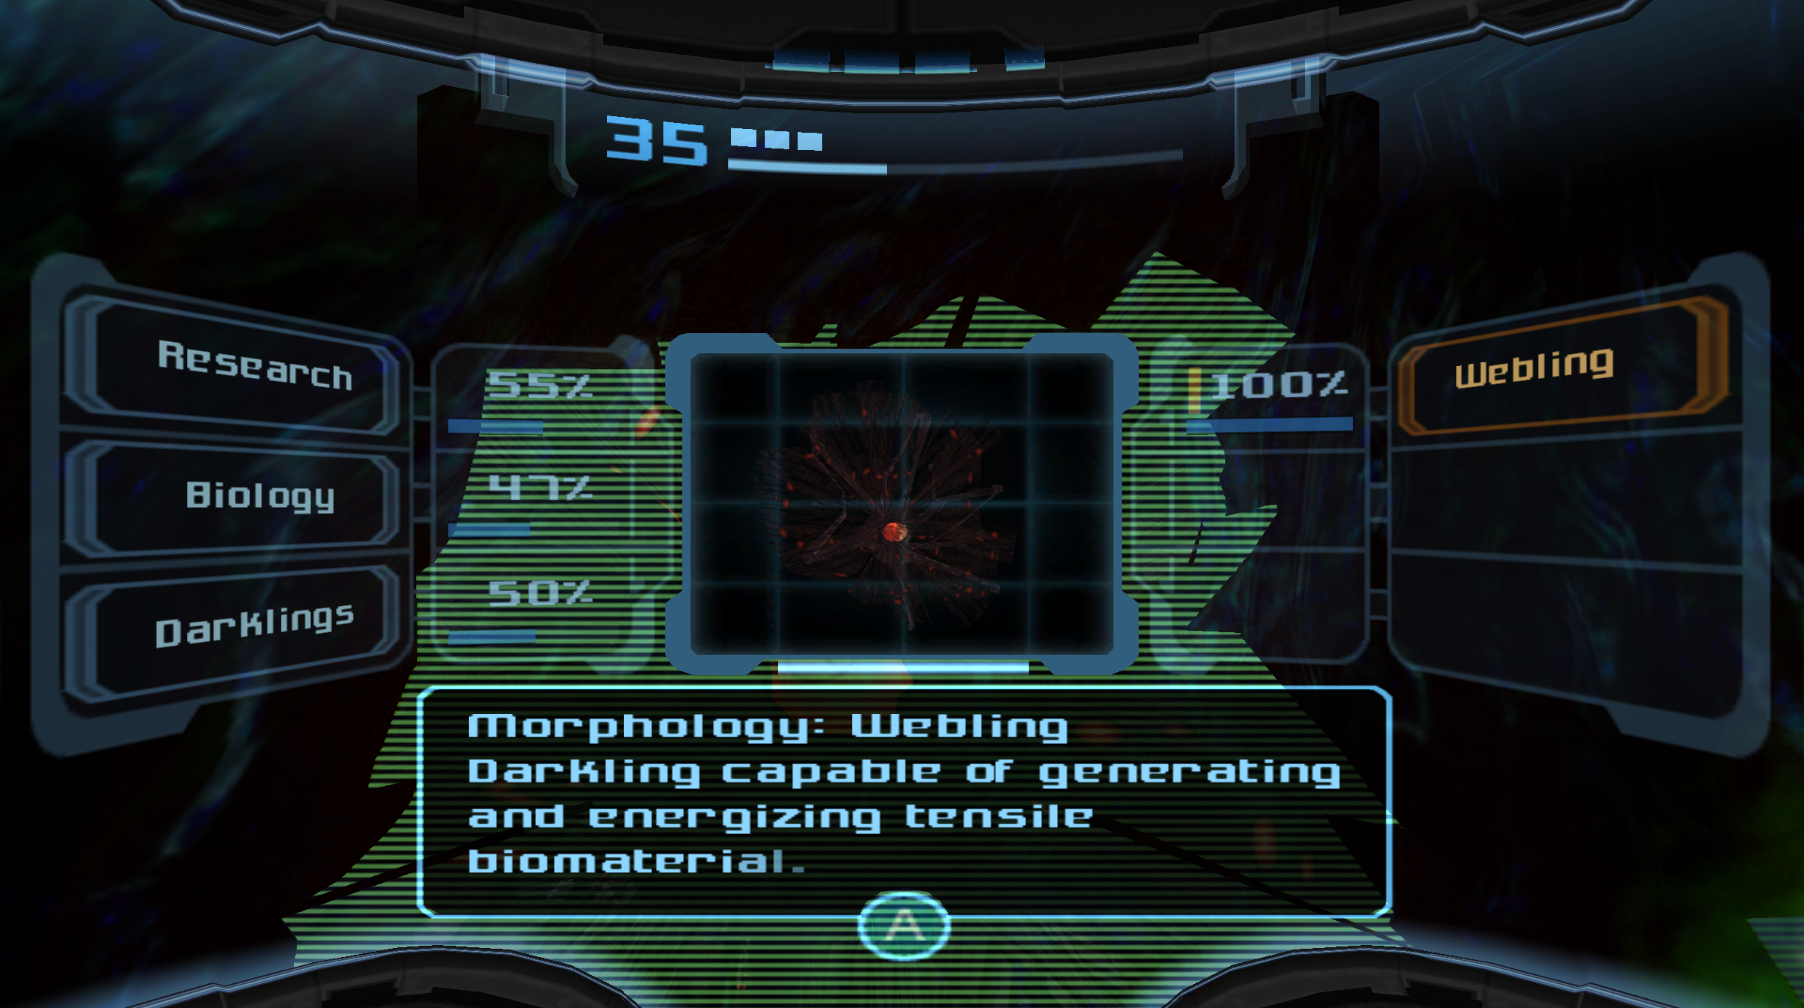
Webling
Location: Feeding Pit Access, Dark Agon Wastes
Omega Analysis: After acquiring the Light Beam, there are two of these meshy barriers in your way in the Feeding Pit. Once you destroy them with the Light Beam, they’re gone forever, so make sure you scan them.
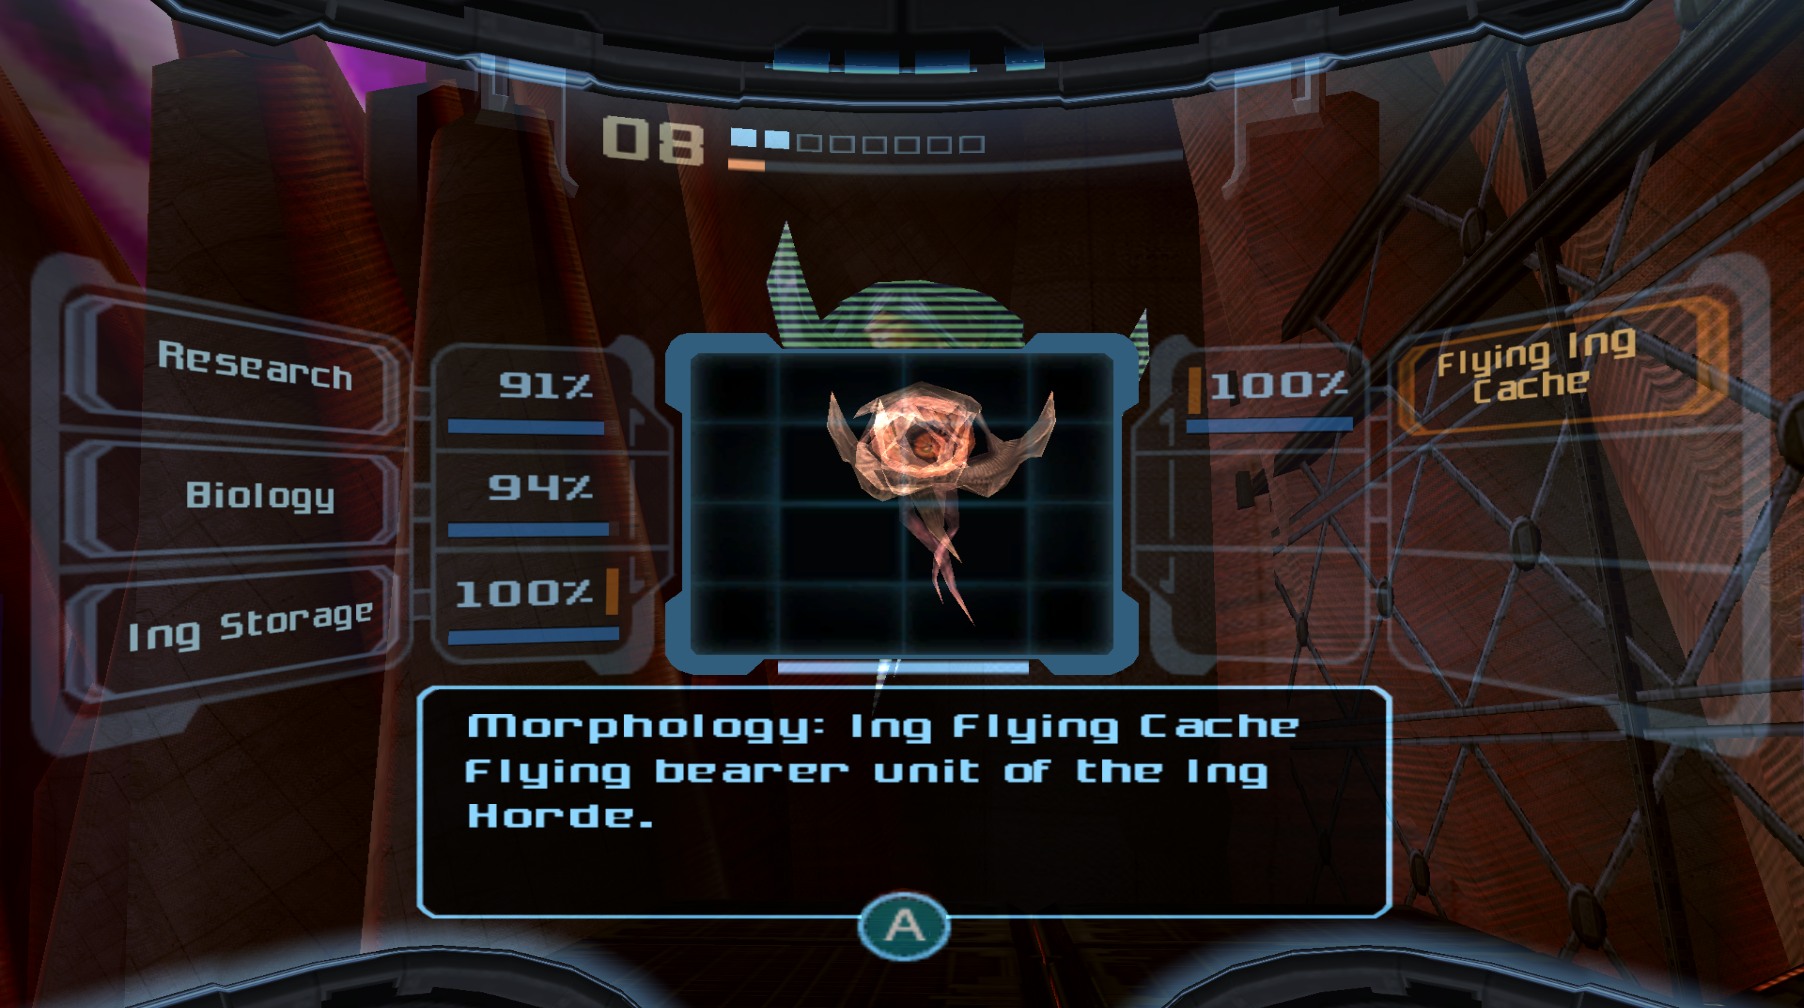
Flying Ing Cache
Location: All Areas
Omega Analysis: These are what the Sky Temple Keys are kept in. There are only nine of them, so be sure to scan one before you destroy it.
Mk VI Gate
Location: Temple Grounds
Omega Analysis: There are only two of these in the game, so make sure you scan them. You’ll scan a nearby console to raise the gates, and it’s worth noting you can still scan them immediately after while the gates in the ceiling. You can also scan one of these gates during your mini-boss fight with the Dark Missile Trooper.

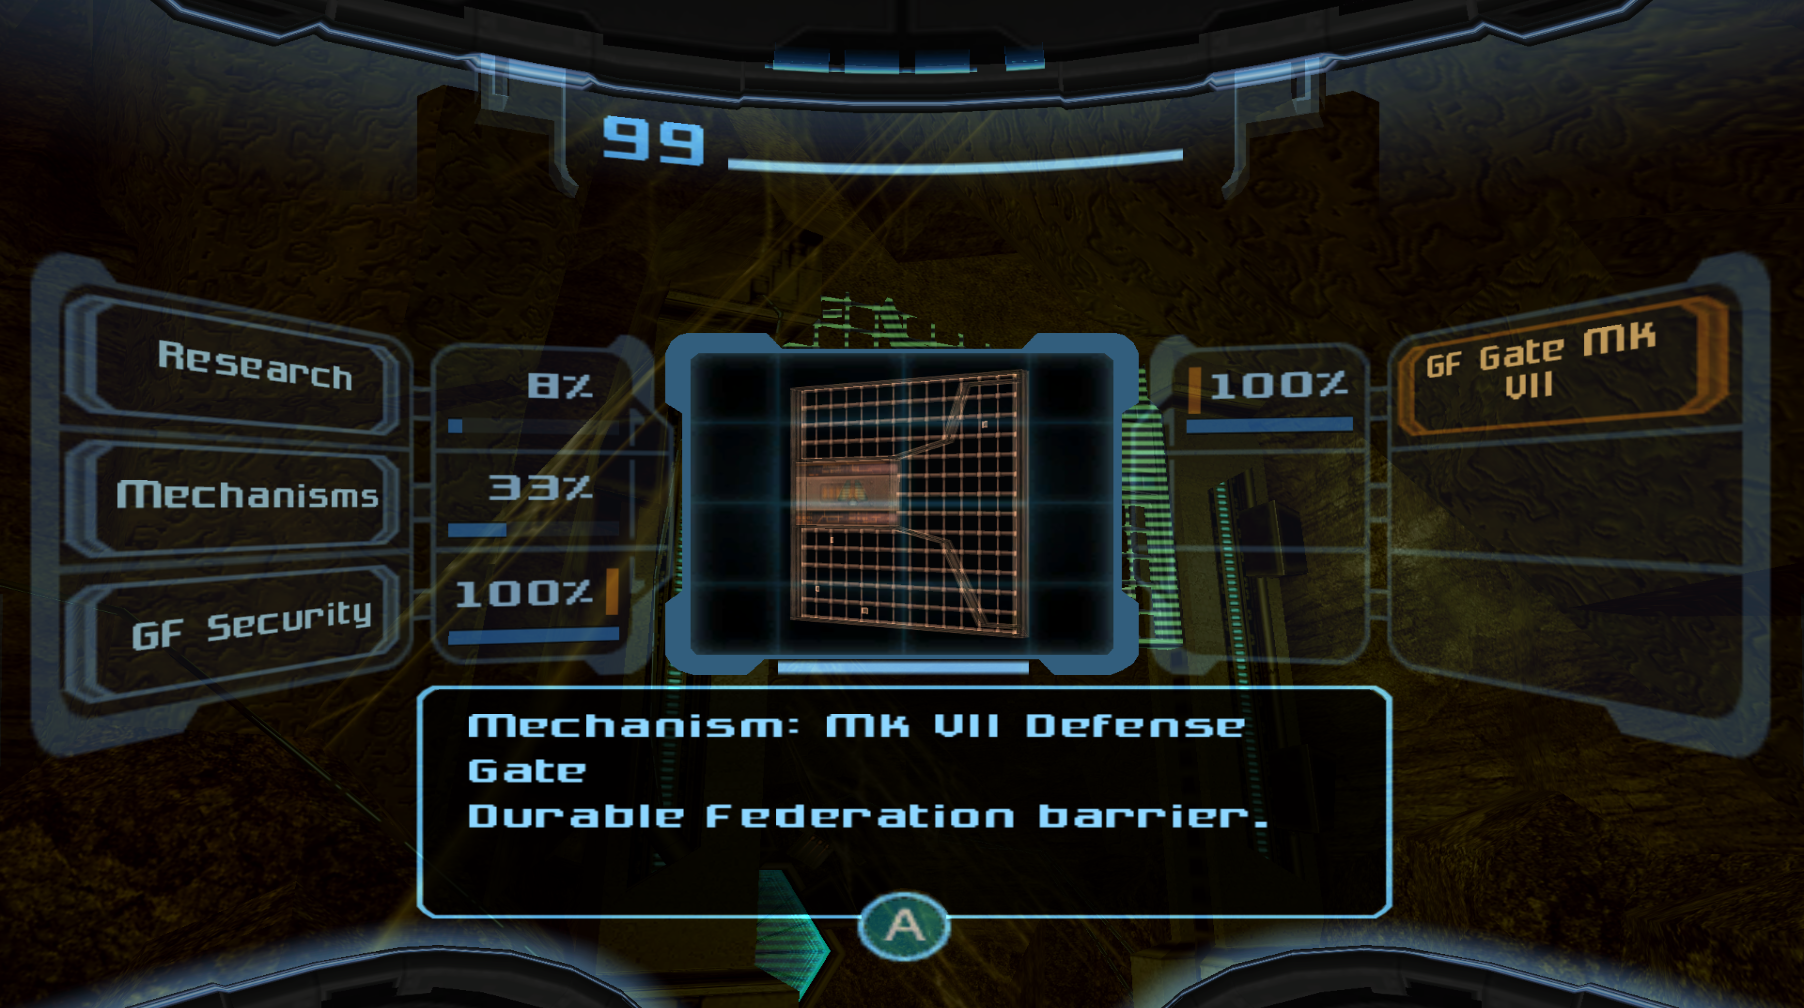
Mk VII Defense Gate
Location: Dynamo Chamber, Temple Grounds
Omega Analysis: Make sure to scan the gate before destroying it with a Power Bomb!
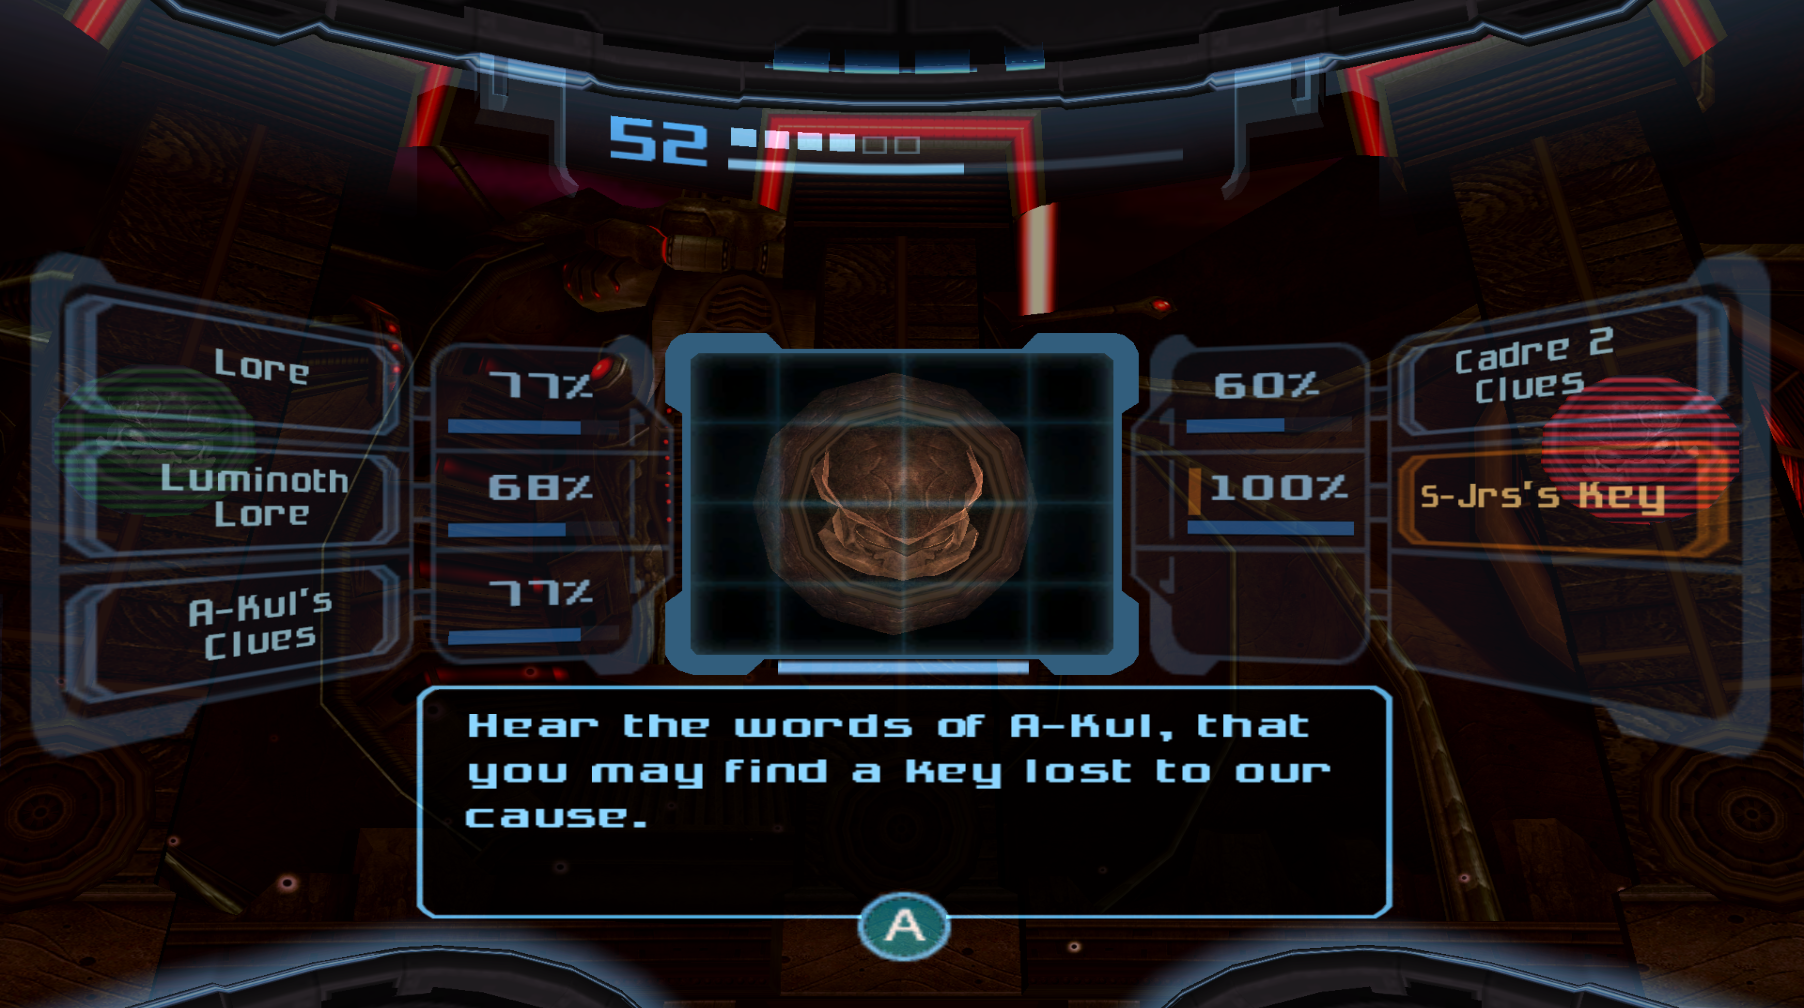
Lore
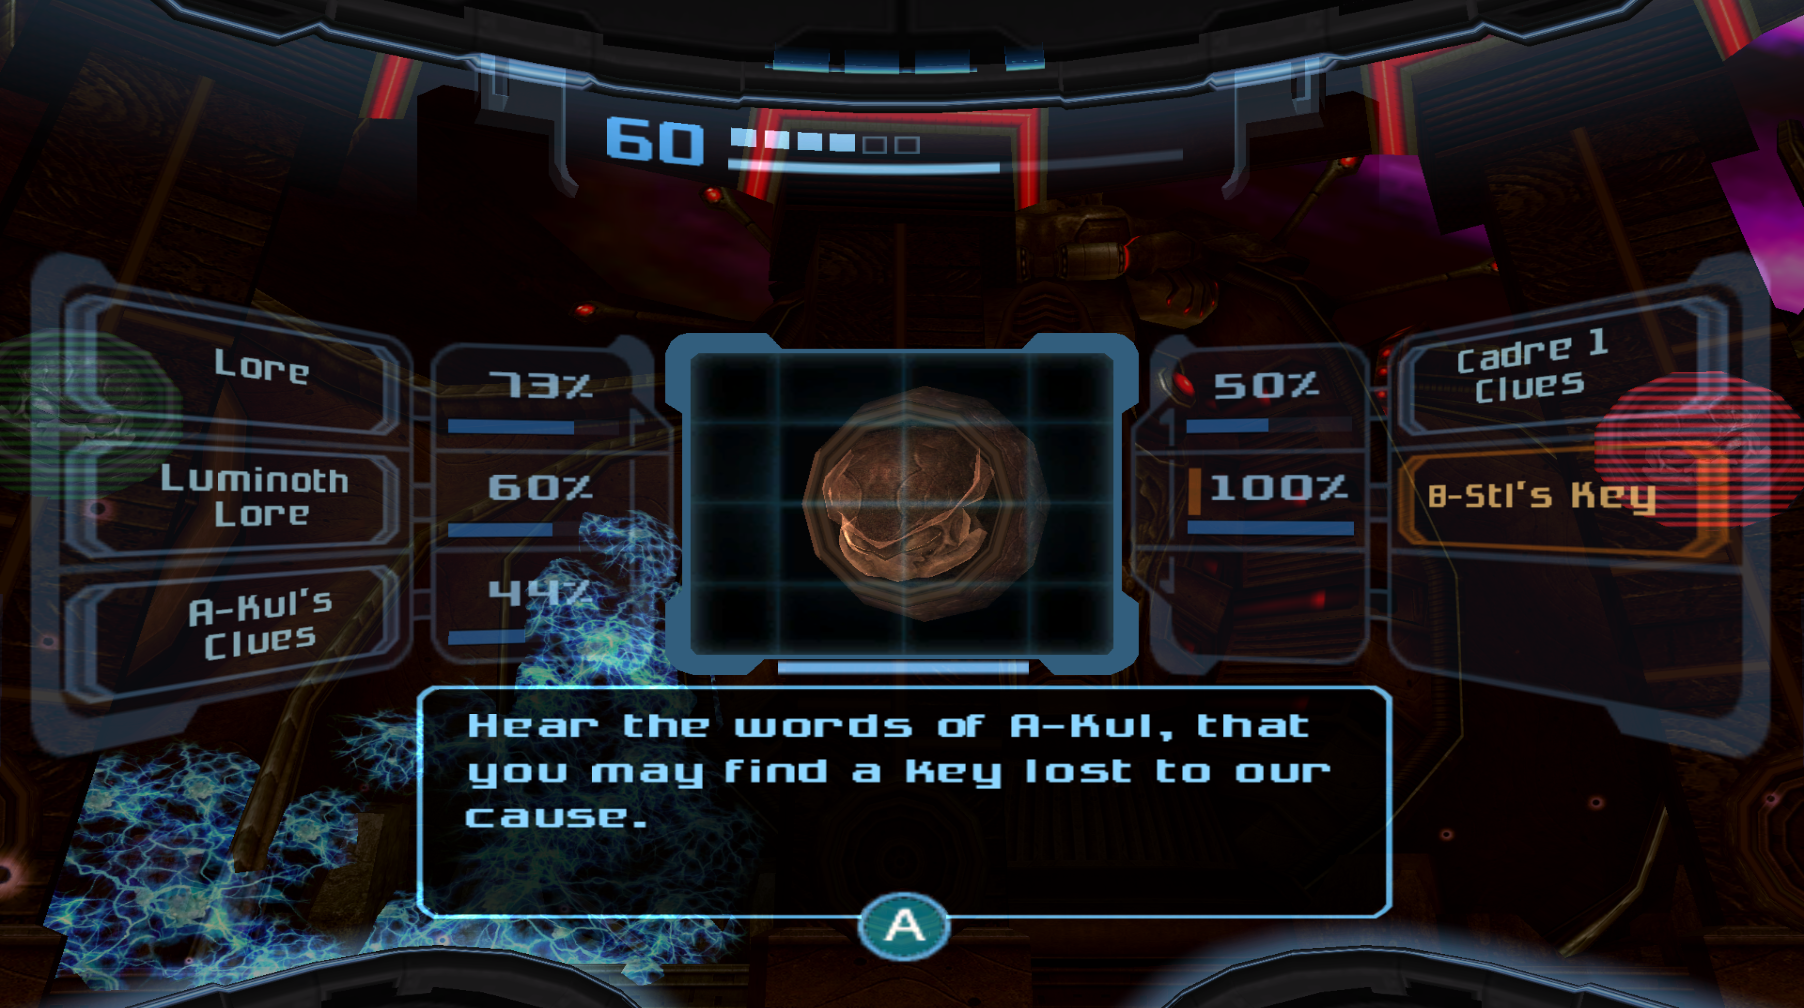
Omega Analysis: For the entirety of this section, you will want to make sure that you go to the Sky Temple Gateway BEFORE PLACING ANY SKY TEMPLE KEYS into their respective locks.
B-Stl’s Key
Location: Sky Temple Gateway, Sky Temple Grounds
G-Sch’s Key
Location: Sky Temple Gateway, Sky Temple Grounds

J-Stl’s Key
Location: Sky Temple Gateway, Sky Temple Grounds
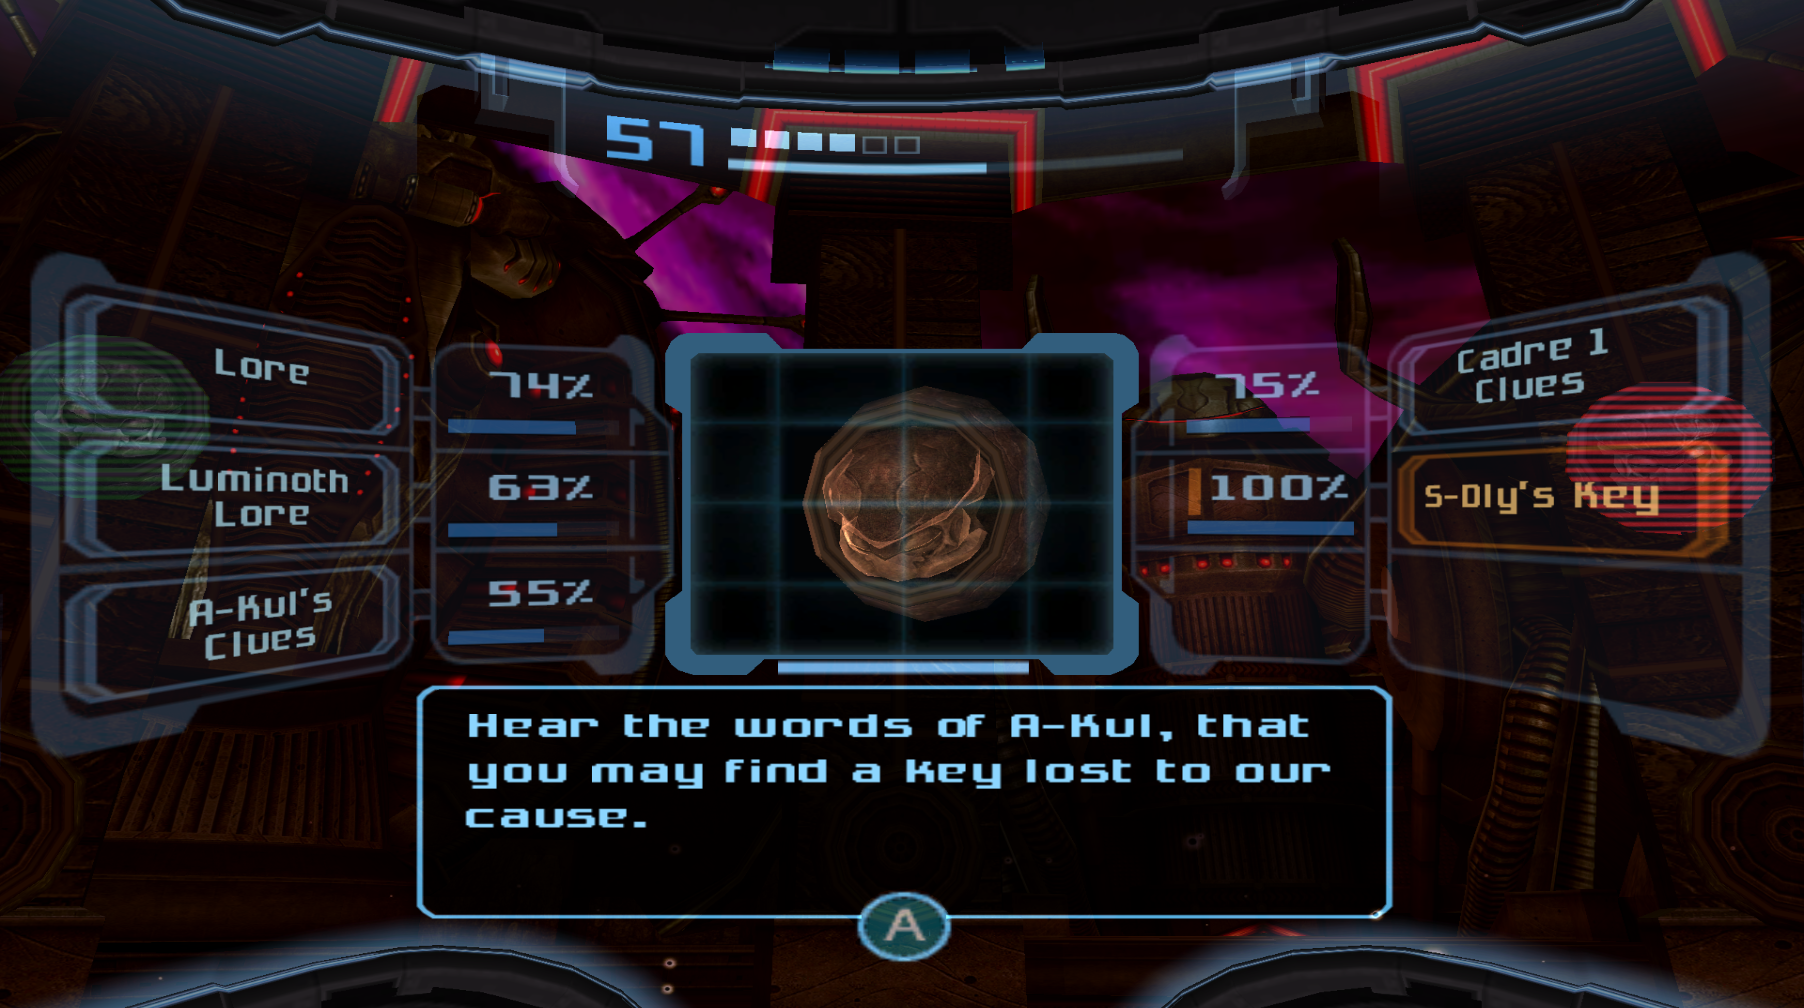
S-Dly’s Key
Location: Sky Temple Gateway, Sky Temple Grounds
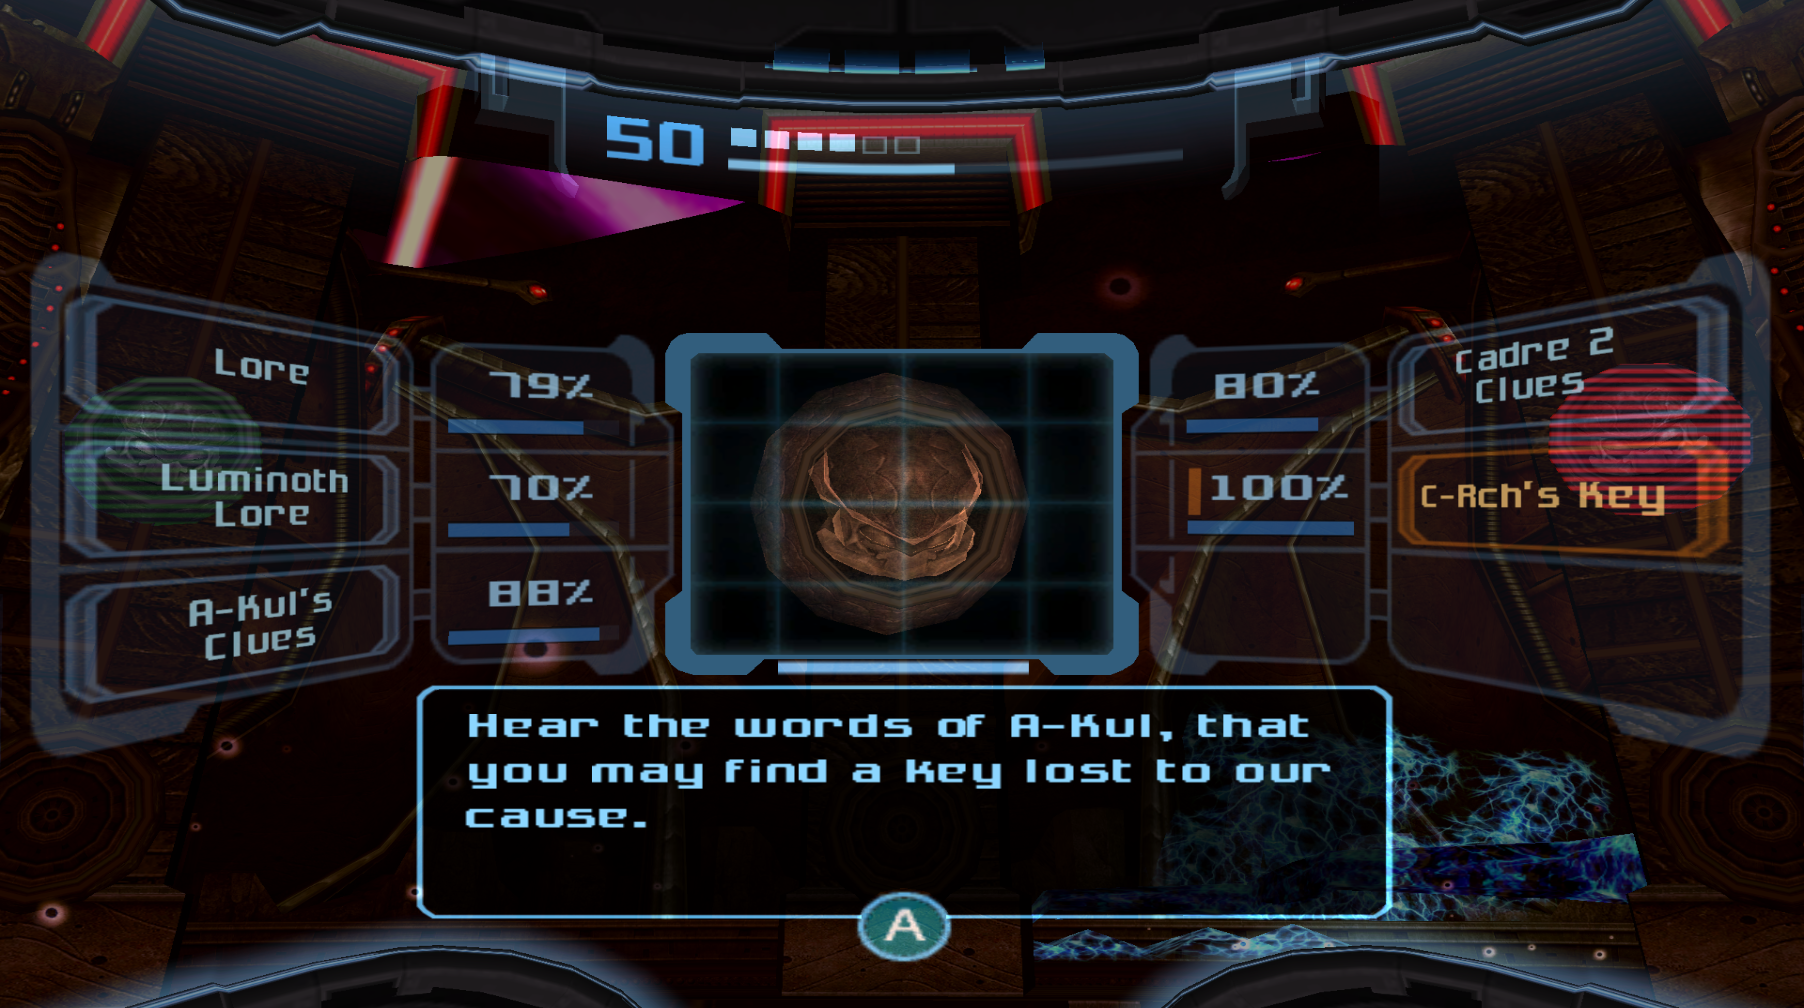
C-Rch’s Key
Location: Sky Temple Gateway, Sky Temple Grounds
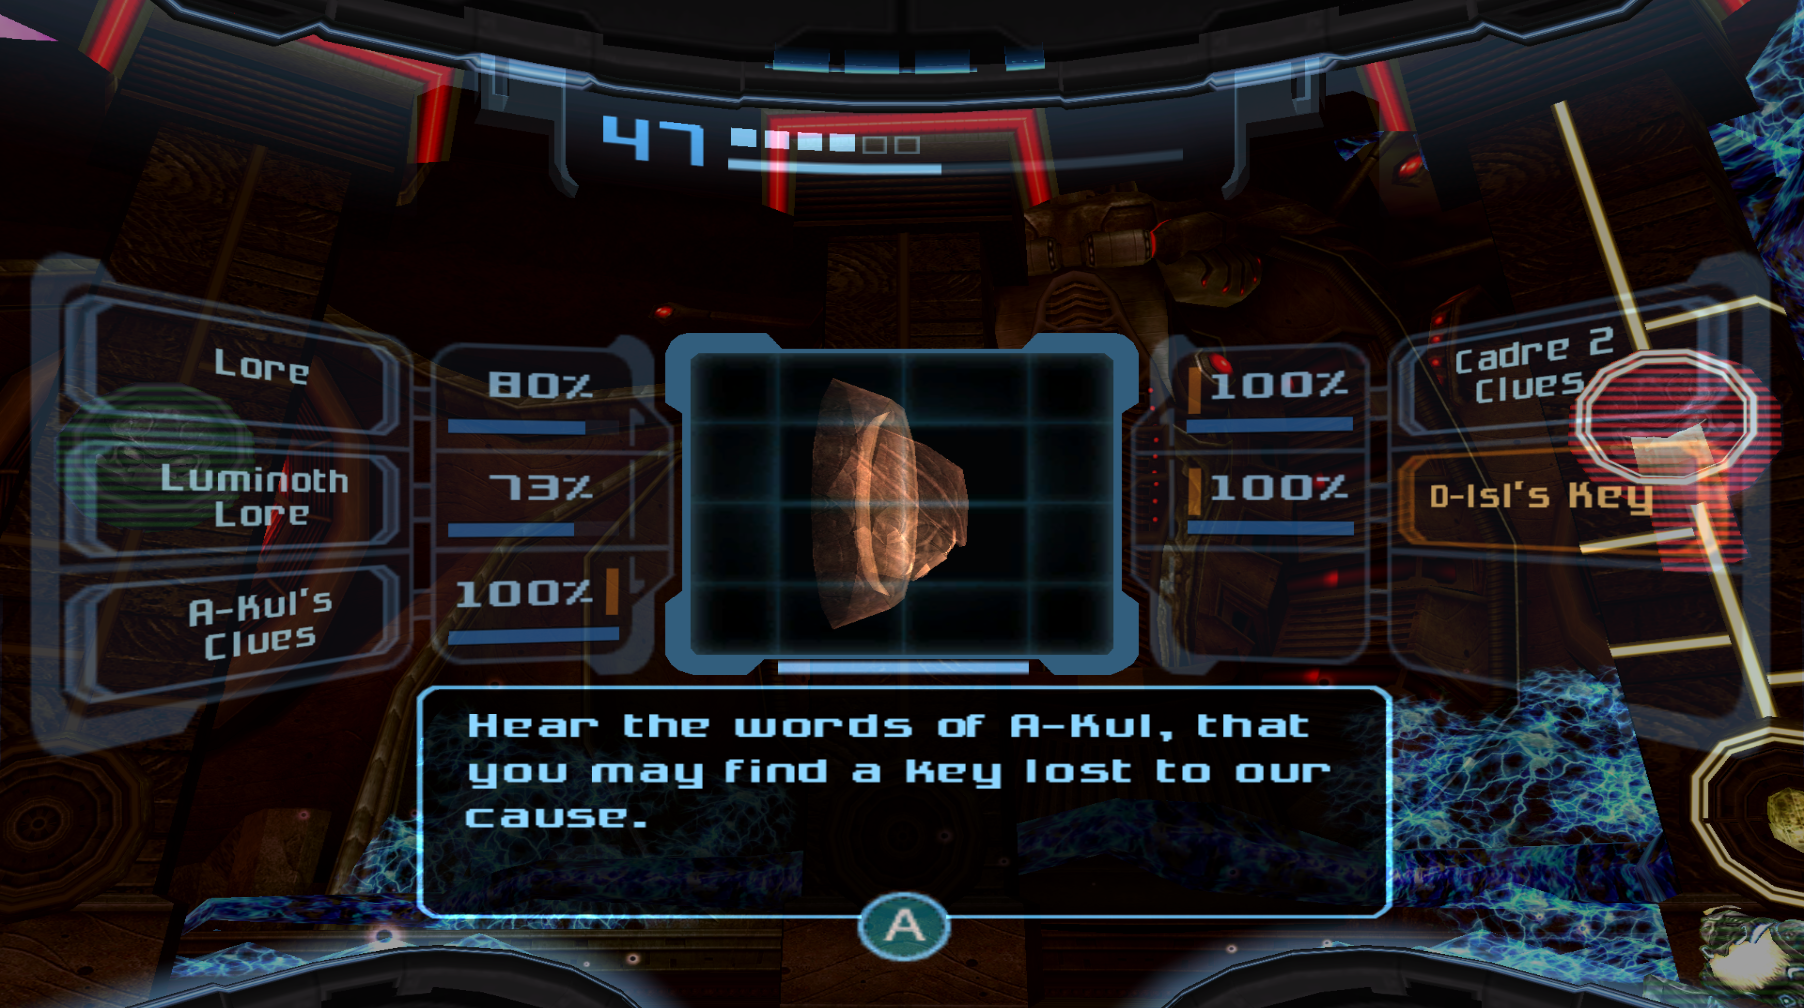
D-Isl’s Key
Location: Sky Temple Gateway, Sky Temple Grounds
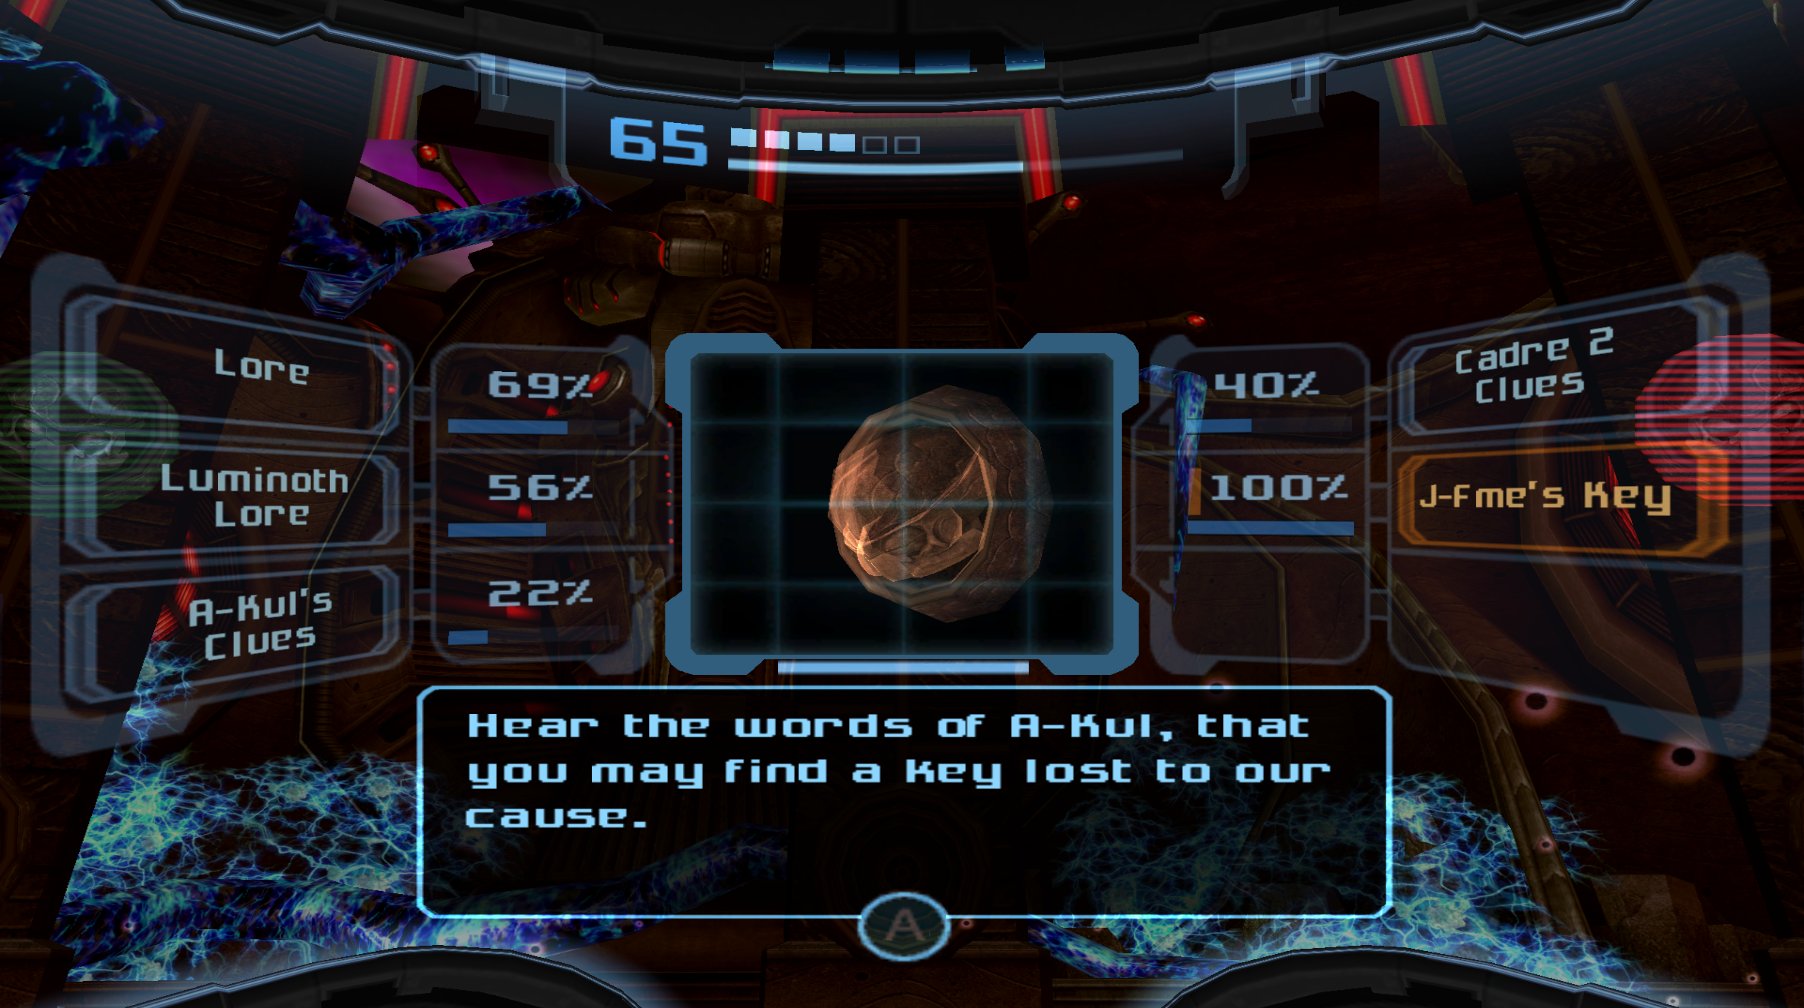
J-Fme’s Key
Location: Sky Temple Gateway, Sky Temple Grounds
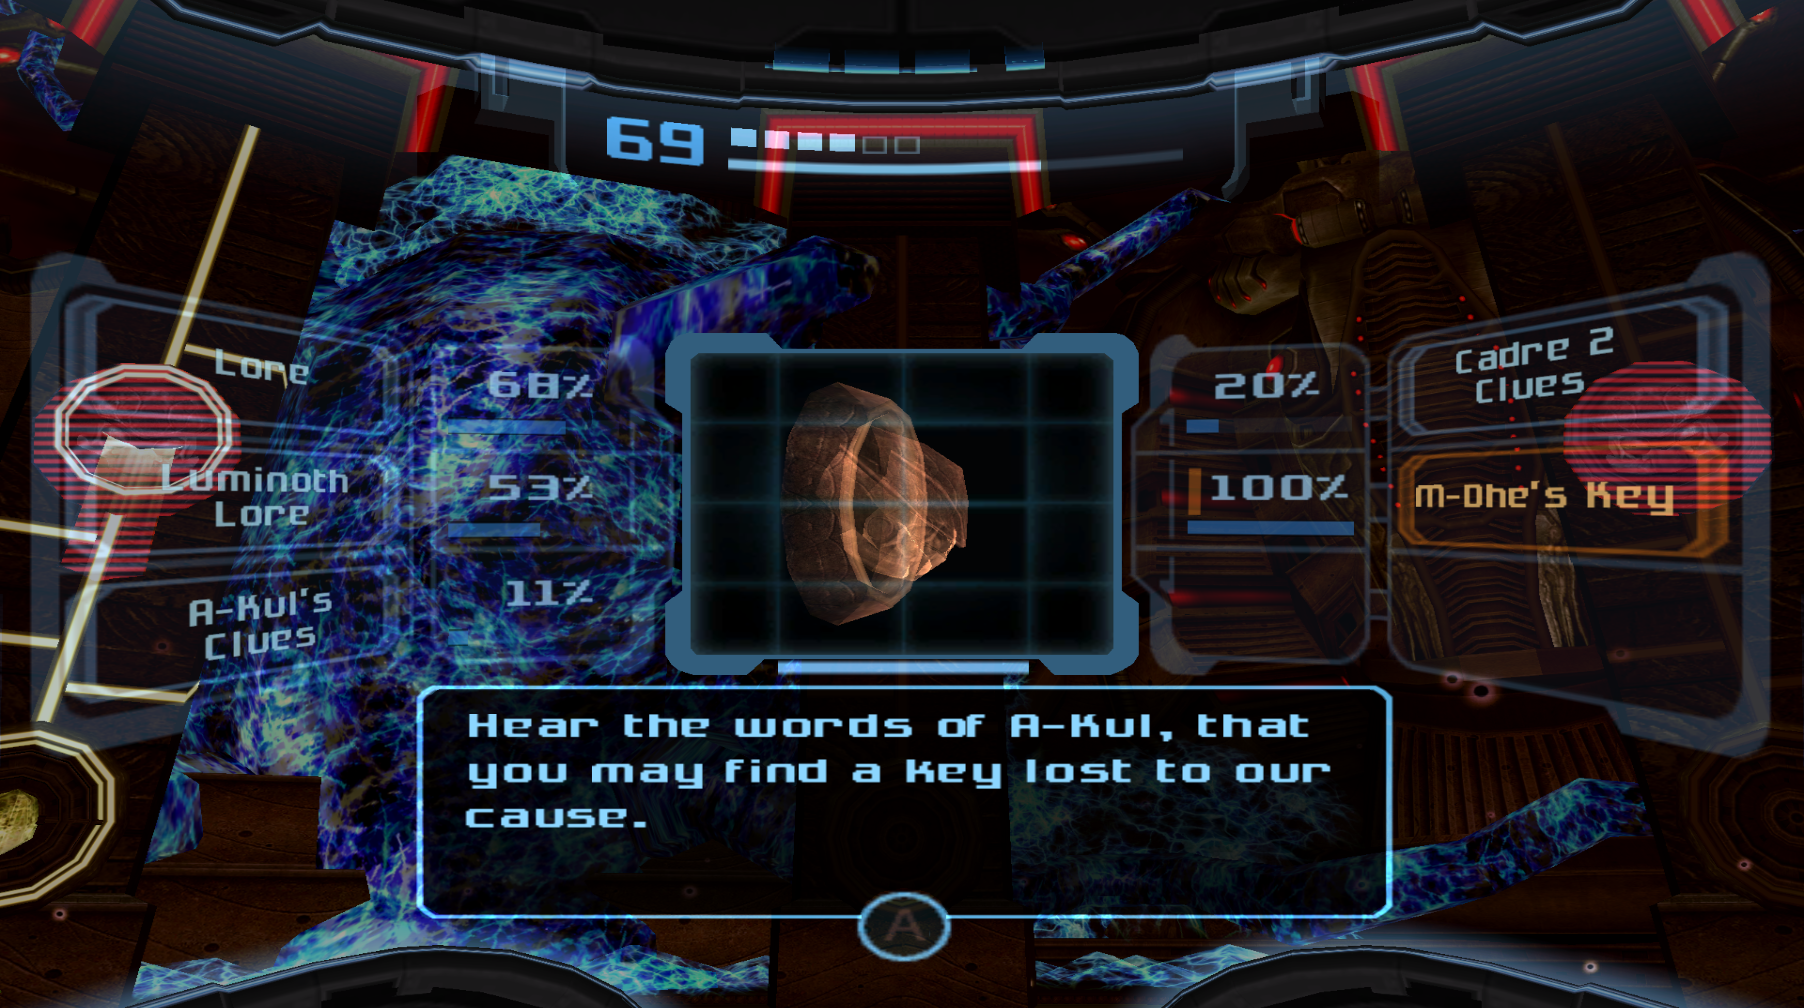
M-Dhe’s Key
Location: Sky Temple Gateway, Sky Temple Grounds
S-Jsr’s Key
Location: Sky Temple Gateway, Sky Temple Grounds