


Metroid Fusion Walkthrough – Sector 2: Unknown Saboteur
Walkthrough
- Biological Space Labs
- Sector 1 – Atmospheric Interference
- Sector 2 – Unknown Saboteur
- Sector 4 – Ultra-High Speed
- Sector 3 – Rogue Security
- Sector 6 – Frozen Parasites
- Sector 5 – Cold Arsenal
- Sector 3 – Meltdown
- Habitation Deck – Signs of Life
- Sector 5 – First Encounter
- Main Deck – Power Failure
- Sector 2 – Overgrown With Vegetation
- Sector 5 – The Nightmare Awakens
- Sector 4 – Diffusion
- Sector 6 – Revelations
- Sector 1 – Neo Ridley’s Cry
- Sweeping the B.S.L.
- The Final Confrontation
Level-1 Locks
Adam instructs us to head over to Sector 2 to investigate some abnormalities. Head up to the elevator from Sector 1 to the Main Deck, and then down the elevator into Sector 2.
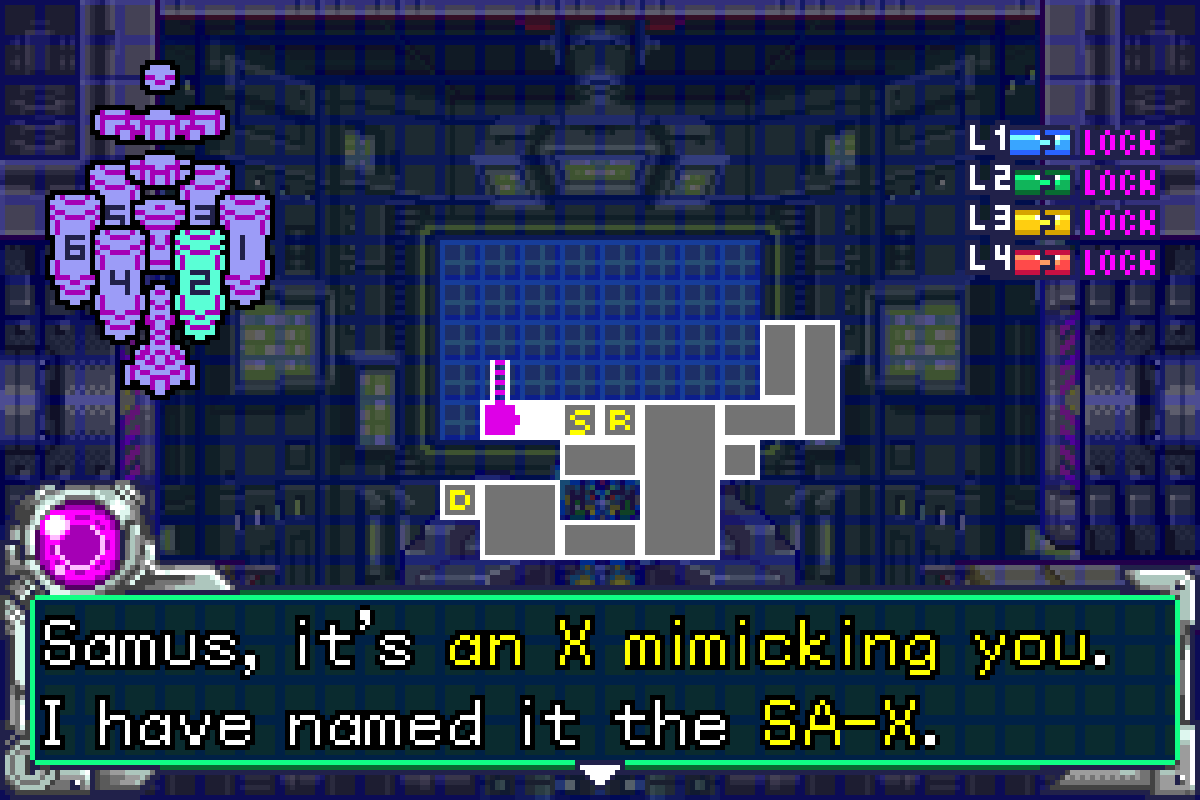
Once there, Adam will inform you about the SA-X and instruct you to unlock Level-1 door locks so you can download Morph Ball Bomb data. We’re going to have to find the Lock room on our own though, which seems kinda scary when we have a fully powered Samus clone walking around looking to eat us for dinner, but hey, you gotta do what you gotta do.
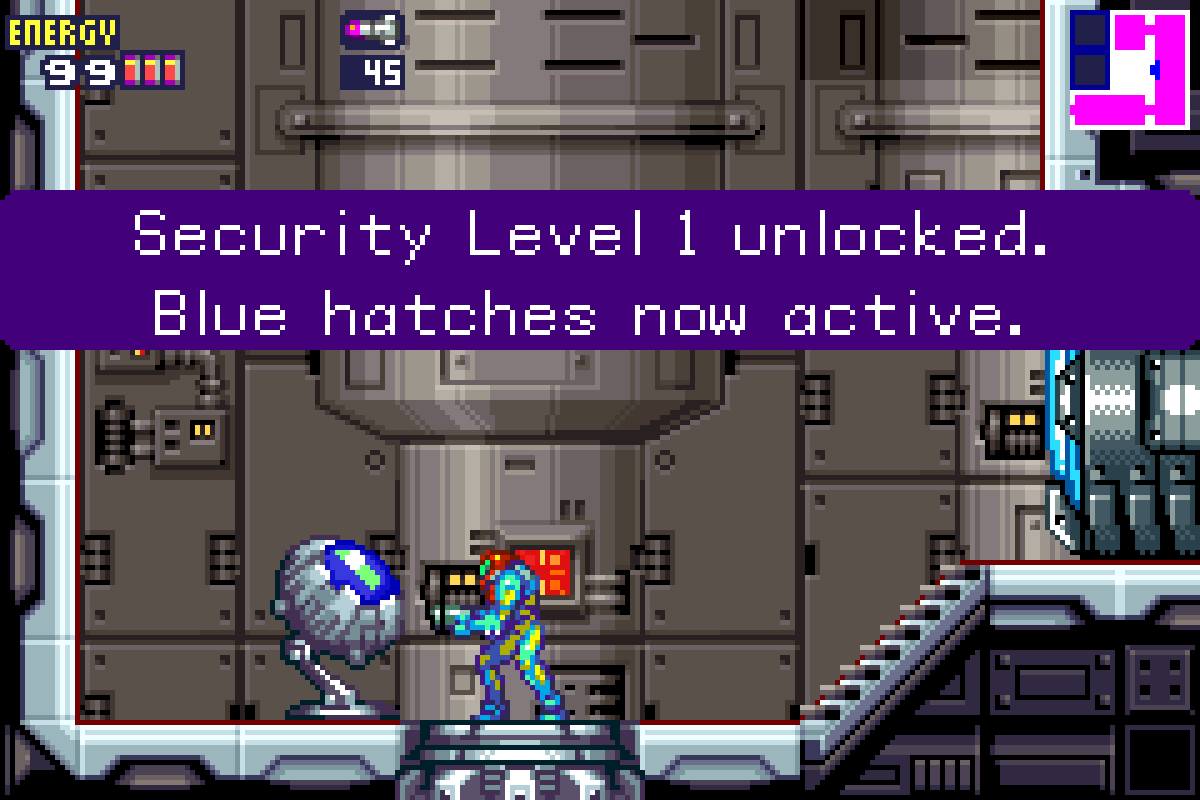
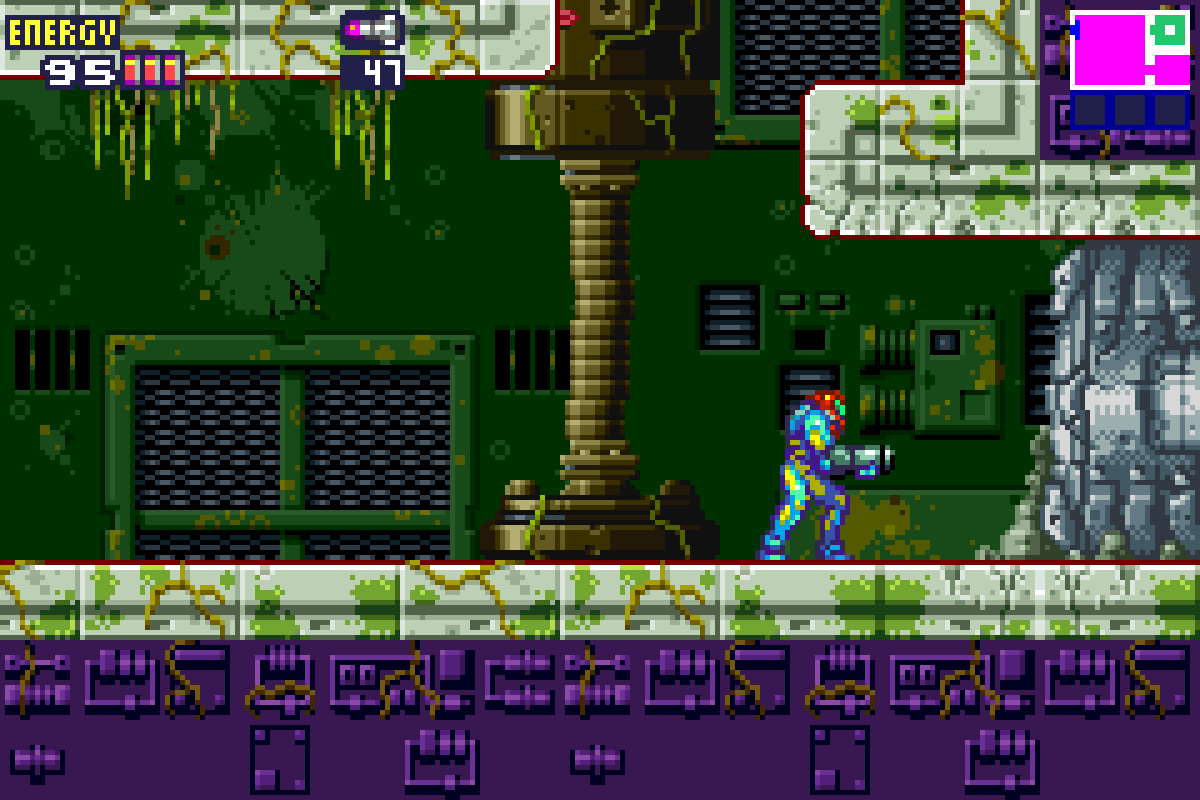
Blitz past the Save and Recharge Rooms and enter the first large room of Sector 2. Follow the path downwards, blasting away the blocks, and make your way back up to the upper right-hand door. Proceed through and you’ll find the rooms starting to look a little jungle-ier (that’s definitely not a word). Proceed up the vertical hallway, going past the blue doors, up to the top door on your right and enter. You’ll drop down into a Security Room; step into the locking mechanism and badaboom badabing, we’ve now unlocked Level 1 Security Locks. Every blue door will now be open for you to explore.
Make your way back towards the large room we started in. From there, exit the lower left-most door, heading towards the Data Room. You should have a fairly clear path; eliminate any Reos as needed and jump up to the Data Room. Step inside the mechanism and download the BOMBS.
Footsteps
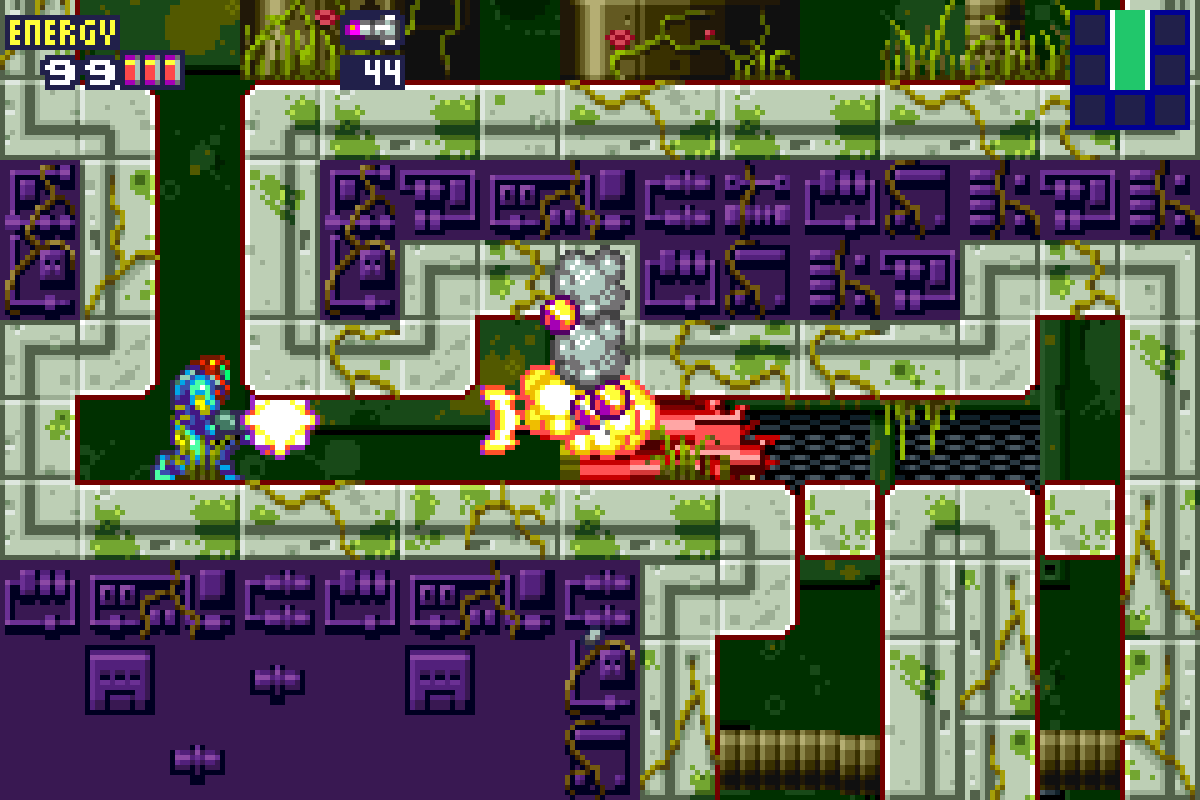
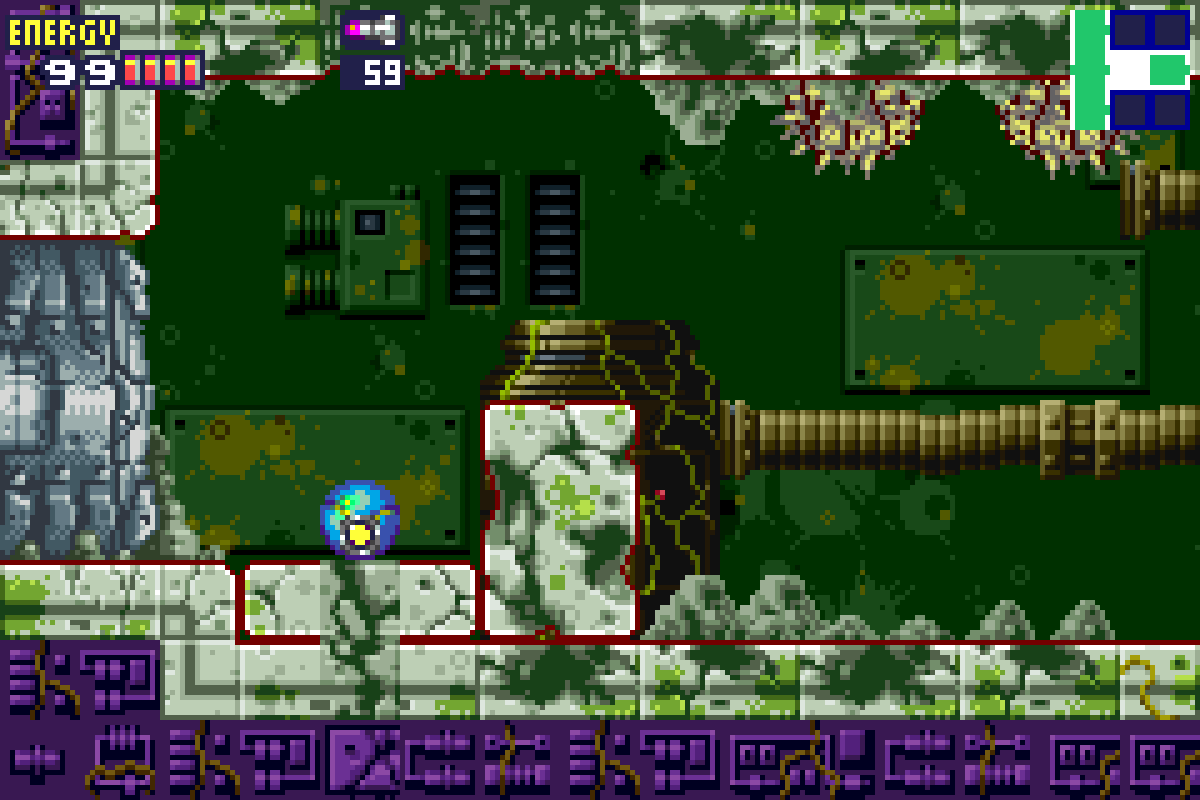
Now that we have the bombs, there are lots of new areas available to us to explore and upgrade, but before we can get anywhere, there’s a loud explosion and some ominous footsteps. The doorway to this room has been destroyed by the SA-X, so we’ll have to find another way out. First things first though, in the upper-right ledge, you’ll notice a small line of blocks on the bottom that is just waiting to be bombed. Bomb the wall, roll through and grab MISSILE EXPANSION #8.
After you’ve collected the Missiles, roll back out and towards the lower left-hand side of the room. Lay a bomb and you’ll see a small tunnel for you to fall through. Drop down, roll through and drop to the room below. There’s a Save Room to your right, so use that if you need, and then proceed through the door to your left. You’ll now be in a vertical hallway that you can either go up or down in. First, we’re going to go up.
Wall jump to the upper platform, crouch and face left directly towards the wall. You’ll see a square tile; line it up and blast it with a Missile. Jump over, grab the ledge and bomb your way through. You’ll be in a large room with a seemingly unreachable Missile Expansion. Worry not though – see that single block sticking out of the ground? Go one, two, three steps to the left of it, lay a bomb, and a metallic spire will rise out of the ground, allowing you to jump up and grab MISSILE EXPANSION #9.
Exit this room and make your way back to the vertical hallway, using the Morph Ball bombs to press downward. Be careful not to get stuck in the one small tunnel with those nasty red slugs crawling on you; they can hit hard and if your timing on the Morph Ball bomb isn’t right, you can end up stuck in close quarters with them. Once you get to the bottom, exit left, and then exit right out of the following room.
You’ll now find yourself in a big, planty room (let’s just call it the Plant Room for reference’s sake). Work your way down, but heads up, there are a few enemies in here we’ll want to take note of. First is the Dessgeega; we’ve seen him before, but he’s gonna hit harder than you might remember, and he shoots out bullets going sideways, so watch out. Second, at the bottom, you’ll see your standard red slugs (they’re called Zero’s, but I just like calling ‘em slugs) but you’ll also notice a single blue one. When you see a blue version of an enemy, know that it moves faster, hits harder, and takes way more hits to die, though at least you’ll be rewarded with a red X. With this particular blue slug, you’ll probably need a dozen Missiles to kill it. Once he’s gone, don’t leave this little alcove yet. Bomb the floor on the rightmost side, right under the ledge to get out, and the ground will give away, leading you down to find MISSILE EXPANSION #10.
Exit the Plant Room through the lower right door and you’ll notice we’re back to our cold, steely, spaceship aesthetic. Once you find yourself between the two large platforms of this room, bomb the floor again and another metallic spire will rise up.
You’ll now be in a long vertical room that I’m going to nickname the Plant Shaft for reference (man, Nintendo really needs to start naming the individual rooms in 2D Metroid games. Plant Shaft is pretty lousy, I know, but I work with what I’ve got). There are a ton of doors that are open to us here, probably more than at any point in the game yet, but we’ll be picky about where we go so we can maximize our time.
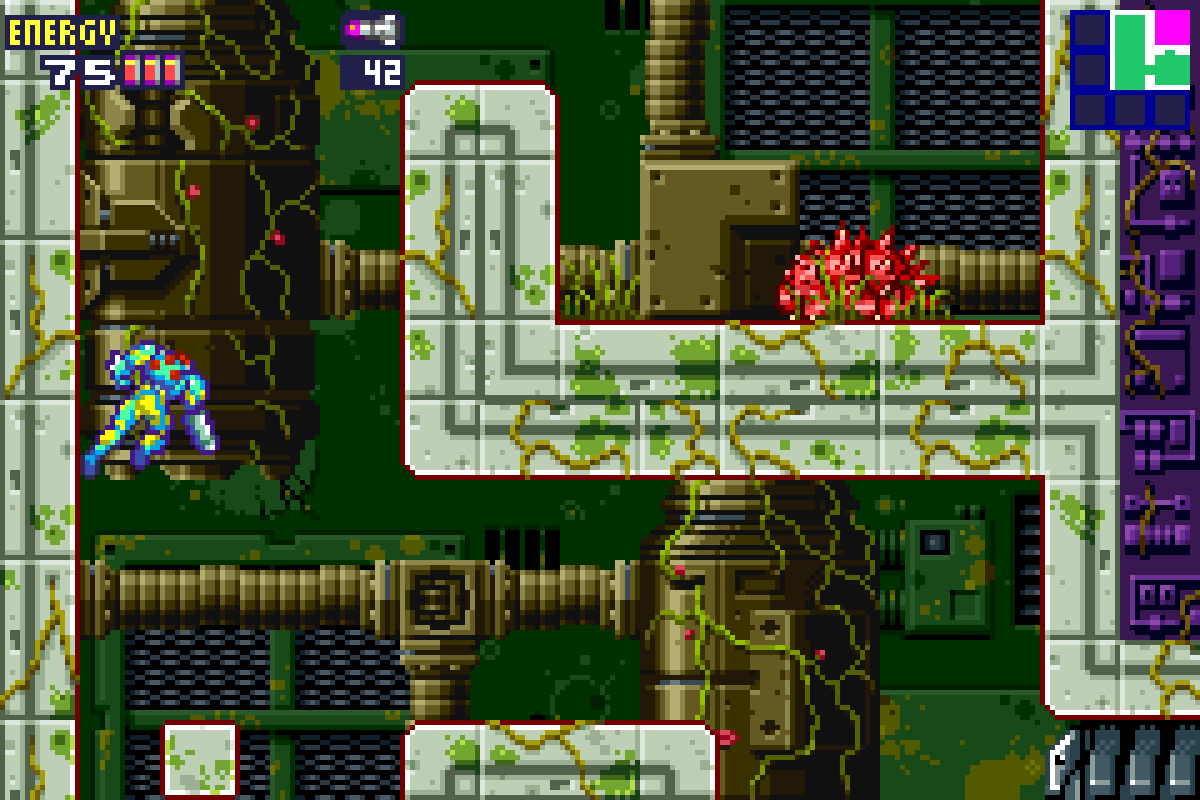
First things first, directly opposite the door you entered the Plant Shaft in is a door leading to a hallway that will take you to a Save Room. Use it if you want. Back in the Plant Shaft, even though there are tons of doors for us to potentially go through, the one we want is the third from the ground up on the right-hand side (the one behind the pillar). Go through here, being careful of the Dessgeega and slugs, and you’ll be in another long vertical hallway. Directly opposite you will be a Save Room; save your game, and then pass through the Save Room two rooms and grab ENERGY TANK #4.
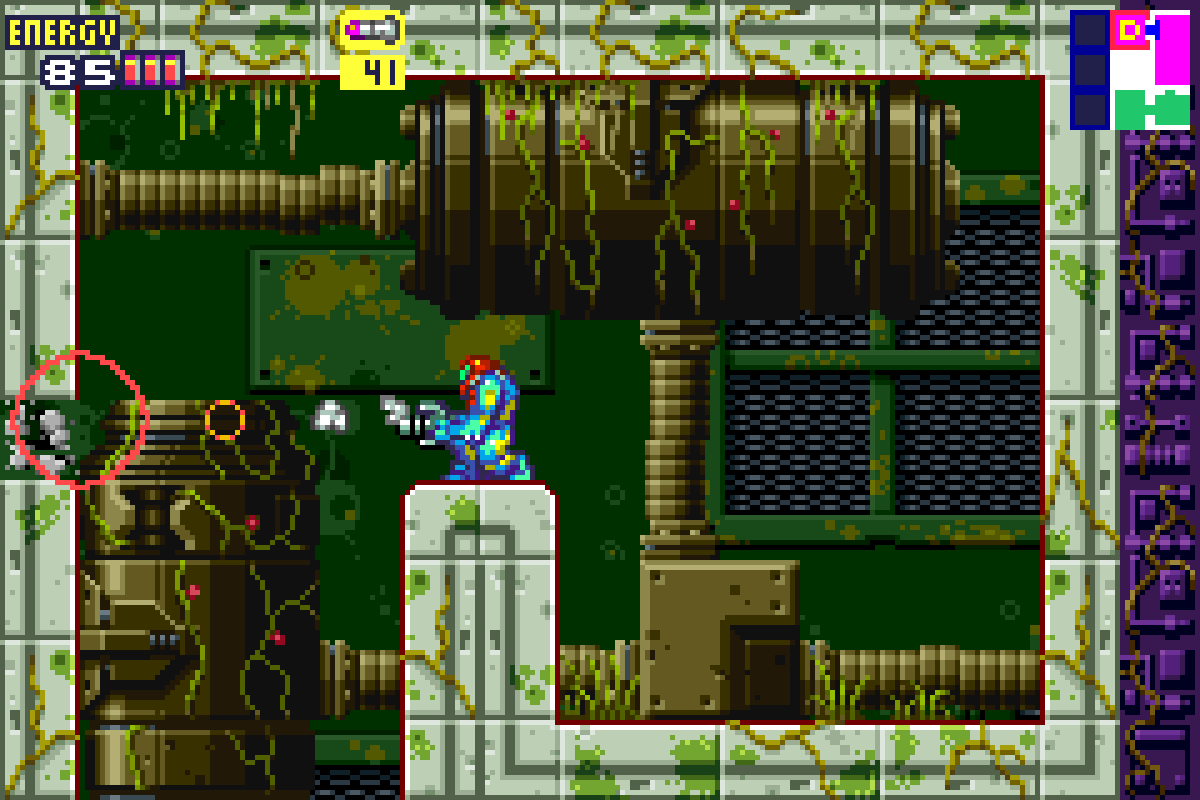
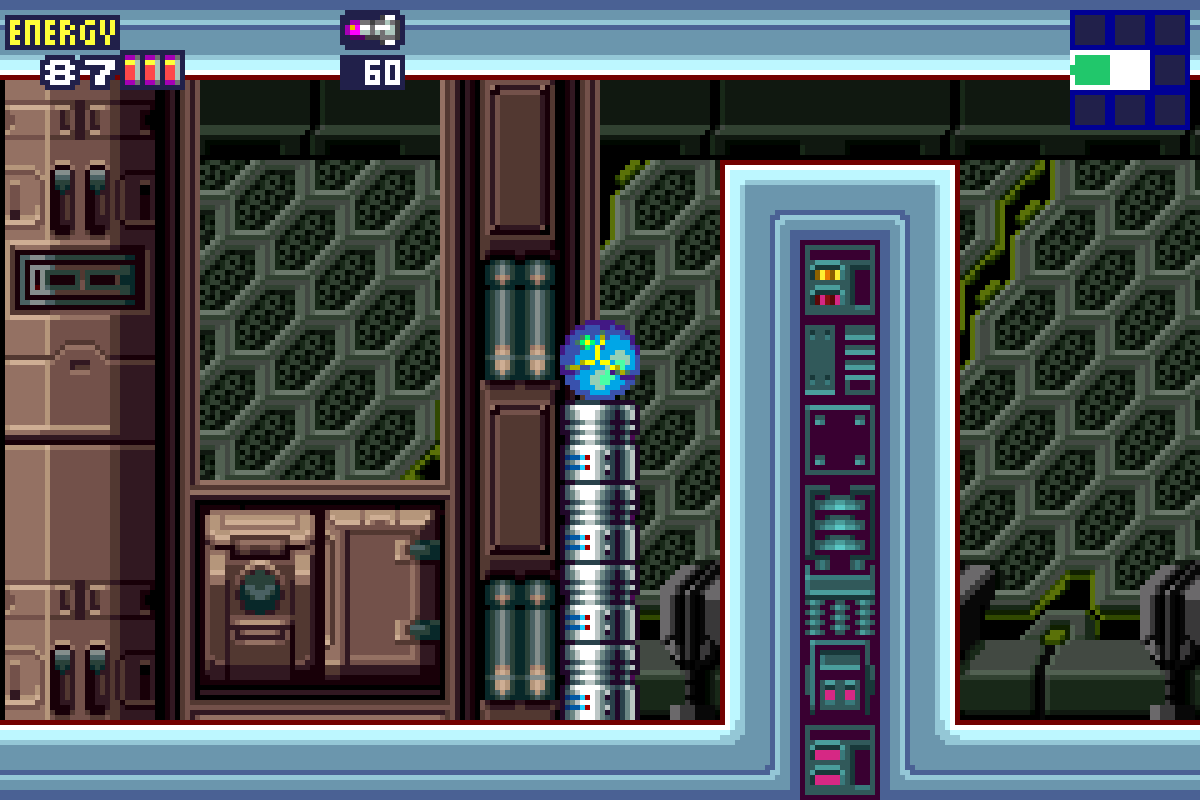
After grabbing the Tank, roll over to the lower portion of this same room and bomb the floors. You’ll find yourself standing right in front of a Gadora. Blast it open and get ready…
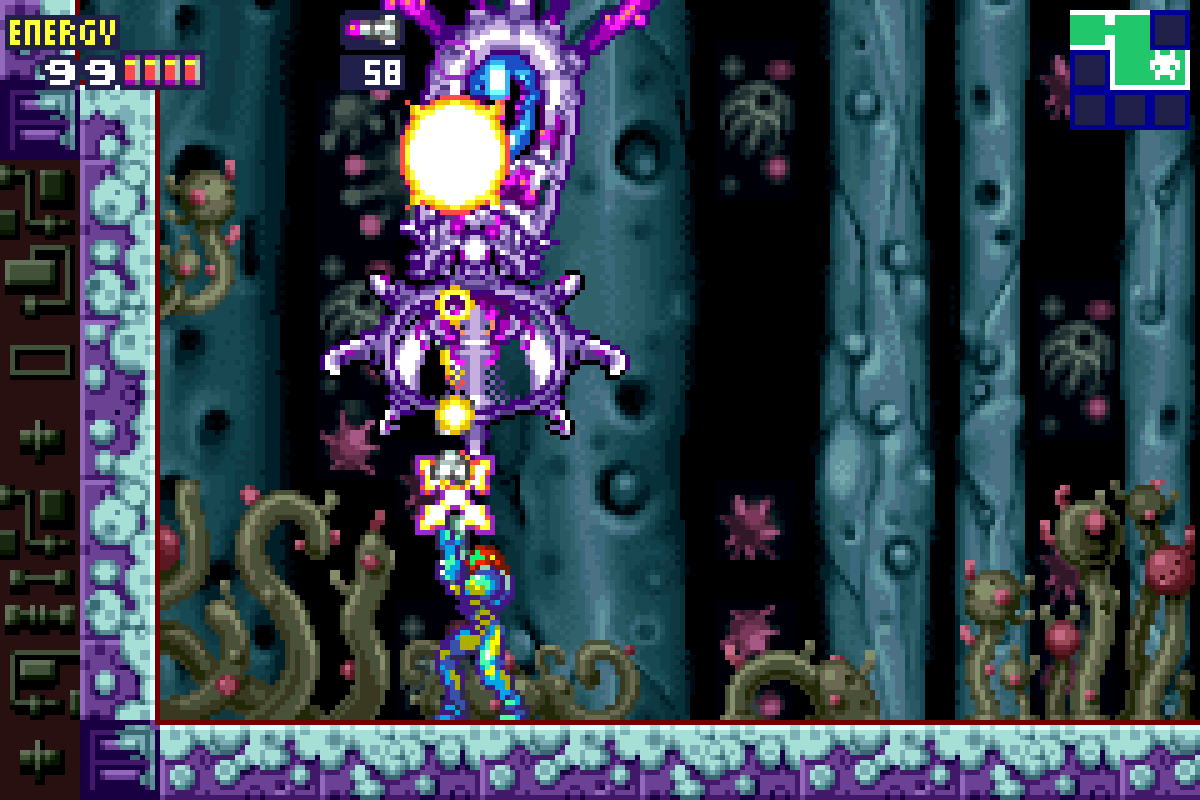
Zazabi-X
Well, this is certainly an interesting looking fella…
Zazabi is a large, cylinder-esque monster with one heck of a head of hair. He has a giant eyeball, and a mouth that also doubles as feet, which let him jump all over the place.
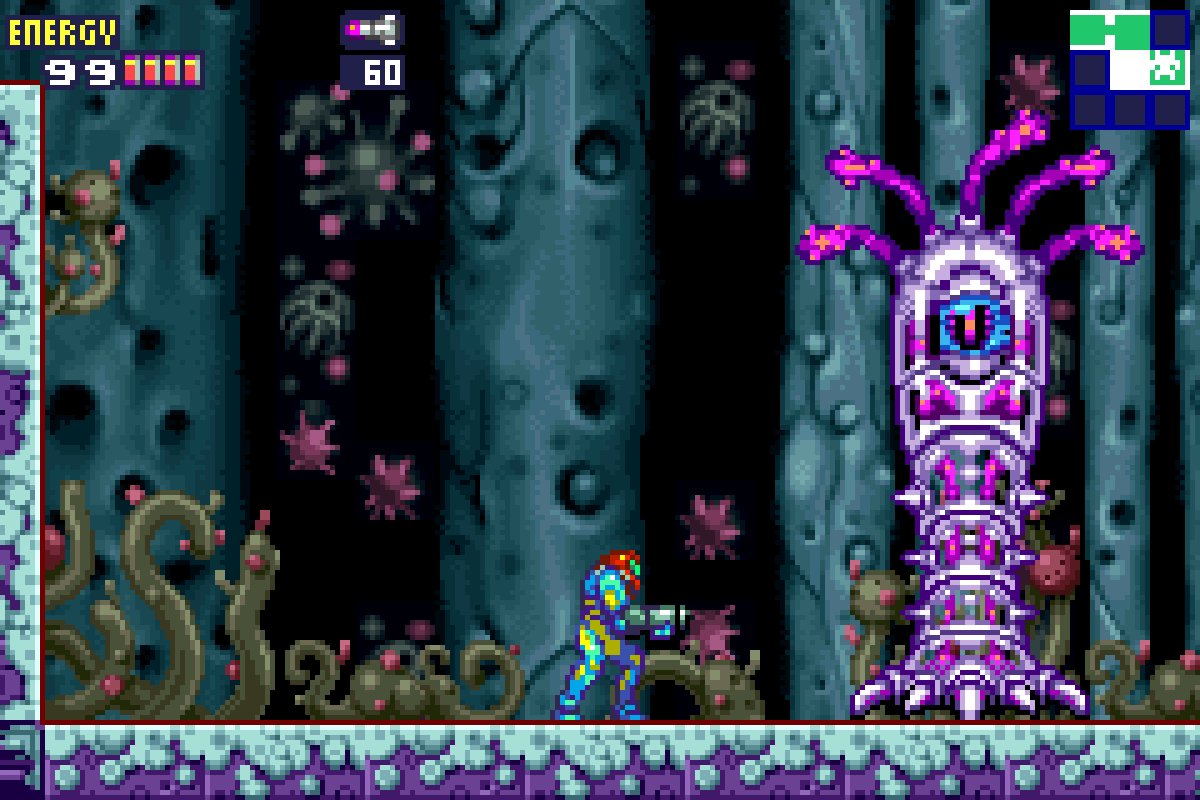
Zazabi will start off bouncing up and down, trying to land on you. Don’t bother trying to hit him with any Missiles or beams because he is impervious to pain. He moves slow, so you should be able to avoid his pogo attacks. On the third hop, he’ll slow his descent and open his mouth, trying to swallow us whole while he’s coming down in kind of a death-from-above type of idea. And make no mistake, if he catches you in his mouth, it’s going to hurt big time. However, we’re going to use this to our advantage.
When Zazabi slows his descent on the third hop and opens his mouth, get under him and fire Missiles straight up his nose. You should be able to pepper off two or three Missile shots – again, don’t linger too long or he’ll grab you with his mouth and make you pay. This is going to be a hit-and-run-style attack.
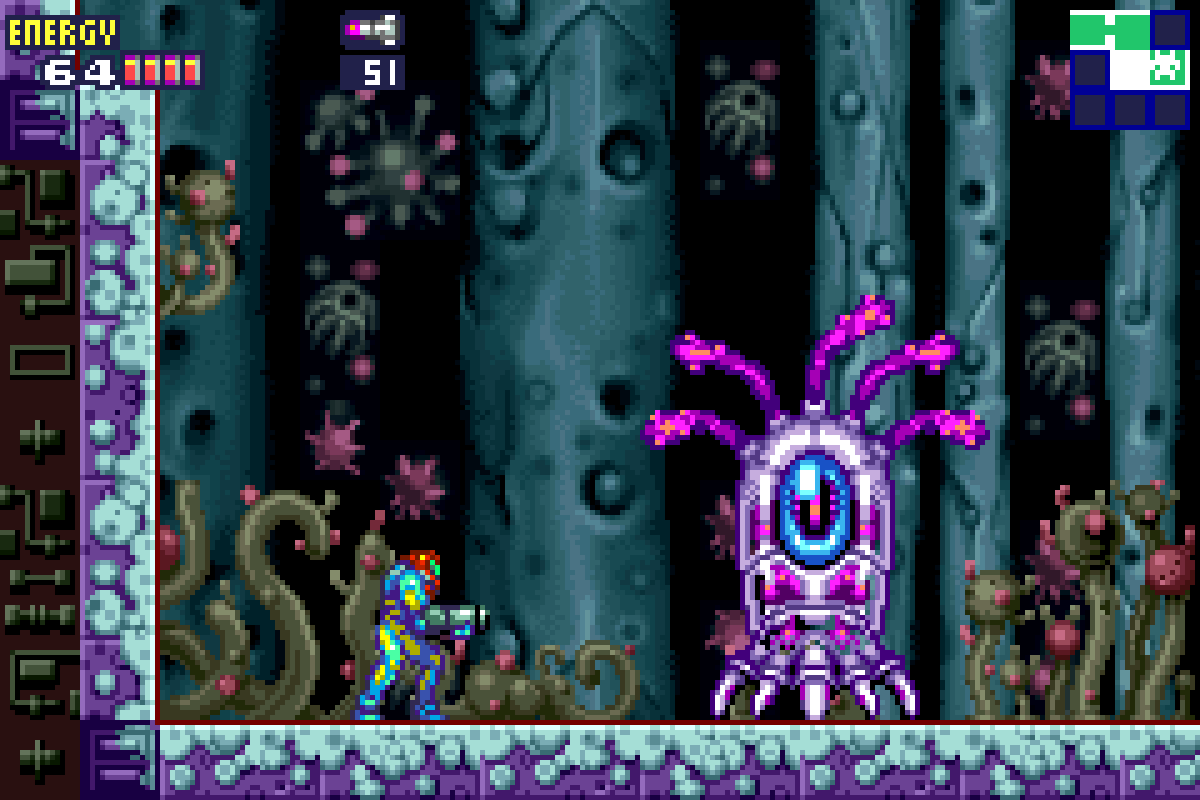
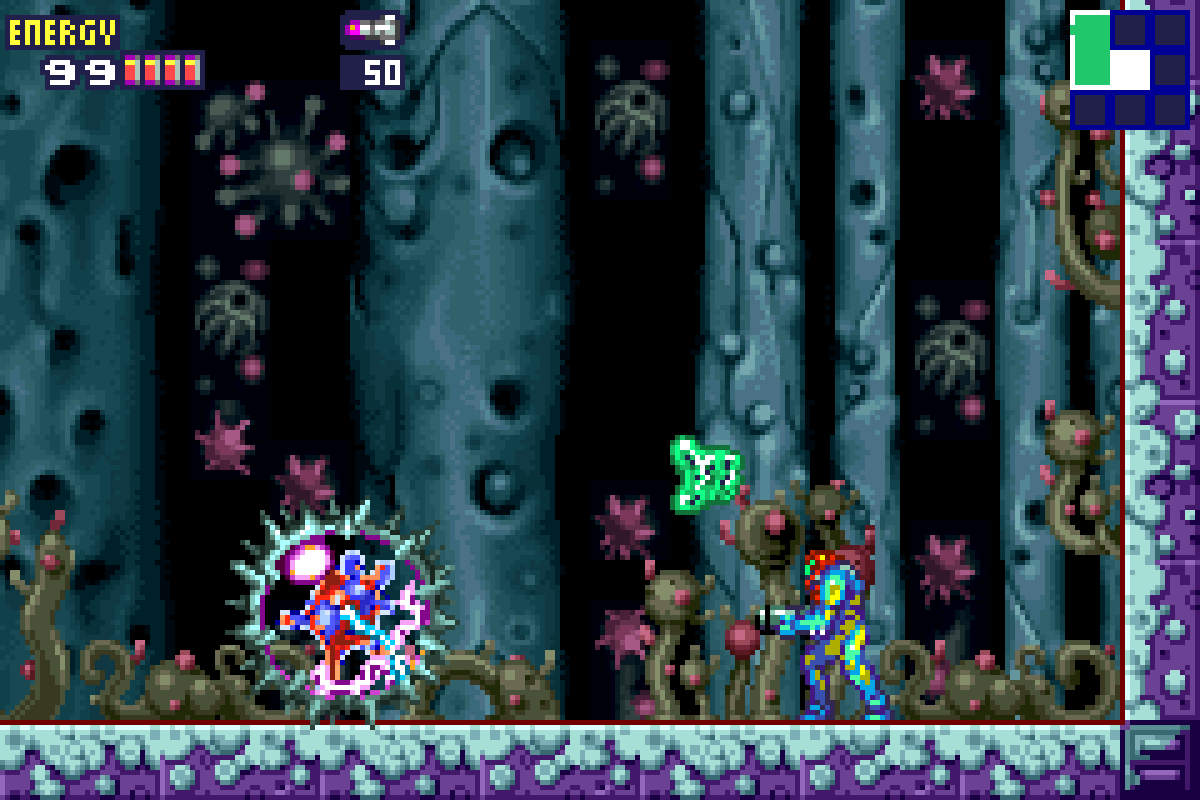
As you hit Zazabi with more Missiles, his movement speed will start to increase and he’ll start slowing his descent and opening his mouth more frequently. Just keep at it, firing directly upwards and avoiding his big ugly jaws and he will fall. Destroy the Core-X that pops out of him and claim the HI-JUMP and JUMPBALL. (Side note – is there a more underrated Metroid ability than the Jumpball? This thing totally makes traversing faster, but no one ever talks about it. Shame.)
First Encounter
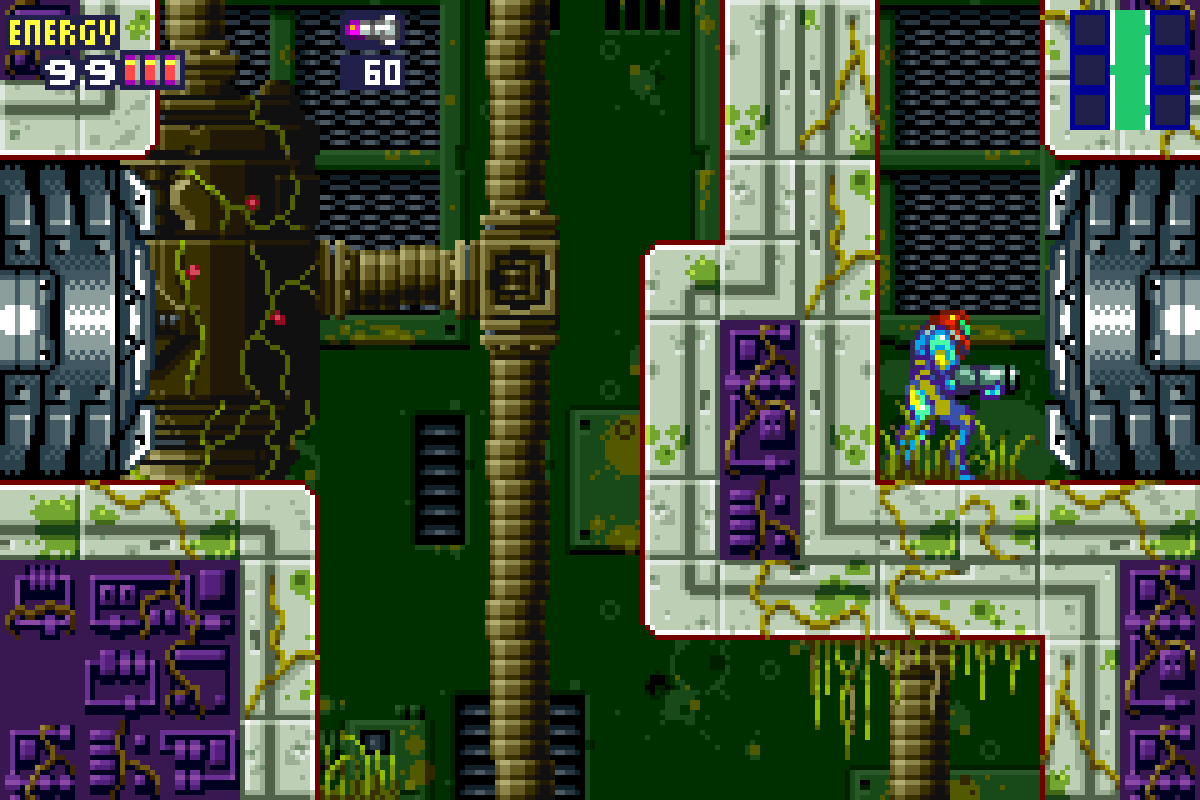
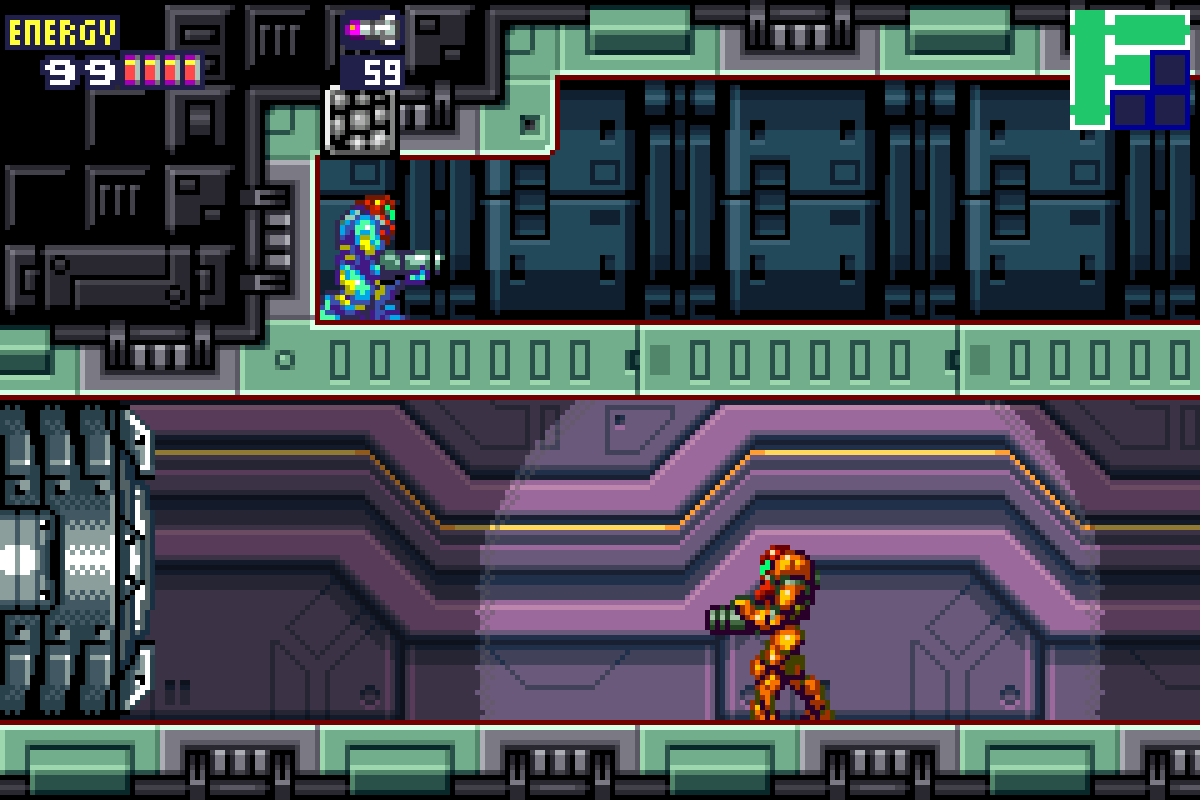
Head back towards the Plant Shaft. As you get closer, you’ll notice the door leading us back there has been destroyed by our buddy, the SA-X. Damn. Bomb the floor right beneath the destroyed door and drop down. Once you get there, you’ll finally see it… the SA-X.
Don’t move. Don’t even breathe. We finally have our eyes on the deadliest threat Samus has ever faced. The SA-X will be slowly walking right beneath us, its footsteps sounding hauntingly menacing. You can bomb the very end of the platform you’re on to drop down, but for God’s sake, wait until the SA-X is gone to do so. Adam wasn’t joking – you are no match for the SA-X and this thing will make short work of you if you even think about trying to get its attention. Wait until the coast is clear, drop down, and proceed.
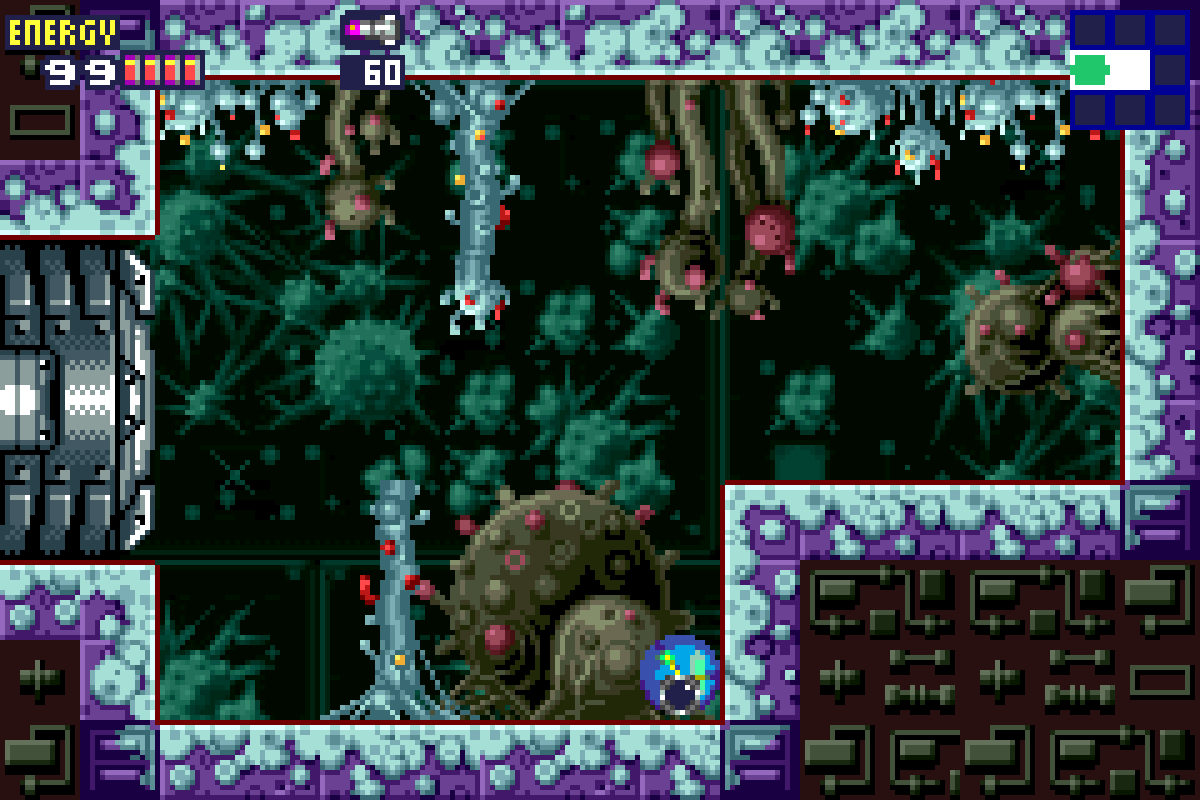
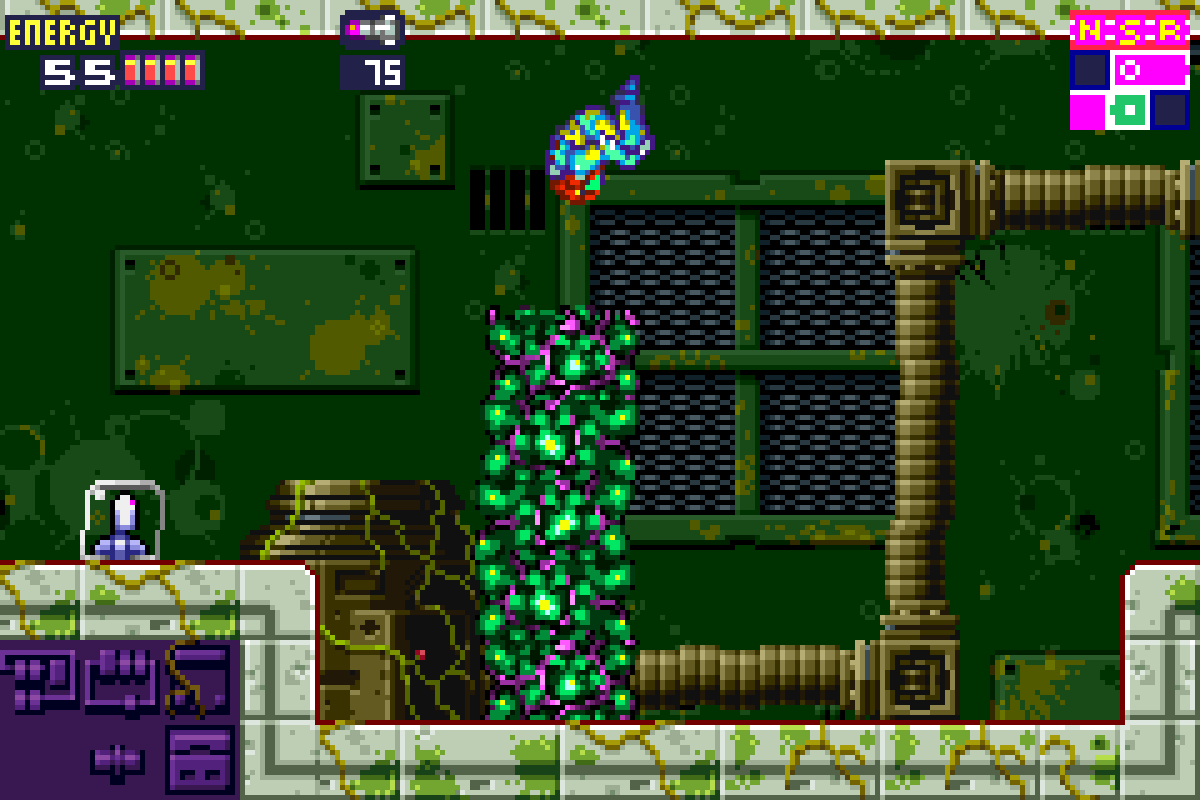
We’ll find ourselves back in the Plant Shaft, though this time, it’s complete with sacs of insects waiting to burst out. Get yourself up to the second door from the bottom on your left. You’ll enter a large room full of water. Our new Hi-Jump boots will let us jump way up, grab the monkey bars, and mosey on over to grab MISSILE EXPANSION #11.
Exit back to the Plant Shaft and move upwards, using those disgusting insect sacs as platforms to help you on your way up. When you get to the very top, don’t forget that you can now jump in Morph Ball mode! I’ve seen a few people get stuck here, but don’t worry, just jump up and lay a bomb. Pass through and then go straight through to another mossy hallway. Here, you’ll see two ledges that you can grab onto. Jump up to the second highest ledge on the right and roll into the little space there, Bomb the wall and you’ll be able to grab MISSILE EXPANSION #12. Roll back out and through the top doorway.

Now that you’re back in the “main” Sector 2 room, head on over to the blue door on the upper right. Clear that room of enemies, Springball jump on the side of the wall, lay a bomb, and roll over to grab MISSILE EXPANSION #13. Leave, exit back to the “main” room, and then head towards the small room directly under the Recharge Room. Jump over those giant worm-looking beasts and grab MISSILE EXPANSION #14. Once you’re done, exit and head to the Navigation Room. We’re finished in Sector 2 for now.
Next Chapter: Sector 4 – Ultra-High Speed